Mike, thanks for the wake up call, and all of the effort to keep this humming.
I scrounged up some of mine. Two incomplete, one needs TLC, one good.
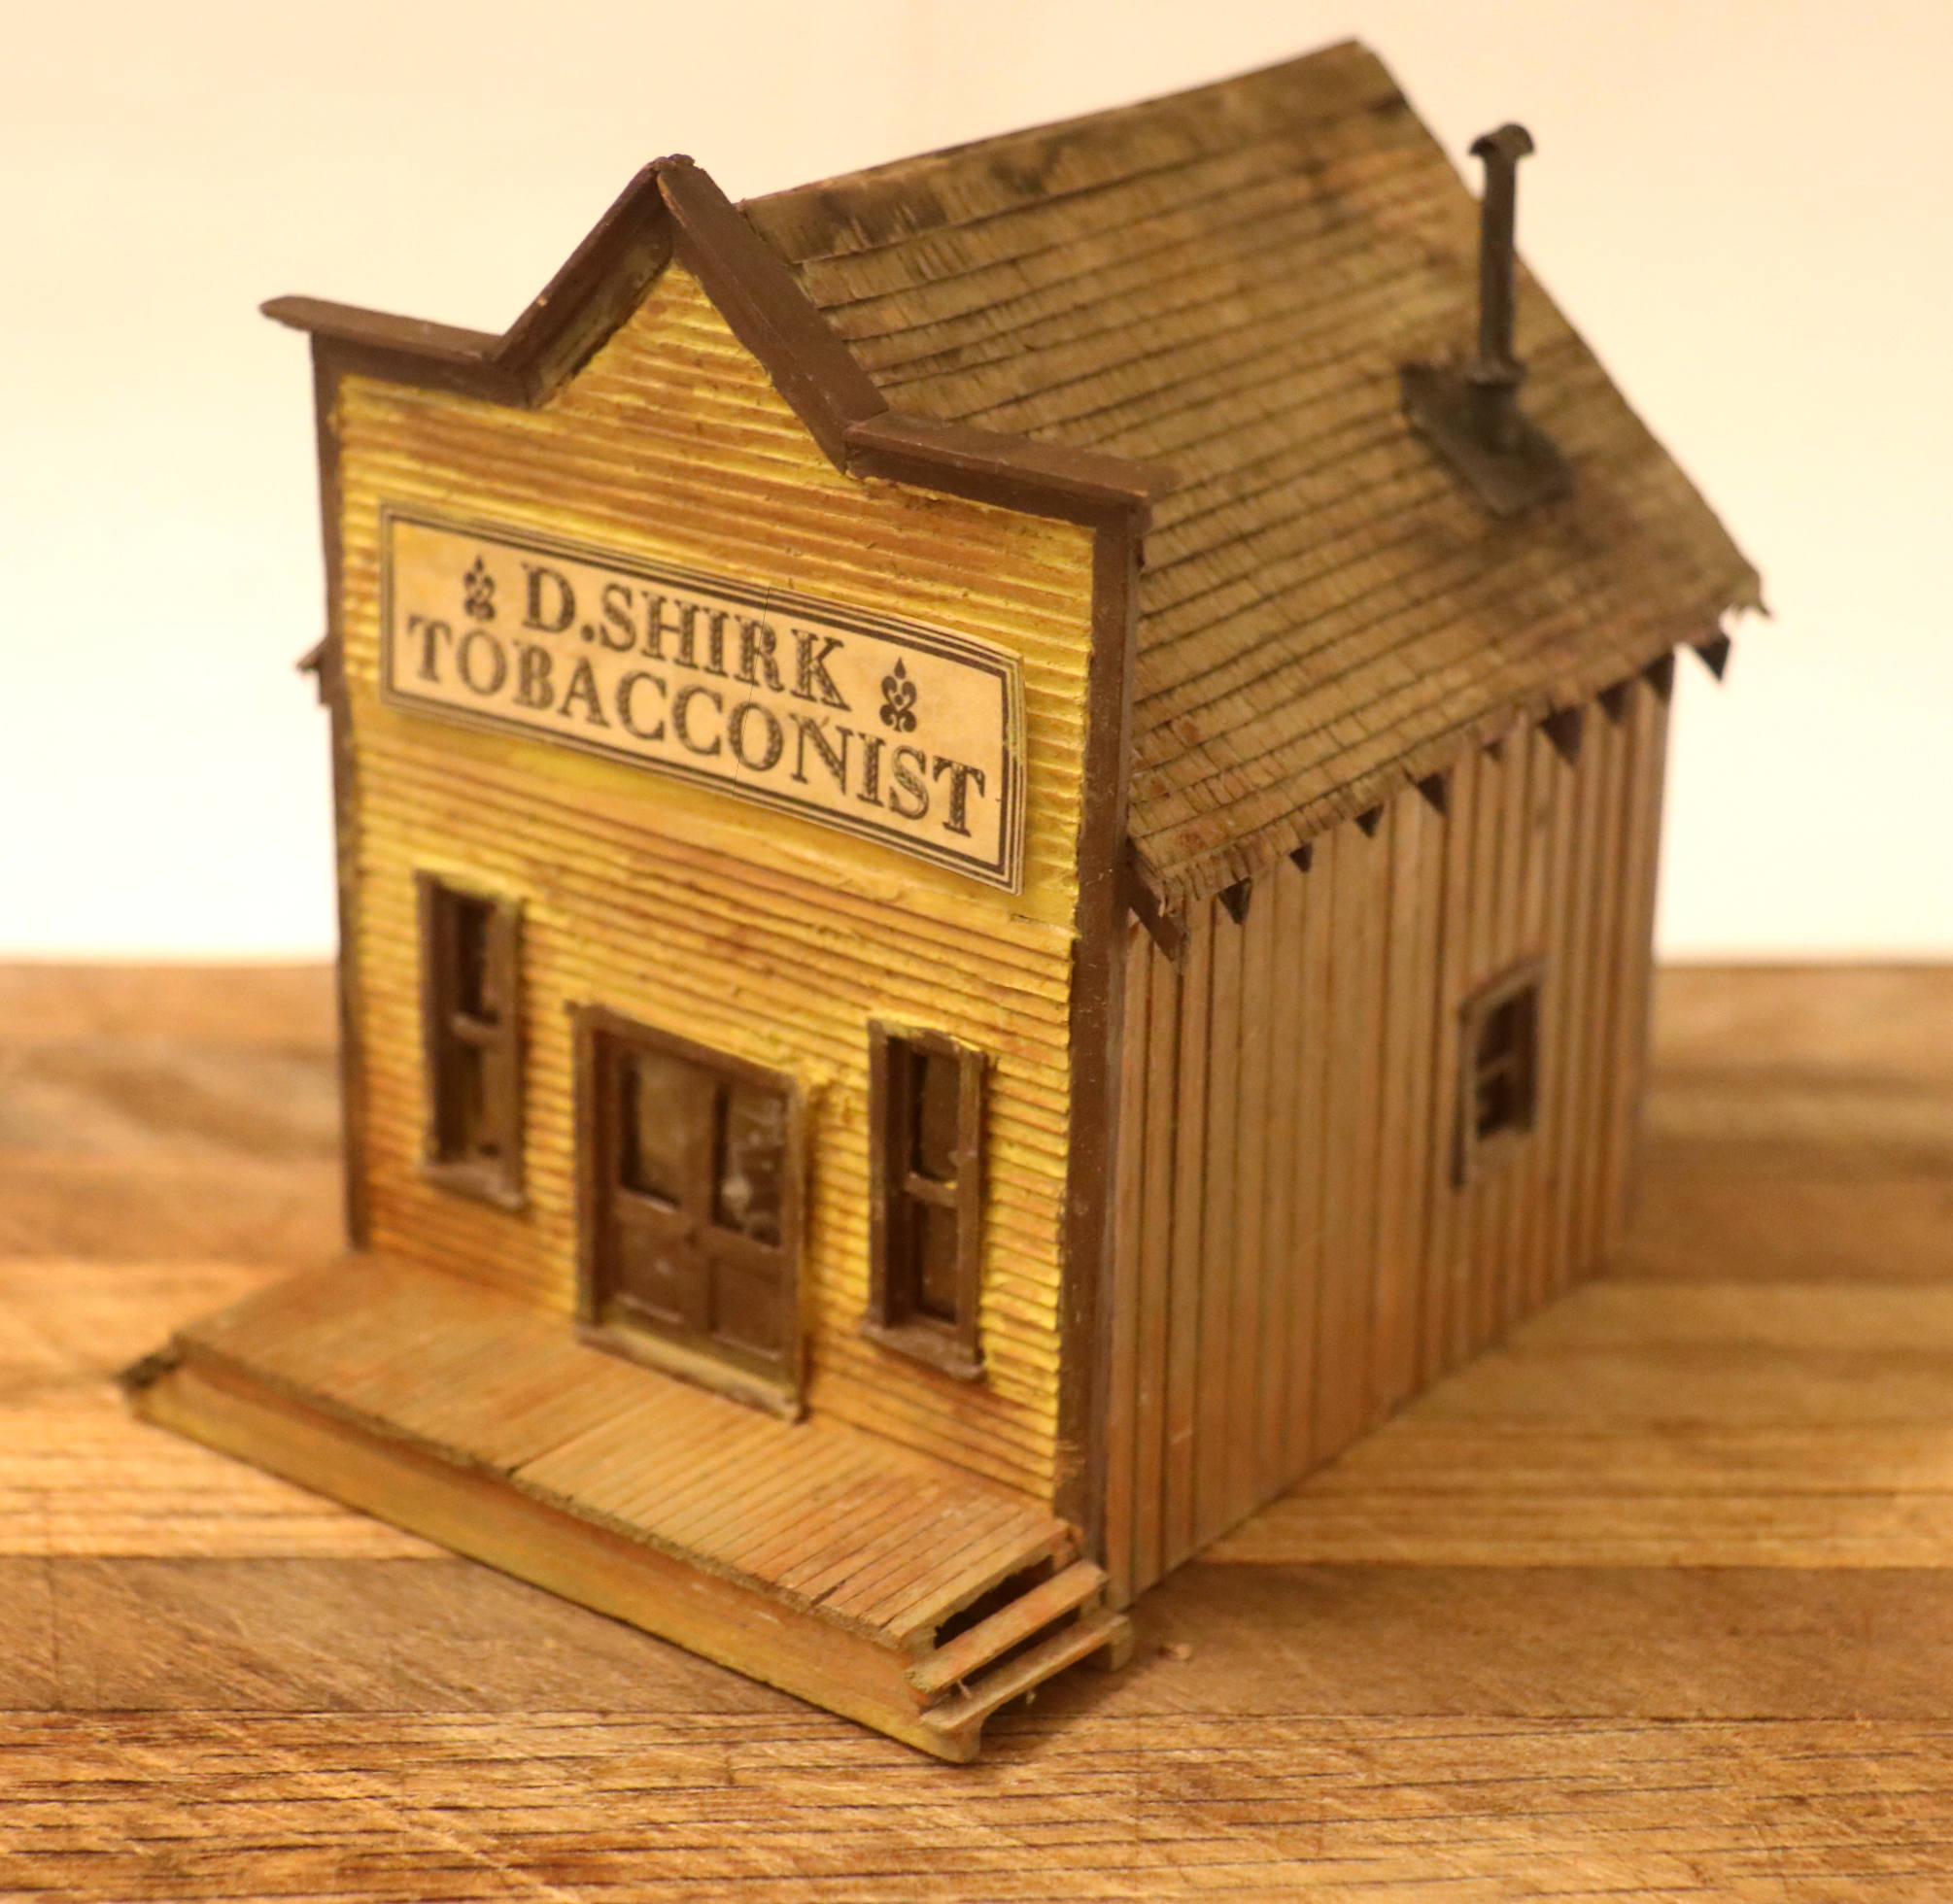
First, Suydam paint store. My first craftsman kit, approx. 45 years old. The display window display area with boxes and cans of paint are awaiting reinsertion. I never finished the roof. Over the years the cardstock walls warped. Recently, I cut some brass square tubes to fit, and epoxied and clamped the tubes to straighten and reinforce the walls. It’s sturdy now!
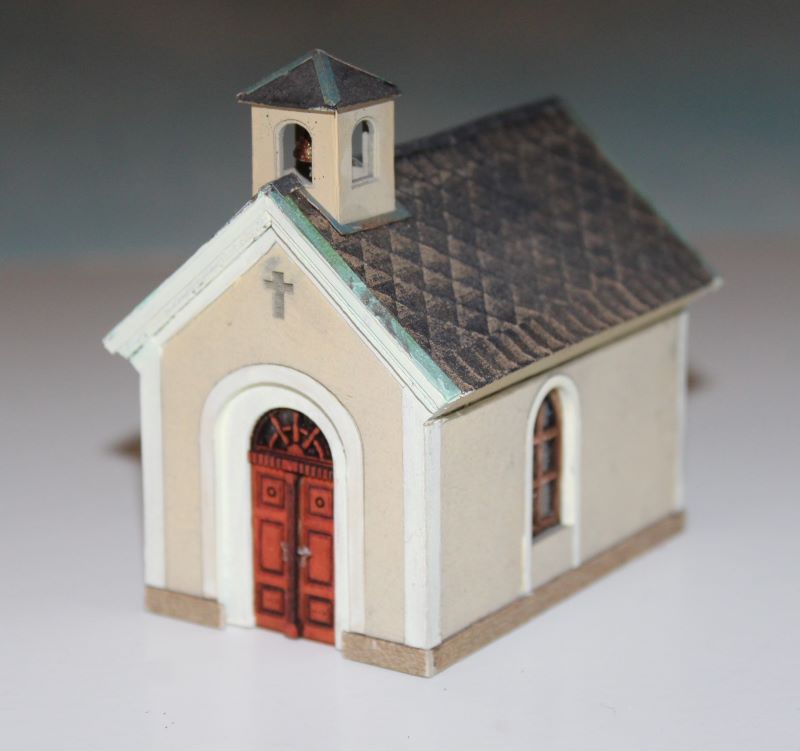
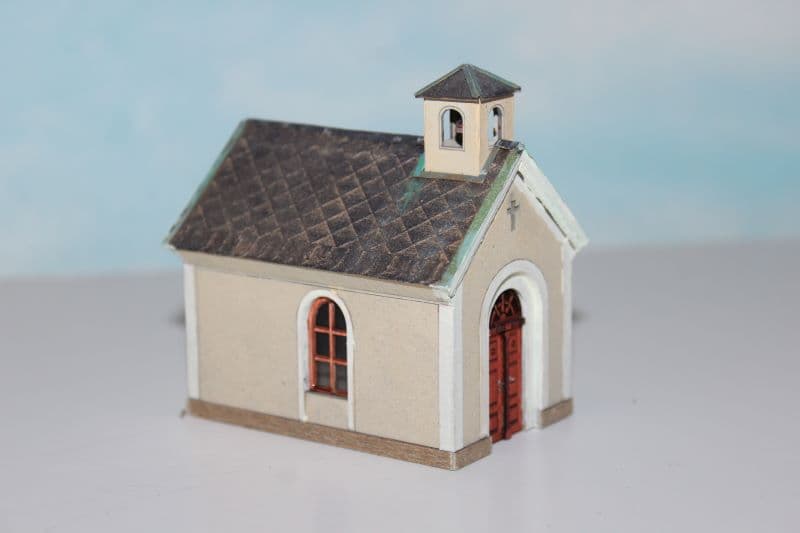
Here is the complete model, a small church from Model Scene. A completely cardstock and paper model. When the Railroad Modeling archives are restored, you can see the review.
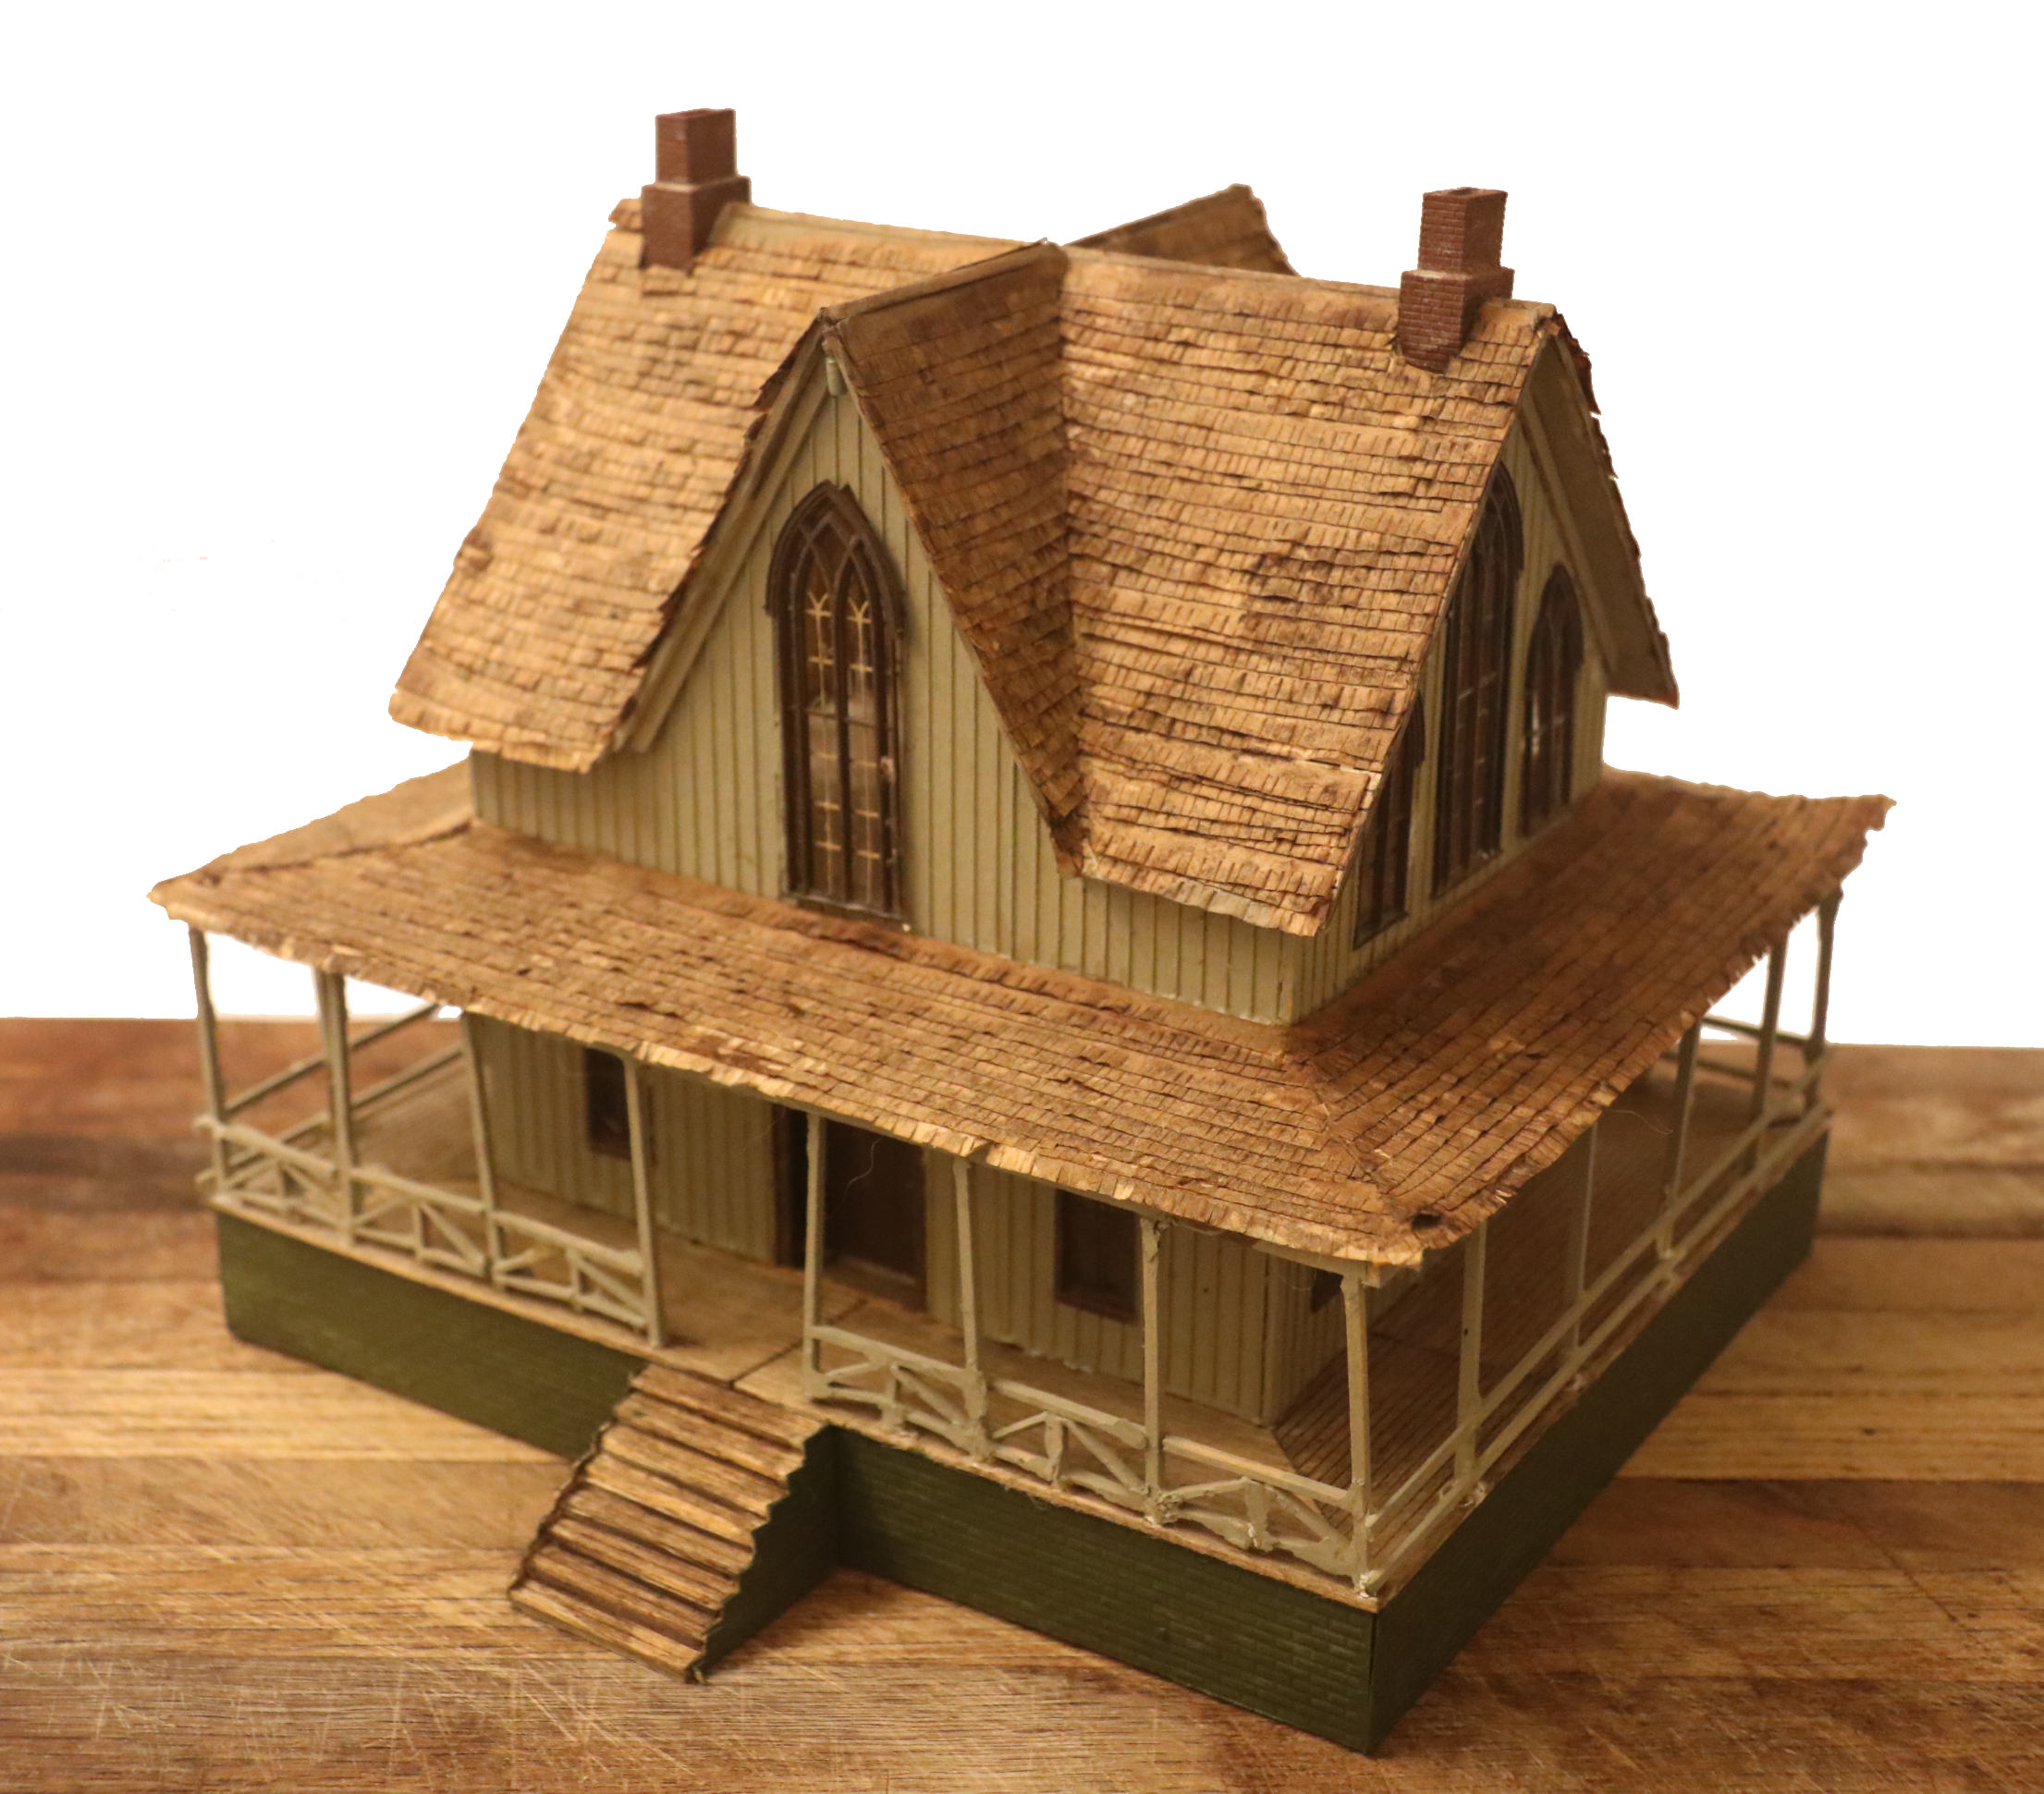
I’ll be honest, I bought this built model. Forgot the bring the roof up - it looks good - and can’t retrieve it due to canine paralysis (dog sleeping on my lap). Fixing the front porch and foundation.
Great structures don’t have to be expensive super detailed craftsman kits. Sometimes modeling pleasure can come simply from an old friend remembered from your childhood.
This old favorite from Plasticville came into the local shop where I volunteer, broken in three places and melted in two others. However with a little restorative TLC and some fresh paint it now has a new lease on life and may live on to make memories for some new youngster somewhere out there.
I removed a few noticeable mold lines here and there, added a few small details and built an all new rooftop ventilator. Plus went for a nice green color for those roofs so now this O/S Scale model is once again layout ready.
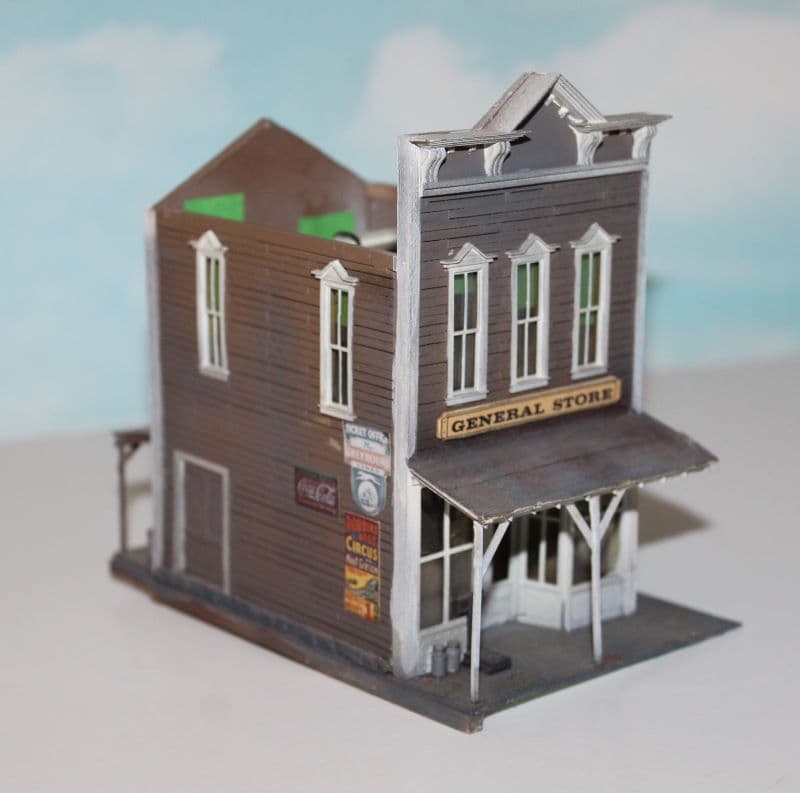
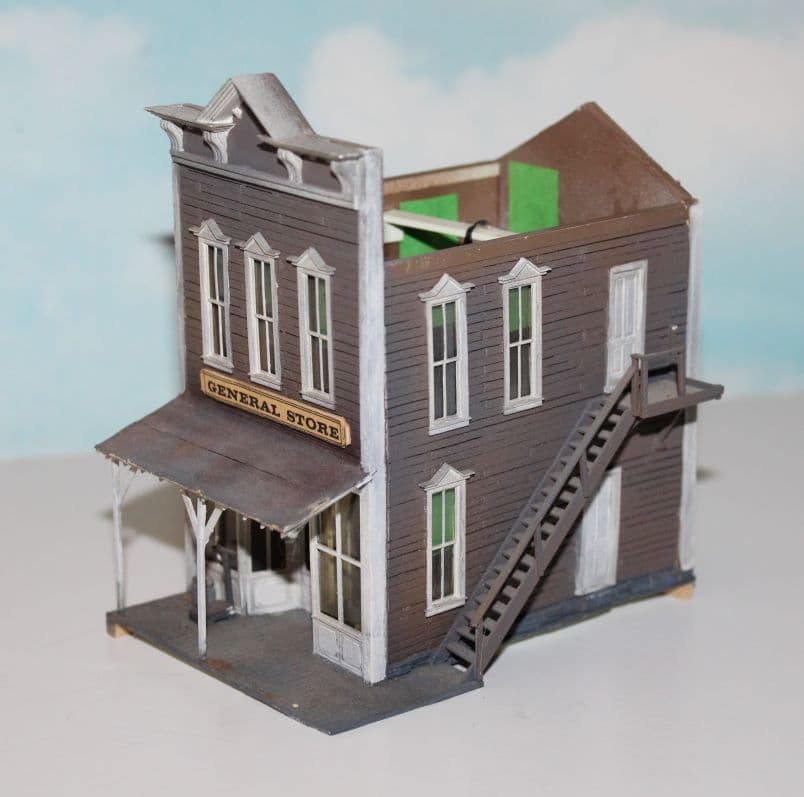
The latest item to come across my workbench . . . .
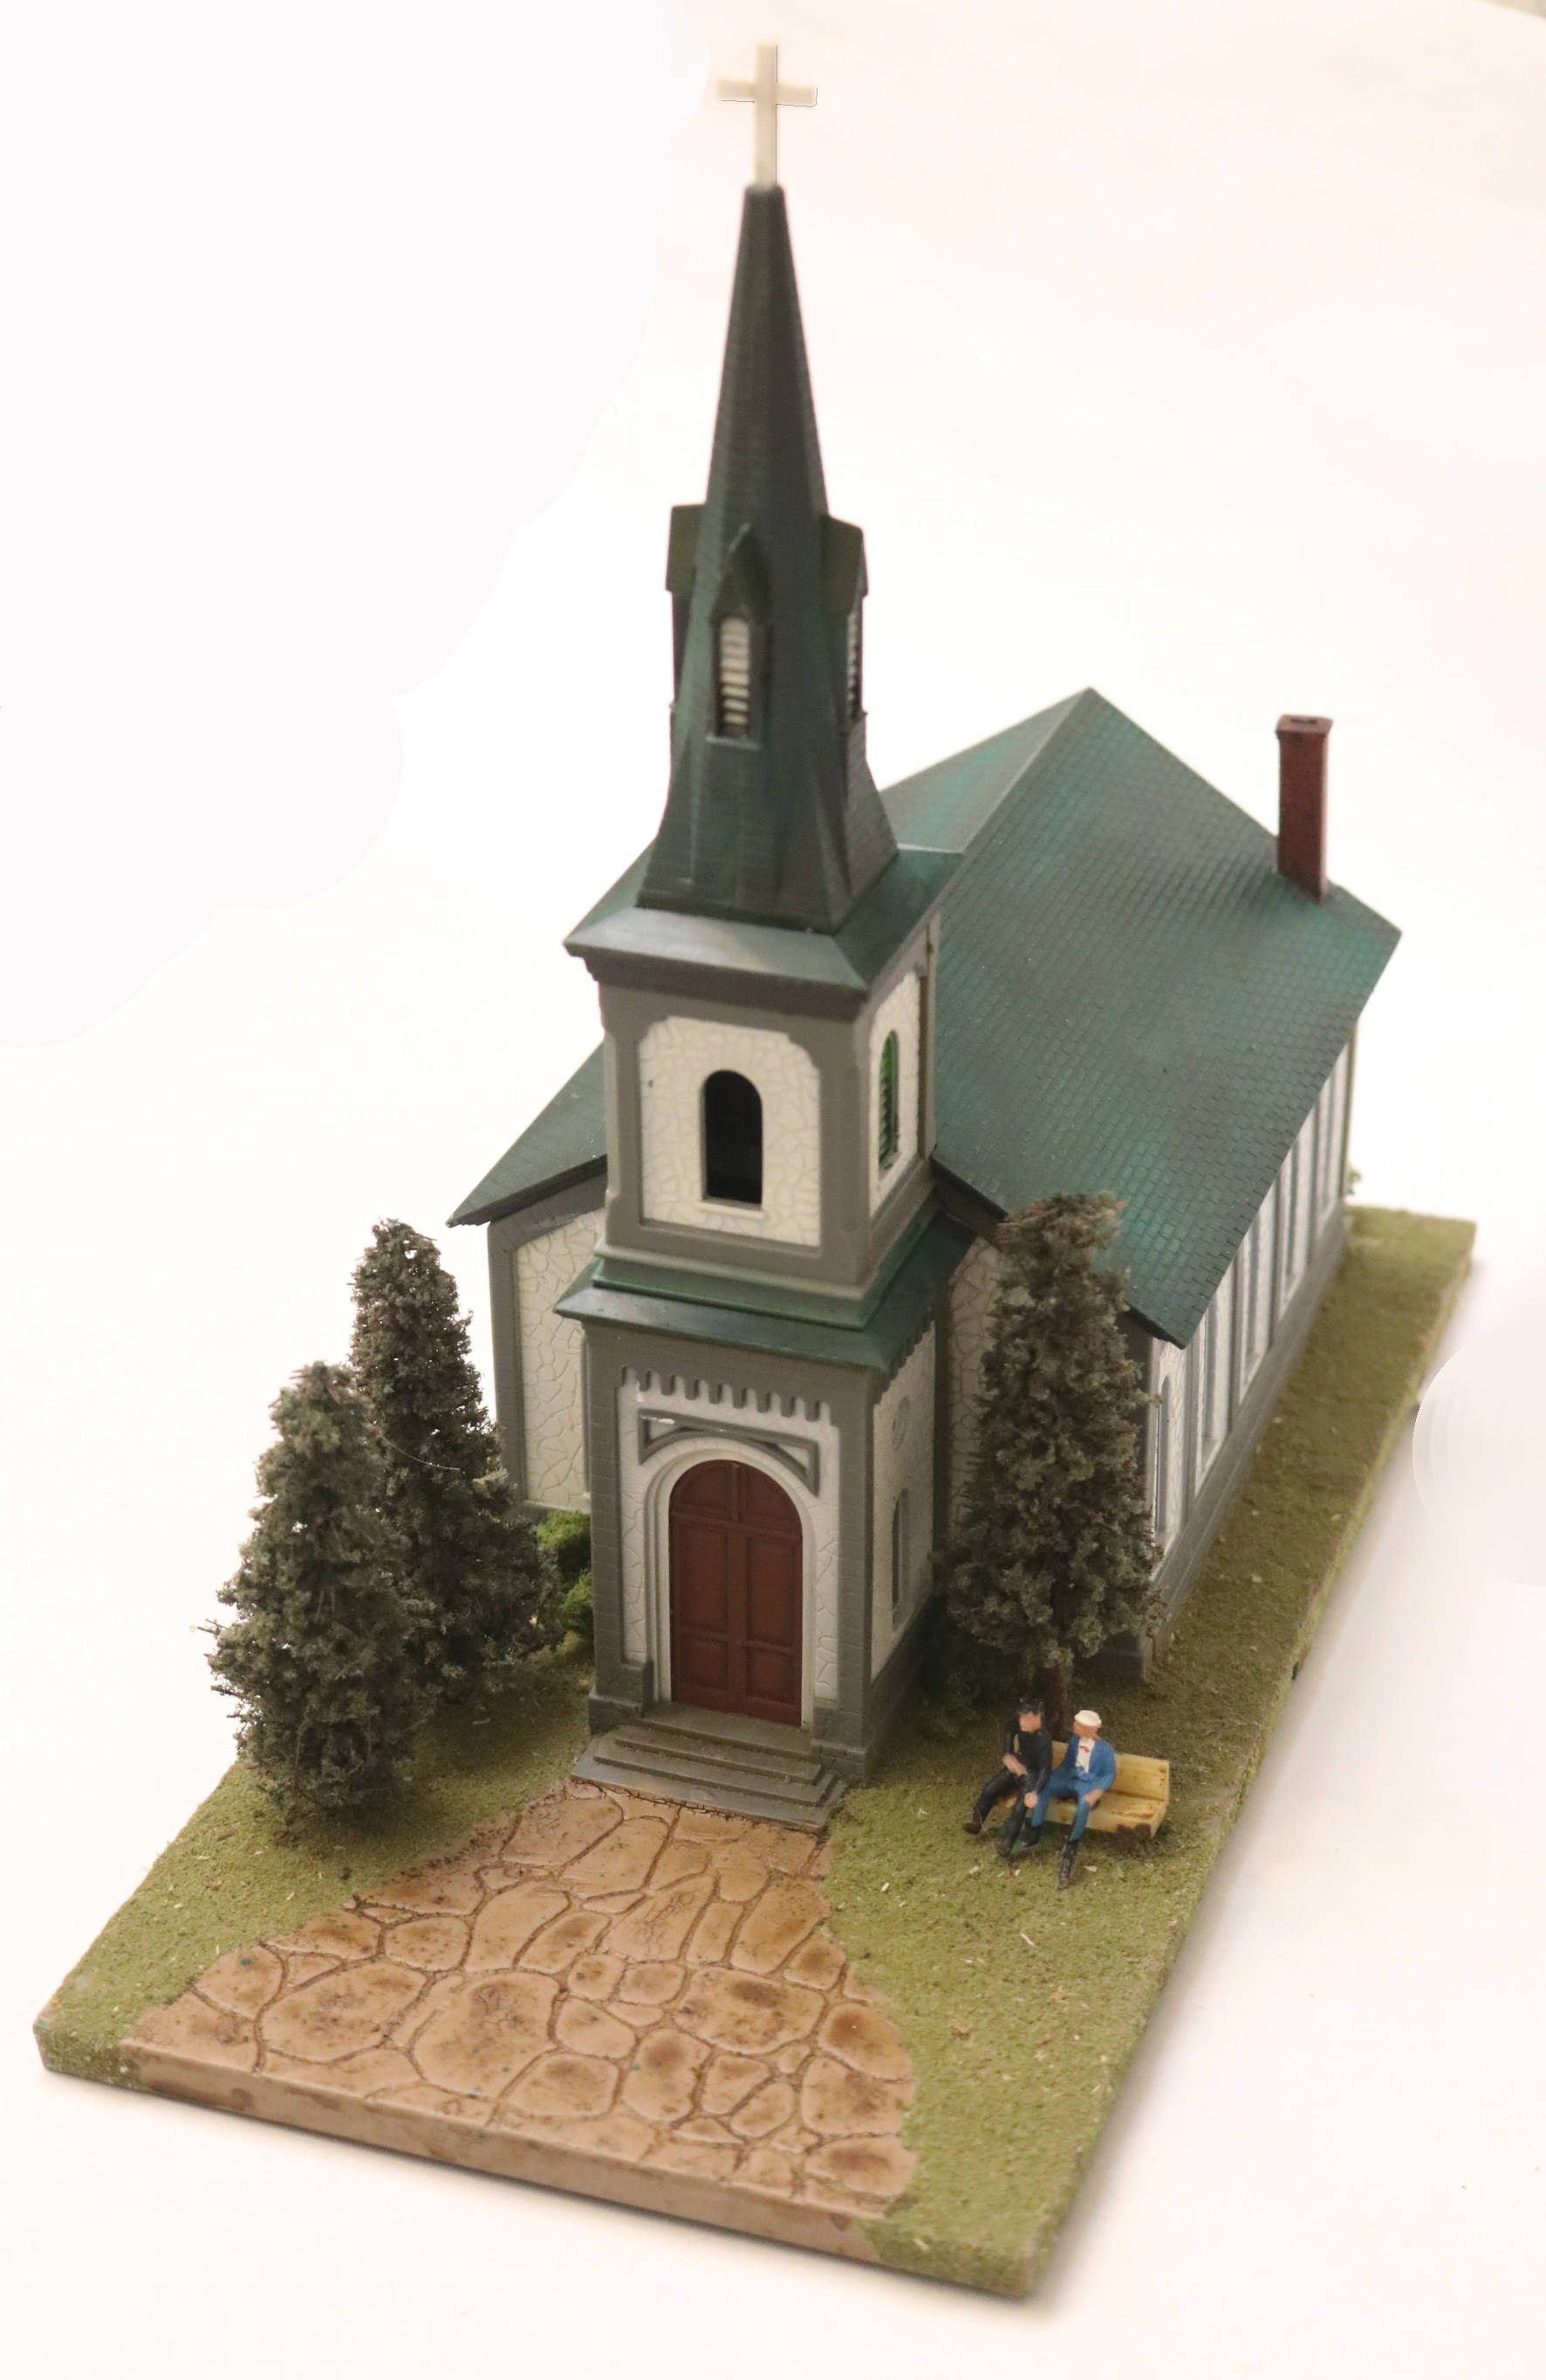
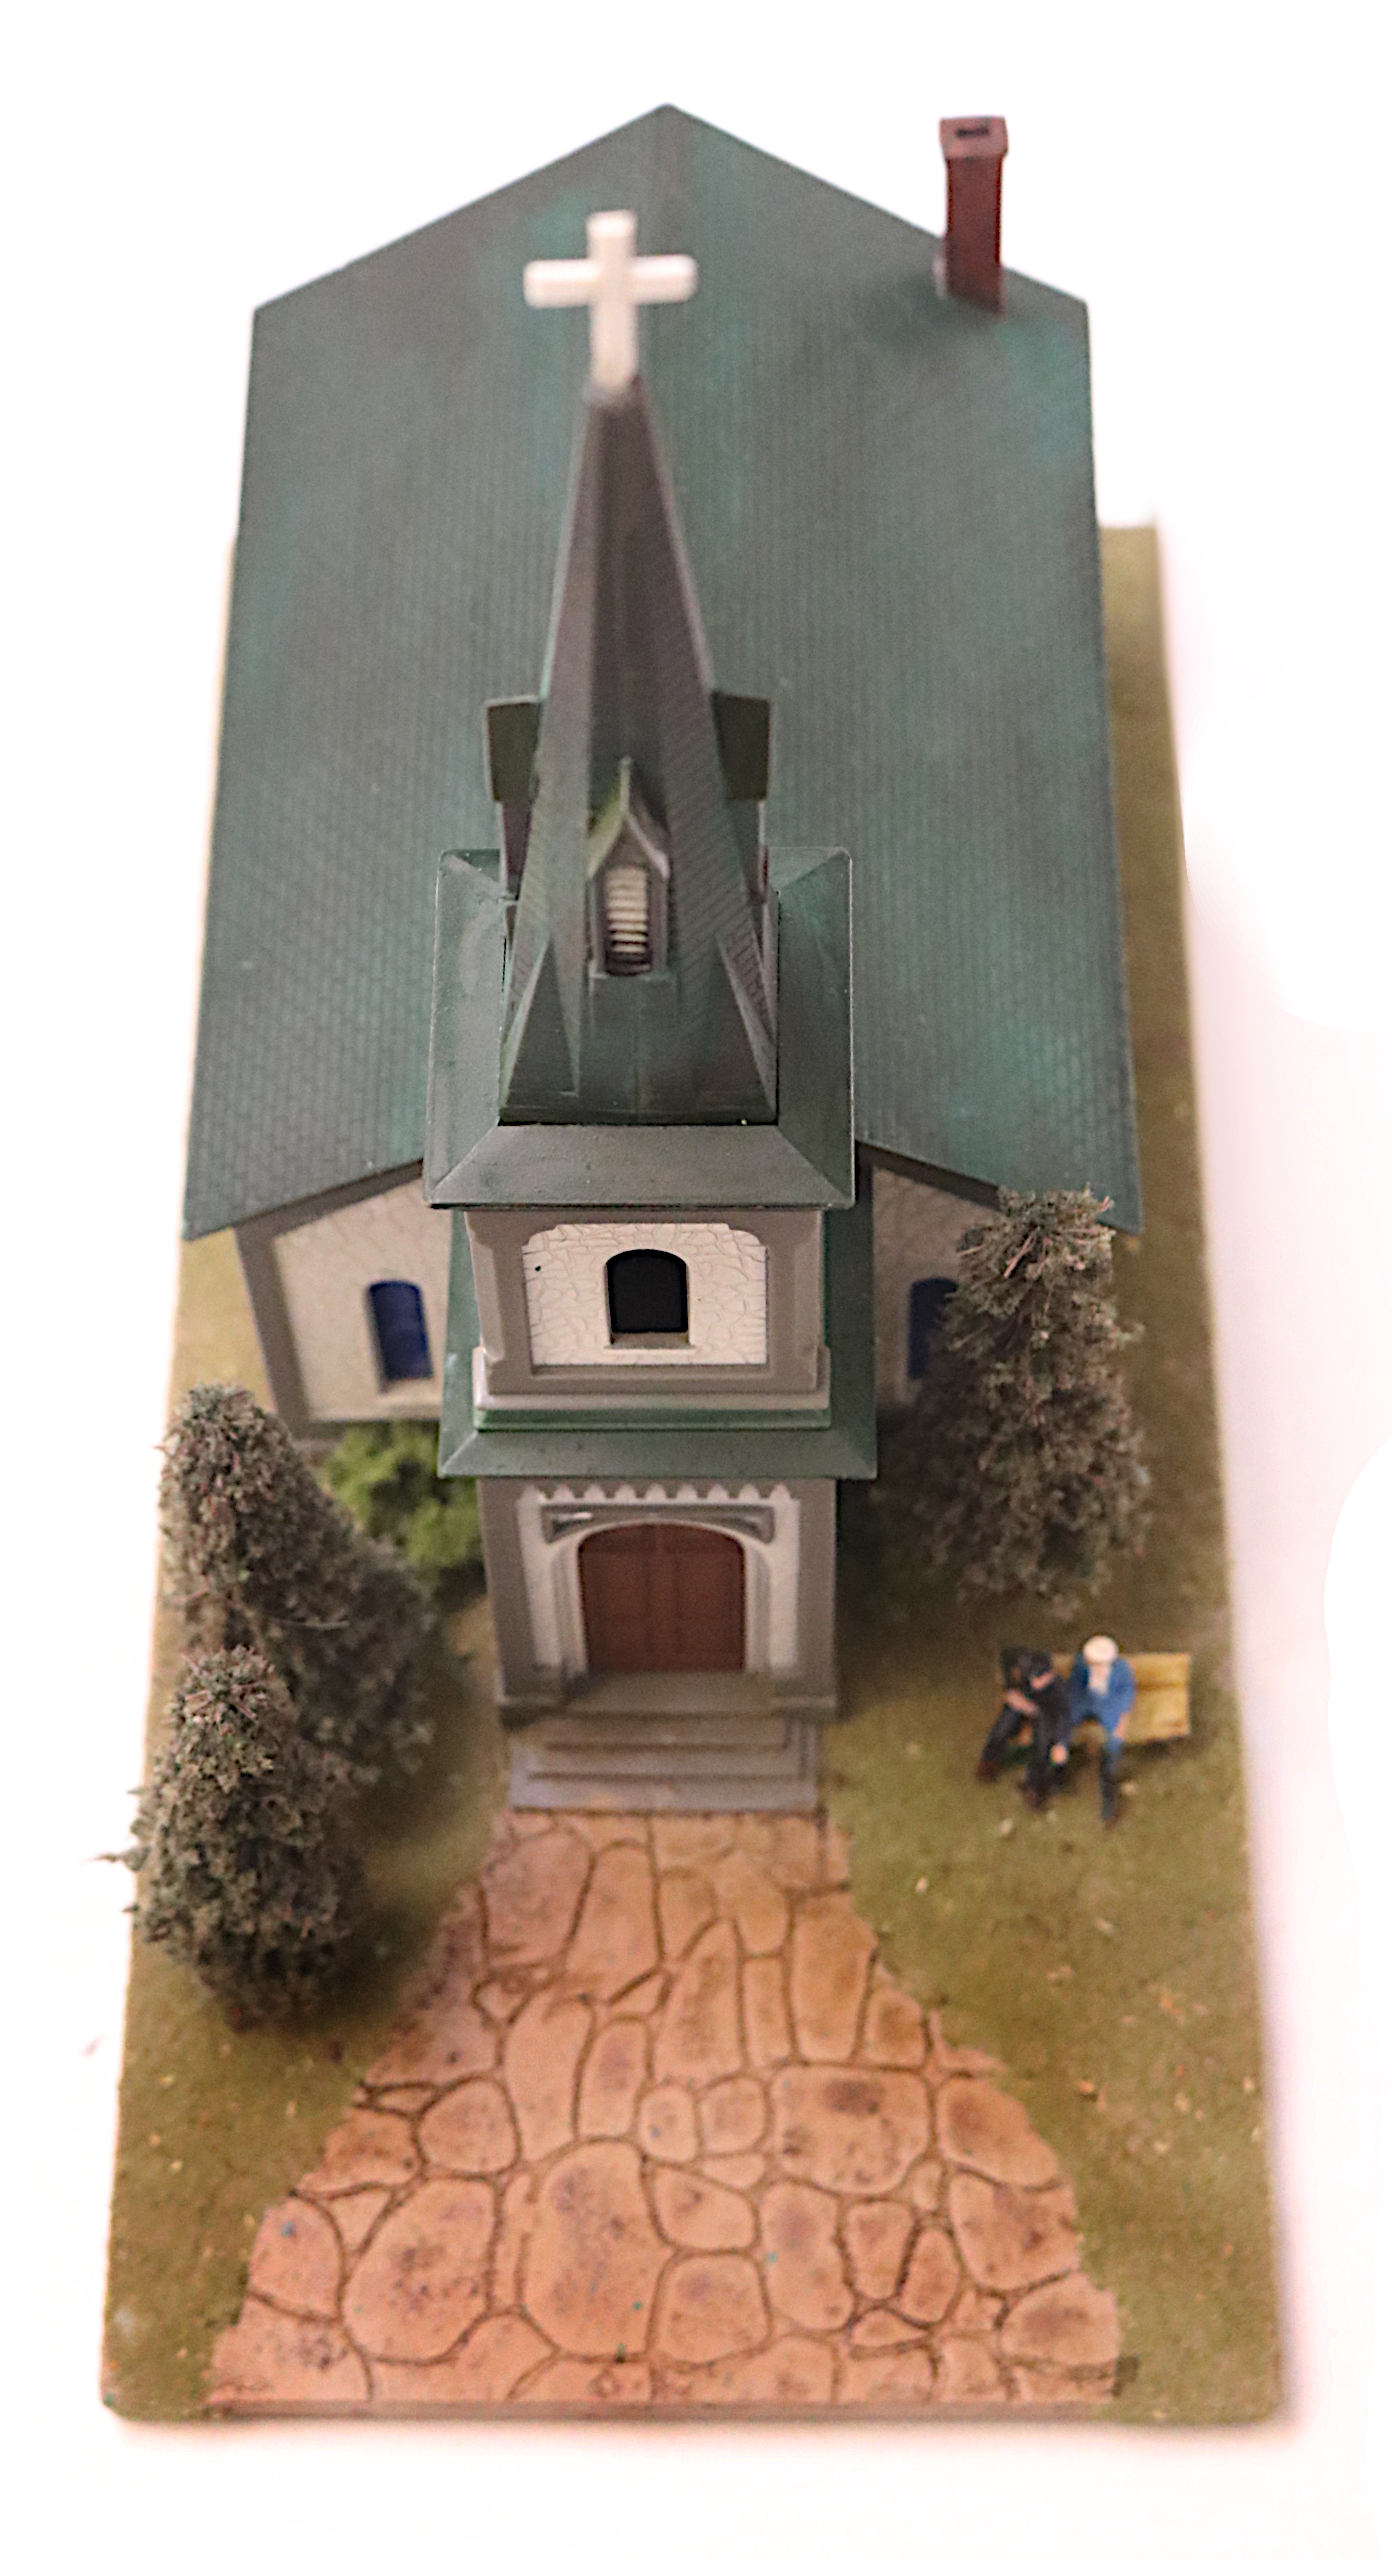
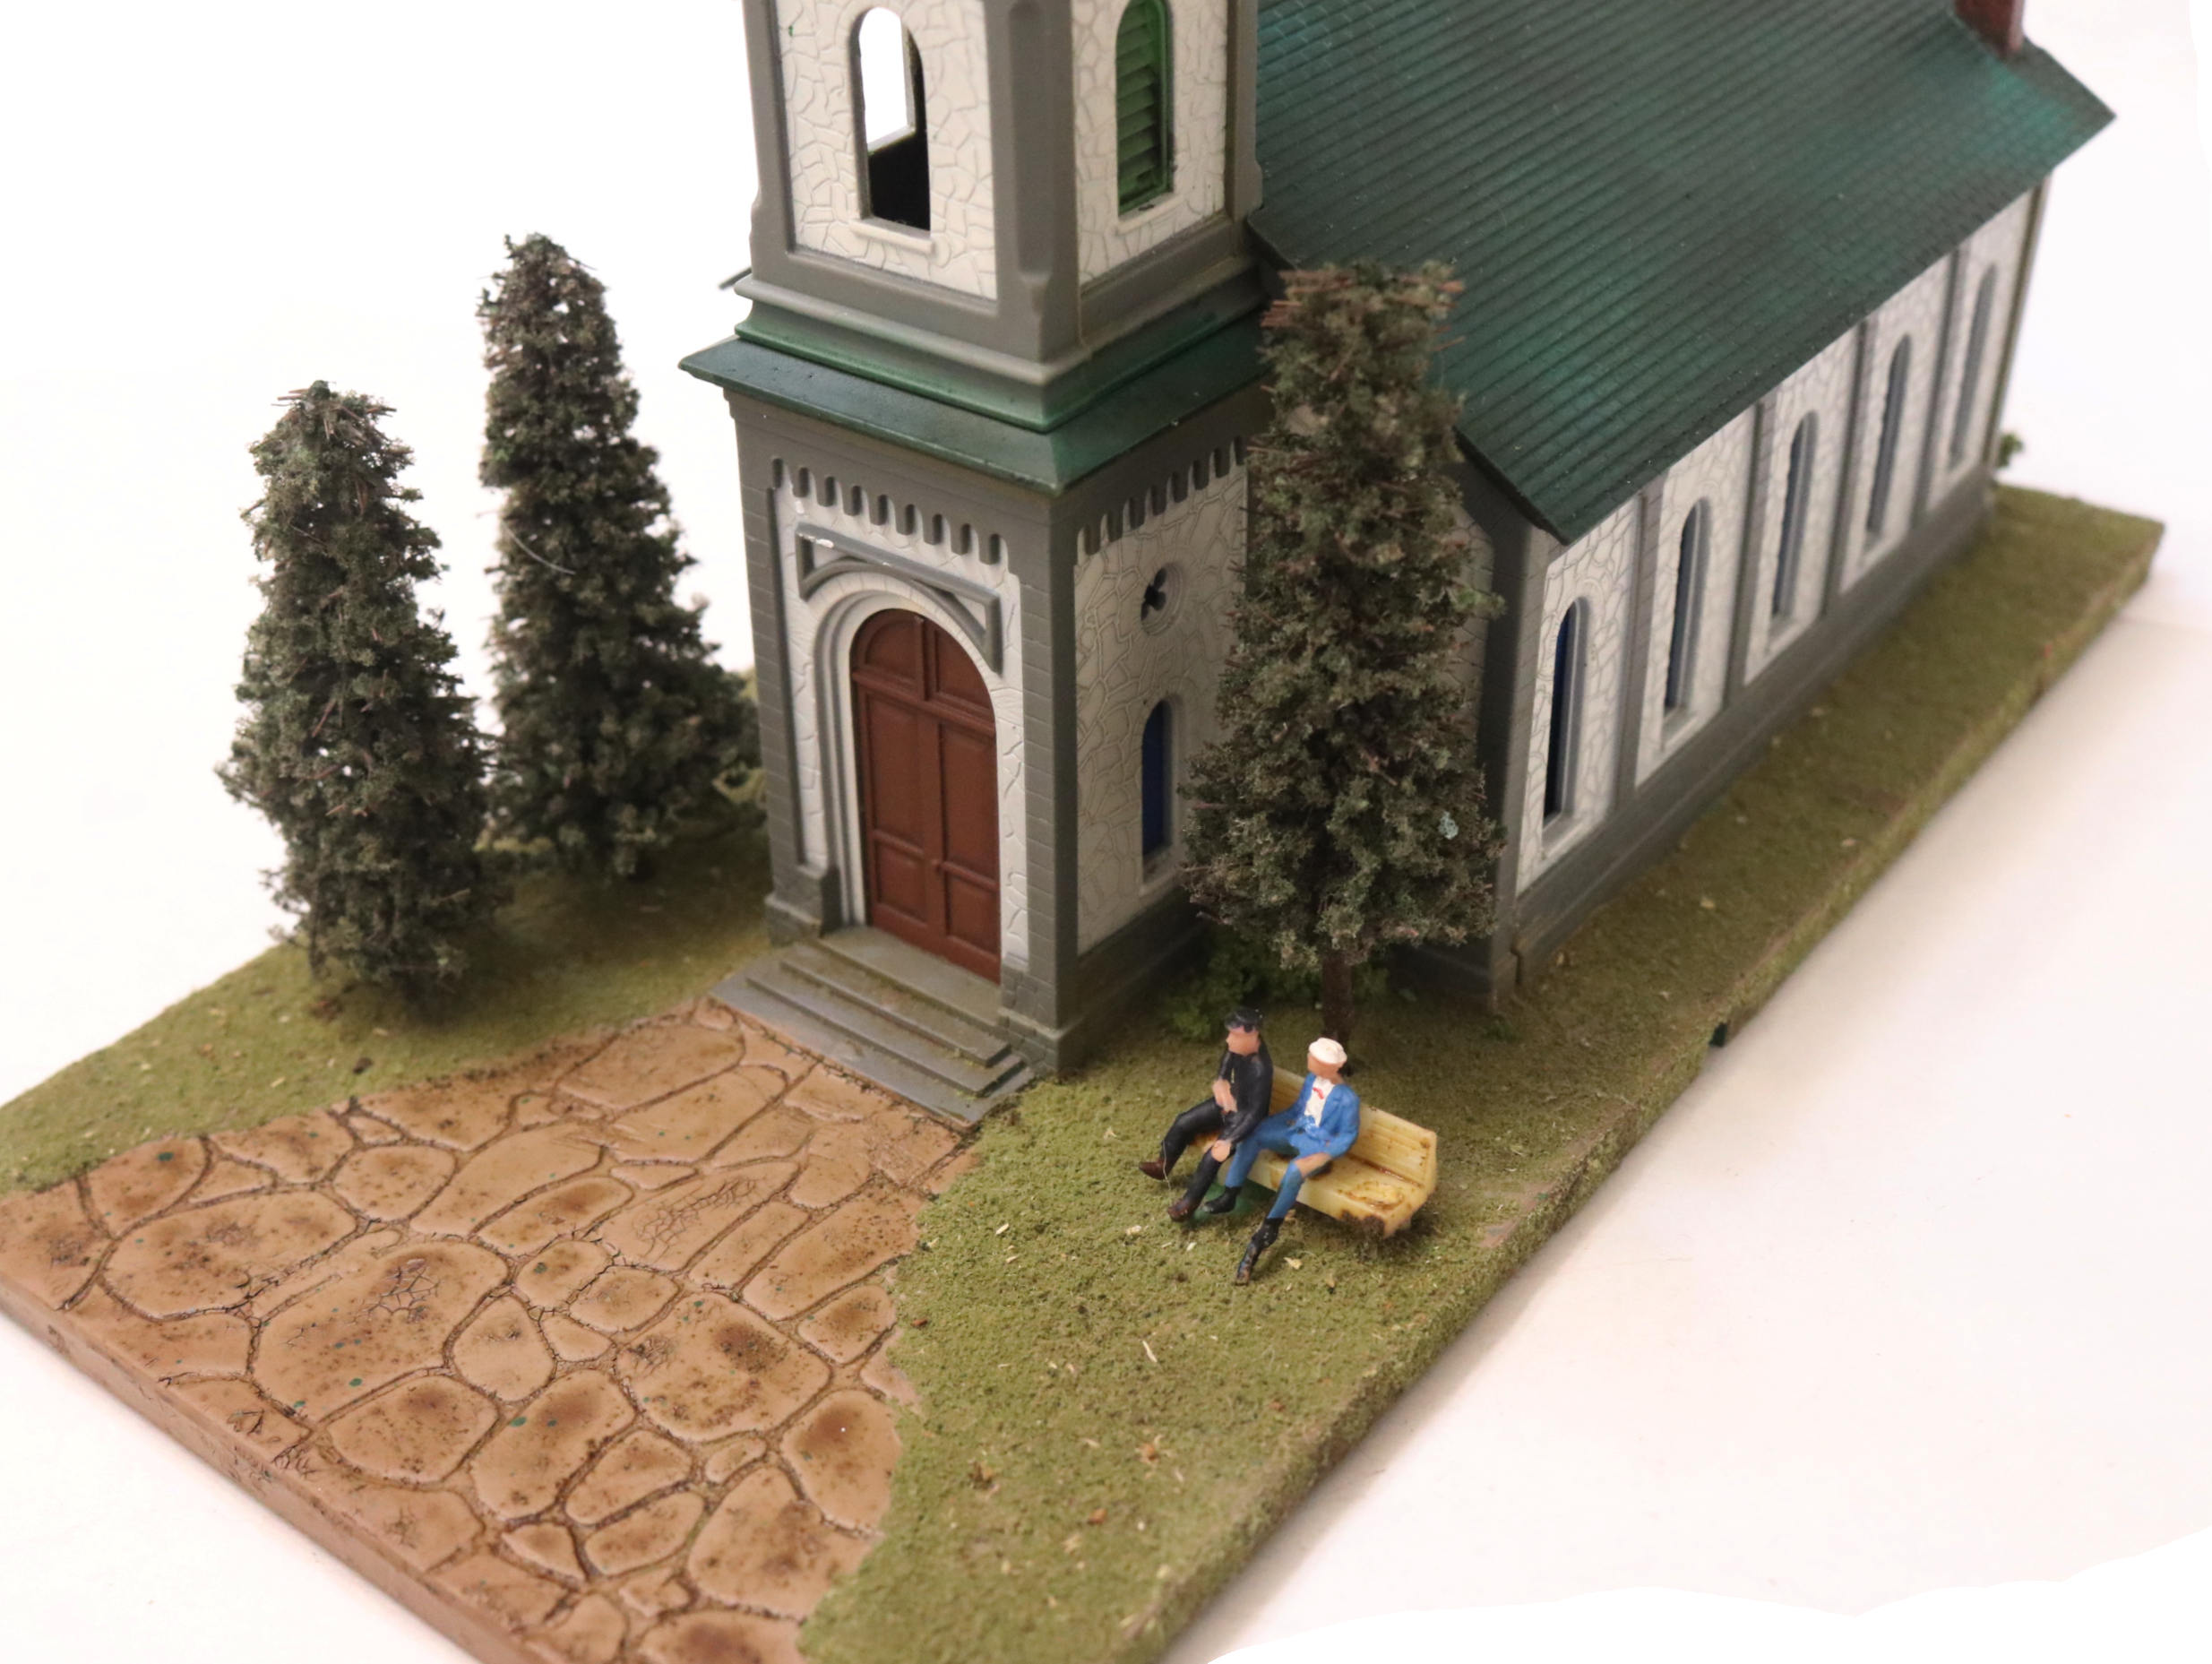
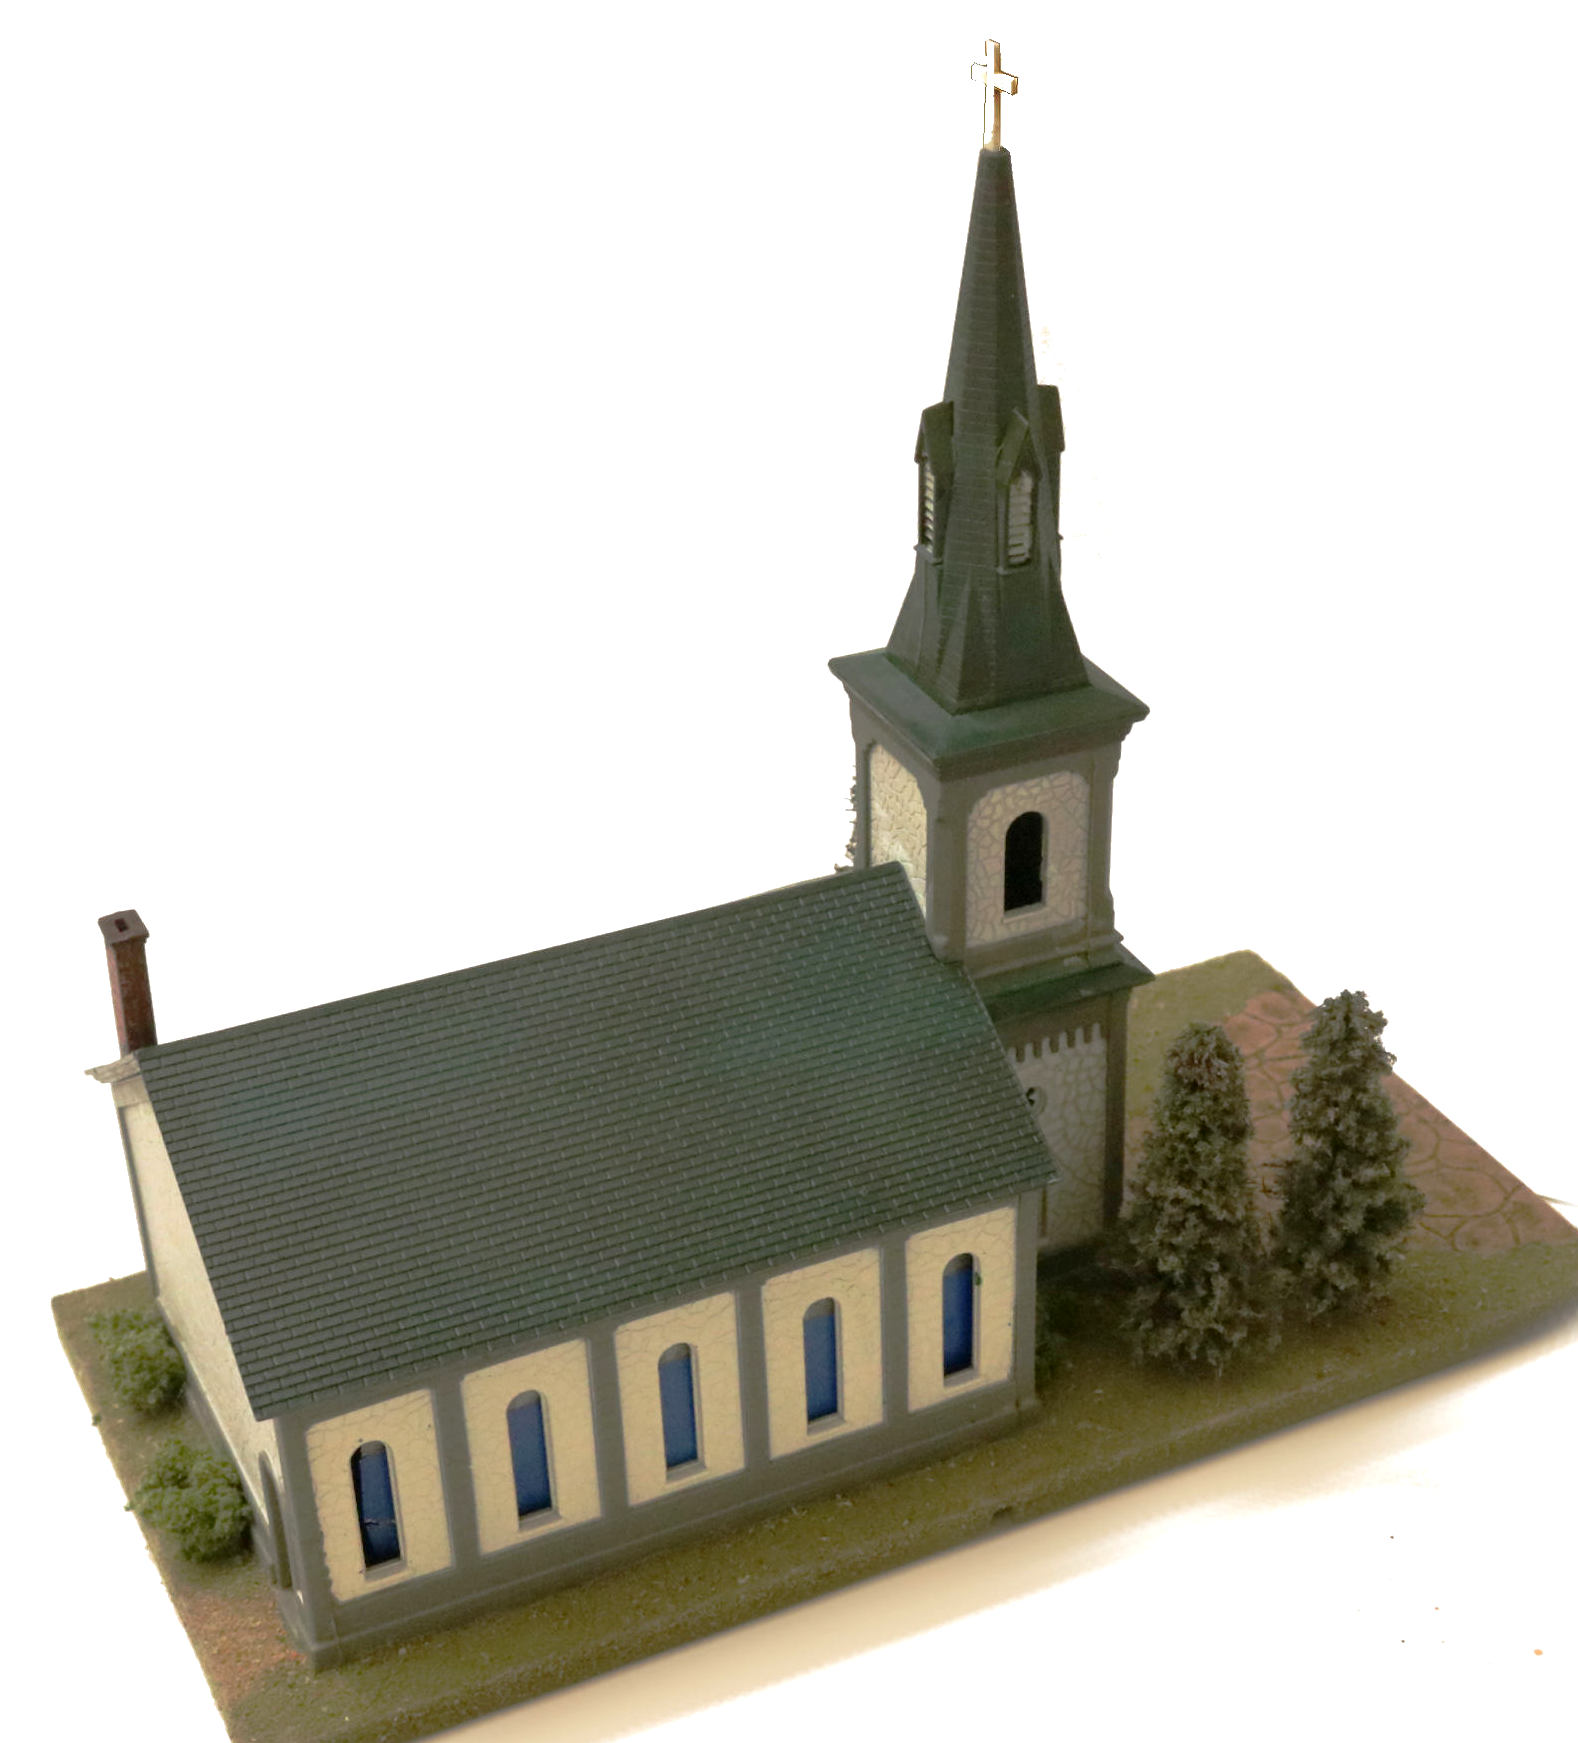
This nice little church in N Scale. (maker unknown)
Steeple broken, cross missing and the base was this strange plastic mix - the entire base was cast as though stone but in a green grass color ???
First the basic repairs and a new cross made from Evergreen, Then some green washes and green pigments for the roofs to give them slight tonal variations. The chimney was broken off anyway so it got my usual red oxide paint & black shader wash treatment.
Finally that base: I repainted the walkway area in a buff stone color then added some sepia shaders to give it a more proper stone look. Then I covered the rest of the base with Woodland Scenics grass with a few “leaves” thrown in.
At the end I added the assorted pine trees and some shrubbery which (I think) really sets the model apart!
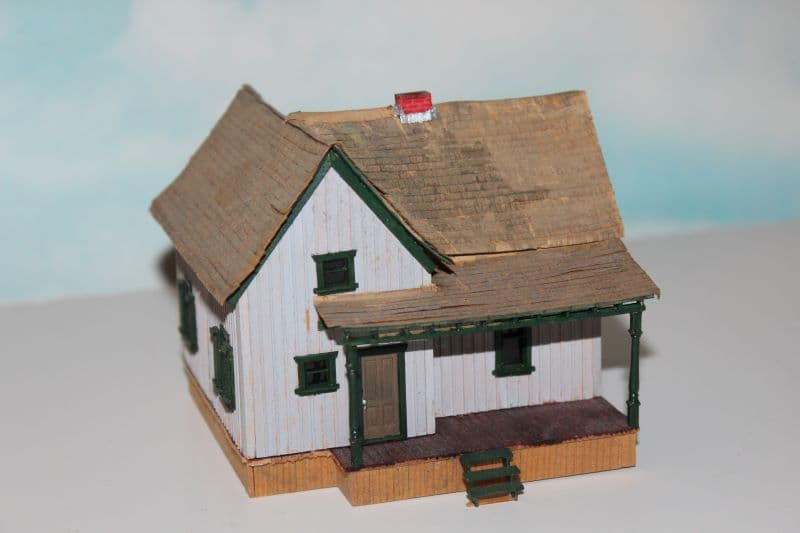
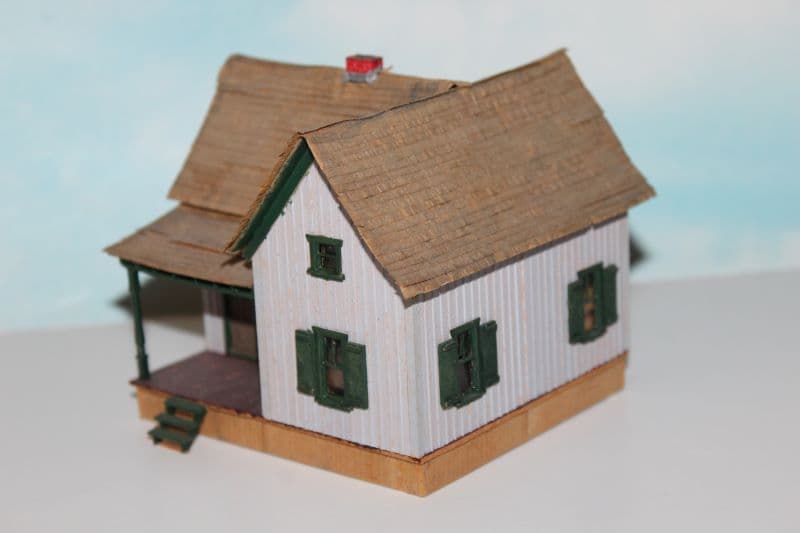
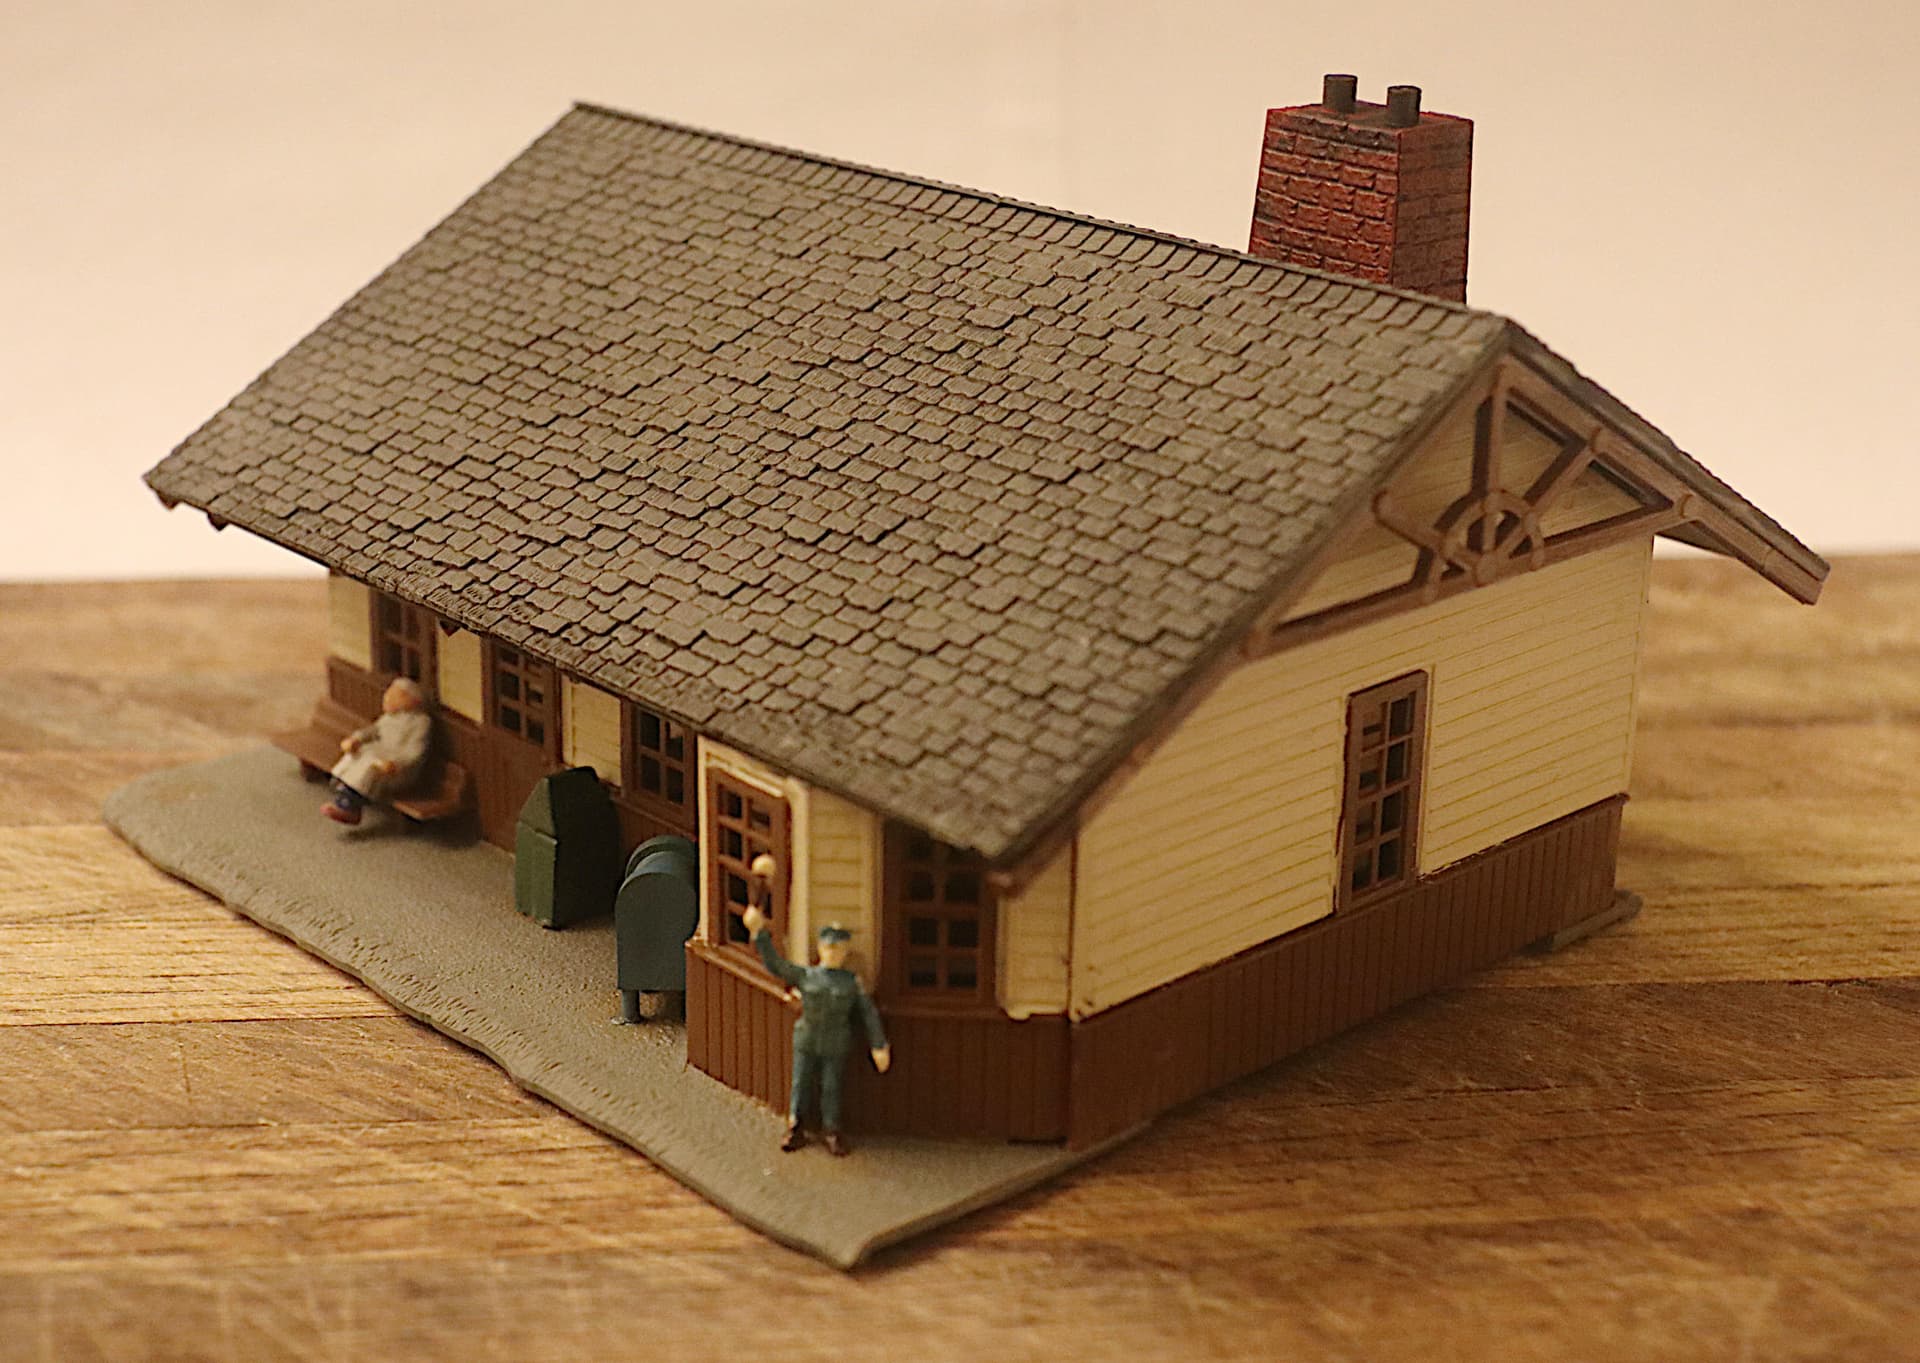
Fred ~ Just a suggestion; On your little green and white house model with the Campbell cut brown paper shingles - you might try adding some shaders there to really make that great roof detail pop!
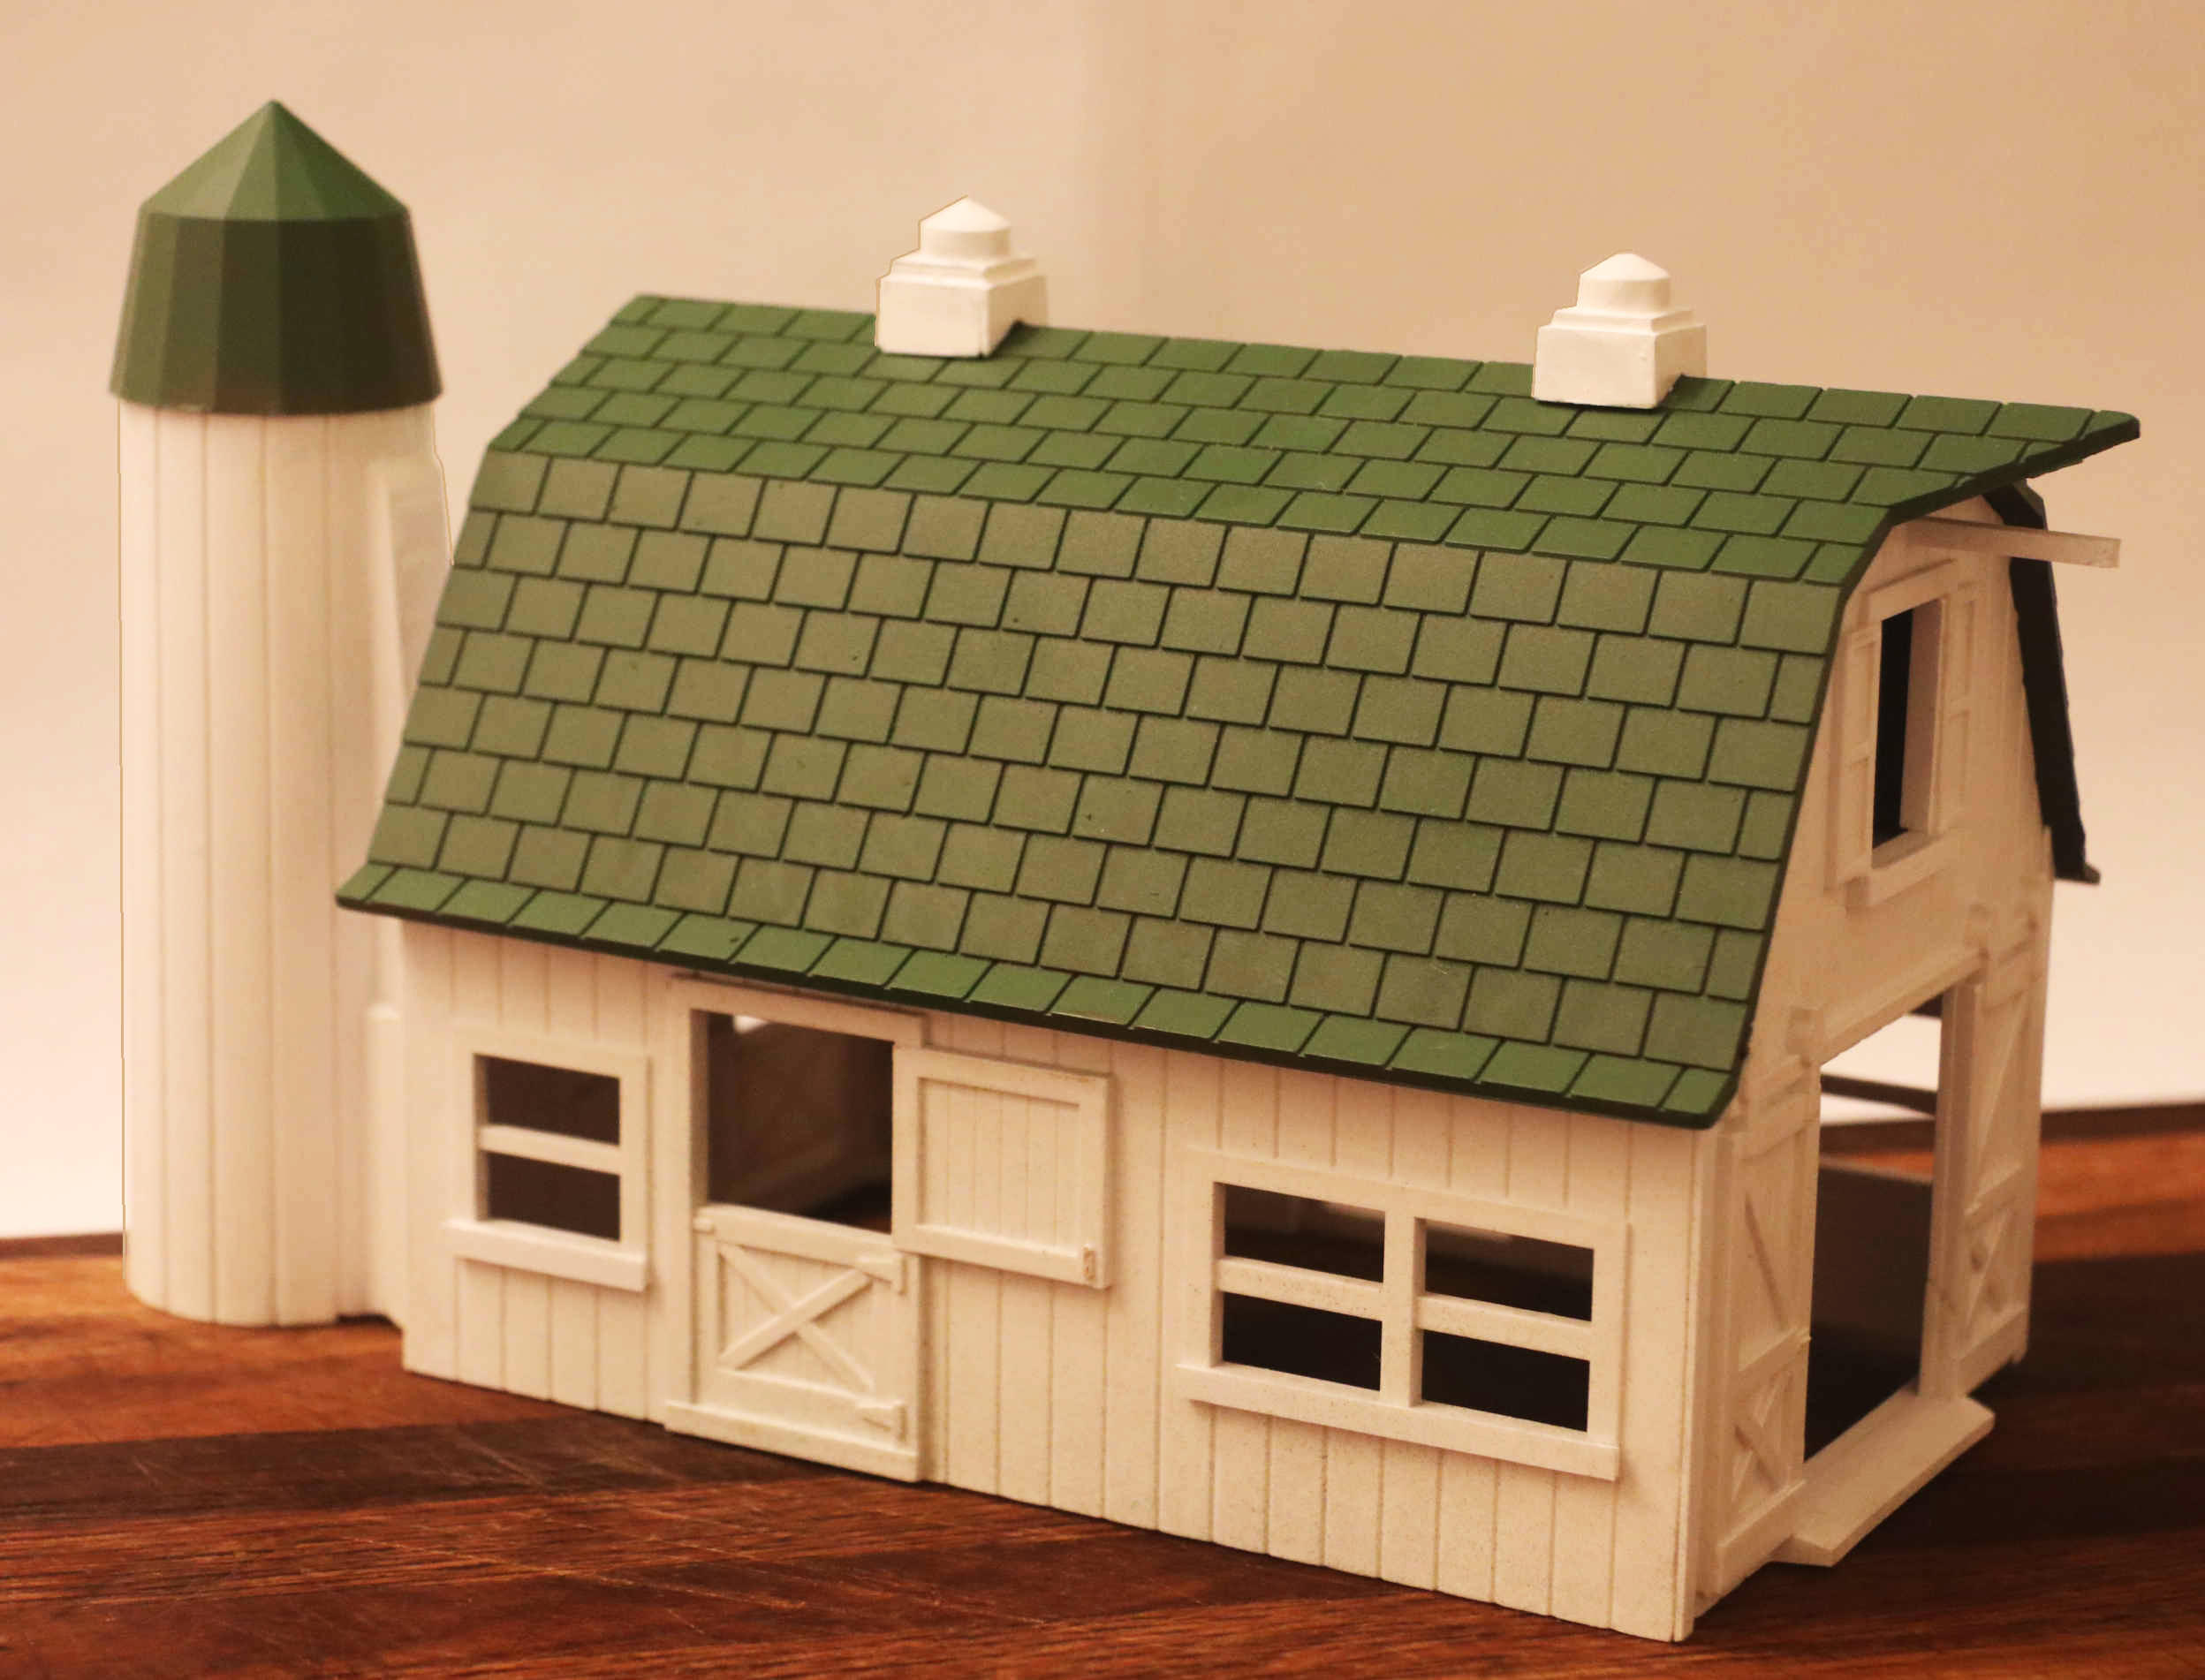
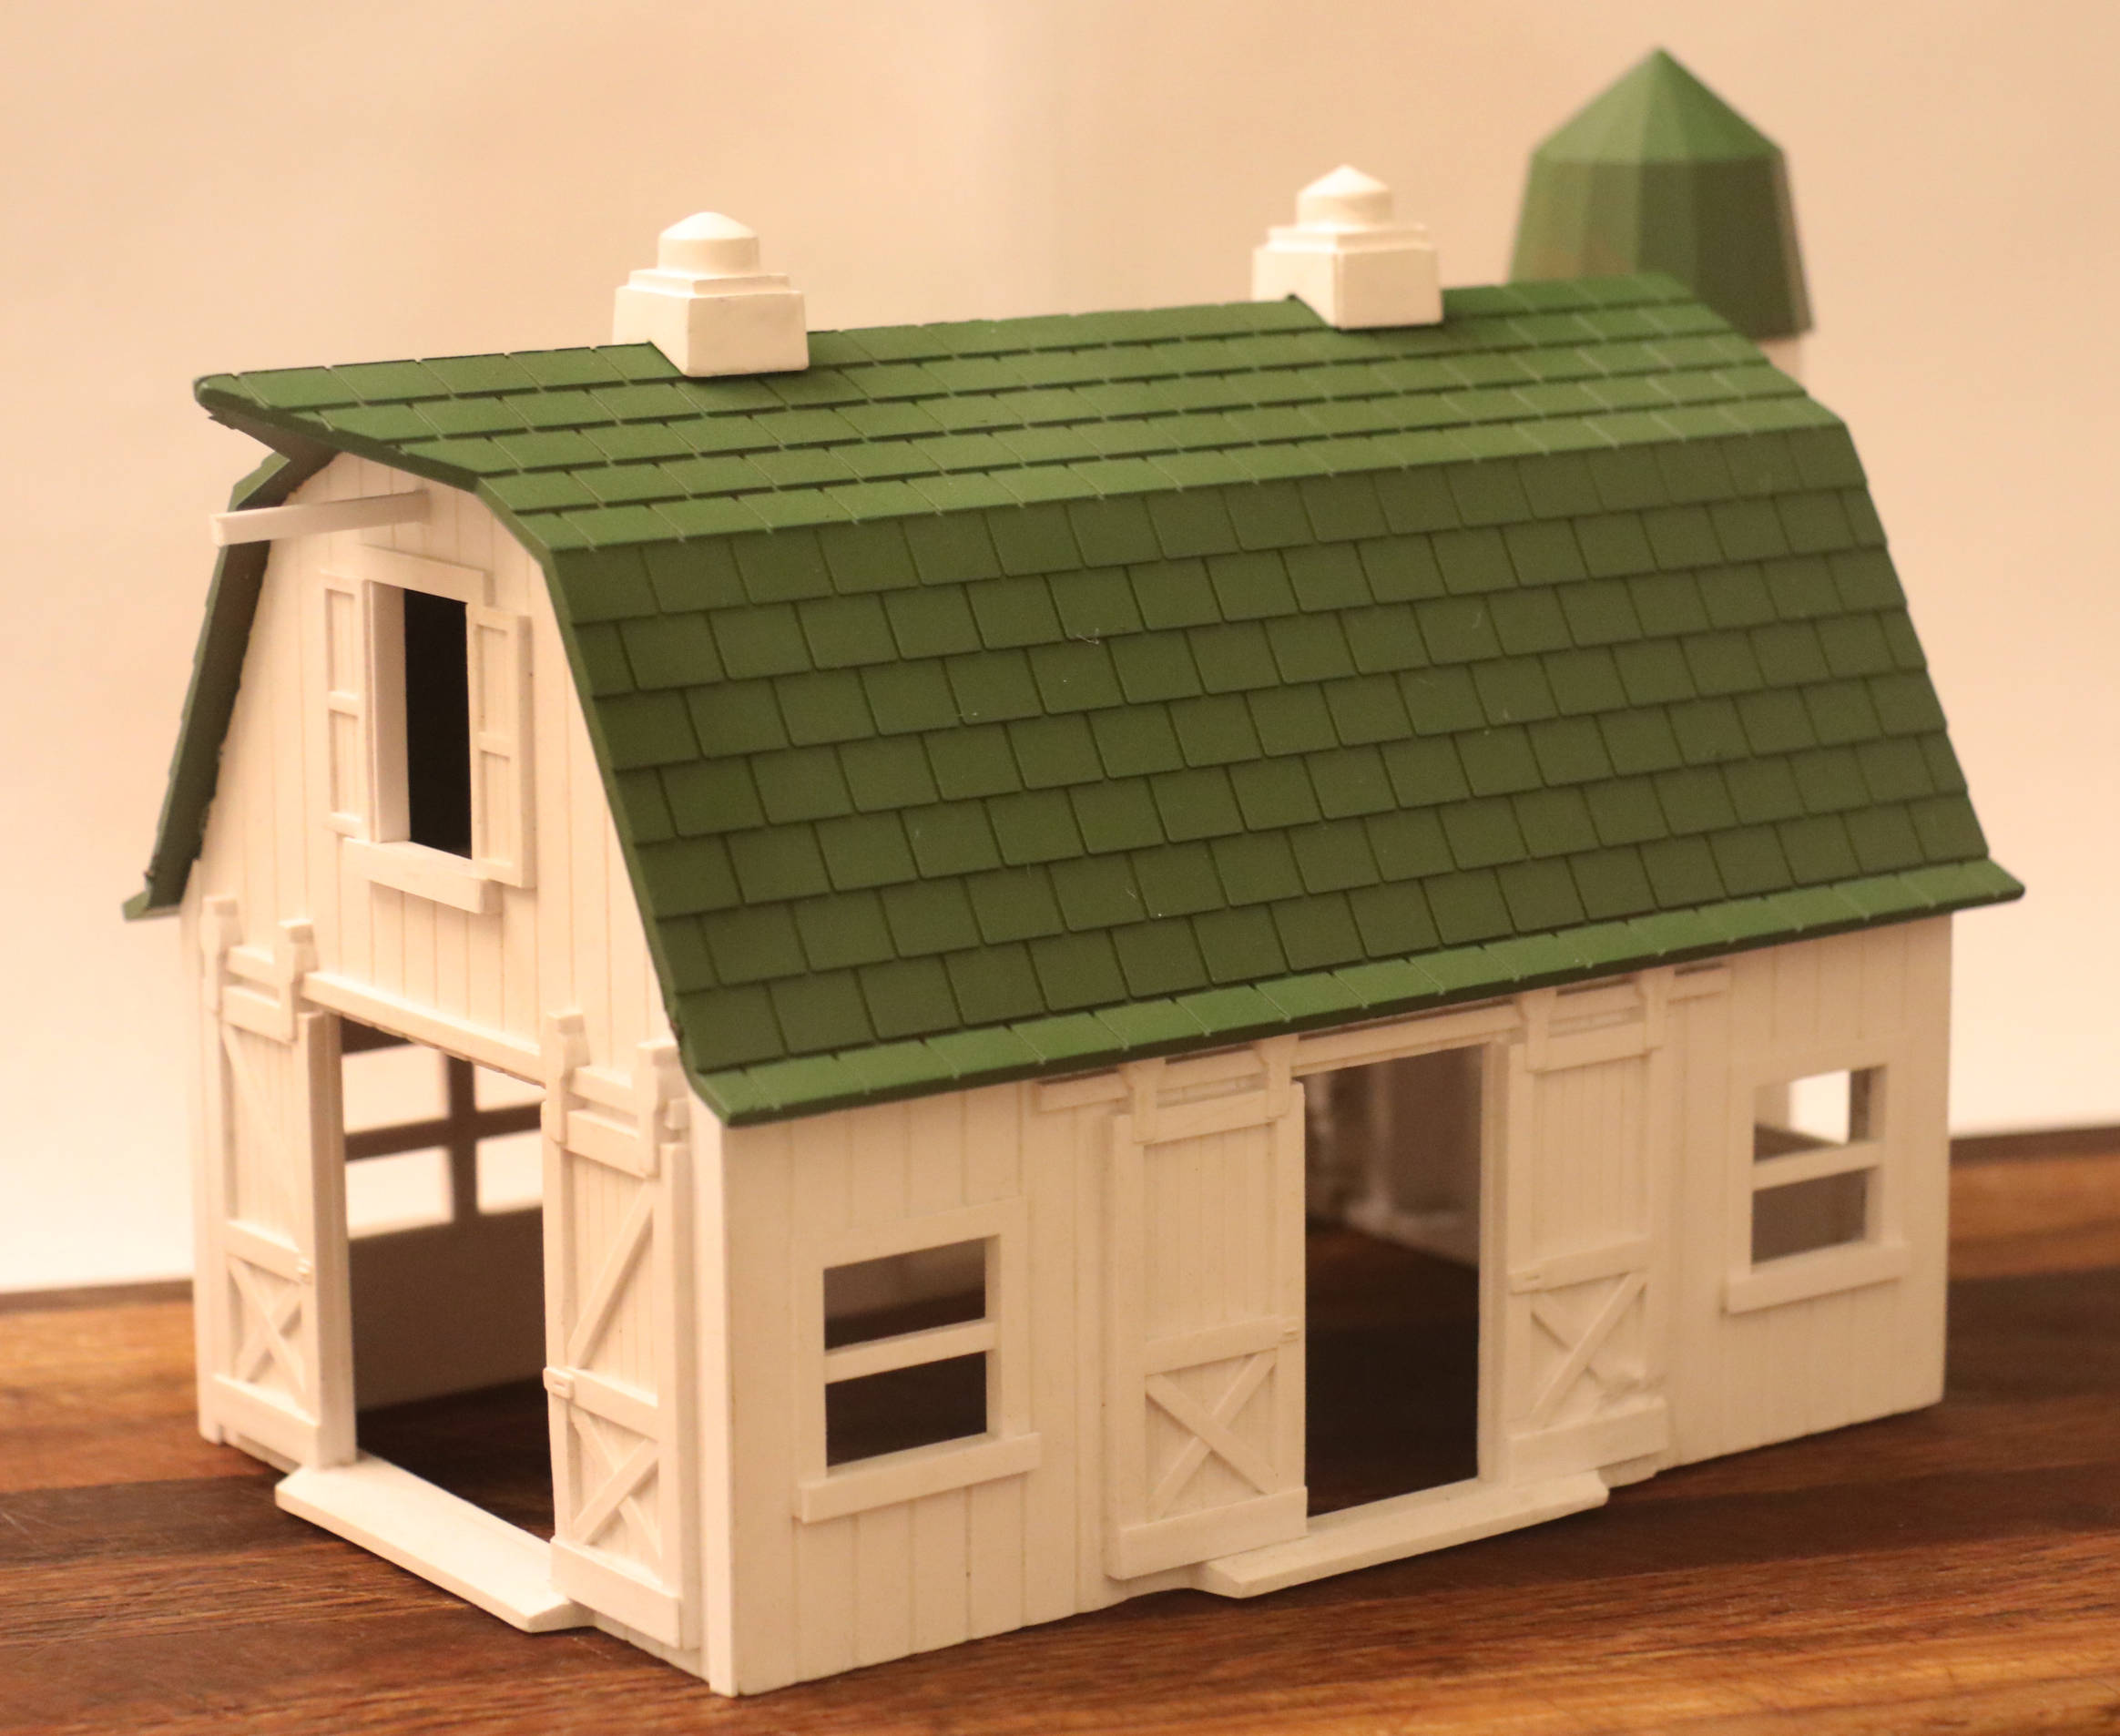
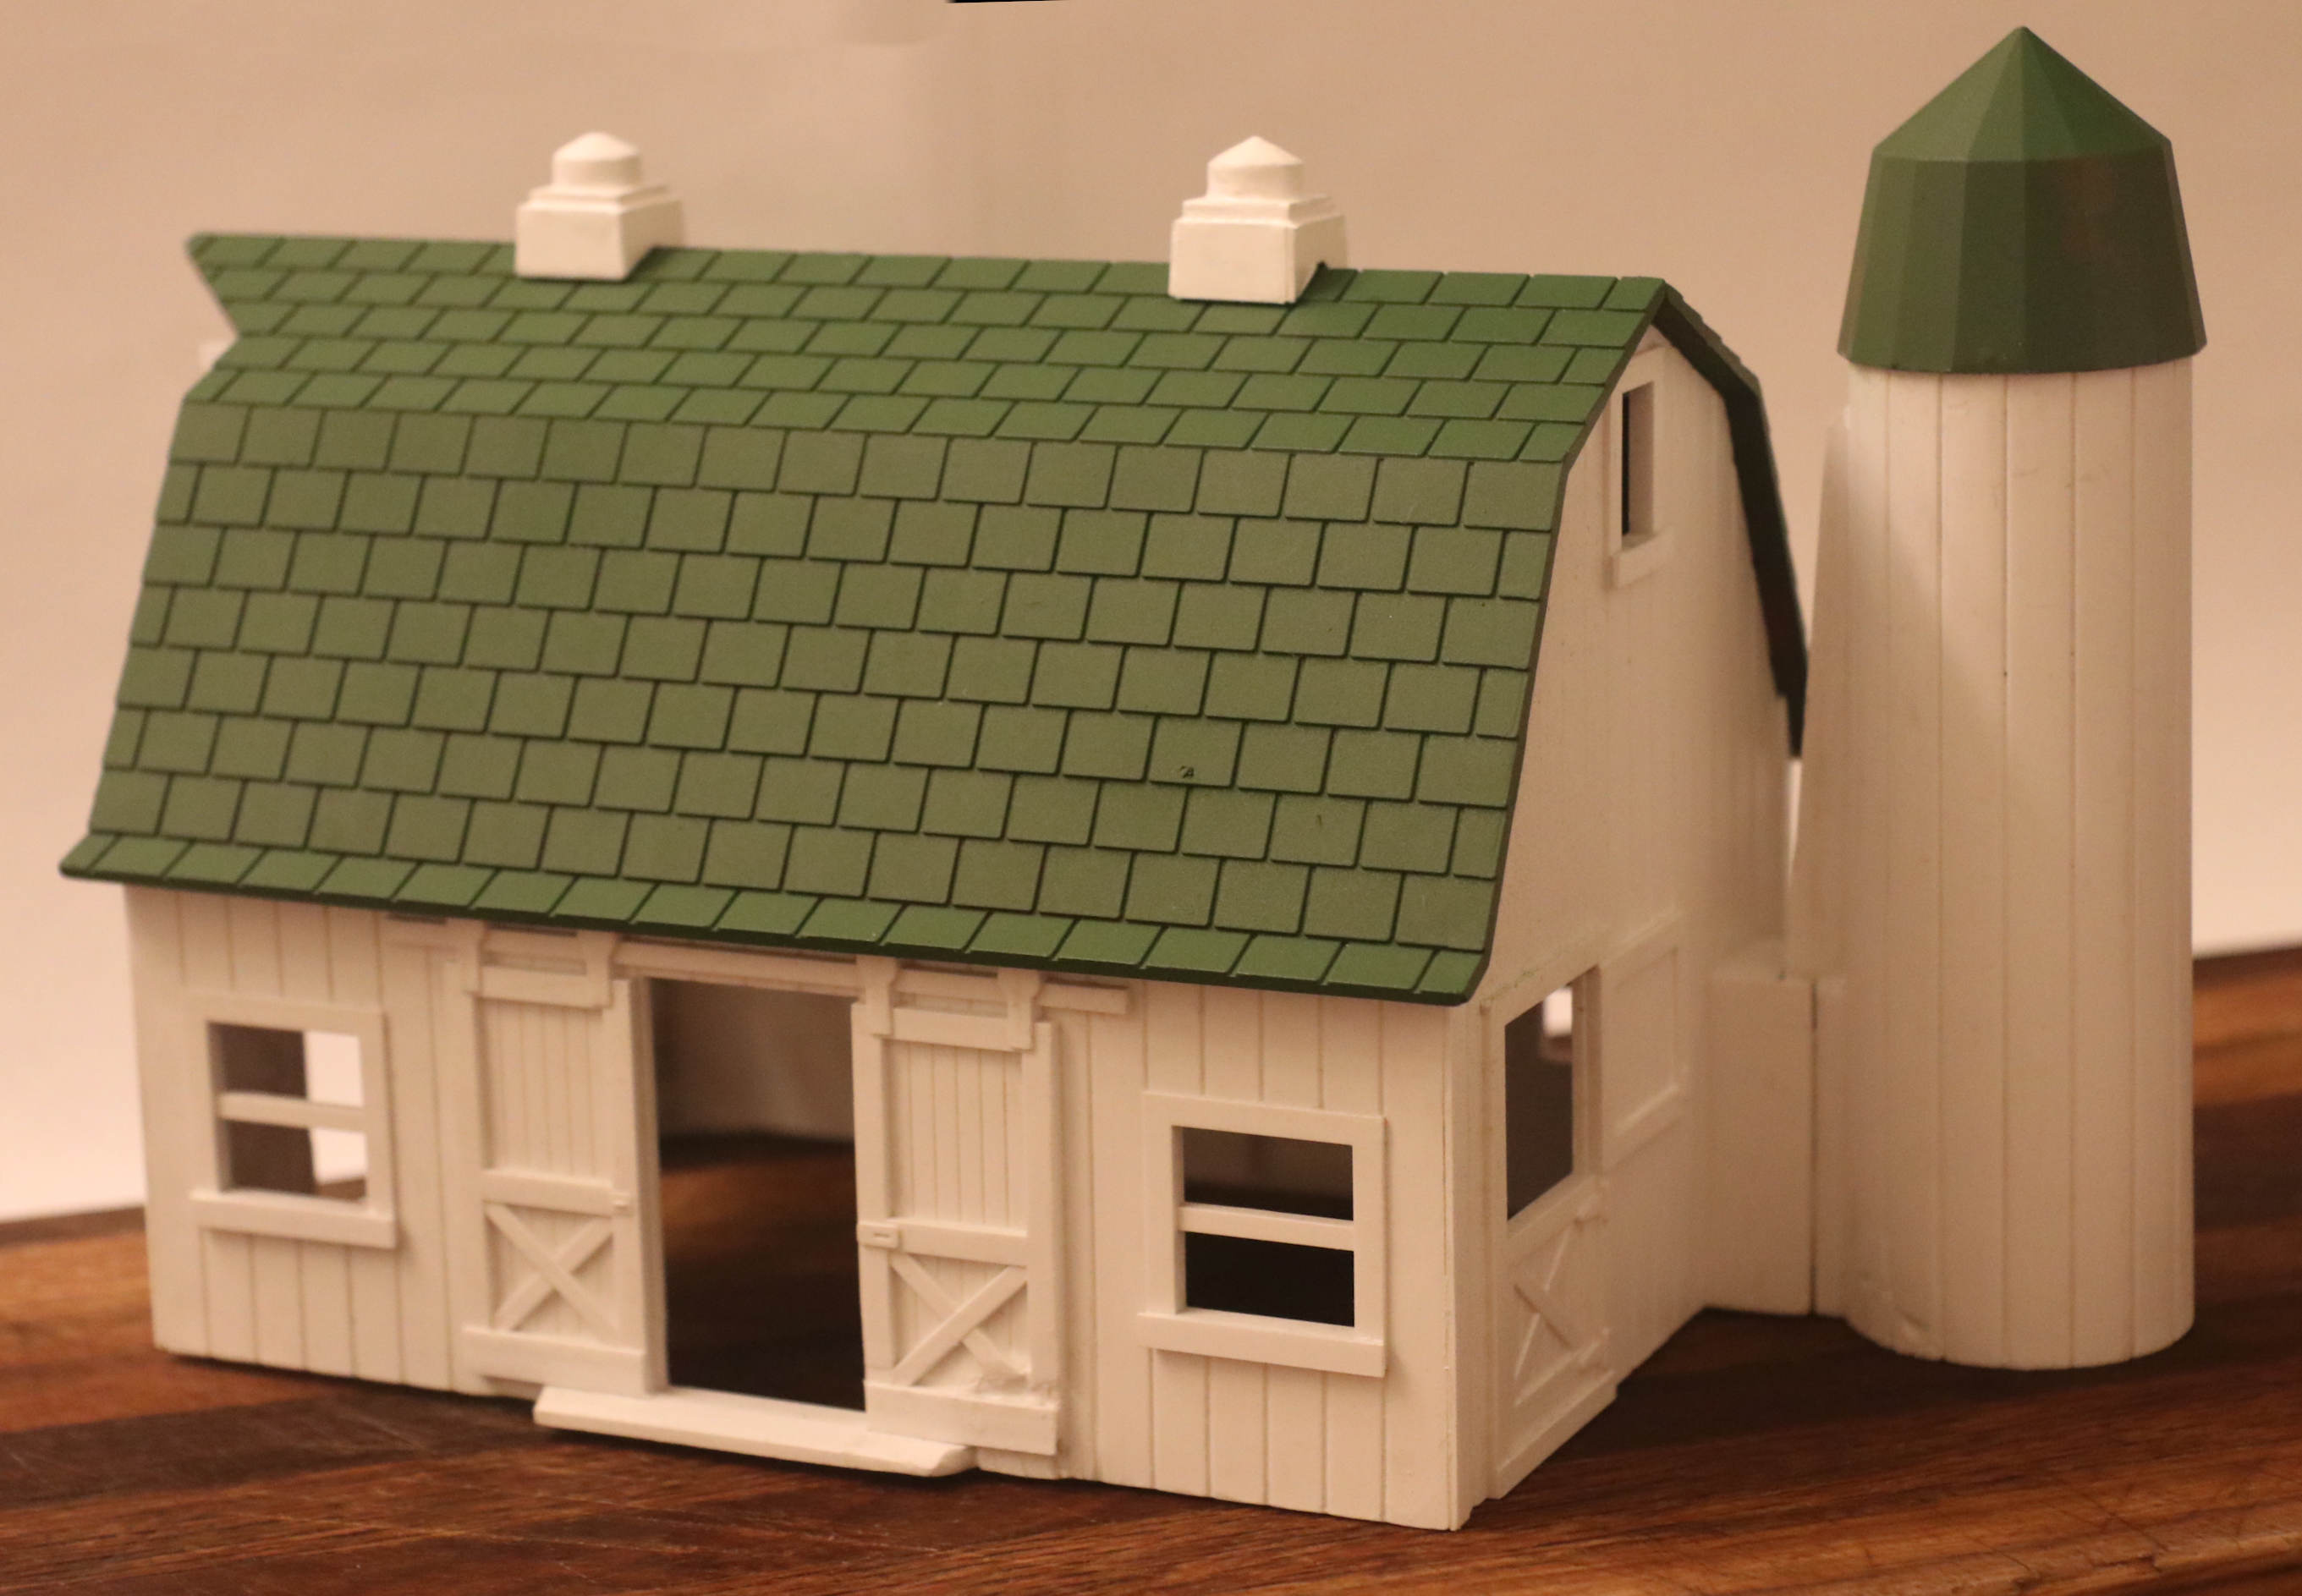
These models below were all built using the Campbell paper shingles. I did not build them - just added shaders to the roofs for a more weathered look.
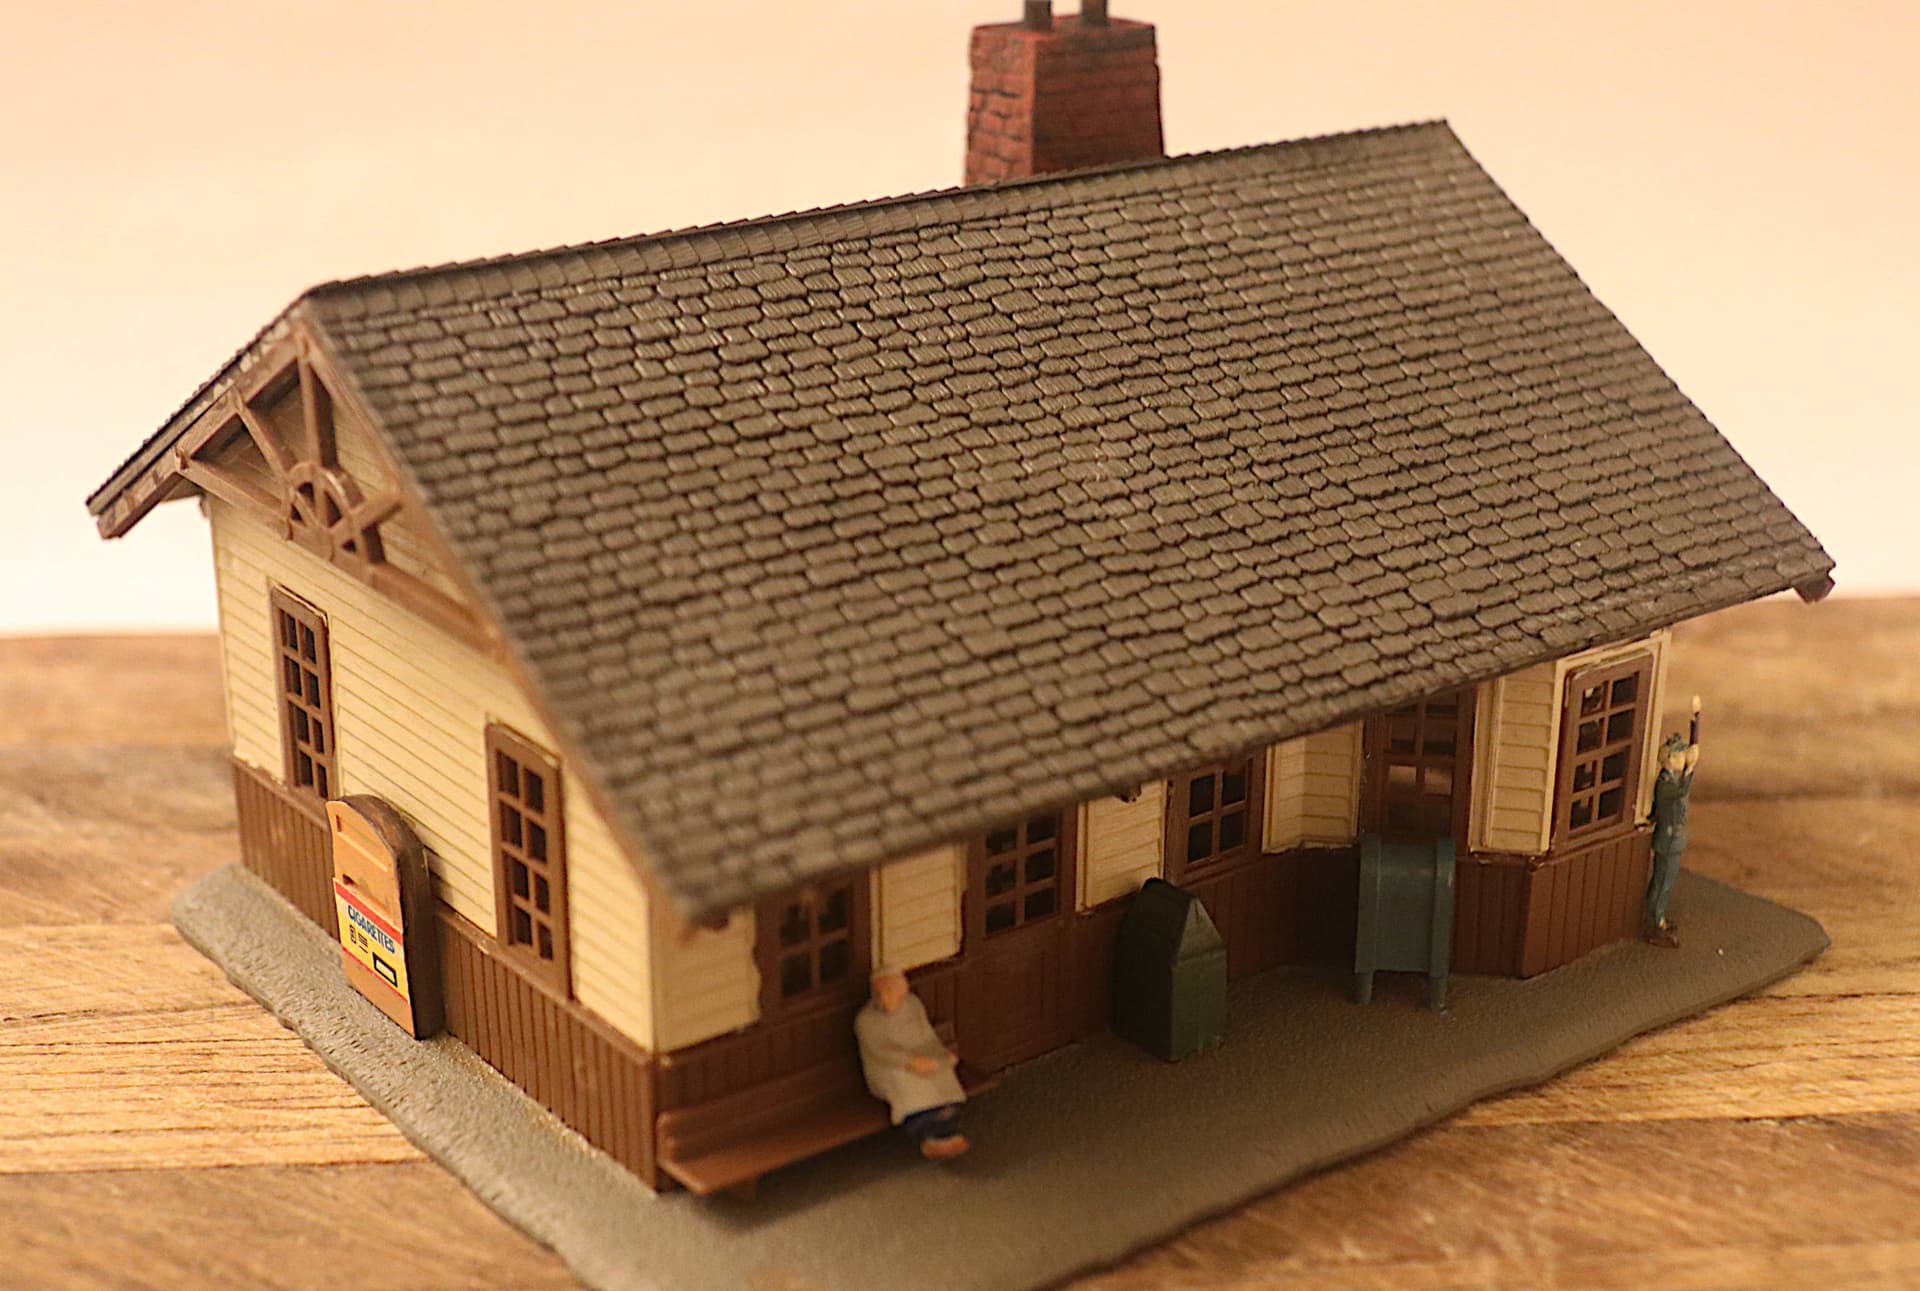
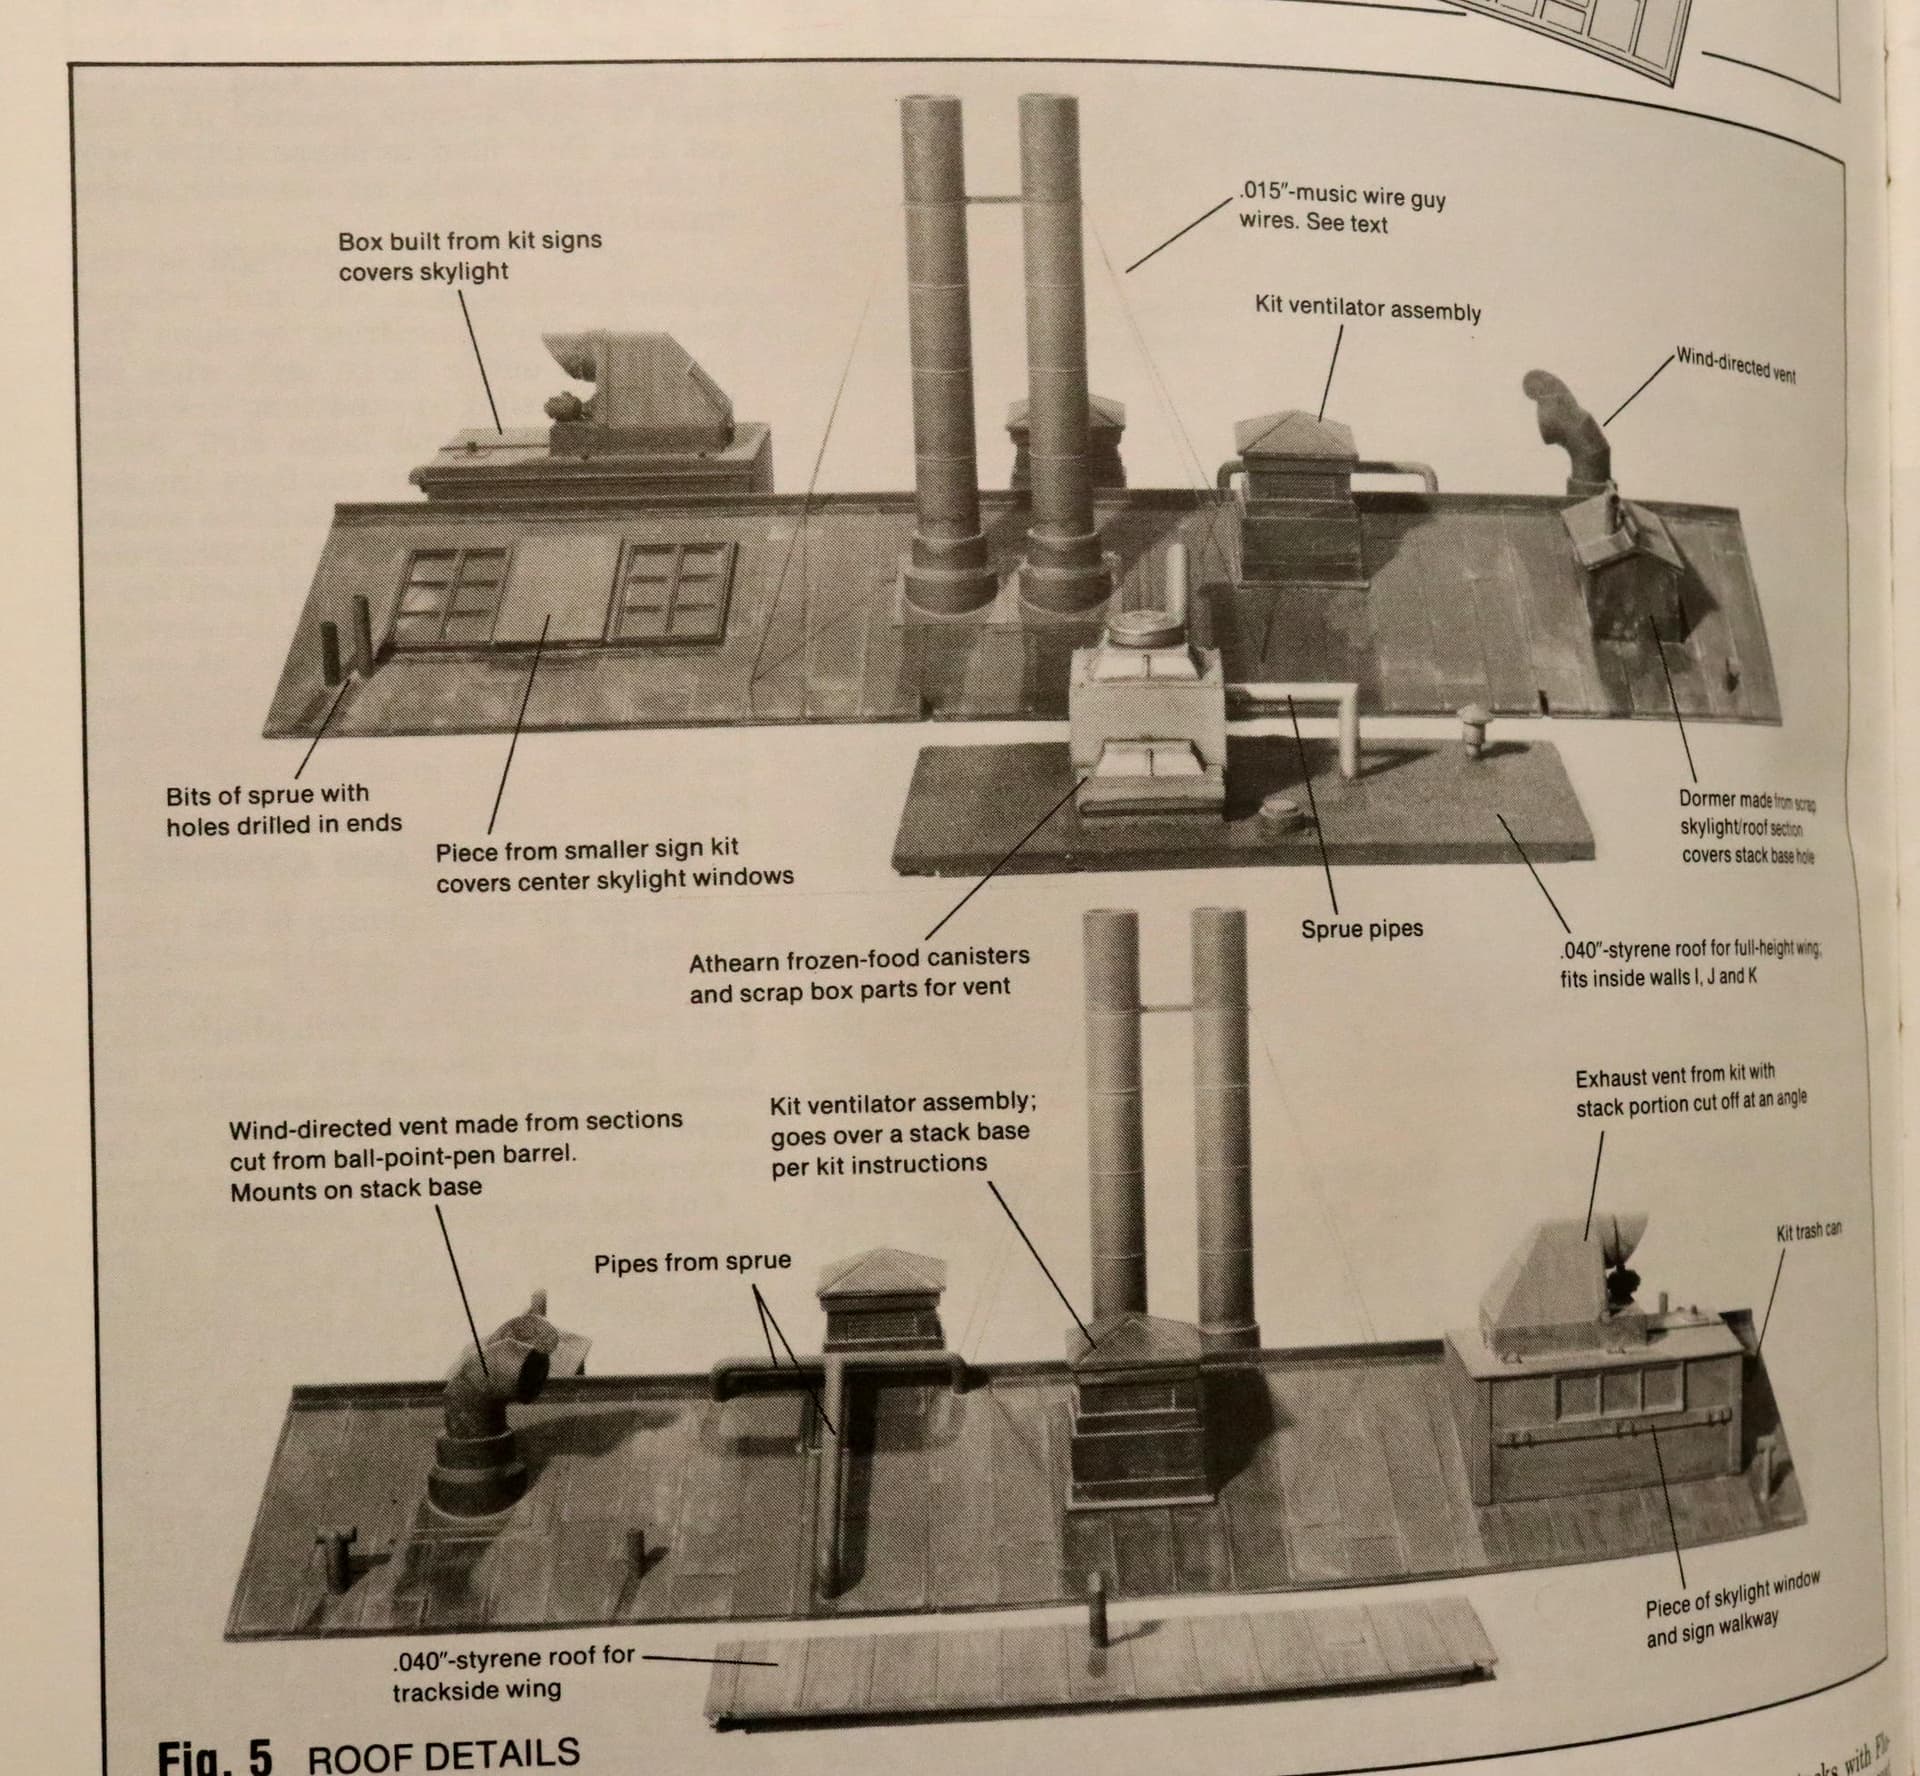
In the case of most model layouts the viewer can more easily see the roofs (rooves??) of our structures than they can the sides and fronts. It therefore pays to put extra effort into adding as much roof detail, texture and color variation there as may be possible.
Chimneys, ventilators, weathervanes, soil vent pipes, A/C Condensers, rooftop hatches, billboards, rooftop access doors and antennas are ALL our friends in this!
Mike, good accounting of details atop houses. It’s amazing how many chimneys older houses had. A common design in this area for houses built back in the 1800s had a large fireplace on each end of the house. But there are other houses we’ve toured that have one or two large fireplaces, and then smaller ones War iron stoves in different rooms.
Mike, those are good ideas. I did that to some of my Rusty Rail castings. Also at an amusement park in the area (Dollywood), I’ve taken several photographs of shingles that are covered in thick moss. Not to mention other detritus from the trees, and the streaking they create down the sides of the buildings.
Fred if possible perhaps you might share of few of the close-up photos of the rooftop moss. So far all I have been able to do (rather unsuccessfully) is to add some green pigments to my model shingle roofs to try and simulate moss growing there.
Just a quick wash in your choice of black, brown, green or red shaders to the roofs can really spark up the appearance of an otherwise "stock’ plastic structure. Then maybe add some highlights of moss, dirt and general rot using pigments.
p.s. And always dirty up those brick chimneys with a black wash to bring out the brick detail!
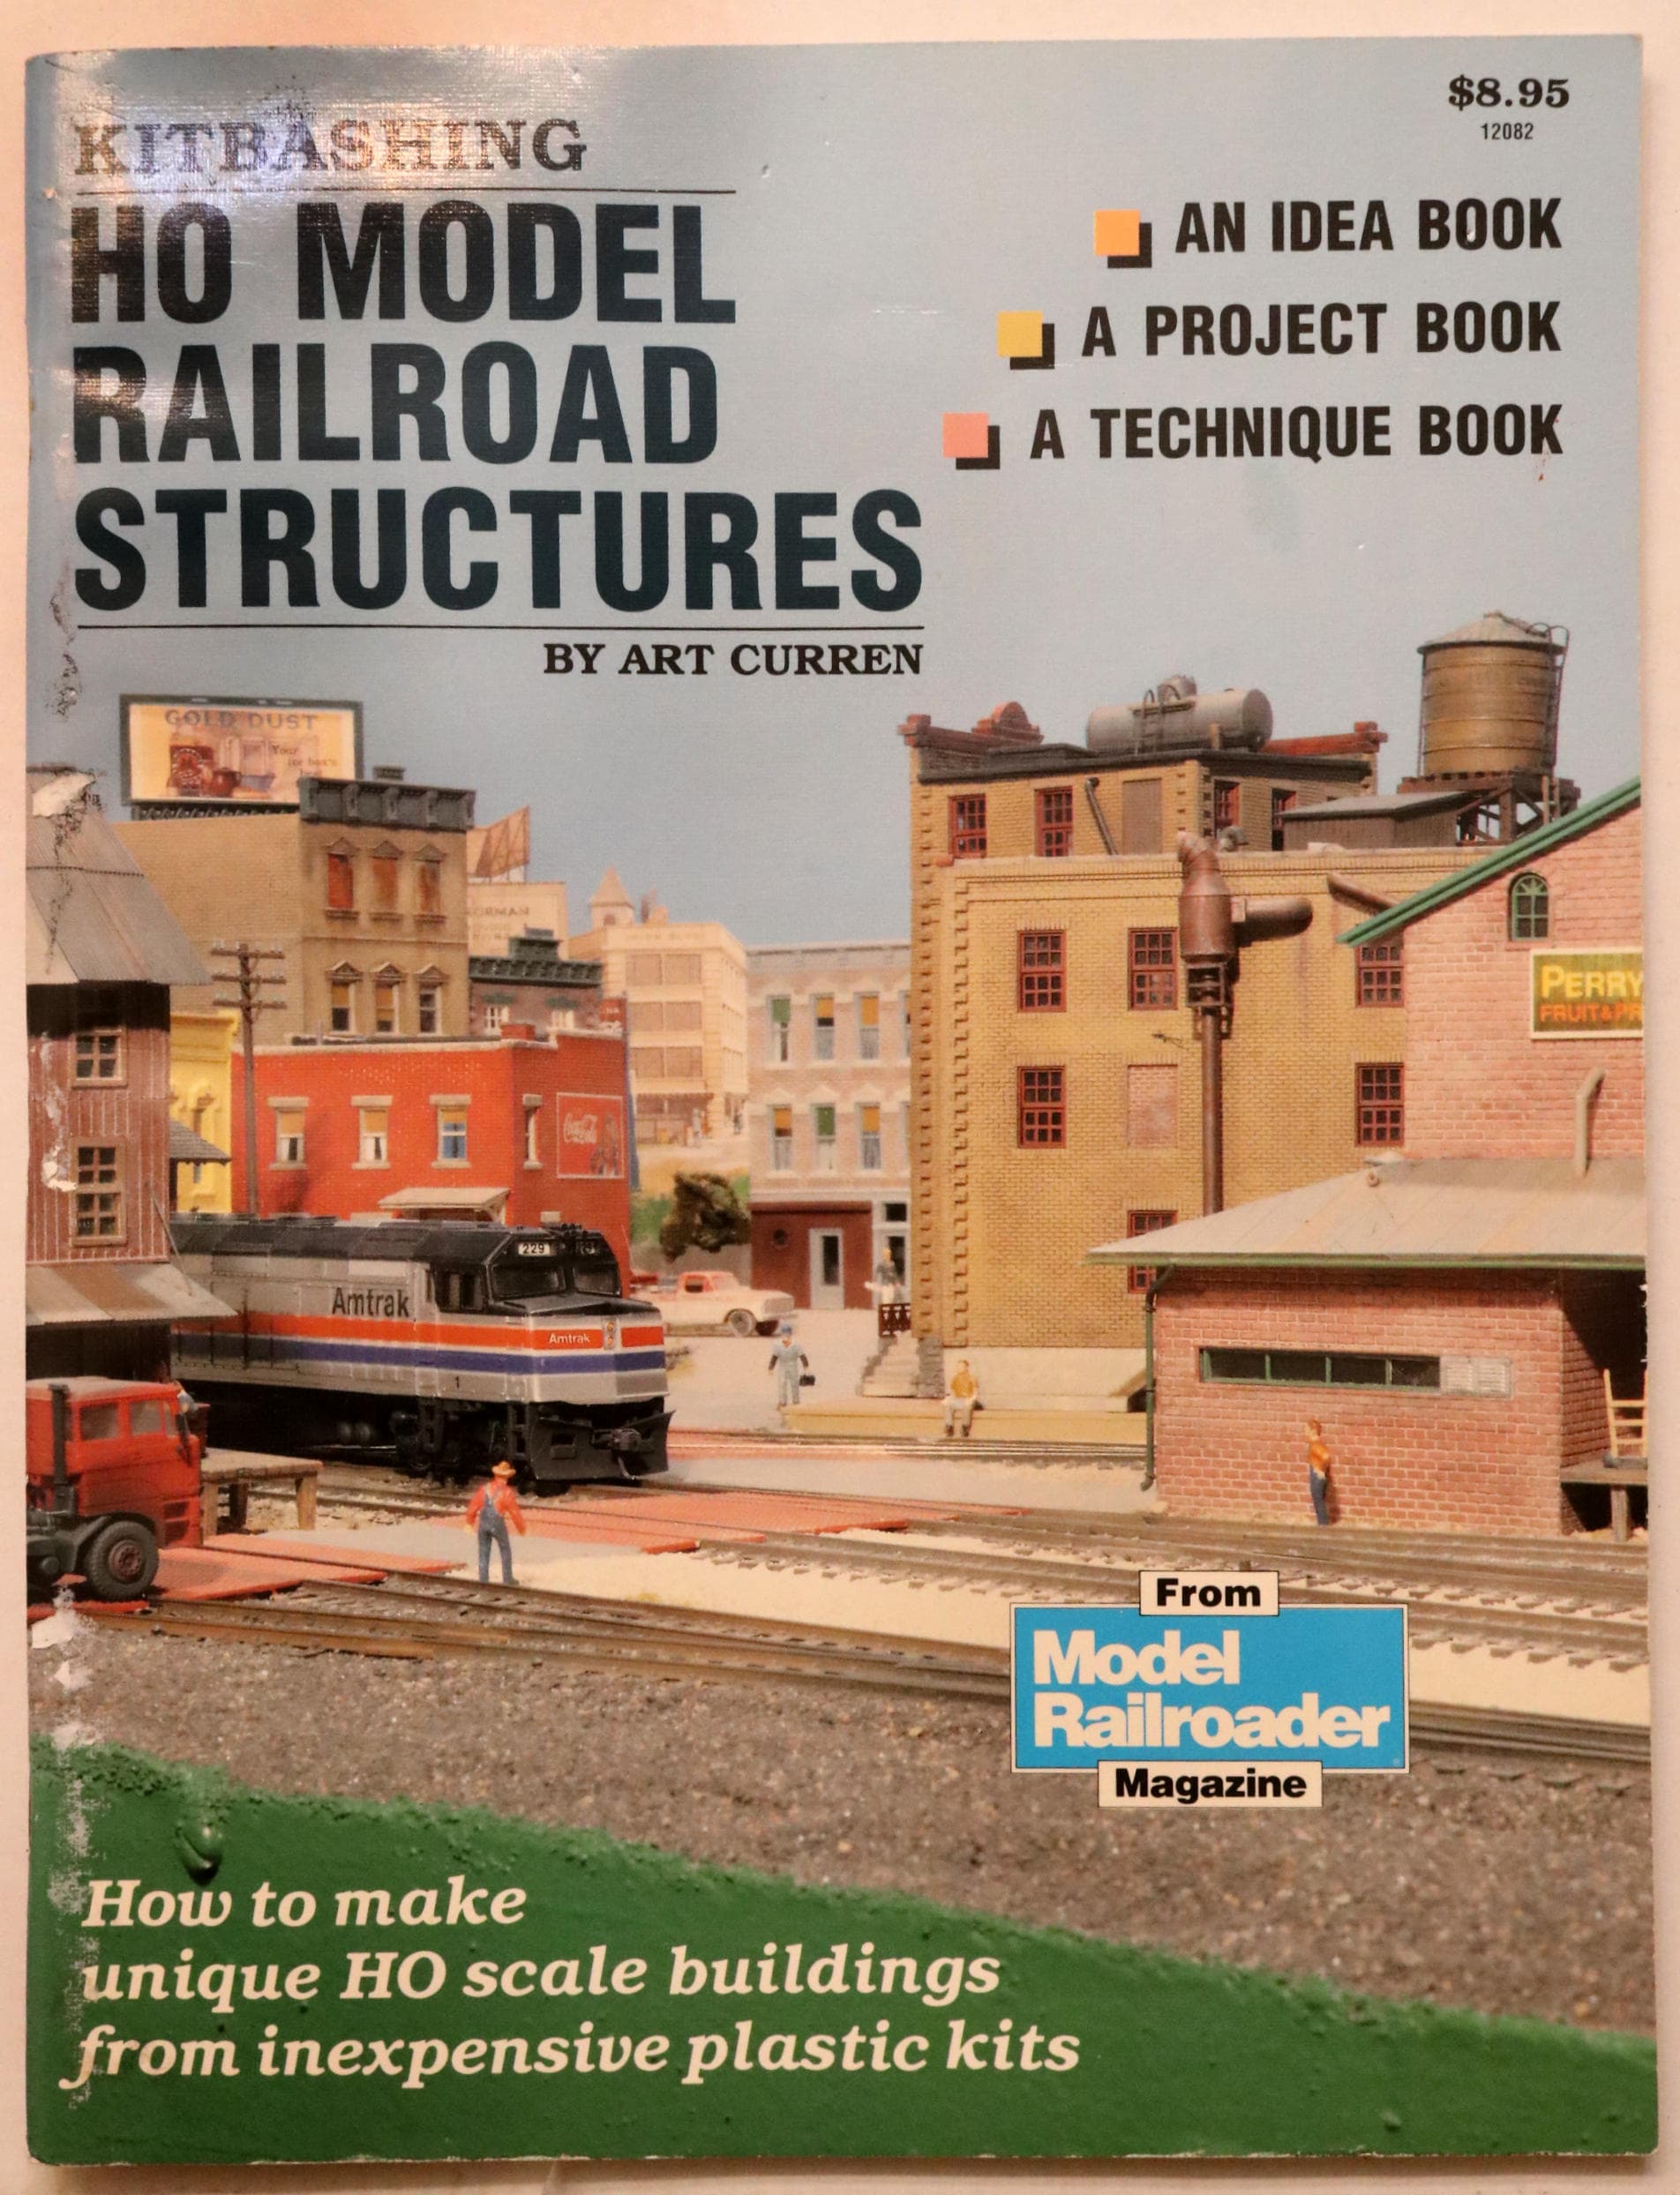
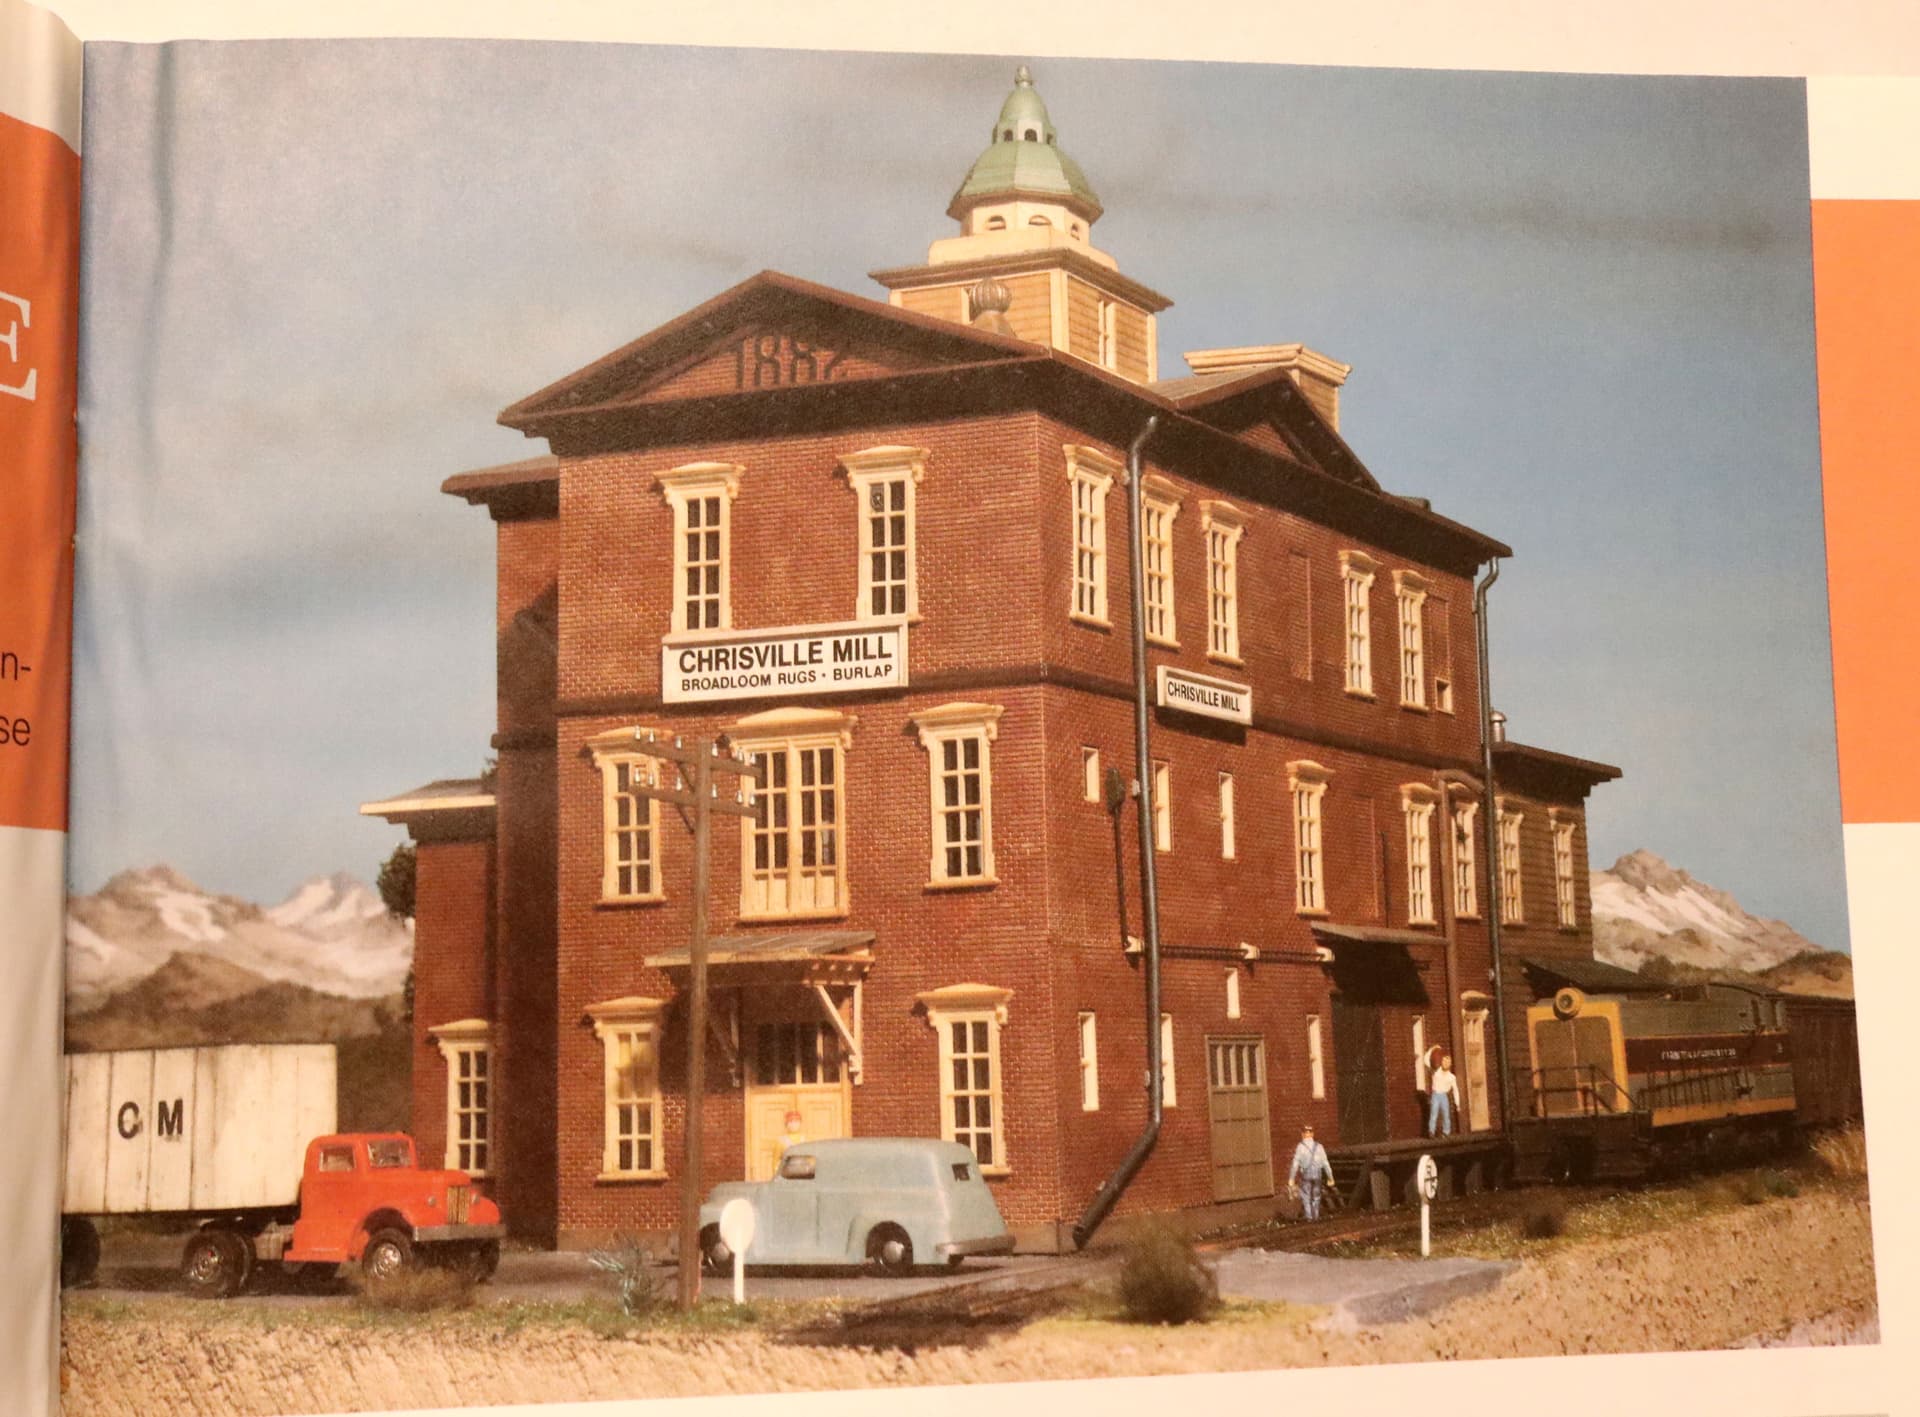
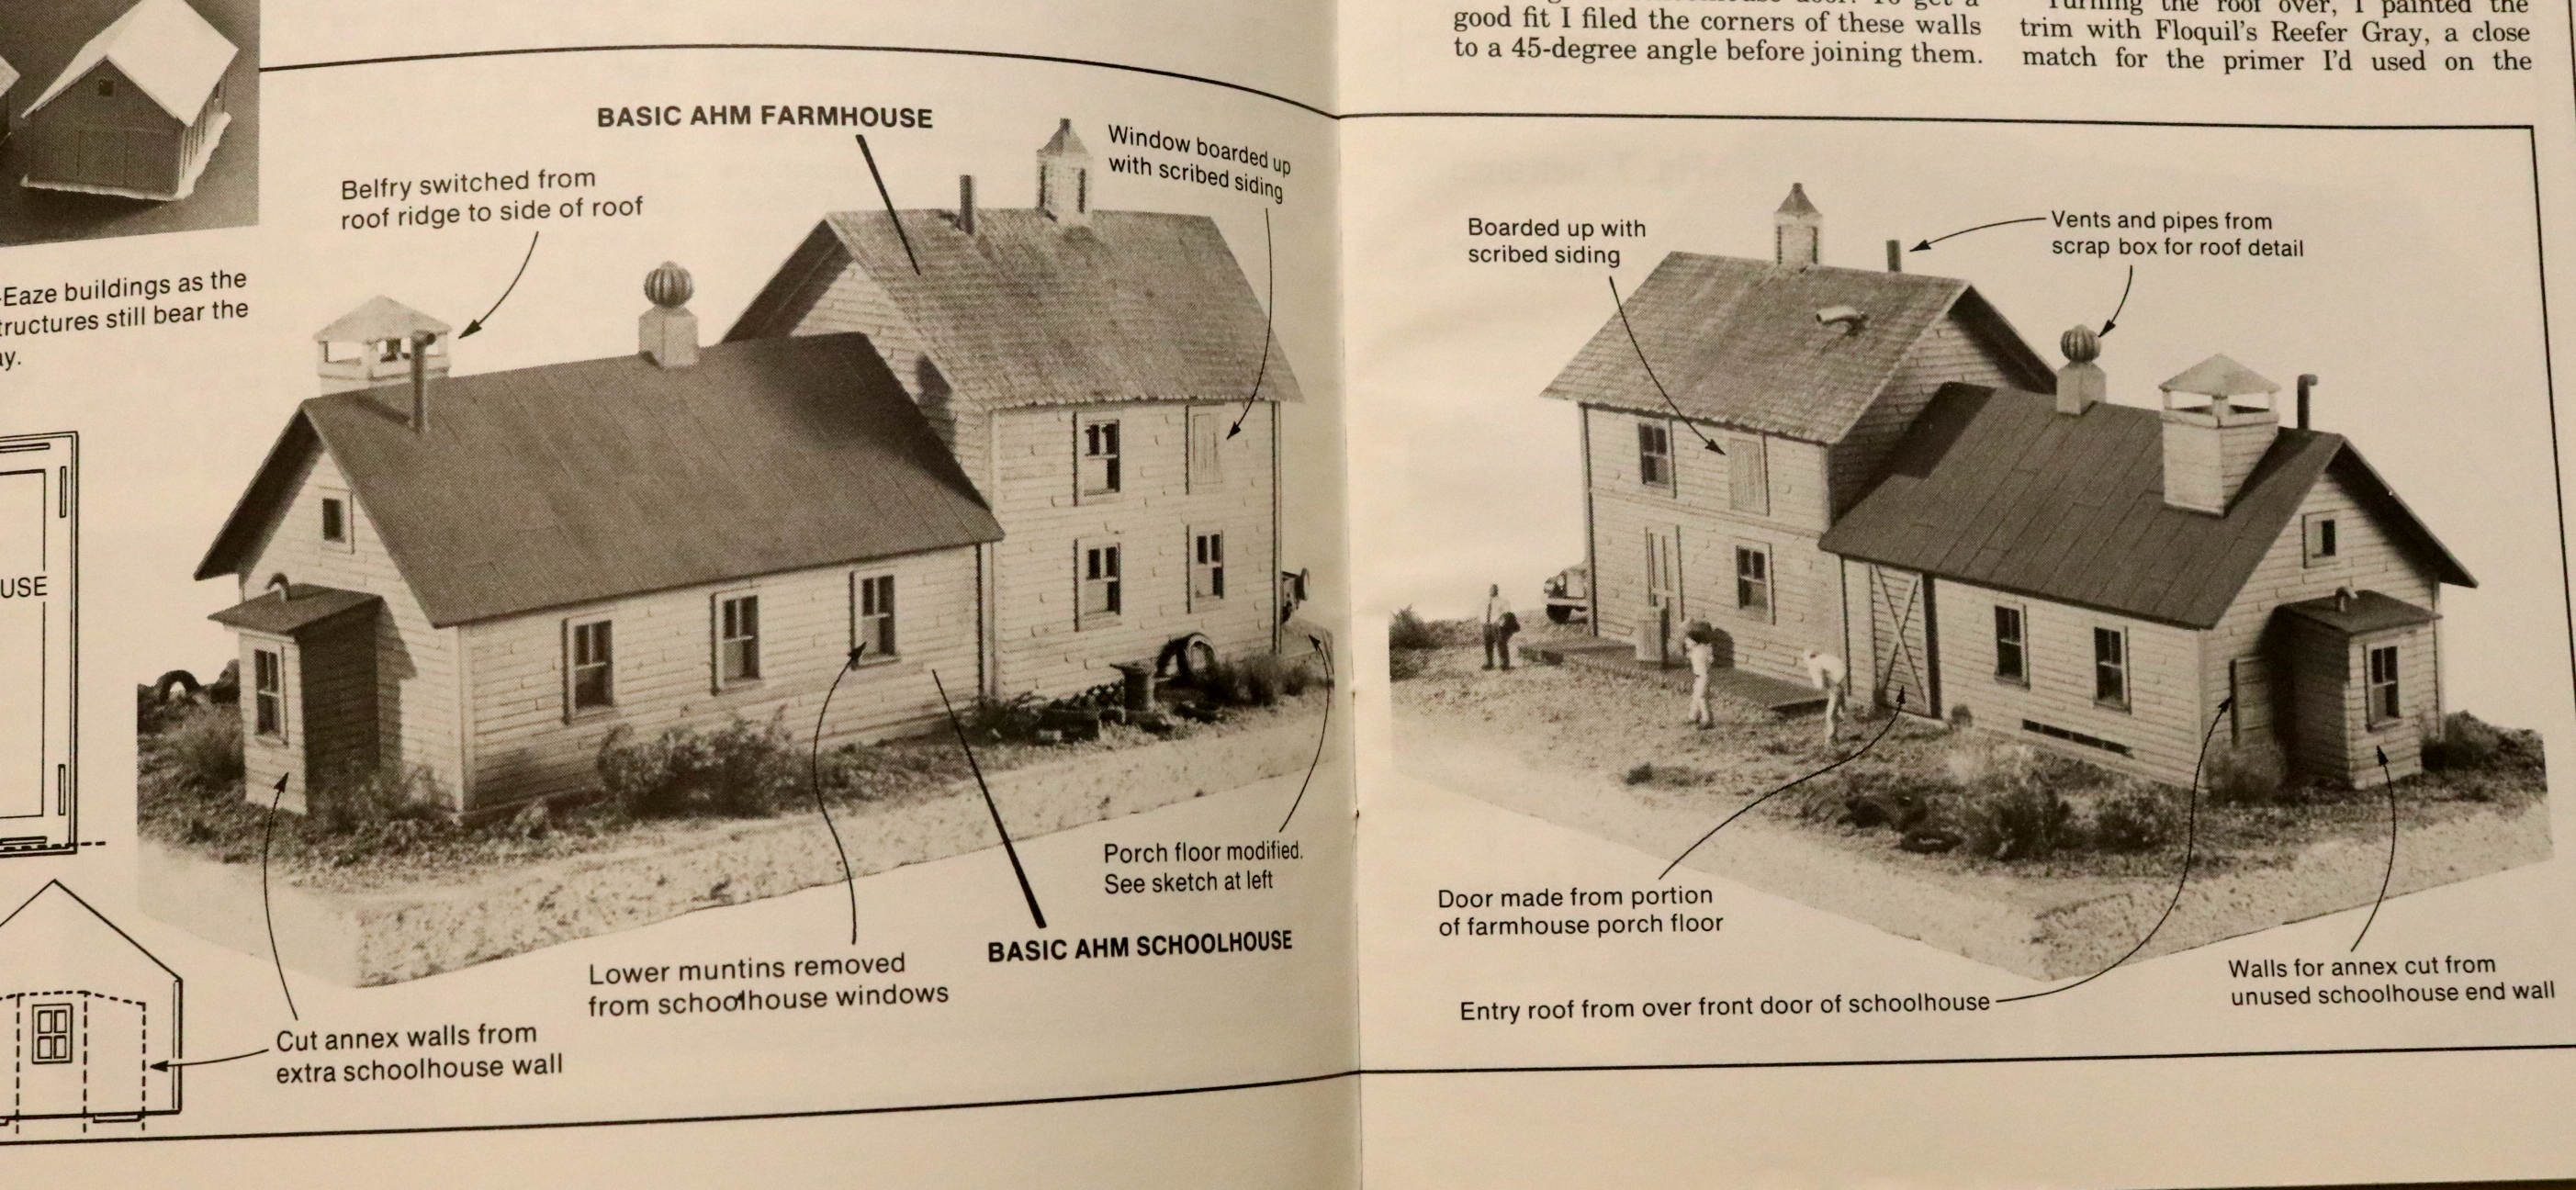
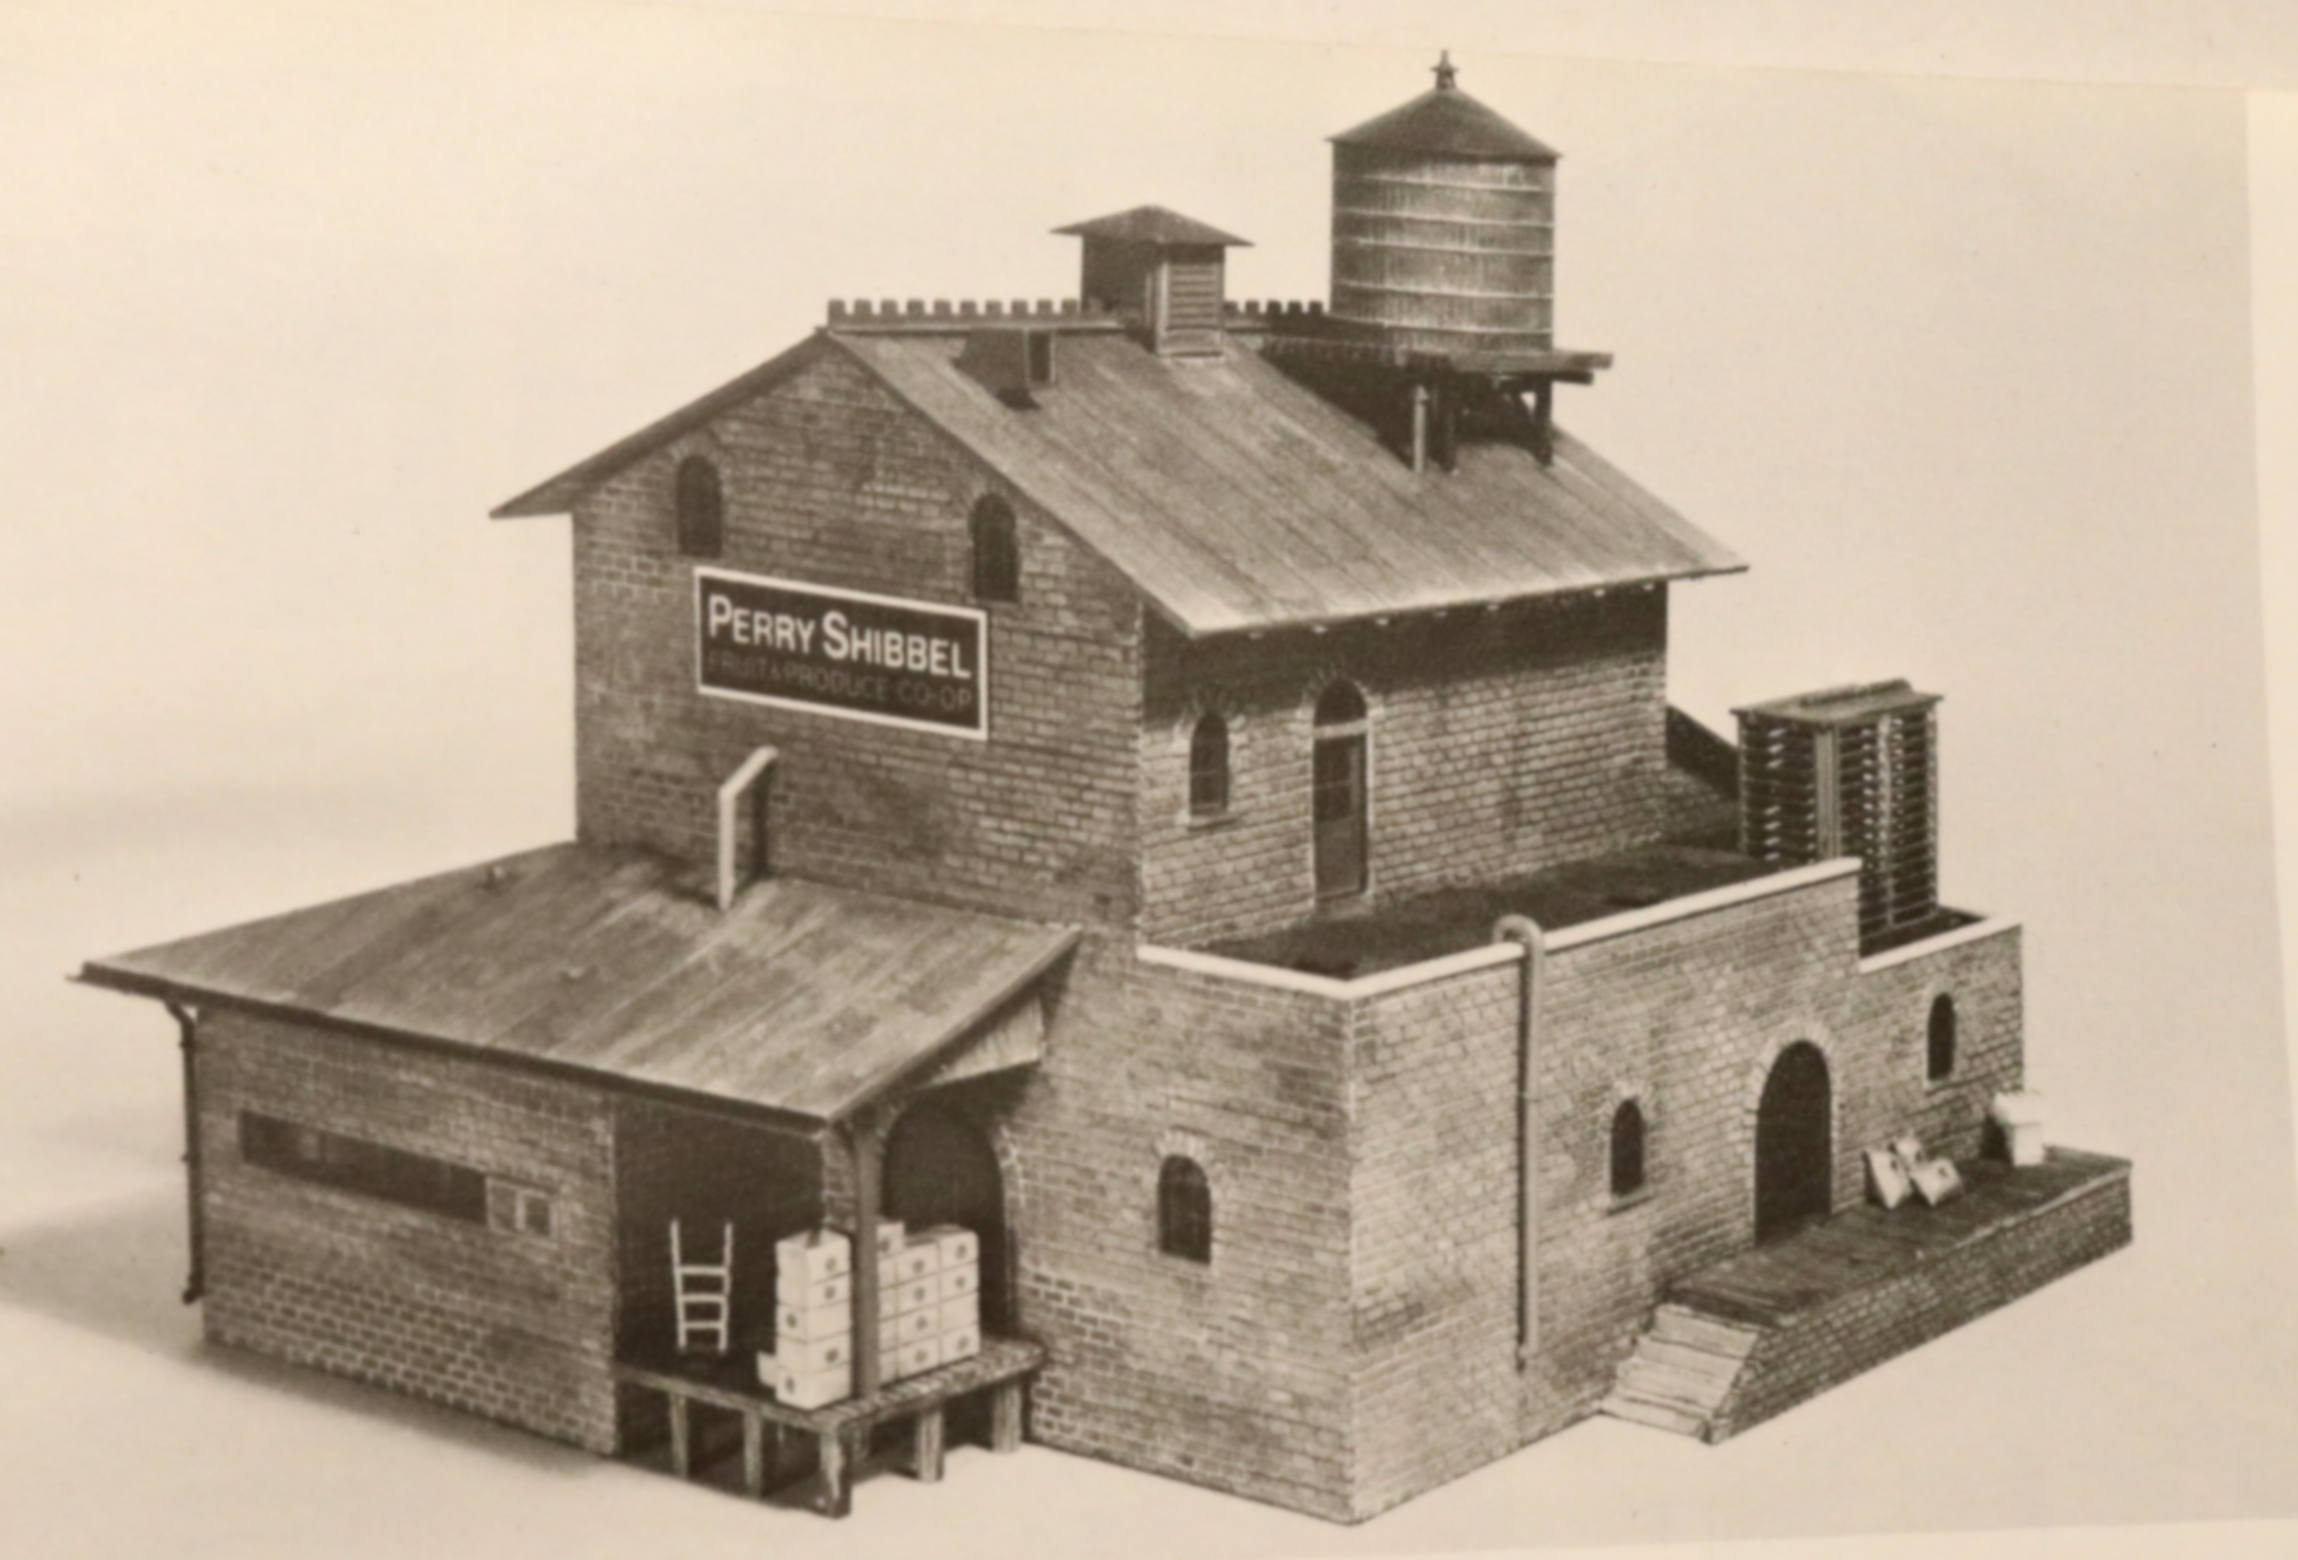
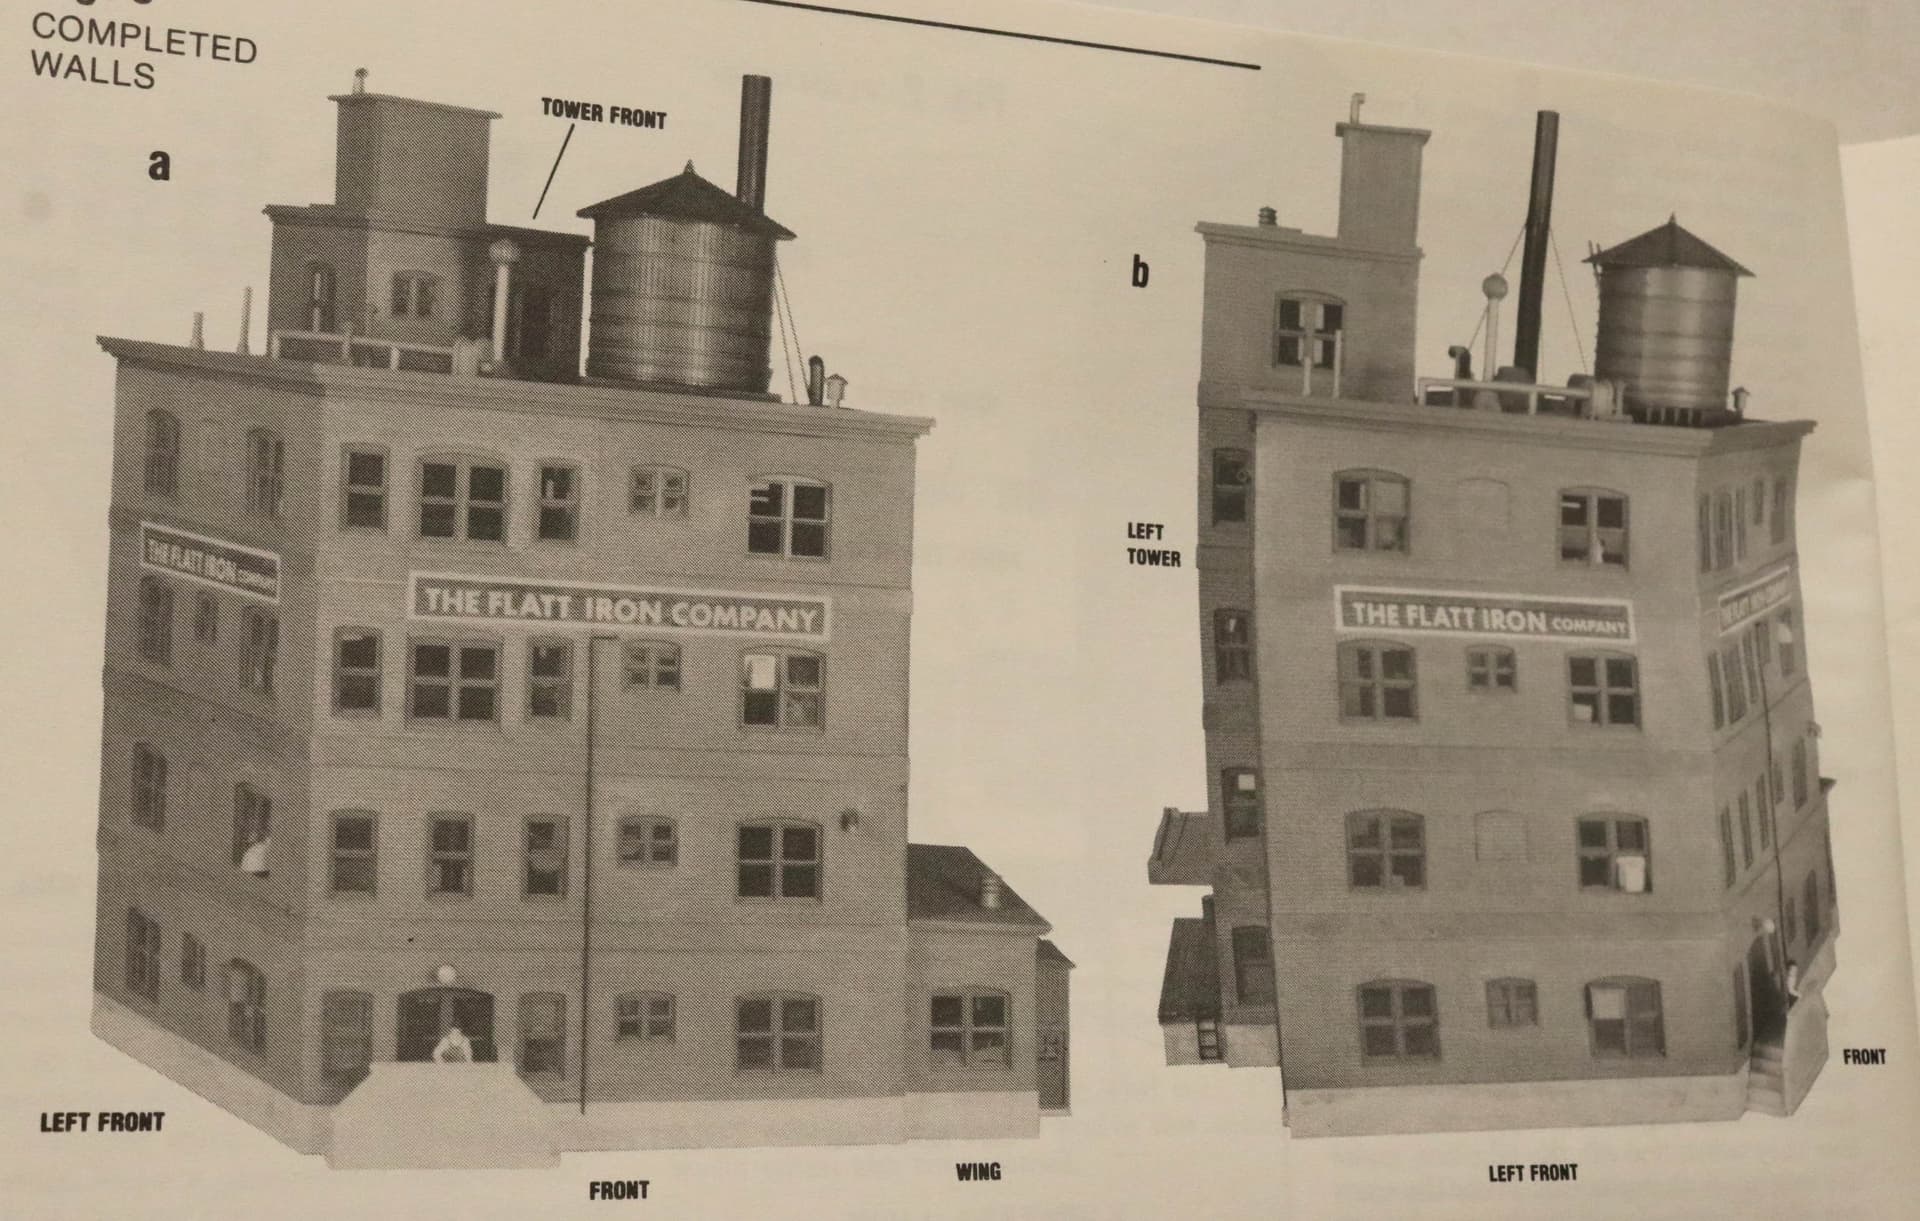
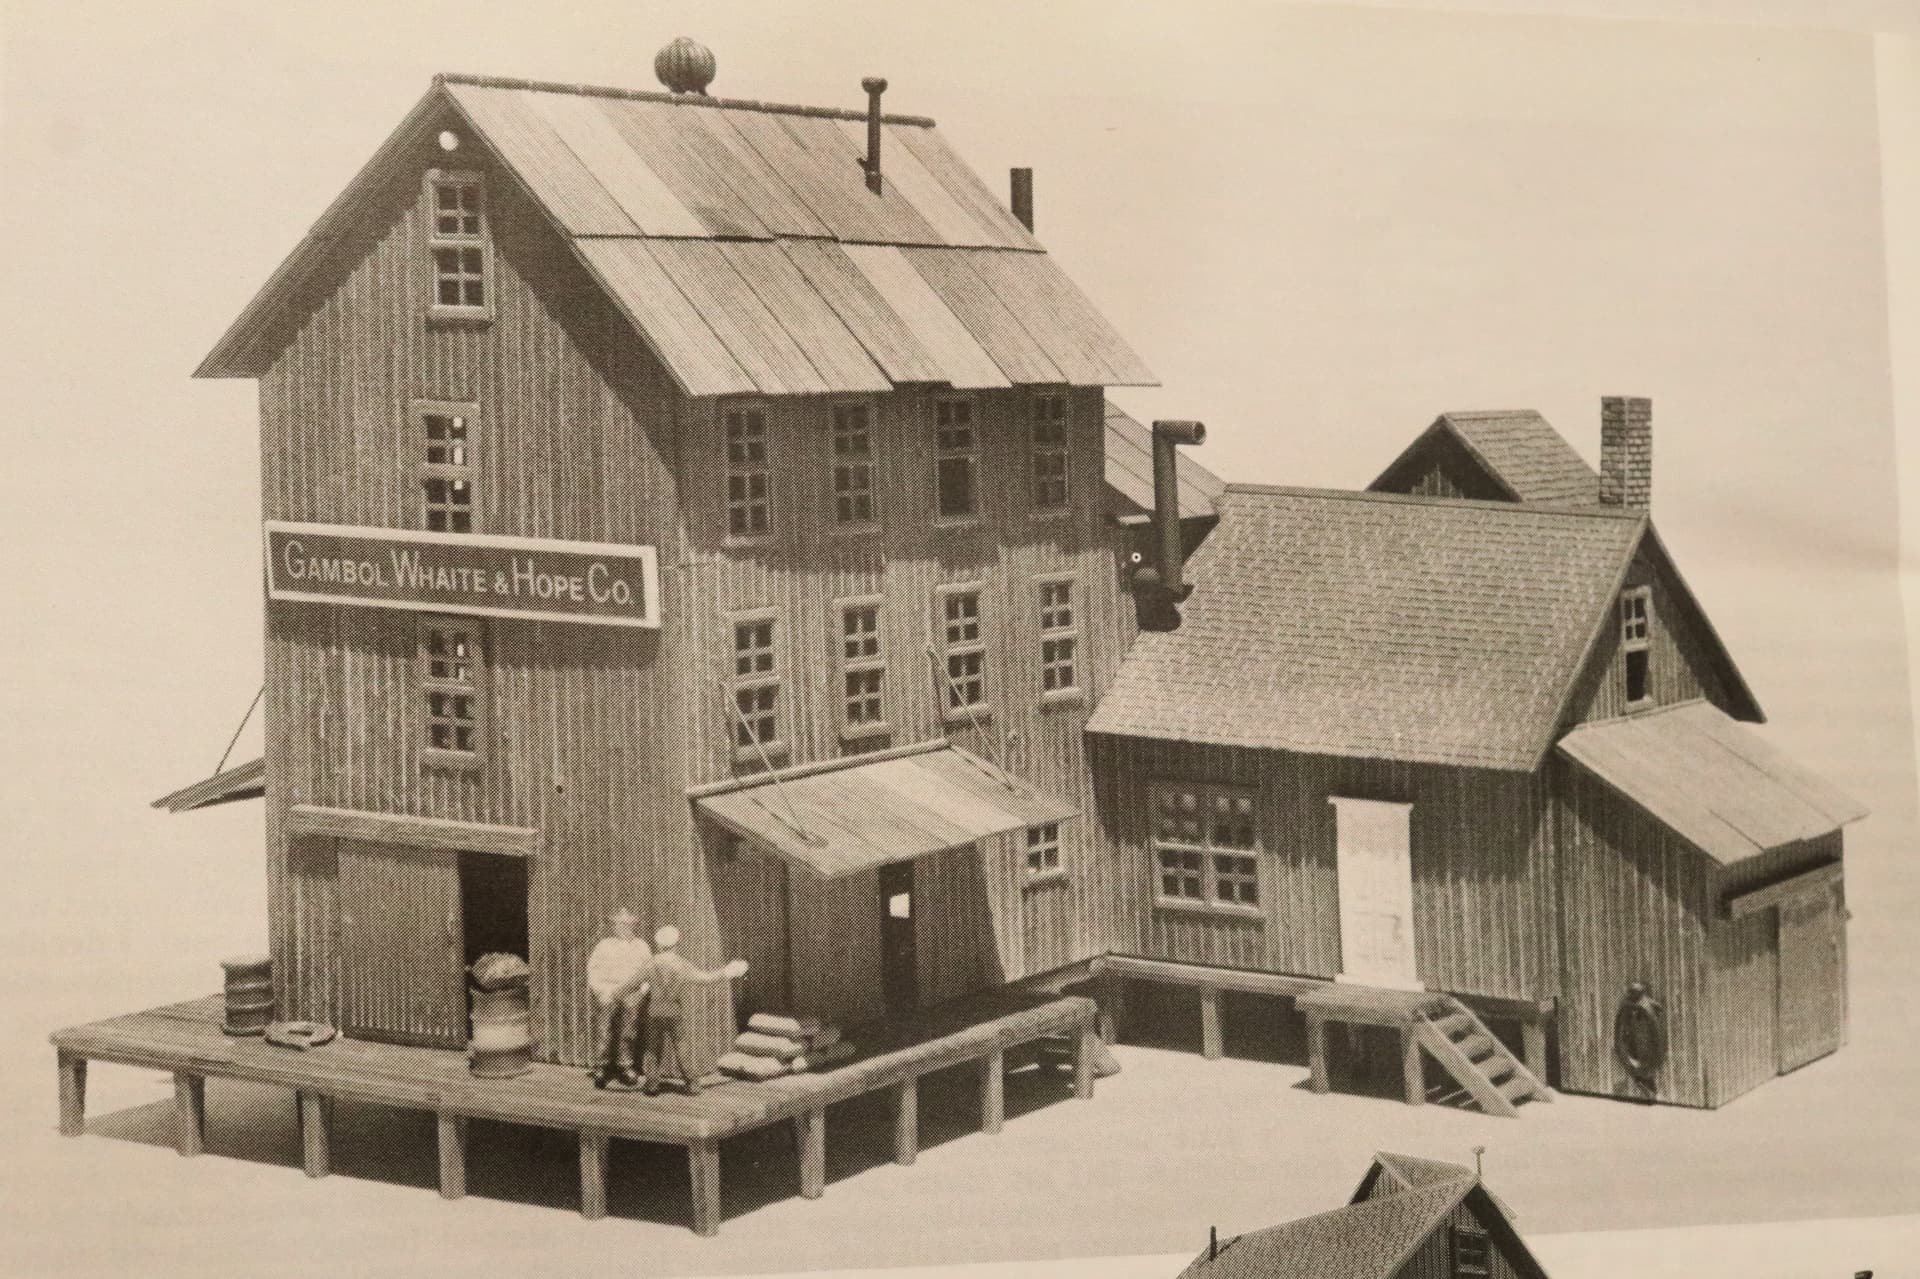
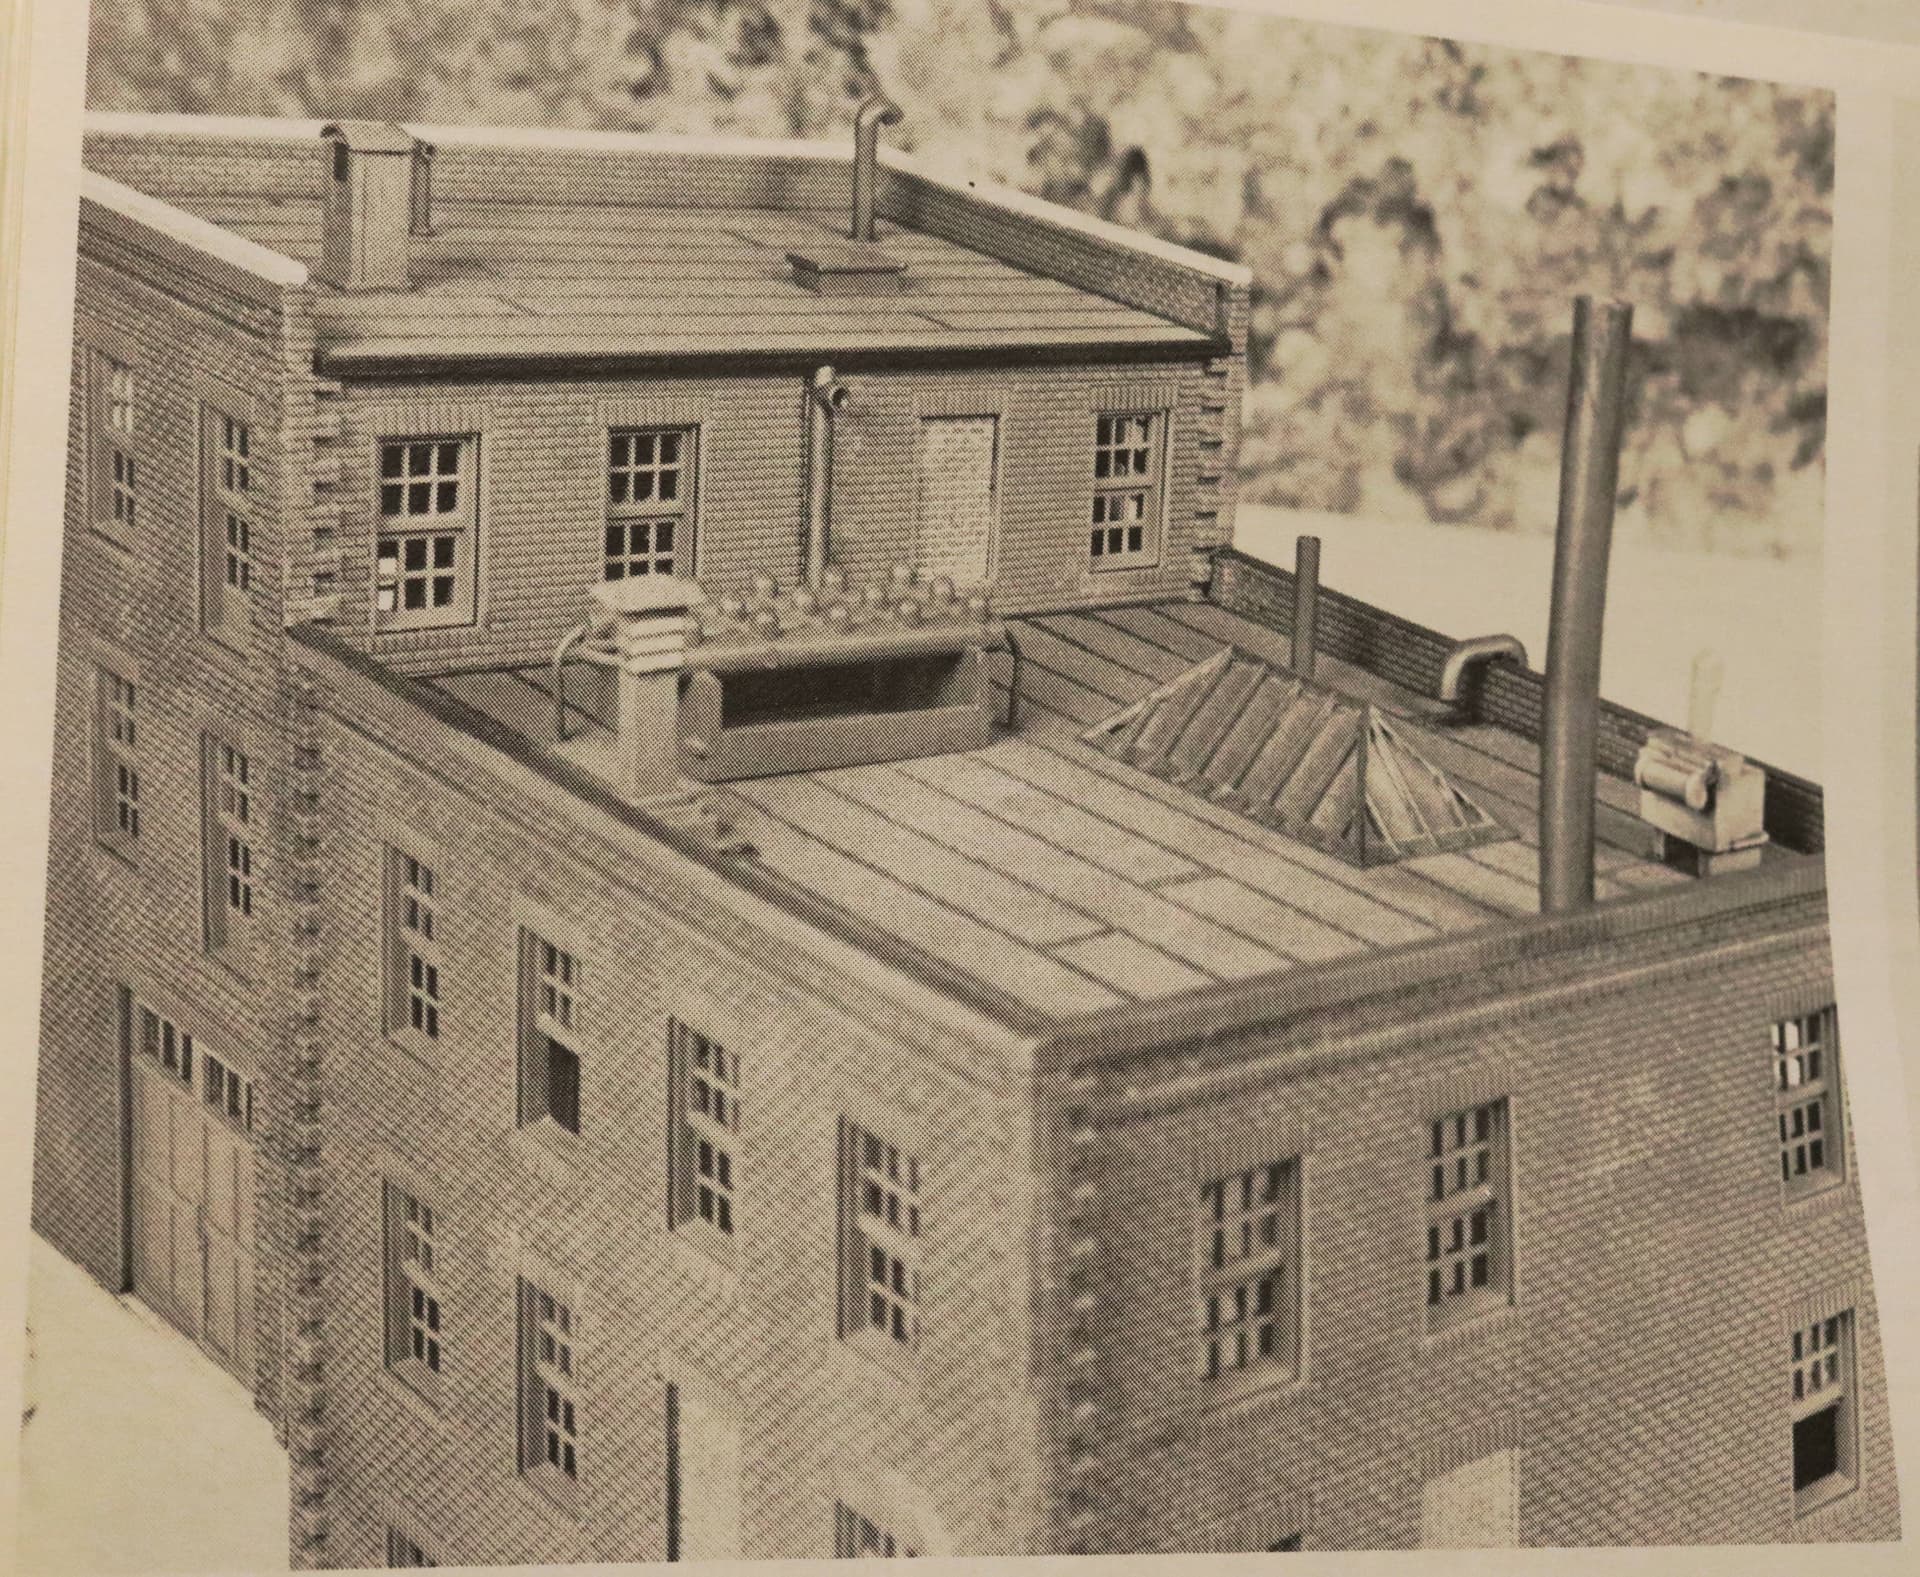
A Kalmbach book I just happened across last week at the LHS. This Art Curren fellow seems like a man after my own heart when it comes to kit bashing old plastic structures.
Some of these structures may how be no longer produced but that just makes it all the more likely you can find them on eBay or for sale at the traditional LHS or even find them for pennies in the shop’s “junk bin”!
I highly recommend this publication showing the how-to’s of customizing 23 different plastic kits with instructions, cutting plans and profuse illustration!
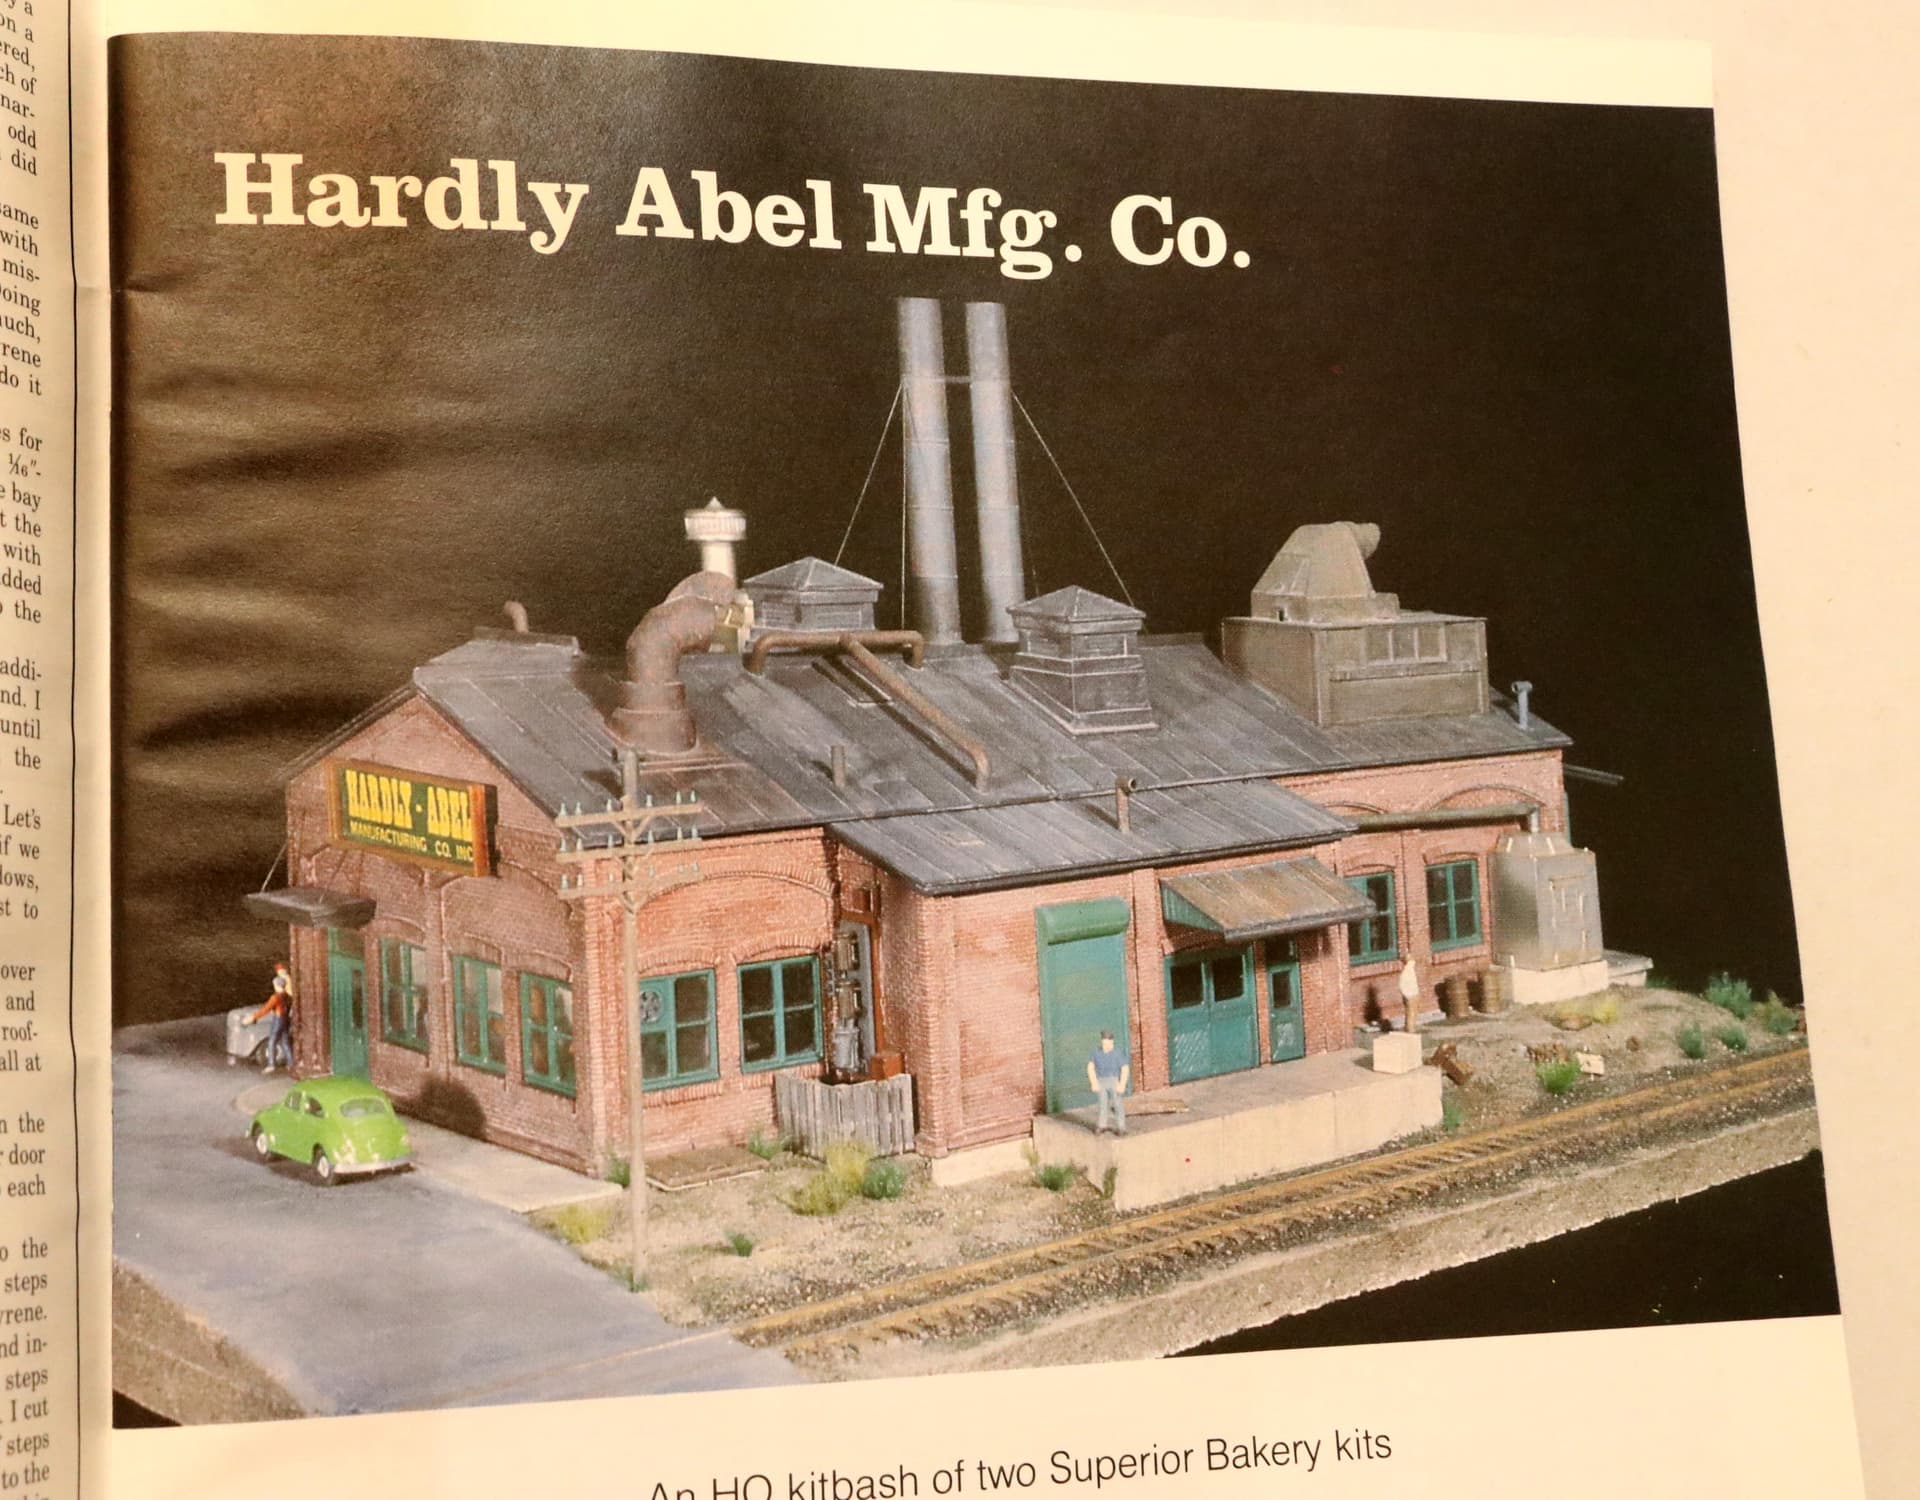
(All photos seen in this post are Copyright Kalmback Publishing/Art Curren ~ All Rights Reserved ~ Used here for discussion purposes ONLY)
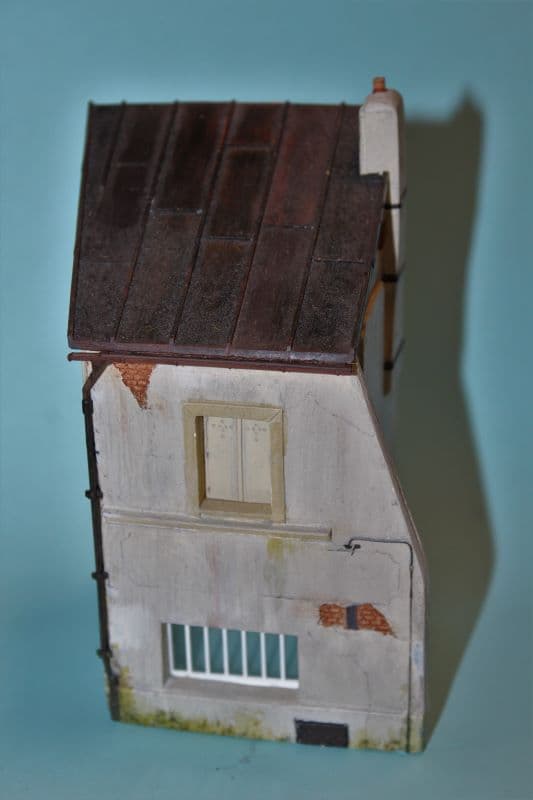
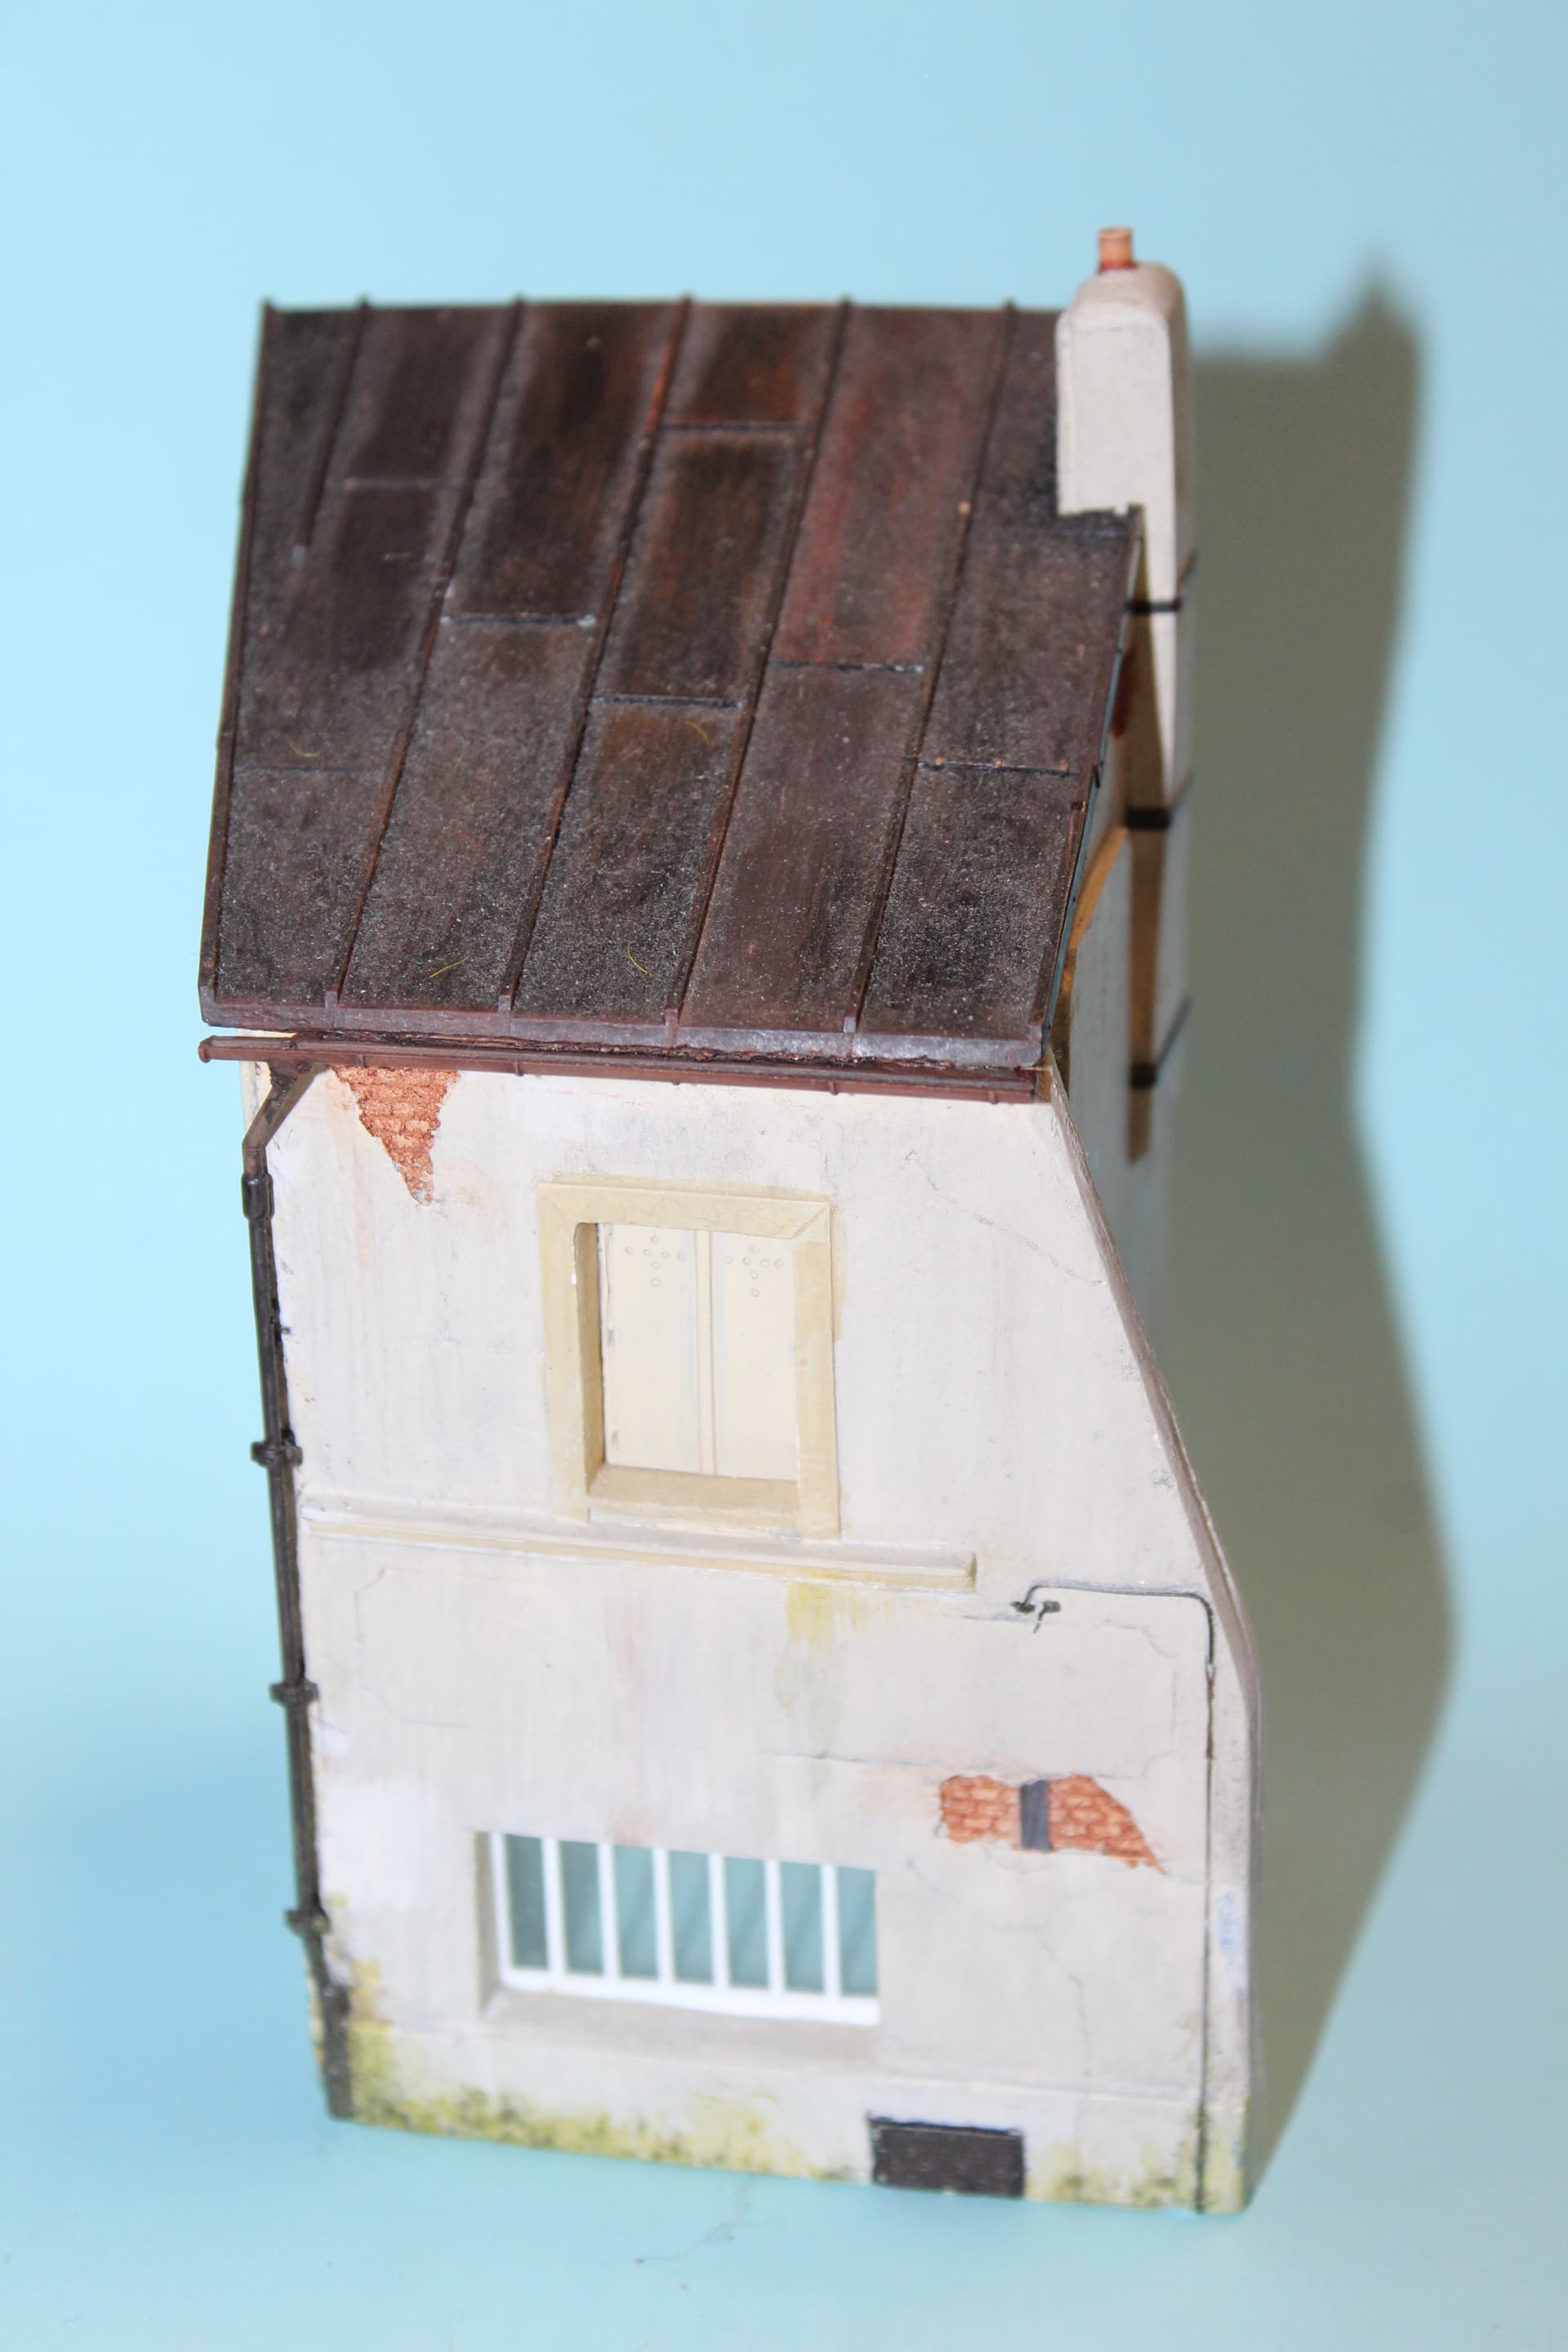
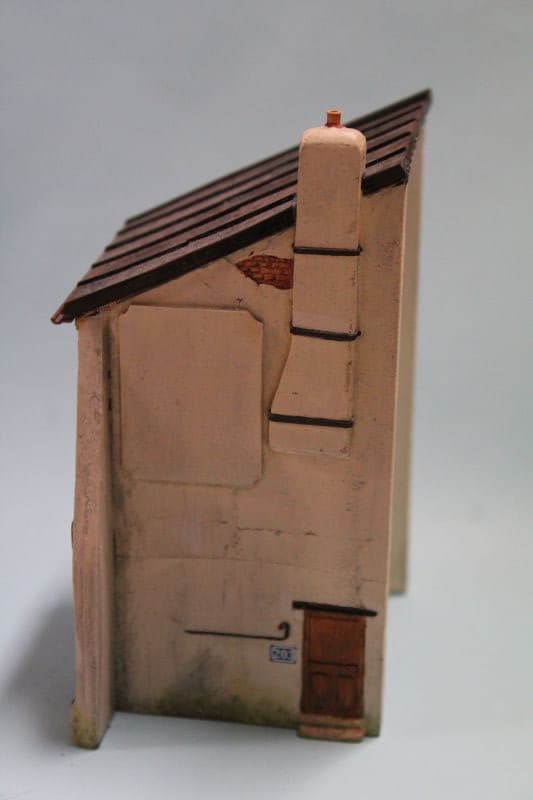
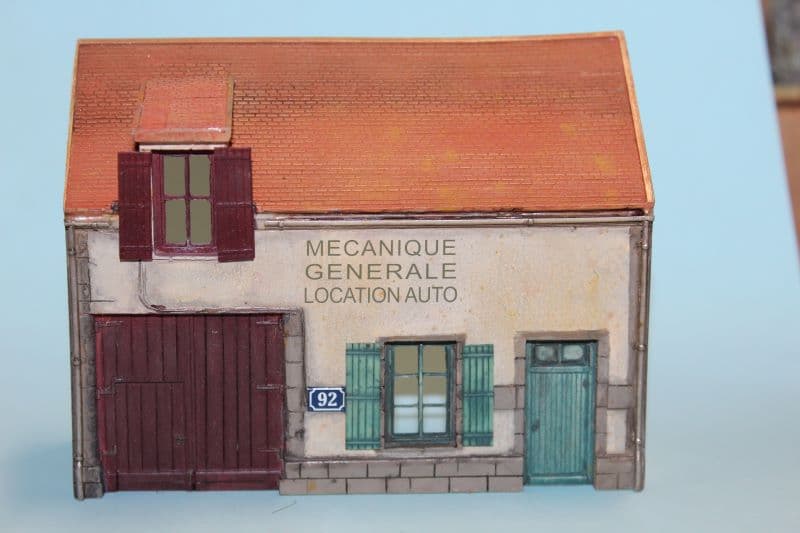
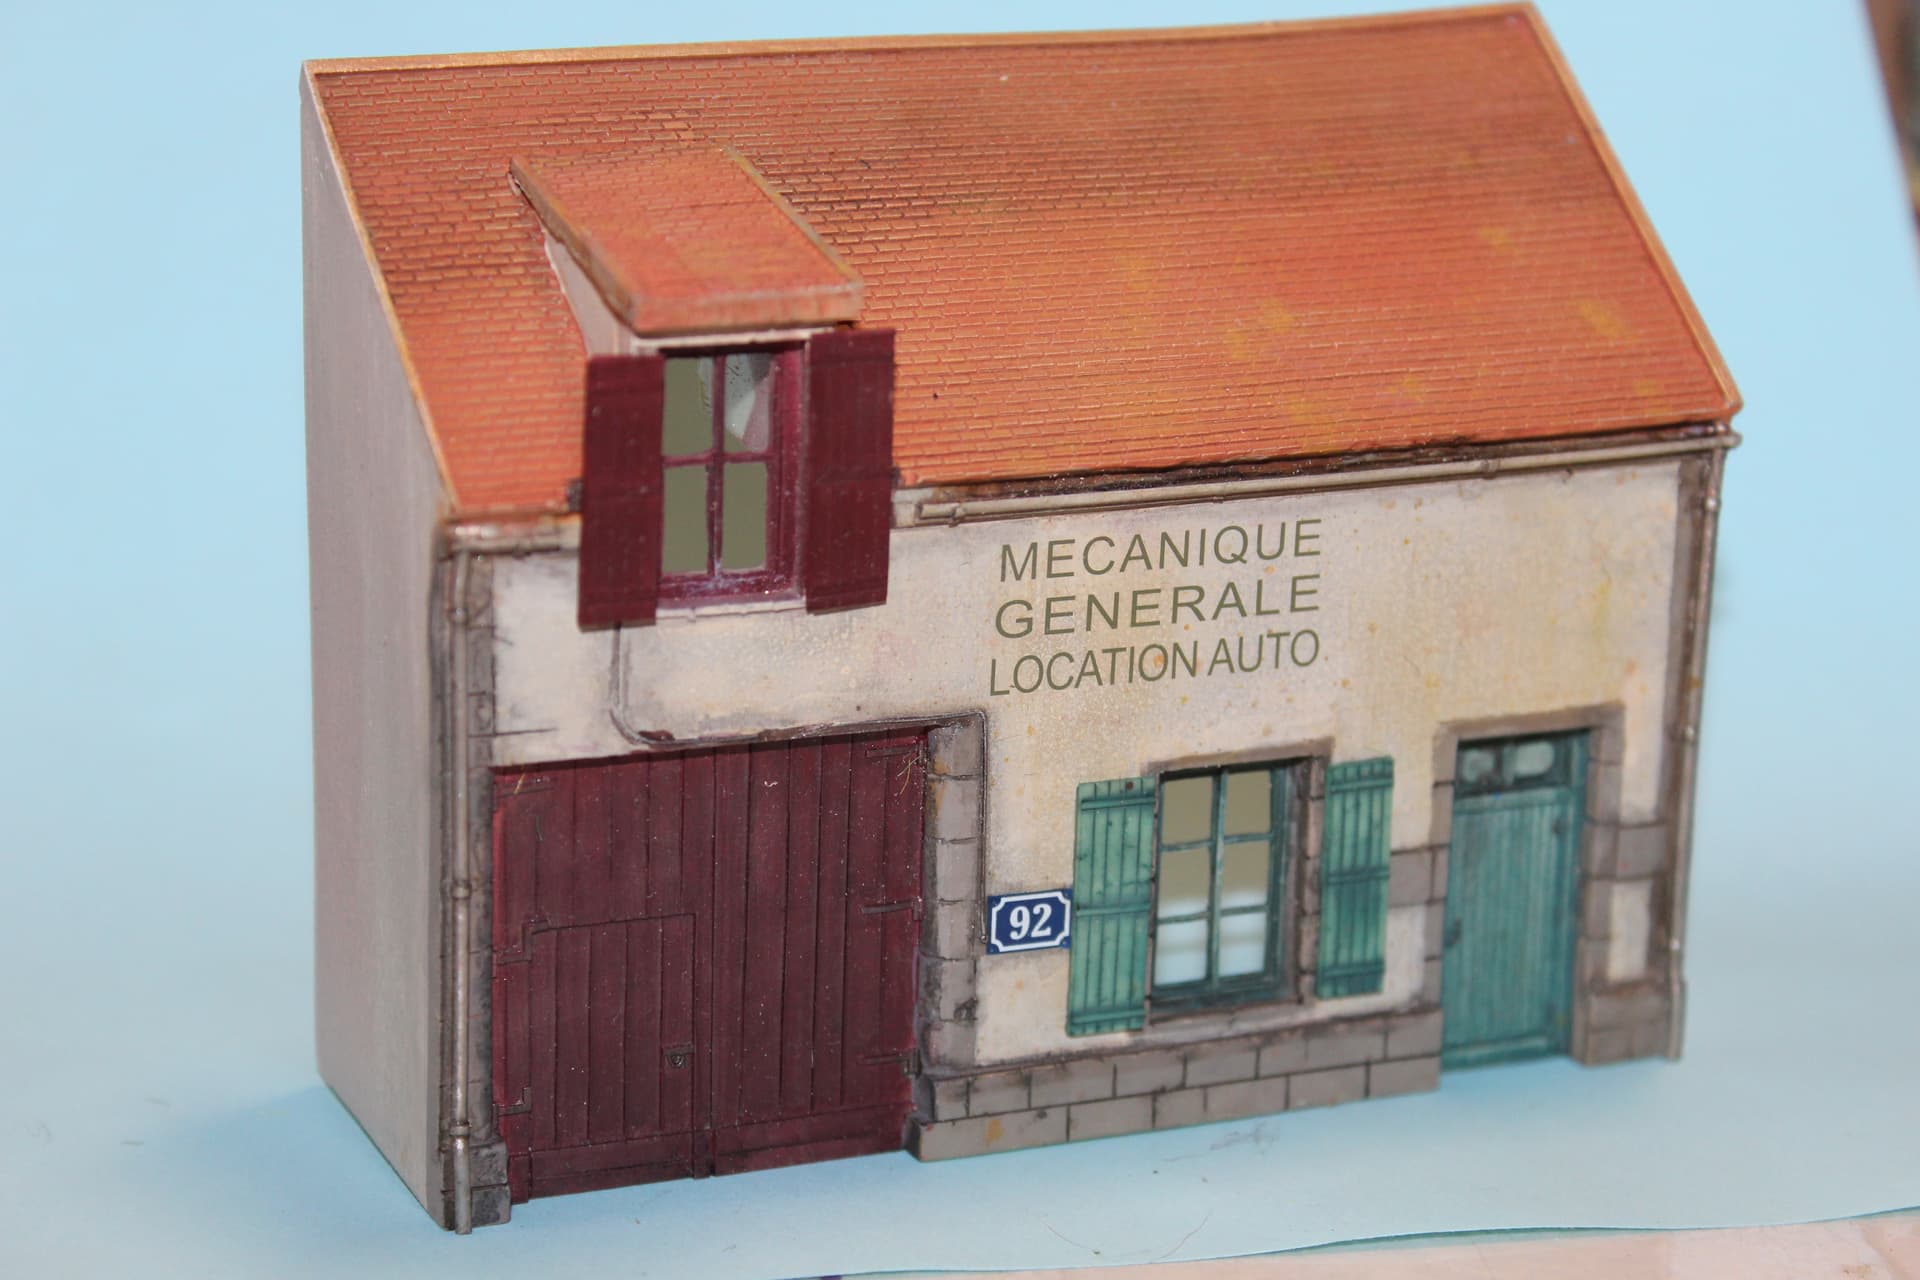
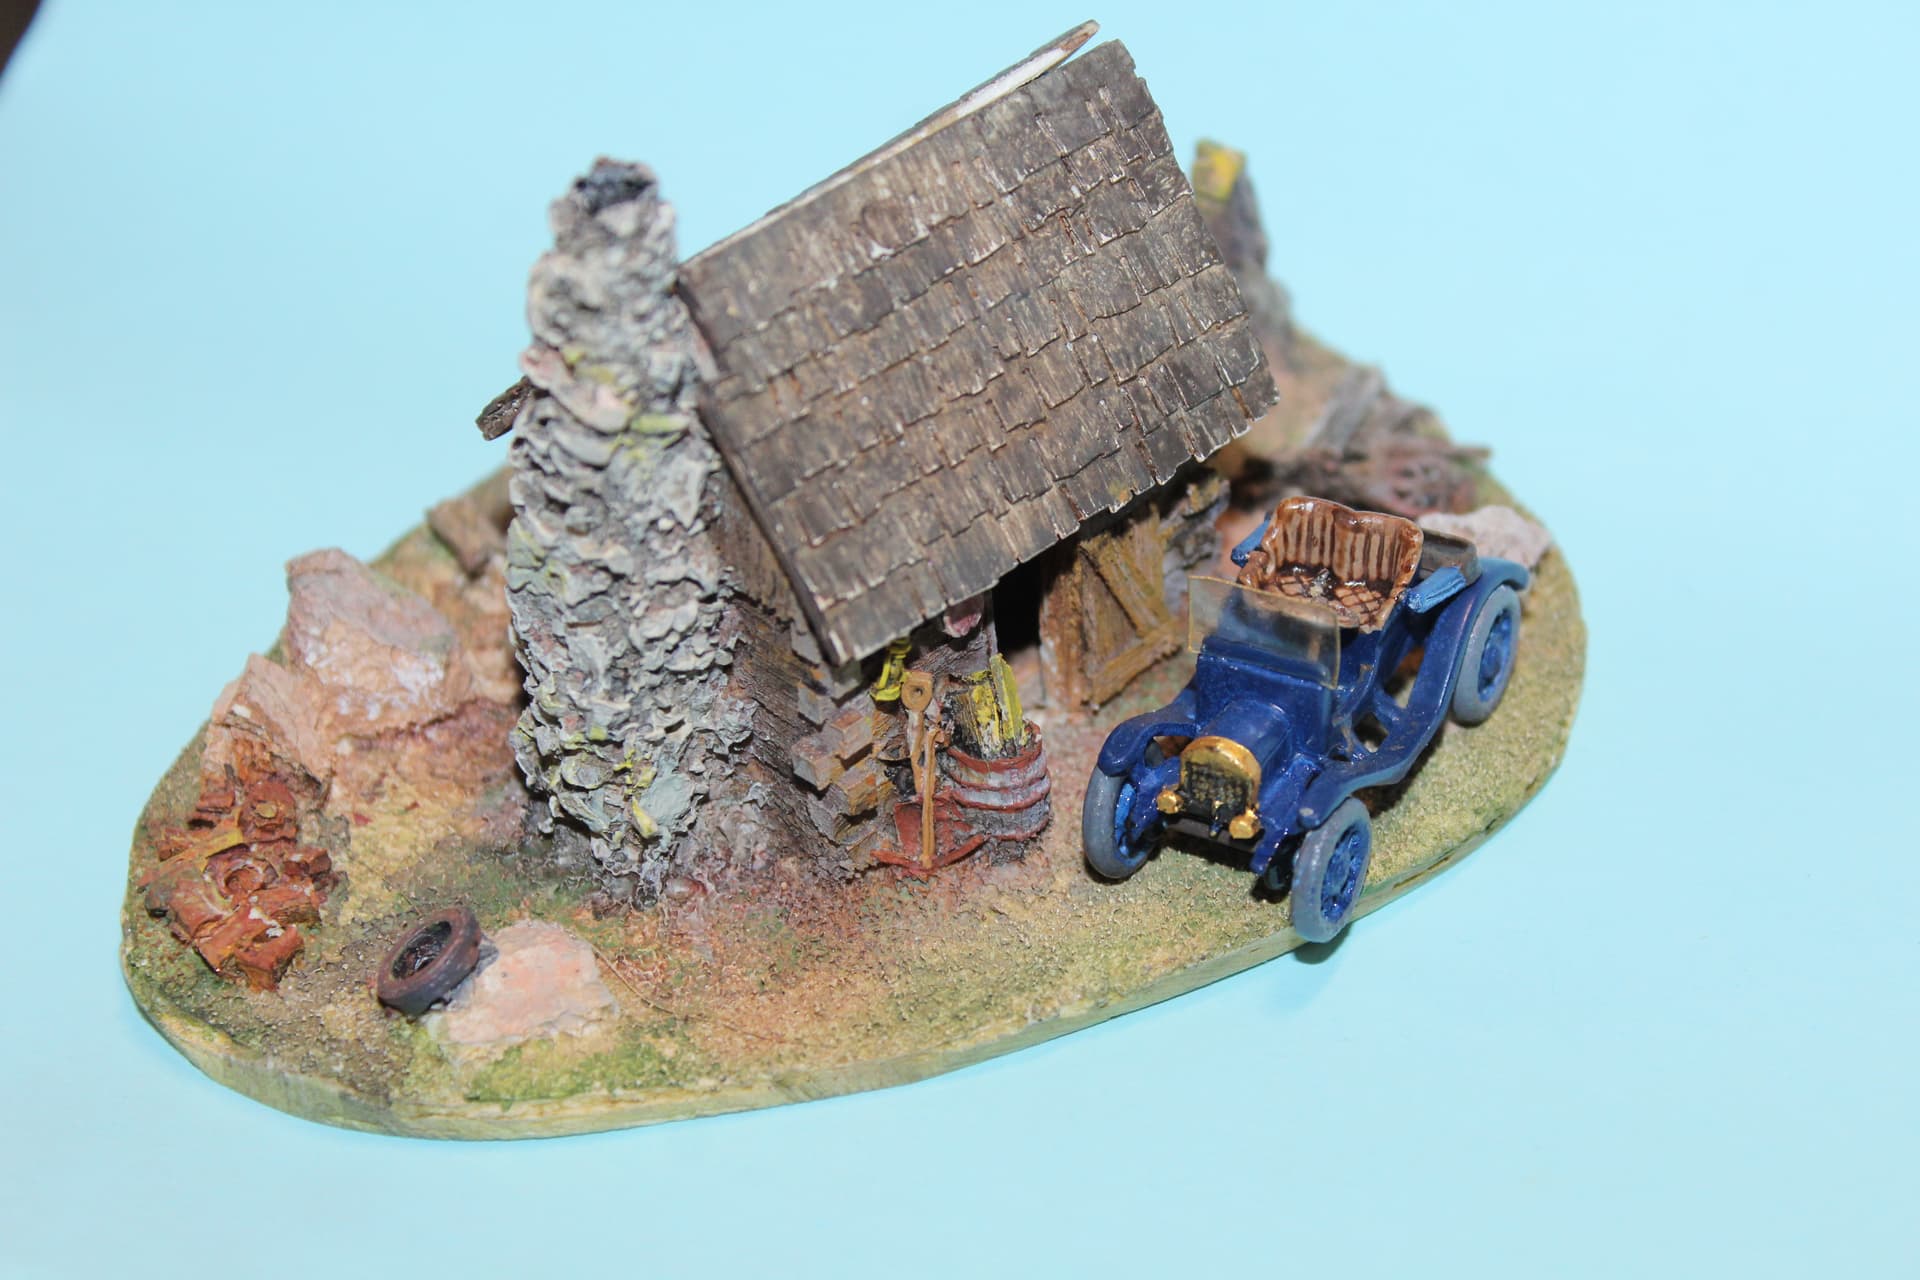
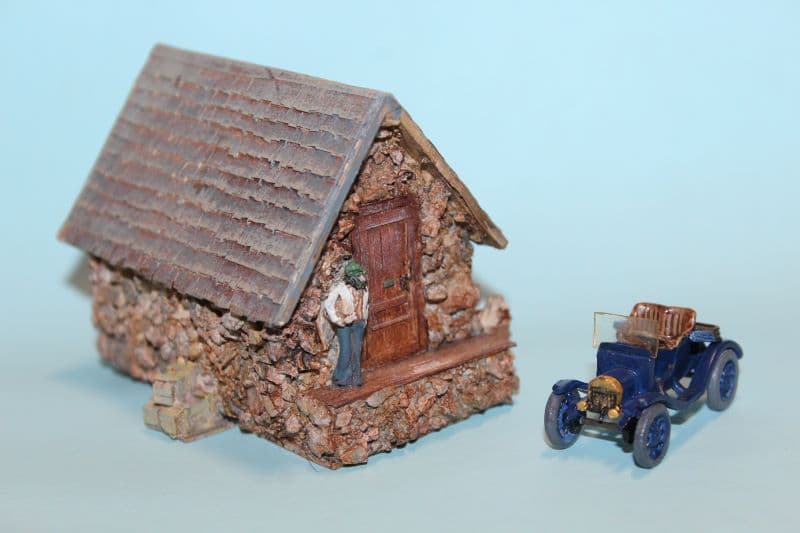
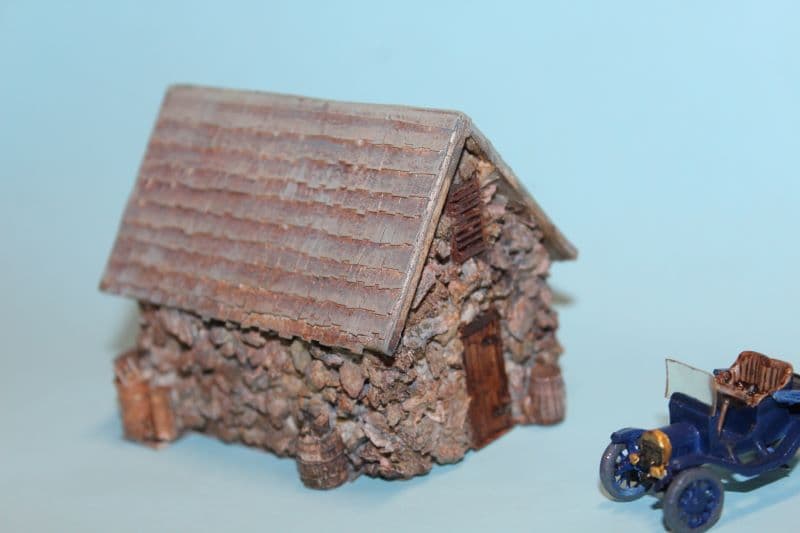
This one is from Add-On Parts, a Flemish house IIRC. In the family of kits that are meant to be along the backdrop, not viewed from all around. “Ceramic,” I wonder if it is hydrocal? Added the gutters and downspout (NOCH product). I fiddle with it now and then as well as using it for reviews, i.e., Matho Models address decal.
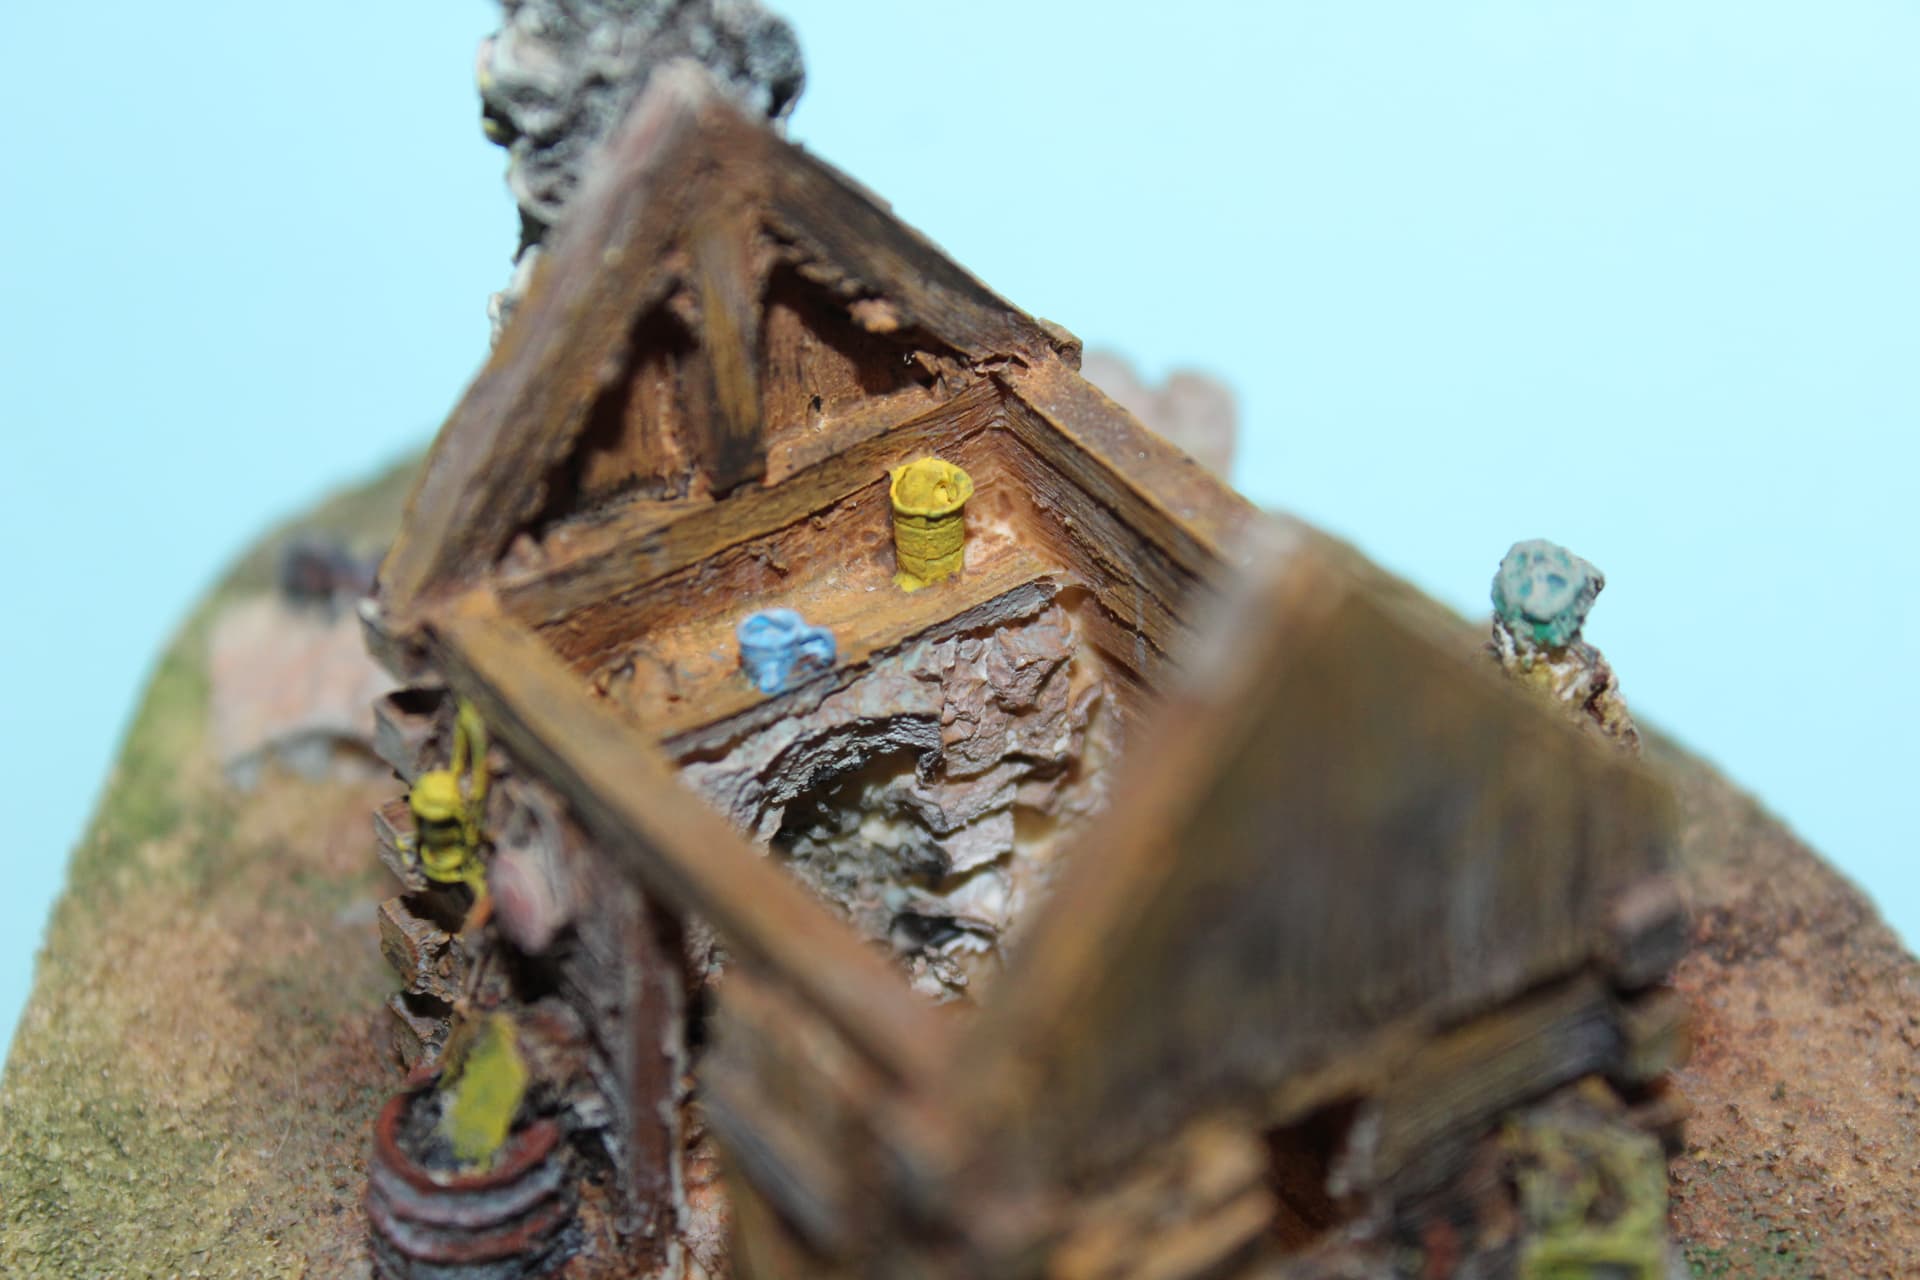
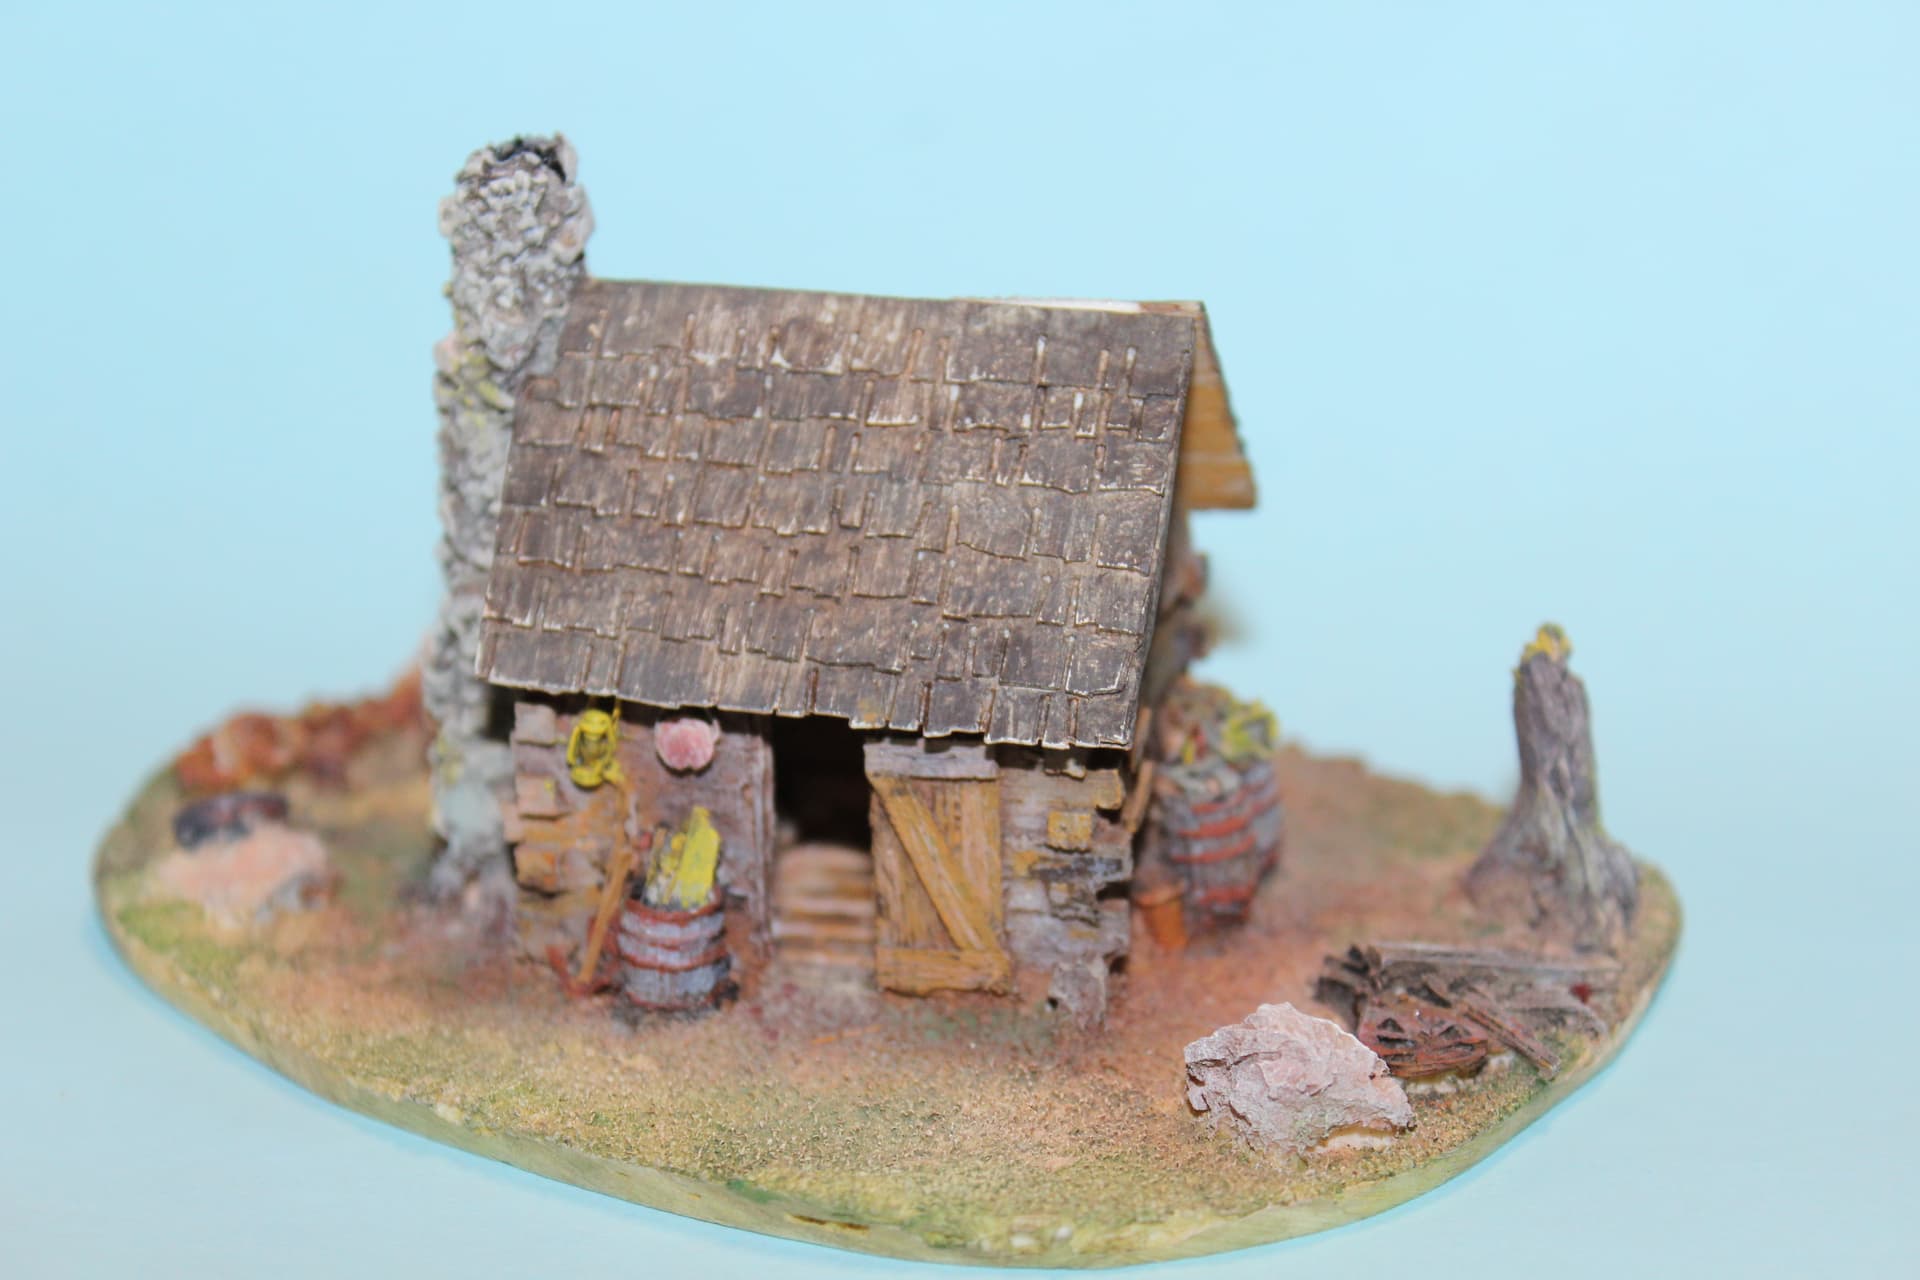
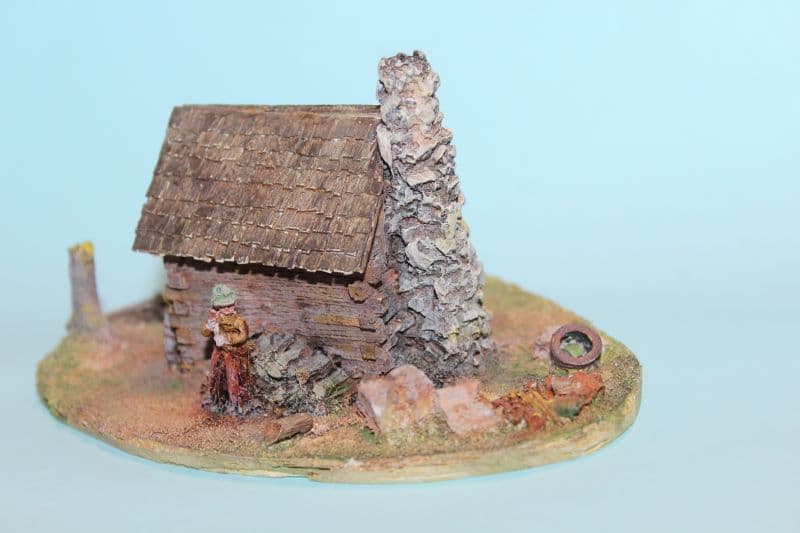
These are castings by Rusty Rails. Love these things. If you enjoy buildings surrounded by stuff but don’t want to buy ‘expensive’ cargo and tools, these are the way to go. I’ve only done some ‘casting 101’ and I am amazed at the undercuts.
I have no idea who the model maker of the car is. I bought a lot of 6-8 of these years ago. Nice models, assembled well, although some show signs of ‘metal rot.’
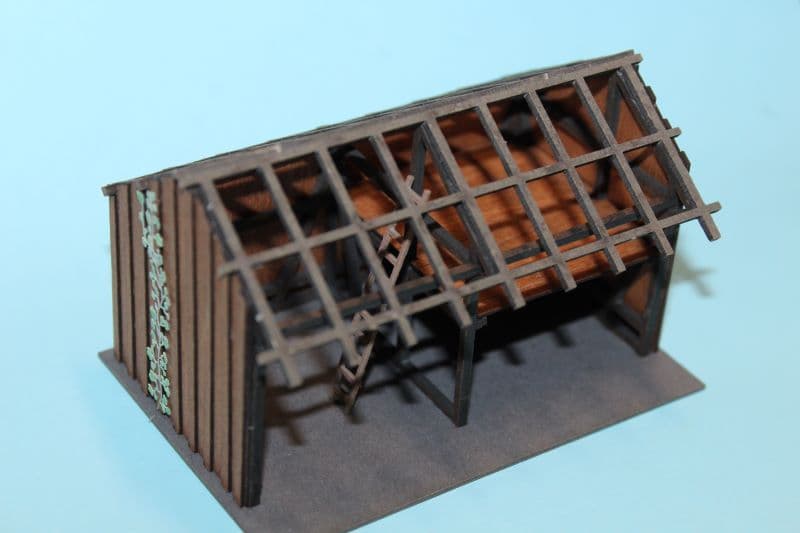
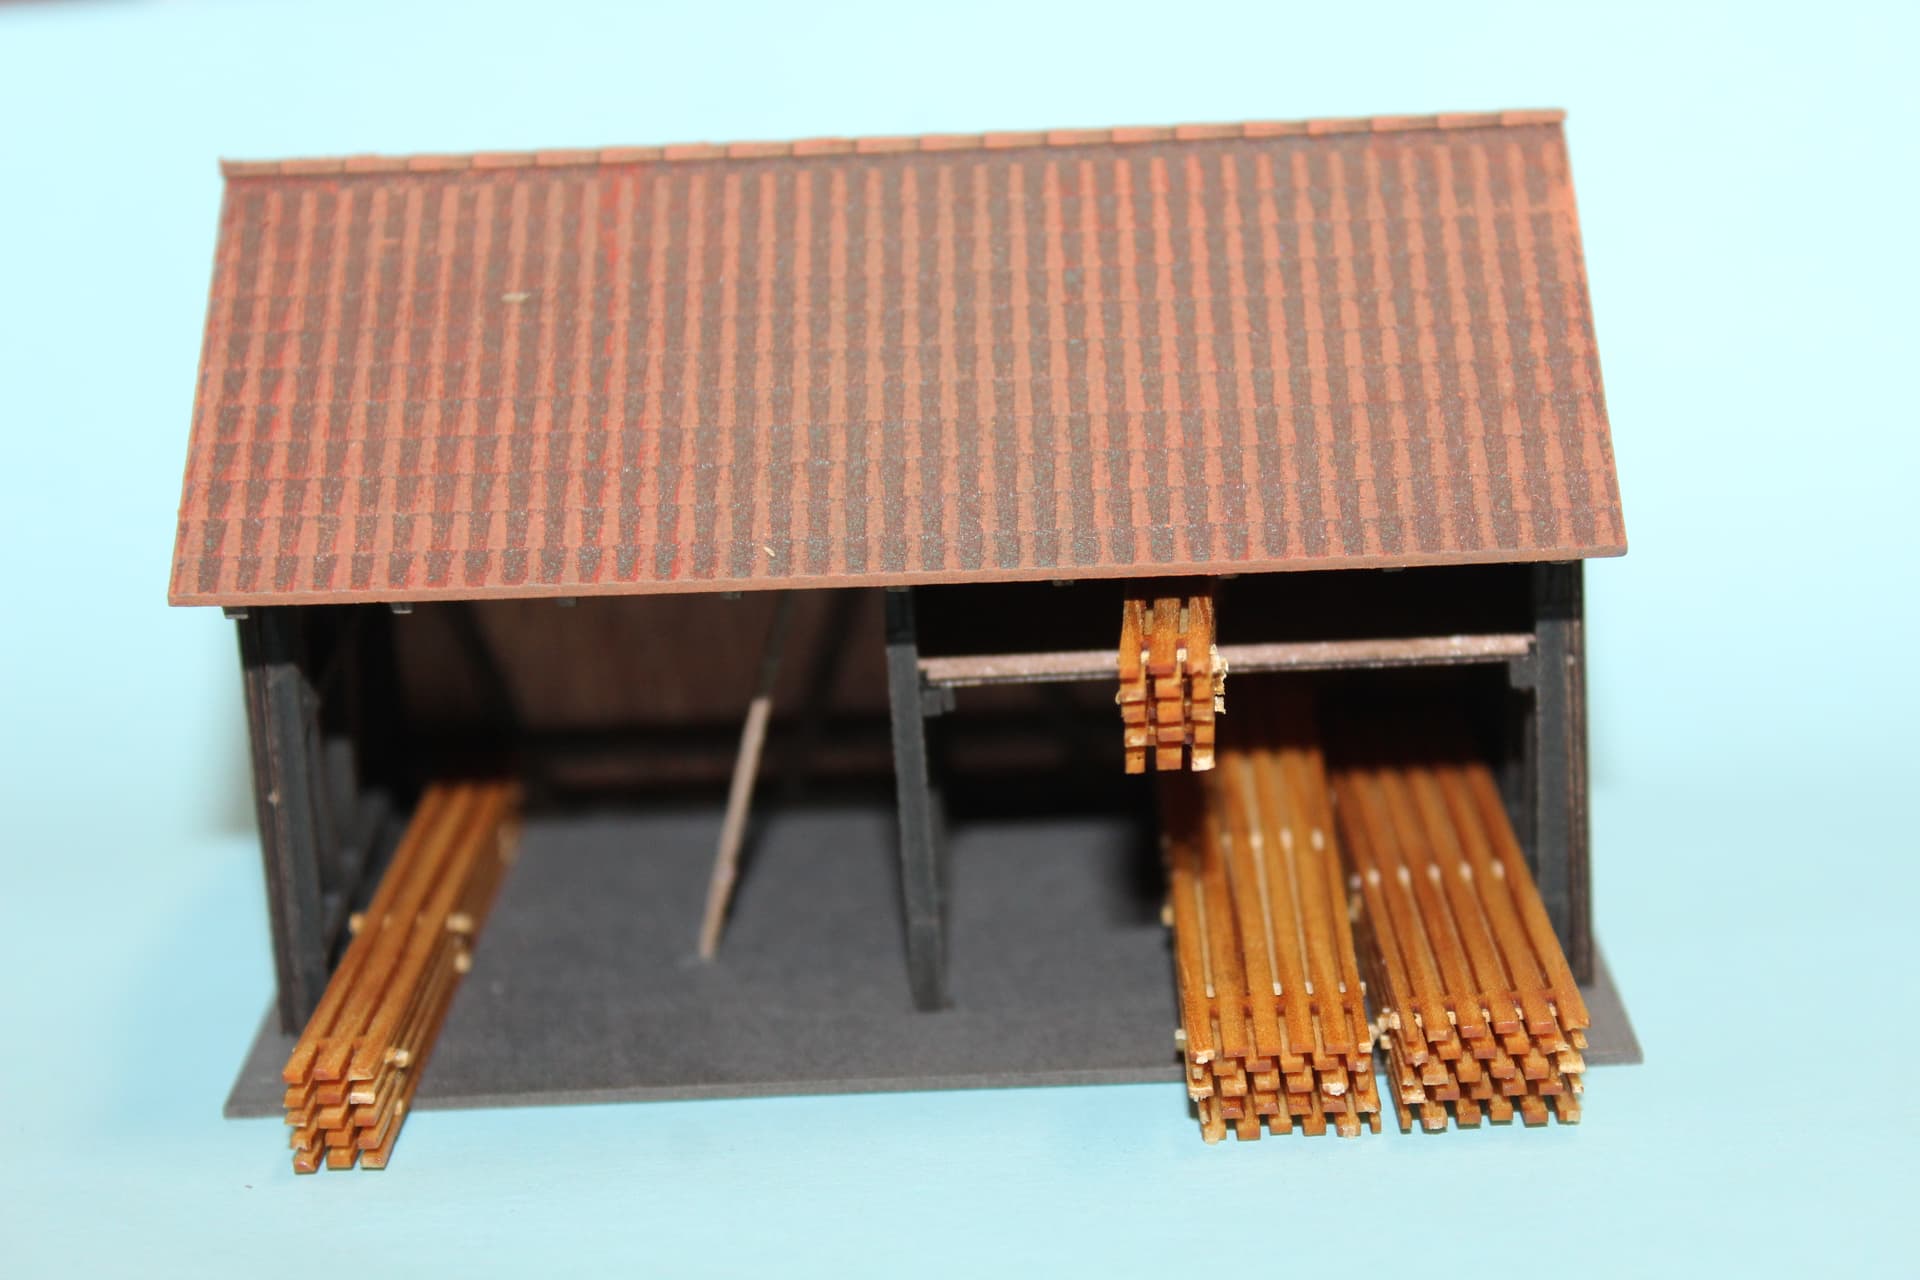
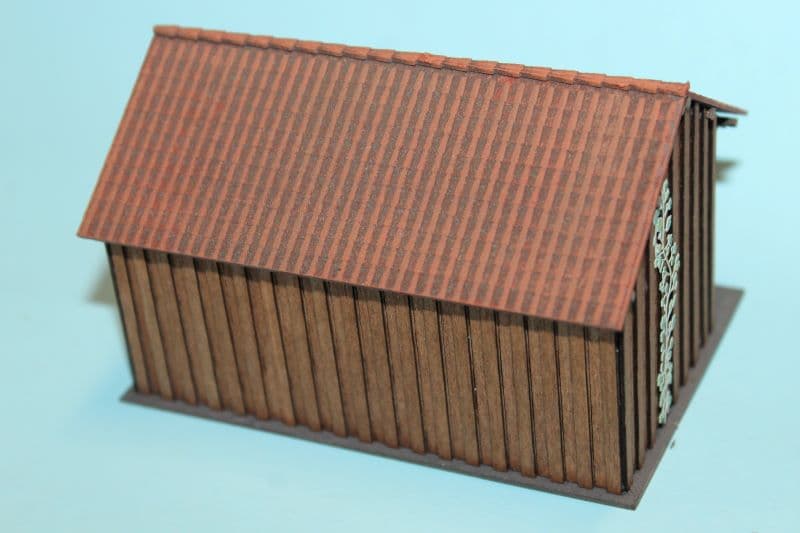
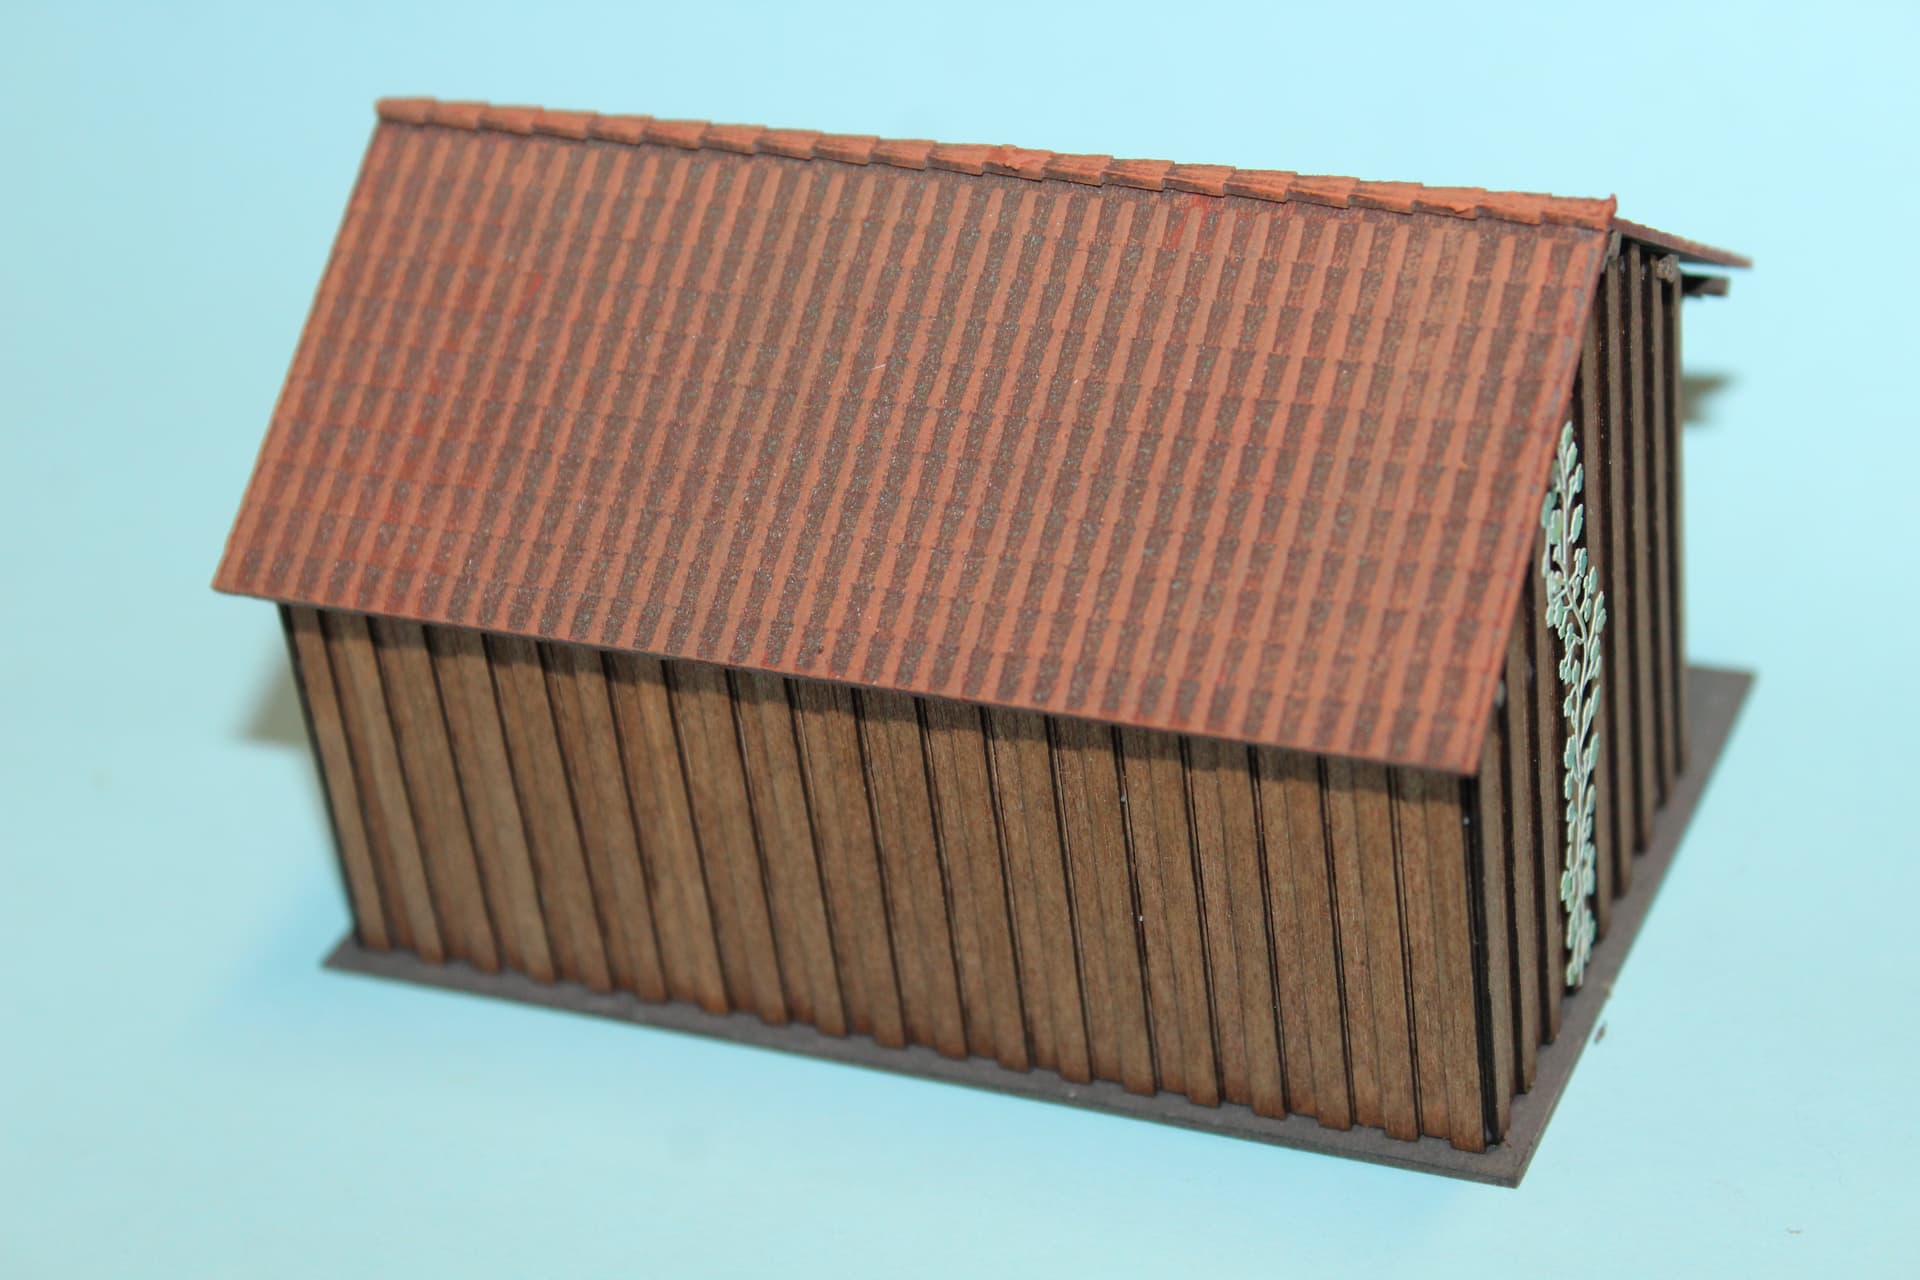
Finally (for tonight), by NOCH, a laser-cut cardstock ‘goods shed’. NOCH’s laser-cut models are impressive and easy to build. (Expect to see a few in the future, hint hint.)
The laser-cut ivy looks better when it has been ‘teased.’
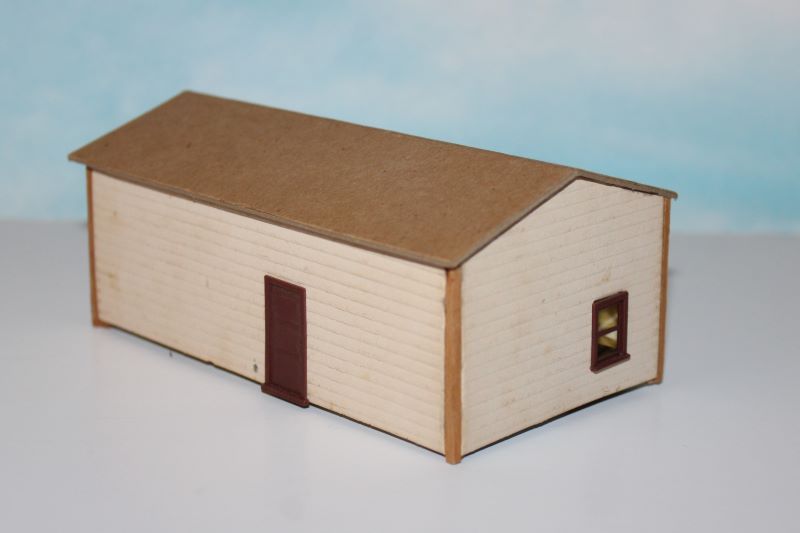
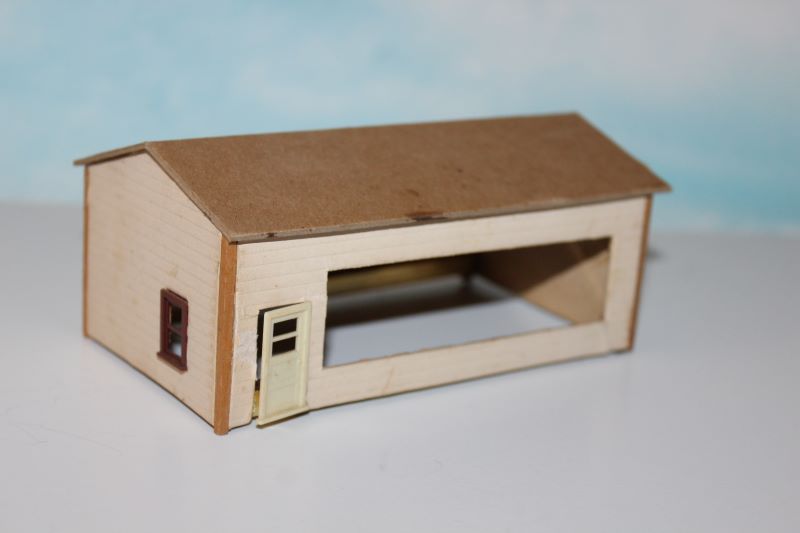
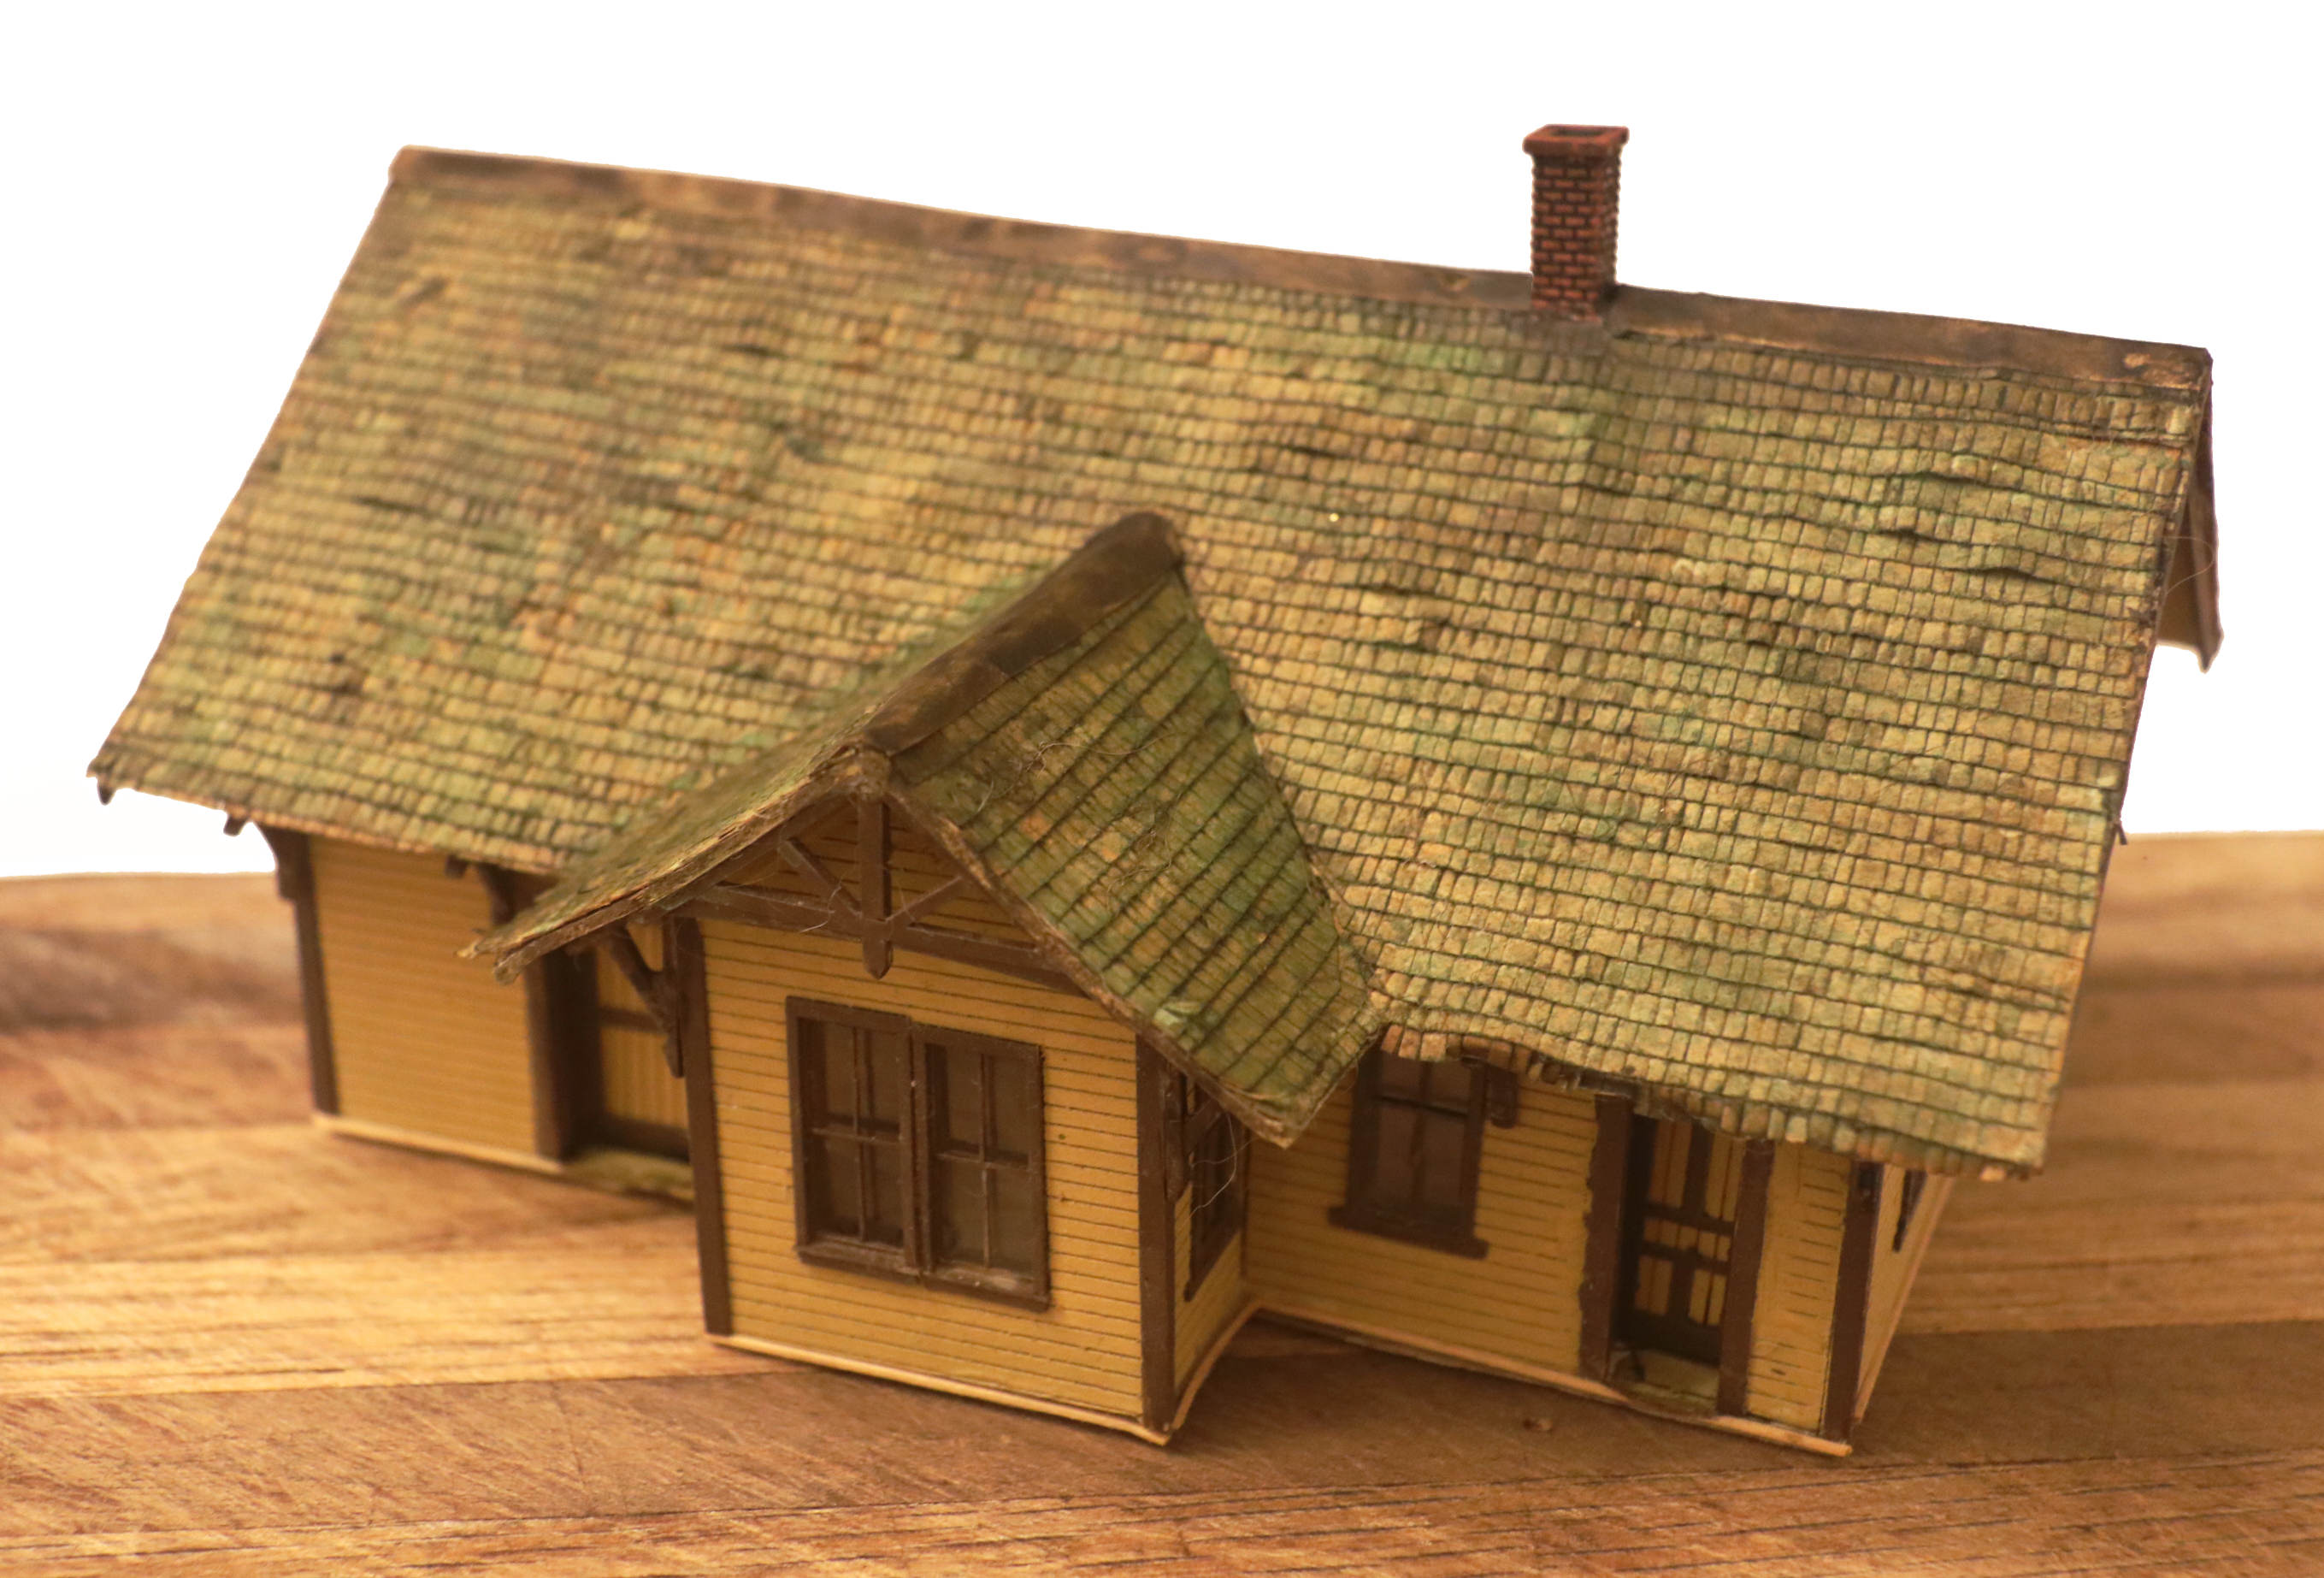
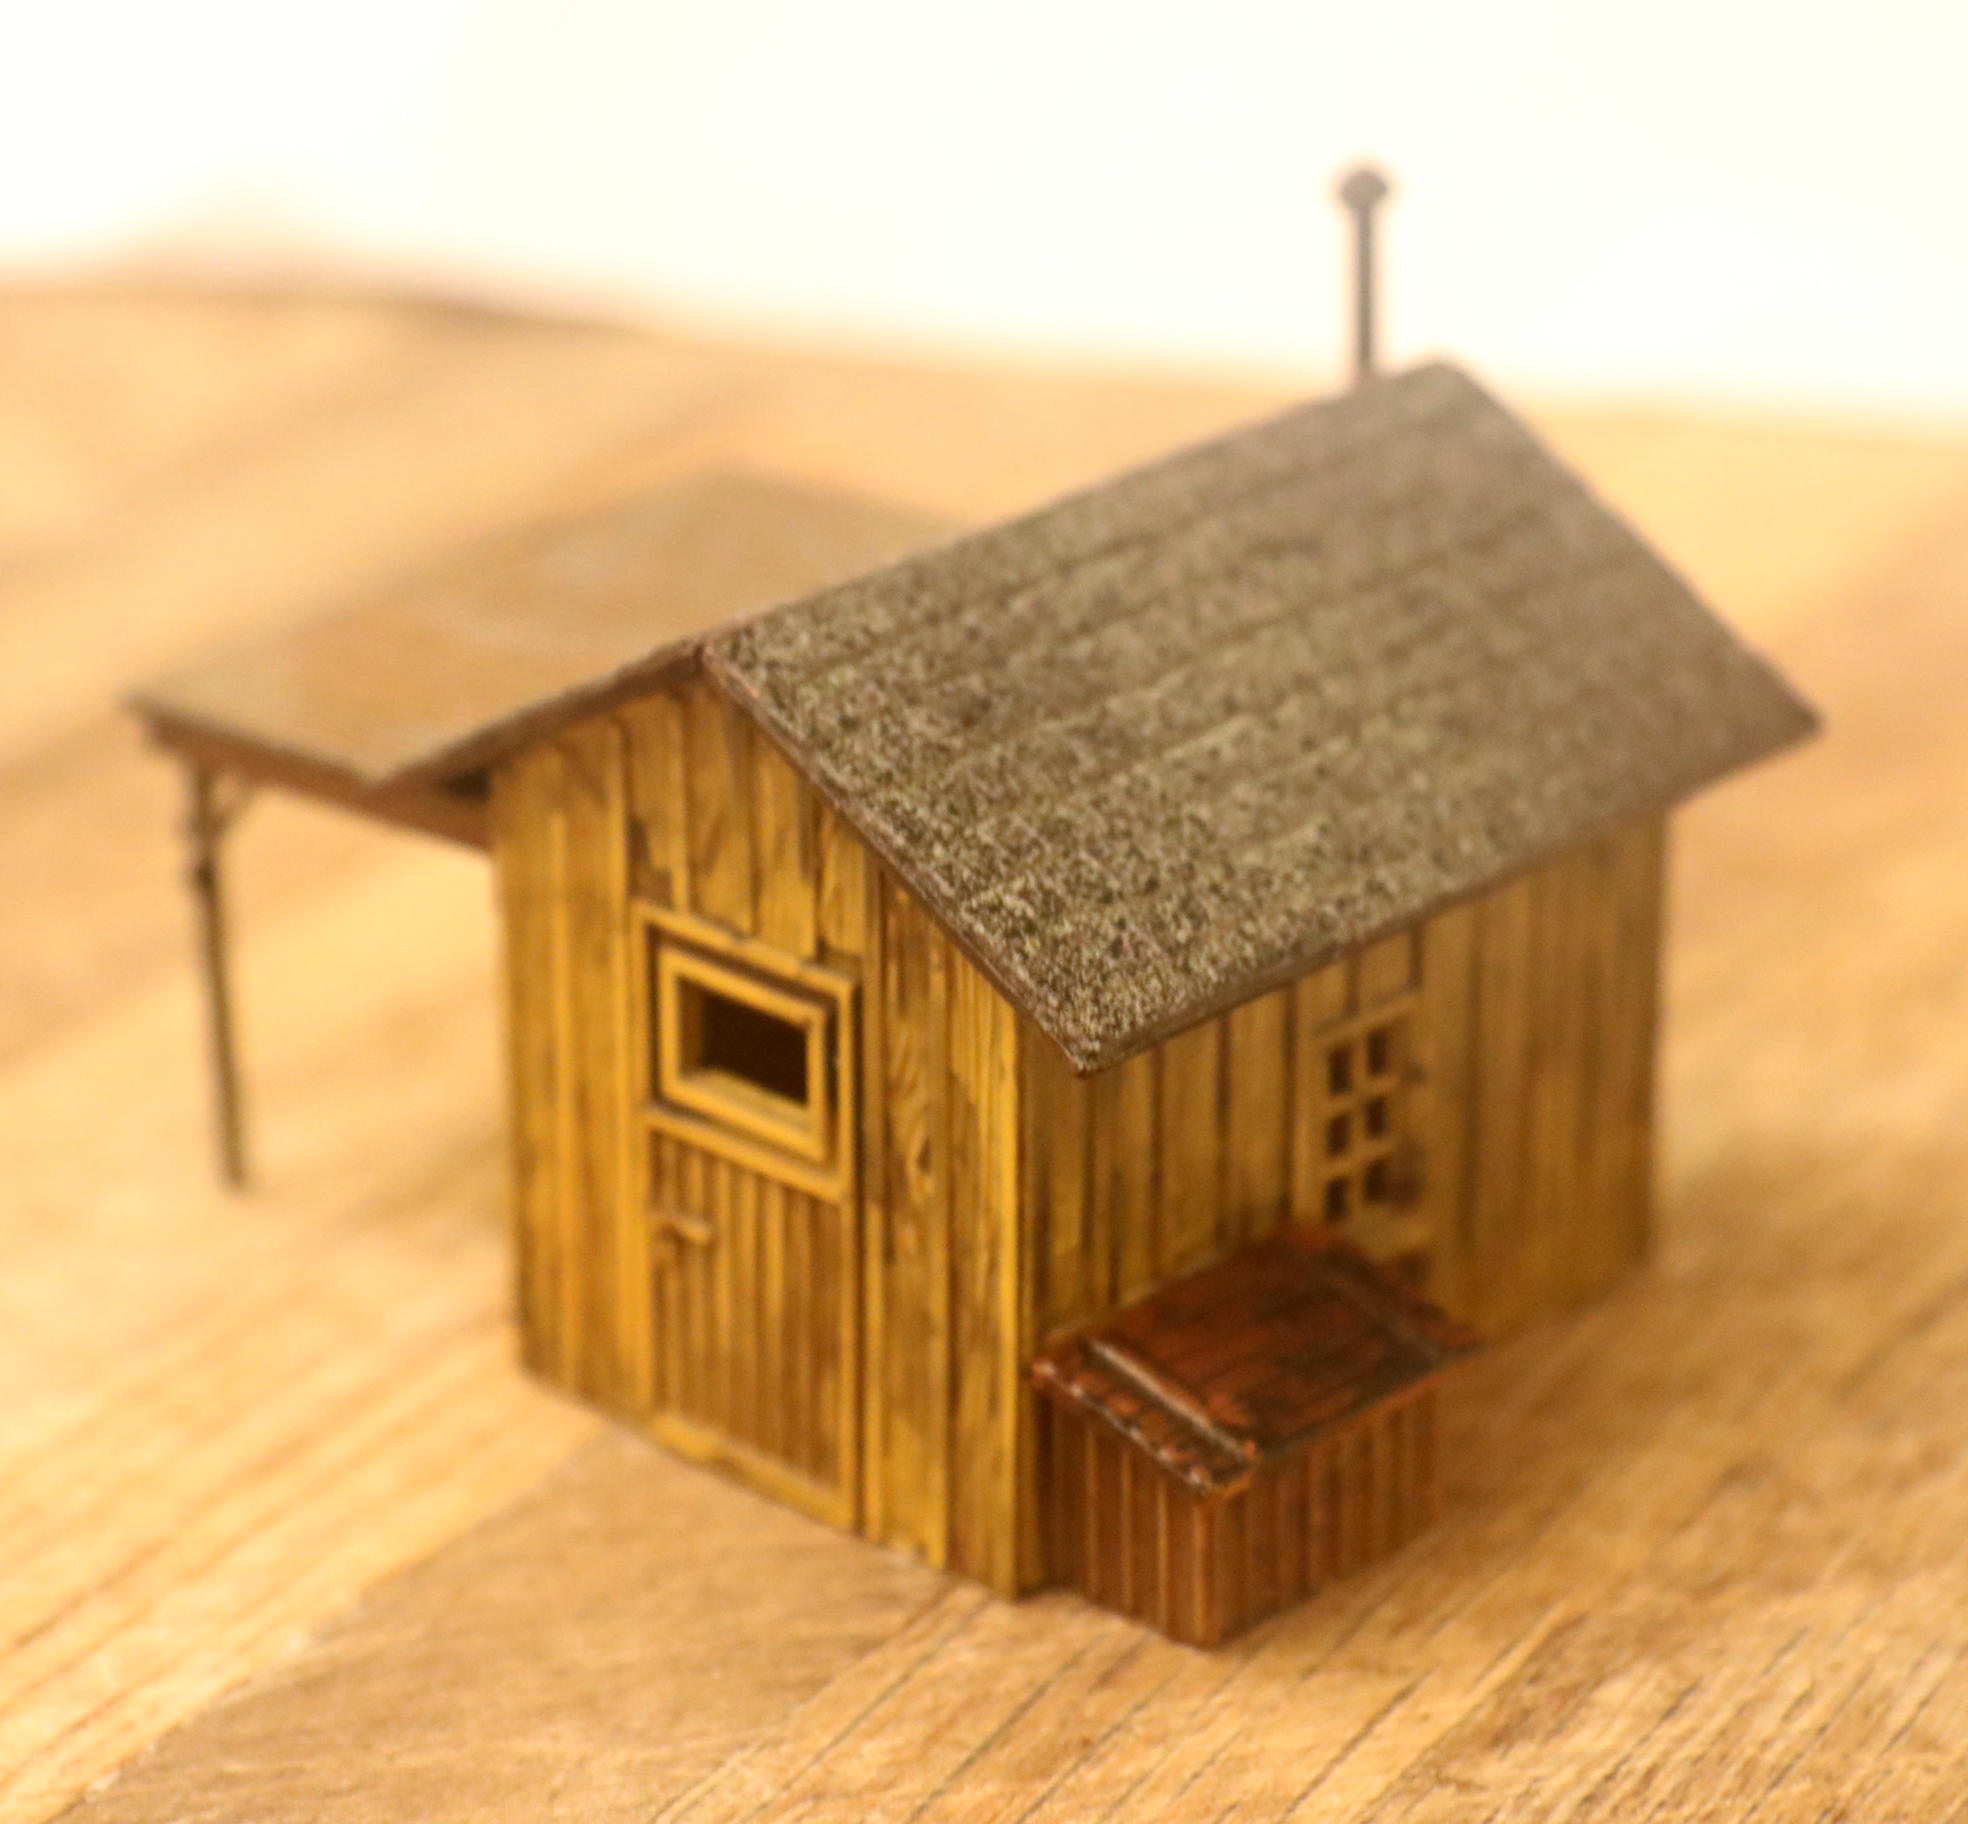
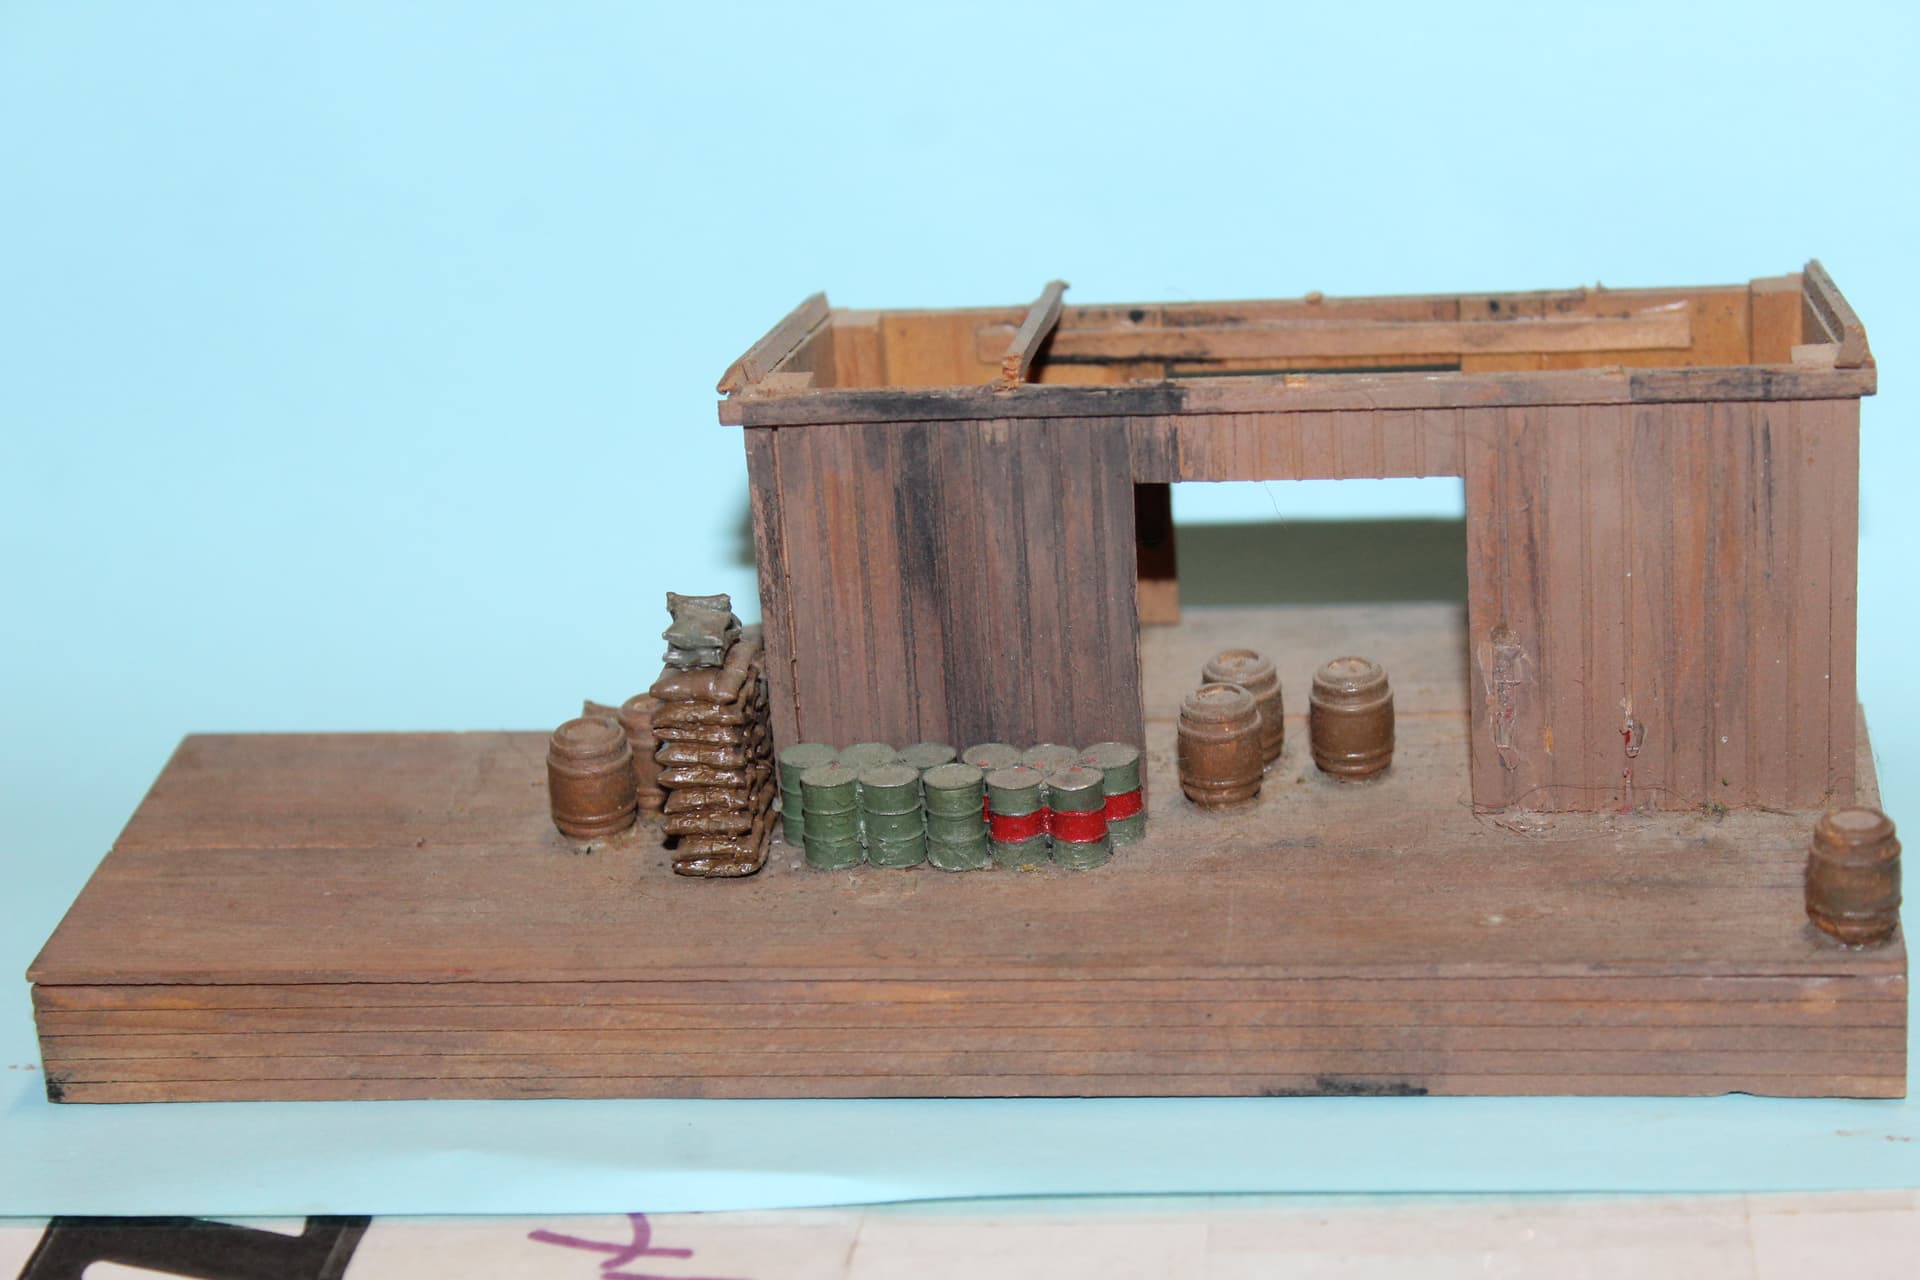
Ah, heck, in for a penny, in for a pound. Campbell rural freight depot. Built c. 1977. The roof came apart decades ago; I can fix it and I am starting to reinforce and restore it. You can see what my ideas of aged wood was back then.