My ultimate 1/350 Yamato - Operation Ten-gō 1945

Finally after some excursions into tank, figure, airspace and aircraft models it is really time to return to the known waters of shipbuilding here. Obeying to the odds of nationalities within my stash it had to be one japanese or a british ship. Well I finally decided to build a IJN one. This time it will be a very big one, actually this will be my biggest and extensive build so far…

With all the hype about the new 1:200 scale Yamato some modeller sold their 1:350 scale ships to get space and money for the bigger one to come. Exactly this happened to my kit as a fellow modeller sold it for a reasonable price to the happy me. It´s already the new „Premium“ kit from Tamiya with some extra interesting personal documentations and stories about this ship and one extra fret of photoetched parts within. The friendly modeller who sold me the ship already collected the MK1 deluxe set with more etched parts, turned barrels and a wooden deck for this kit.

I remember I did built the Musashi many many years ago when I was a teenager and I always planned to build once my personal ultimate Yamato. Well I expect my time is coming now but I got lost a bit with collecting extra upgrade parts for this ship which all appeared recently for it but I couldn´t resist… :sweat_smile: Call it a total self-overestimation of its own skills and perseverance, juvenile flippancy or just bare ignorance of the sheer size and challenges of this build but I will try to master this huge pile of parts :yum: :fist:

I did read a lot about the ship recently and I had to decide which timeframe to depict: As I want to show her with the impressive full final armament and I really like the blackened deck there was only her last mission to Okinawa during Operation Ten-Go remaining; this is what I like to represent.

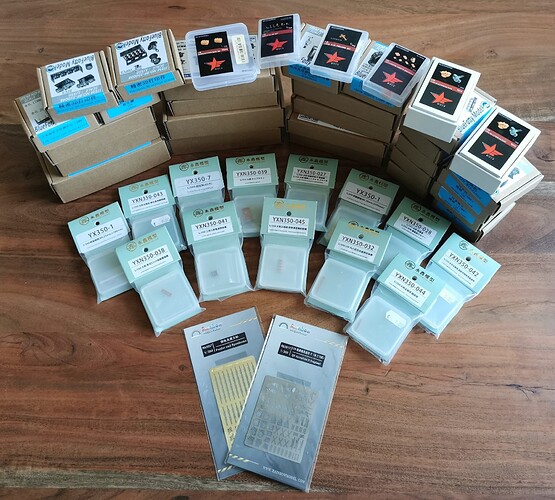
Now lets look what is contributing with my build:

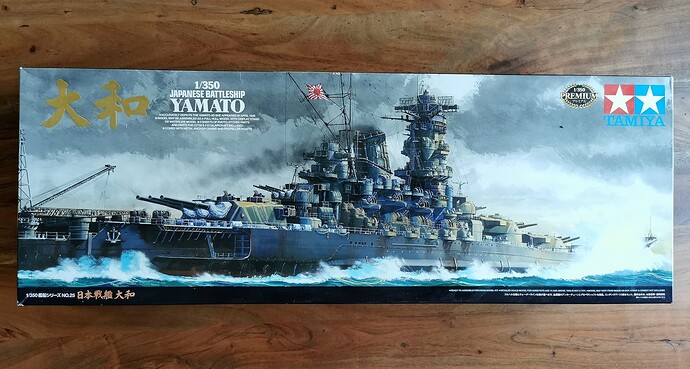
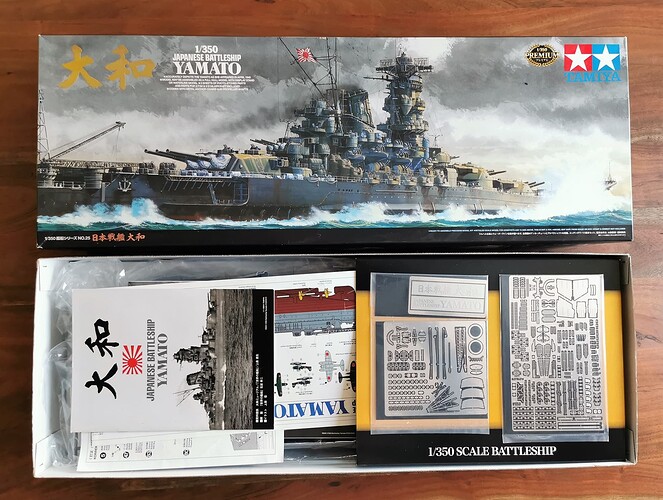
First is the huge kit itself loaded full with plastic parts:


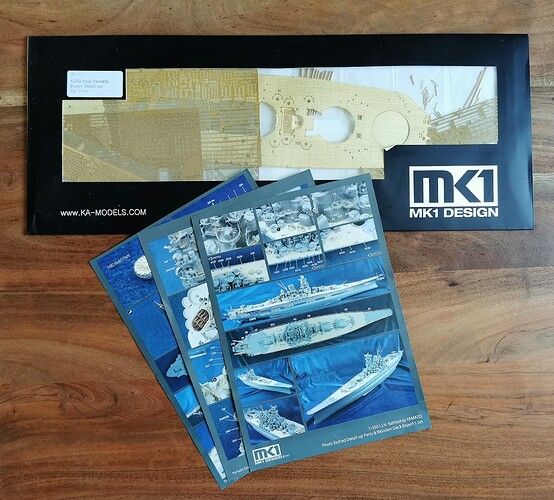
Then we have this nice MK1 deluxe upgrade set with a lot extra etched parts, turned barrels and a wooden deck (which need to get blackened somehow later). The instructions could be better but I will to my best here

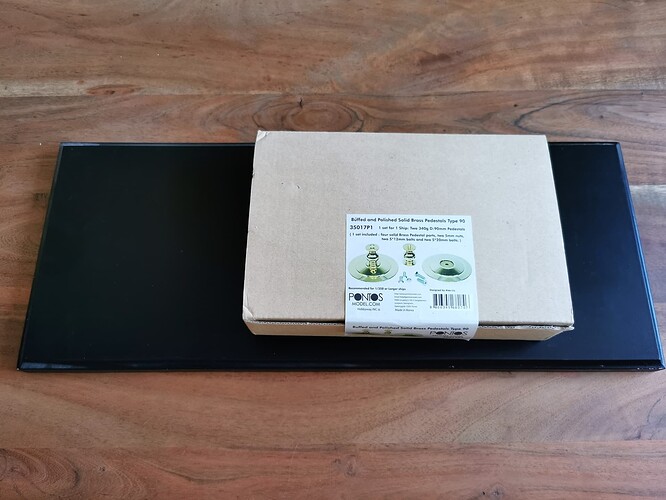
I have a wooden base and some luxurious brass pedestals waiting for the hull

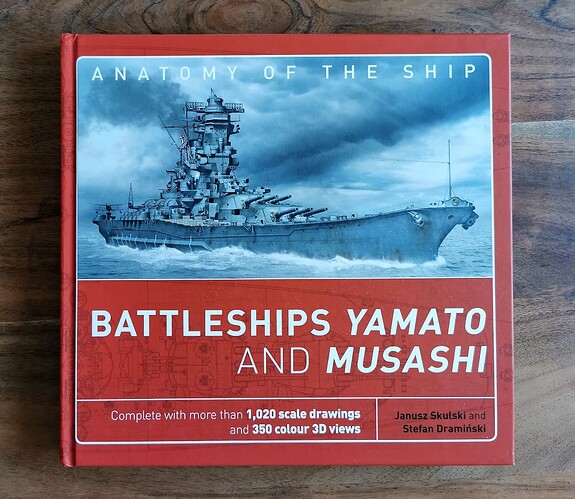
One very useful and recommended book for studying the details (very recommended, but also some few small errors which I will explain later during the build)

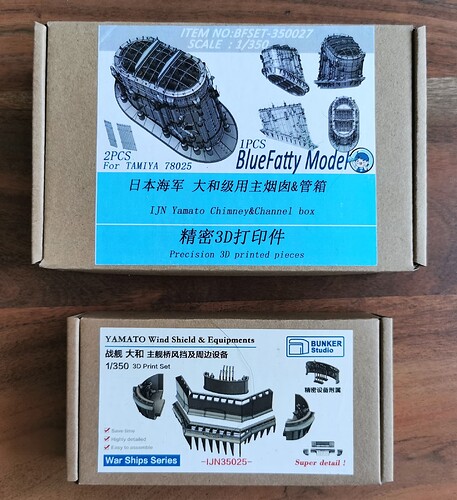
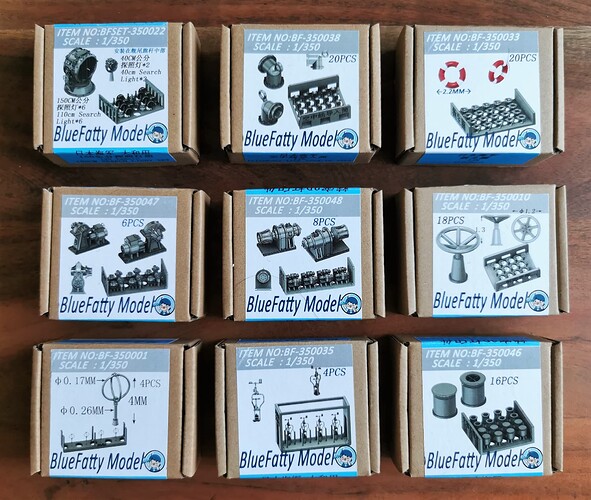
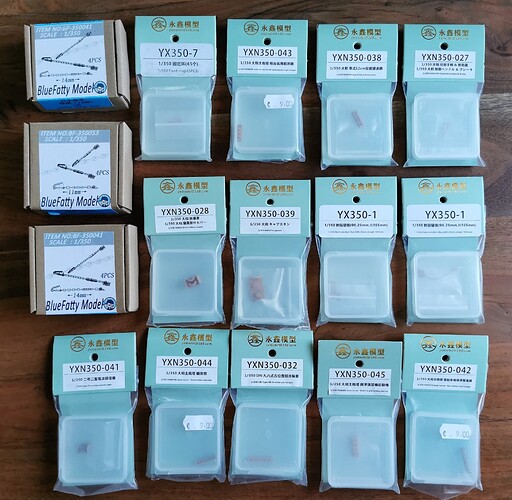
brandnew 3d printed upgrade sets from Fatty Models (strange choice of company name isnt´it?). The funnel and main bridge sets with the new crisp wind channels are supernice and correct the mistake of the kit with the missing upper main AA-fire control station at the main bridge in 1945

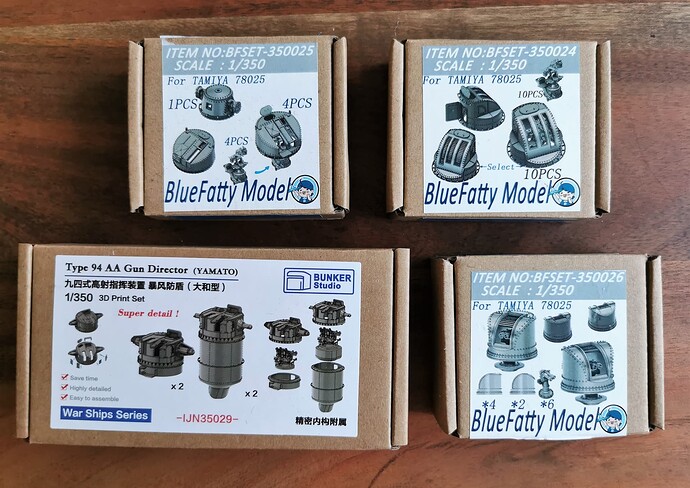
Then there are new 3D printed gun directors for the AA guns, machine guns and search lights. All parts have open hatches and an interior to look inside!

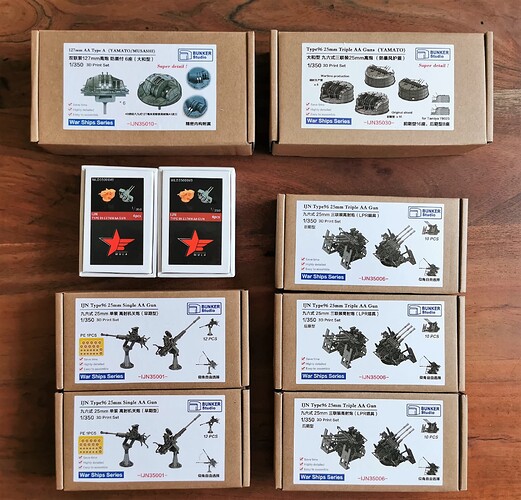
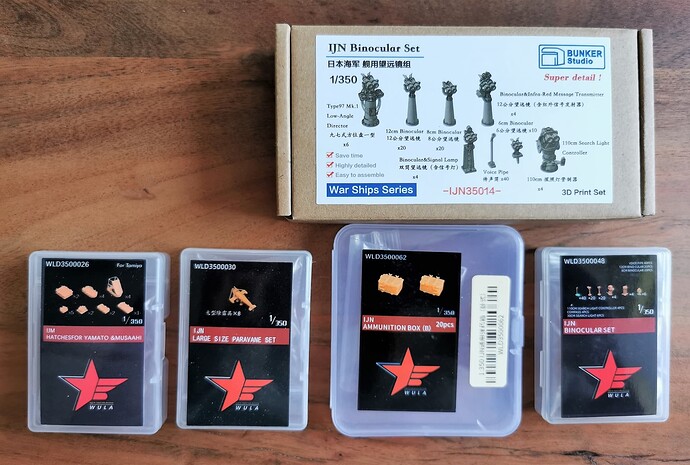
All the AA guns will be replaced by these 3d printed guns from Bunker Models and WuLa. They look amazing and will safe me from a lot miniscule assembly work

hatches, paravanes, binoculars, extra ammunition boxes and voicepipes

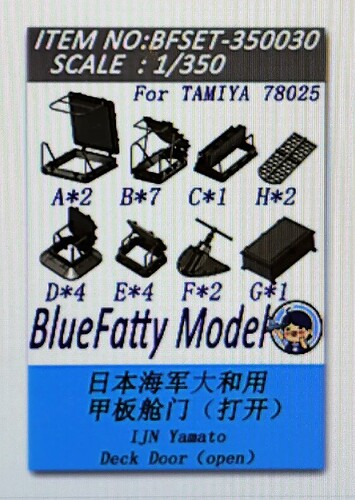
this is the only one extra part which is on its way to my harbor for this build: further open hatches. It will arrive long before it will be needed hopefully

searchlights, bollards, antennas, anemometers, winches, handwheels and detailed telephone line lead-in tubes

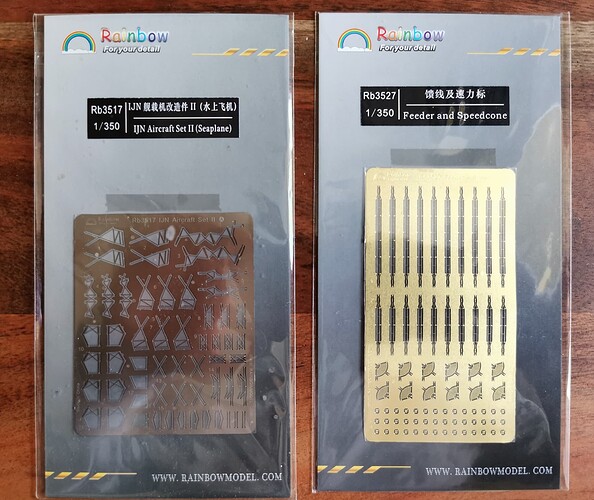
etched speedcones and an aircraft upgrade set for the later needed last two Mitsubishi F1M Petes aboard.

and a whole bunch of smaller 3d printed detail sets all from YXmodels. These are main turrets gun aimer´s periscopes, anchor chains, rear hangar anti blast cover, Type 0 12 cm binoculars, anchor stoppers, Type 22 surface radar, main turrets exercise gun aiming devices, main turrets open observation windows, Type 98 director periscopes, main turrets commander´s periscopes, fixed rings, capstan and finally control handles & brake for the rear crane

Altogether these upgrade sets give this huge pile :roll_eyes: :smirk:

Believe me or not but there are still more parts out there for improvements which I still don´t have but I think the most useful stuff is now in my hands to make my ultimate Yamato!

I hope I did wettened your appetite for my upcoming build. You are welcome to watch and comment, I appreciate it :smiling_face: :raised_hand_with_fingers_splayed:

Dōmo arigatōgozaimasu!
22 Likes

That is quite the project you’ve assembled there Thomas! Best of luck with it :+1:.

1 Like

I’ll be following this one Thomas - Very appealing !

1 Like

Will there be any plastic remaining on the kit when you’re finished?!

2 Likes

Have you seen this YouTube channel?

1 Like

The concept of this build would give me nightmares…

Enjoy the build.

2 Likes

Wow, Thomas, I can’t wait to watch you get this beast in the shipyard! I’ve pulled up my comfy chair and got my popcorn - this is gonna be great!

1 Like

Thomas, it’s great to see you back on the salty side and wow! What a way to make a come back! :slightly_smiling_face:

This project looks amazing!

I’ve got my popcorn :popcorn: and taking a seat in the front row to watch a master at work :star_struck:

1 Like

Hi Thomas,

This looks like it is going to be one facinating build to watch. I am most definitly along for the ride, looks like I am going to need a lot of popcorn. :grin: :popcorn: :popcorn: :popcorn:

Cheers, Si

1 Like

Holy S***. I am both intimidated and impressed by that collection of bits and bobs. Must have cost as much as the original ship!

Good luck and I look forward to watching this build :grin:

1 Like

Rory don´t ask how much I did spent here. I stopped counting the coins… :sweat:

1 Like

And even if you knew what you spent , NEVER put it in writing…

1 Like

As Rory said… Except I would still be swearing lol… that is a mind blowing amount of AM going into this. The detailing will be jaw dropping… Very much tagging along for this. I love watching the big ships get built …:+1:

1 Like

Tuned in and watching, very impressive project.

Be careful with the version of the anatomy of the ship which you are using, some corrections need to be made. Judging by your post you are already aware of that, plus the comment about the dark stained deck.

:+1: :+1:

1 Like

Hello Nikos and welcome aboard. I´ve readed some modelling discussions and studied the book I mentioned above about the Yamato. I would be glad If you can assist me with necessary changes / conversions I I should miss one :+1:

Cheers

Thomas :raised_hand_with_fingers_splayed:

I am impressed about the Interest I stirred up with my Yamato. I am glad so many like to see whats coming up. I will give my best :muscle:

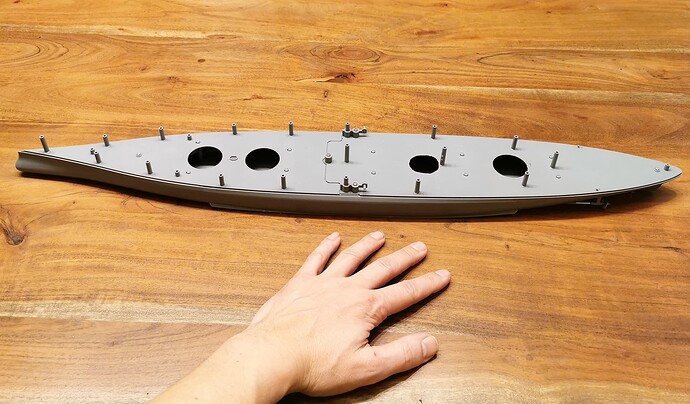
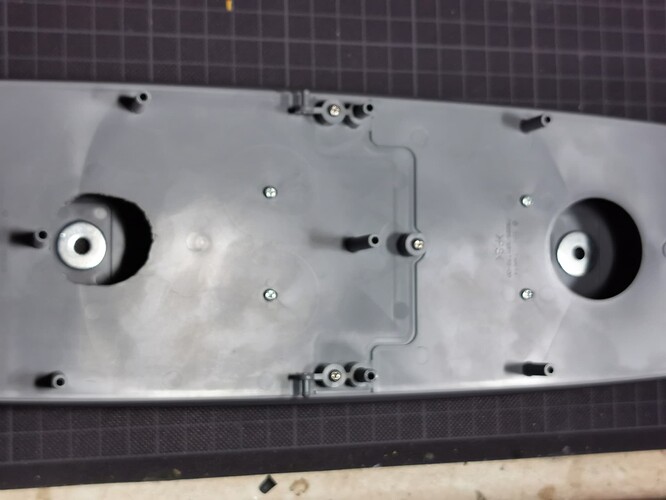
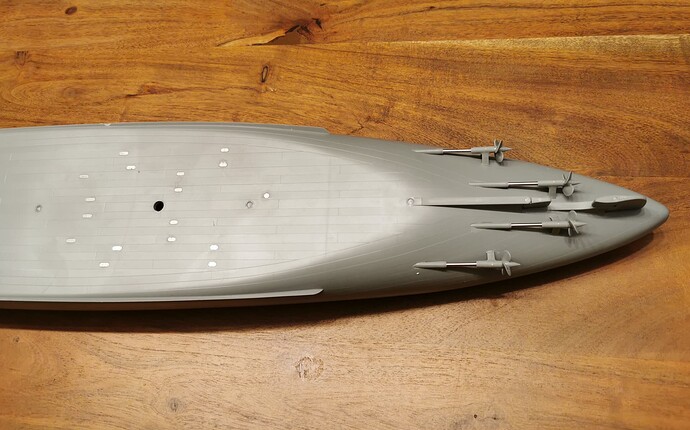
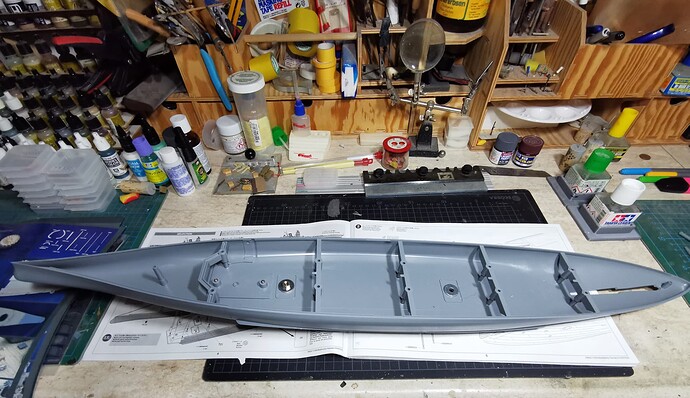
I already started the ship´s hull. Because of the sheer size the ships hull is parted and need to get connected together with screws. Again because of the size I had to make pictures not at my used picture set but at my workbench and the dining table.


I`ve created another hole in order to reaching the screwnut for the brass socket later from above. The hole will get closed over with the superstructures.

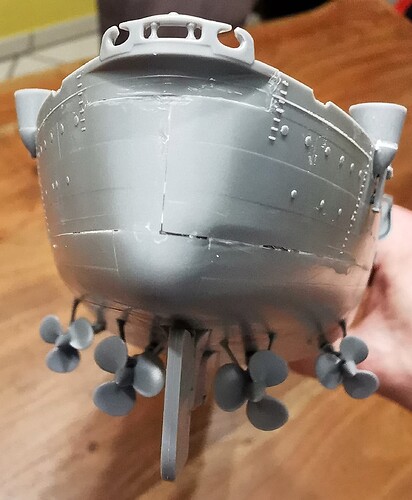
The etched grilles of the bottom flooding vents(?!), the two rudders and the ship´s propellers are all aready done without any problem. Although TAMIYA´s etched parts are made out of stainless steel these parts are thankfully very thin and can easily get separated from the fret with a sharp knife. I´ve made a biplane before this ship and the etched rigging wires were made from thick stainless steel - I´ve ruined several knife blades and one precious TAMIYA PE-scissors…

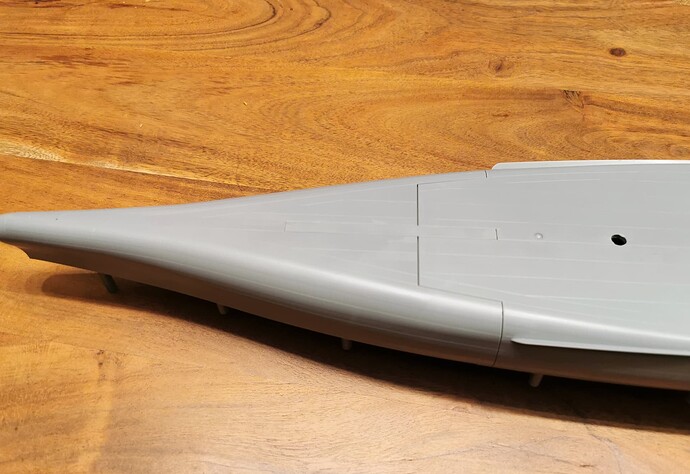
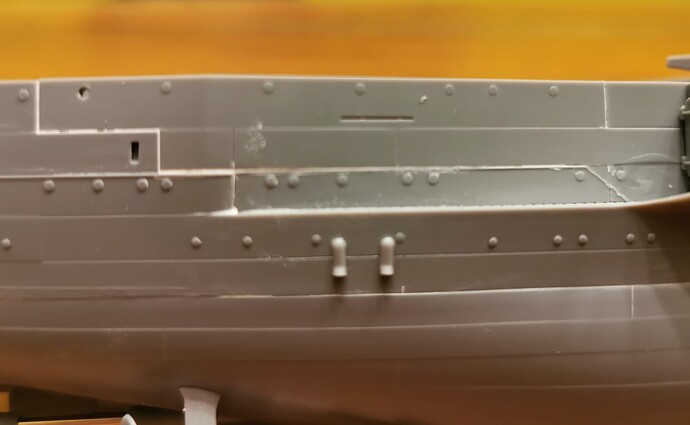
There are some remarkable gaps between the screwed ship parts. There will be some Putty necessary later

Continueing with the aft aircraft hangar :raised_hand_with_fingers_splayed:

4 Likes

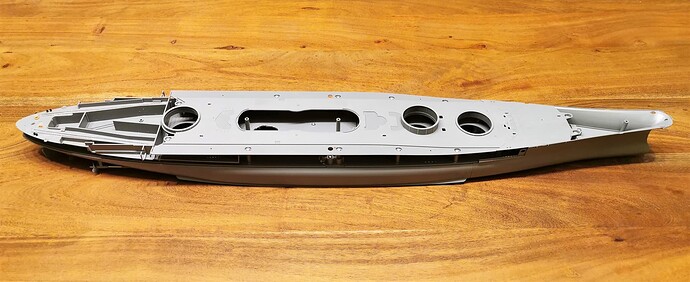
I want to share my small christmas progress: I screwed on the next deck level and did built the aft aircraft hangar structure. Its getting really big now. I opened up all deck hatches as these will be shown in opened position later.

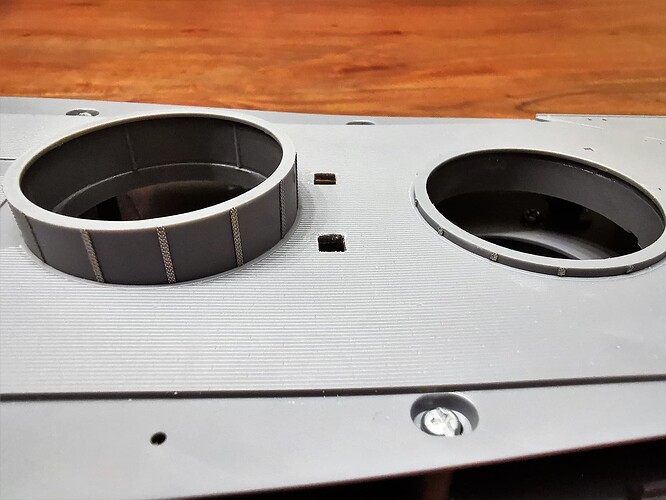
The etched rivetting at the main turret barbettes was done. This was in TAMIYA´s Premium etched set included. Will look nice later under color

Assembled the rear aircraft hangar. I chosed to close the door as there were no aircraft carried after the two Pete´s left the ship early in the morning after it steamed in open waters. The rails were carefully removed and replaced with MK1 etched rails. There have to be the wall opened where the ladder leading out of the hangar bay according to my reference book; done that. The smaller bollards were improved with evergreen and the bigger one replaced with BLUE FATTY MODEL´s 3d printed ones. The open hatch is from WuLa and the rear capstan from YX MODEL.


If you look closely at these 3dprinted parts you can see how crisp these are done. Will really enhance the look of the model later under color


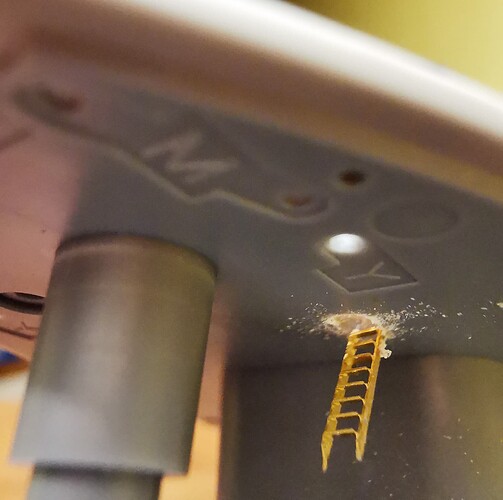
I glued a stairway below the open hatch. Maybe it can be seen later after it was painted in white. We will see if it works :thinking:

10 Likes

This is going to be super detailed Thomas, cant wait to see more of this etch and resin going on.

2 Likes

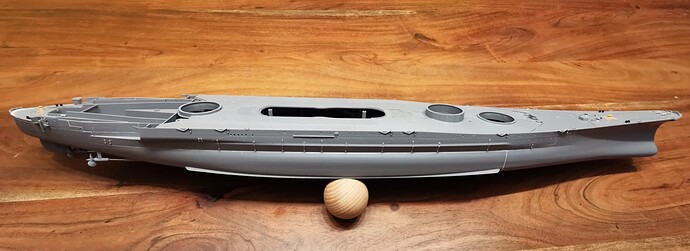
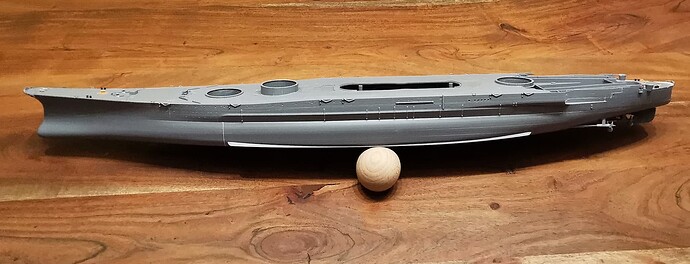
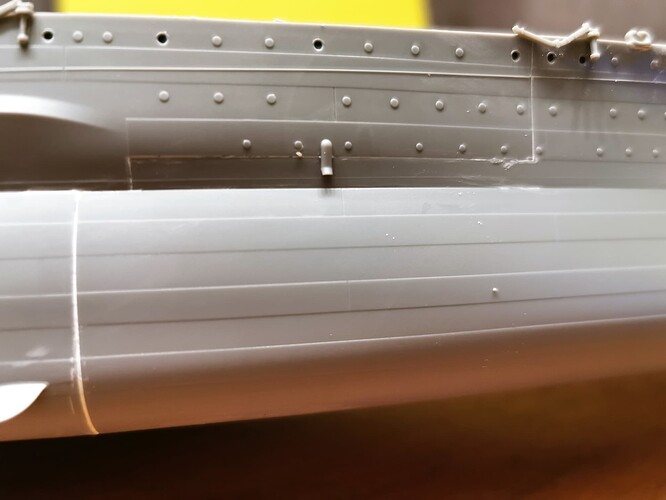
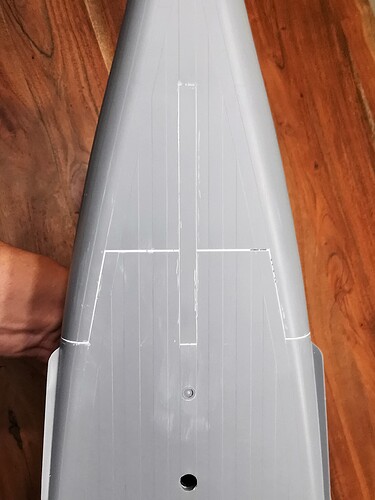
Hello there, I was busy during the last few days and was able to finish the assembly of the ship´s hull. Fit was good, some gaps had to be filled with putty but nothing serious:


At the ship´s bow there was some trimming and fitting with superglue, file and sanding stick necessery. We will see how it looks after a first shot of color :thinking:

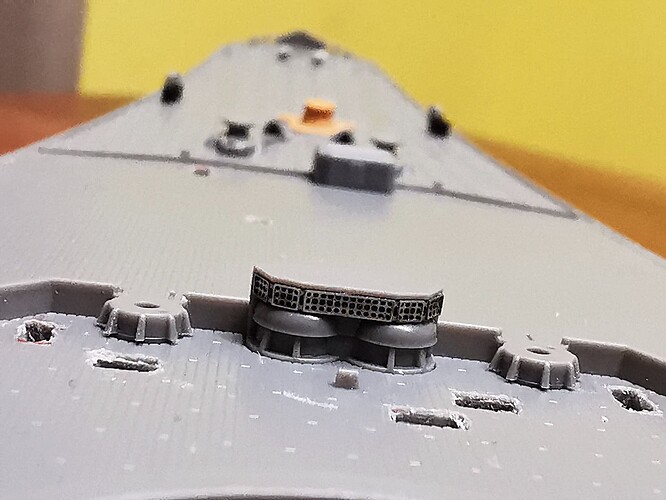
At the ship´s deck I also started to glue in these parts which don´t disturb installing the wooden deck later. First was a big frontal ventilator

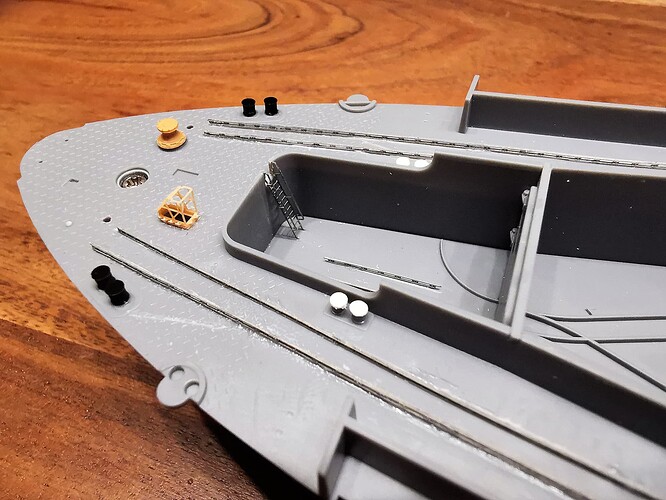
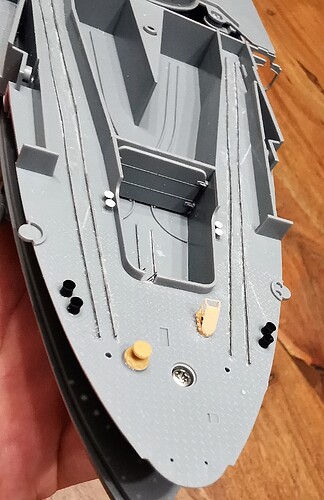
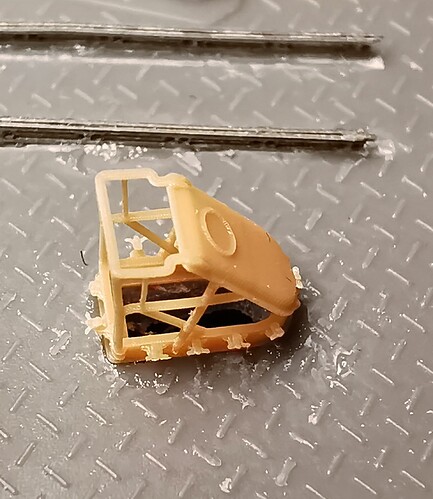
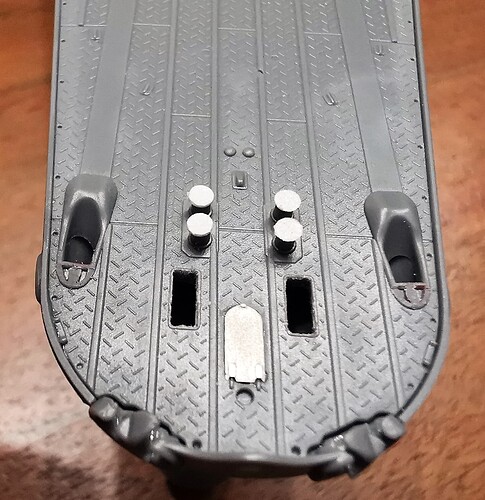
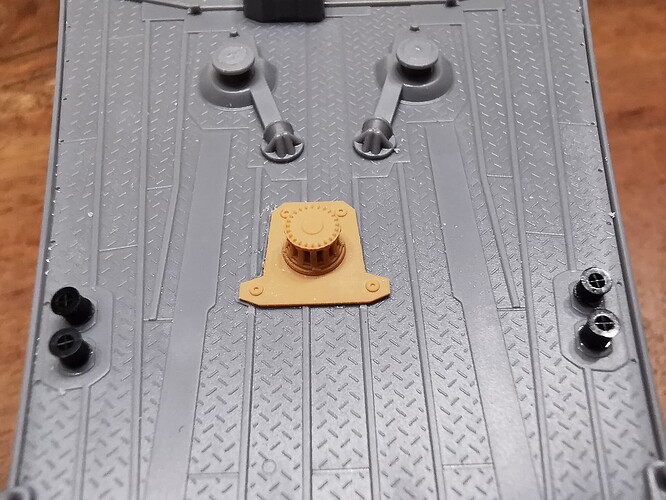
At the bow I opened some areas which will later be covered with 3d-printed parts. The frontal bollards are also installed but will need to repositioned as the crosses inside are not in the line. Everything is soo small…

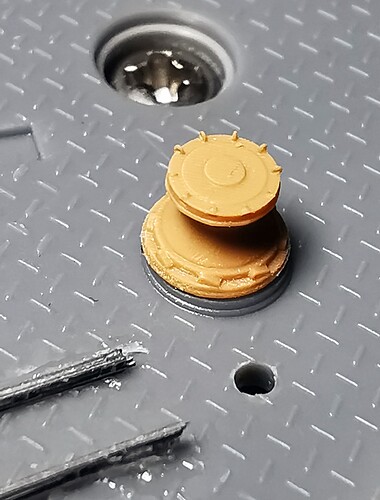
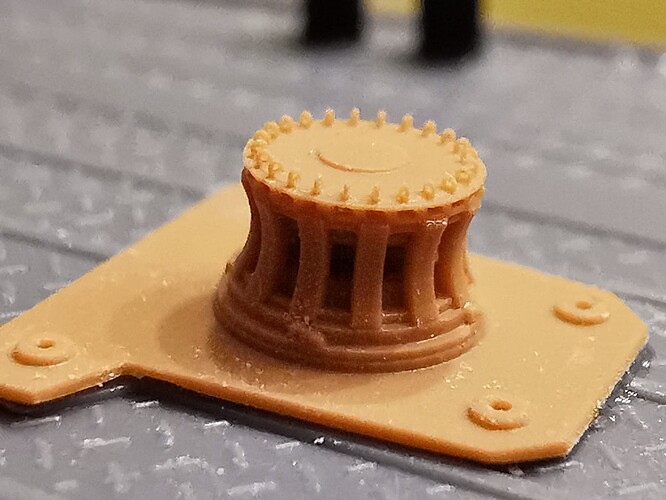
The 3d printed capstan is really a nice piece, I like it :smiling_face_with_three_hearts:


Cheers :raised_hand_with_fingers_splayed: :smiling_face:

10 Likes

I have to say, despite the kit being a new tool, the fit of the hull parts is lacking. At least it has the welded on portholes.

The bilge keels though look great. :+1: :+1:

1 Like