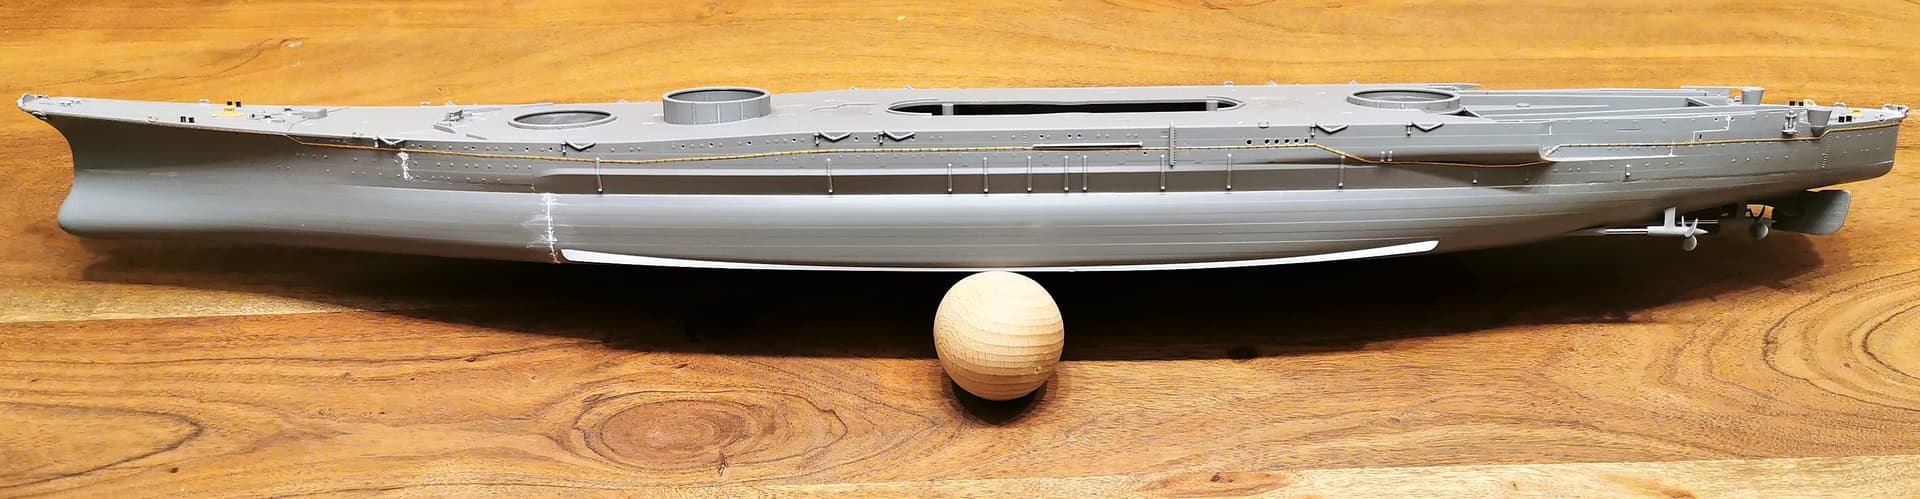
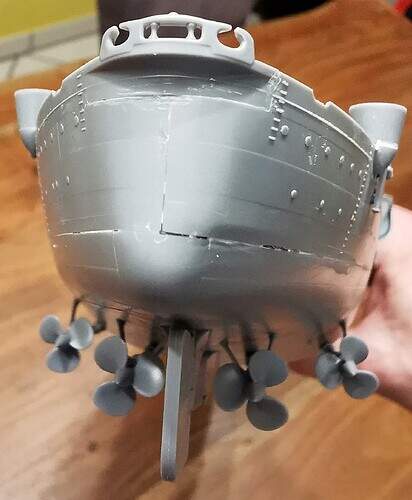
Nikos, true the gap between the two main hull parts is big. I´ve seen in other blogs where some people really have huger gaps in the end at the stern then me. Tricky…
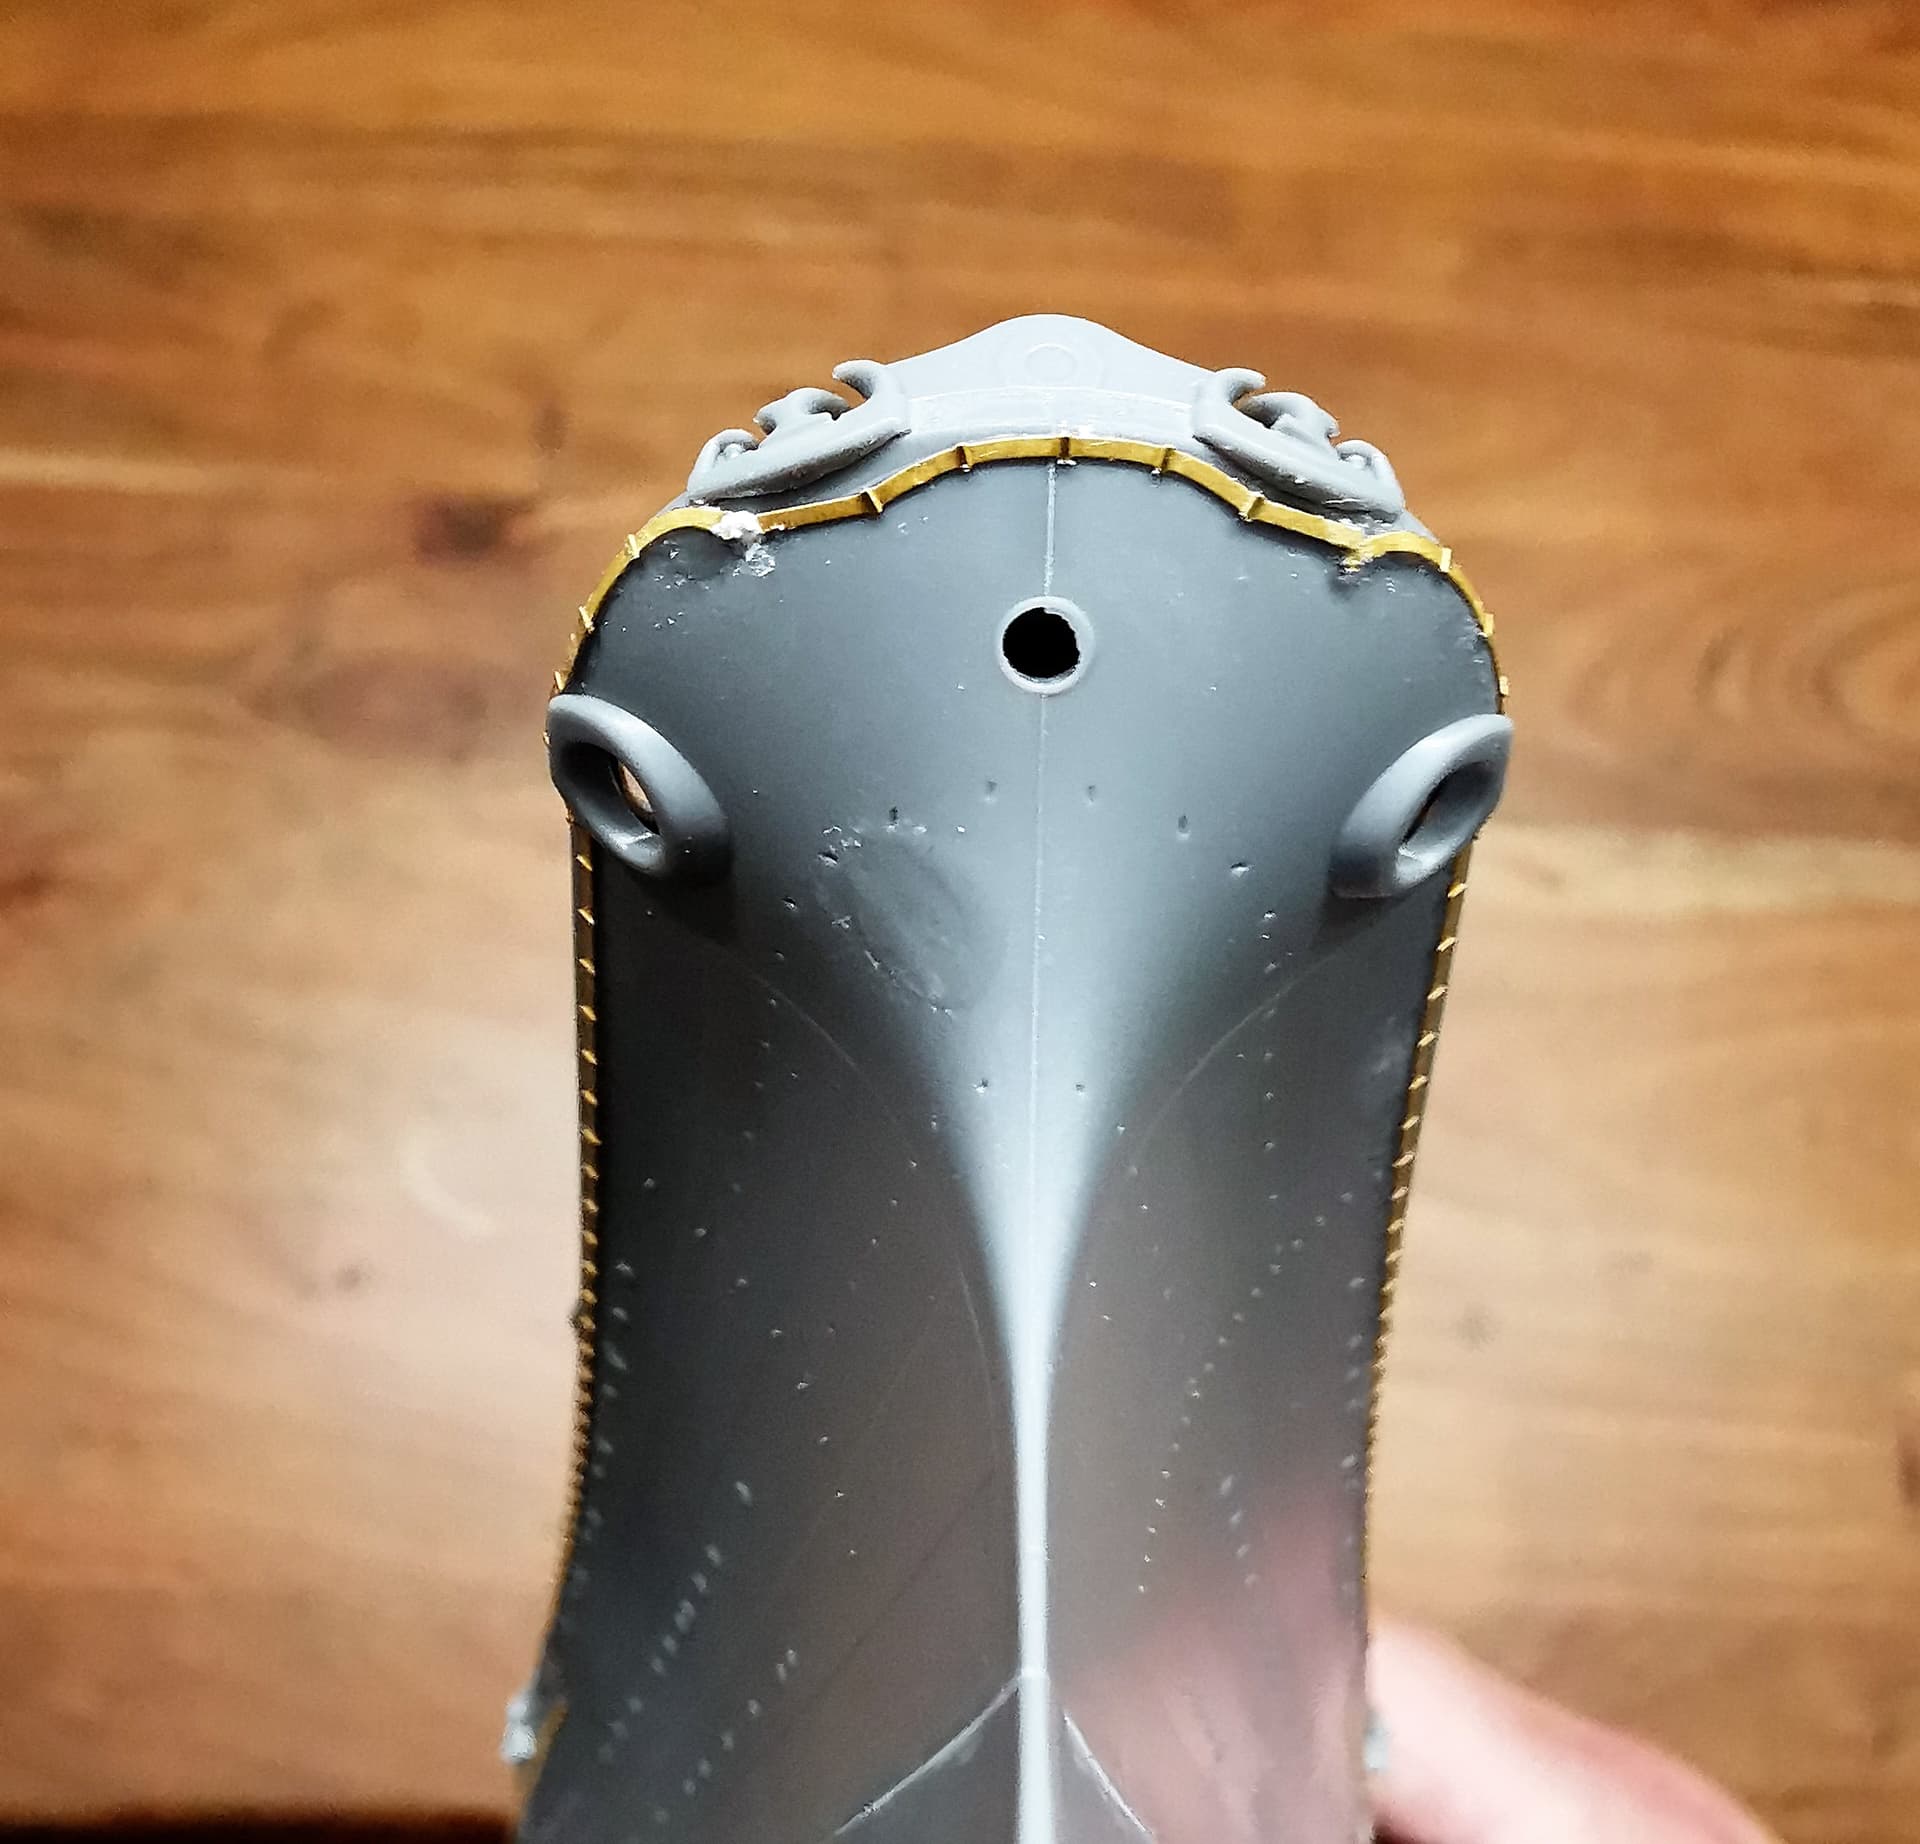
I am also glad these welded on portholes are there. Would be a tiresome and boring work to apply these with miniscule etched discs
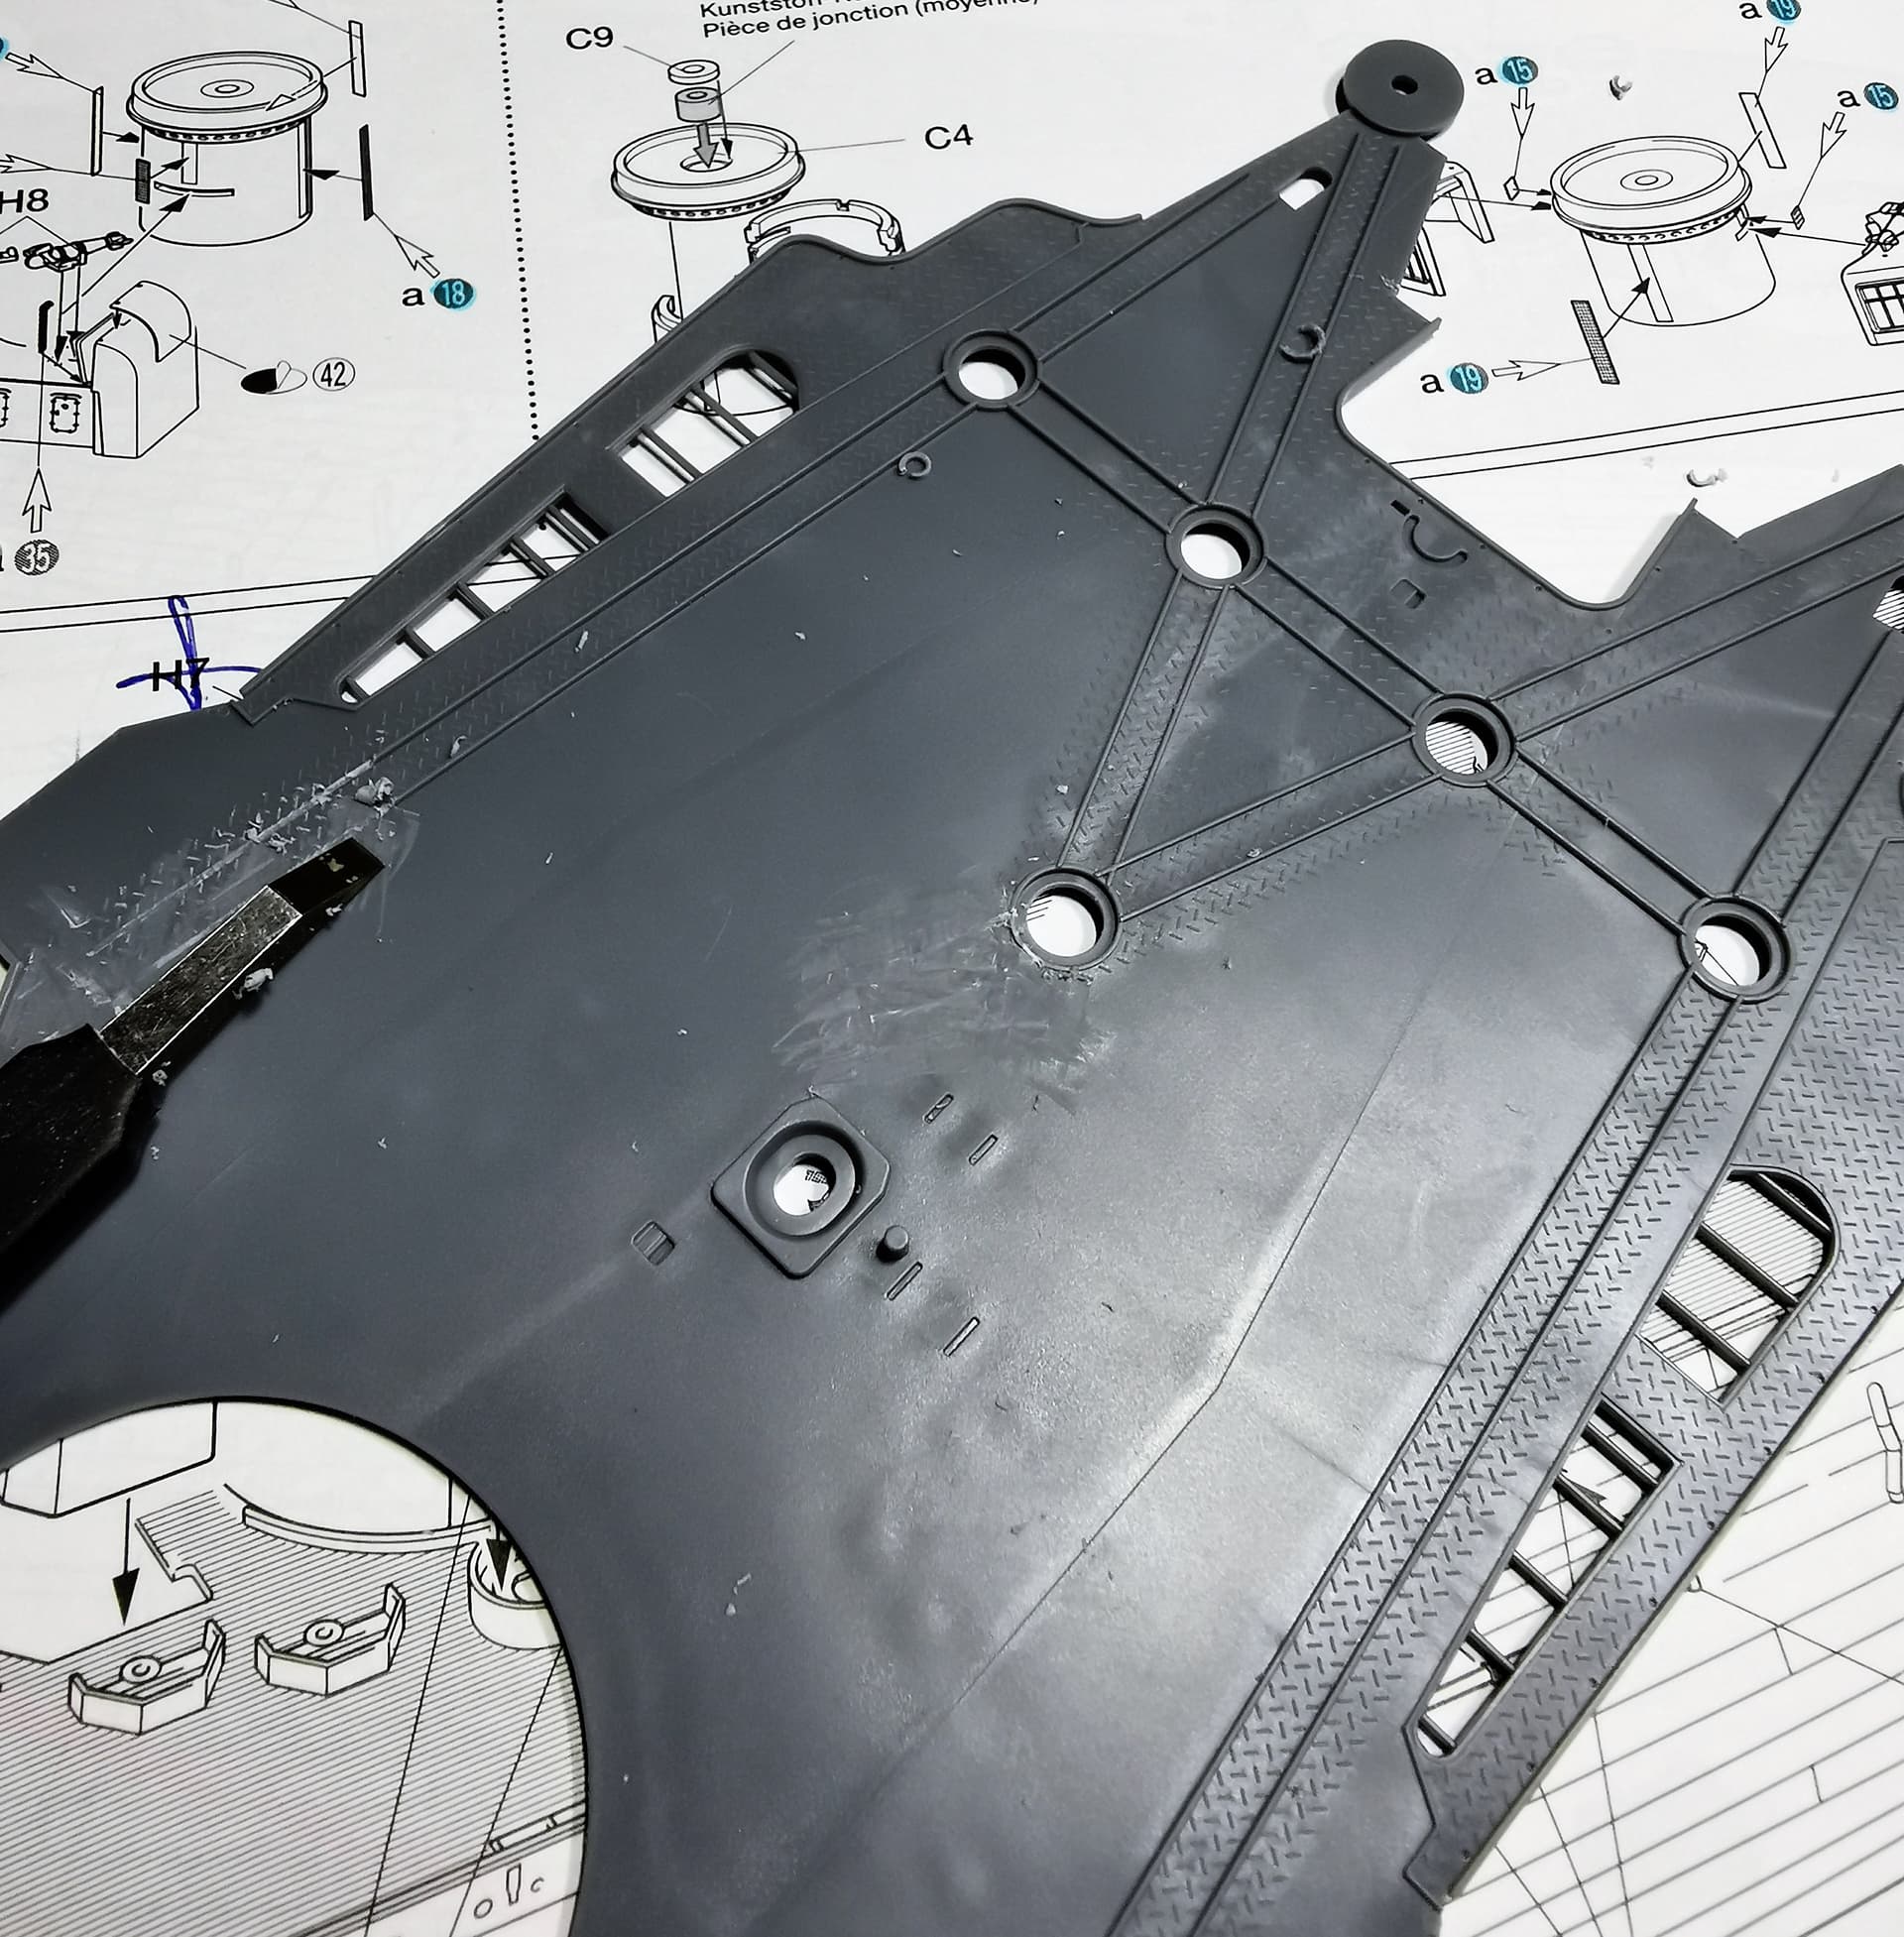
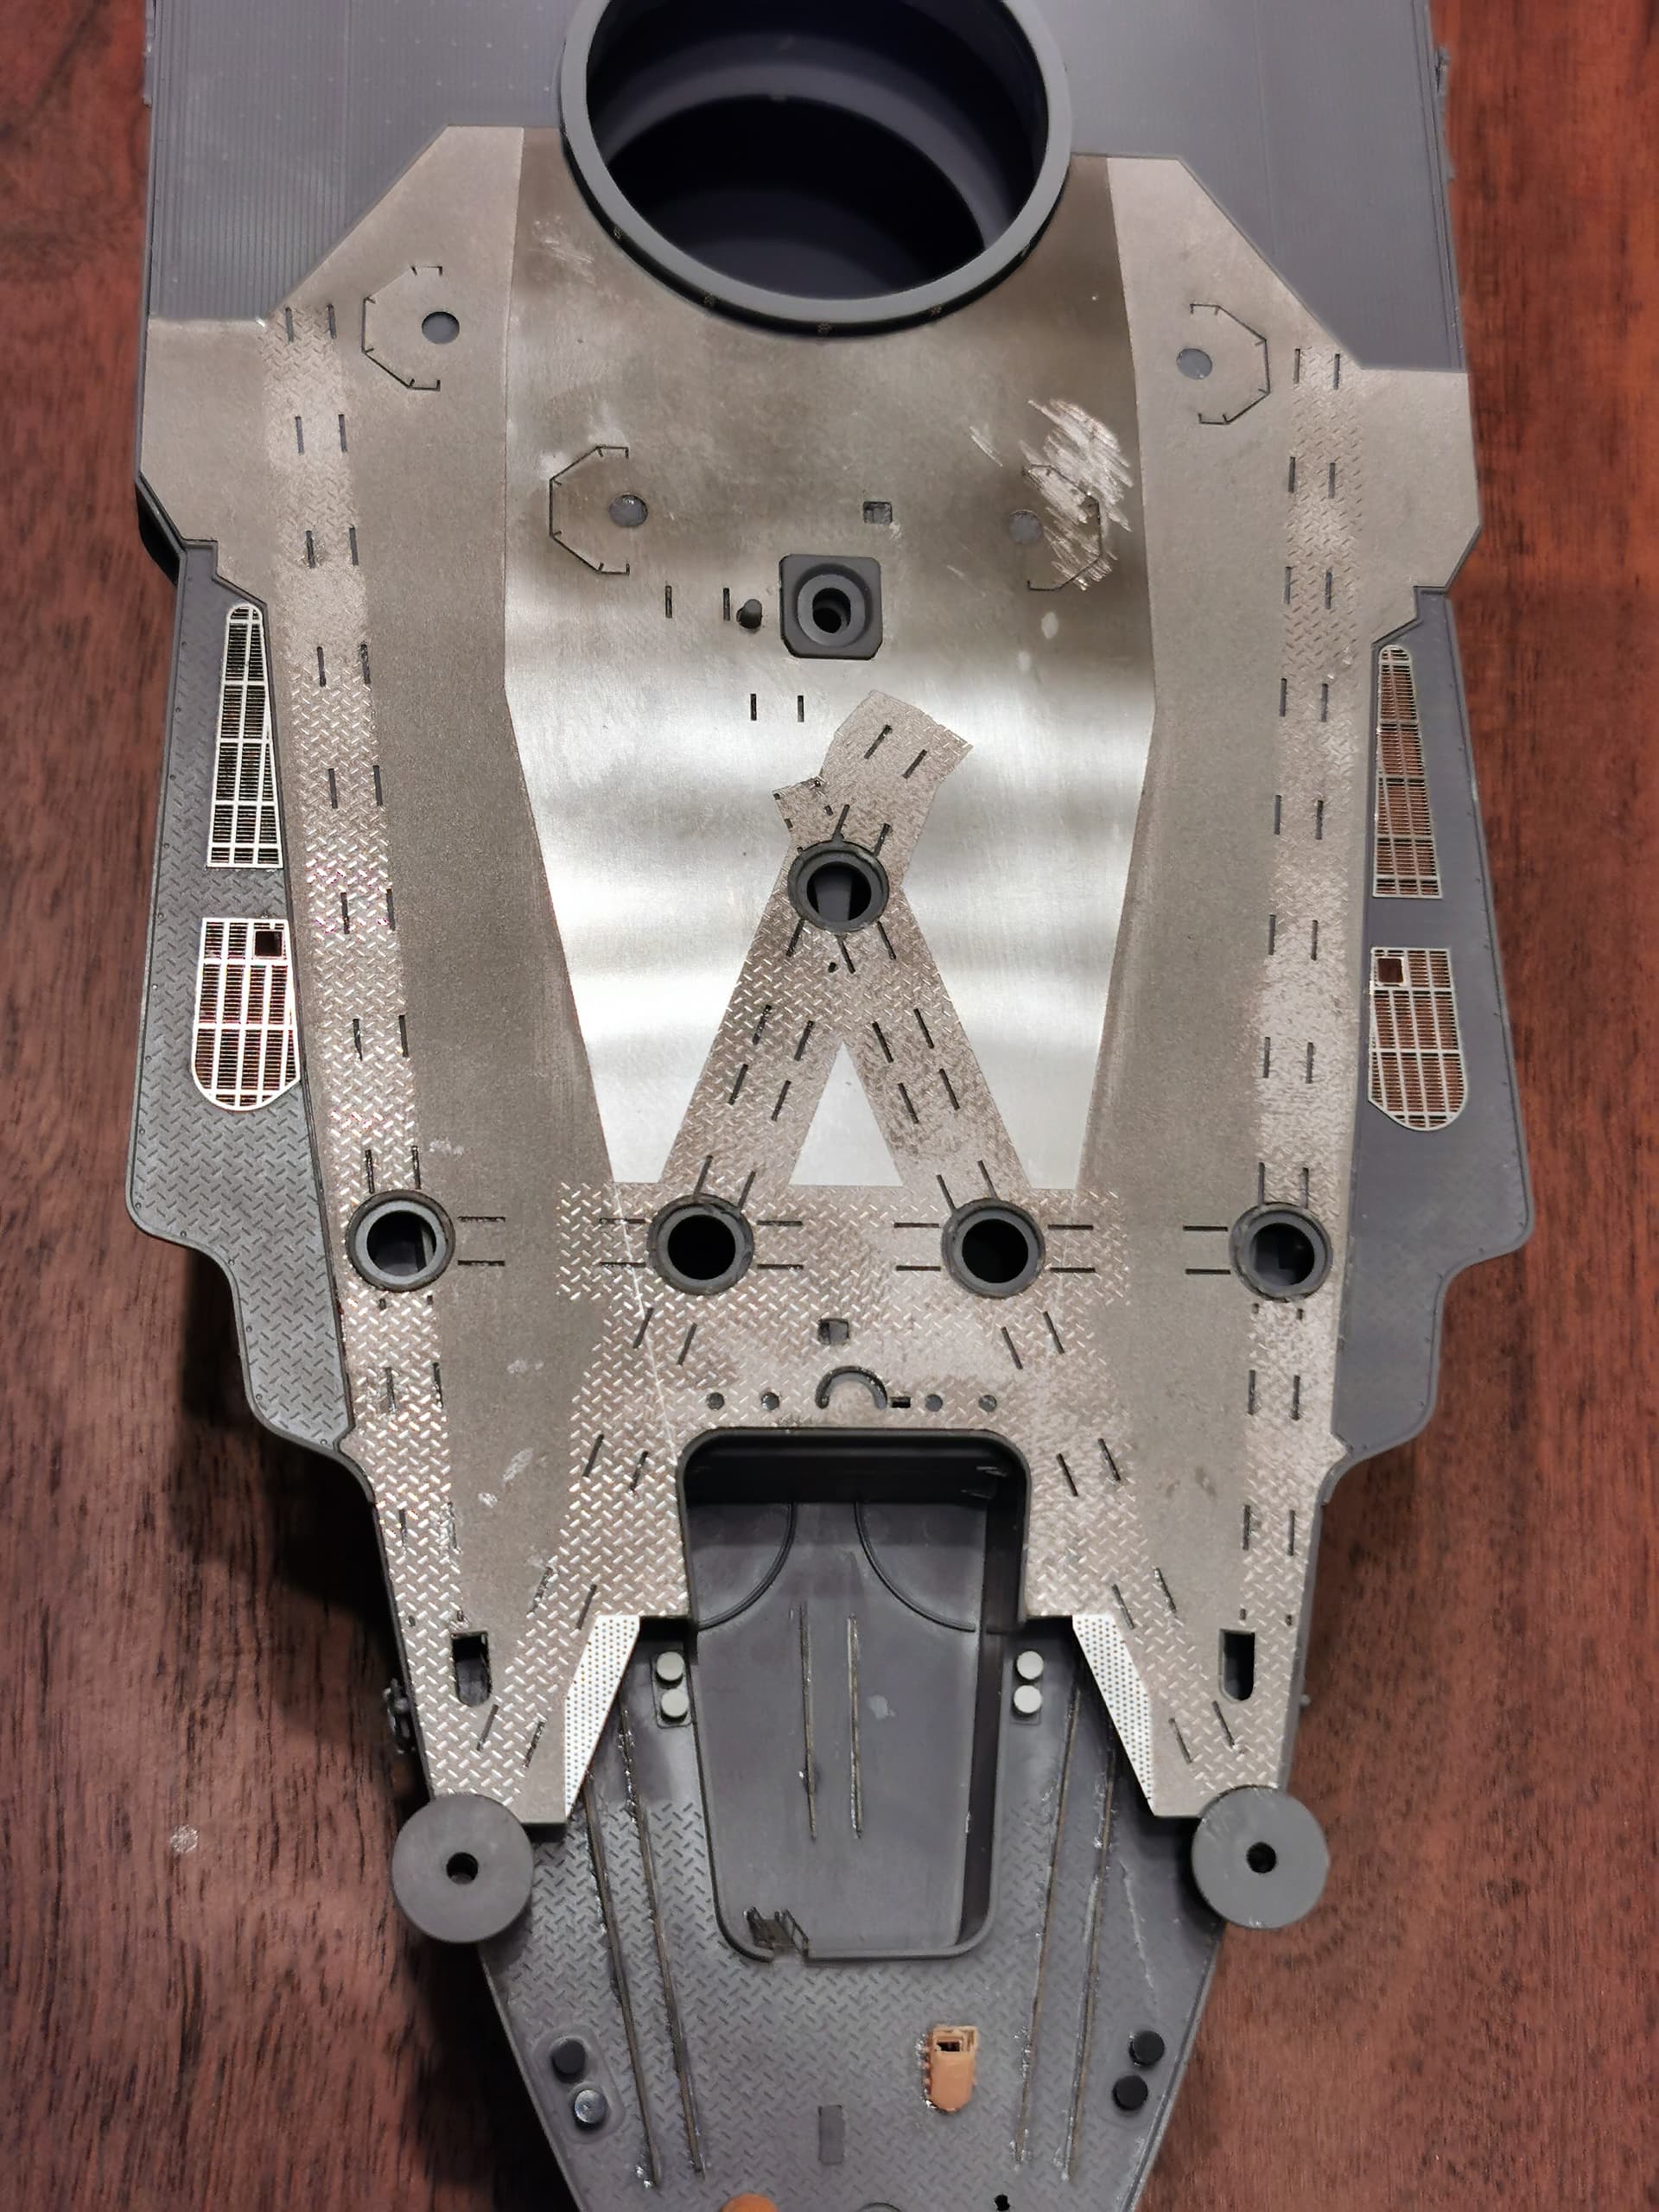
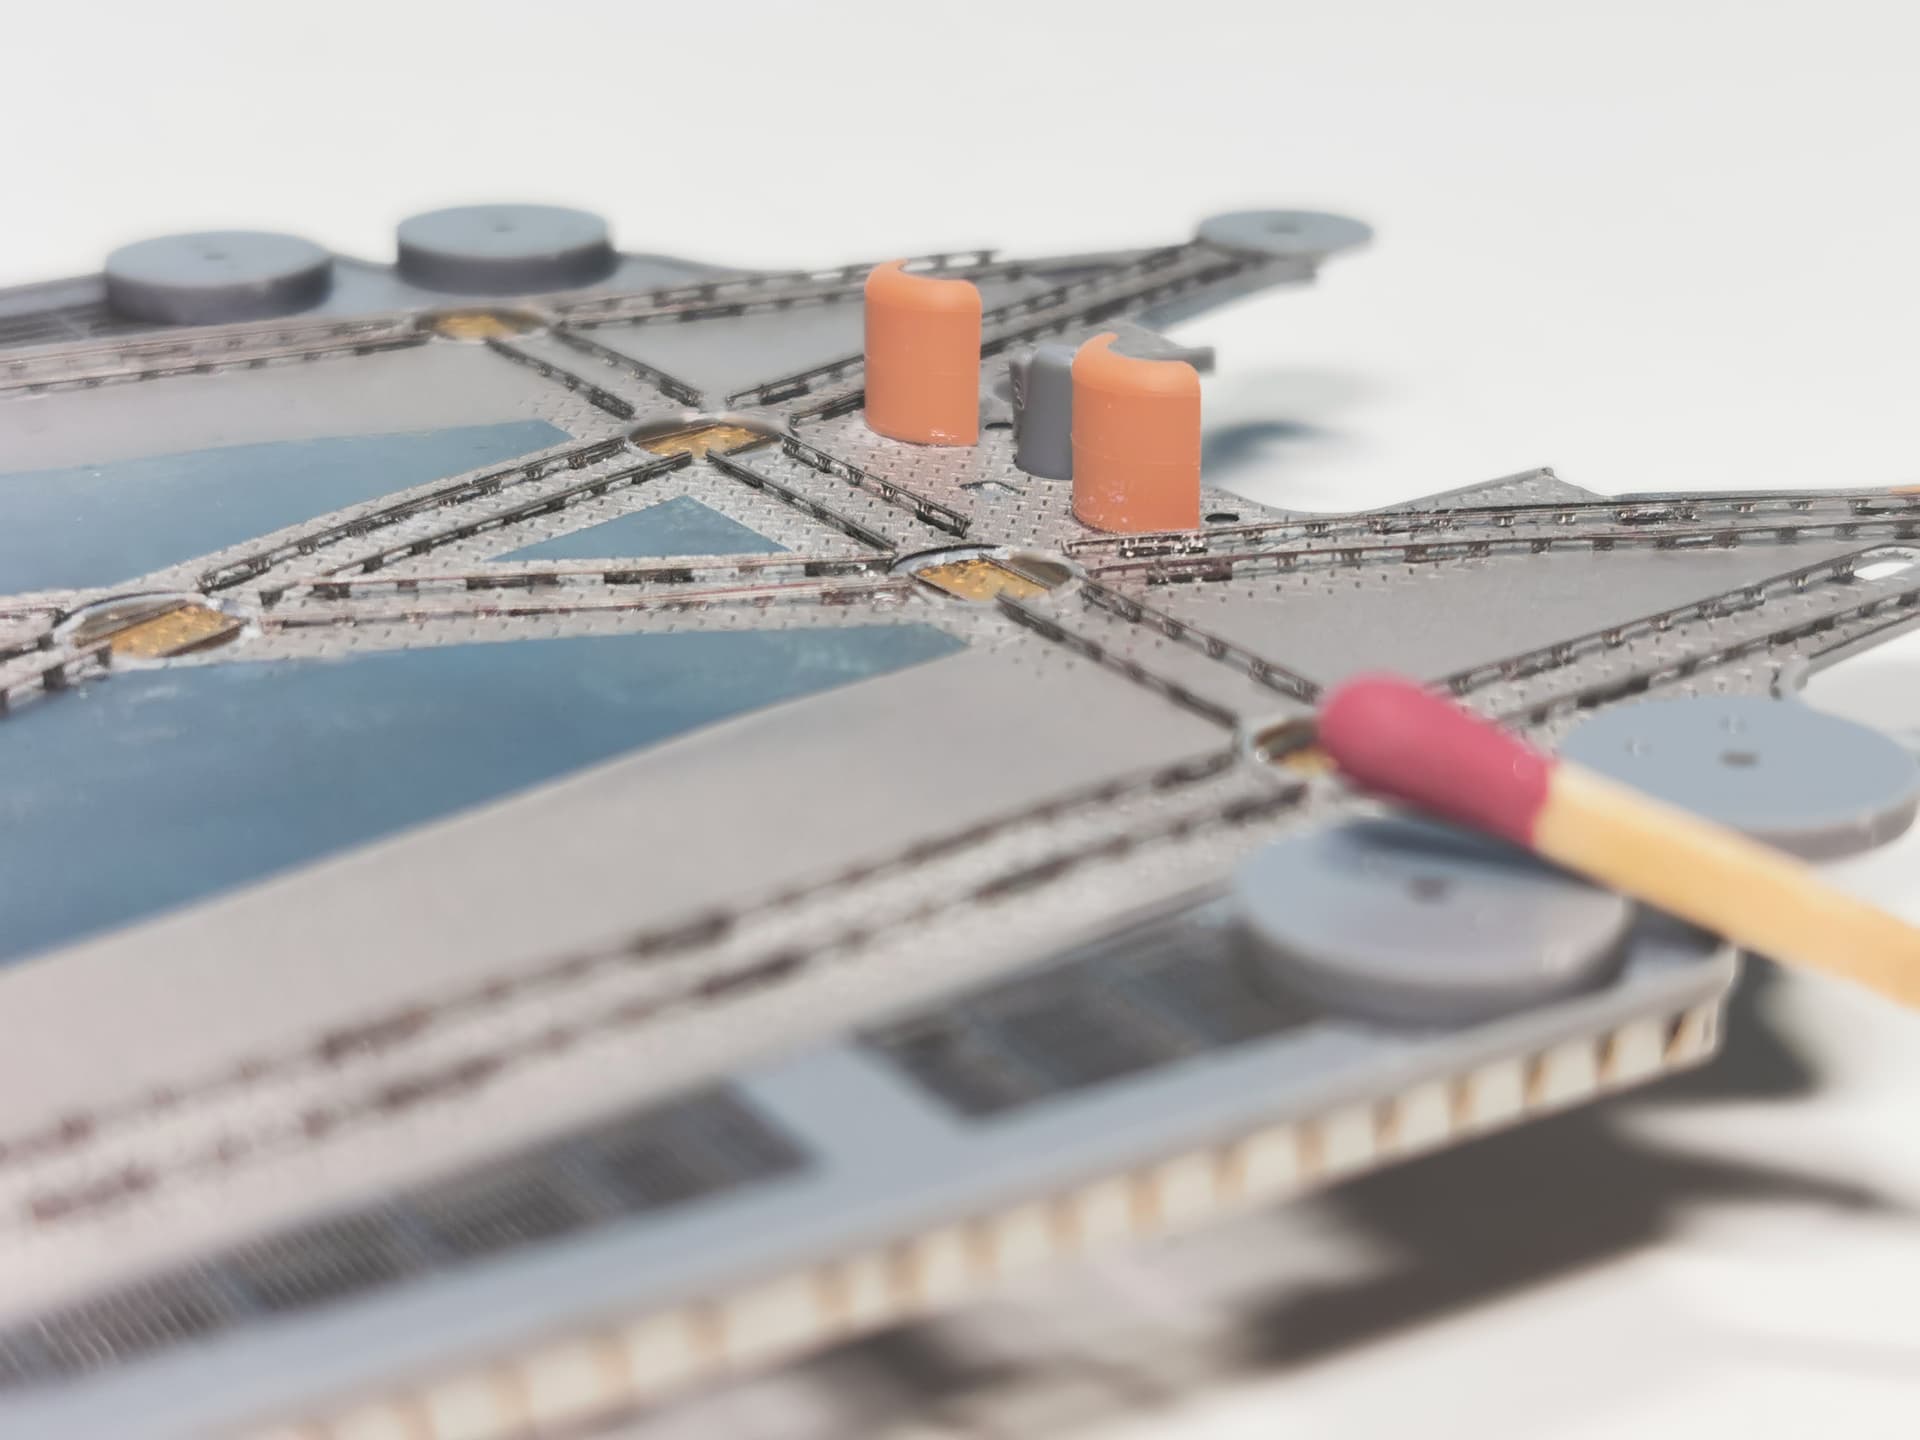
Shaved off all details of the aircraft deck and superglued the etched part above. Next will be the rails and turntables. Last will be the boat cranes and girders of the underside.
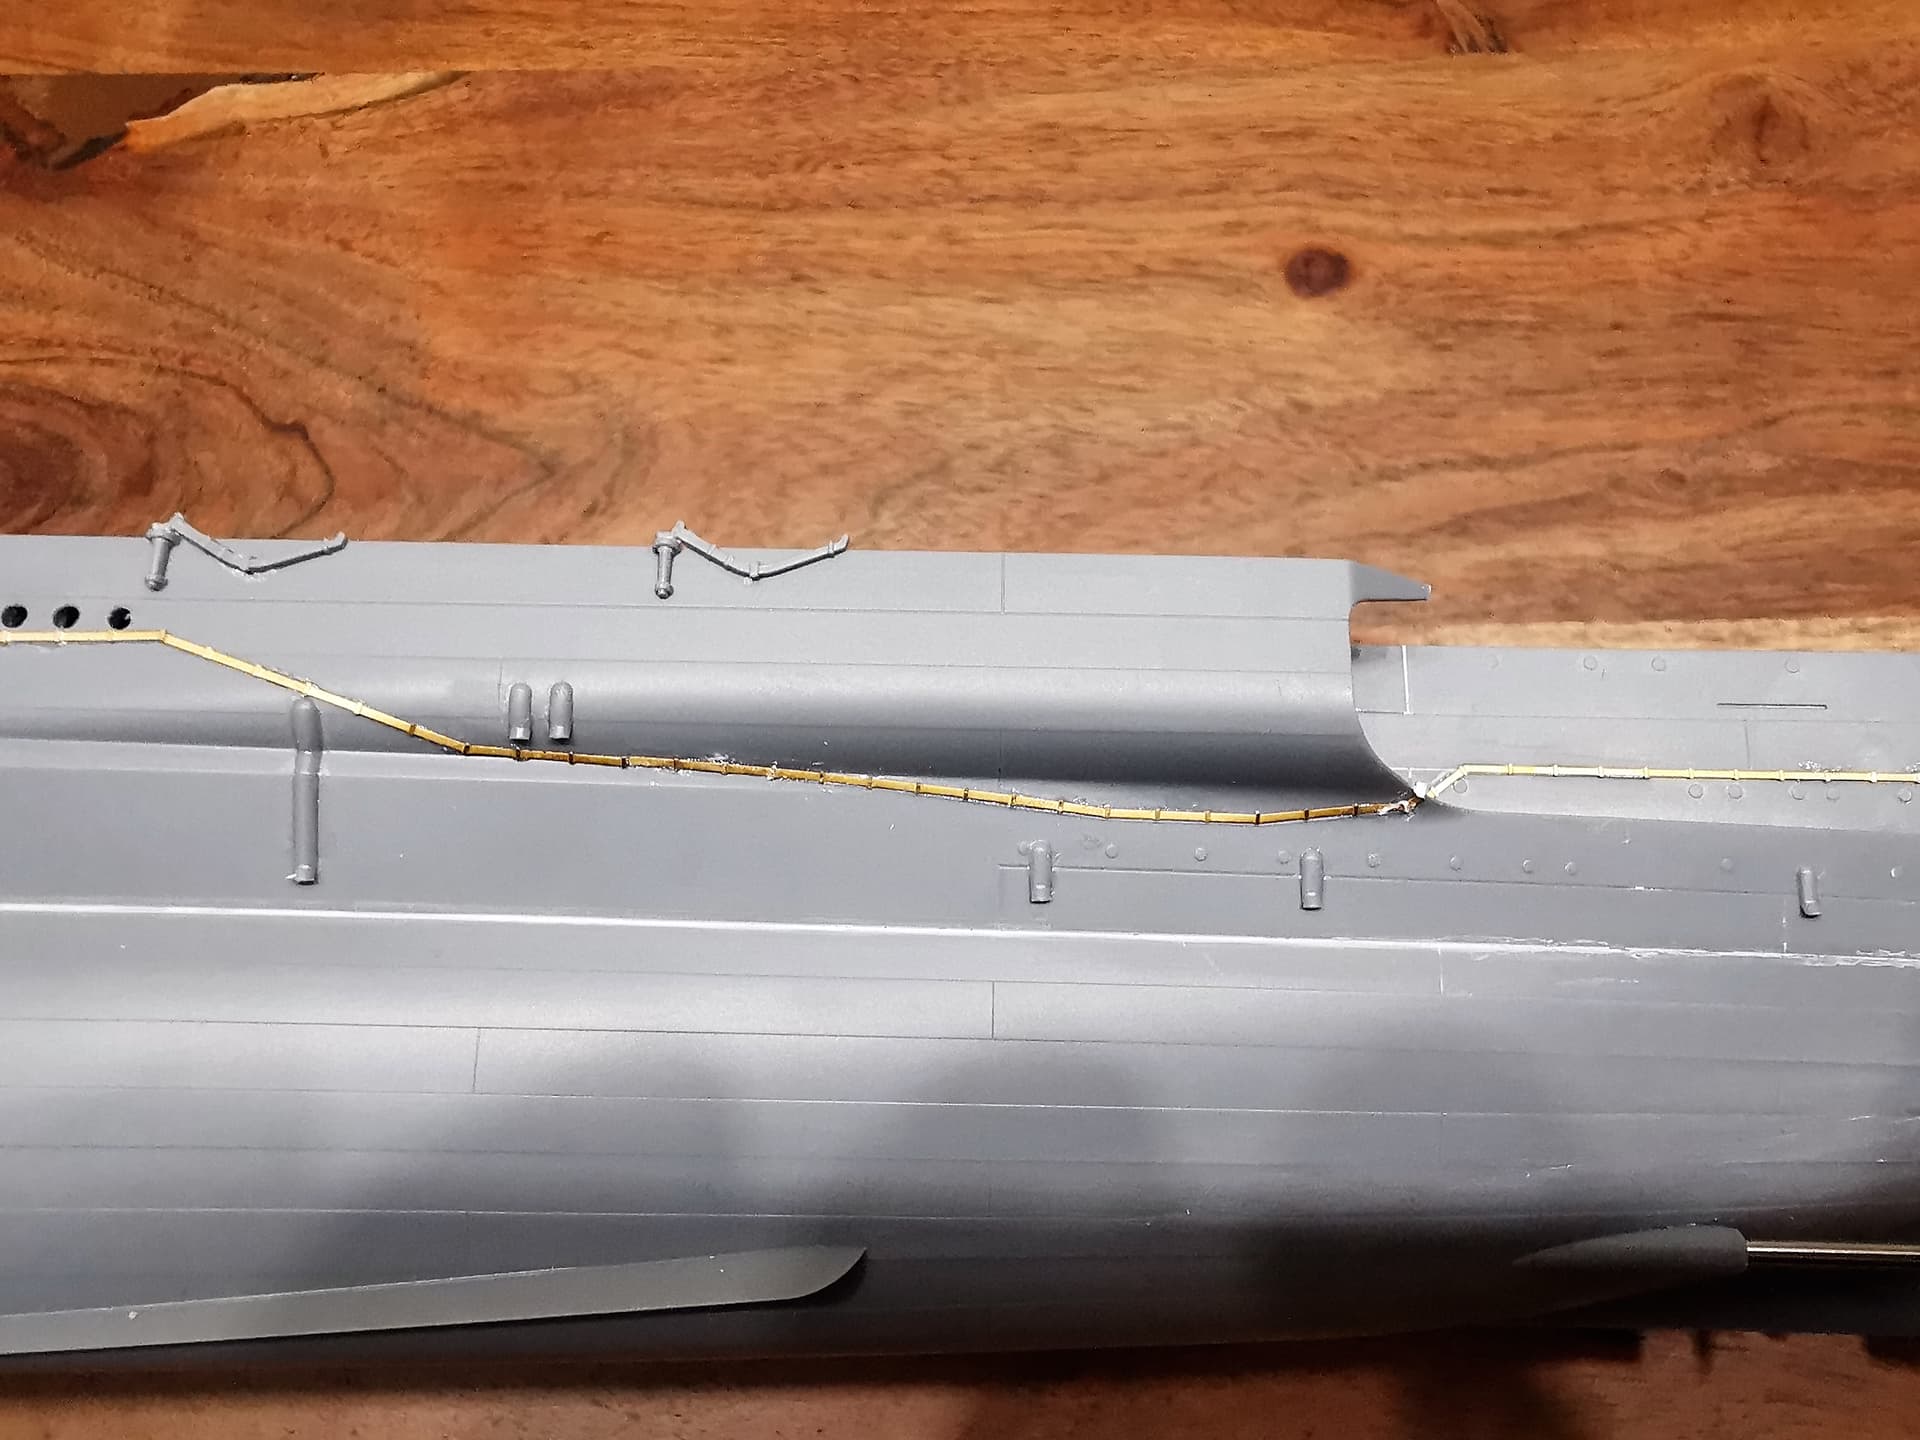
During the curing time for the aircraft deck I made the degaussing cables around the ship. These were provided by MK1 in a nice soft brass etched fret. The kit have a fine single line to show the modeller the course where the degaussing cables have to be installed. Surprisingly this went on very straightforward, just some attention and exact placement is important here
I found a mistake in MK1 instructions for these degaussing cables. They mistakenly interchanced the numbers E14 with E15; so if you are doing this always watch if the suggested parts also really fits . There were also two small degaussing cable lines left; Part numbers E25. They are not mentioned in the instruction at all but I don´t see them necessary within my build. Maybe you can take them if you accidently need some extra line
Very nice start Thomas. The 3d printed partsare very crisp. Etch instructions can be “fun”. Not only confusing, but the odd misnumbered parts are not uncommon.
This is looking great Thomas, lovely detailing being added… Time consuming but it will be really worth it come the end … The flight deck area looks very good
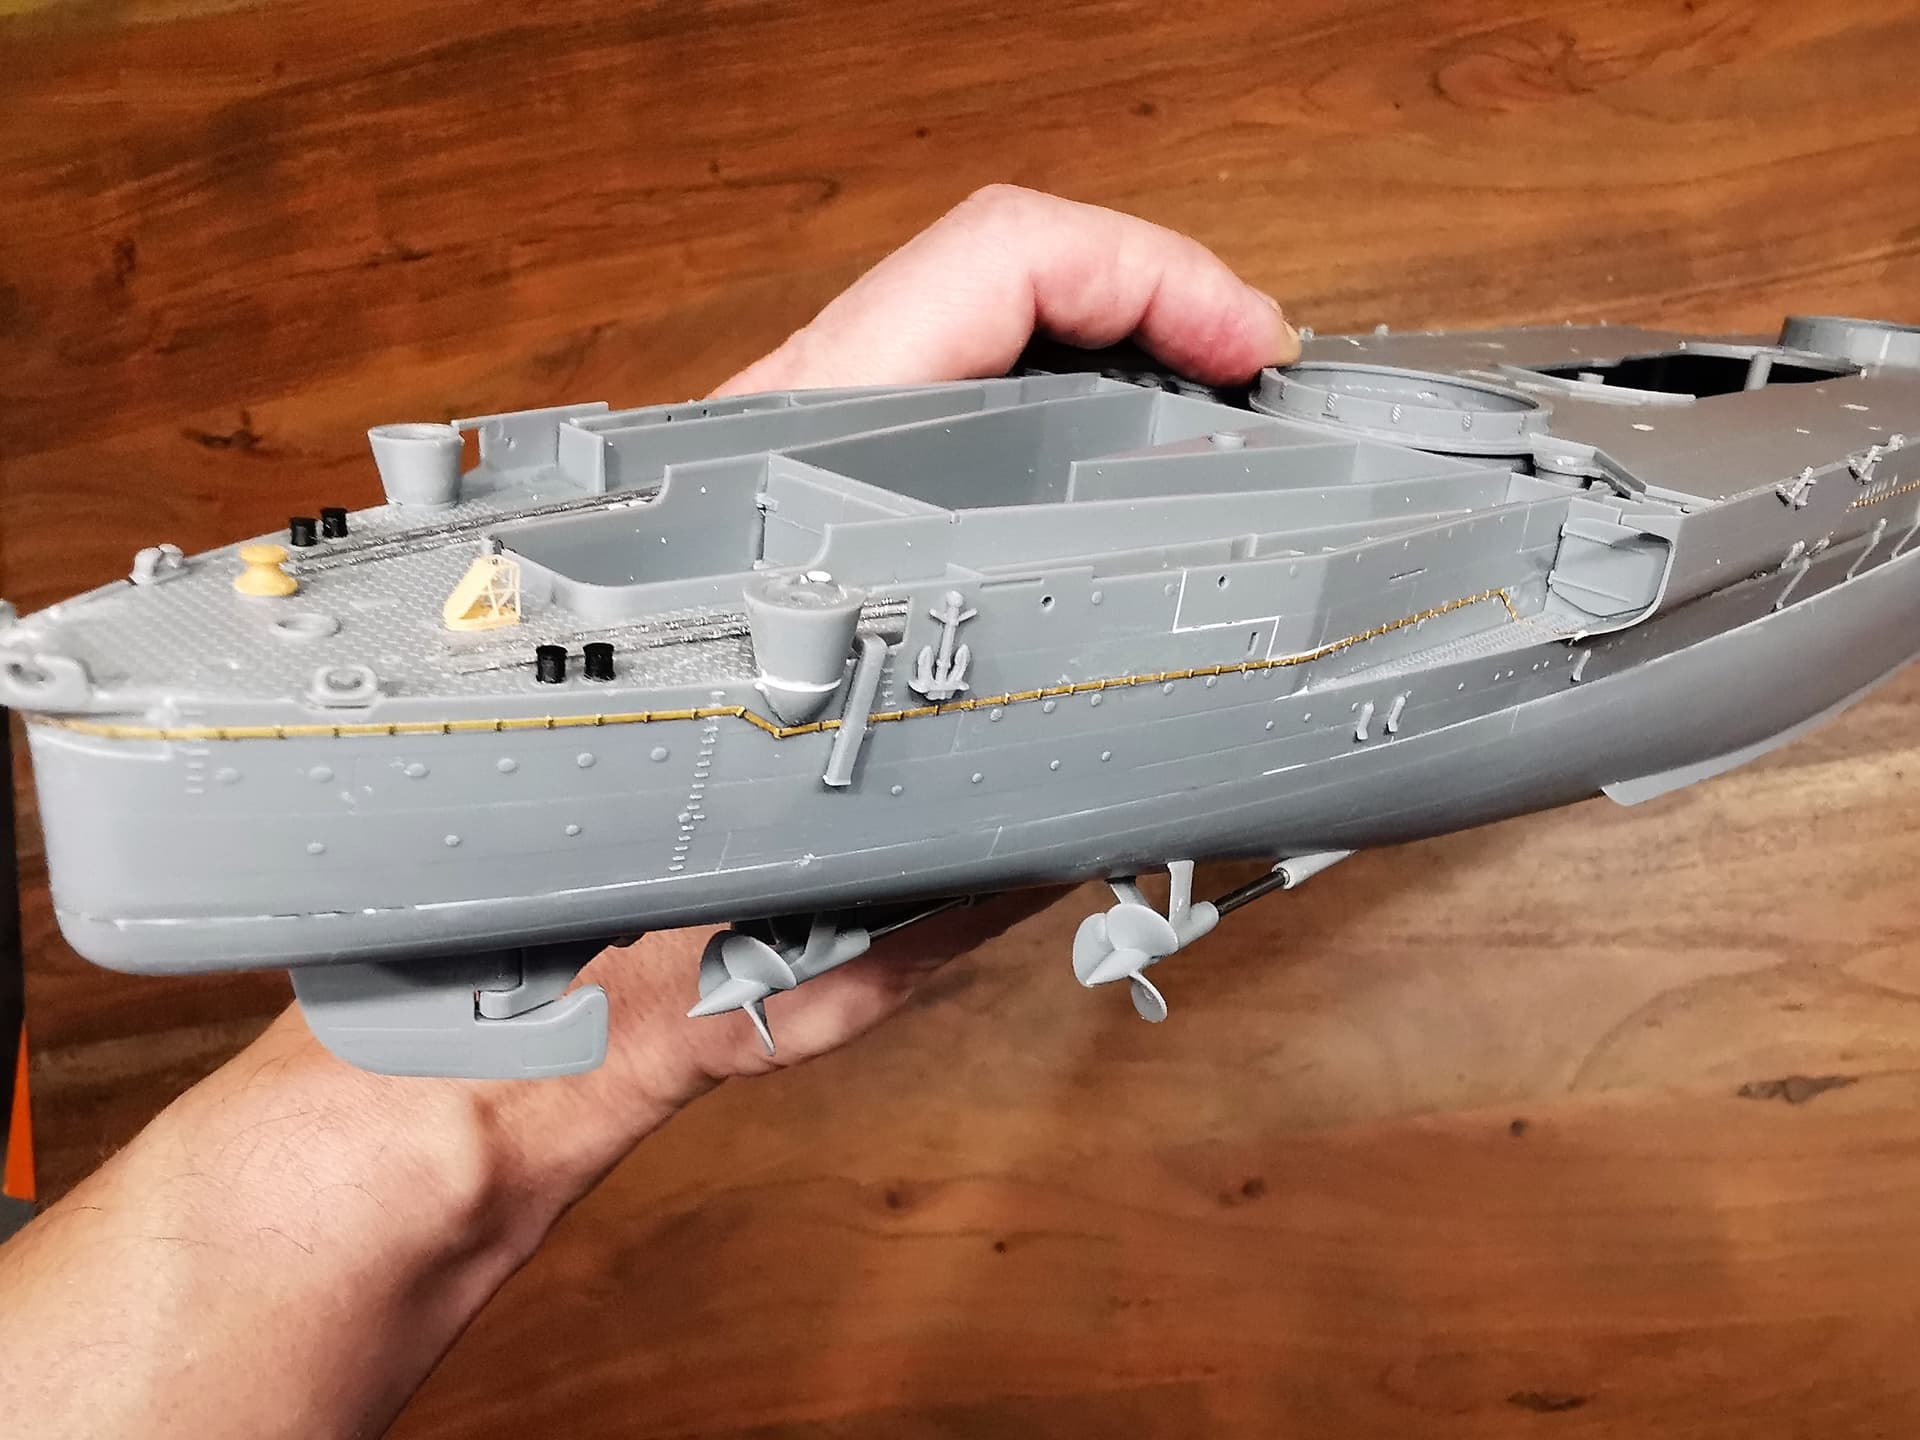
This is fascinating watching your build come together. I had seen the kit parts when it was first released and wondered why Tamiya had chosen to make the hull such a complex assembly with all those resulting seams.
I do appreciate the better accuracy and higher level of detail of this newer release, but it is surprising that they didn’t simply improve upon the excellent one-piece hull concept of their 1970s Yamato rather than this seemingly over engineered approach.
Anyway, you have been handling this challenging hull with aplomb, and the new etched degaussing cables are a big improvement over the simplified versions molded in the kit!
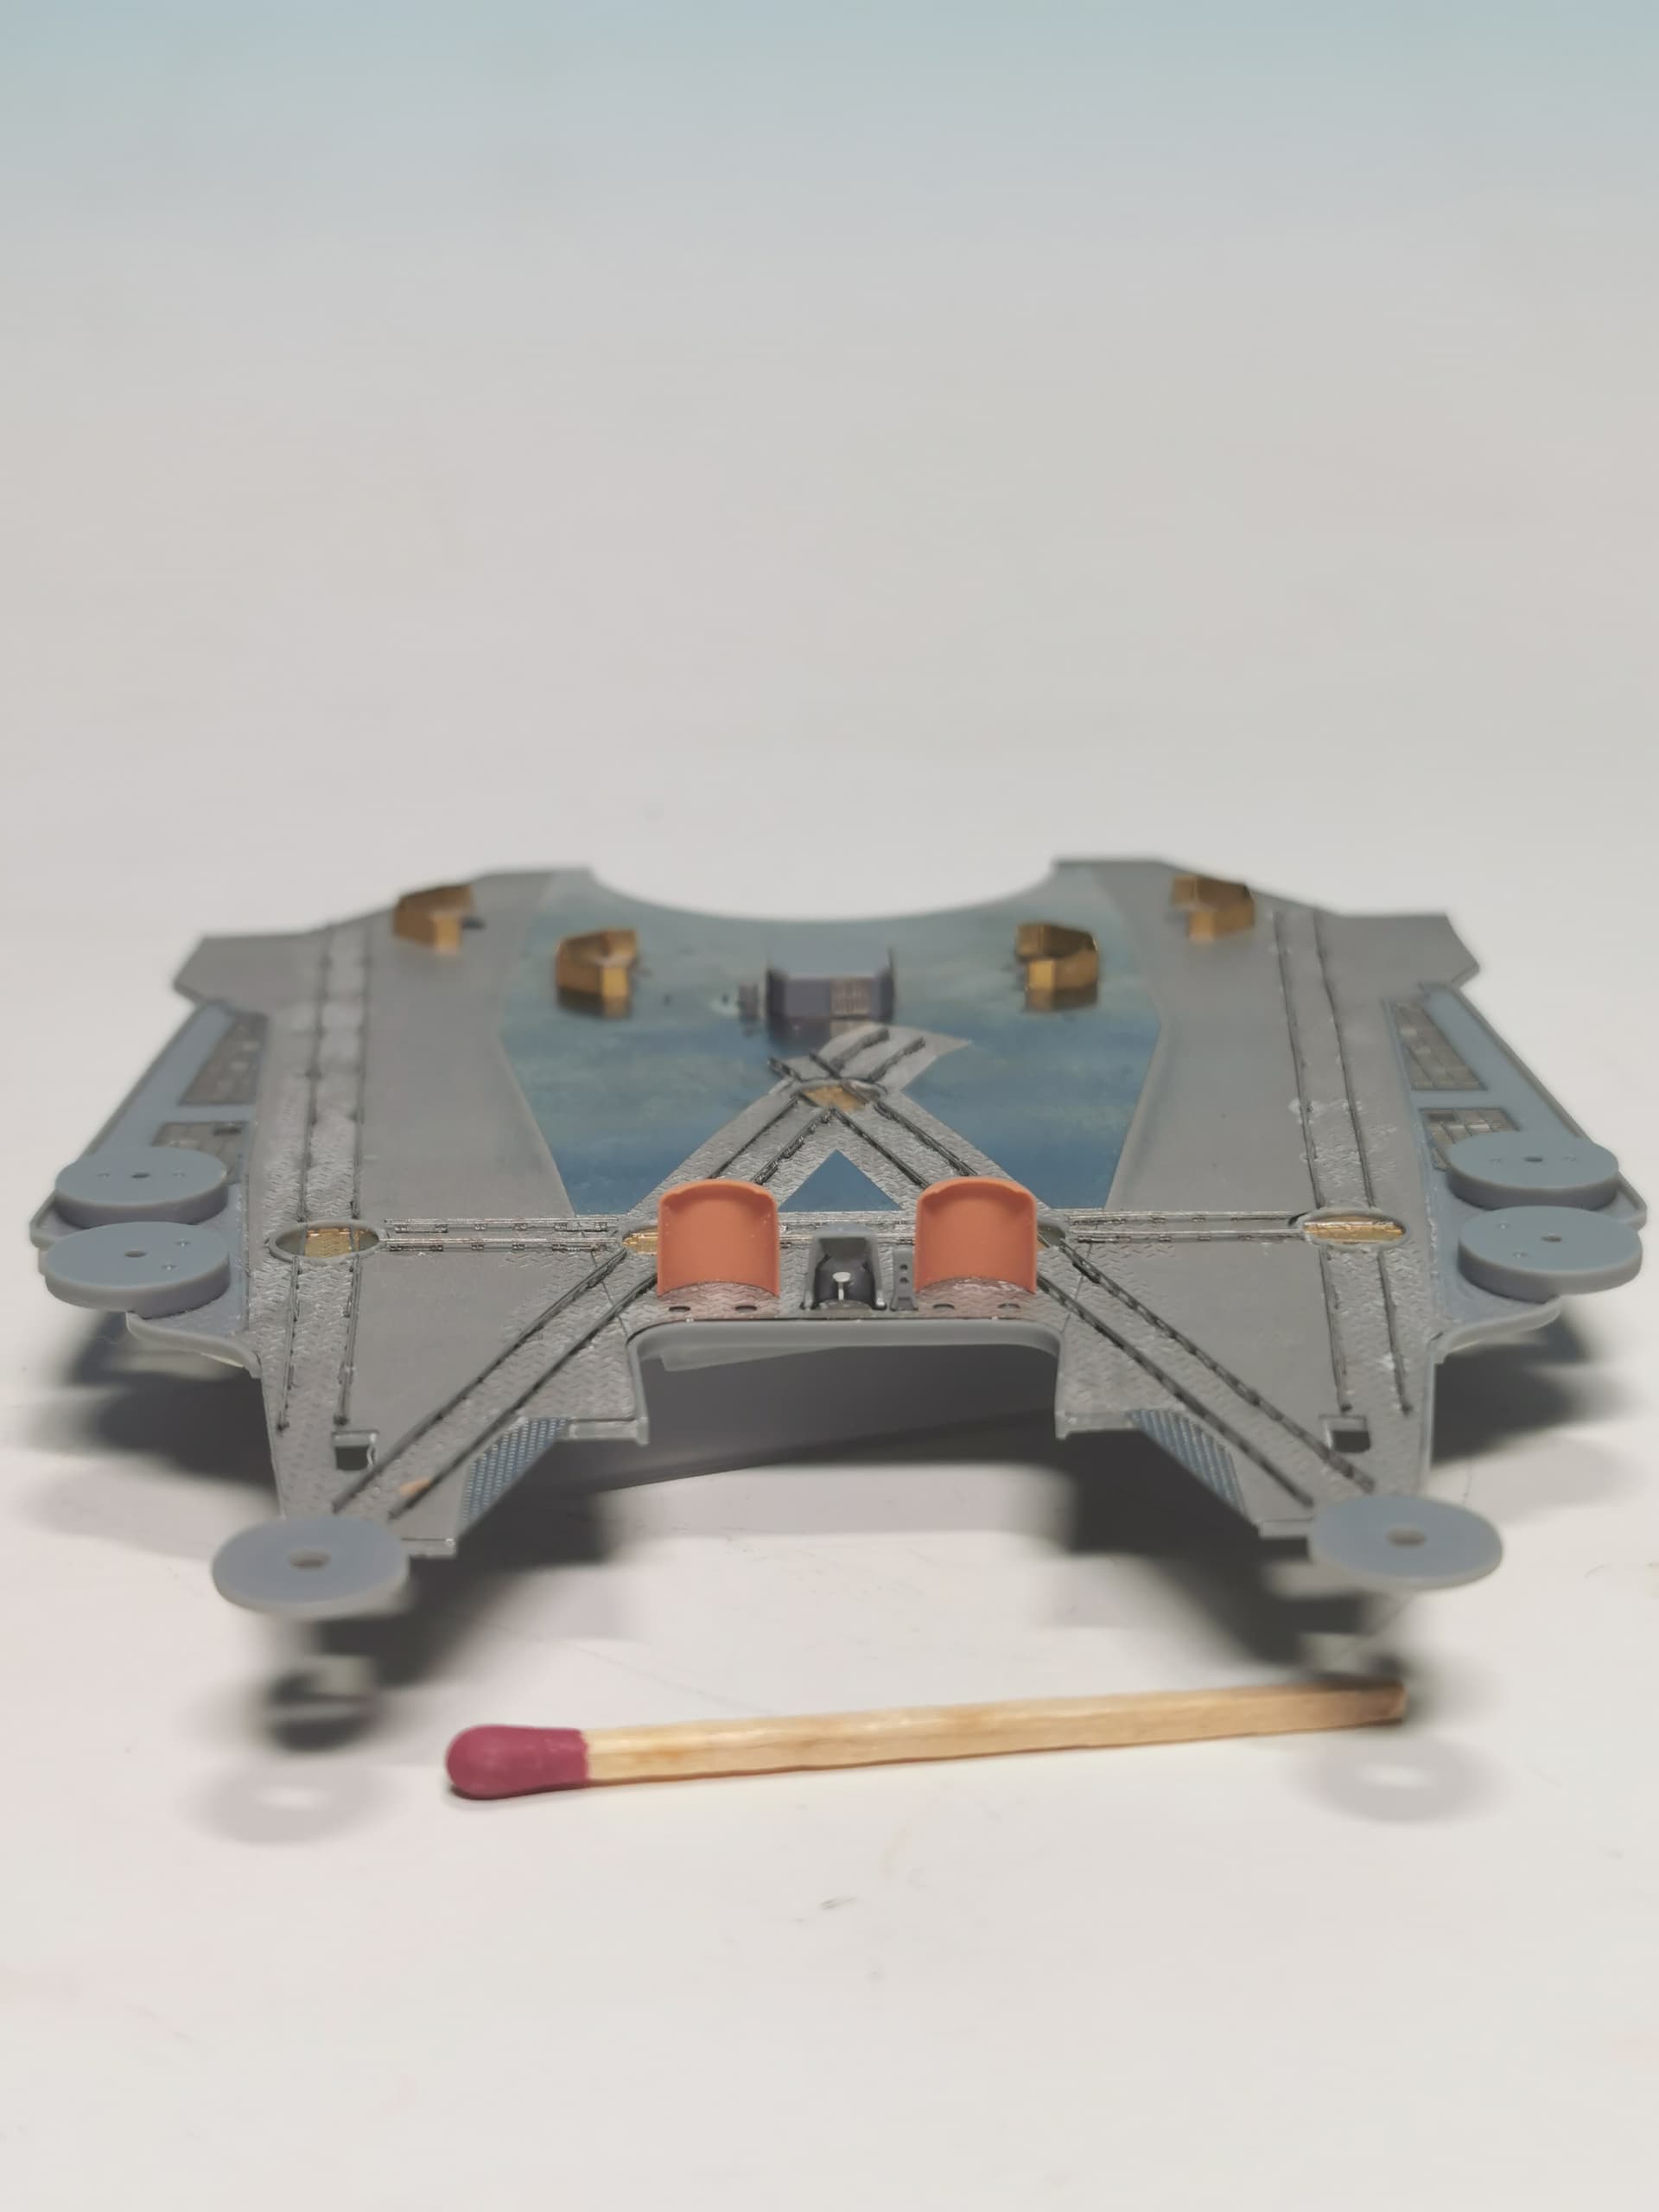
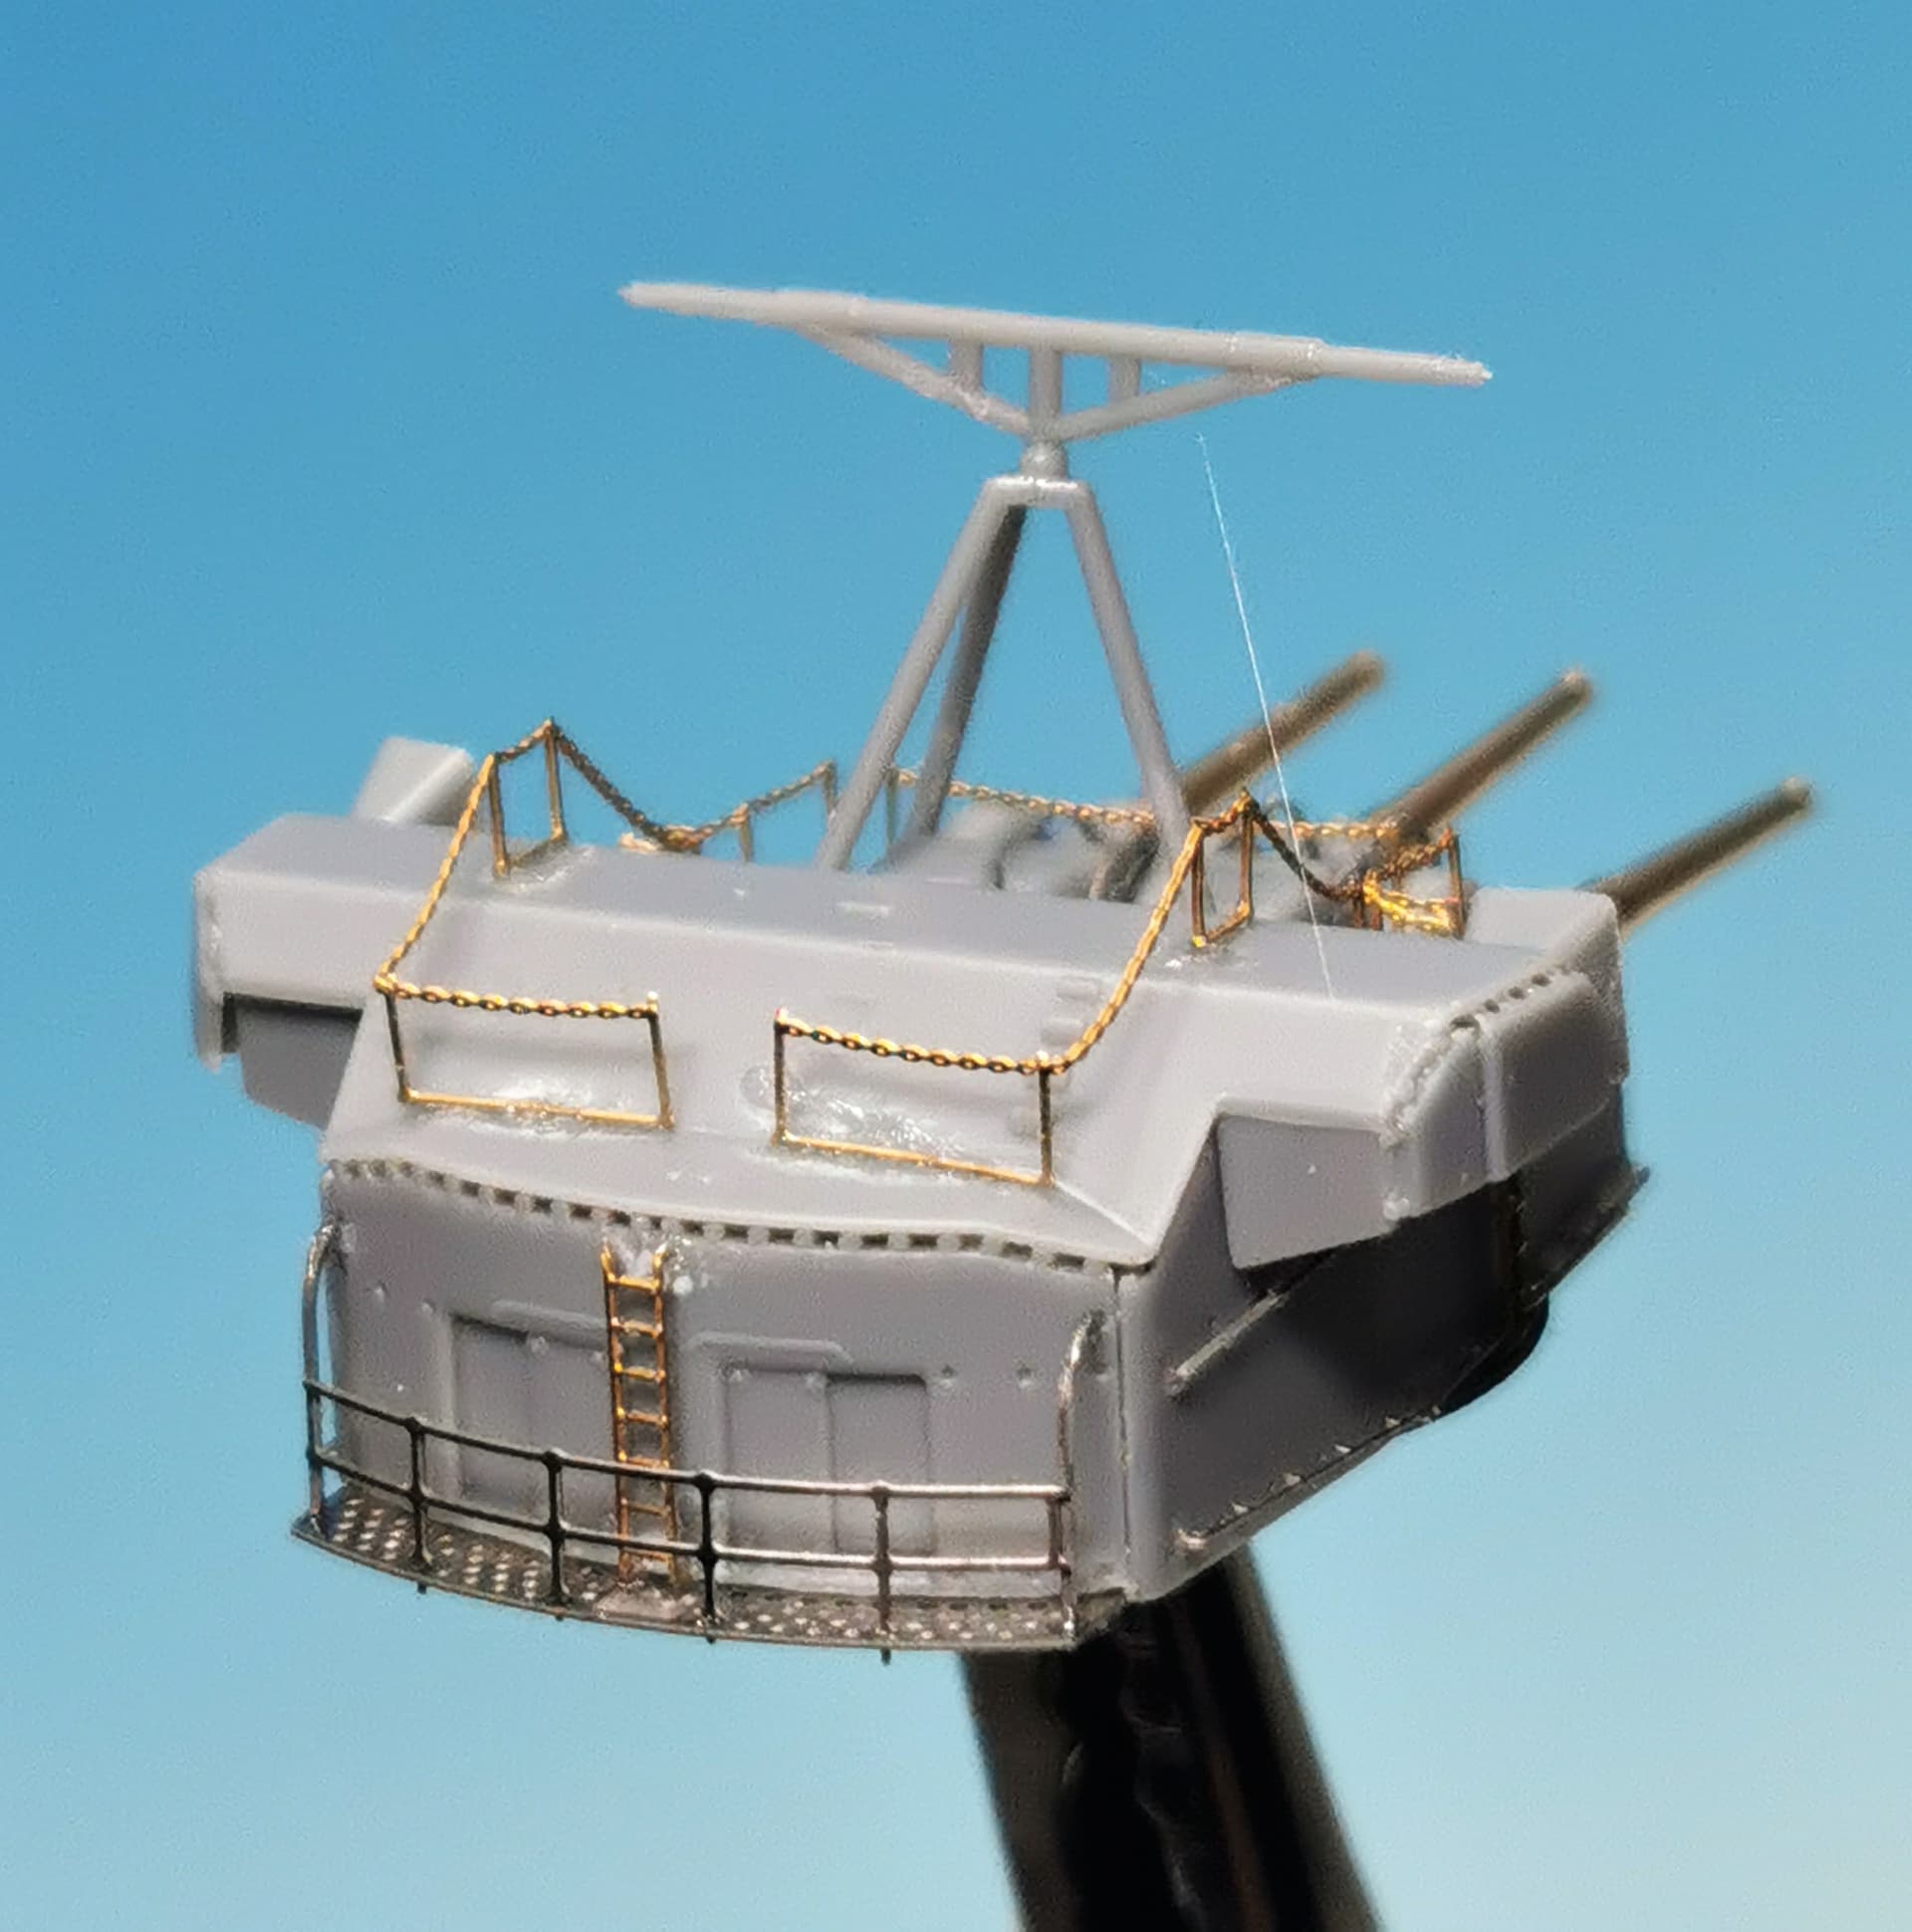
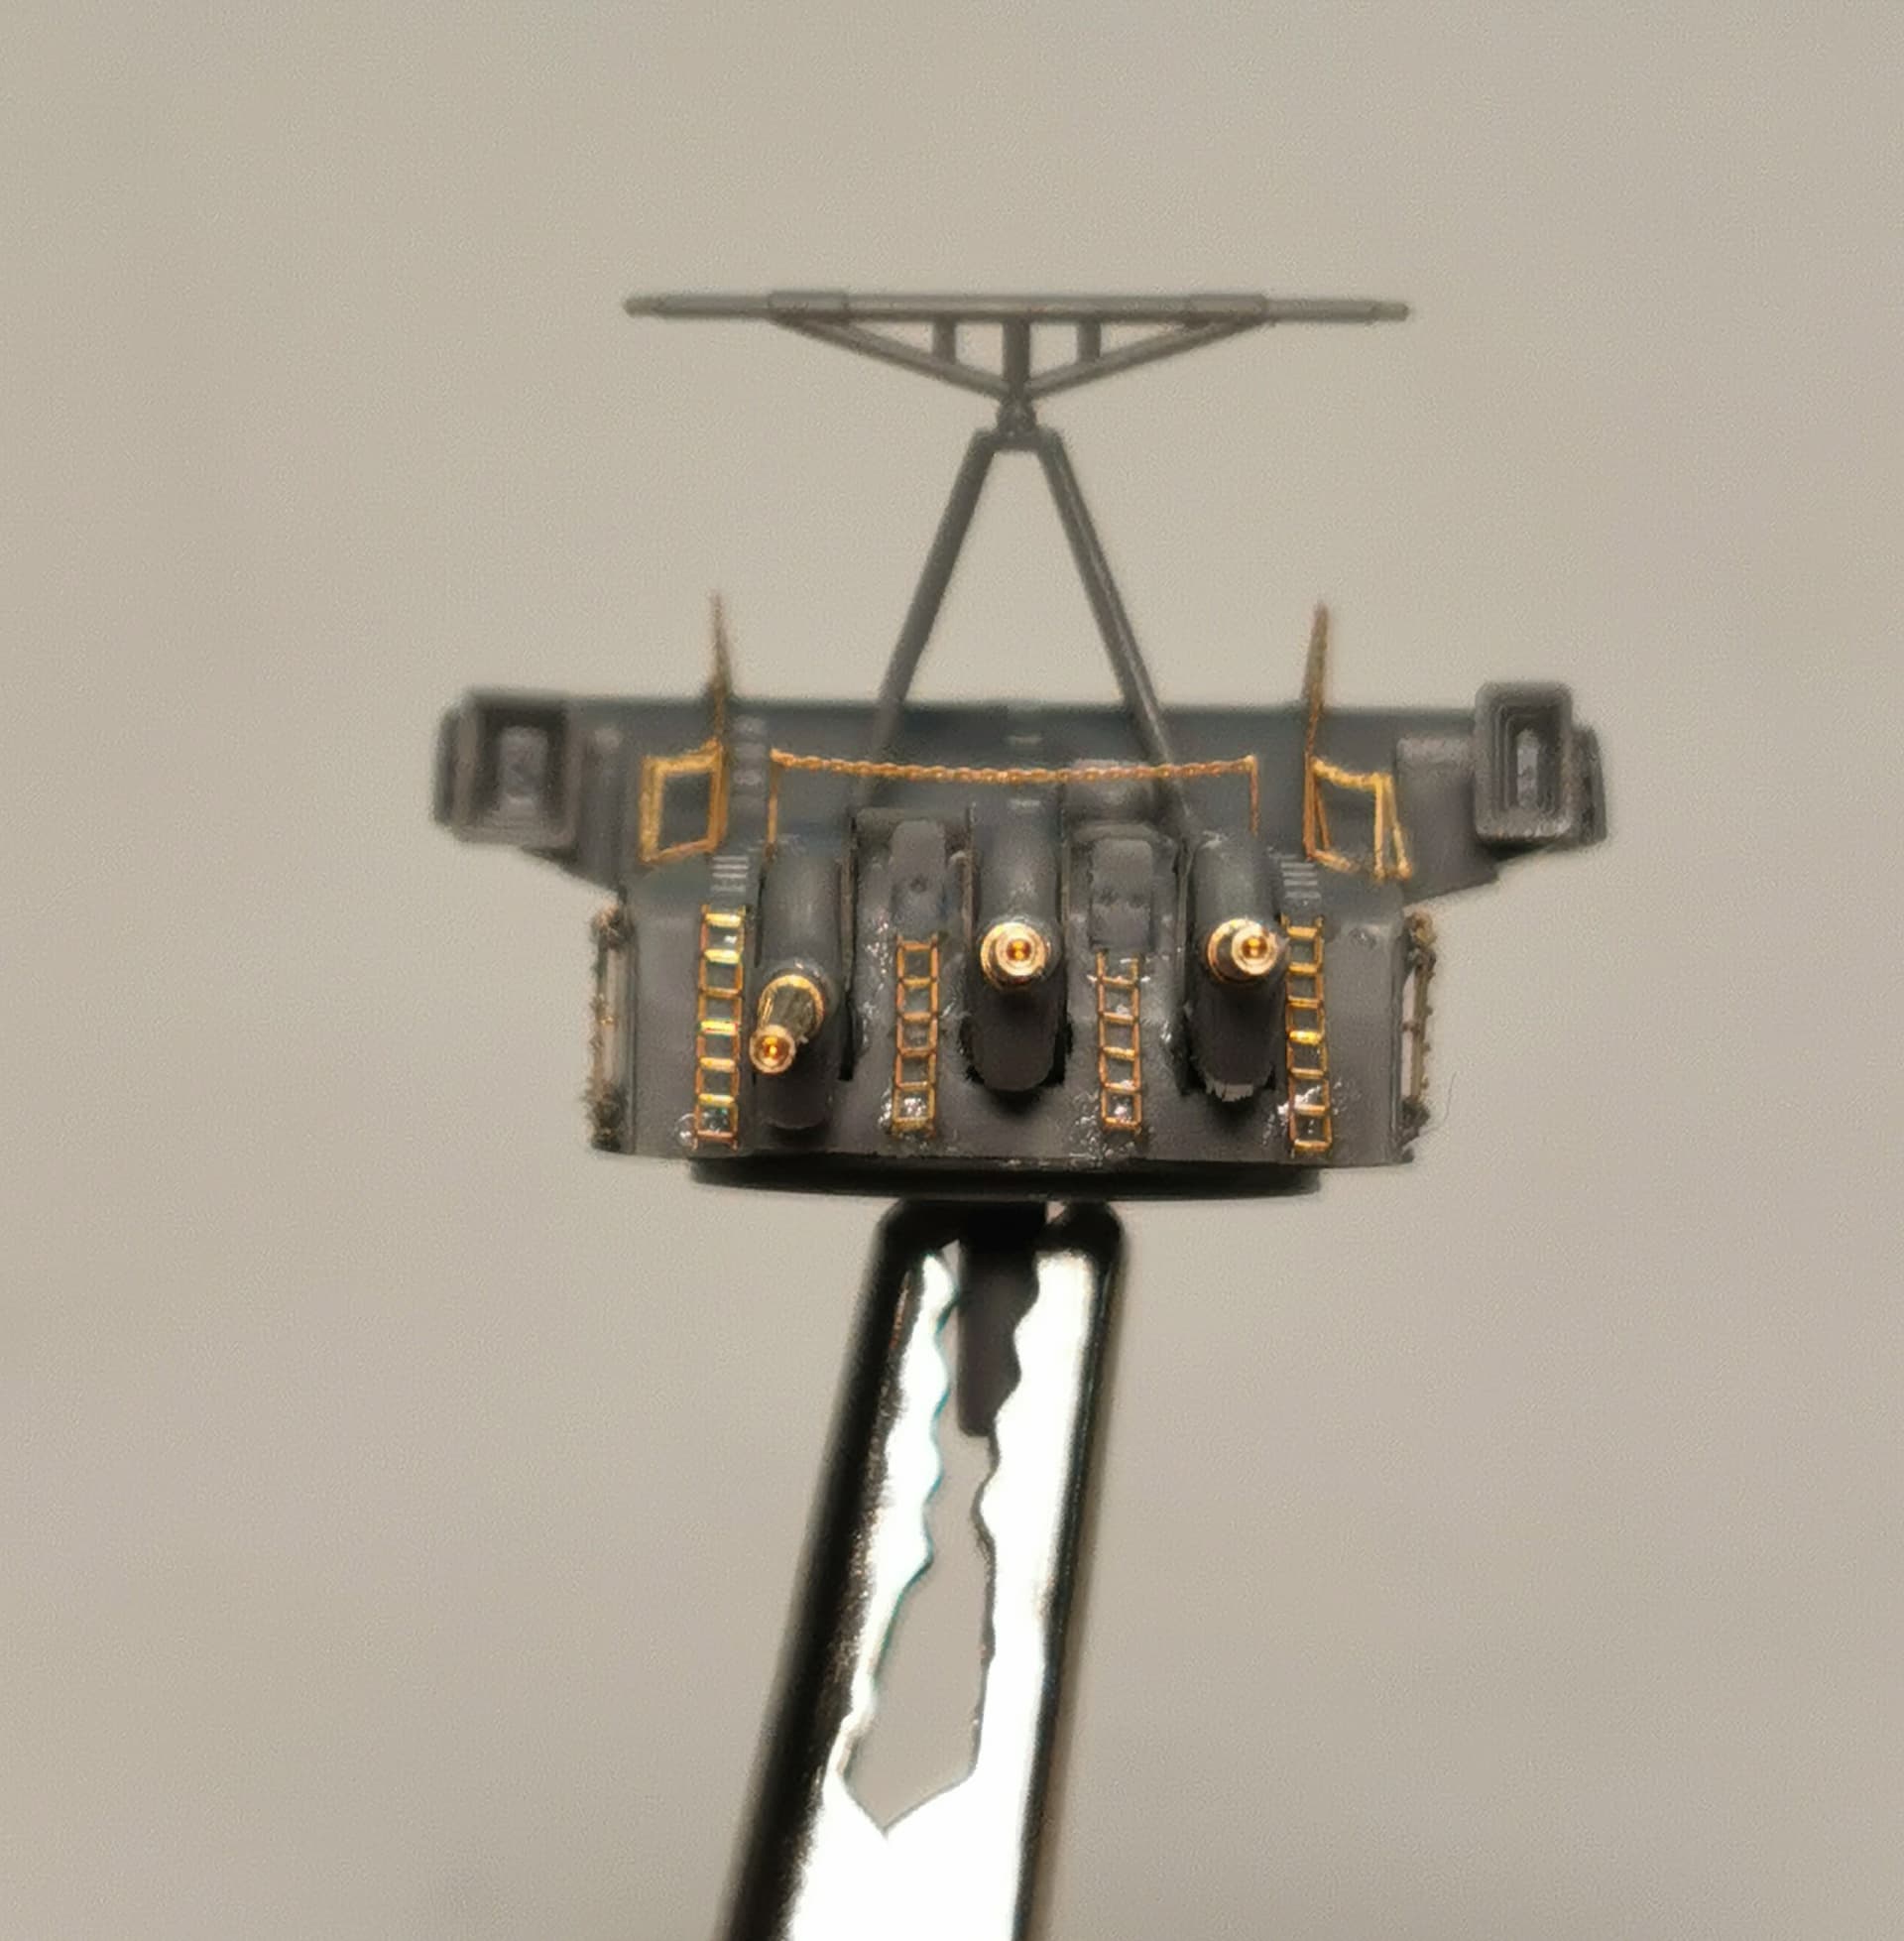
Today I can proudly report that the aft aircraft deck assembly is finished. It was quite some work as most etched parts are miniscule and quite fiddly. Especially the rails for the catapult cradles needed to be folded and glued together before one glues them onto the deck - one wrong touch and these rails got bended and have to get straightened again… I also added the anti-blast shield for the aft machine gun control towers which will be installed later.
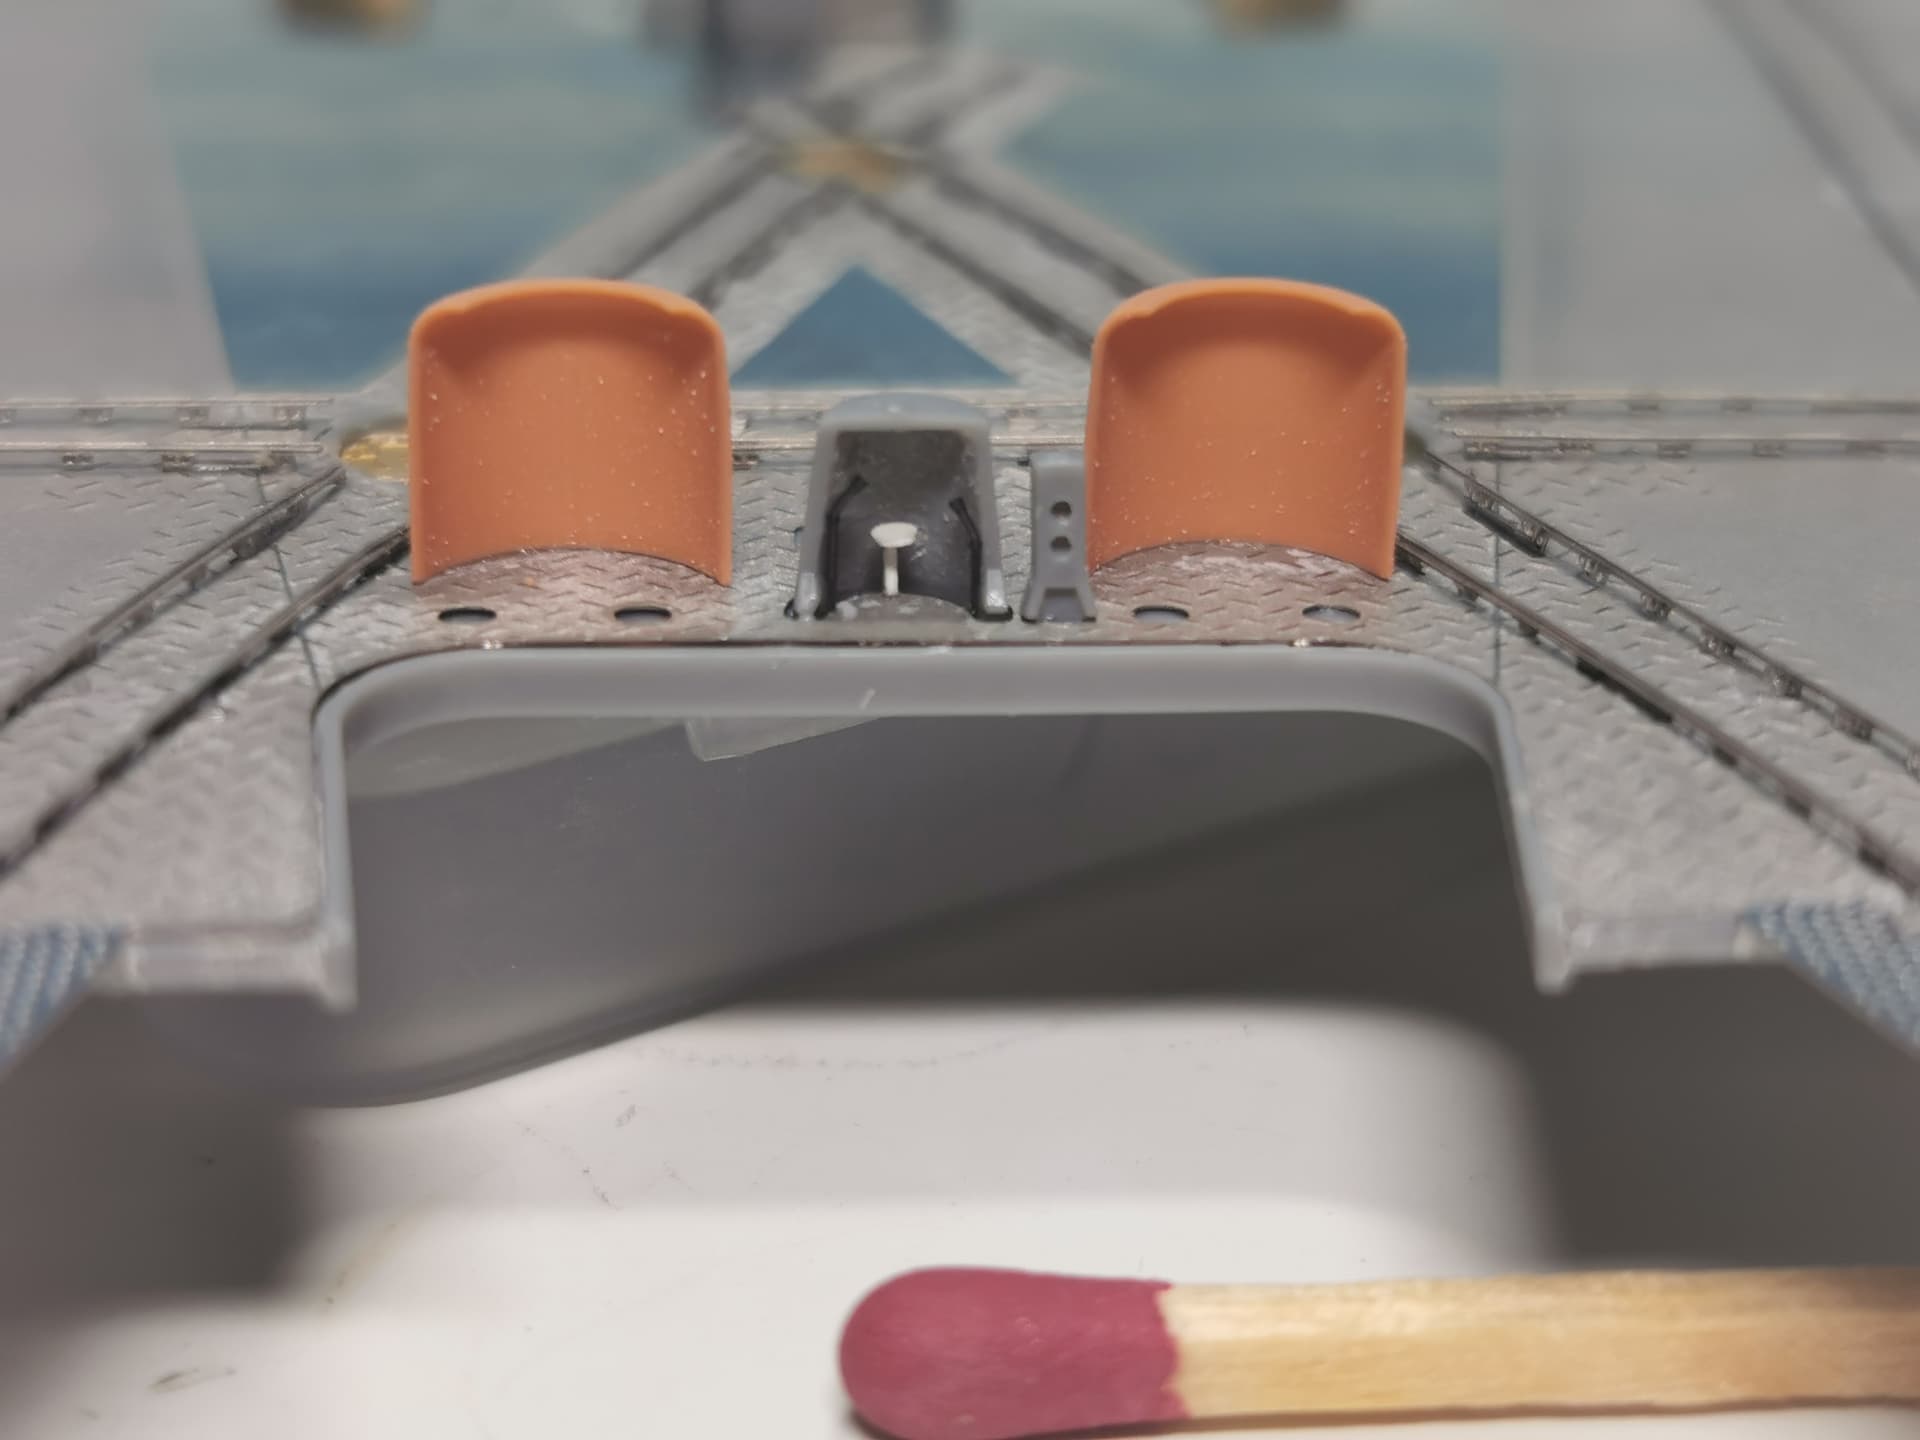
I also detailed the catapult command post between the two aft machinegun control towers. For installating these two voicepipes I broke two from the stash… My book “Anatomy of the Ship” is really helpful here for the details
The aft triple-AA gun shields at the aircraft deck were also finished. Handling the small reinforcement sheets behind these shields are at the limits of my fine motor skills
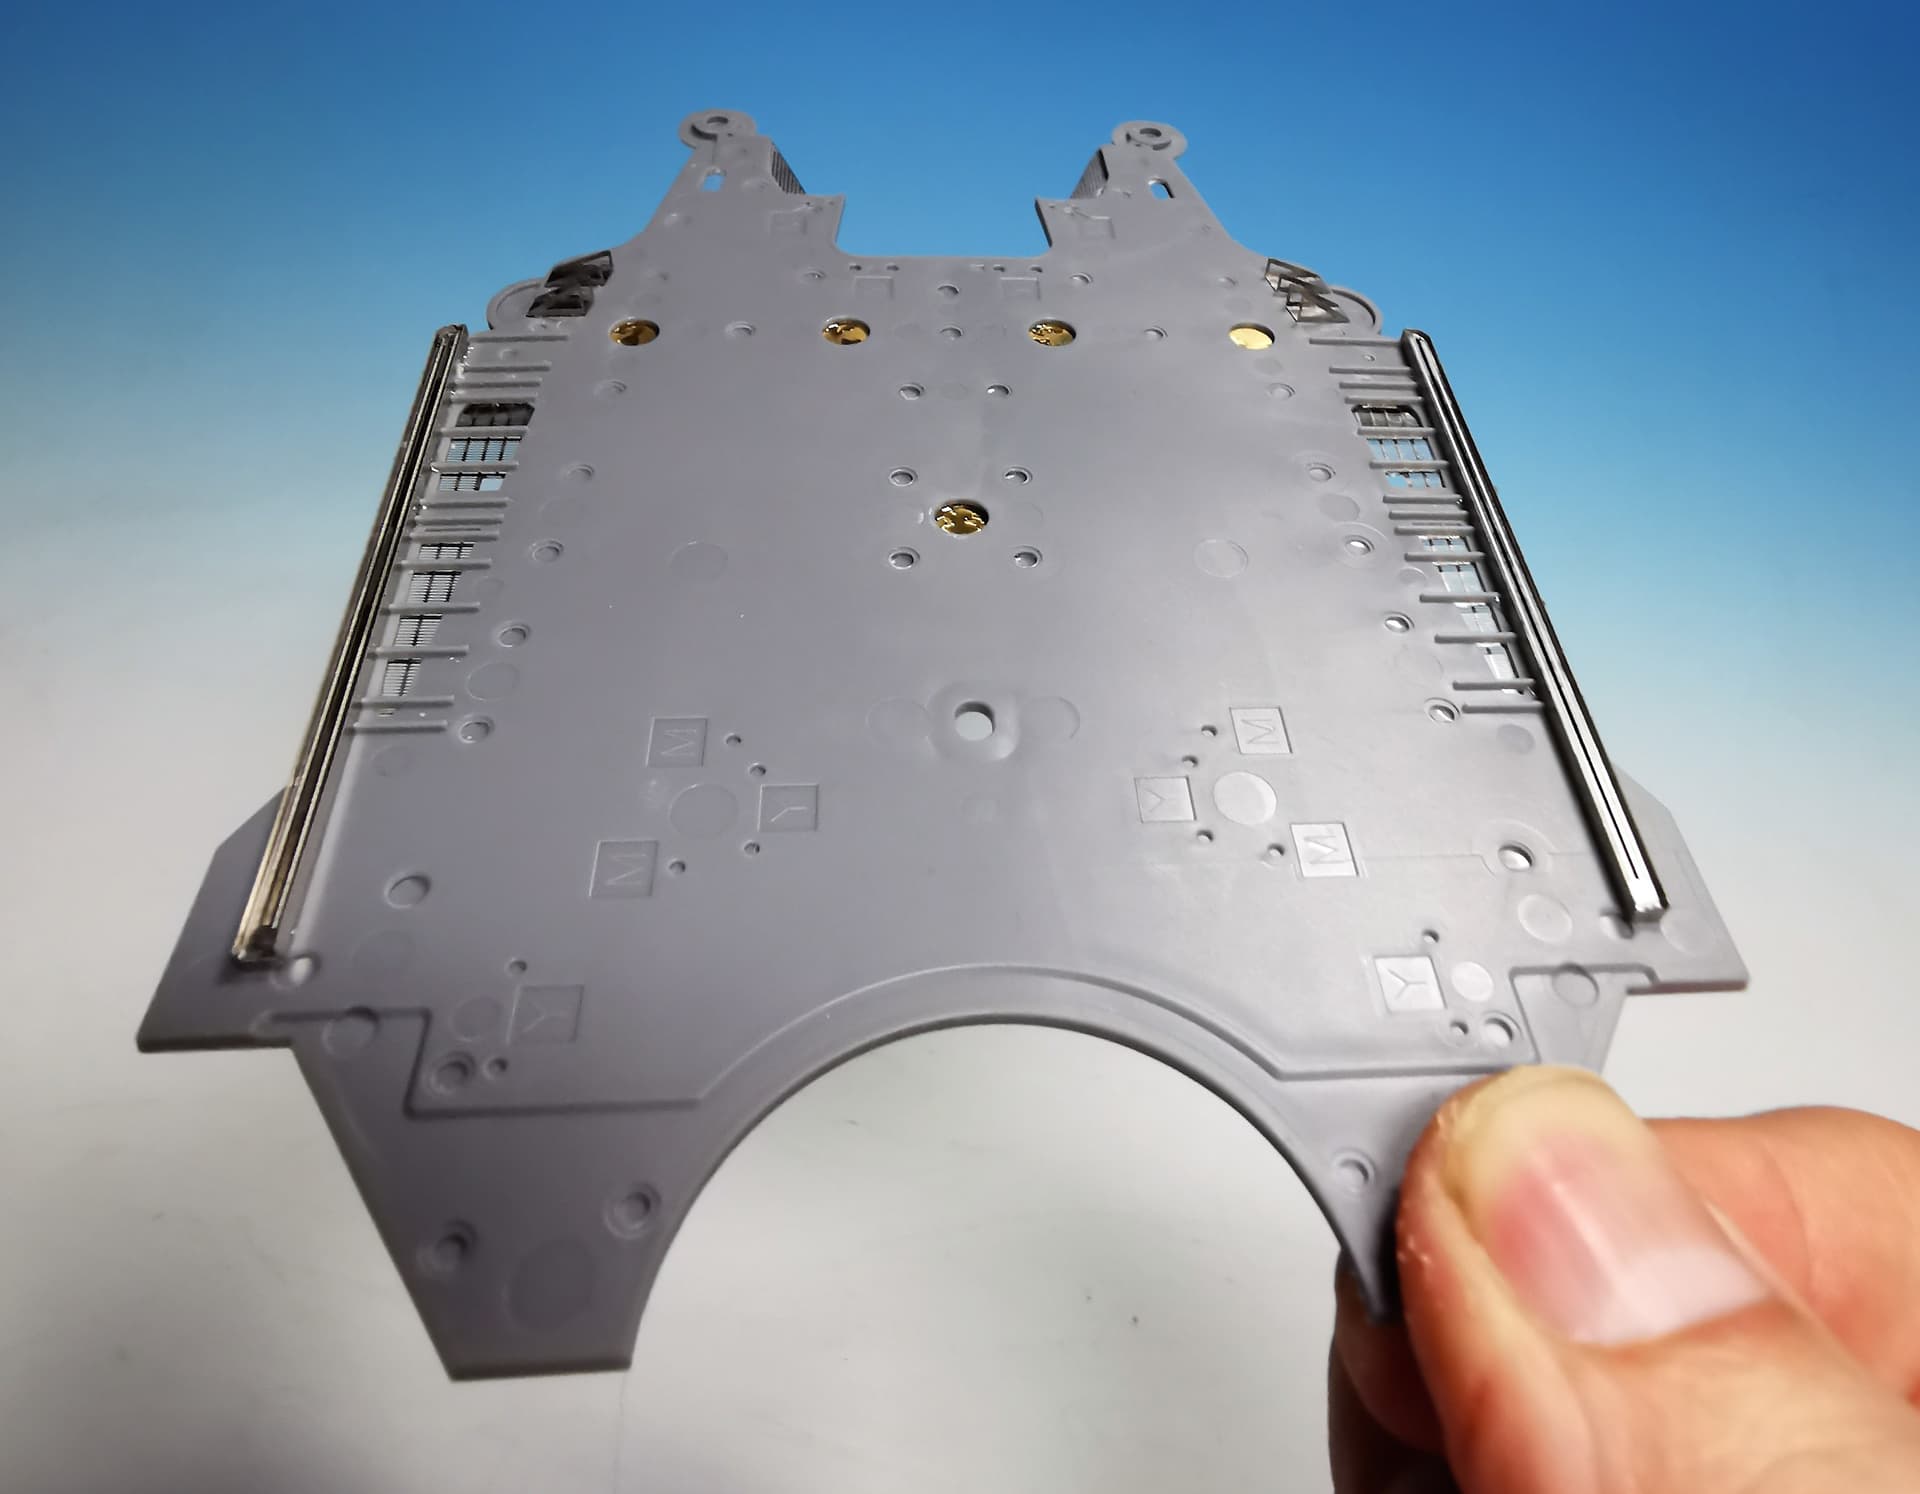
This is the underside of the aircraft deck where you can see the crane runways for the port and starport boat hangars and more aft some small etched girders. The bigger side girders will be installed only after the aircraft deck was painted and installed onto the ship´s hull
I built this Kit with the Pontos Set so I know how crazy the Build is going to be. Super work so far and the 3D Parts add another dimension to her…Cheers mark
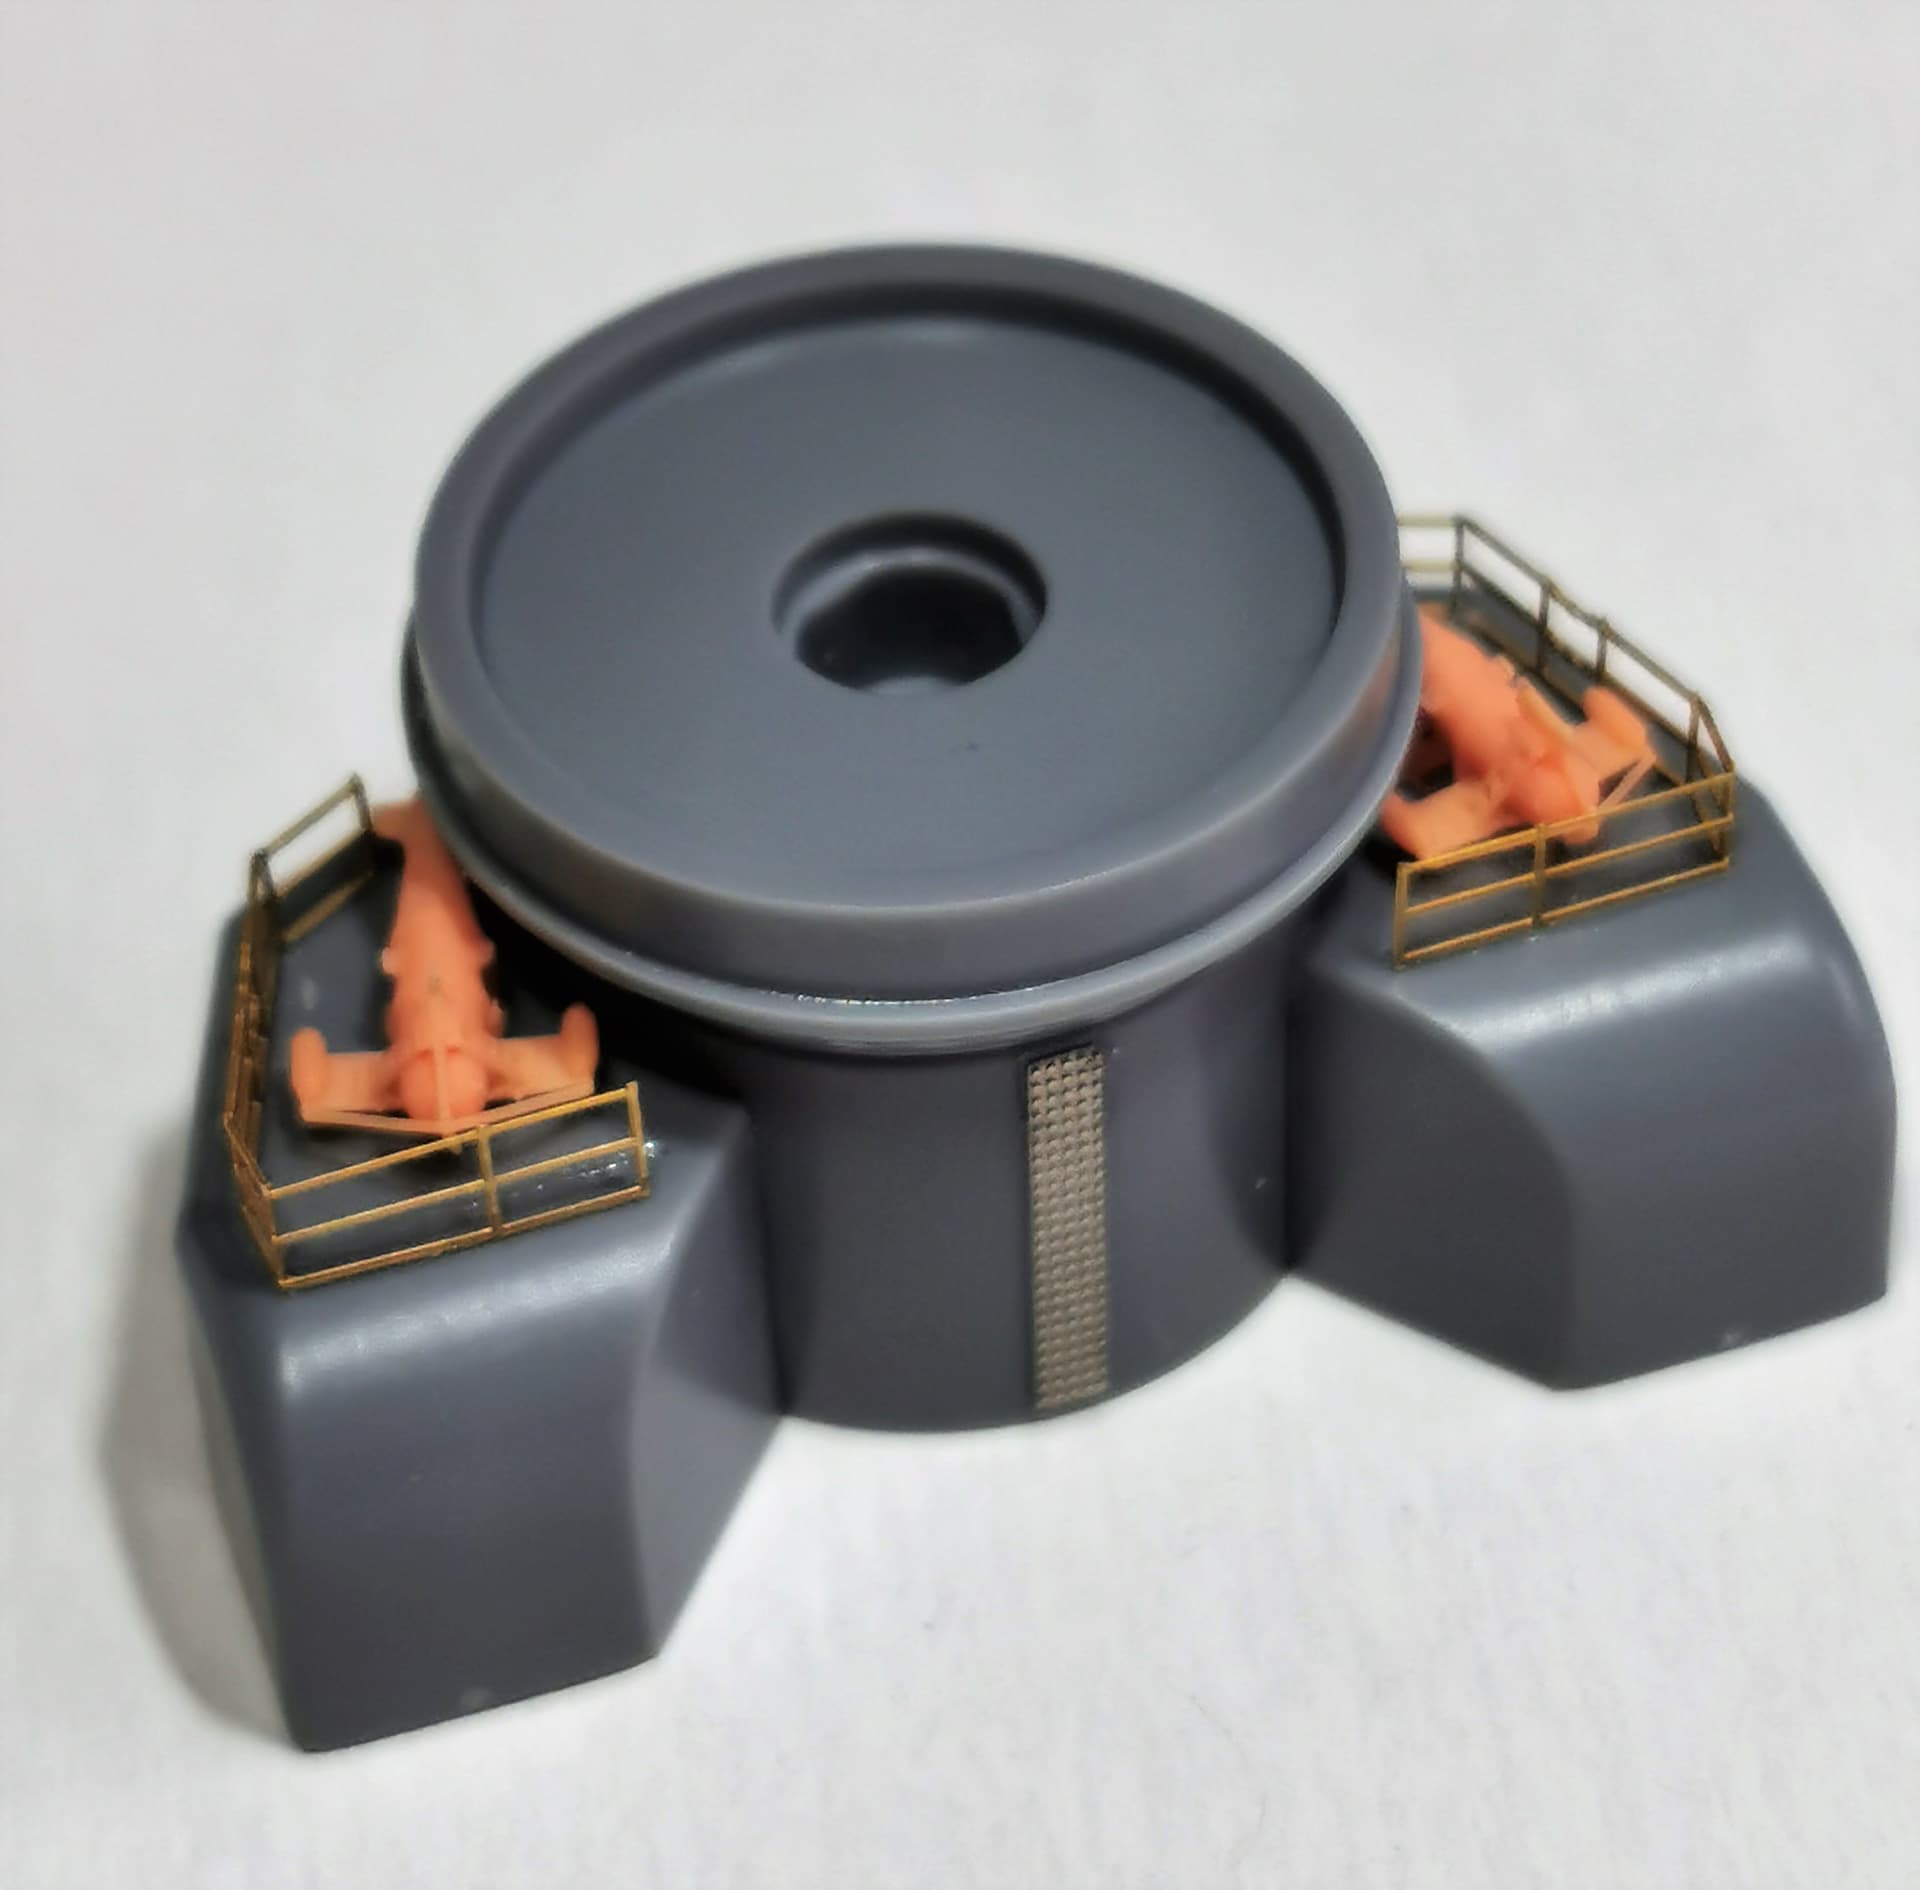
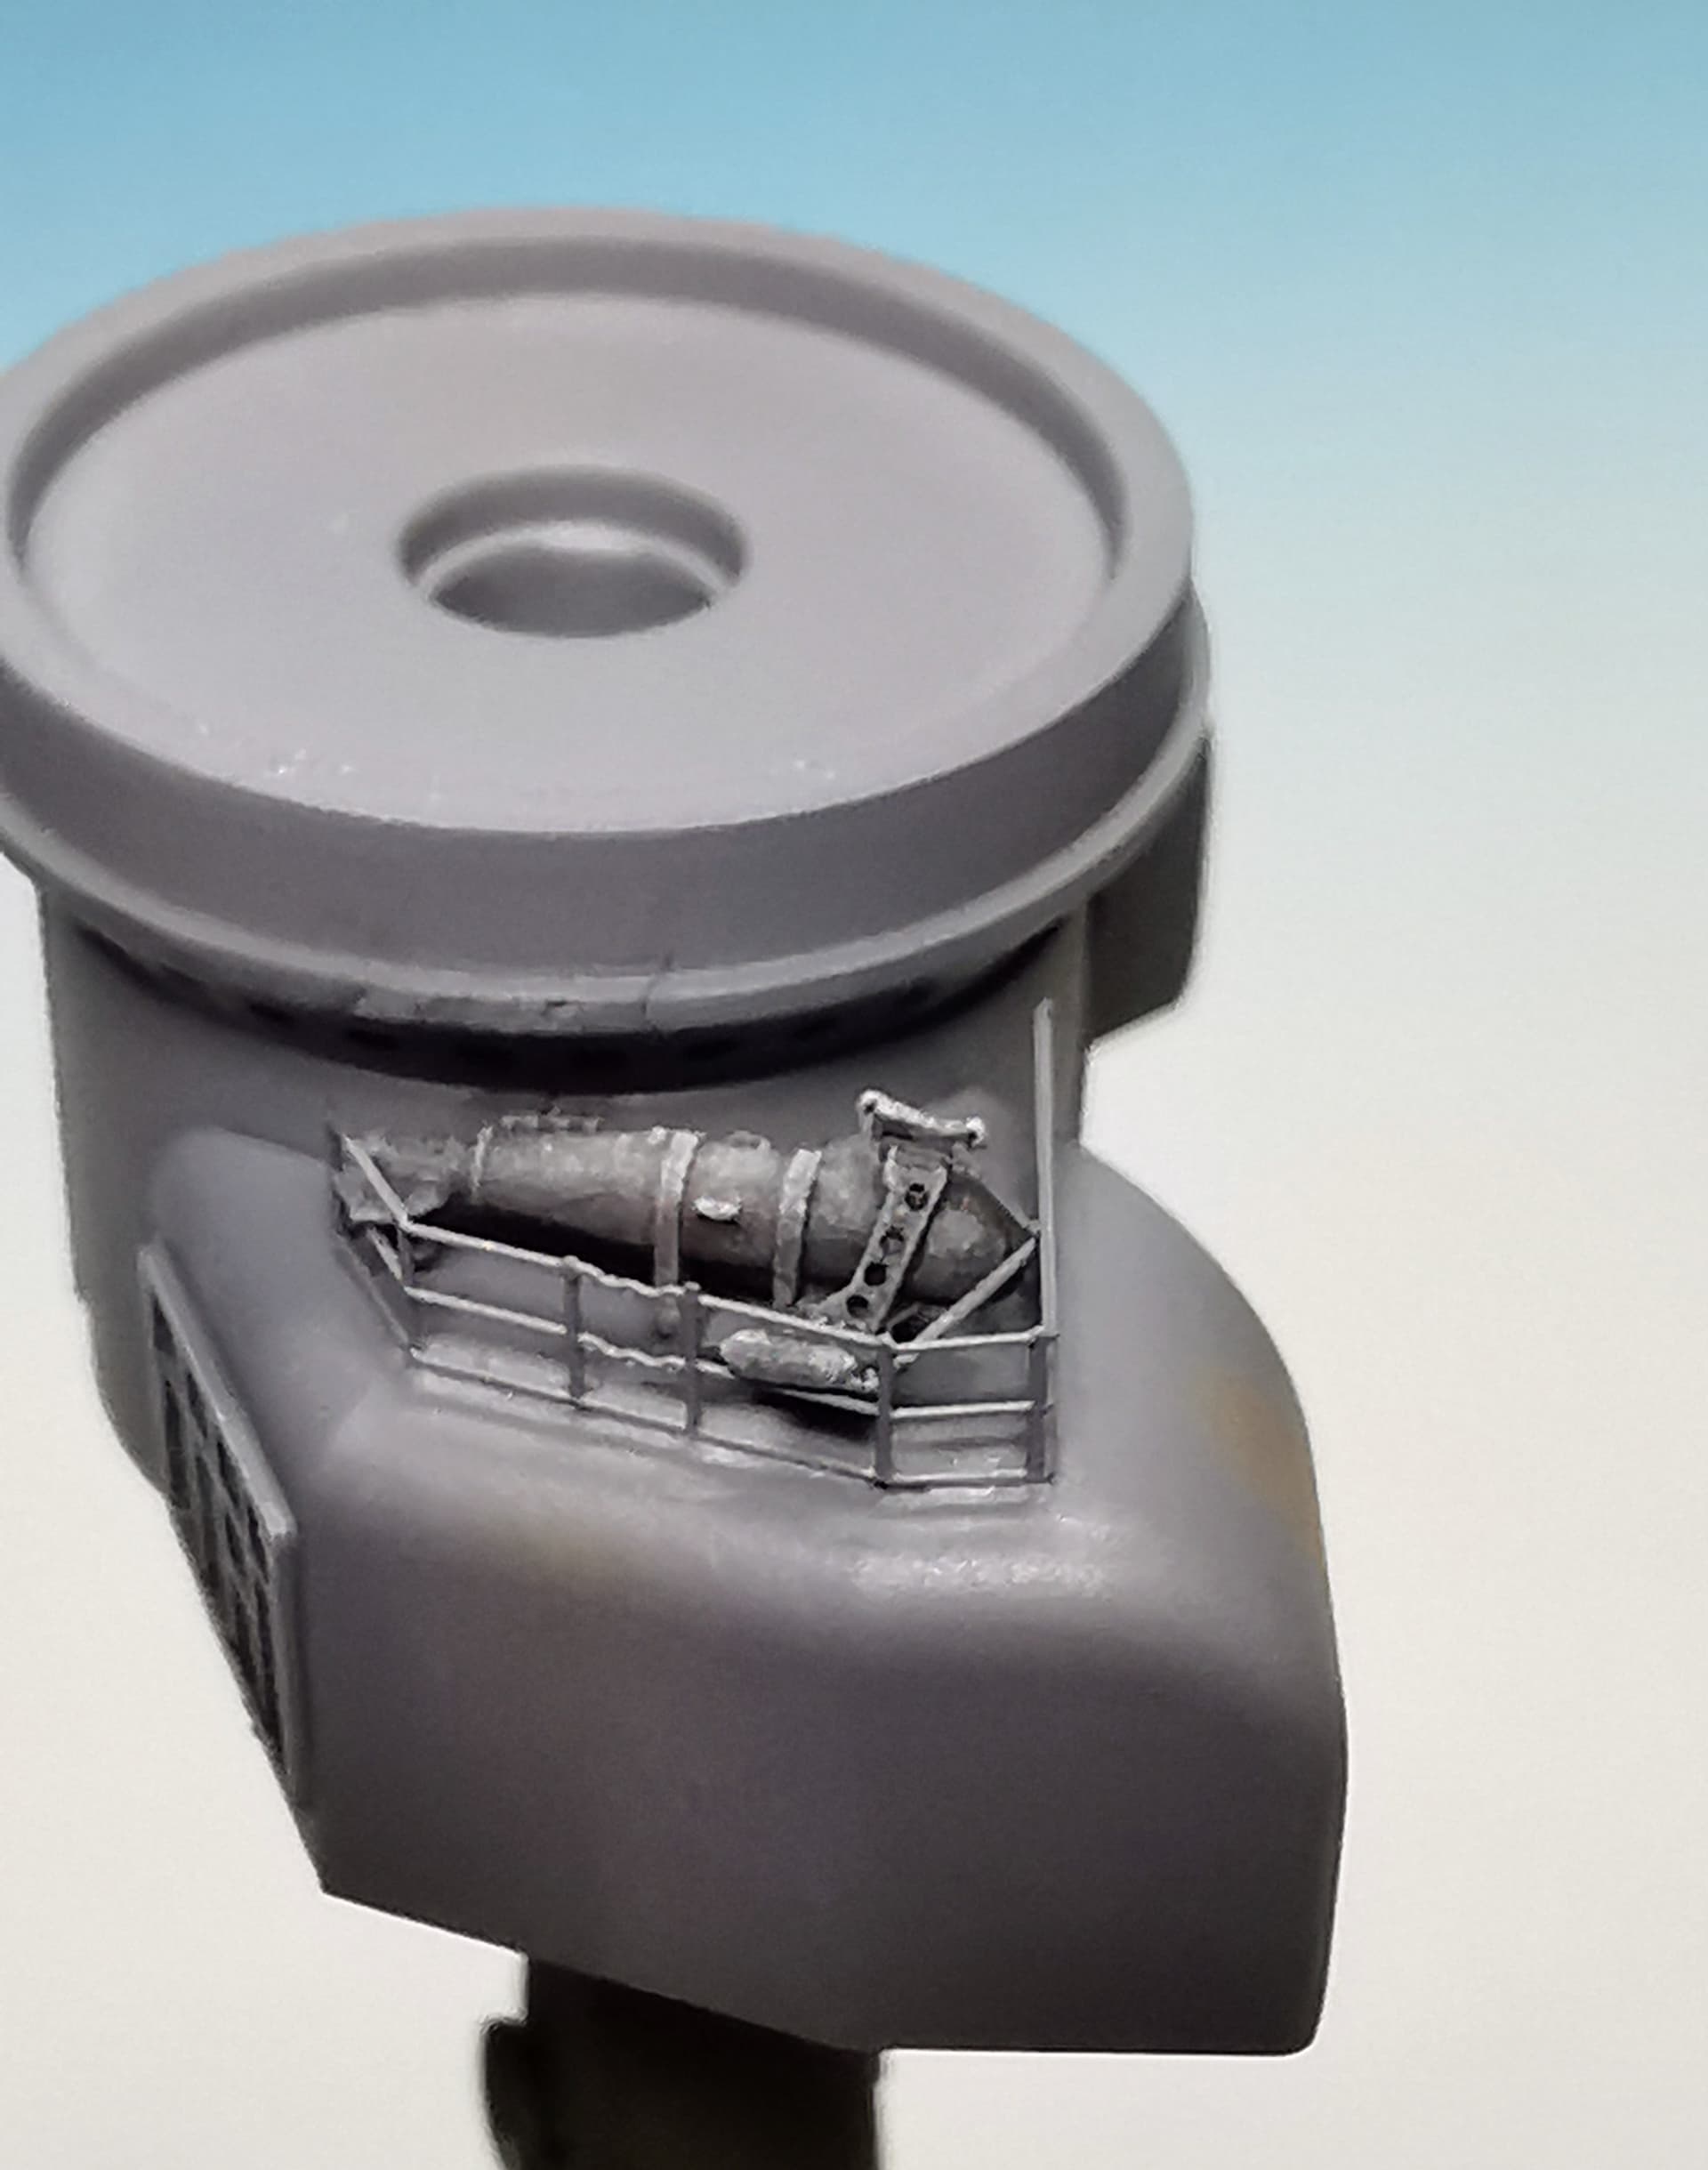
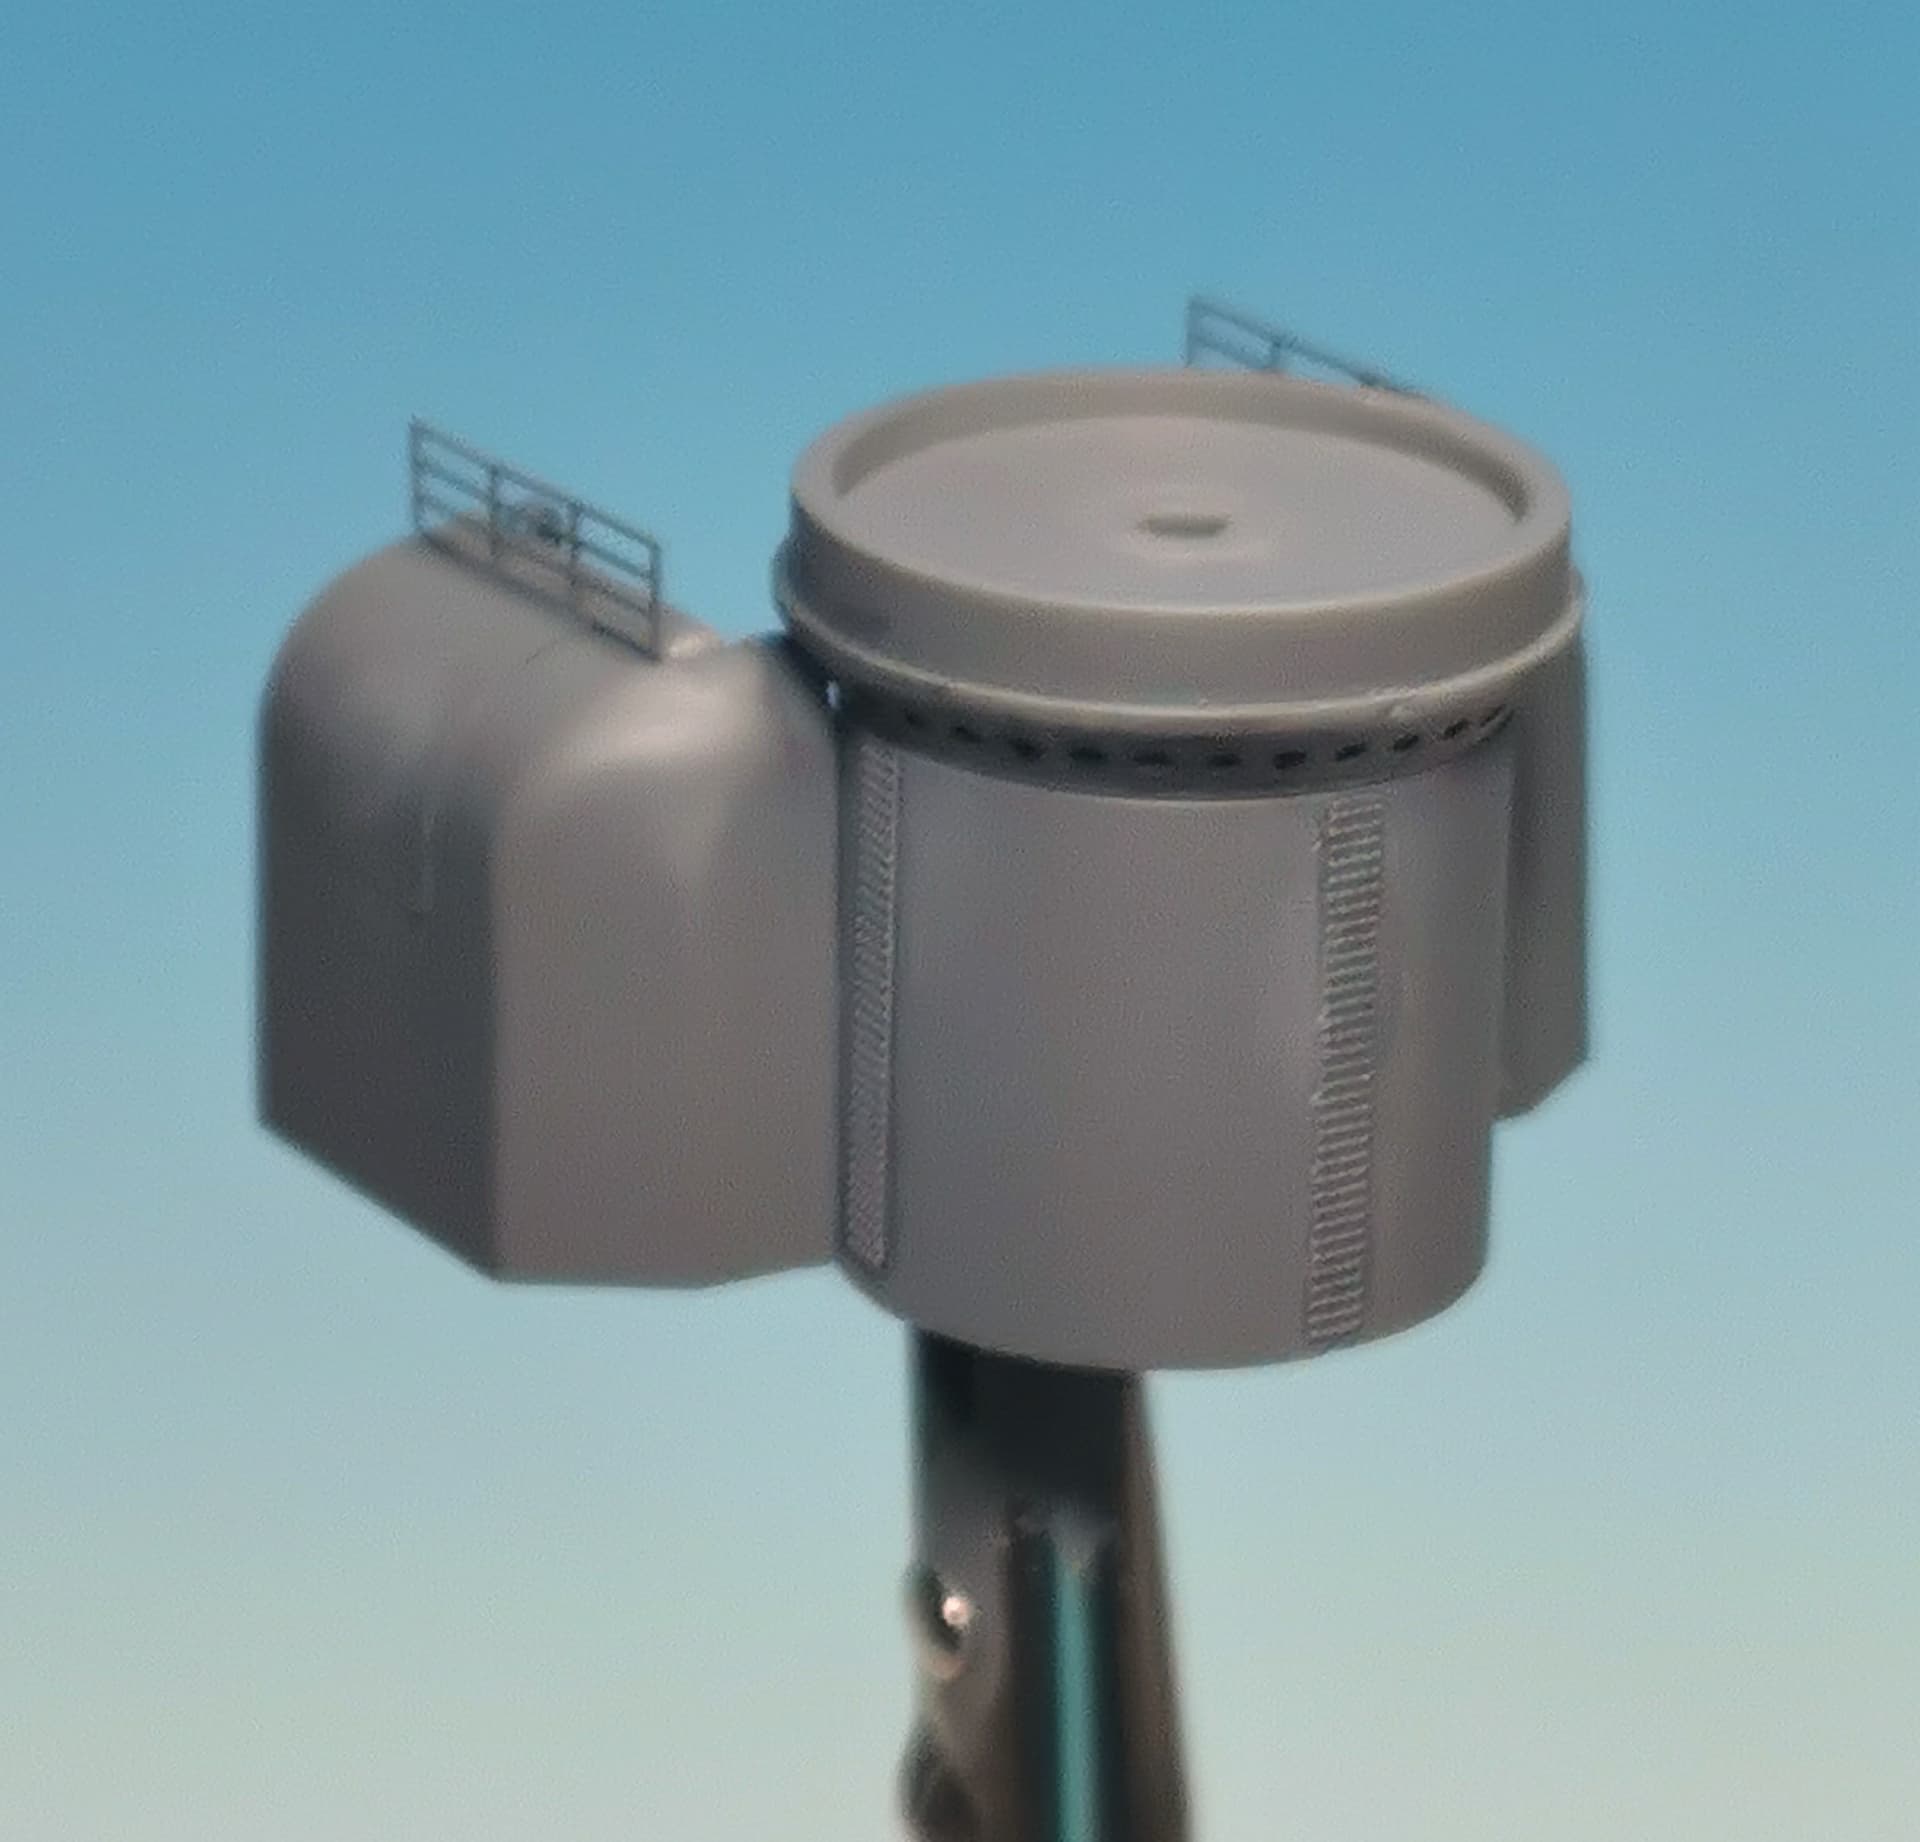
I started to paint the ship´s lower hull. During the time the color will need to cure I tried my hands first at some smaller items from the superstructures: I started with the barbettes and ventilators of the two 15.5 cm gun turrets. At each of both barbettes are two paravanes stored. I replaced the kit´s ones with the excellent replacements from WuLa
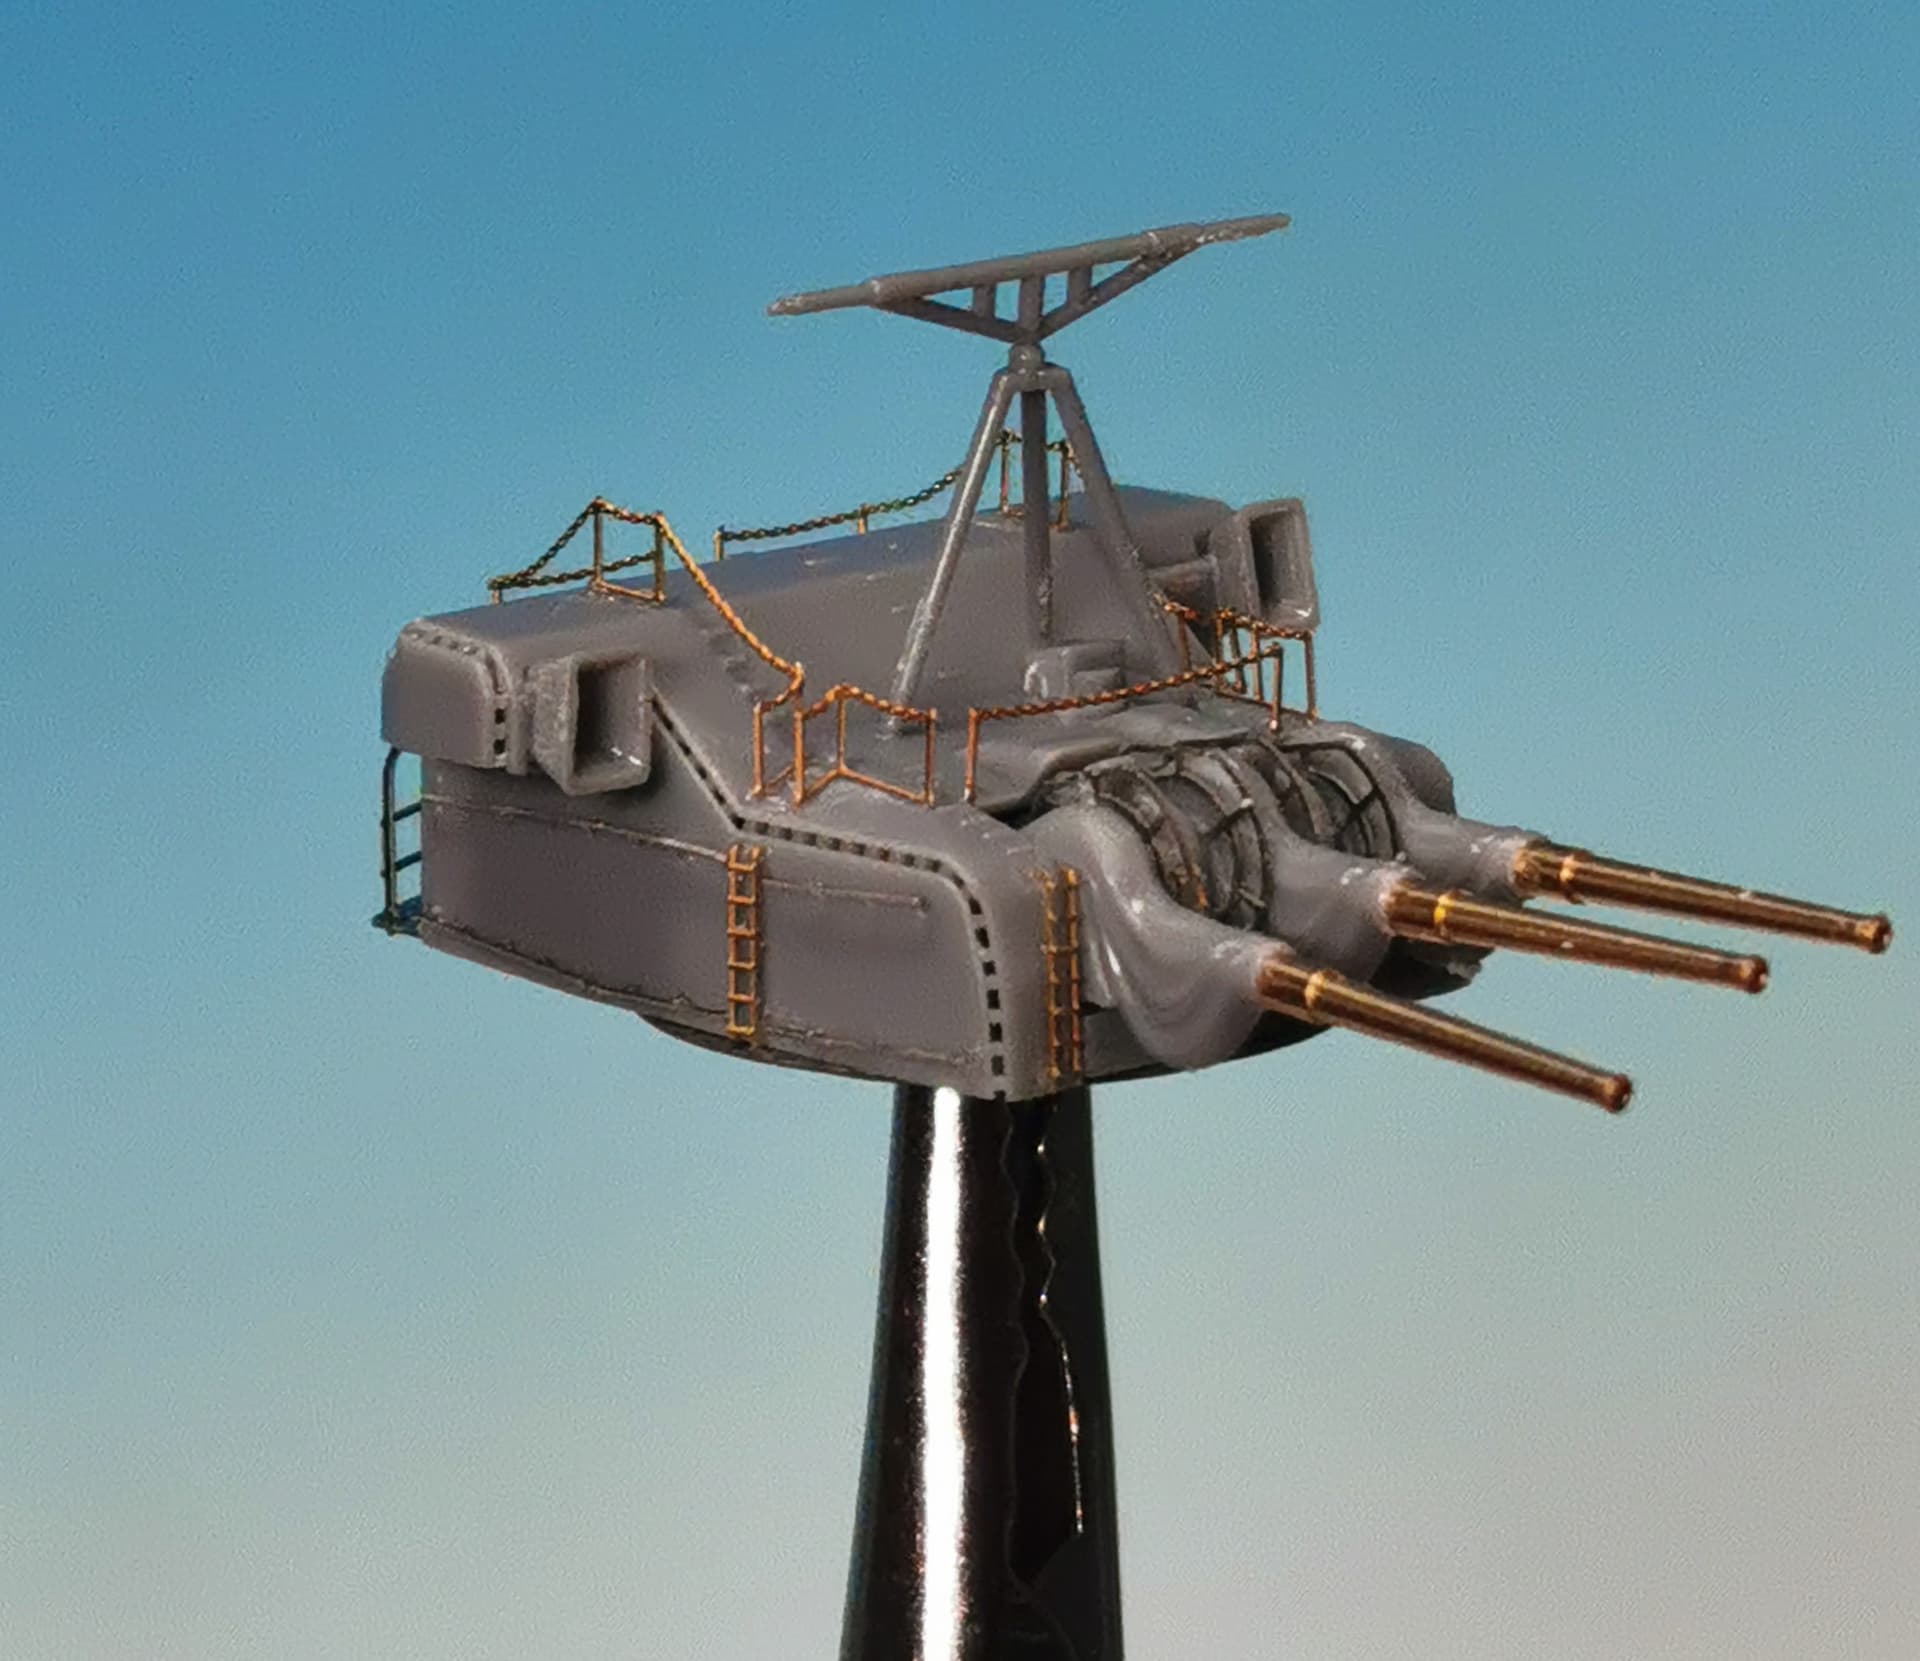
Today I build both 15.5 cm gun turrets but, because of these tiny details (half of them snipped away and I had to fight hard with the carpet monster as usual ) I was just able to finish one of them this evening. The small side railings are insane and almost impossible to grab even with microtweezers
Very nice, have you tried using a toothpick with a bit of bluetack at the tip instead of tweezers? Work the bluetack a bit to weaken its adhesive and it might work fine. Also a trick for the carpet monster is a vacuum cleaner with a piece of stocking at the front for finding tiny parts.
The details is really impressive. And they added the hollow top sides of the turrets too.
Doesn’t Mk1 provide a replacement for the tripod mast in metal?