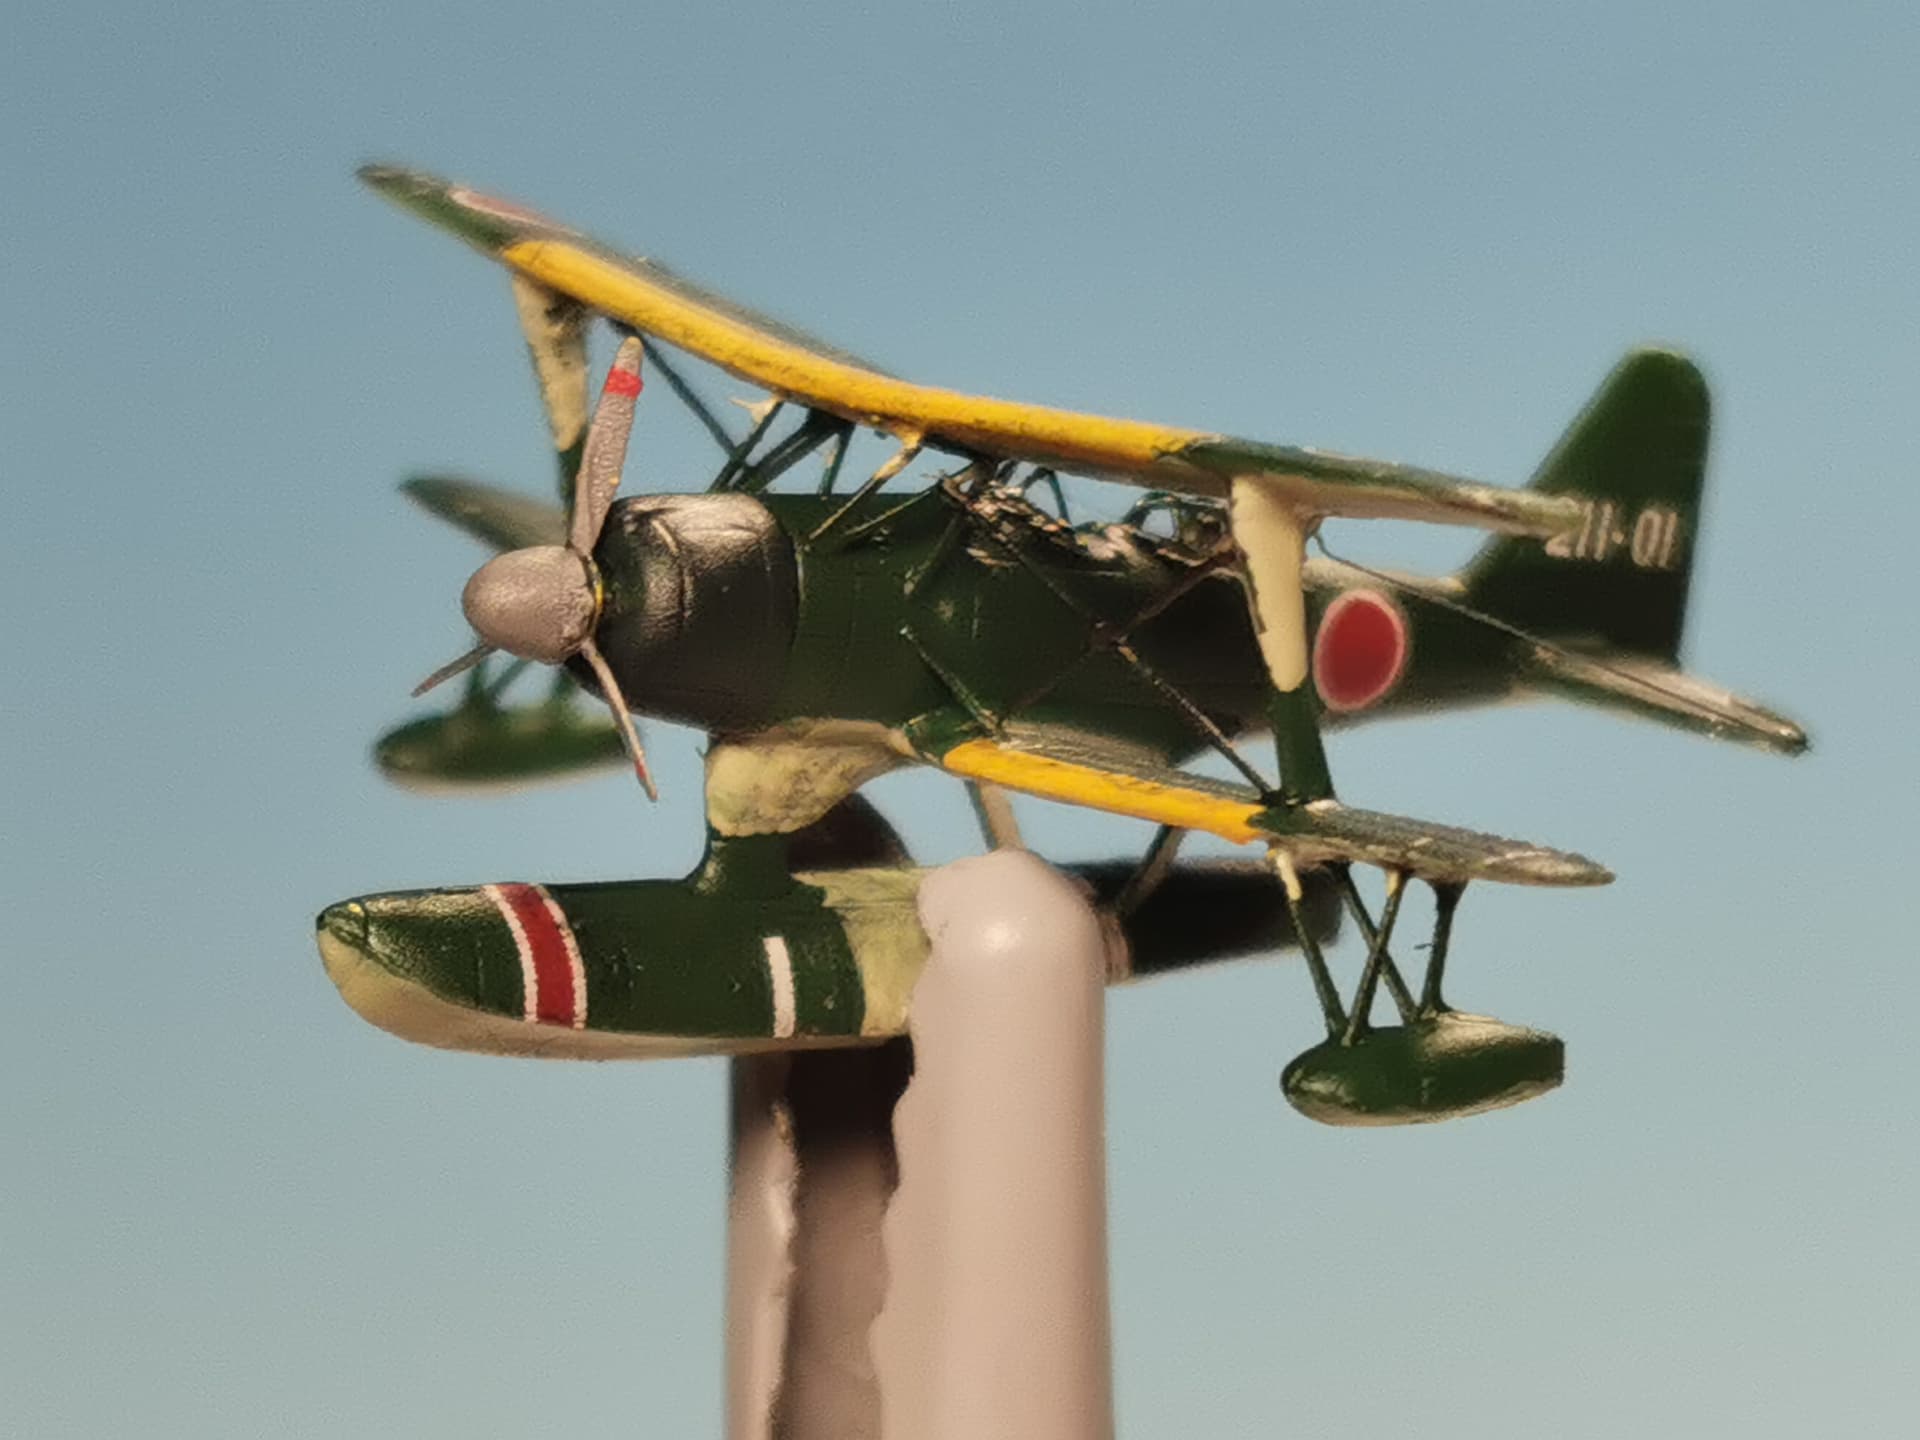
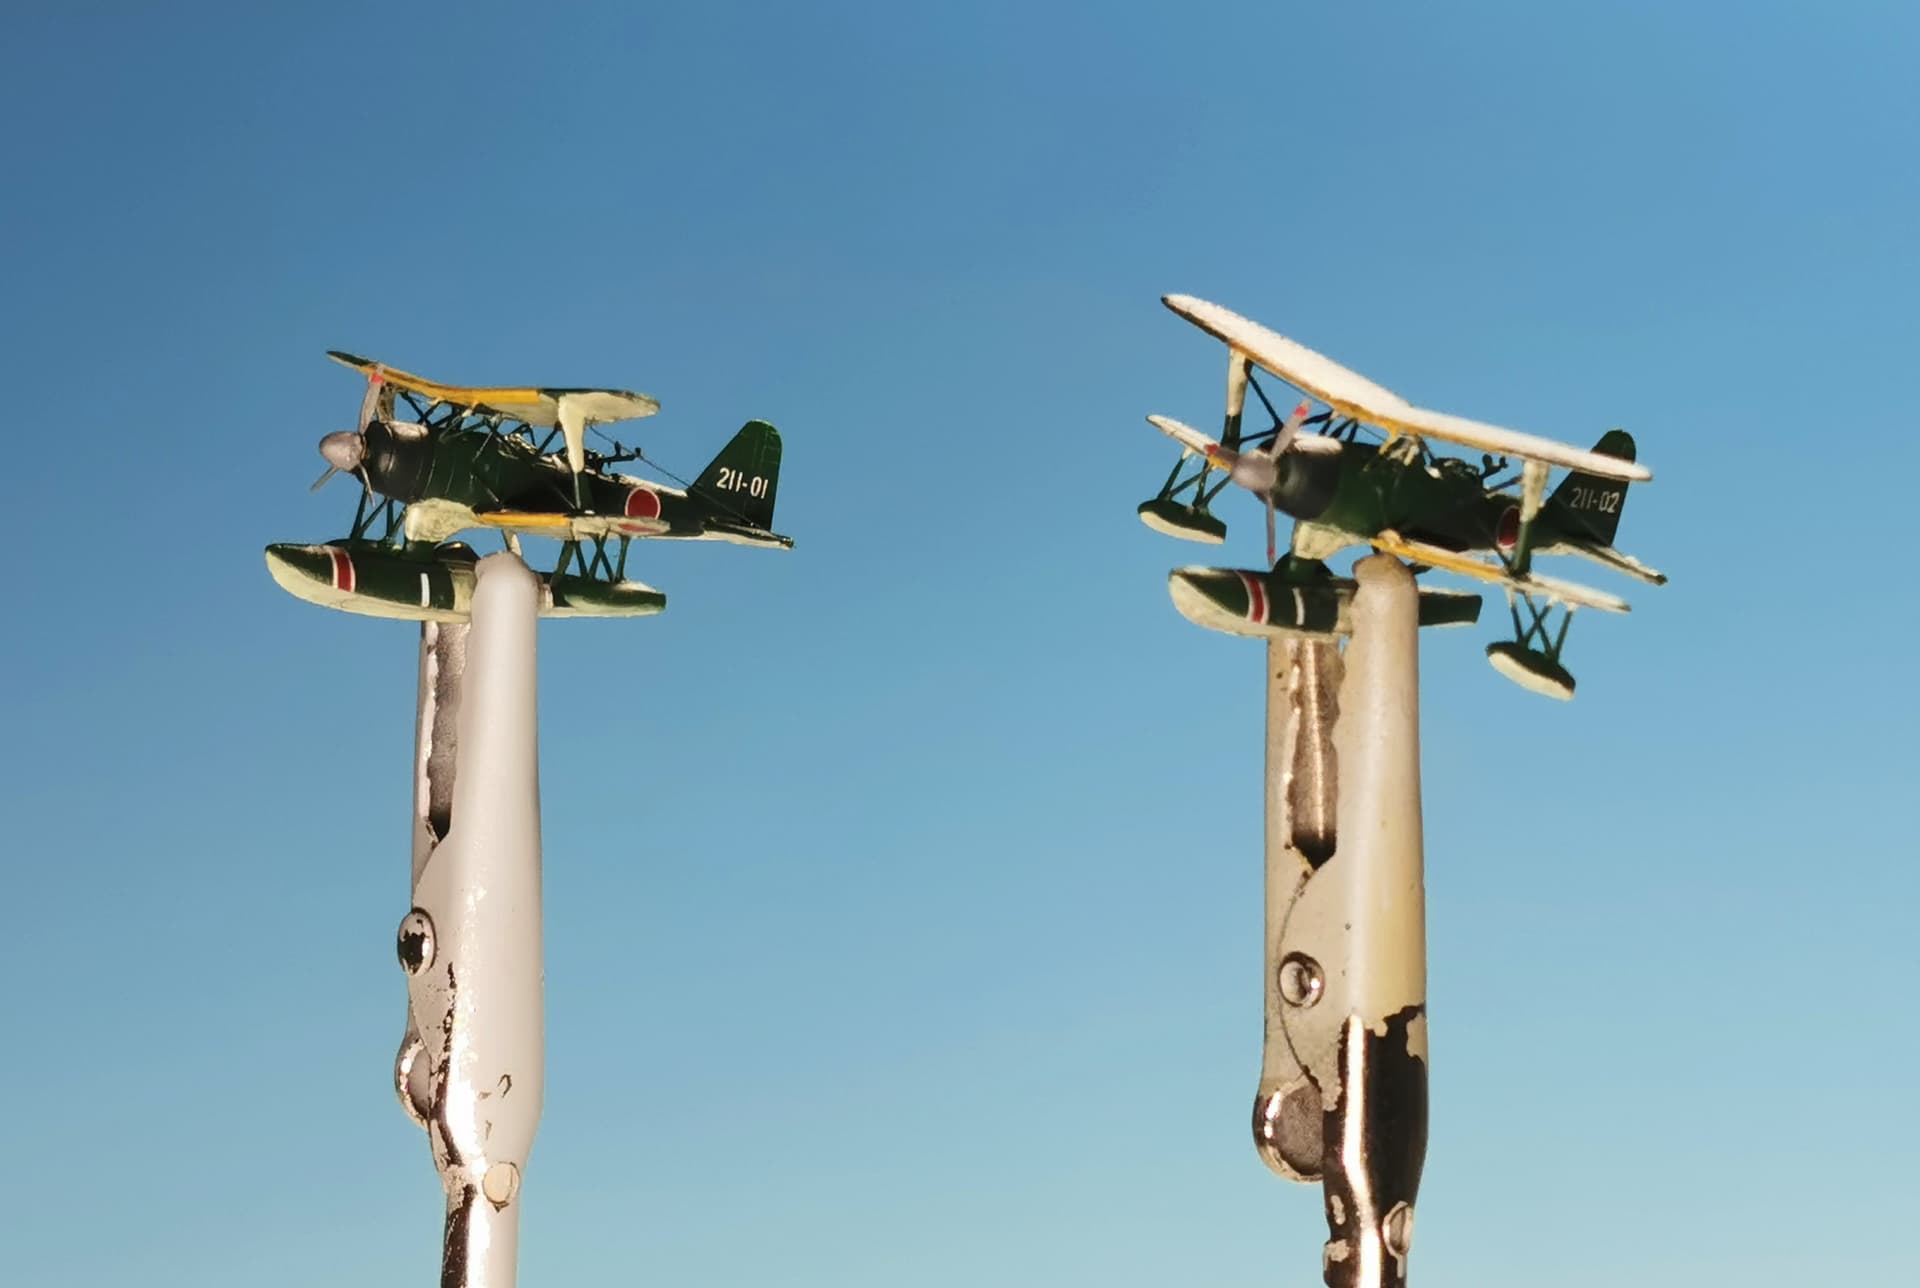
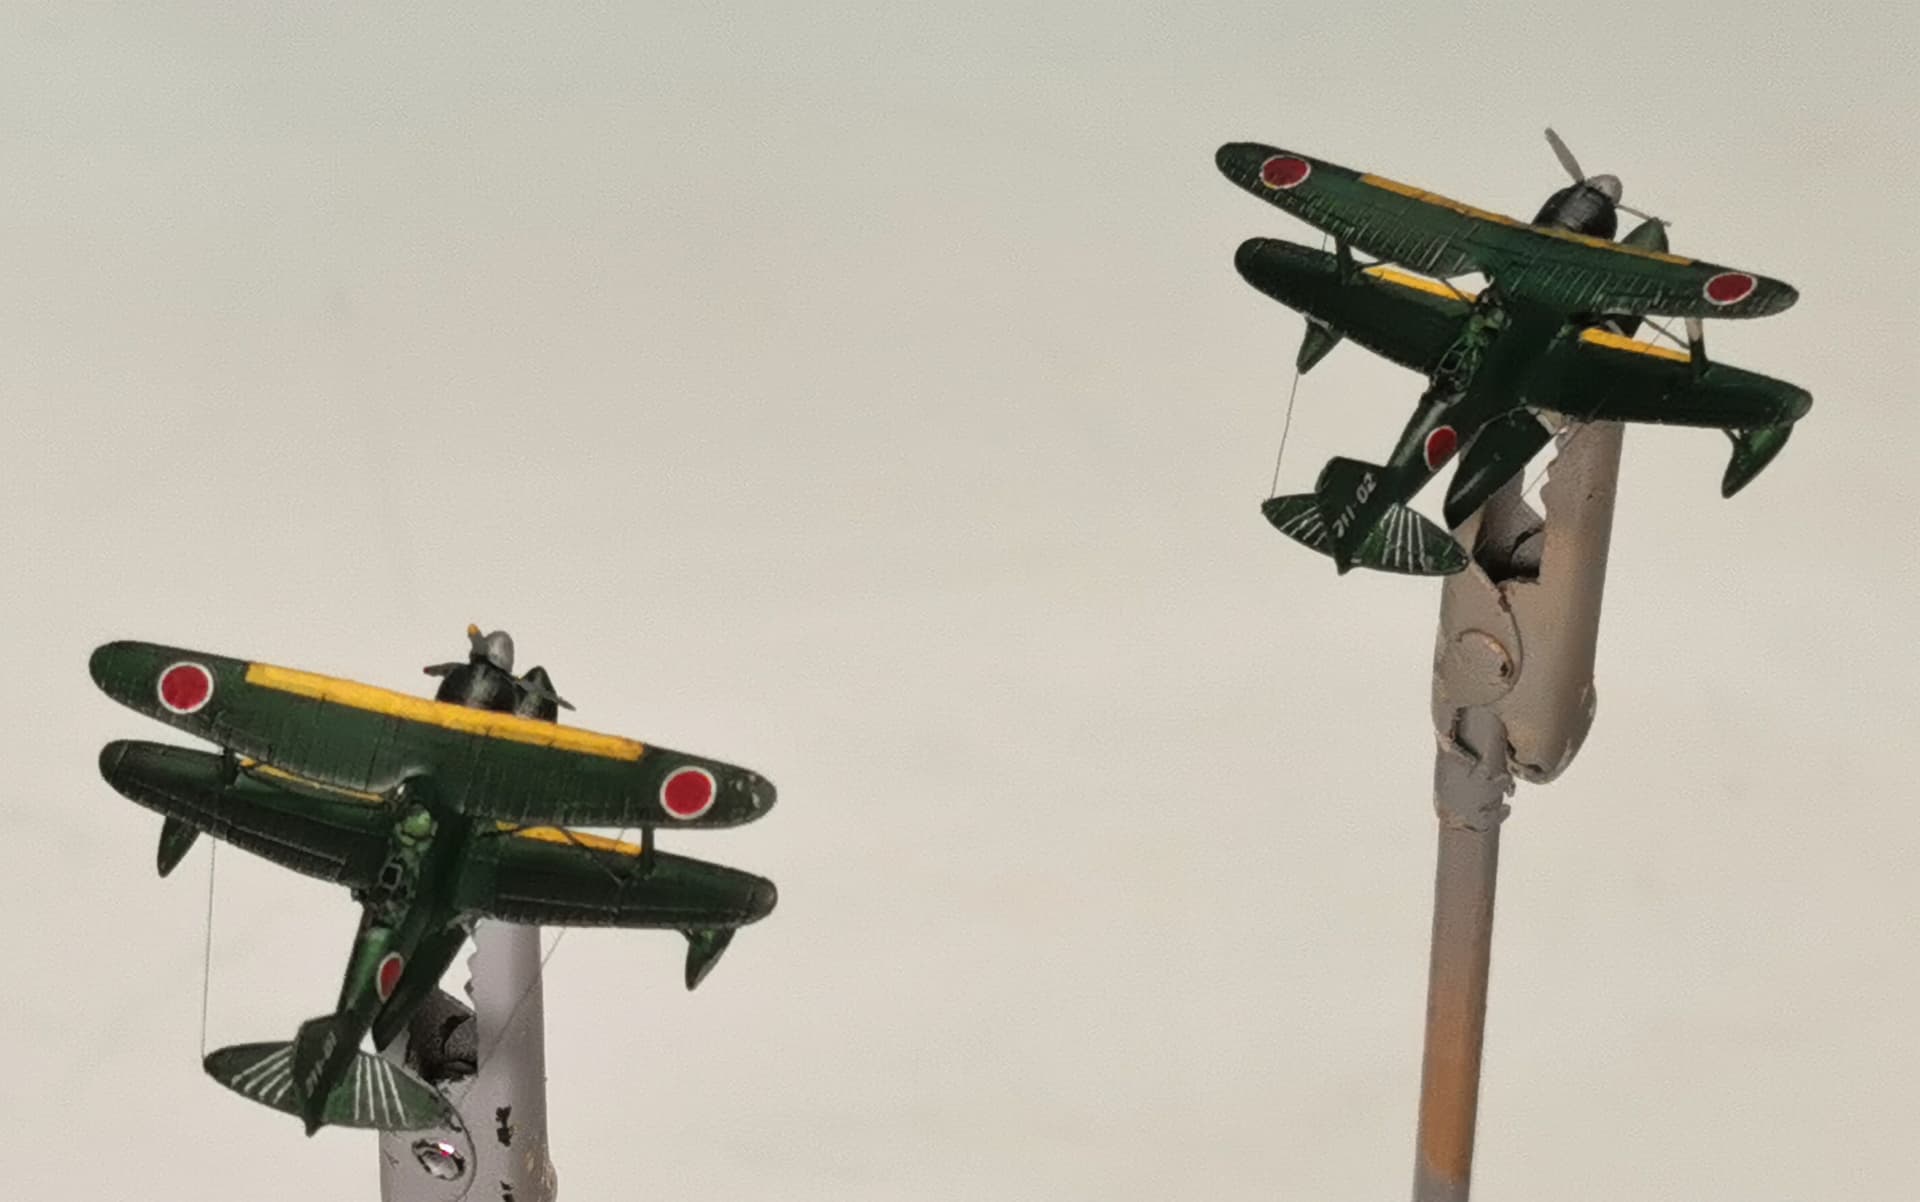
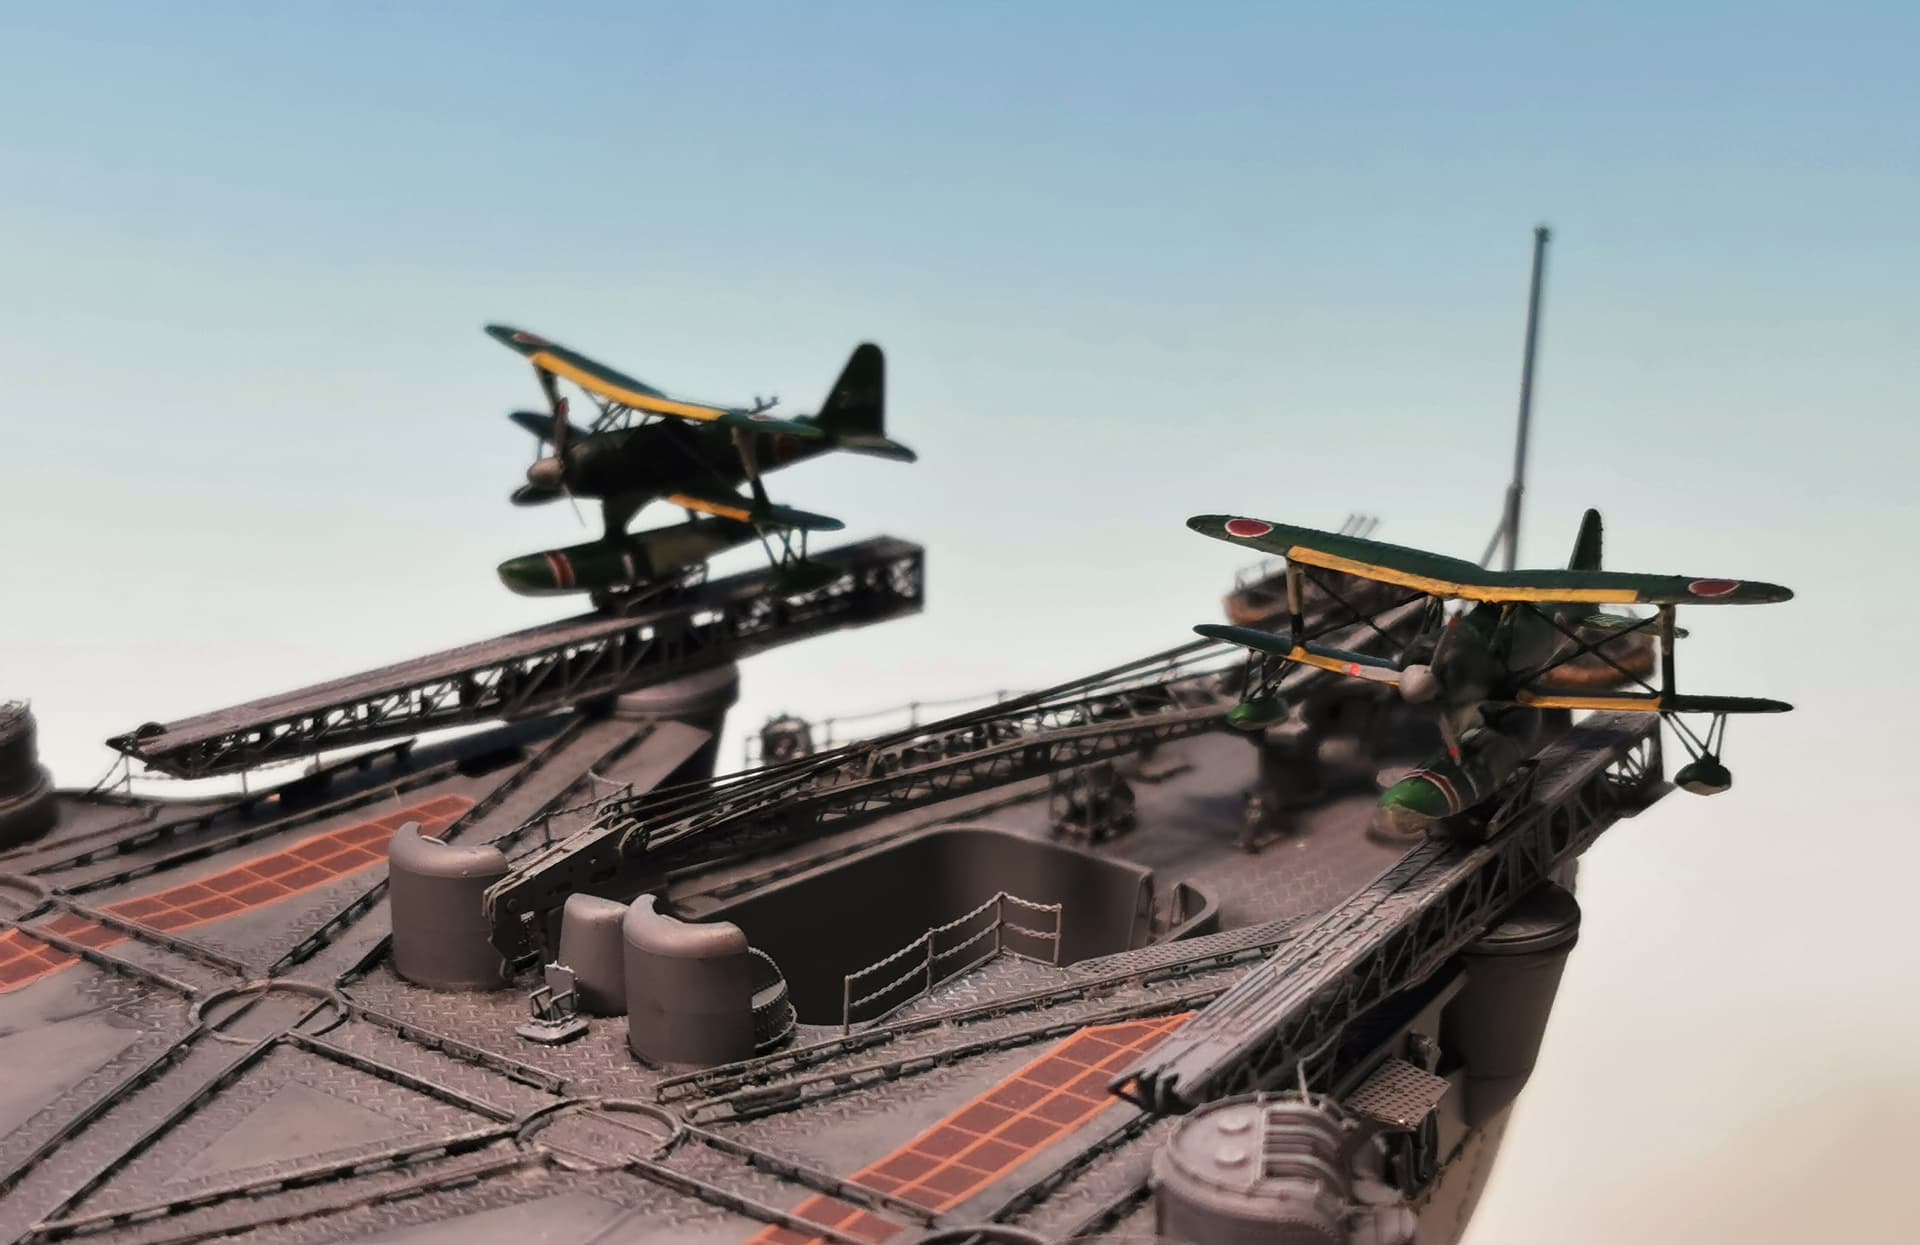
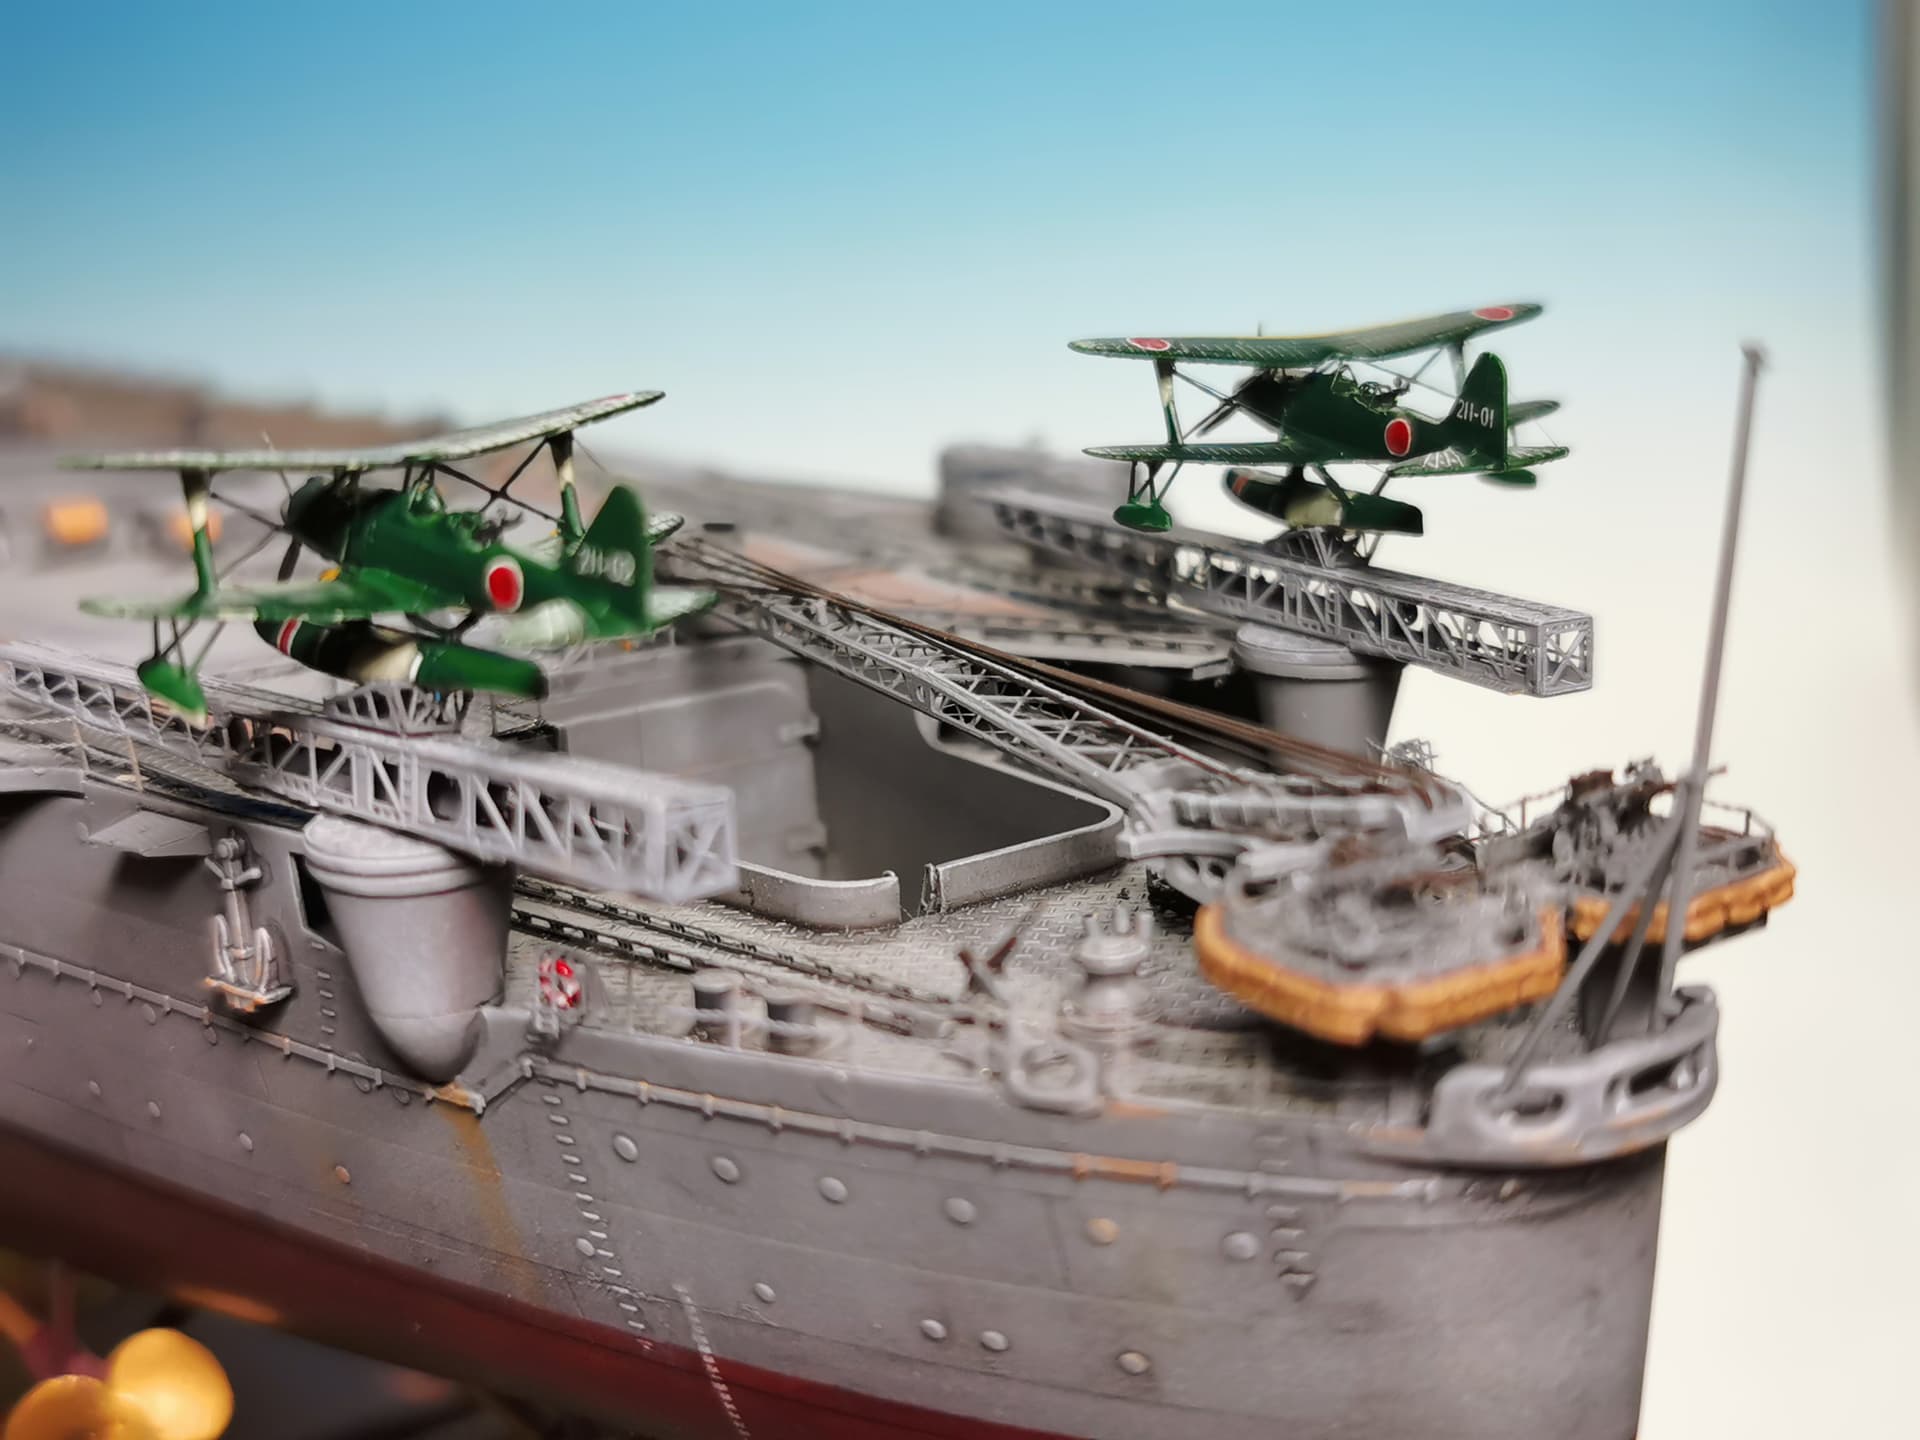
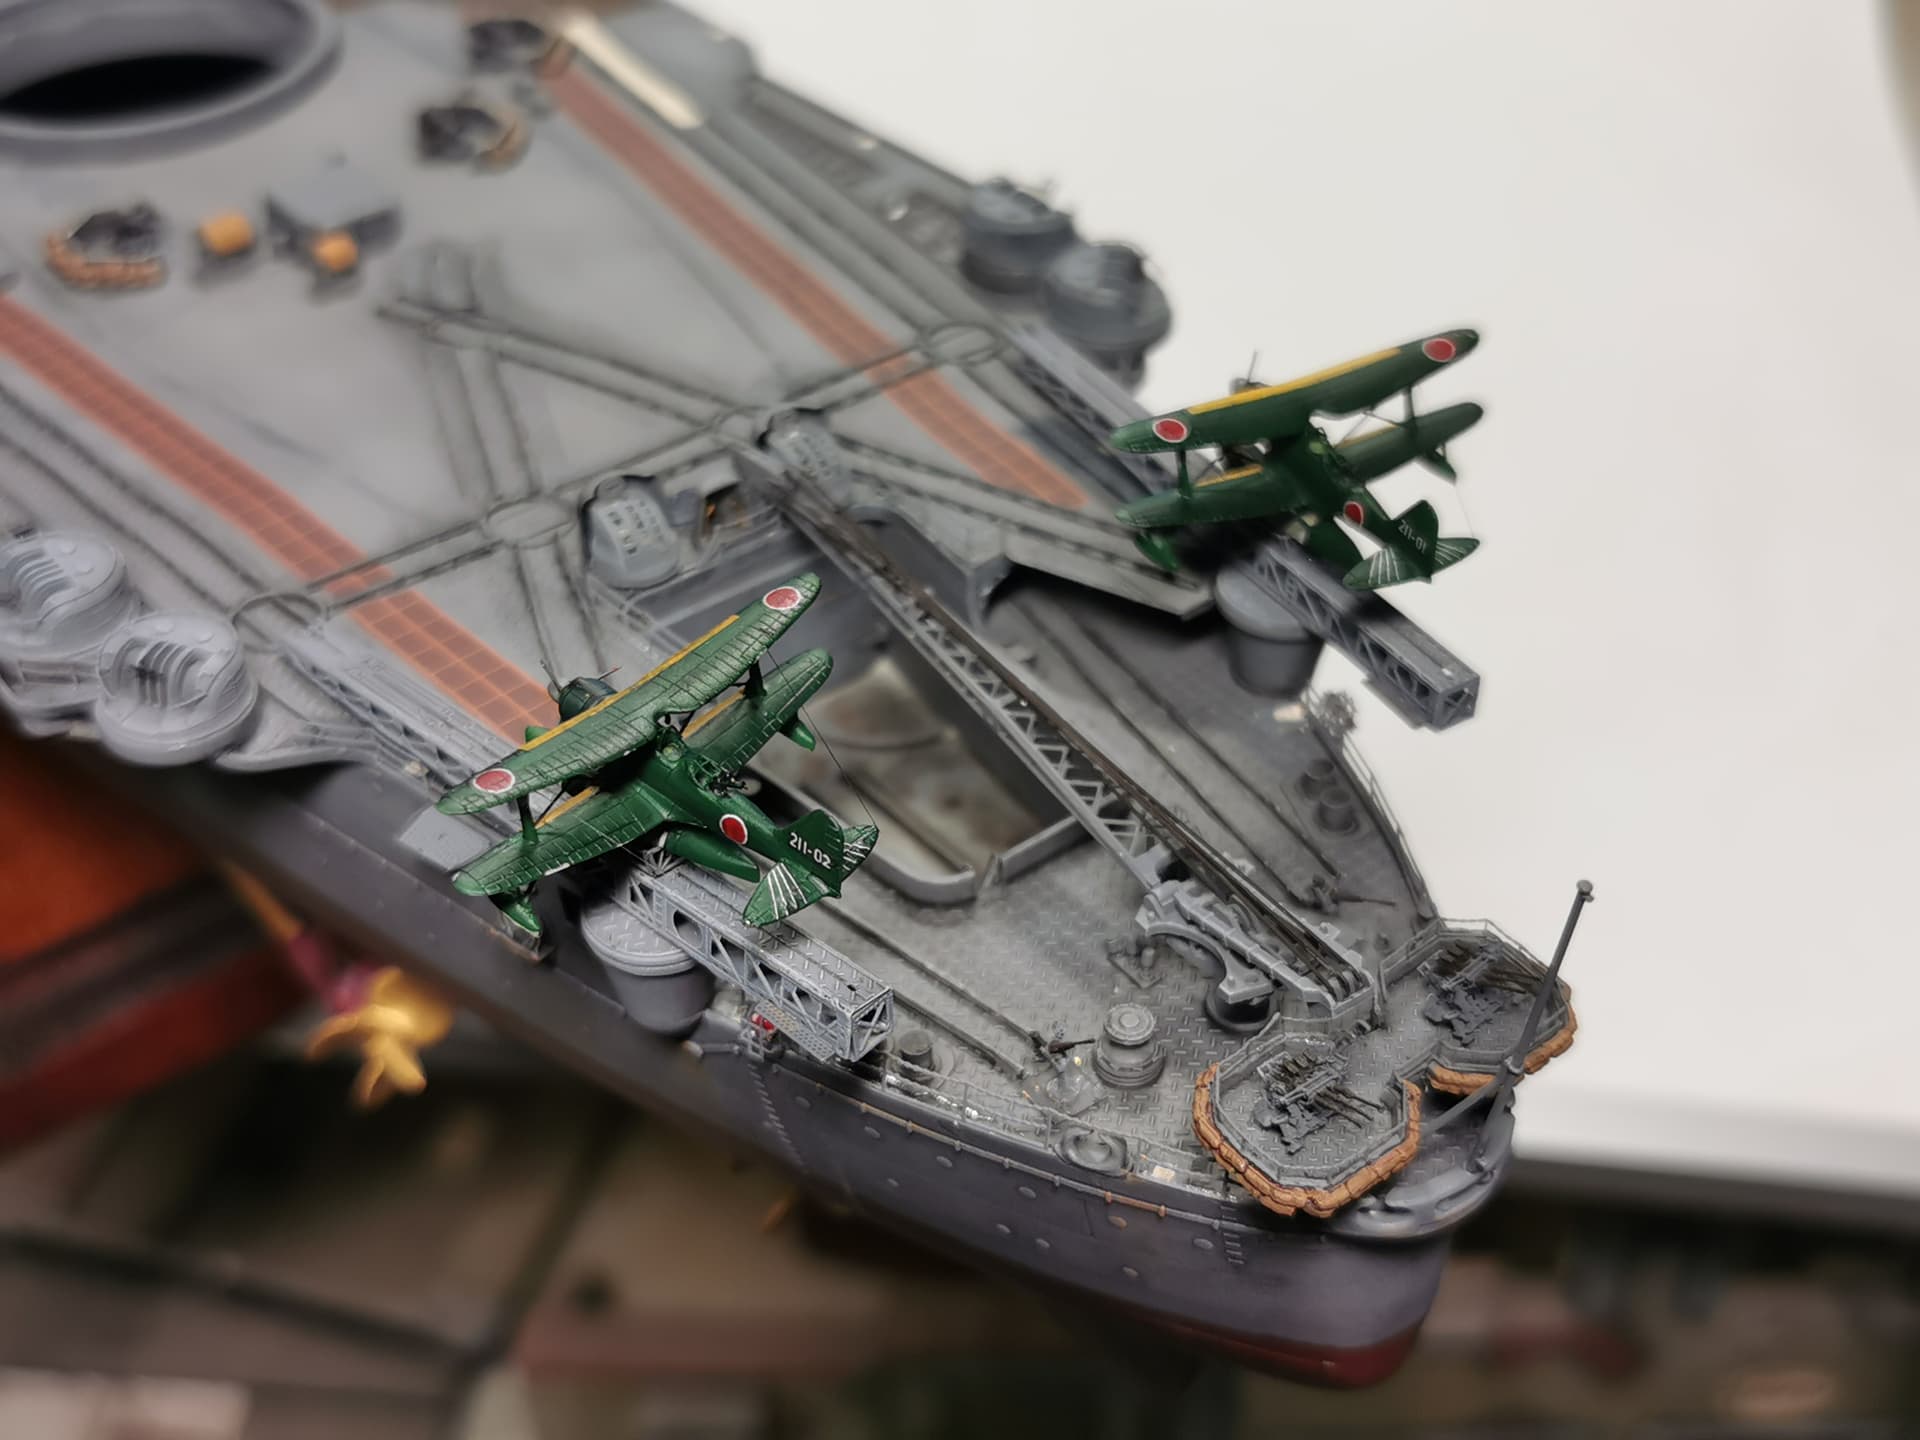
My two Mitsubishi submarine chasers are also completely finished. It was a very fragile affair and that or the other floater broke off a gazillion times but in the end I was able to get everything done and sealed the surfaces it with matt laquer. The antenna cable was done with MIG 0,01 mm superfine rigging wire.
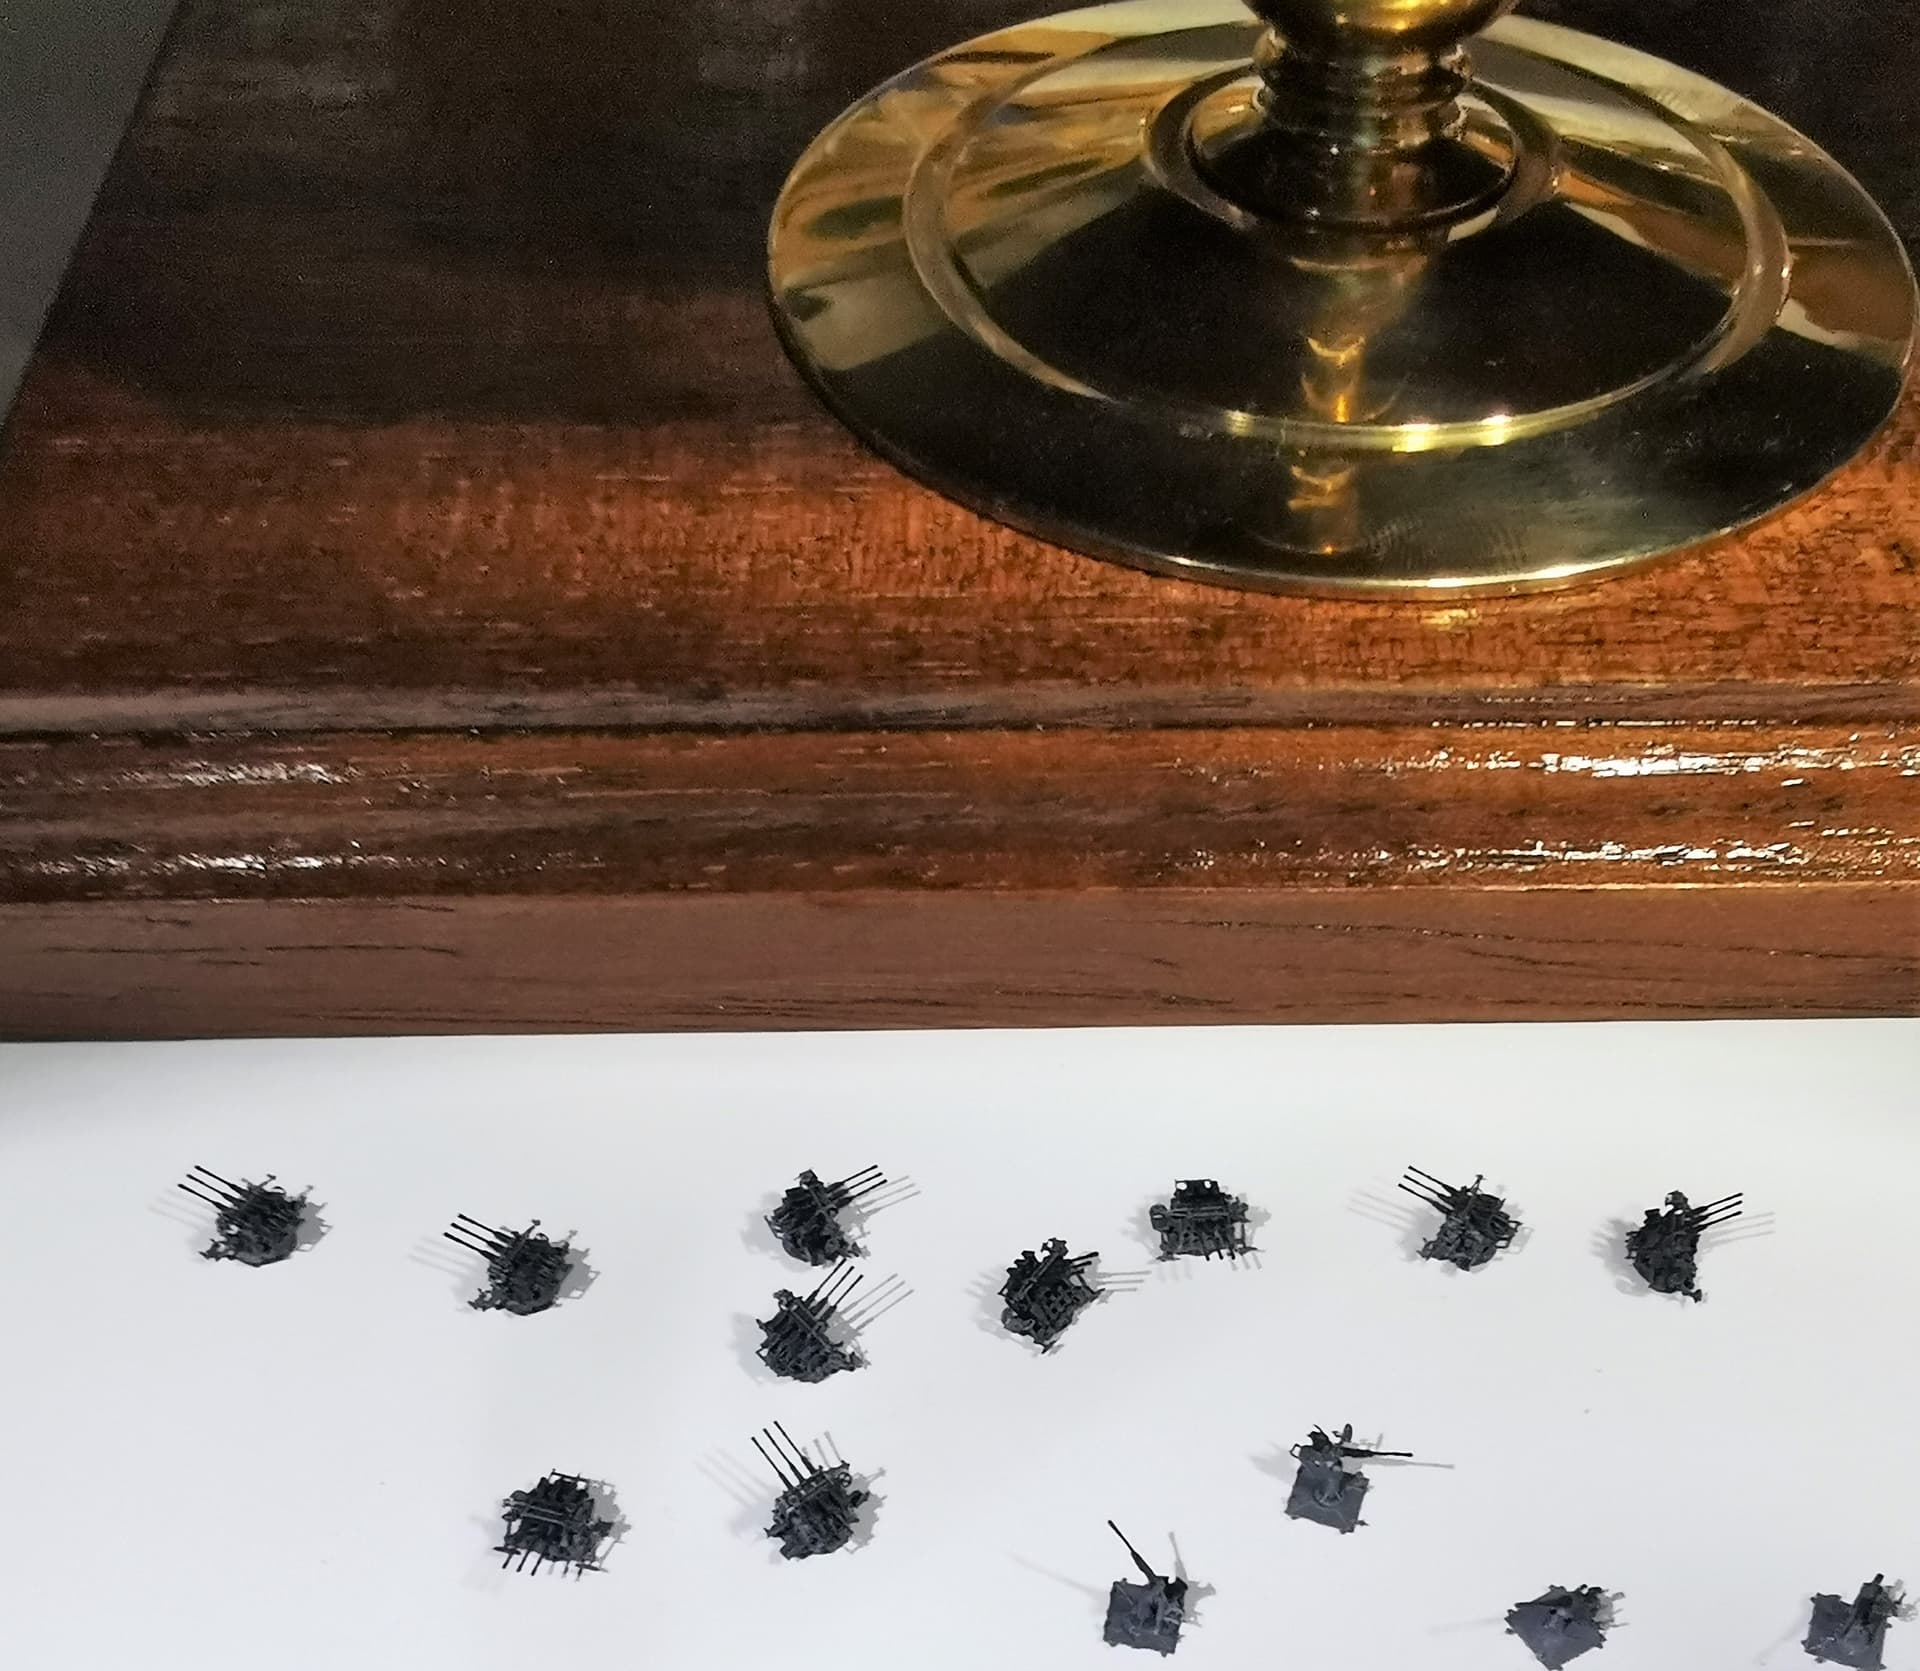
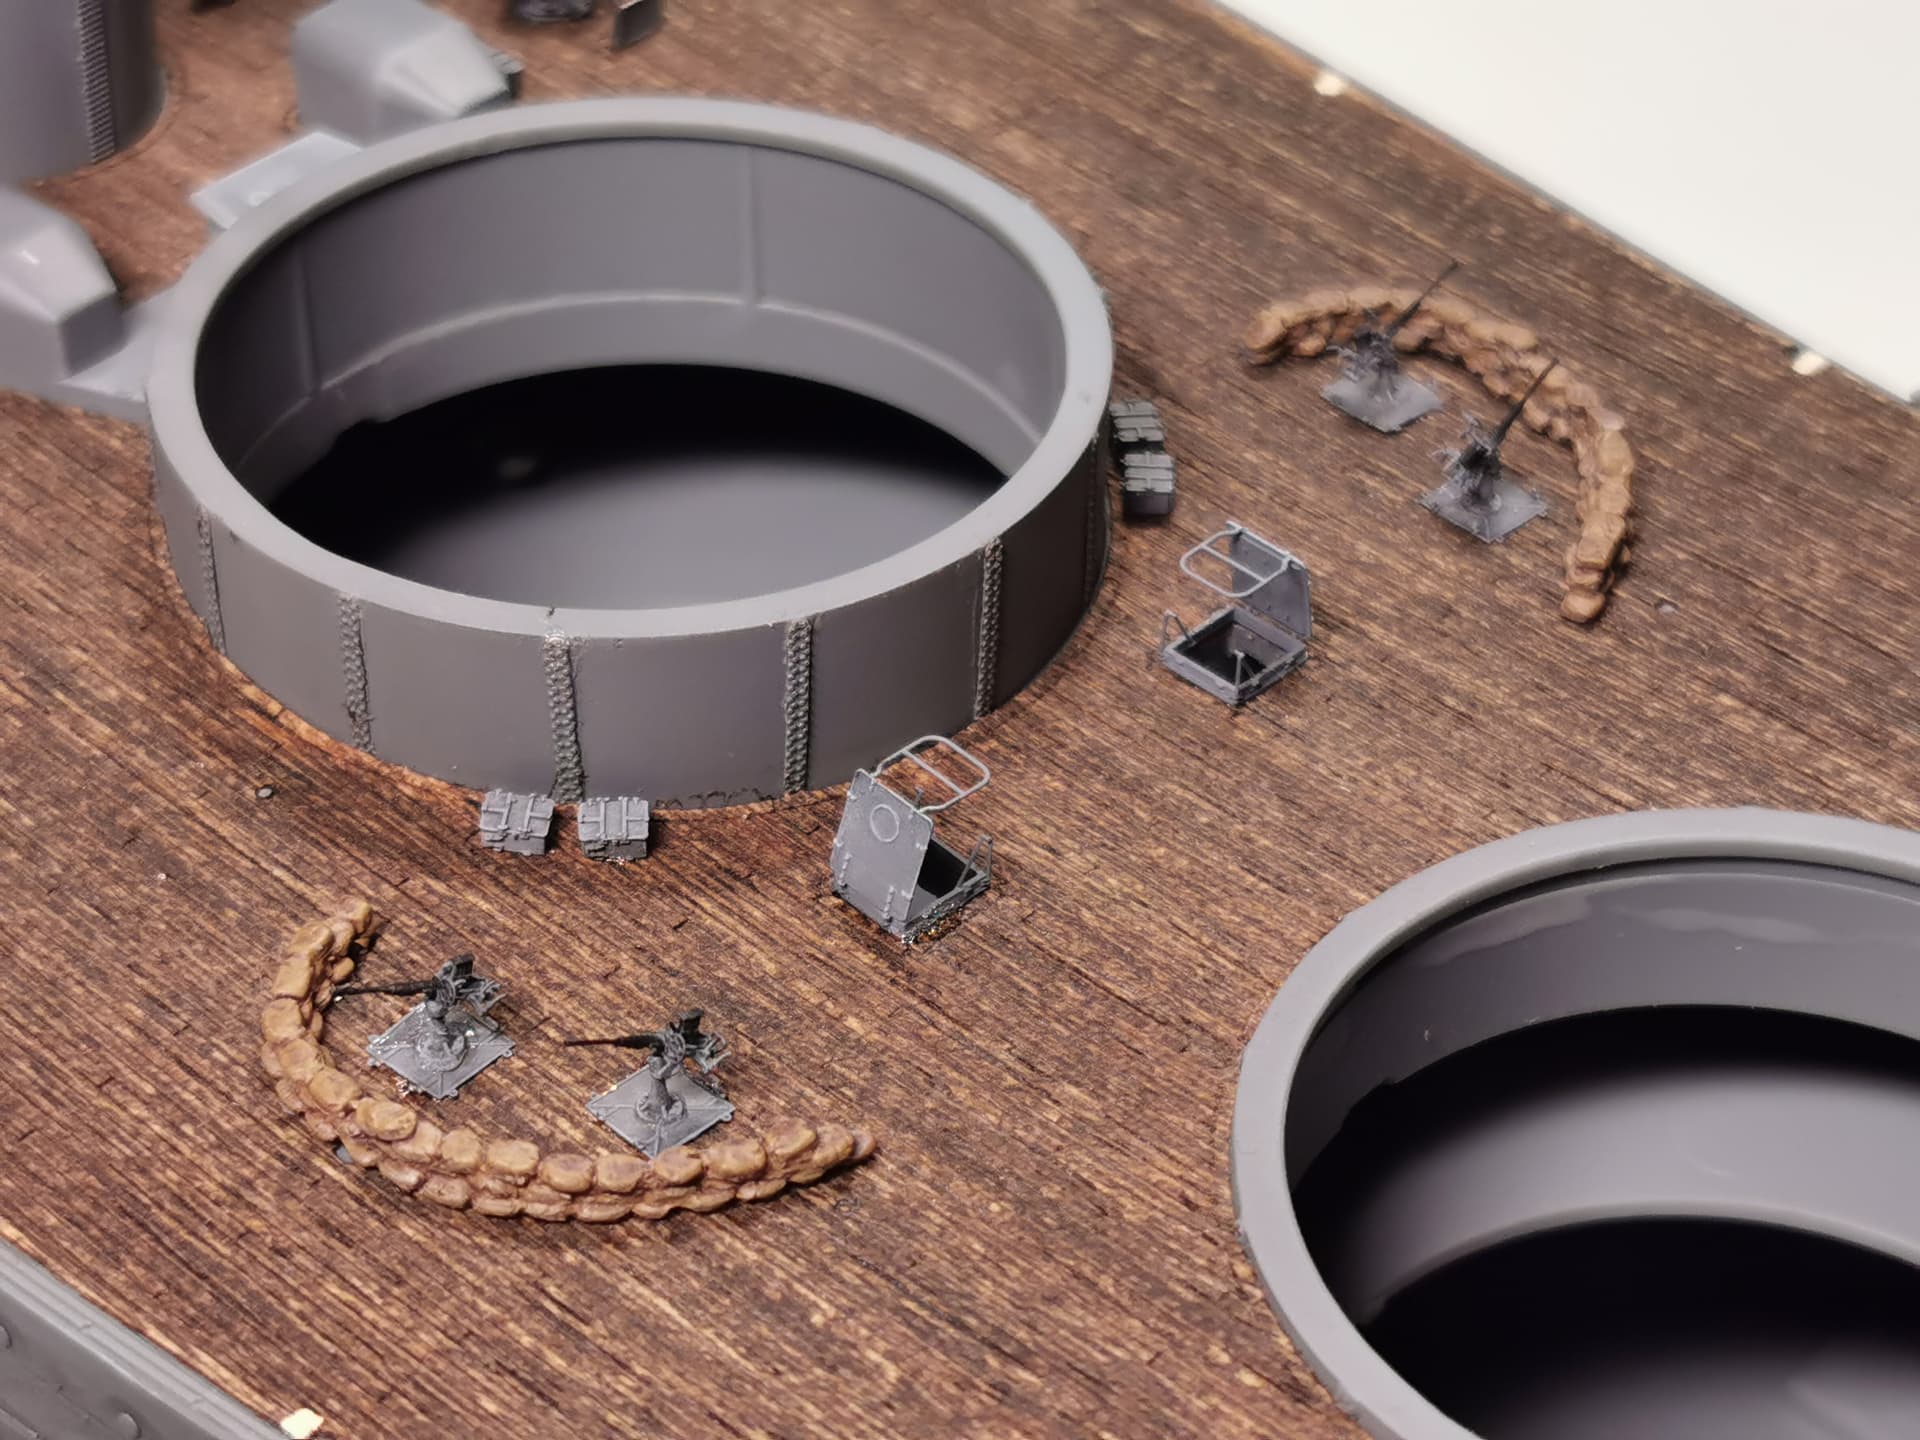
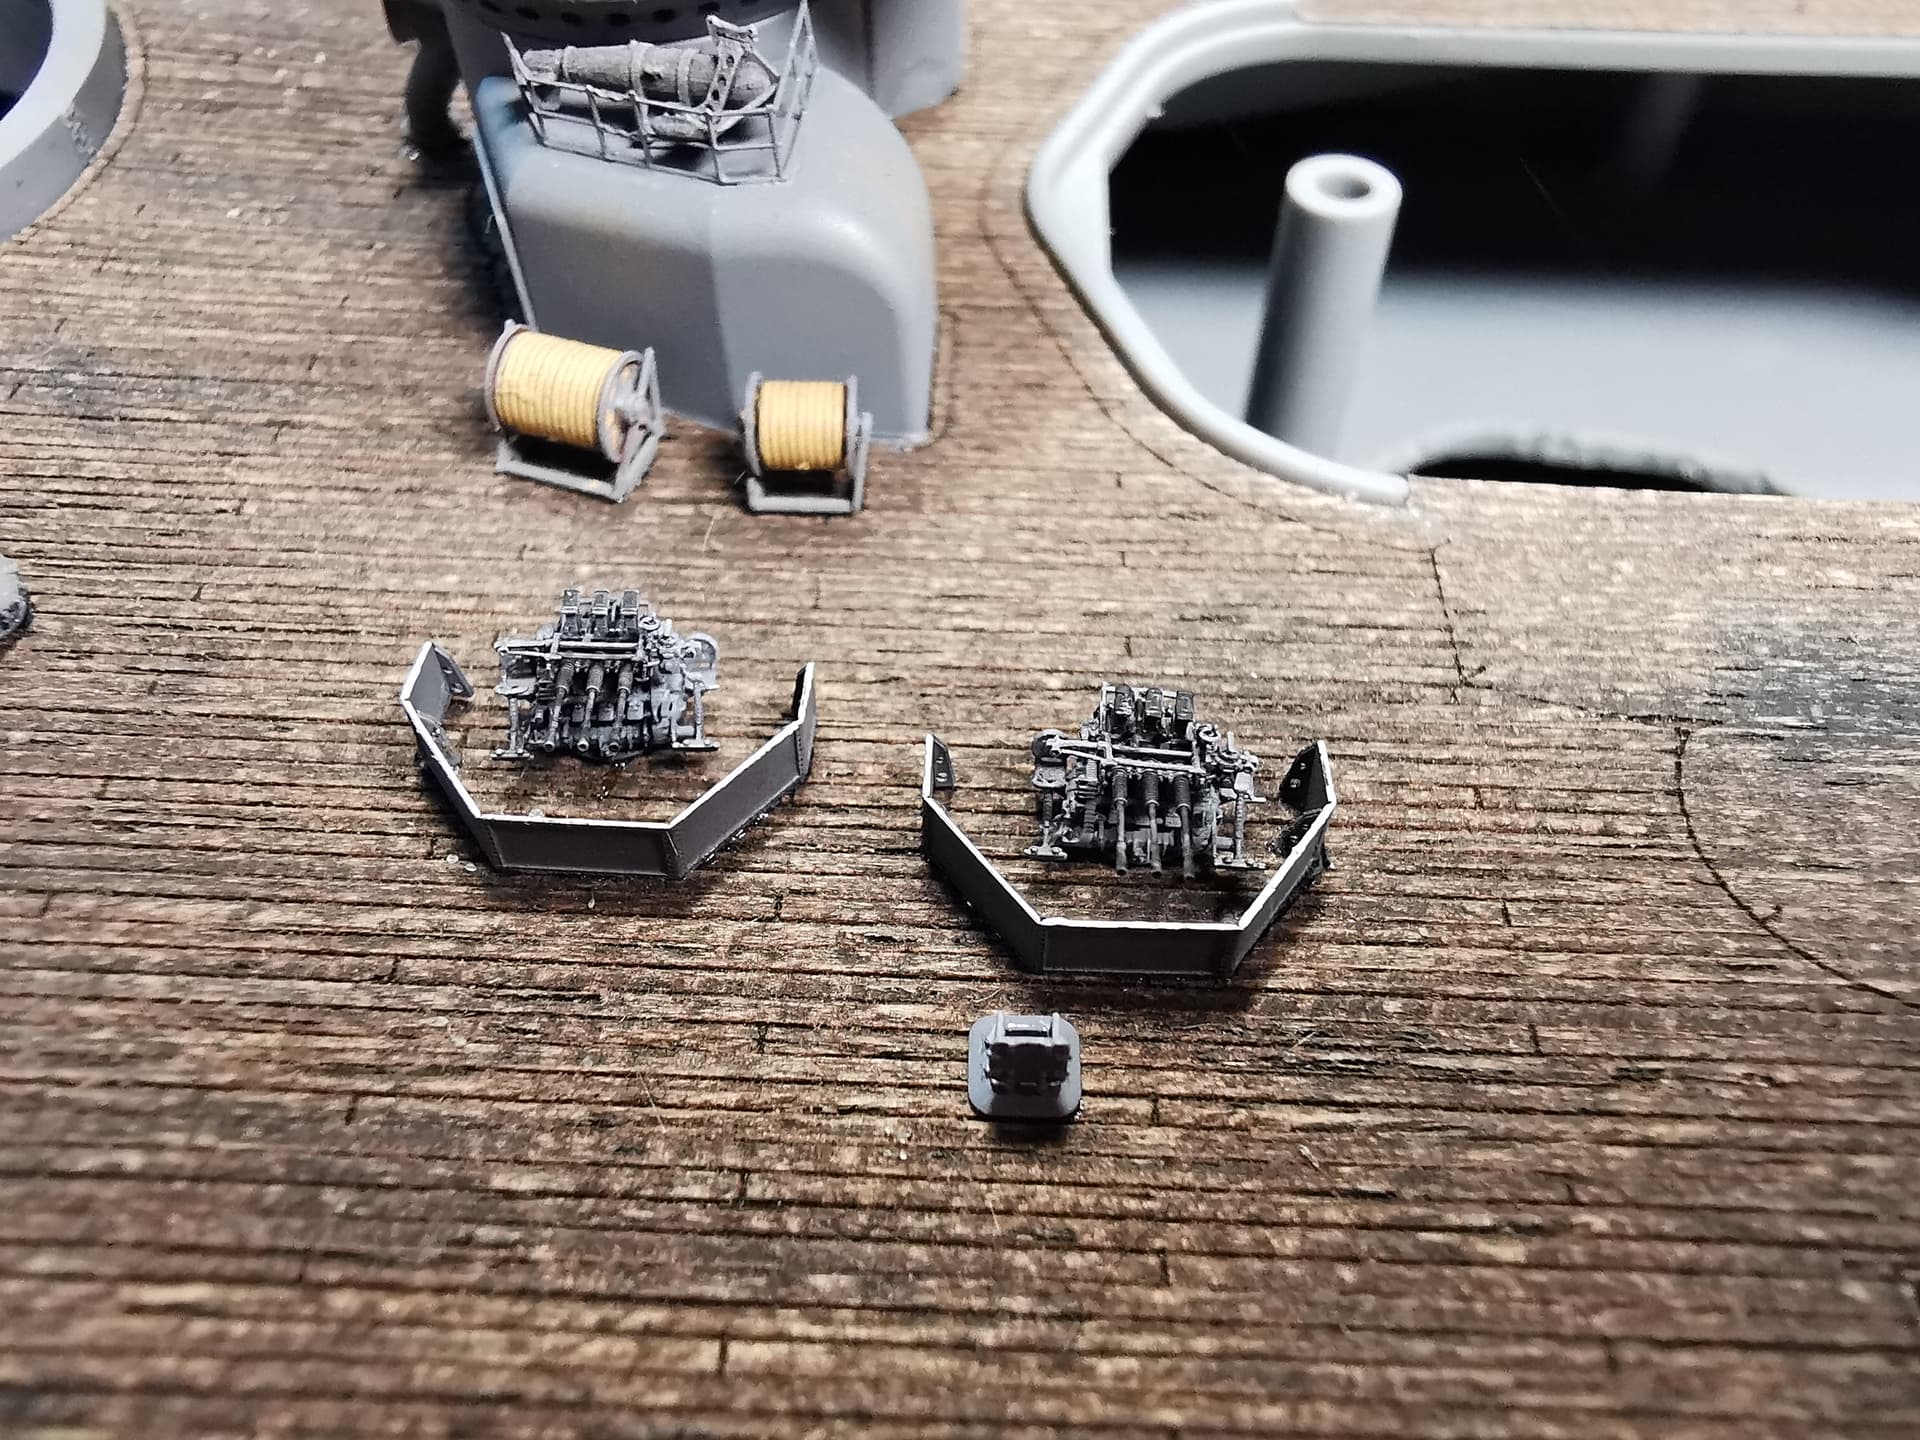
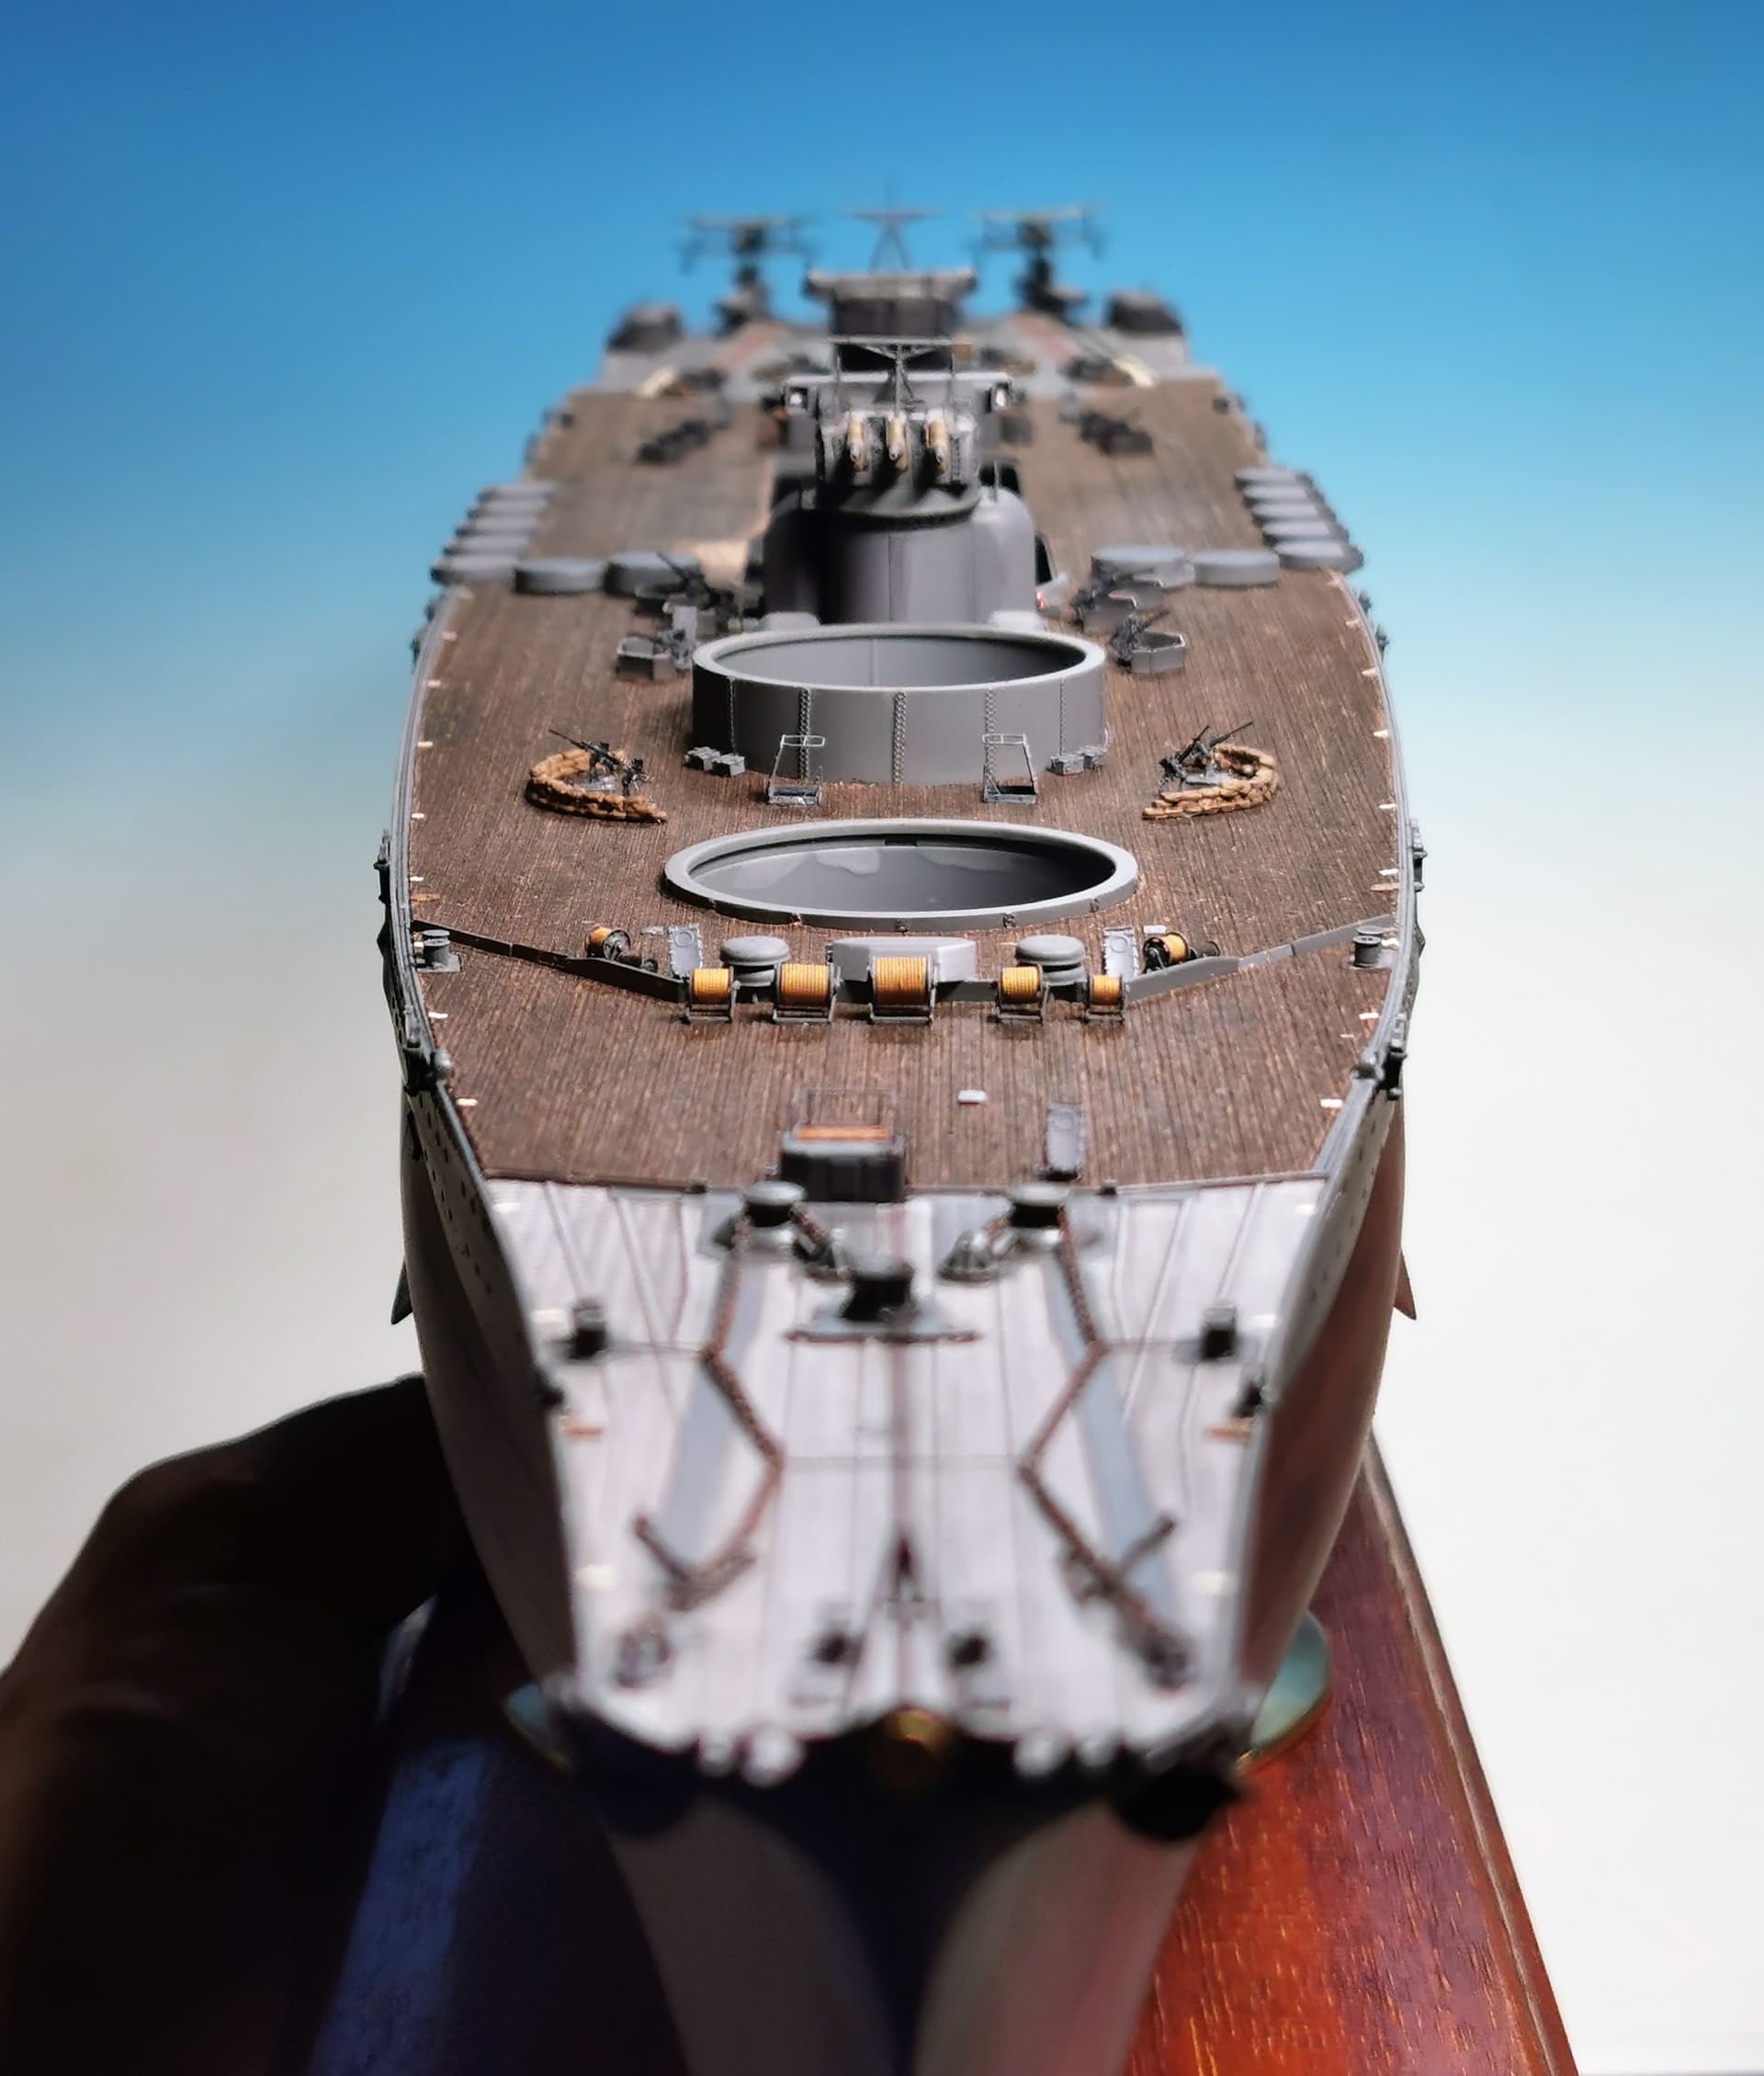
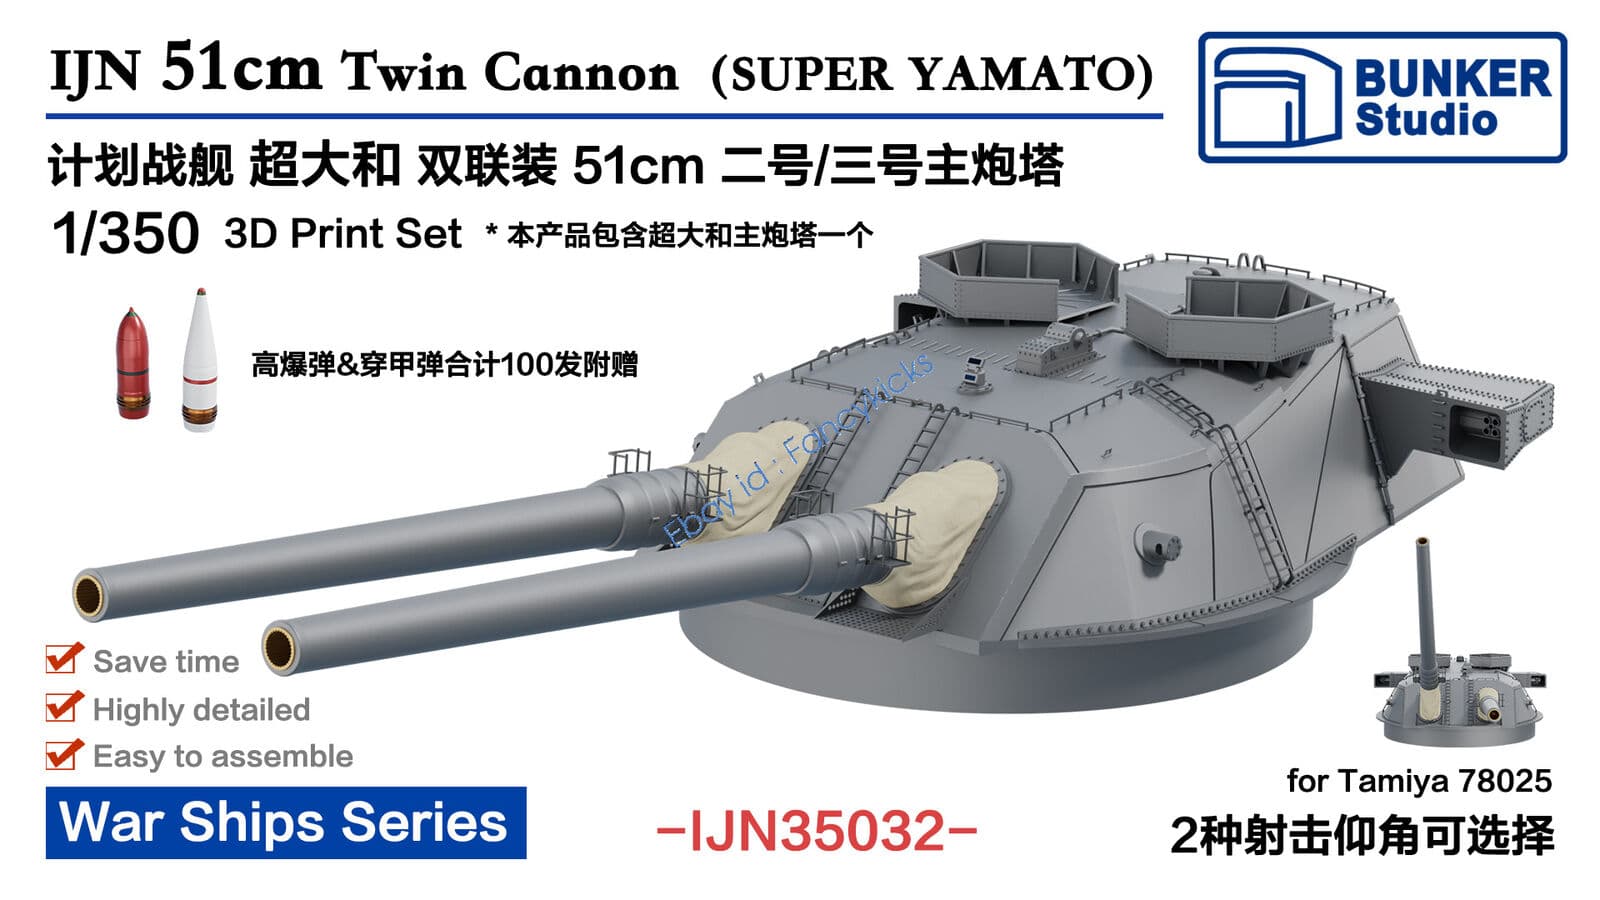
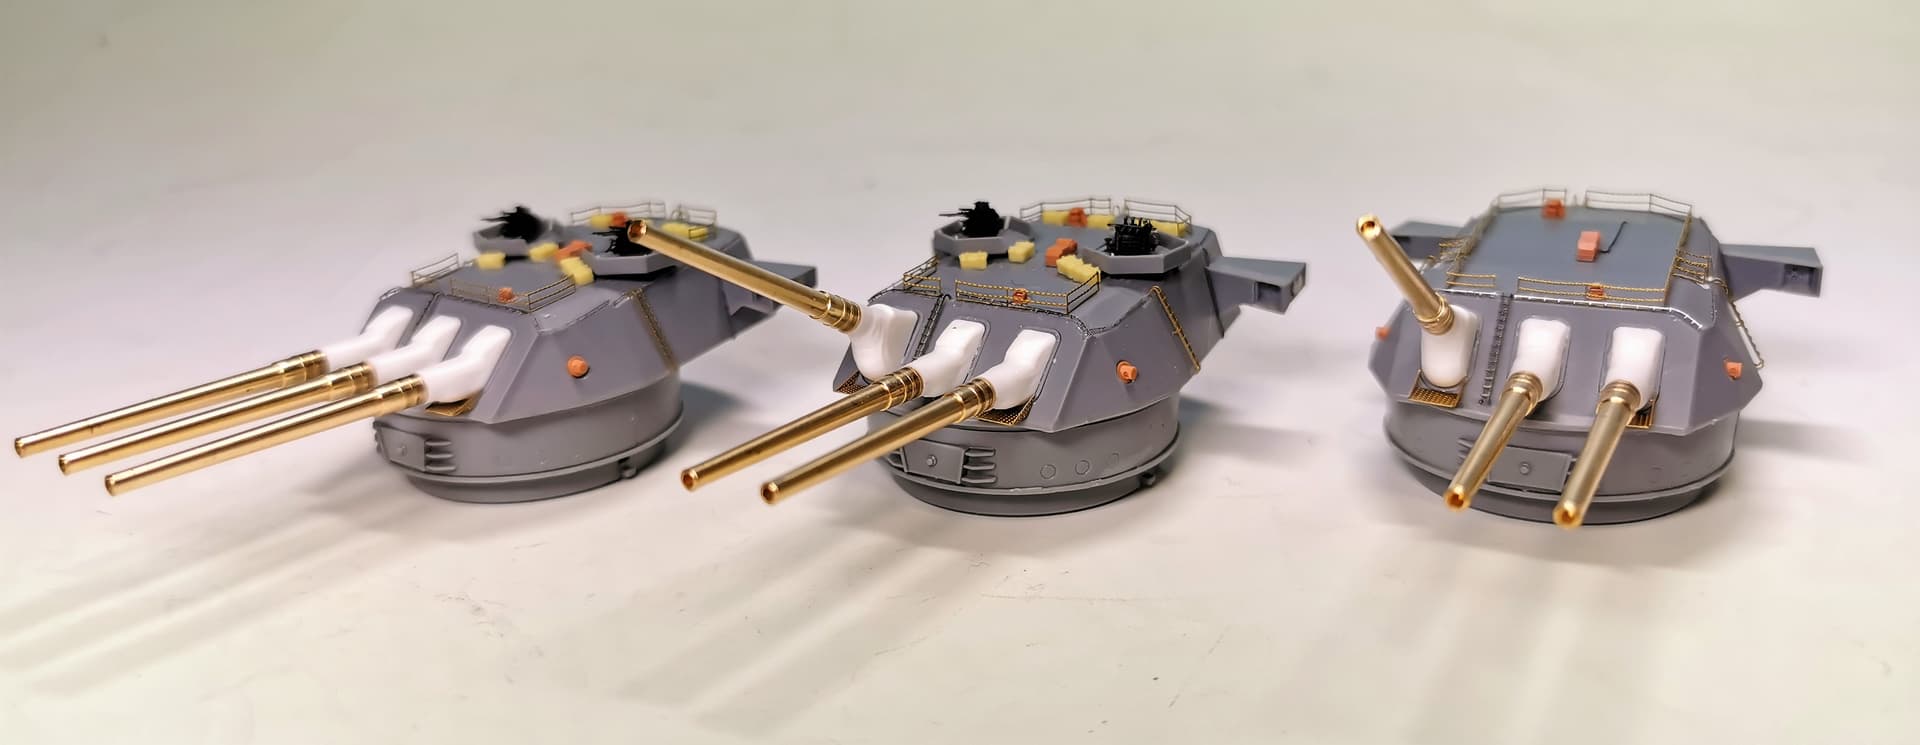
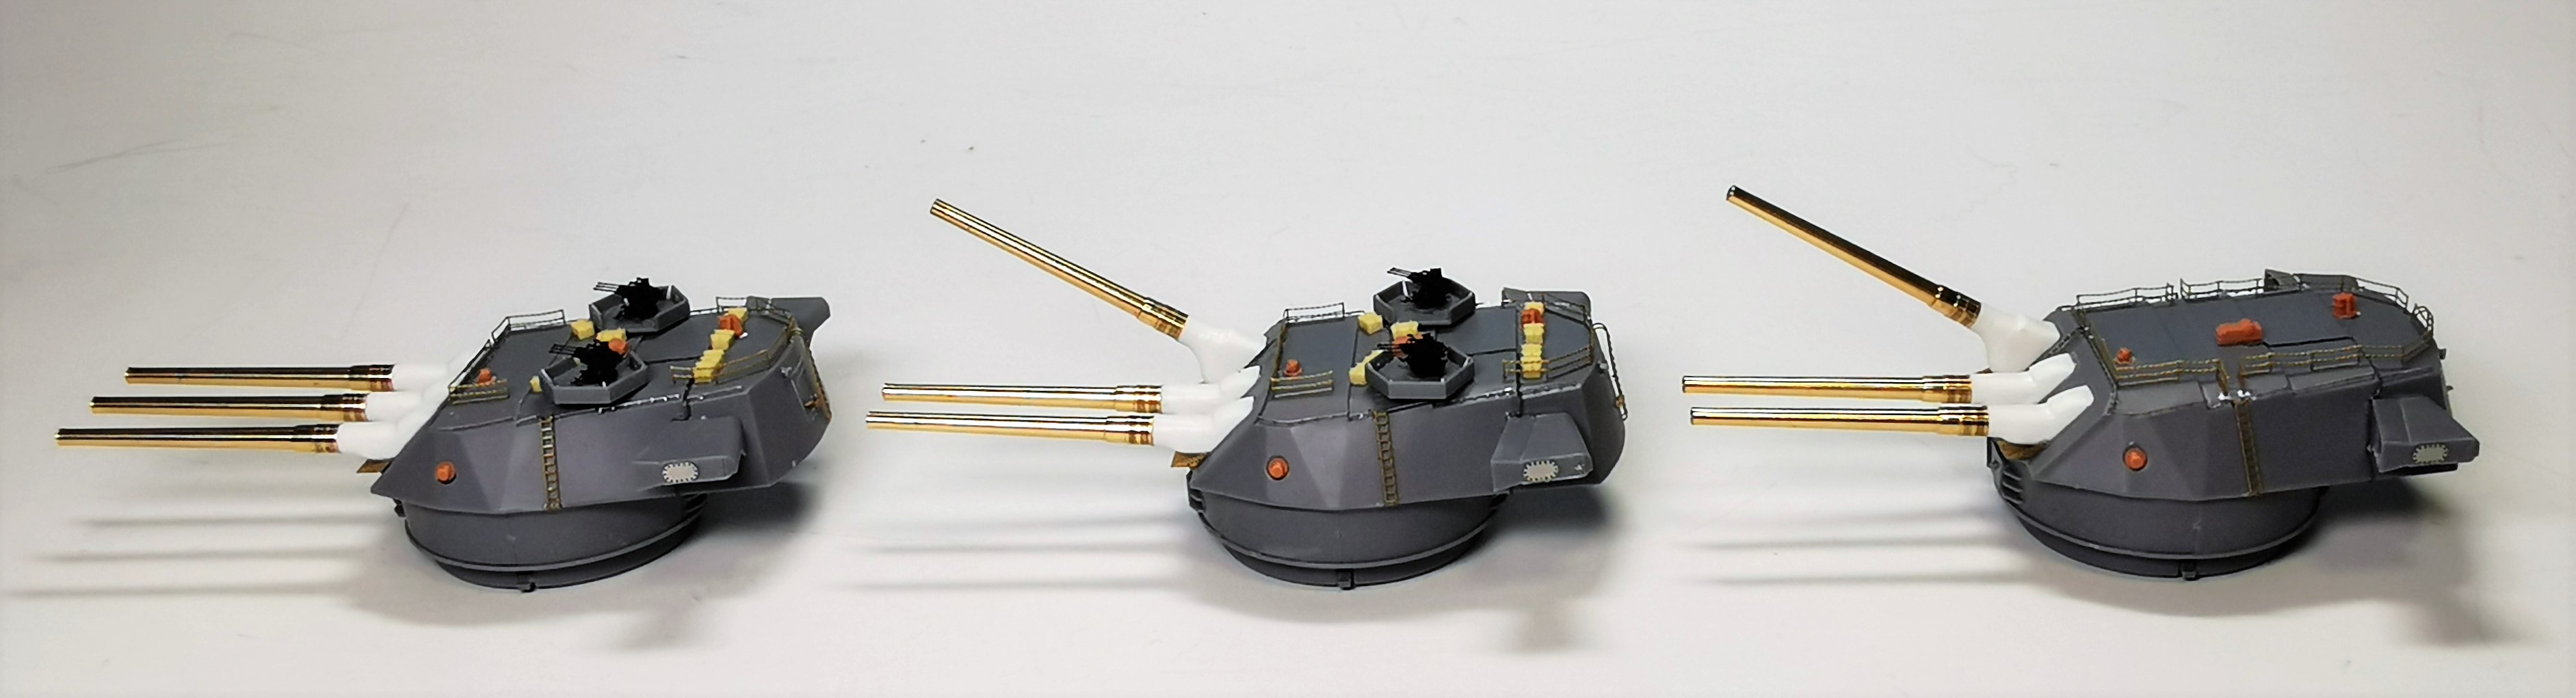
Guns, guns, guns today! I finished the etched splinter protection shields for the triple AA-guns atop the deck around the main and secondary guns. The shields got the edges painted in white again as the others at the aircraft deck also. The guns were again 3d-printed pieces from BUNKER STUDIO in magnificient quality but also in remarkable fragility. But they saved me a lot of blood and sweat. Nevertheless I had a loss quote of 10% broken during handling
Here are all painted and waiting for their placement
Now exept for the railings (which I will do at the very last stage of the build) there is only the ship´s anchors and the fixing of the anchor chains to do before I will start to tackle main guns and main superstructure…
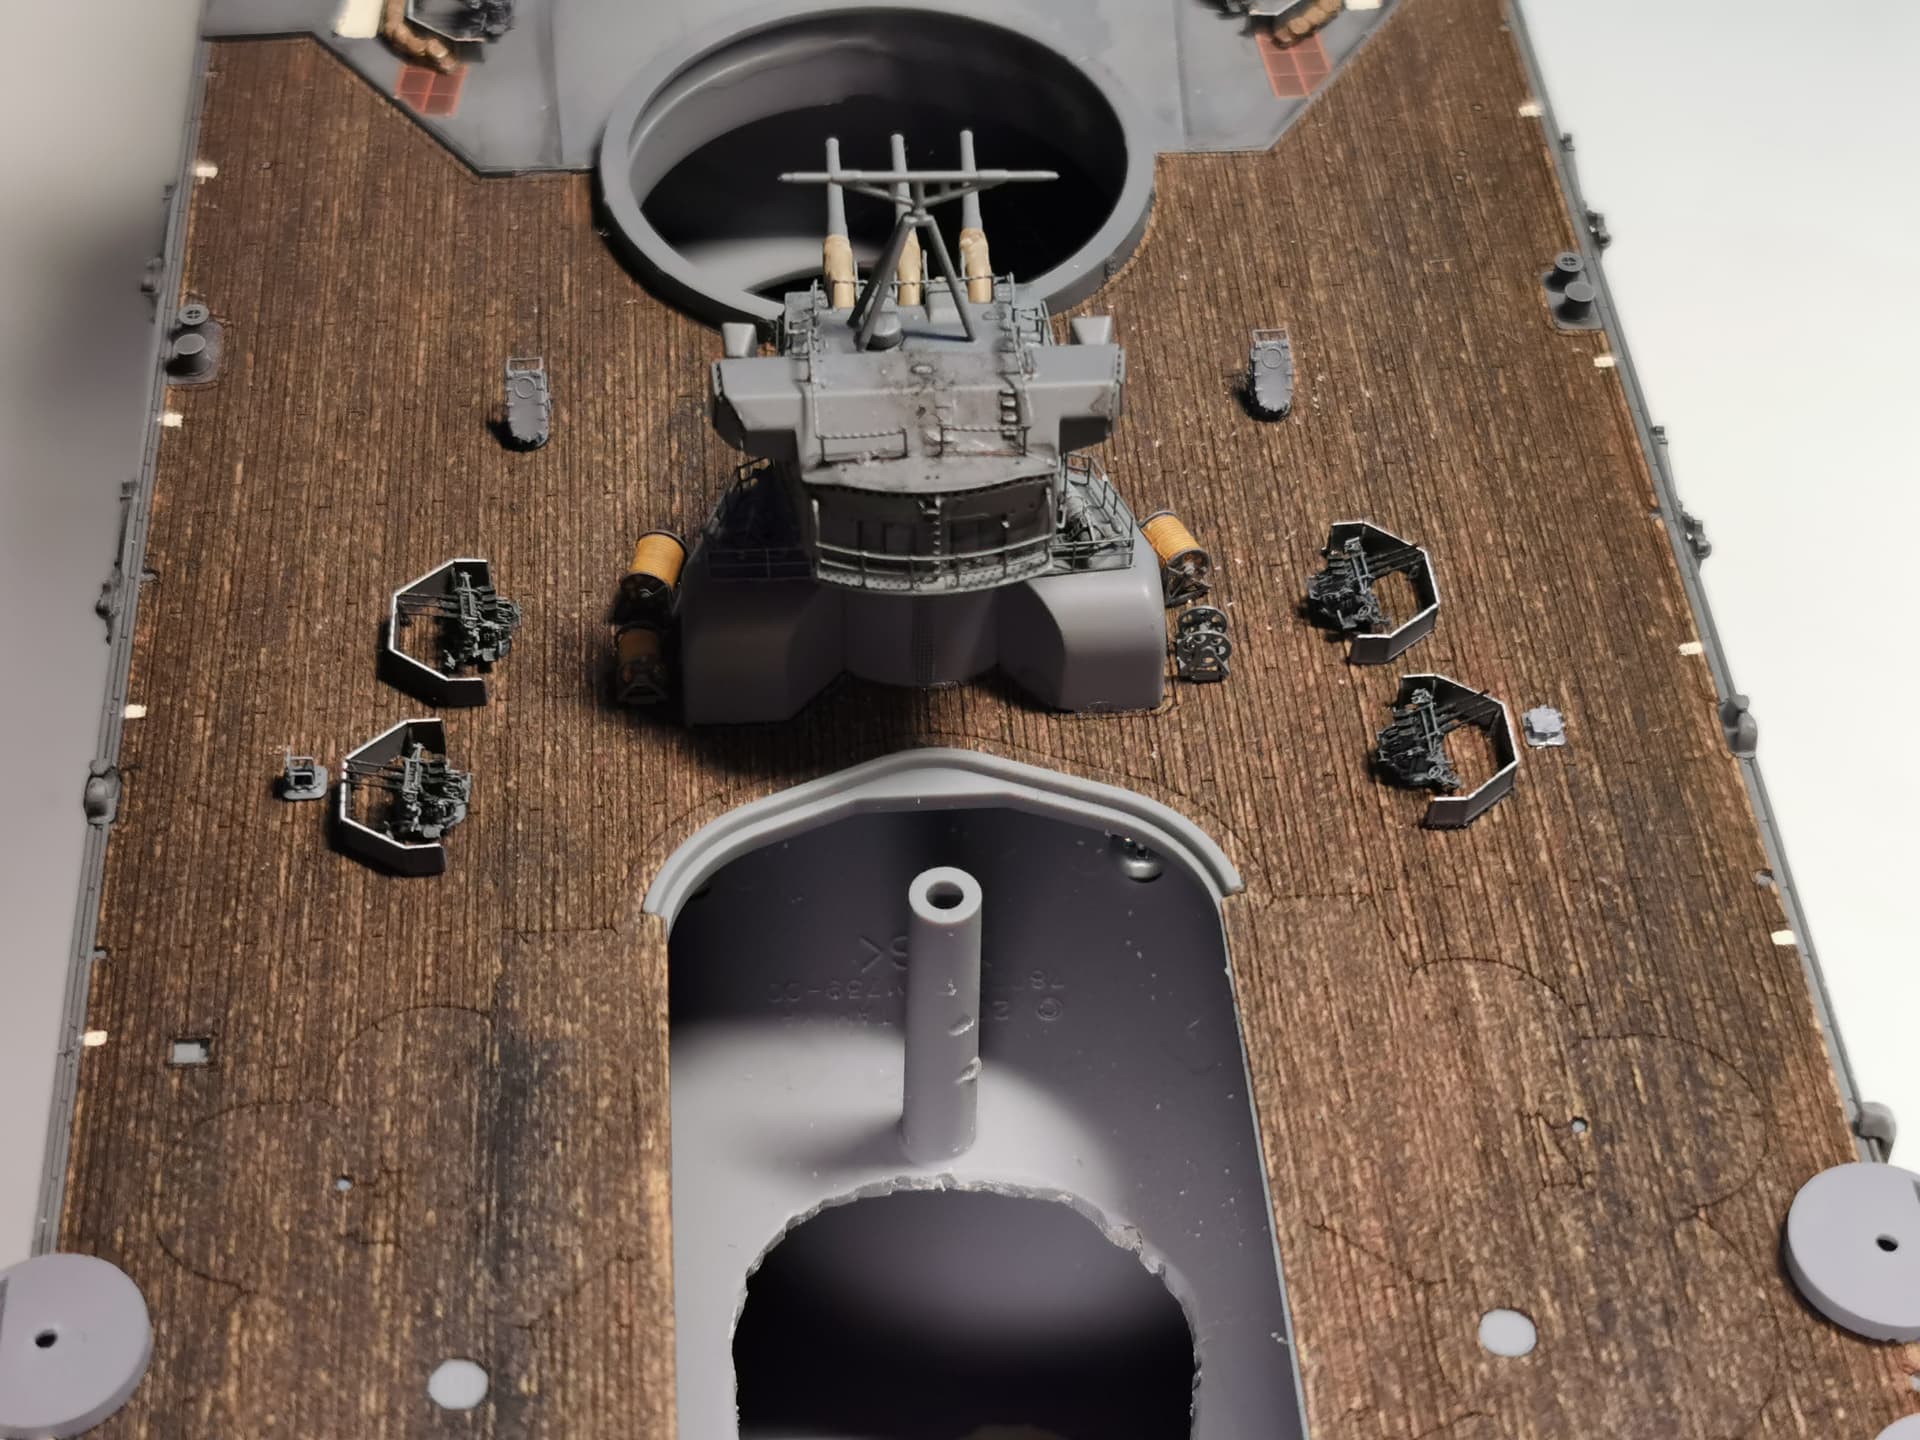
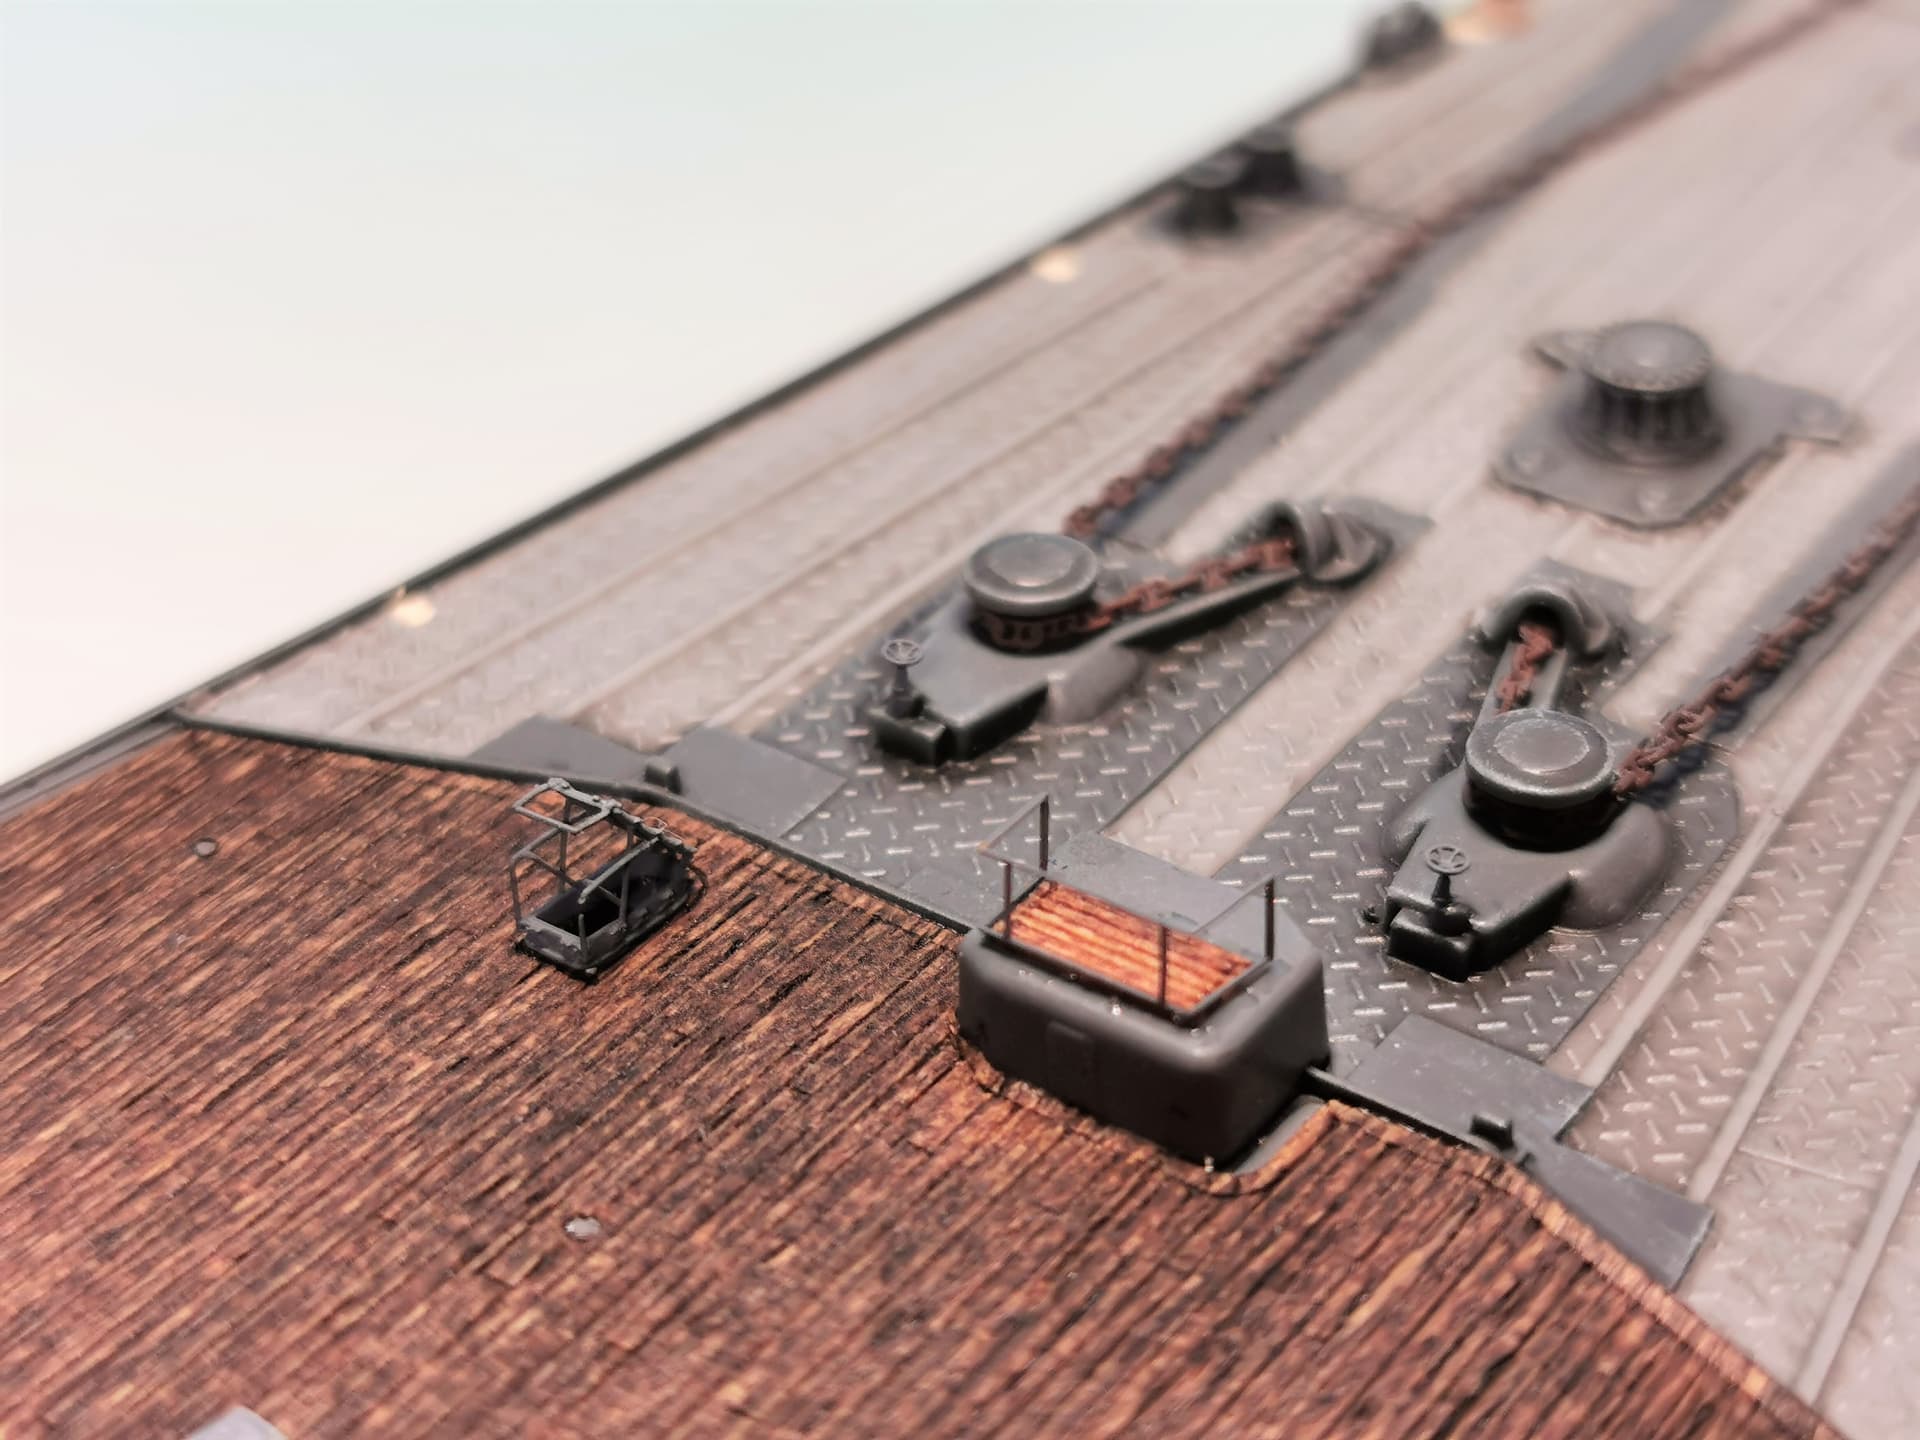
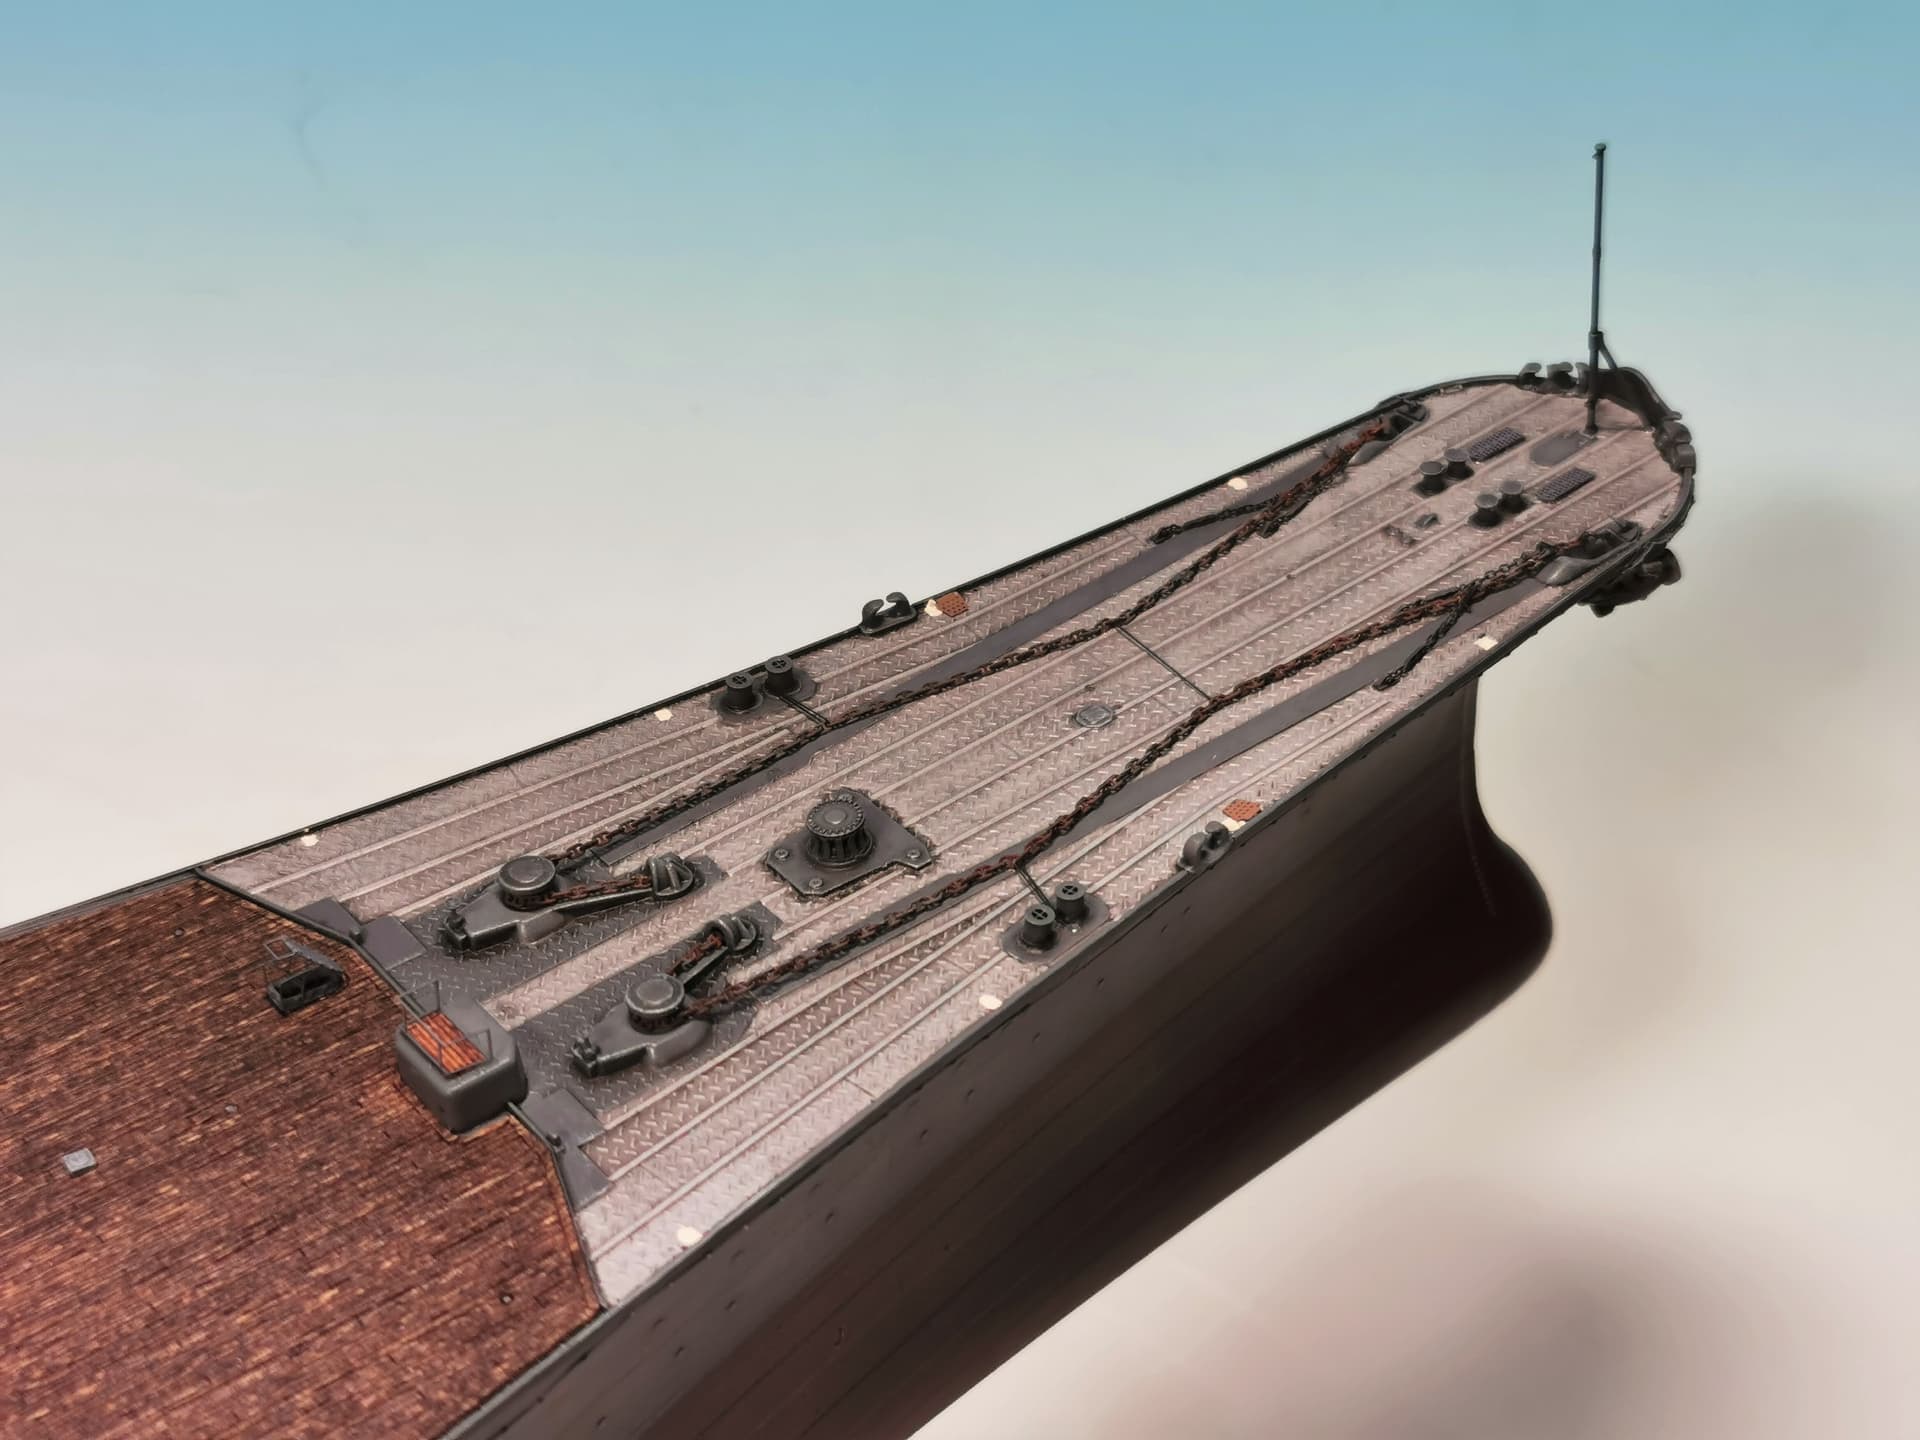
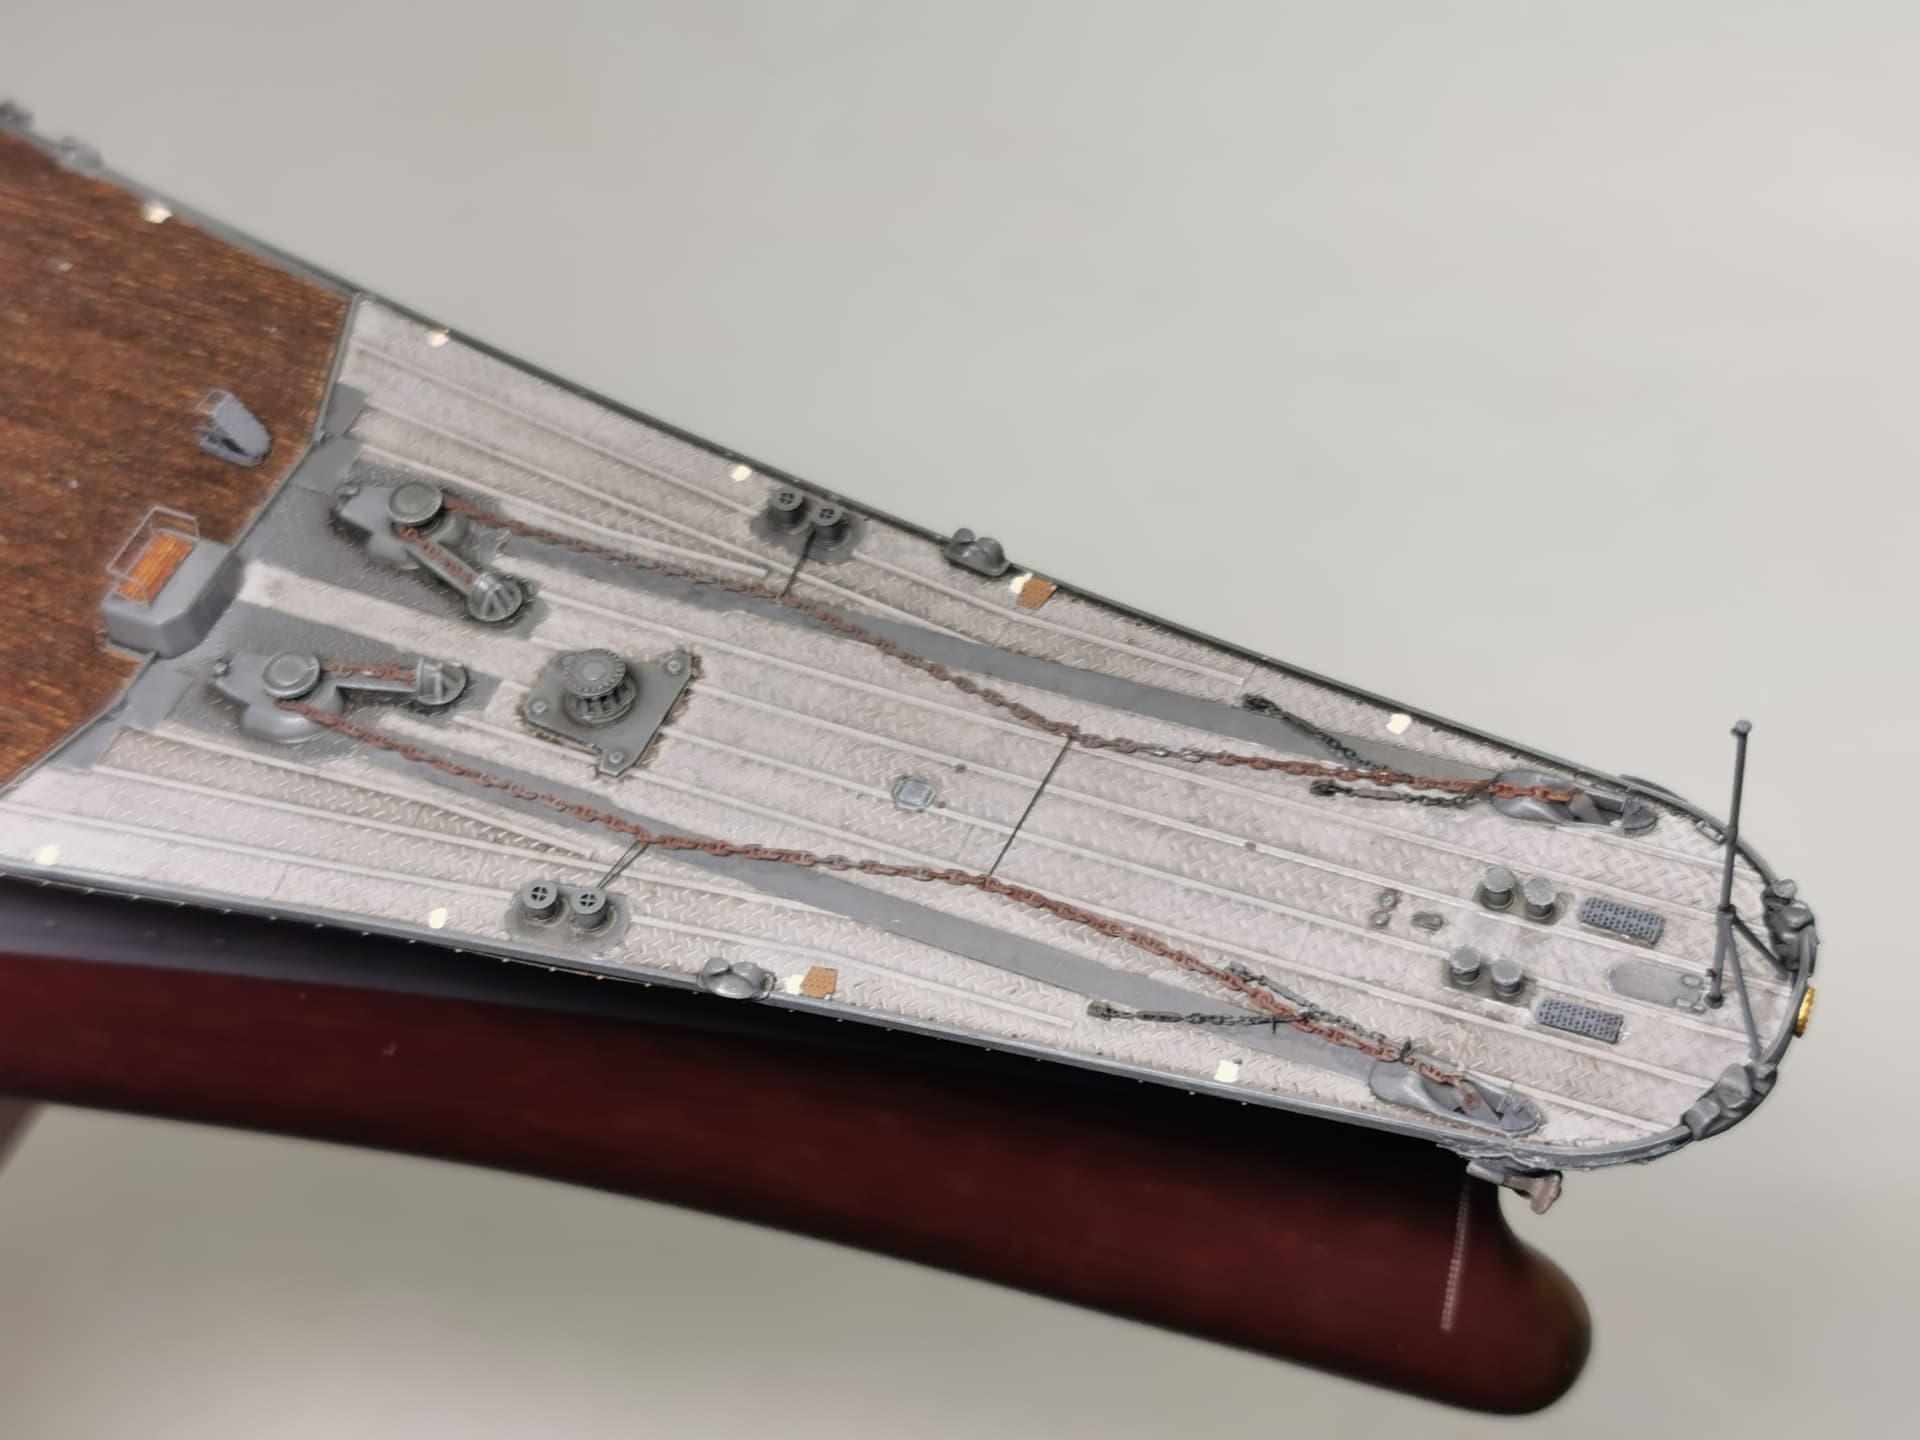
Finished the forecastle anchor deck today . First I installed the railing at the small superstructure in front of the anchor deck and two brake handwheels at the anchor winches. The handwheels are from BLUE FATTY MODEL.
Then I placed the the two big 3d printed anchor chains from YX MODELS. They are of great quality and resemble the correct stud link anchor chains as they were in original. I spraypainted them in Kure grey and gave them a brown wash after. The anchor chain locks were again 3d-printed parts from BLUE FATTIE MODEL. They are of incredible detail, moveable and the lock could be locked if you have the finemotorical skills for this (me not…). The two main anchor chains were 1945 each tied to one bollard and also tied with the other chain. I resembled these small chains with black EZ-Line rigging
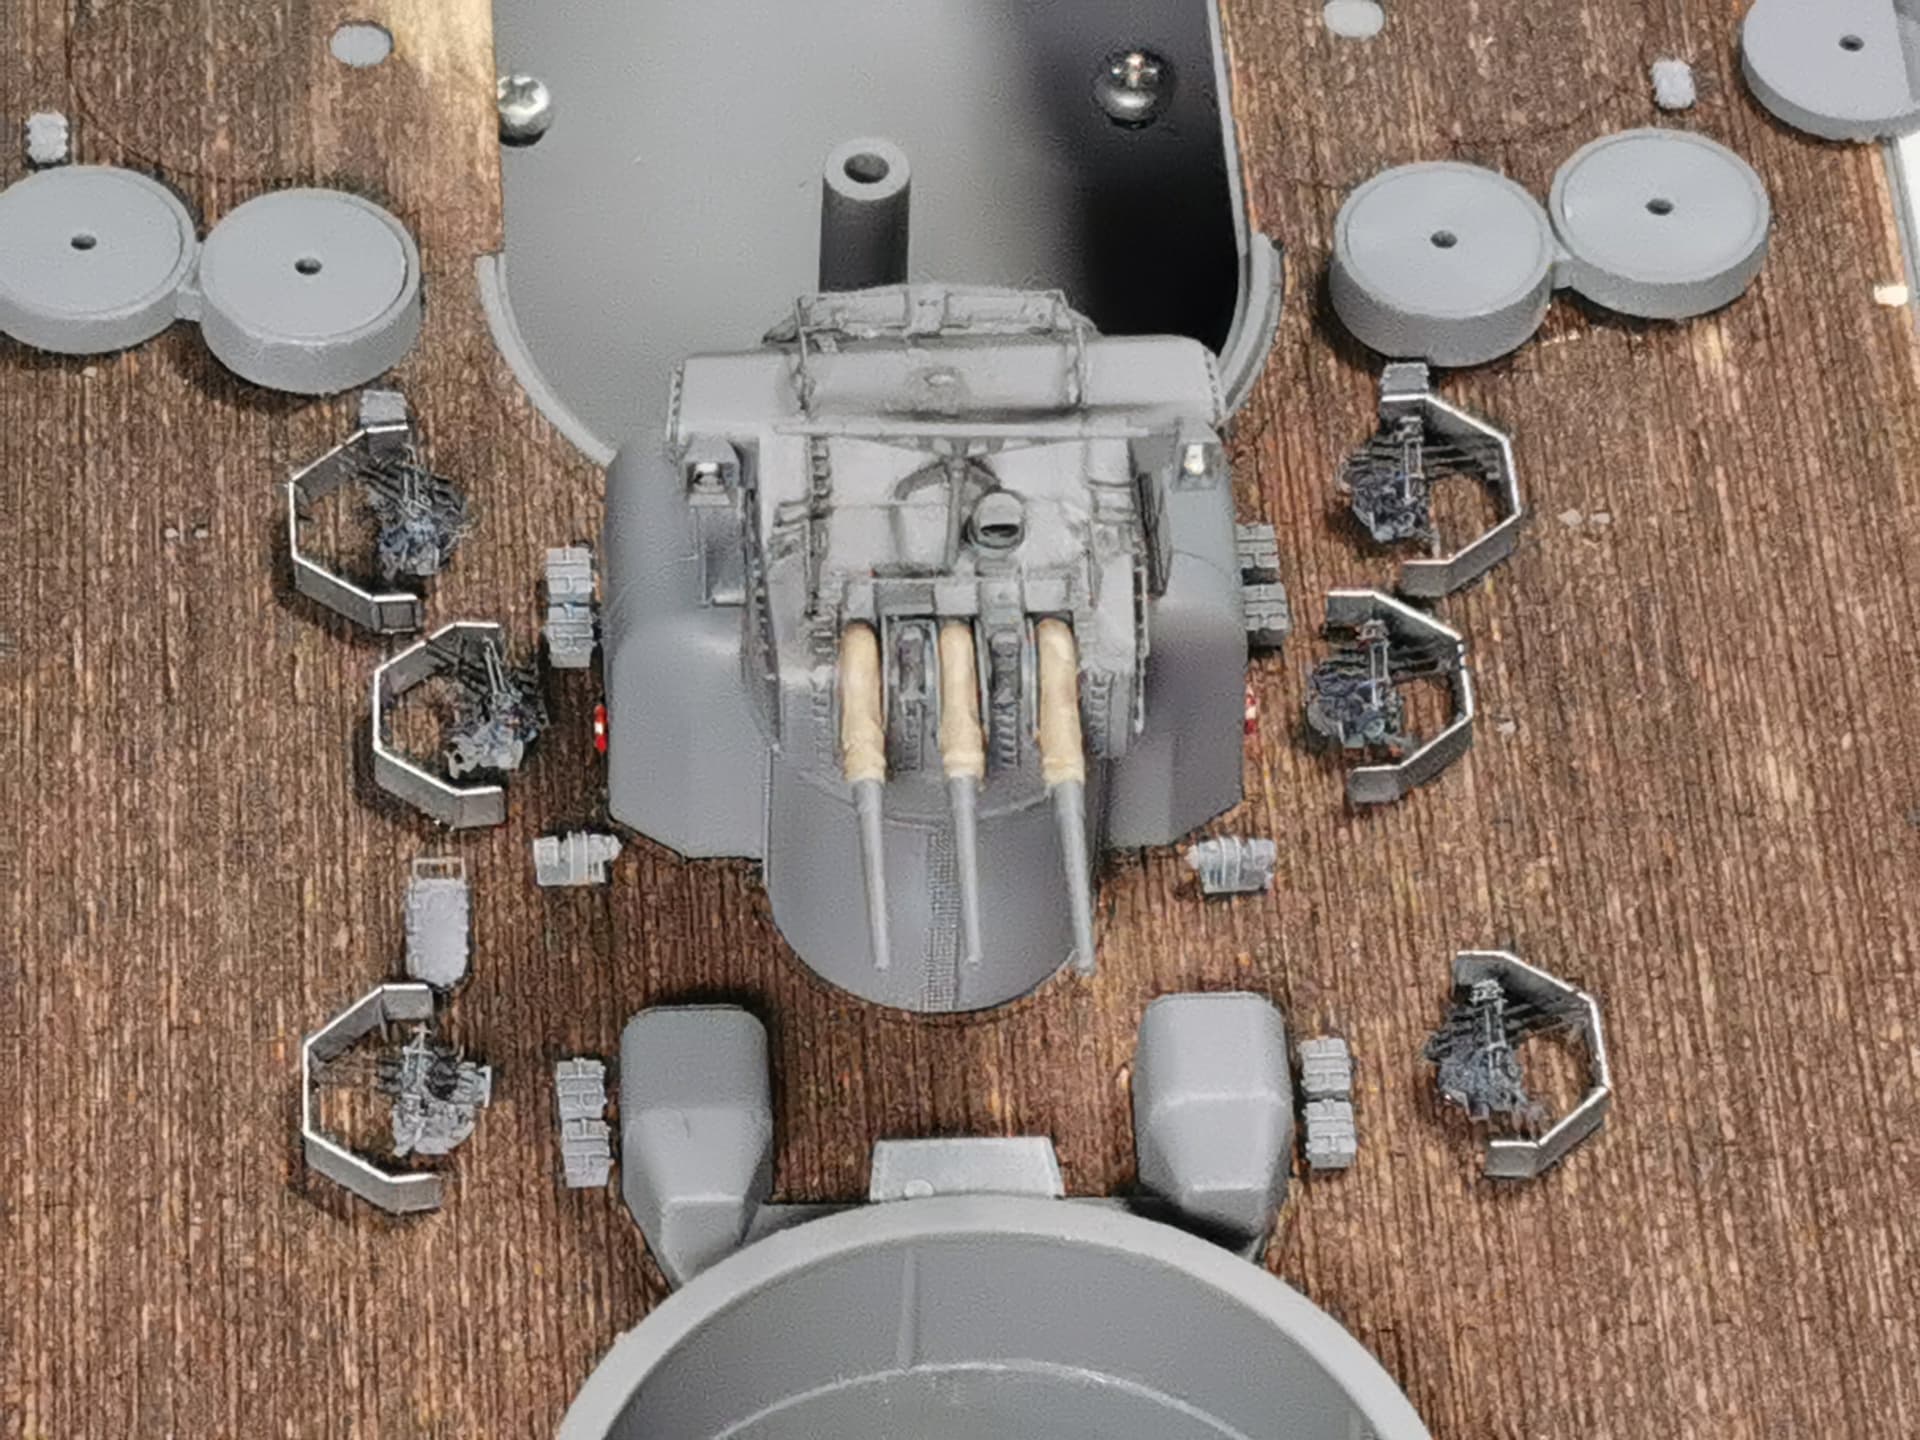
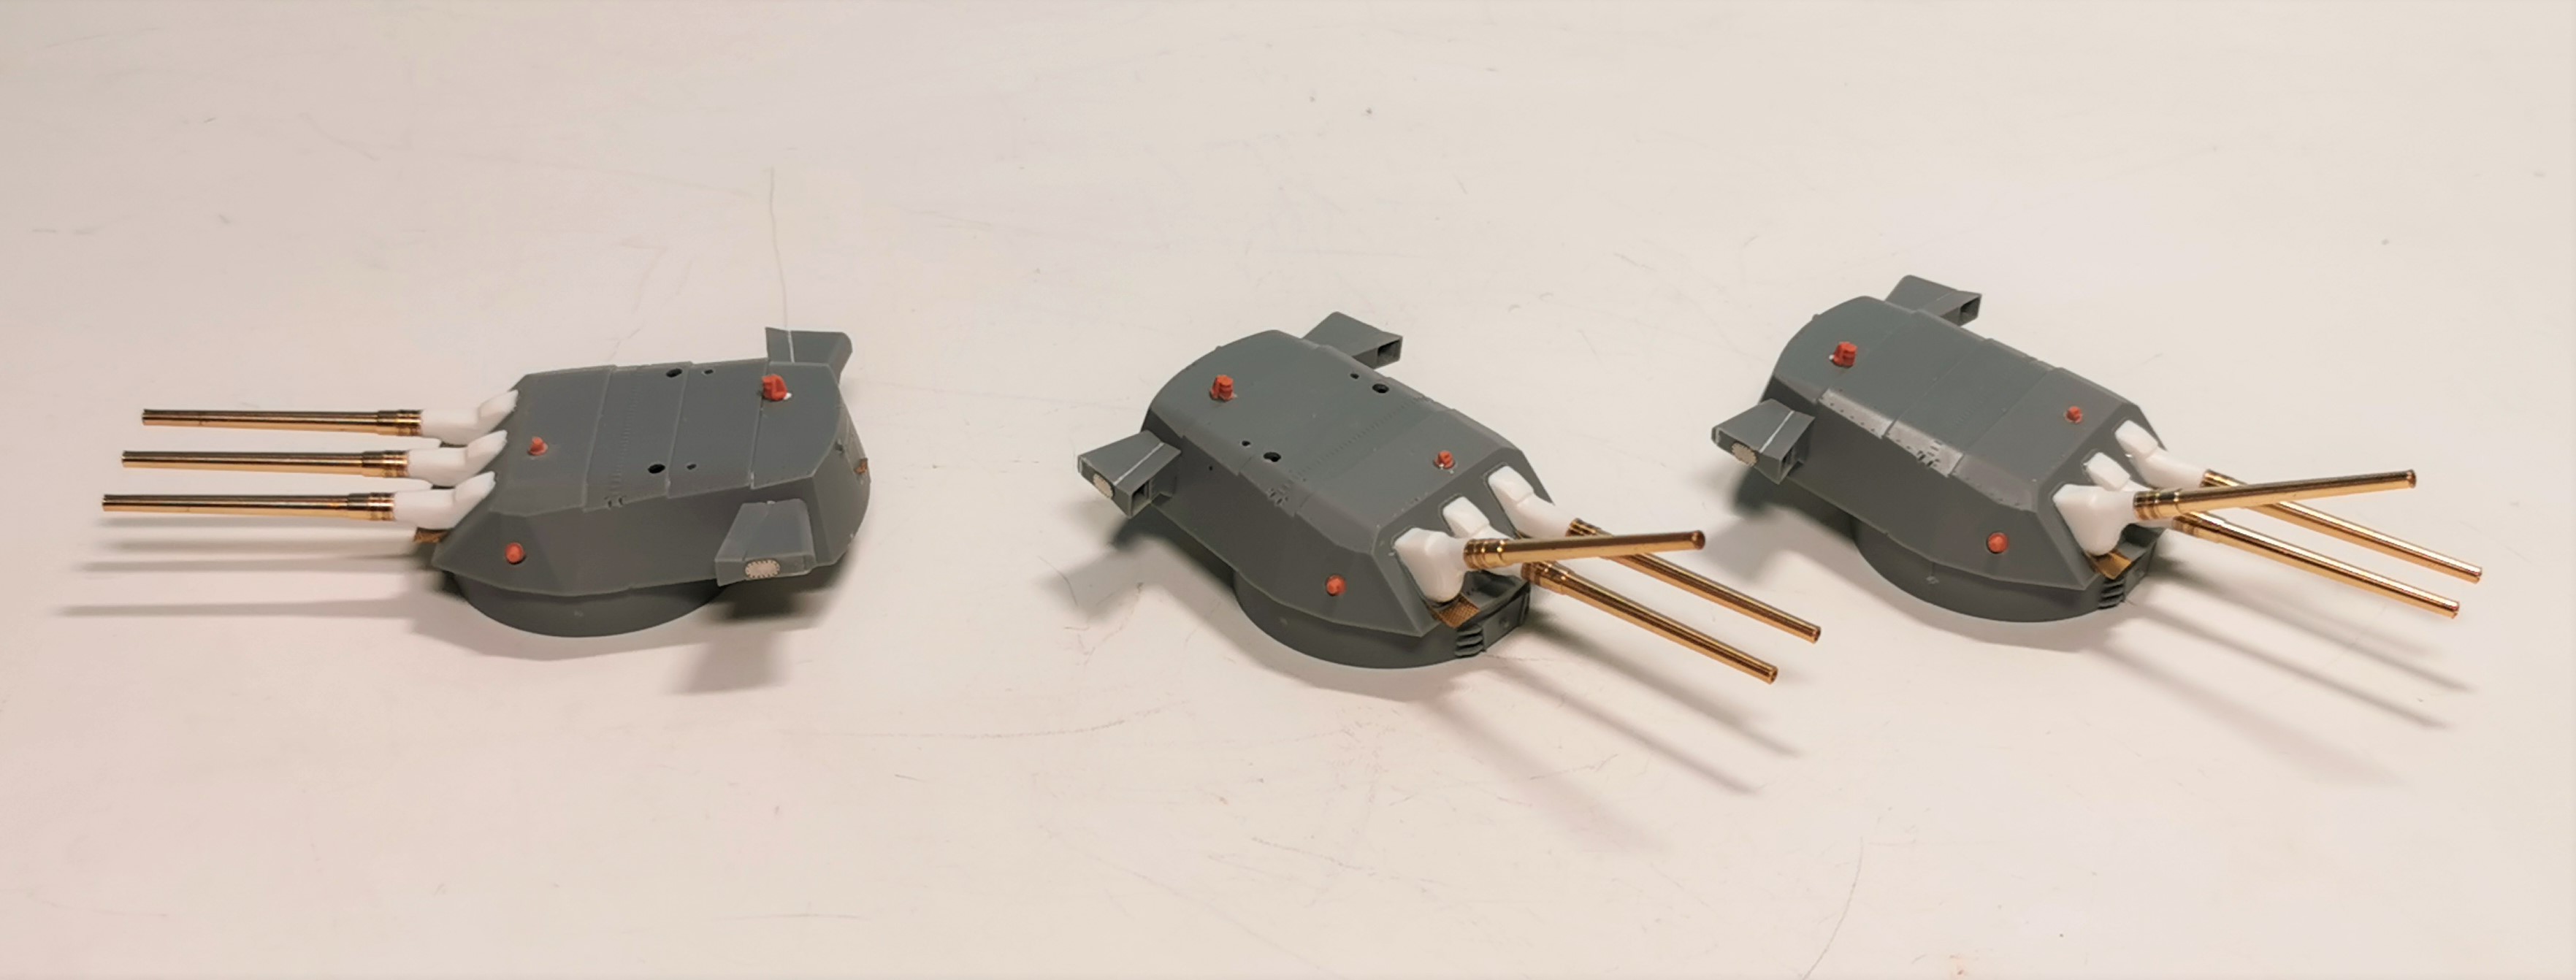
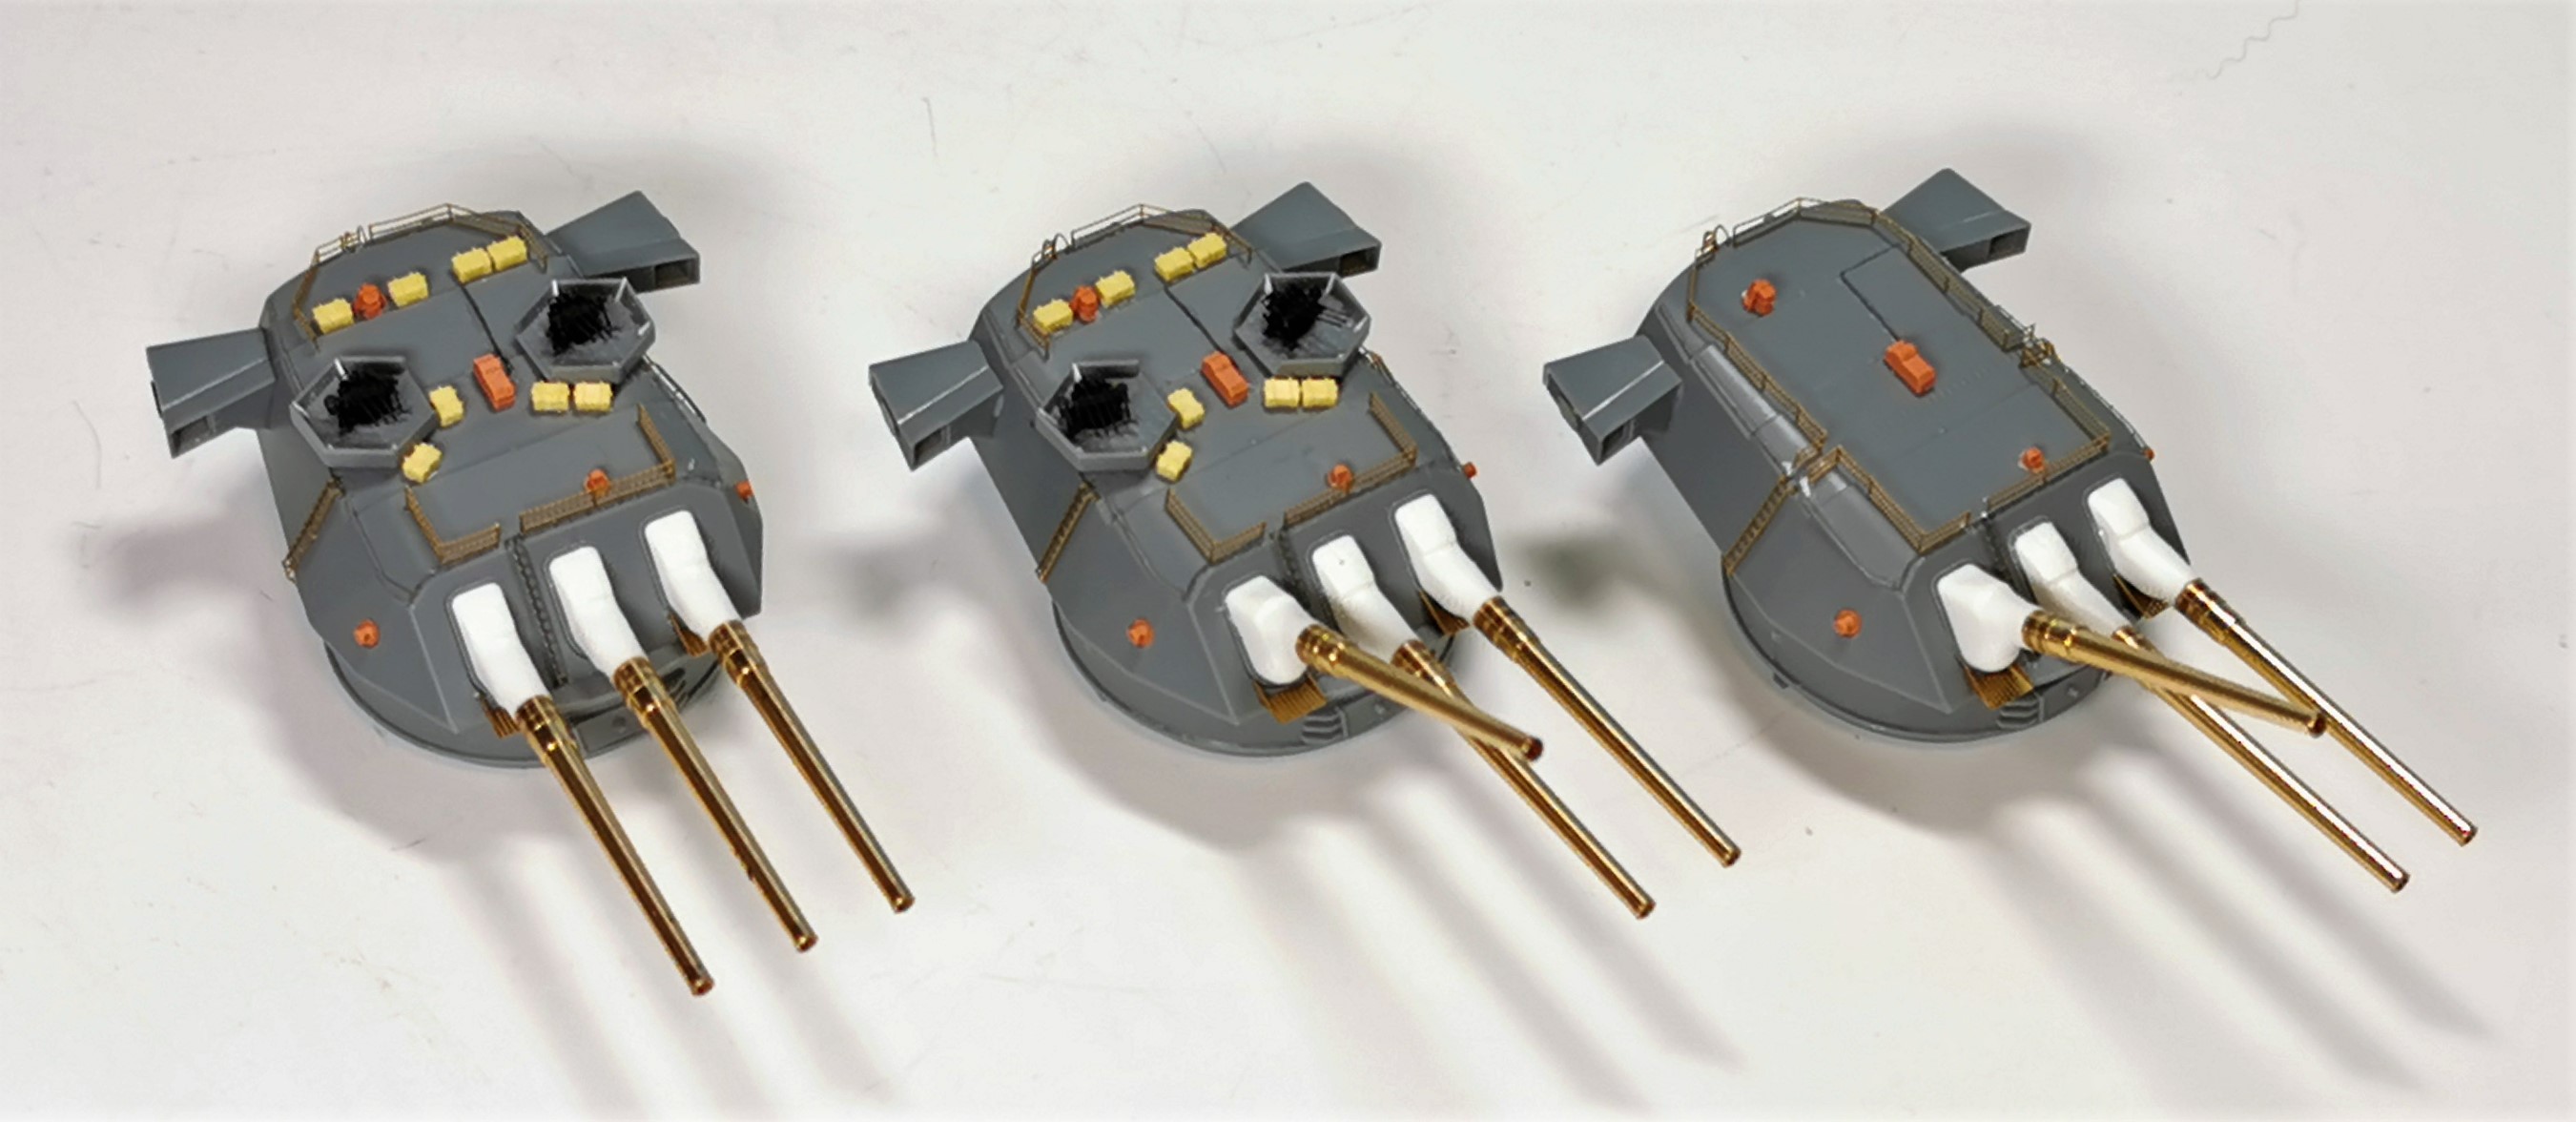
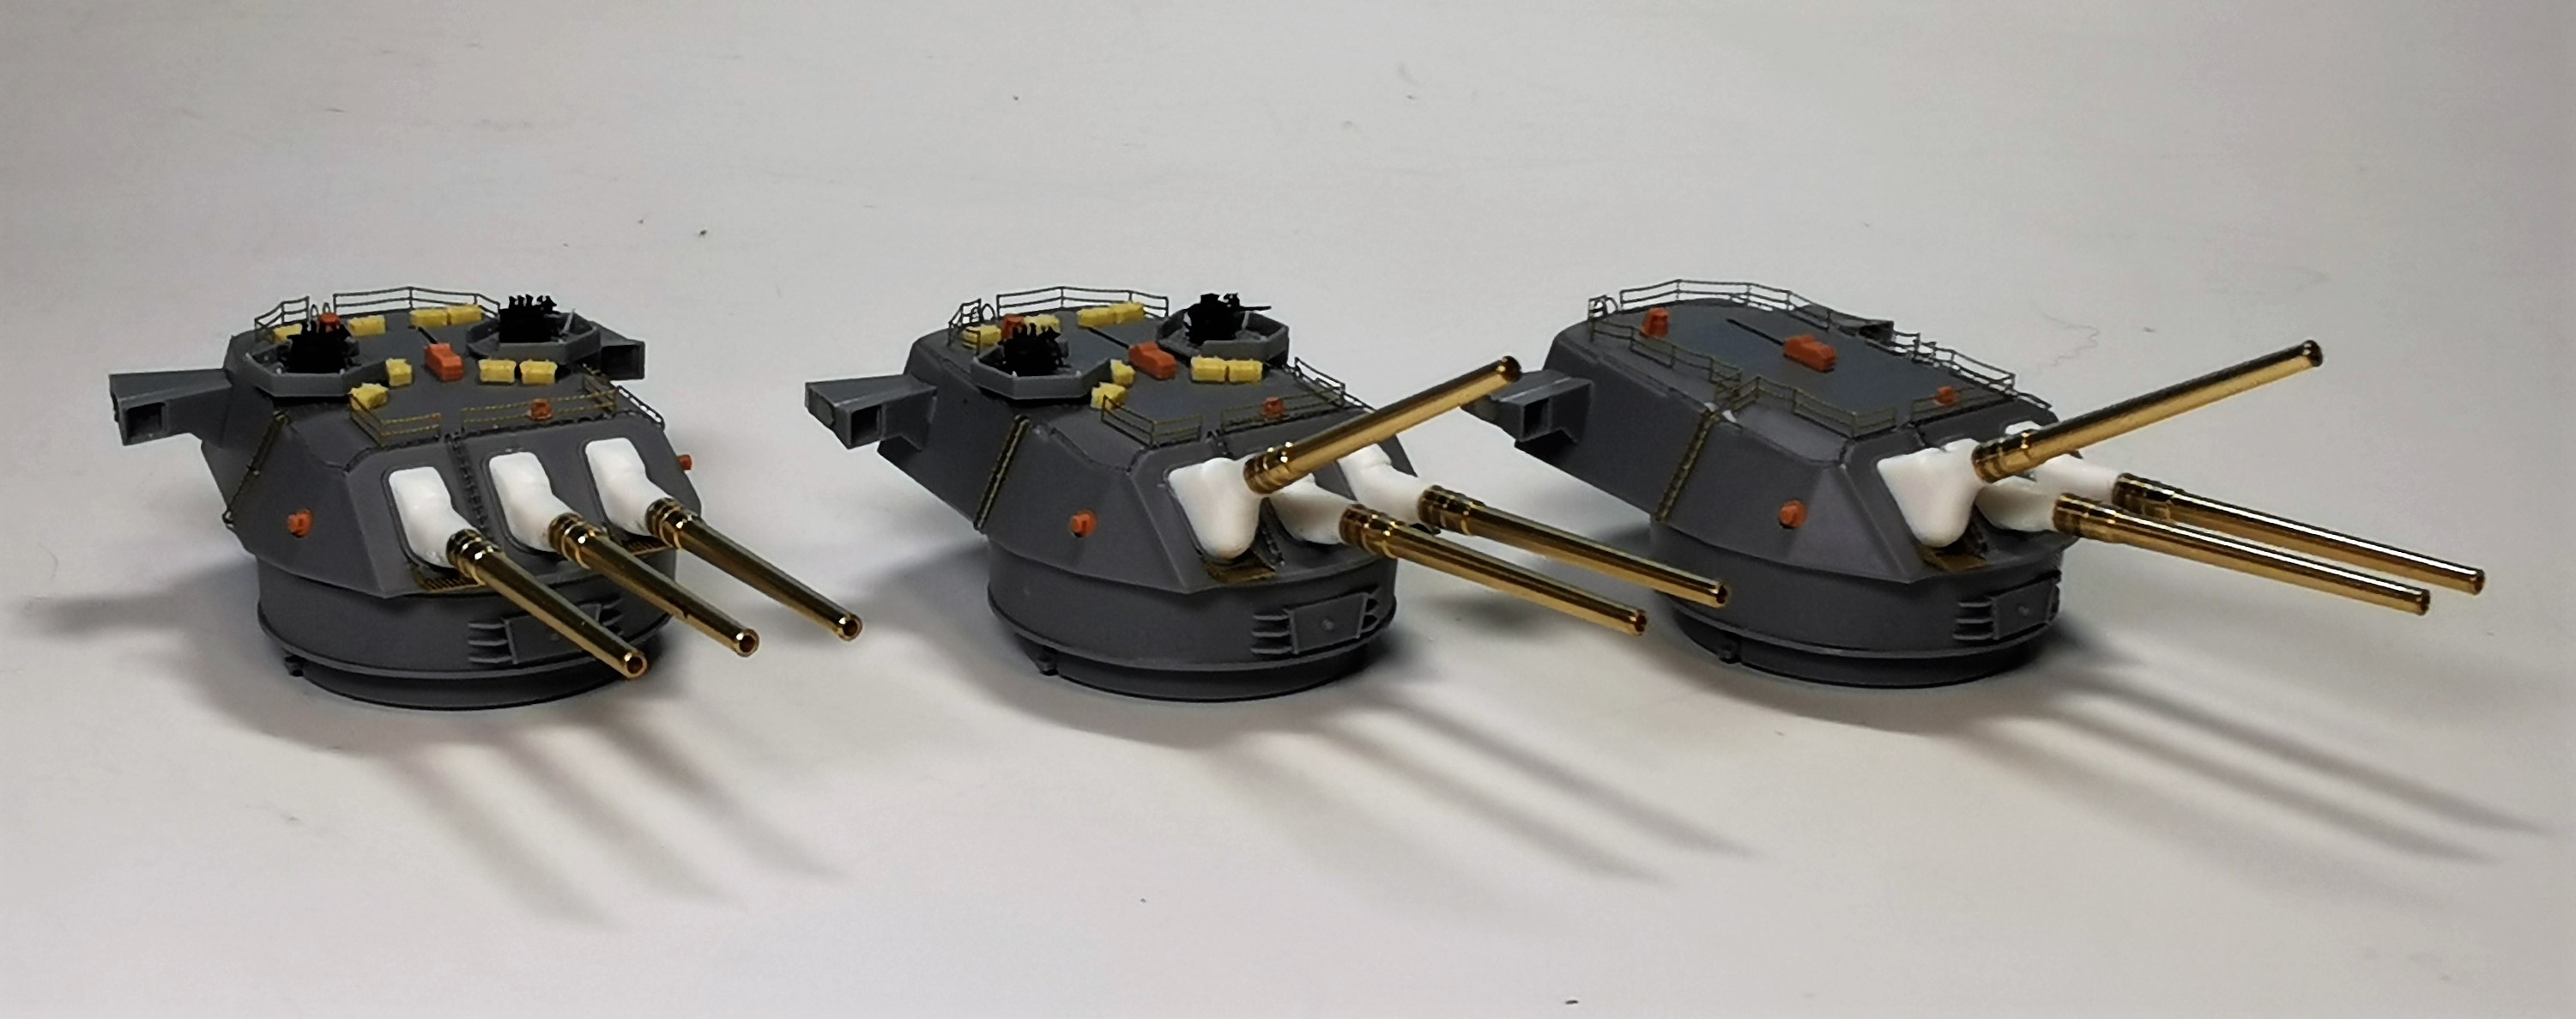
Started with the main guns today, I will display the two frontal turrets with each one elevated barrel. These turrets will get some amount of 3d-printed parts as well as etched railings
Sure Nikos . I am also intrigued by these massive ordnance. You surely know that Yapan had further plans to upgrade its Yamato class Battleships with six 51-centimeter (20.1 in) guns which would have been more massive
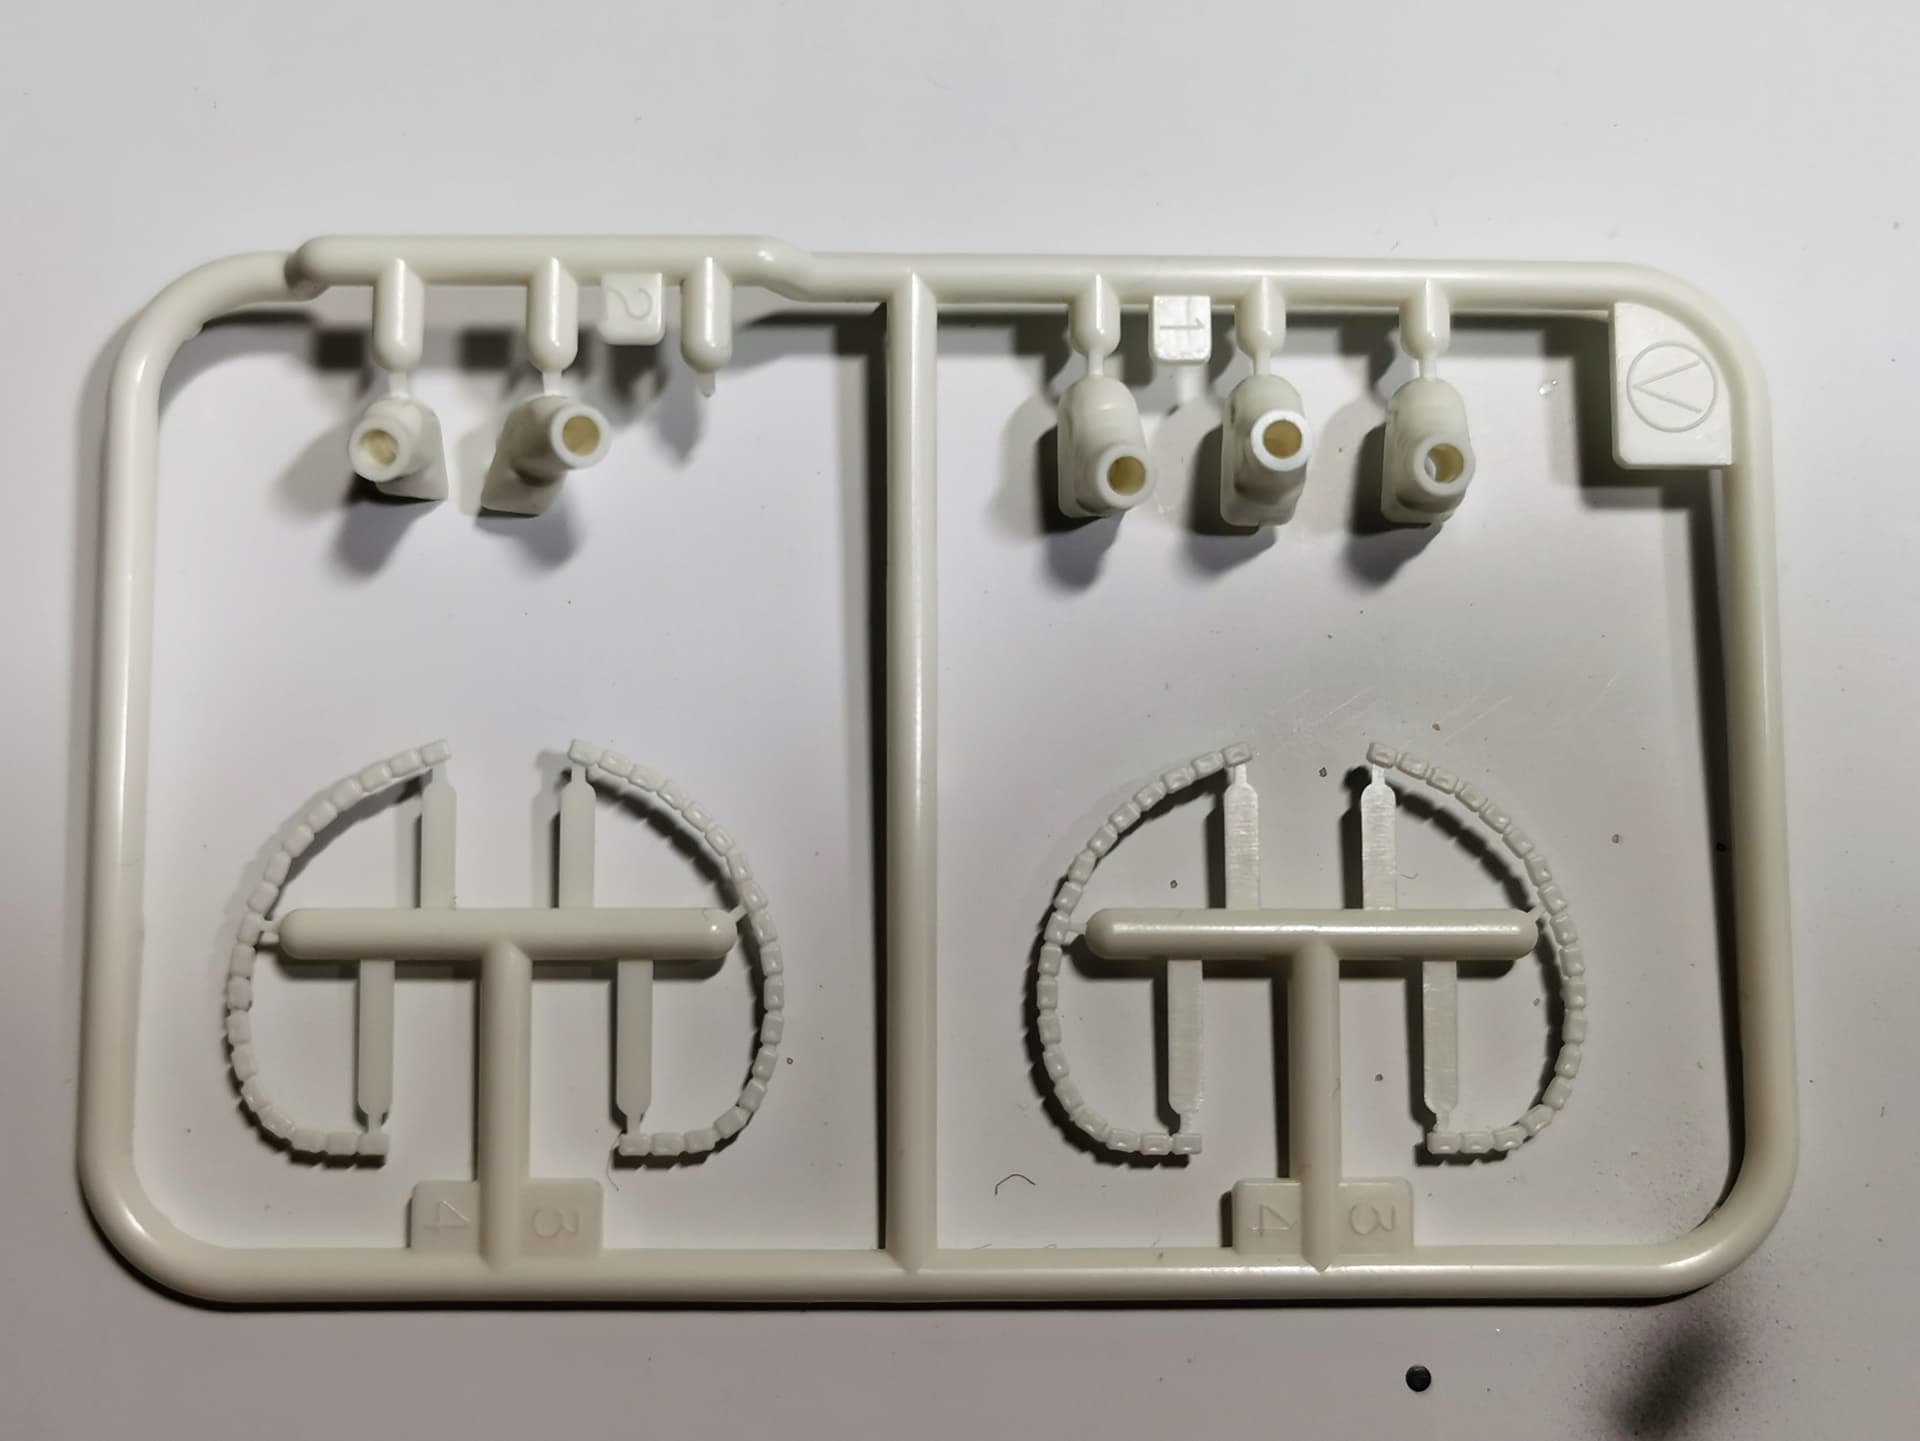
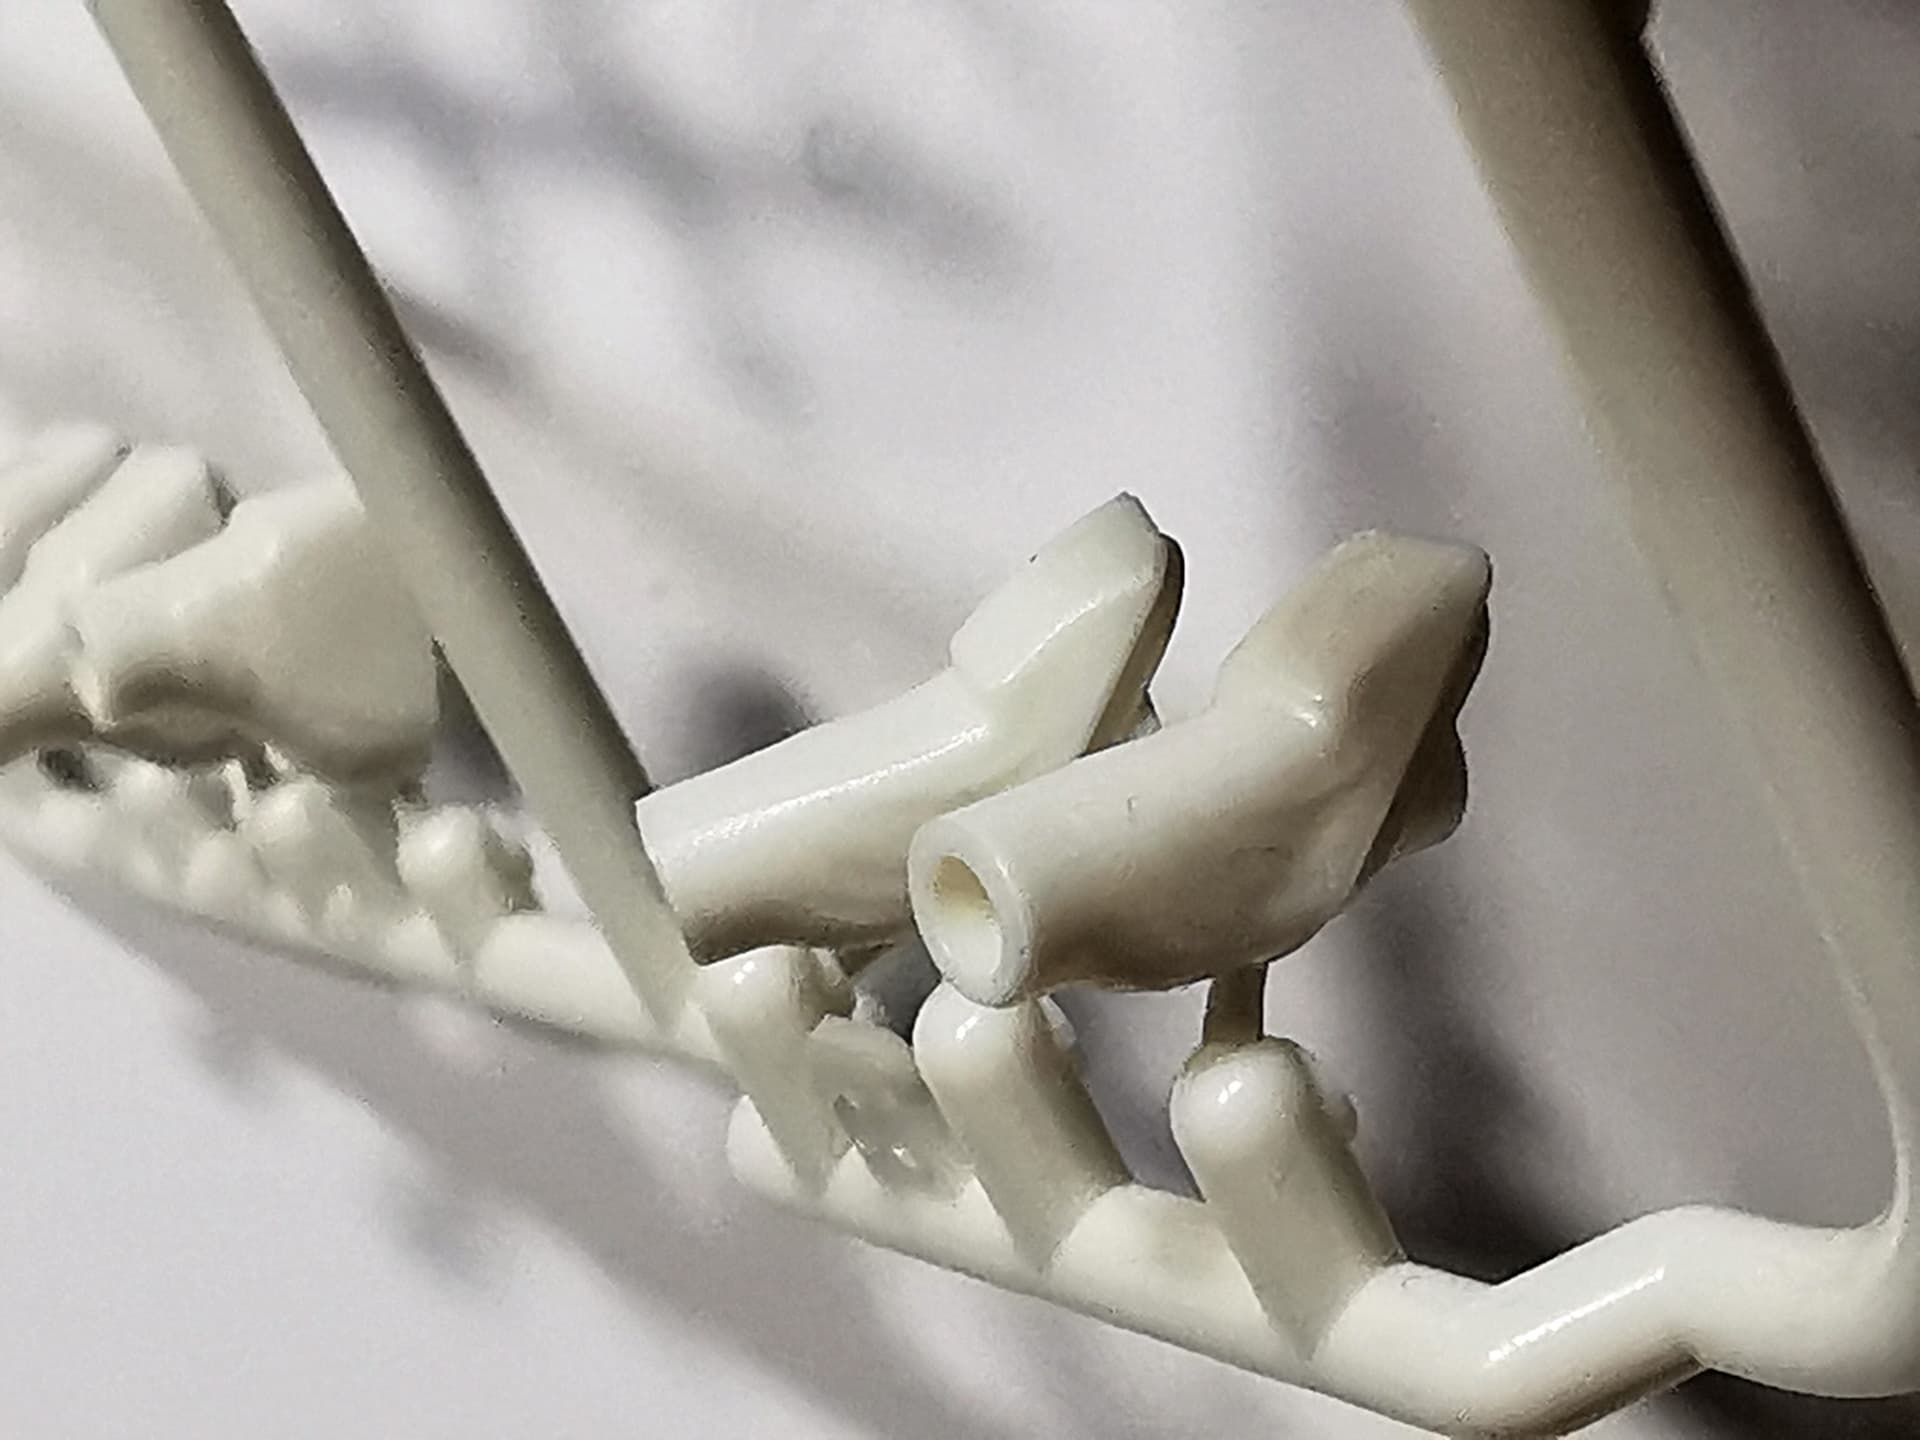
These blastbags were supplied within Tamiya´s Premium kit within three white frets
I´ve seen those, too and for a short moment was thinking about displaying a Super Yamato but there would be also some major conversion with the AA-armament necessary. Thats why I stayed with the real ship instead
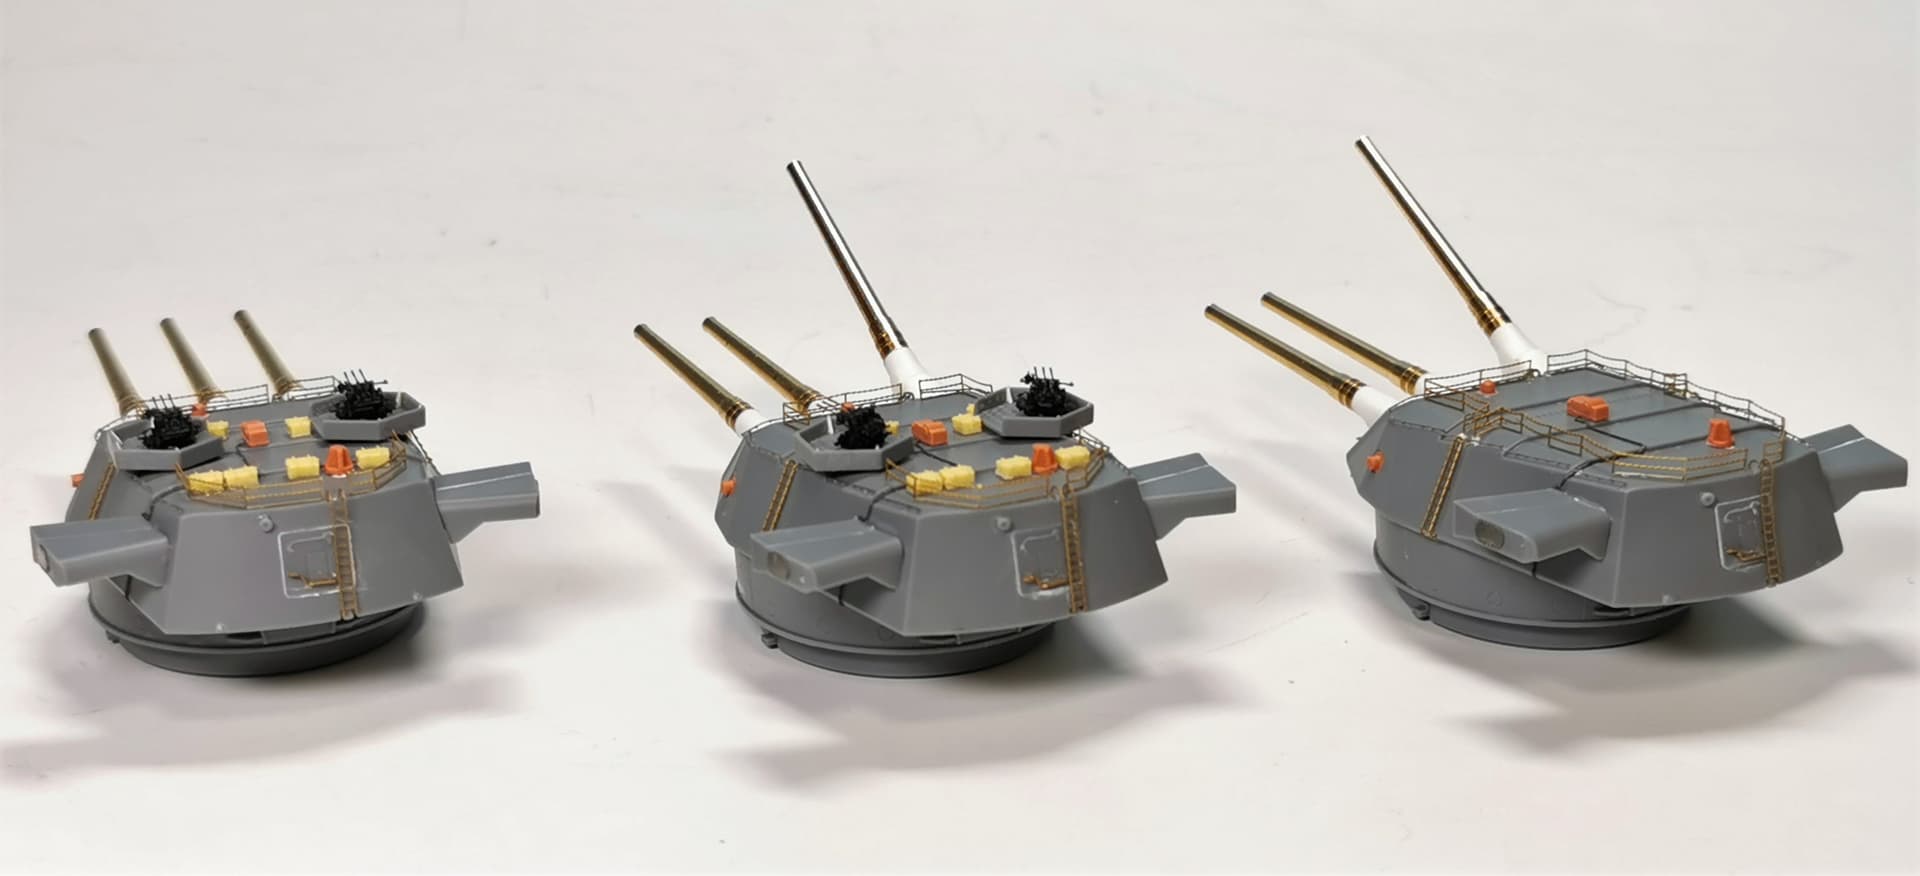
Thank you Si and here comes even more small details: I managed to tackle all the main gun turrets. I used the rear rangefinders, forward gun periscopes and the exercise aiming devices from YX 3d-printed parts. As my 3d-printed ammo boxes almost ran out I used resin ones from alliance models, stolen from my BB Kongo. The small stanchions of the splinter protections for the triple guns were made out of thin Evergreen sheet and the guns itself were again from BUNKER STUDIO. The missing cabling for the exercise aiming devices were made out of PLUSMODEL´s 0,2 mm lead wire.
All the railings were from KA-MODEL´s etched set and are very delicate, especially the smaller ones at the turret´s edges. If you have this set beware: Railings parts A85 and A89 are mislabeled - In reality these are A75 and A79! I am curious if all these microscopic parts will remain during the painting stage