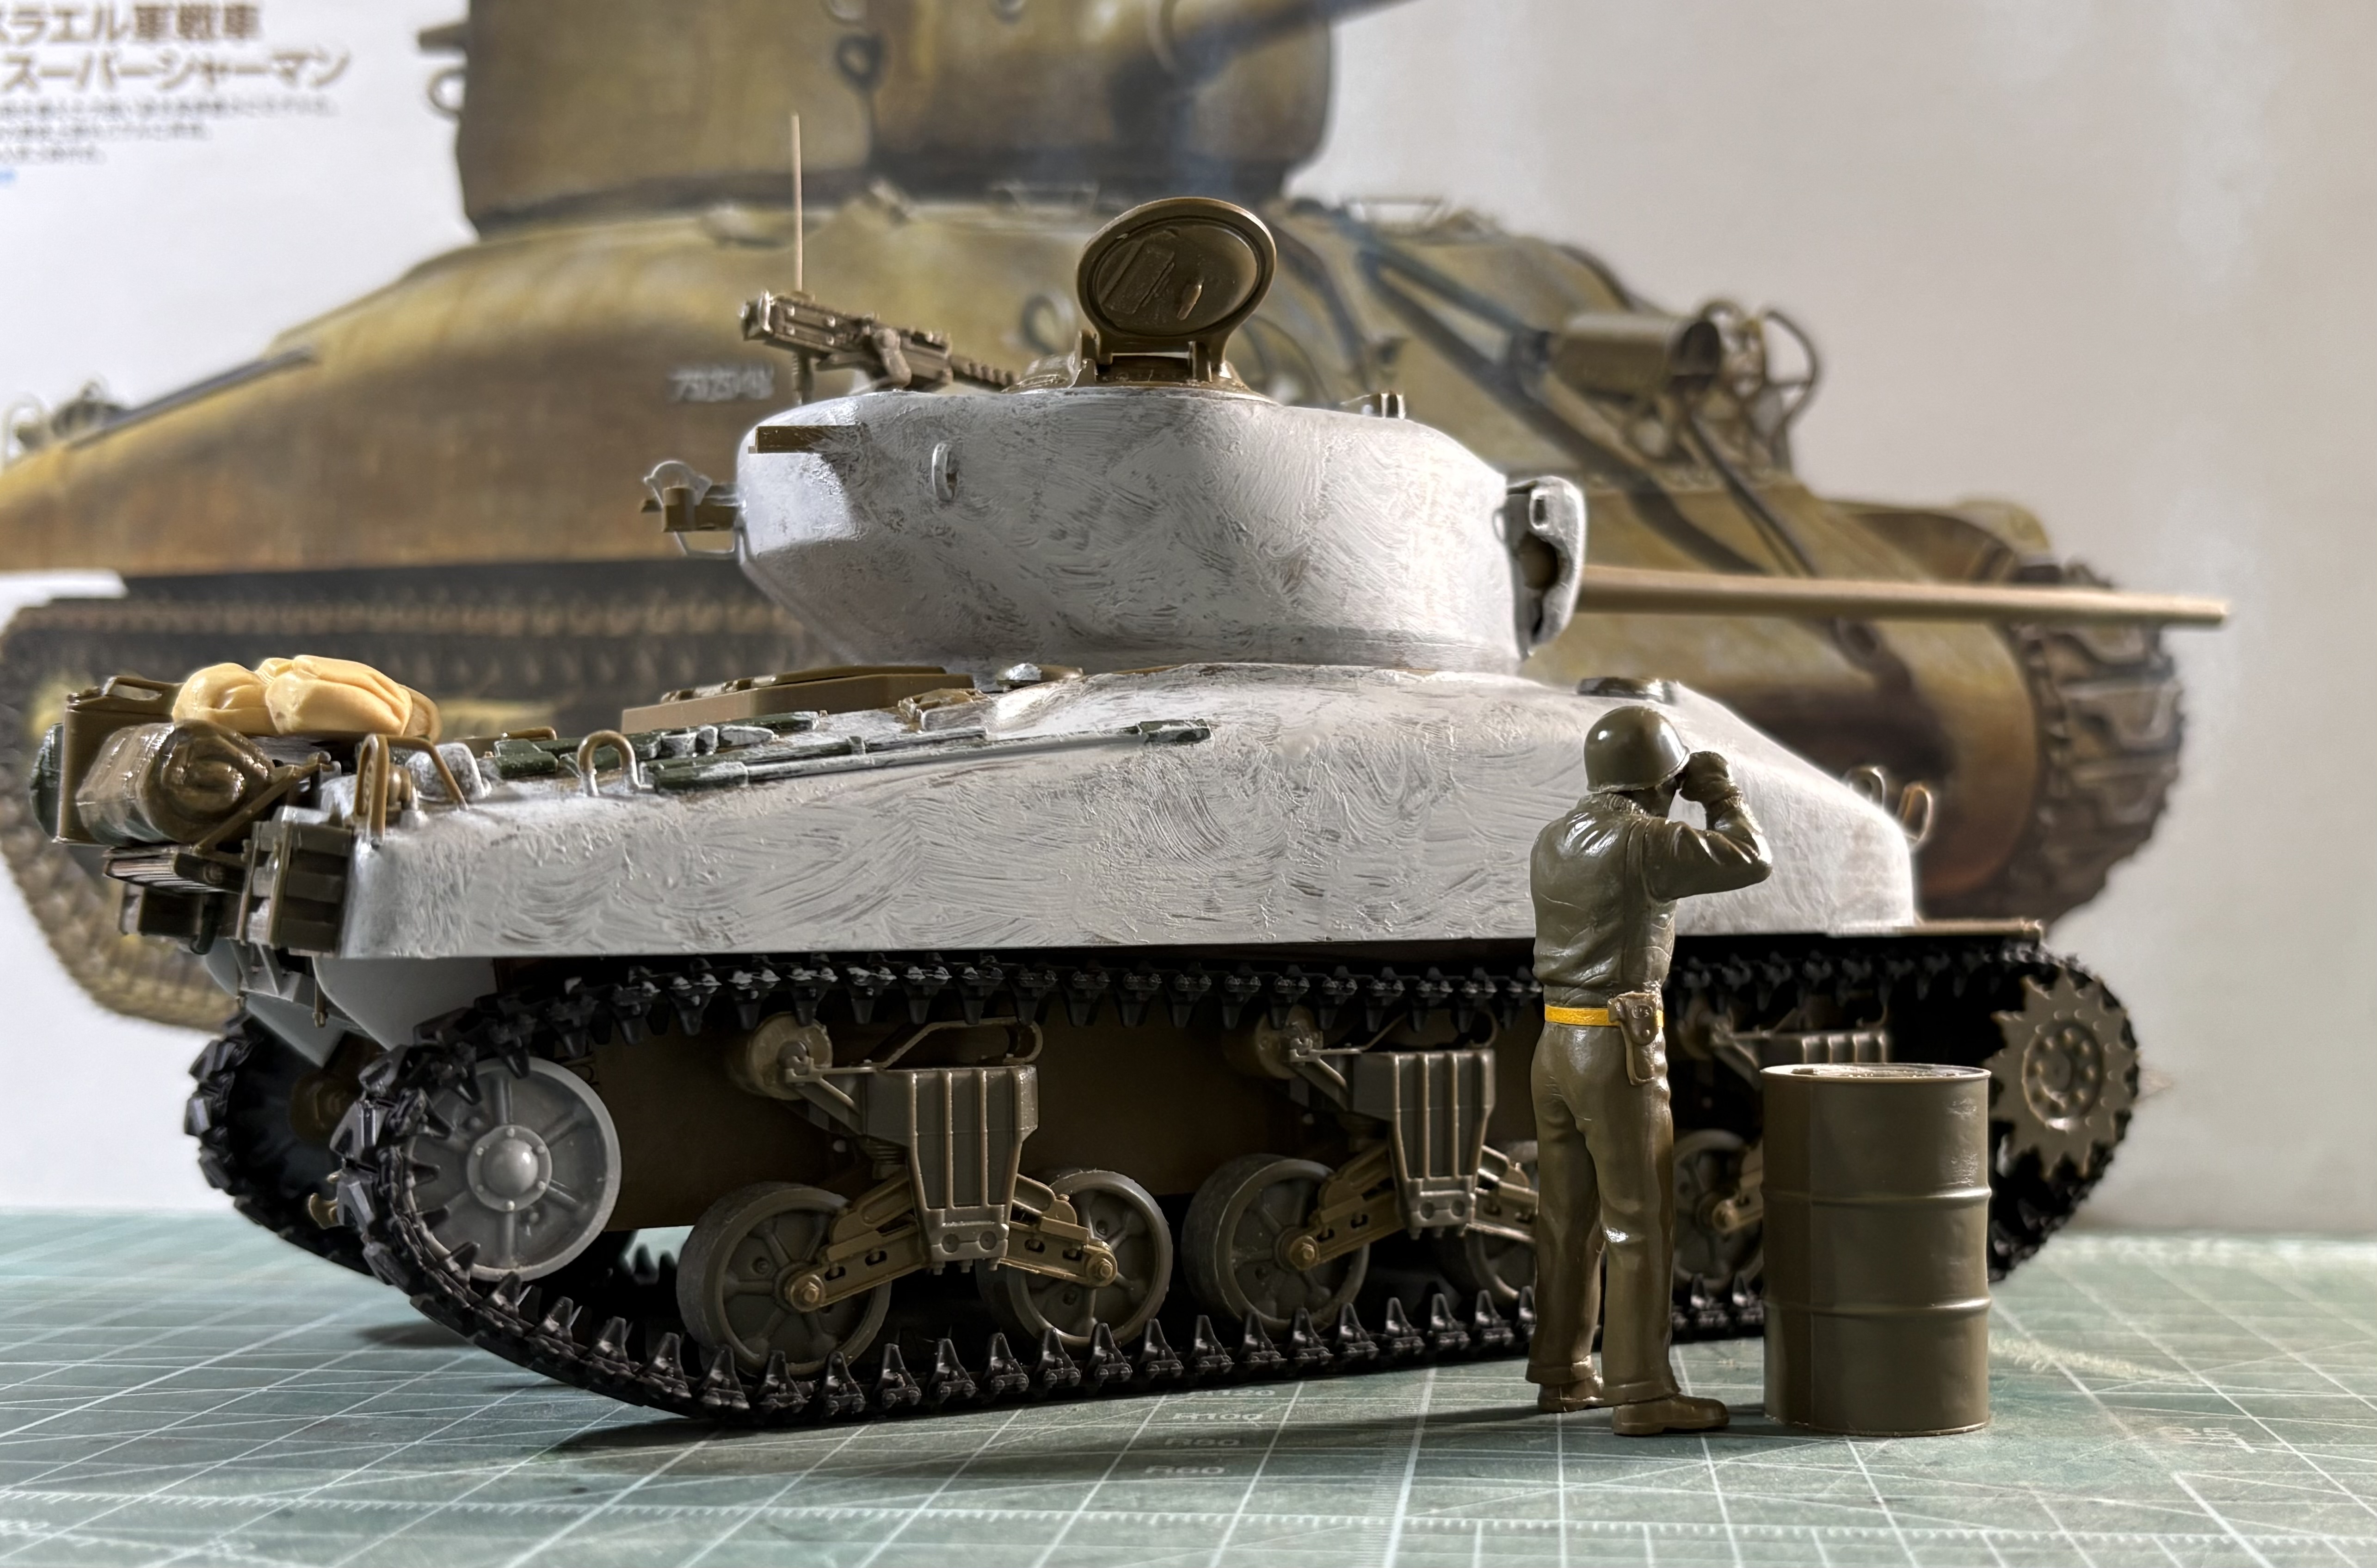
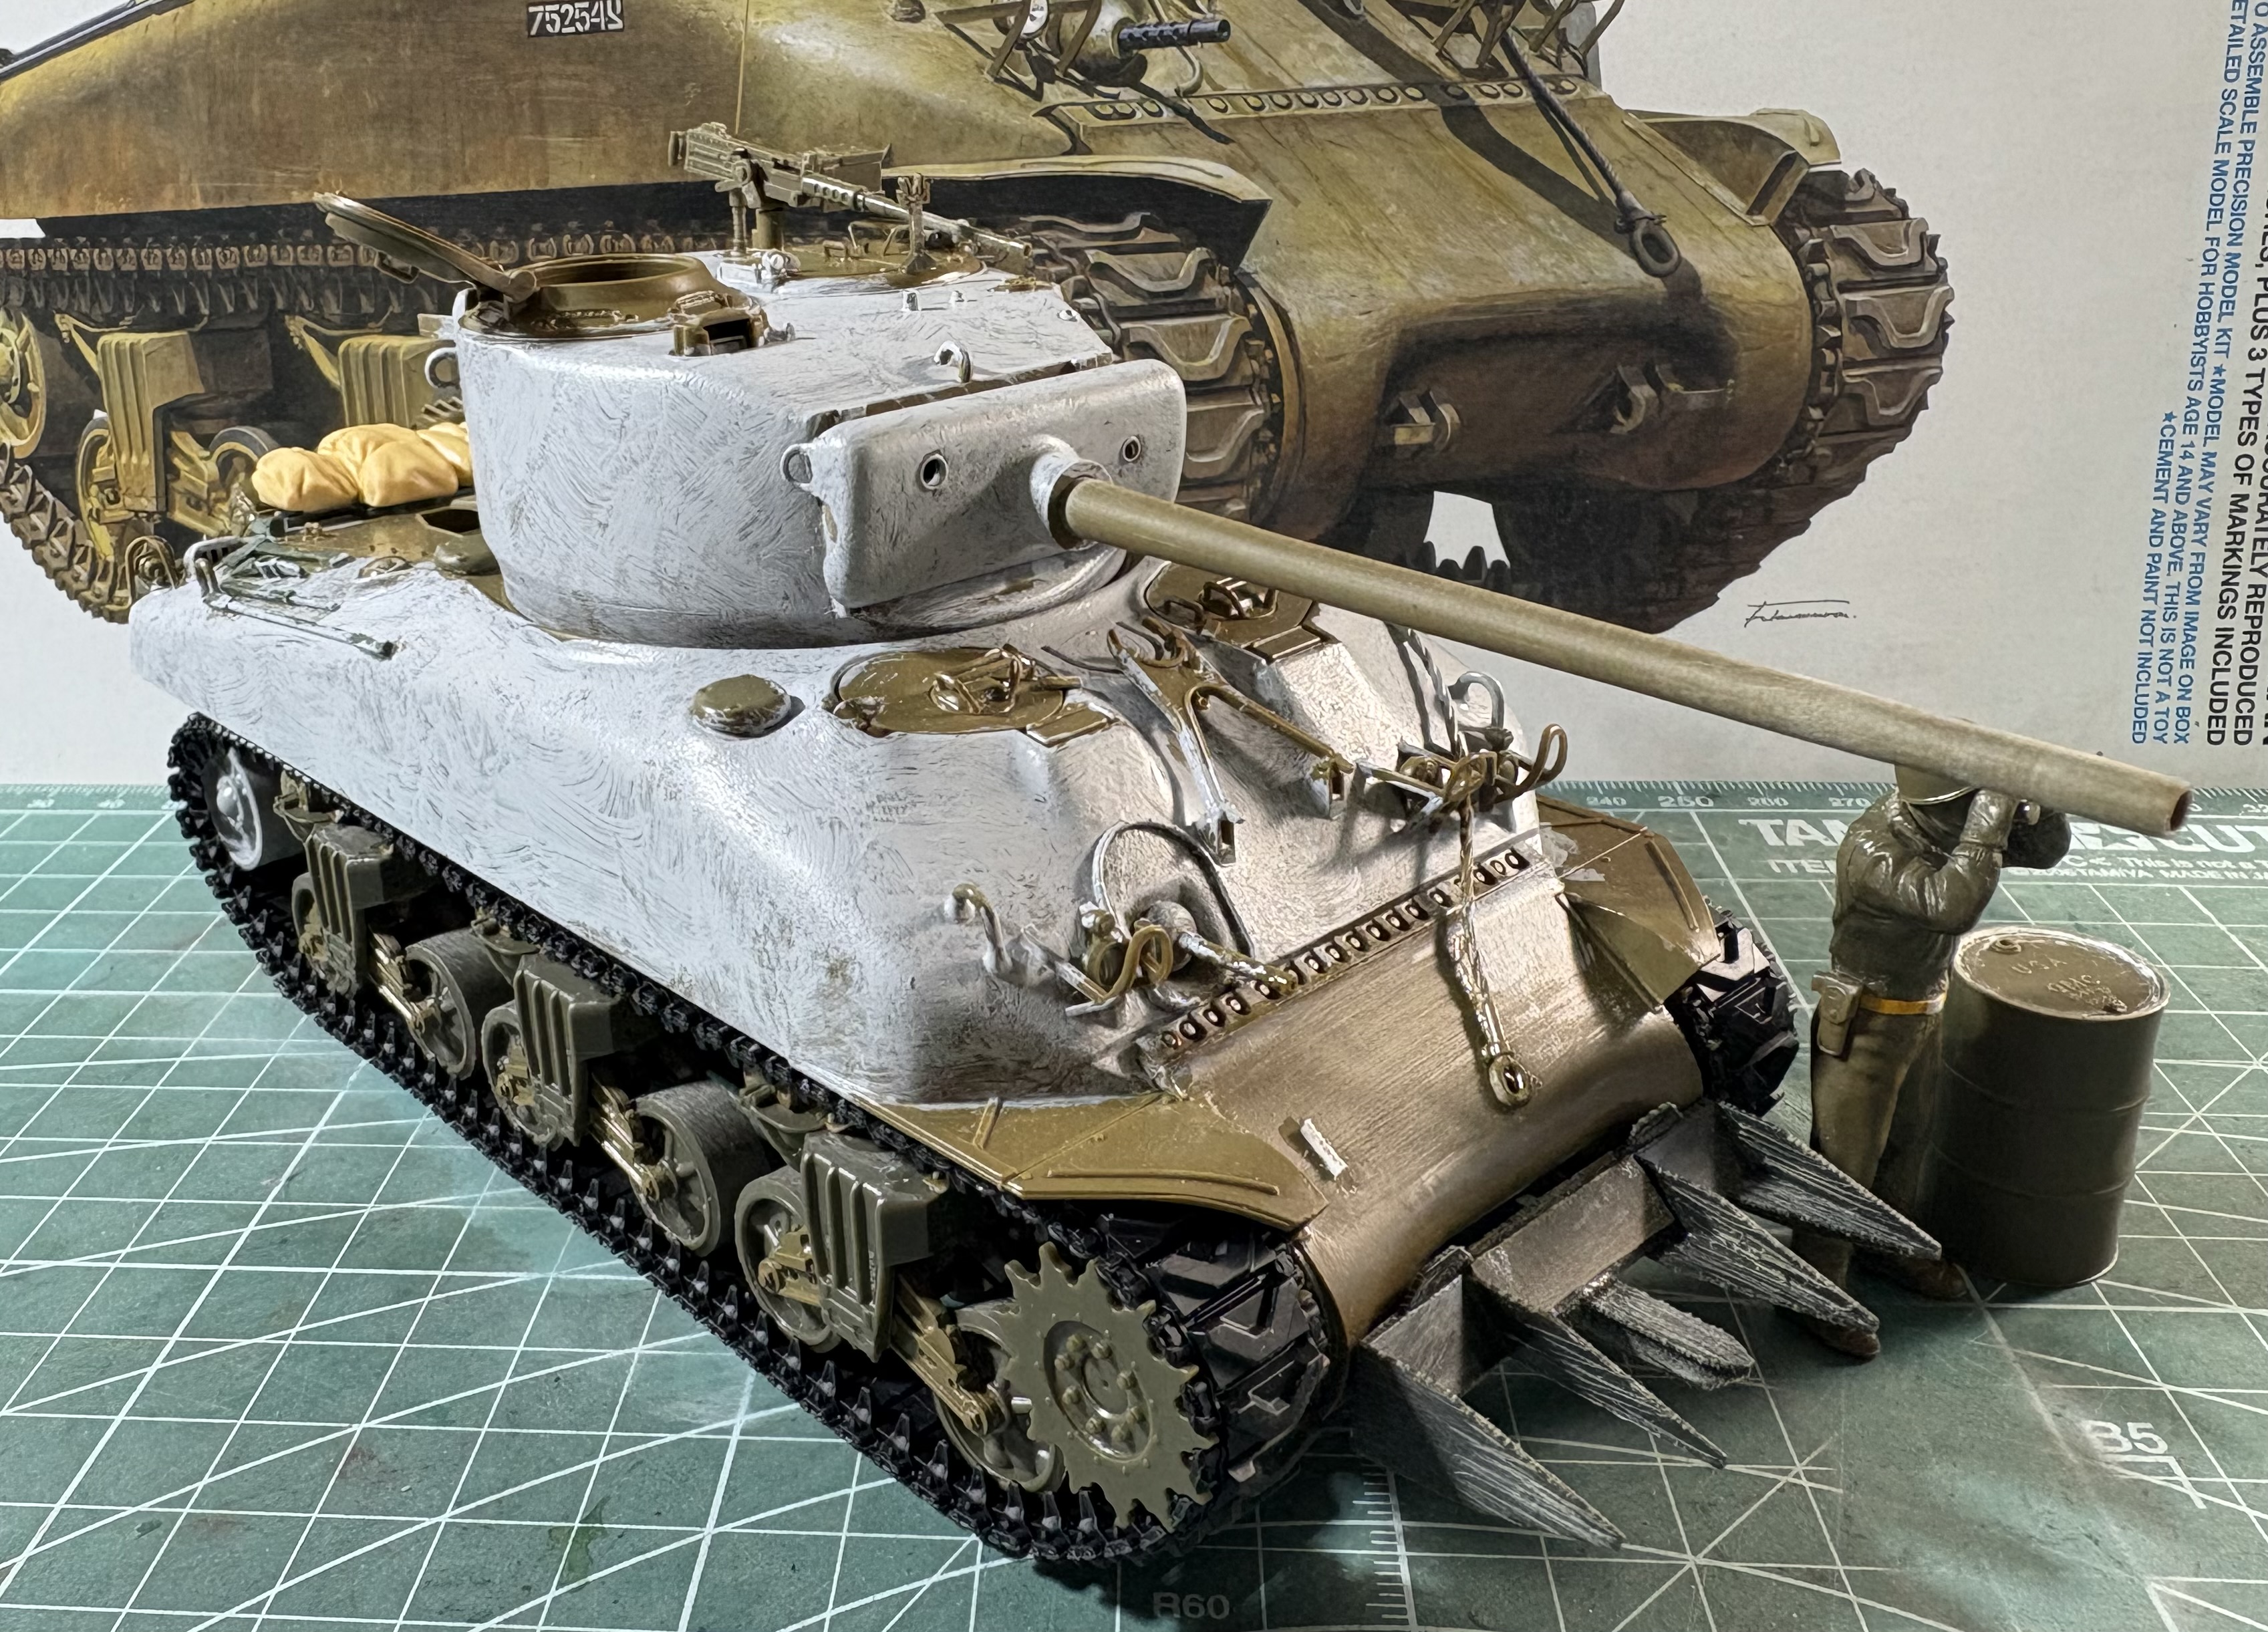
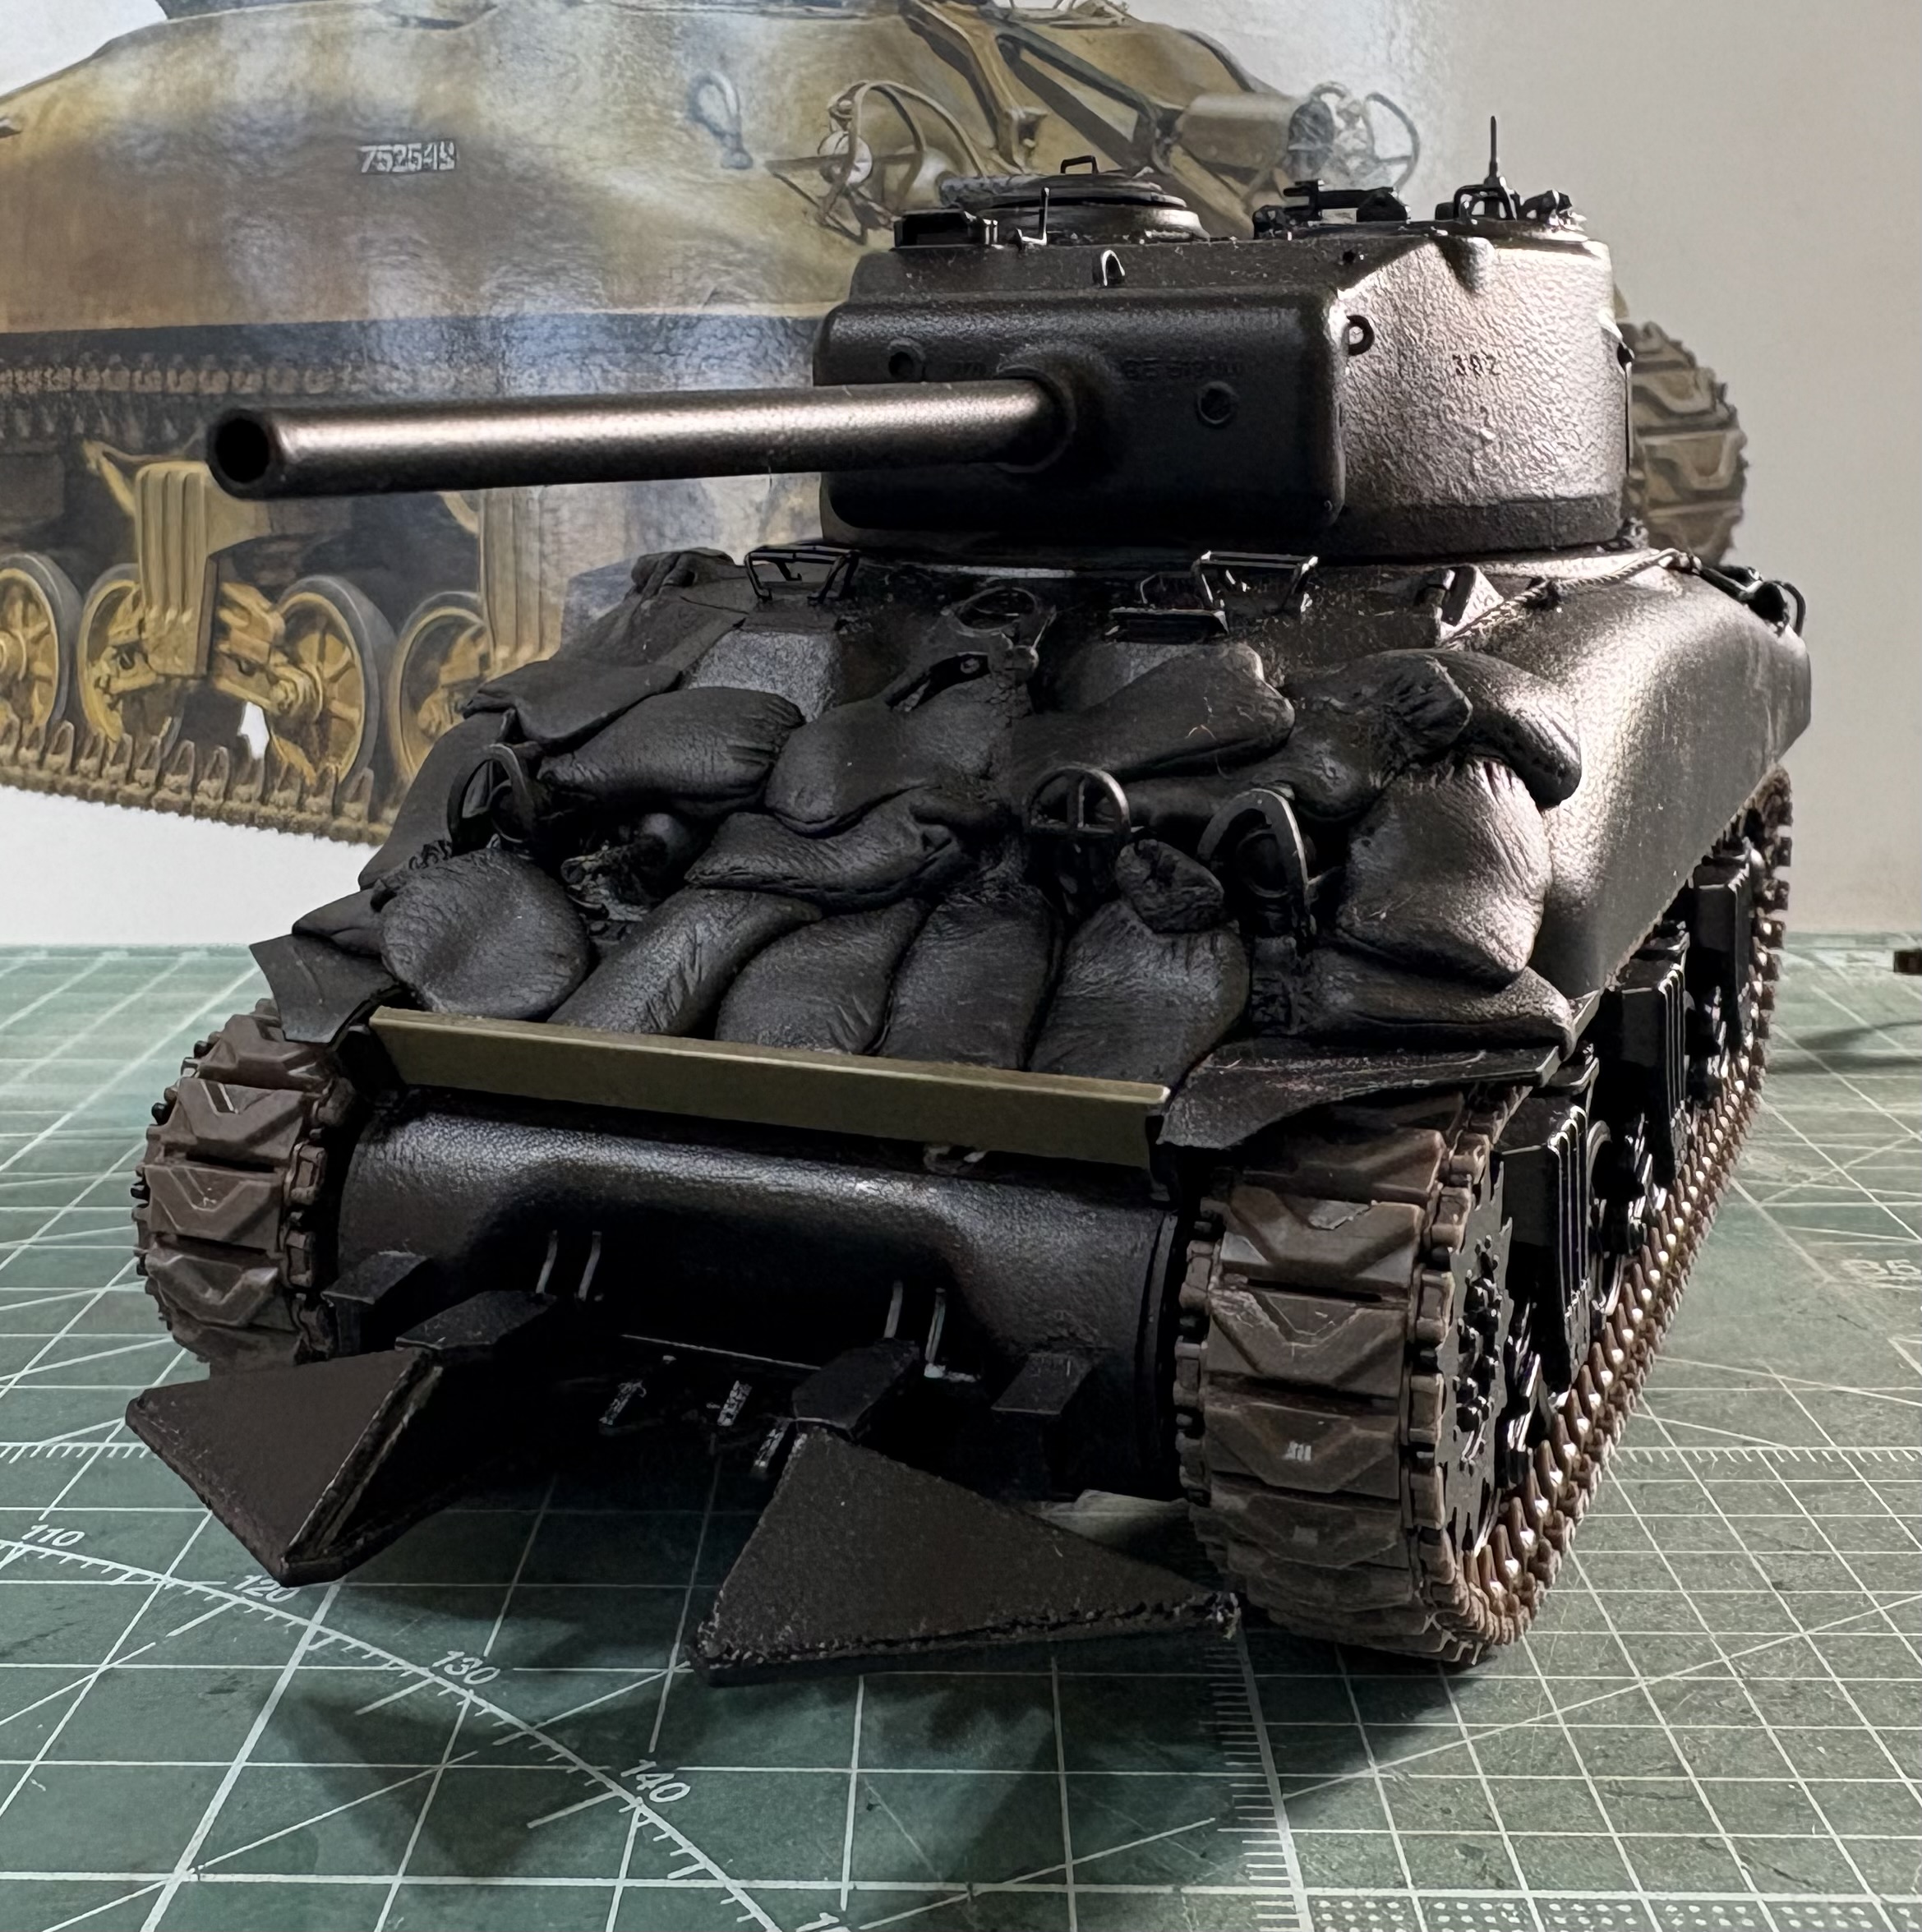
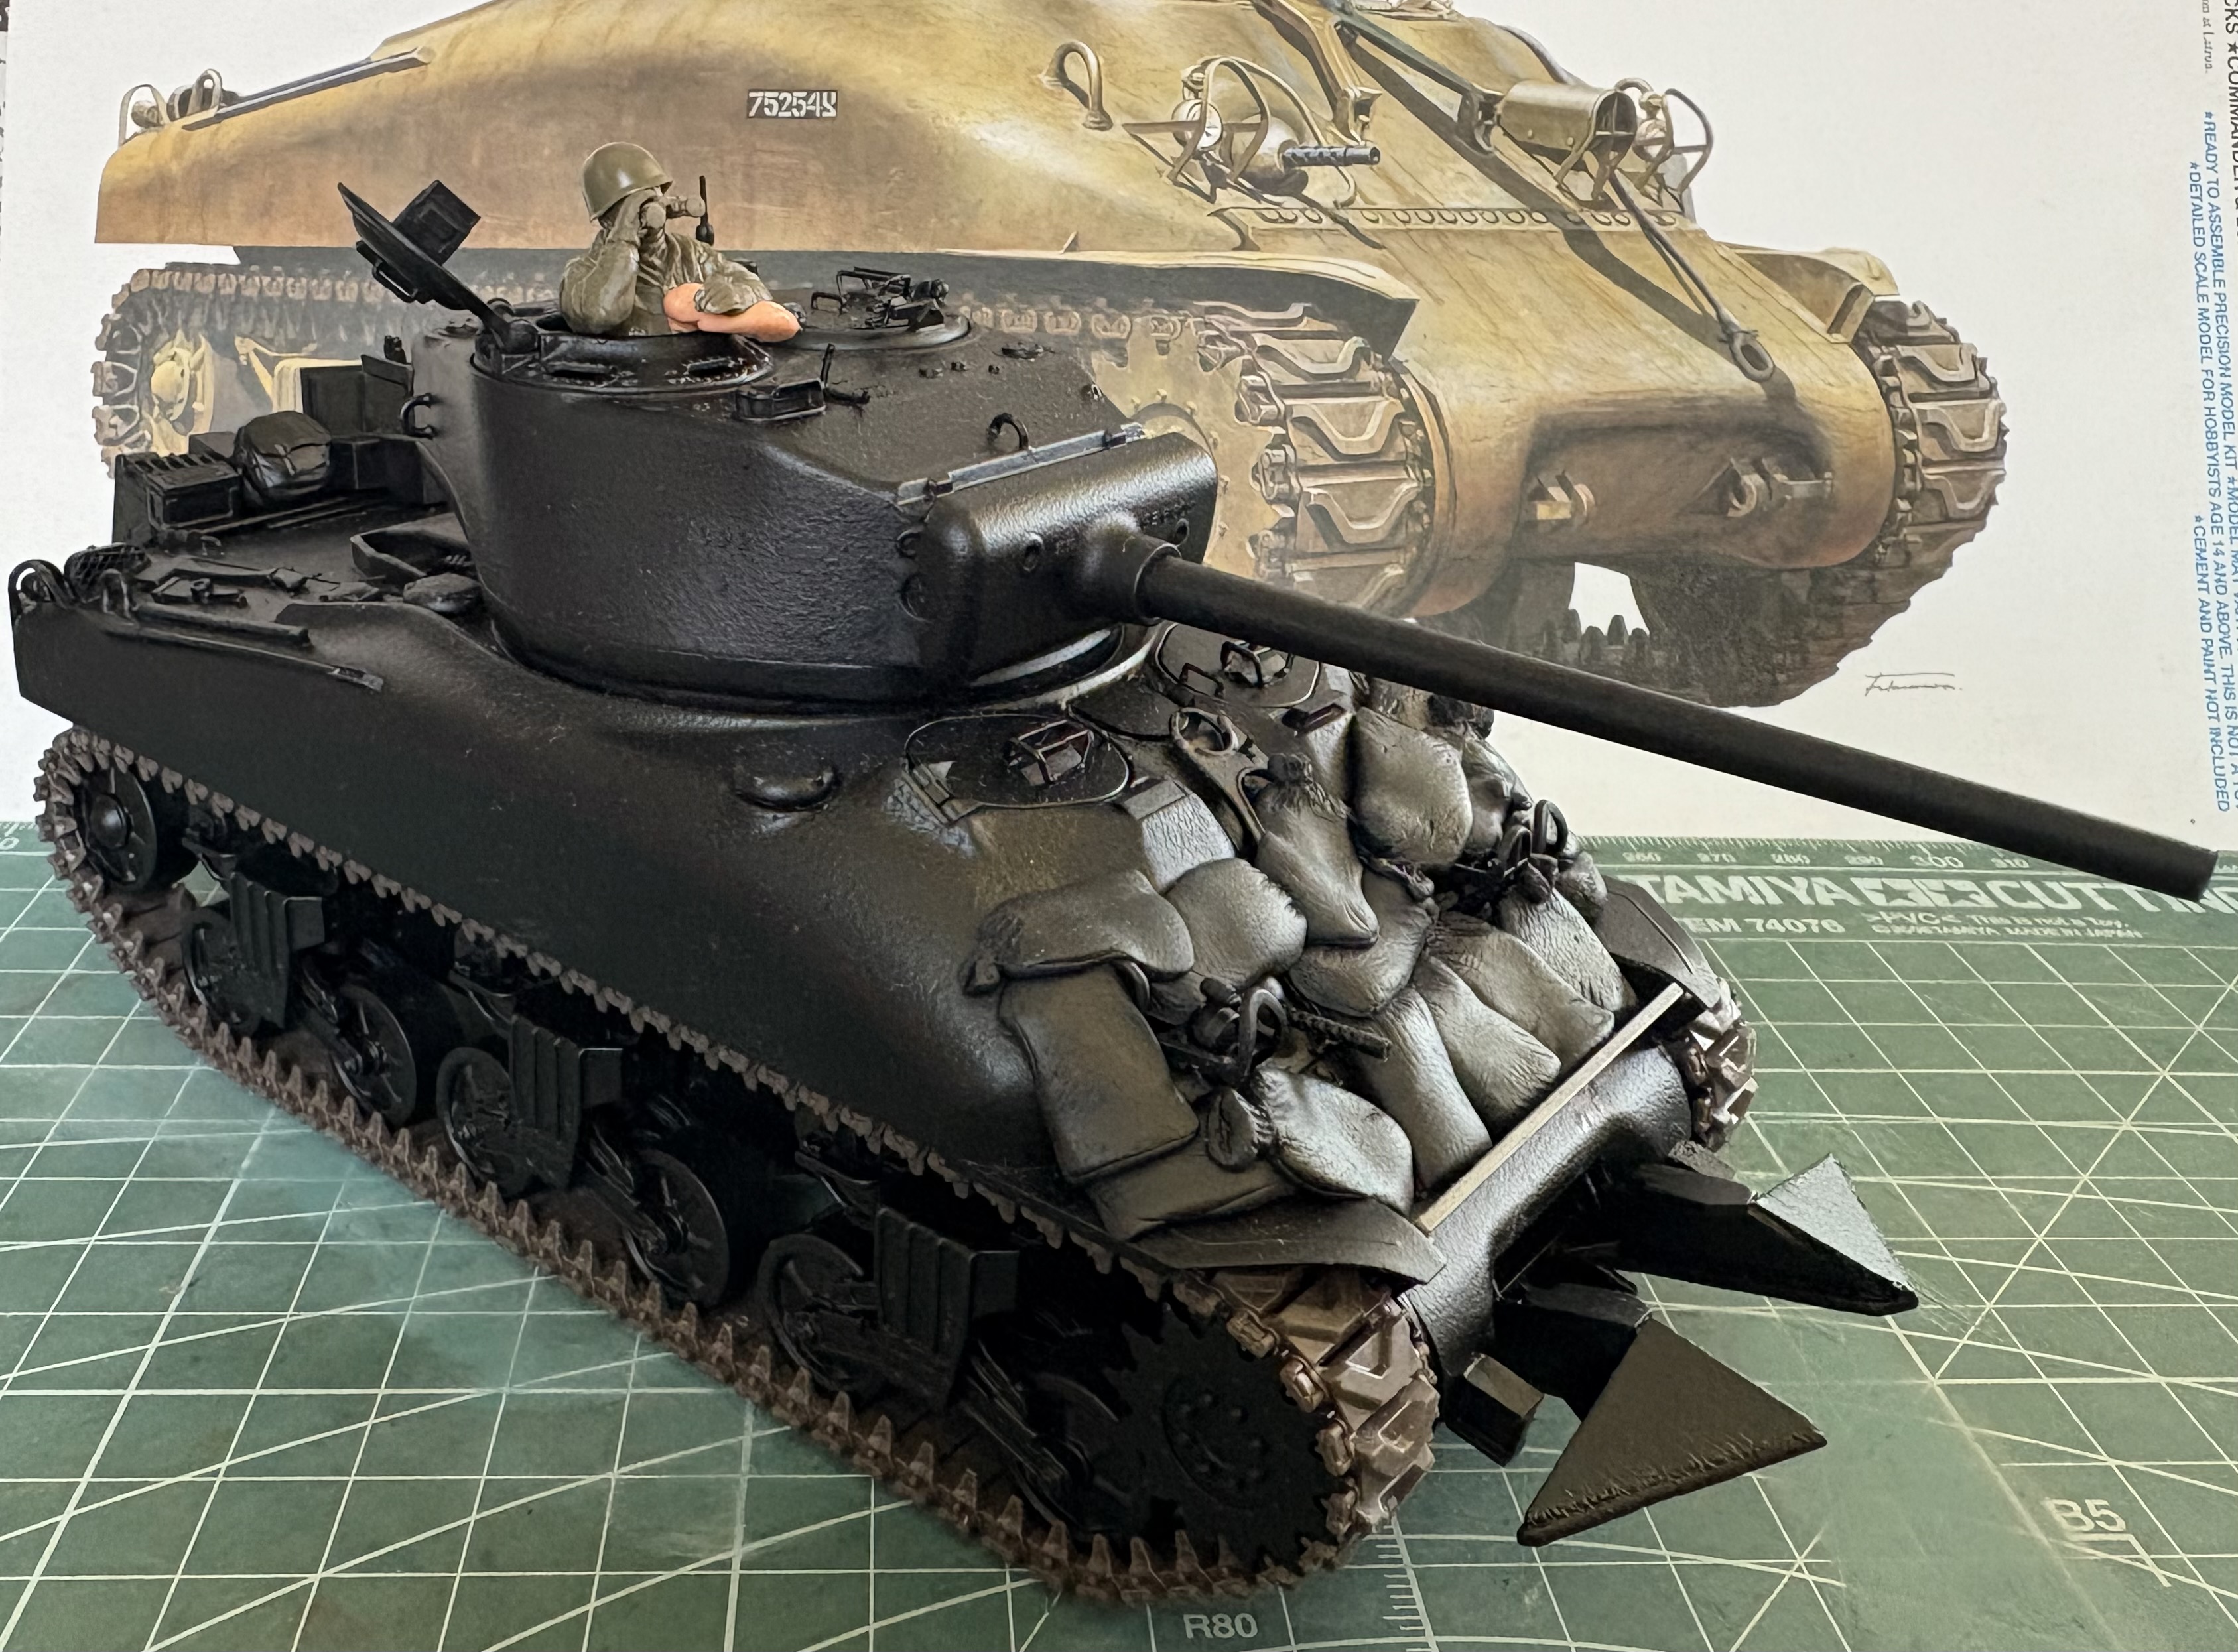
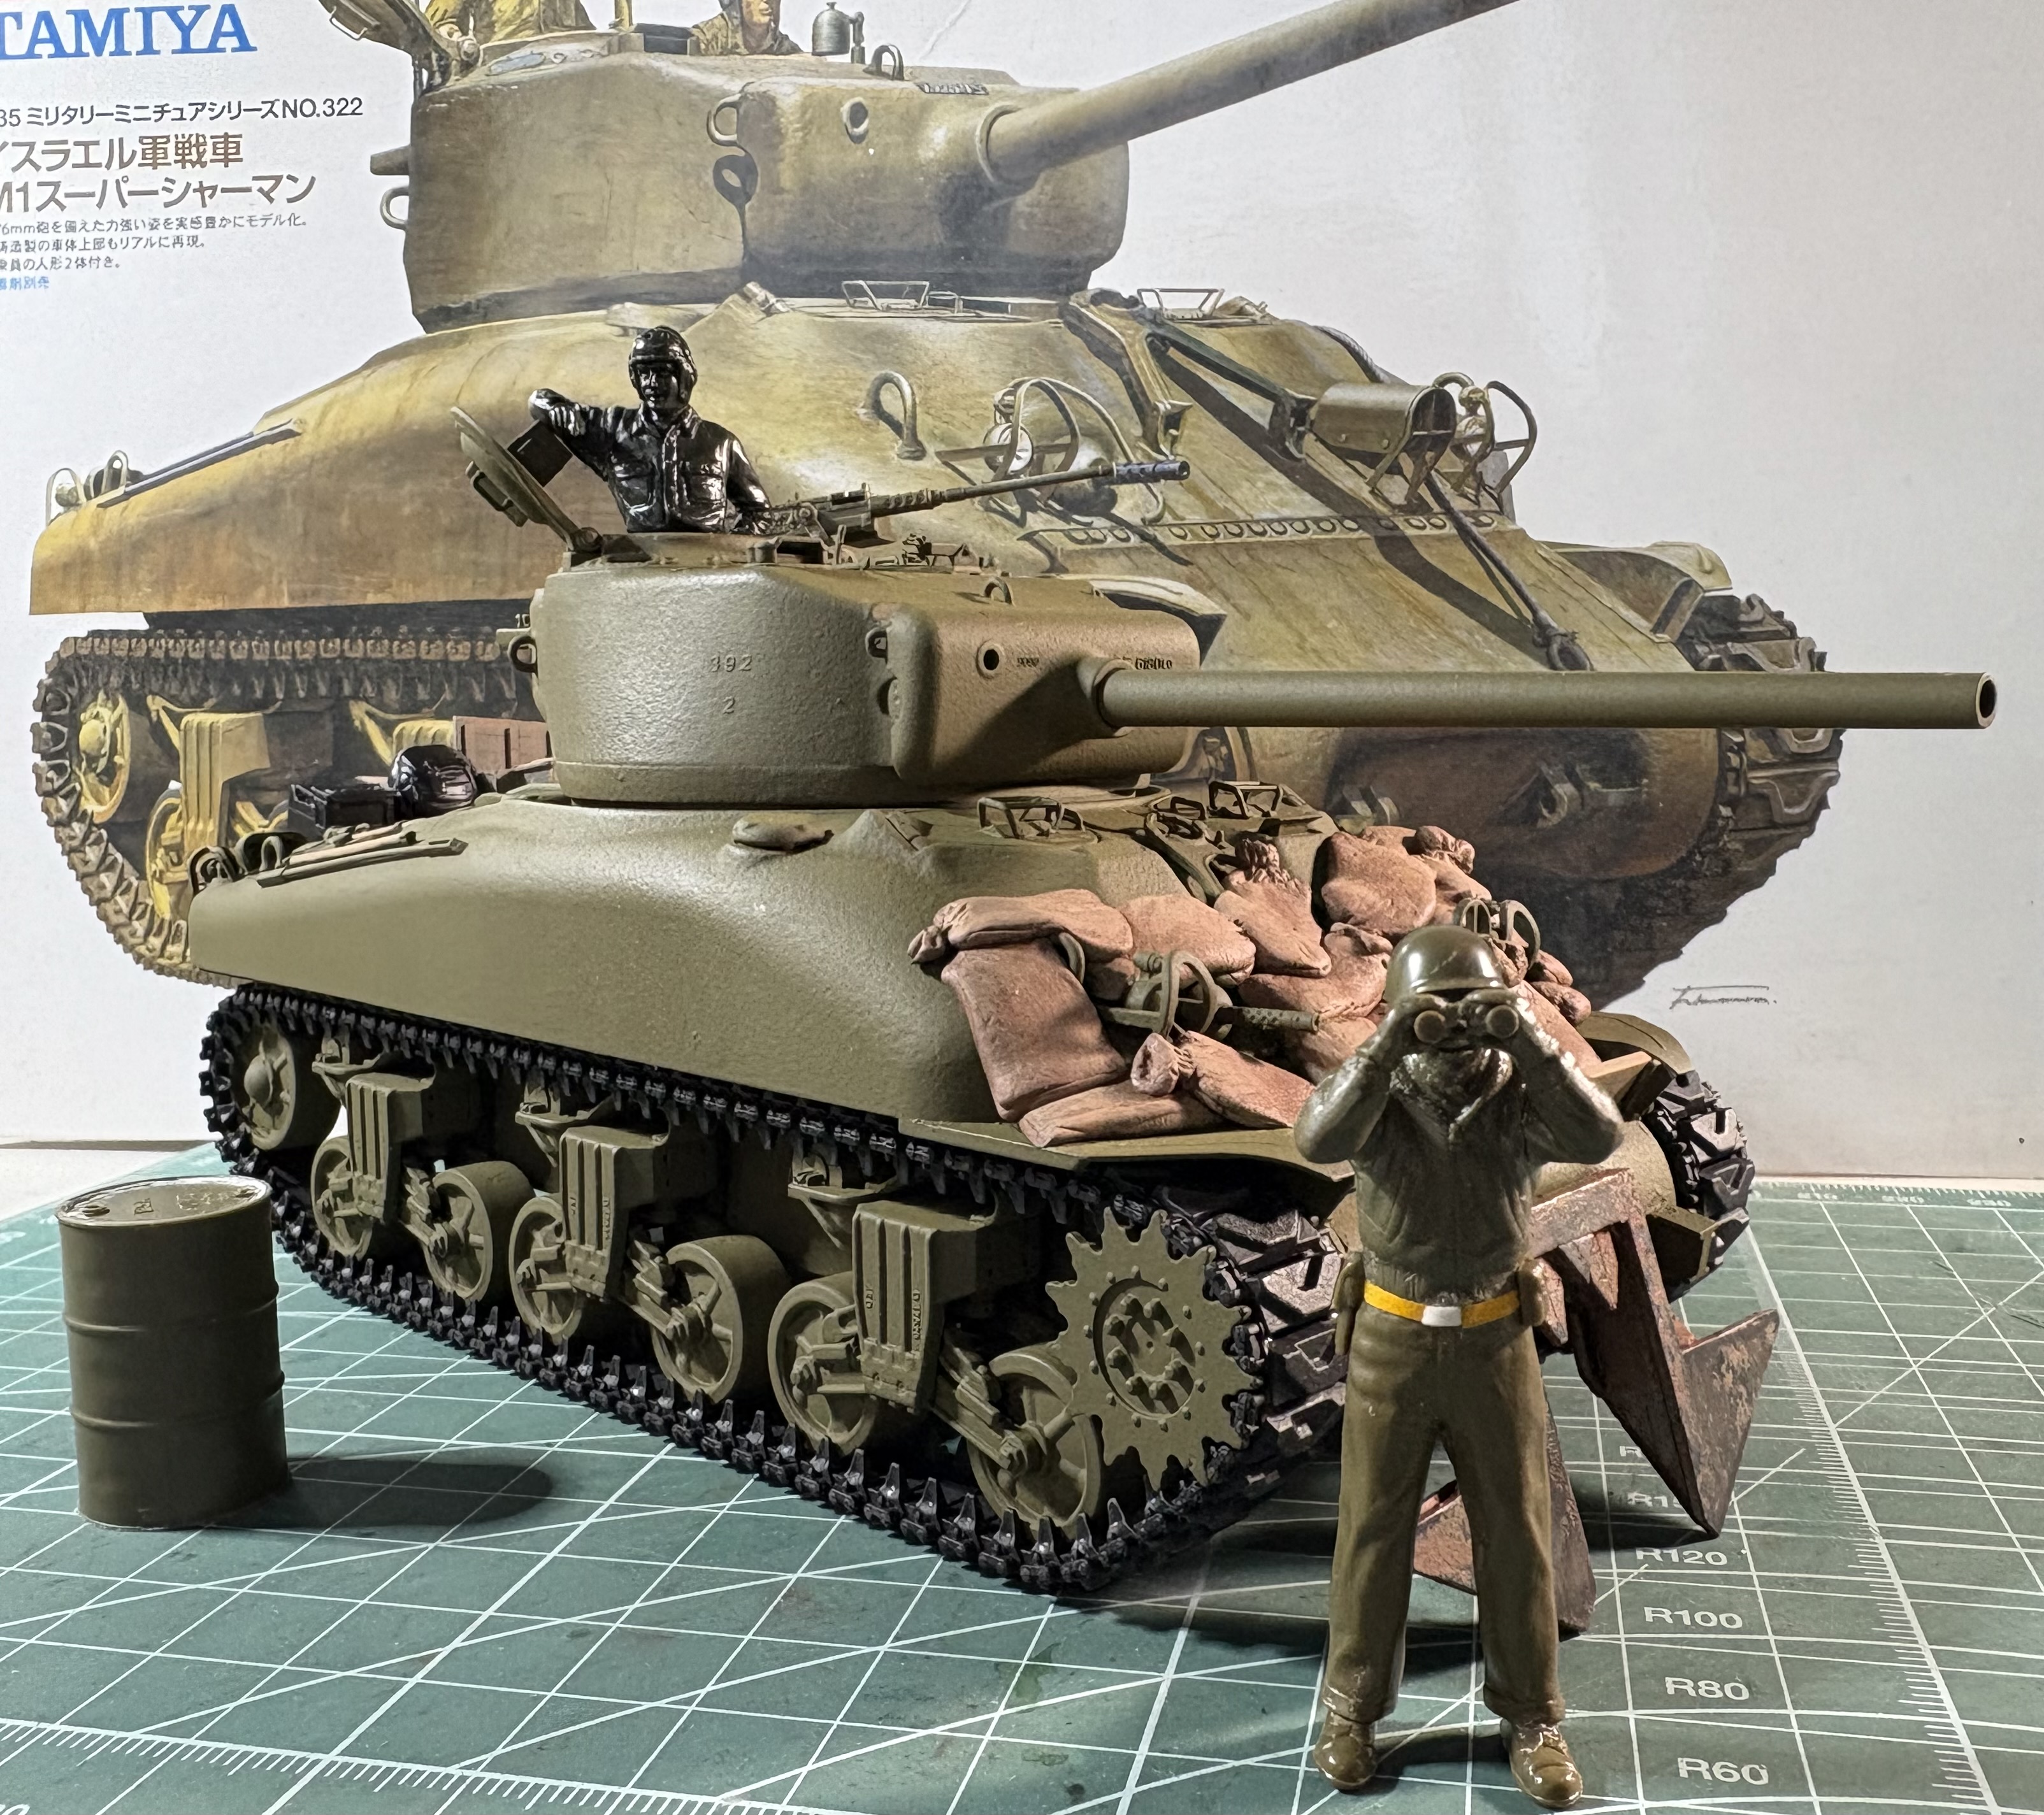
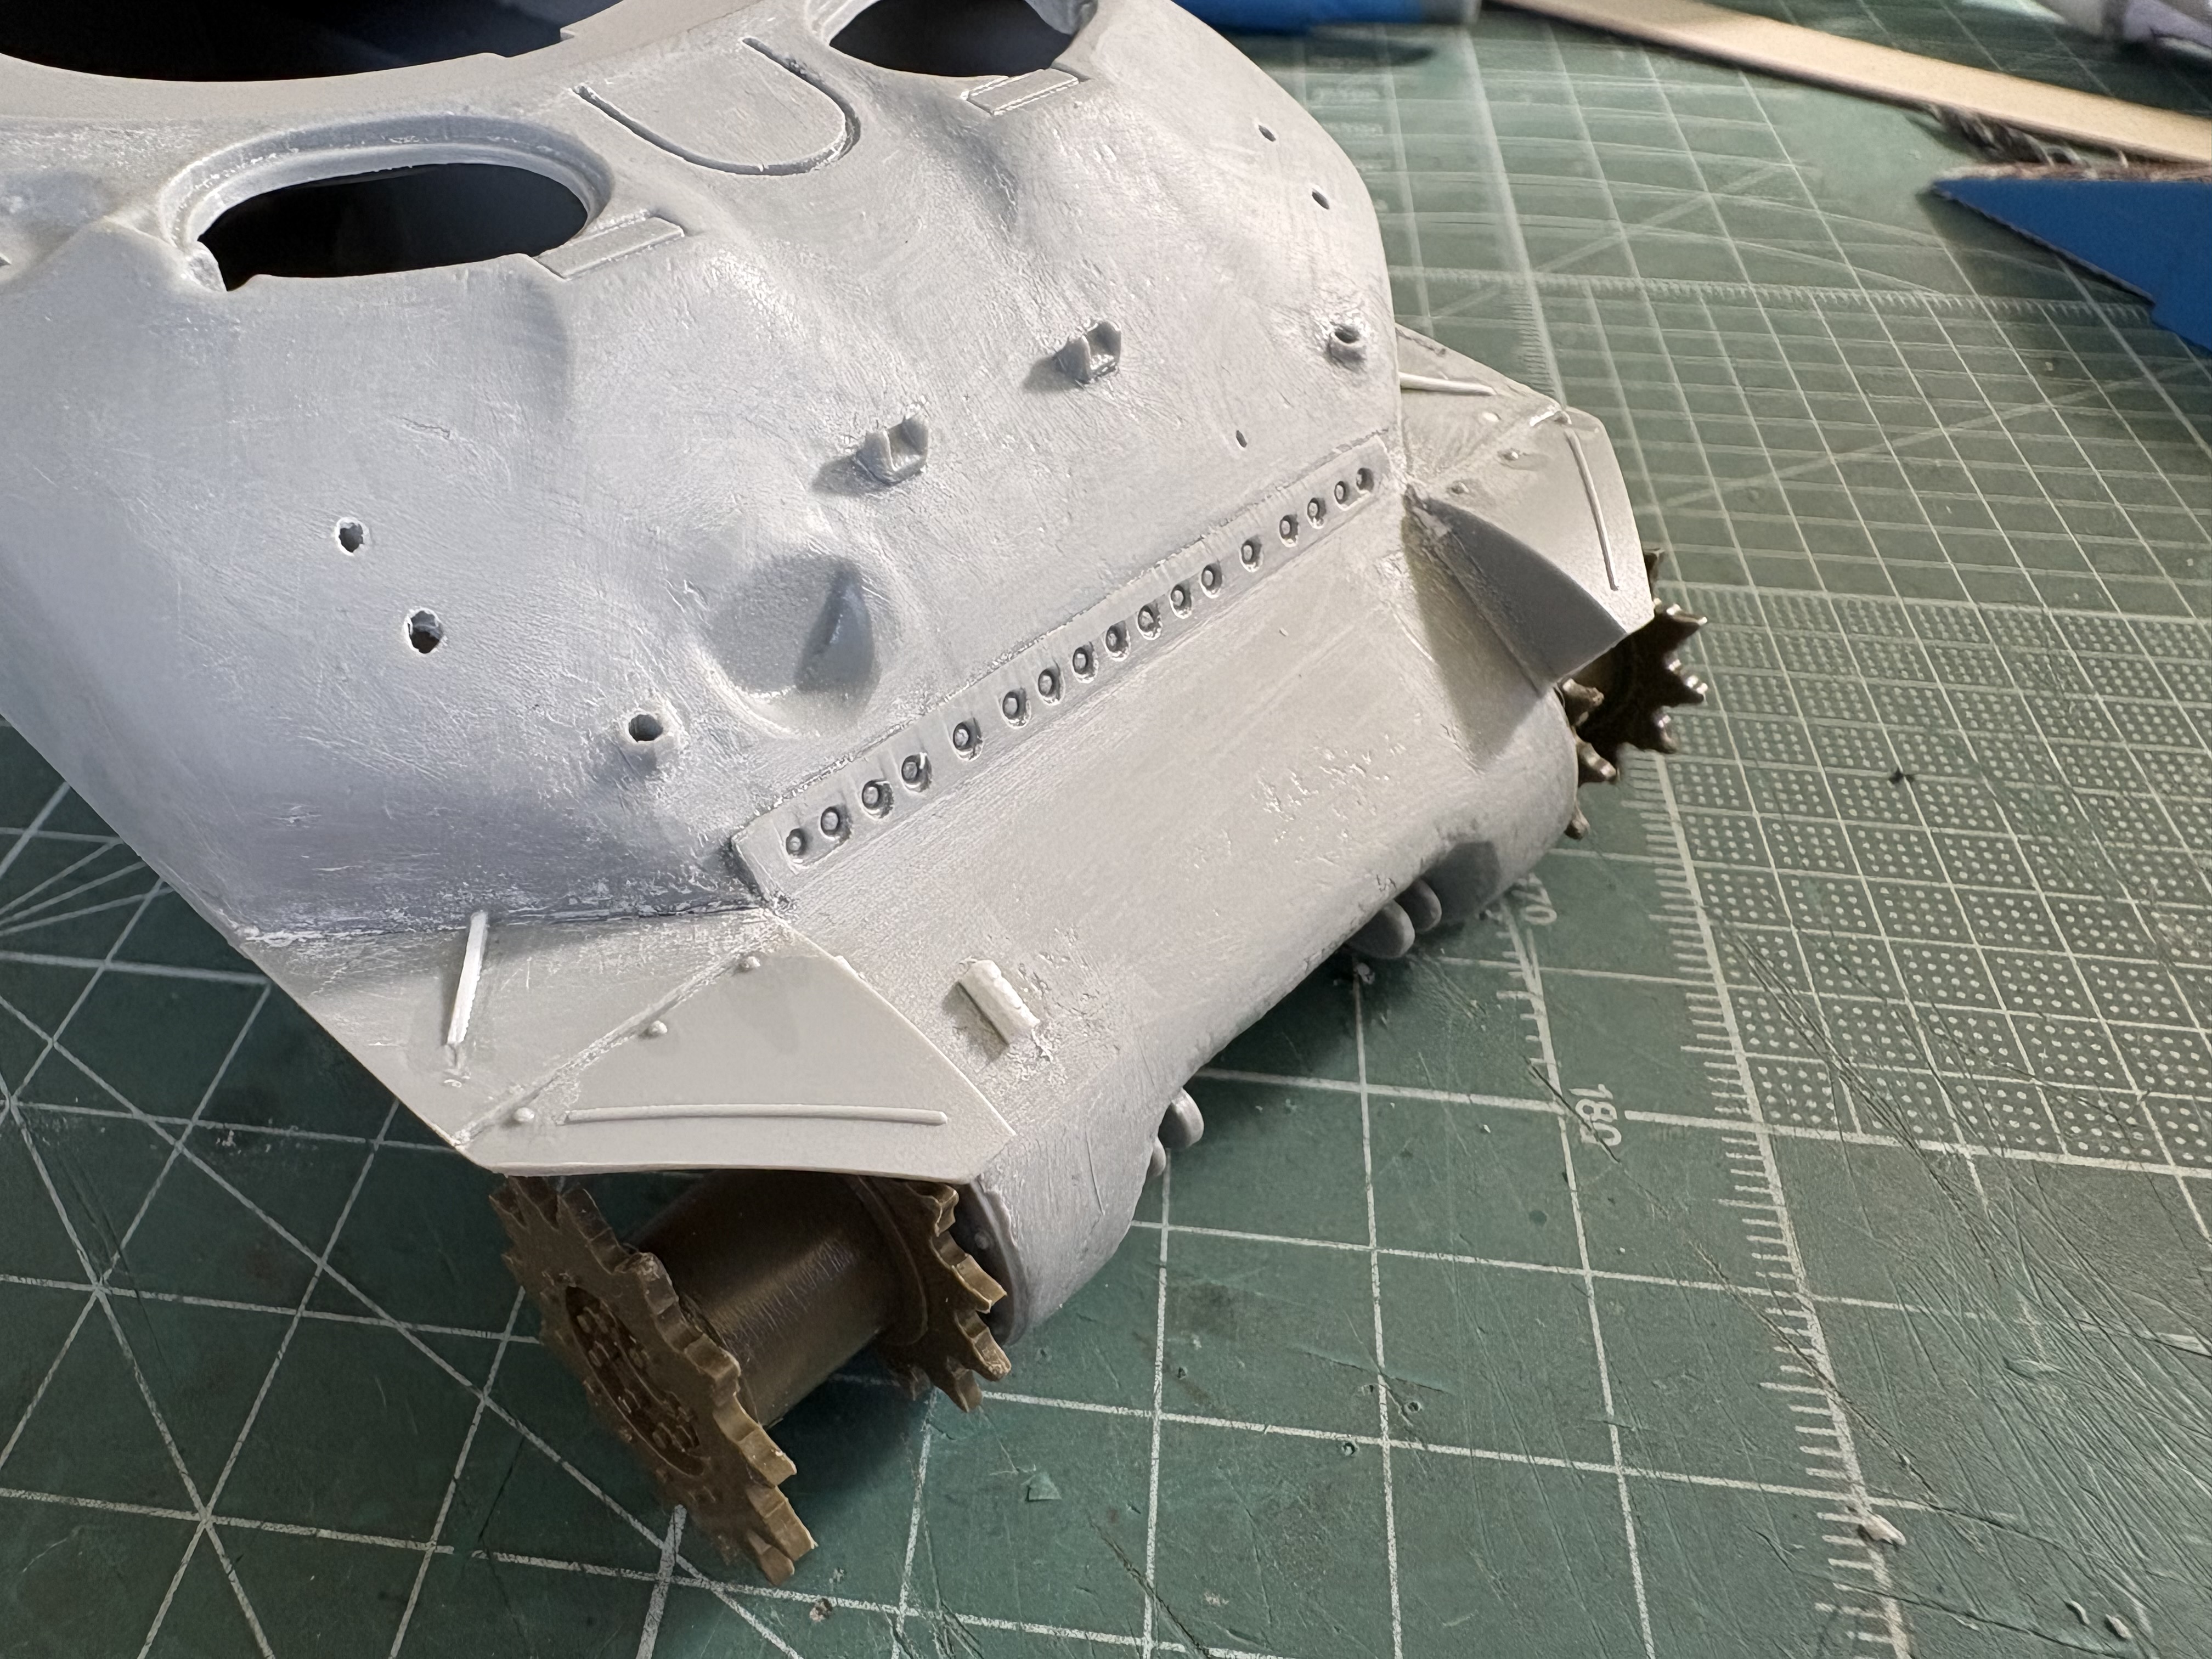
I built this 20, 25 years ago and very quickly decided that Dragon’s over-textured hull needed to go. I either had the Italeri one in my spares box, or I bought an Italeri Sherman for it, and it fits perfectly.
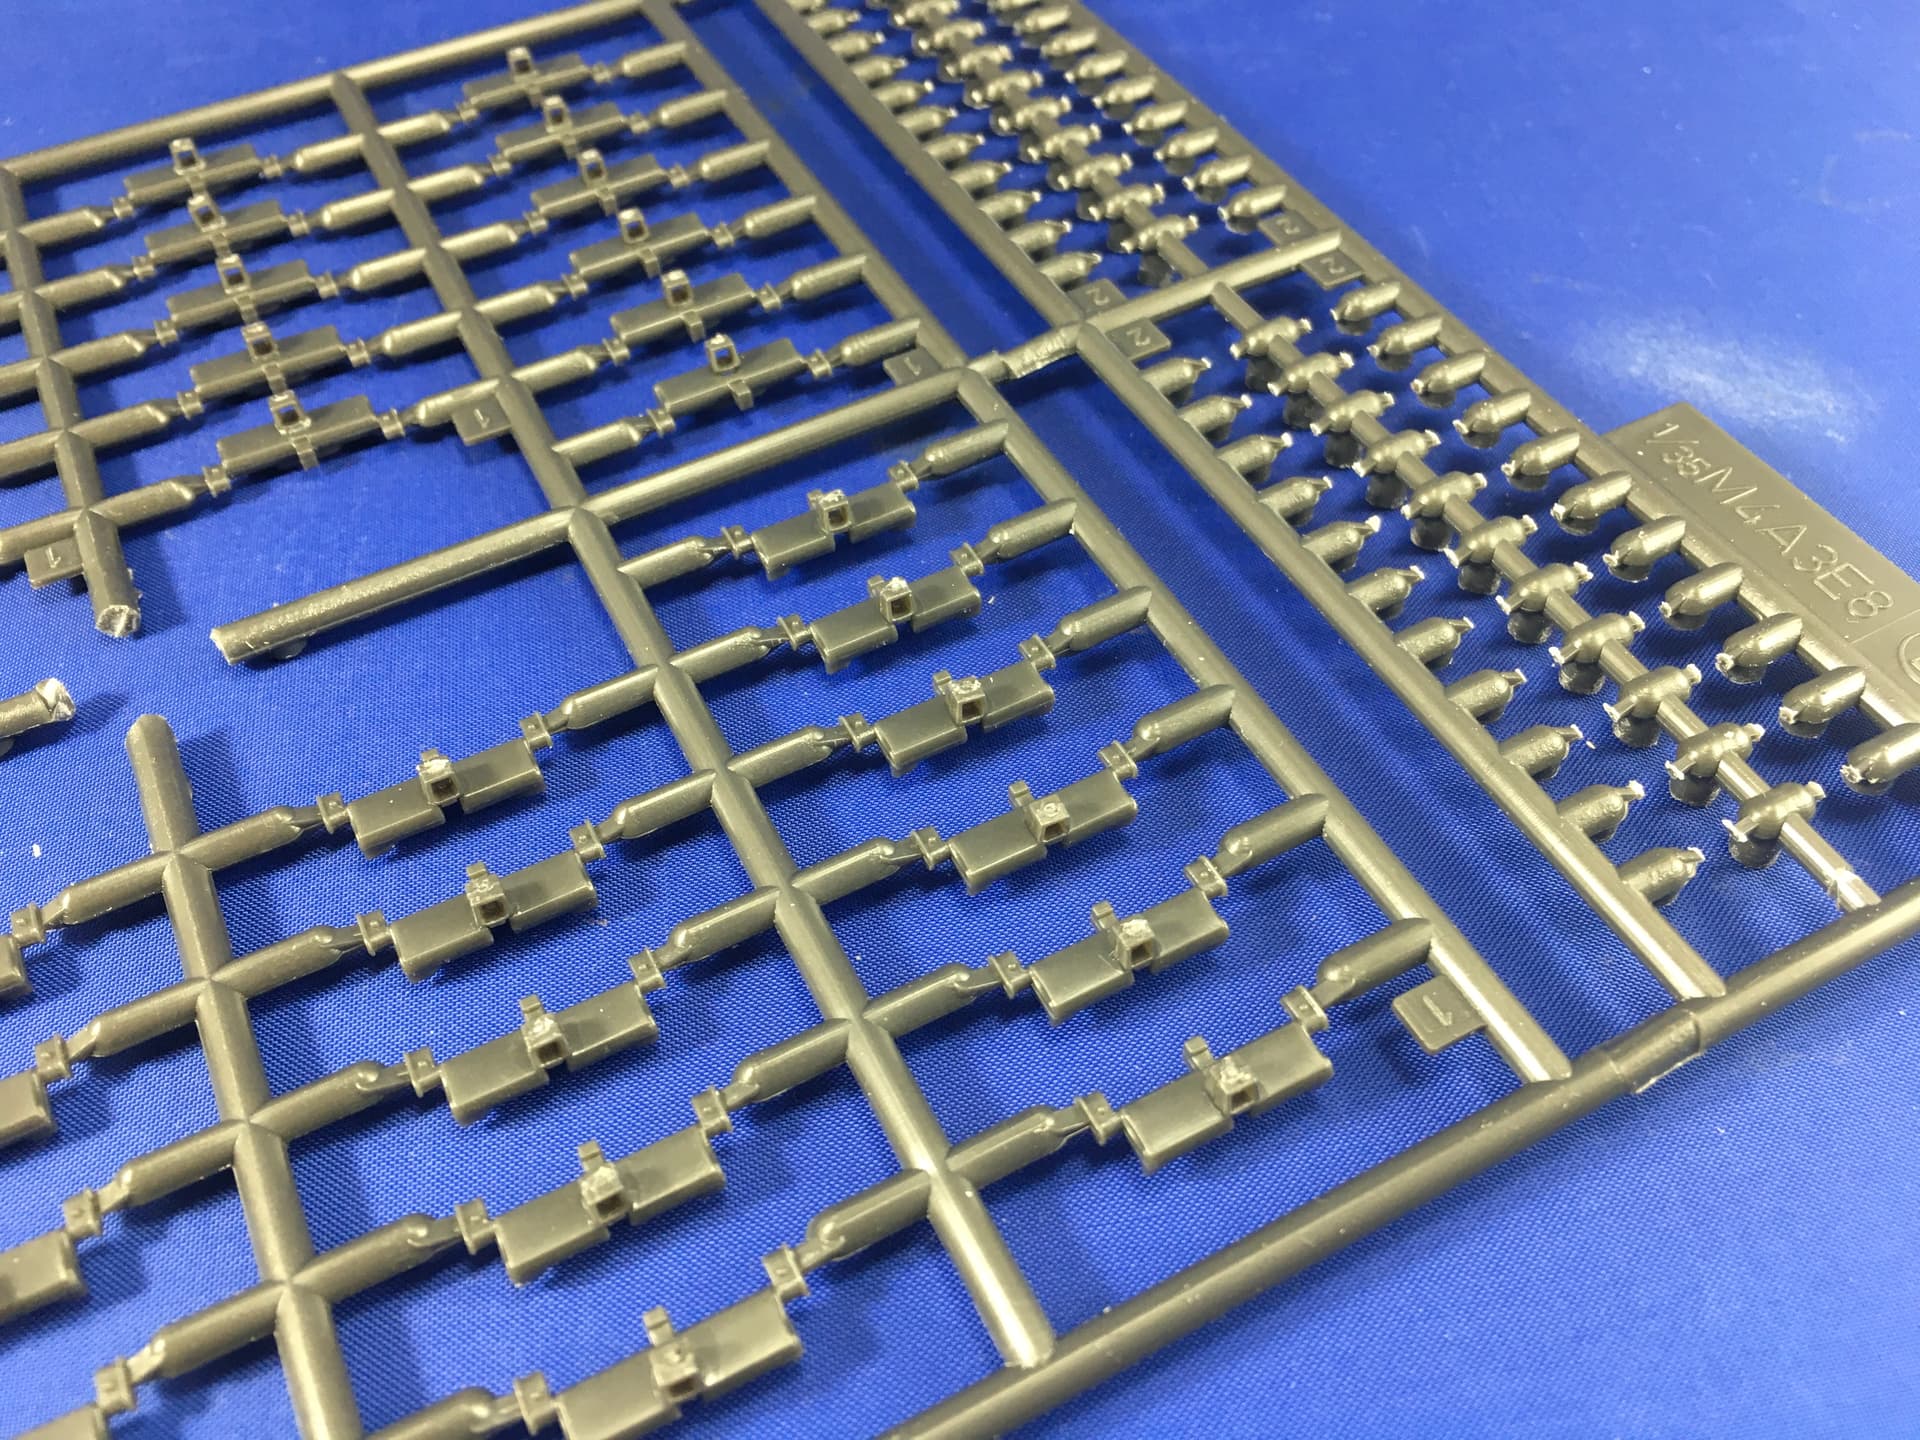
The model still isn’t finished because I got fed up with the track links way back then. Four years ago, when I took the picture above, I wanted to finish it so I completed the tracks:
@Jakko
Looks like you put the track guides in the wrong position on the track pad? I’m not sure…
That’s a super nice M-51 kit bash, super clean! It really proves how nice the Italeri hull is after almost 50 years that it was released
All you need is to source a proper turret because the DML turret is not very good. Maybe order one direct from Tamiya as a parts sprue replacement or from some AM company in resin?
@mech
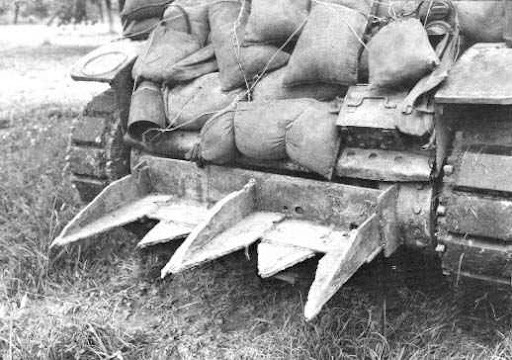
Thanks! I’ve decided that this Italeri one is going to be a 2nd AD tank. These actually got the Cullen Hedgerow cutting device unlike the 3rd AD tanks which got the Douglas Device.
So for the Italeri Cobra M4A1 76w, I’m going to build one of these as this is my favorite pattern in the Cullen variety that I’ve seen in vintage photos.
Here we see one fitted to an M5 Stuart but Sherman tanks got these too. I liked how much flavor the Douglas device and the sand bags added to the Border Models tank and I want to do something distinctive for this Italeri one too. It’s going to be a blast to make one too.
I remember those Dragon tracks. The issue for me is that the end connectors do not pivot, like they should on the real thing. So what happens is that they go around the drive sprocket & idler in an unrealistic way…the end connectors do not attach to something at the other end. I’m sure some people don’t care, preferring fewer parts. But in this instance, I felt the DS tracks were an IMPROVEMENT over the plastic tracks. AFV Club does workable tracks that would probably be a substitute for them.
Exactly … I had done one sprue (or four, IIRC) when I first built the kit, and the rest four years ago. And a few days after I had finished, I noticed I had three with the guide horns on the blocks instead of on the central connector …
Thanks, but it’s really not more than just putting the Italeri hull on the Dragon one, and swapping the engine deck.
Nah, if I finish this then it will be with what I already have
If you like building tracks that break when you try to clean them up and whose end connectors fall off when you so much as breathe on them, sure
I bought RFM ones instead for the tank I wanted to use them on, though they’re very much work to put together and there is a lot of play in them. A full-length track is 2 cm longer if you stretch it all the way out, compared to the links pushed together.
Finally had some bench time:) I plan to get some sandbag action this coming weekend on the Border Models M4A1 76w
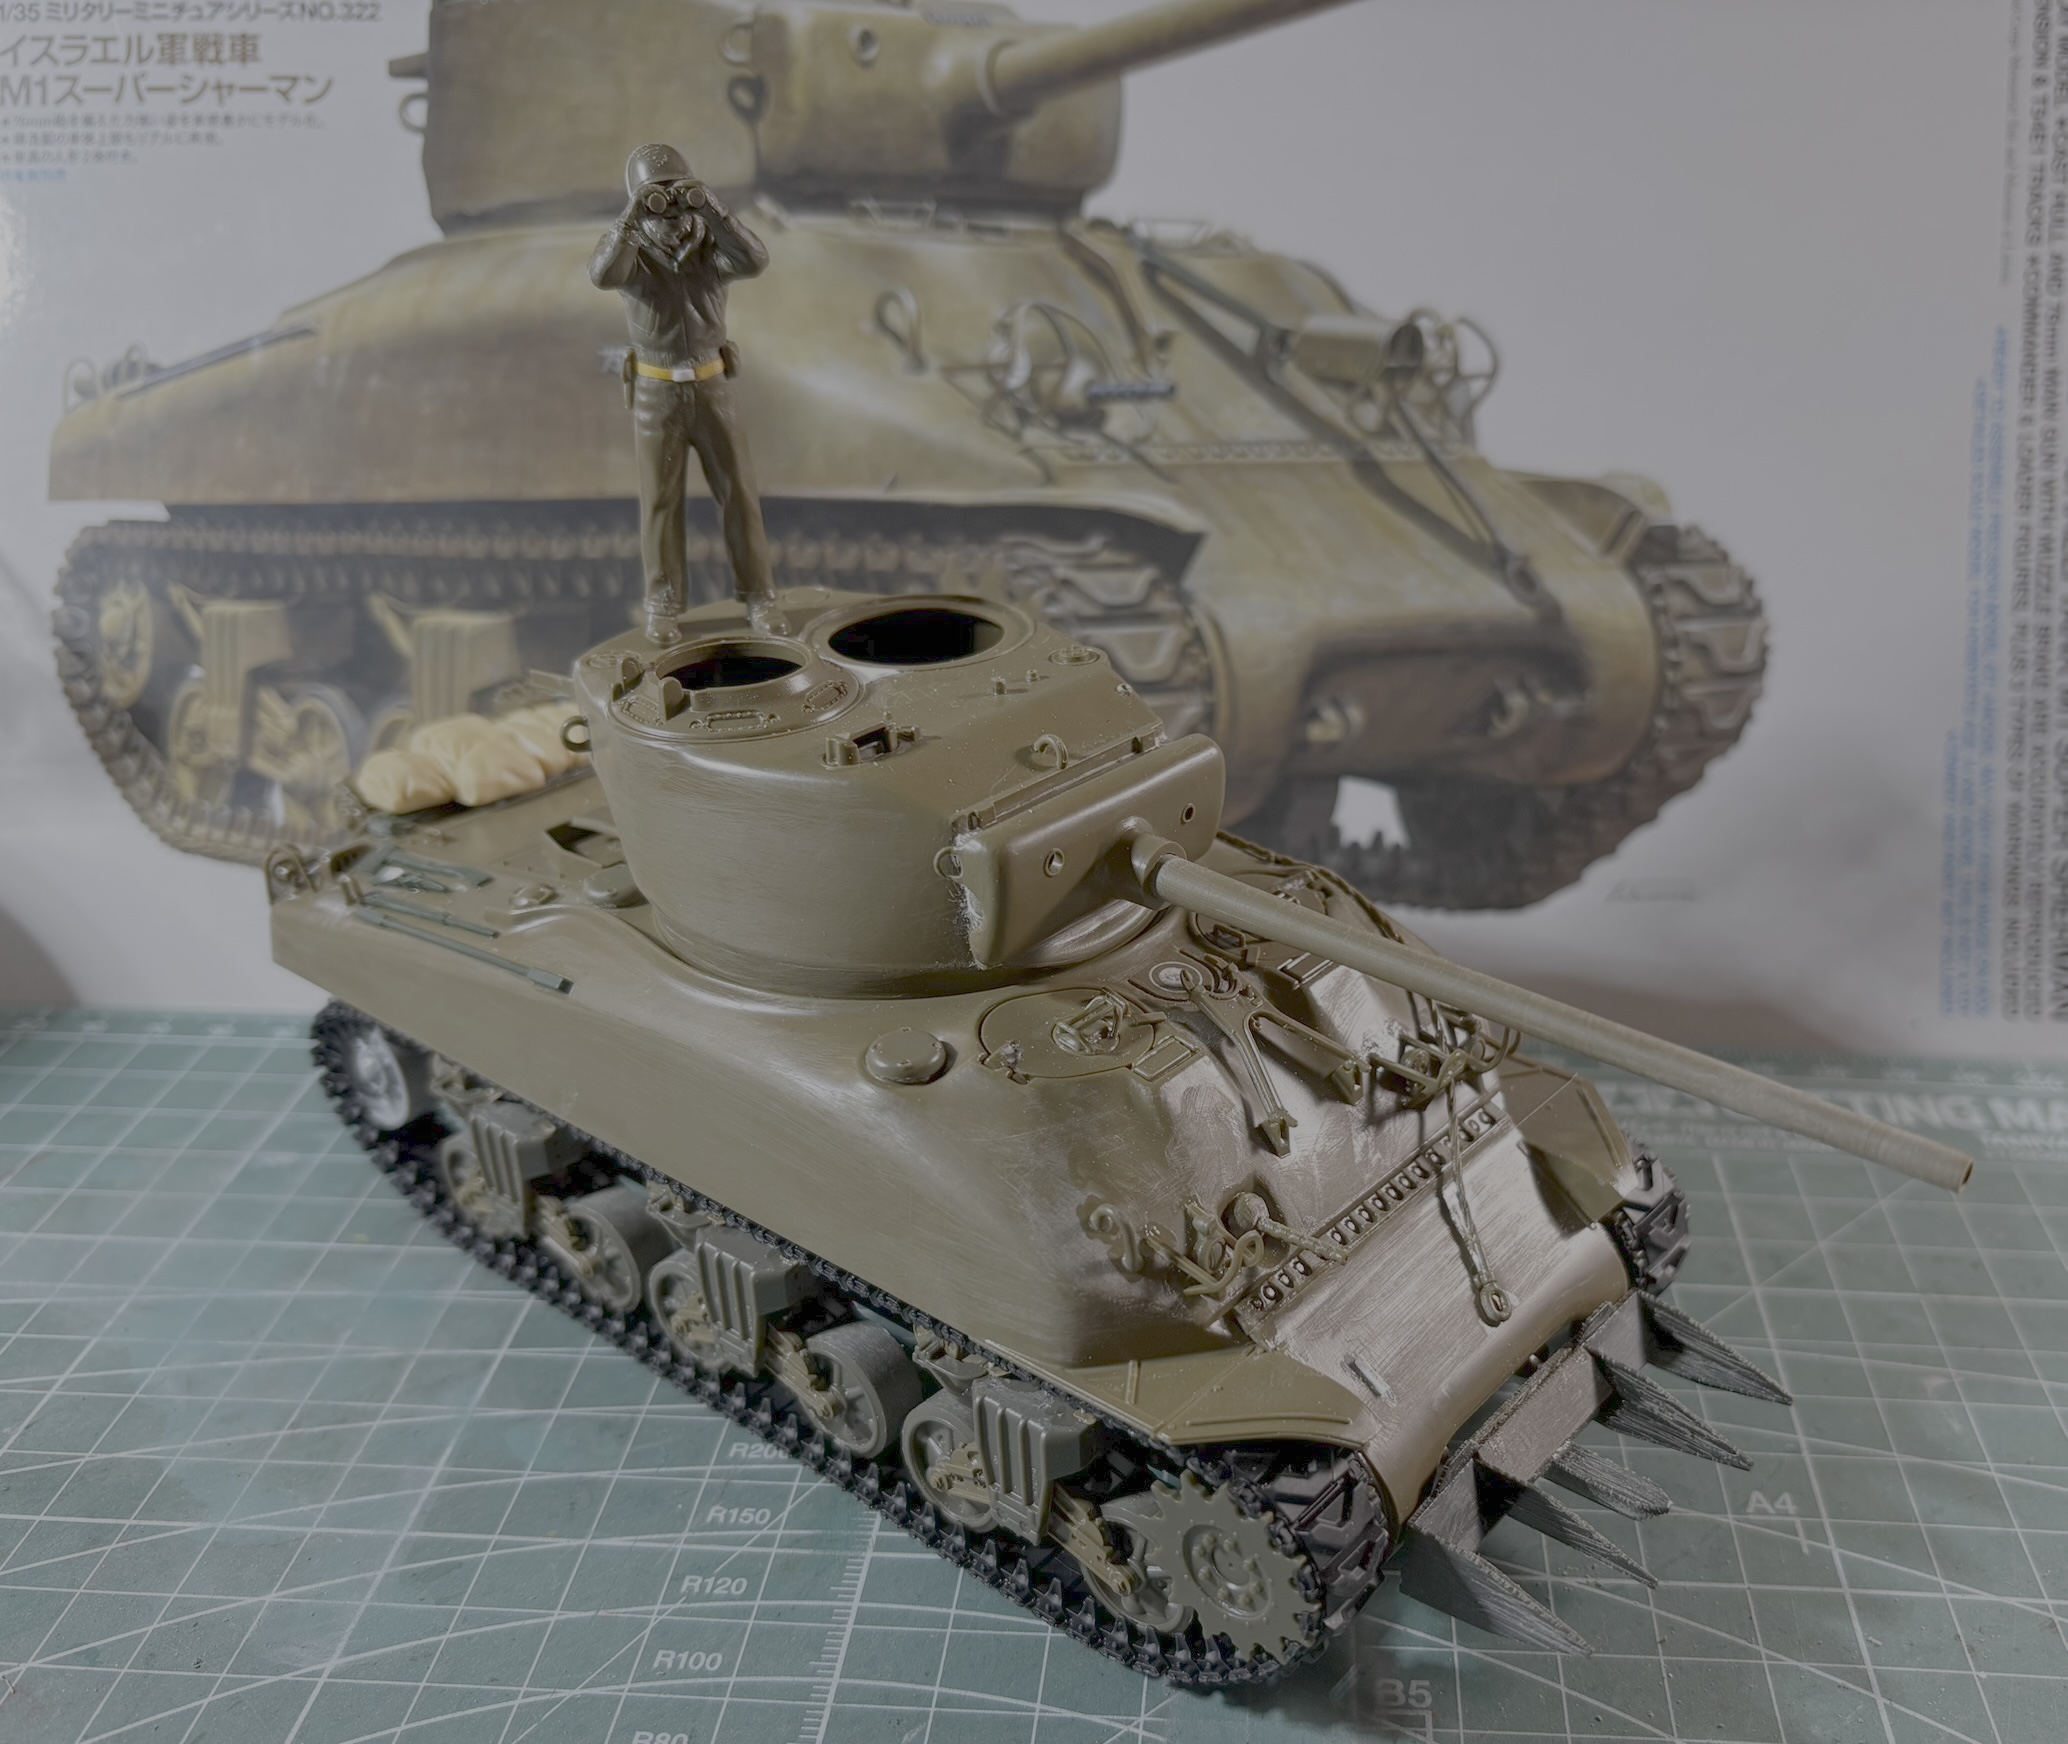
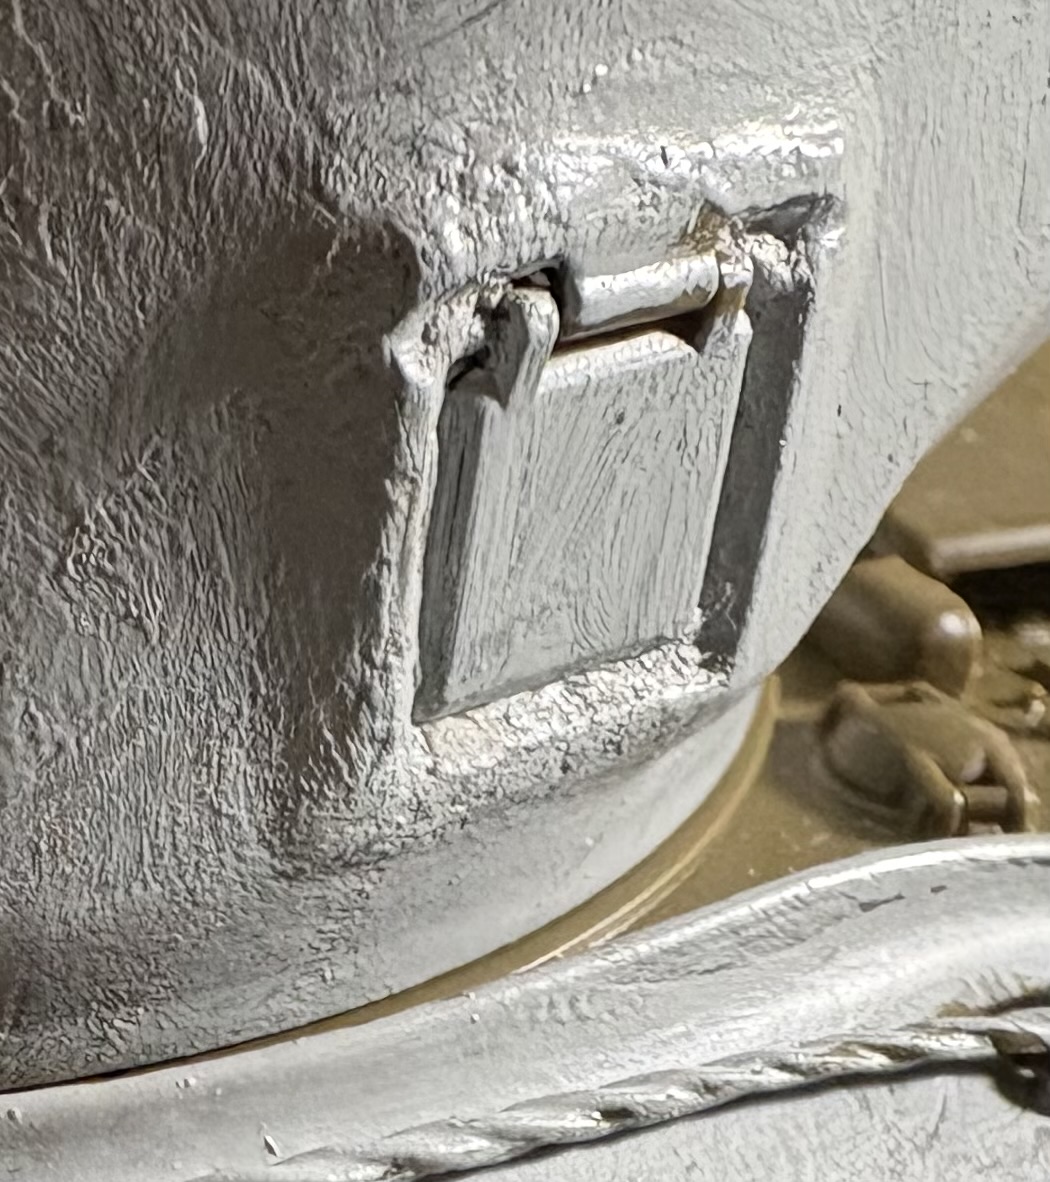
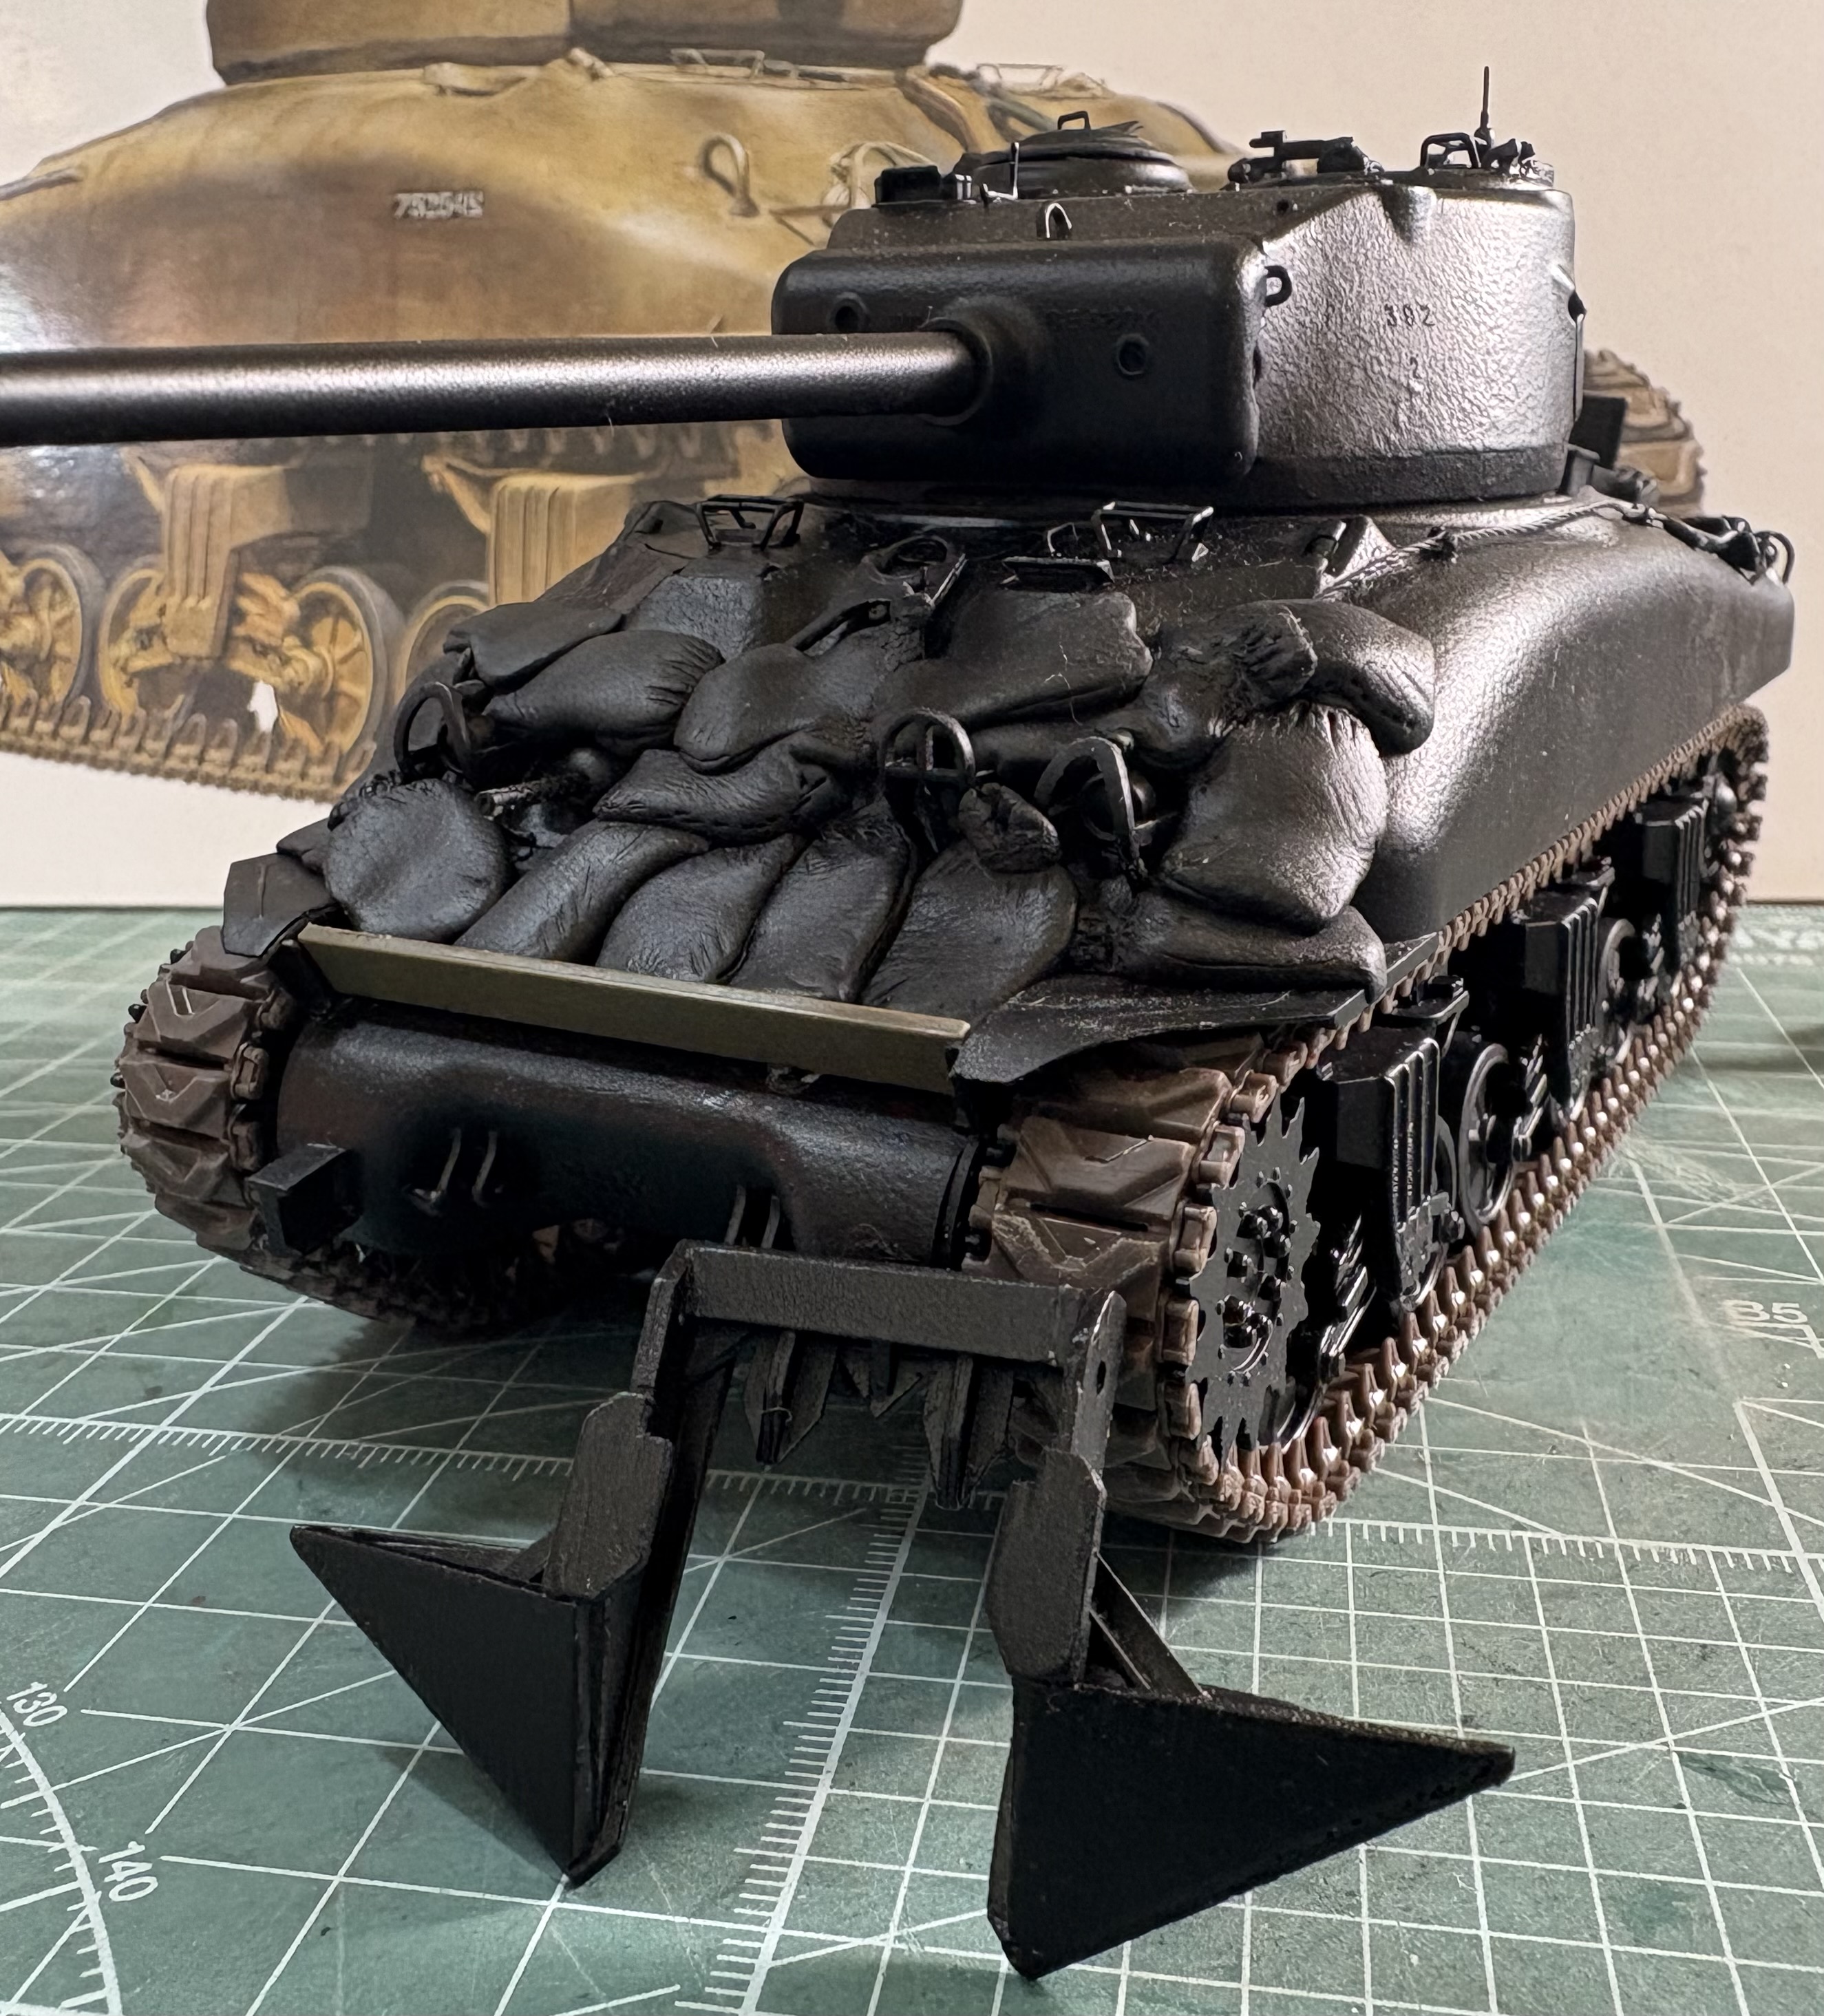
Today I dug into this one for a couple of hours I’ll be working on the hatch modification once again tomorrow but otherwise this Italeri is almost done some details here and there still needed but I did get some work done on the cullin hedge row cutter.
Not to beat a dead horse, but building this almost 50 year old Italeri kit kinda puts some perspective on what Border Models did with their version. Getting put to shame by such an old kit is ridiculous.
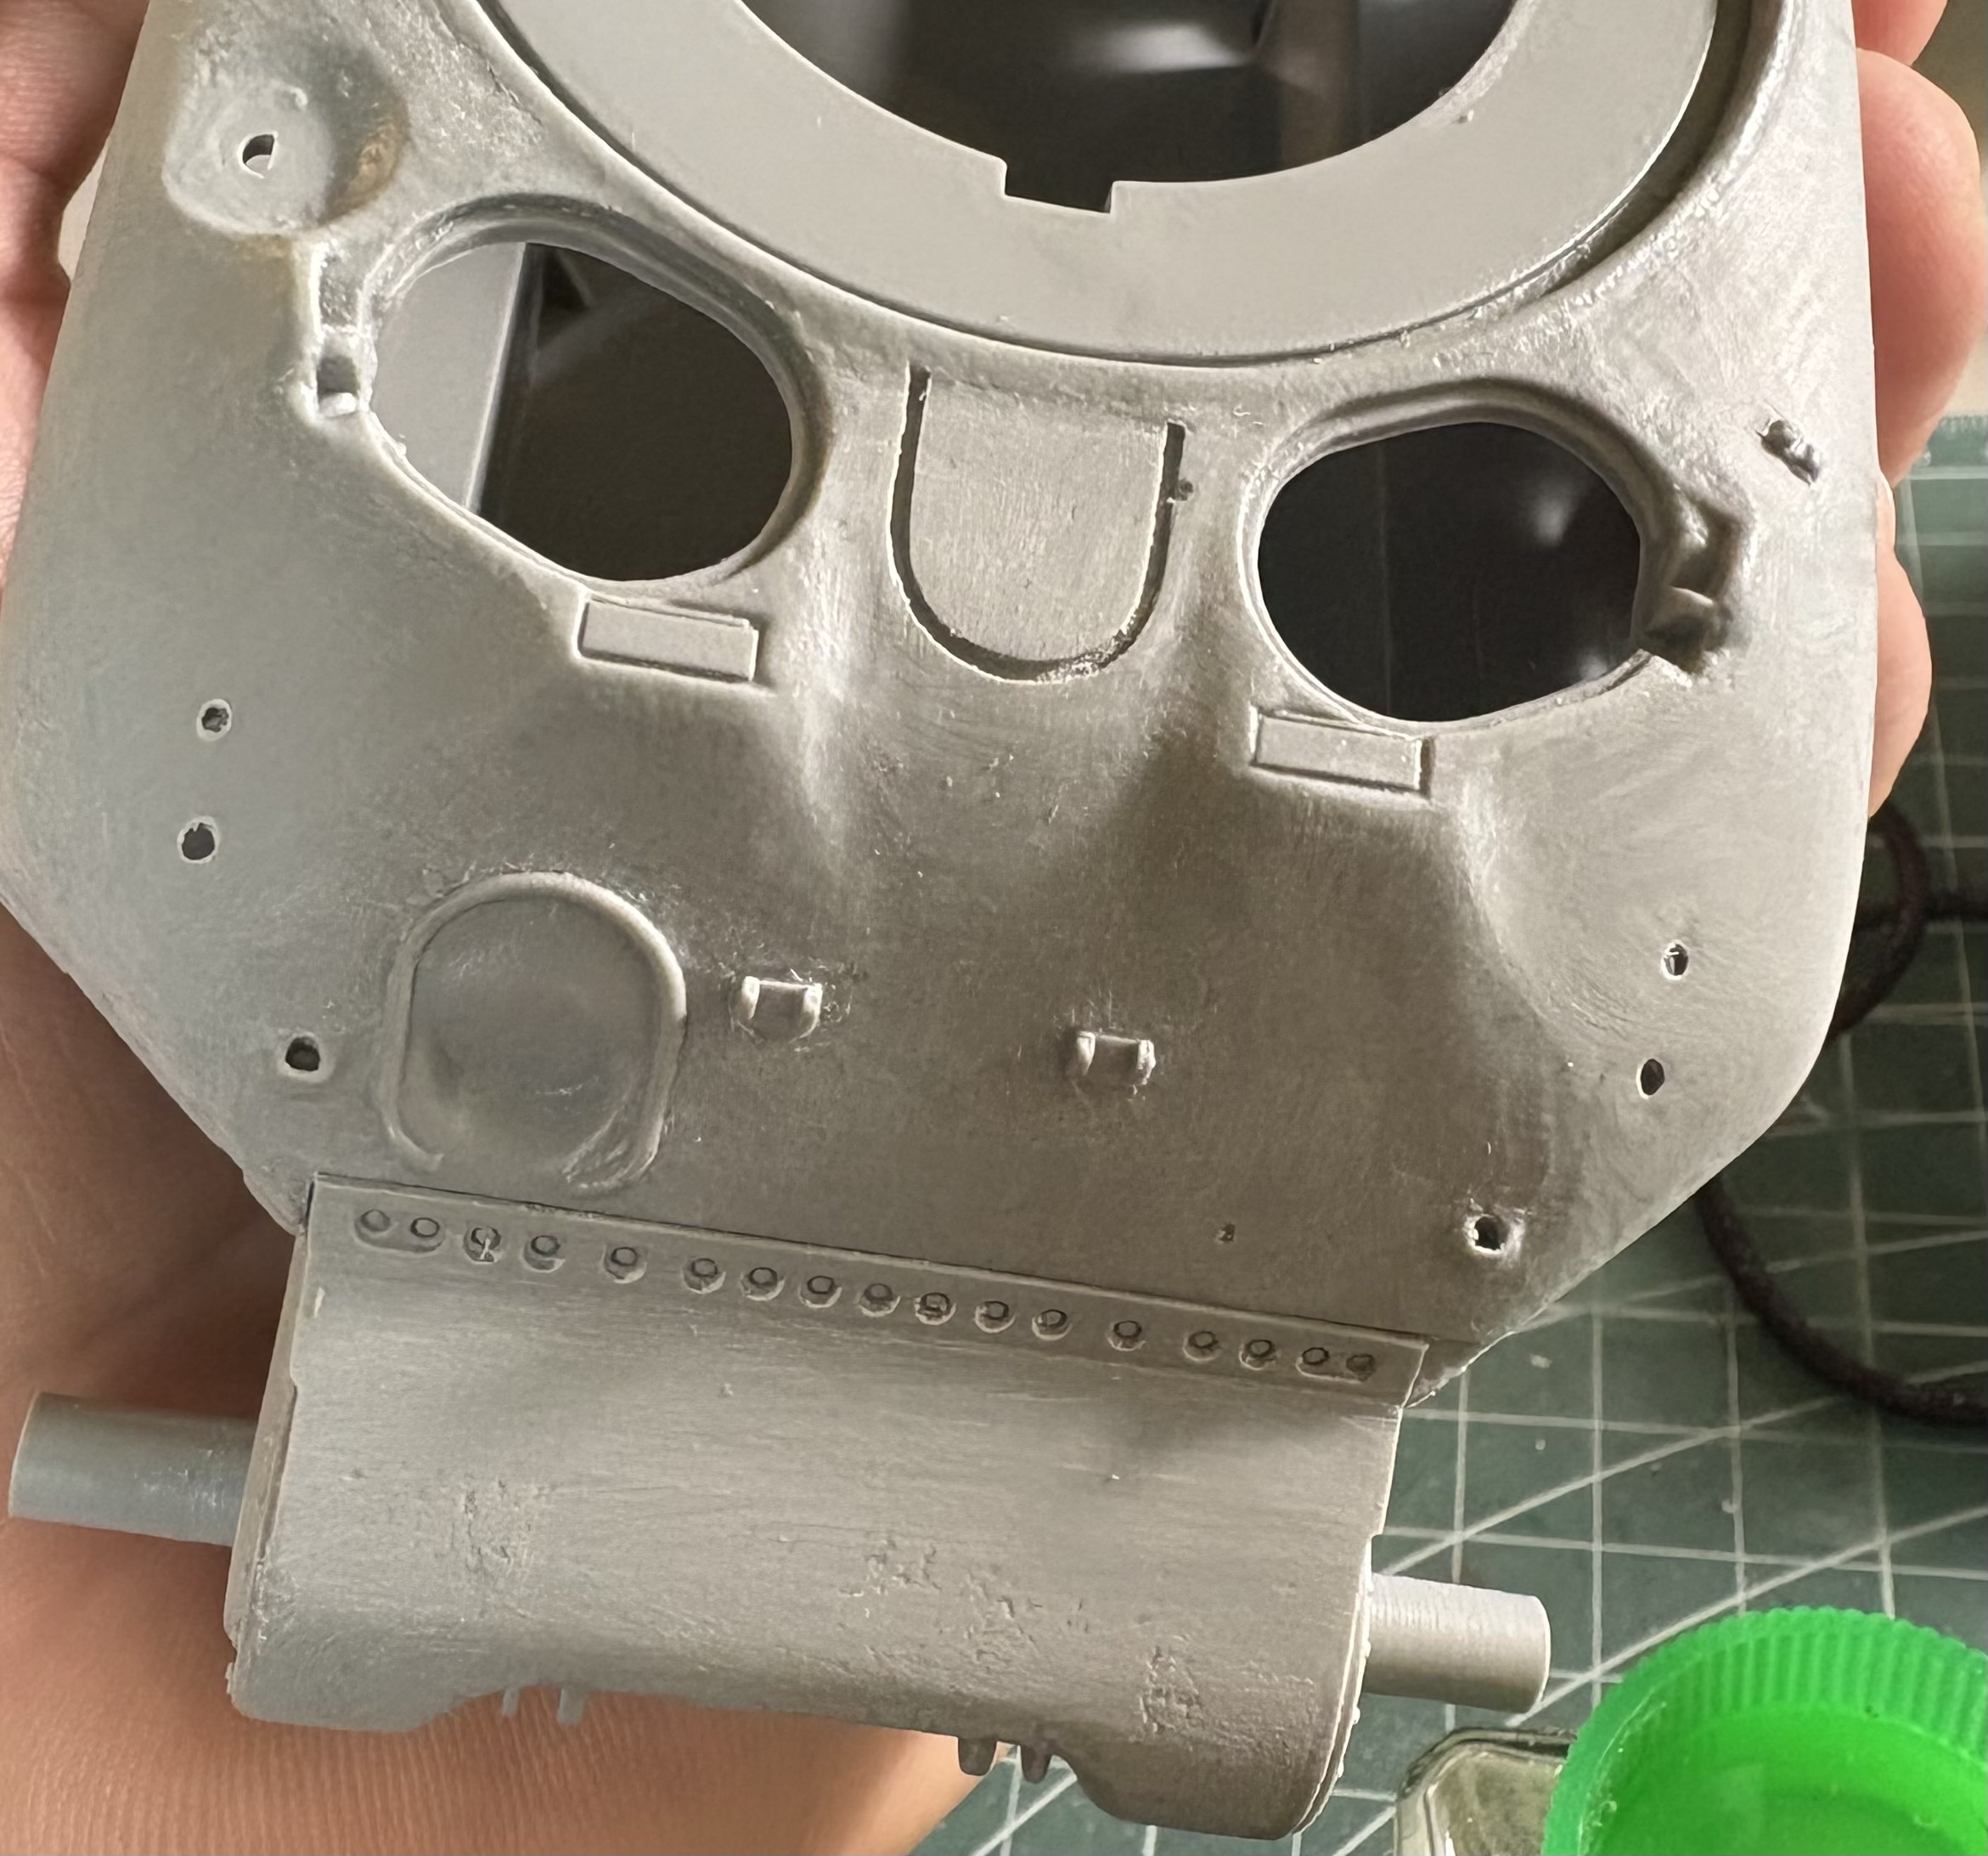
Still missing some details on the front mudguards and the sand shield brackets will be added as well. This pistol port area is one of those areas that I never liked on the Italeri, not sure why it never occurred to me to do something about it on my two previous builds of this kit. I think on both occasions I used different turrets altogether. This is not the best work but even this small amount of sculpting makes a difference.
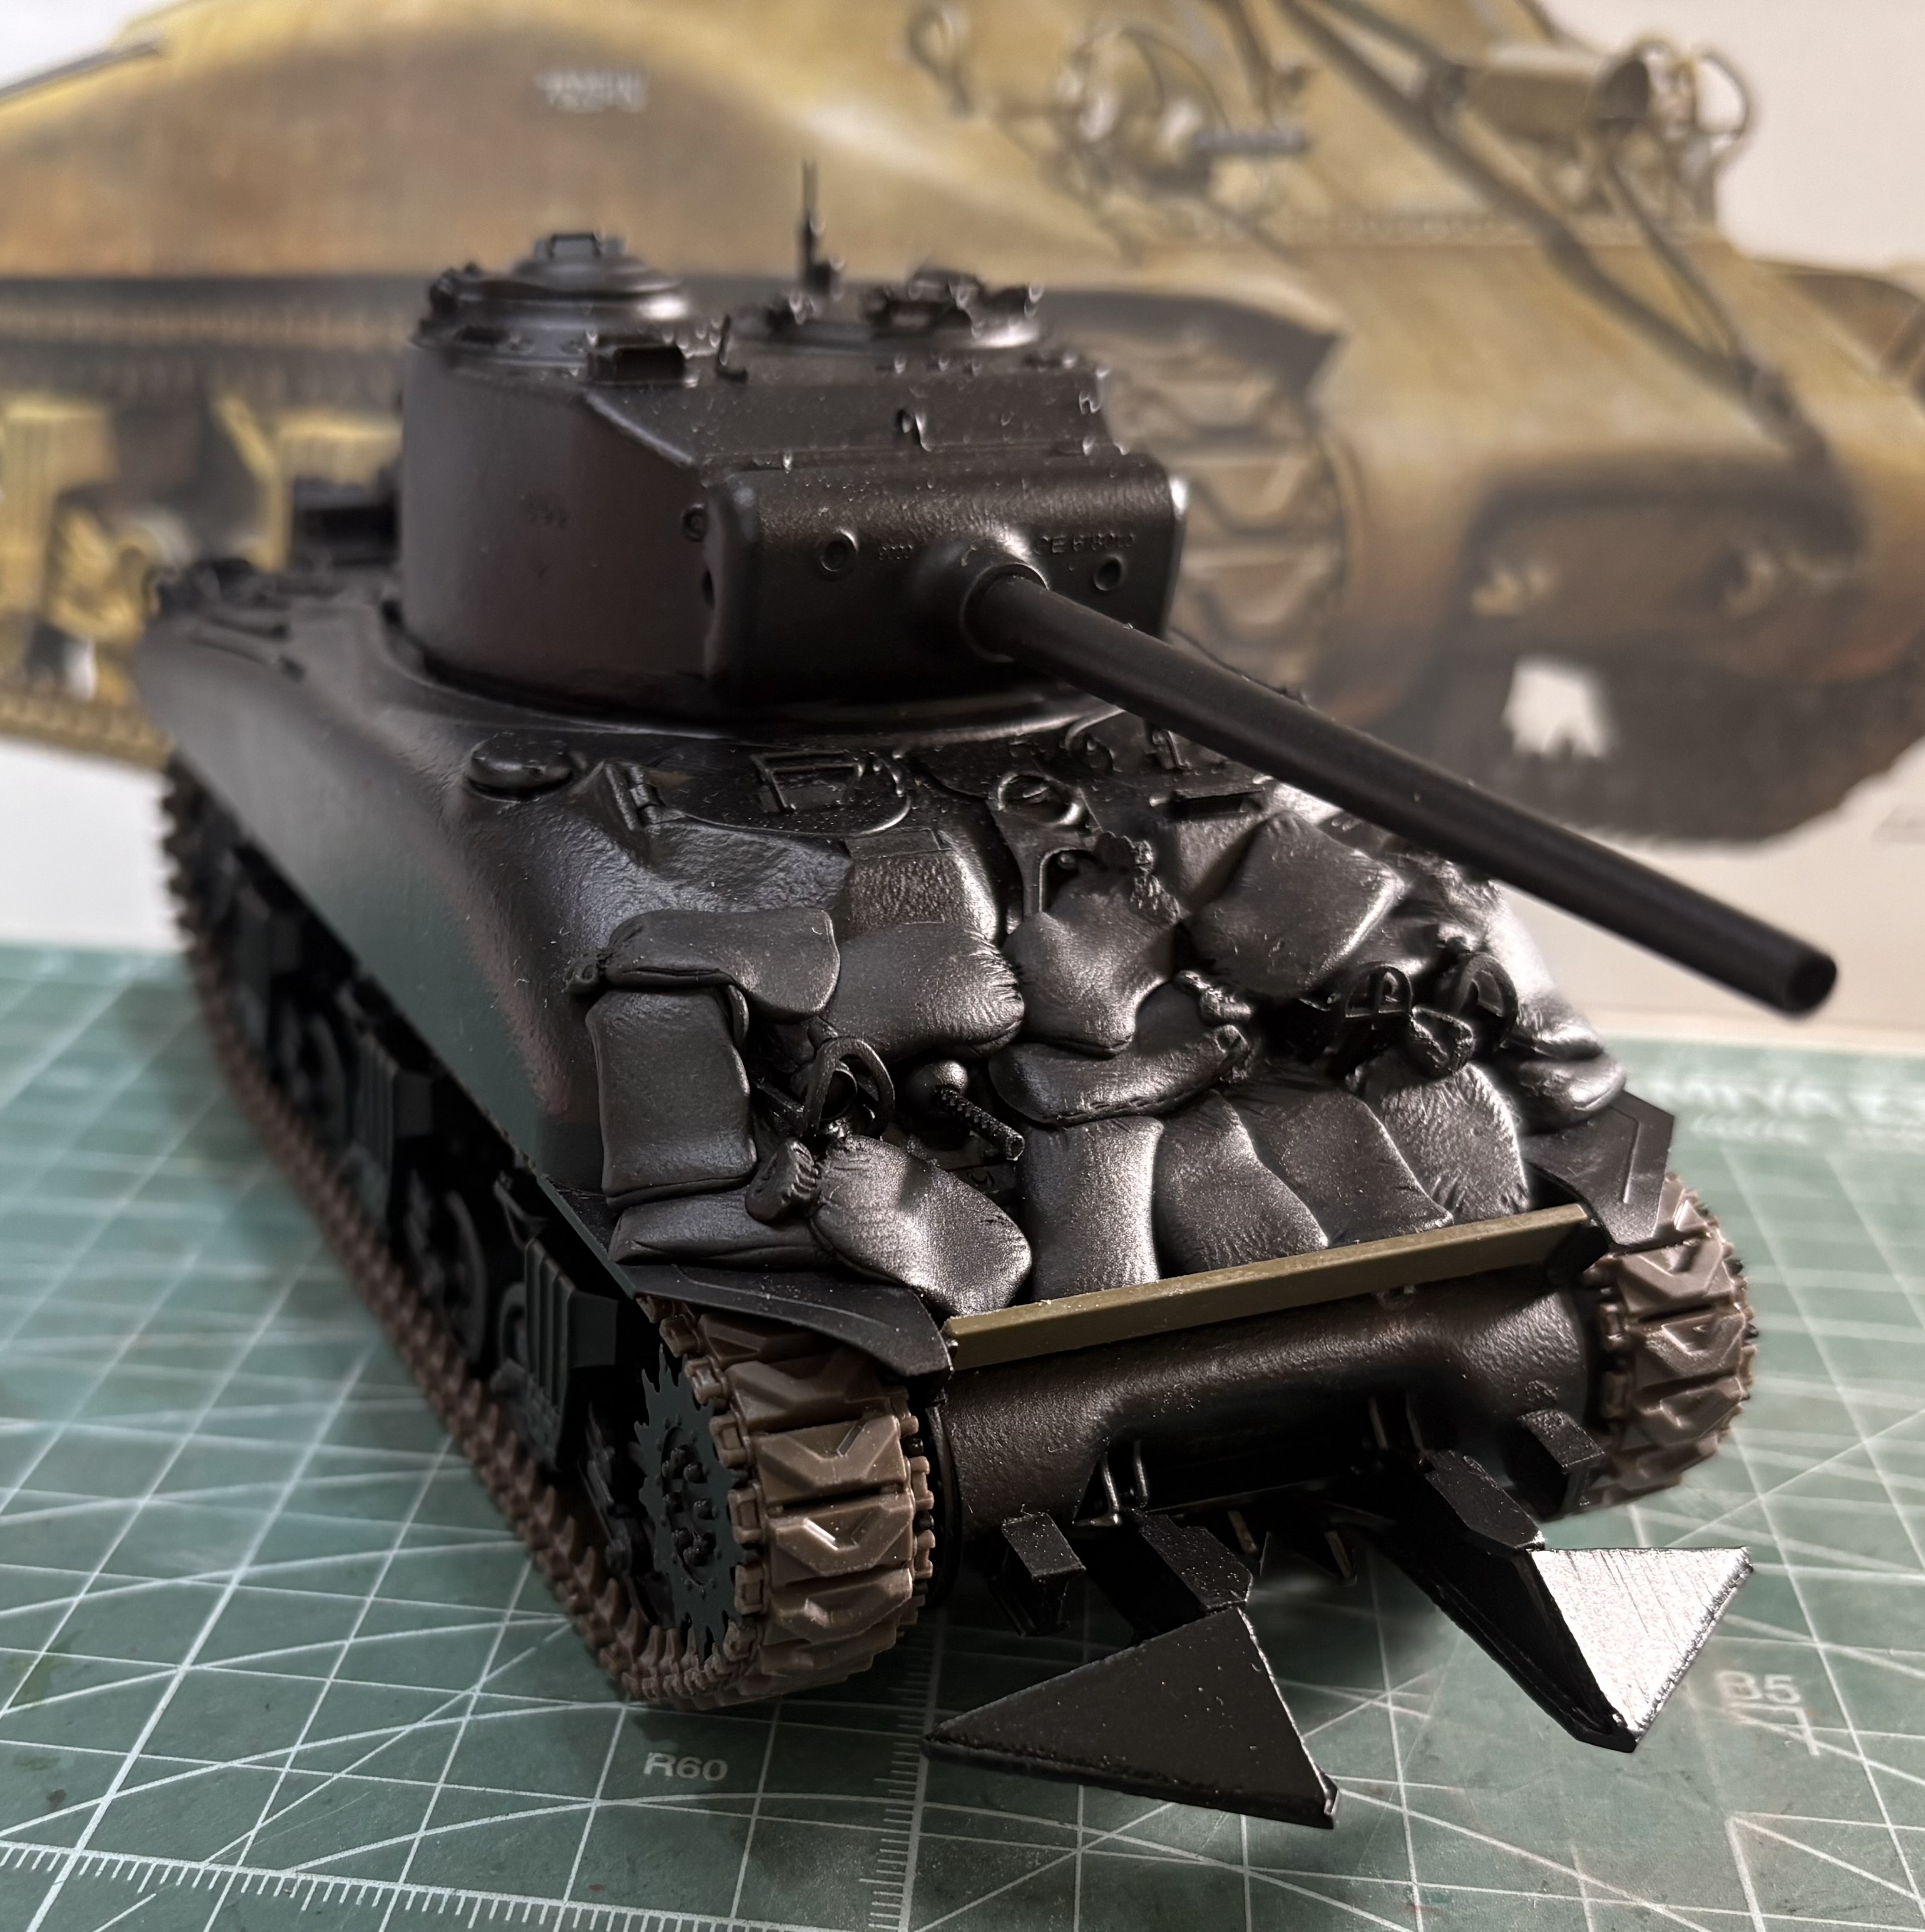
And finally back on track with the Border Models kit that spawned all these “Cobra” M4A1 76w builds. The sandbags are done and permanent this time. I’ll be able to start painting this tomorrow when the sandbags finish curing. I hope to wrap this one up in the next couple weeks before I start painting the rest of the platoon.
Some paint added, I’ll be digging out my airbrush from storage in the coming days hopefully before the weekend. Then I’ll add the black camo and the decals. Lots of detail work ahead. This became the test bed for apoxie sculpt stuff.
BTW, found this commander figure in my spares but I’m not even sure he’s WW2. If anyone recognizes him can you please tell me what kit he originates from?
@mech
LOL, to me they look terrible. sculpting that area were they get tied off was hit and miss from one sandbag to the next. I suppose more practice might bring better results and it was my first time using Apoxie Sculpt. I used the black one not sure that means anything as far as curing but I did notice that it was really sticky to work with and then by the time I was making my 5th or 6th bag I noticed that it was stiffening up so I started hurrying. It was a learning experience. Next time I’ll mix a smaller batch and then make maybe 5 sandbags and then mix another batch and make another 5 sandbags, and then a third time to get the full complement. I think the detail would have been better with more time to work each and every sandbag instead of feeling so rushed towards the end. I do like a few of them but I might have to come up with a creative way to cover up some of the other ones that really bother me, like the one directly beneath the MG.
Probably when you go to a modeling swap meet and get totally sidetracked building yet another “operation cobra orphan M4A1 76w”. I found this original 2005 release for $25, no DS tracks re-release or later but the very first one that came out. It occurred to me to see if my recent experience building these tanks might benefit the older DML kit. I spent a few hours ridding the hull of the horrible texture and slowly sculpting more shape to the front glacis area around the hoods. The plastic is so thick on this kit that I’ve managed to remove a ton of plastic layer by layer and no chance of going through to the other side.
Here’s how it’s looking so far.
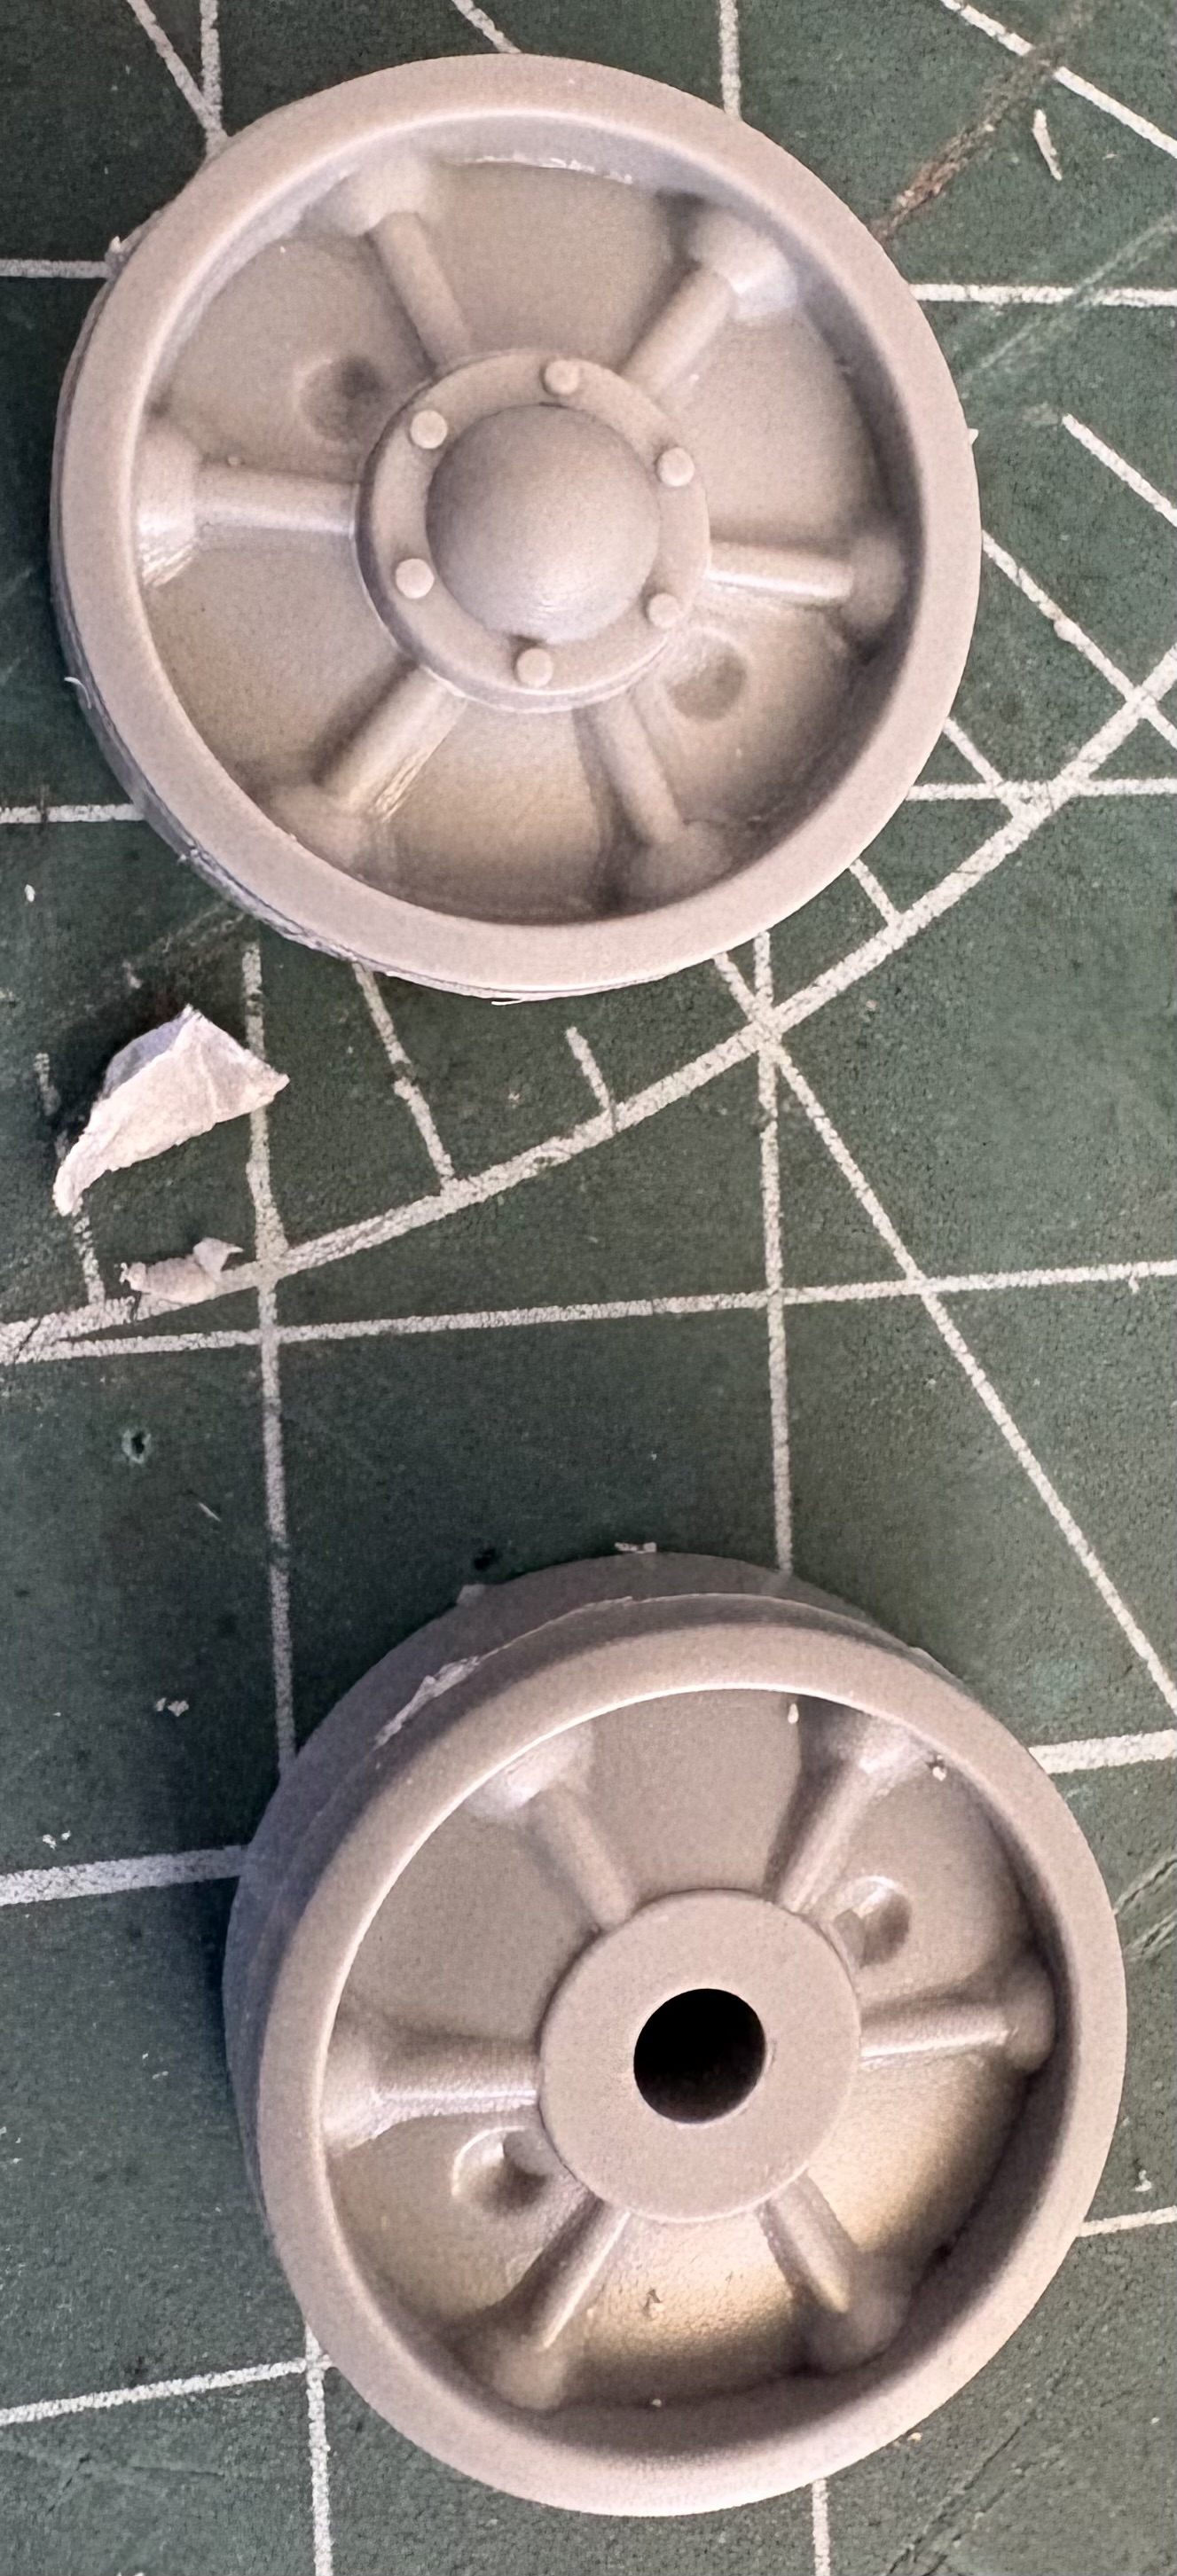
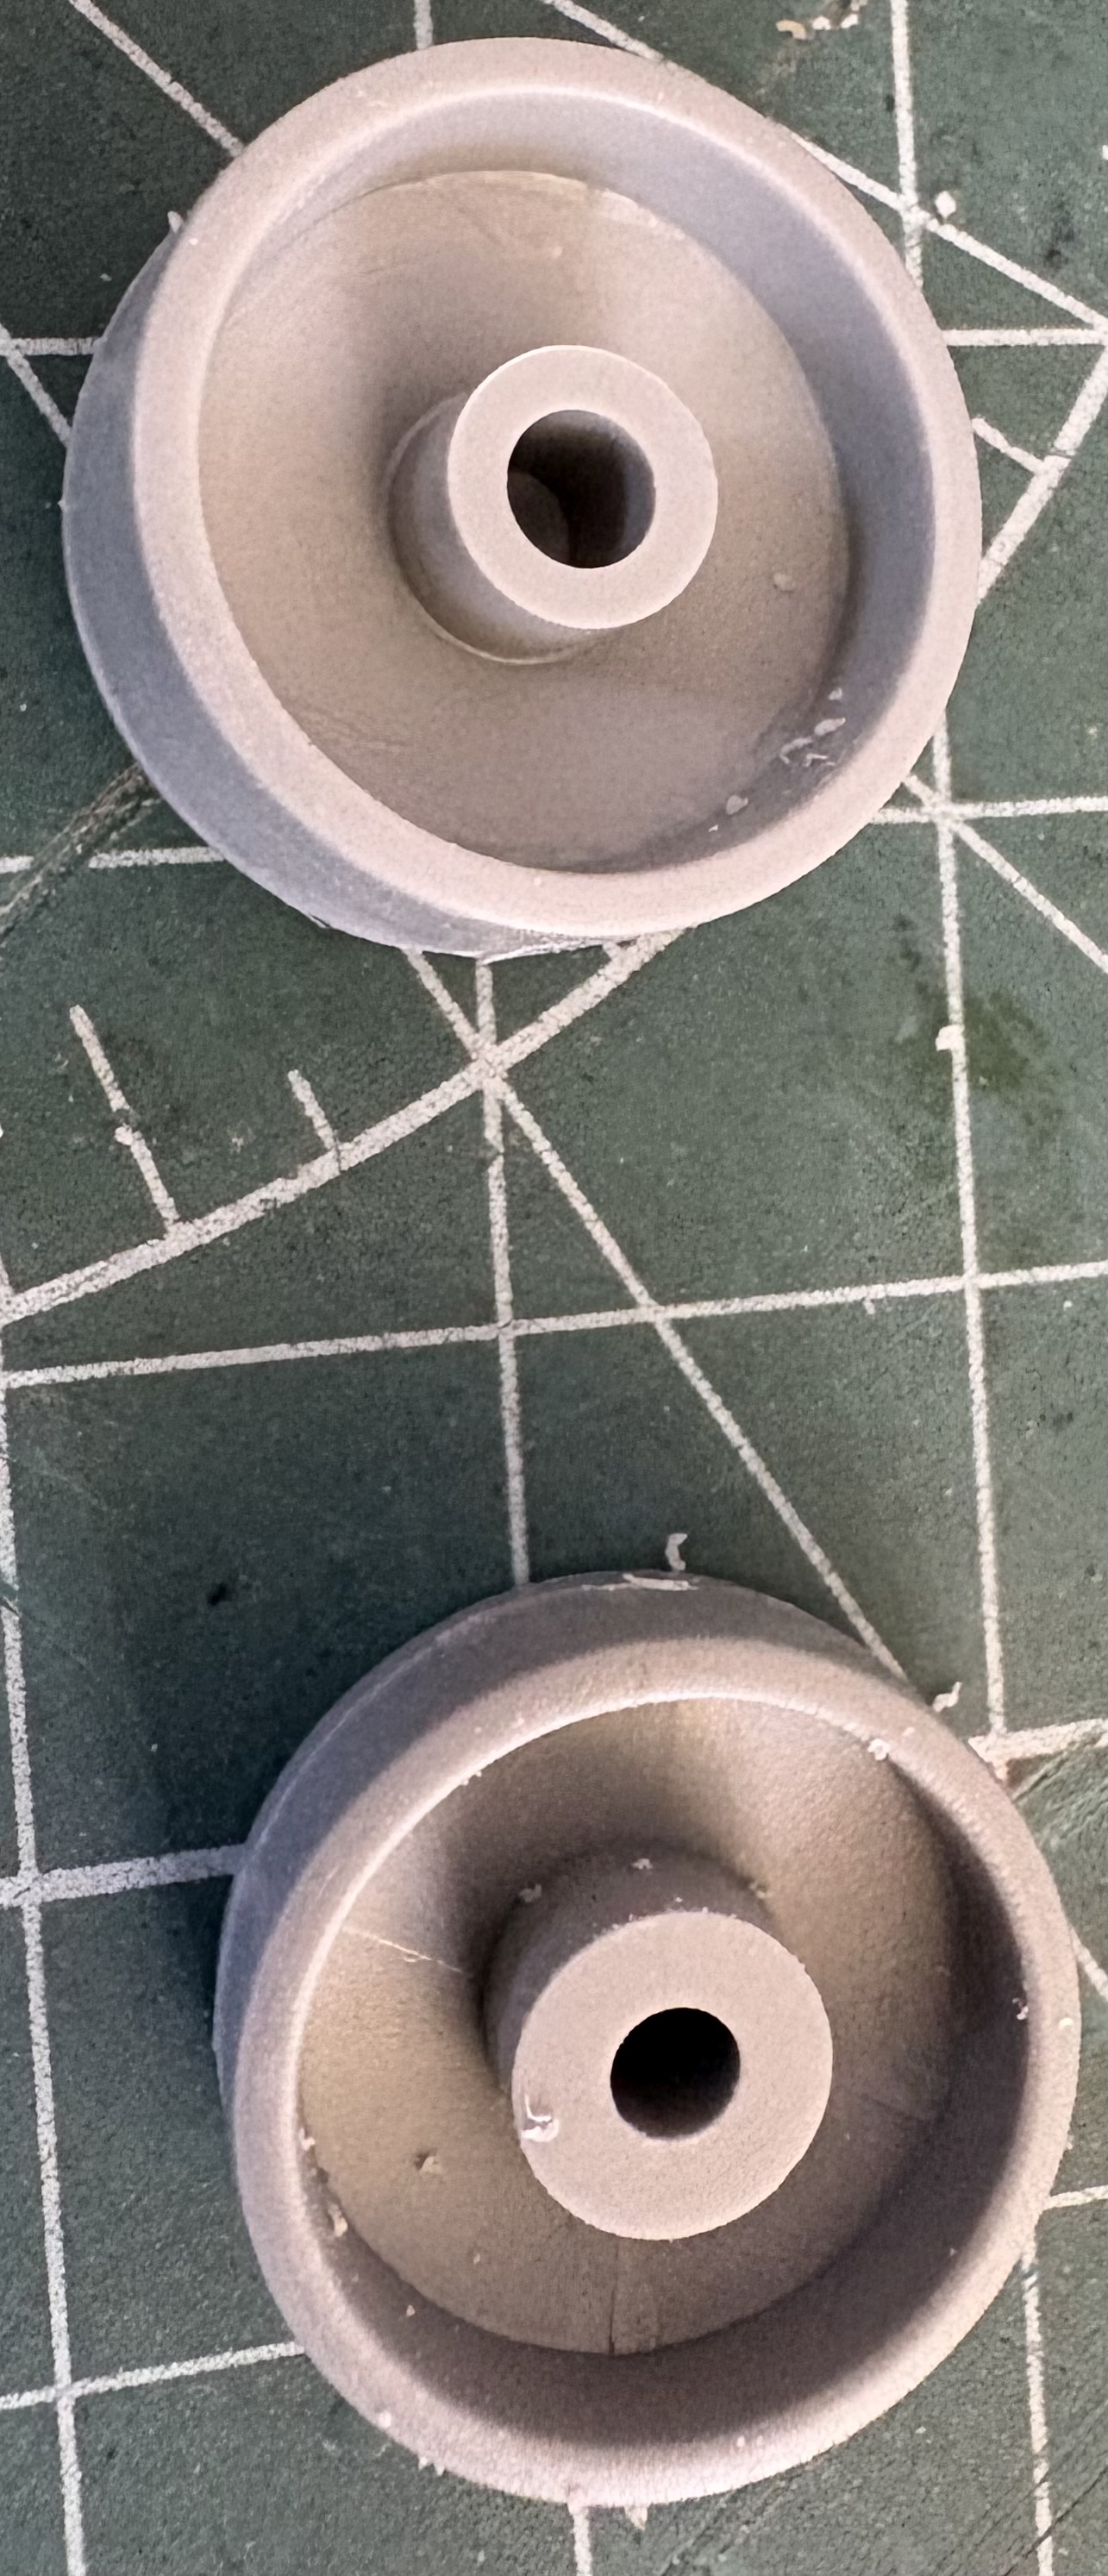
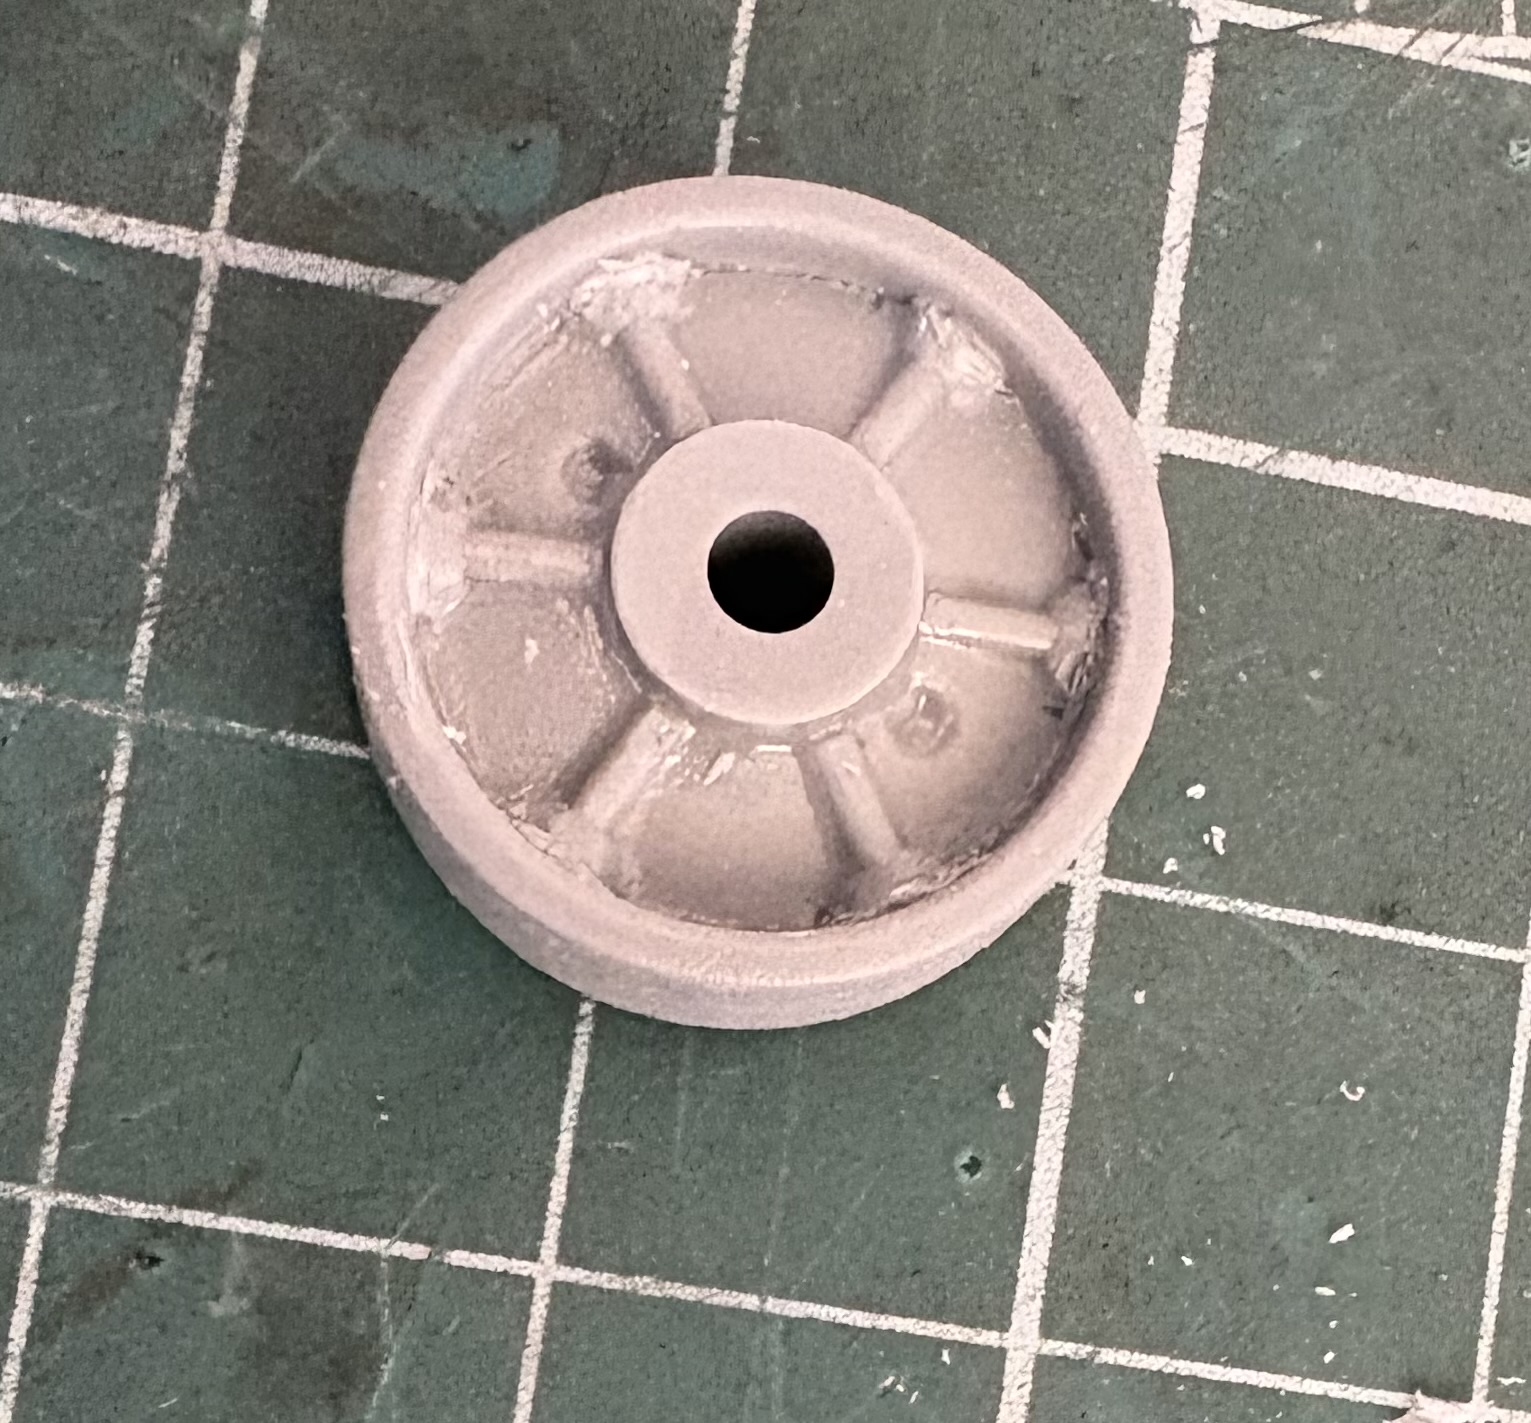
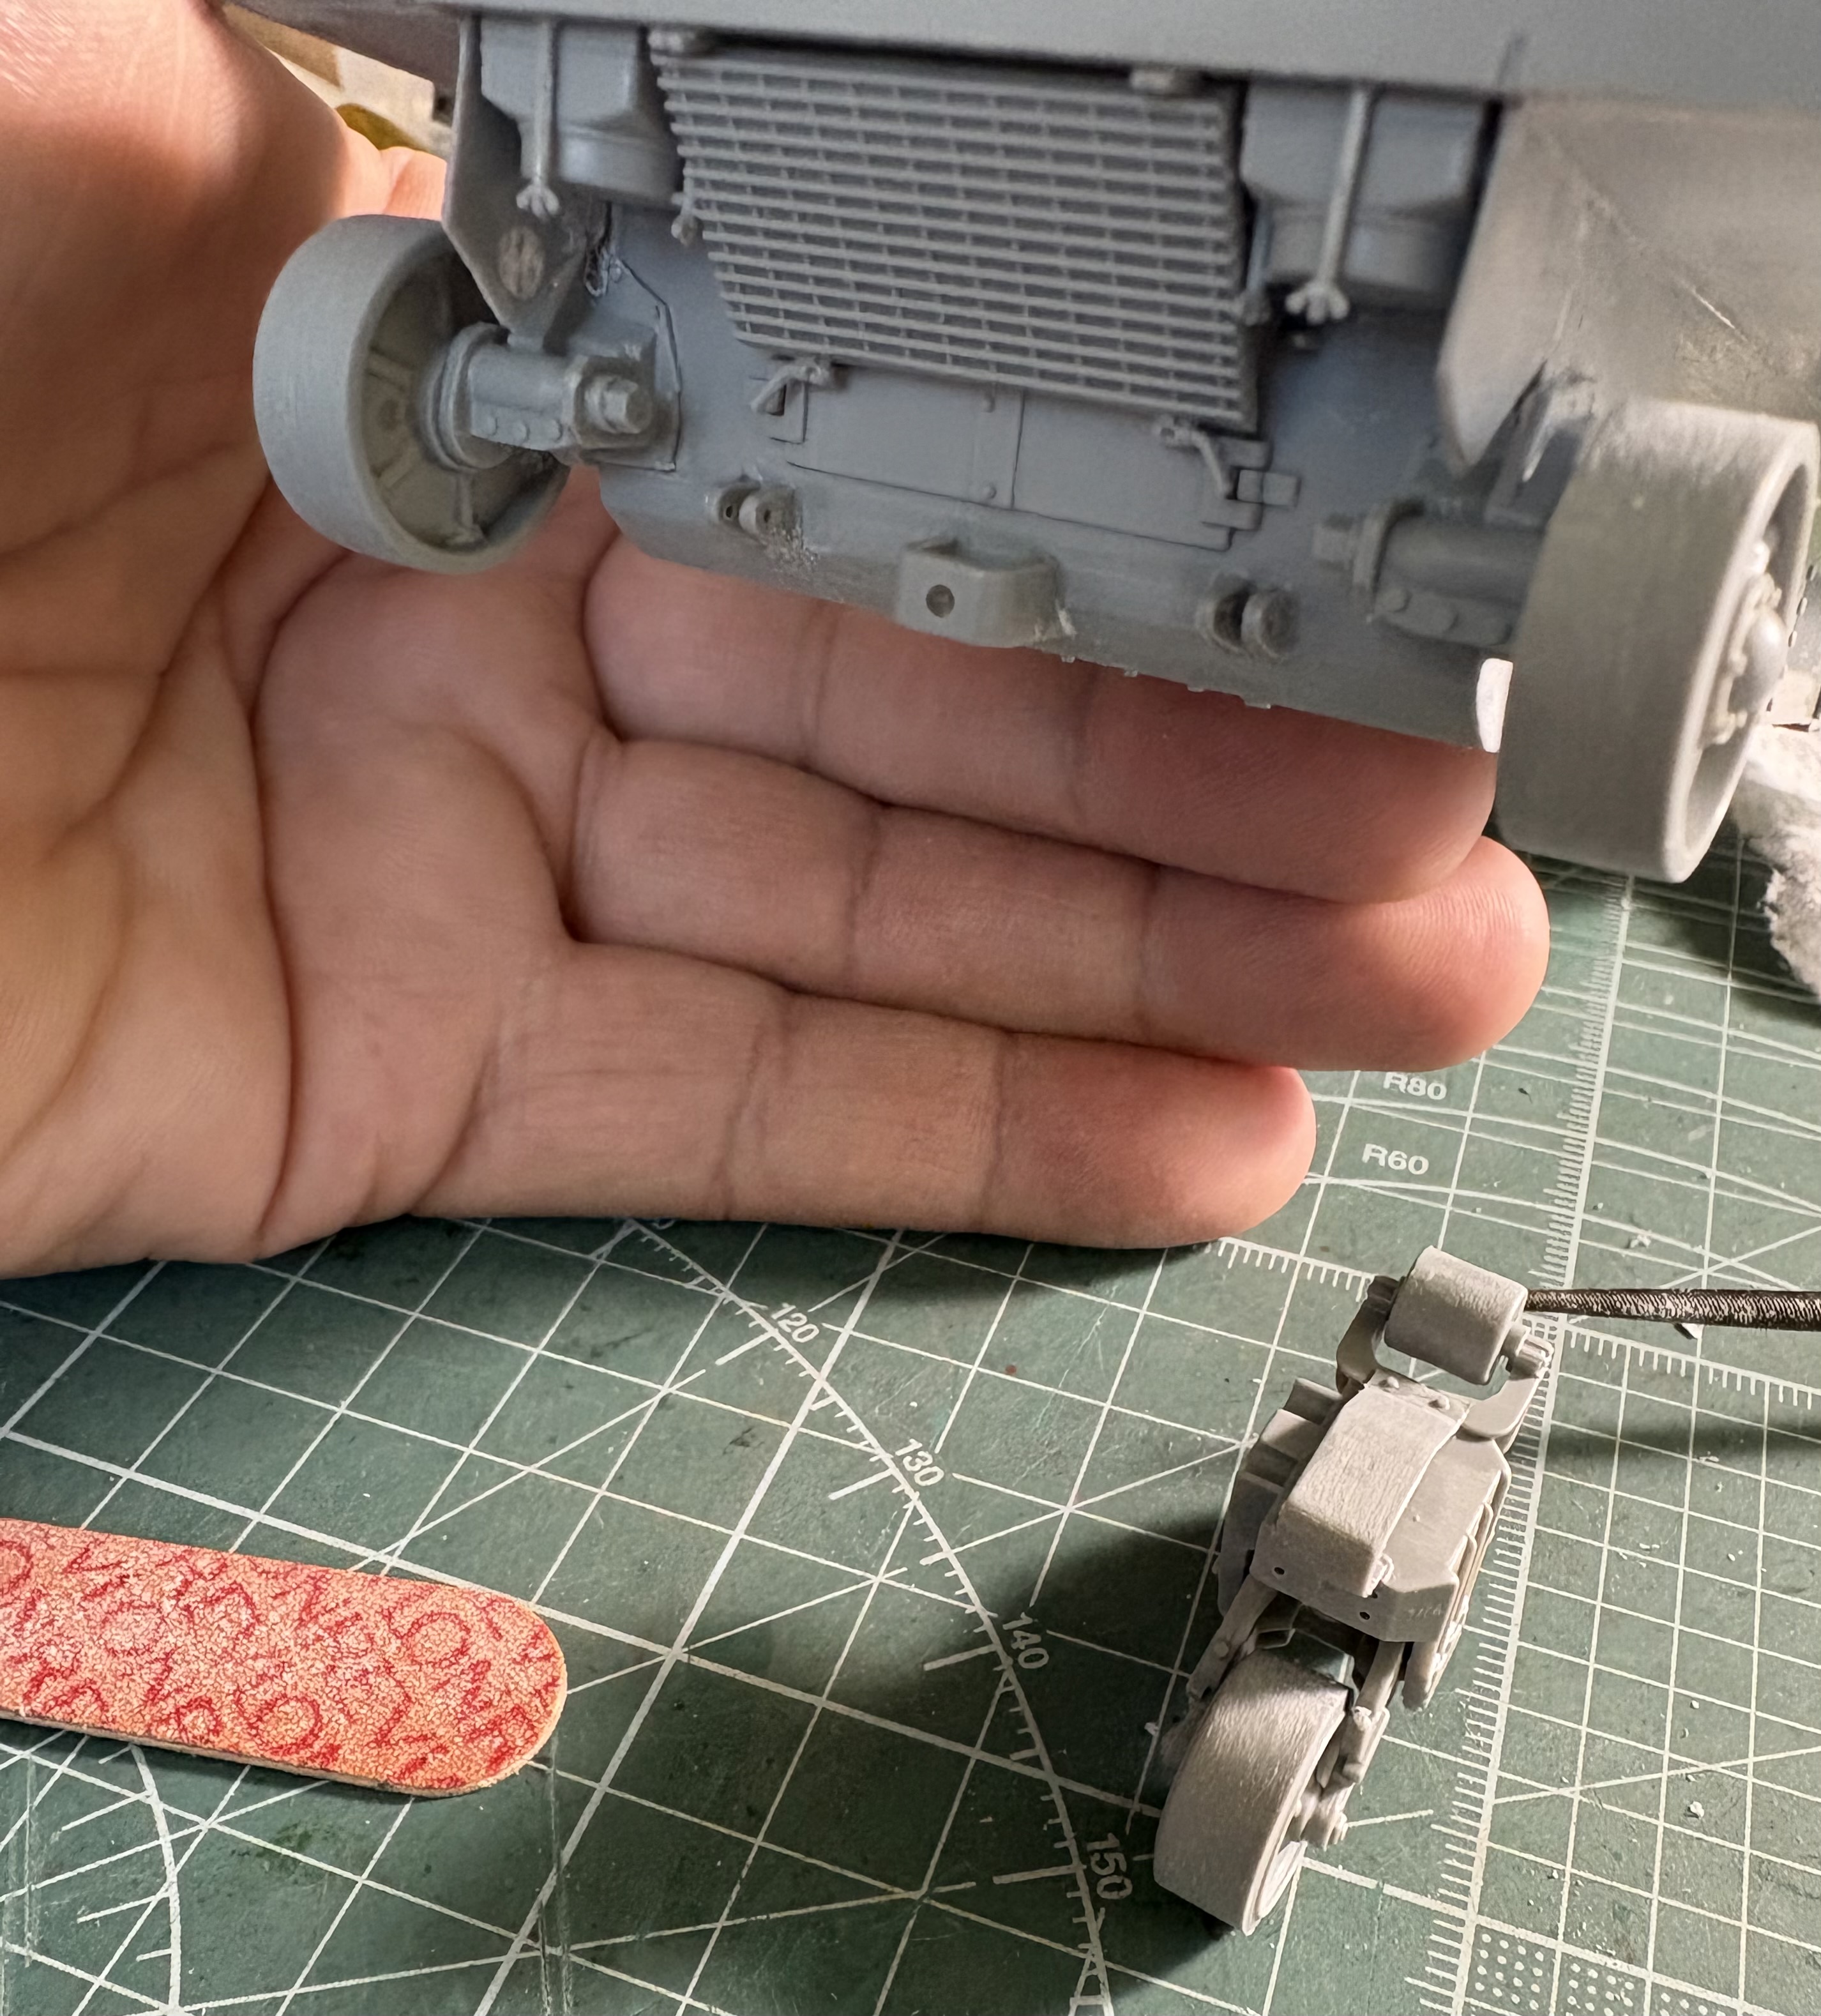
I don’t know why it never occurred to me to do this before. It’s actually pretty easy to extract the inside face of the idler to make an insert for the outside part.
I also replaced the DML drive sprockets with some of my Tamiya spares, much easier to work with and the detail is crisp. The DML is a multi-part job that sometimes comes apart when you set the rubber band tracks with proper tension.
@sgeorges4
A lot of post to go over from this whole thread but I’ll give you a quick summary of what’s been discussed on the thread.
Evidence points to Border Models releasing their 76w M4A1 as a small hatch. Negative feedback from their pre-release images caused a stir and they might’ve taken the kit back to the design stages to make it a large hull. The result is a kit that combined the 56* front hull with the later 47* front hull. From the outside edge of the large hatches to the center of the glacis it’s all 47* but from that outside edge of the large hatches to where the sponson meets the sand shield brackets it tapers down like a 56* hull. So the front of the tank is a hybrid between the two types of hulls.
Pros; rear hull angle is correct, the included tracks are reminiscent of the old RHPS/Panda tracks in the way that they go together although the cleanup is a bit harder, It includes some stowage and a metal barrel, the tools are okay, the tow cable ends are very well done and it includes the separate clamp pieces in plastic on both ends, the turret is not difficult to back date to a “orphan tank” from Operation Cobra and includes some nice casting marks too.
Cons; the suspension takes some care to build and requires a ridiculous amount of cleanup and even tho they are clones of the Asuka ones the detail is not as good, also the kit doesn’t include ride height spacers or even mention that if you build it without making your own the tank will turn into a low rider, the hull is covered in orange peel texture that is a bit tough to eliminate due to the very thin plastic of the upper hull, there are no real decal options to speak of, the rear hull plate has the wrong kind of idler mounts for a VVSS tank, the kit does not include rear hull spare track brackets or spare track to put in them…
You’d have to read the thread as we went thru and discovered and learned about some things, I erroneously changed the rear angle of the upper hull rear on mine thinking the angle was wrong then learned that the large hatch hull introduced a slope on the rear hull. The rest of the thread has been me building, Tamiya, Asuka, Italeri, and now a DML versions of those Operation Cobra kits and comparing the different pluses and minuses of the kits. I also had an old build of of the 6083 DML kit that I was comparing everything too. Now I’m building another one of those 6083 kits to get a more accurate picture of how the original build could have been better had I been aware of all the little tweaks that could be done to improve the accuracy a bit. I’m learning that the DML kit is better than I remember and with some polish it will build into a better tank than the one I initially built in 2005. I just know a bit more about these tanks now and I’m more confident in making some of the mods without worry if I’ll ruin the kit. It’s all in the thread, I’m sure I left some stuff out because a lot was discussed.
@Jakko
Yes, the sprockets and the way that the suspension parts inside the boggie rock on an axis rather than articulate. On the plus side for me I don’t have to worry about ride height with these suspensions as I alway model the tanks sitting on a flat surface.
As for converting the Tamiya sprockets to the DML part it’s pretty straight forward. The inside bore of the Tamiya drumb needs a small amount of drilling to fit snugly onto the DML piece, then I trimmed about 3mm off the end of the DML part to get the Tamiya sprockets to line up at the proper place. These sprockets will not budge with tension on the tracks, they are very heavy duty, I think because they were originally designed to be used on motorized kits.