thanks, I plan to do this one from the dragon firefly, isn’t the name yellow here:

1 Like
@sgeorges4
I believe the big markings are yellow. This is one that’s on my bucket list to build. Never noticed before but seems like that Polish tanker is wearing a German helmet?
2 Likes
@metalhead85
Thanks!
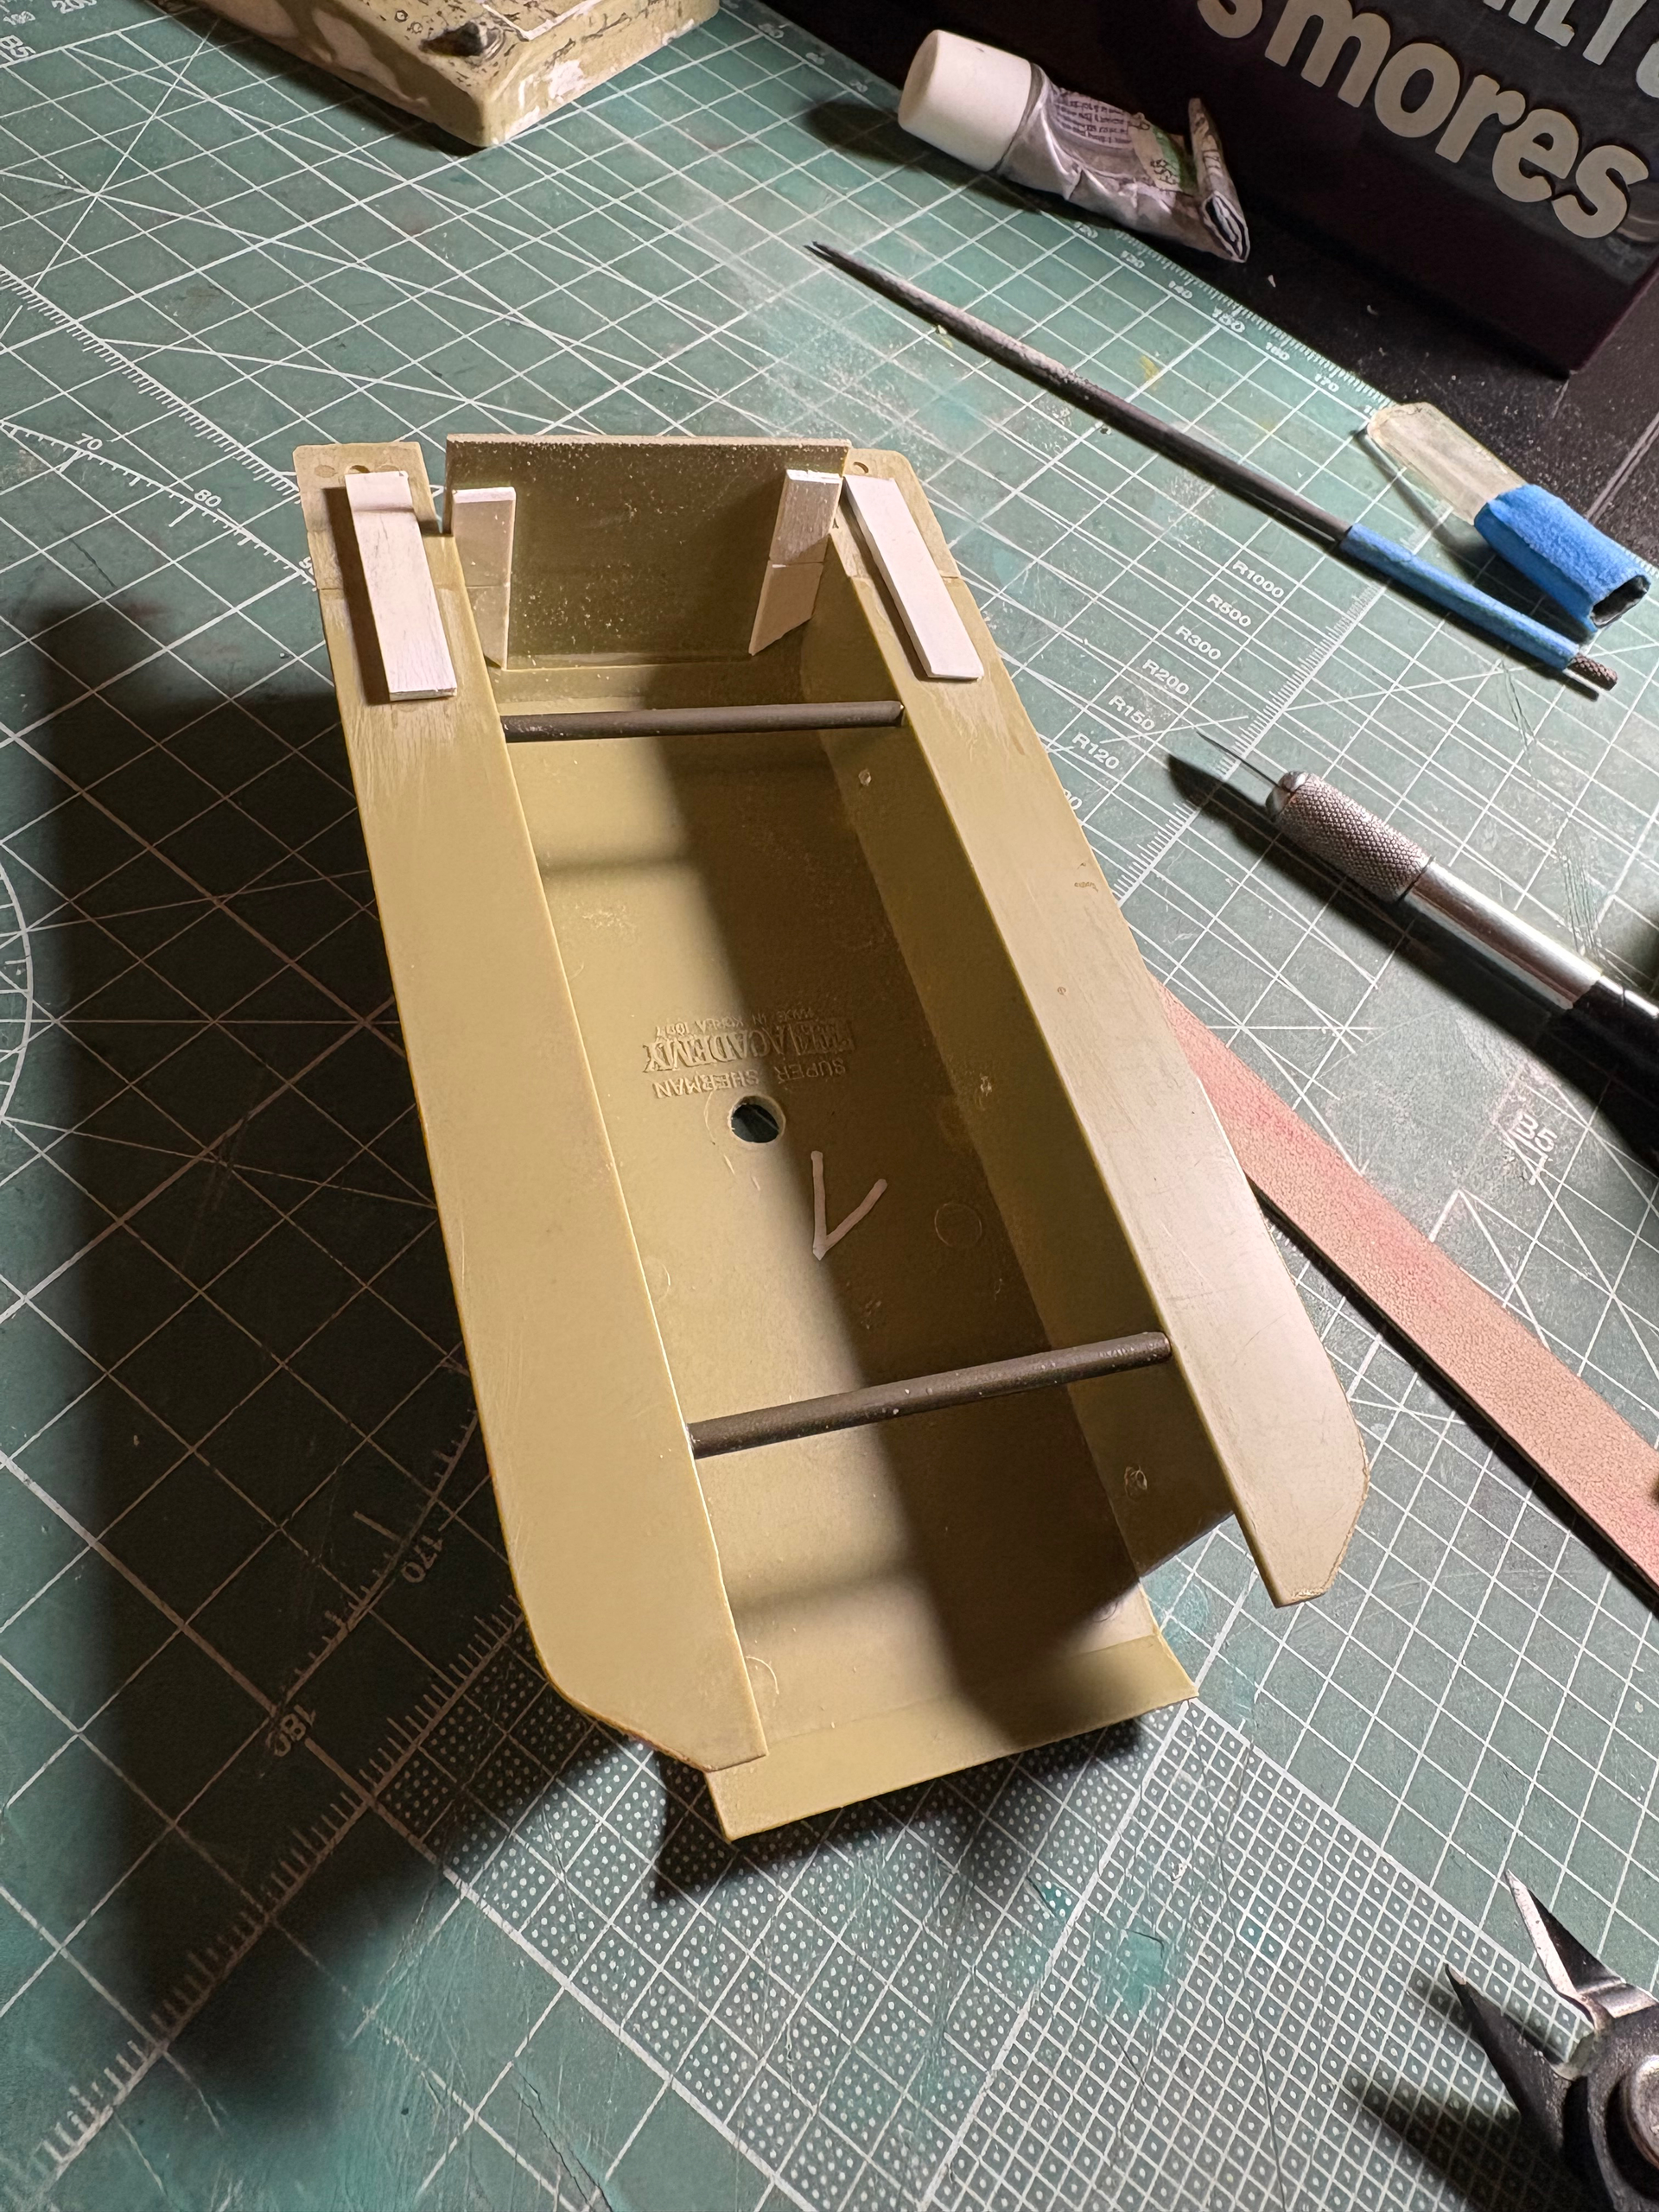
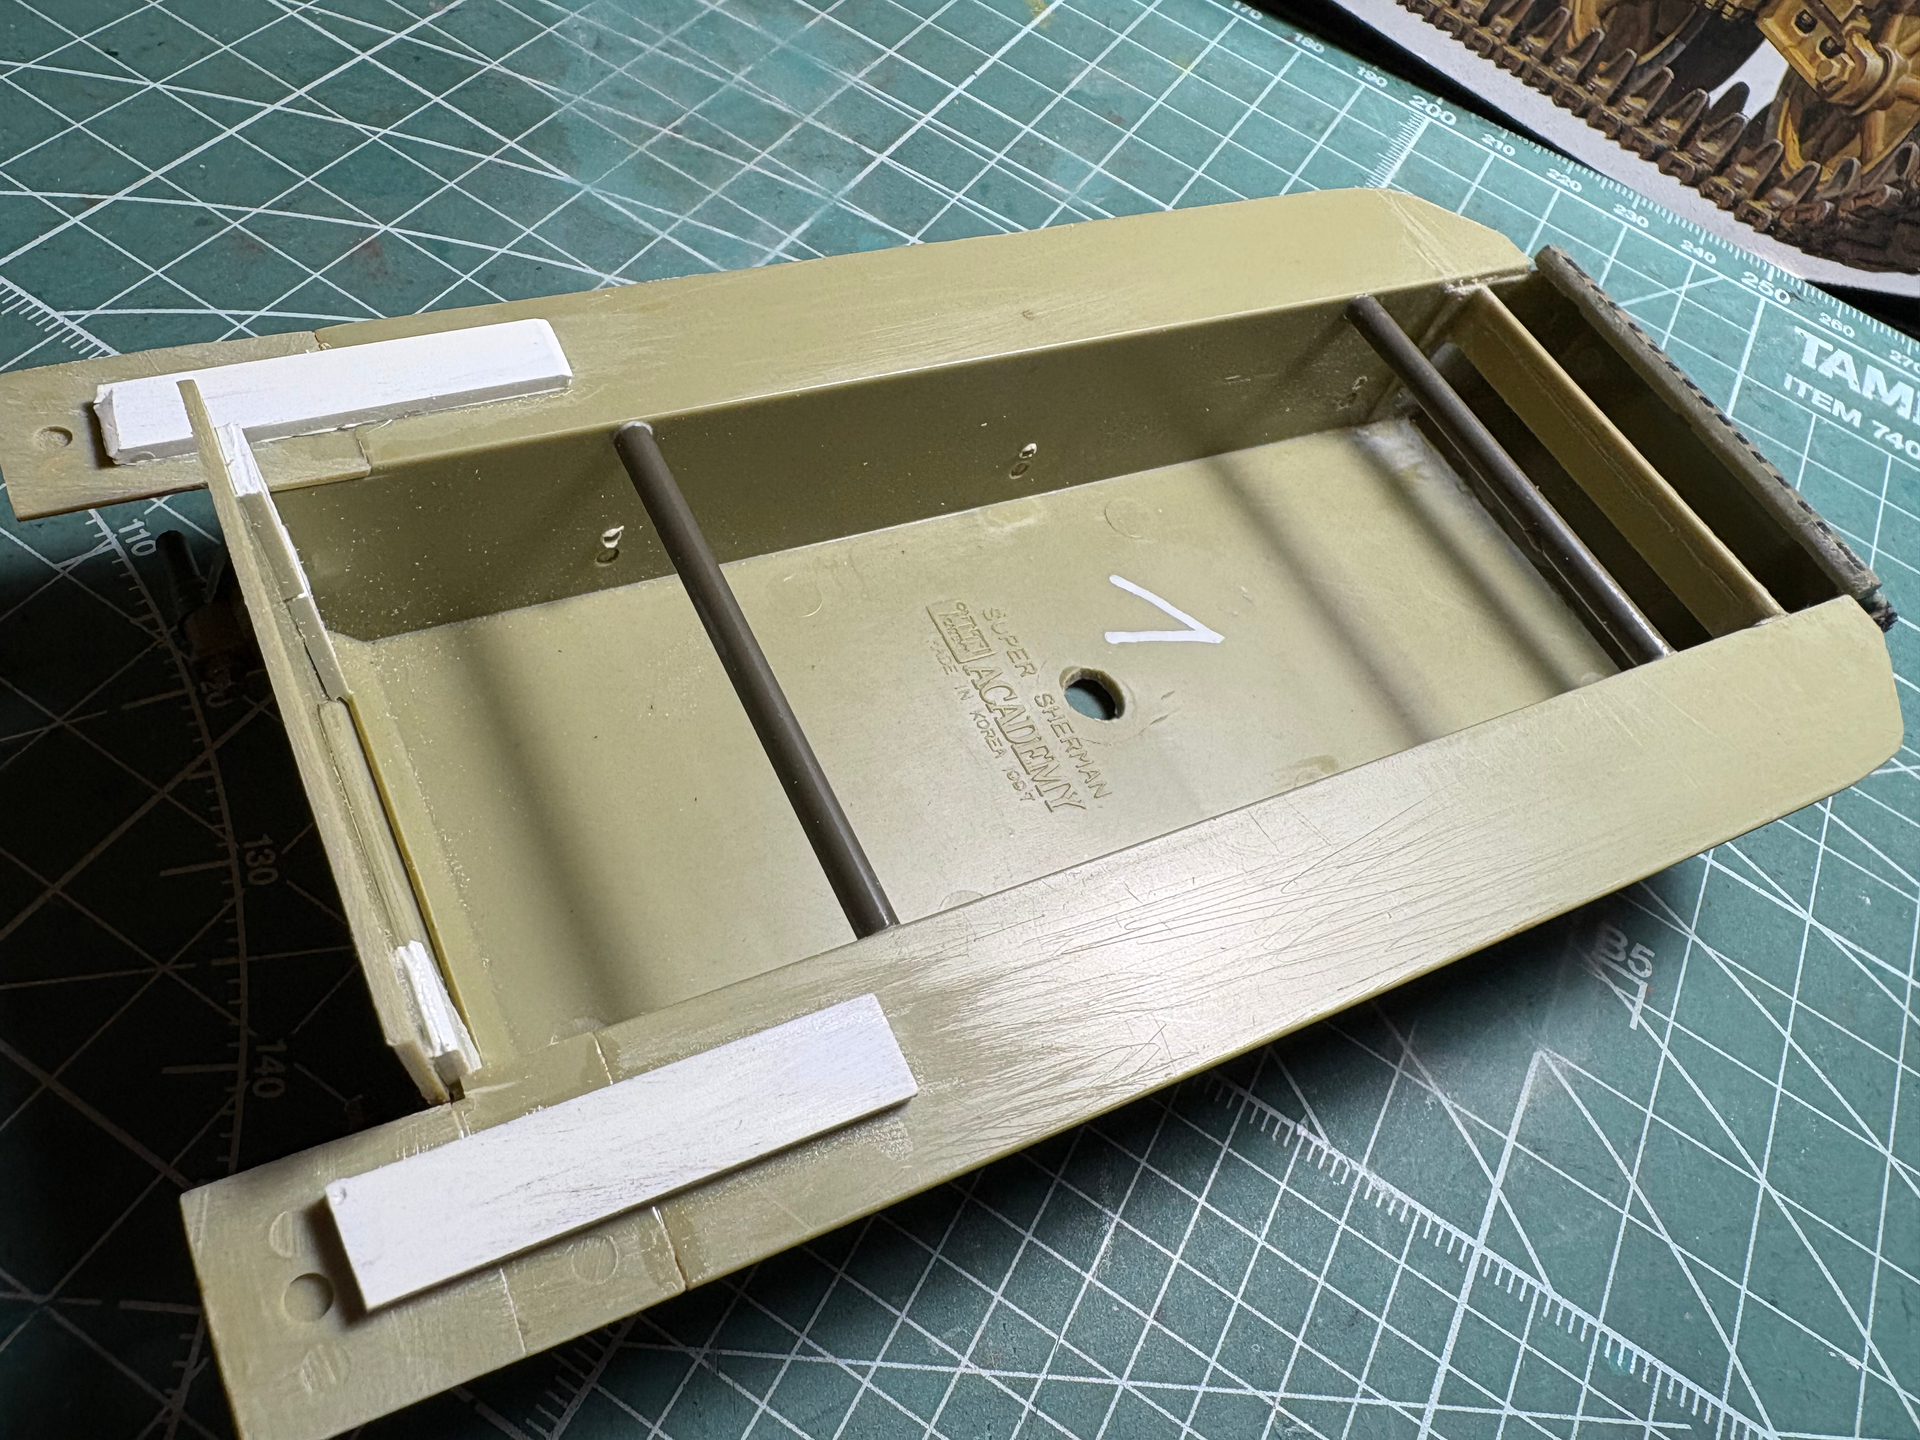
I forgot to mention that the DML 6083 kit has a rounded lower edge on the lower hull plate that needs to be flattened out and replaced with the correct angular version seen on these vehicles. Another thing I missed on the first go around.
2 Likes
The DML decals are rather large compared to the pic. Had used the decals on a Asuka Firefly IC and made it fit for the most part, by cutting the letters individually, it comes in one large piece, then reducing the space between each letter so they all made it on. Good luck with your build by the way!
3 Likes
thanks, I’ll have to get aftermarket since the decals aren’t int he box (it was a cheap kit I got for only 10€).
2 Likes


I used an Asuka two part barrel from my spares because DML made both the turned aluminum and the plastic gun guns way too short and thin.


6 Likes
That is AMAZING! I’m striving for a stash that complete and well curated!
1 Like
@YoYosarrian
Thank you for the kind words, I have a long weekend coming up and should have some serious bench time to dedicate to these tanks. I’m hoping to have at least one of these done before the 81st anniversary of “operation cobra” in about 2 weeks.
1 Like
Back in post #253 I posted this image.
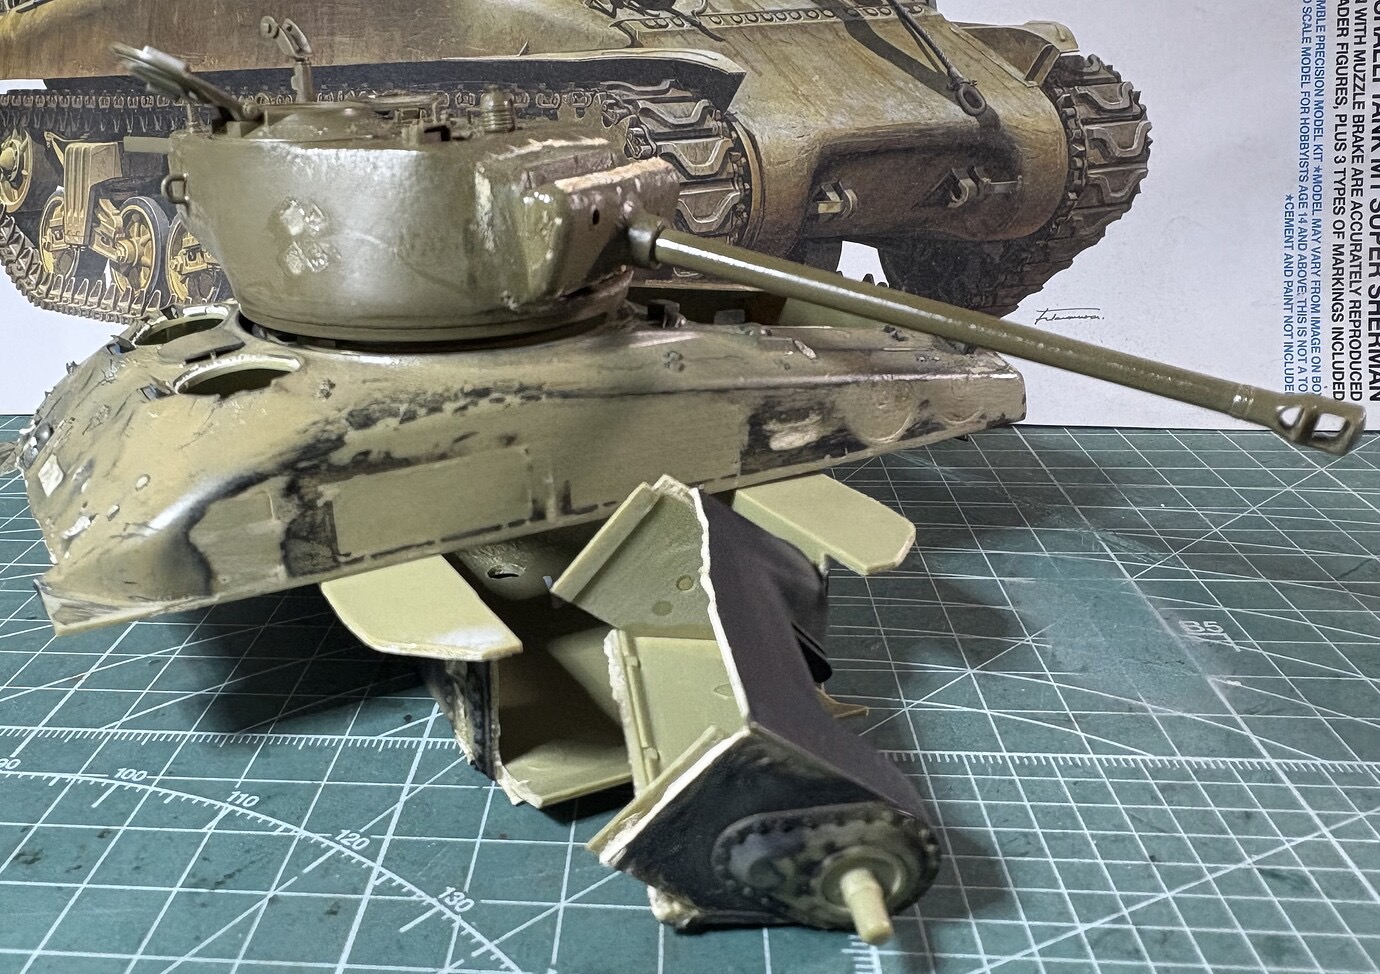
Today I grabbed some bench time for the first time in almost 6 months. What I learned about this tank is that the lower hull is too far gone. with the plastic being so old it’s brittle and hard to work with because Academy made the plastic very thin in areas where there is just not much room to work in regards to removing material and filling and sanding. The key was always going to be to resurrect the hull so that I can have an Academy hull version of these “Operation Cobra” tanks too. I’ve started on the hull and I think I will be able to resurrect the hull. Now I have to find a lower hull for it and all the bits like engine deck, rear engine plate, air filters, etc…I put a few hours into the hull and I think it will build up once I find the lower hull and suspension and other bits to complete this tank…
3 Likes
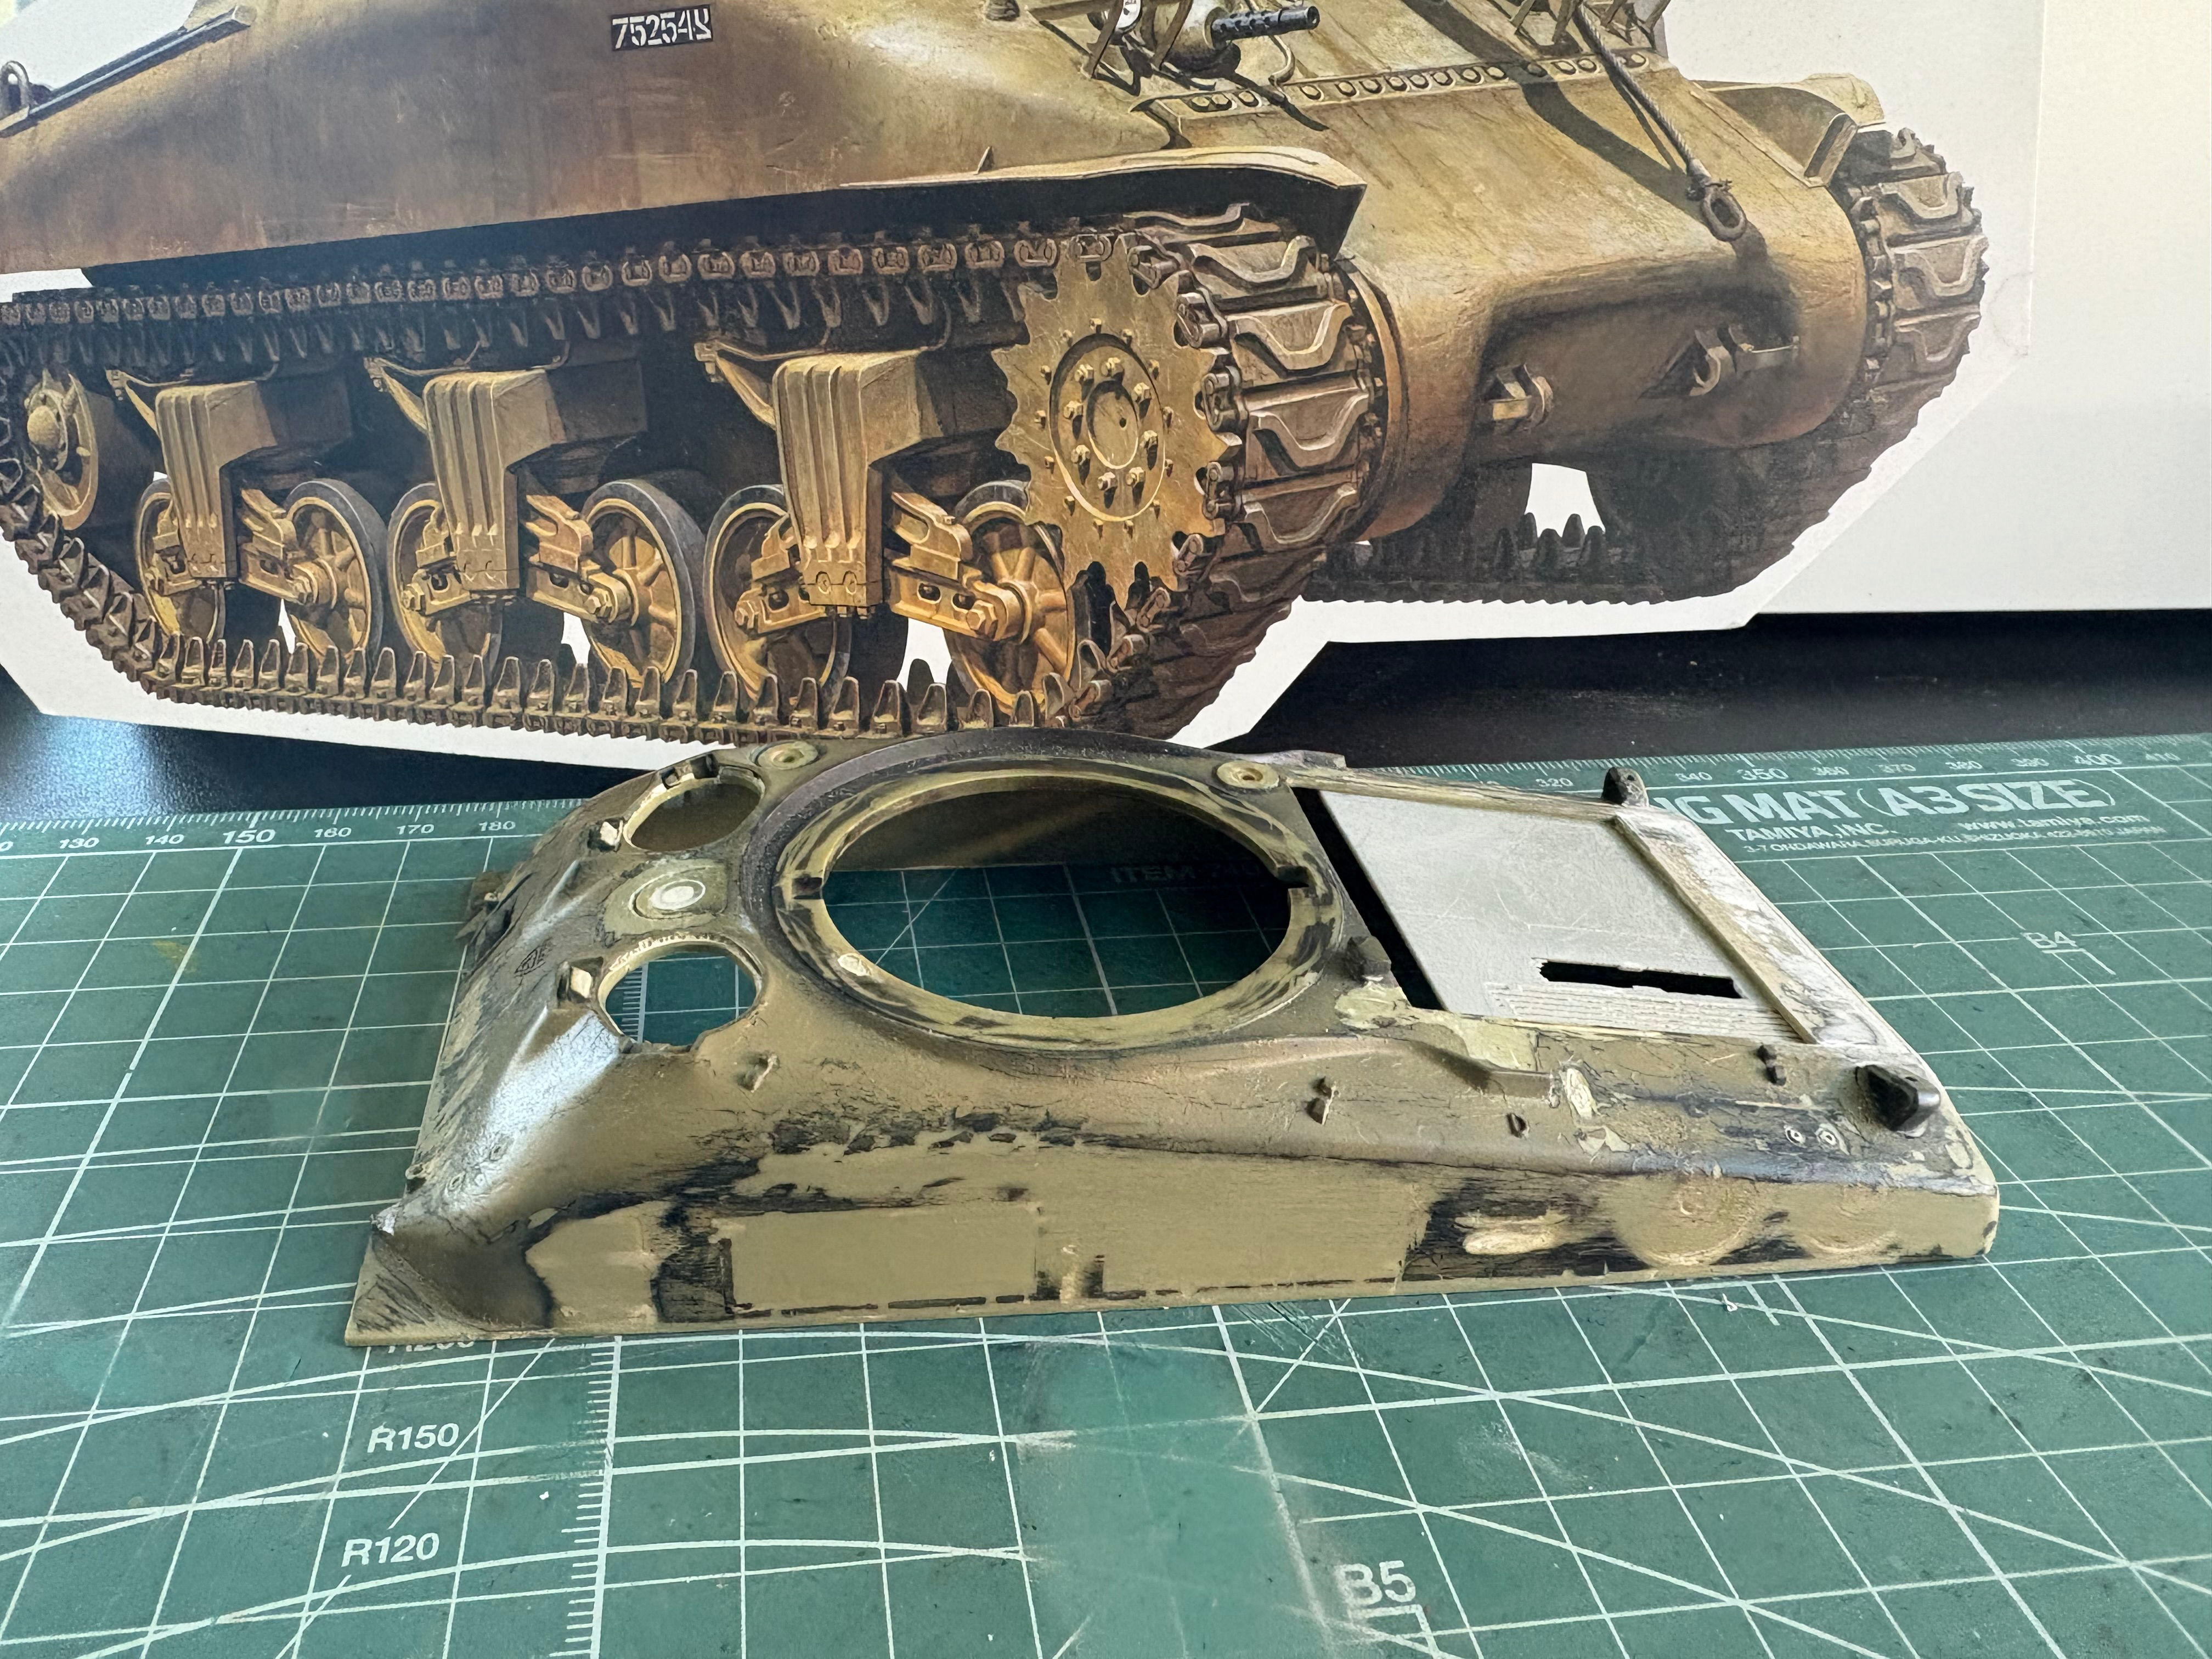

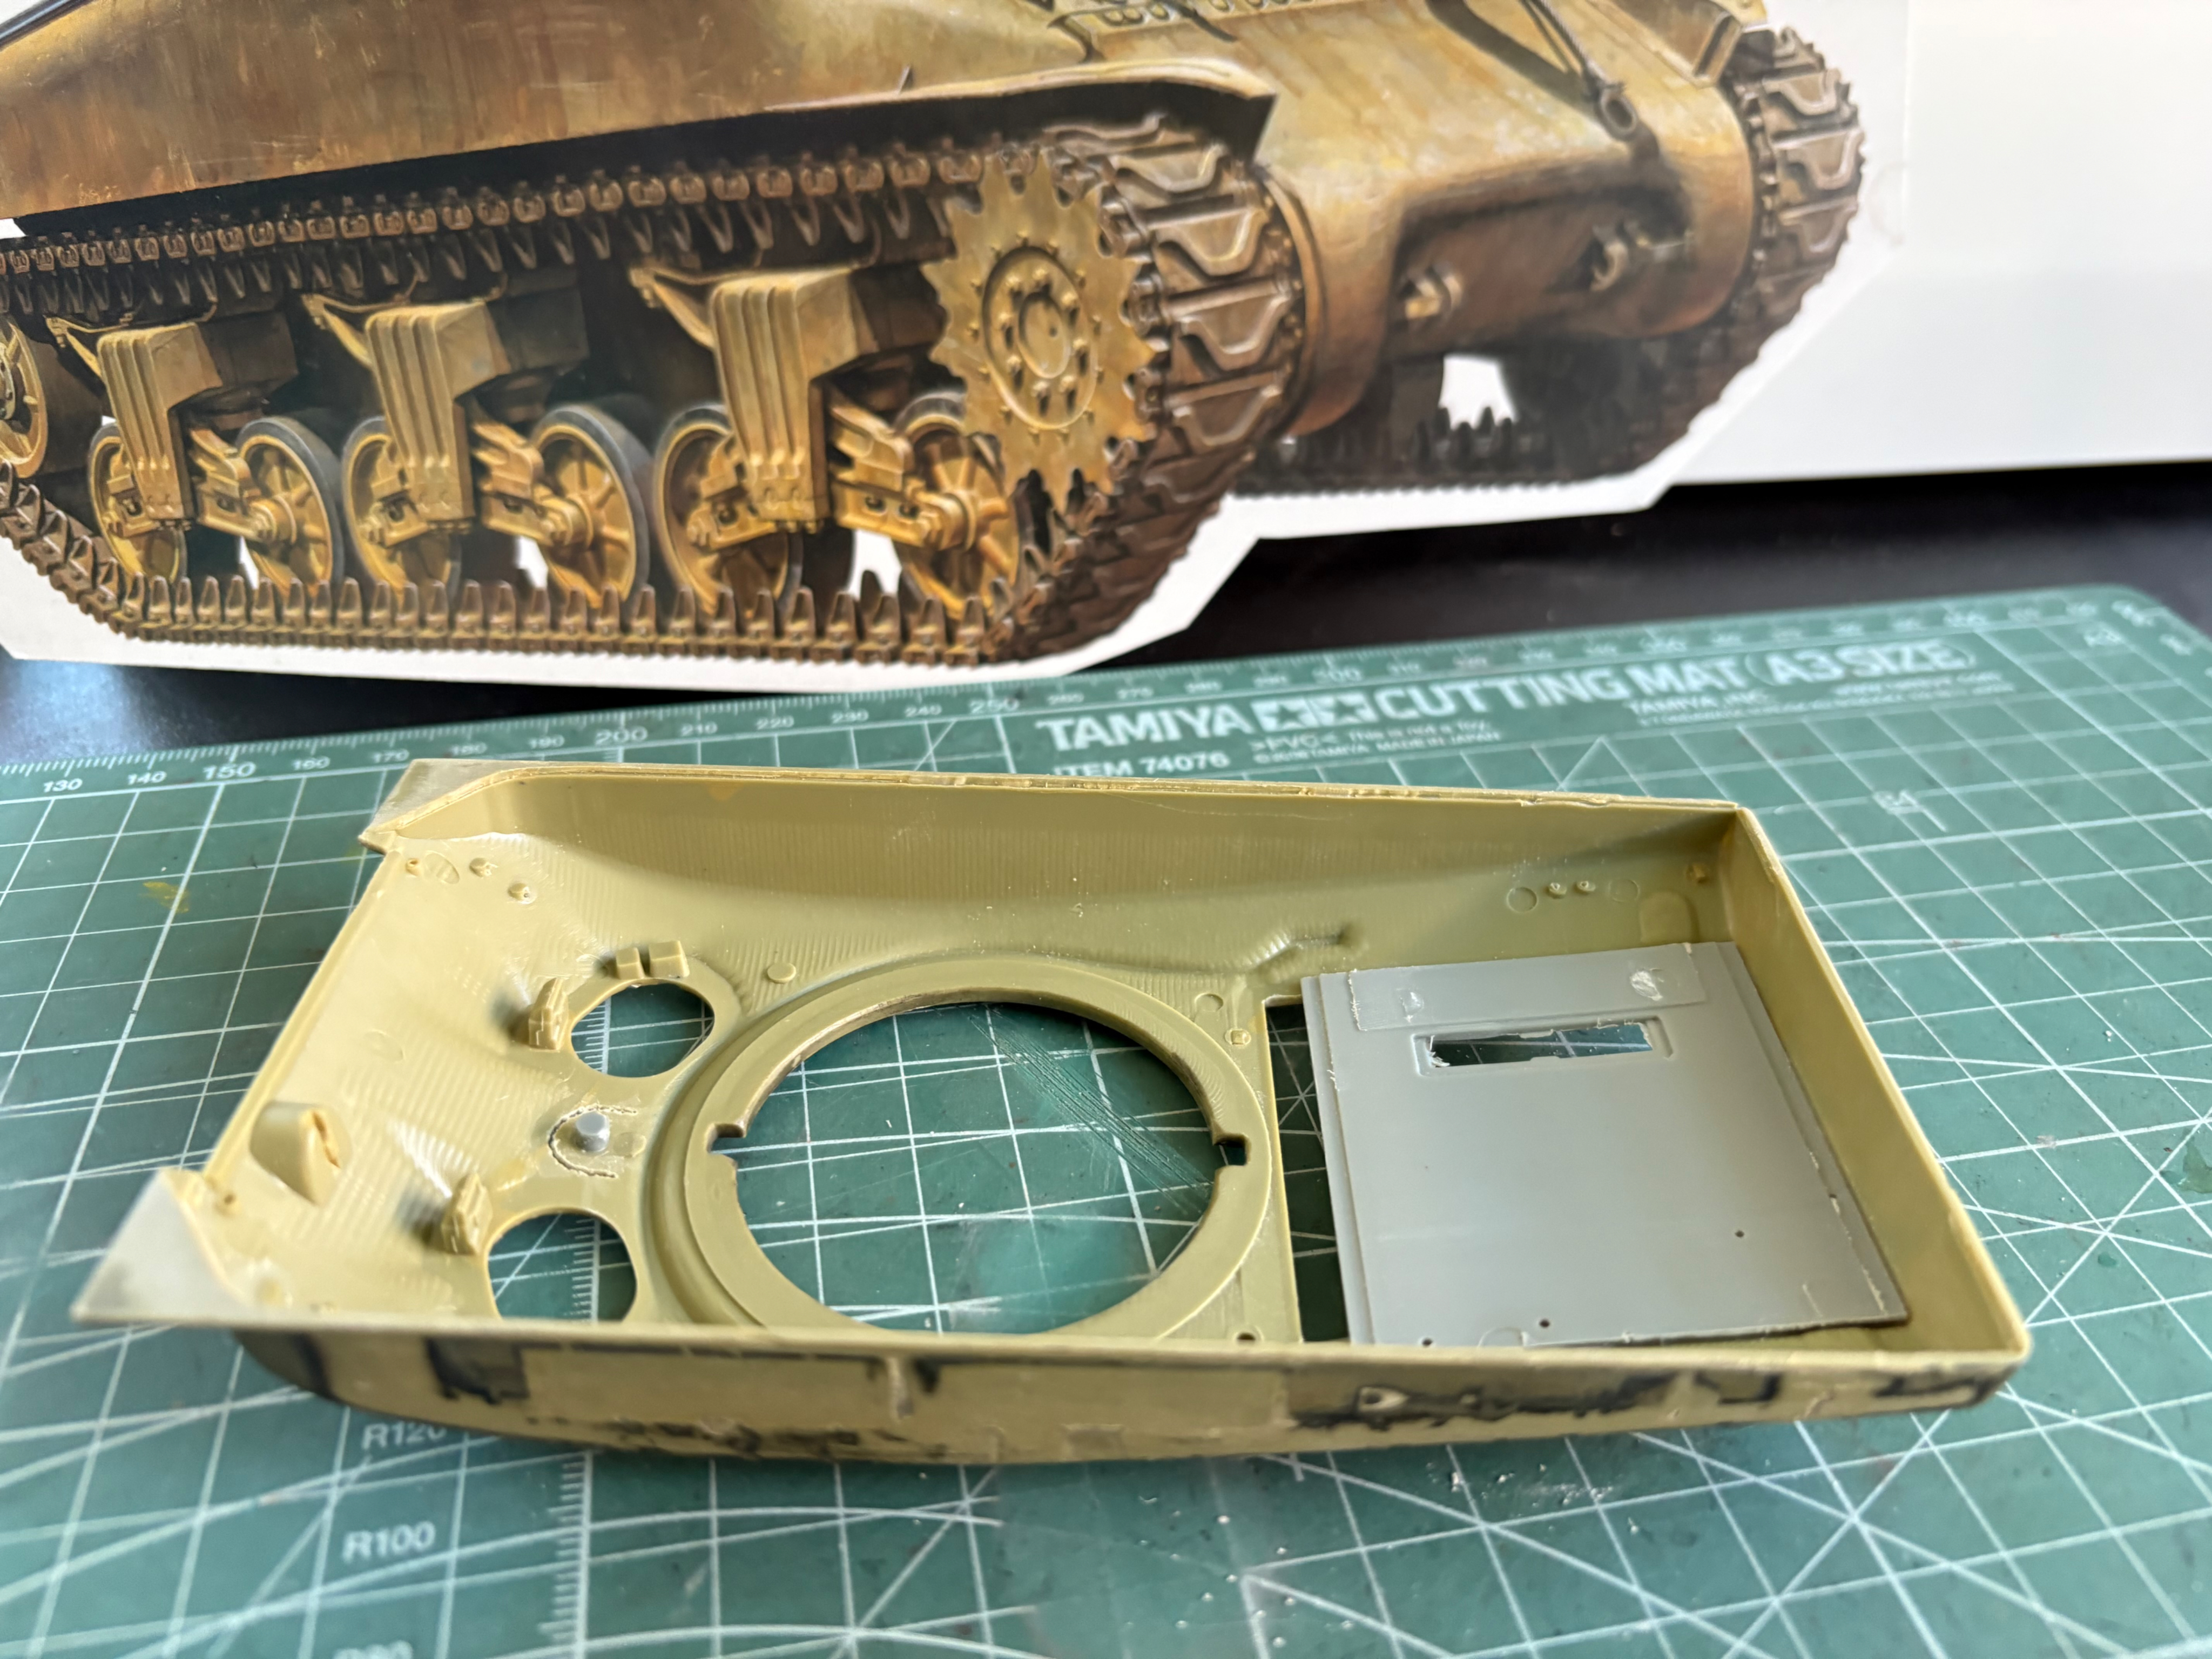
It looks like the upper hull is all that I’m going to be able to reuse from my son’s original tank but at least that’s something.
More progress from today…I’m not even sure what kits some of these parts came from…BTW I’m aware that these orphan tanks had a pyramid style screen on the engine deck but I don’t have a spare one in the stash and it won’t be visible anyways…
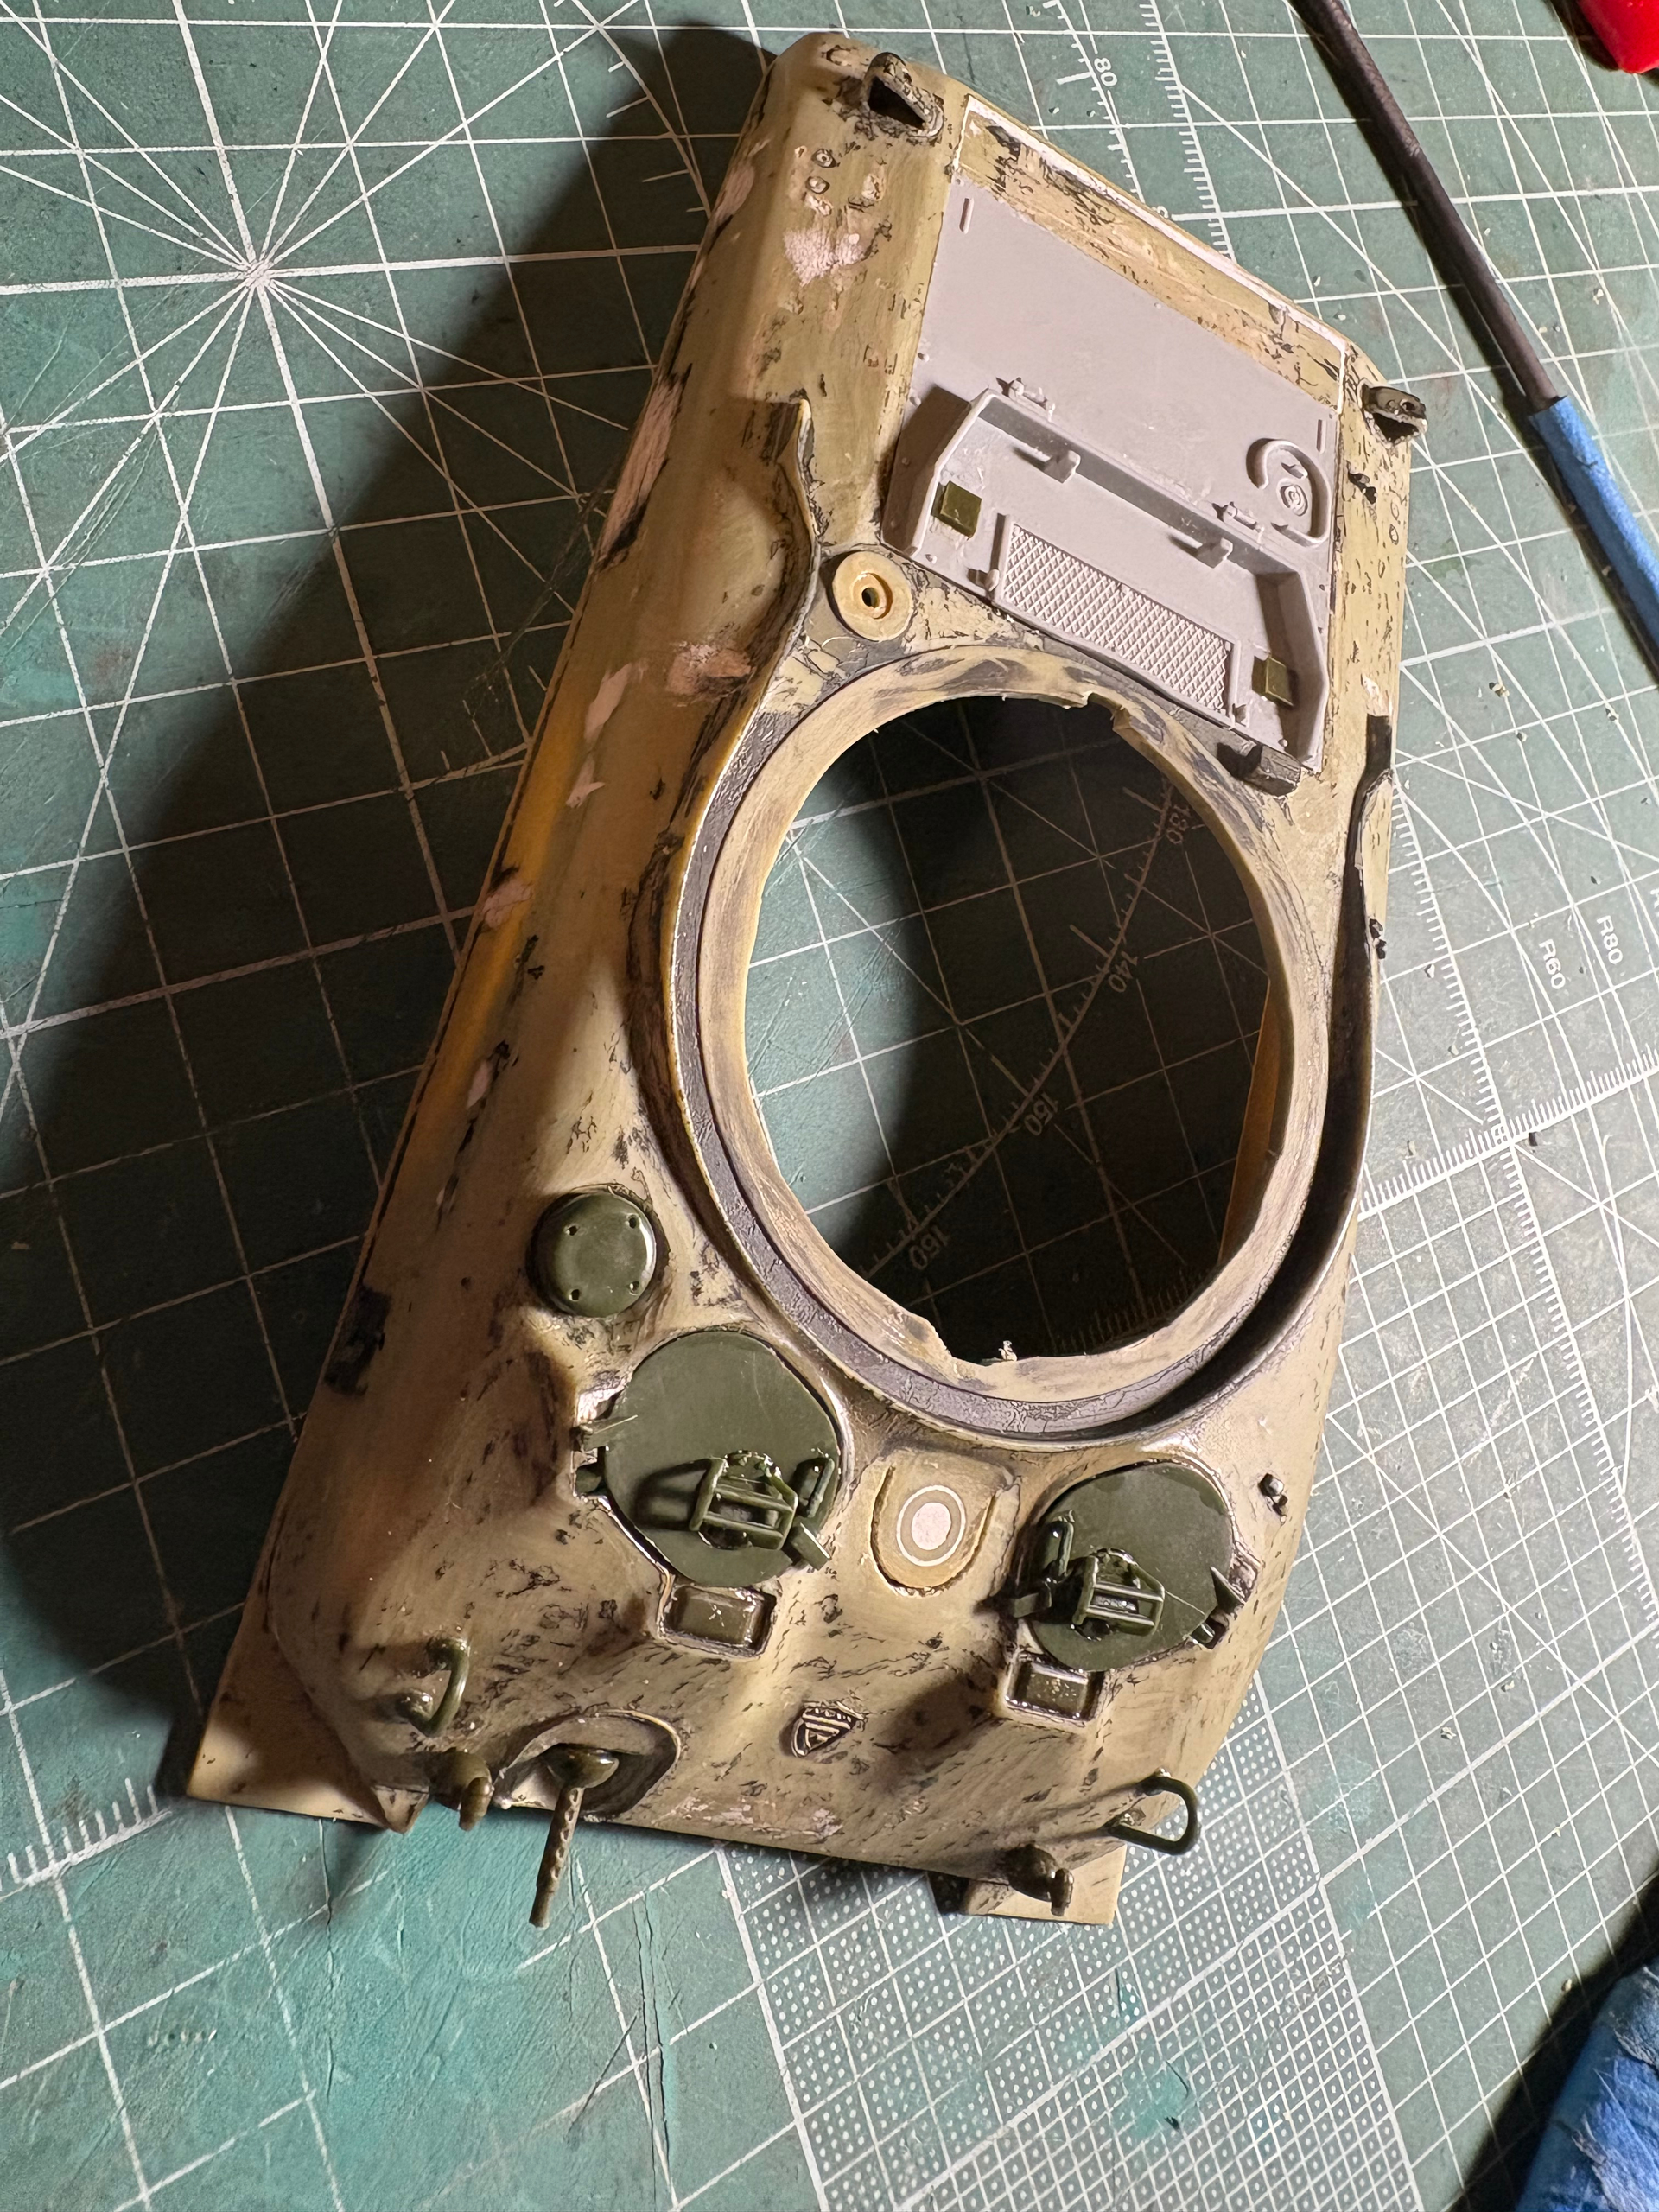

4 Likes
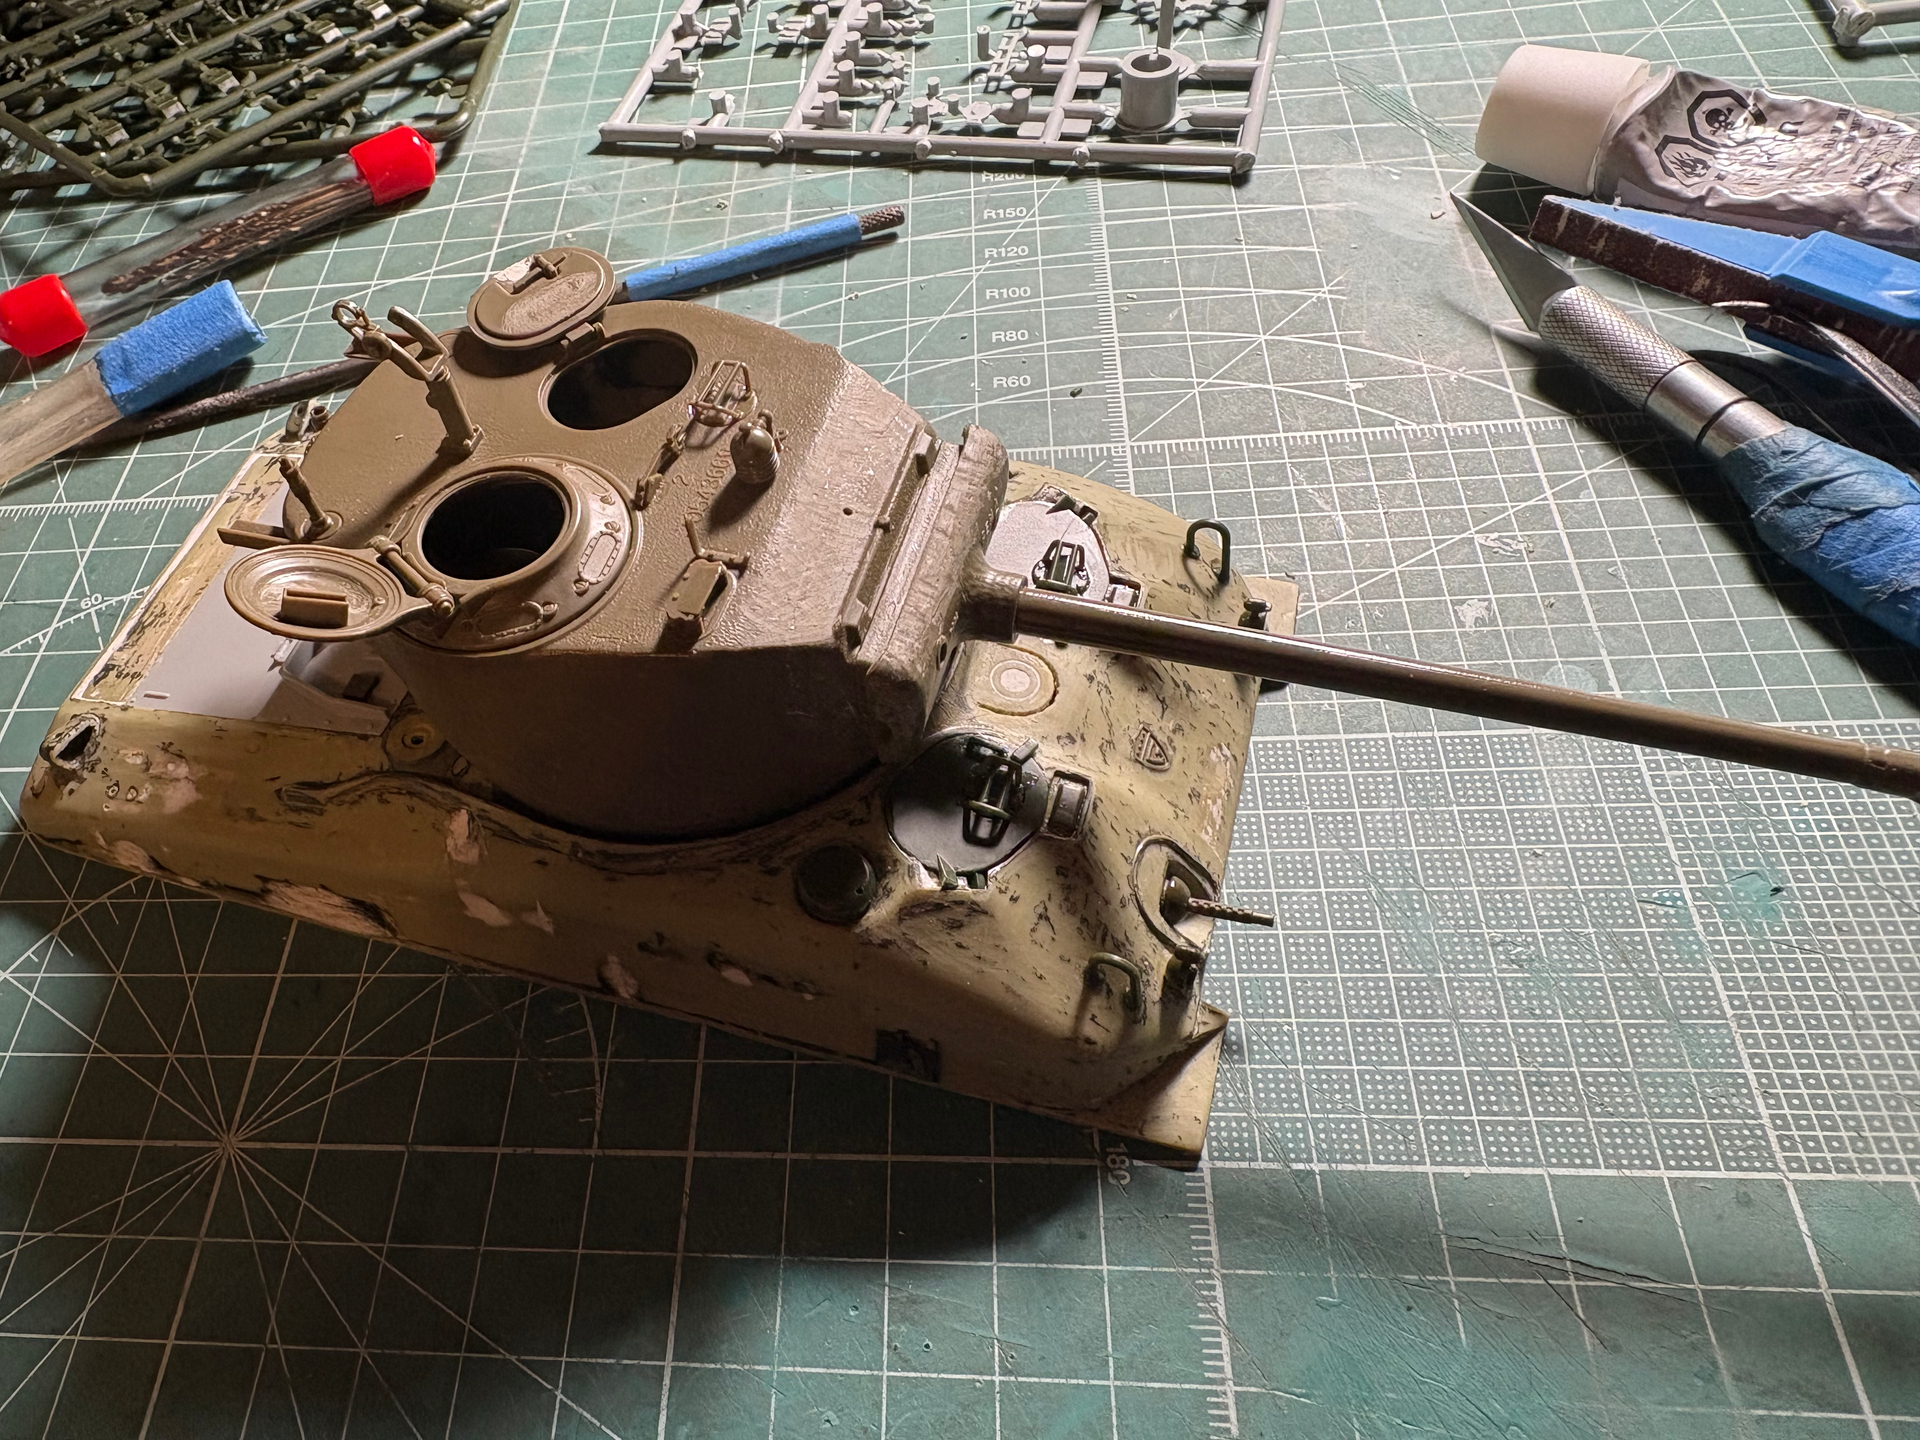
No short cuts for me, I couldn’t find a replacement lower tub for the heavily damaged Academy tank…
I’ll post some pictures tomorrow, but I’m going to have to work with the original damaged and warped tub …removing all the broken bits and just sanding it down to add new detail, no choice just more work…
1 Like

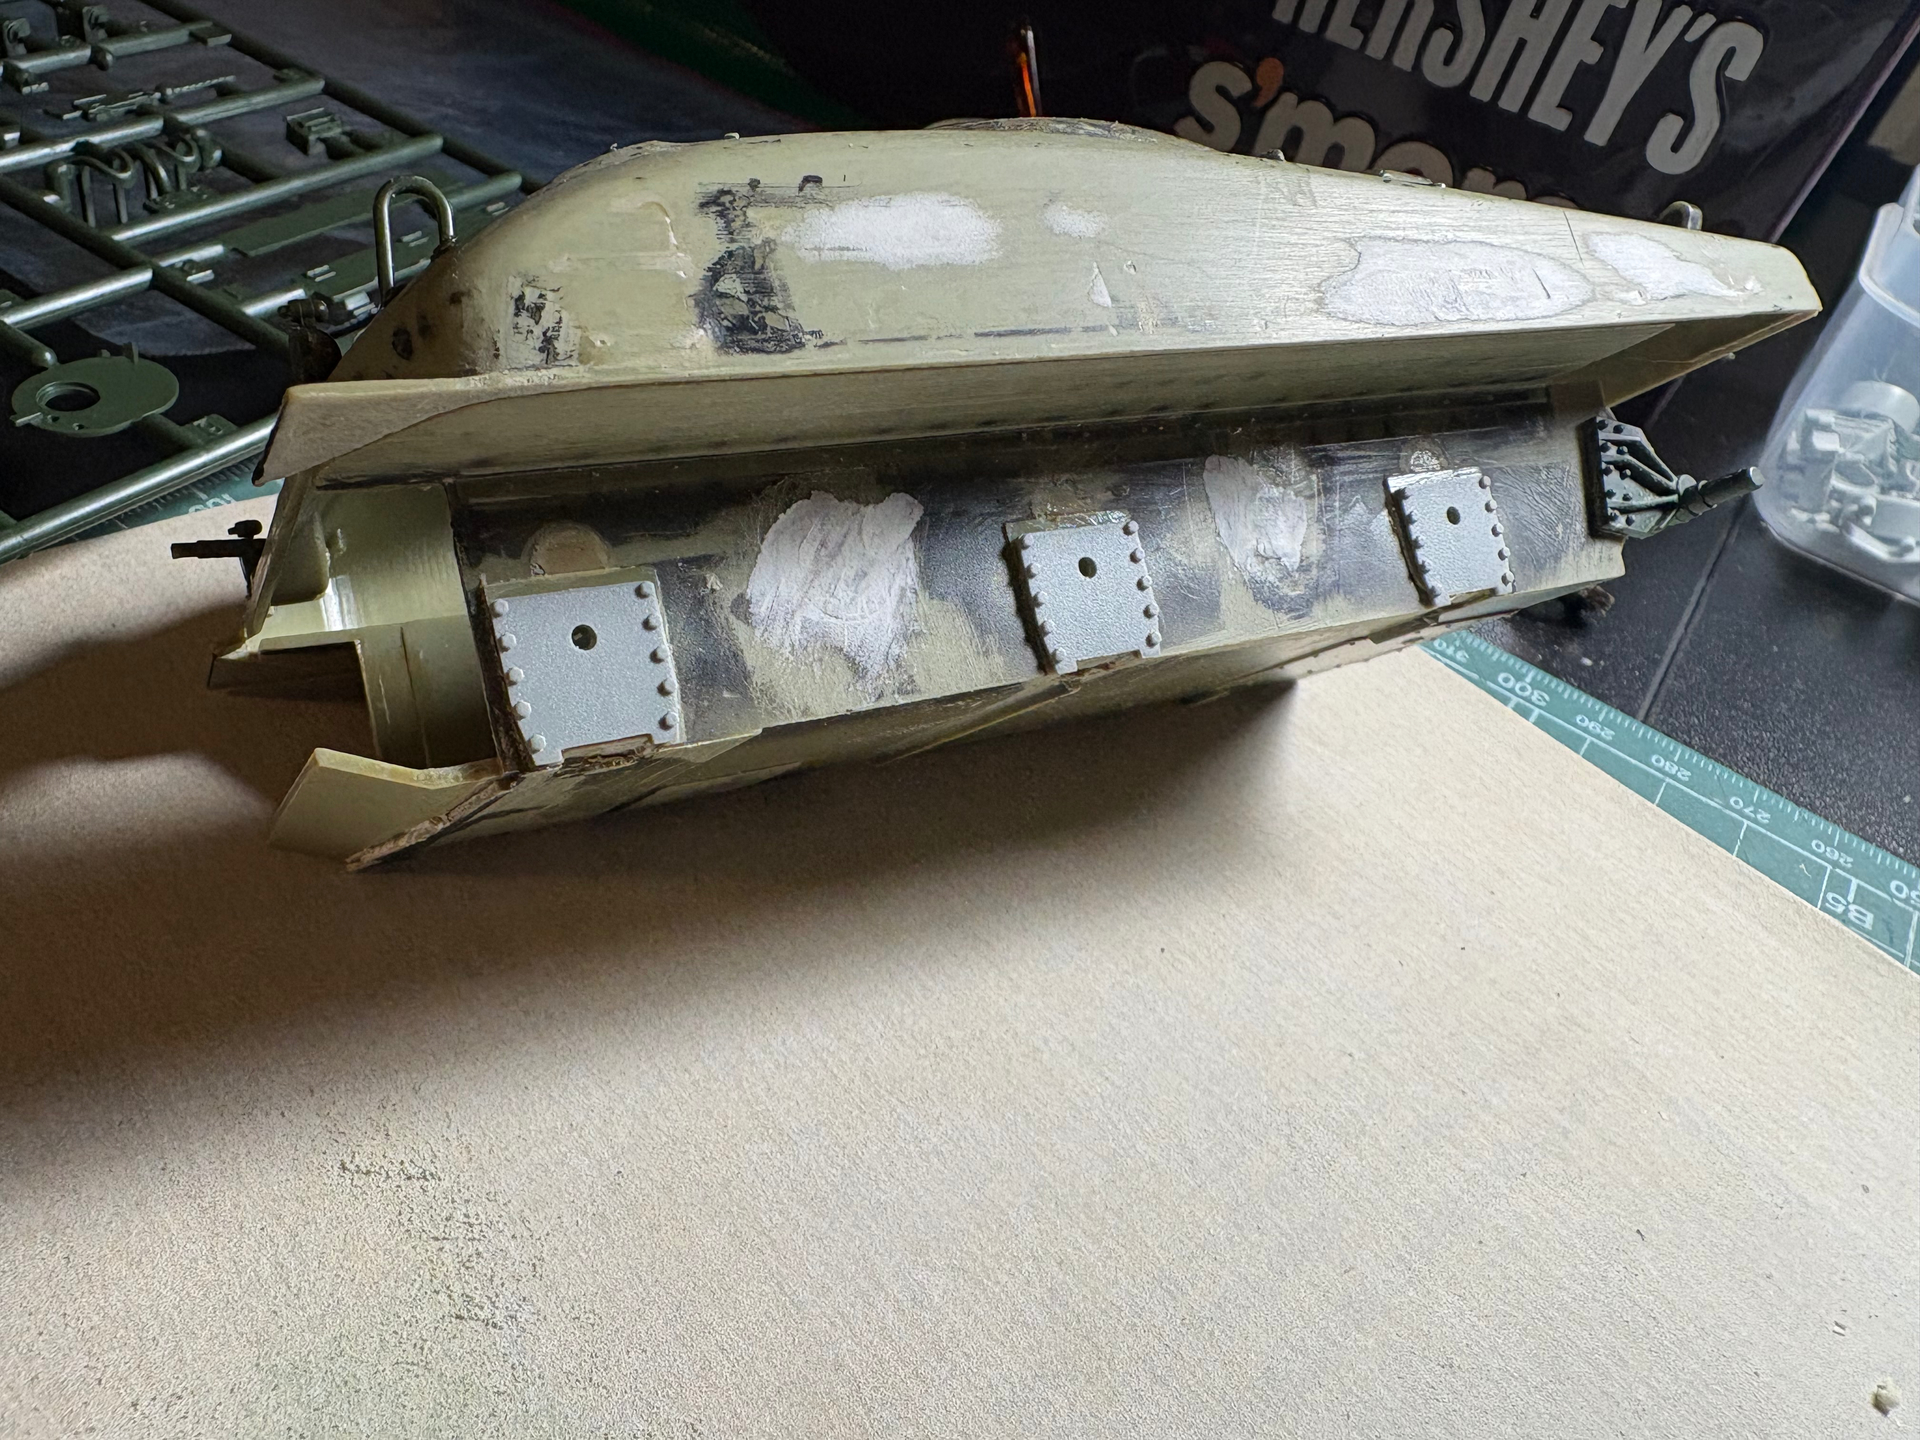
Holy Schamoly that’s going to take a lot of work! Good luck!
4 Likes
I was lucky enough to find a complete DML suspension with the correct straight return roller bracket and skid. The rear idler mounts are Academy bits, and the only plane front sprockets I have left are also Academy parts.
I’m also going to have to refurbish the original FDA. The tank is going to have a lot more original parts than what I anticipated but since it’s a sentimental piece I think that’s a good thing. The more original the better.
The lower rear hull plate is a mess I don’t have a replacement so I’ll have to scrape together some engine access doors and some square air filters and other idler wheel mount details that I’ll have to scratch build…
2 Likes
Bear in mind the Academy VVSS sprockets are about 1mm too narrow, so they don’t fit tracks from other brands. If you use Academy tracks that’s OK, but if you use any other brand of track you need to add a 1mm shim between the sprocket drum and the ring at one end to make the drum wider - I use a chunk of Evergreen 0.040” plastic sheet, that I then trim level with the drum after the glue dries.
3 Likes
Thank you!
I’m almost certain I didn’t know this and if I did I must’ve forgotten it. Is this one of those things that used to be posted on the Perth site?
I don’t think I knew about this because in the past I distinctly remember thinning out both of the inside faces of the Academy sprockets using a sanding stick.. I must’ve assumed that the plastic used by Academy was just molded too thick and that’s why the tracks from other manufactures didn’t fit?
1 Like