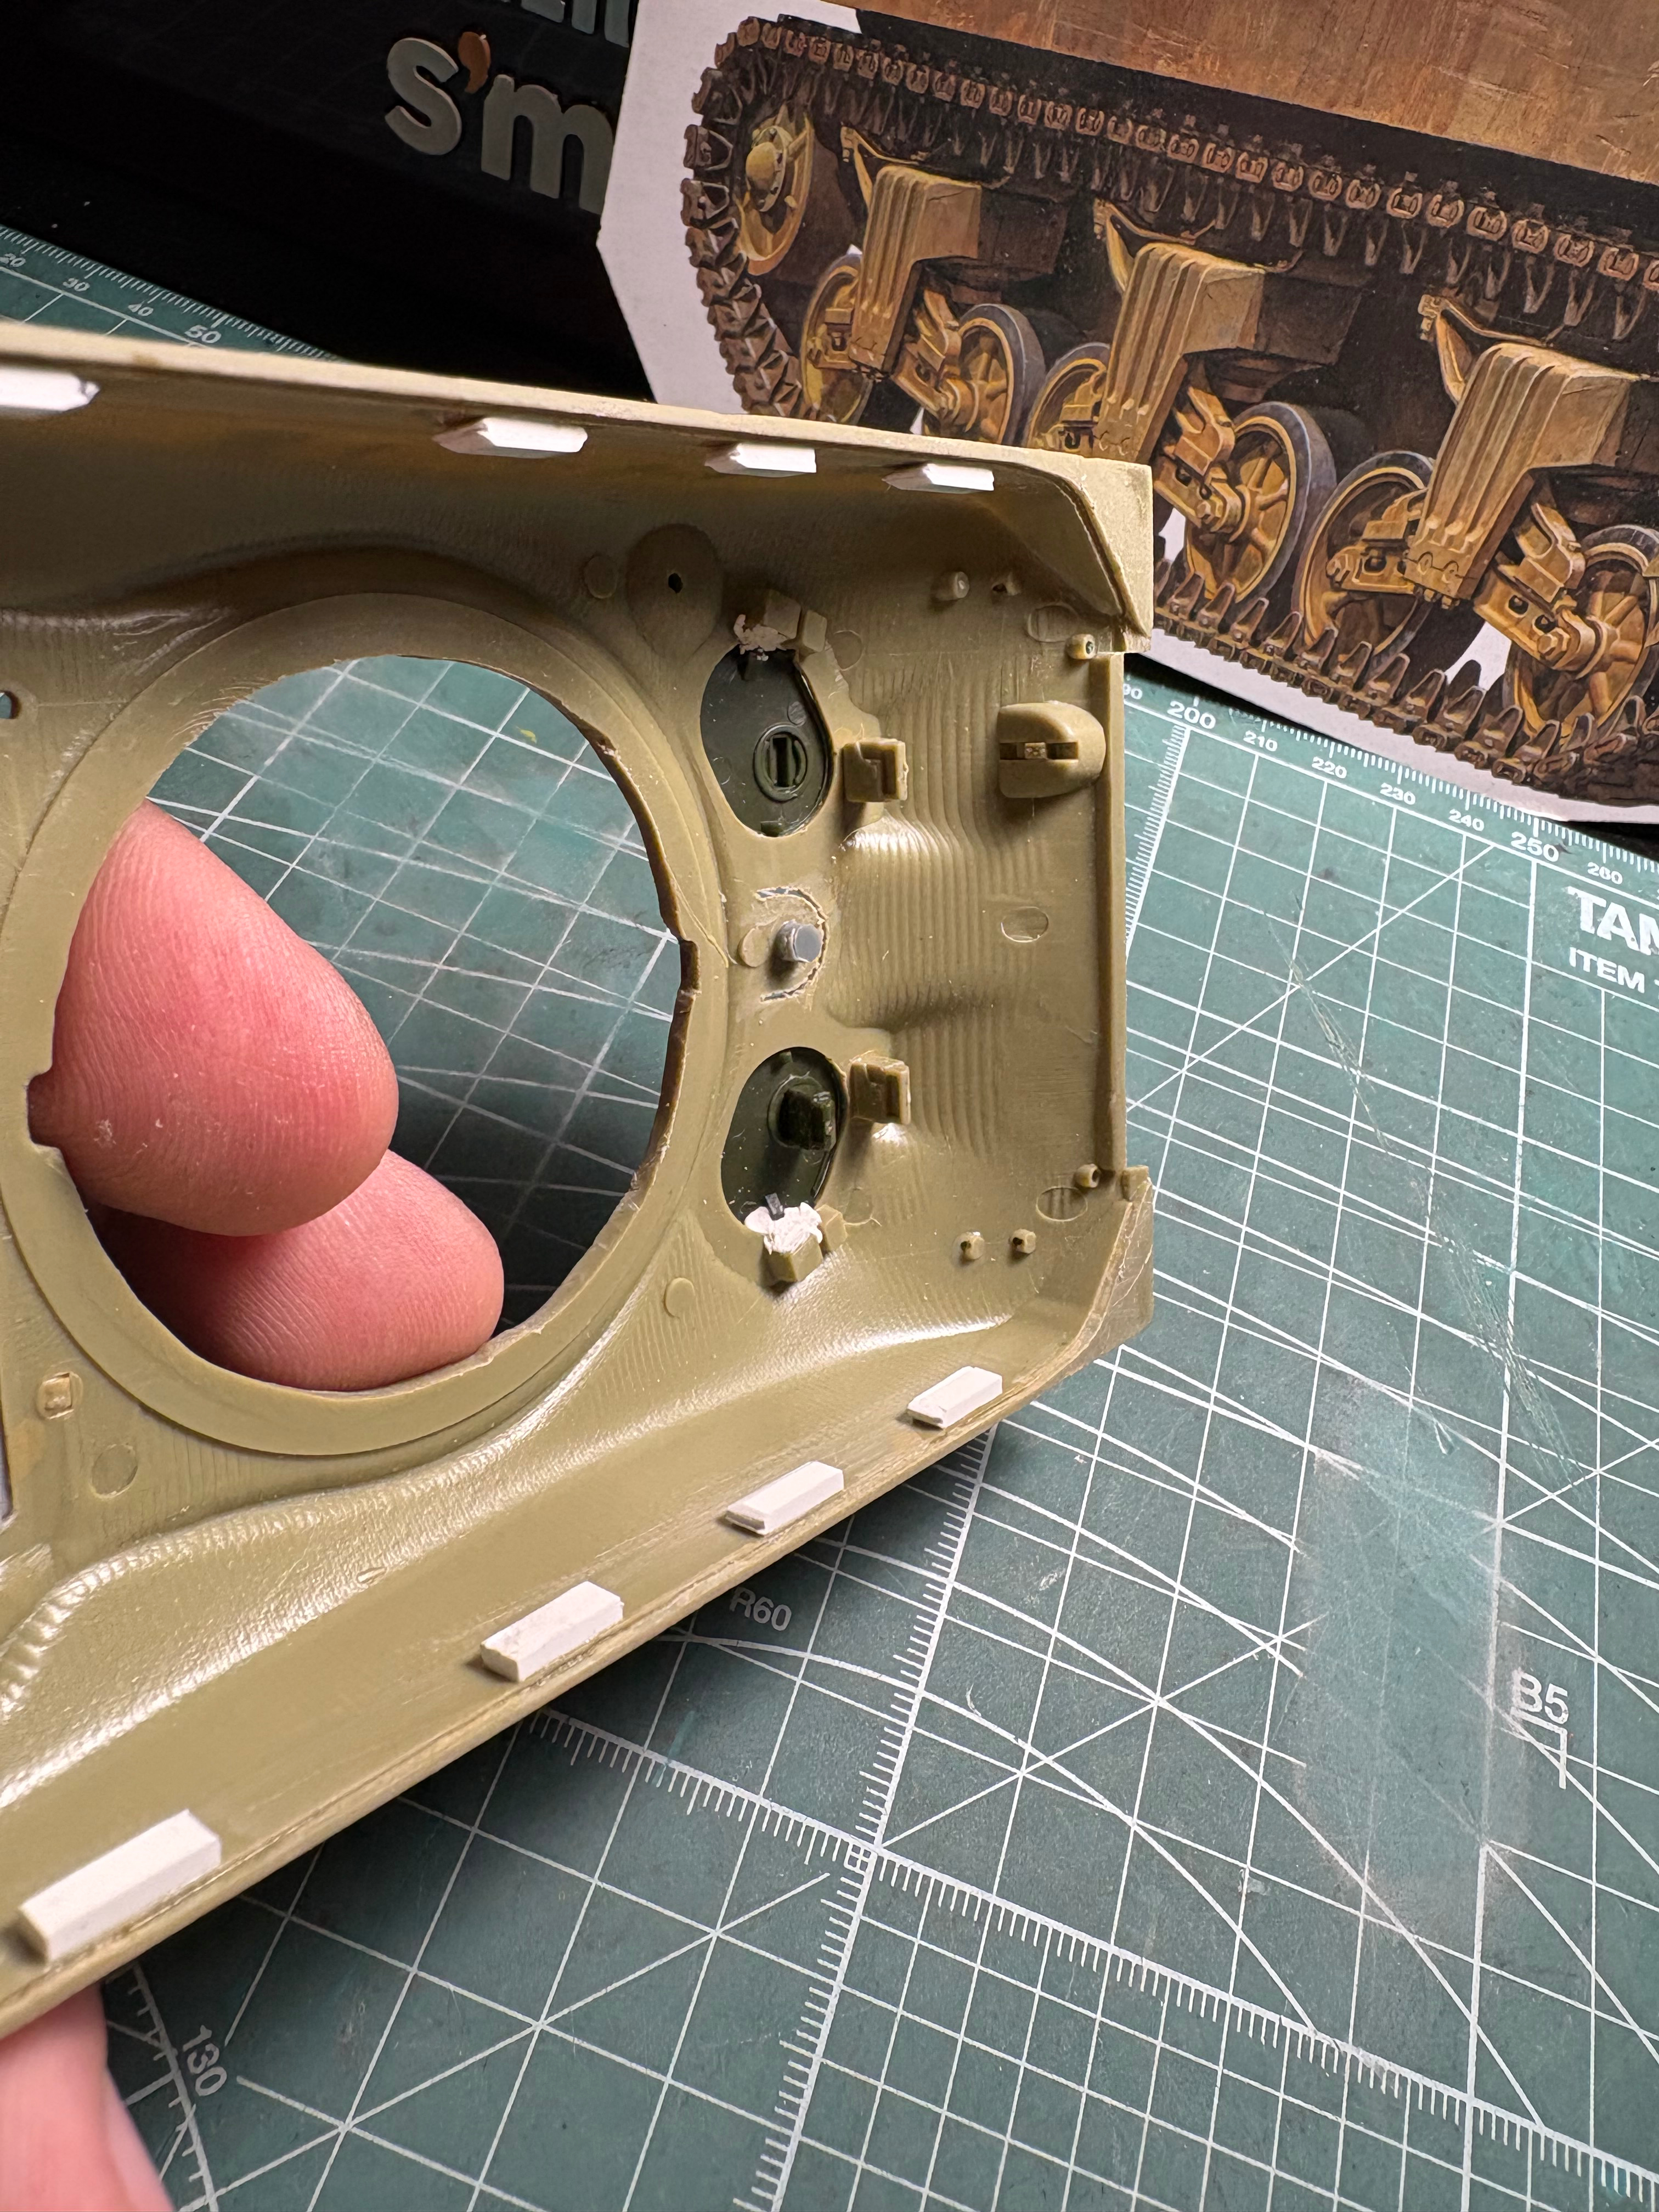
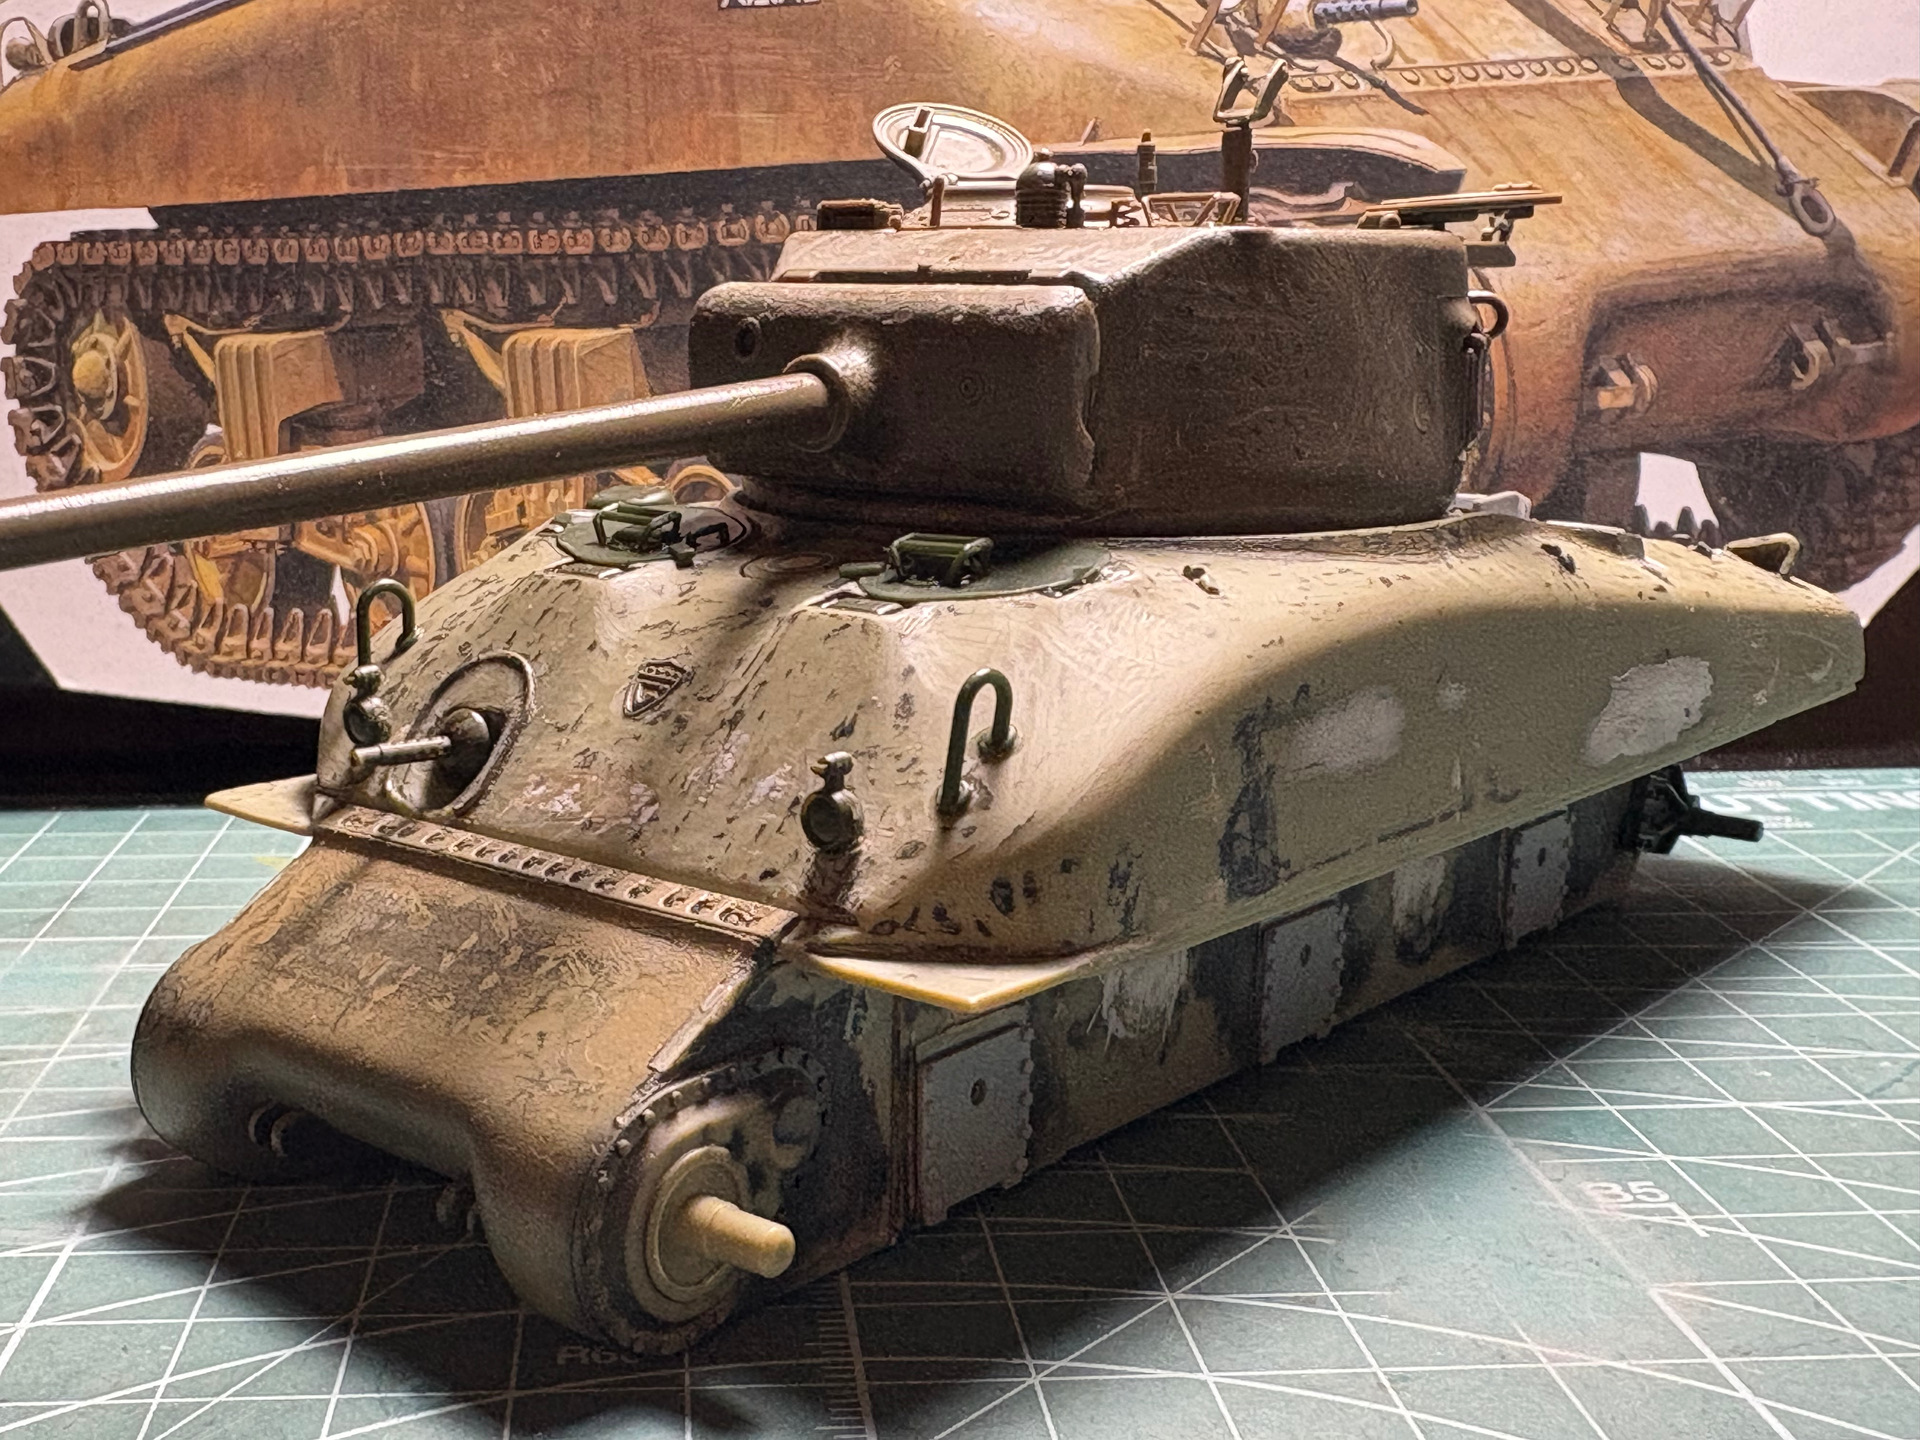
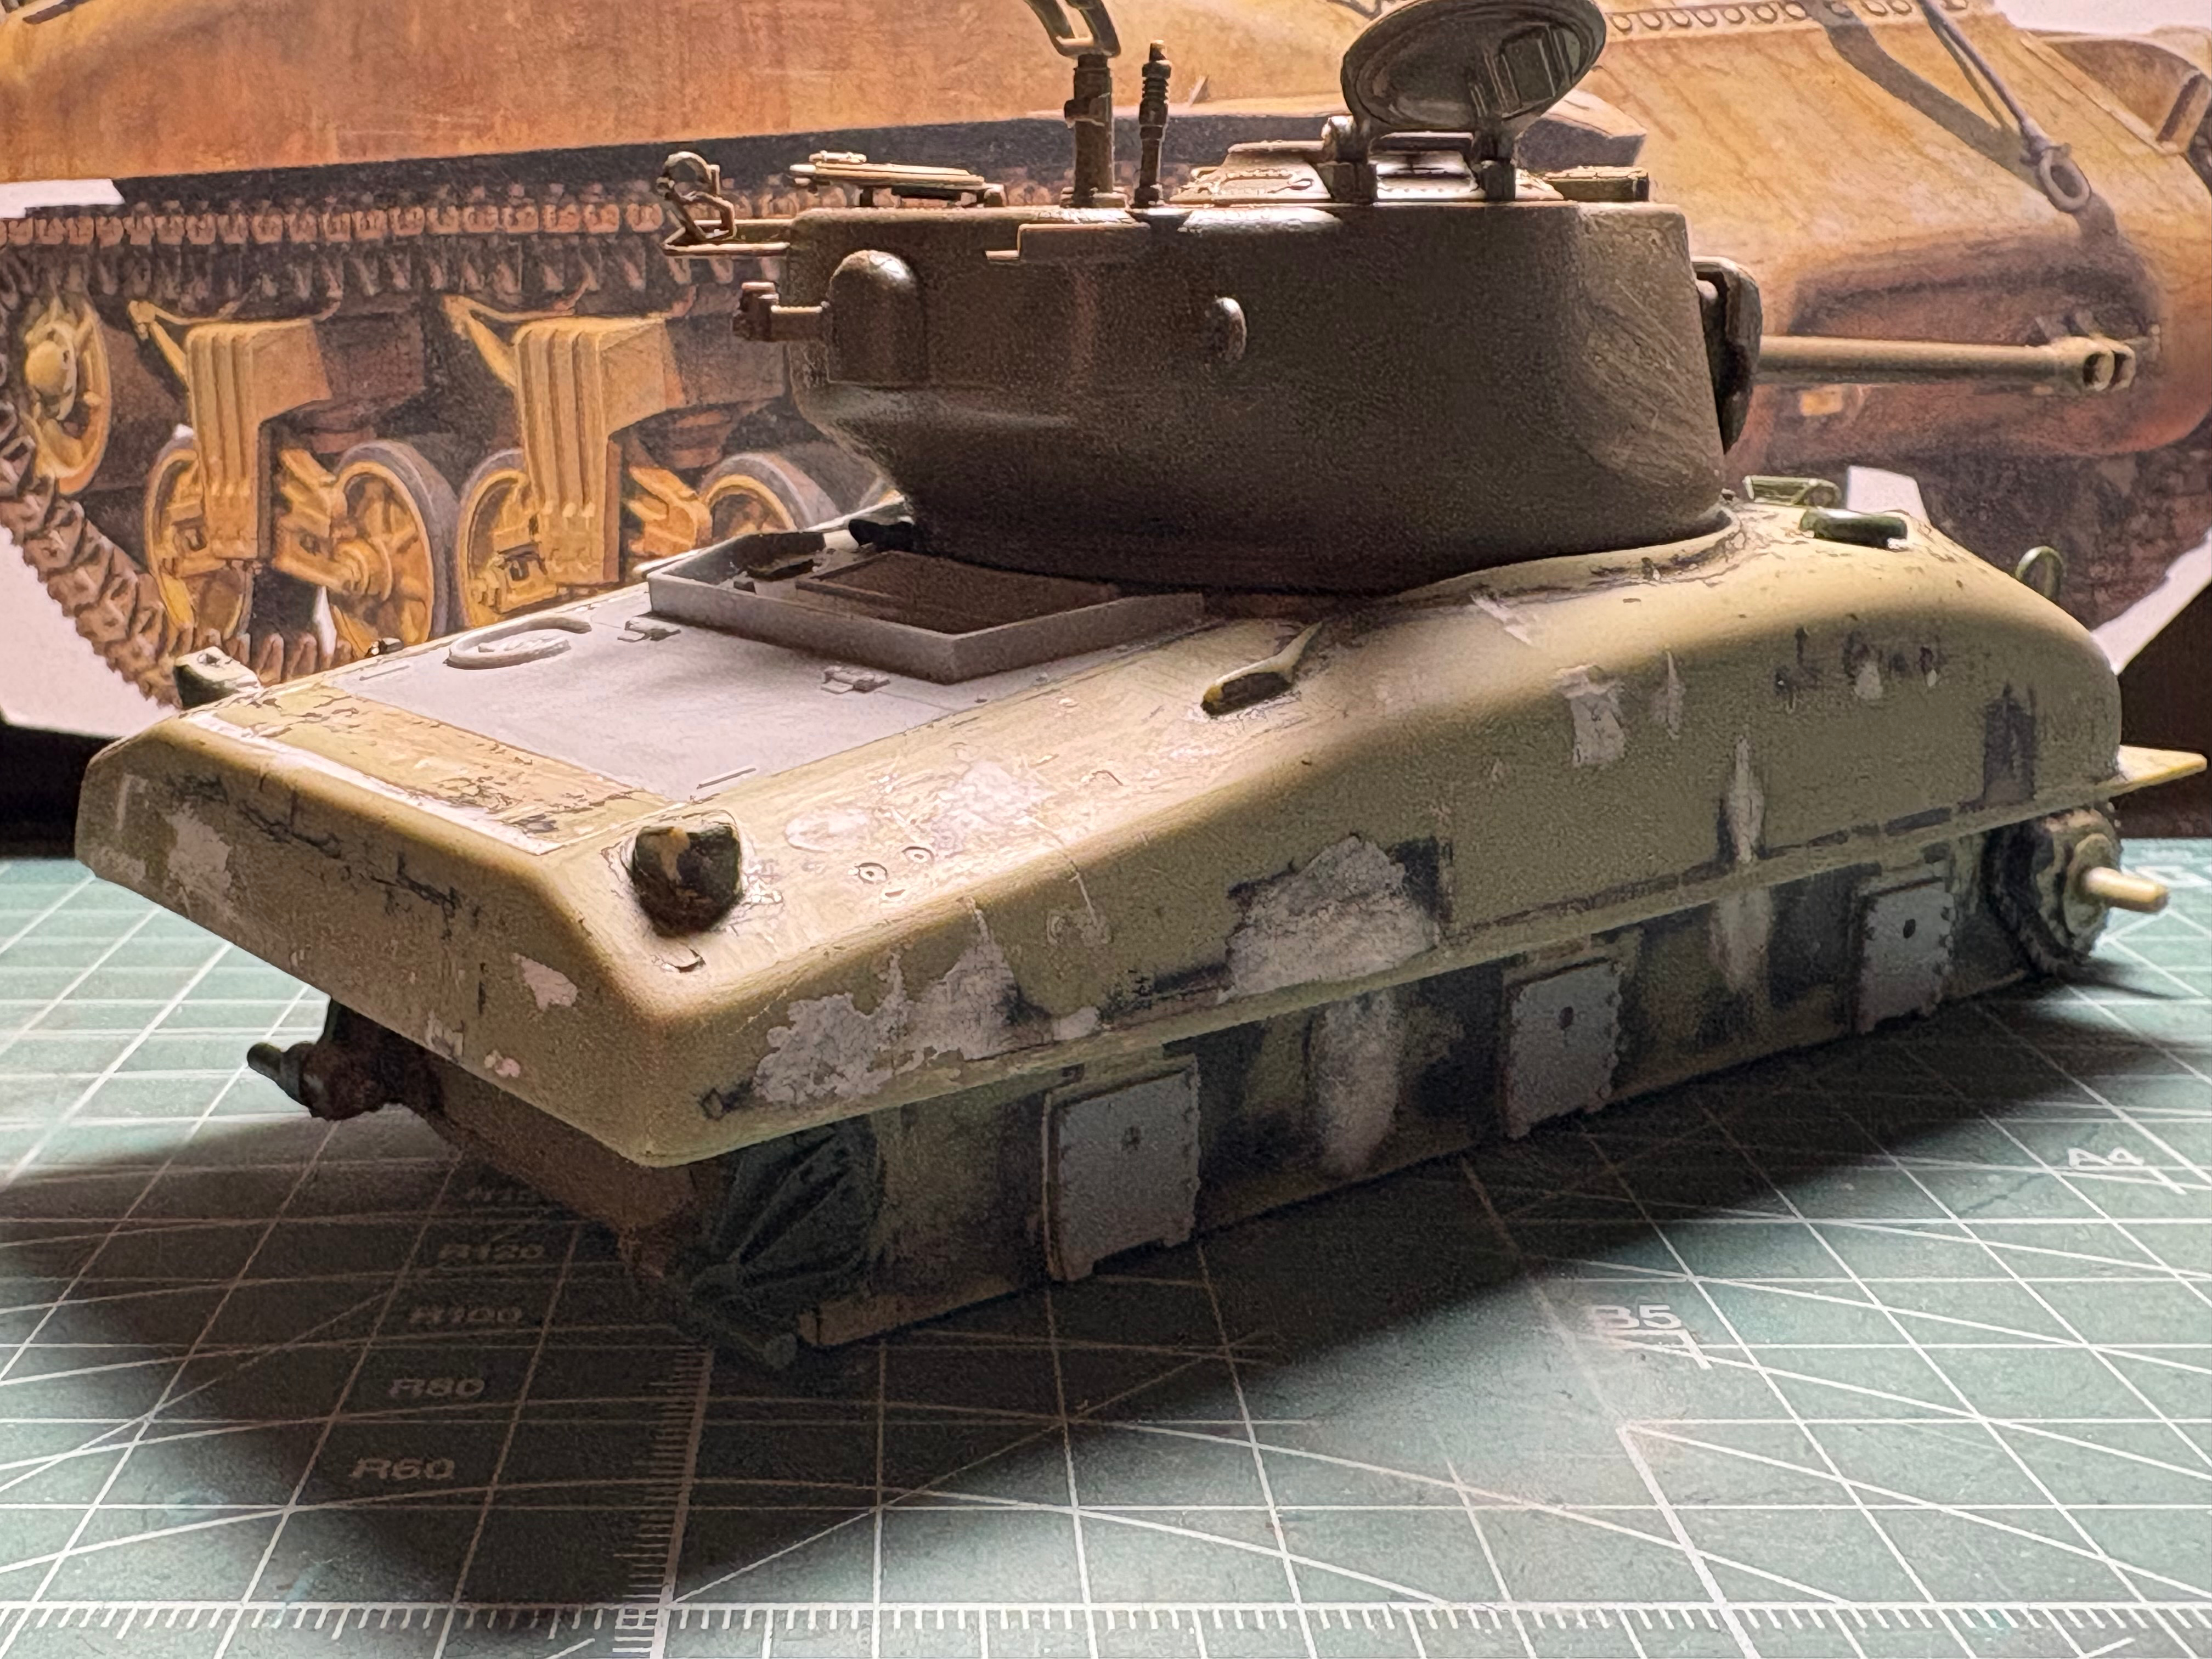
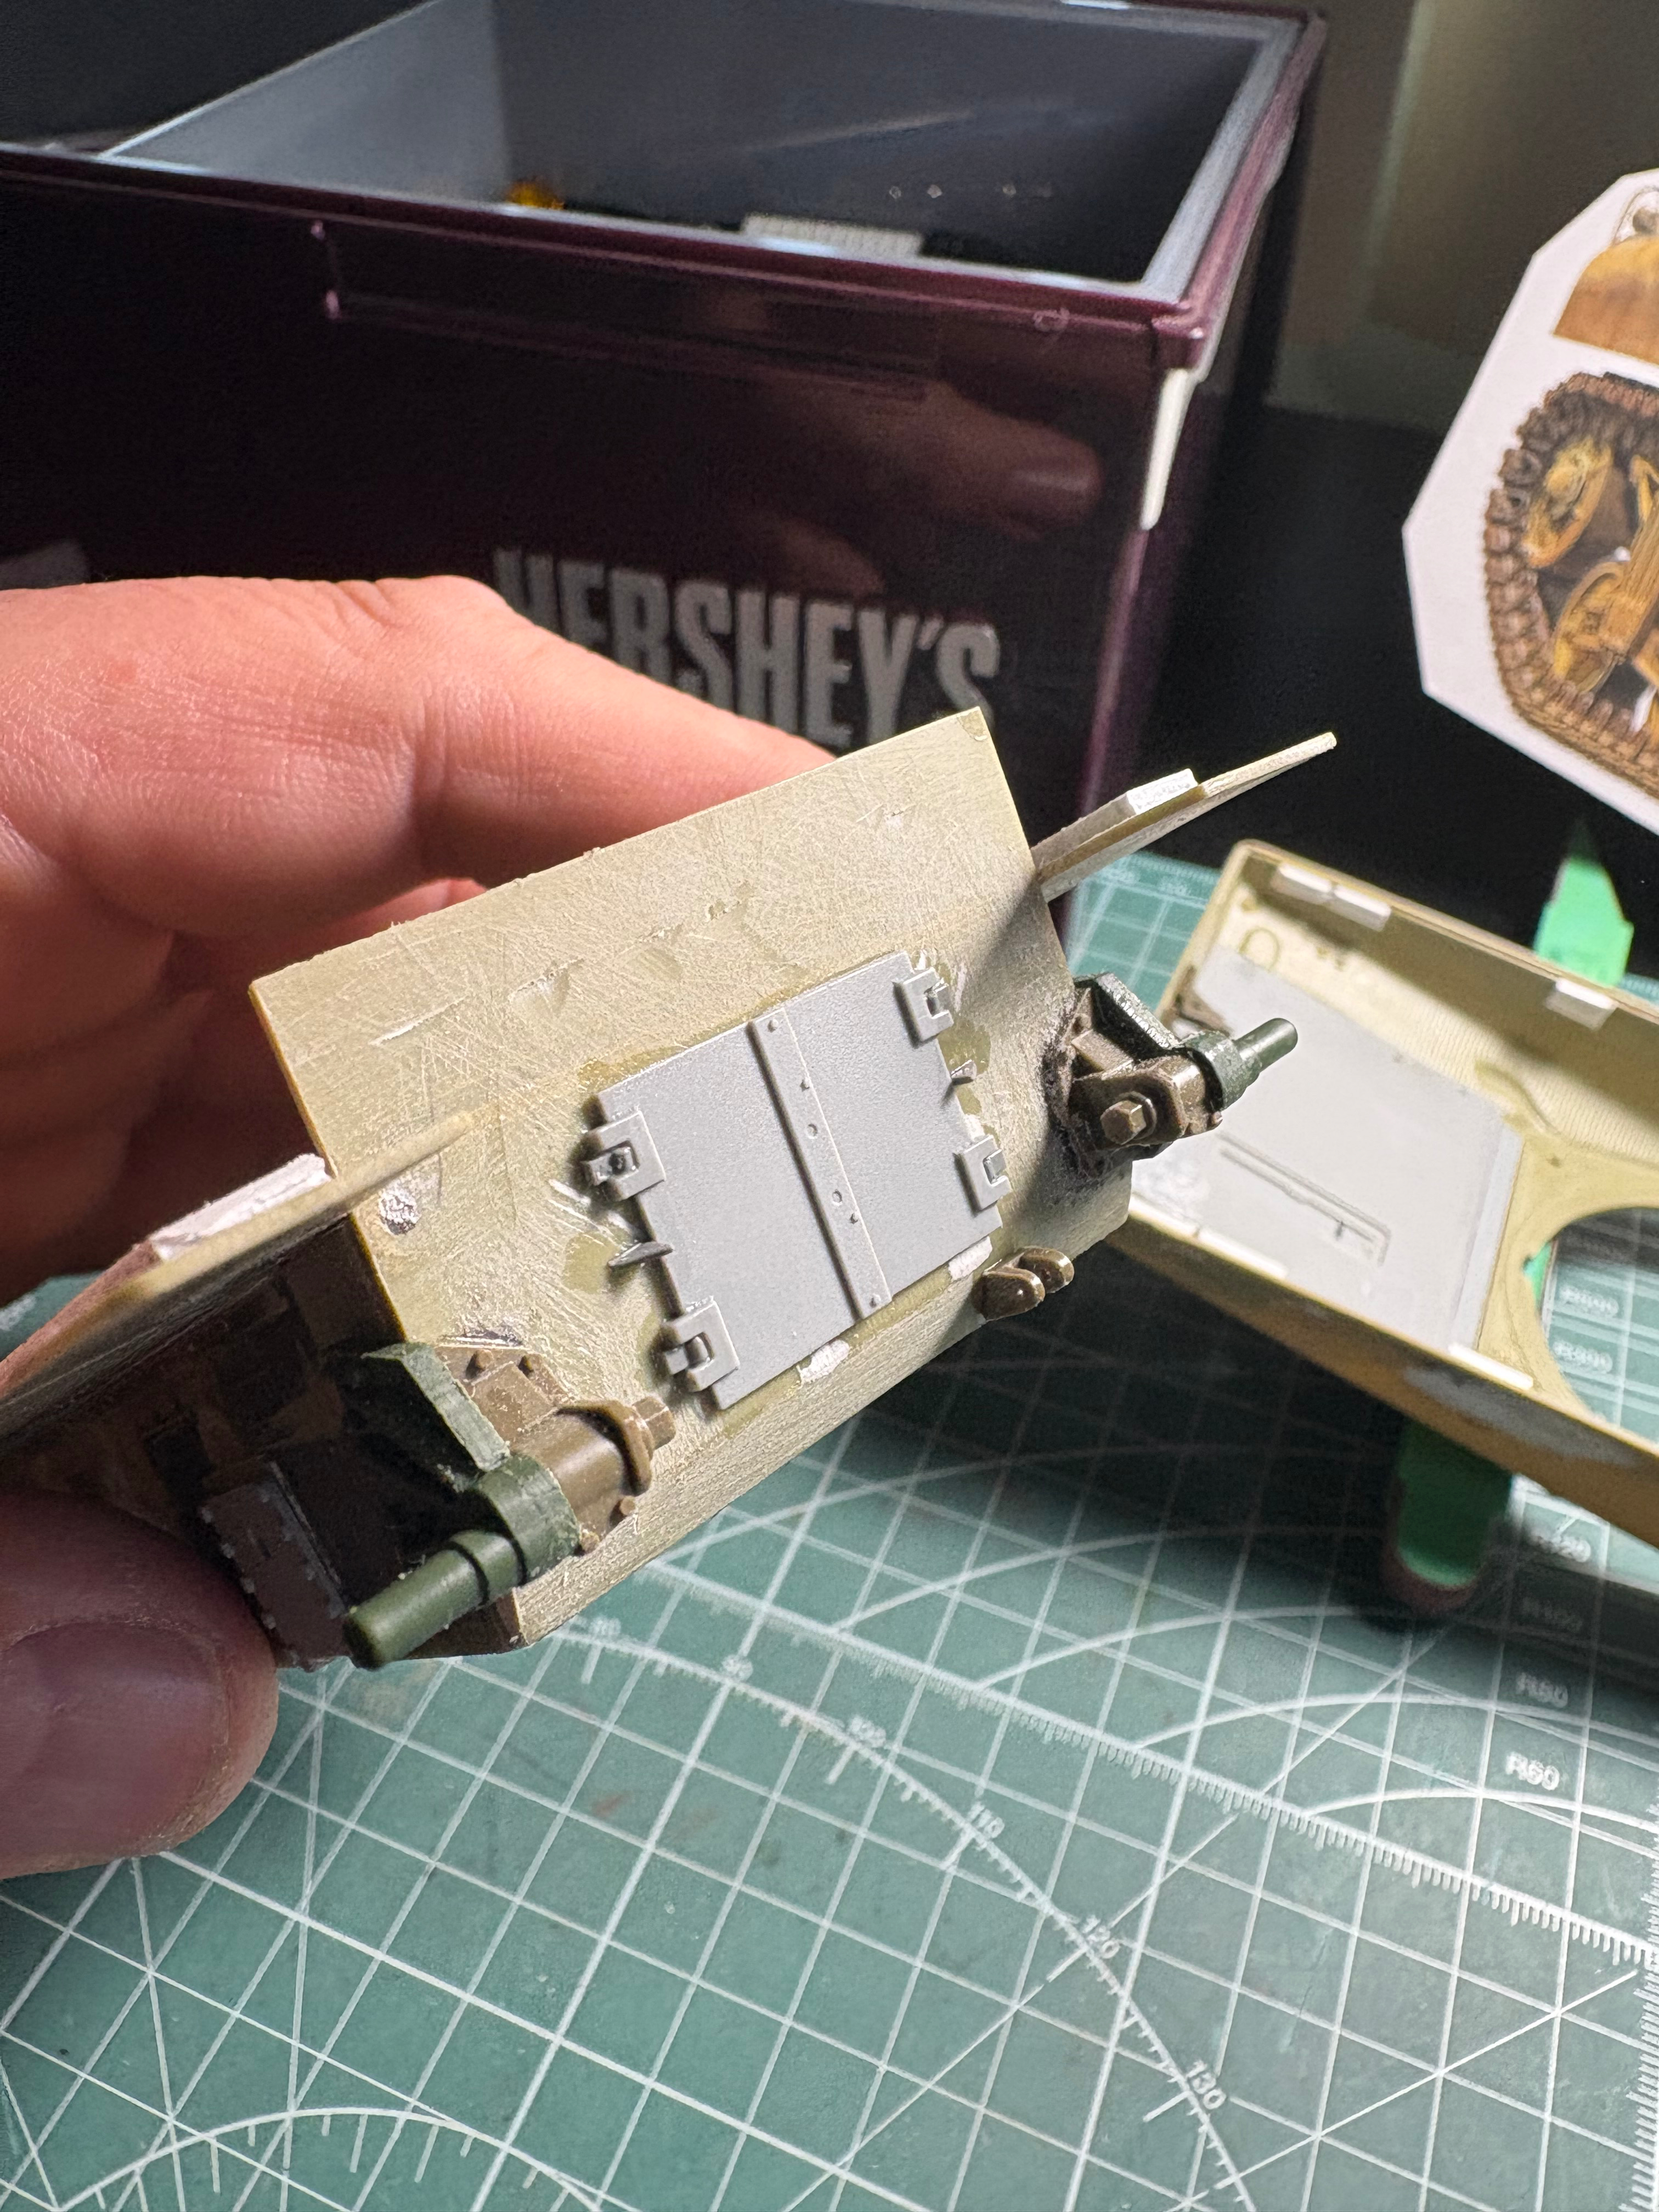
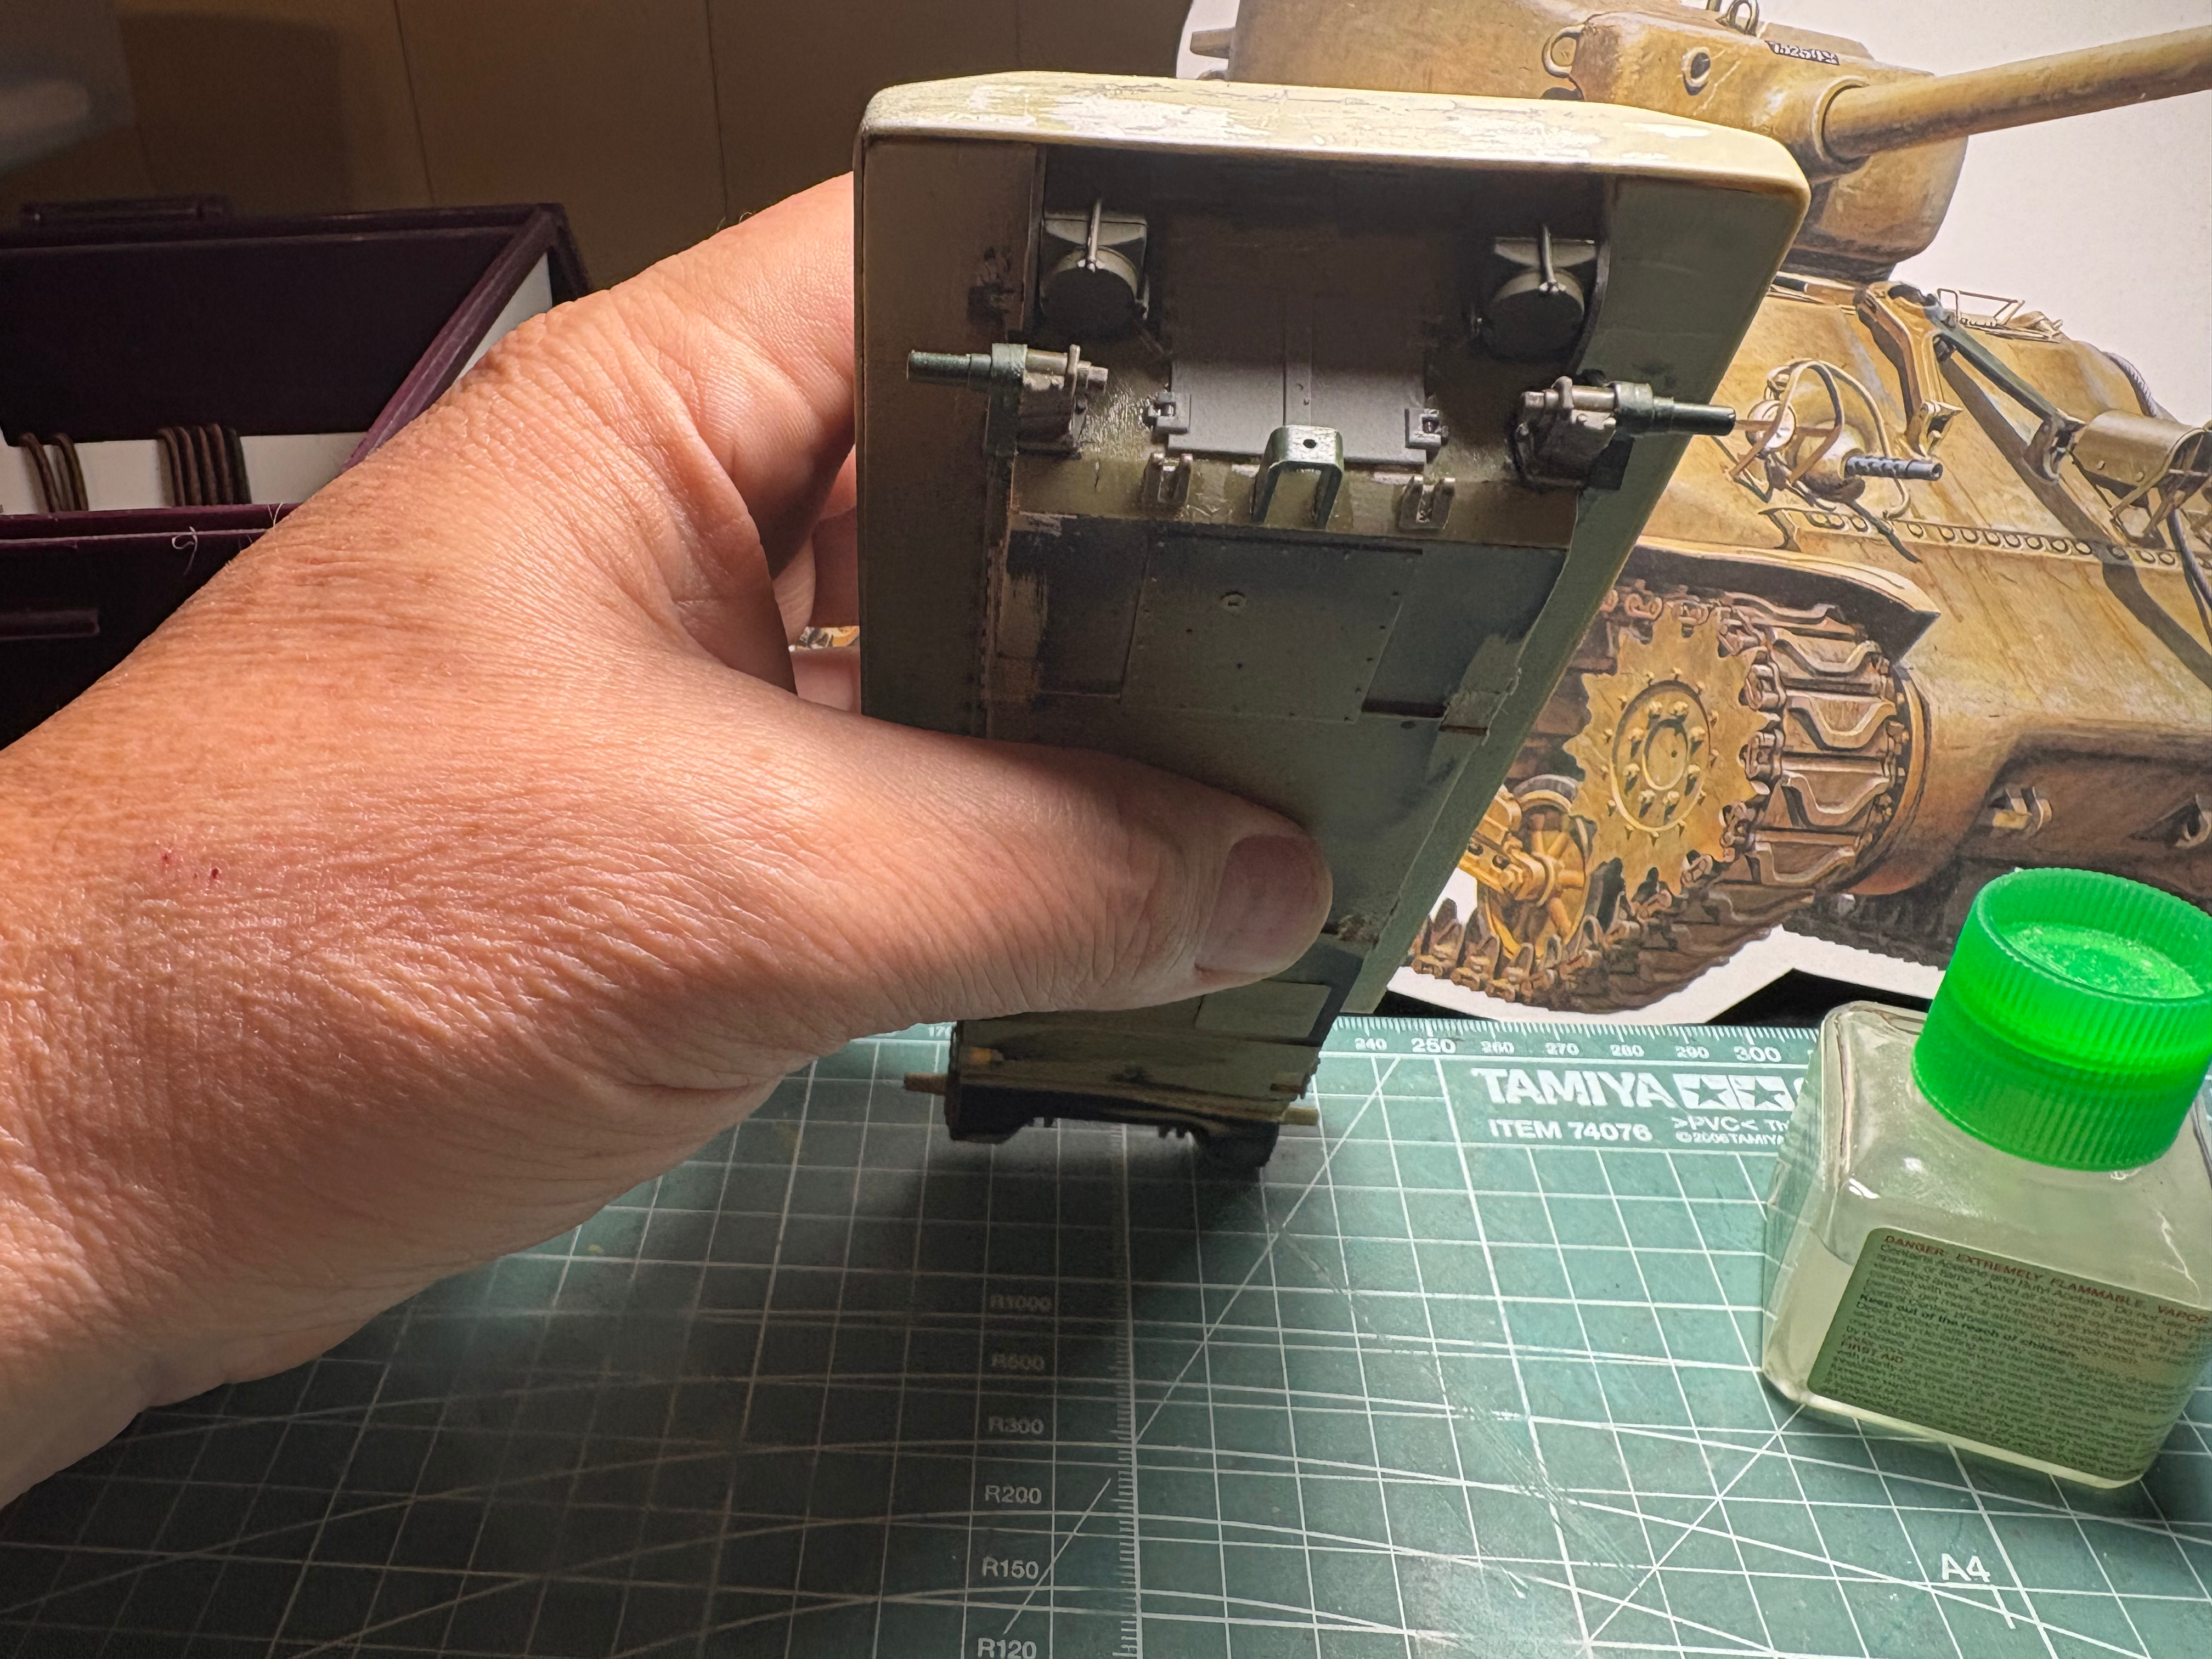
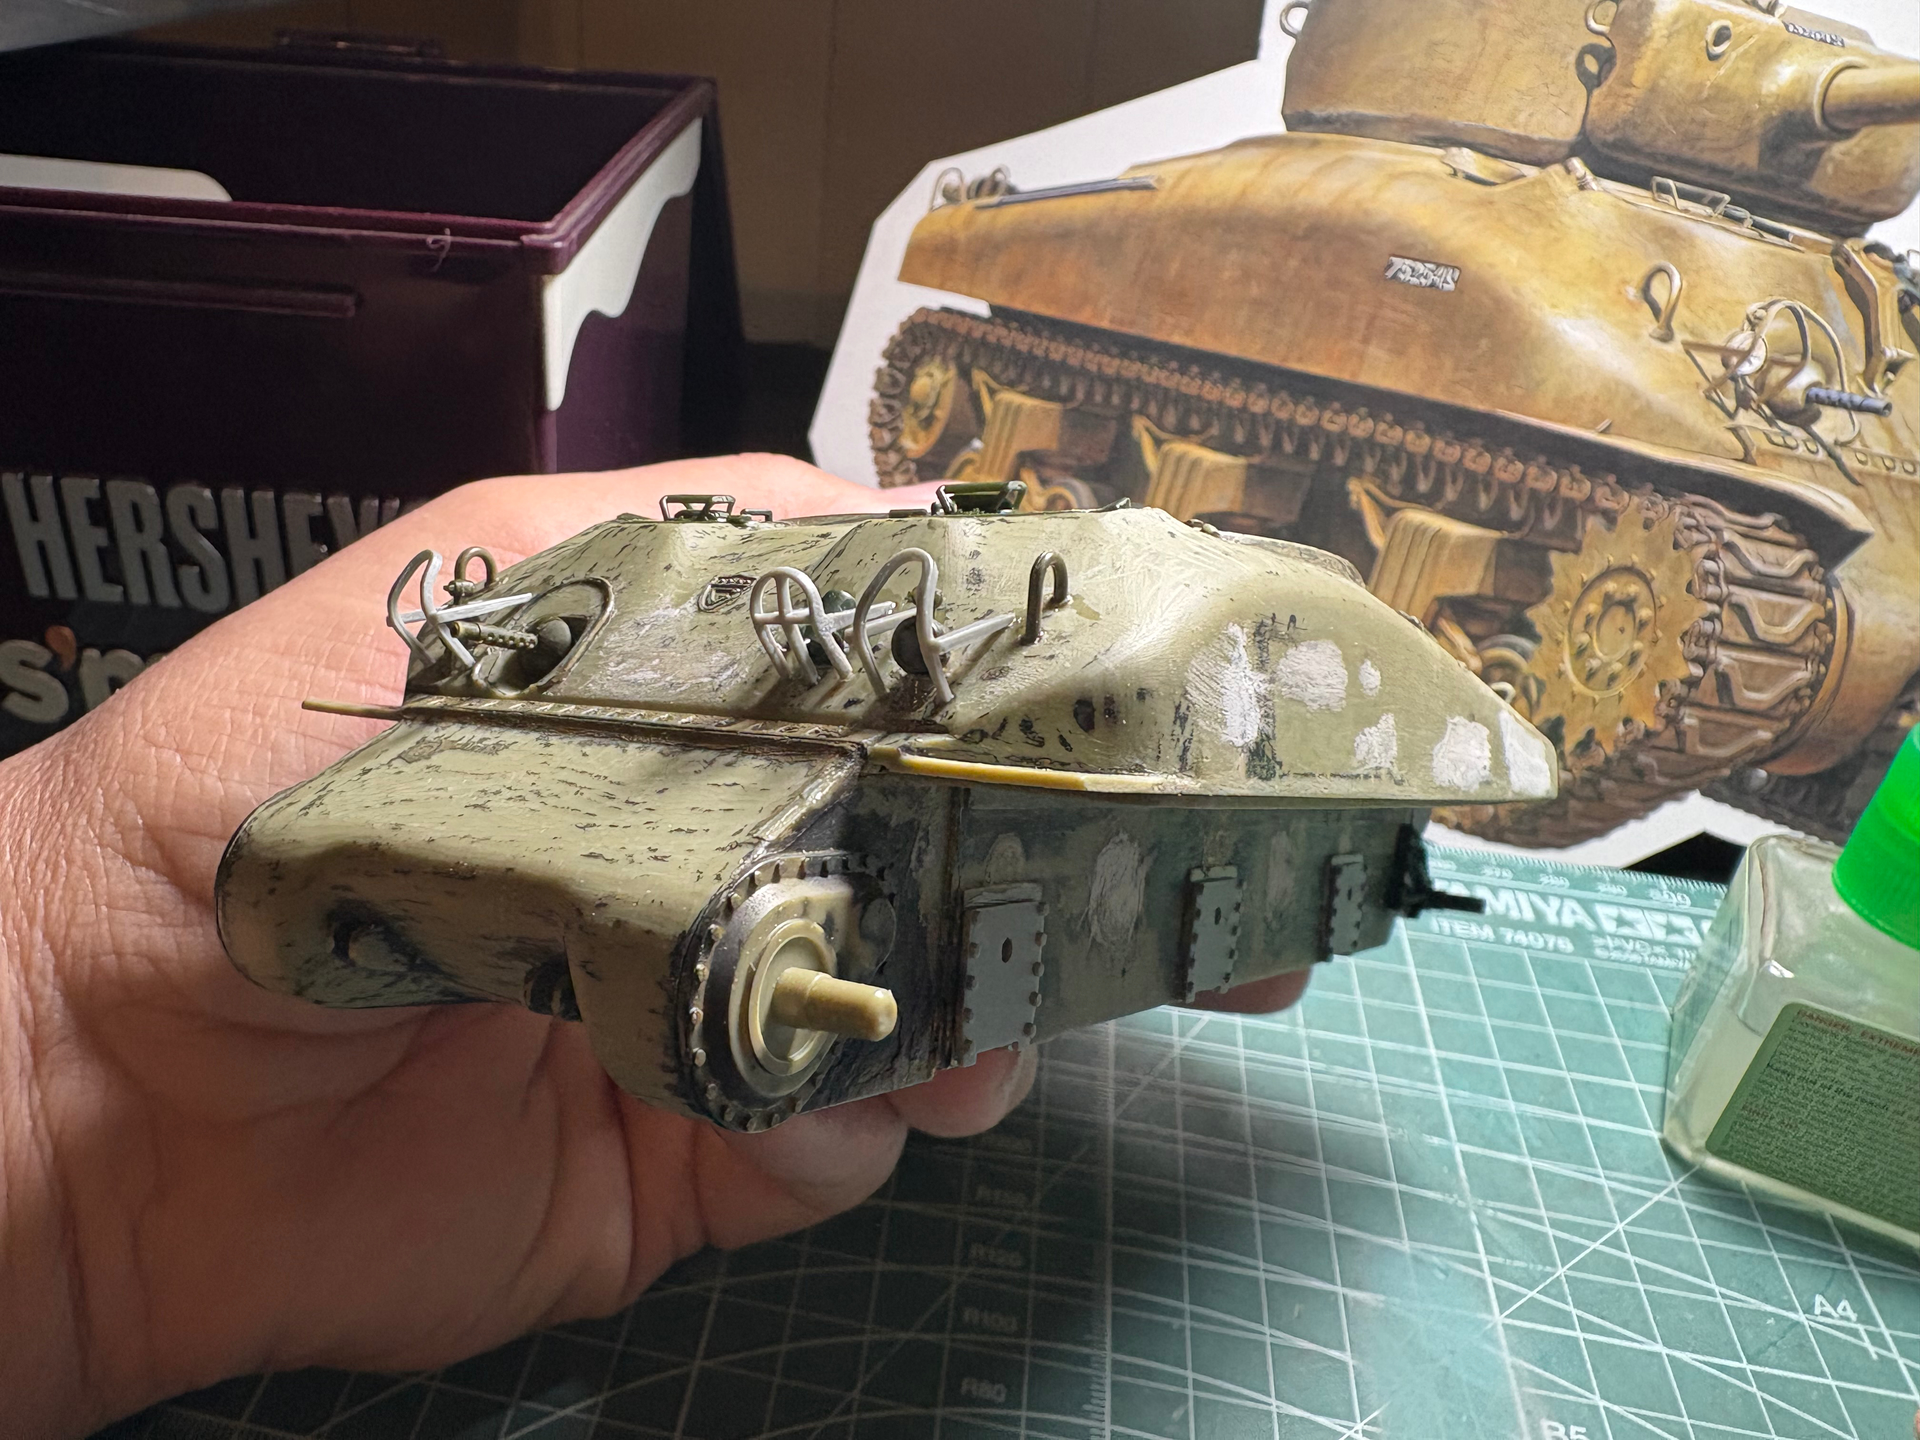
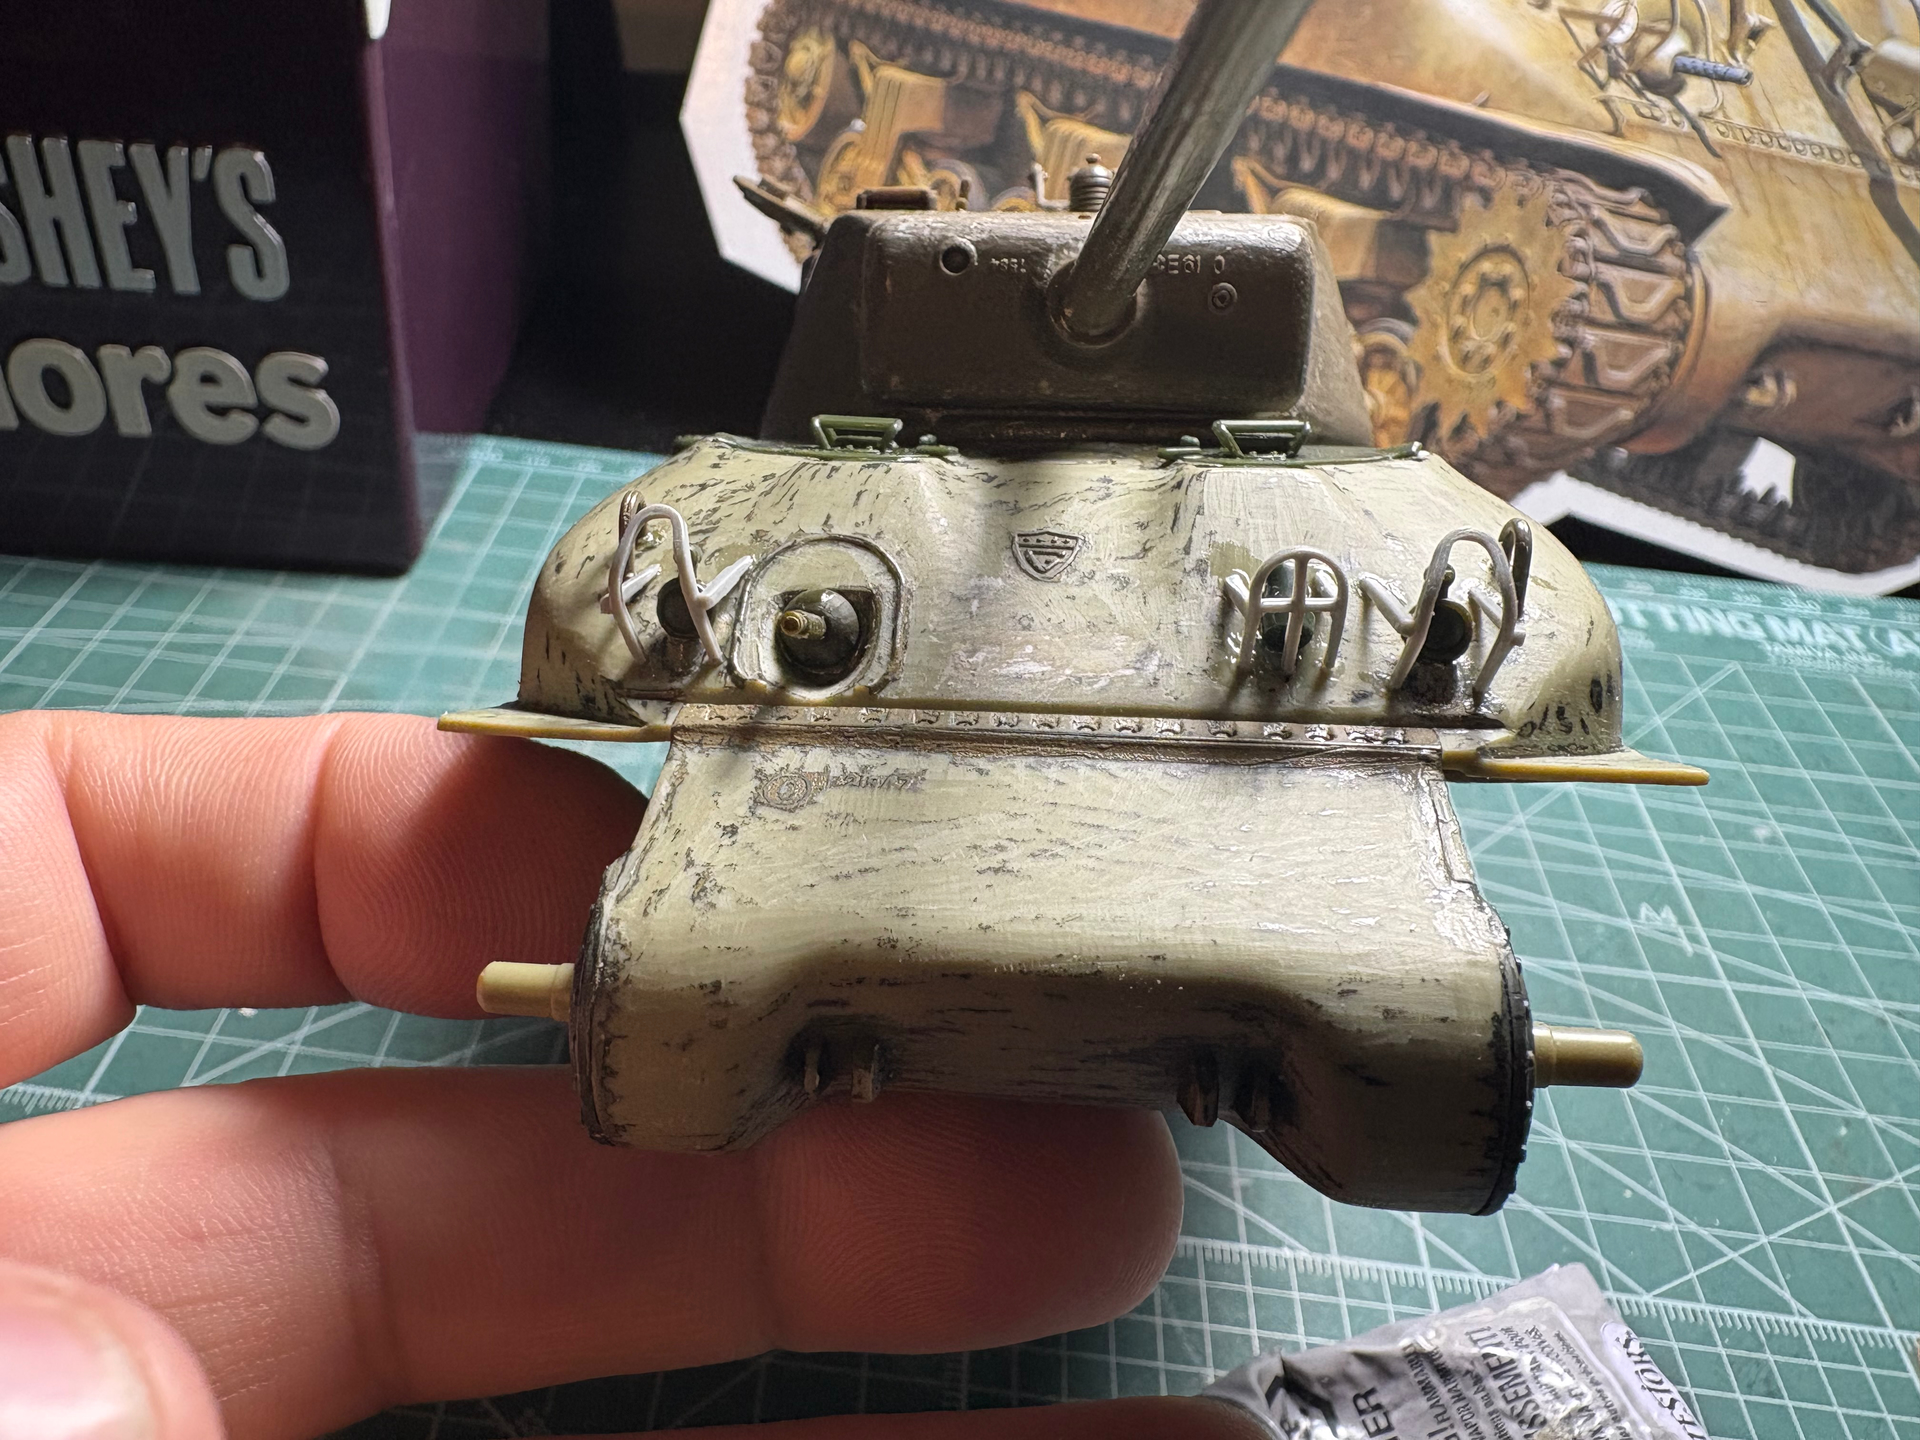
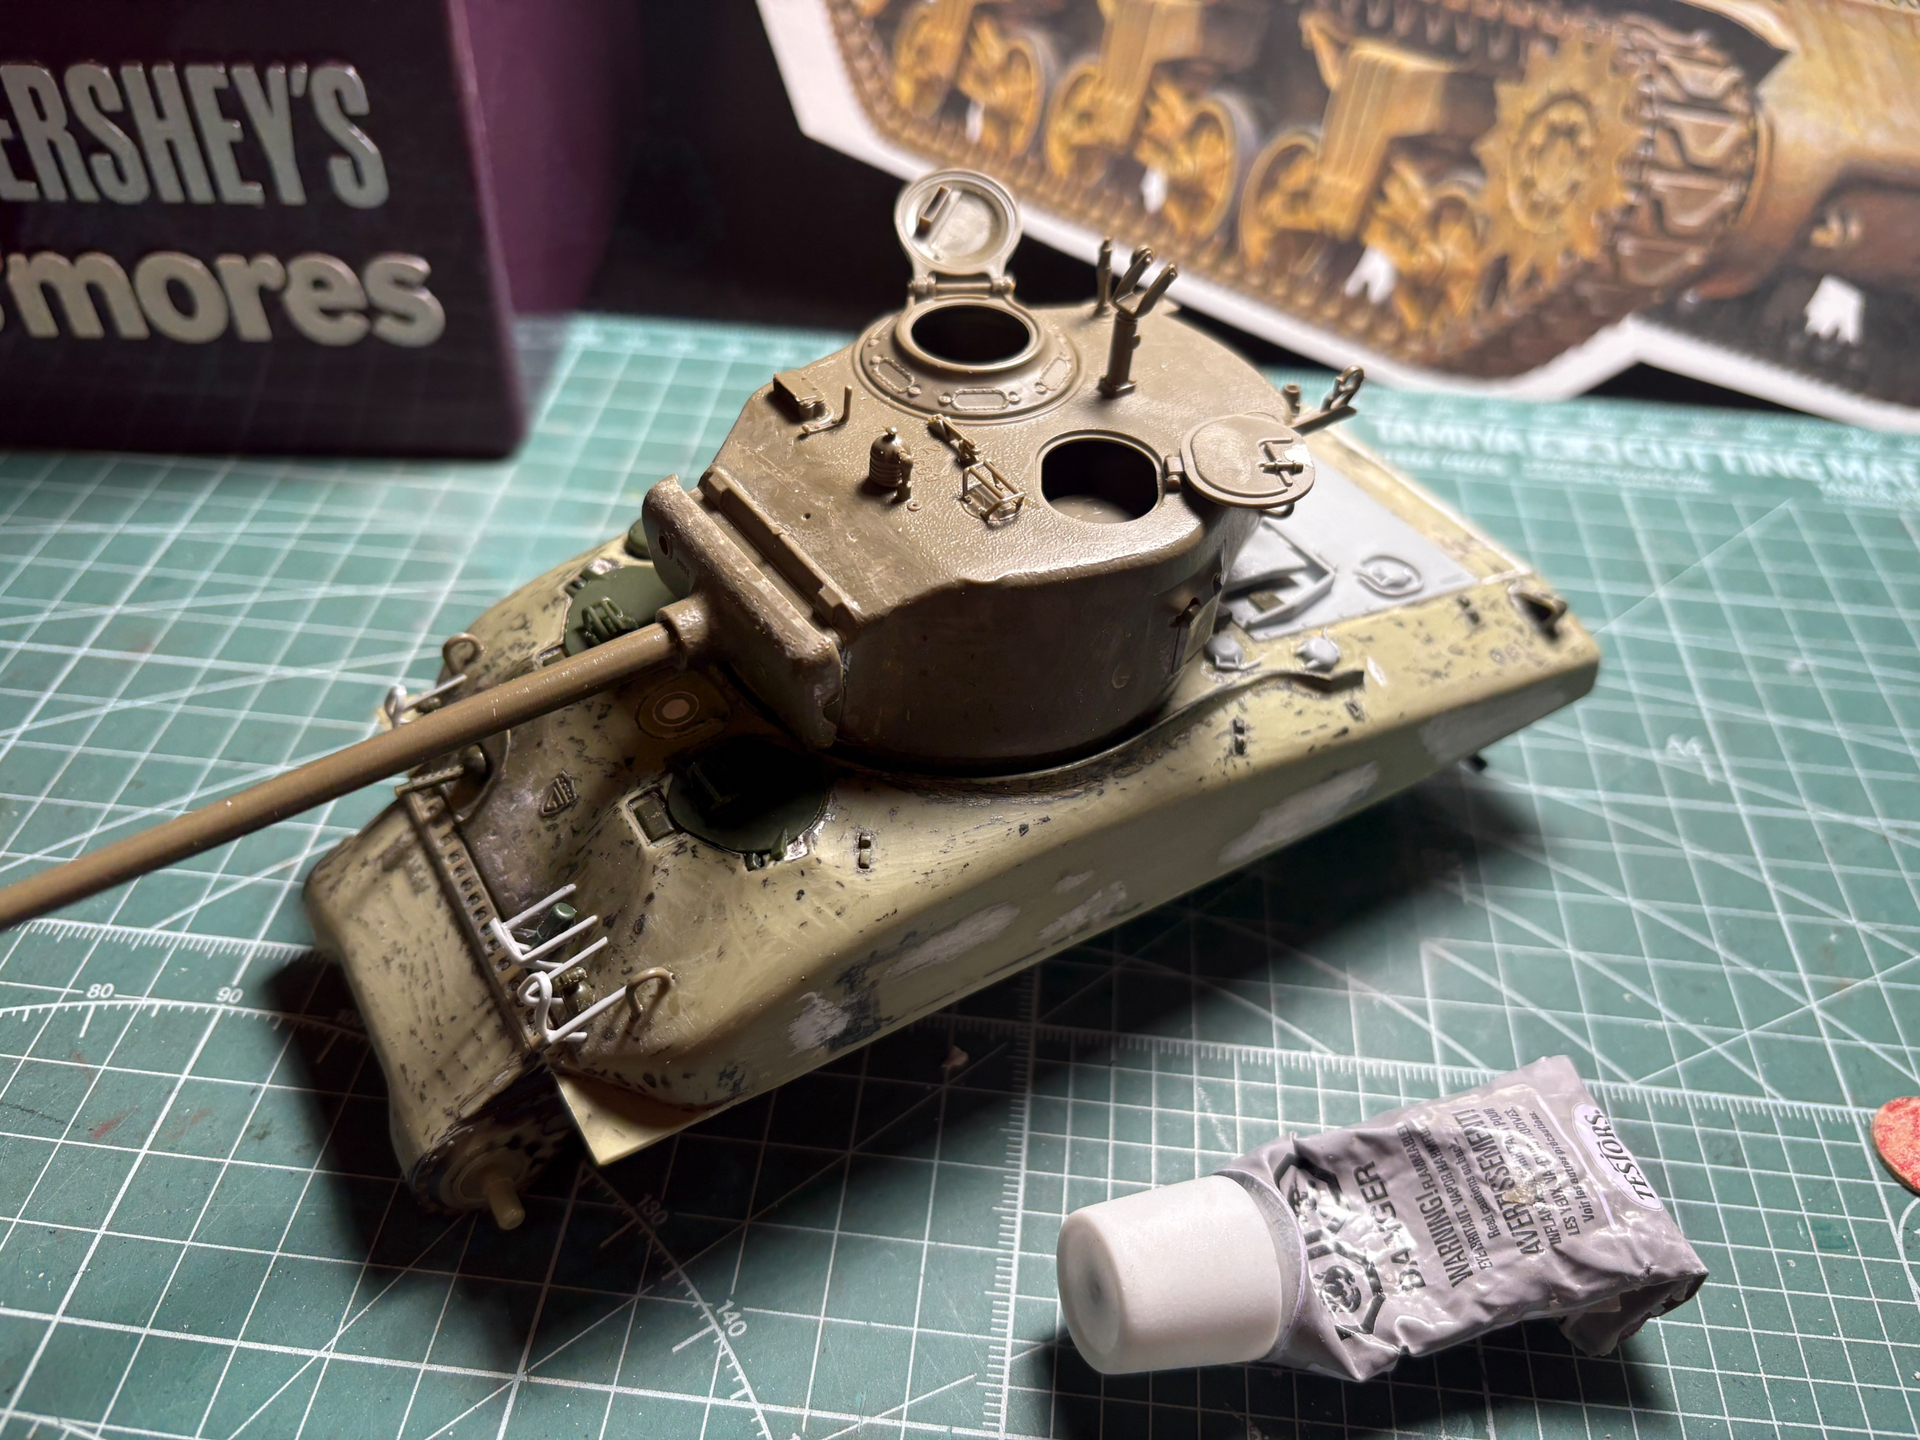
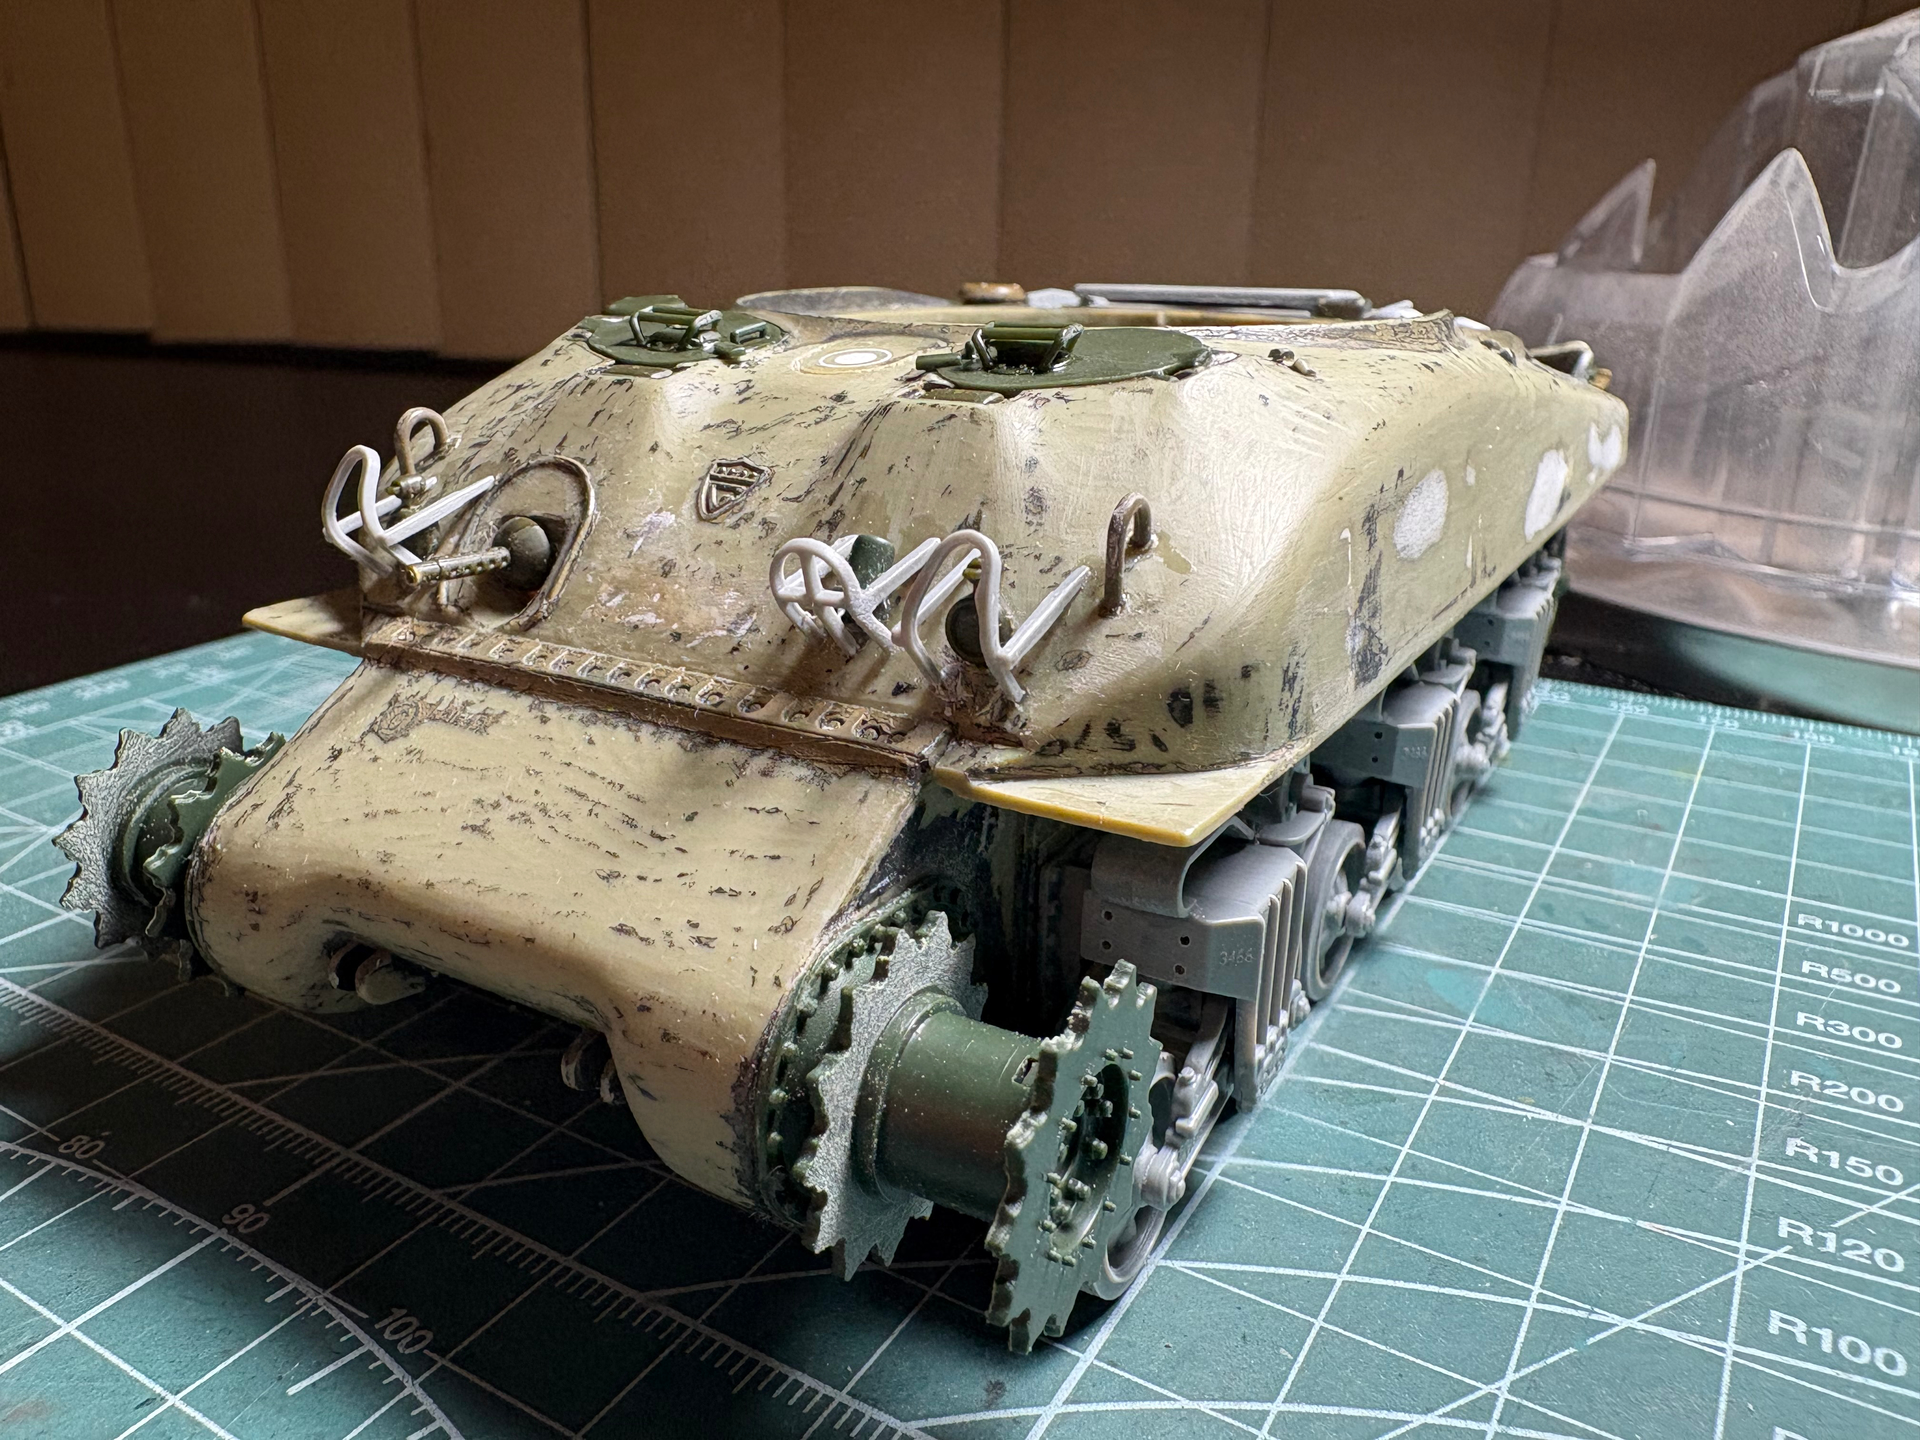
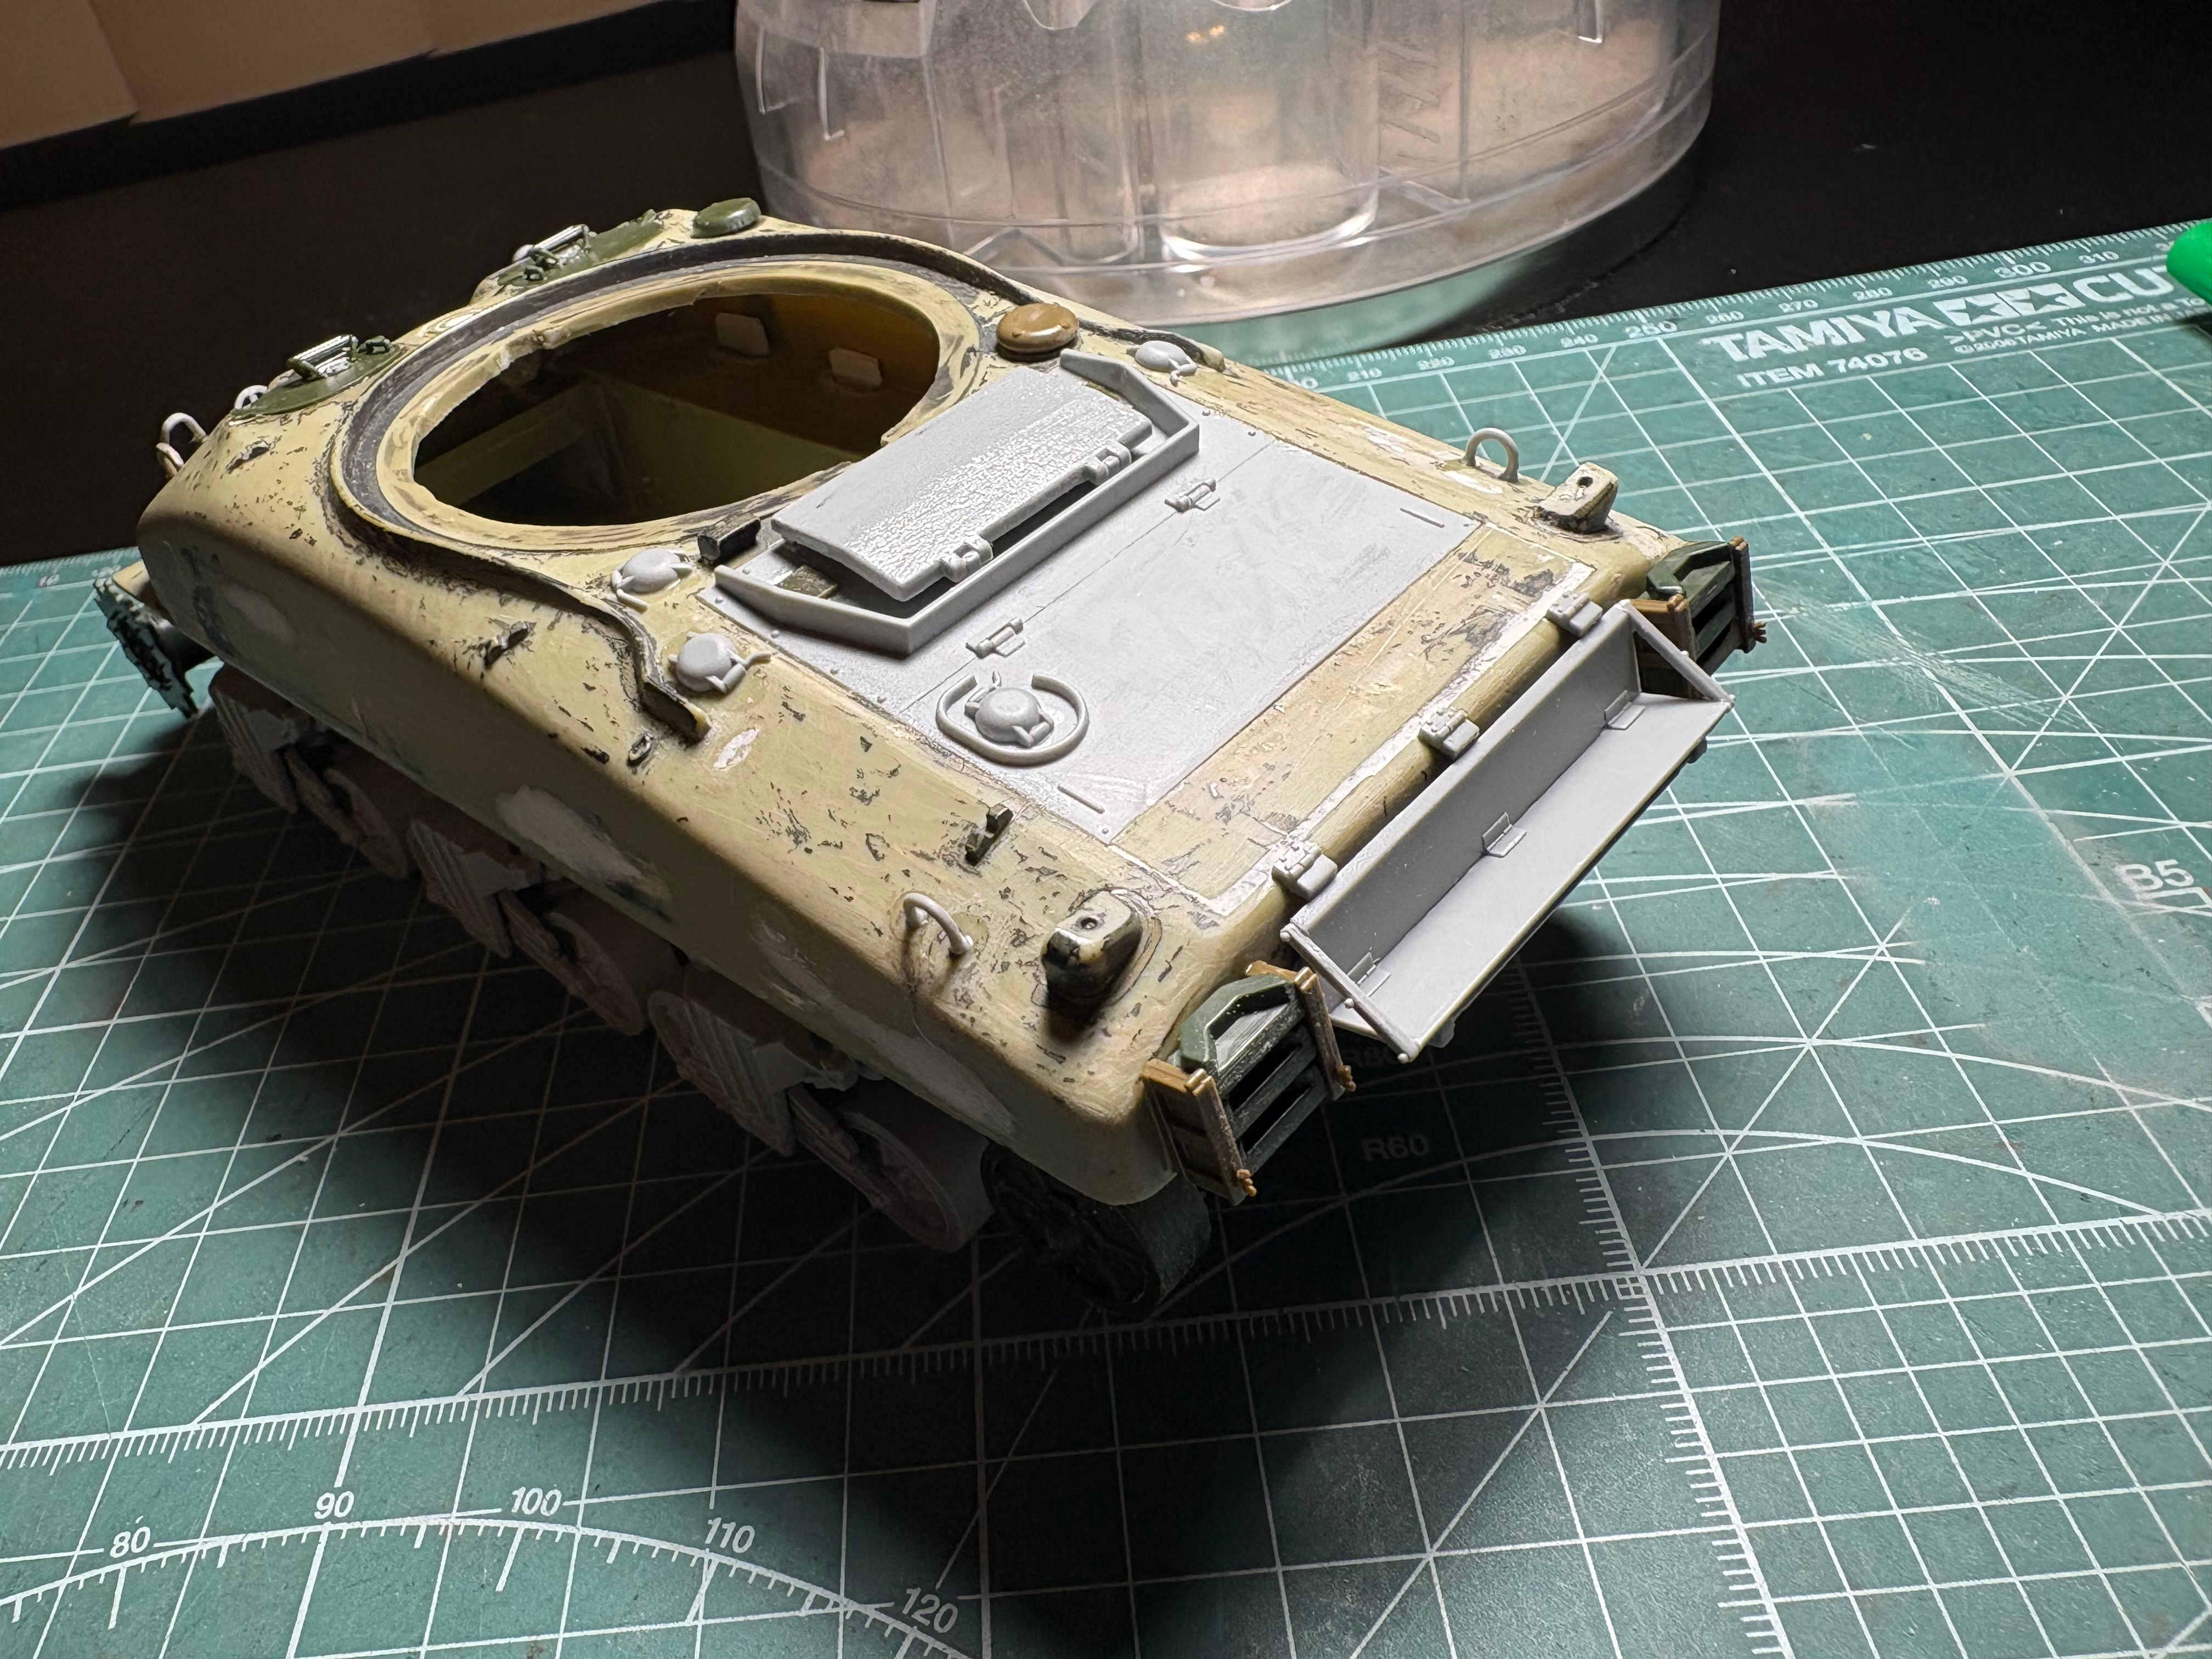
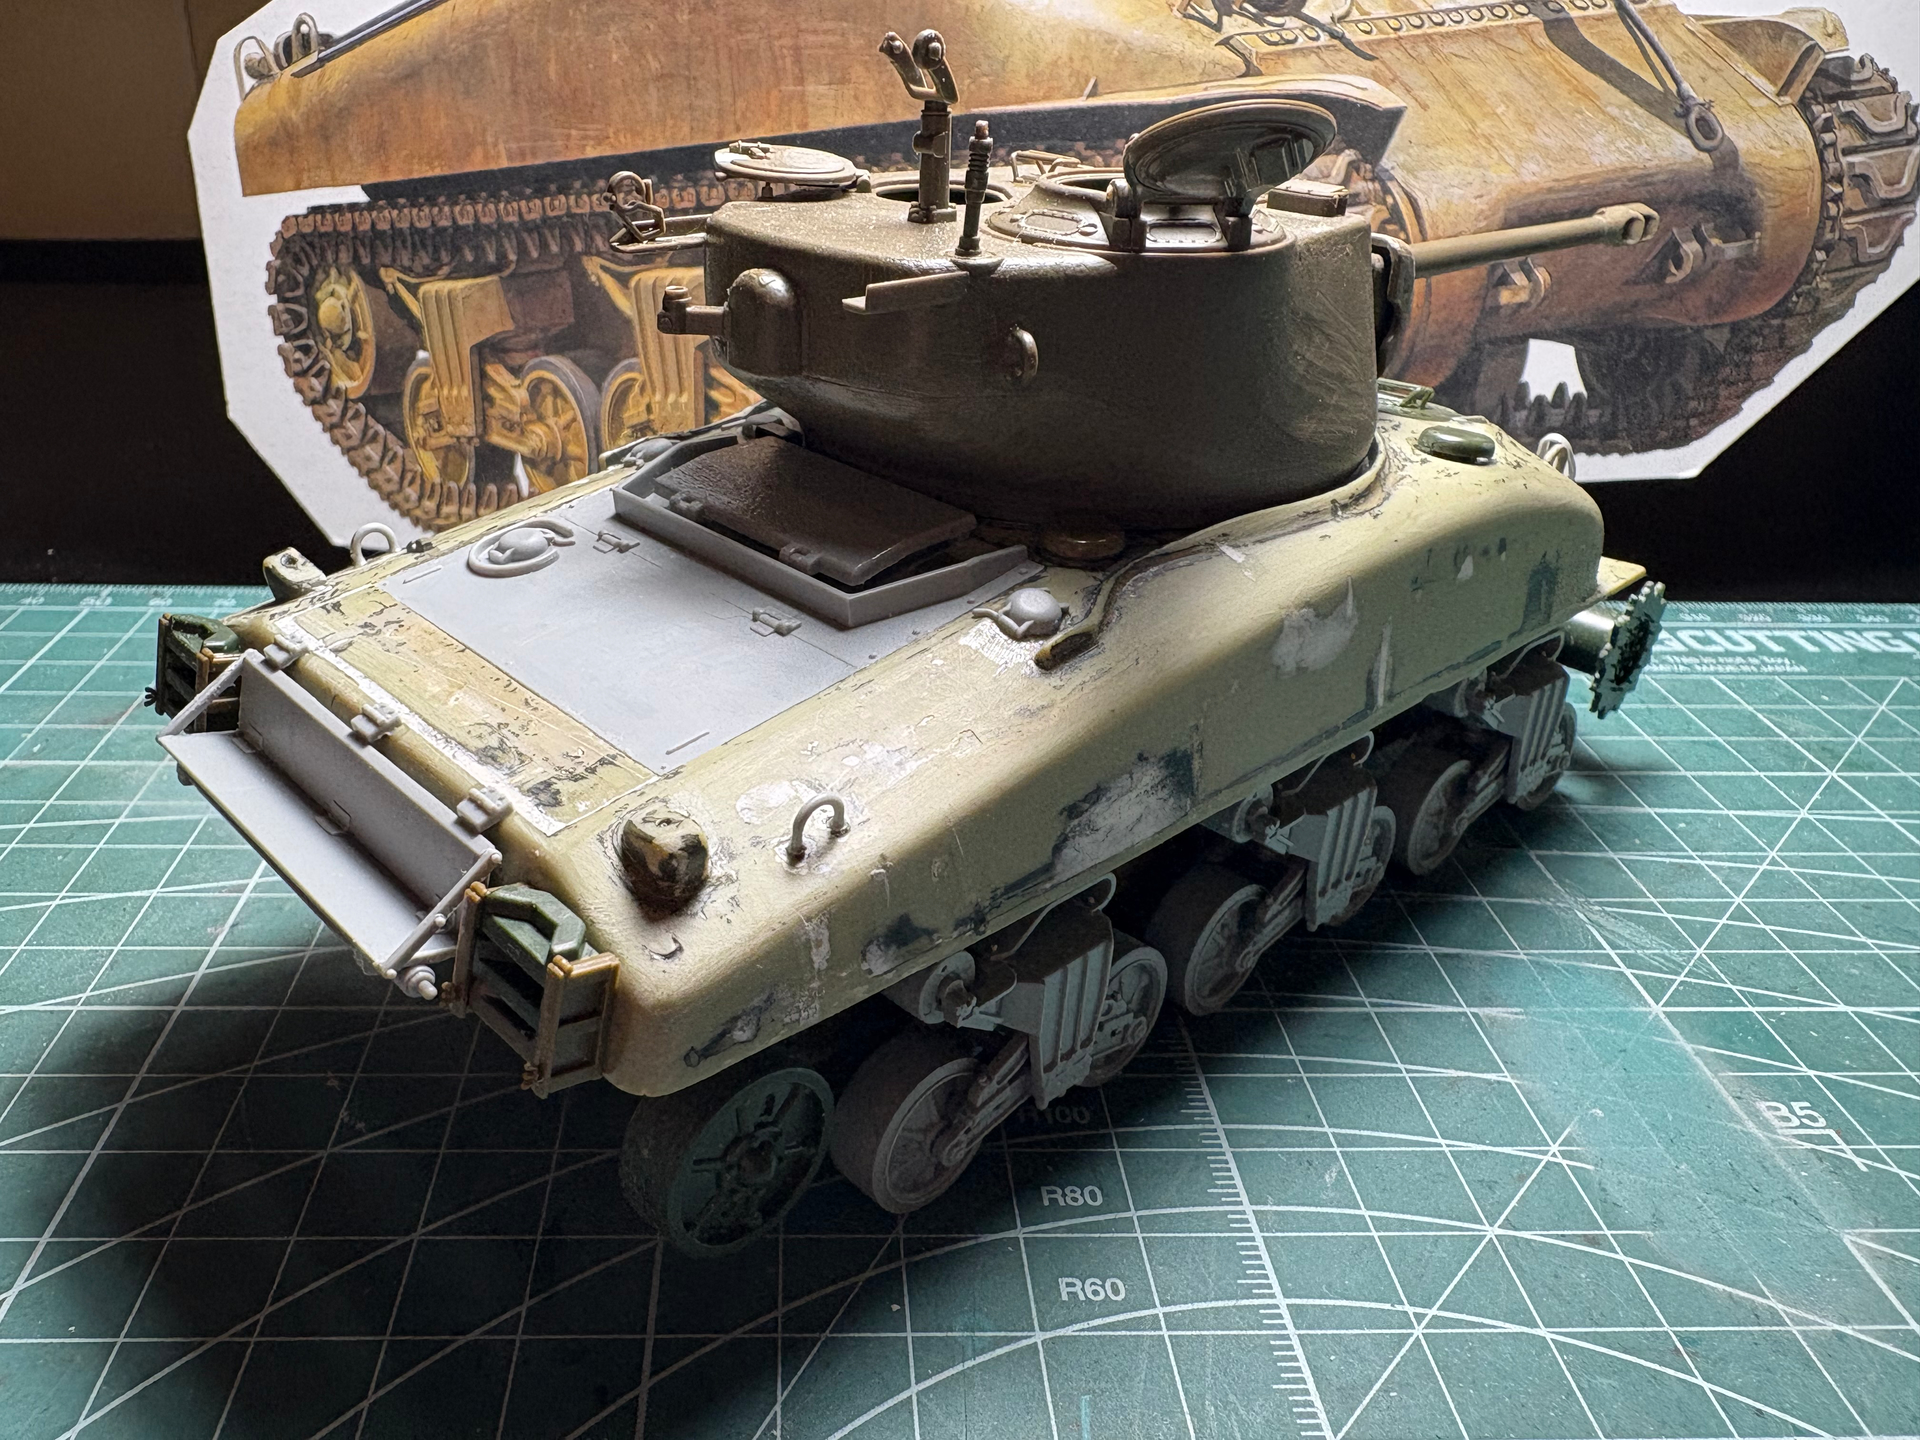
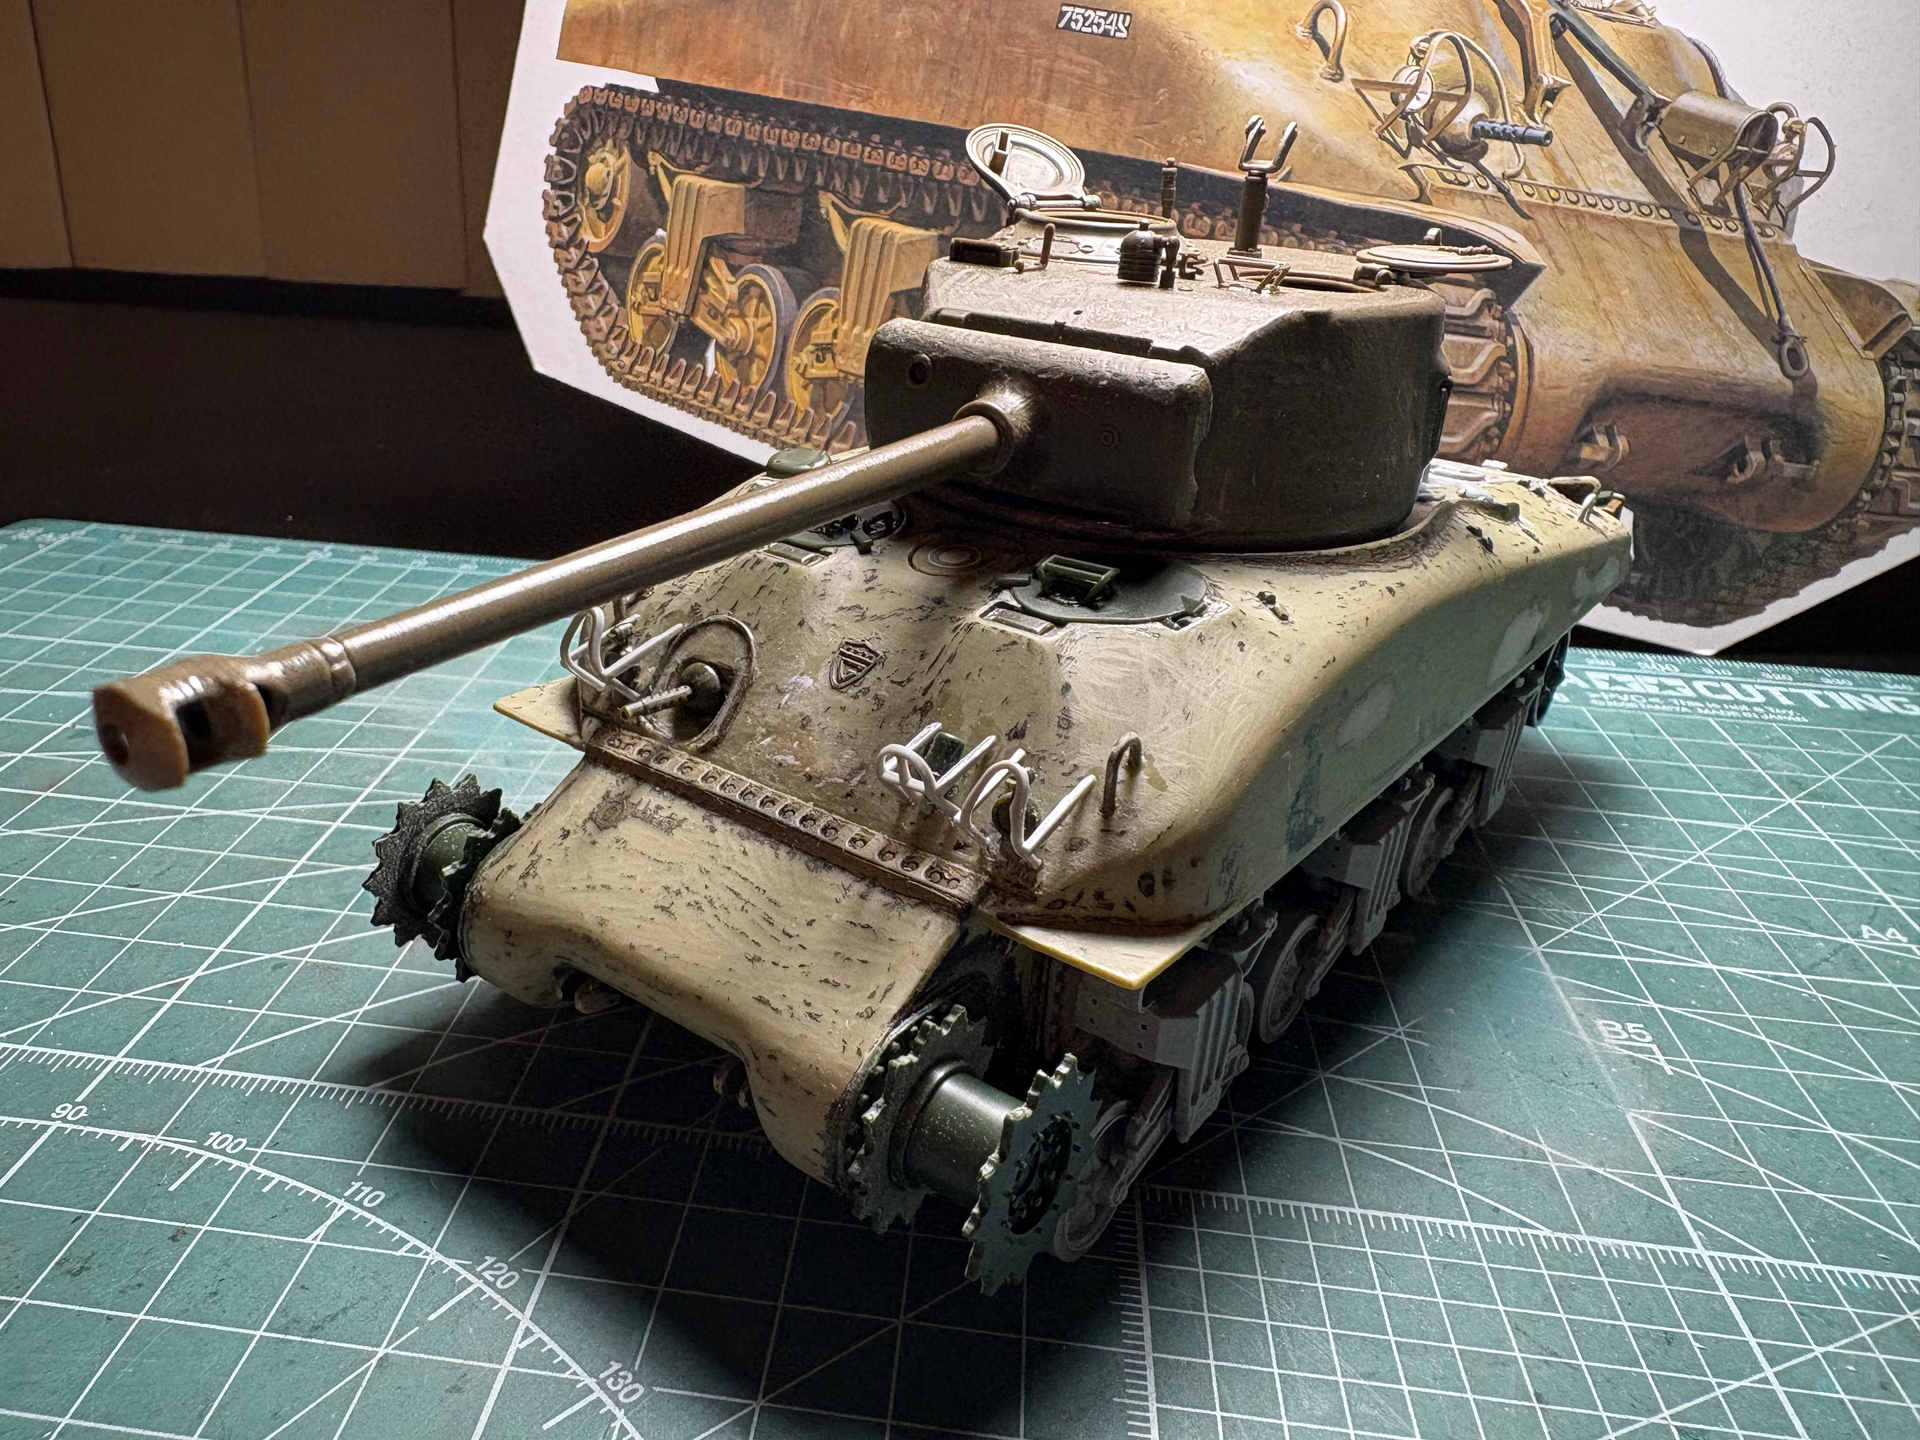
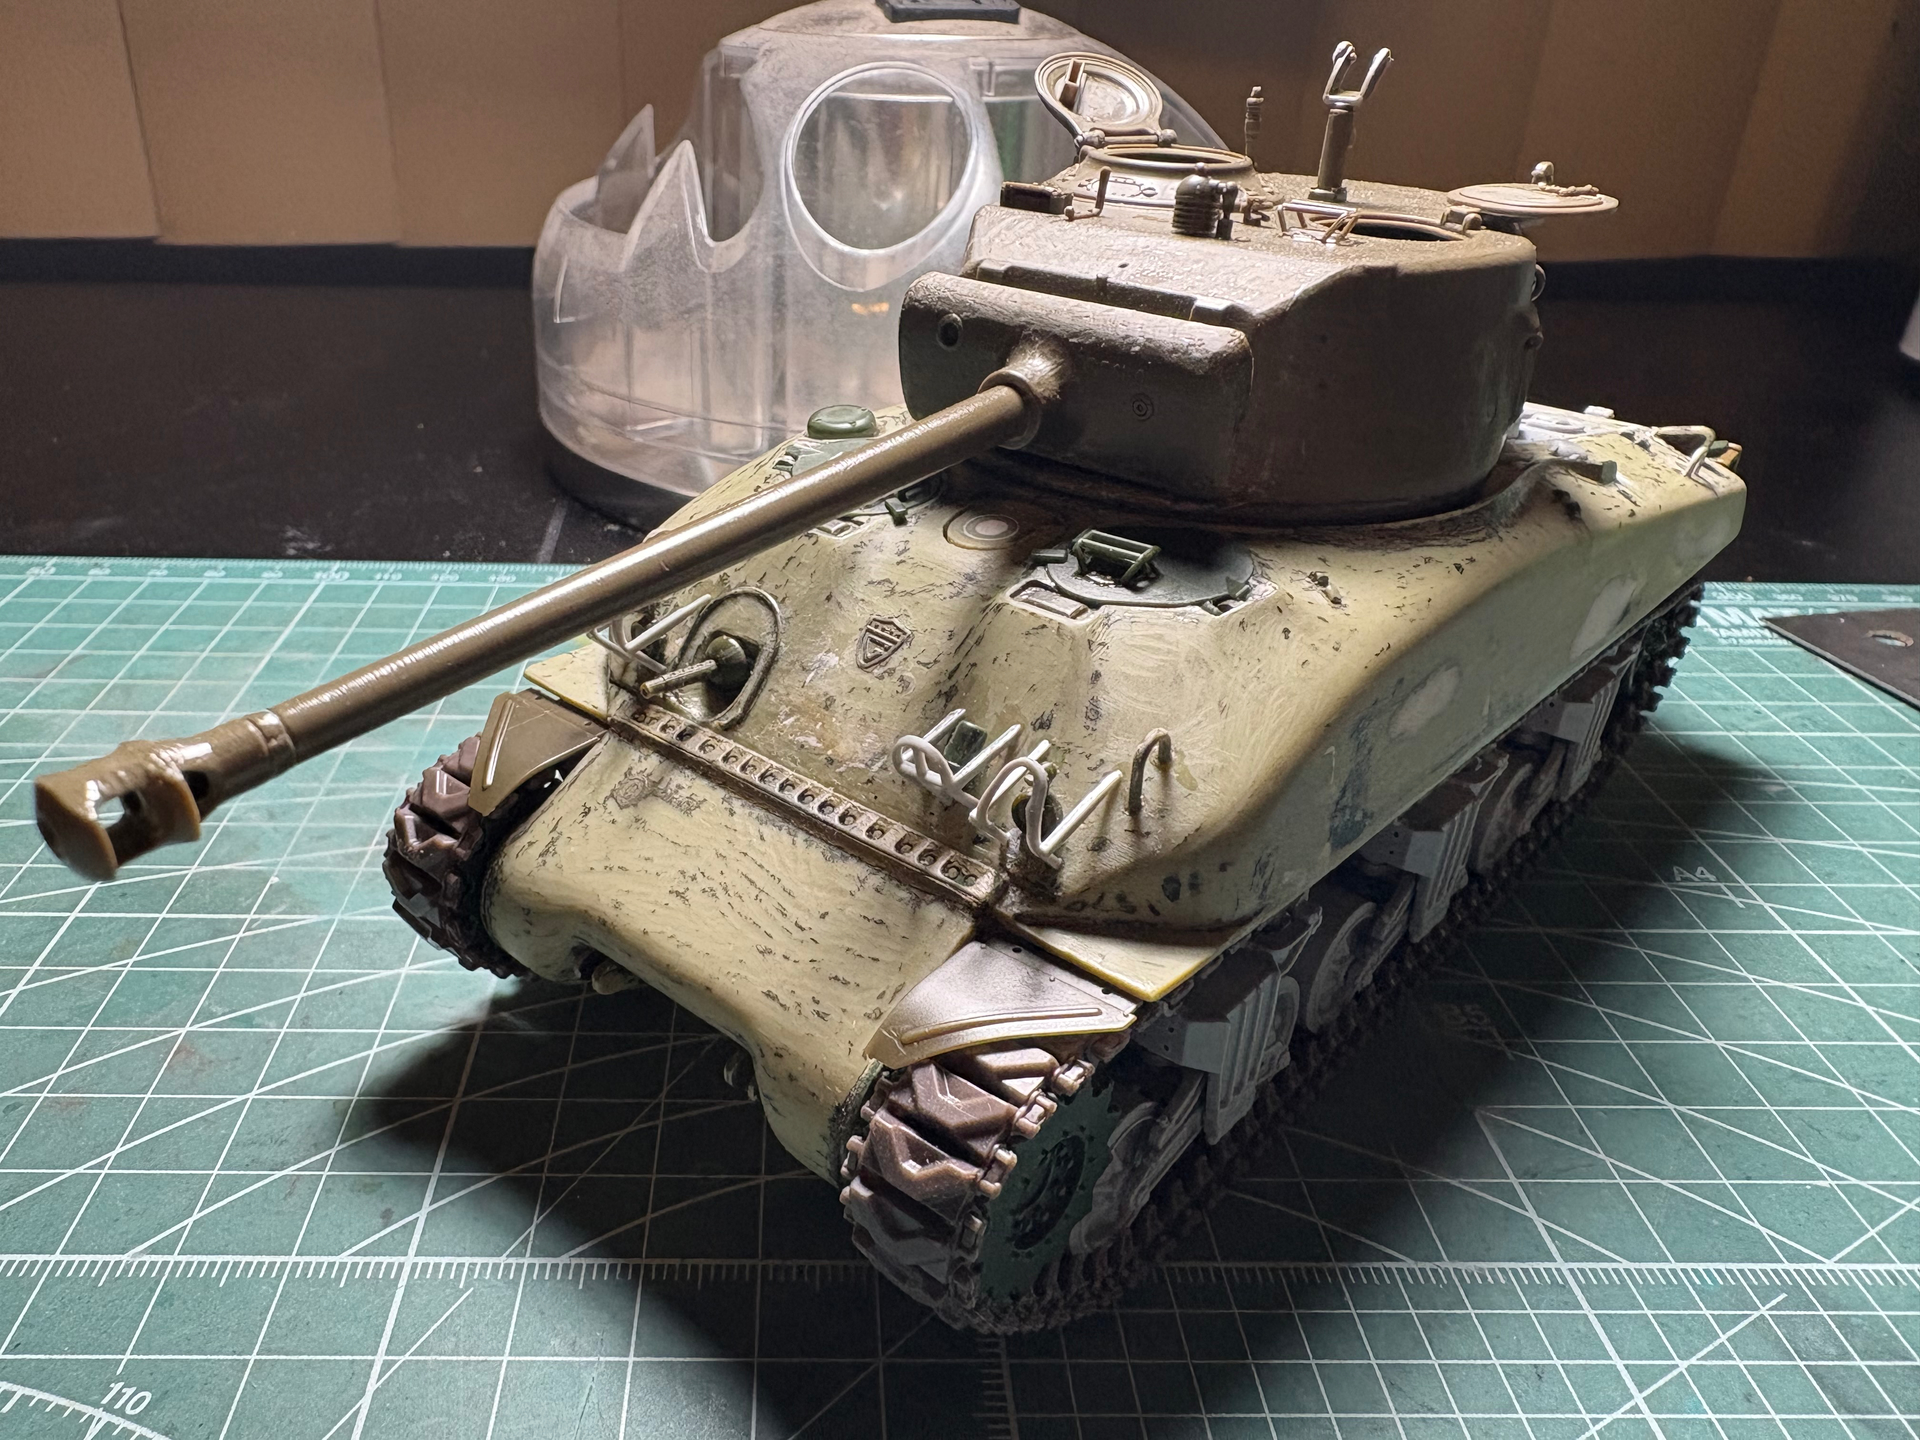
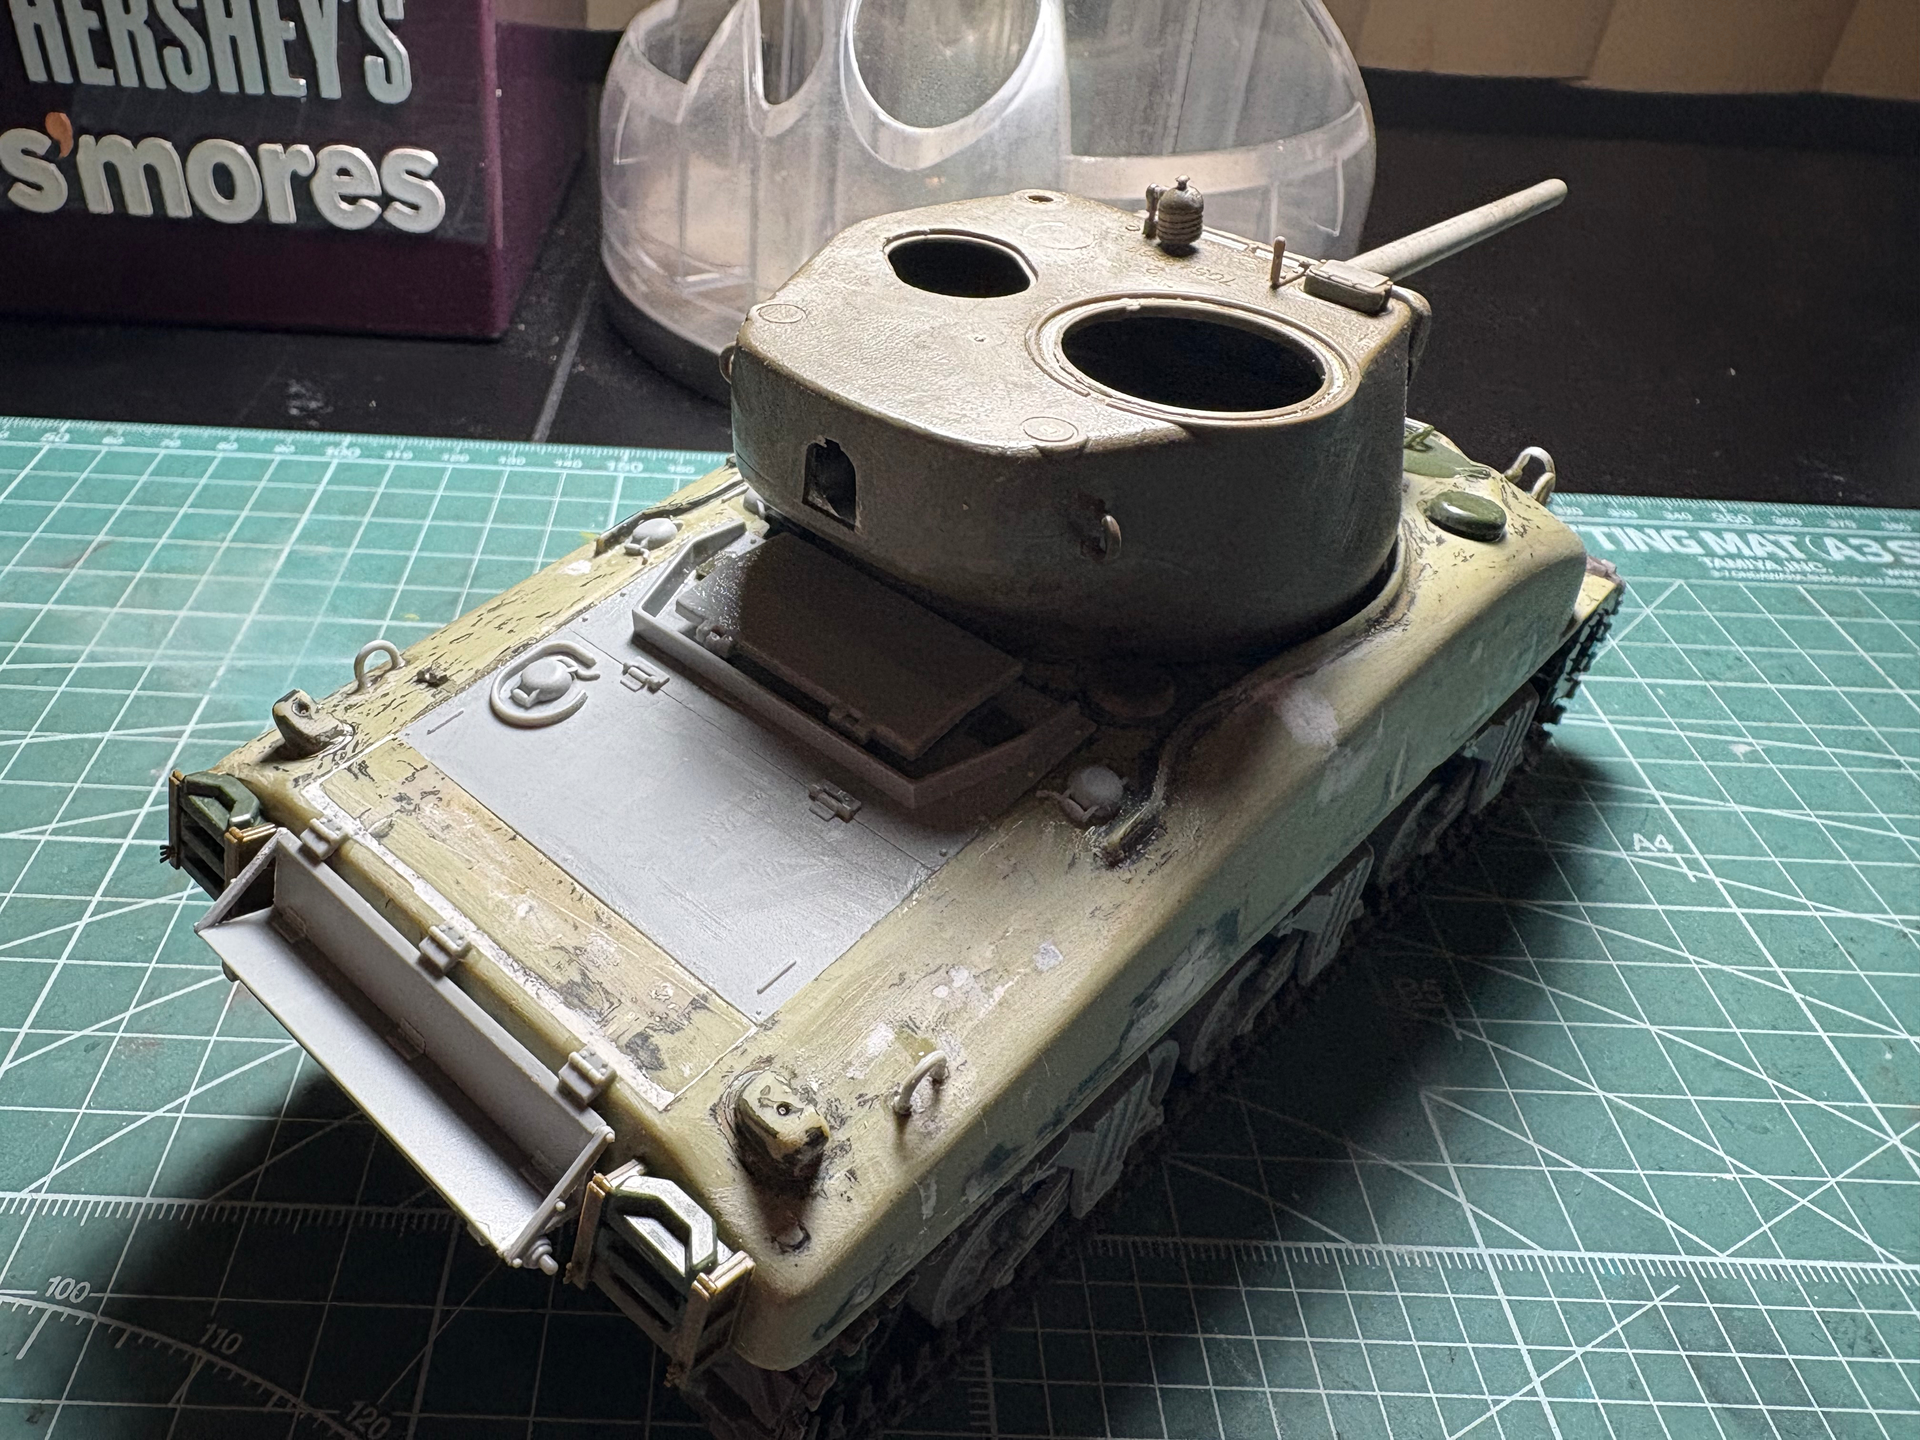
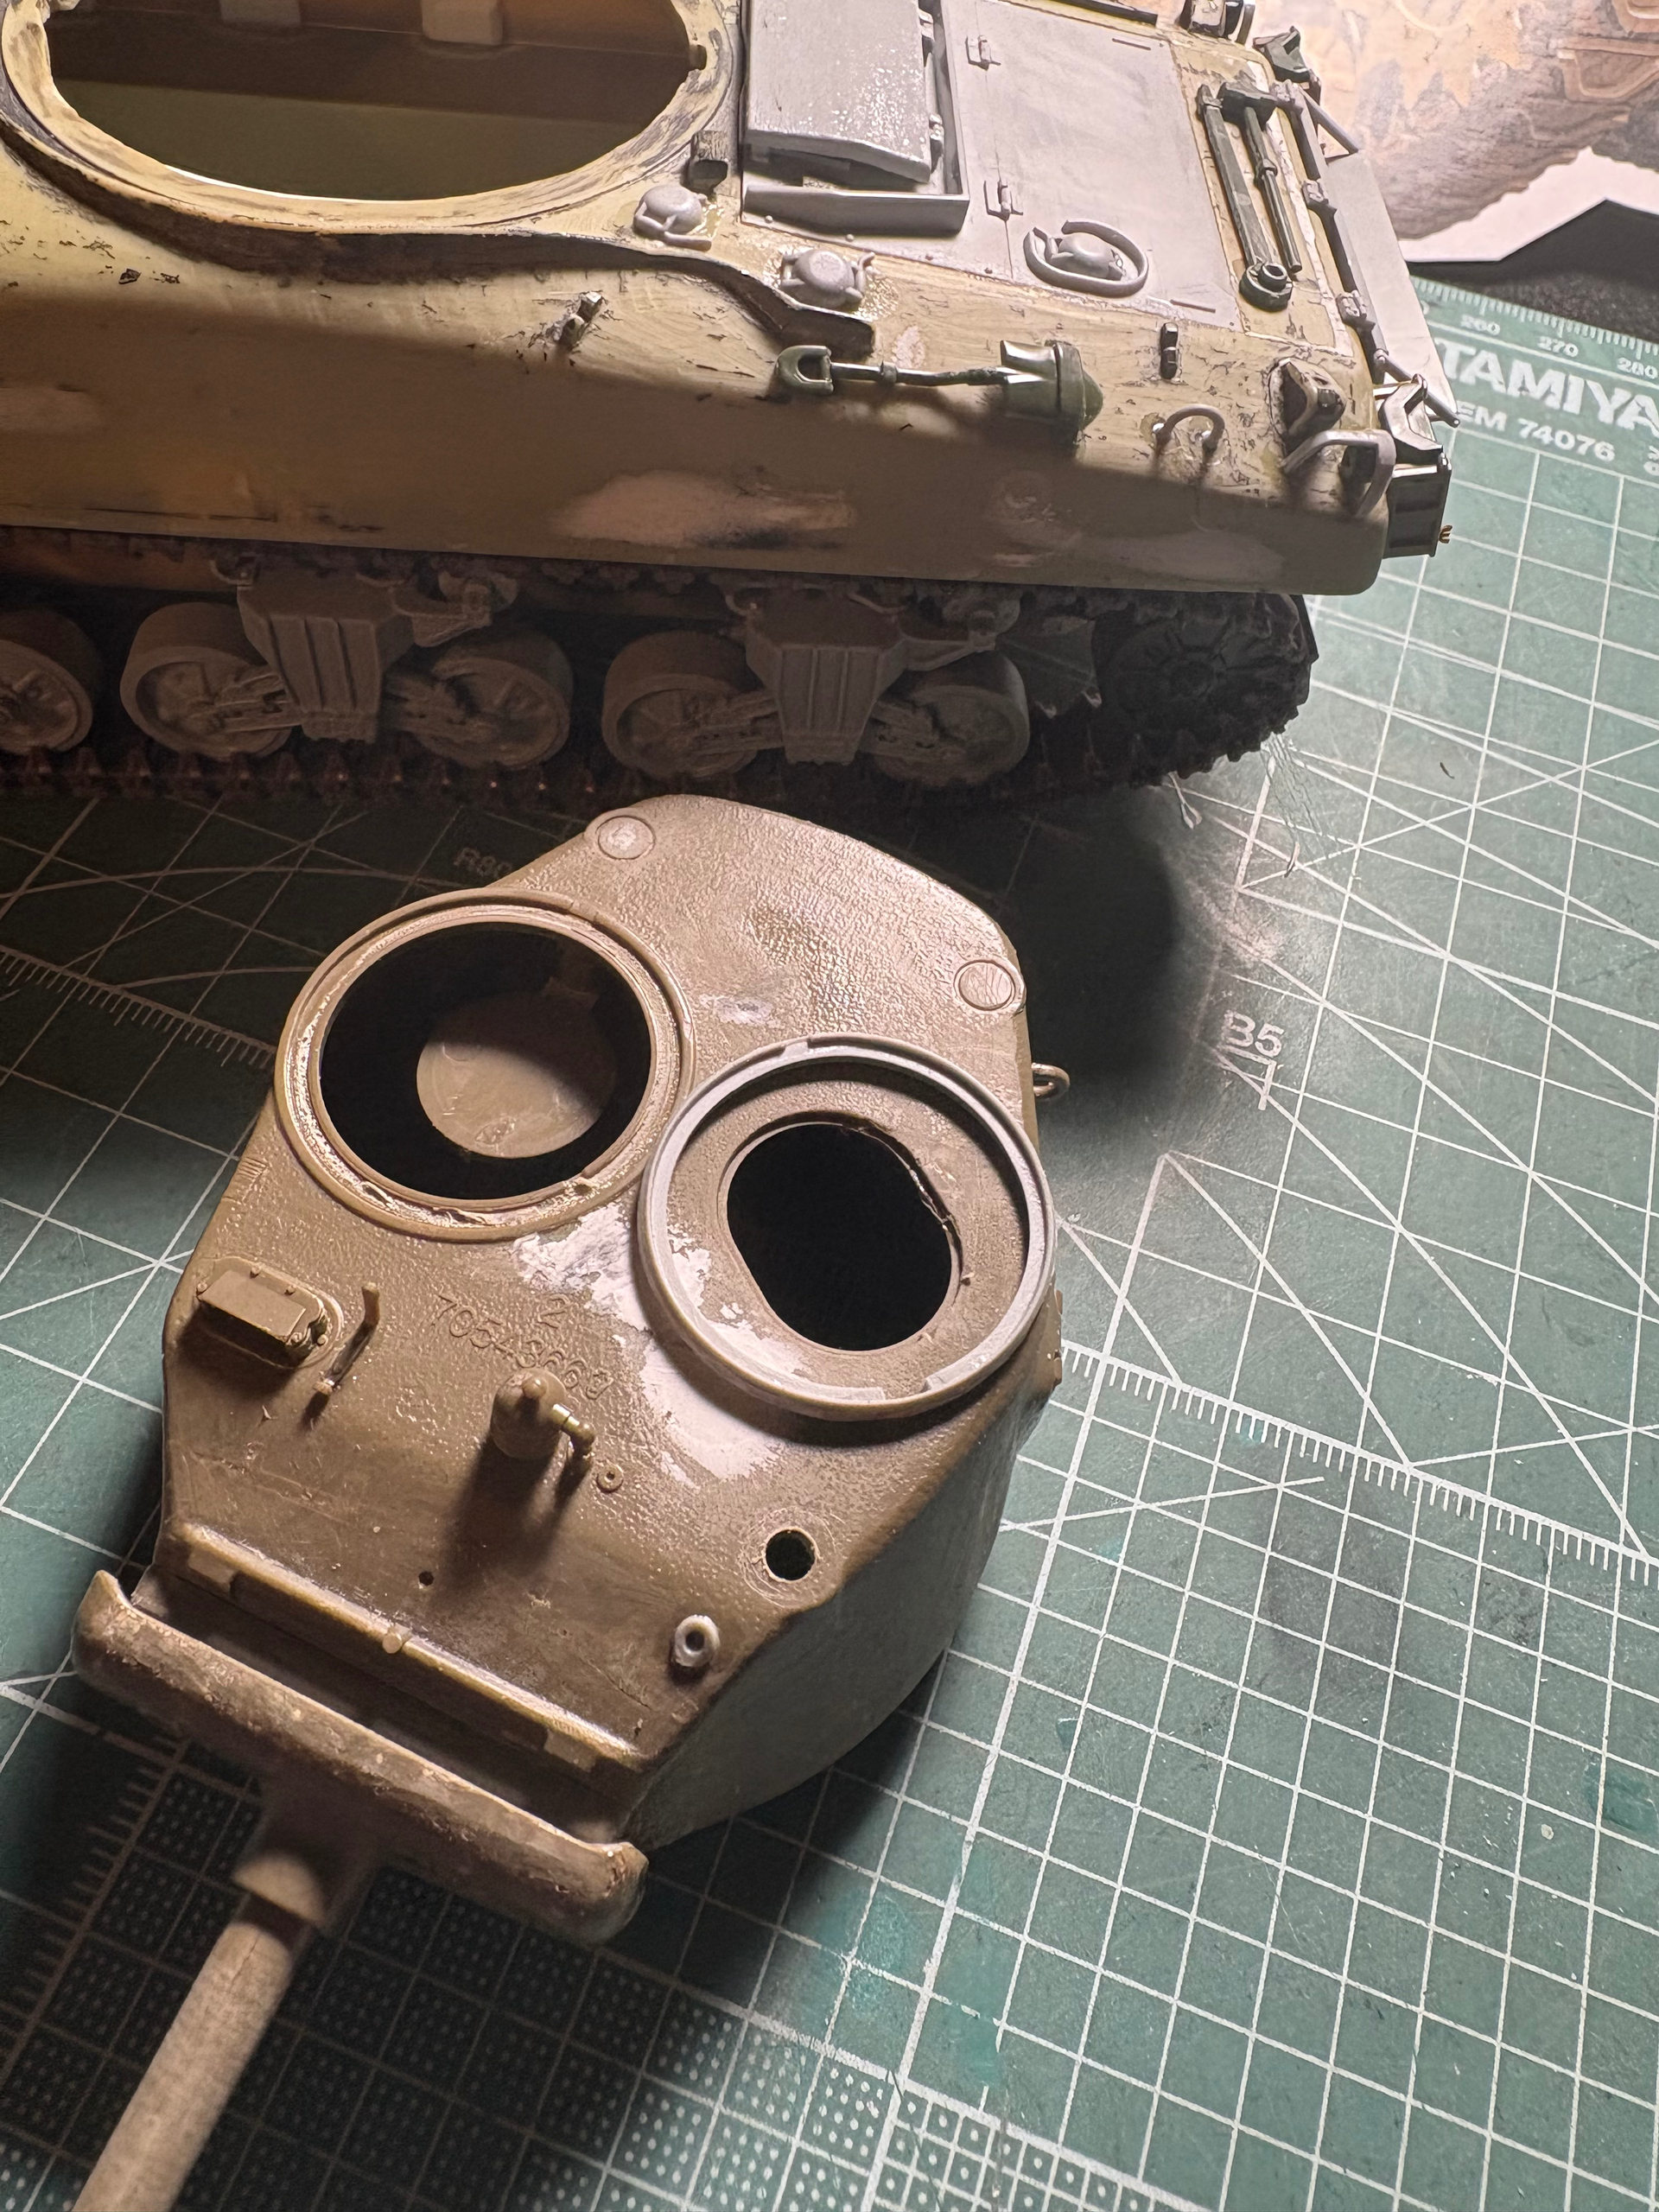
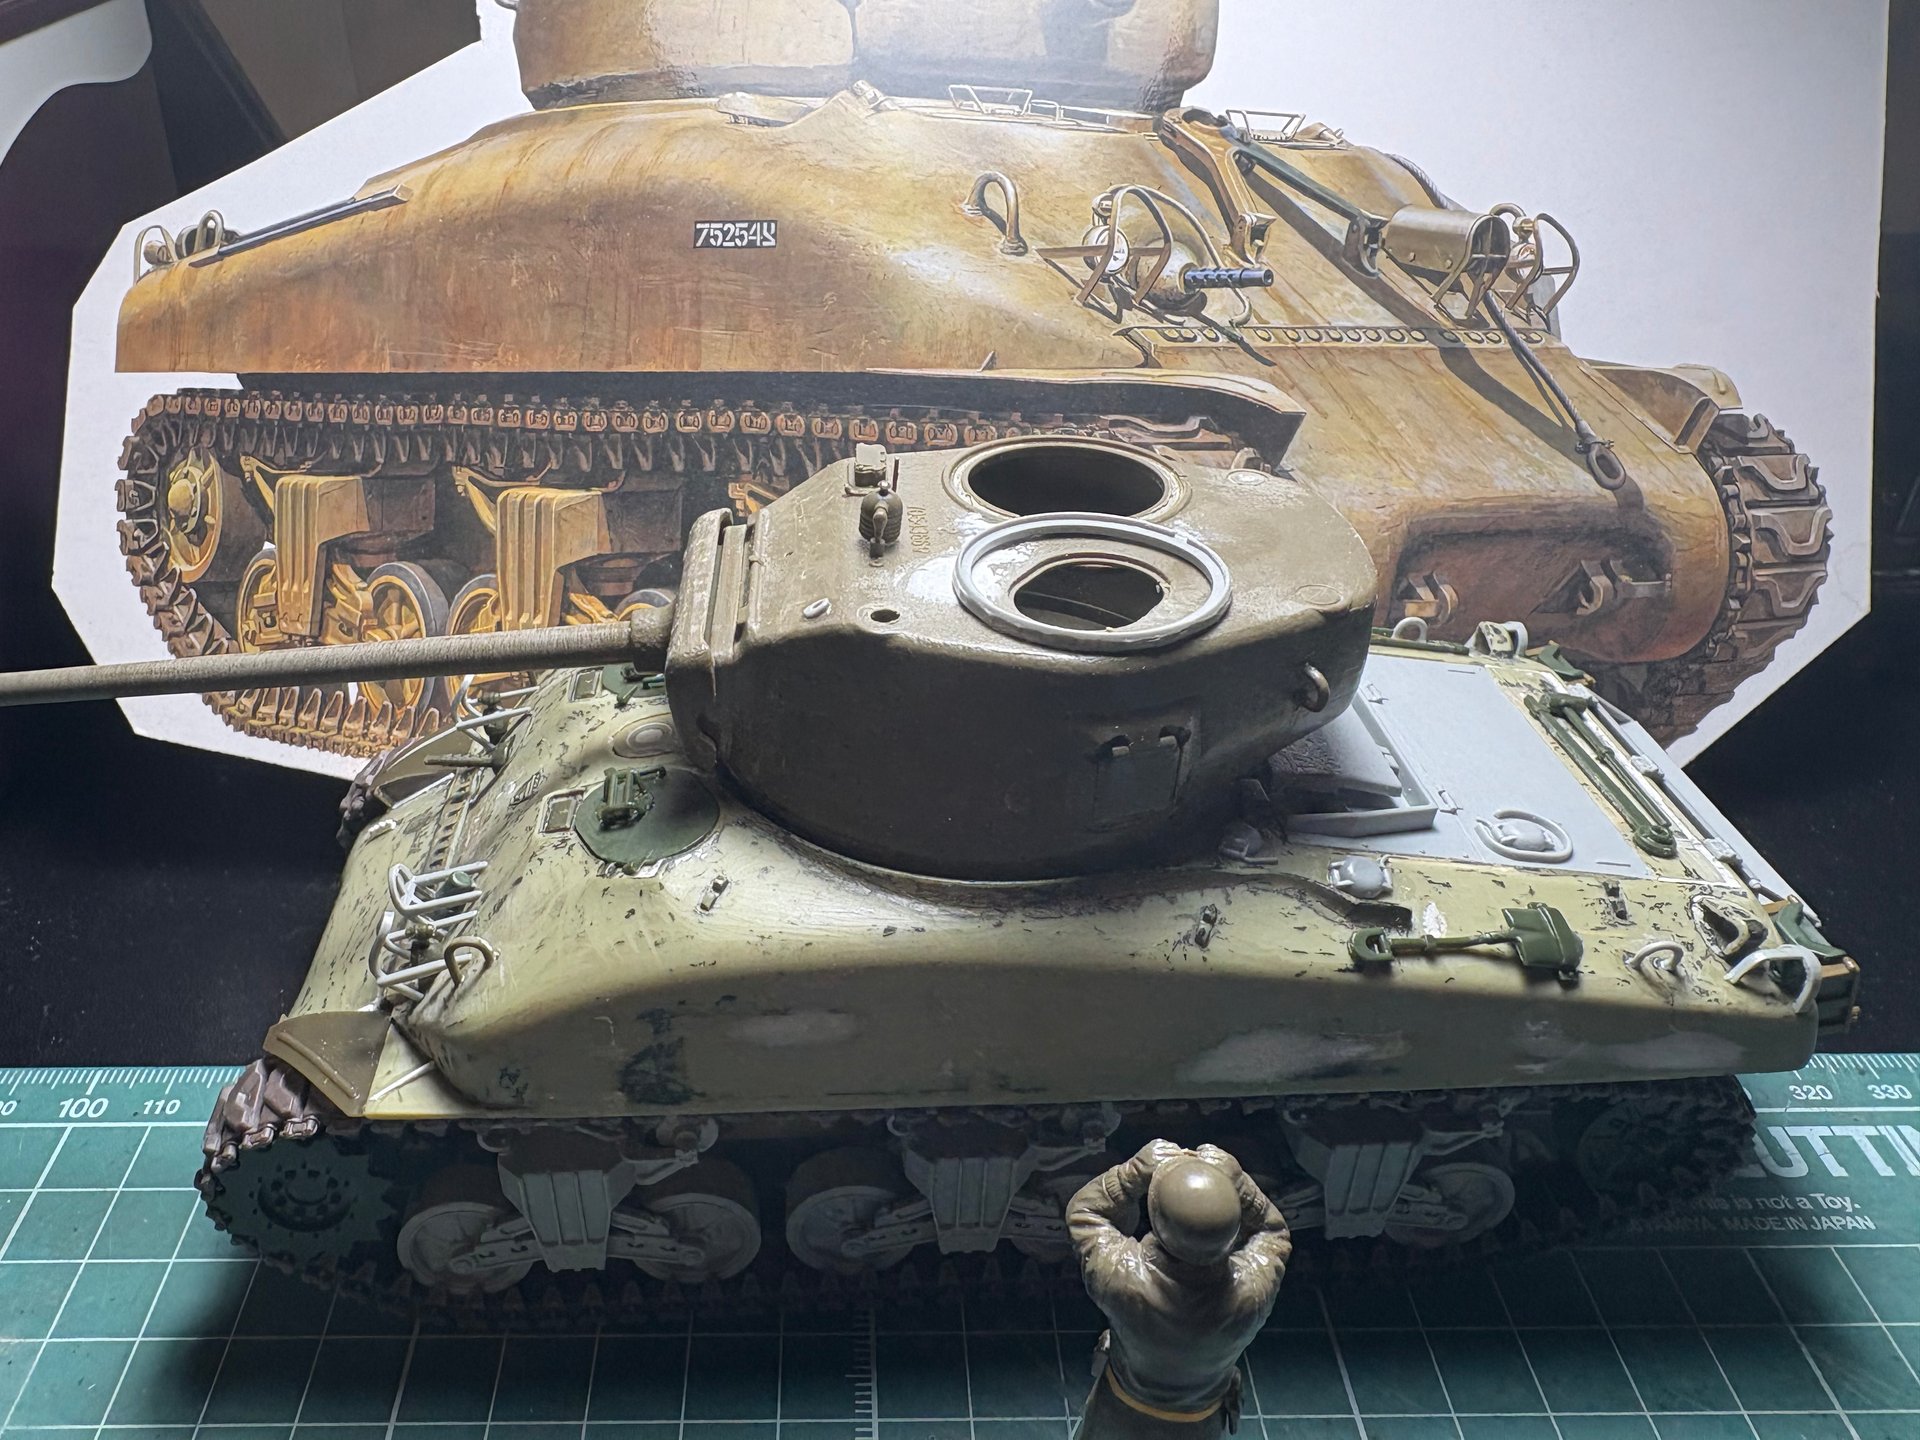
All the suspension mounts are installed next tomorrow I’ll tackle the rear lower hull details.
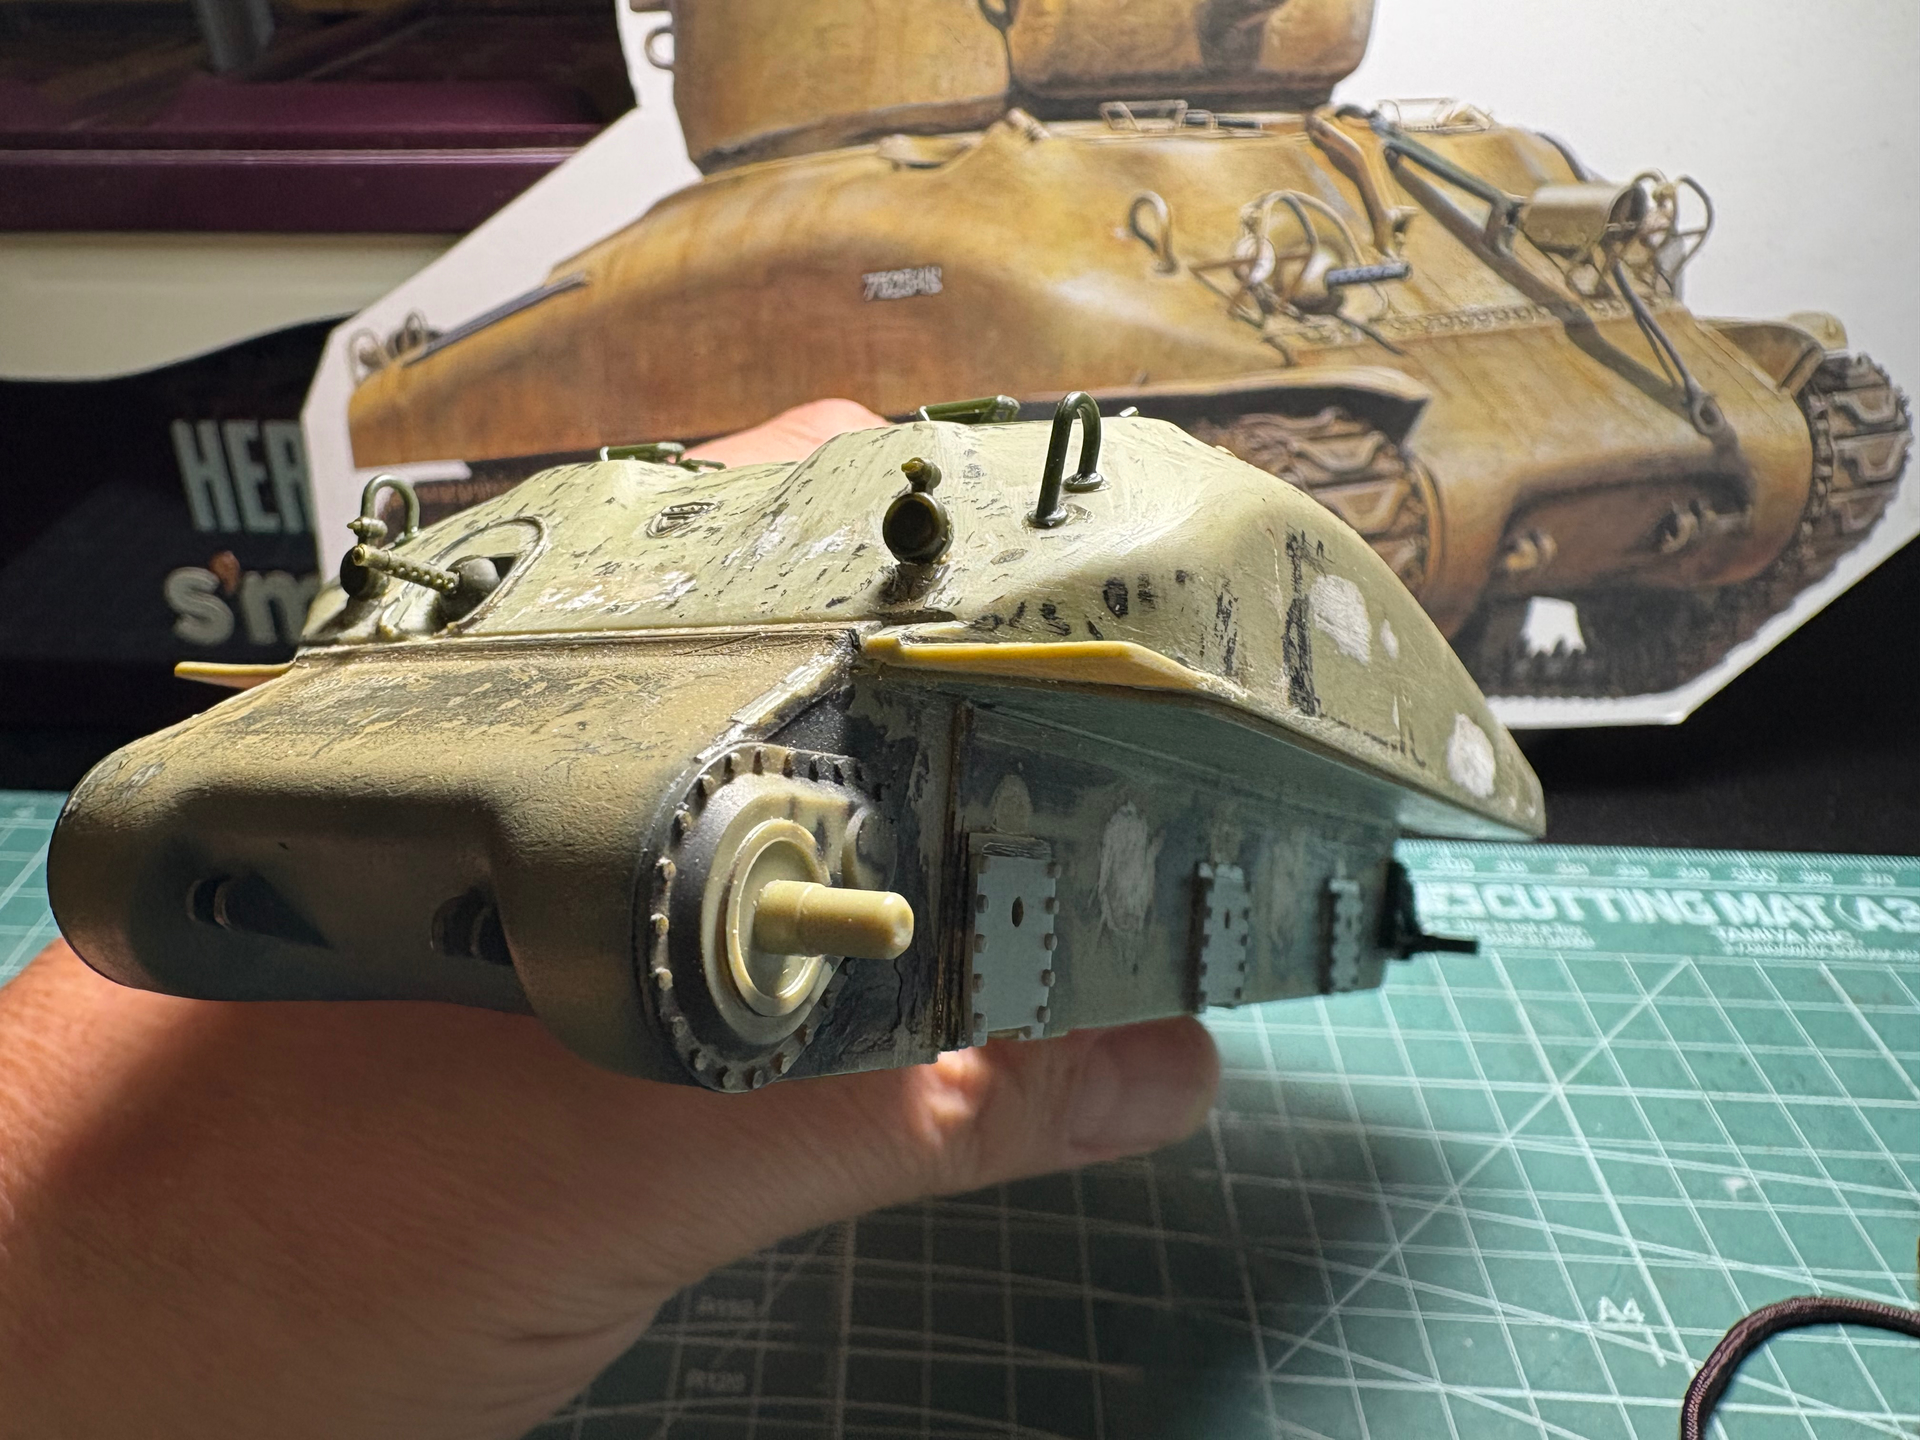
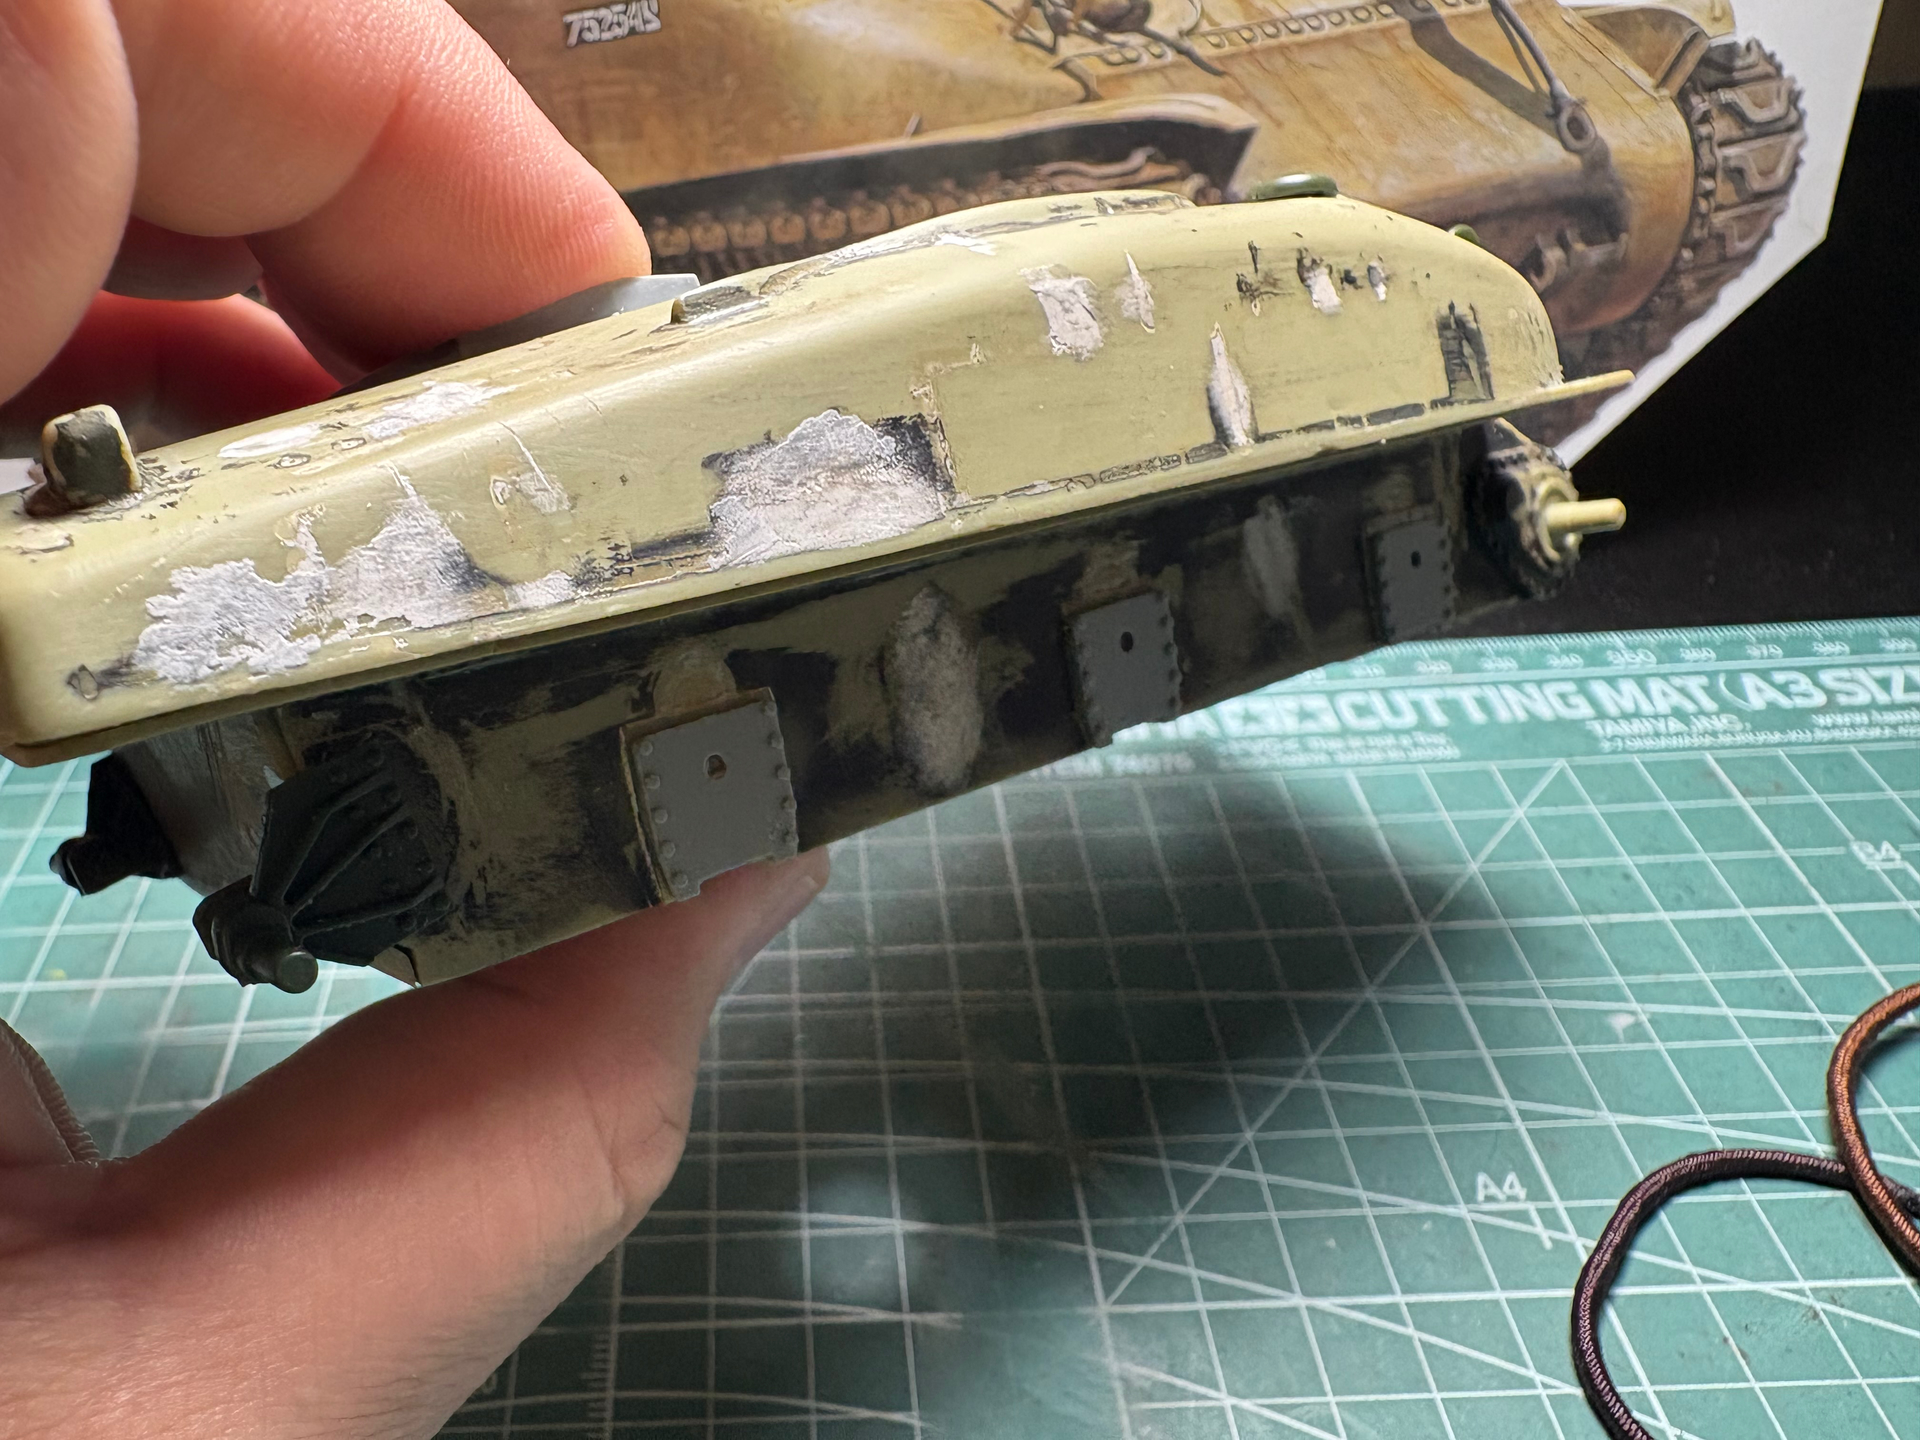
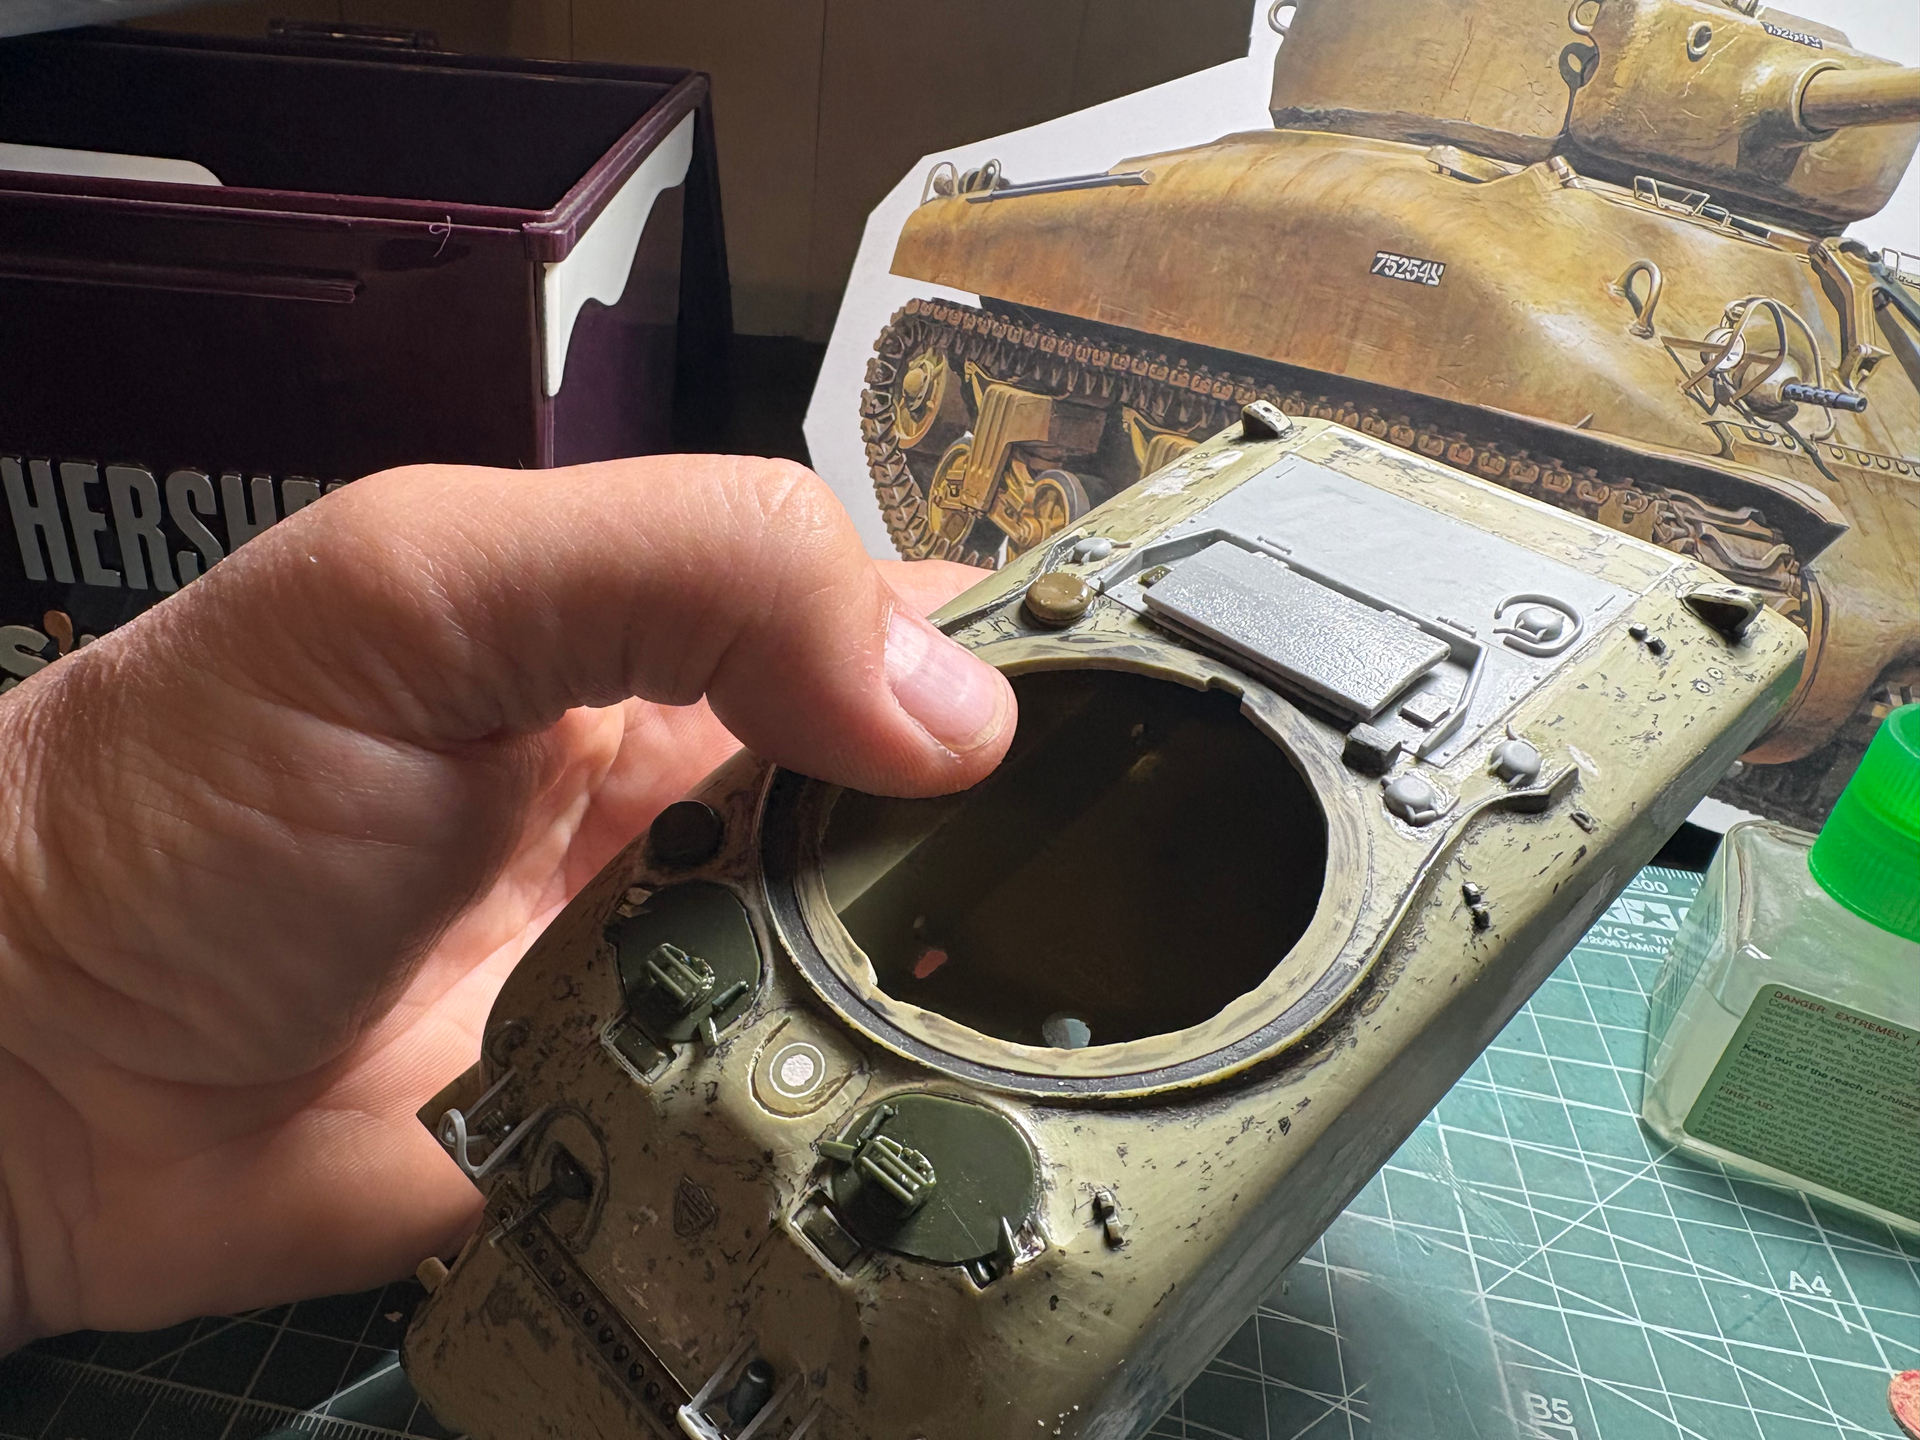
I also added blocks on the inside upper hull and now the squared lower tub slides right into place with no gaps or fit issues.
All the suspension mounts are installed next tomorrow I’ll tackle the rear lower hull details.
I also added blocks on the inside upper hull and now the squared lower tub slides right into place with no gaps or fit issues.
Dry fit, sand, dry fit again, then sand again…
In some areas the plastic is paper thin from all the sanding.
I mean, it’s quite impressive what you’re doing there, but … why? 
I guess I hate myself? LOL! I have two reasons. One reason is to have an “Academy version” of those “Operation Cobra” Shermans to go with the DML, Border Models, Tamiya, Italeri, and Asuka versions. The second reason is to preserve the sentimental value in this tank. Here in the bolded part below, I cut and pasted the history of this tank, from back in post #253.
“BUT, and it’s a BIG but, what if I could bring something back from the dead and build a version based on the Academy hull too? I’m not sure I can pull it off but it would be well worth to try because this pile of junk comes with sentimental value. When my son was about 6 years old, he wanted to play with my DML M-51 that was in the display shelf at that time. I tried to explain it to him that it wasn’t a toy. He wasn’t happy about it  . He wanted one he could play with and the M-51 is still one of his favorite tanks even now. So one day we’re at the swap meet and some guy was selling this partially built partially painted Academy M-51 for $15 bucks.
My son bought it with his own stipend money and I agreed to help him finish building it. He played with it for a while, I’m not sure how long, but every time I saw it something else was broken and missing. First the tracks then the barrel, then brush guards lights etc. Finally he got to where he didn’t want to play with it anymore and he threw it in a box with a bunch of his older toys.
One day years ago he was cleaning out his room and he was going to throw a bunch of stuff away so I asked him if I could have what was left of the tank. I have the original but broken FDA, the hull with broken off bits, and the lower hull with the suspension ripped off  . I should have most everything I need to try and rebuild it back into a tank, I’m just not sure I can pull it off. I also still have this orphan Tamiya turret that needs a tank to go on. For sentimental reasons I think I’m going to build this into yet another operation cobra tank with the knowledge that my son played with this thing for months when he was around 6 years old.”
Why? Because it’s there! (Apologies to Sir Edmund Hillary for stealing his quote…)
Great work so far - I love seeing the triumph of determination against all the odds of common sense. A modeller after my own heart!
Wow, thank you for those very kind words
Had a solid chunk of 3hrs to work on adding lower rear hull details.
Also I decided to replace the Academy tow eyes in the glacis because they looked really big. I replaced them with some Tamiya ones. Also added some detail in the front and rear hull.
Tomorrow I will have a few hours of bench time too then probably nothing until next weekend. I want to get the suspension built tomorrow and add more detail to the front and rear hull. Things like the gun crutch, rear spare track brackets, the stowage shelf in the rear.
Starting to get excited that this might actually build into a tank😊
I’m really loving the overall shape of this Academy M4A1 large hatch hull. Probably designed before computers began being used to design molds? The stamp on the inside reads 1997 making this mold almost 30 years old.
The suspension didn’t turn out as clean as I would’ve hoped. I think it’s passable considering the shape the plastic was in and how brittle and difficult it is to work with.
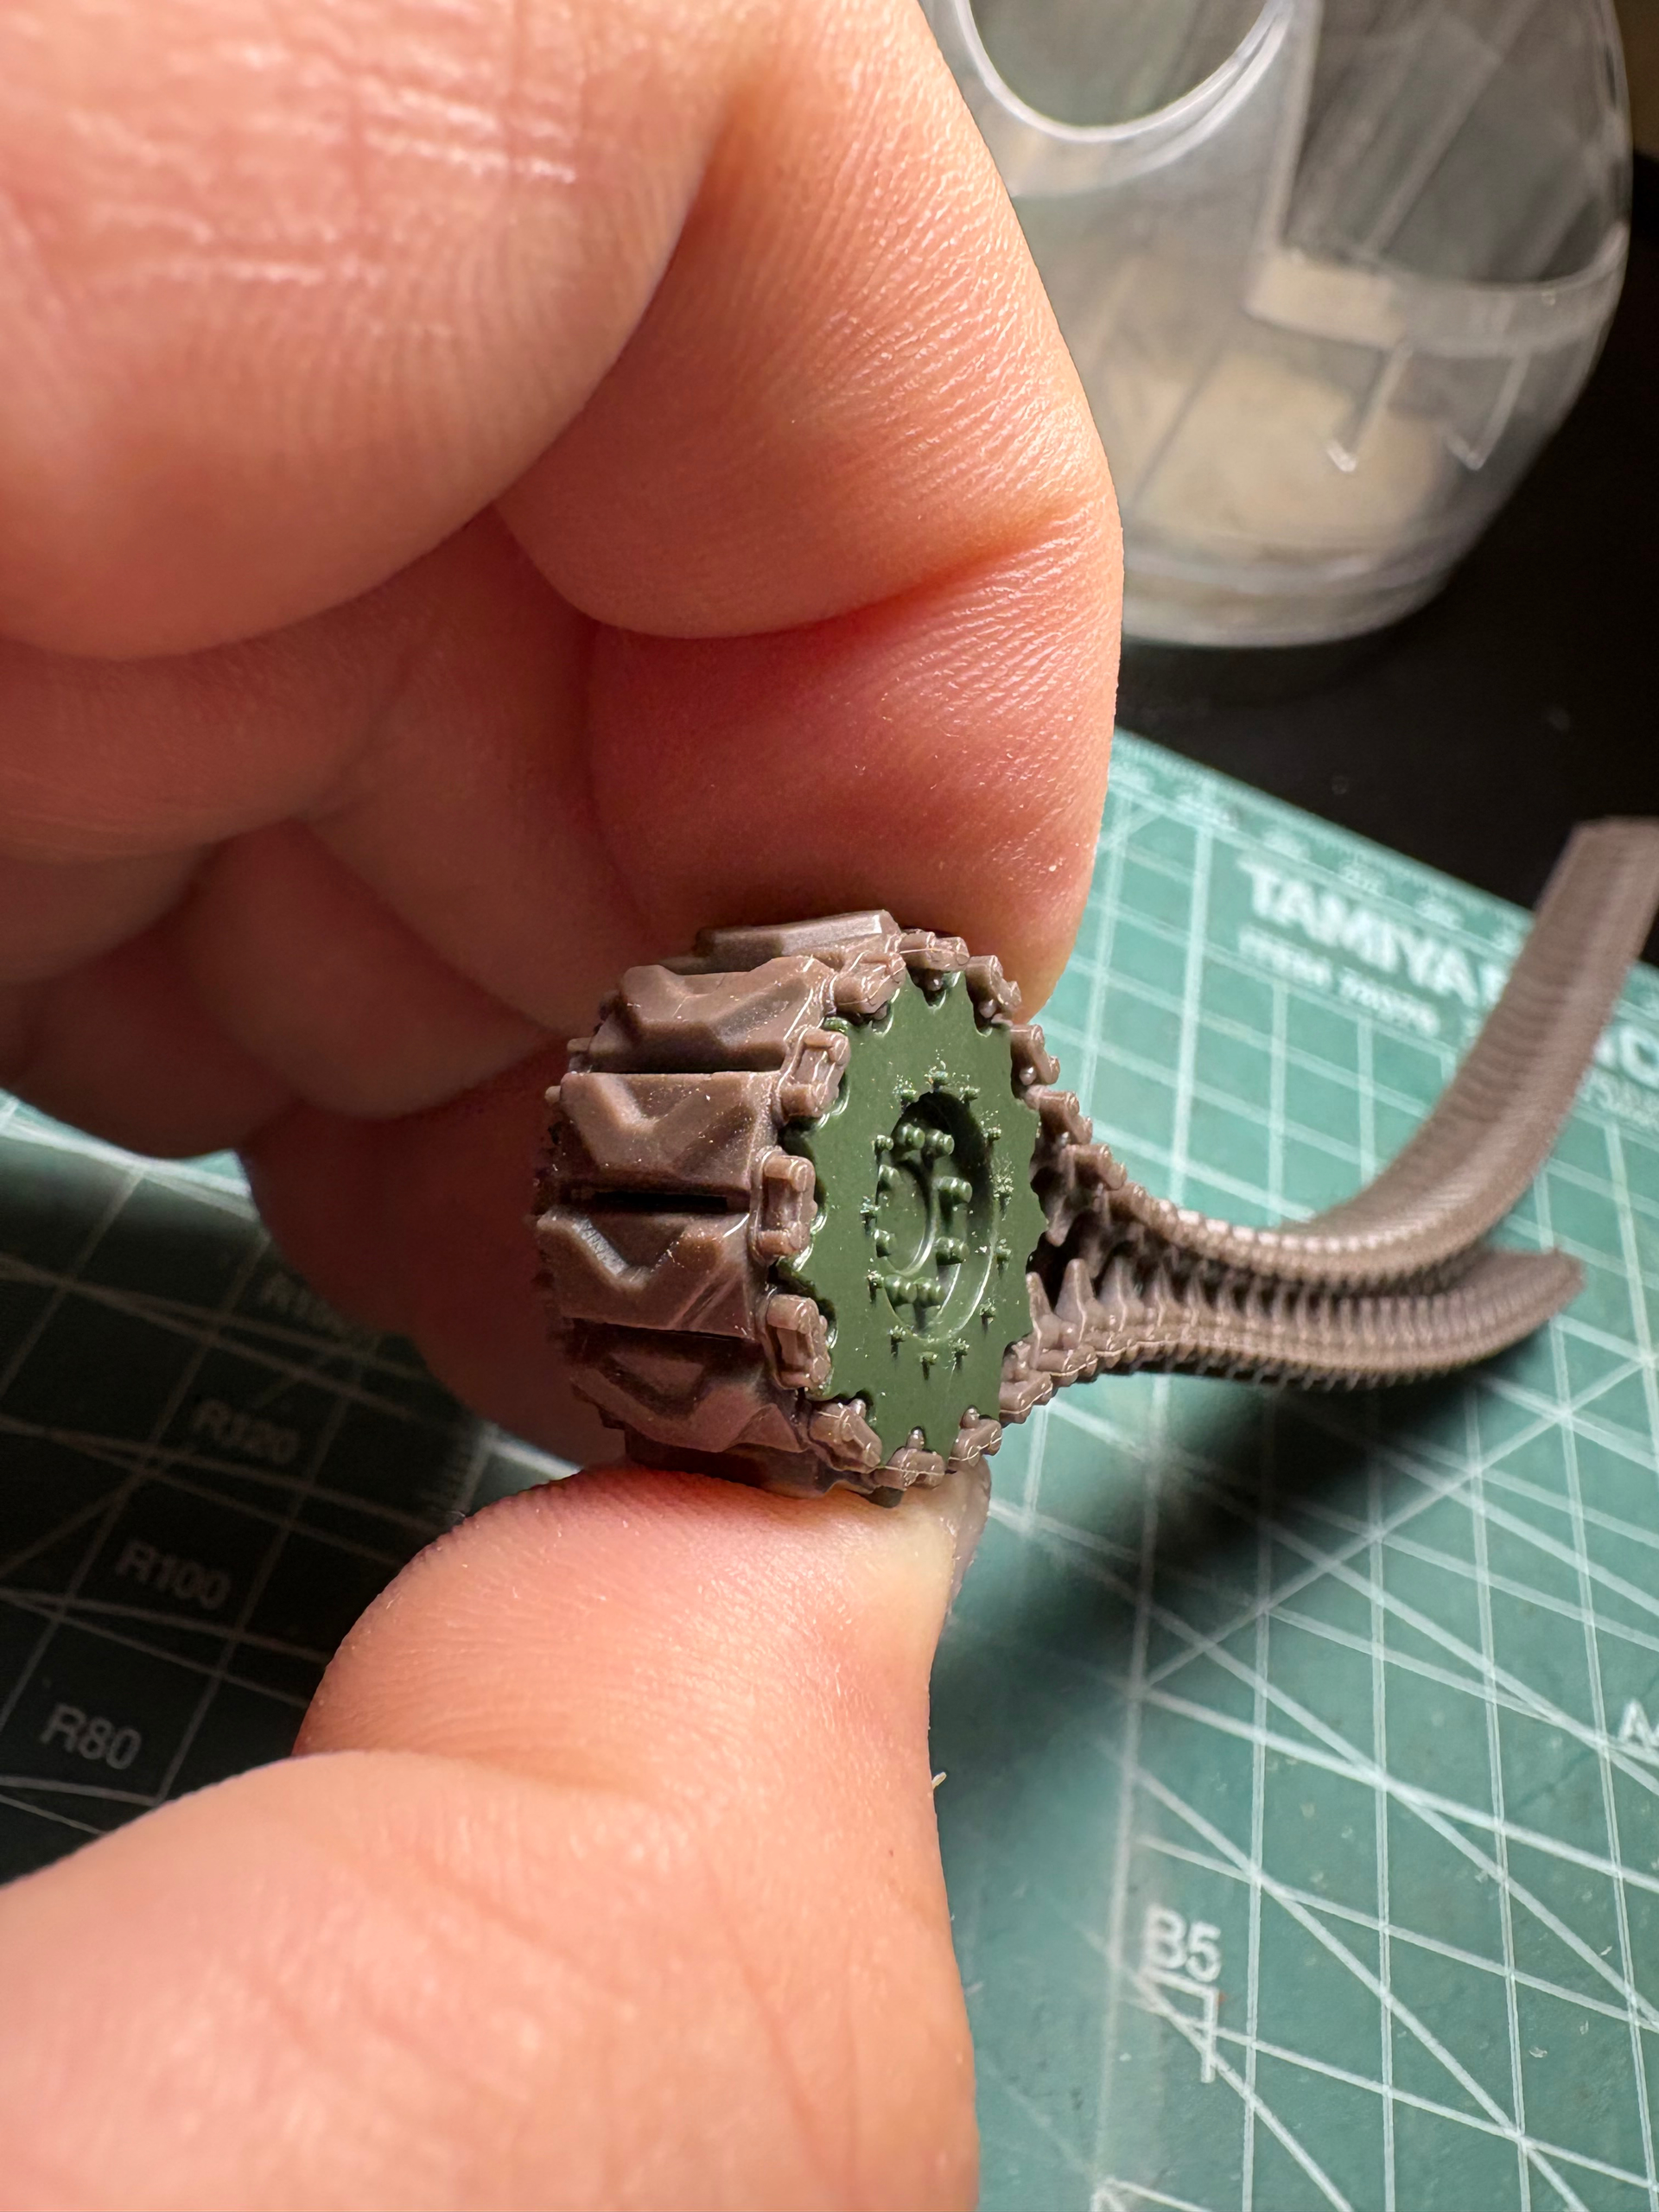
Also note on the top photo that I sanded the inside faces of the front sprockets. The old Tasca tracks fit just fine now. The teeth on these sprockets are kind short and the details are soft, there’s a reason they were the last I had available in my stash of this type. This is the type of project that I don’t mind finally using them for.
I got a good 3.5 hours in and I got the rear stowage shelf and spare track brackets but the suspension is drying so done working on this probably until the weekend. Thanks for looking😊
A ton of detail left to add on the hull, everything from the comb on the differential housing, the cable, the front mud guards with their supports, , the gun crutch, tools, etc… It’s going to be a bit before I’m ready to start on the turret, IDK, maybe next week. I already did one of these conversions on one of these Tamiya turrets before and it’s kind of a pain. I will do it again but not looking forward to it. I’m trying to finish the rest of the tank all the way to surfacer and maybe even primer just to motivate myself to take on the turret. I’m still very highly motivated to finish this project and to see it built and parked next to the others.
All I had time to do tonight was dry fit the tracks and then I just mocked up some Tasca spare front mud guards. I just rested them on top of the tracks for the photo.
I also double checked the height from the cutting mat to the bottom edge of the sponson. This one is about 1mm shorter in height than the DML which is the tallest, the shortest one is the Asuka kit which is about a millimeter shorter than this one…so the height is somewhere in between the tallest and the shortest of the bunch.
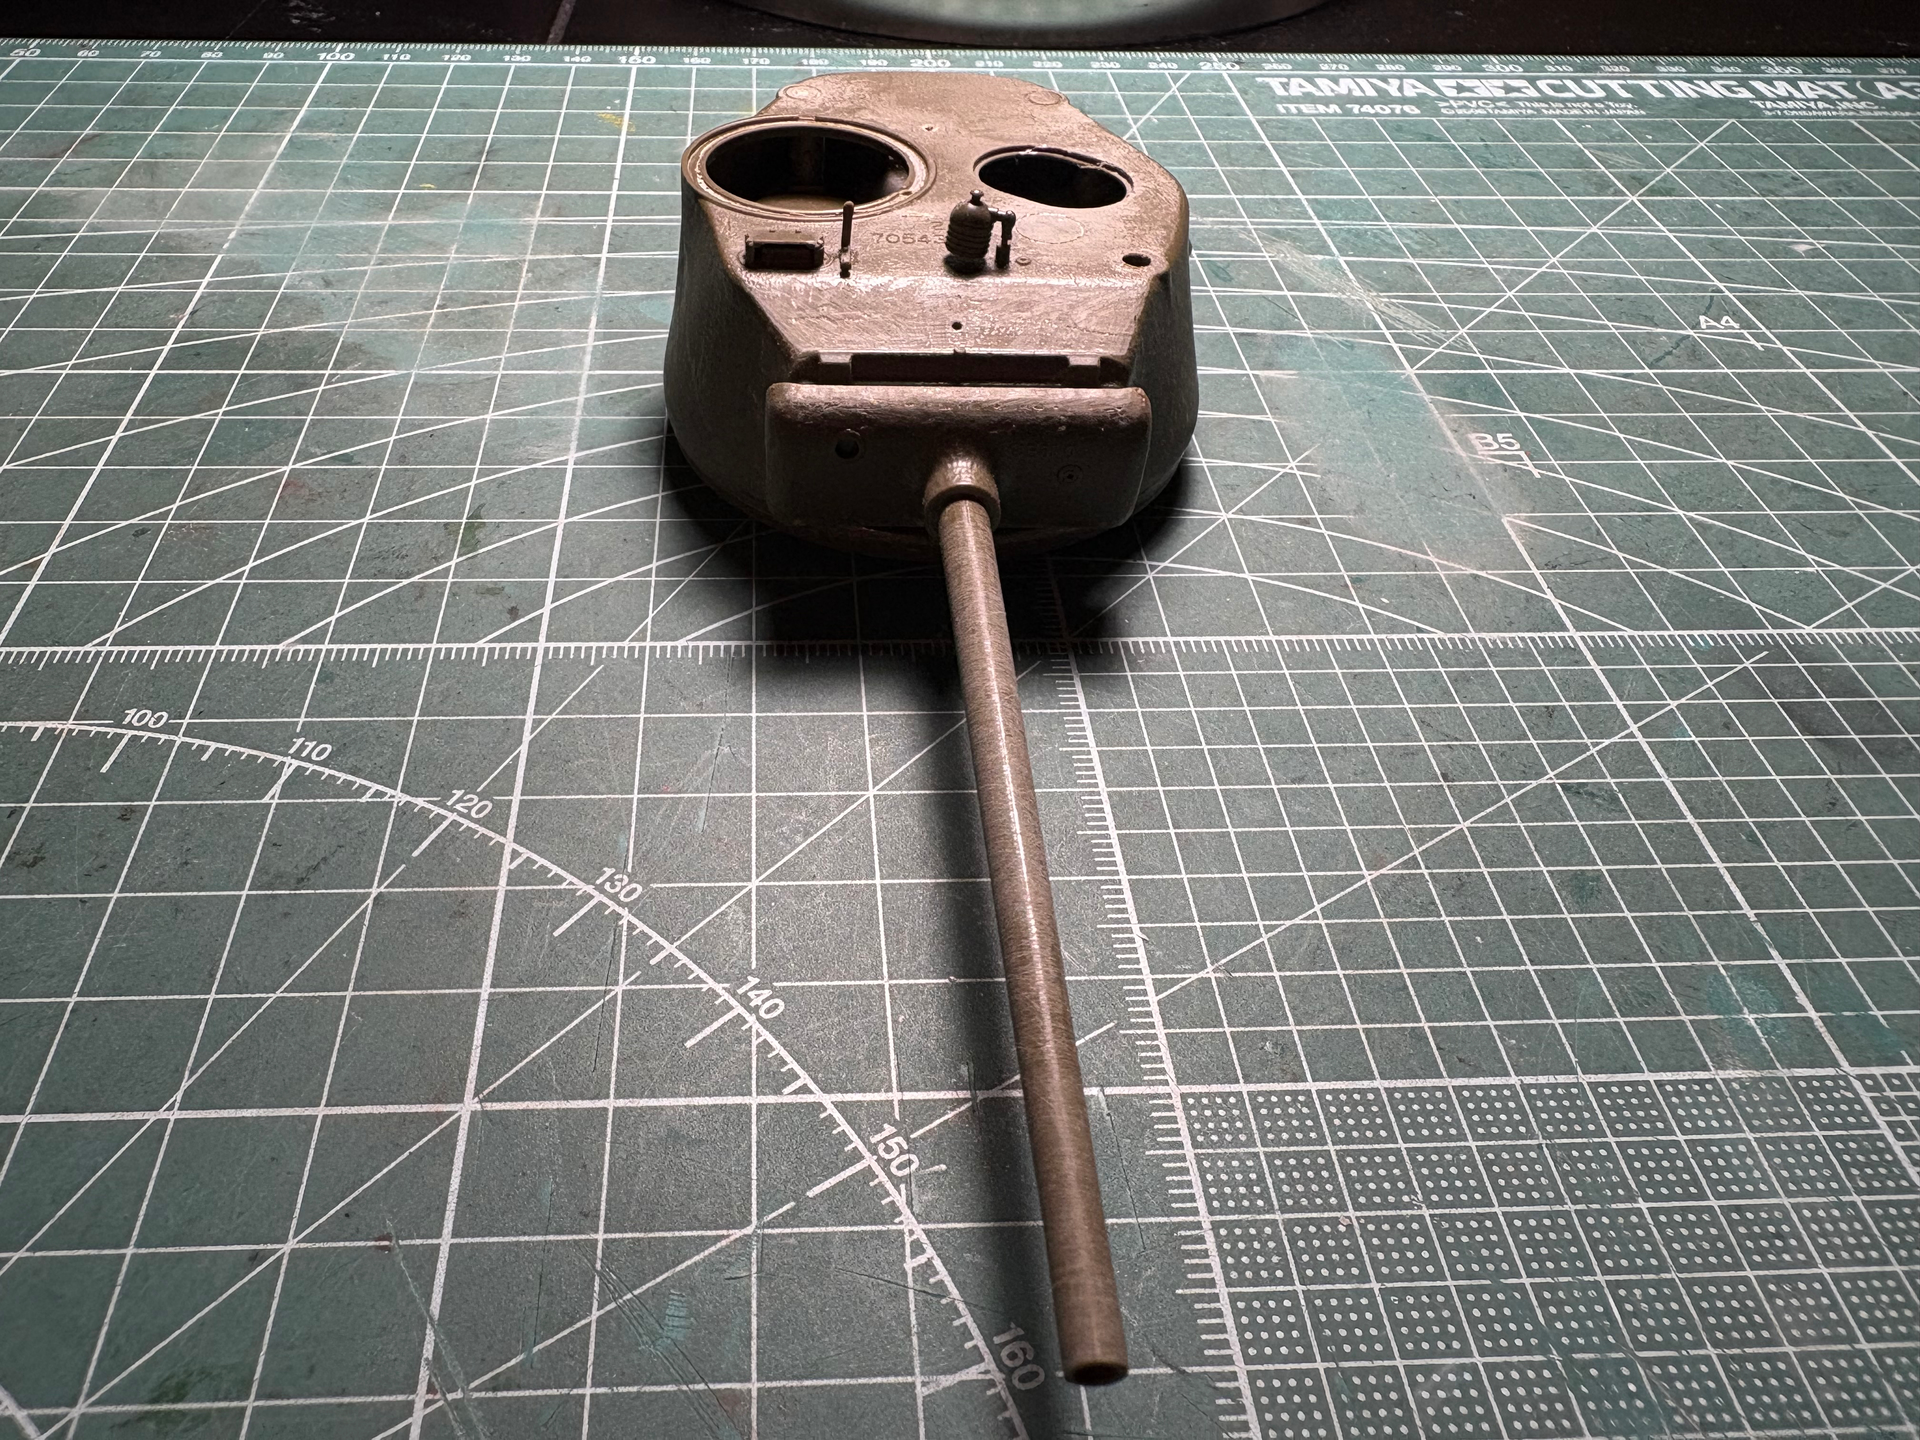
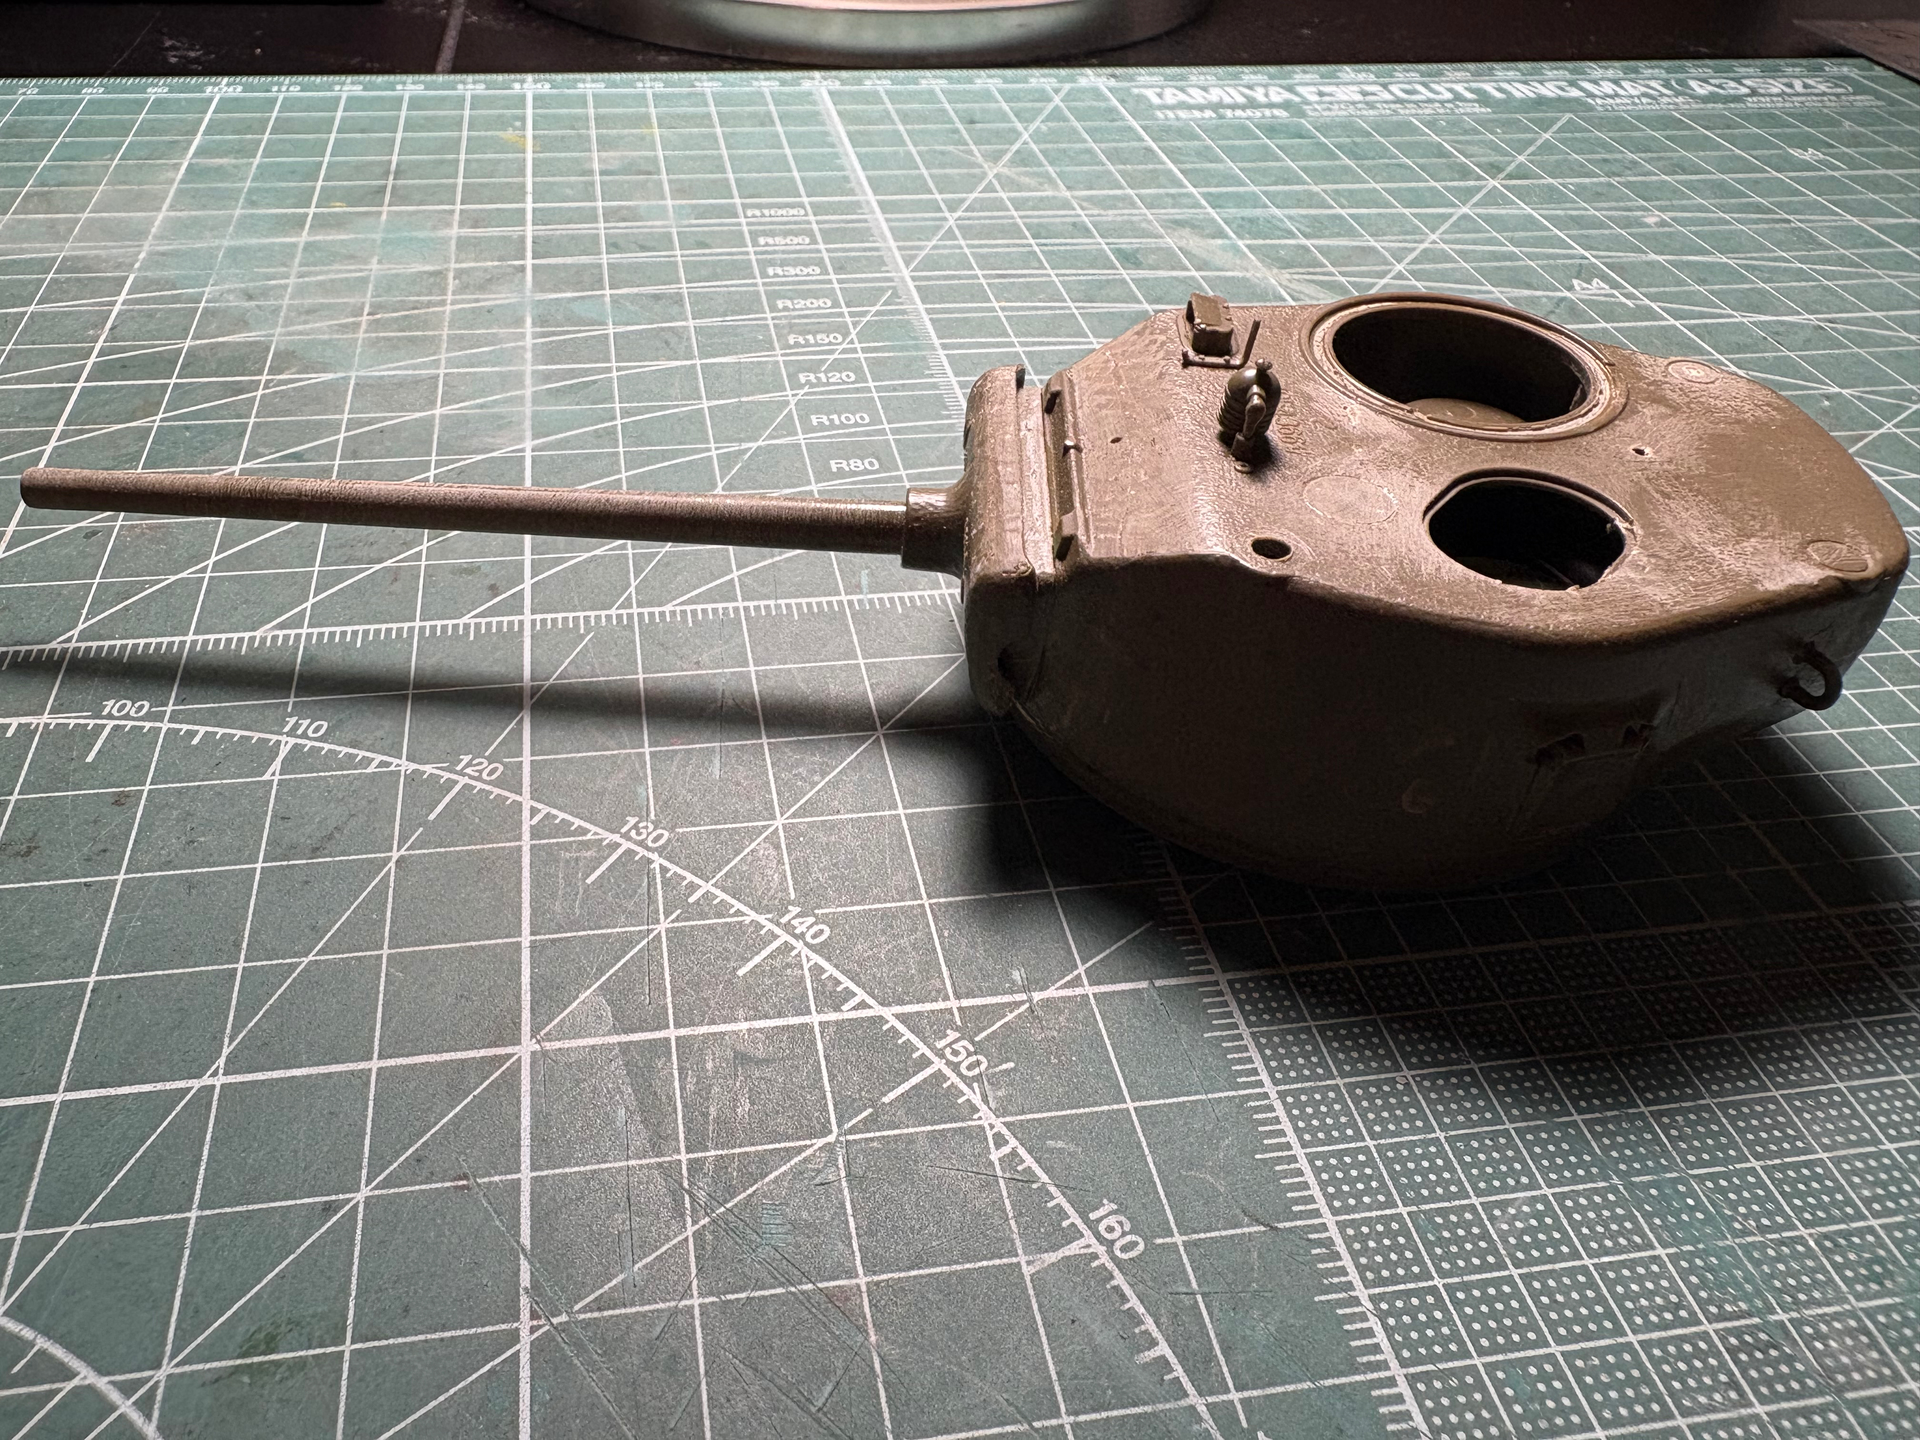
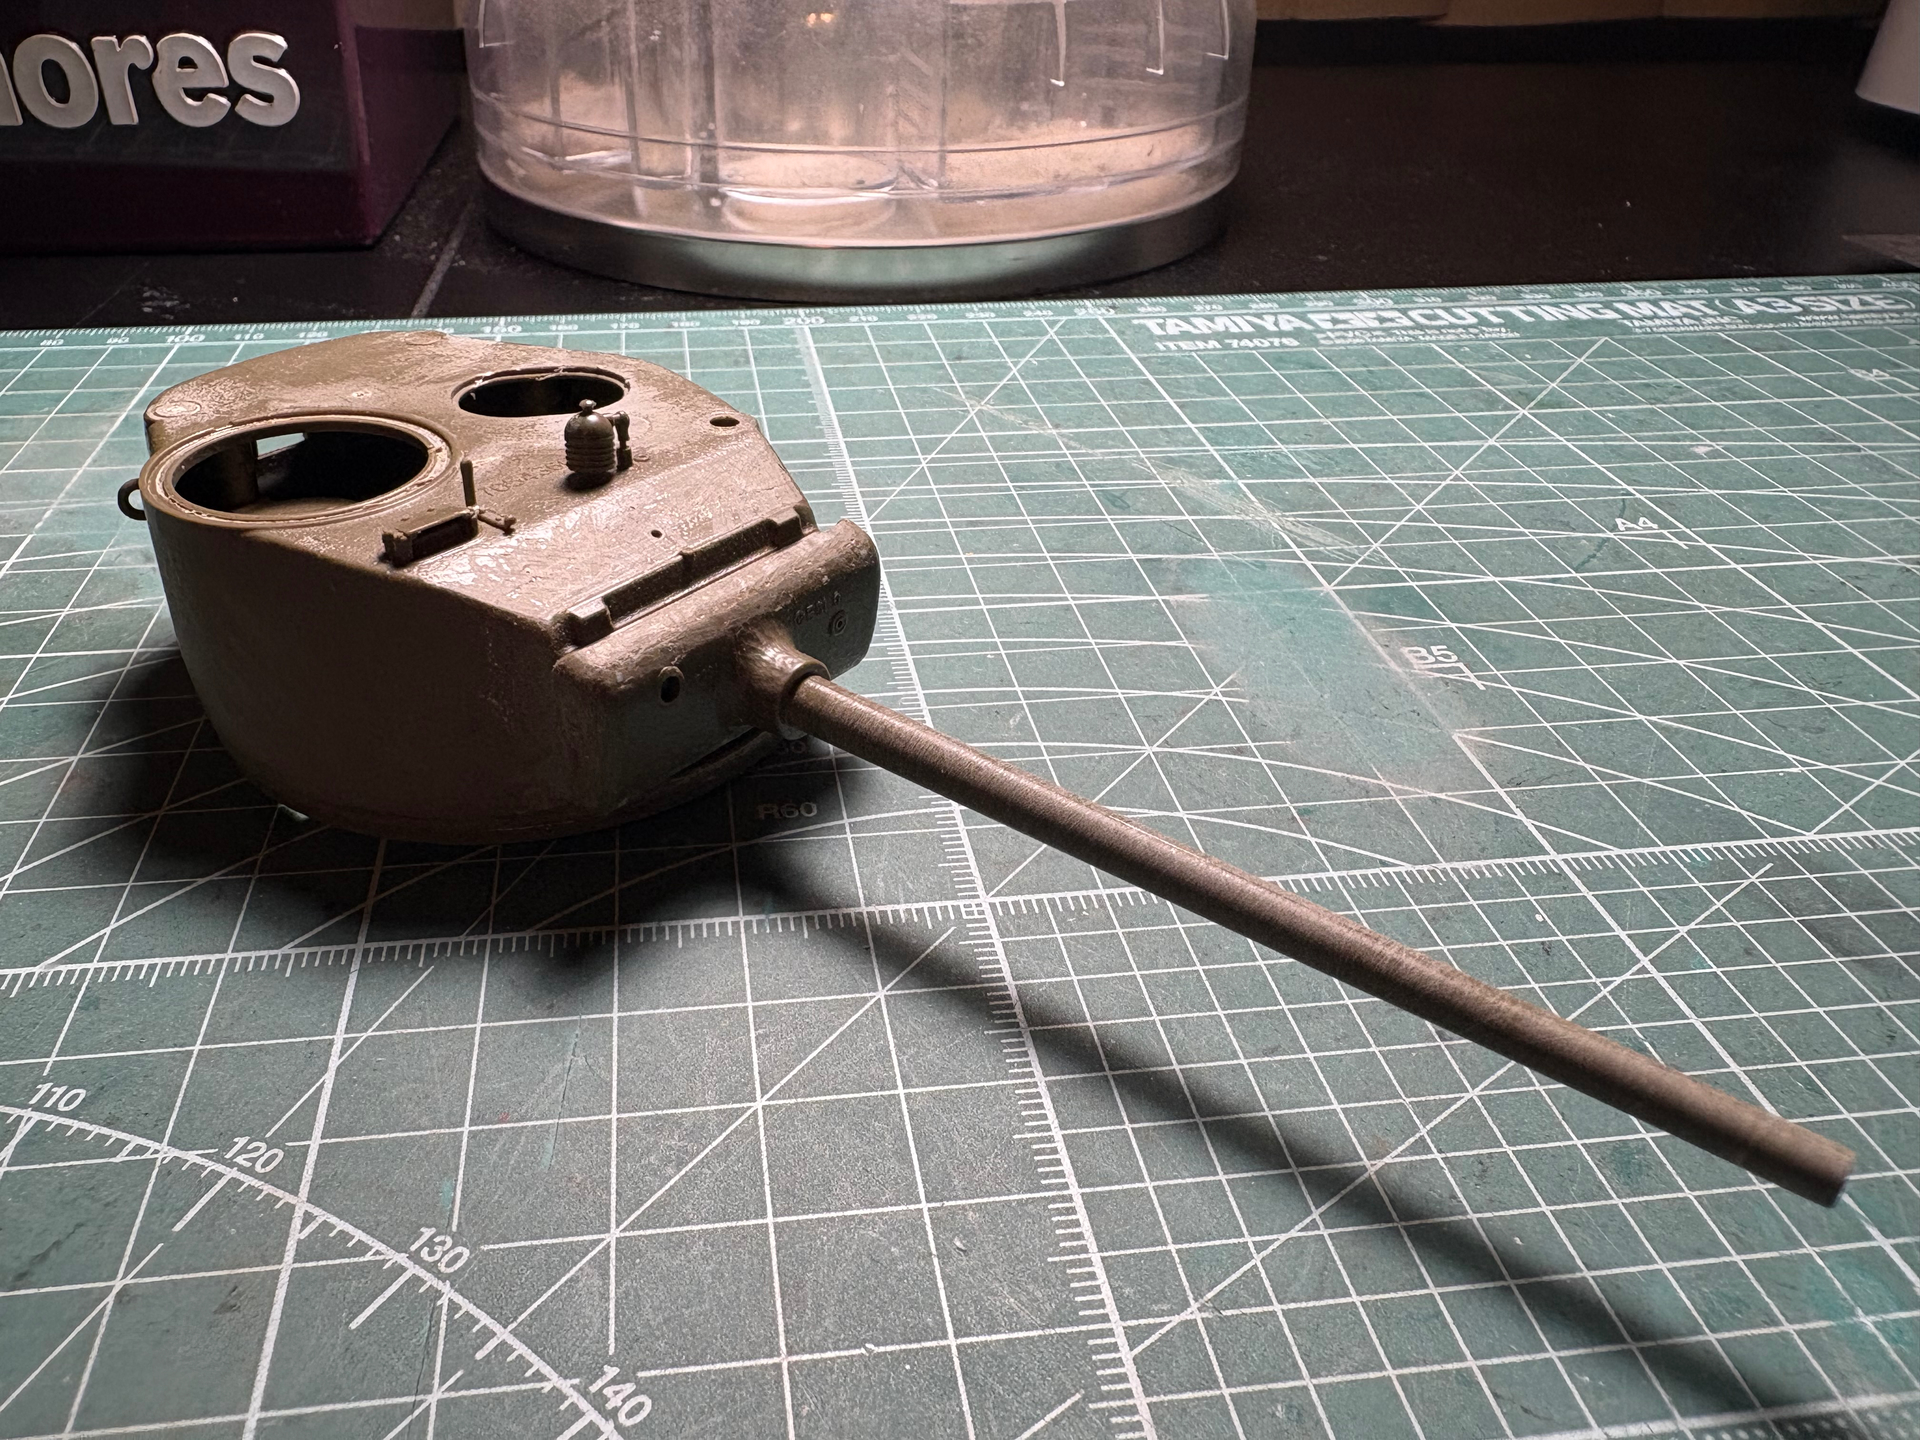
Ended up having an hour to fool around with this before bedtime. Rather than spend the time rummaging through spare’s stash for pioneer tools and other details. I stripped the turret in preparation for the conversion, I also removed the MB and sanded the barrel.
The hardest part of this conversion is cutting out the hole for the loader’s hatch. Tamiya plastic is thick which is both good and bad when doing something like this…
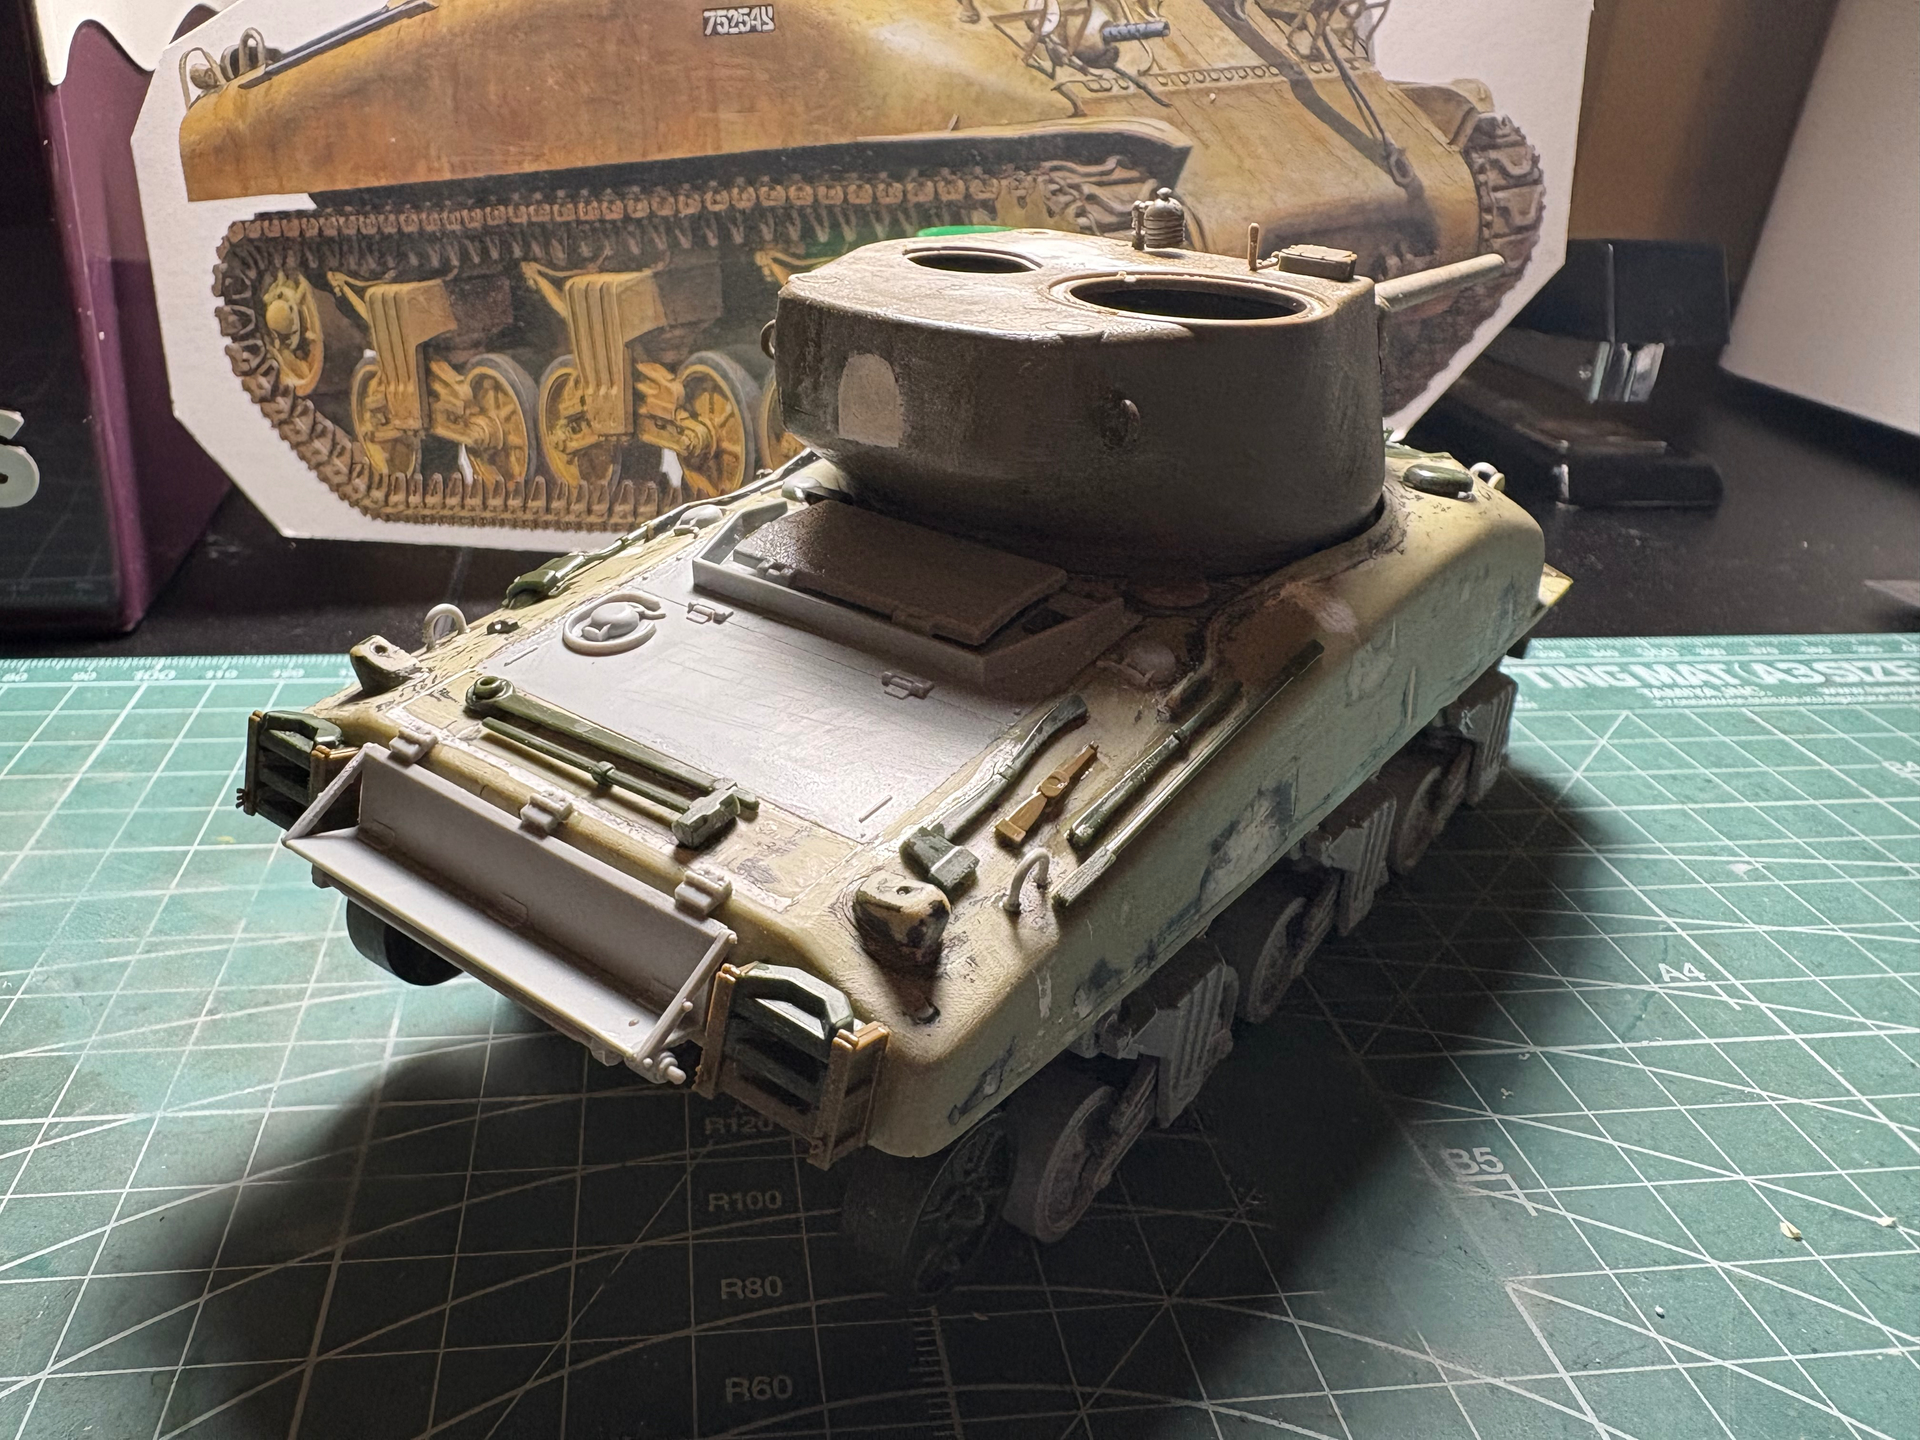
Small update from last night, installed one of front mudguards. Plugged the hole in the back of the turret and added tools to the rear upper hull. Tonight I’ll get into the rear lights and brush guards, tow cable, clamps. And a bunch of other small details in the front too. Plus I just remembered that I have to scratch build an exhaust deflector.
Something I’ve learned about the Academy hull is that it’s shorter than the rest of the kits. It almost seems like they copied the front of the Italeri hull directly onto their mold. The hull does have the angular slope on the rear hull and it’s still shorter than the shortest hull which is missing the slope.
Interesting note about the short hull length! Are you going to replace the loader’s hatch with the round two-part one seen on these Op Cobra tanks?
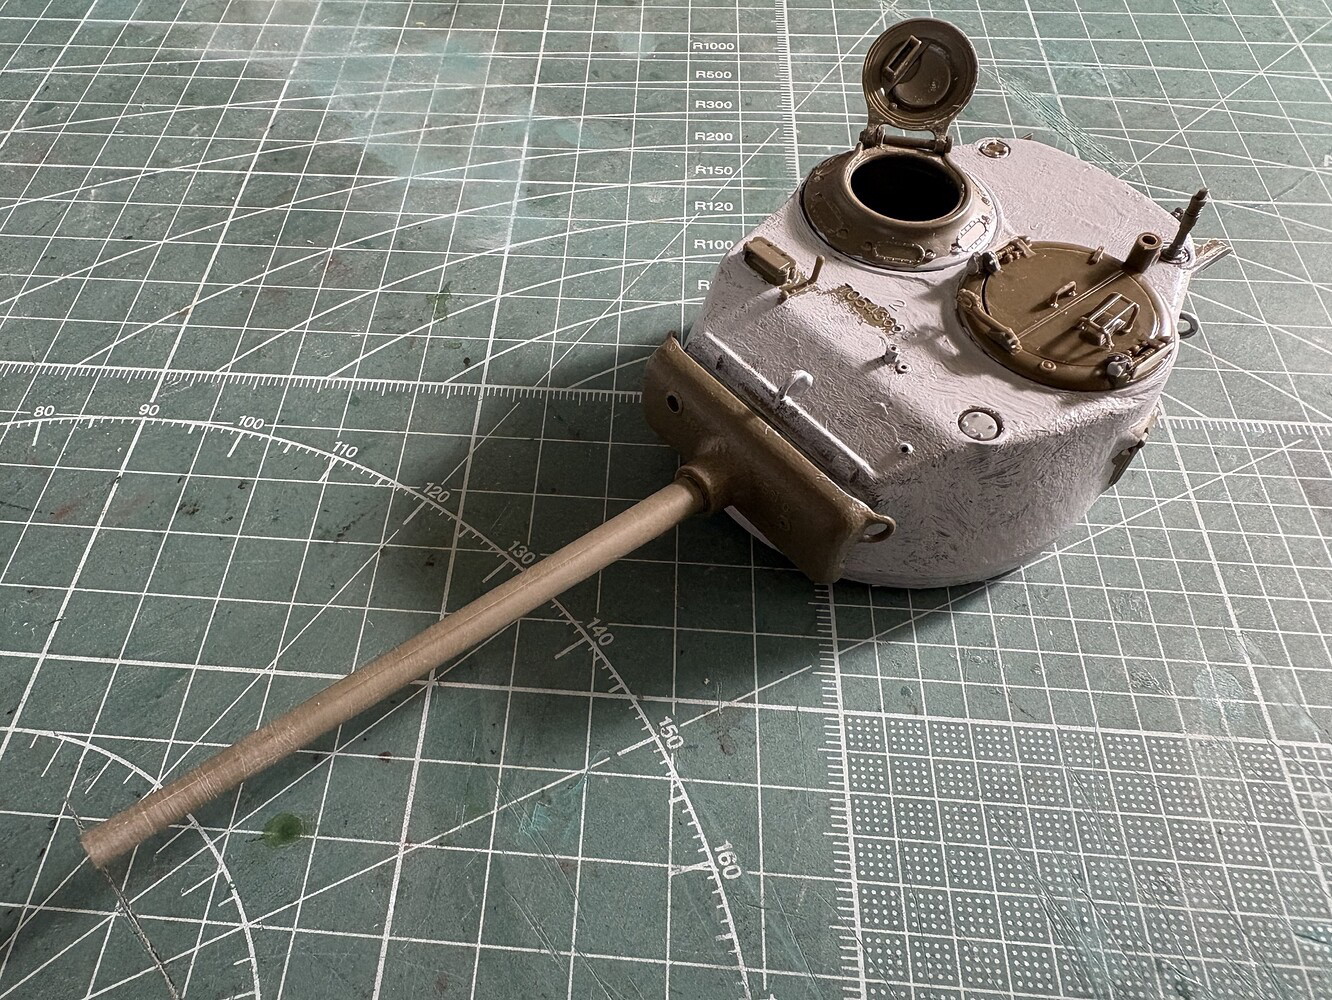
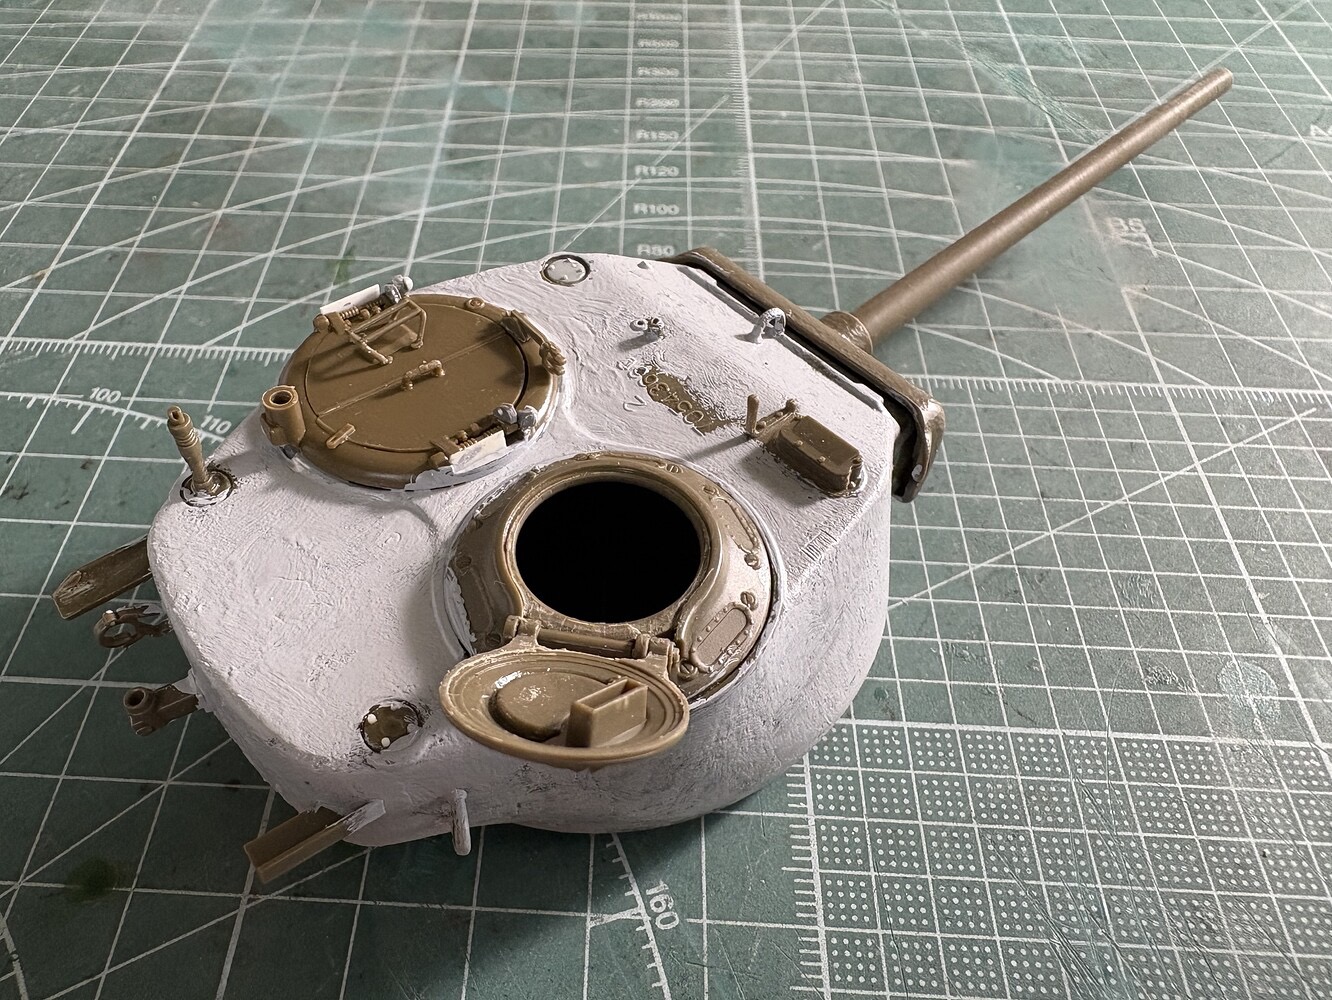
Back in post #209 I posted the following two images of another Tamiya M1 kit turret that I converted for the Tamiya bin bash version of Op Cobra tank…so I’ve already done it once but I think it was a bit easier that time, that turret was in better shape to begin with. That one didn’t have a dust cover on it, this one used to have a dust cover that’s why it’s missing the lift eyes on the on the top corners of the mantlet and the lift eye in the front center of the turret.
I wish I would’ve documented what I did because it’s been 9 or so months since I did that one. I do recall using quite a bit of plastic sheet underneath for support and to mount the new parts over the top, then after I glued the new hatch on top of that plastic then I did a lot of filling and sanding to get everything blended in. Here are the pictures of that one after I did the conversion, this one will require a bit more to get it to look like that.
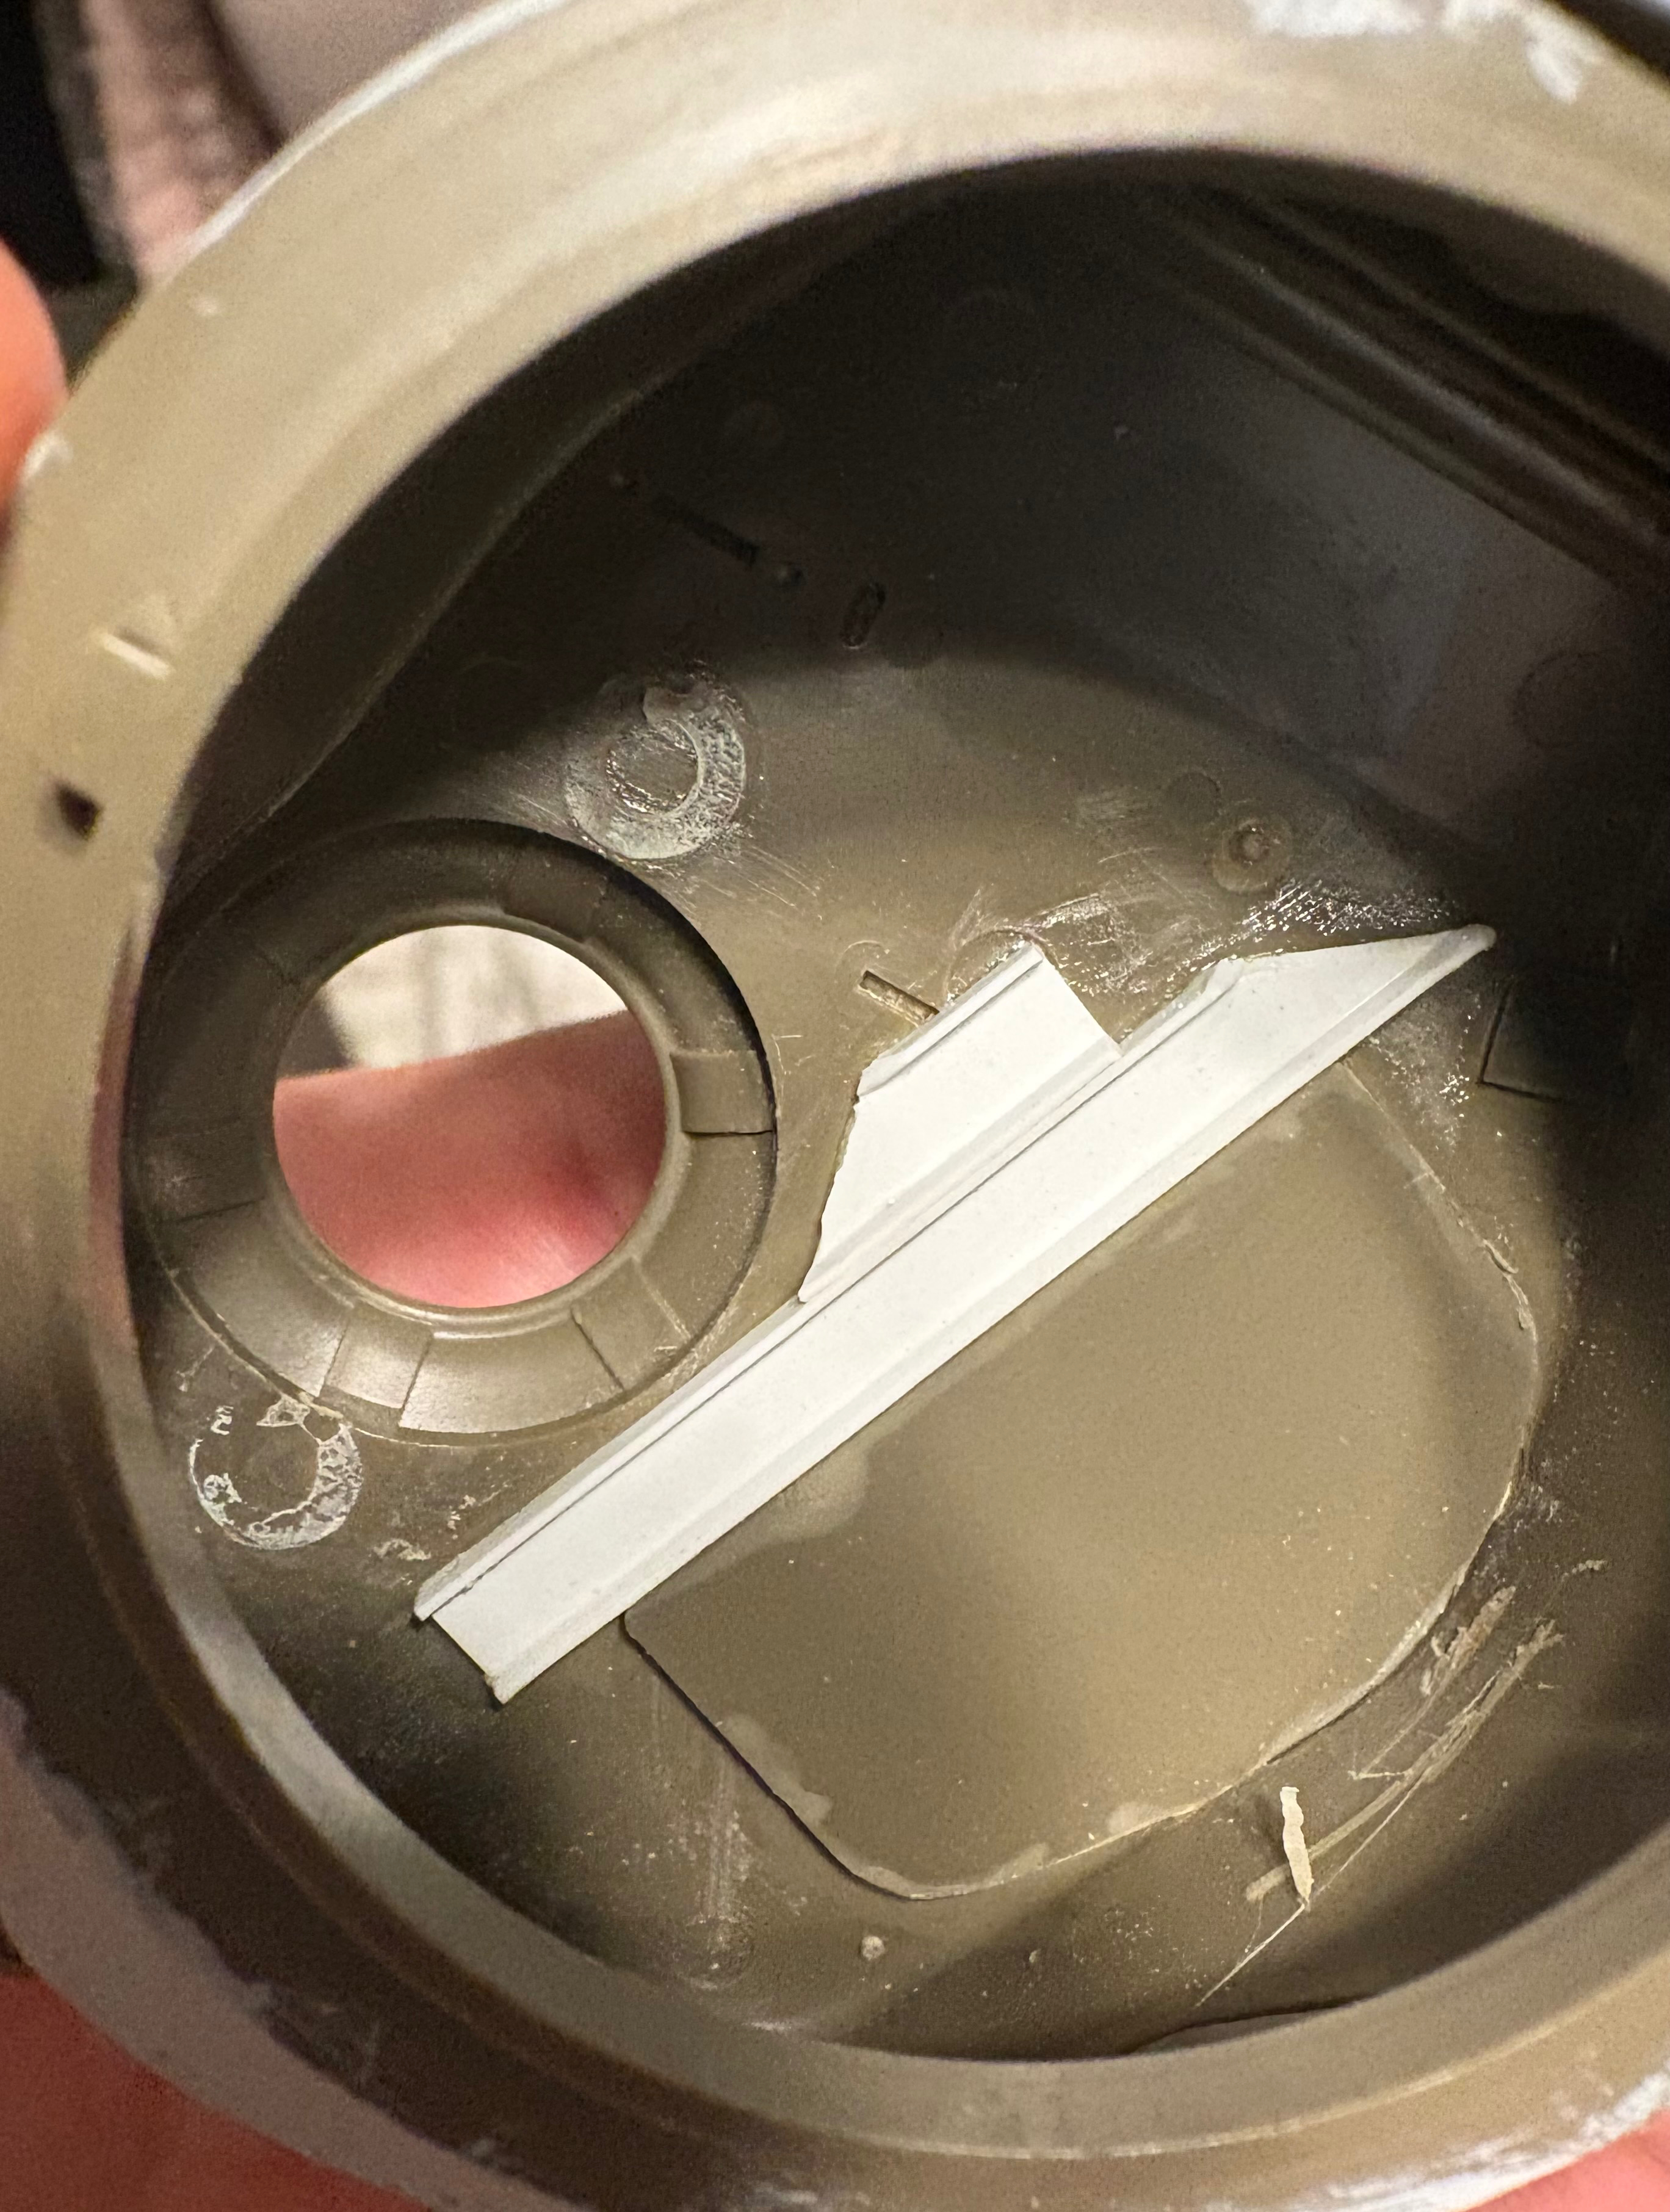
Here is an image of the inside of this converted turret so you can see it was a pretty big area that was removed.
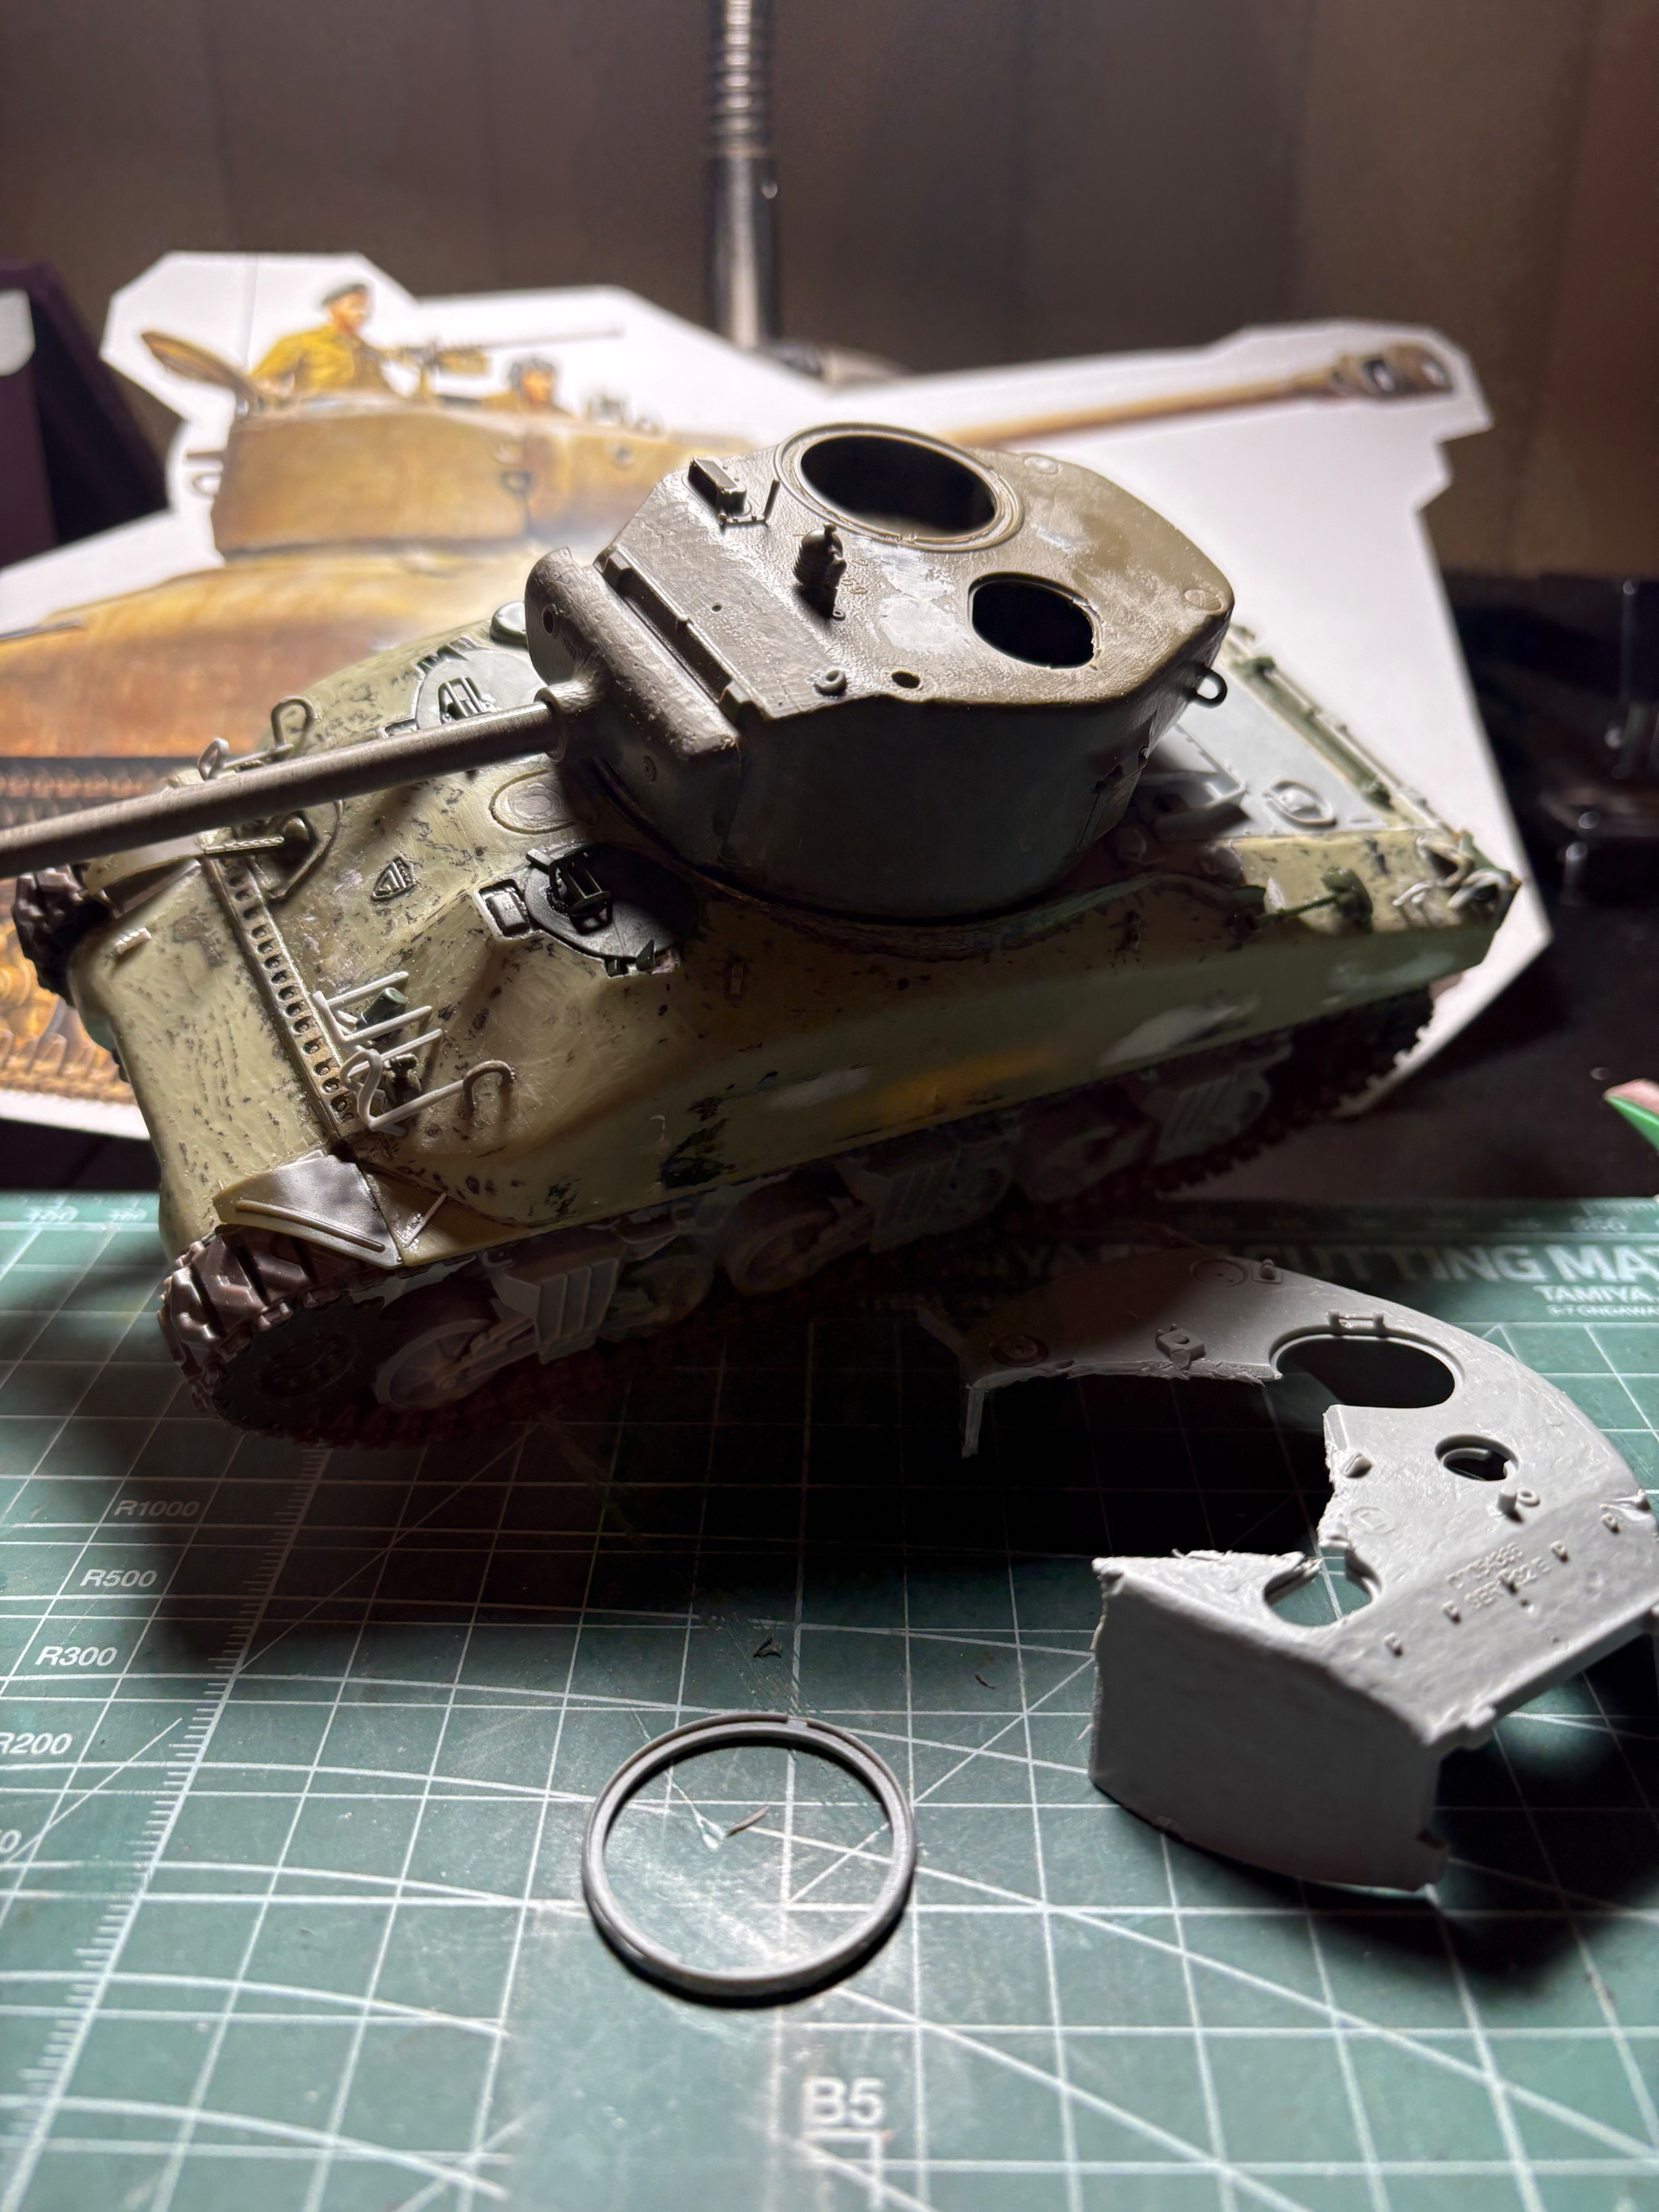
It’s coming back to me how converted the other Tamiya turret. First I made the part I need to put in the new hatch. I’m doing exactly the same thing I did last time. From building a ton of DML Shermans back in the day I ended up with a bunch of these “half turret” shells and with no bottoms to use them on I stashed them thinking some day I could find use for them and 20 years later I did😊
After cleaning and trimming the part next I will place it in its correct position and mark the area where I need to cut. The cutting is the hardest part, then I just put a backing plate underneath so I can recess the new hatch ring into position. That’s what I did the last time and what I’ll be doing again. Also added the smoke grenade launch hole from the DML turret.
It got George’s attention so I must be on the right track😉
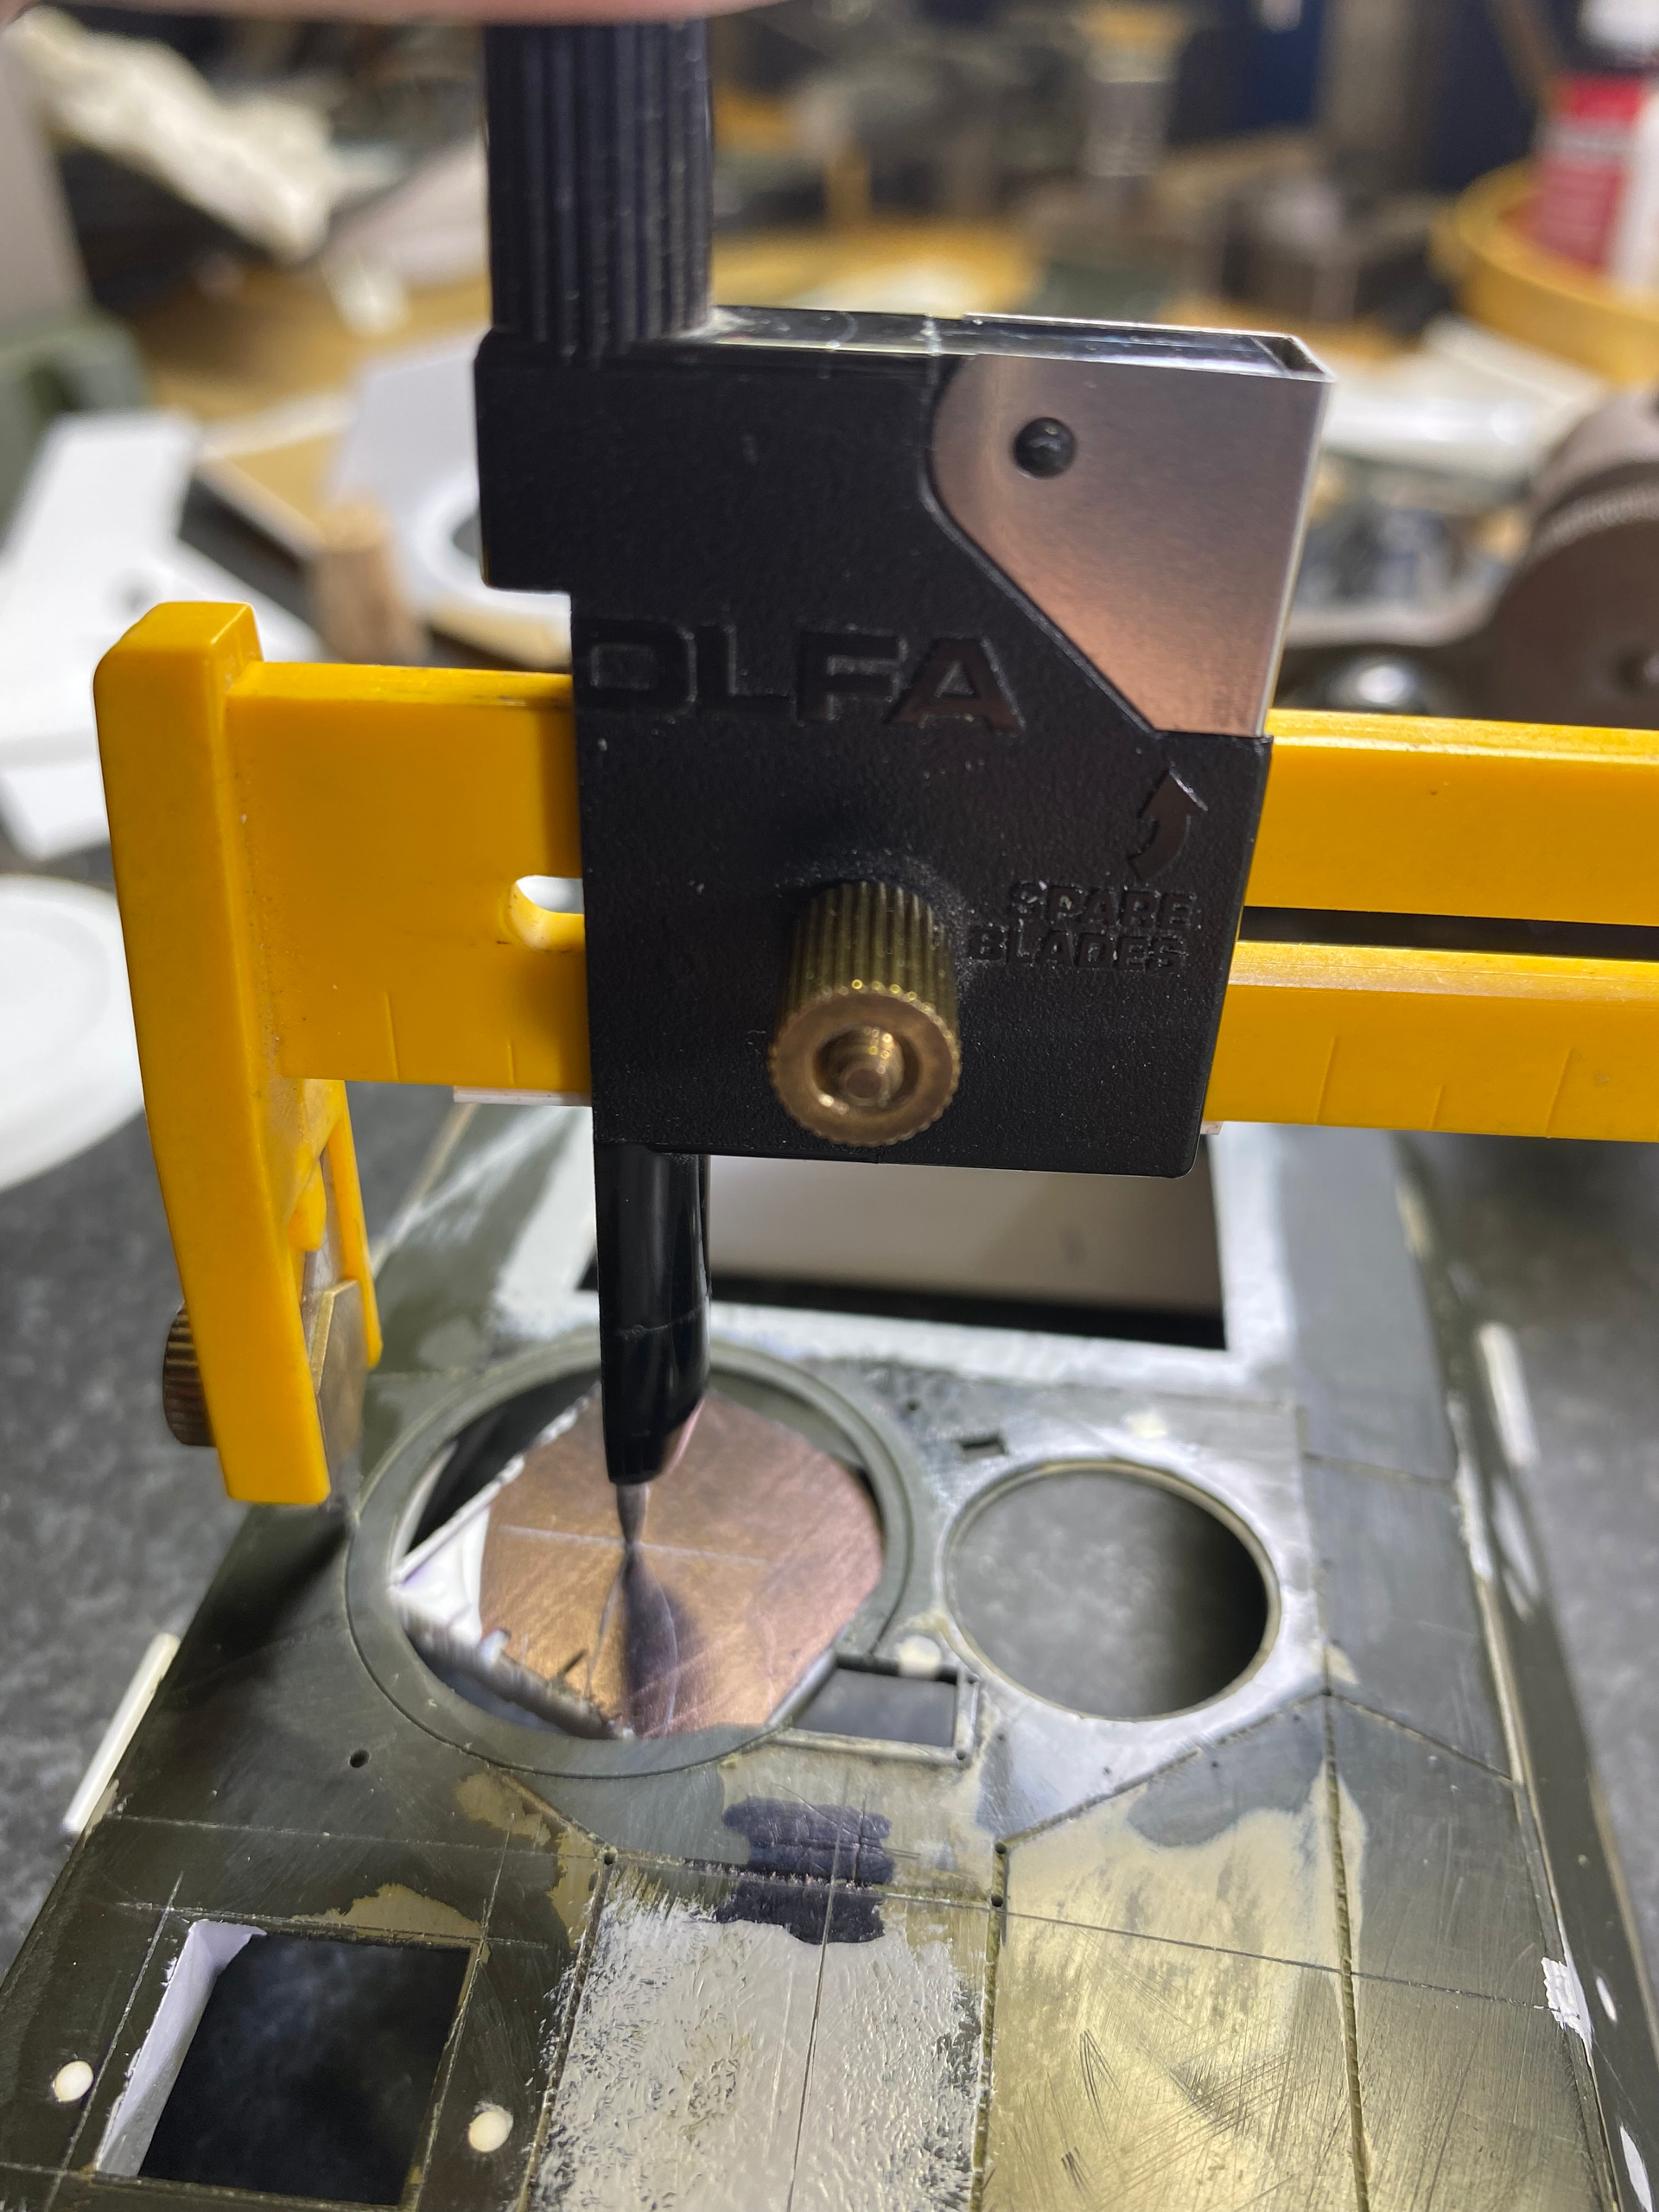
For cutting the hole in the turret top you might consider a circular cutter such as this one from Olfa,if I recall I got it at a craft store.
Or just drill a series of small holes around the perimeter, connect the holes with a #11 blade, and make the hole smooth with a file.
That’s exactly what I did last time, small holes, connect the dots, and trim. Once I had the space needed to recess the hatch ring I just glued it in place and filled and sanded to blend everything in. I like the previous conversion, I think it’s okay by my standards and I’m hoping this one will turn out similar.