I wanted to understand how I could incorporate 3d printed parts into my builds so I took the plunge. I am currently working on a couple of SF GMV’s, in particular for this discussion, a Seal team truck with the very complex rear cargo walls. Luckily for me a few Armorama members contribute to the Shapeways company galleries and they have preceded me to designing the parts that I would have other wise had to scratch build. I have asked one person (Ettore Galasso (egalasso on Shapeways)) in particular if they would mind me using their parts as a starting point and he agreed.
I have never used 3d parts prior to this but just looking through the Shapeways galleries there is a lot to choose from. Here is the link to Ettore’s gallery called Priamide Models.
https://www.shapeways.com/shops/galactica-models?li=pb
To be clear, Ettore as with other contributors, are designers and they post their efforts in their own gallery spaces. Shapeways handles all the transactions, prints the parts, ships them and deals with any fallout along the way. You can read all about it on their website. I found that they are very good communicators, they tell you when the parts are ready, when they ship and remarkably they arrived very quickly despite the Covid craziness and the US/Canadian Border restrictions. If all aftermarket companies were as professional as Shapeways we’d all be ordering more.
My very first experience with Shapeways was with fellow Armorama modeller Matt Lease
https://www.shapeways.com/shops/downrangeproductions1-35th-scale
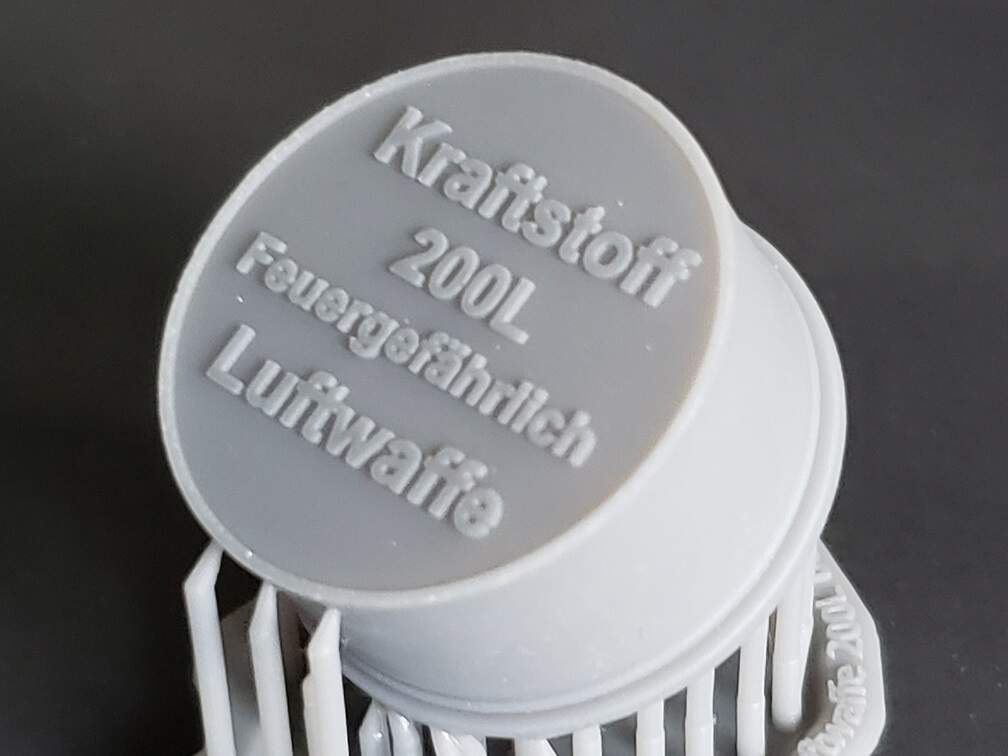
I asked him if he could make me some radio/electrical connectors in 1/35th and he did so I bought them from his gallery. When I got them they were so small I can hardly see them let alone use them, but they are exactly what I asked for, they are still on this gallery page for anyone else in need of such things.
I ordered some other parts at the same time, some from Ettore and some from Peter Samofalov as well. The way that Peter displays his objects on his gallery are more seductive for me, where as Ettore’s are computer generated CAD images, both are excellent as you can rotate them in 3d space to see what it is they include and what they don’t.
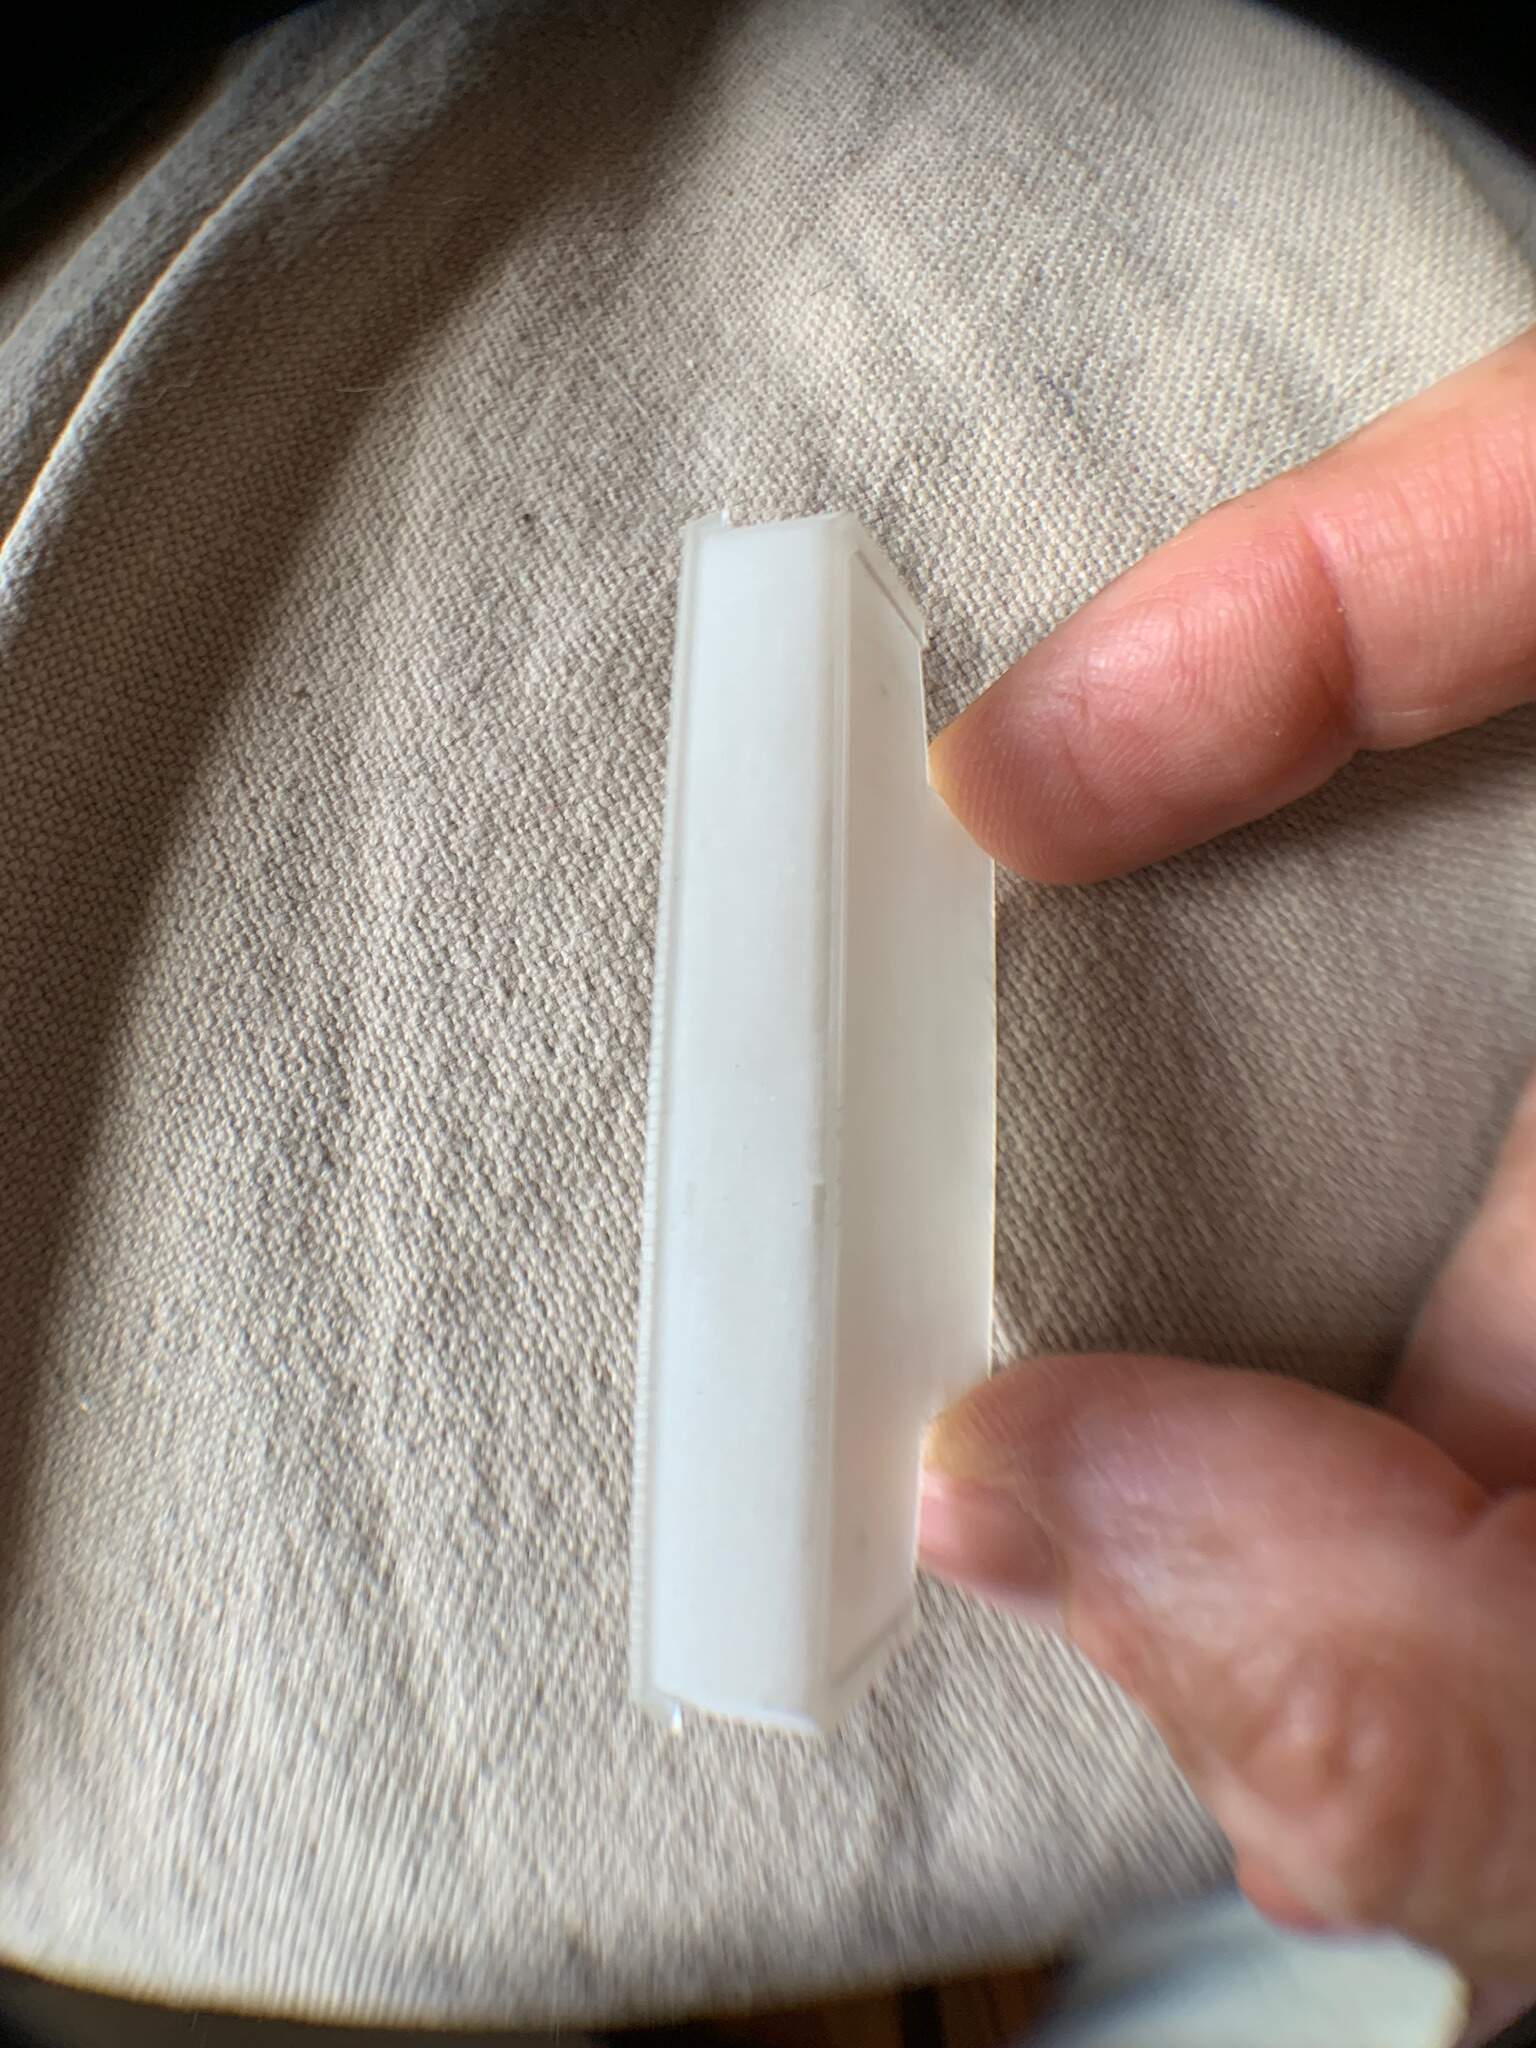
You have to understand some things about this process before you start snipping off sprew gates and that is cleaning the part, not an easy task. At the printers they clean the parts to remove the wax that is used in the process, I’m not sure I understand how wax comes into it but be careful when you receive your parts. I used an old Crock Pot to cook the parts in a controlled hot water bath which did nothing. I added detergent still nothing. I searched the web to see what others are using and that just got more confusing, I did not want to wreck the parts by doing the wrong thing nor kill myself with toxic solvents that I didn’t know how to control. I had some Franmar Soy based paint stripper so I tried that diluted a bit with water and it worked. In some instances I had to do it a few times but I think if I applied it and then put the part in a zip lock bag and left it for a while I could have done it in one go. Here is a review.
Soy Gel Paint Remover How-To and Review - Less Likely To Eat Your Flesh
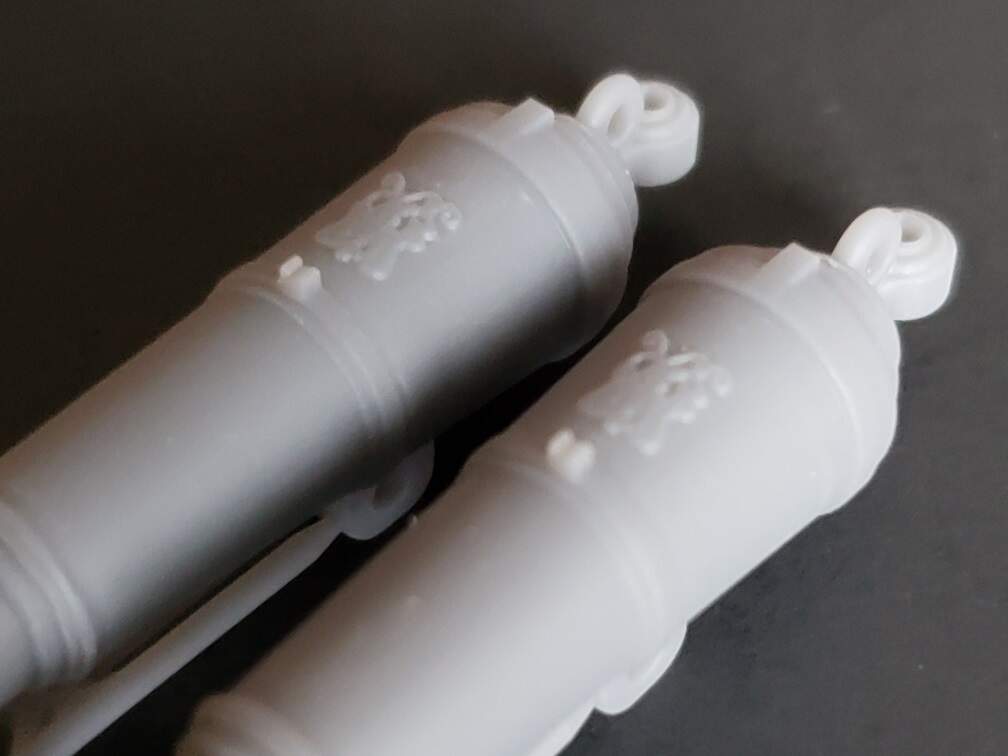
Using a bamboo skewer or a tooth pick helped remove some wax hidden in detailed parts and it didn’t scratch the parts. I washed it all off with hot water and detergent and I was ready for the next part. If you’re the type that gets upset with excess flash on your parts you will not like the current generation of 3d printed parts.
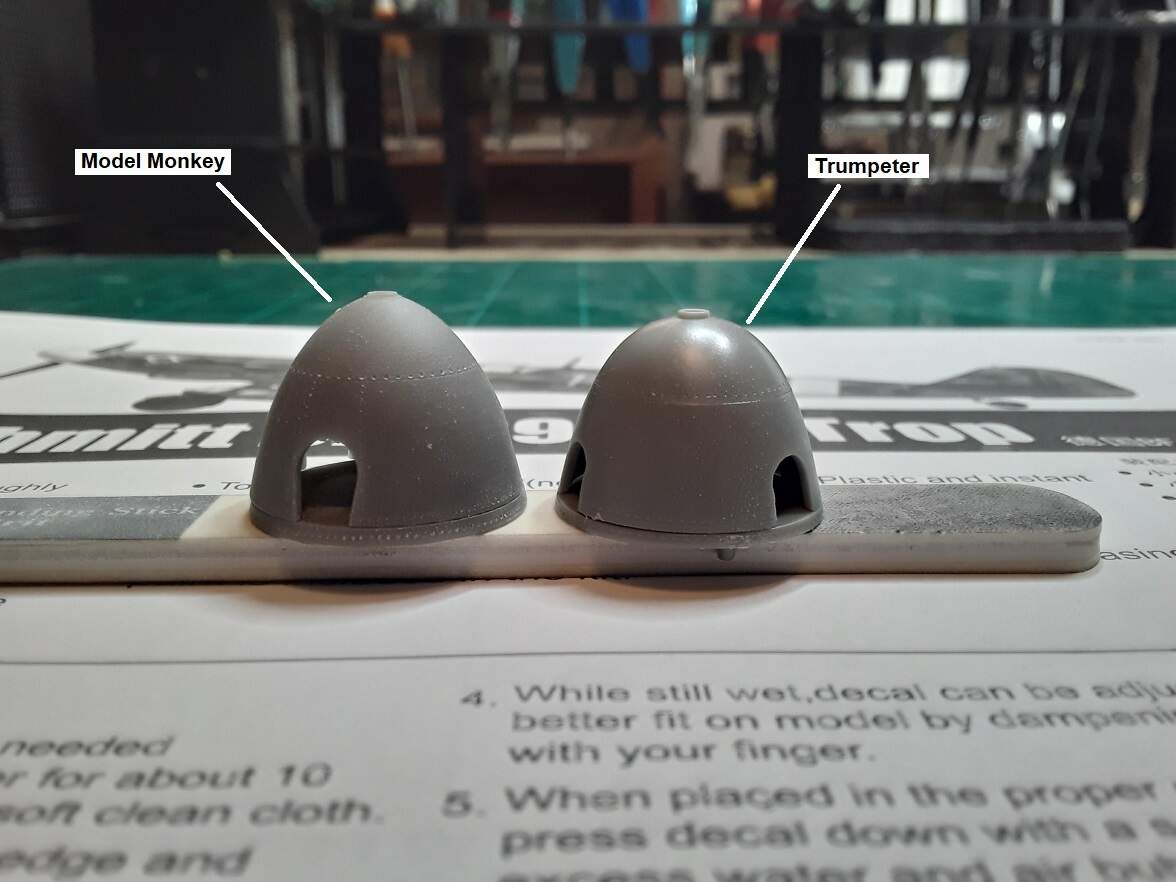
Ettore explained to me that the amount of banding or printing lines depends on the orientation of the part in the printing process, perhaps he will post the explanation here for all of us to share.
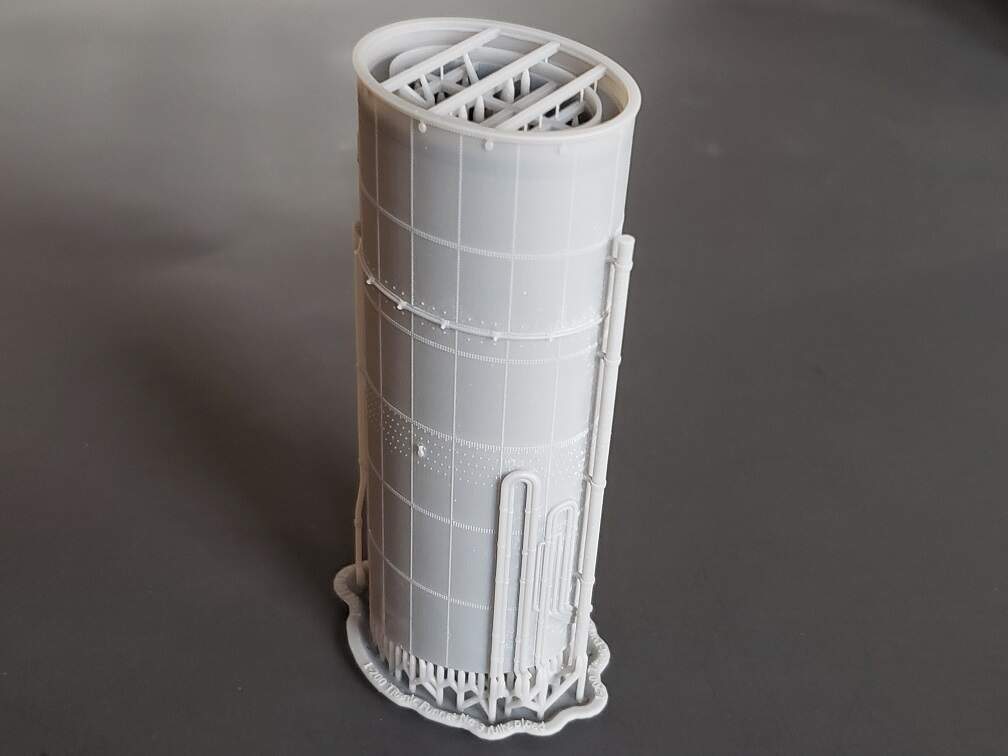
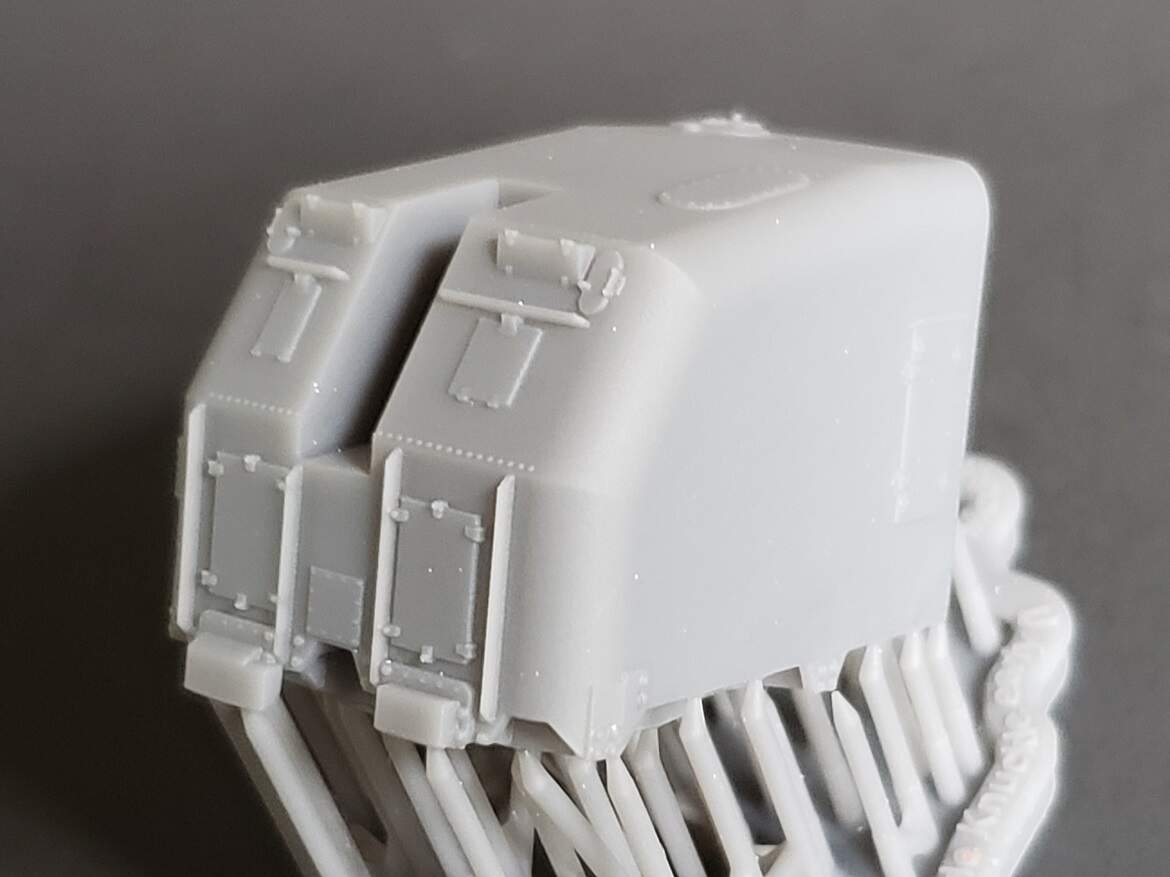
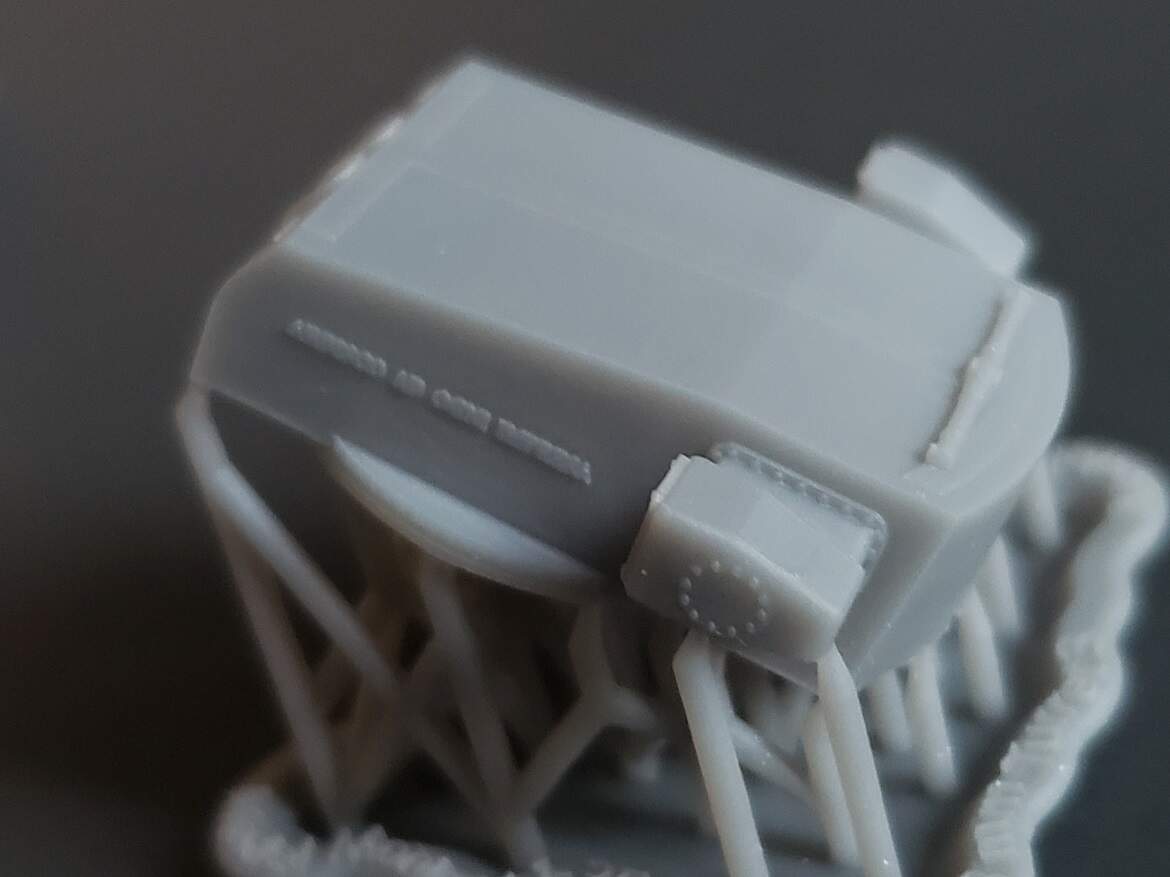
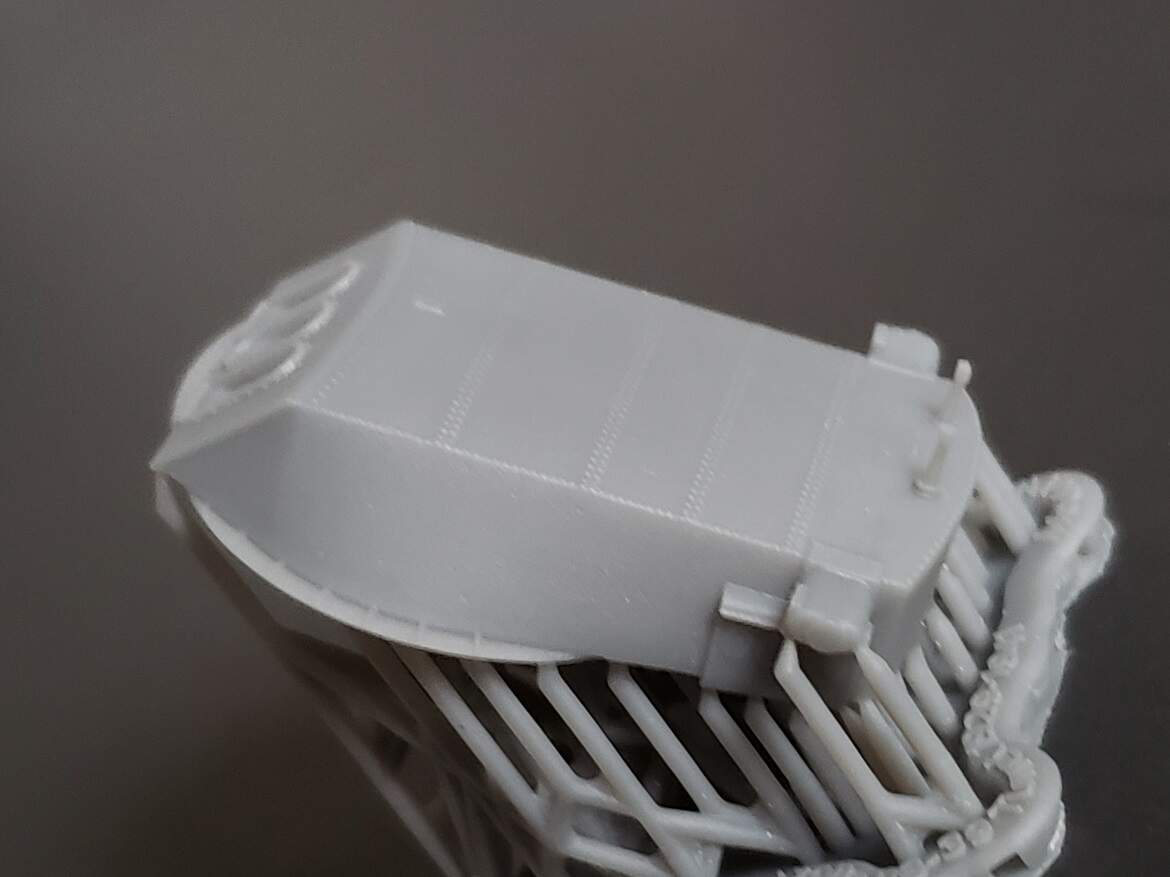
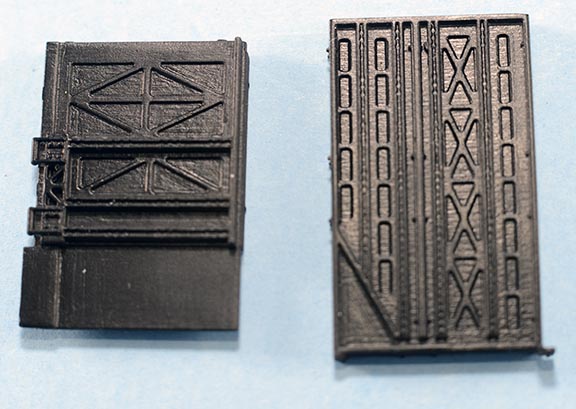
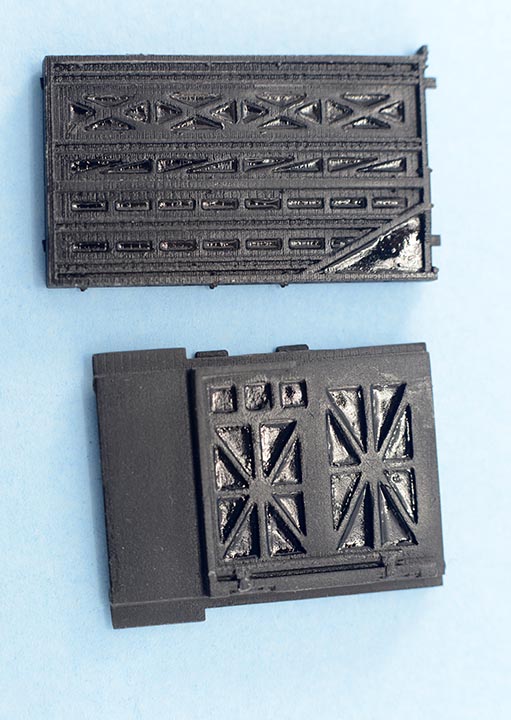
What I found was that if the designers would not put tiny surface details on the flat surfaces they would be easier to sand. They could have small orientation pin holes so we could drill of the places for bolts and rivets could go and the designer could include a sprew of nuts,bolts and rivets for this specific application. Also regarding the rear walls of the seal trucks, they are incredibly complex with many layers of details and so small that the only tool I had was a micro chisel to get down into the surfaces to remove the banding. I asked Ettore if such complex parts could be designed in separate layers and then we could put them together but there is a thickness tolerance that the parts must be designed to in order to print.
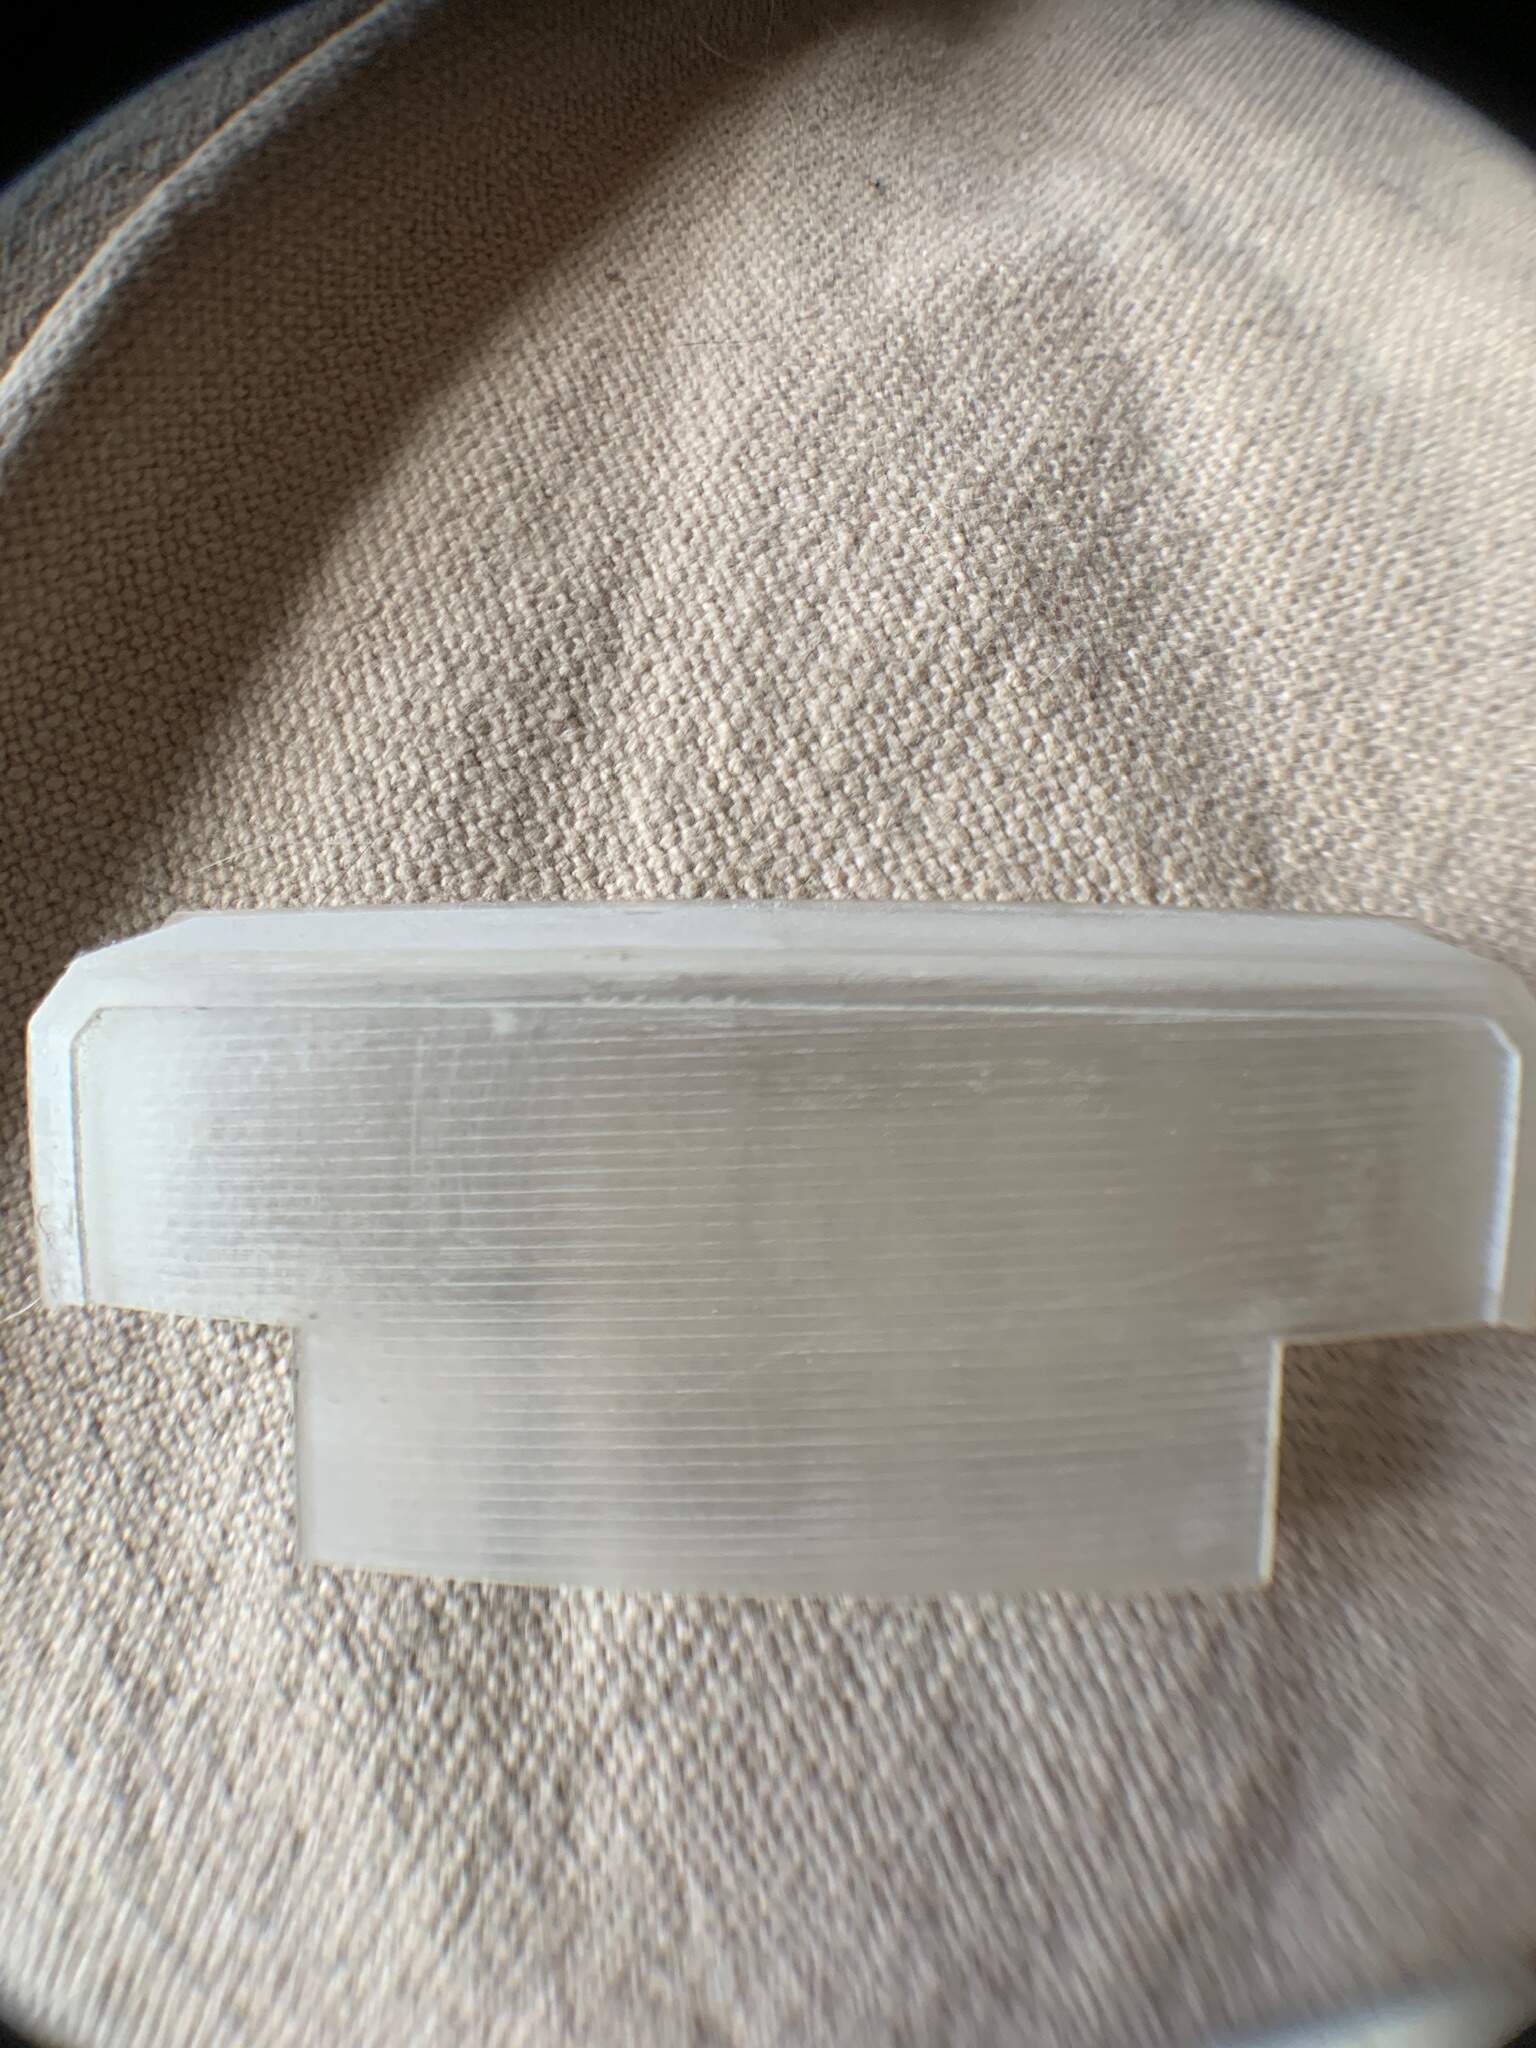
A primed sprew after cleaning
another piece of the set that had been primed but then scraped and sanded to remove the banding.
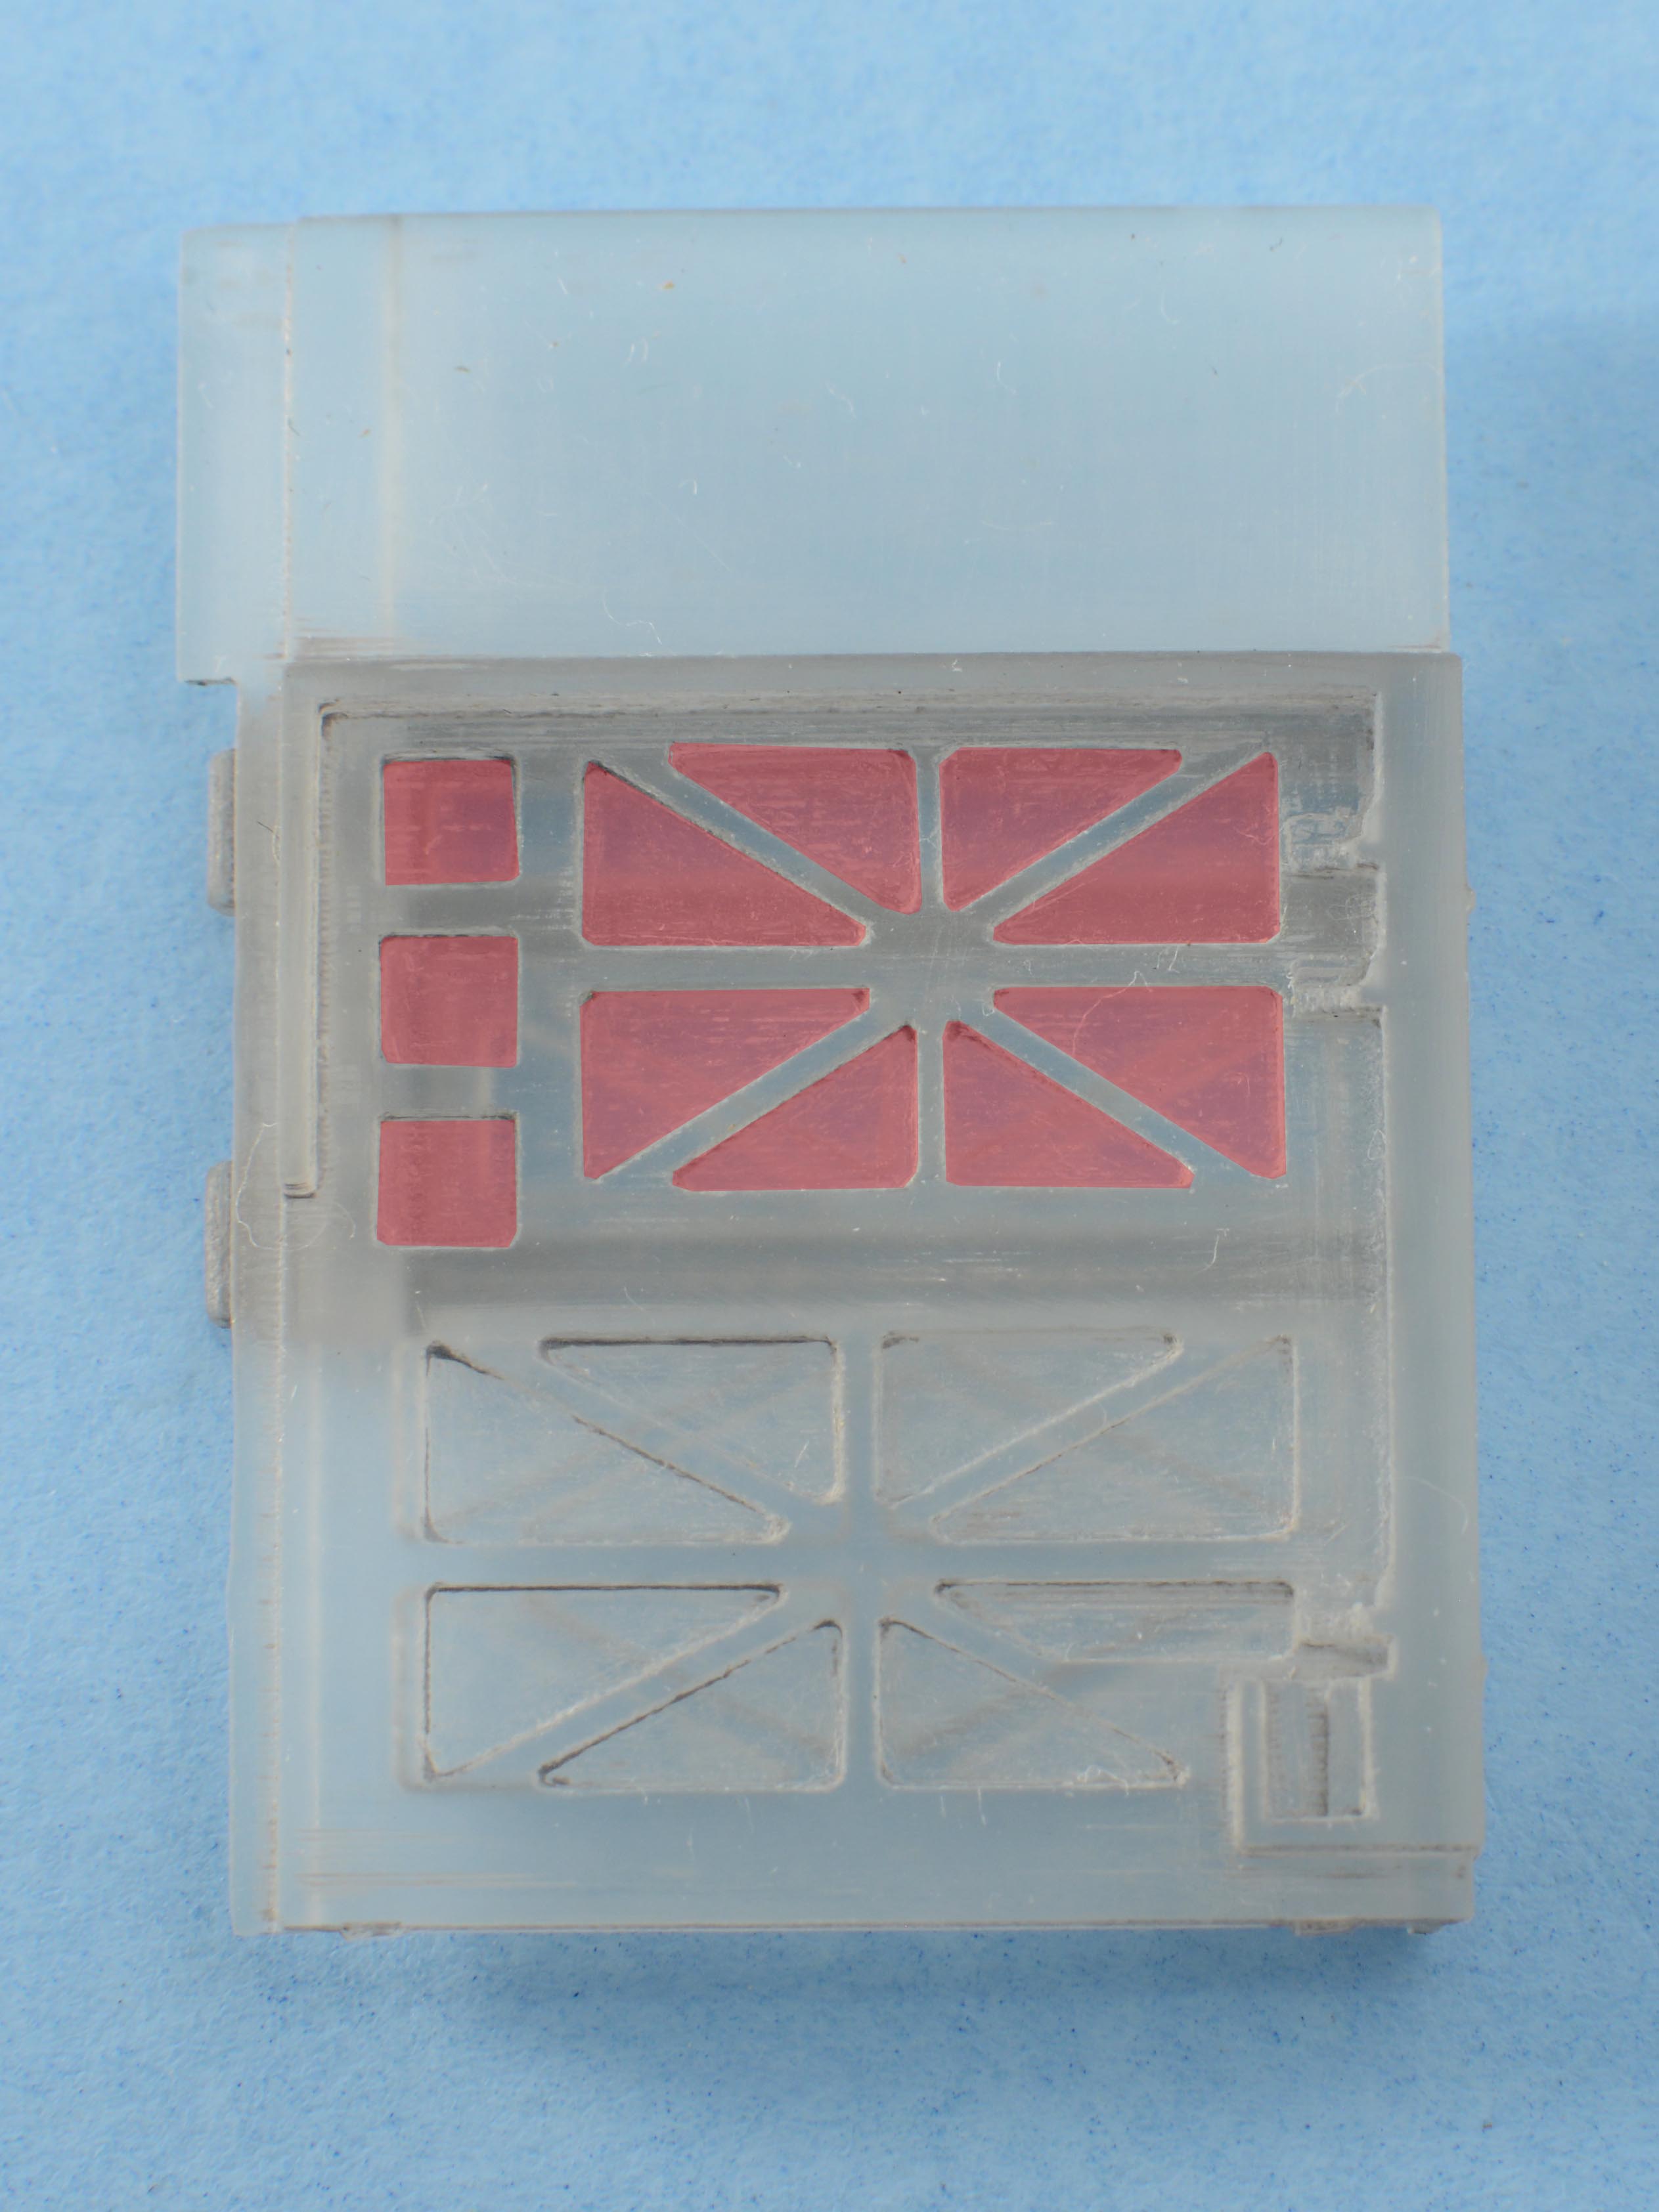
I thought that by using Alclad black primer with micro balloons it would help fill in the “valleys” and level off the surface…nope.
Then I tried using Woodland Scenics gloss water medium. The nice thing about this is that it is self leveling and you have time to apply the material. I filled each shape withe acrylic gloss, the water evaporated away leaving a film over the intended surface. I am not sure I am any further ahead but clearly some areas are smooth. My next attempt will be with Mr.Surface 500 and lacquer thinners.
Be aware that the shapes are the size of my smallest brush or the head of a toothpick.
I think for pieces like this photo etch is still the better solution BUT the interest in GMV’s isn’t as high as they once were, everyone is chasing the latest and greatest but I do still see this type of complexity on M-ATV’s. I am sure that injection molding can do this type of detail.
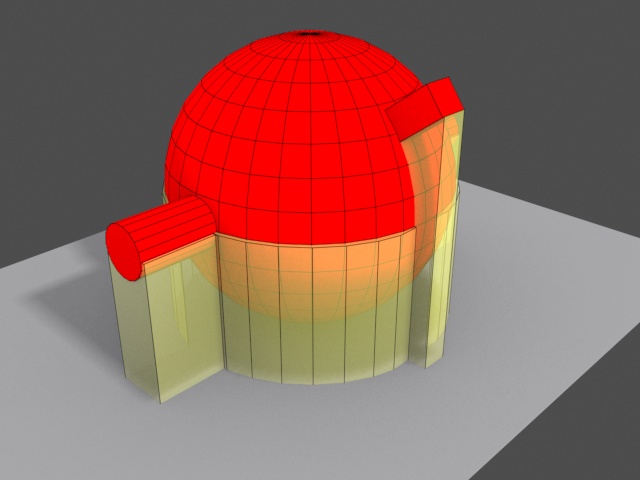
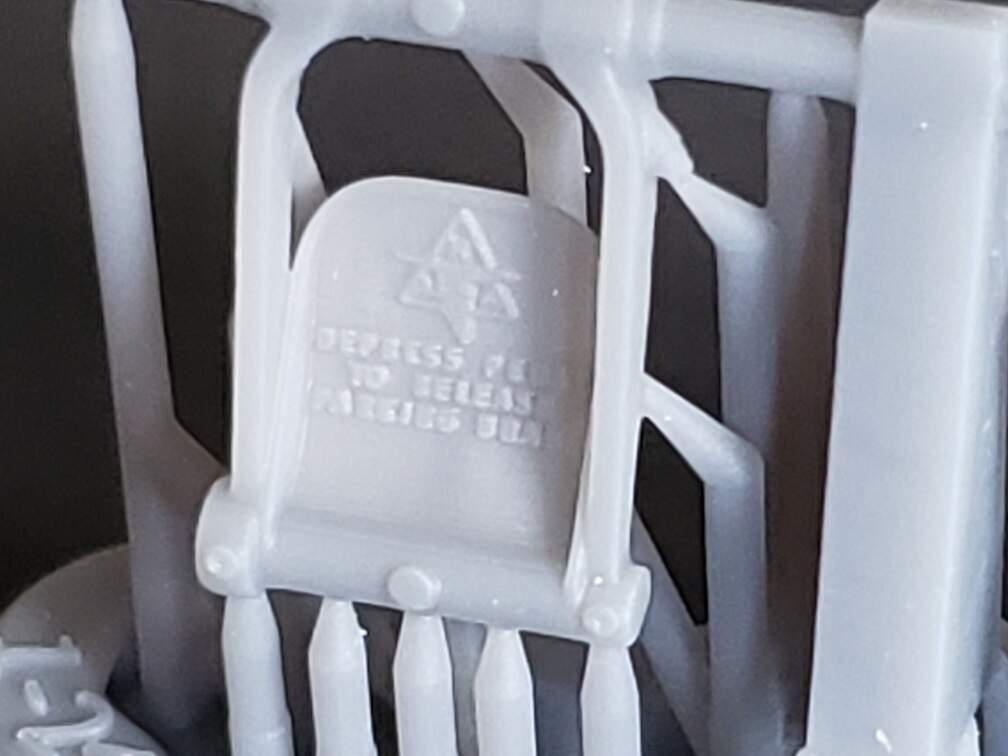
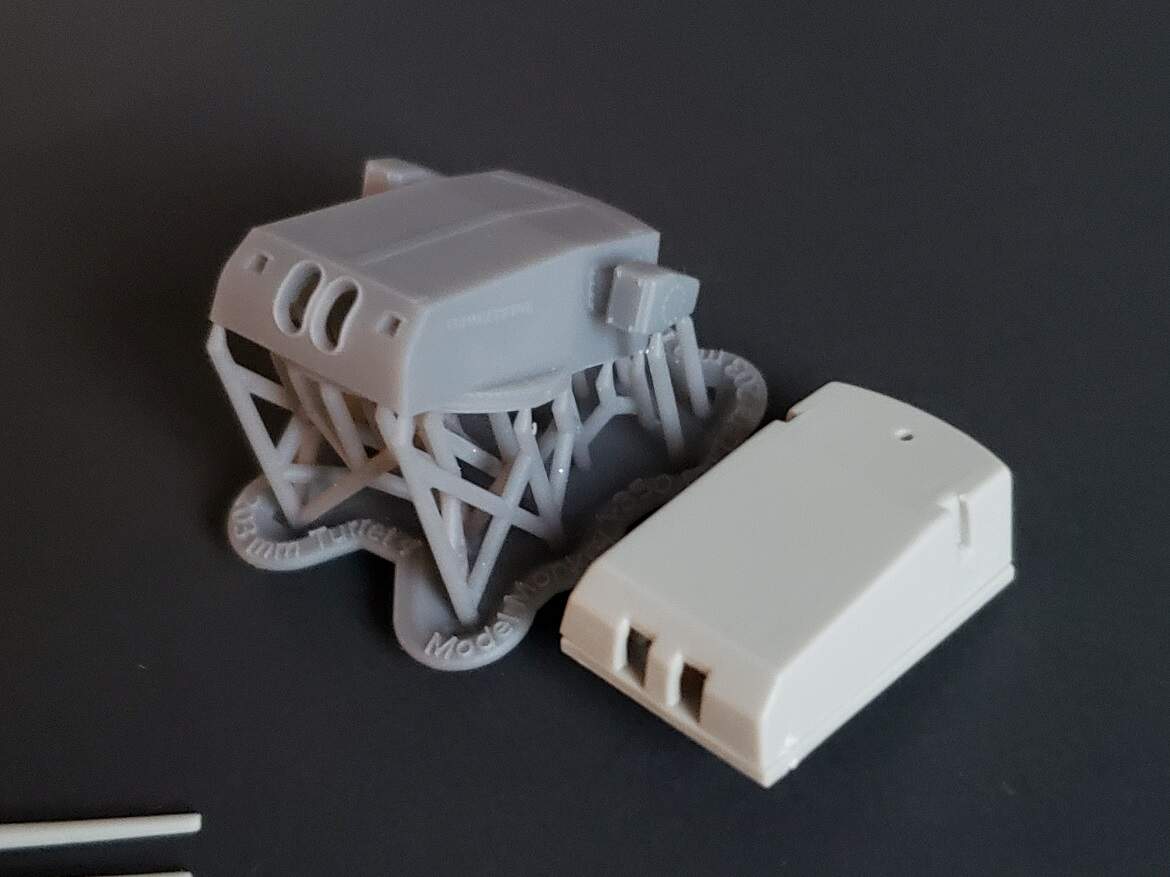
i will leave this here with an illustration of a weapons ring that is one of Peters.

I don’t think I will be able to use this beautiful piece of design because the printed piece is so heavily banded, the details are so close together that to clean then with files and sand paper would destroy them in the process. Perhaps I will remove the detail and then re apply the details with resin bolts. The parts are remarkable but the time and labor to achieve a suitable surface is daunting. Is the technology out there to resolve the banding issues, how does Live Resin achieve such remarkable resin products?
Regards
Boggie