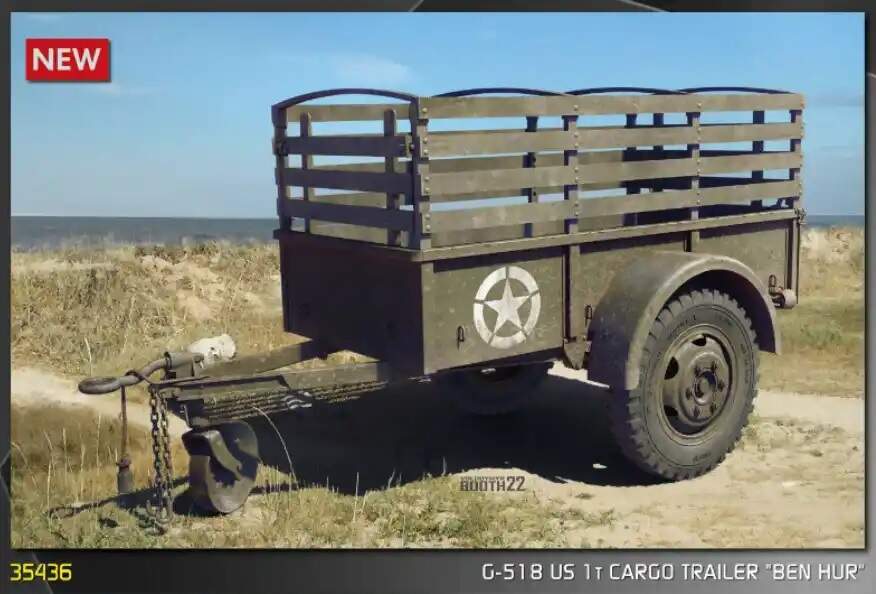
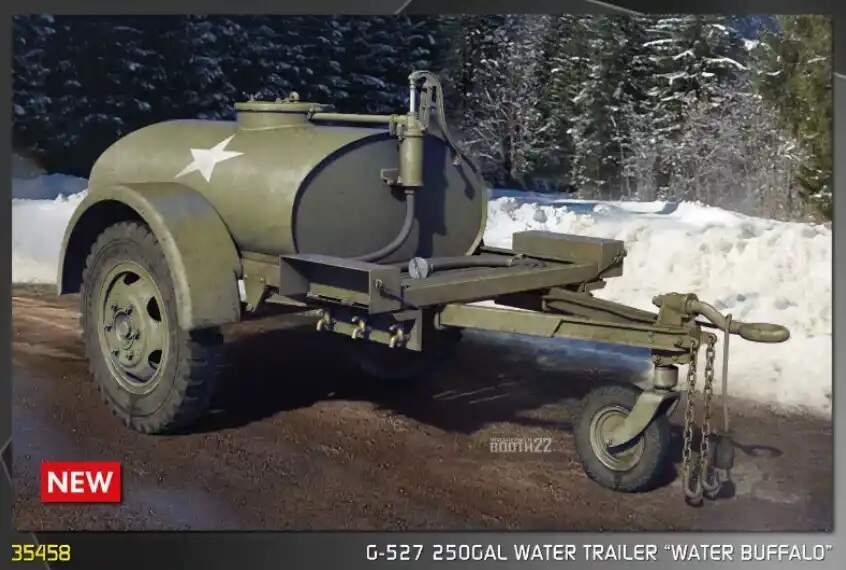
Mini Art has announced a couple of much sought-after trailers coming in 1/35. They are the G518 1T Cargo Trailer and G527 250Gal Water Trailer, a.k.a. “Ben Hur” trailers due to the original manufacturer’s name. These should be very nice. It is the first Ben Hur cargo trailer in plastic. The water trailer should be light years ahead of the old Renwal/Italeri water trailer too.
15 Likes
A little info about these trailers. Over a dozen manufacturers made them.
2 Likes
WHO-RAY !!!*! This is great news!
So glad MiniArt is able to still do new releases given the crisis in Ukraine.
However we know the molds reside somewhere along the Pacific Rim so therefore also do the CAD files it took to make them.
I don’t know where the original CAD design work was done but I am sure it is backed up to the cloud. So all the management has to do is (hopefully) grab their laptops or just a portable SSD hard drive and head for cover.
We modelers will be most happy to deposit our payments into whatever off shore account you may chose. We (I) wish the folks at MiniArt much safety and continued success in the future.
3 Likes
Wow, wow and wow. It’s about time! What en exciting announcement of a most needed injection molded Allied vehicle accessory. I can’t wait! To that end, does anyone know how long of a lag time between announcement and release is typical for MiniArt? They sure do seem to pump out new and re-boxed kits quite regularly. Great news regardless!
Jimbo
2 Likes
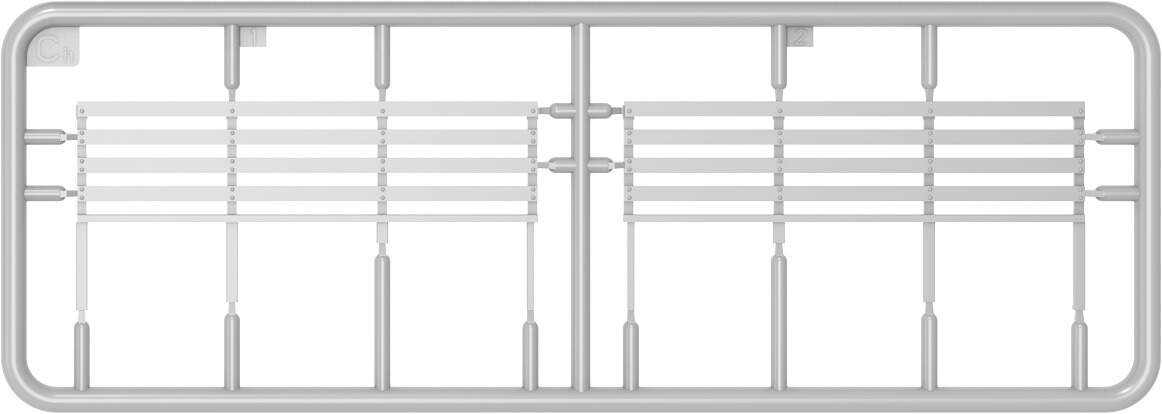
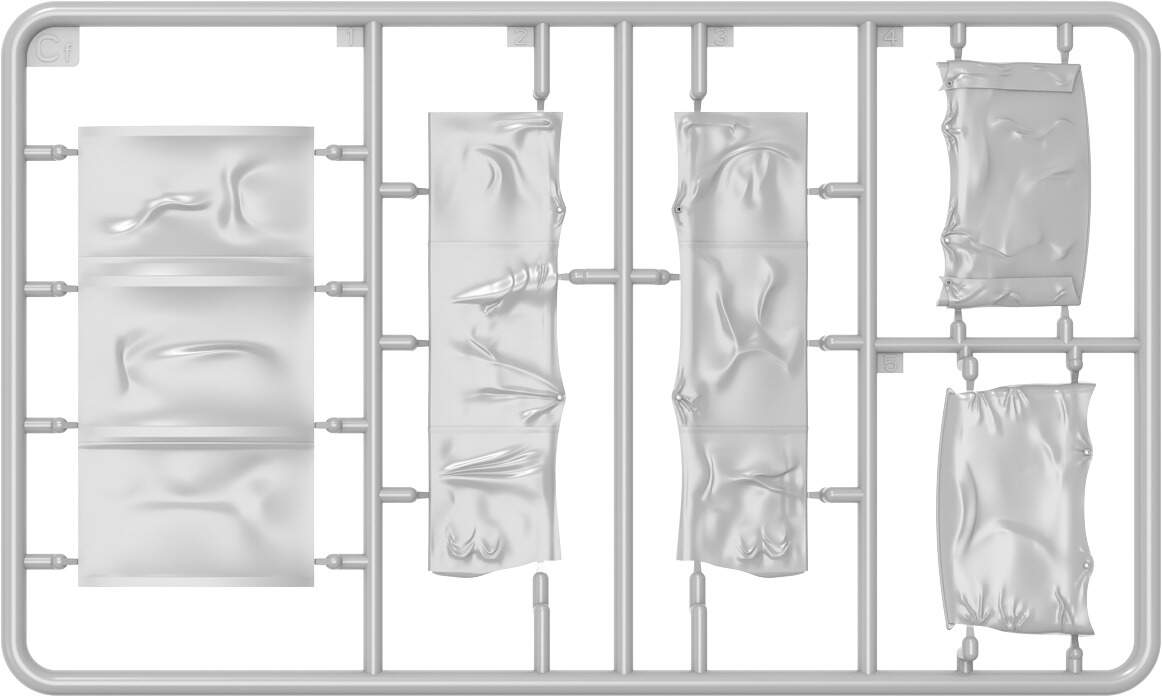
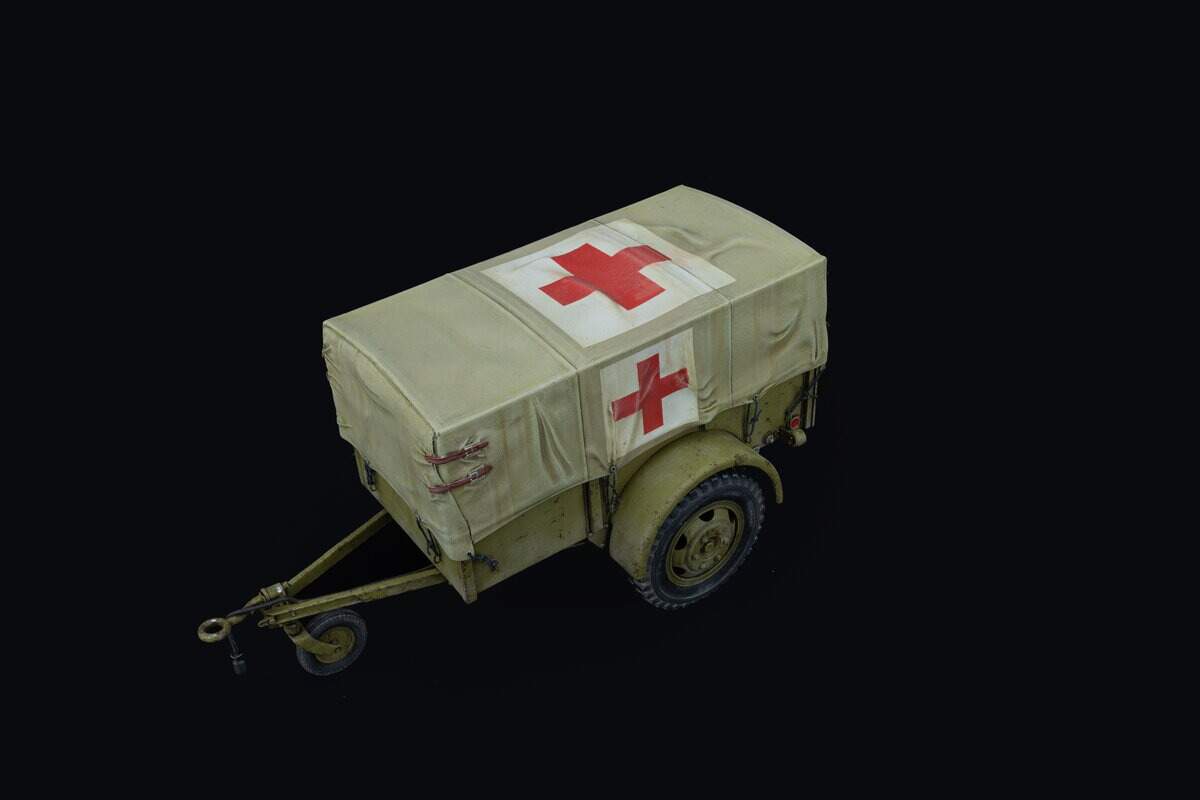
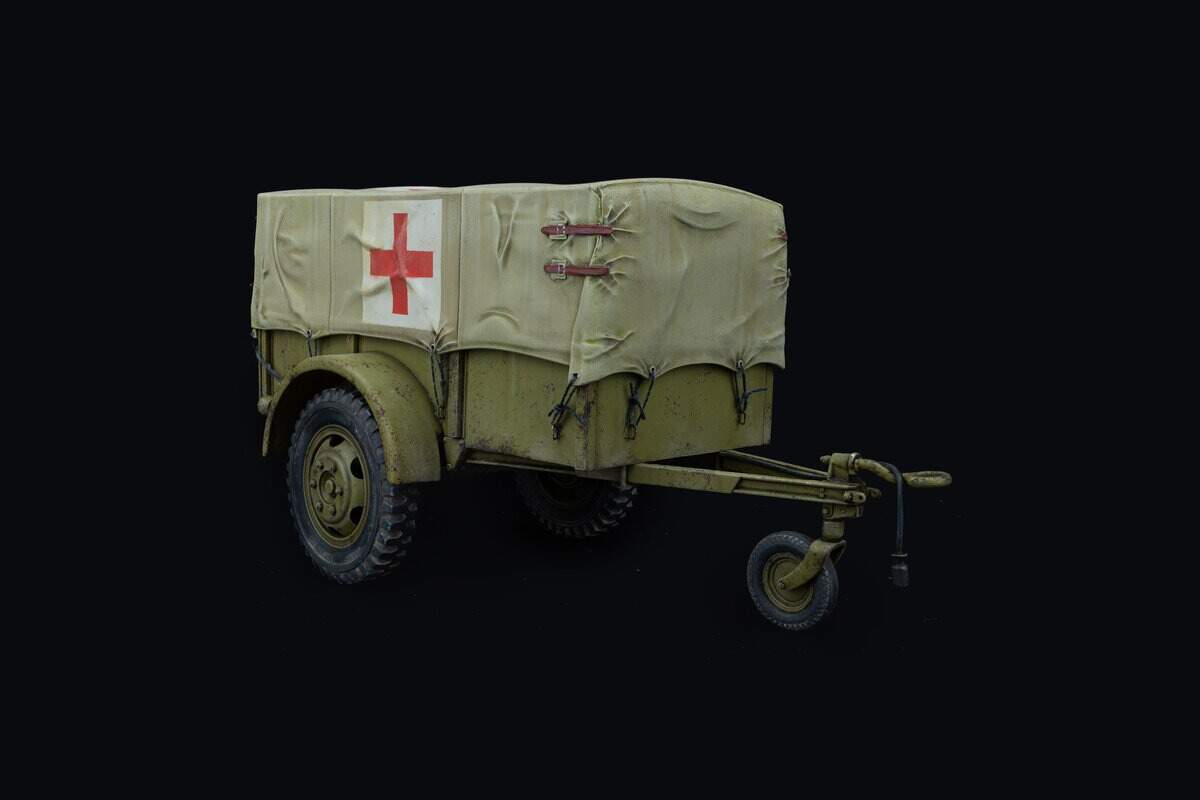
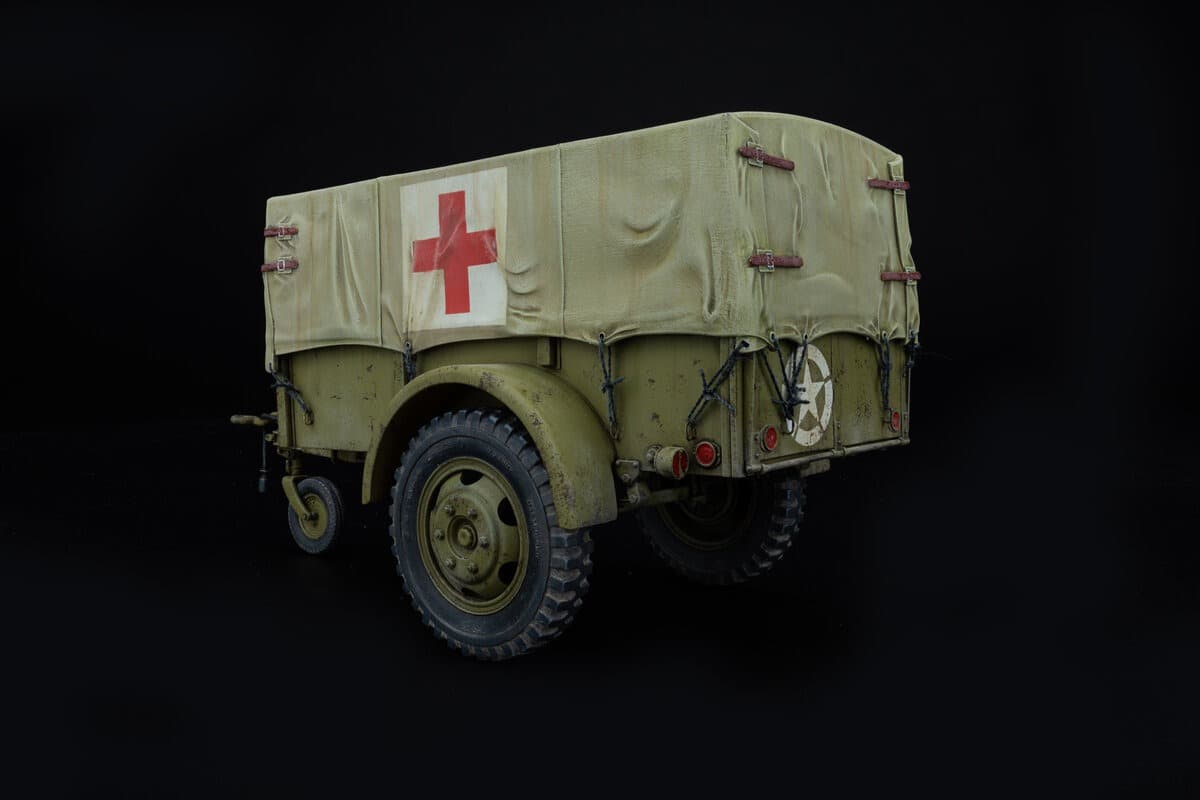
Mini Art has announced another version of the G-518 “Ben Hur” 1-ton US Cargo Trailer, this time with a canvas top.

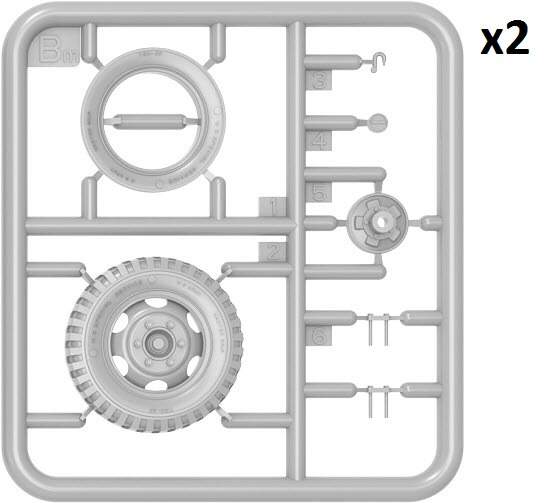
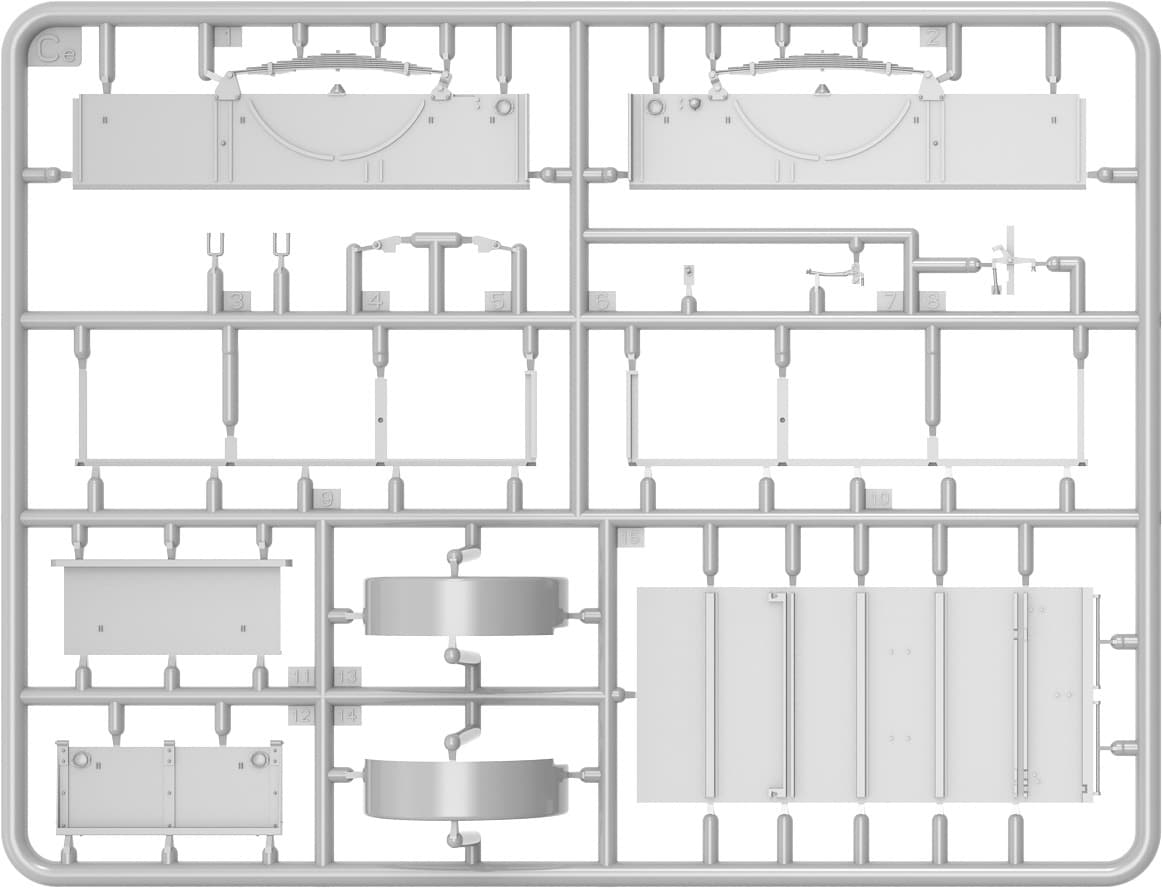
Parts (same as above, but w/new canvas sprue).


6 Likes

8 Likes
Did US Army trailer tail lights differ from those of their towing vehicles? I wonder because MiniArt supplies identical parts for right and left side tail lights: Bm4. While the box art shows an unusual type of light that strongly differs from what can be seen at the Wikiwand link.
1 Like
The tail lights should be the same as all other WWII (and later) tail lights. It looks like above they are either built or molded 90 degrees off.
1 Like
I would imagine one tail light would be for service drive and one for blackout drive.
1 Like
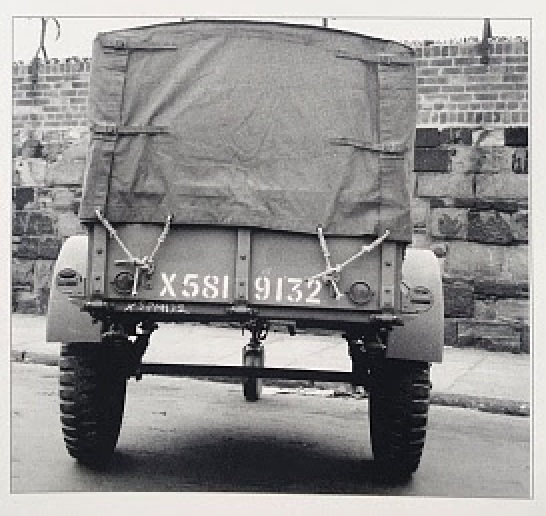
This image shows it pretty well. Red oval service drive stop light on the upper left side and a blackout drive (BOD) marker slit below. Right side is a small BOD stop light above and a longer BOD marker slit below.
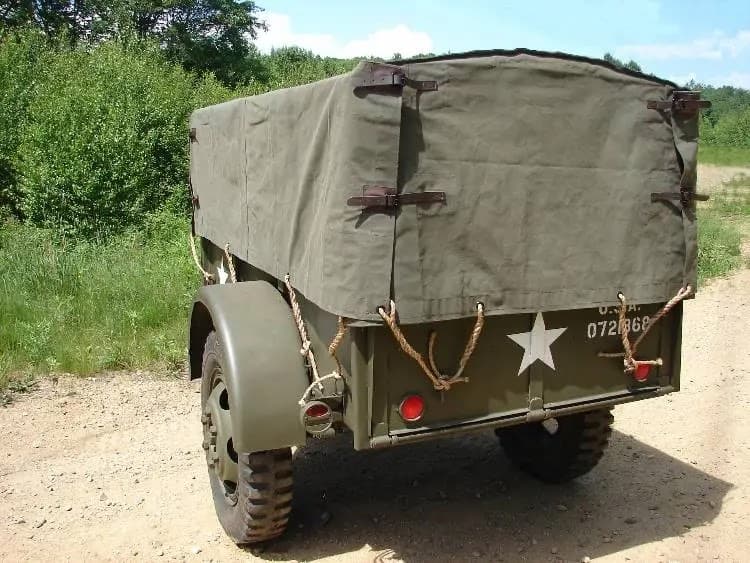
Service drive side in color.
2 Likes
I will be buying all three as I mainly model soft skin vehicles.Nice to see these be released.
2 Likes
Picked one up just this weekend at Scale Reproductions in Louisville. They also have the panel truck but we are still waiting on the radio van.
1 Like
Once again the taillights - does anyone make correct replacements in decent numbers? PSM has lights for two WWII vehicles in their “US Lighting Equipment” set, but more would be better, right?
1 Like
The lights are correct in the kit. The builder above just didn’t know how to place them correctly.
2 Likes
I don’t have the kit (yet), but according to the instructions (at scalemates), right and left lights in the kit are identical, Bm4, as mentioned above, and that couldn’t be correct, as you pointed out, so …
But anyhow, the question remains: hardly any kit gives these lights correctly, so everybody would need rather large numbers of correct renditions - just where can they get them?!
I see what you mean, but as you say, many kits come that way. Simply paint a short, horizontal black line across the top of the right oval, then hit it with a little clear gloss, and you will be good.
E-mail sent
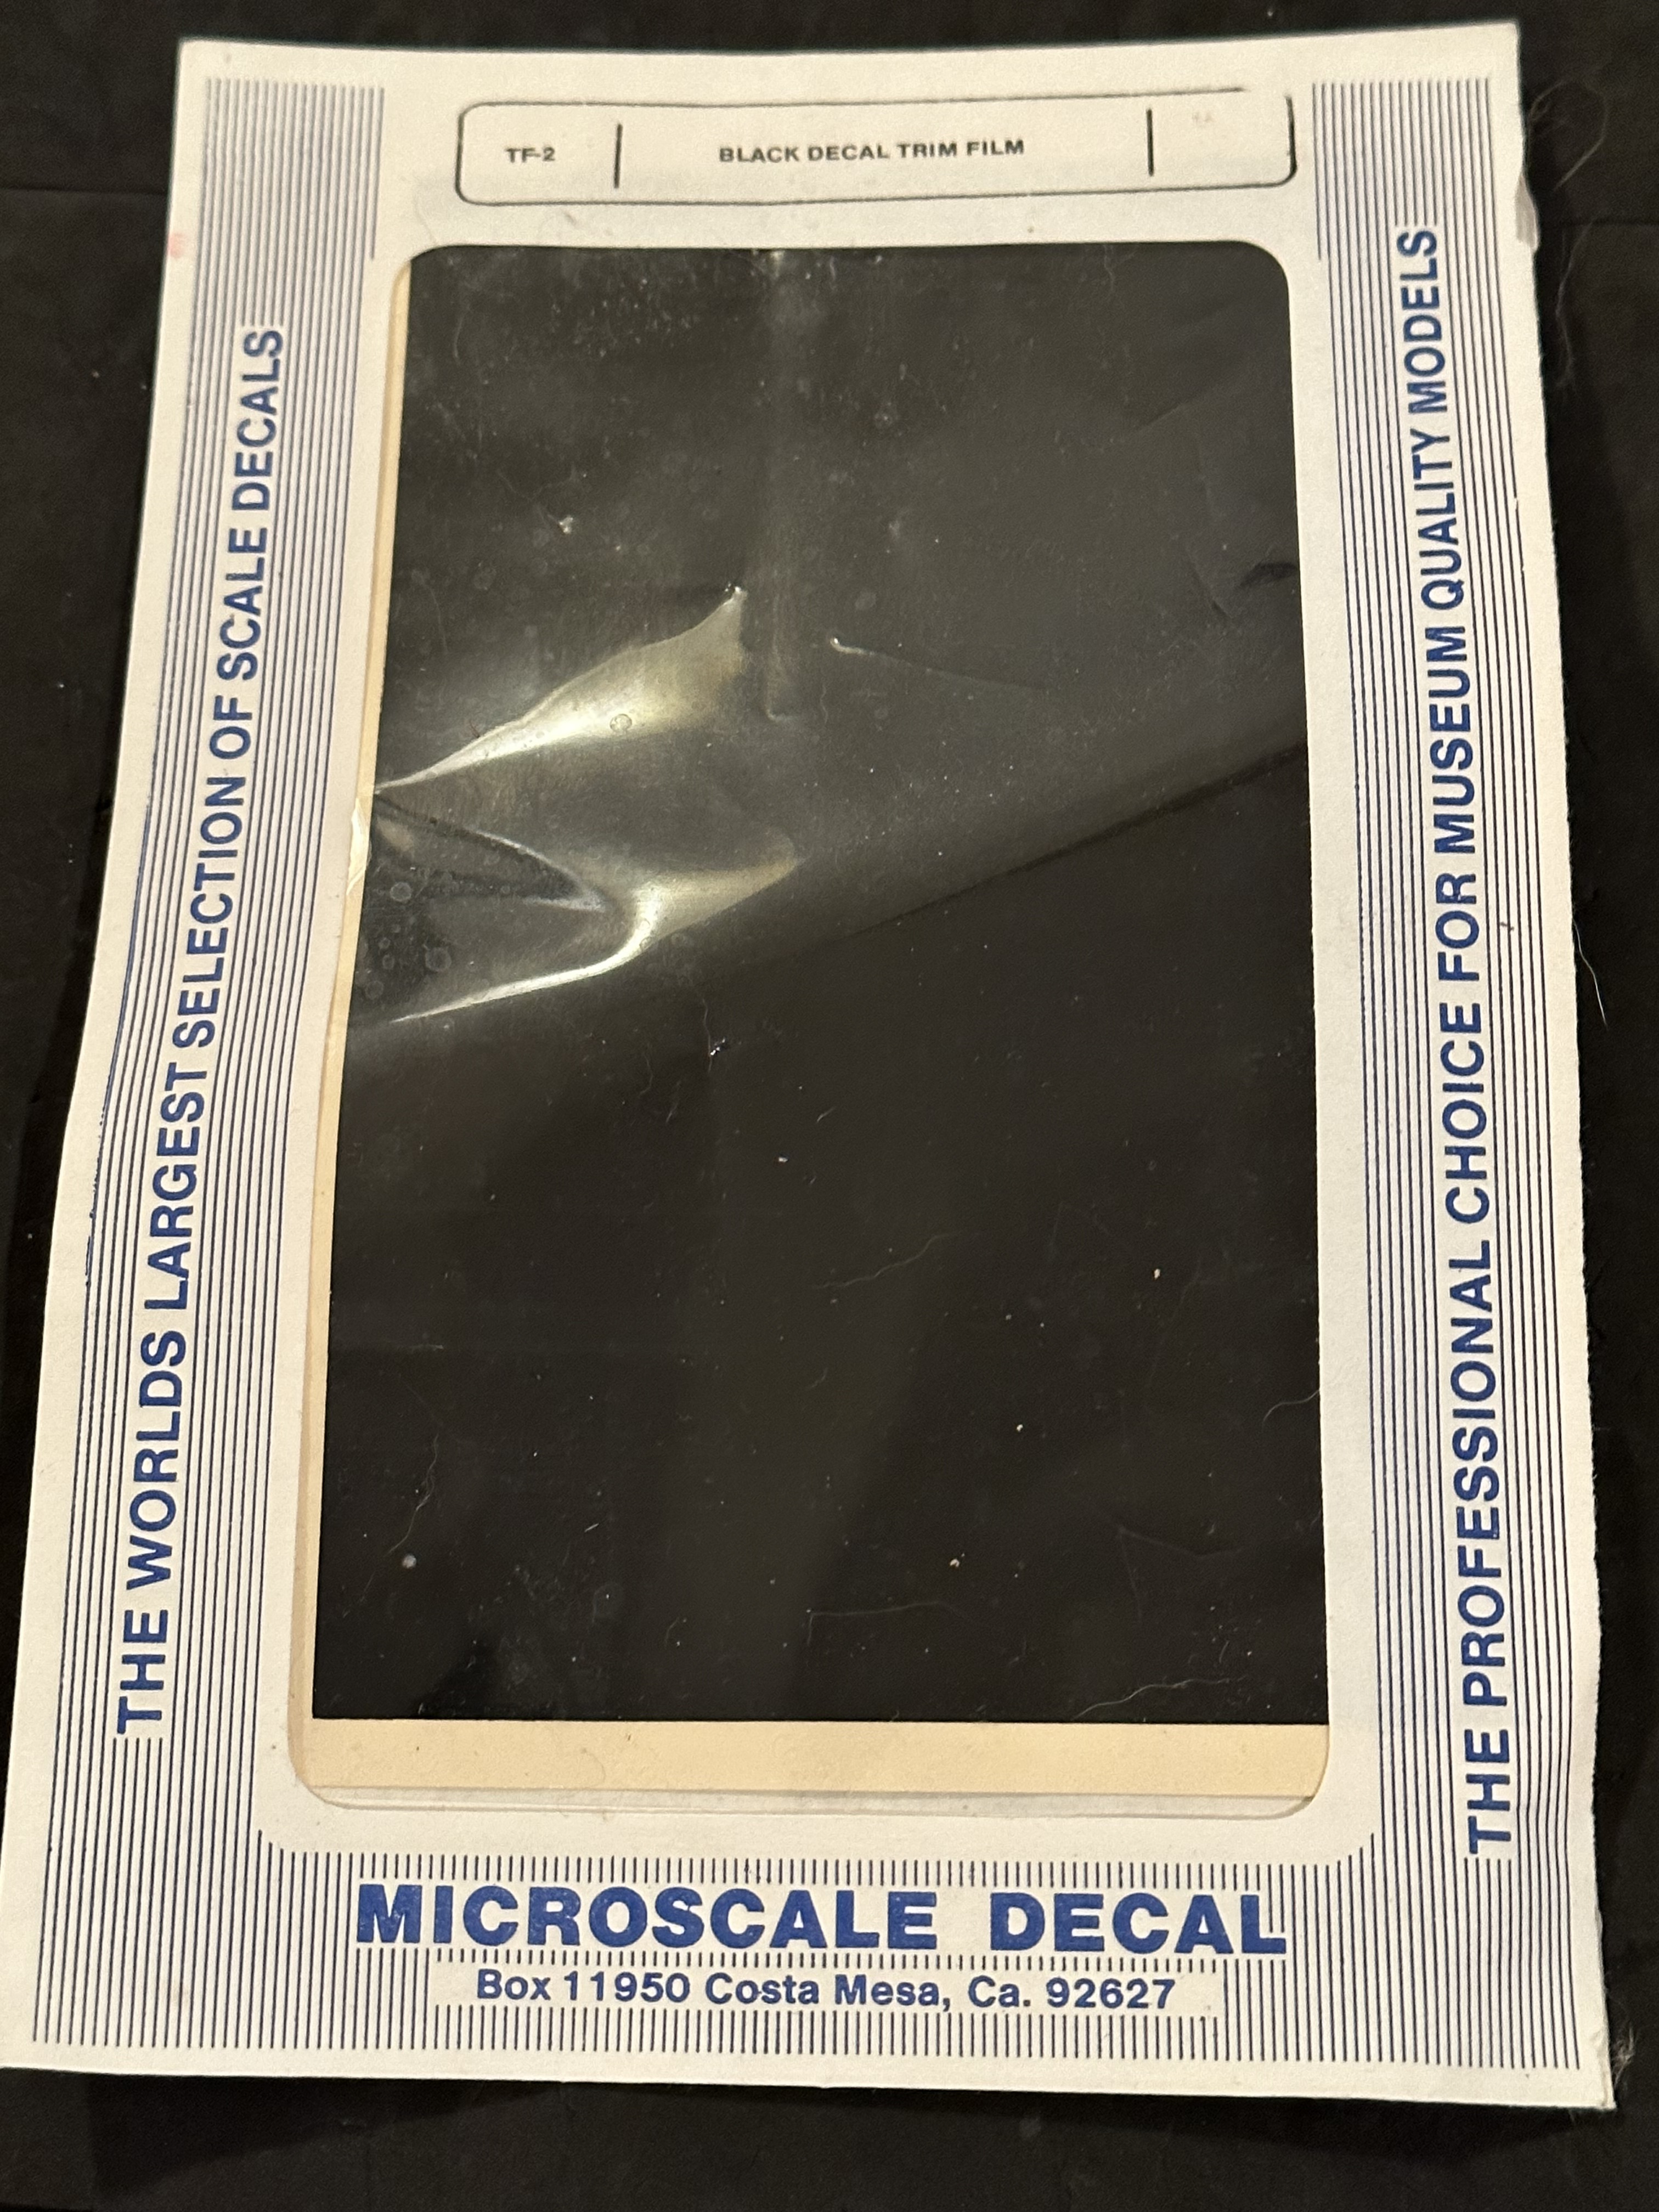
Fixing that oval shape would be the way to go. Add a tiny drop of CA into the oval. Touch a drop of accelerator to it. Pause. Turn it upside down, sand smooth on a piece of wet/dry sandpaper. The oval is now gone about as fast as it took to type that. Install the part, paint, then instead of trying to paint a perfect long rectangle with crisp edges and corners, simply cut out the rectangle from a piece of black decal sheet, or aircraft antiglare panel if you don’t have any black decal film lying about.
2 Likes
Not understanding the tail light problem. ![]()
Want to understand the tail light problem. ![]()
Wondering how many of my models have a tail light problem. ![]()
1 Like