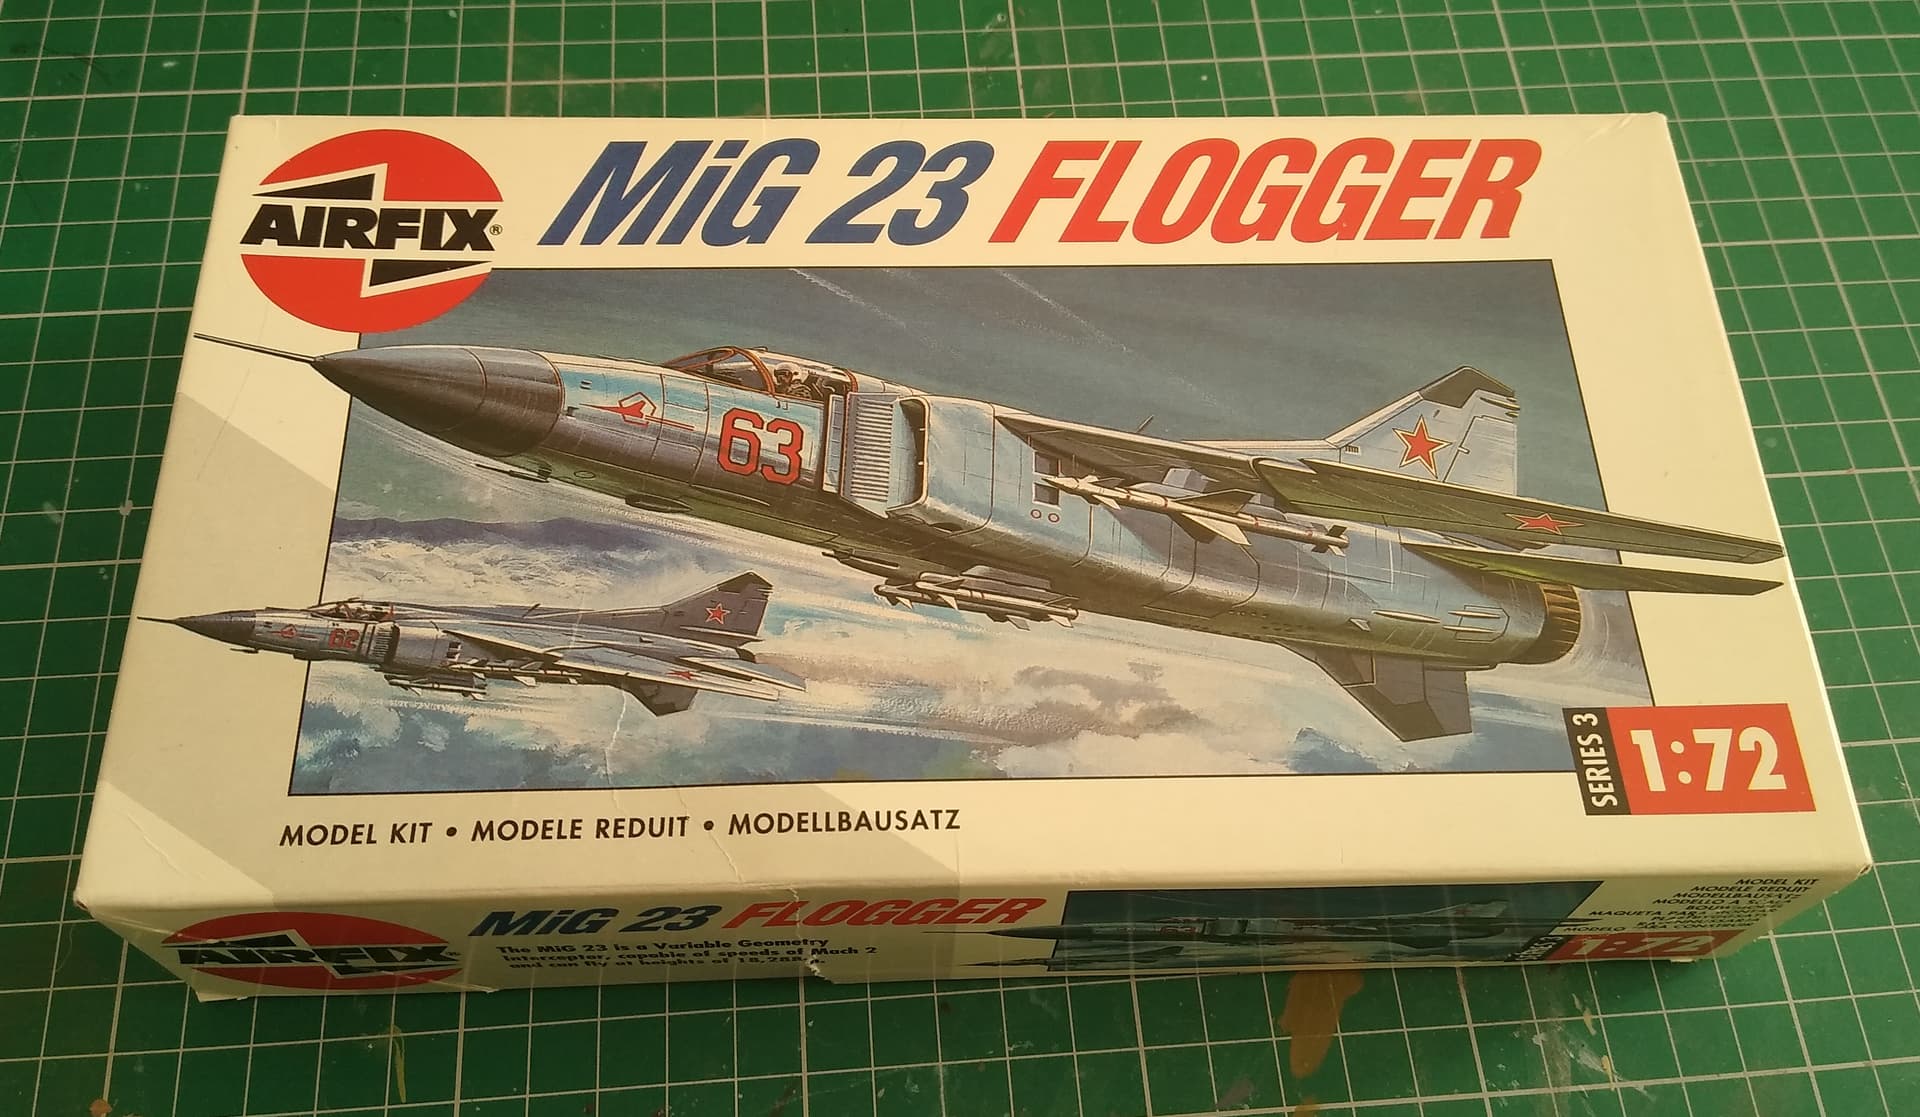
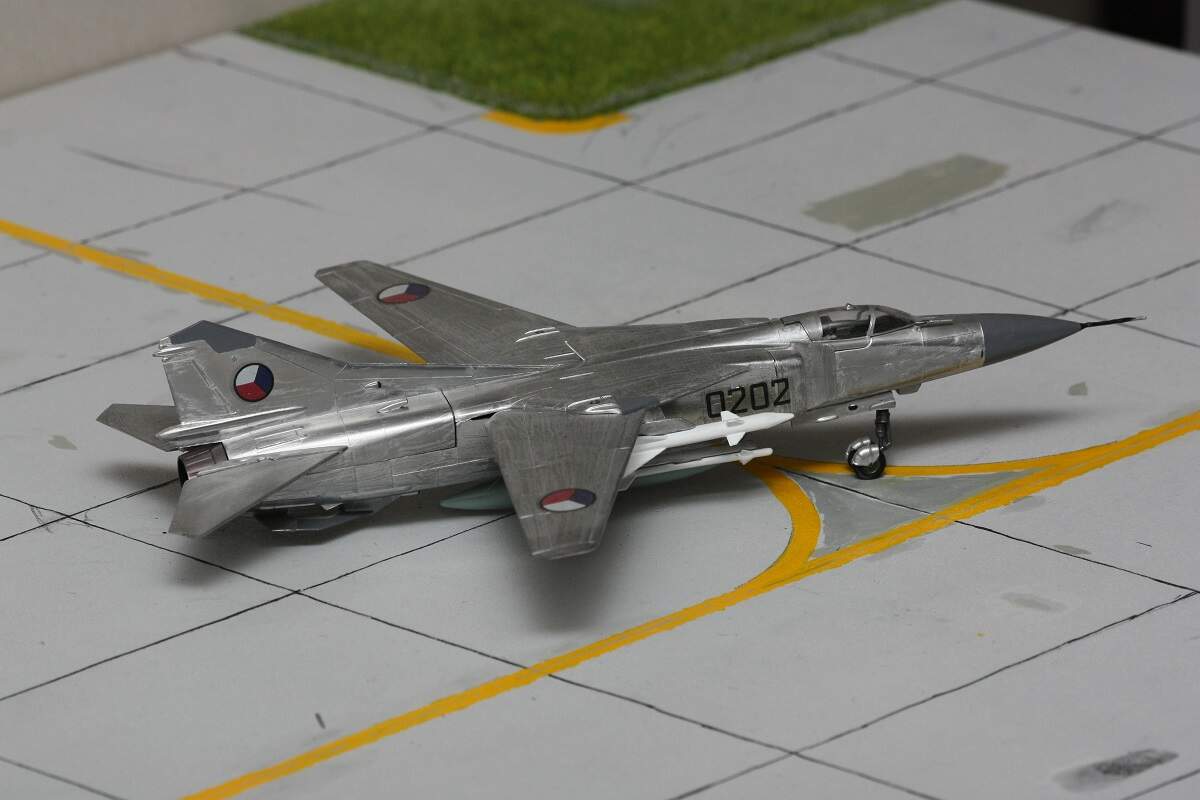
For my next build I’ve pulled out the old Airfix 1/72 Mig-23.
I built one of these back in my early teens. Probably among the first dozen models I built to a standard I was really happy with. Not just slapped together any old way, but a proper job. Even remember doing some research into it and copying a colour scheme from a book, painting it air defence light grey rather than the suggested silver. I don’t remember there being any fit problems, although I don’t think it’s the most accurate Mig-23. I can cut Airfix a little slack though, as they were probably working with whatever published data and plans were available to them.
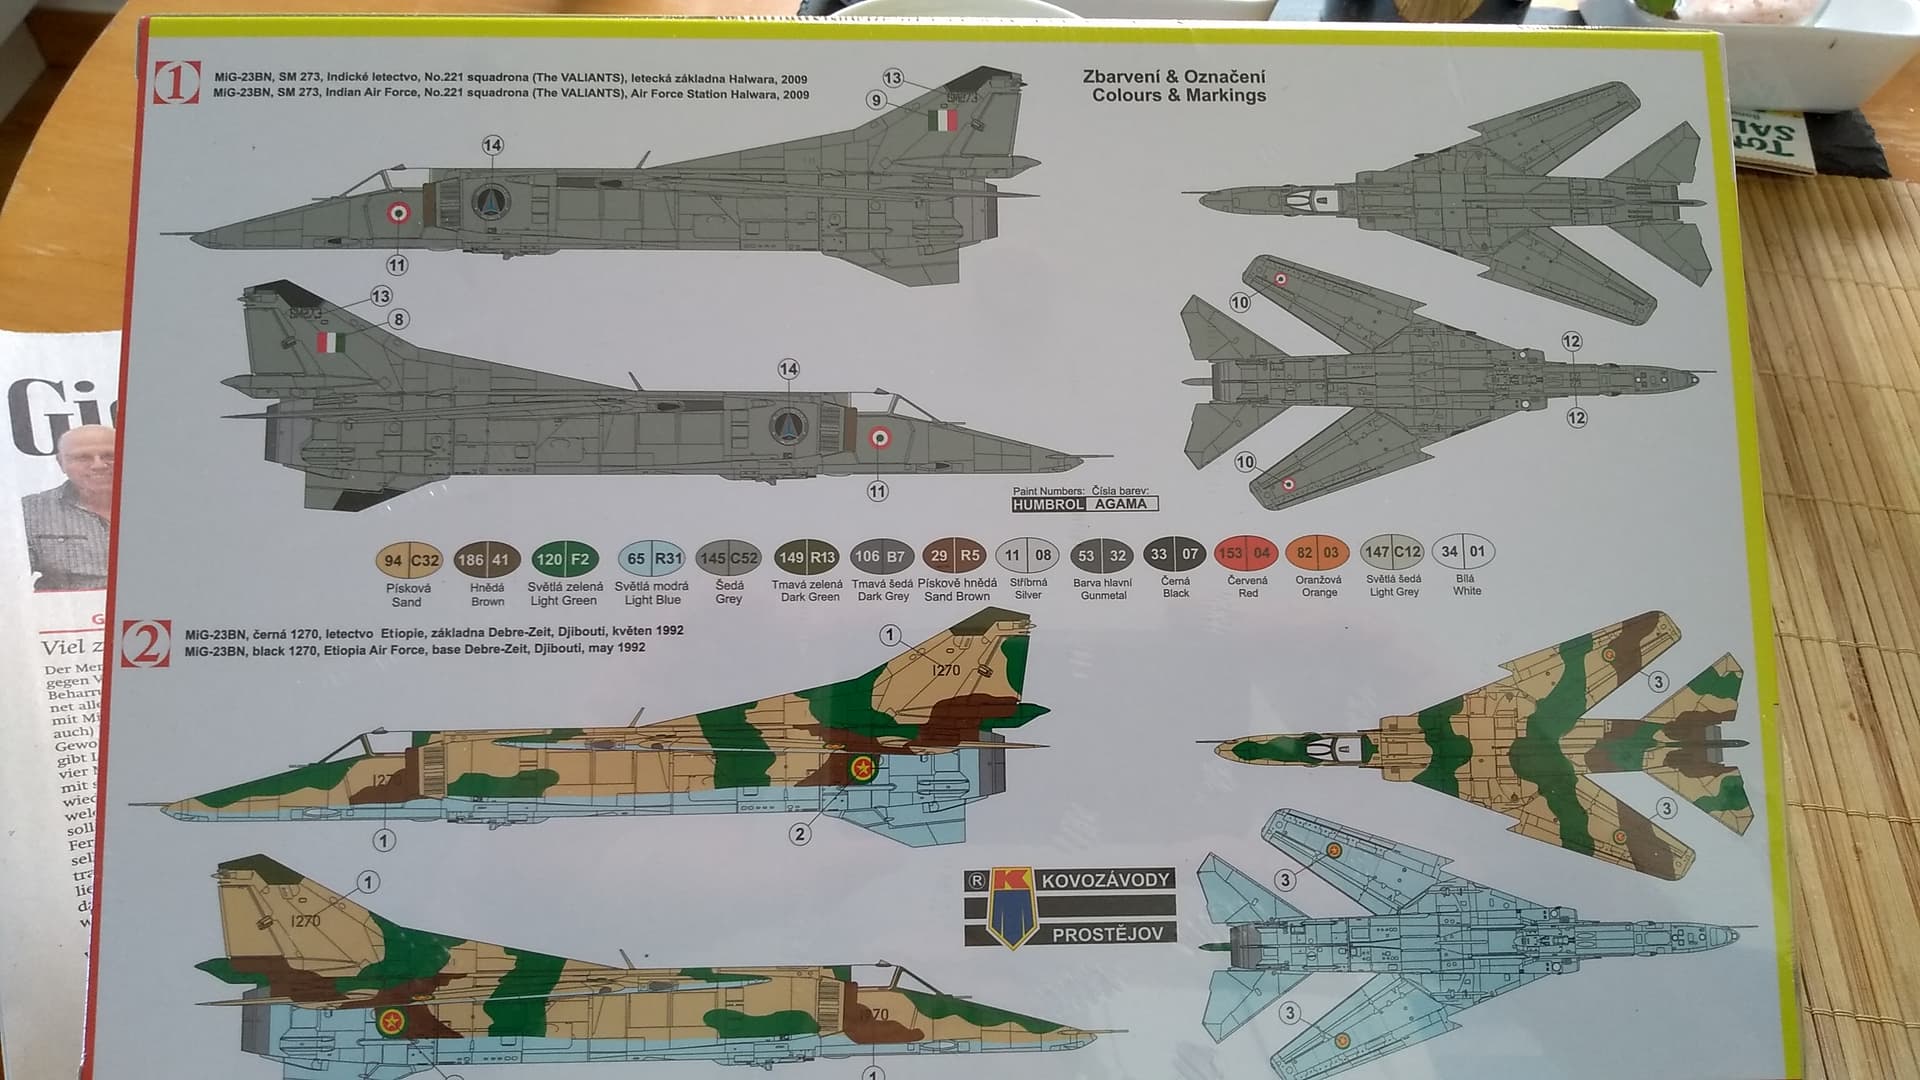
So, thought it would be fun to revisit this oldie and see what I can do with it now. To do something a little different, and taking inspiration from a recent book purchase, I’m going to finish it in Iraqi Air Force markings from the time of the Iran-Iraq War.
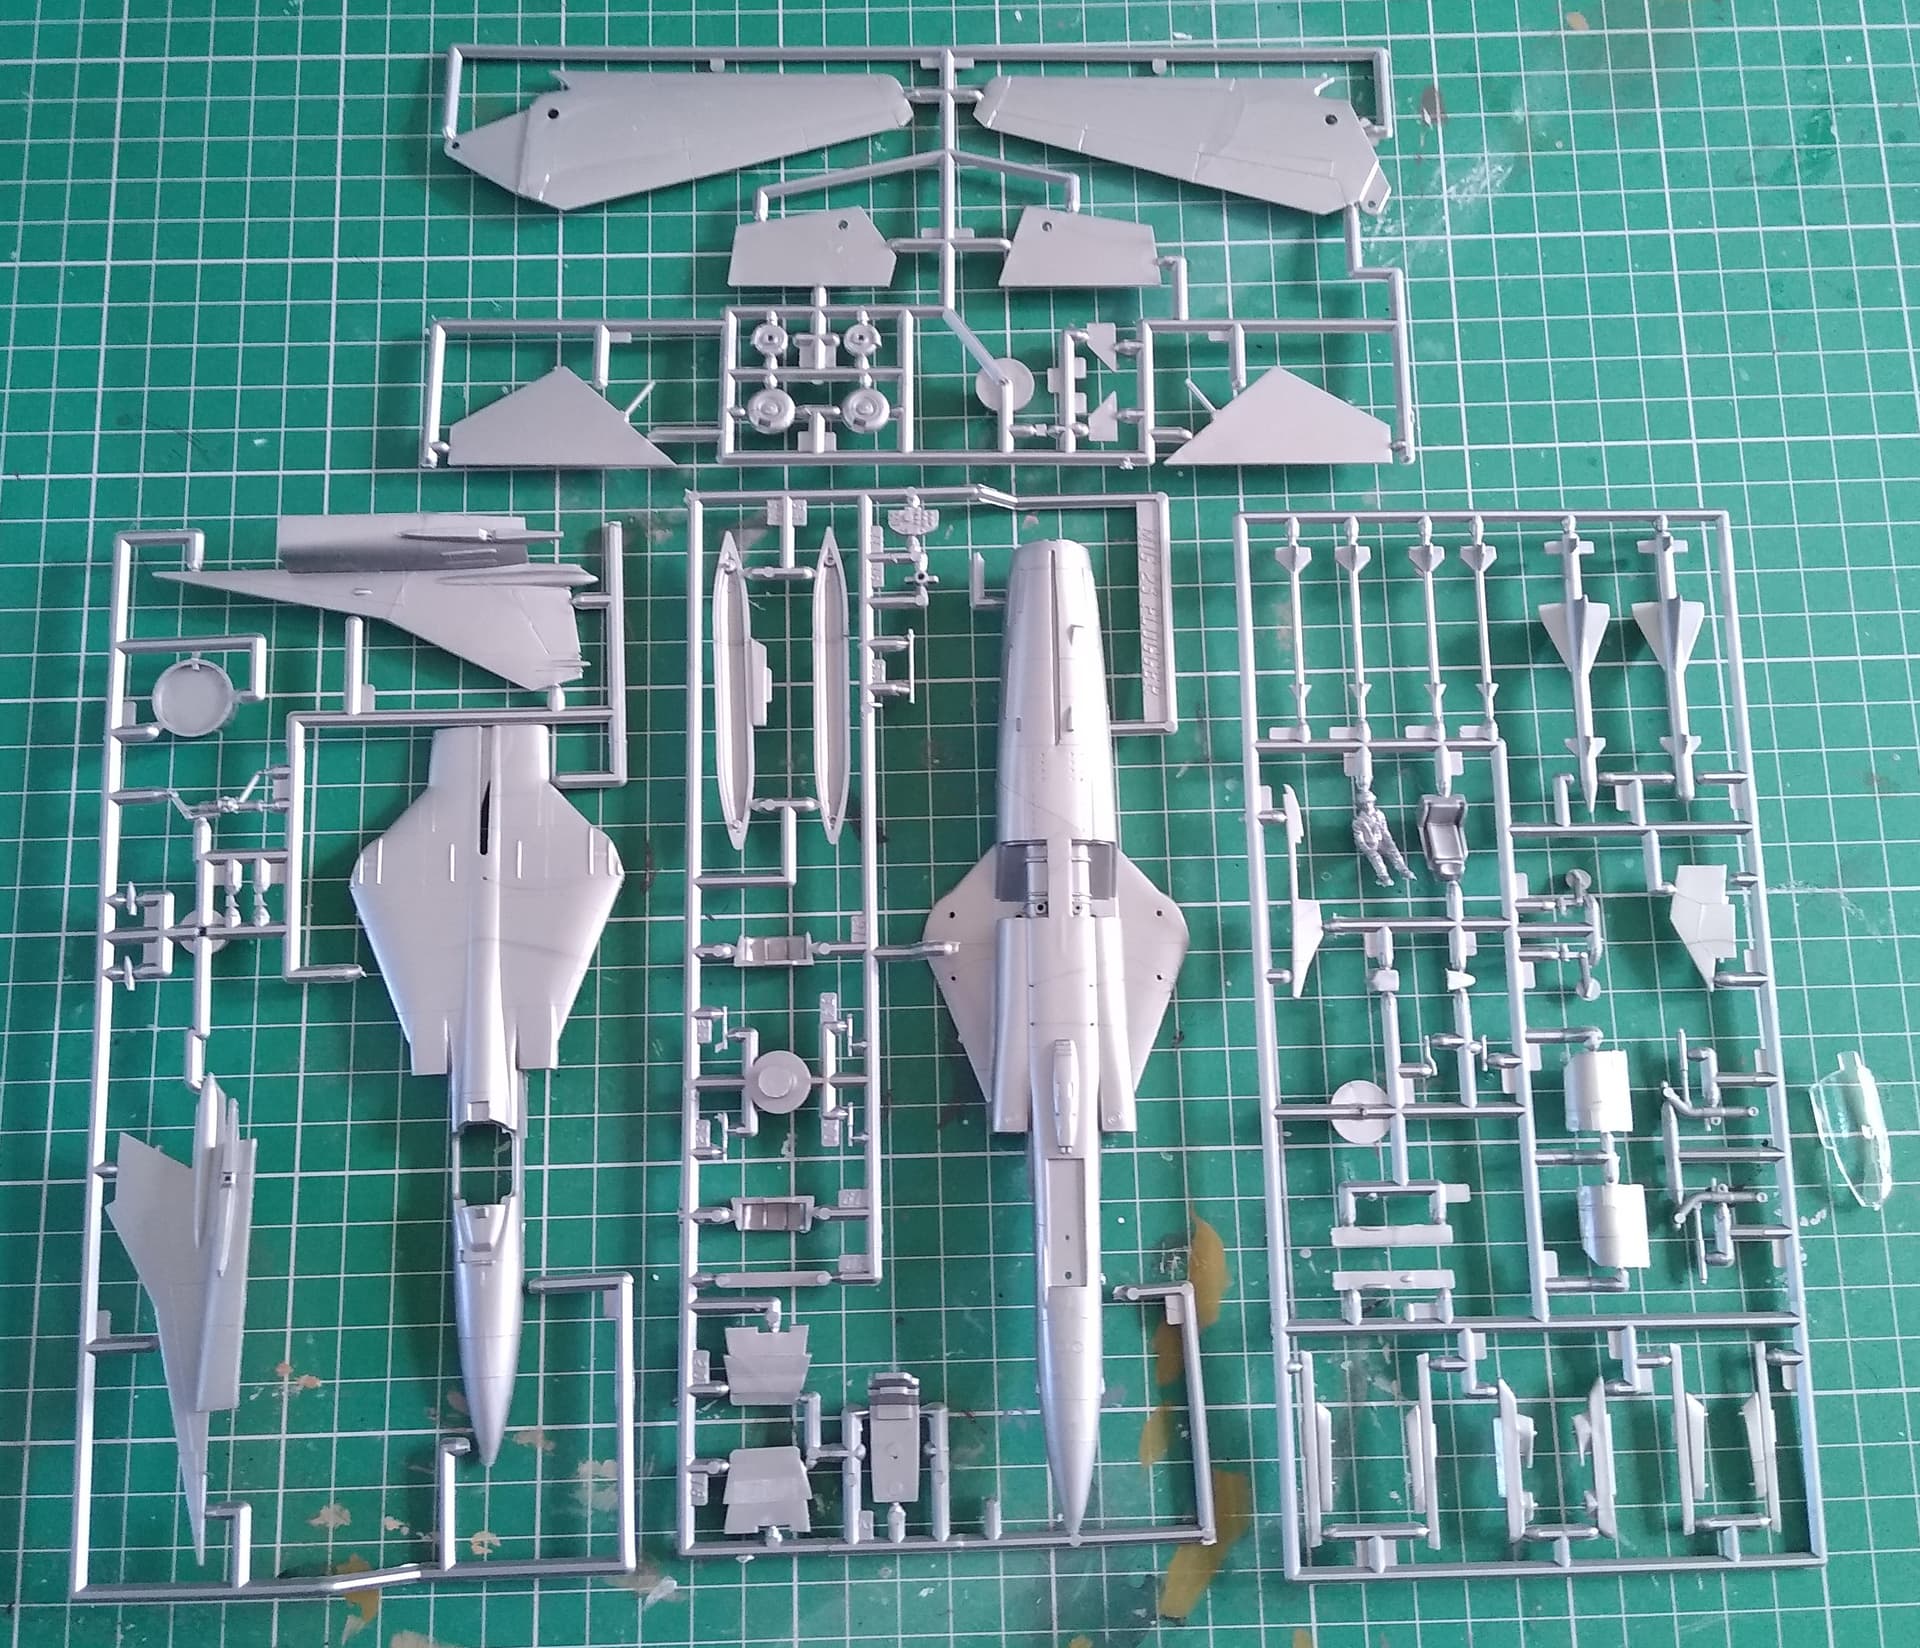
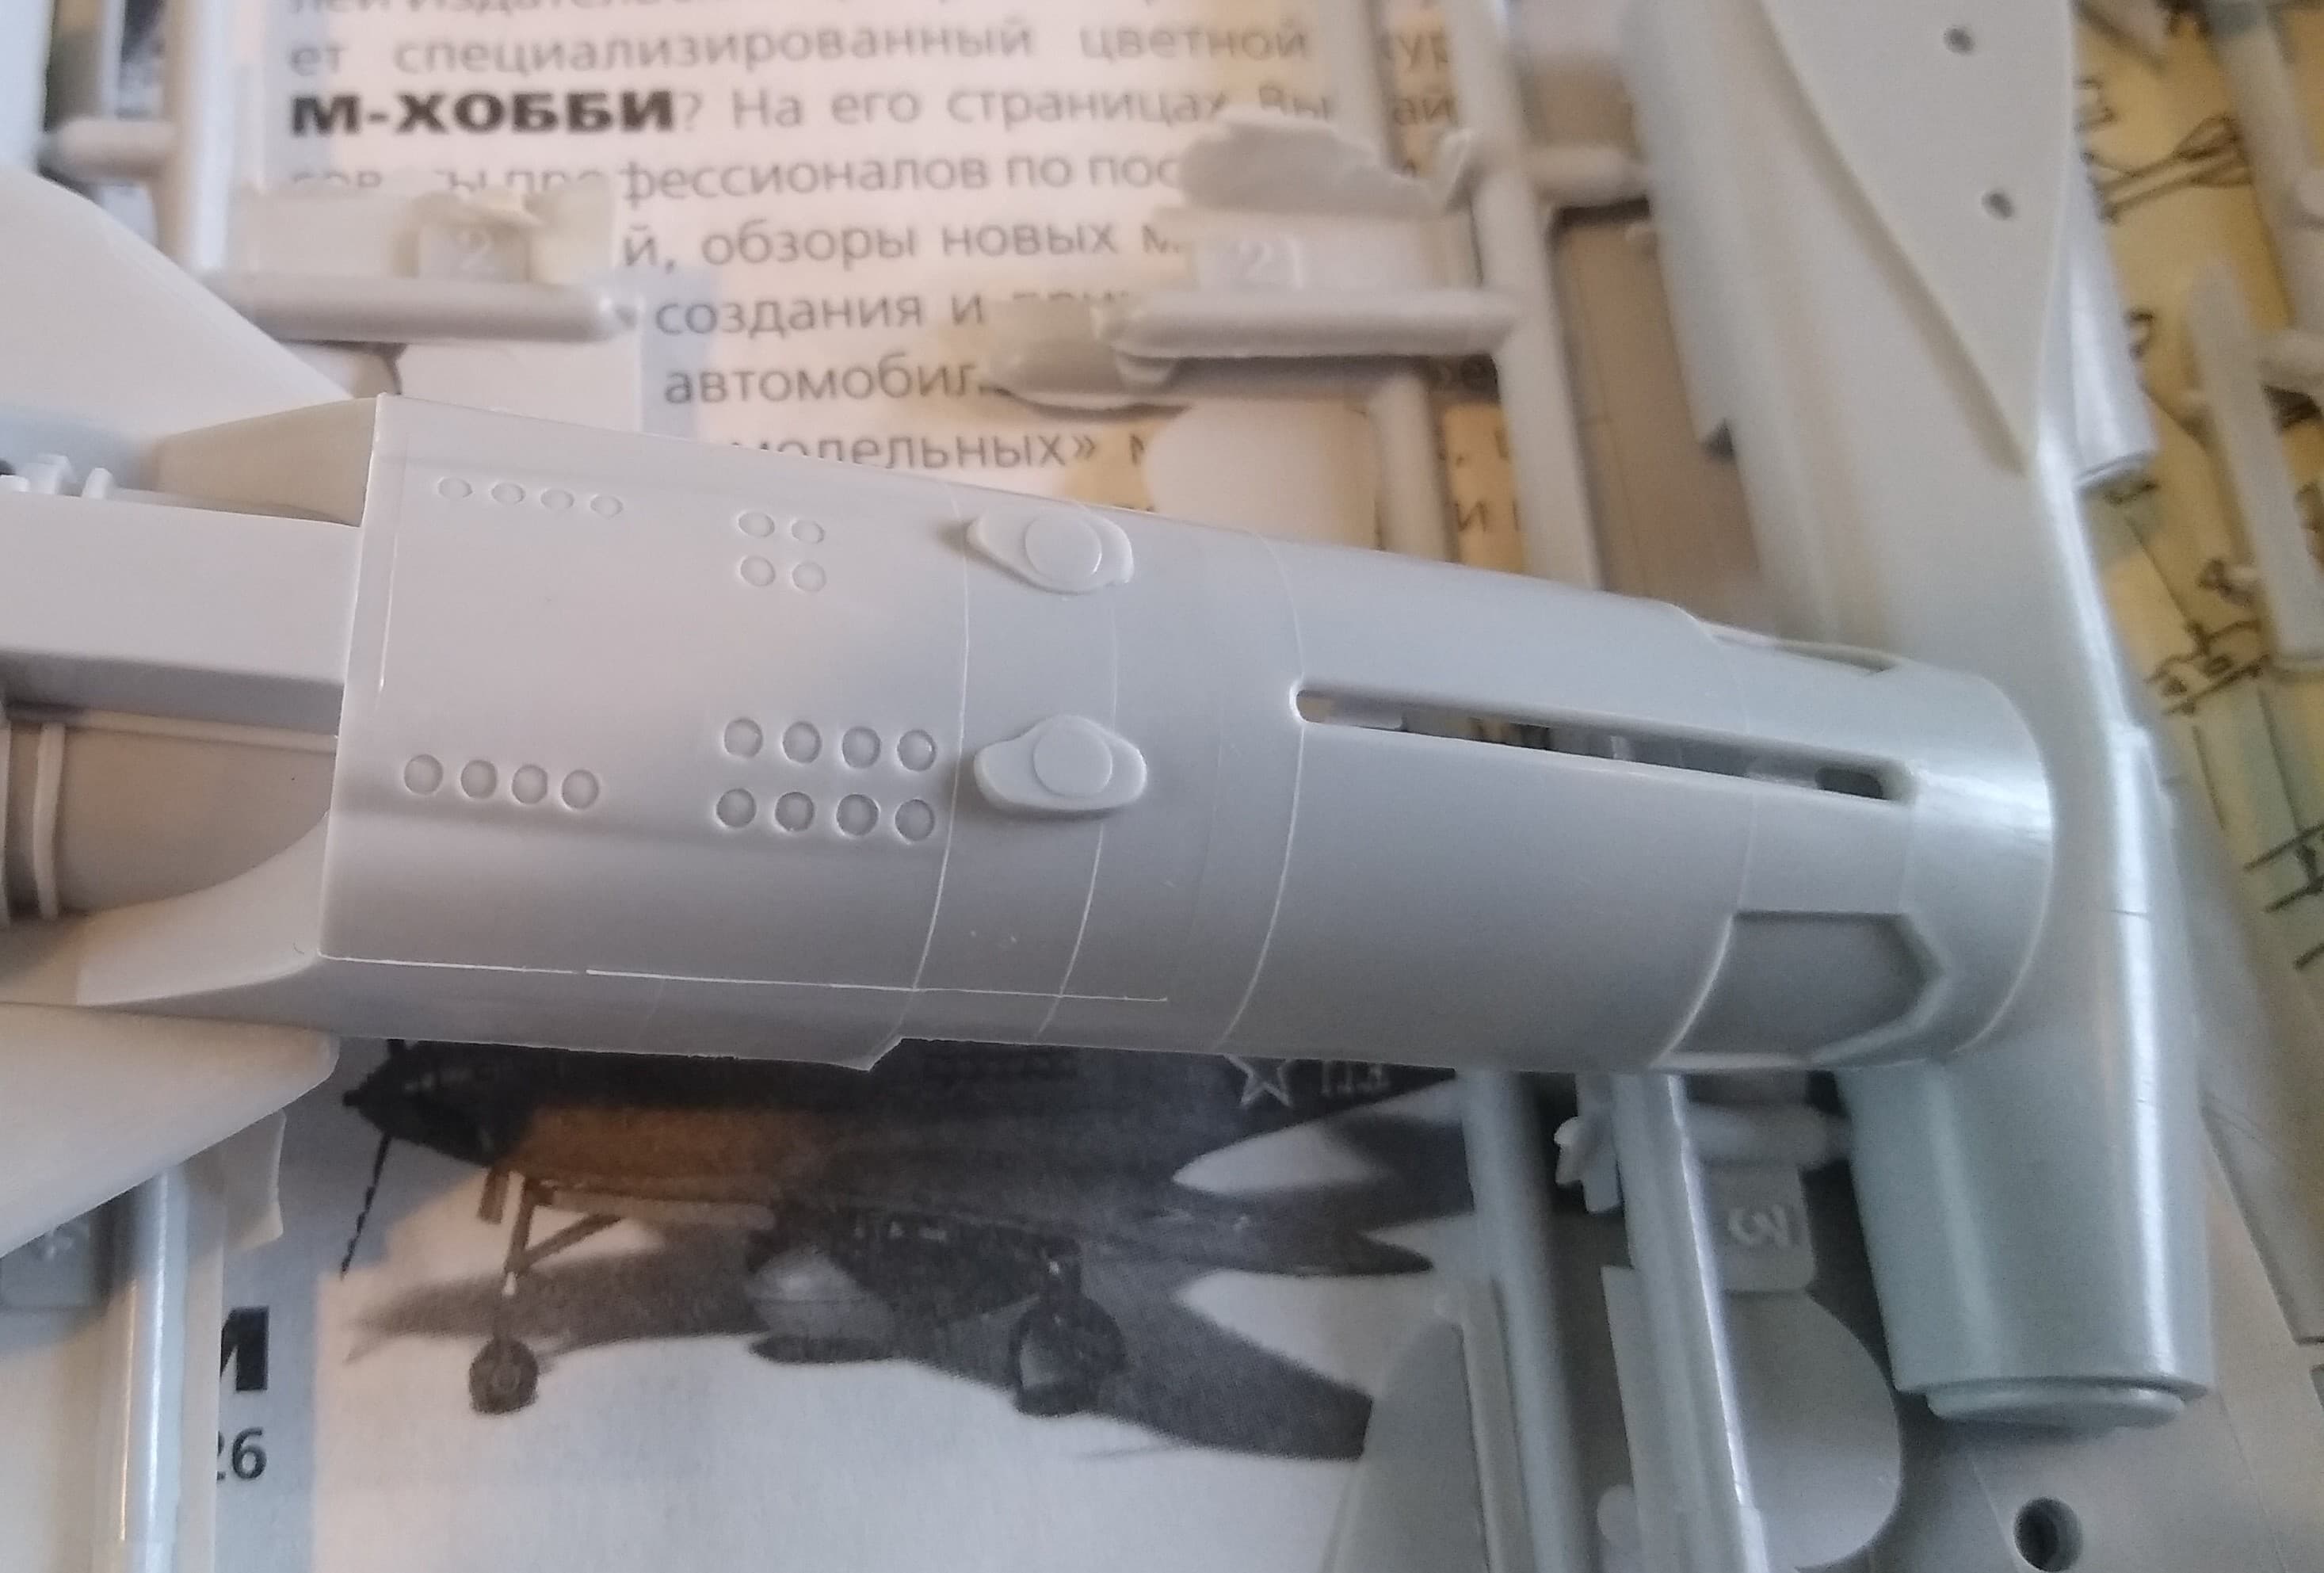
So let’s have a look at the sprues. 67 parts in total, raised details typical of it’s vintage and engraved wing and tail flaps. Quite sharply moulded and not much flash can be seen. Only down side is the horrible dark silver plastic. I remember this needing a good covering of paint to cover up. Of course, this was before I knew of Tamiya primer!
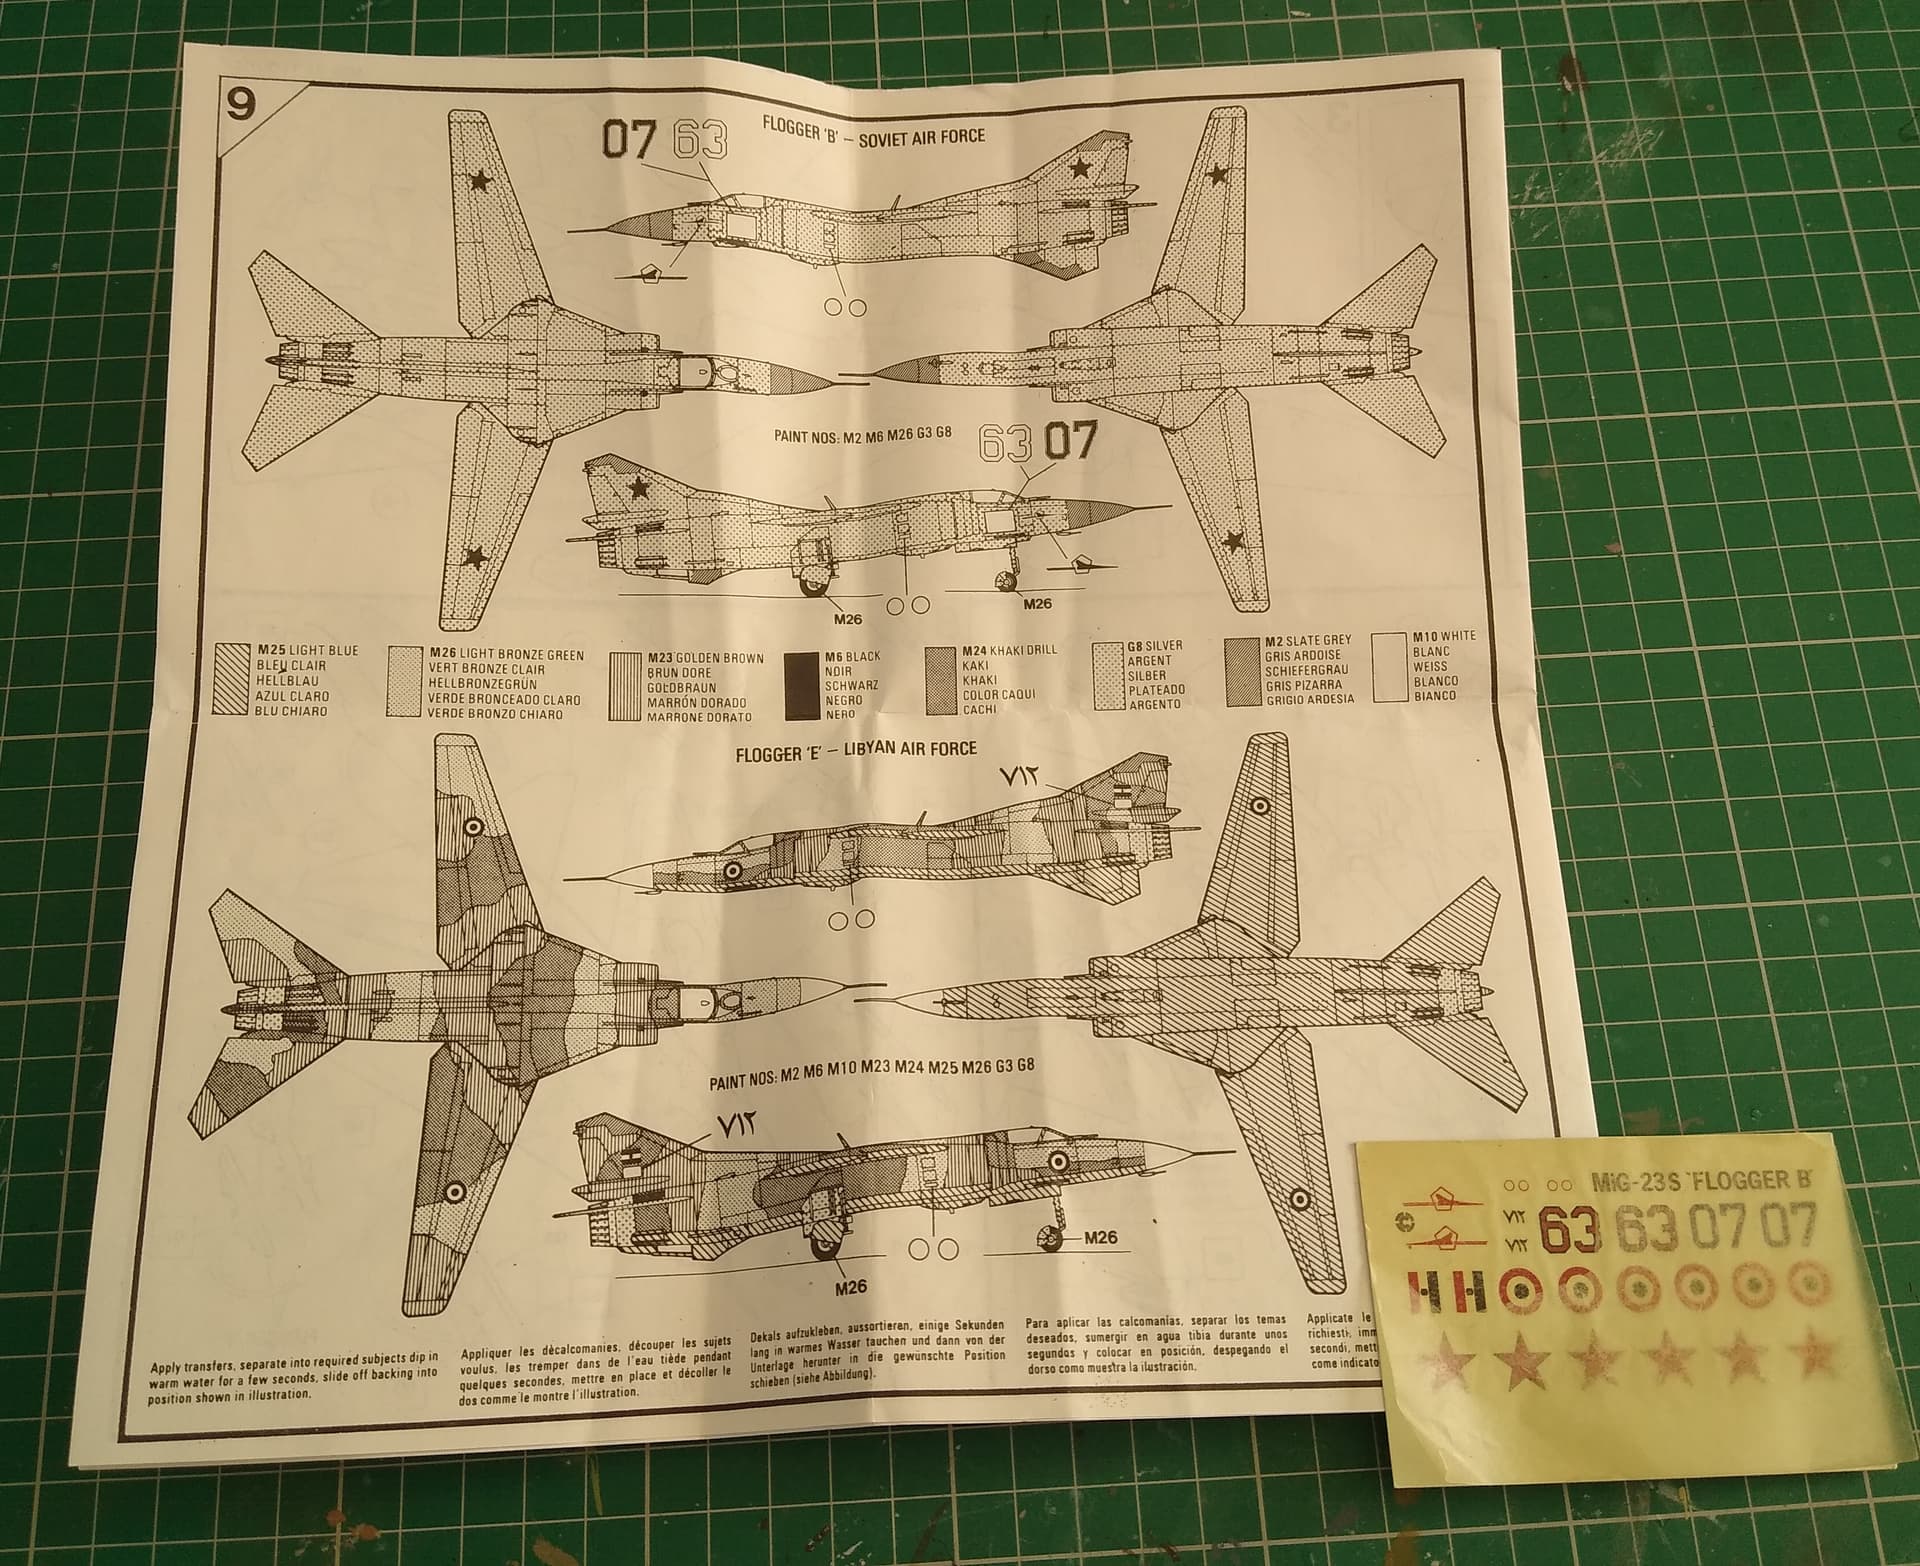
The kits decals are rather basic and past their best. The protective sheet has stuck to them and I was a bit hesitant to pull it off in case of damaging them. Shame as I think the early Libyan scheme would be interesting.
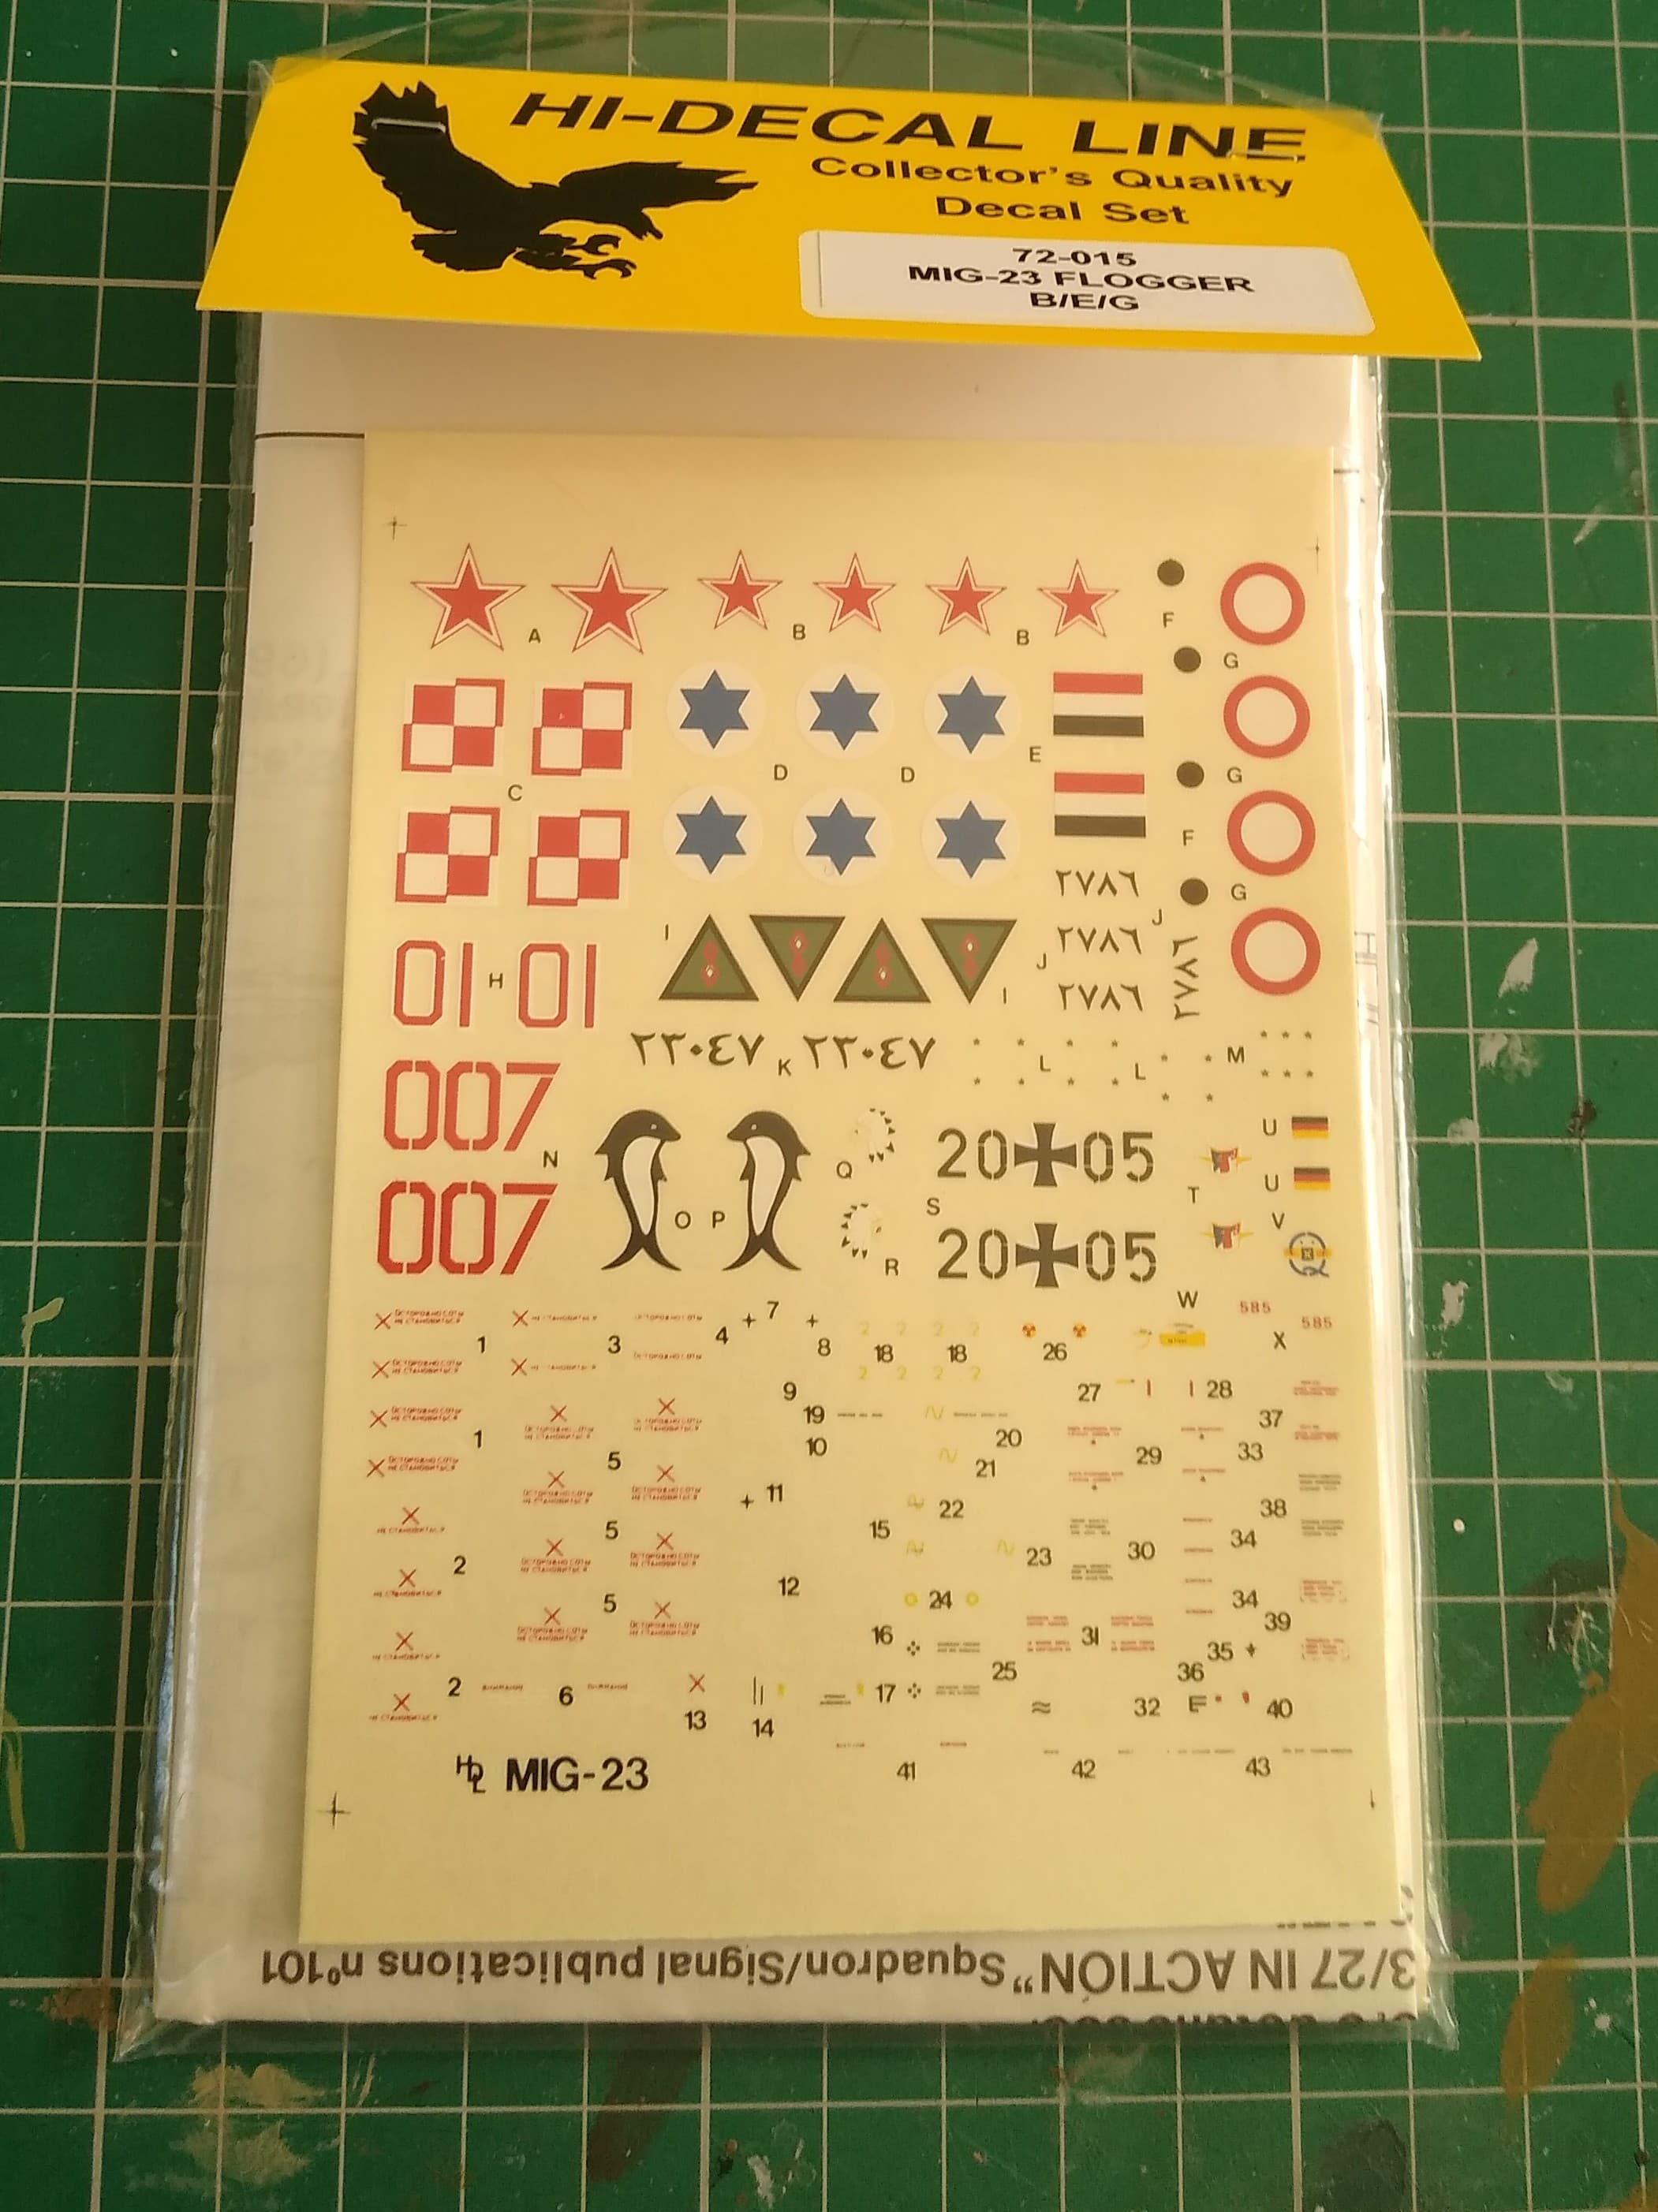
Hi-Decal came to the rescue.
This should be a fun build. It’ll mostly be OOB, but if I can improve anything I will. The kits missiles are probably the weakest points. The Apex are too short and chunky and the Atolls too skinny. I think I have a set of Soviet missiles somewhere. Should improve it no end if I can dig them out.
Thanks for looking.
11 Likes
Really nice, I got this kit as a gift from the little son of my sister-in-law in 1995 or so. Made a reasonable model OOB then, but in silver with Czech markings.
I will follow your build 
1 Like
Thanks for joining Peter.
That probably would’ve been about the same time I did mine. It’s certainly not been in the Airfix catalogue since then. Always wanted to do a Czech Mig but have never gotten around to. Might have to look at Eduard’s 21’s.
At the time I didn’t fancy hand painting silver, (my pre-airbrush days) and my folks didn’t allow me to get a can of silver spray paint. Before I did the Mig, I’d just finished the Airfix B-17 hand painted with Humbrol 11 silver. Didn’t want to do that again! Finding a photo of one painted grey was a relief I can tell you. Much easier to do.
I’ve looking at the newer KP Flogger and it looks light years ahead of this kit. Might get one to do in those Syrian decals I recently bought.
Another one I would love to revisit is the Matchbox Hellcat. The very first model I ever completed. Complete in incorrect FAA colours. Didn’t know that at the time, but I was really proud of it. Before that I had tried the Airfix Harrier GR3 built with the old tube glue and that was a complete disaster!
1 Like
That was my build then, nowadays relegated to the basement in a cardbox…
I’d love to do a new one, maybe the KP which you mentioned. Especially a MiG-27 or 23BN.
Have fun, Stephen!

2 Likes
That looks good. The silver has kept its shine well.
A 27 would be a good one to build. Always found that one an interesting aircraft.
I found a good little documentary on YouTube about the 27. Explained a lot of the engineering and how they managed to shoehorn that 30mm cannon into it. And about how the recoil and vibration from the gun could be dangerous!
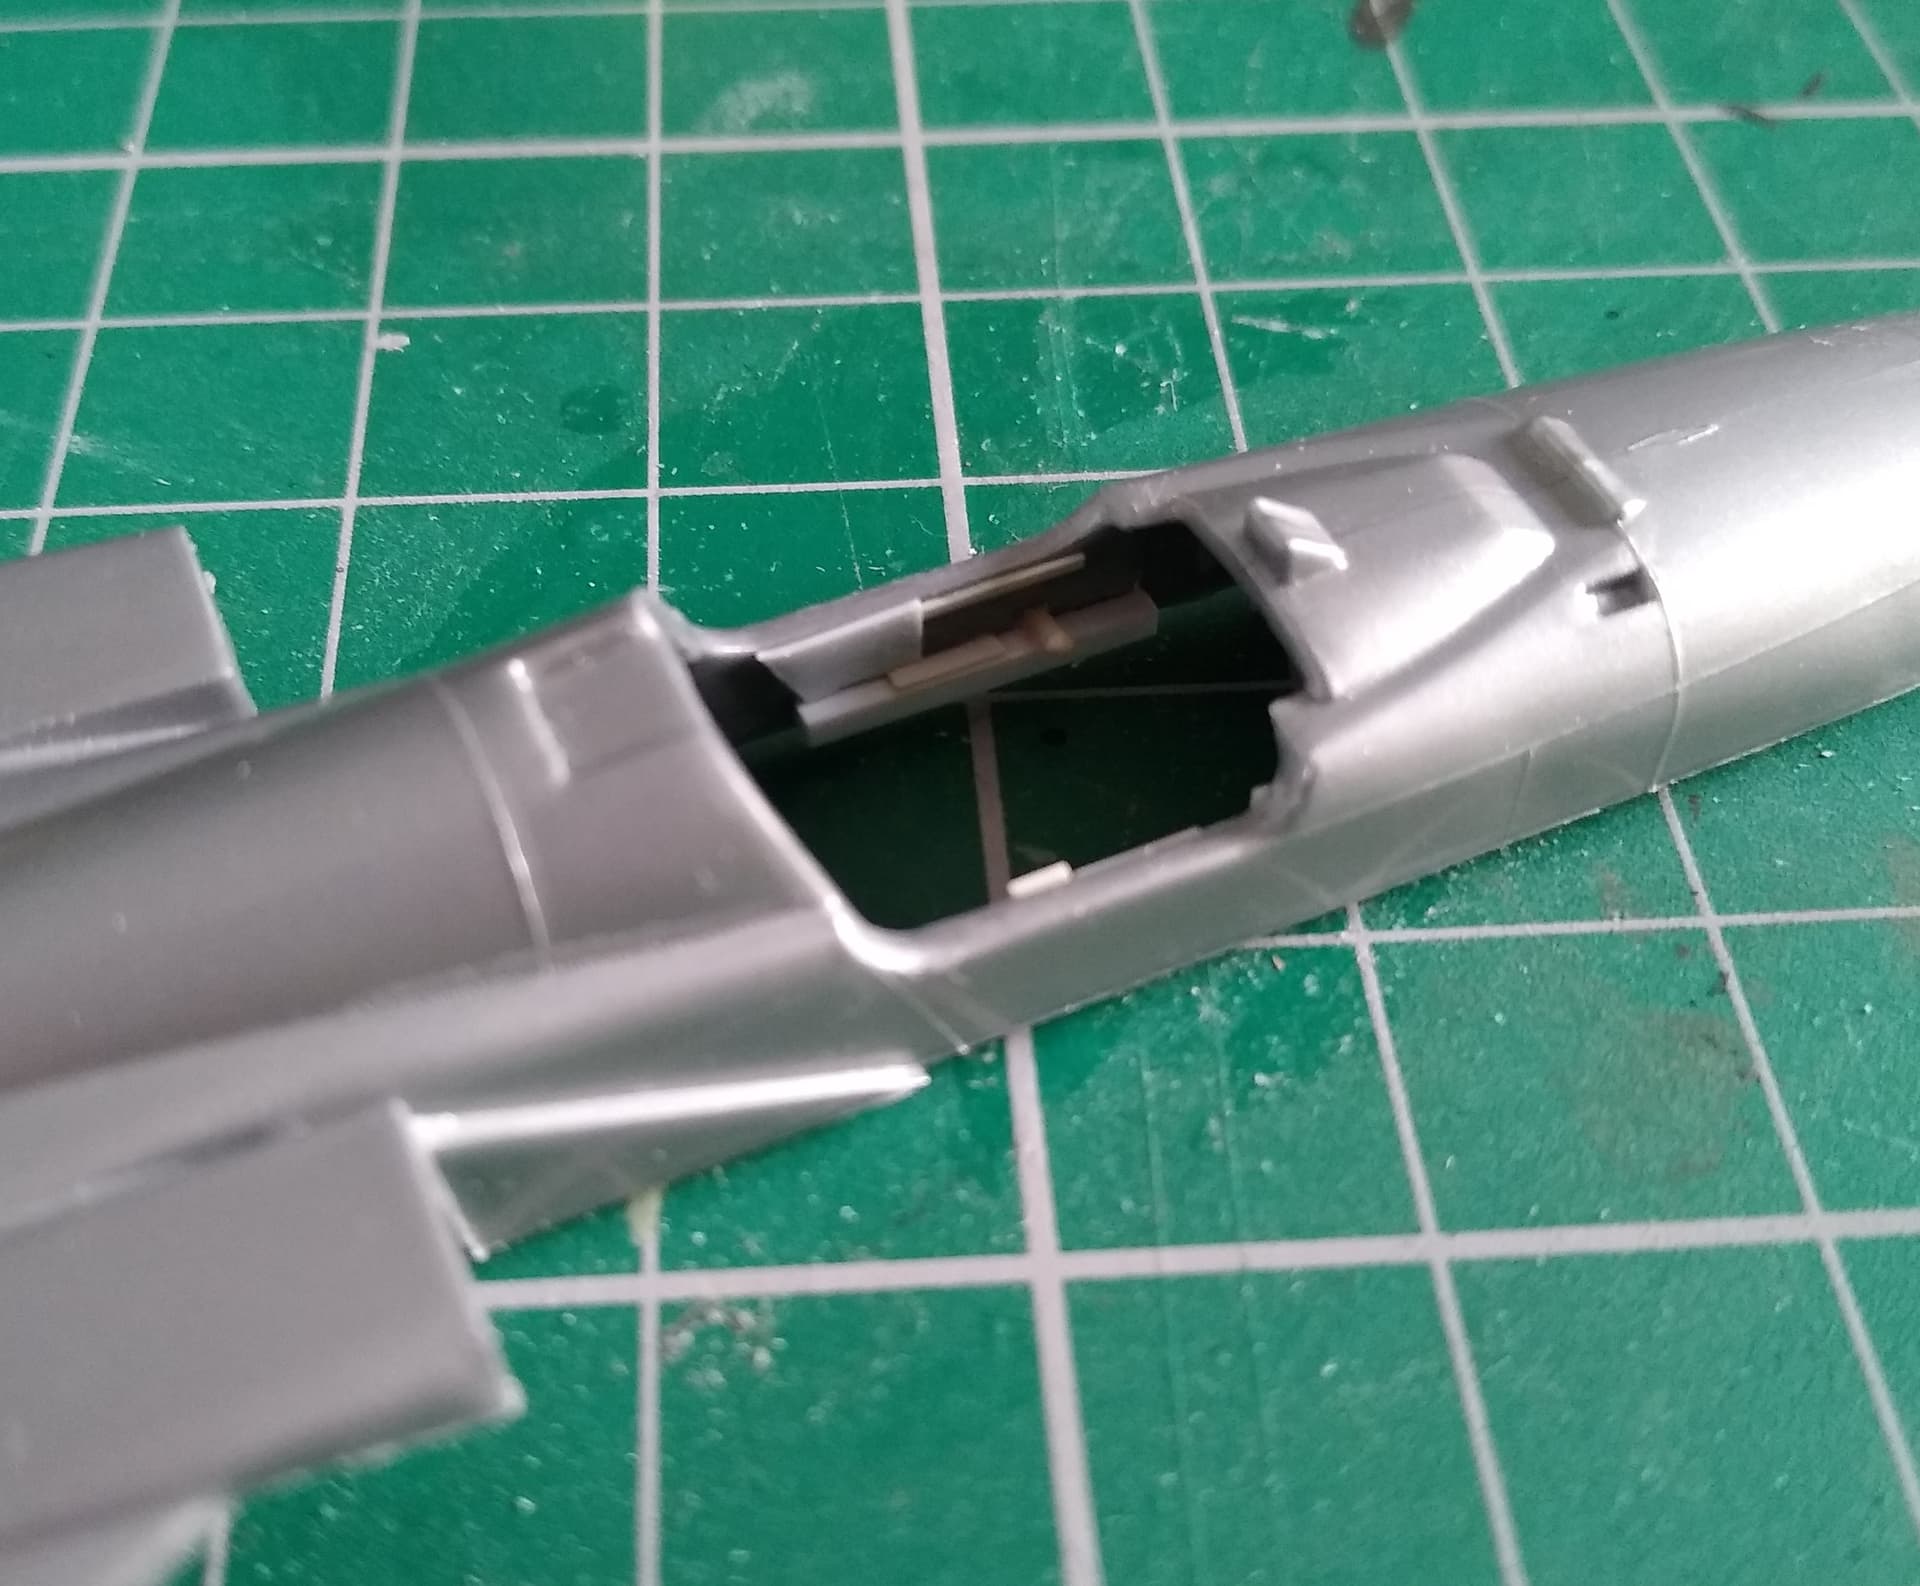
Made a start tonight.
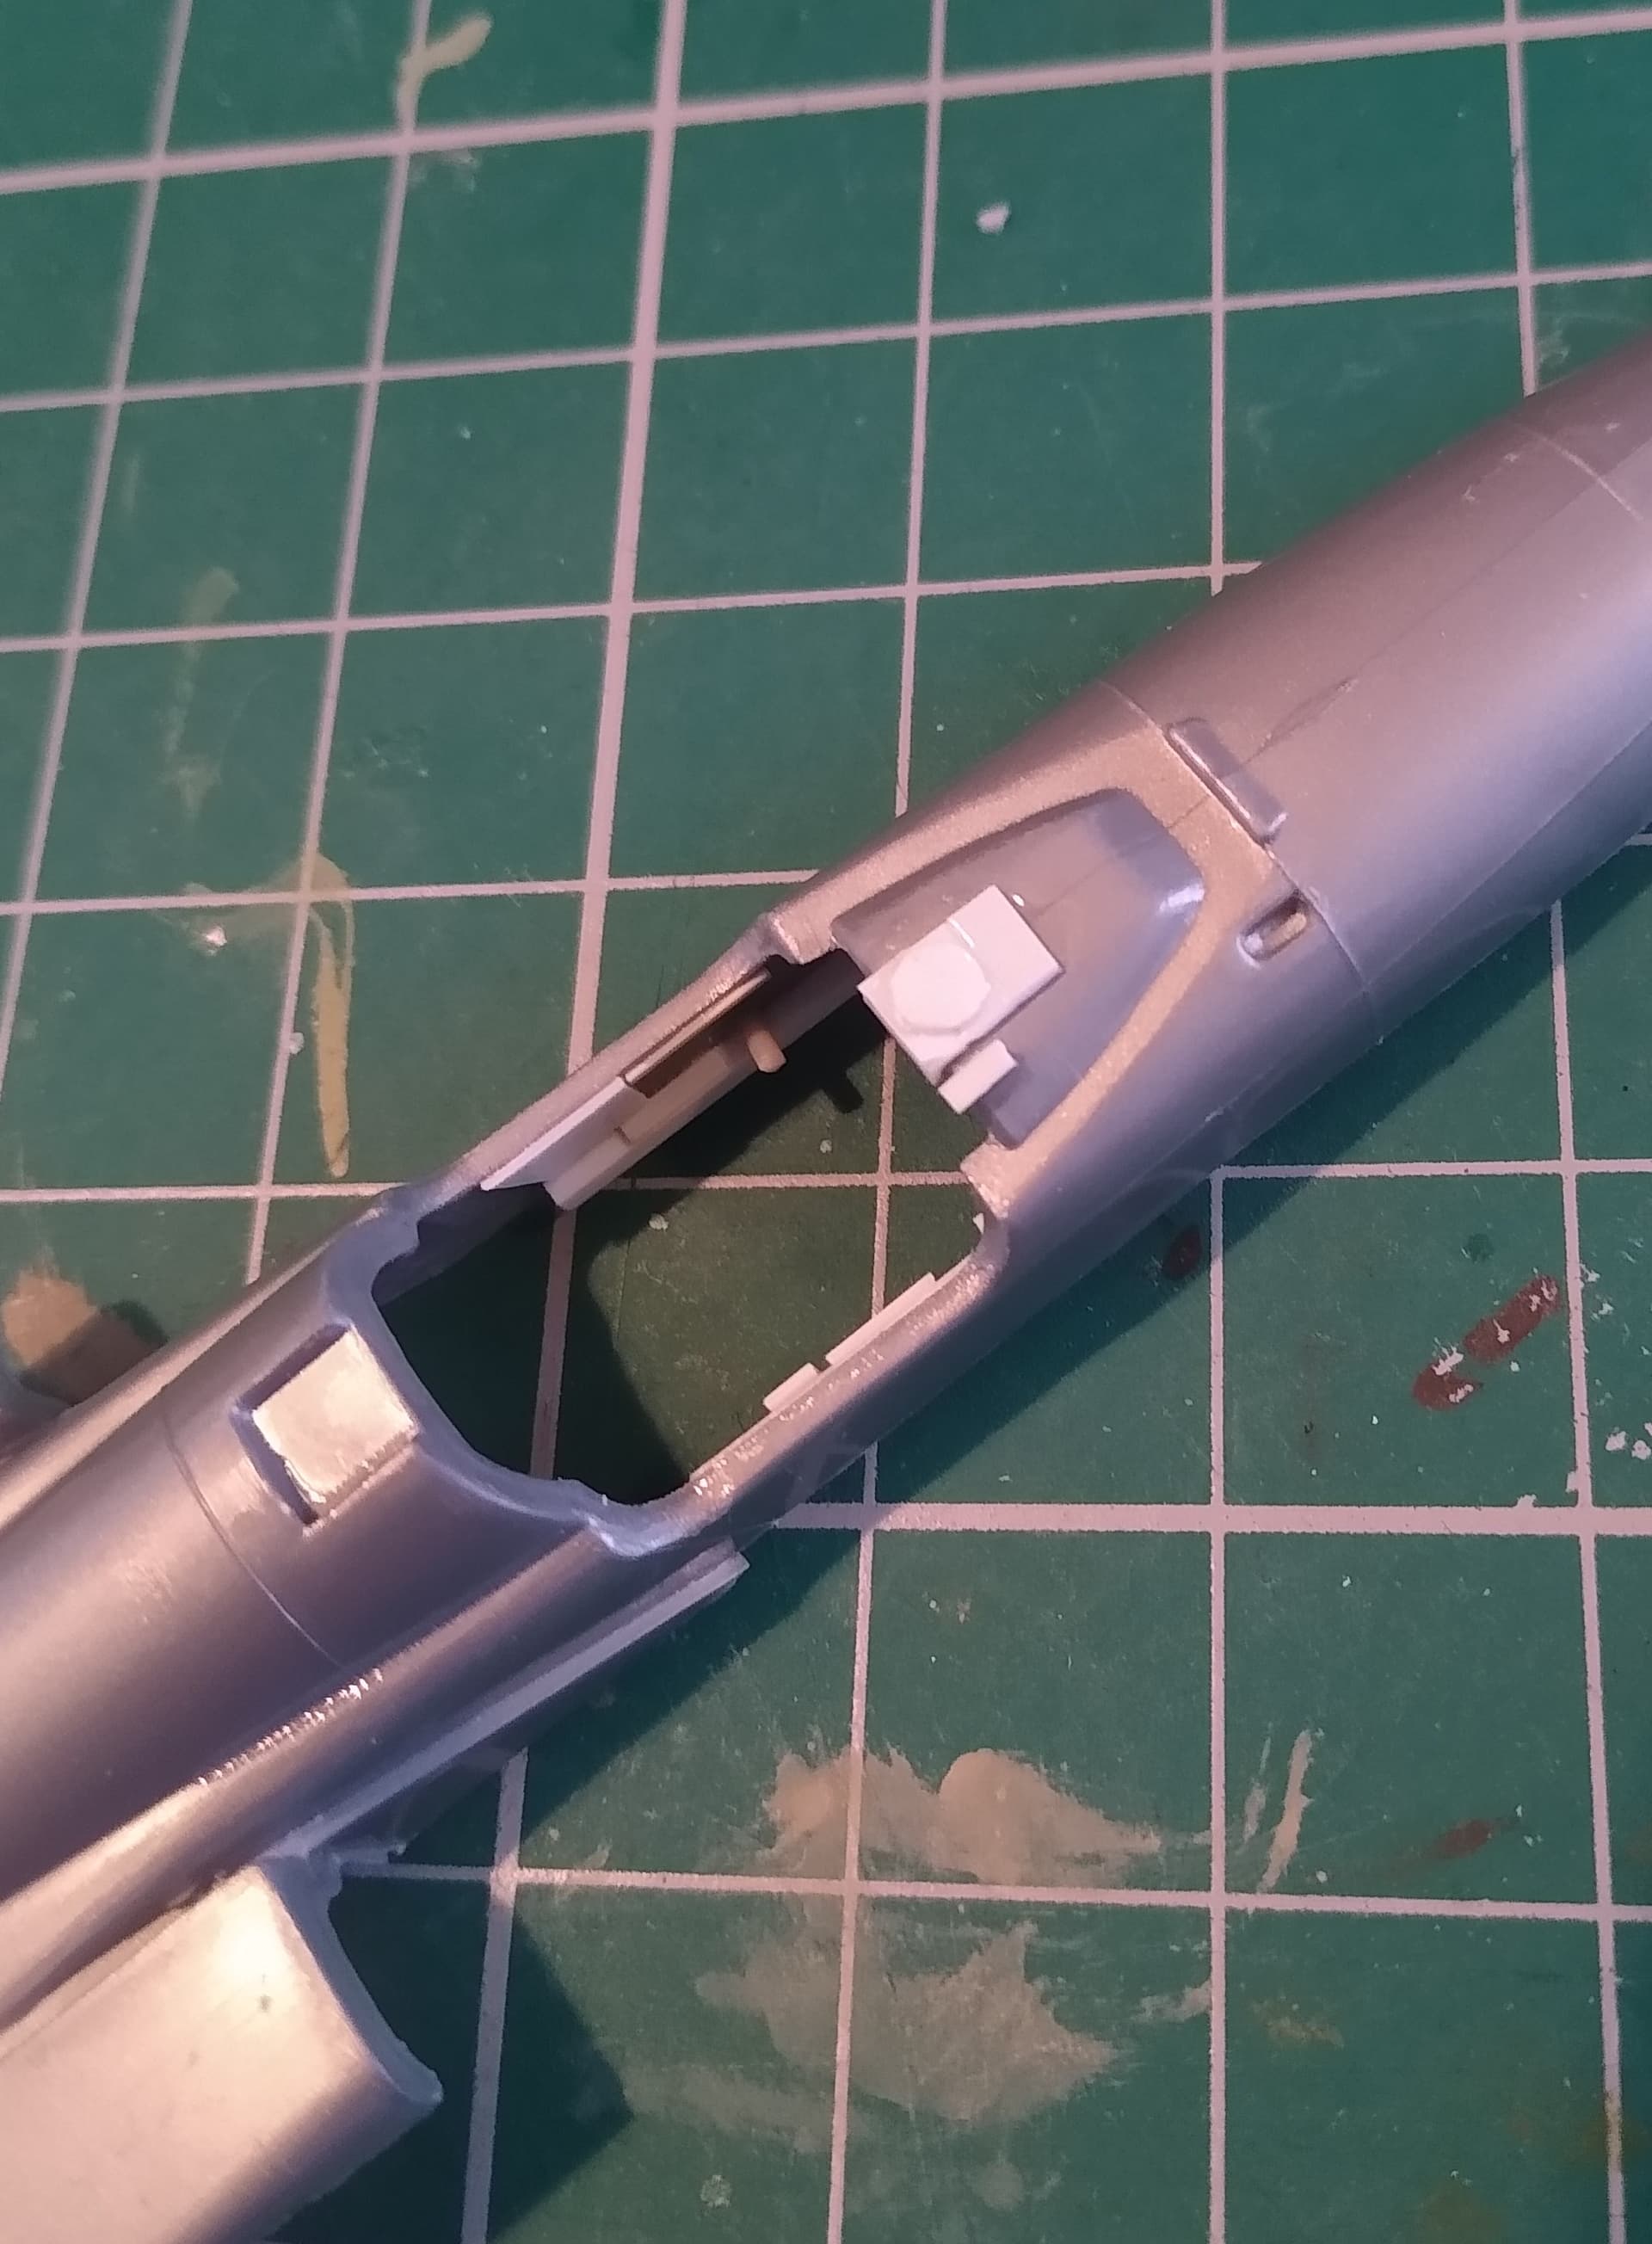
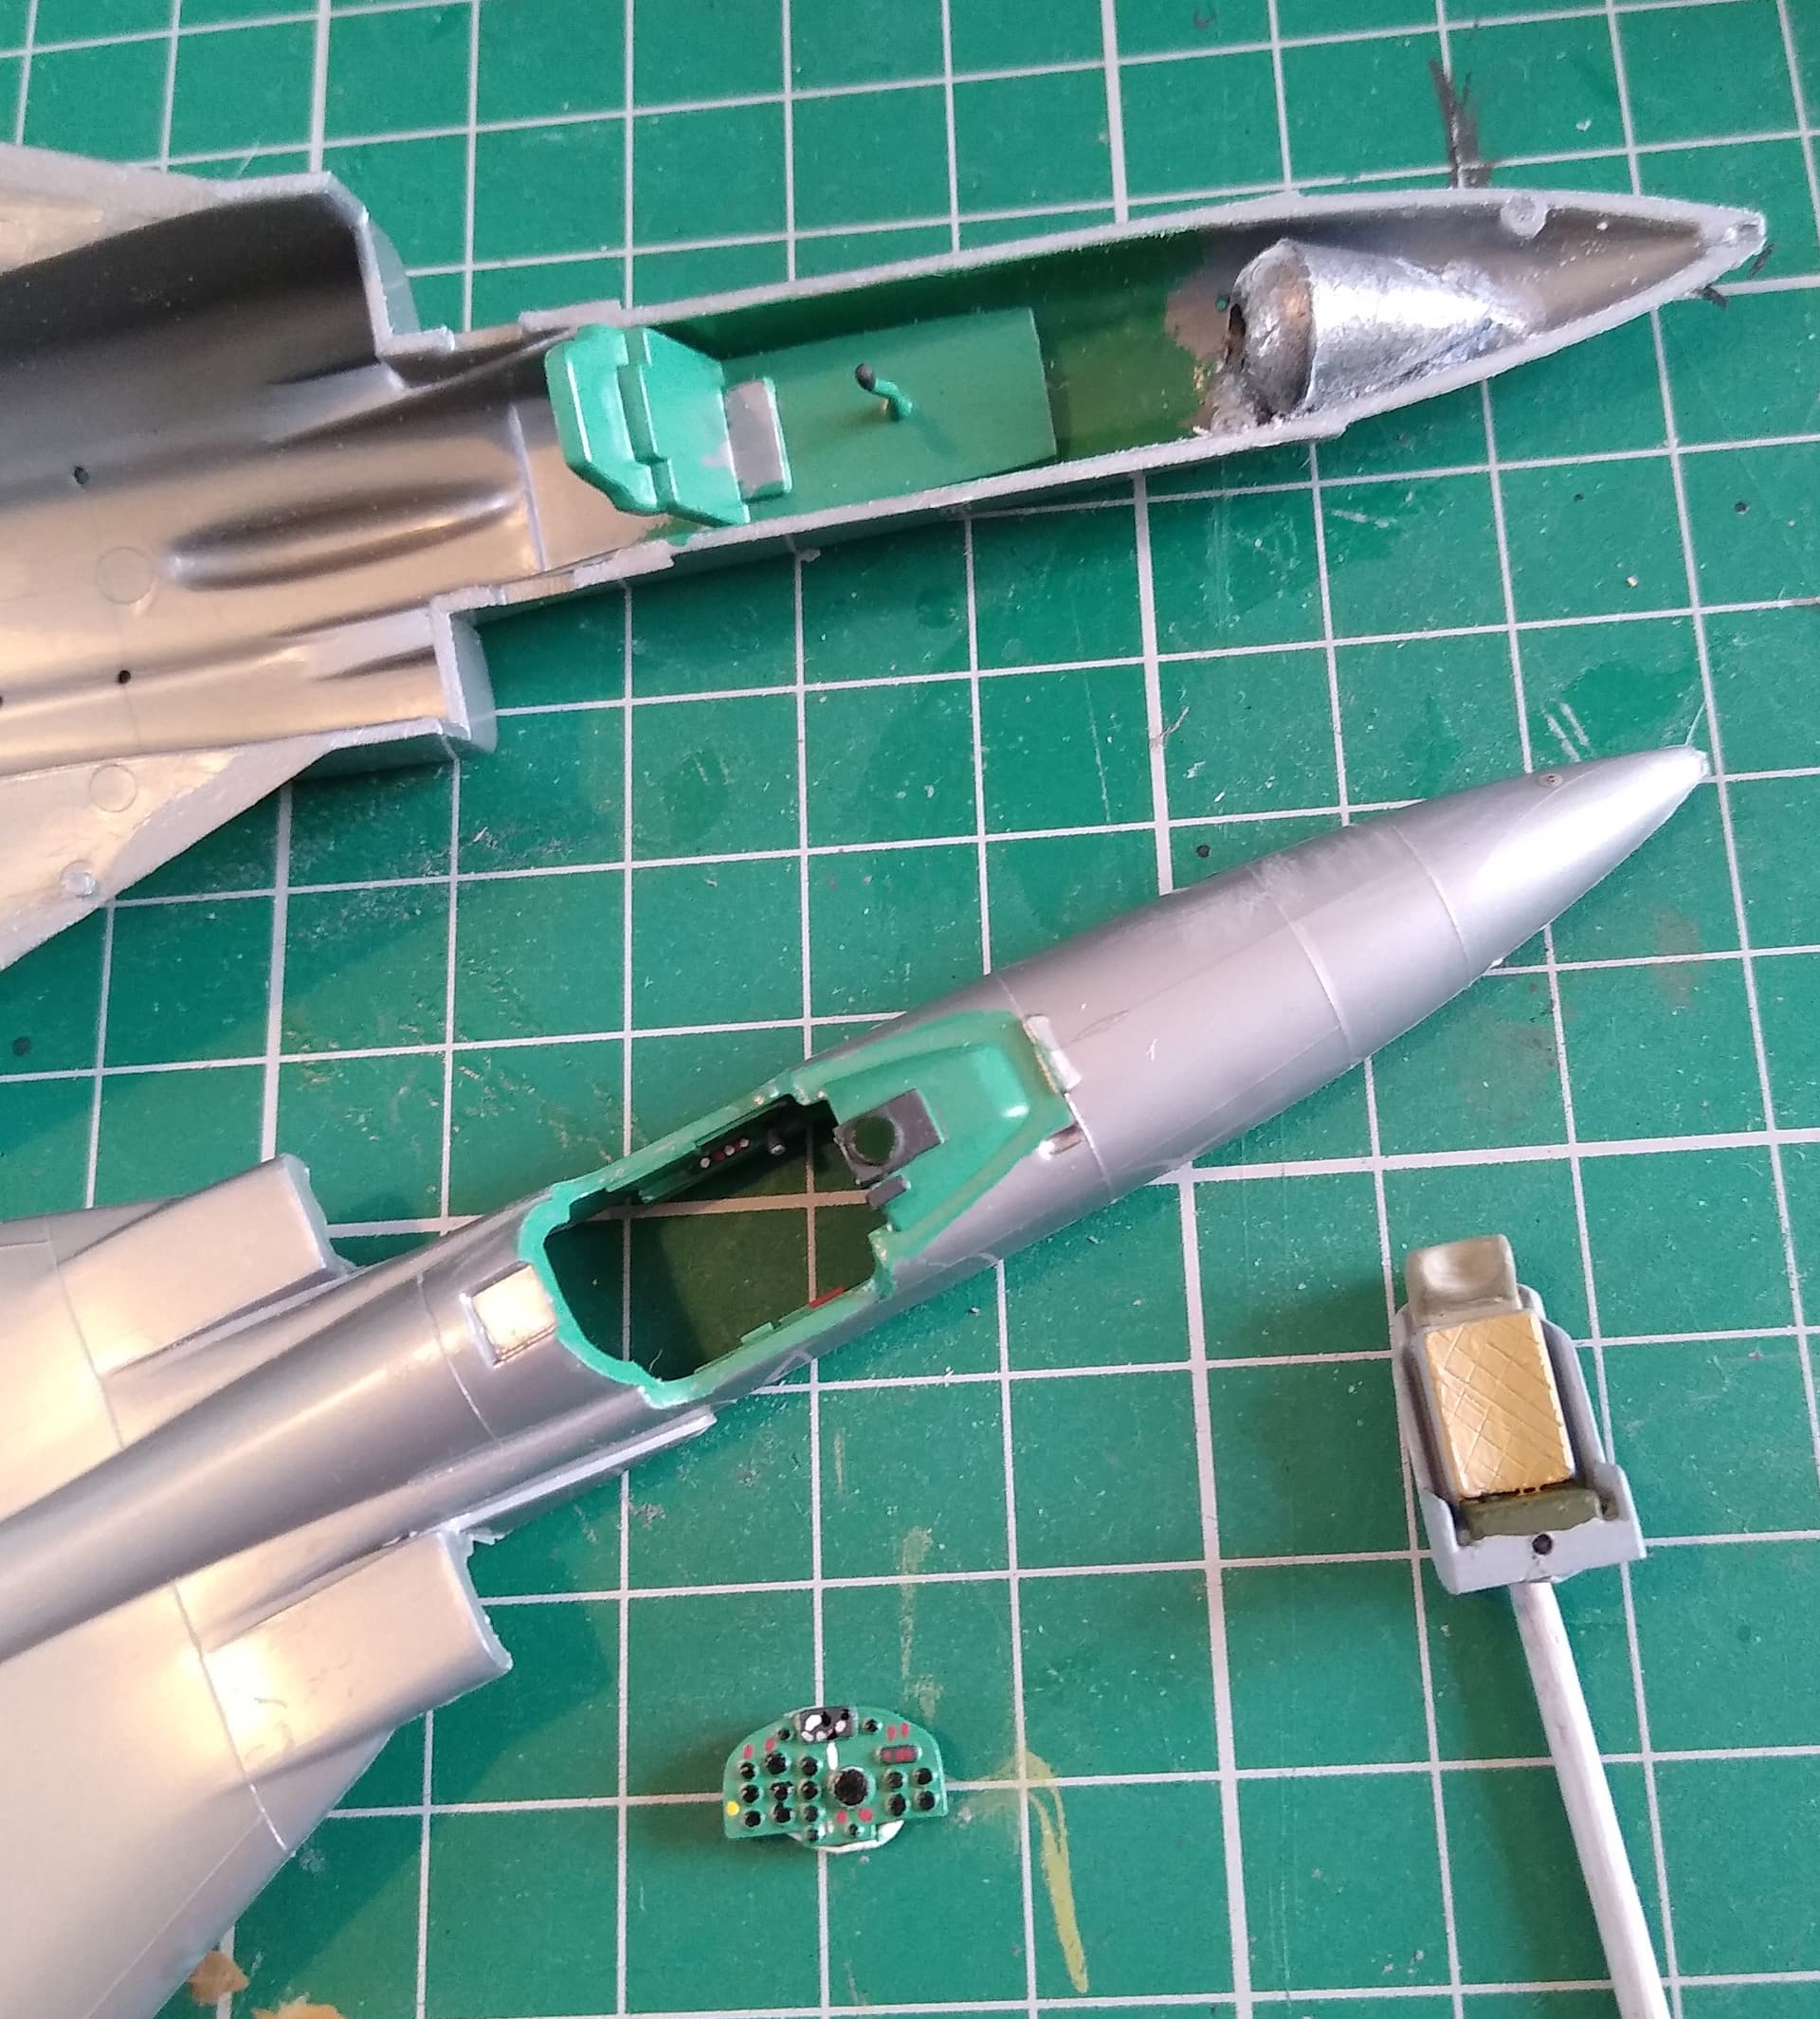
Cleaned up the fuselage halves and added some side consoles and panels to the cockpit with strip plastic.
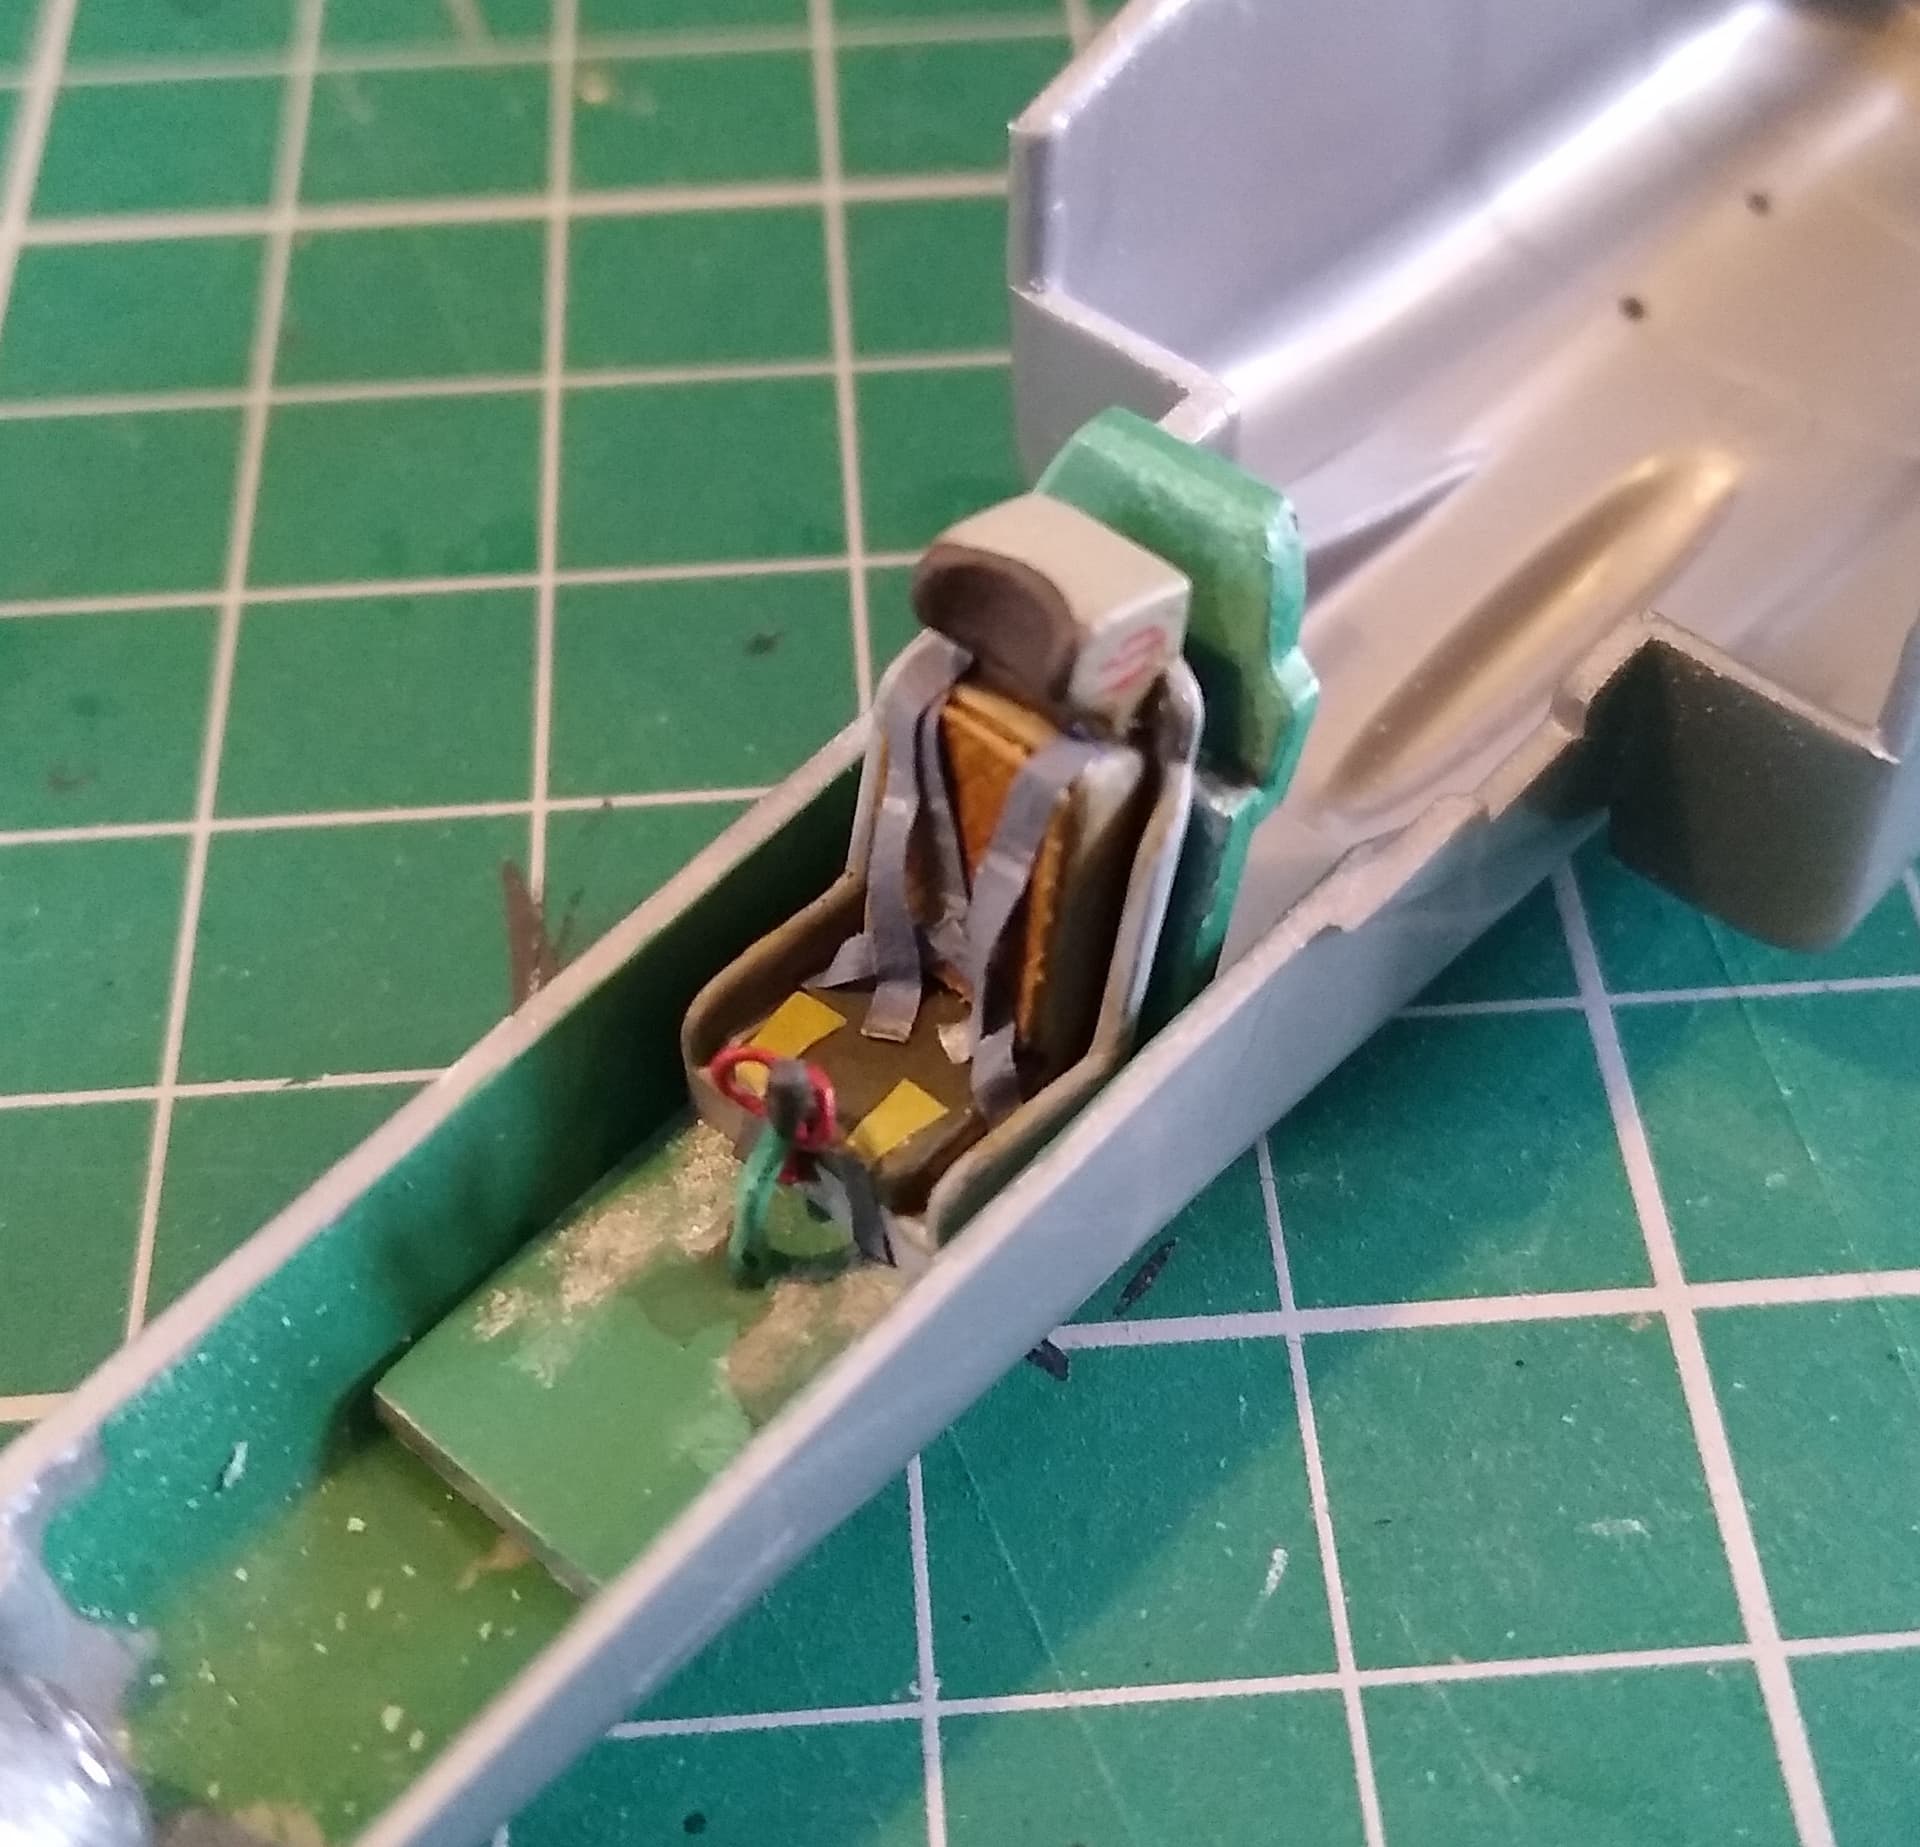
Airfix provide a basic floor and bulkhead, but it does need a little something. Especially considering how busy the 23’s cockpit was.
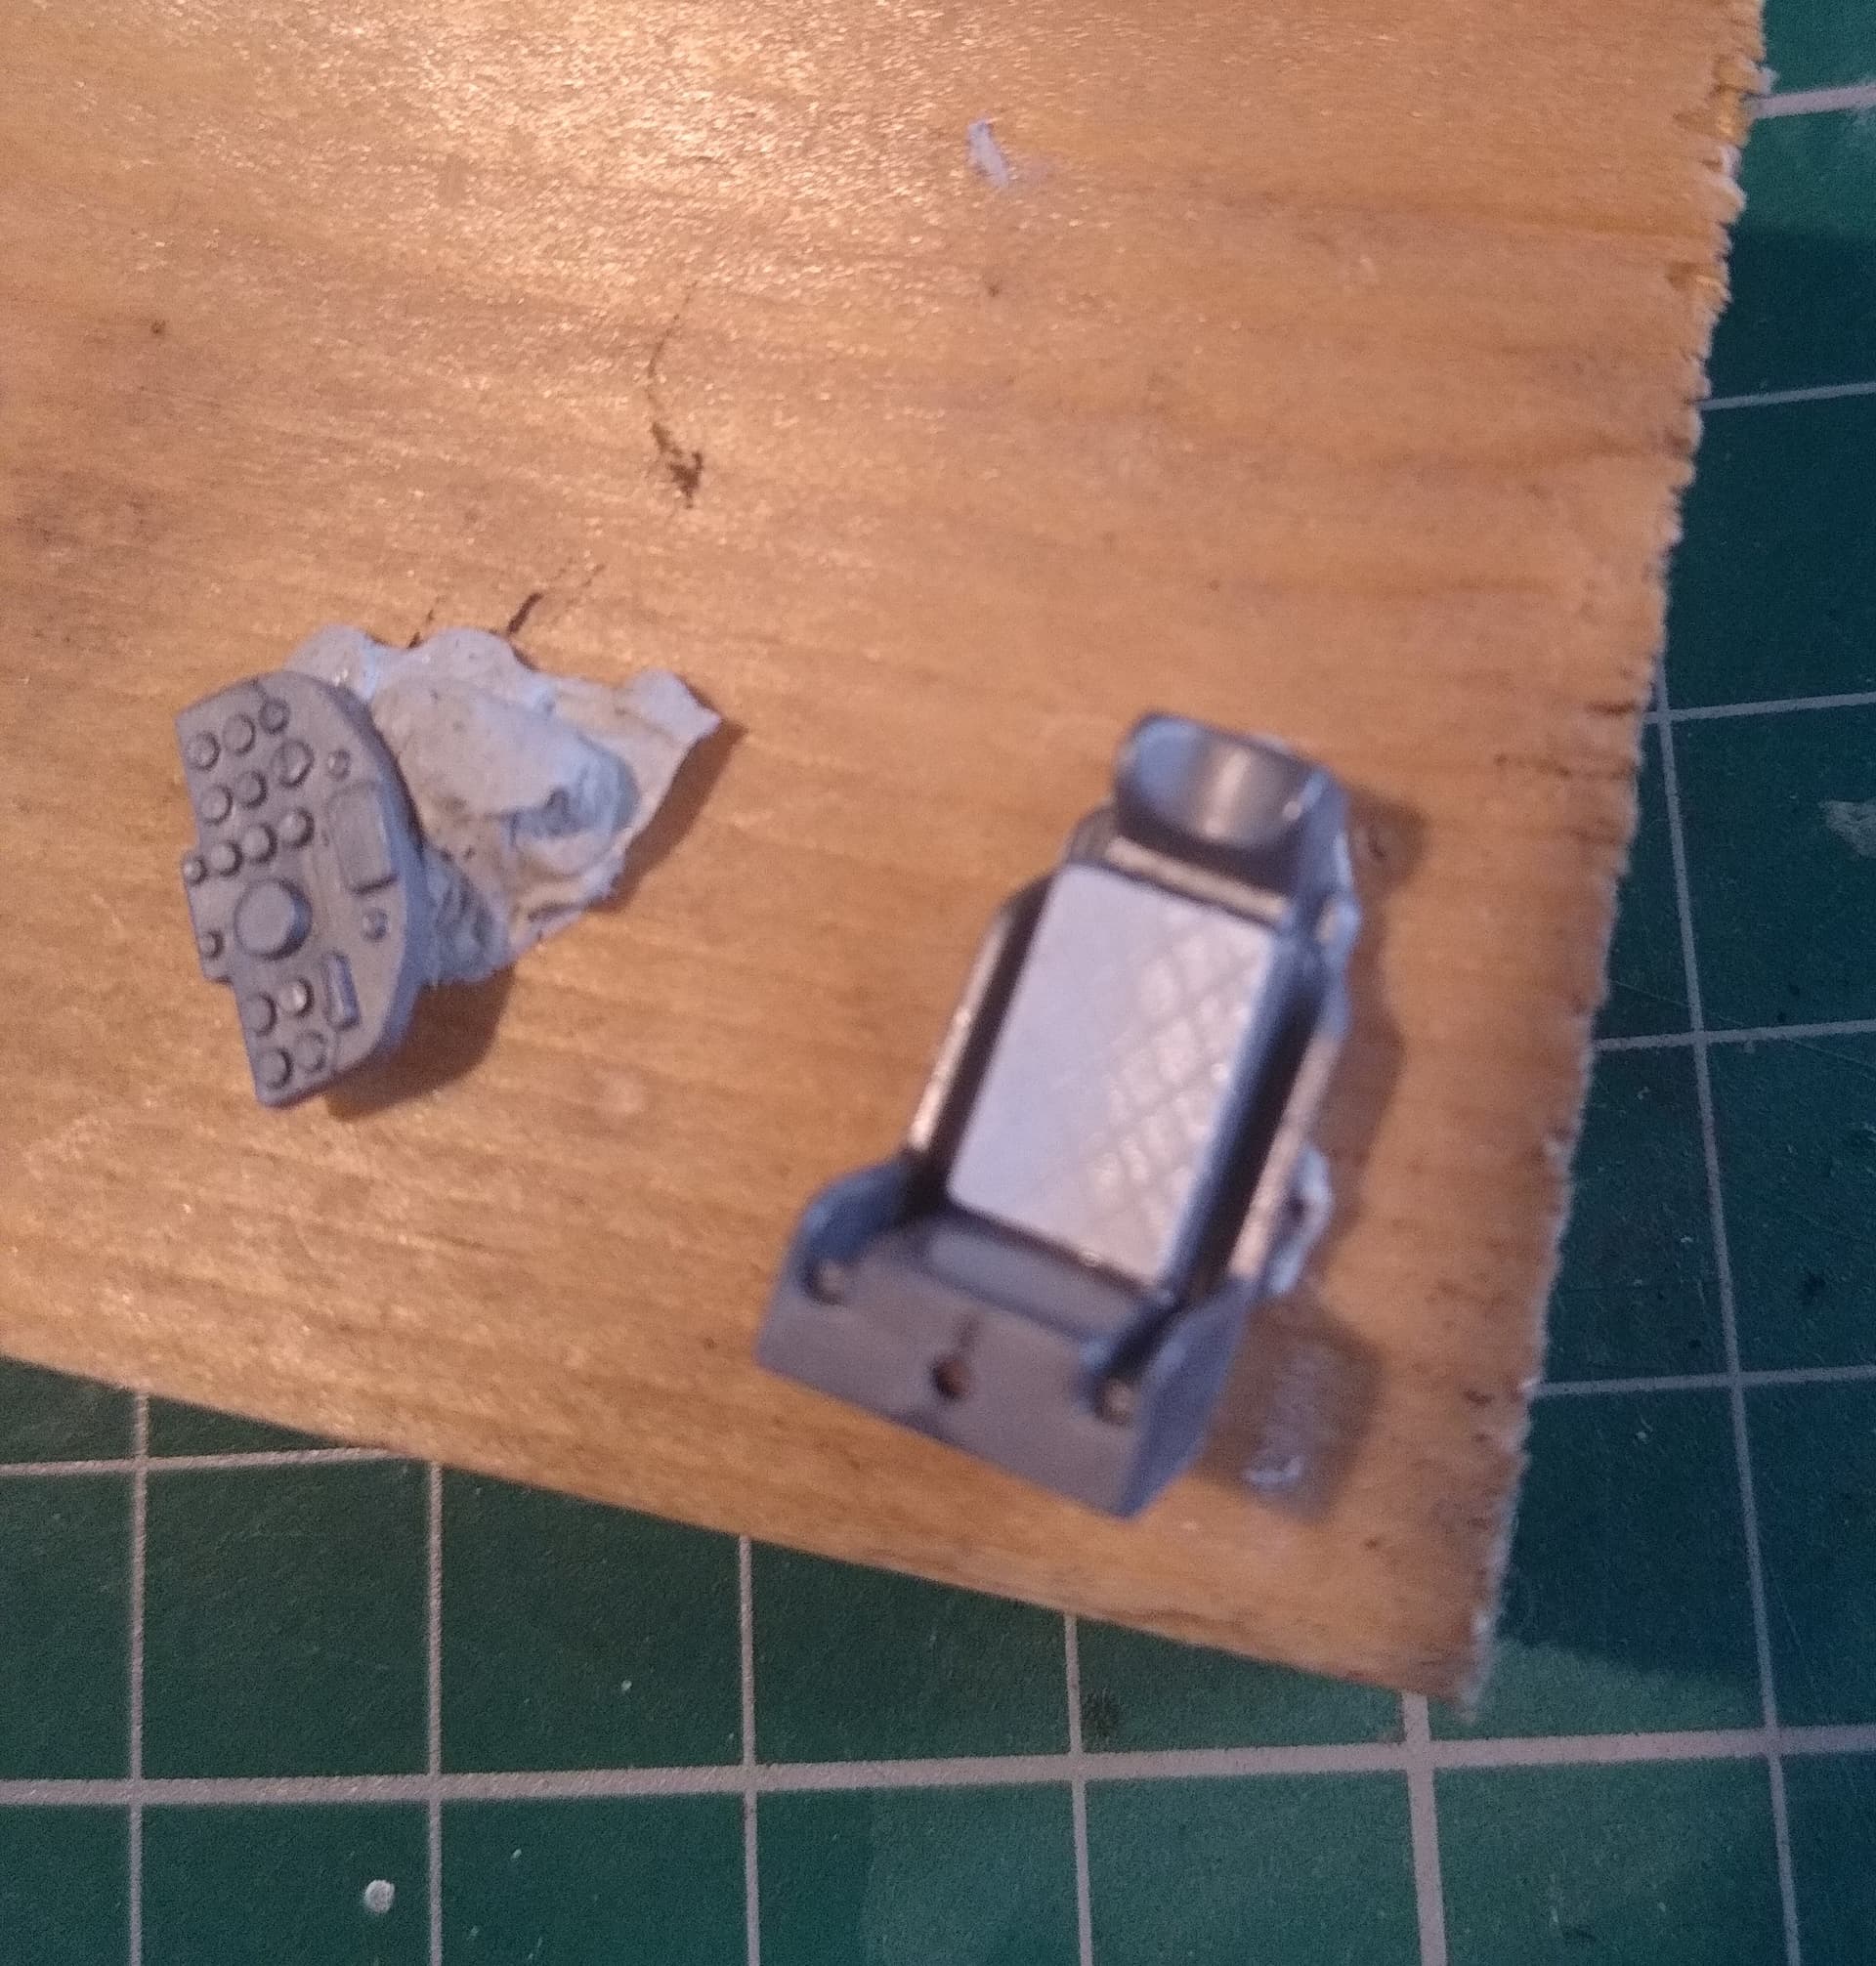
The kits KM-1 seat isn’t a bad shape and will do for the build. Airfix at least got the shape of that huge headrest right! Just needs some strap and firing handles adding.
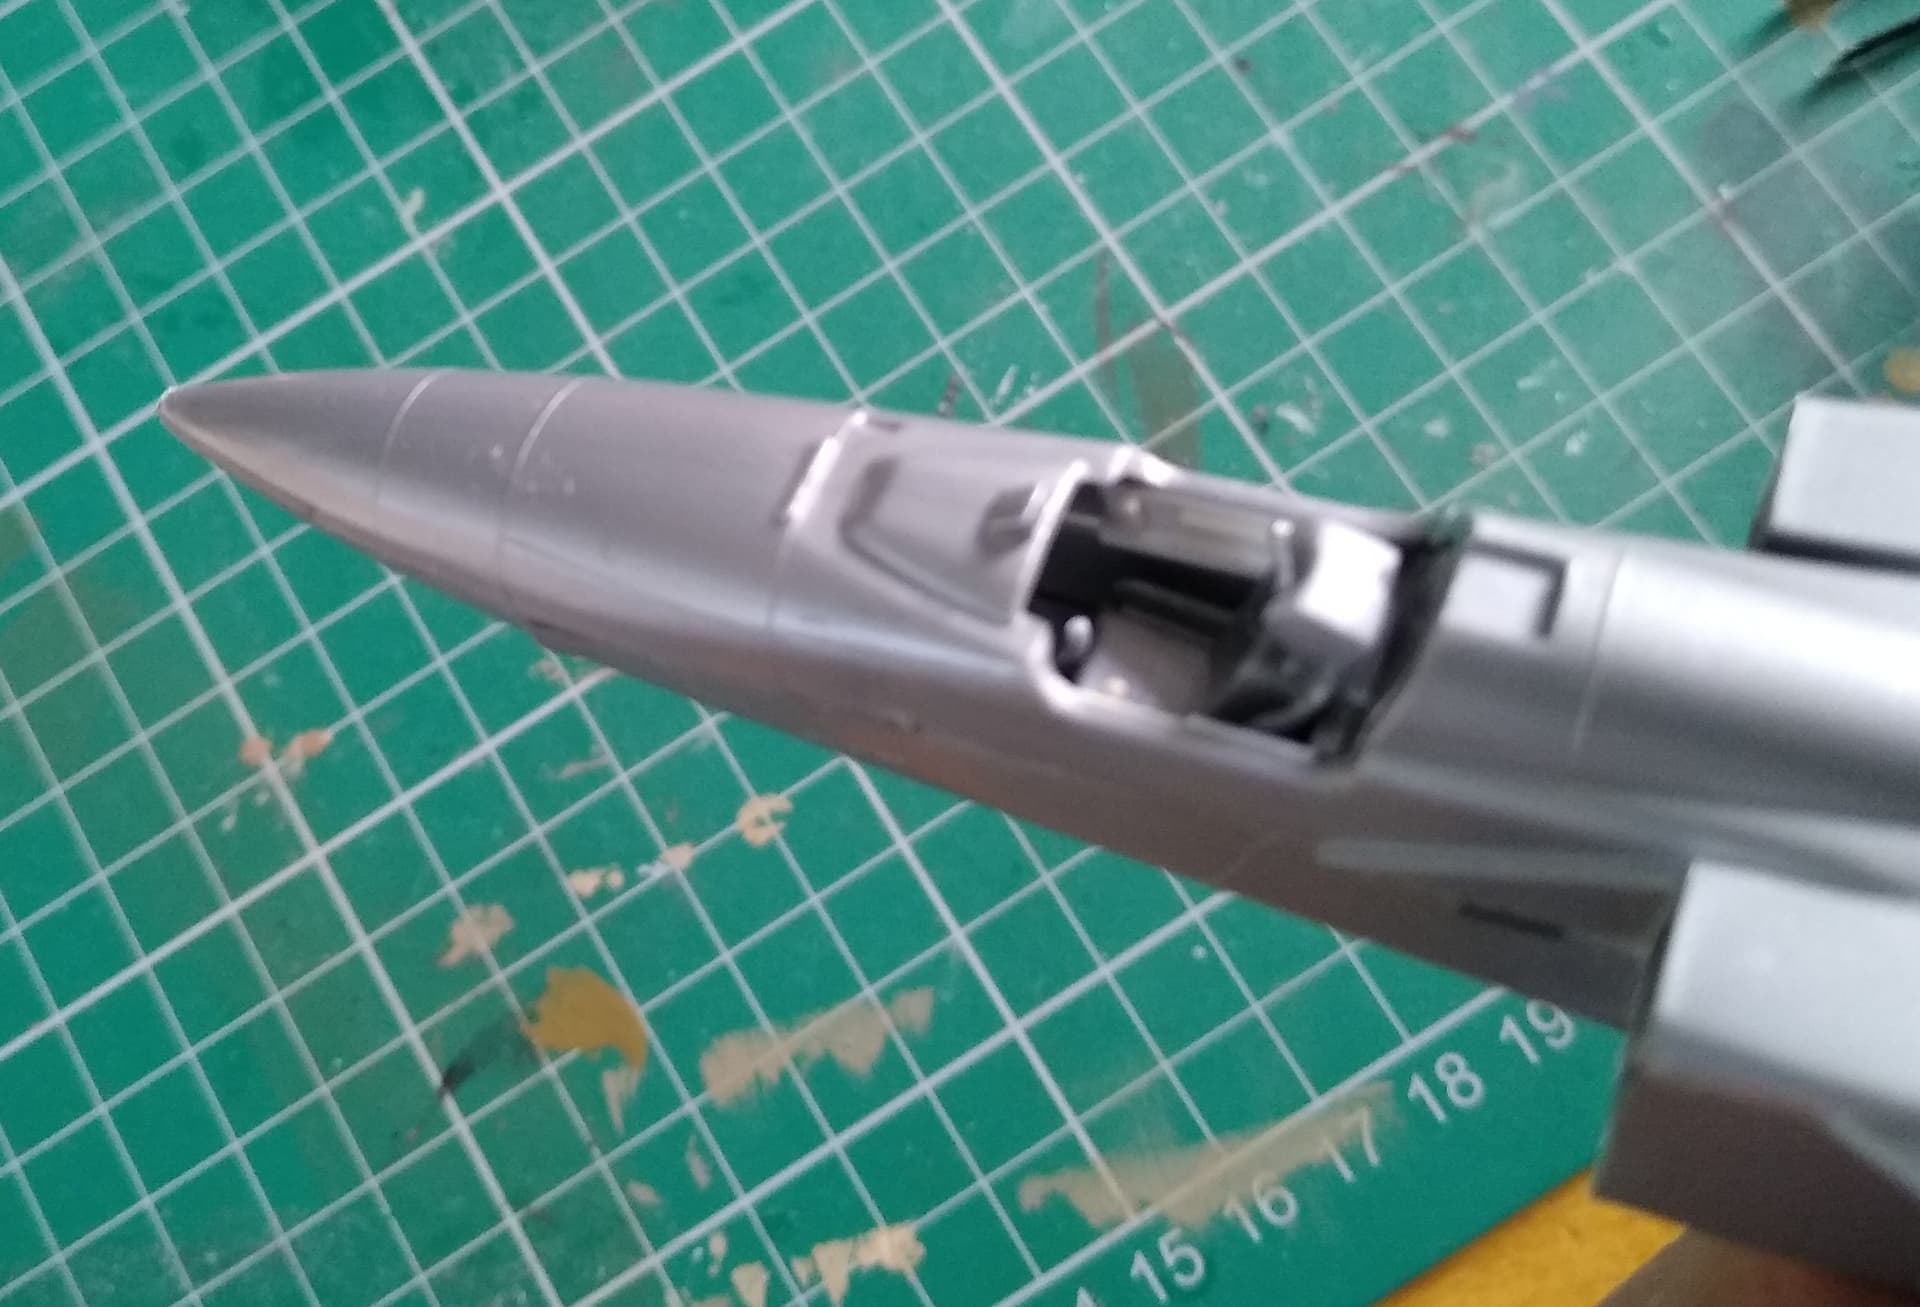
Oh and definitely remove that moulded on HUD!
1 Like
Oh I’m gonna enjoy watching this! Love me some Flogger 
1 Like
Glad to have you aboard Carlos.
Have to admit I’ve never given the 23 any thought since I last built it. But the more reading I do for this project, the more I’m liking it. It certainly had an interesting service career, especially in the Middle East!
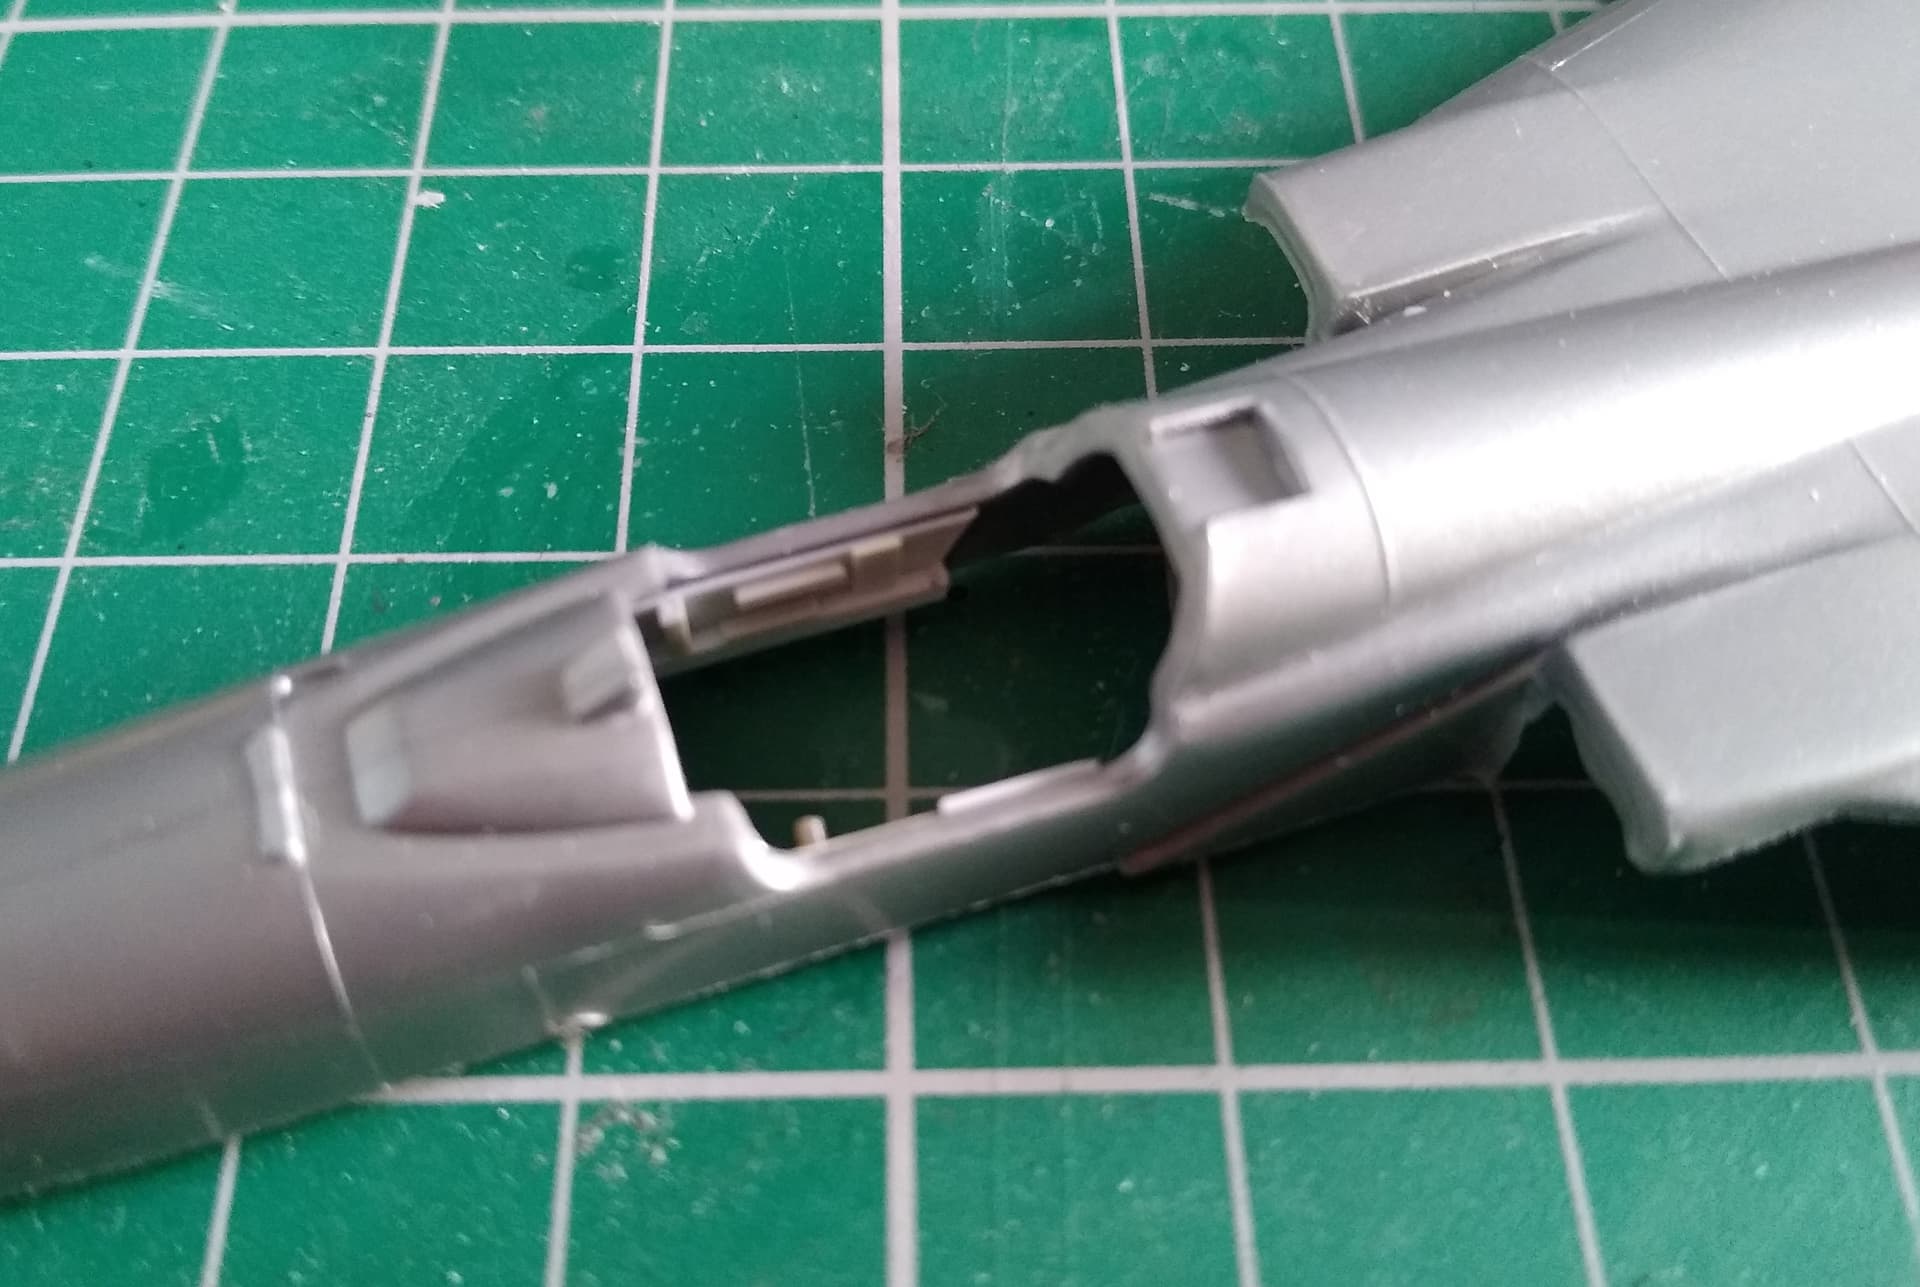
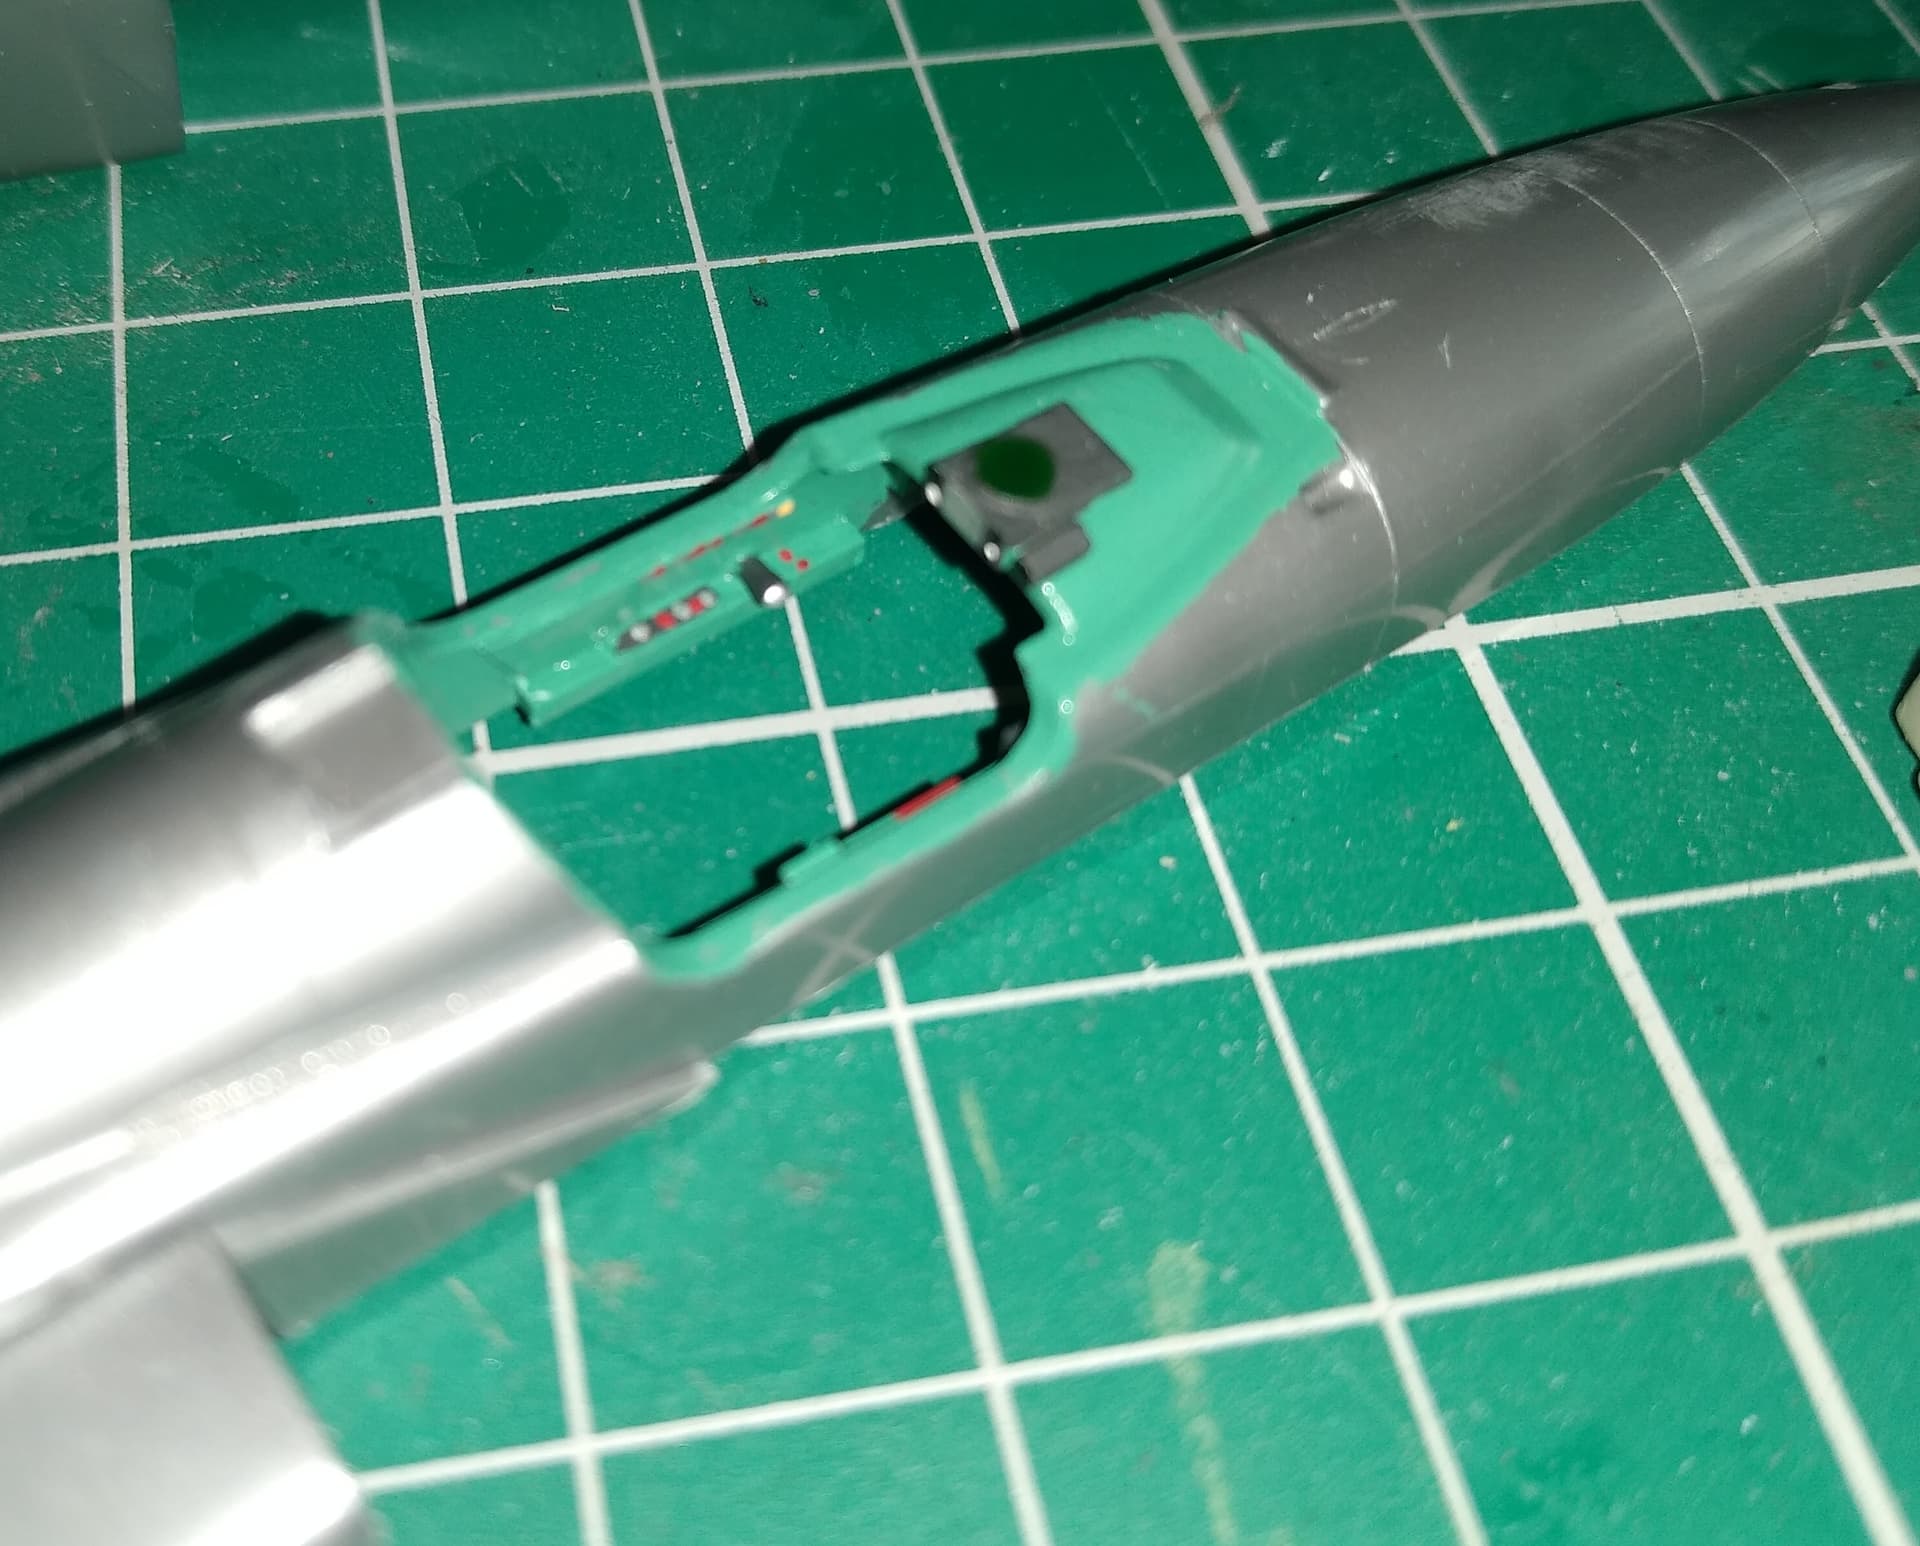
Rebuilt HUD.
Added seat cushion to the seat. Quilting was engraved in to add some texture.
I’ll get some paint on tomorrow.
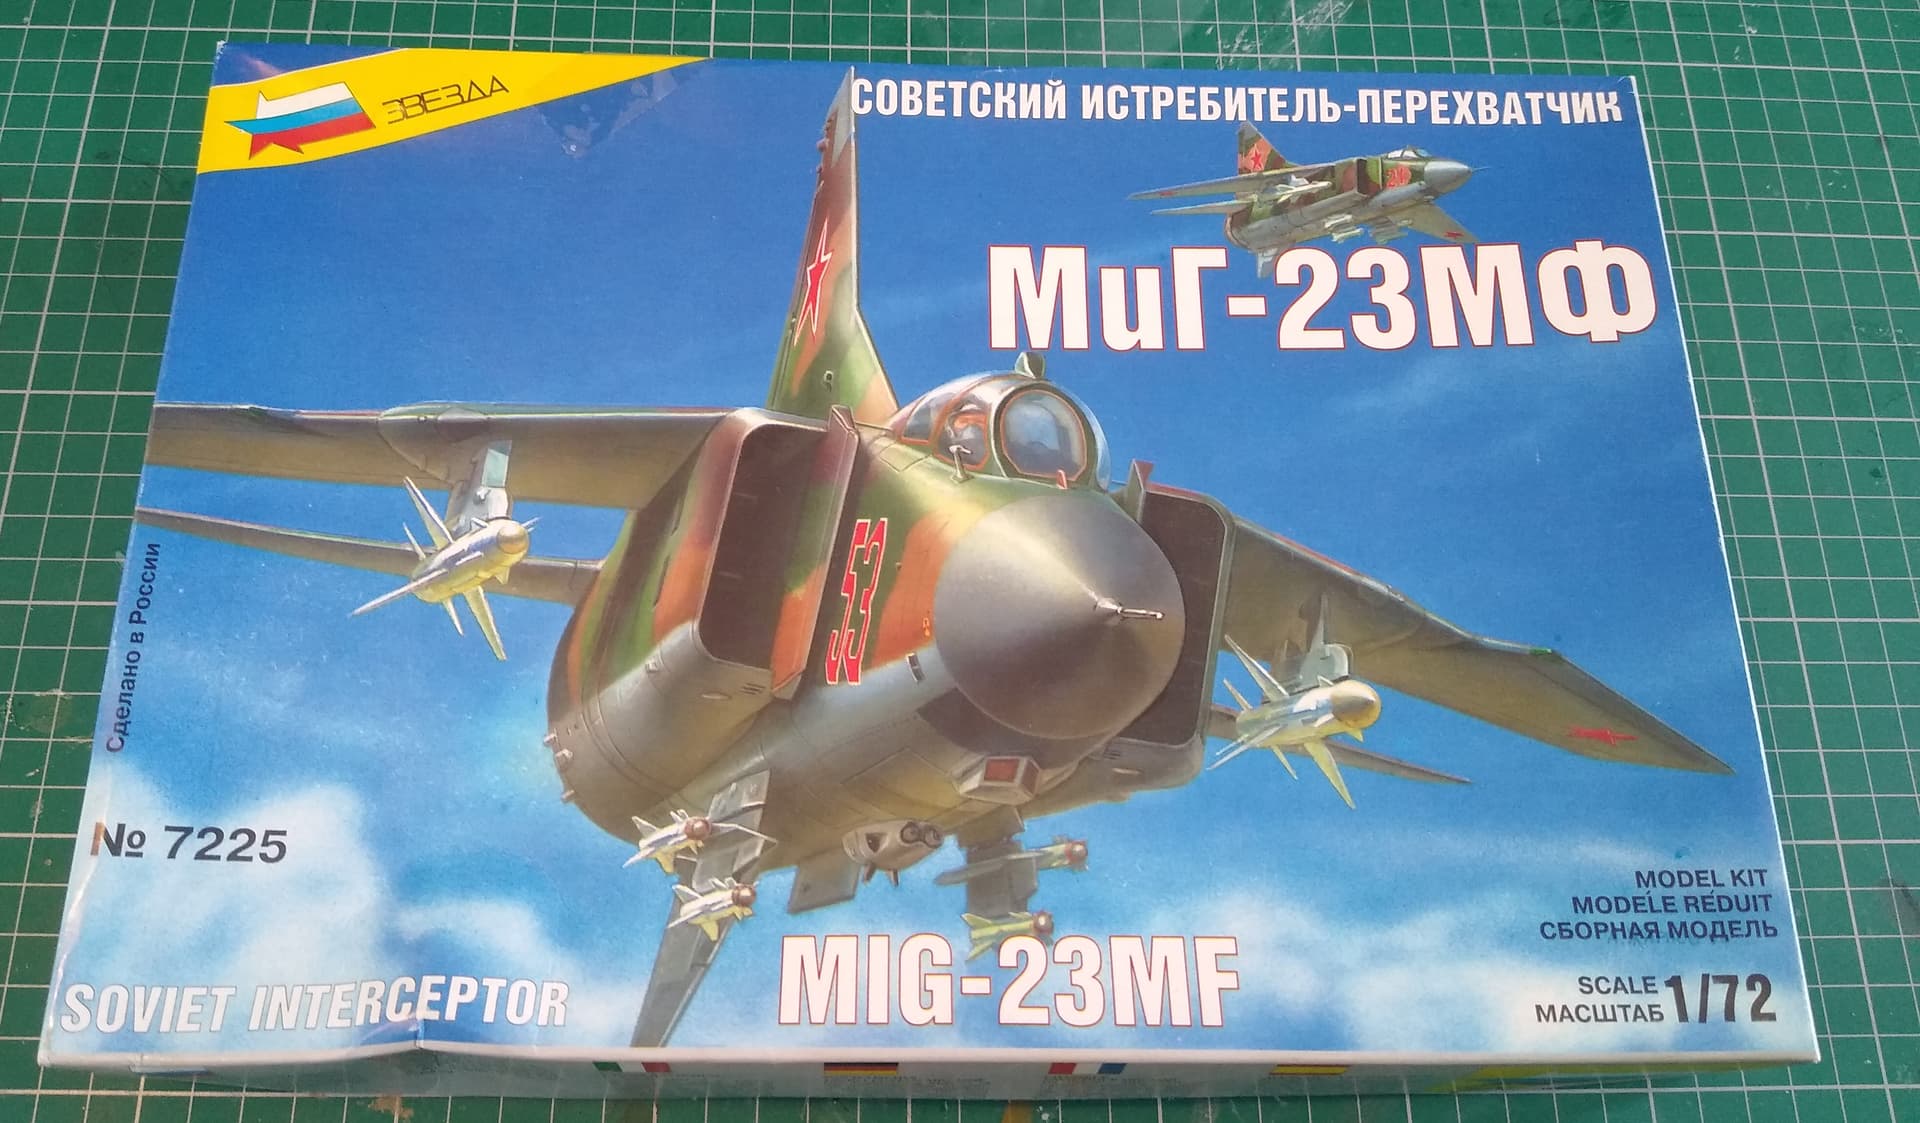
Little trip out to the shops earlier and I found a Zvezda 23 in one of the local charity shops. It’s a little, shall we say rough, compared to the Airfix. The money went to a good cause though.
The missiles and rails are much better. Not sure what’s going on here though. Could be mounting points for the 27’s belly pylons?
Will see what I can do with this one when I’ve finished the Airfix.
3 Likes
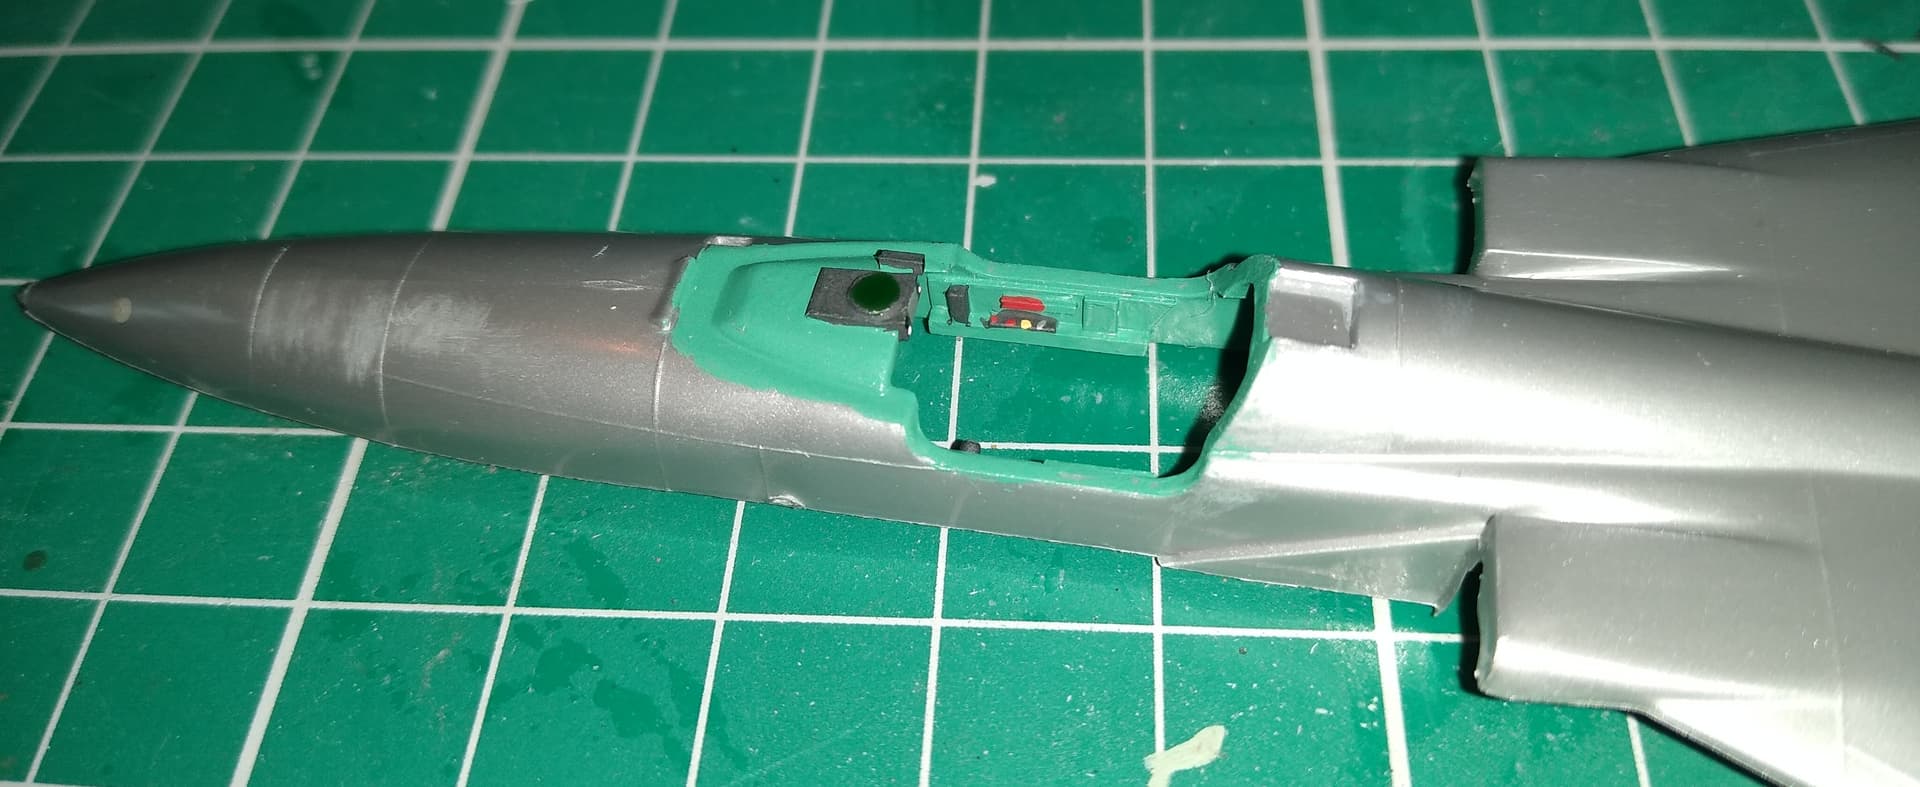
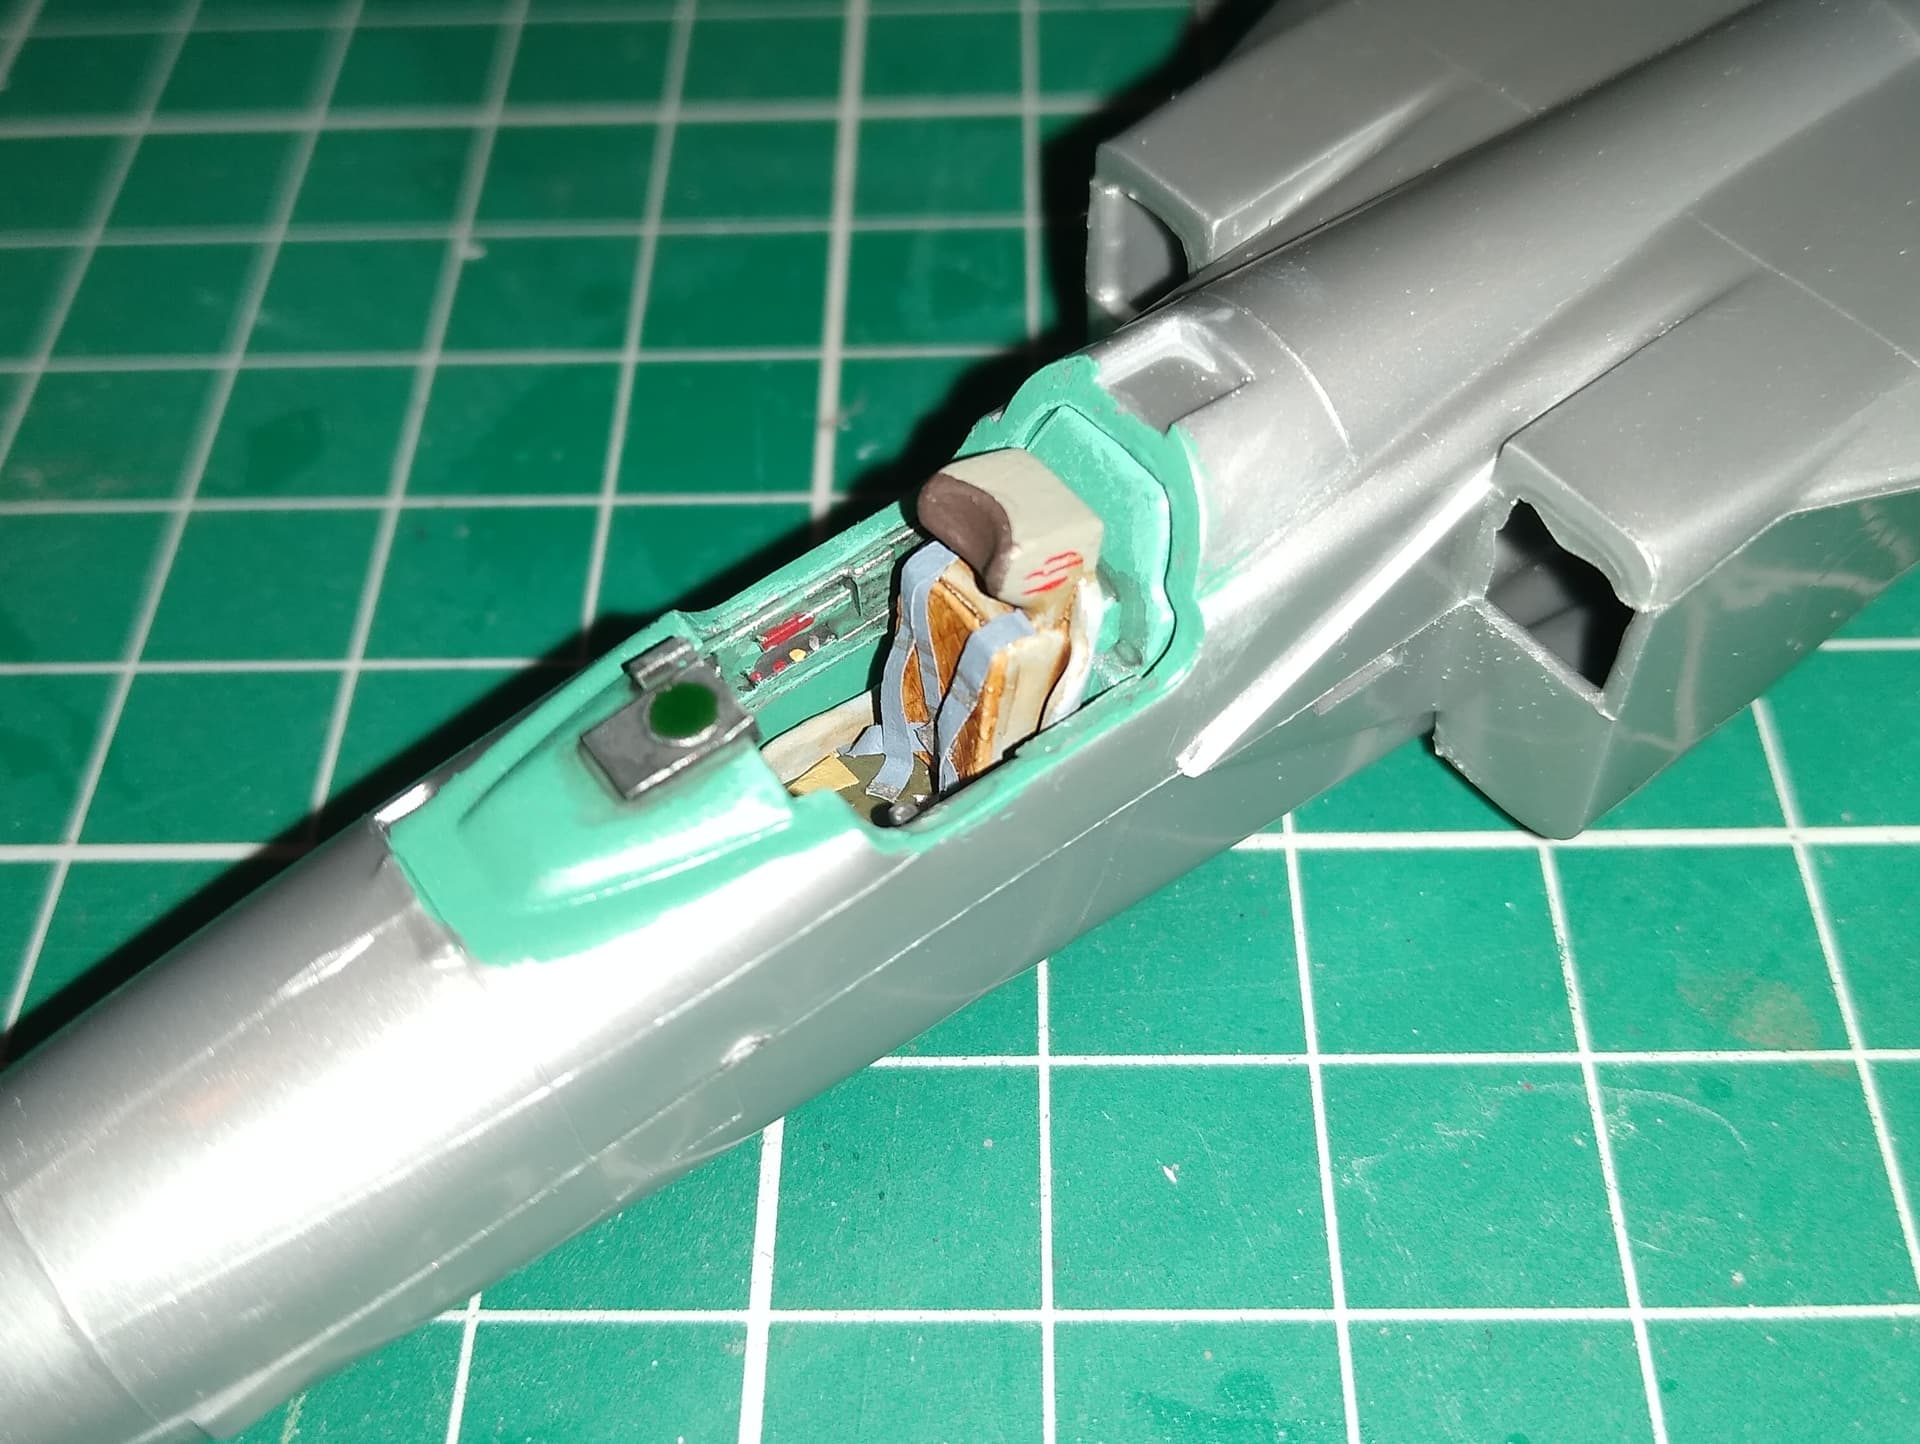
Cockpit painted up. I used Revell Green 365 for the base. This looked about the closest I had to that minty-green Soviet aircraft designers were so fond of. Some panels in dark grey, dials in gloss black and a bit of colour for the various switches and buttons. Looking at photos, almost every surface was covered with red toggle switches! One feature I tried to replicate was the vertical white stripe on the instrument panel. This was supposed to help the pilot centre the stick in flight.
Just needs a wash and light dry brush and then it’s time to button it all up.
5 Likes
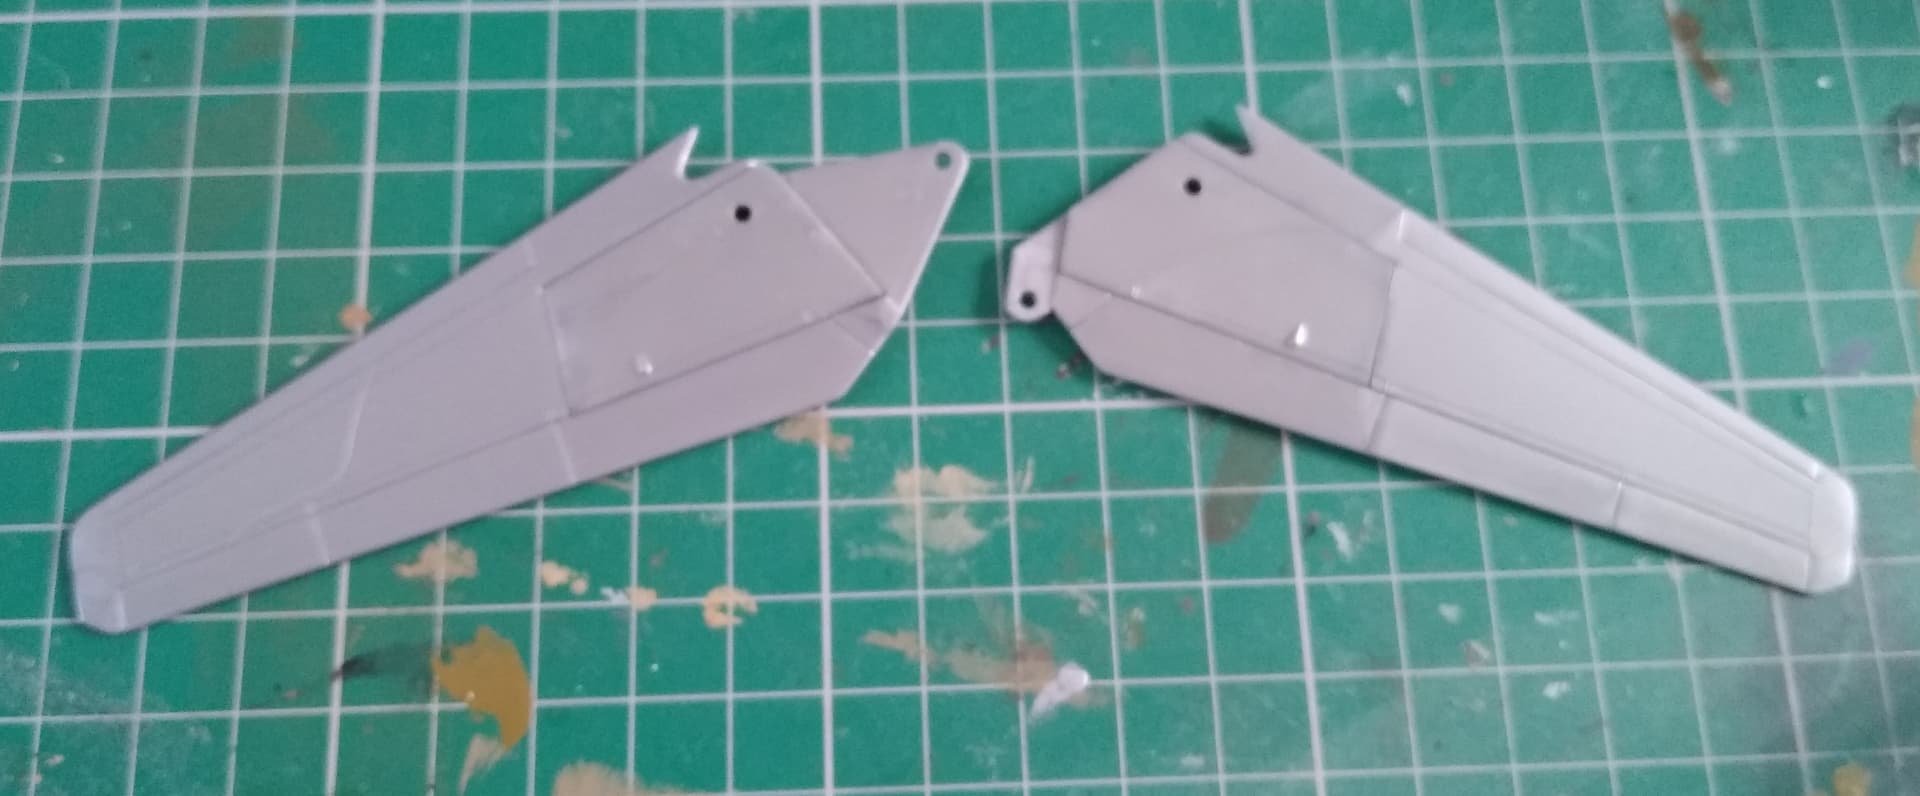
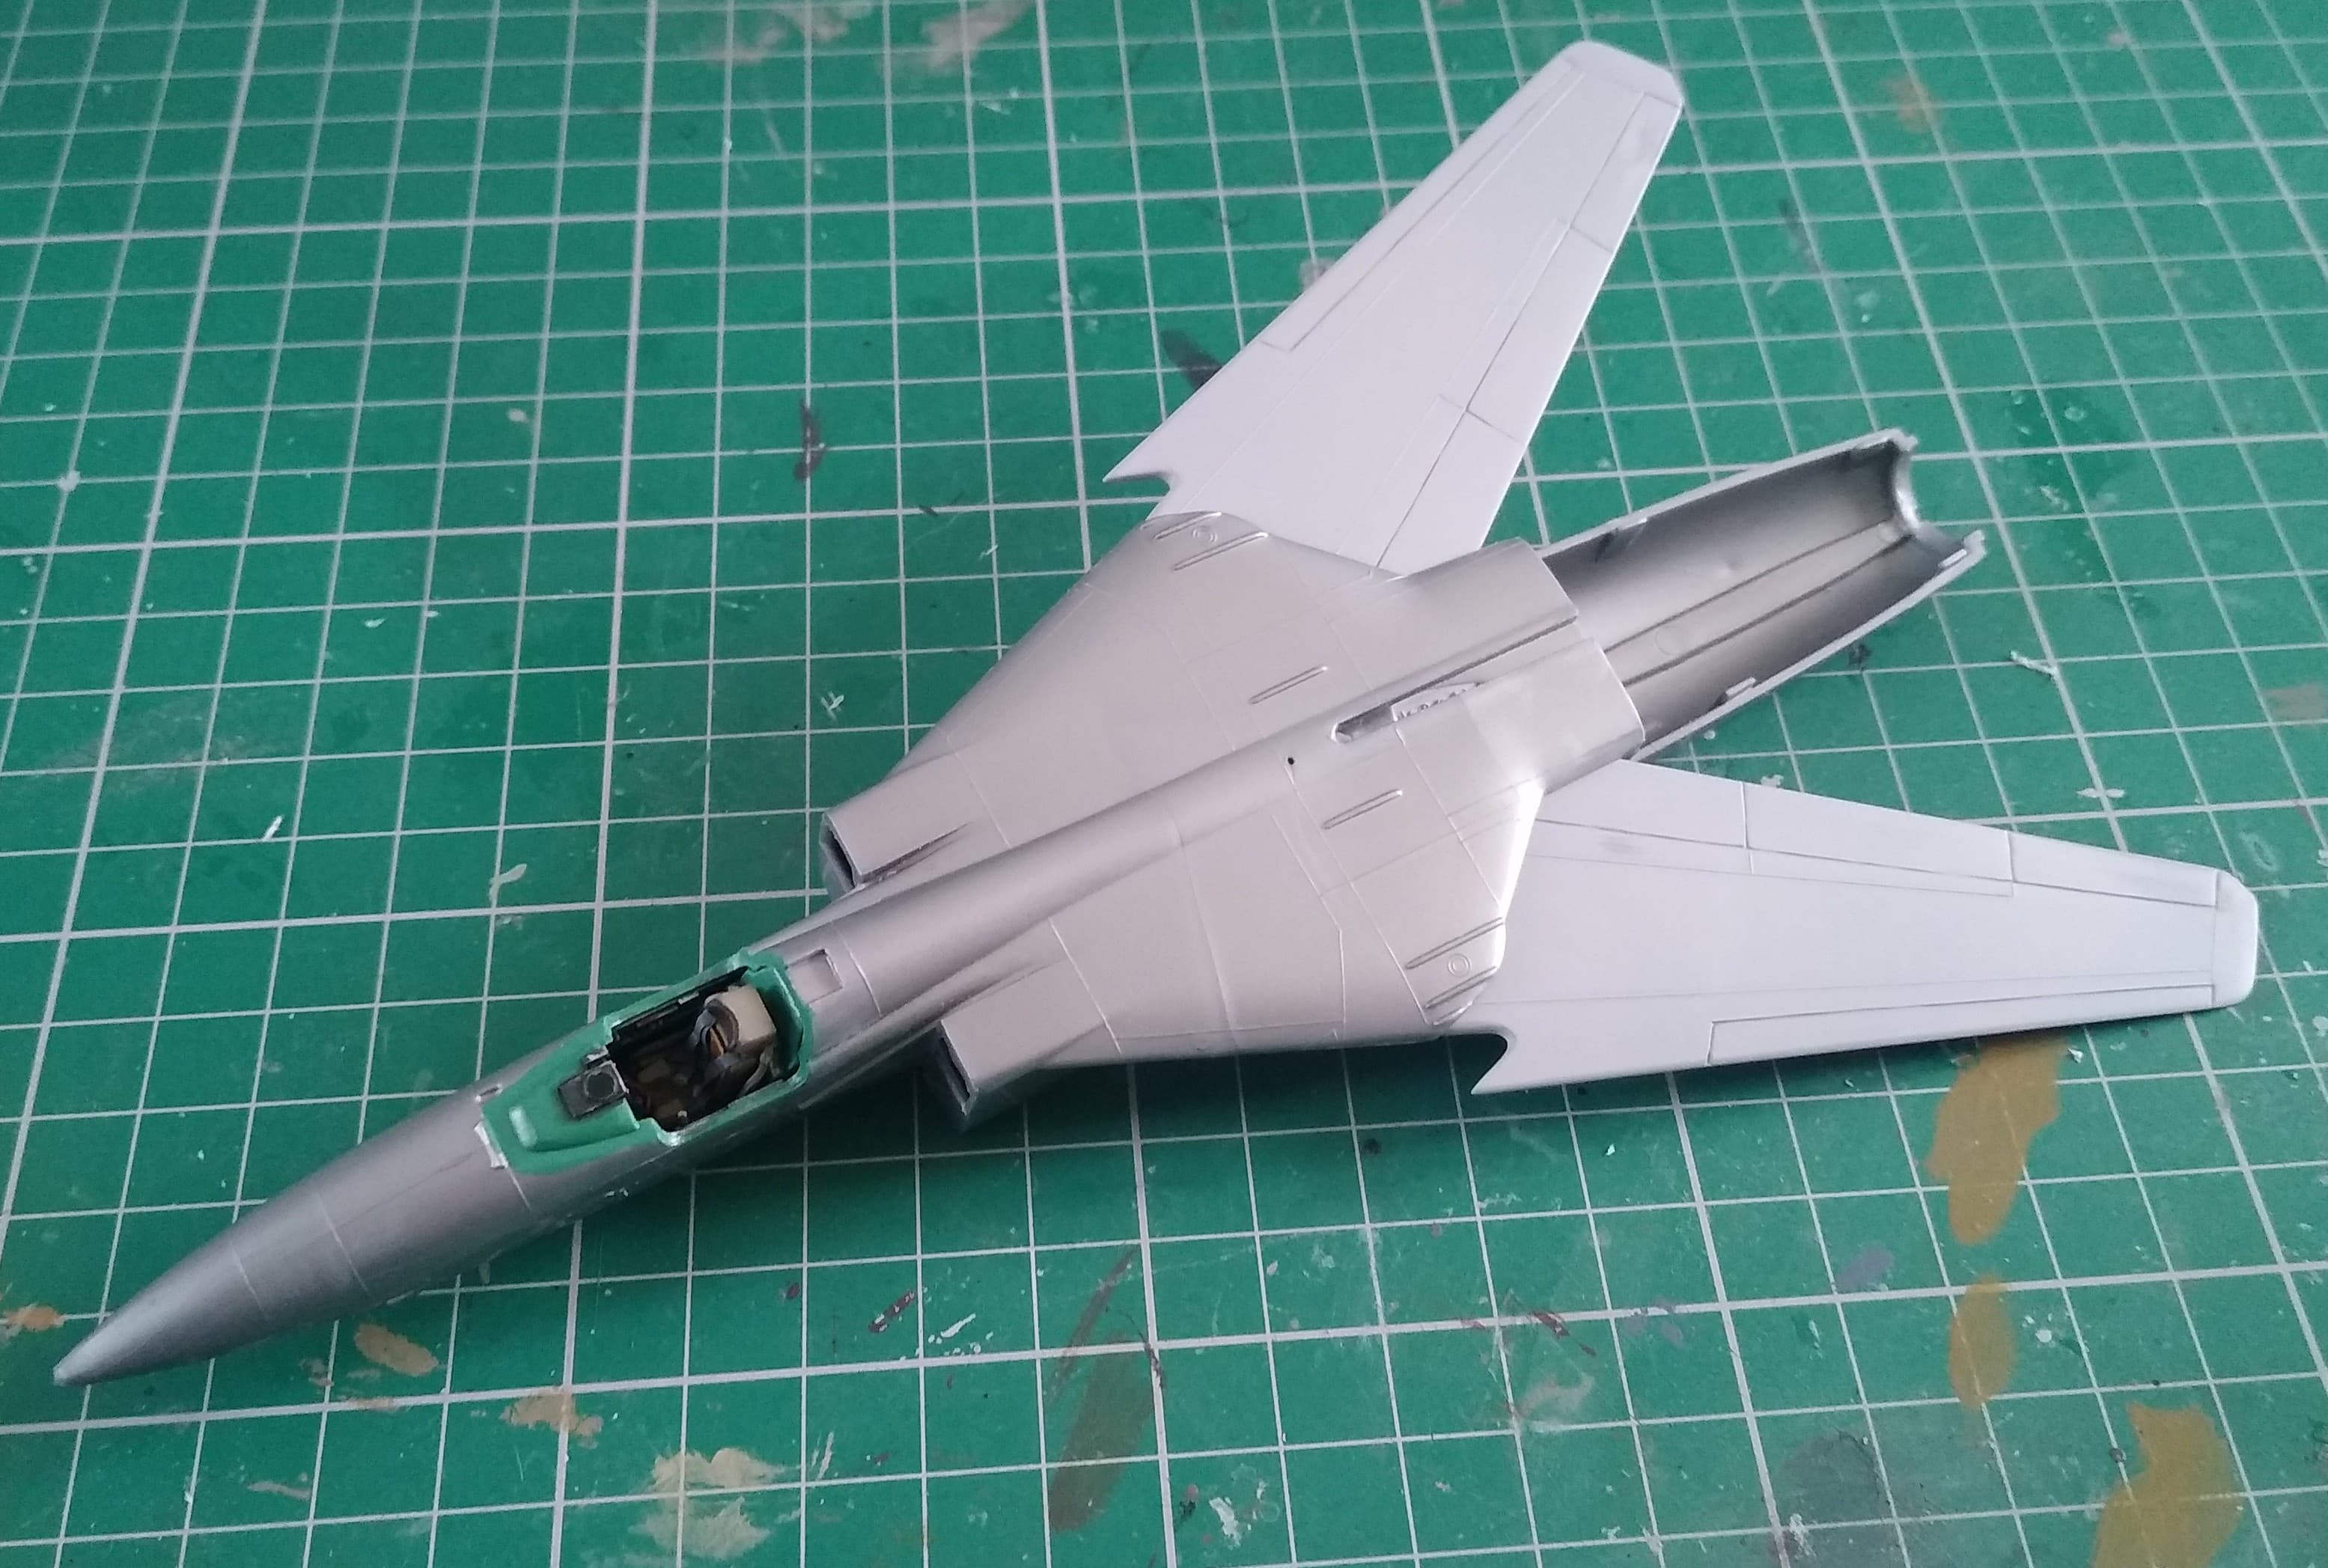
Wings cleaned up and lower inserts fitted in place.
Airfix did a really good job here. I’d say they’re in scale thickness and the tips and trailing edge are exceptionally thin even by current standards. They needed some very careful sanding not to take away too much material!
2 Likes
Ejection seat finished.
And how it looks with everything else in place.
5 Likes
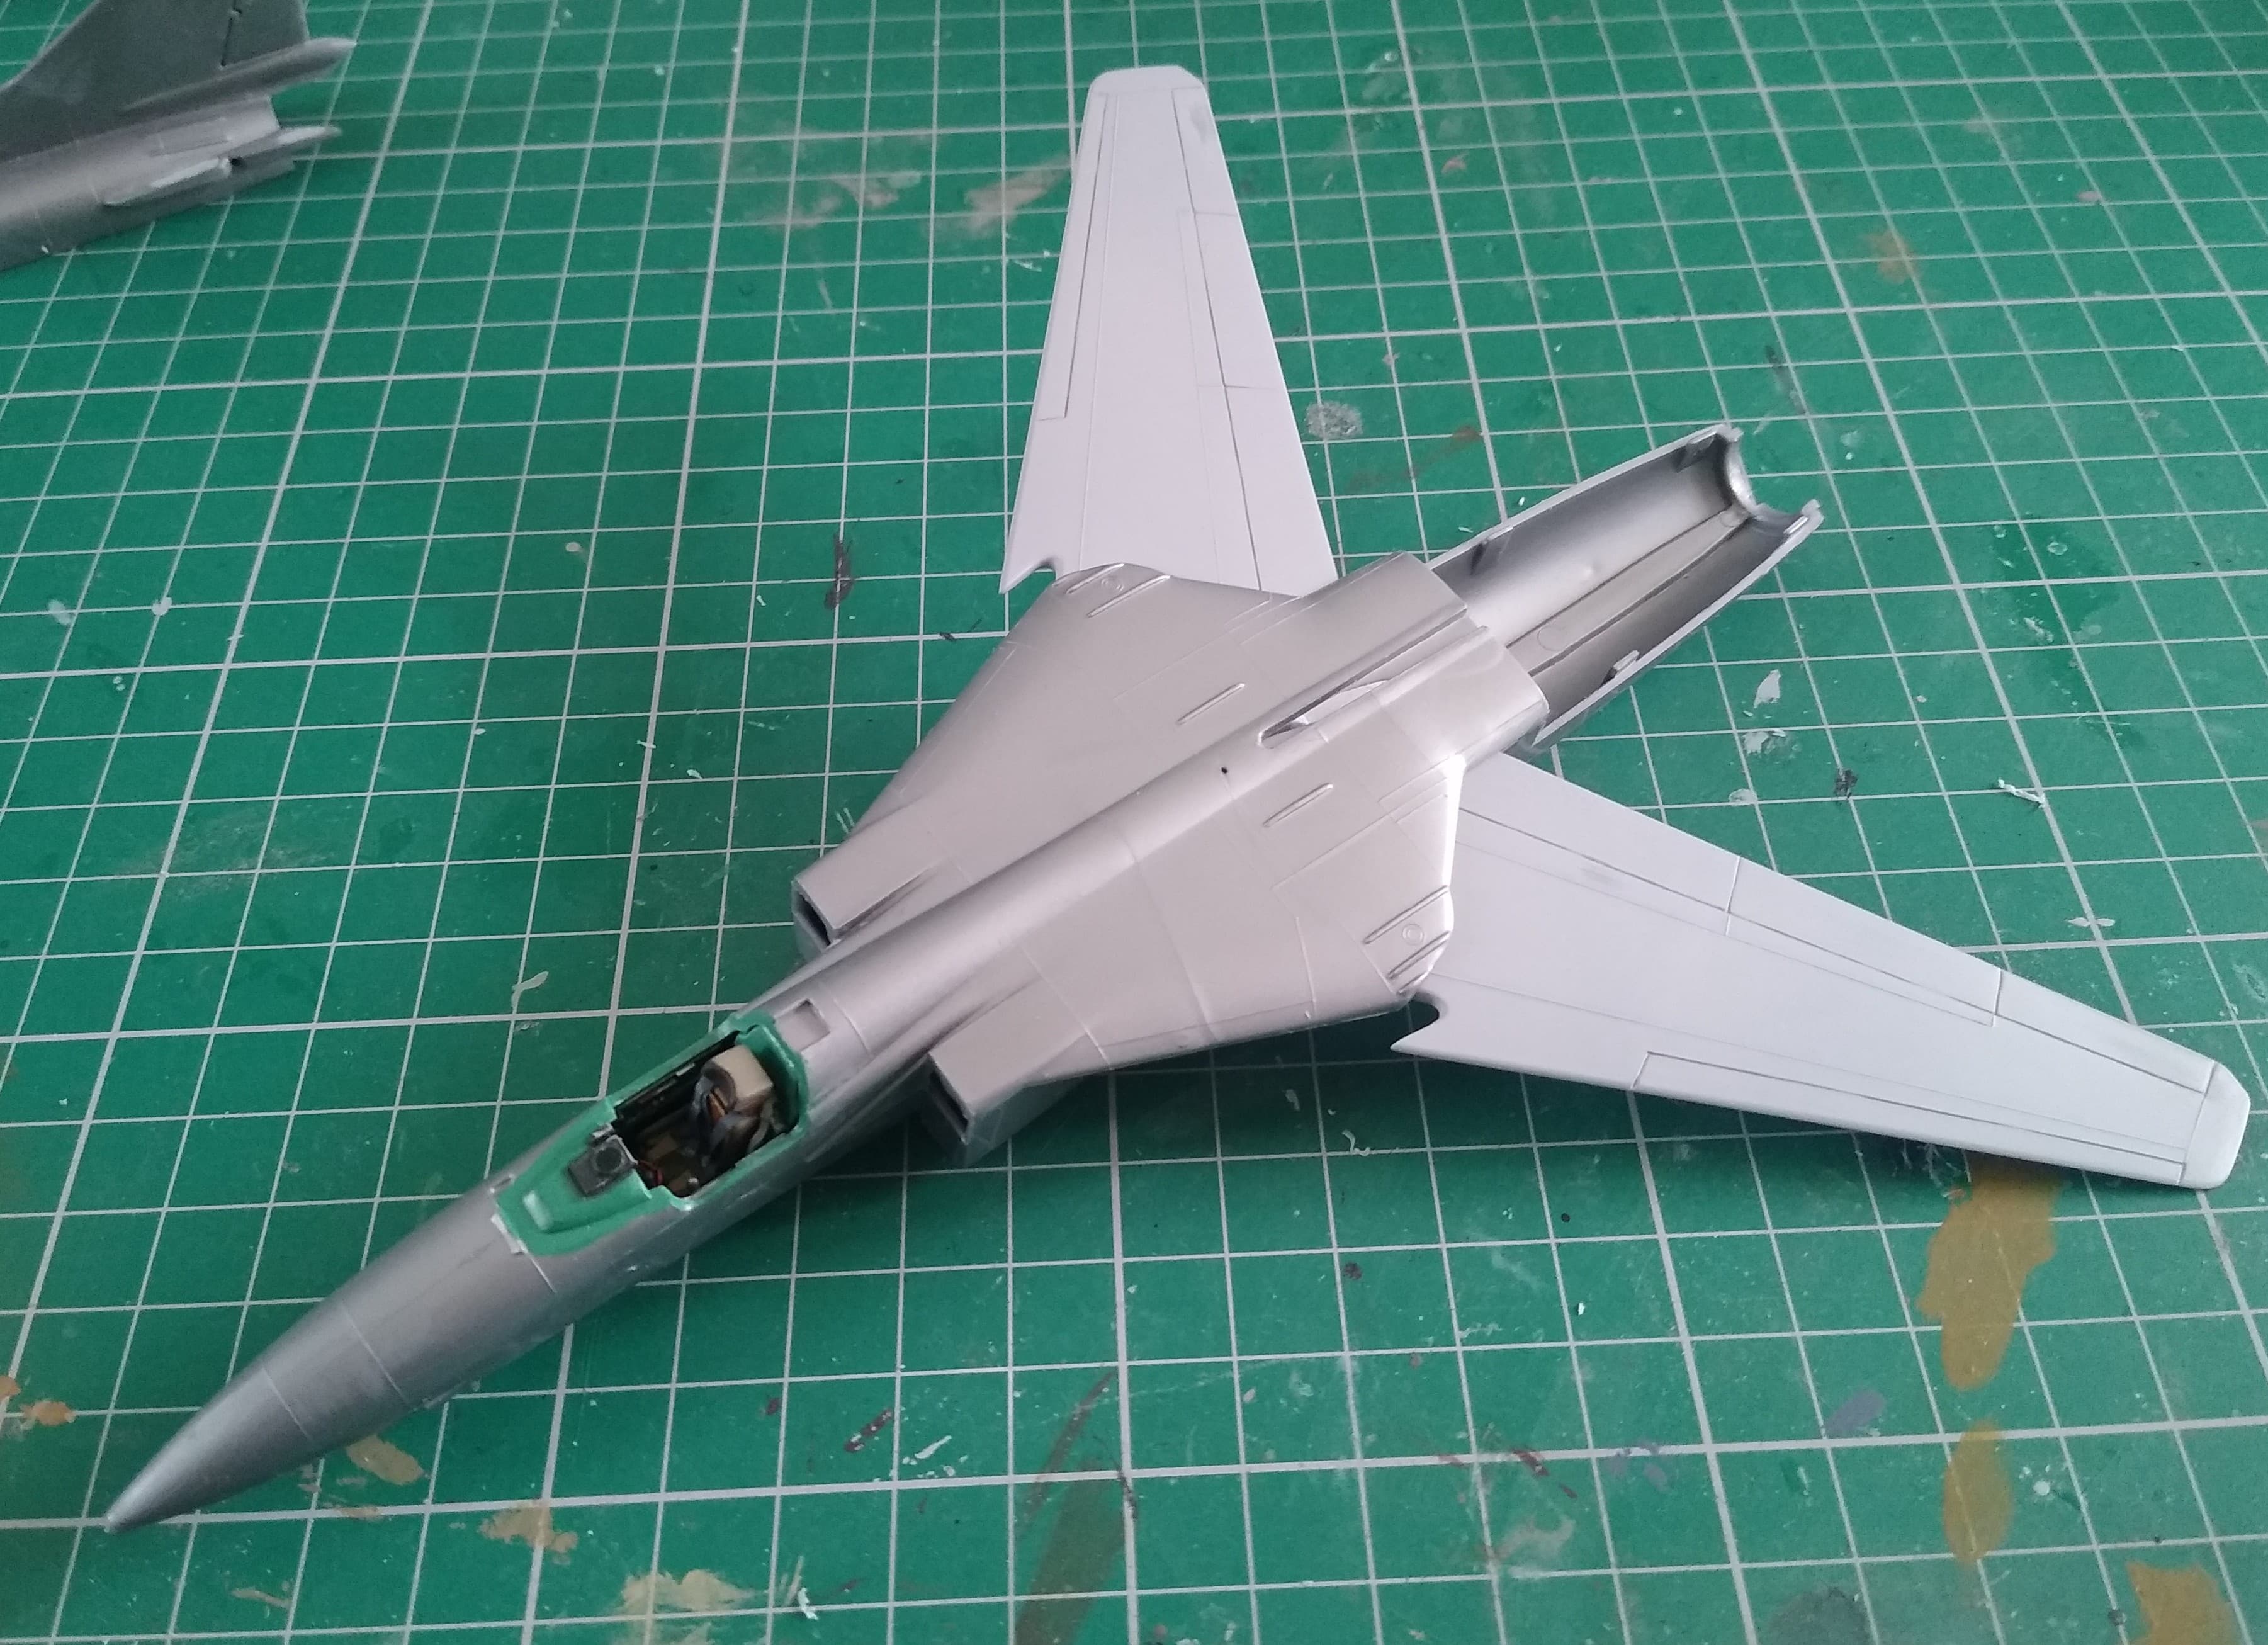
Bit of Mr Surfacer took care of the slight gap on the lower wing inserts.
Tomorrow I’m going to get some primer on these before I glue the fuselage together. My thinking is that it might make the final panting easier.
2 Likes
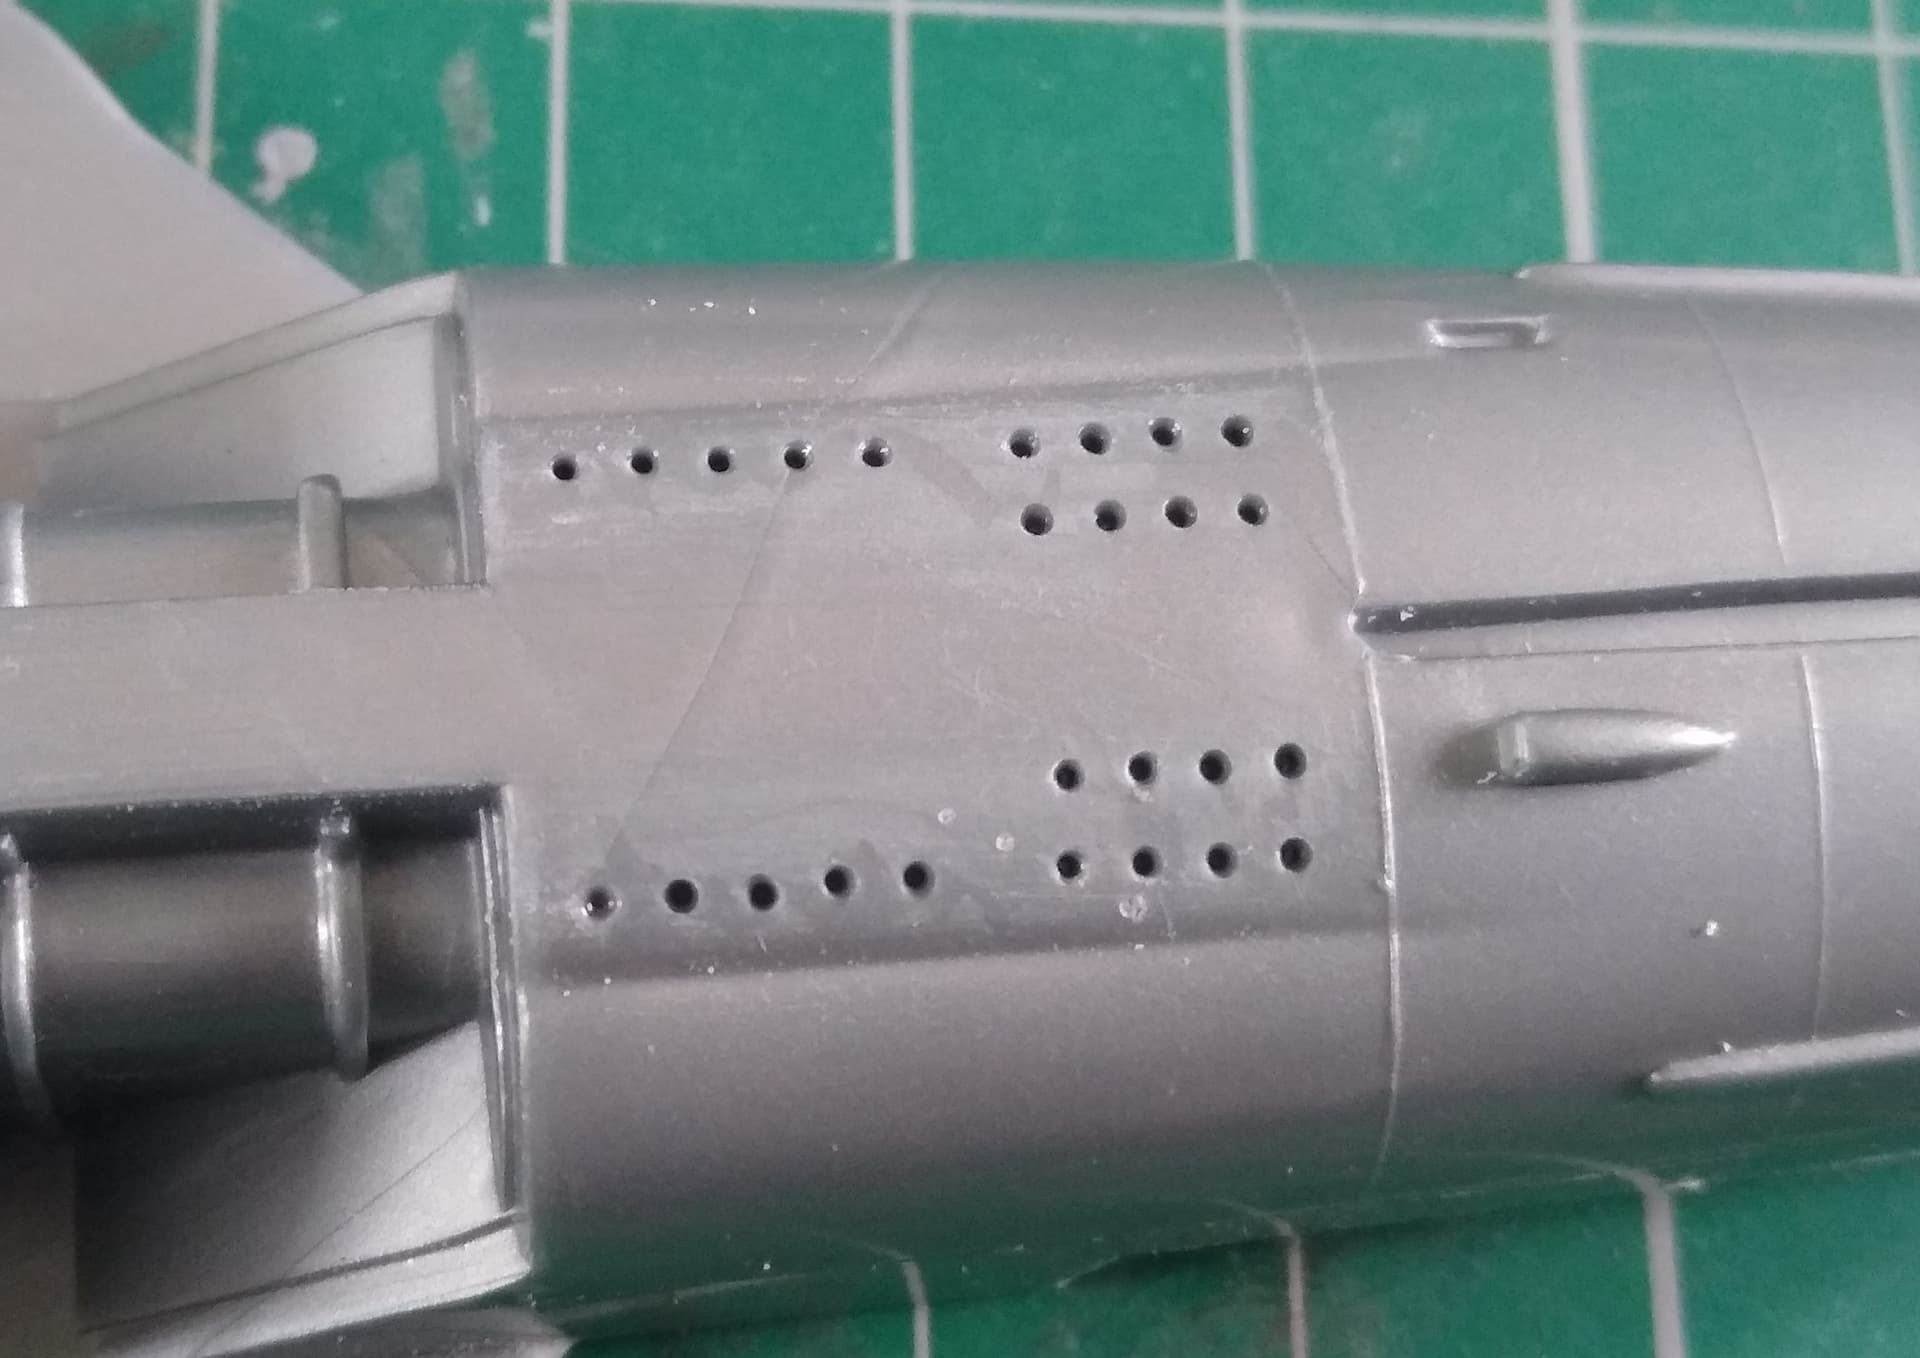
Engine cooling vents drilled out to add some more depth. Apparently the engine on the 23 needed a lot of cooling!
3 Likes
Forward fuselage assembled.
Managed to not glue the wings permanently in position!
5 Likes
Hi Stephen, your build is turning out excellent. The cockpit looks phantastic!
BTW, I got so motivated by your project, I bought a MiG 23BN at an exhibition last Saturday.
Maybe build it this year still…?
Cheers
Peter
1 Like
Thanks for following and your comments.
It’s been fun so far
I’ve been on the lookout for one of the BN’s, but not found one yet. I’ve got a KP 23MF on the way to me to build as a Syrian aircraft from the recent Civil War.
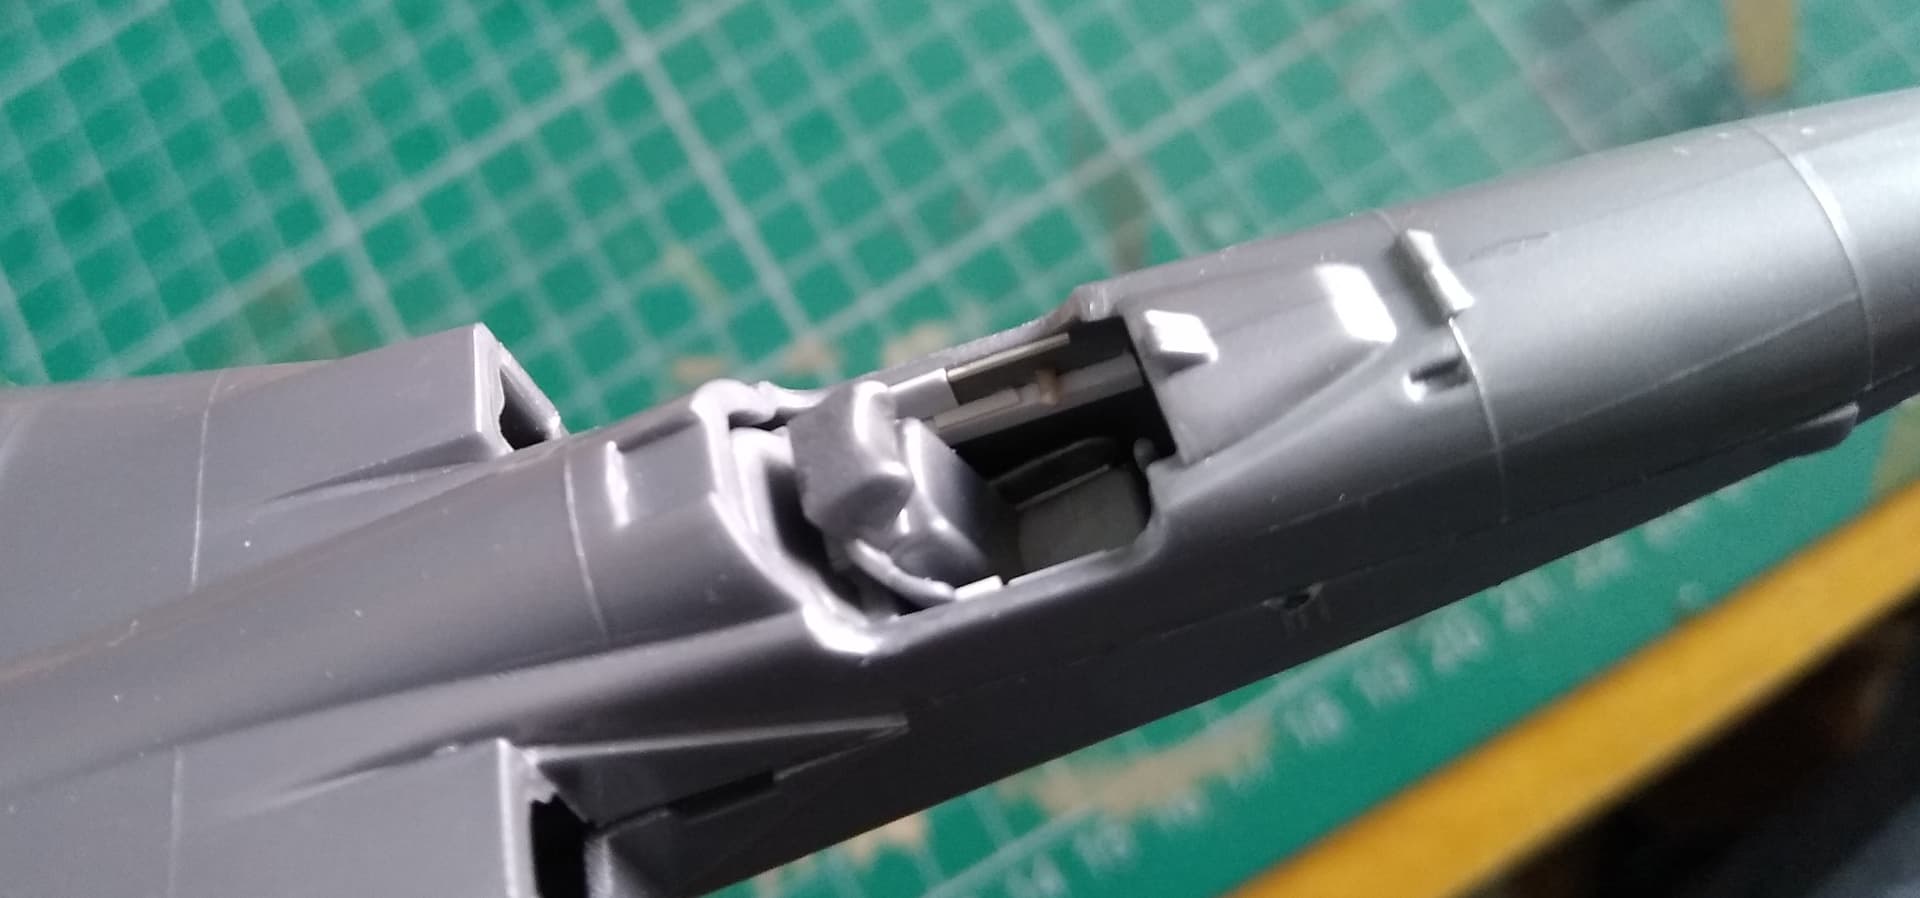
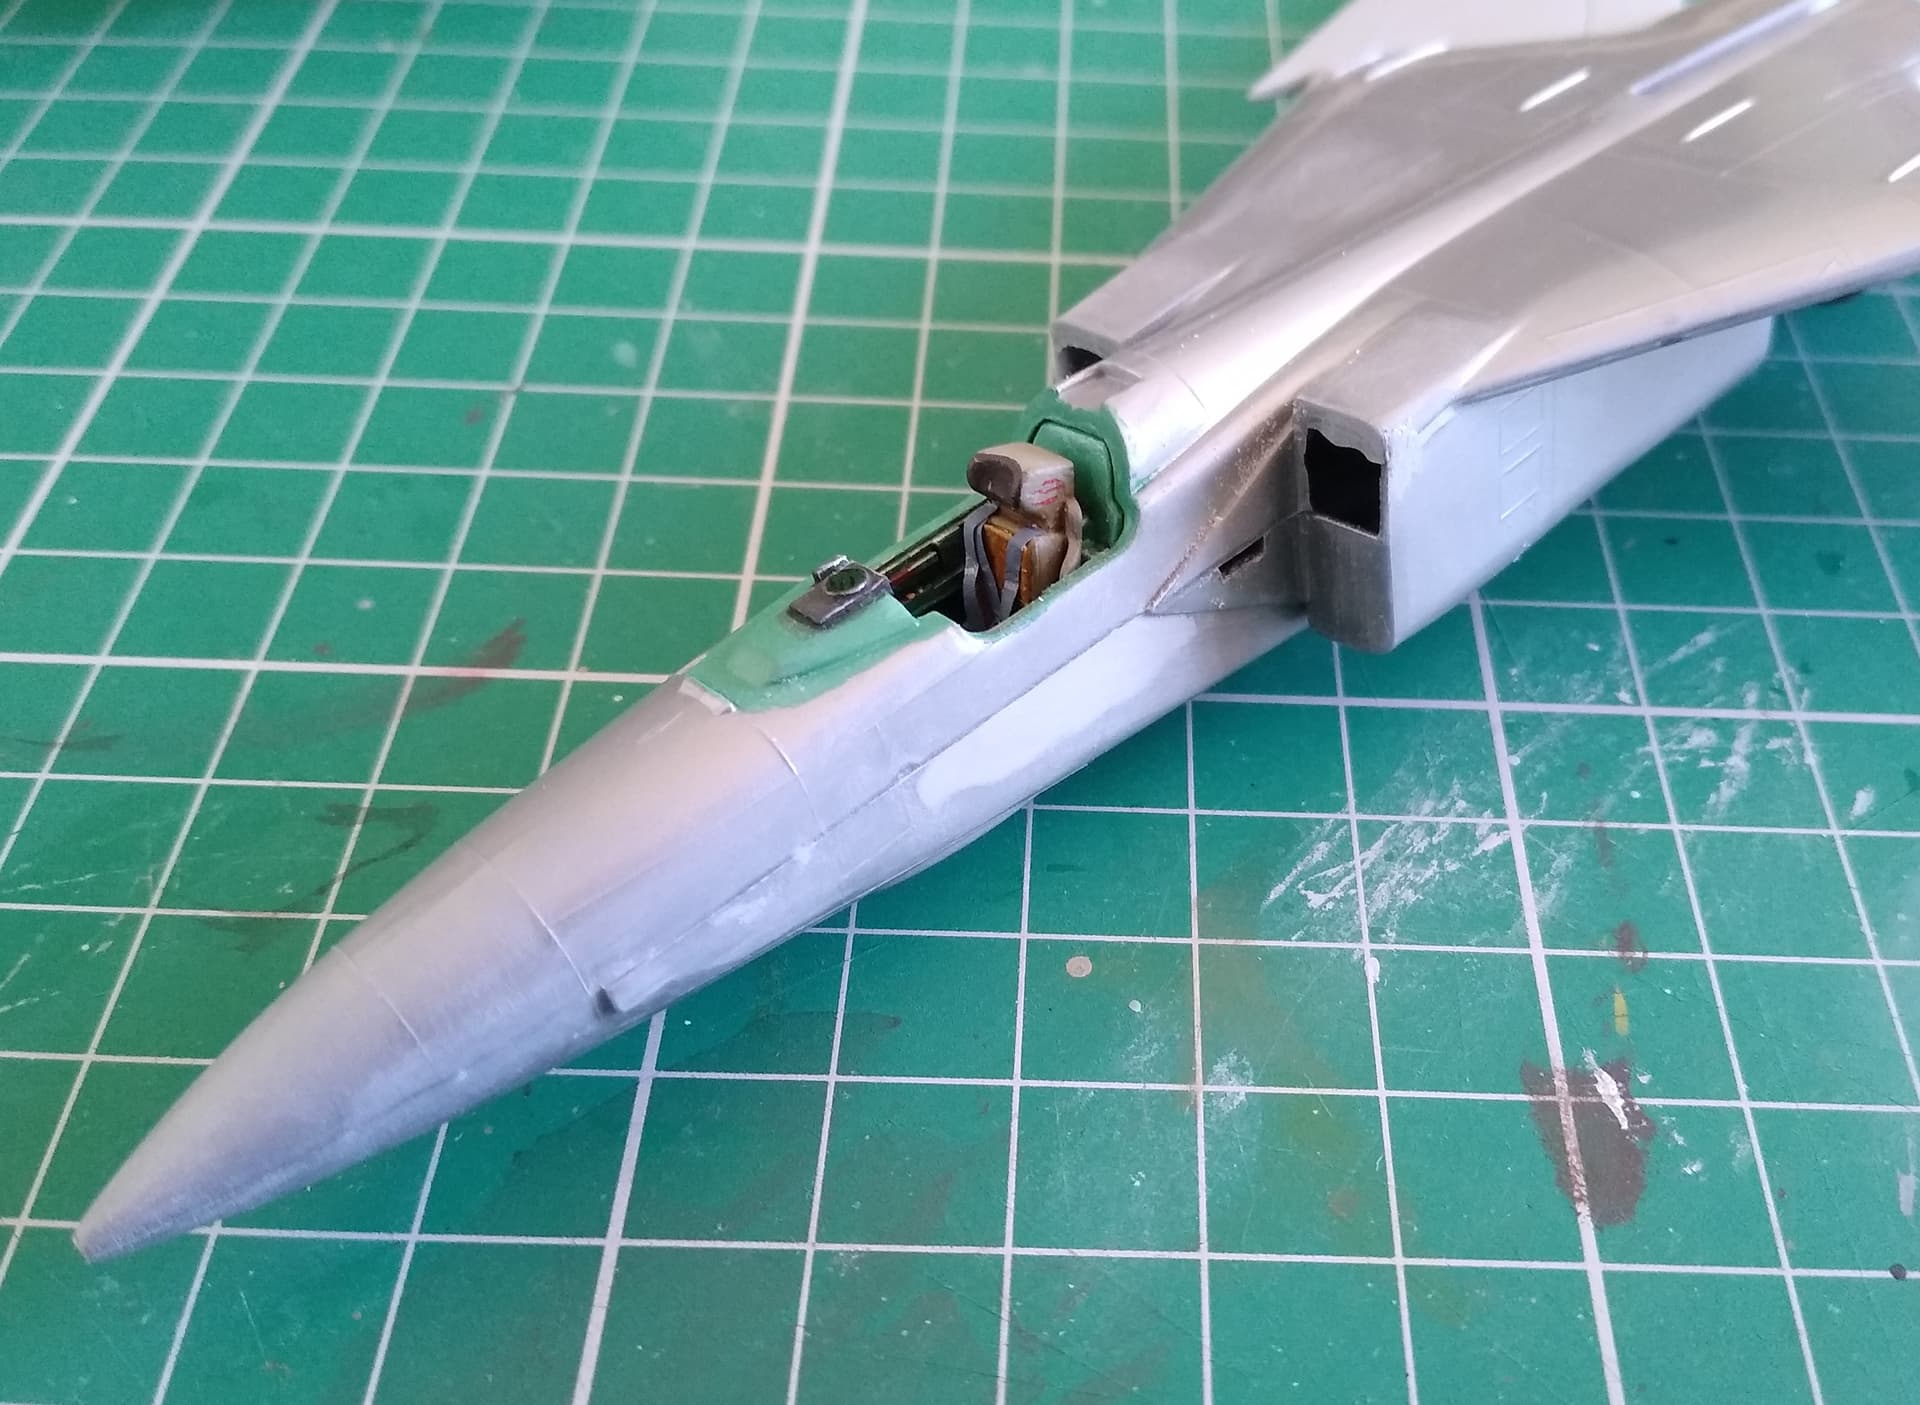
Little bit of Mr Surfacer was needed to blend in the left side of the fuselage under the cockpit.
And intakes assembled. There’s no depth to these, so my plan is to make some FOD covers. Shouldn’t be too difficult to make up.
1 Like
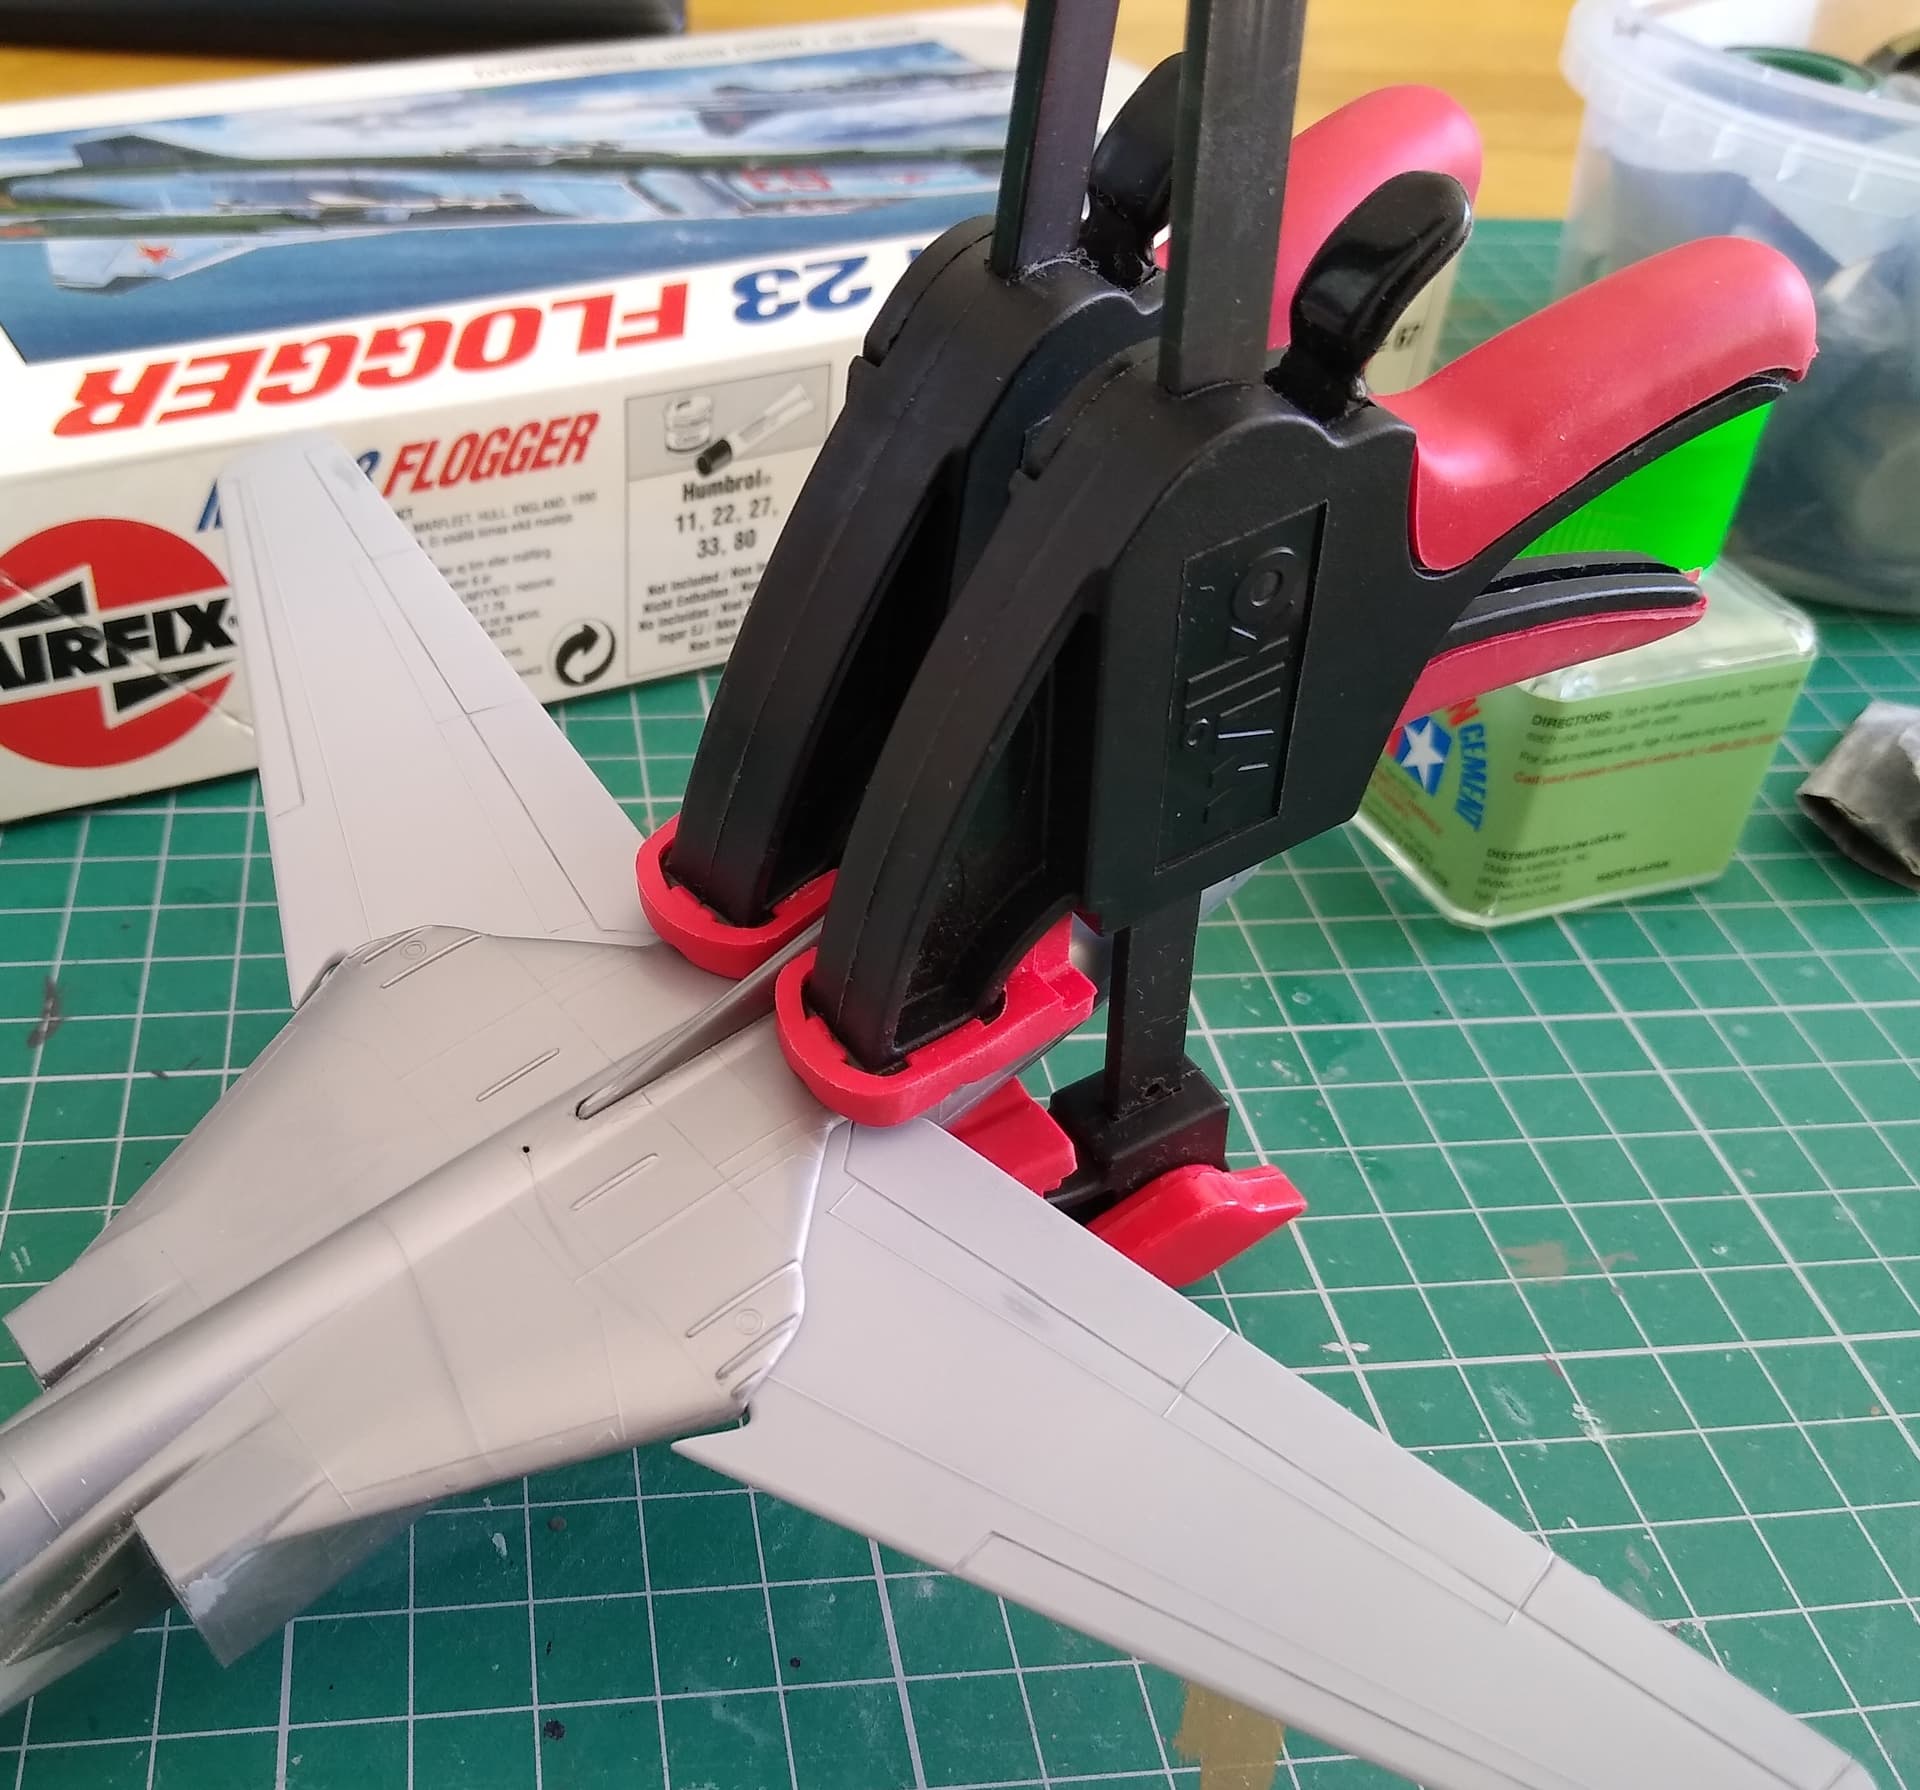
Fitted the rear fuselage section. This needed some clamping to hold securely while the liquid poly sets.
2 Likes