This is masterful work here. Best ground work I’ve ever seen, including the building. Simply stunning Tim!
3 Likes
It really does look cold- the various tones you have chosen for the leaf litter, foliage and grasses are spot-on for the time of year I think.
2 Likes
Just found this thread and read thru til now. Brilliantly done work Sir your work is amazing.
I look forward to seeing your completed Diorama.
TinyDog01
2 Likes
Did I miss how you did the tree? it just pops up. looks great
3 Likes
Fantastic work.
Regards Christian
2 Likes
indeed some of the best groundwork i 've ever seen! ![]()
2 Likes
Hi Tim
Absolutely inspiring. Add the usual stone in front to hold the gate open, it’ll be logical and look better ![]()
A tad of vanish in the odd depression would possibly be worthy too.
Cheers
Andrew T
3 Likes
Fantabulous! Superb. I also really enjoy your build details. Keep up the amazing work. (Did you cheat and just photograph an old shed…?) ![]()
3 Likes
Why thank you!
1 Like
Thanks Dan!
1 Like
Thanks JP. This is still only the preliminary stage of the groundwork…
2 Likes
Thanks Irwin
1 Like
Thanks Richard
1 Like
Thanks Karl. I’m still working on the tones…
2 Likes
Thanks Tiny. I’m glad anyone is still looking at this… More to come!
1 Like
Thanks Ronald. I keep meaning to do a post on the tree. Maybe soon (or next)…
1 Like
Well many thanks Floris. I’m trying!
1 Like
Well Andrew, as you know I am always happy to take your kind words and suggestions on board. The stone is a great idea…
As for varnish, etc this is still an early stage in the groundwork. Even if I don’t go for some snow in the end (my mind is still not made up) there’s bound to be some damp and ice around.
2 Likes
Wink, you tease. You think I can find an old shed looking like that? Everything seems to come from IKEA these days… ![]()
1 Like
THE TREE… Part 1
People seem to get a little phased by trees - and I am no exception.
A few years back, after getting back into the hobby after a long break, I made this little olive tree for my Italian diorama Liberation, Italy 1944 (it’s in the archive). My first ever 1/35 scale tree, it was essentially a wind-dried piece of heather I picked up on a walk in Derbyshire (near Bakewell) with some added bark from putty and the familar Mini-Natur foliage. I was quite pleased with the way it turned out.


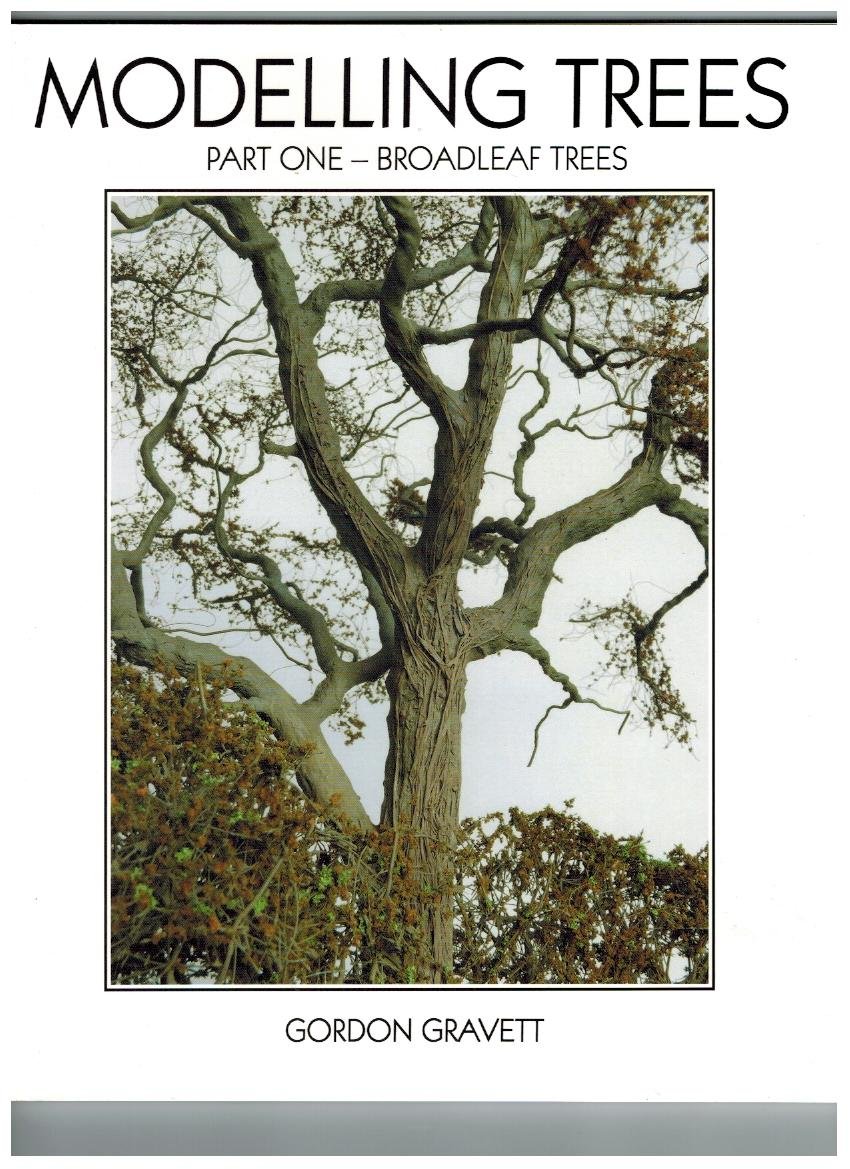
For my next diorama Road to Singapore, Malaya 1941, set in Malaya in 1941, I needed to go BIG. These rubber trees were made from the old-fashioned wire-twisting method inspired by the original tree-whisper Gordon Gravett (an amazing railway modeller: check out his amazing books)

Now I have to be honest… if it had not been for 2020’s lockdown I would never have had the time (or patience) to make that many trees and I suspect I will never do so again! Also I cheated with the fallen tree because that was another piece of heather picked up on a walk (yes, you can guess where).
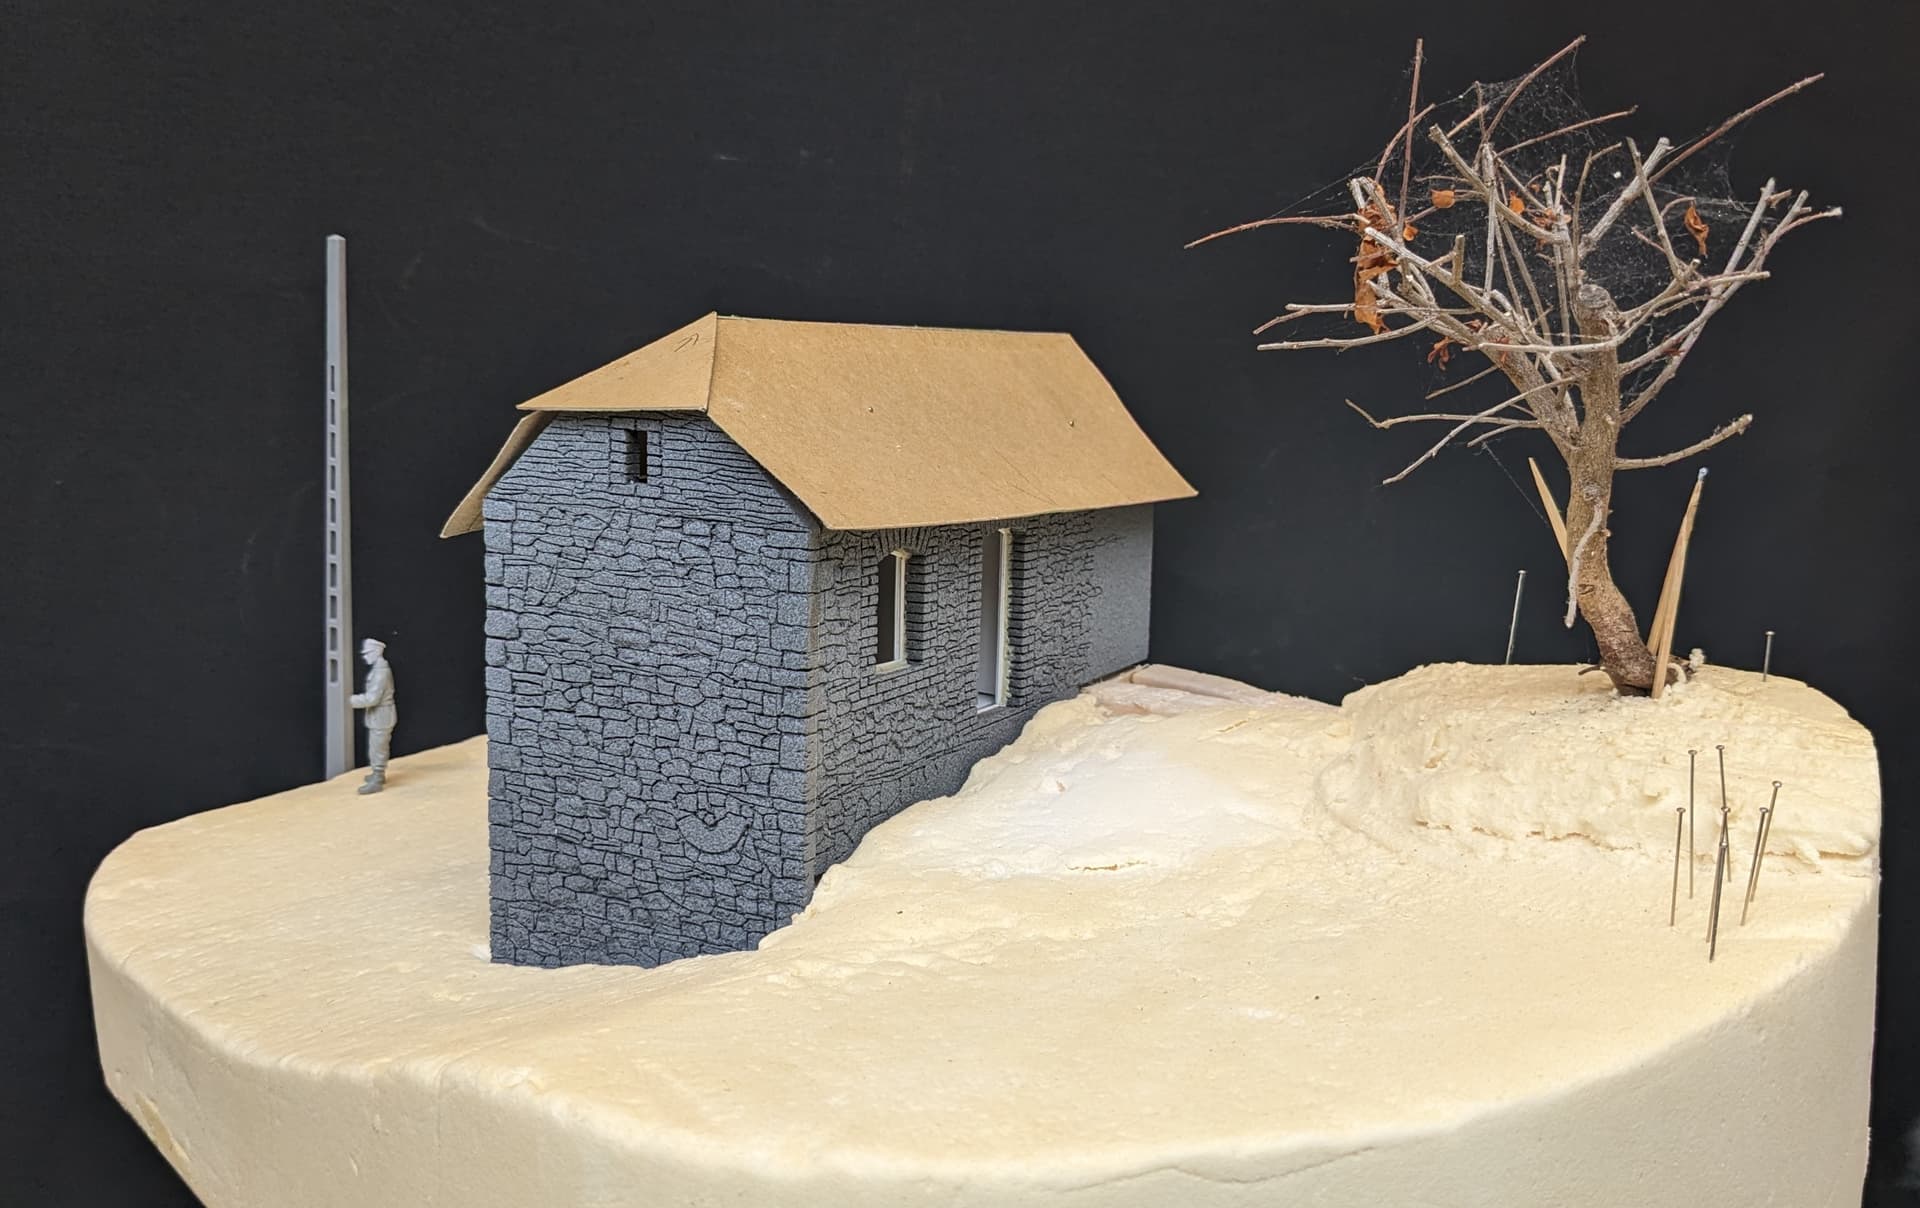
So back to the present project. Because this is set during the winter I had two choices: an evergreen or a leafless deciduous. Each have their own challenges, but the problem with evergreens is that they tend to be straight and very tall - whereas your common-garden deciduous (yes, it’s hard to spell too) can be pretty much any shape or size. And because I wanted my tree to be at the highest point in my scene, I wanted to keep it relatively short - otherwise the whole thing would look unbalanced.
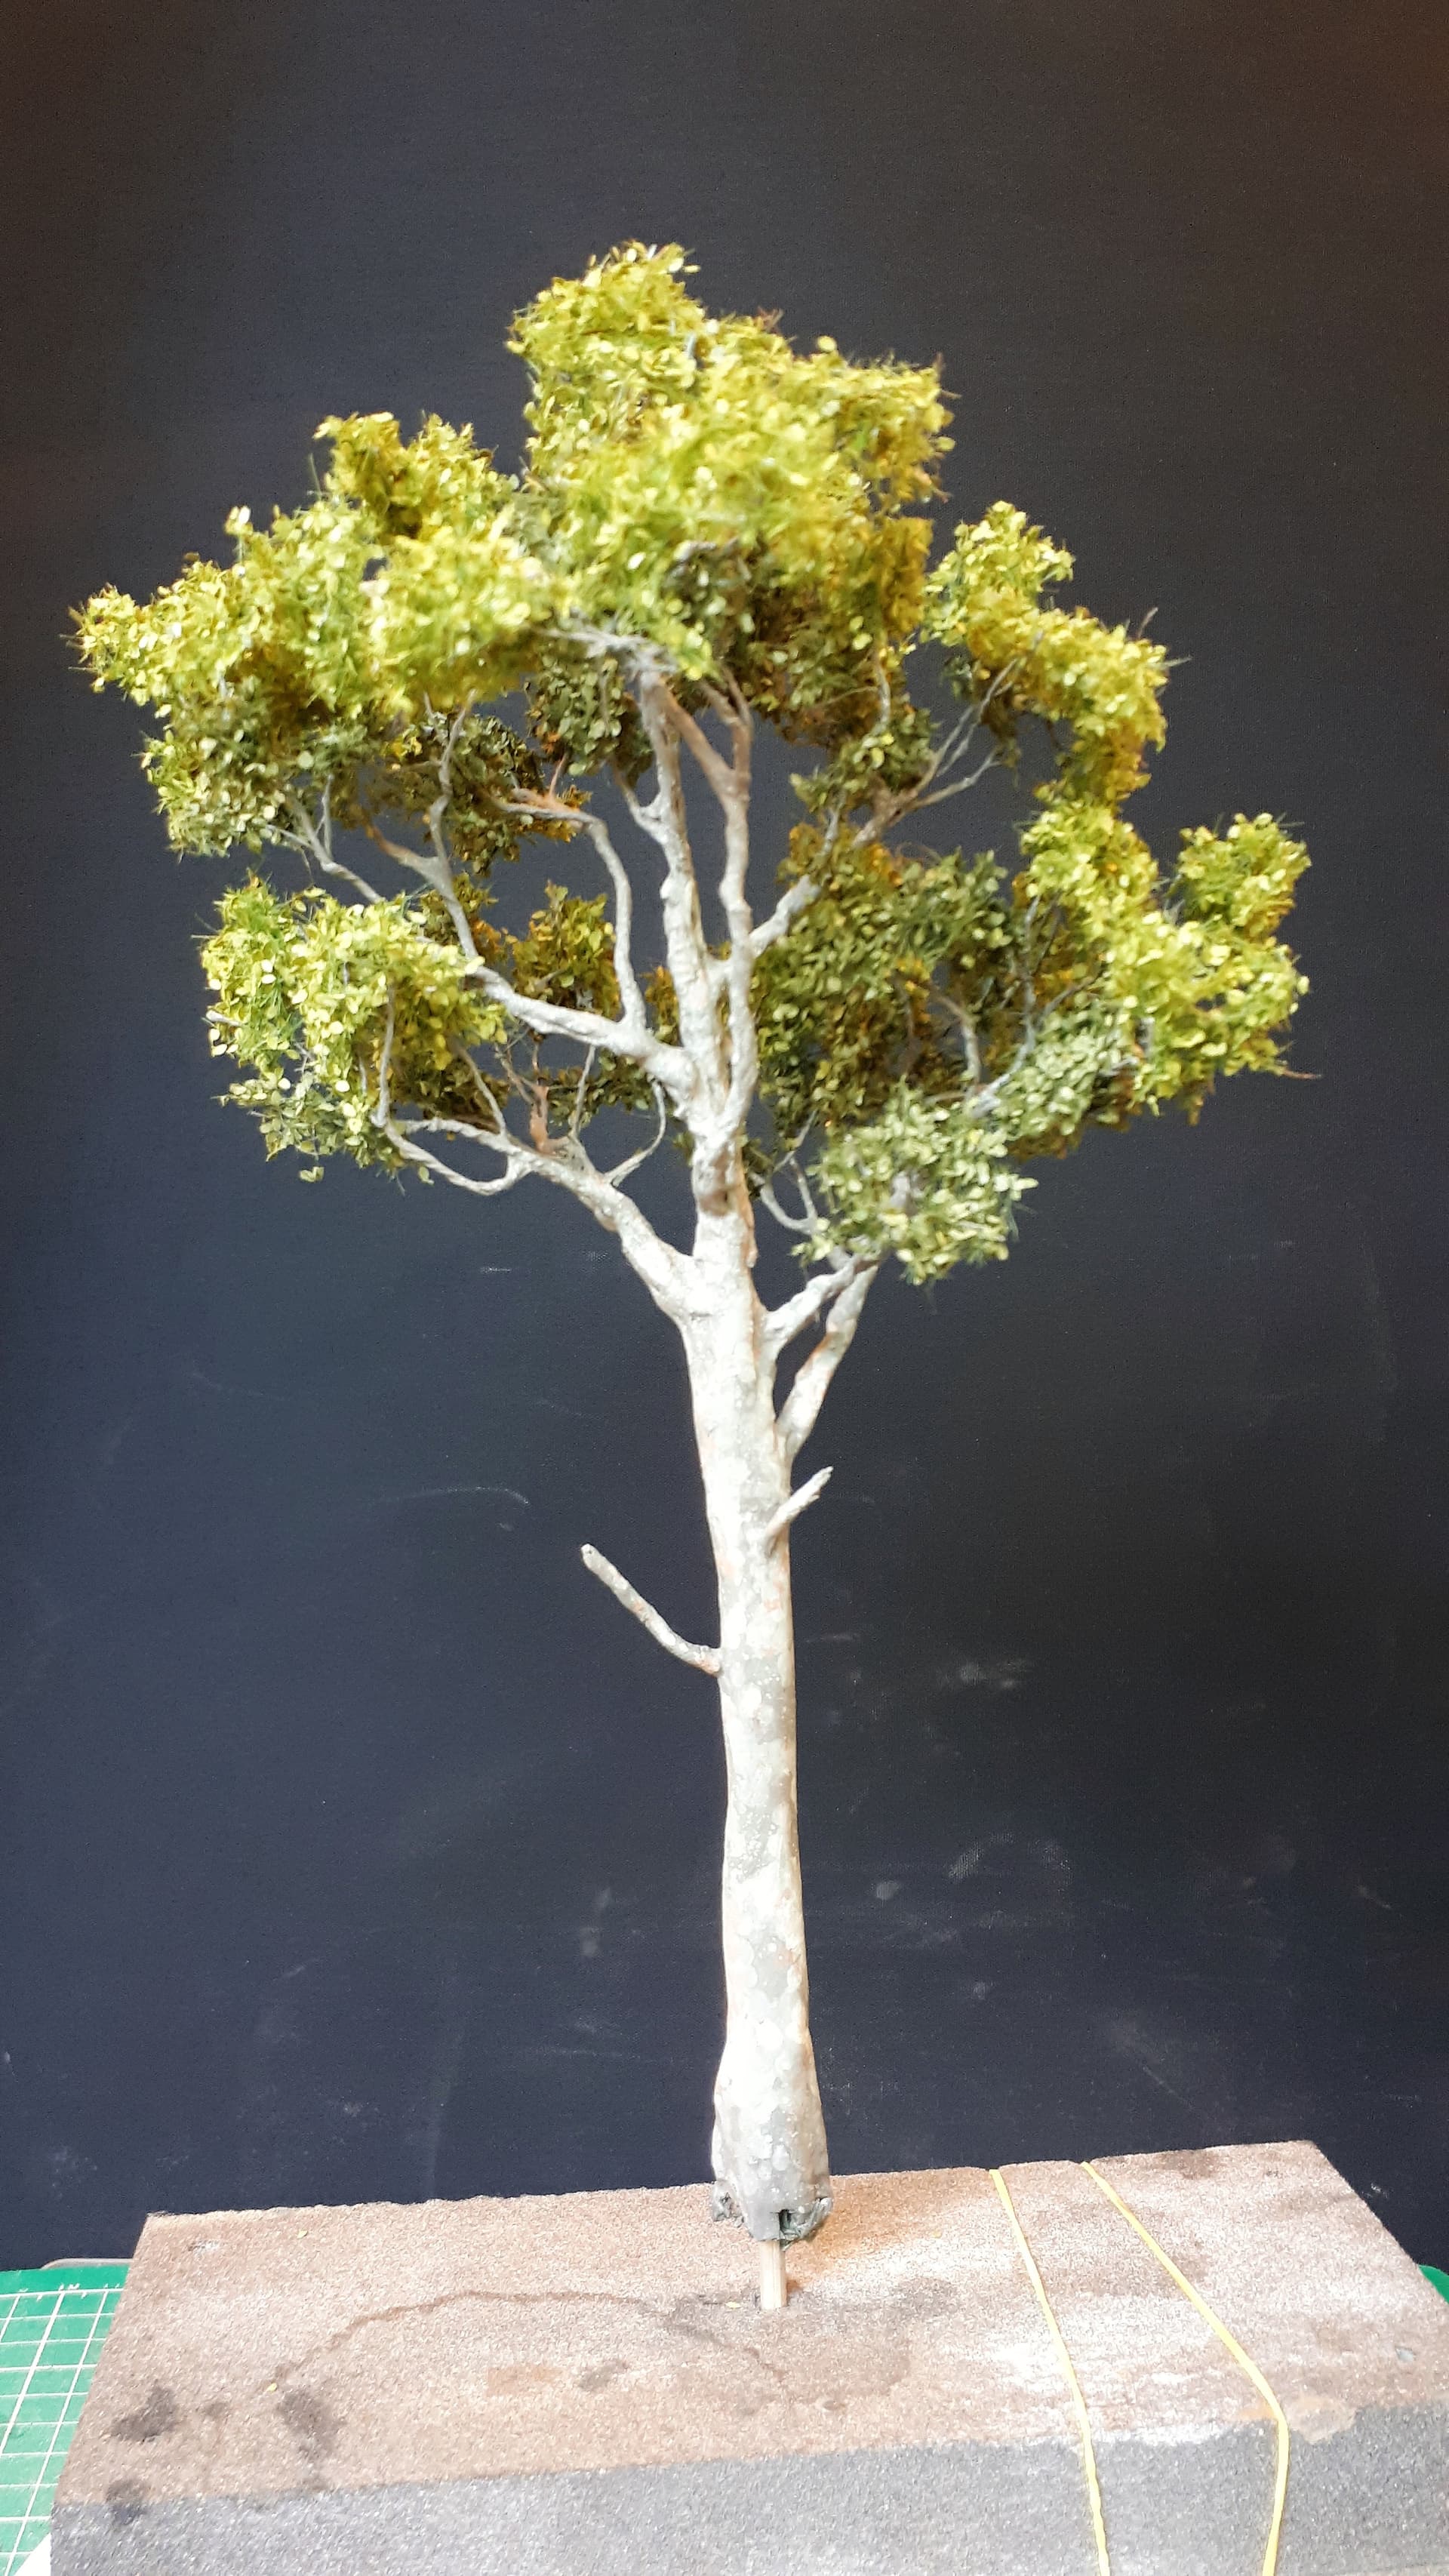
So I returned to the trusted dried heather method…
You can see the original bit of heather lurking in the early shots of this project. It doesn’t look very impressive (and it’s covered with cobwebs too…) But it was a start. So I ‘pruned’ it.
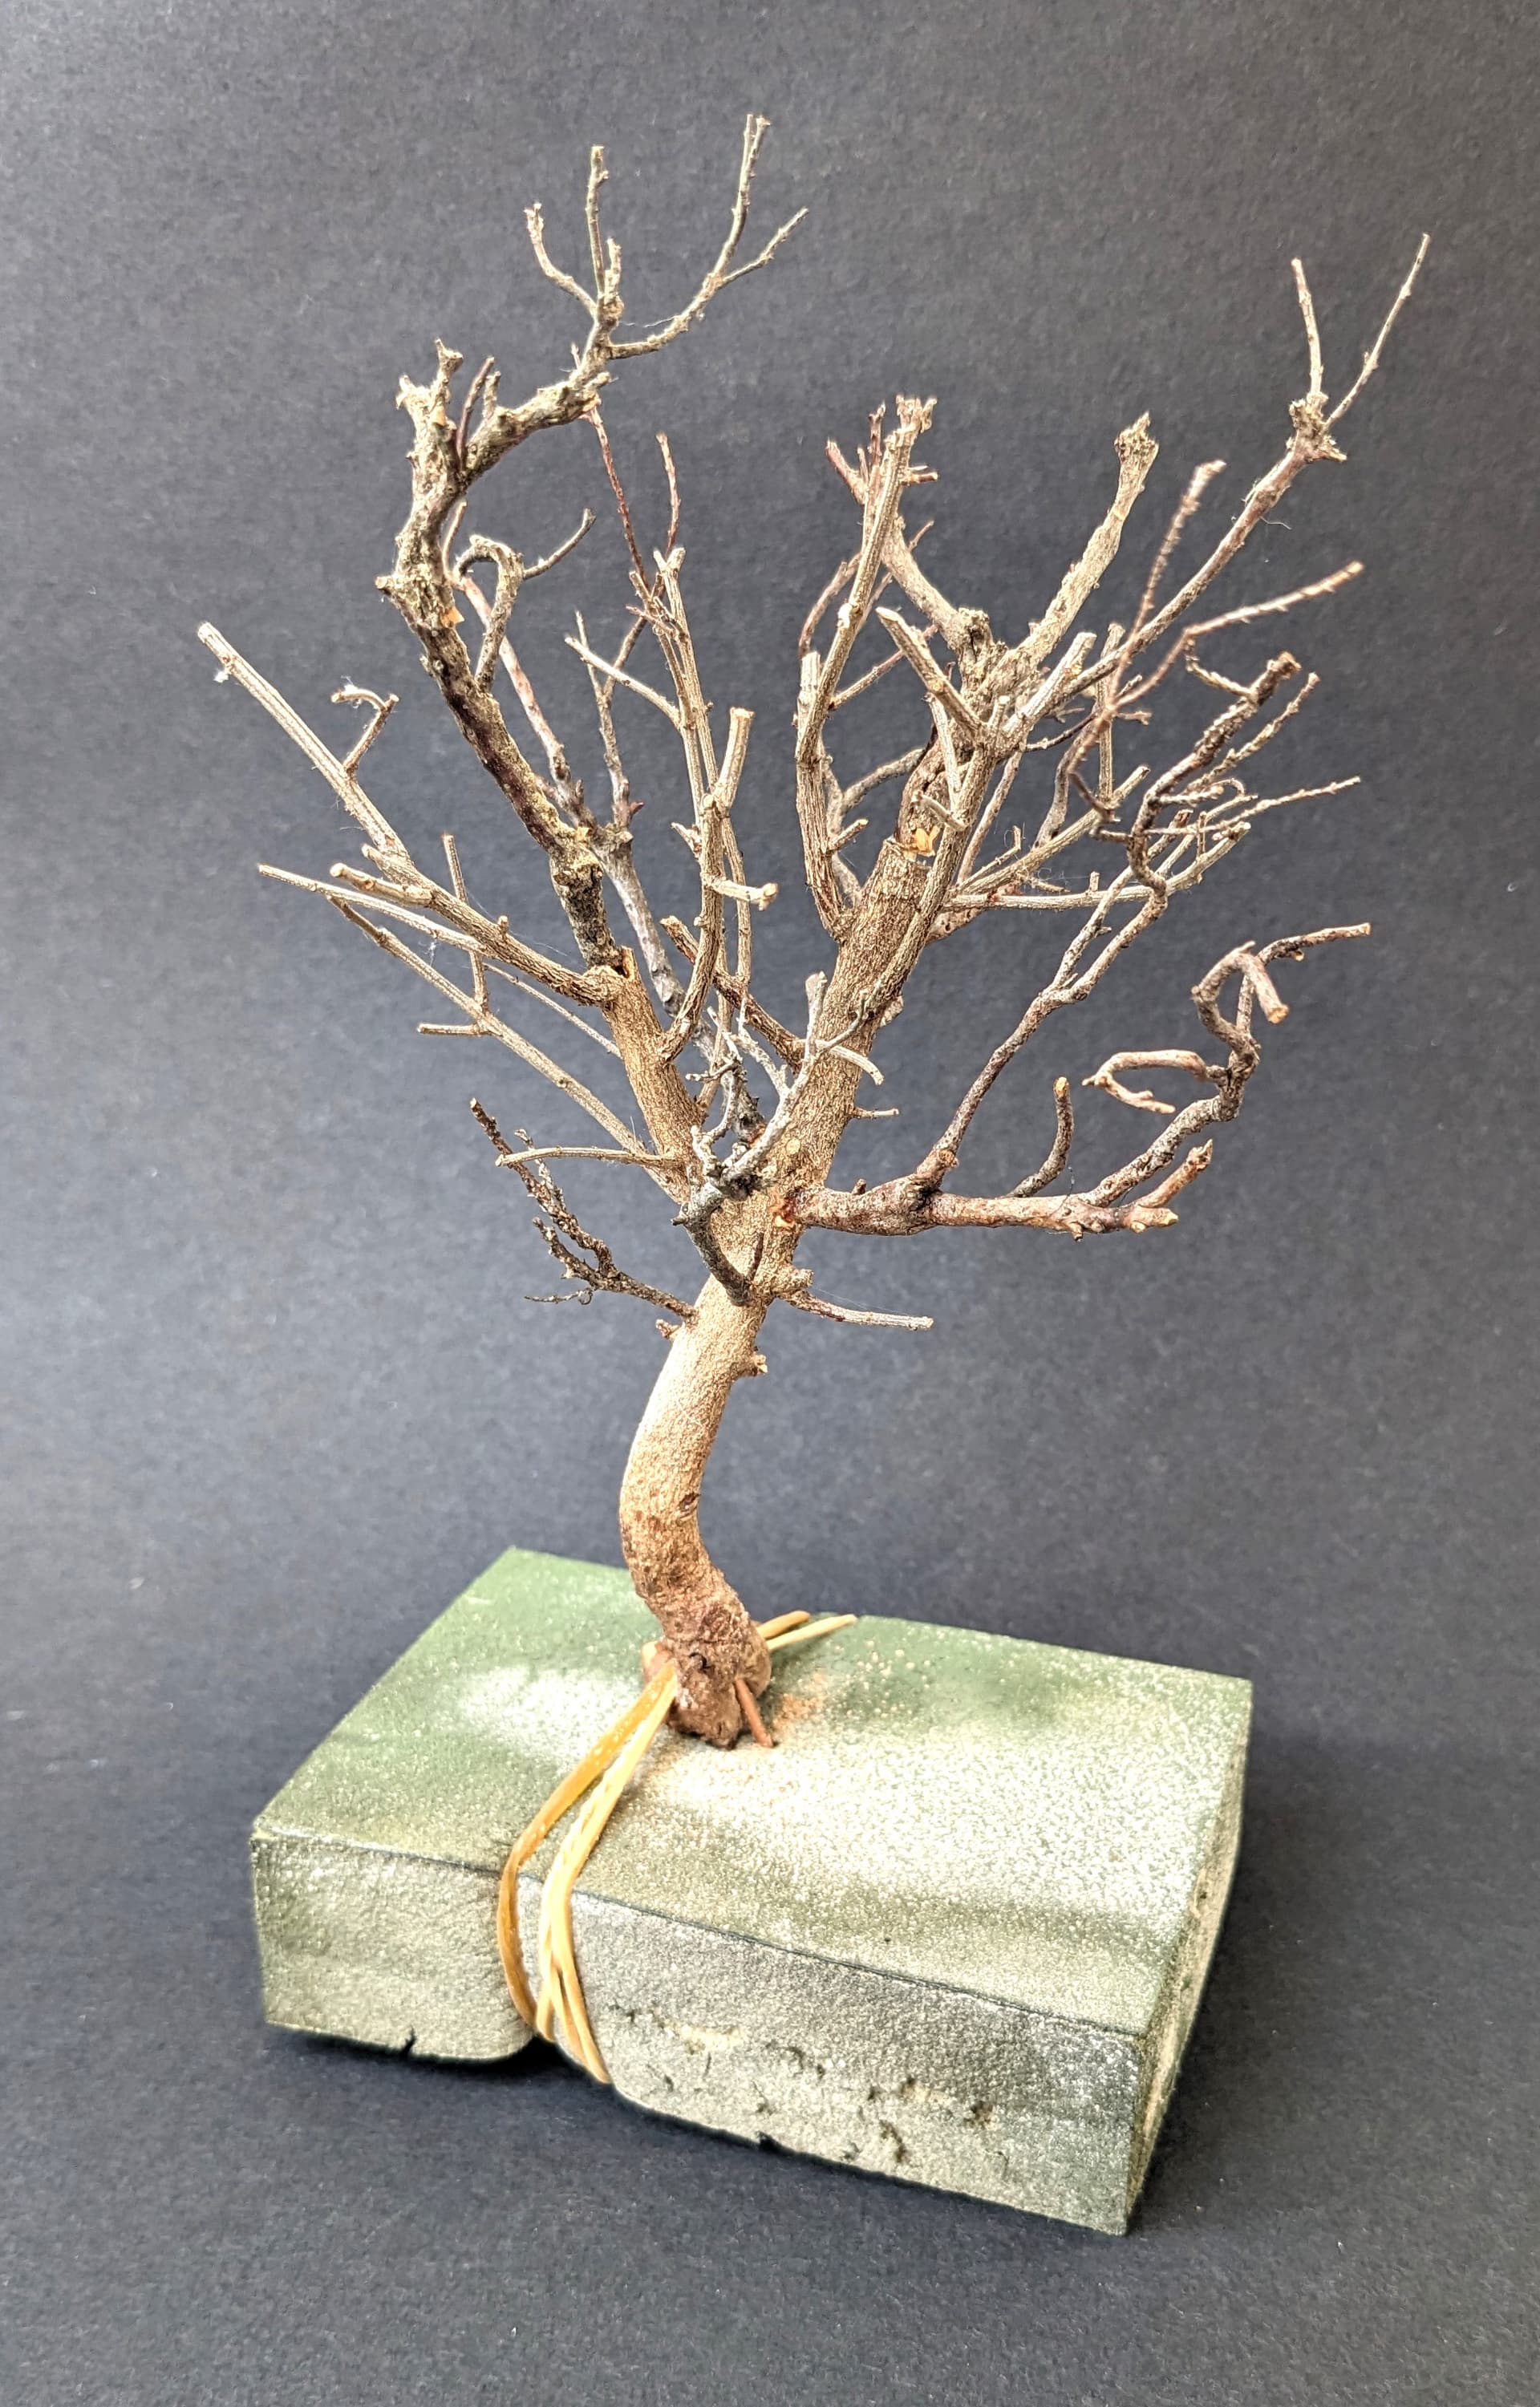
OK, so I didn’t just trim away some of the longer and thicker branches… I also spliced in some more in-scale looking branches from some other bits of heather.
These were attached by drilling holes into the main sprig and gluing in the new limbs. I also added some bark texture using Vallejo earth texturing paste.
Eventually I had what looked (at least to me) like the basic outline of a non-specific tree.
But it’s still basic. It’s the next step which is the most time-consuming. And it’s here that ‘sea foam’ comes in handy…
Seafoam? This is how it’s usually sold, although it sometimes gets confused with Seagrass (it’s not that). It has nothing to do with the sea either… It’s quite cheap to buy (it will last a long time) and looks like this:
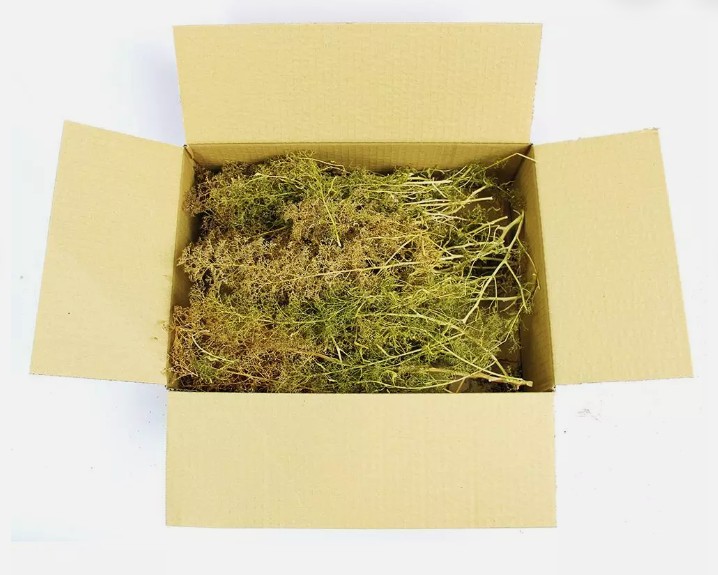
This stuff is very popular with railway modellers and you can see why: in smaller scales it almost looks like a ready-made tree. But in 1/35 it’s really useful for giving the illusion of smaller branches and twigs. So I set about cutting off smaller pieces and attaching them to the tree that I had already assembled…


How did I attach the sprigs of sea foam? With superglue, that’s how. But it’s tricky, because you have to get every piece of sea foam into position and hold it there for a few seconds in order for the glue to dry. If you move it, even a little, then it won’t stick… This happened A LOT.
This is when I learnt a REALLY IMPORTANT TIP from Nightshift. And it’s cunning. What you do is add a dab of glue accelerator to the branch where you want to place the sprig of sea foam. You then dip the end of the sea foam in the super glue and carefully offer it up with some tweezers. With a steady hand the accelerator literally ‘freezes’ the glue and, hey presto, it sticks!
More to come…
22 Likes