Not a Moment to Lose... Battle of the Bulge, Ardennes, December 1944

Thanks for all the comments and sorry for a pause whilst I was away on holiday…

Snow or no snow?

One of the questions that has been bugging me since I started this build was whether to include any traces of snow. When people picture the Ardennes Offensive they tend to think of snow-covered troops and vehicles, although many of these images came from a later stage of the battle.

If you look at the famous German newsreel clips during the early stages of the advance it’s clear that it wasn’t snowing at the time and it’s hard to see much evidence of recent snowfall.

However, we all know that in some areas the climate can be pretty local. Also, if snow has already fallen some days before, patches can linger on hill sides and in crevices where the sunlight cannot reach. I’m often up in the Peak District, Derbyshire - which, as the name suggests, is a hilly area near Buxton in the UK high above sea level - and I’ve seen that happen many times during Winter.

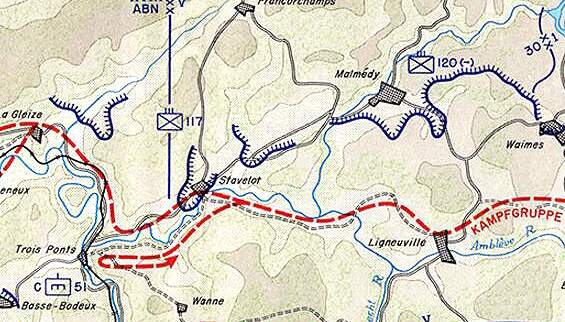
The images from Poteau don’t show any snow and the footage below (which actually made it back to Germany and was shown in a newsreel at the time) also shows no signs of the white stuff. They include the well-known sequence of Kamfgruppe Peiper advancing into Stoumont - an attack which began during the morning of the 19th.

But, then again, look at this rather grim image taken in Honsfeld (on the way to Malmedy and the sight of the infamous massacre), which shows elements of Fallschirmjäger-Regiment 9 stripping boots from the bodies of killed GIs. Honsfield was captured on the morning of the 17th December, with Malmedy being overrun later the same day.

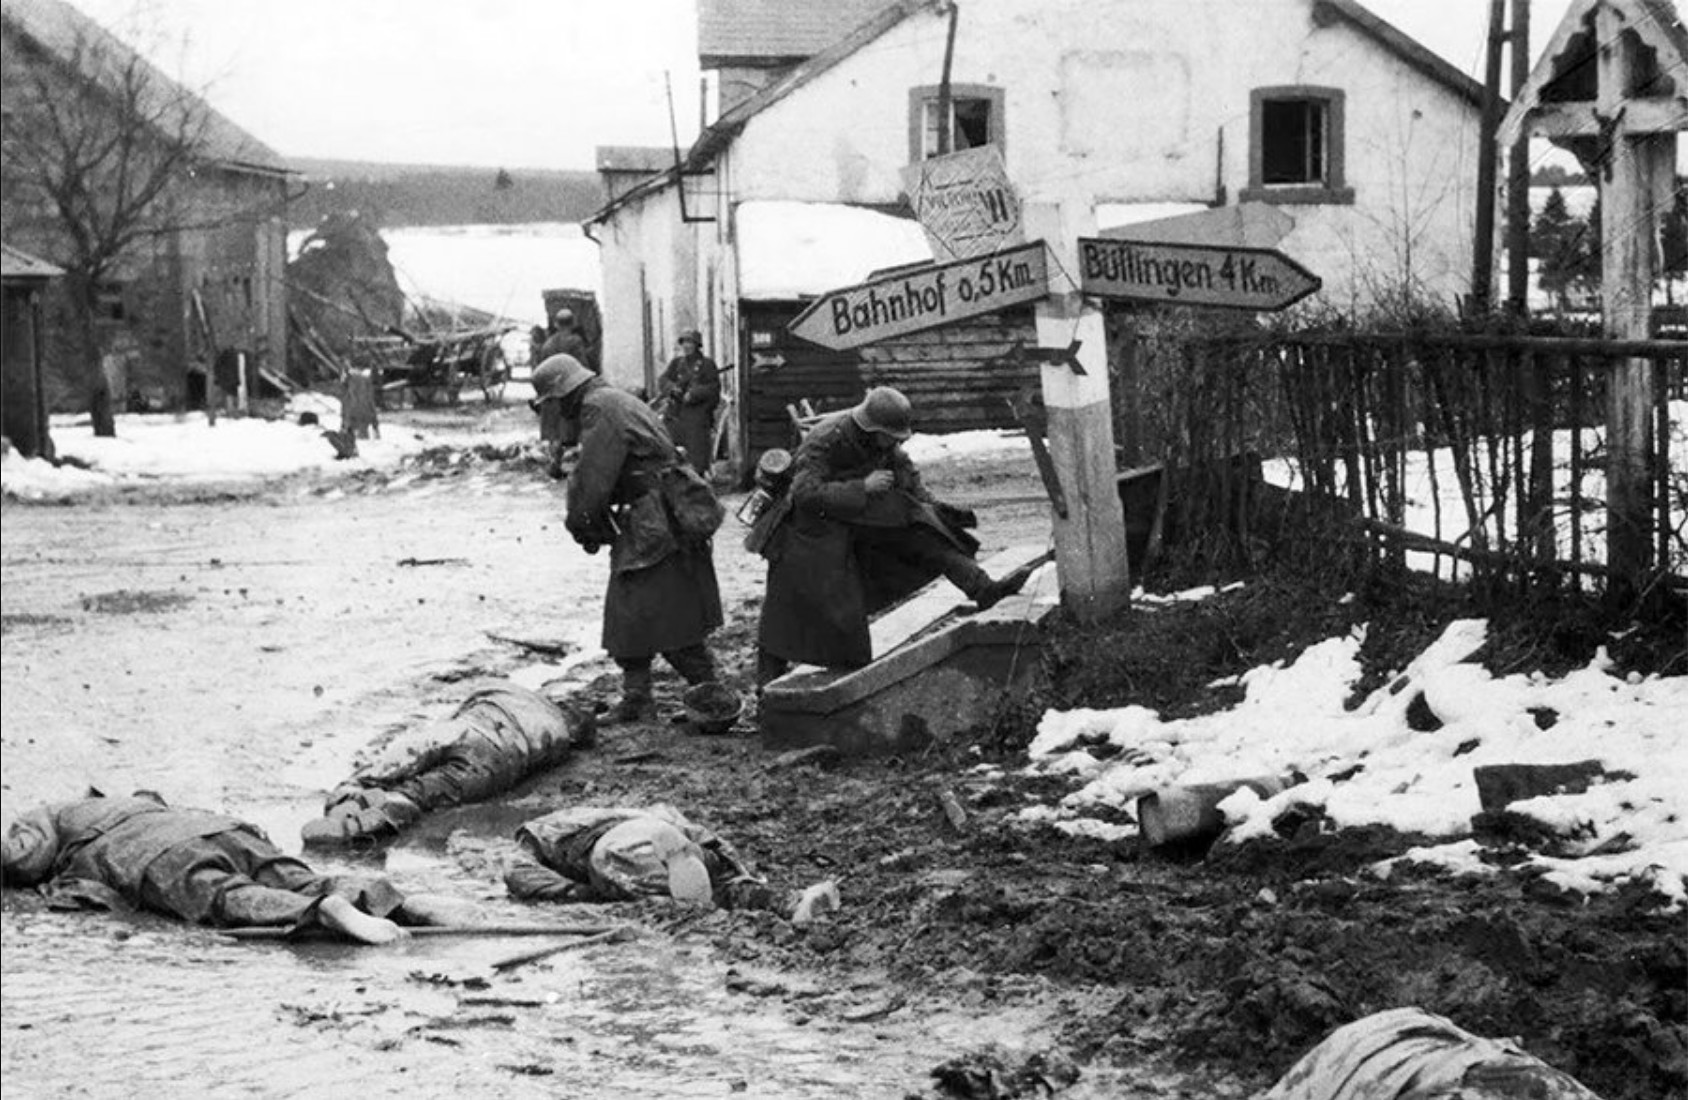
As an aside, for obvious reasons these images did not make it into the German cinemas at the time: not only do they suggest that these Americans had been summarily executed - they also show the rather parlous state of the attacker’s equipment at an early stage of the campaign.

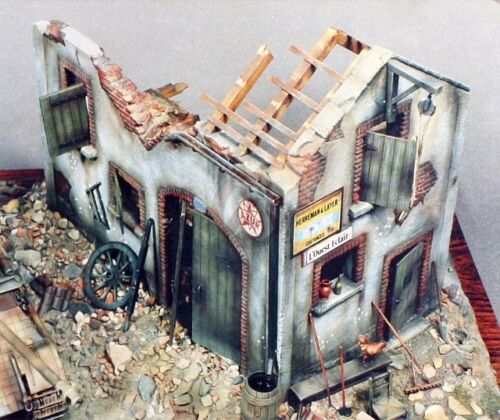
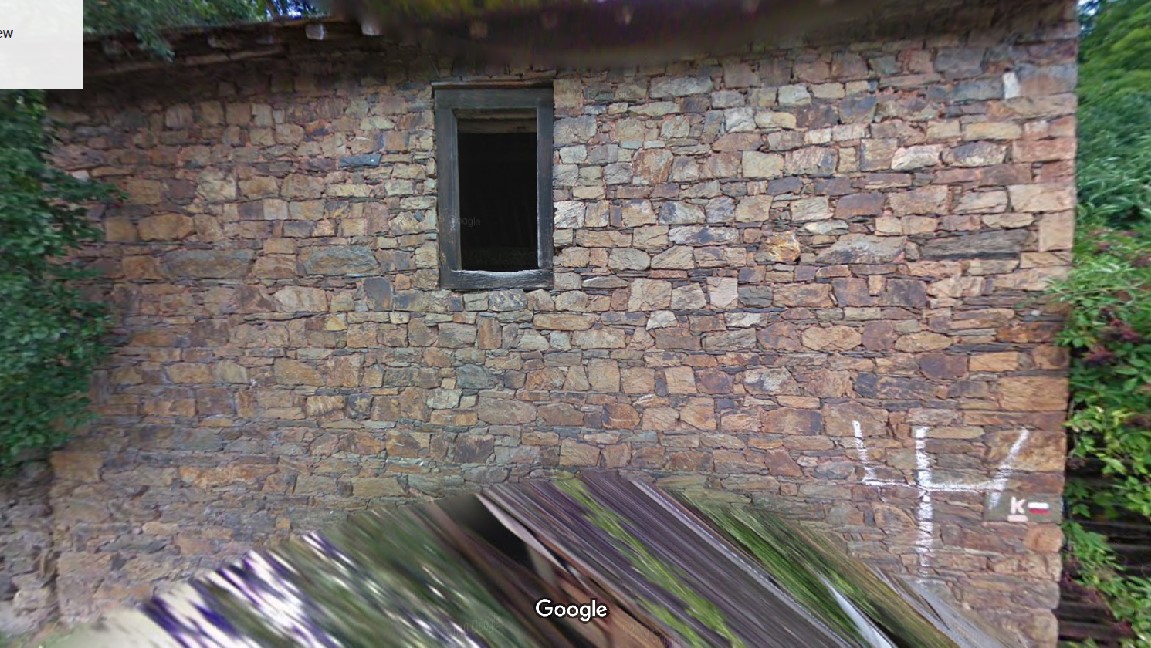
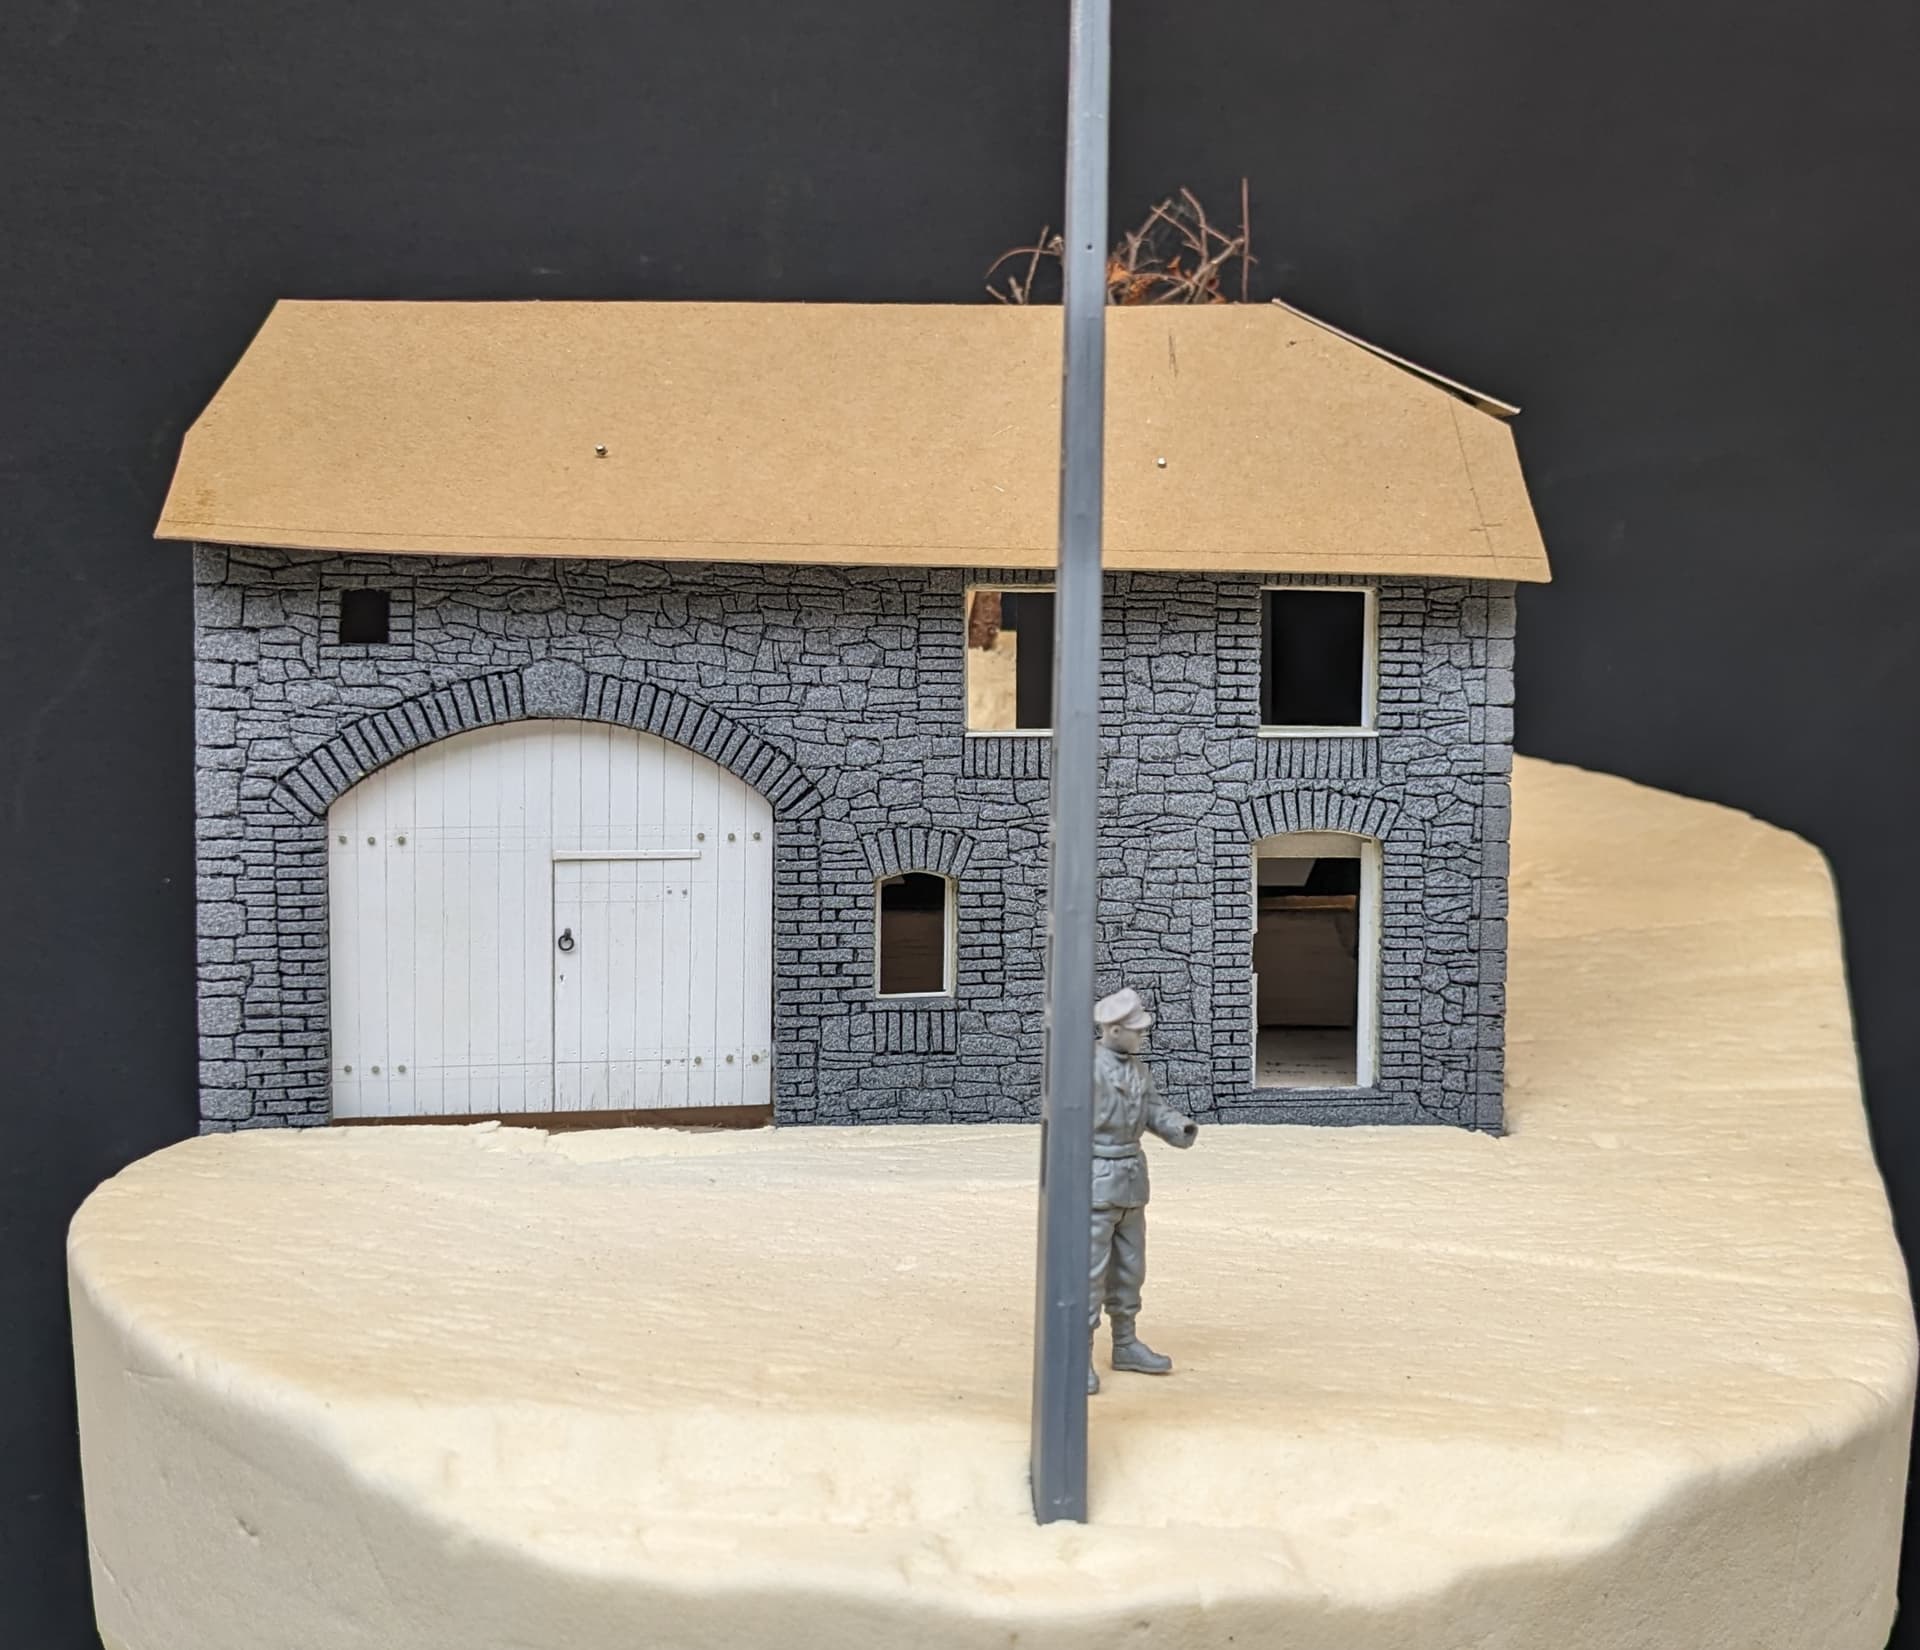
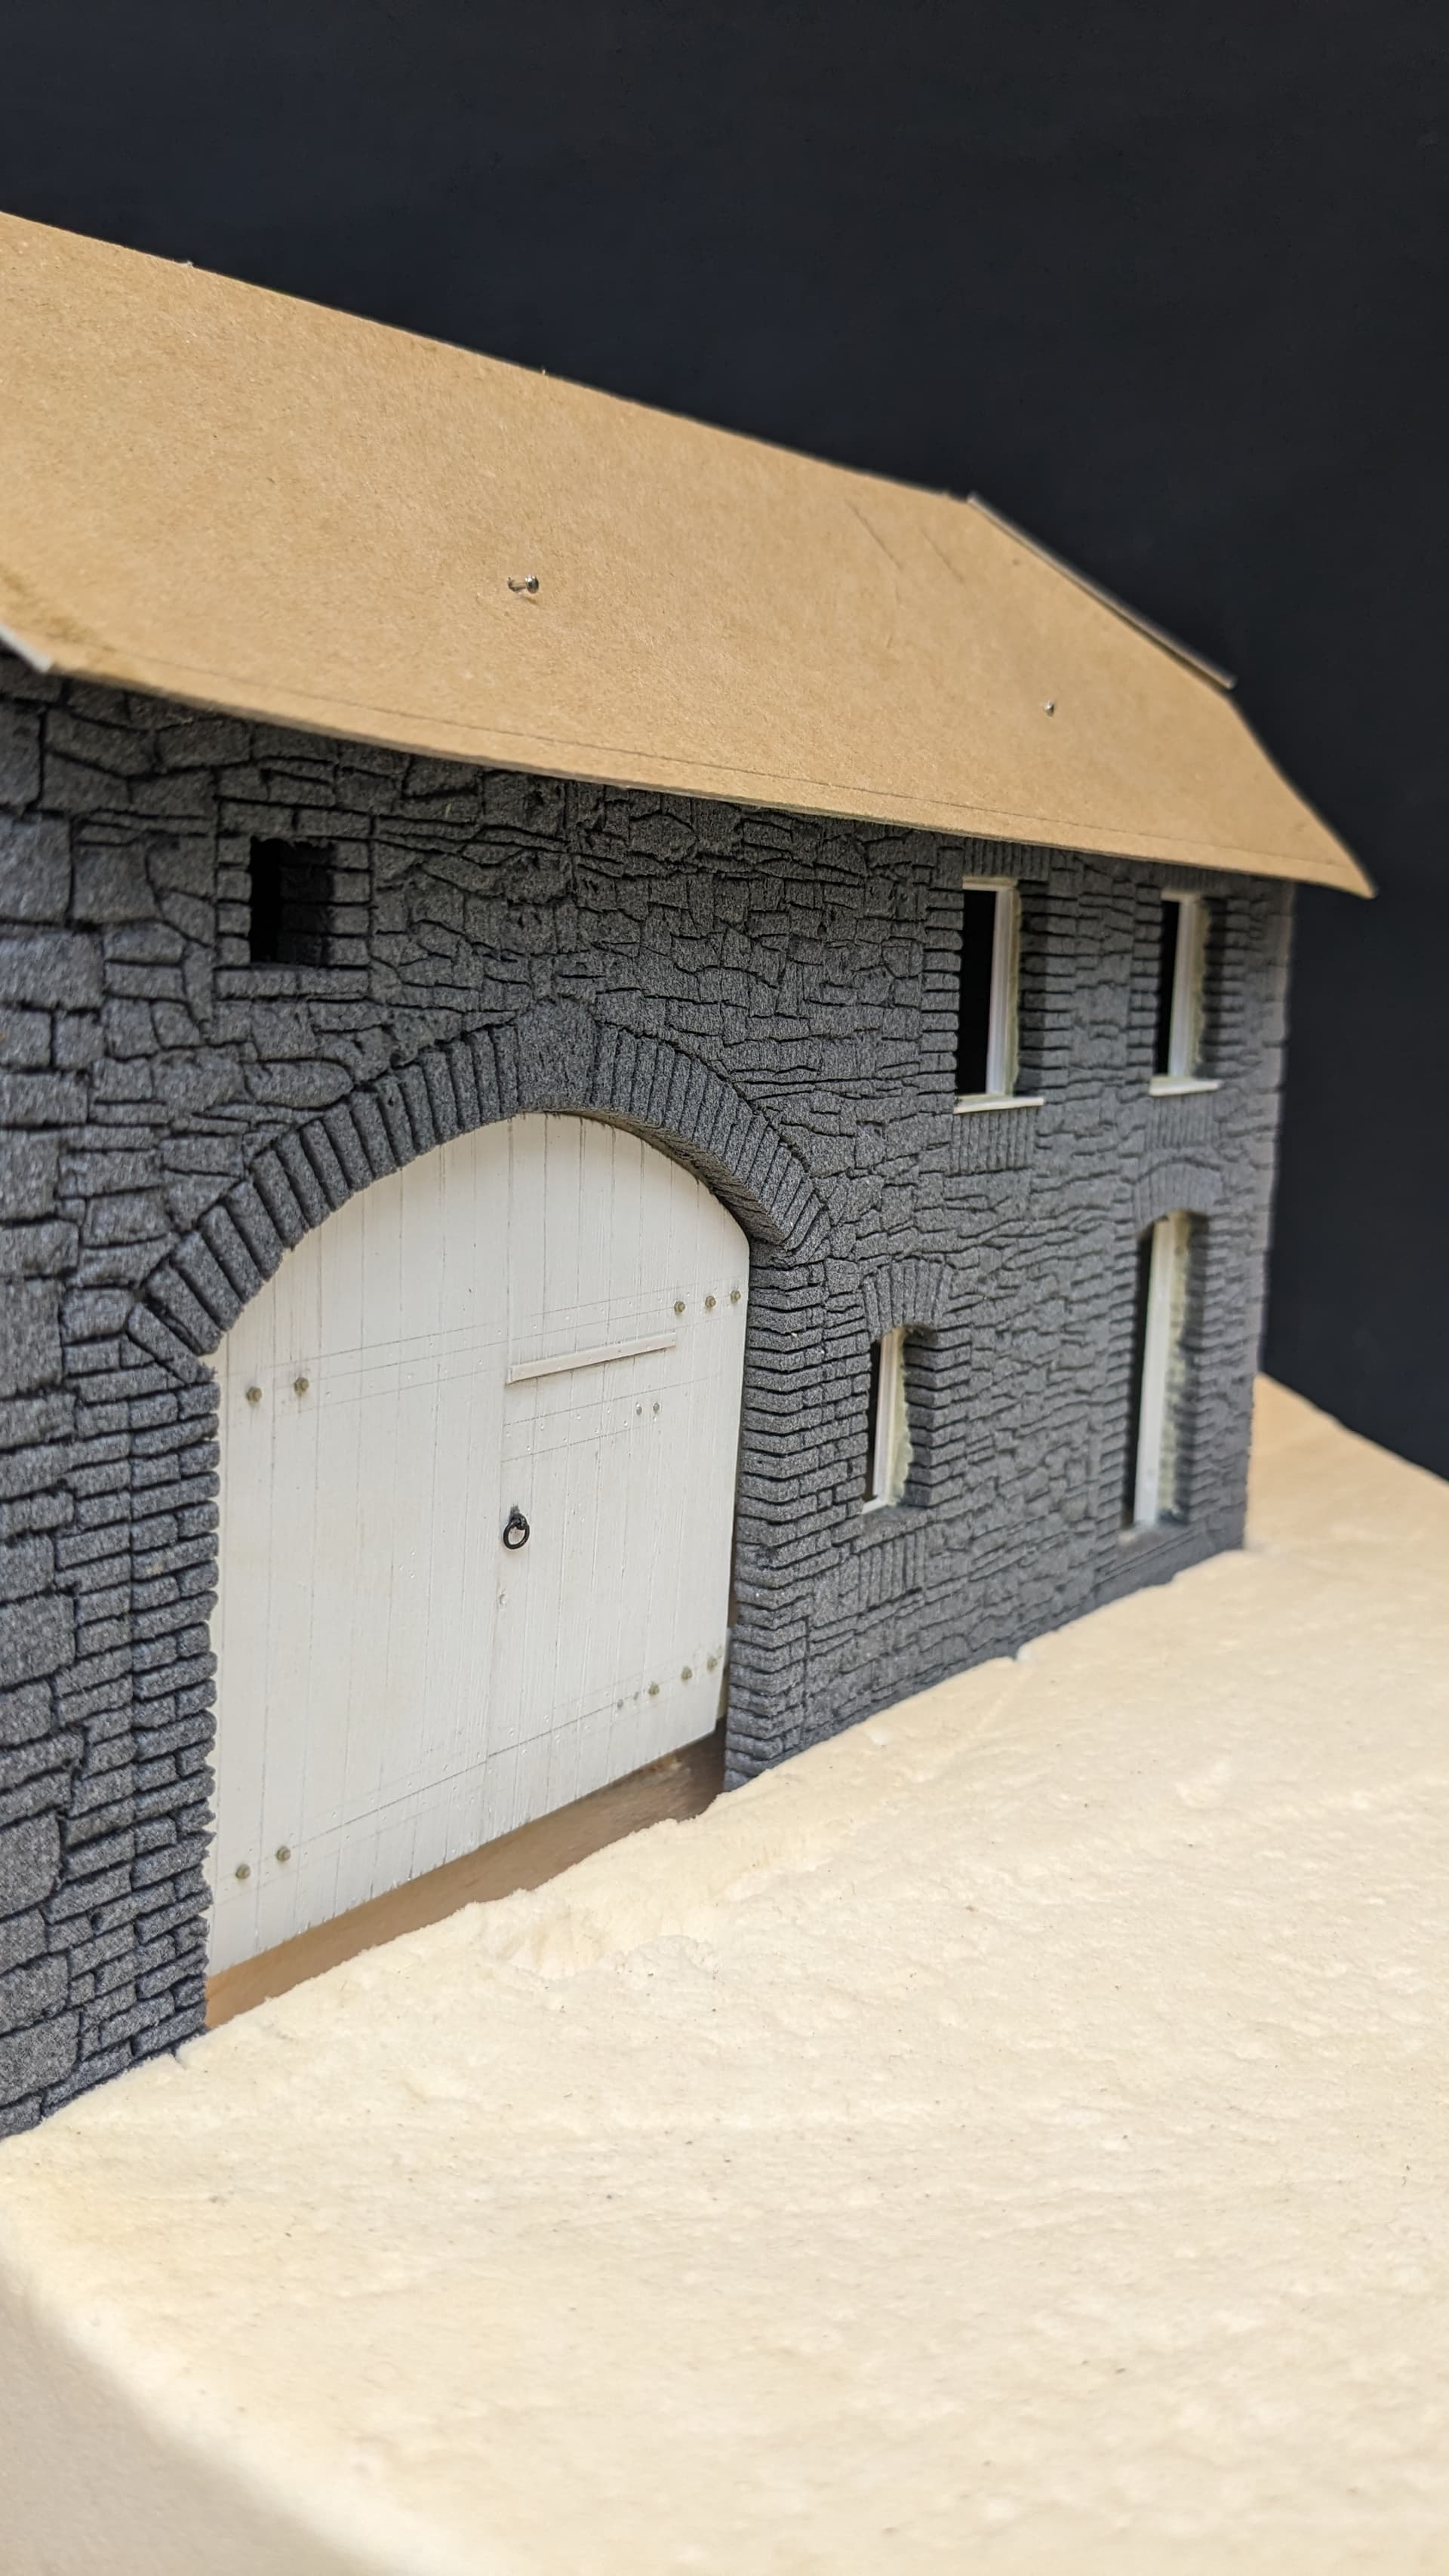
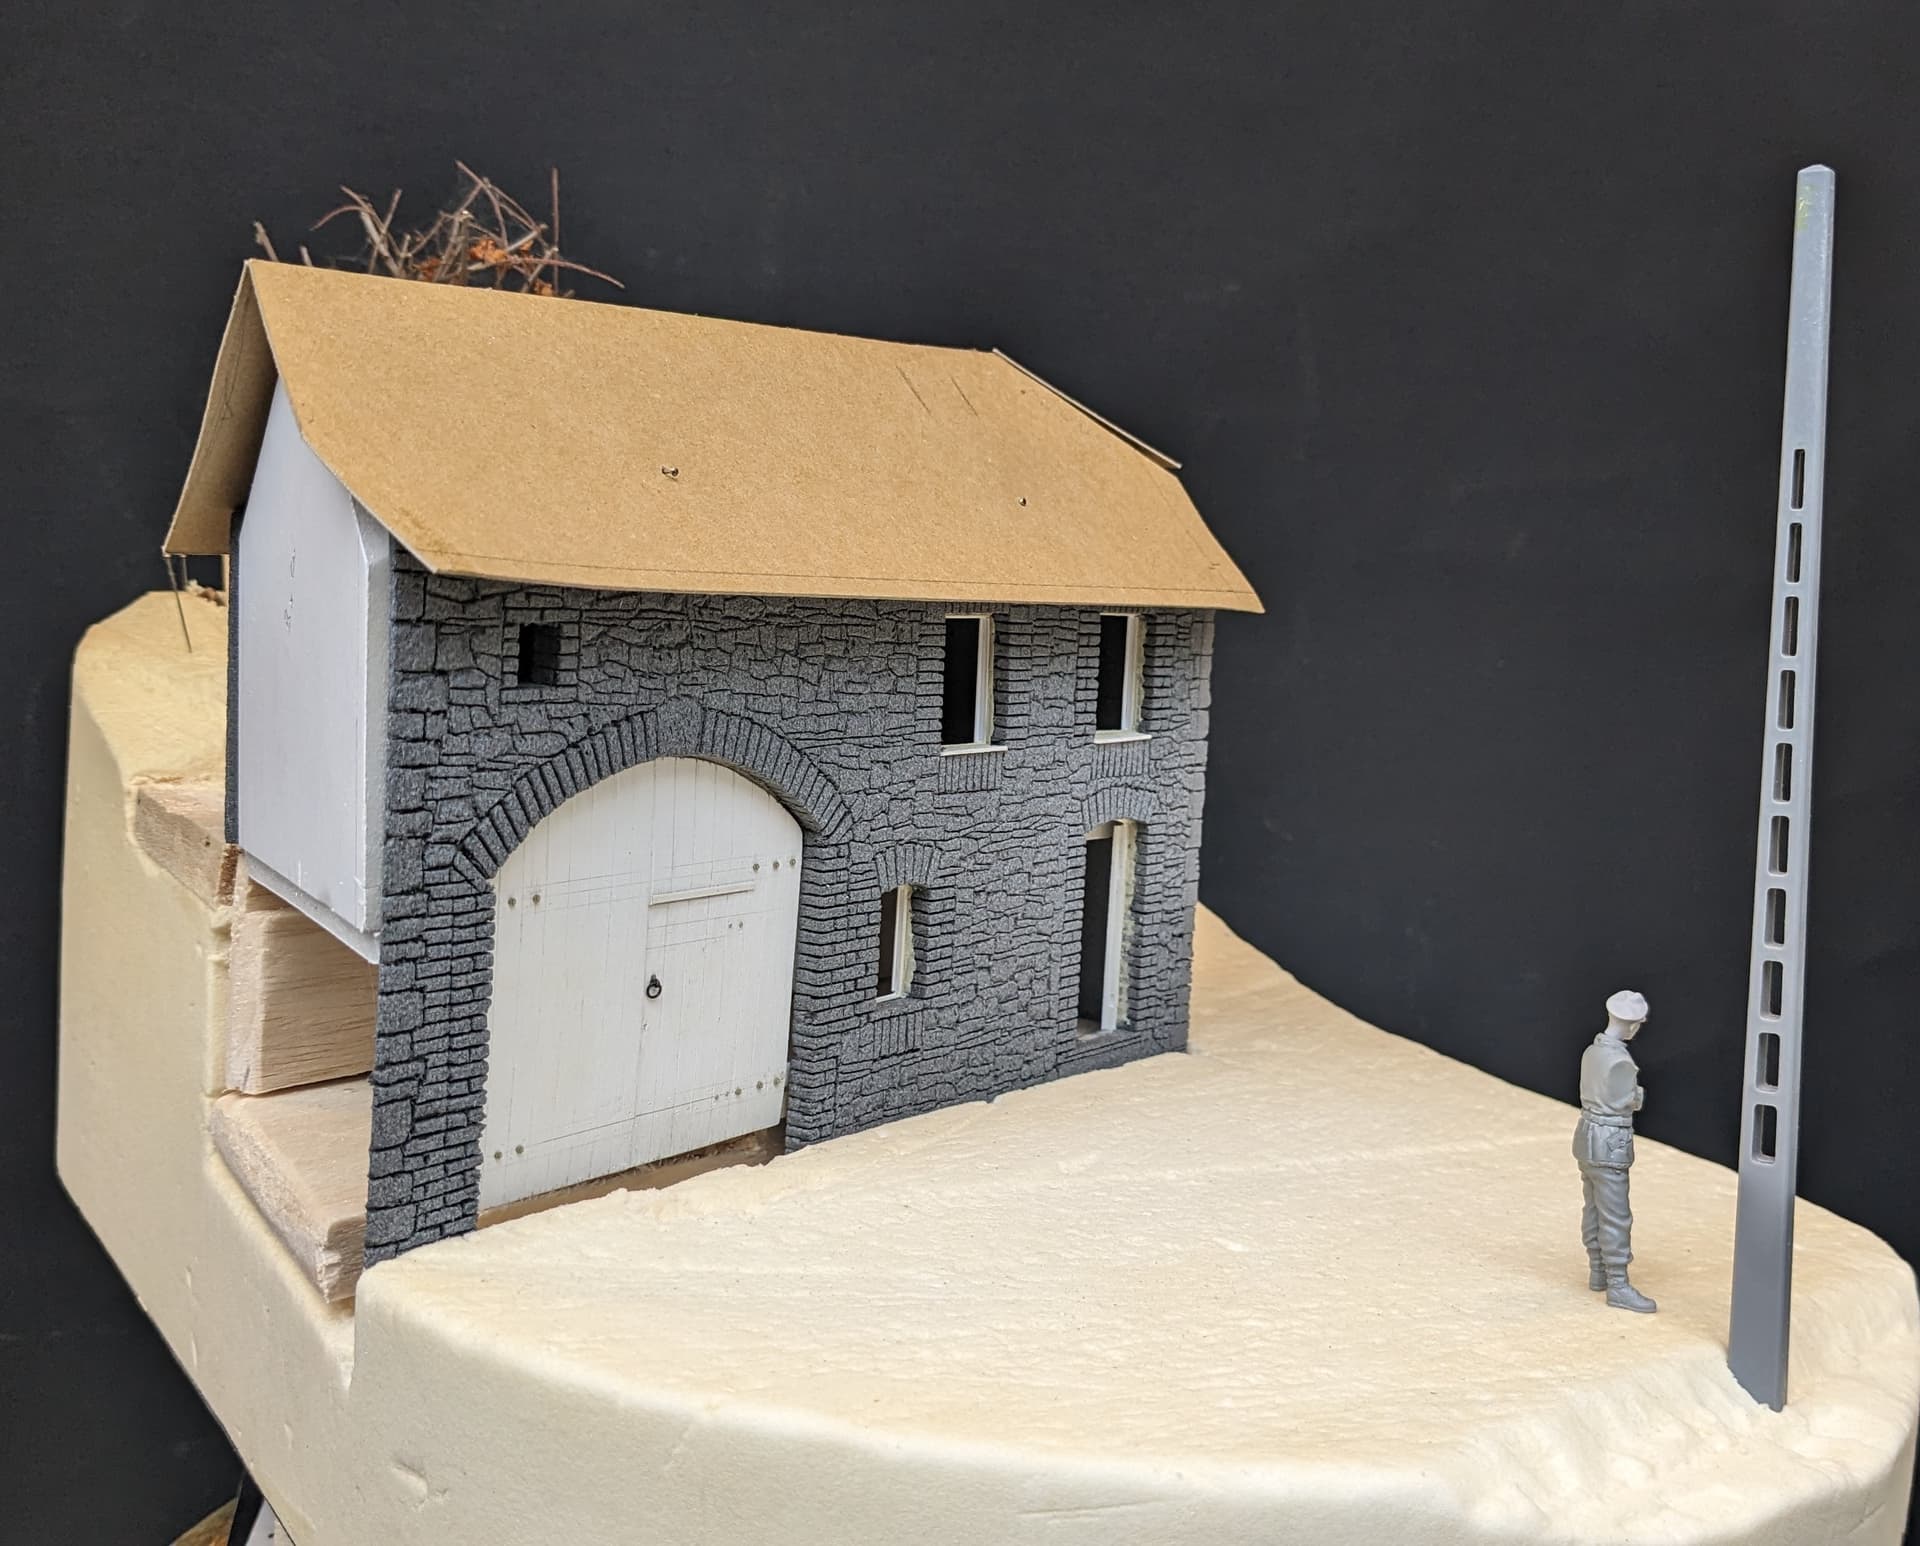
This shot must have been taken soon after the battle and, as we can see, there are clumps of snow at the side of the road, on the outbuilding in the background (but not the main roofs of the houses) and, it seems, over the fields in the distance.

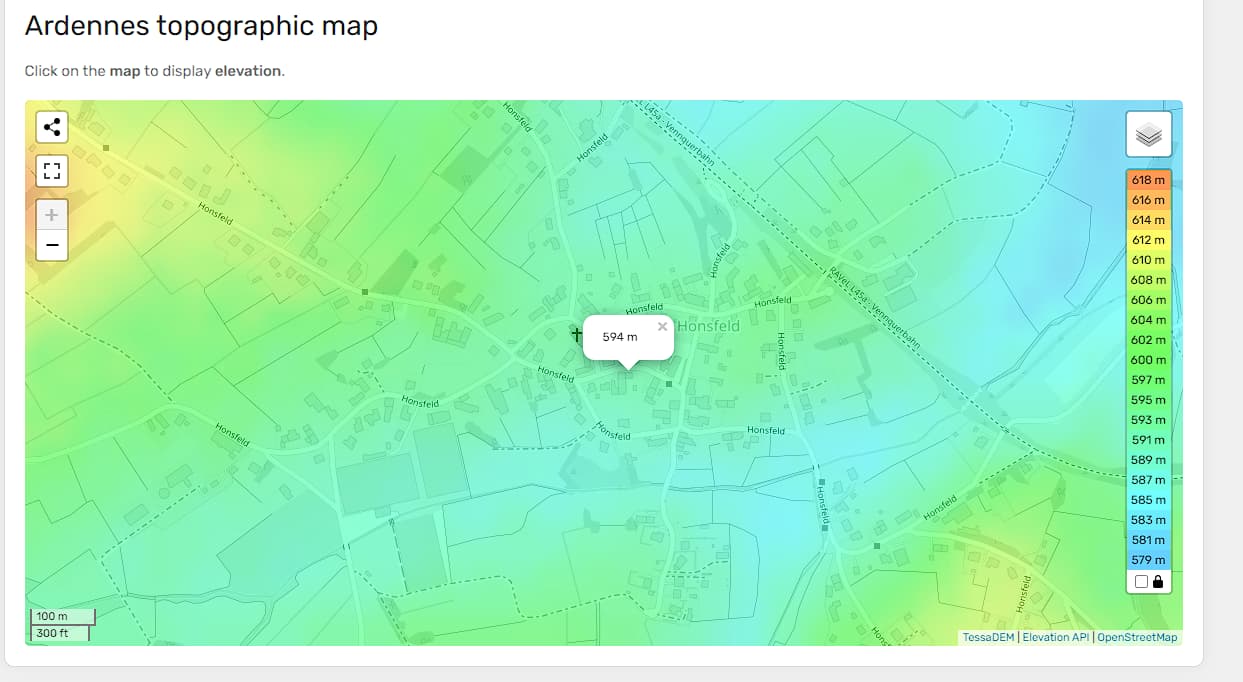
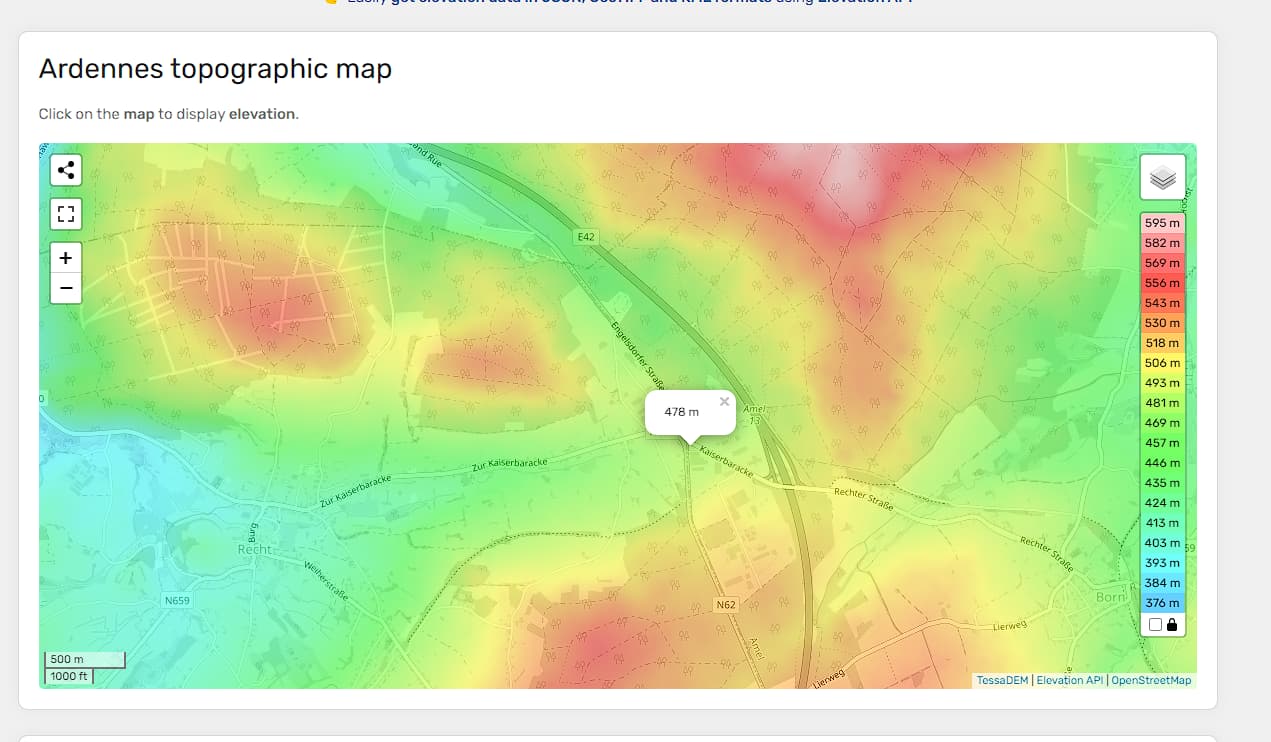
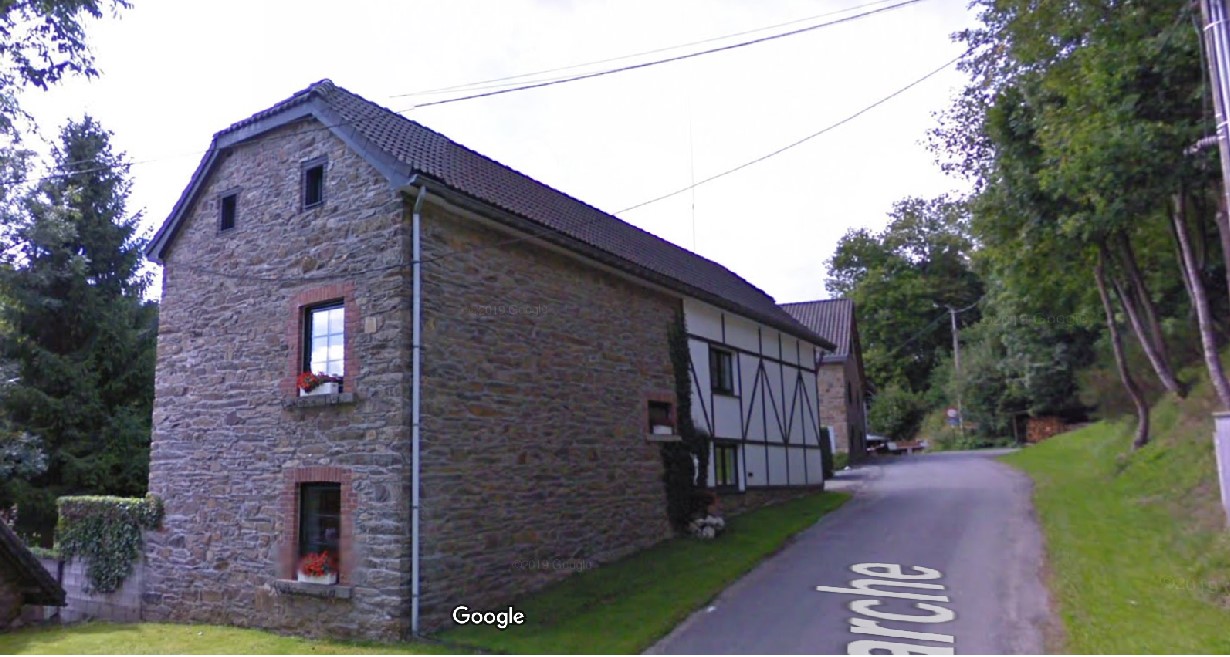
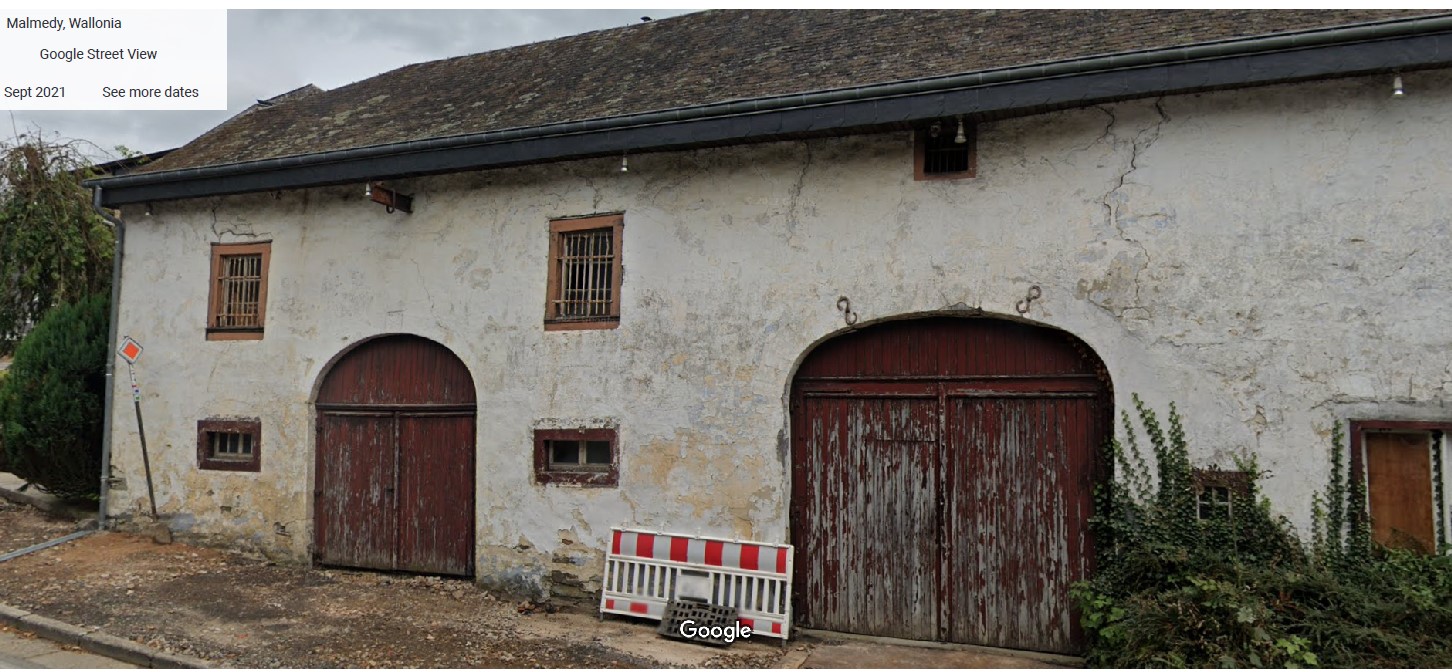
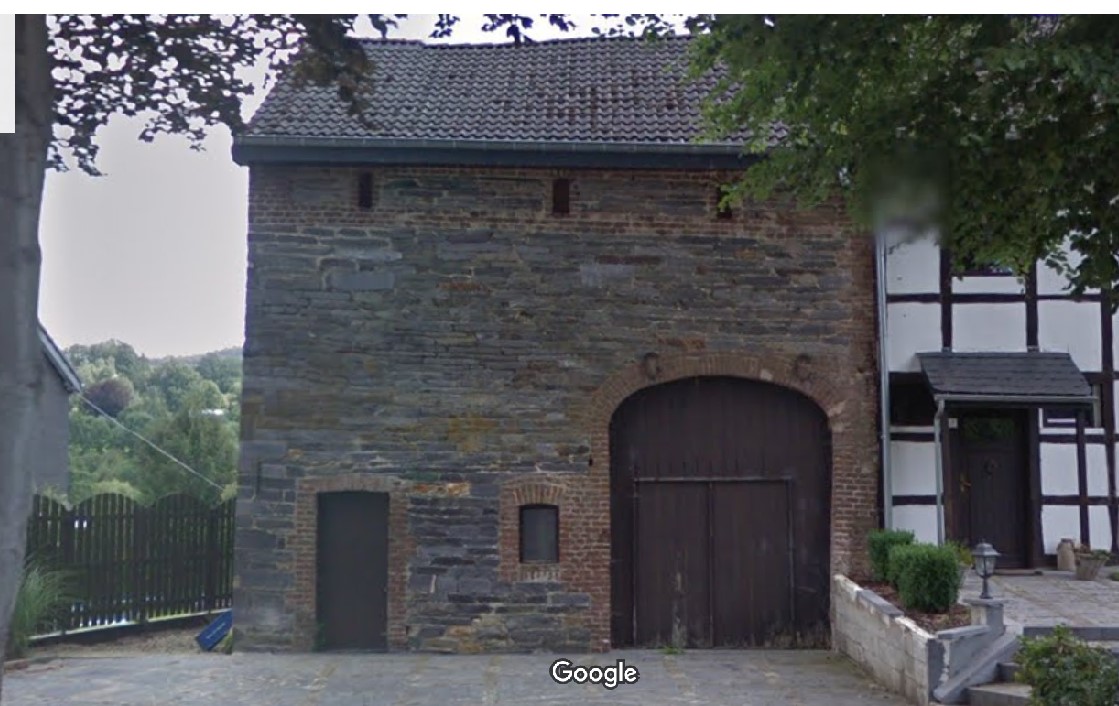
Honsfield is about 15 kms northeast of Kaiserbarracke, but it may be further above sea level for all I know. Either way, it seems that there had been recent snow fall in some parts of the area of advance even if the snow would not return in any meaningful way for some days ahead.

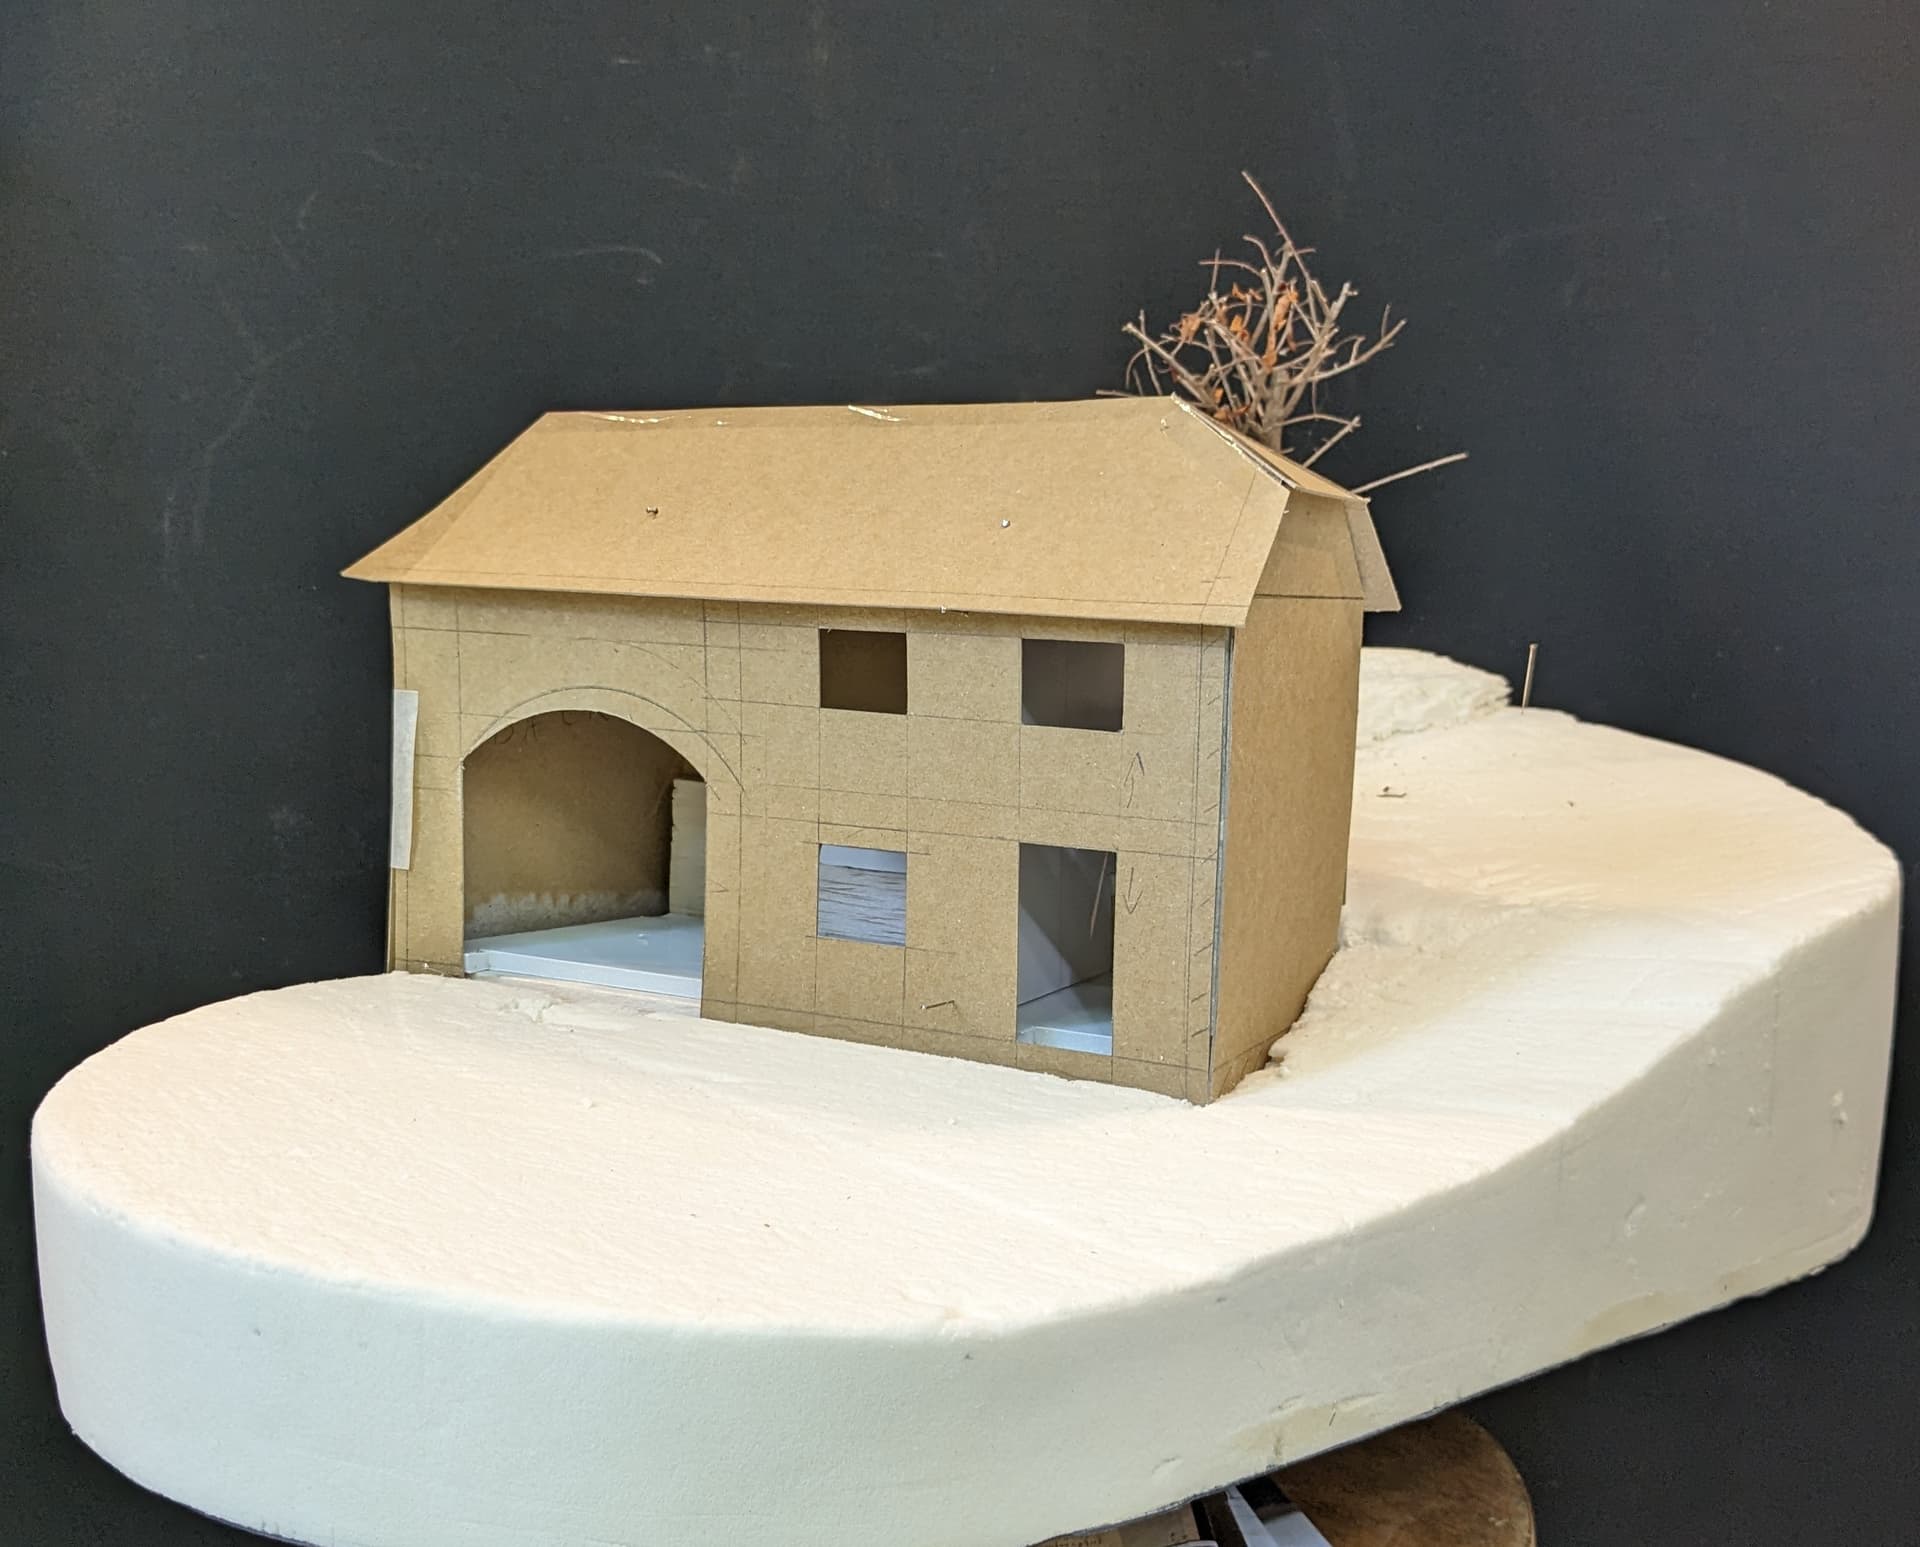
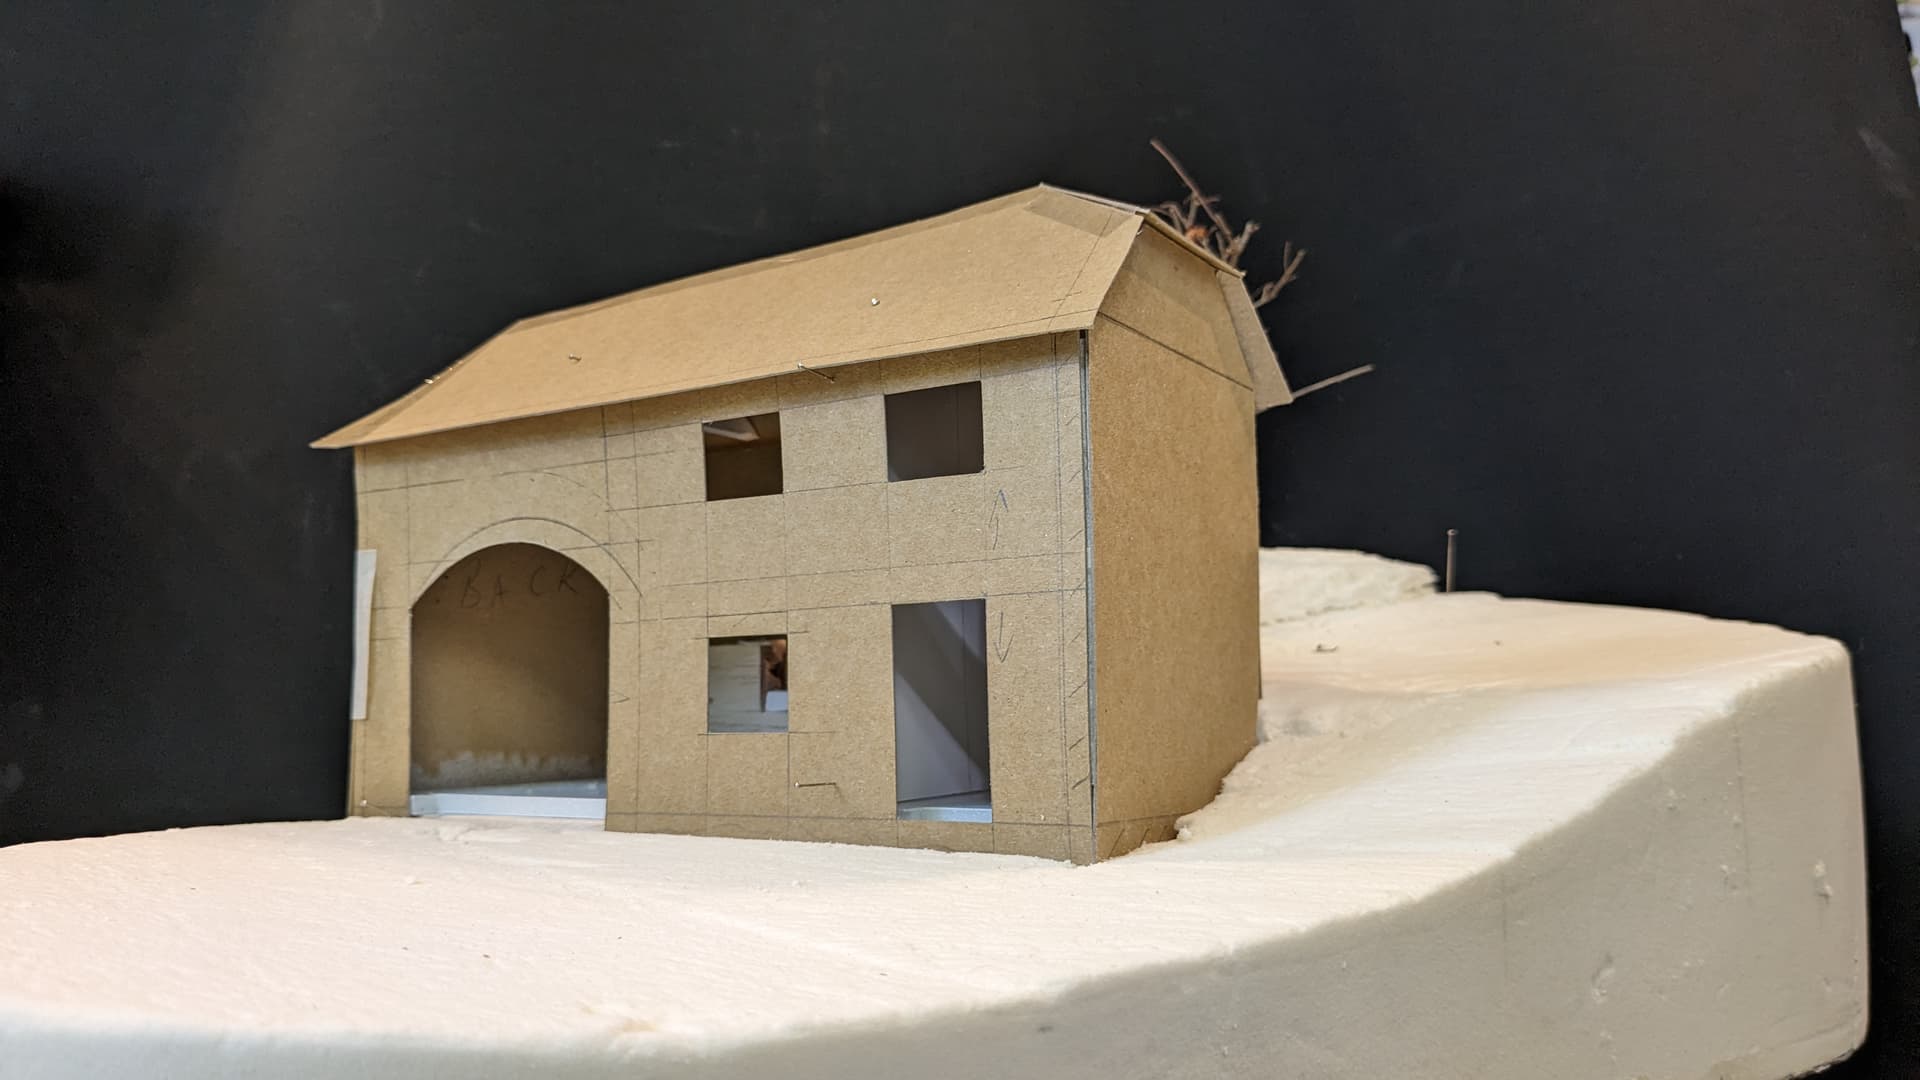
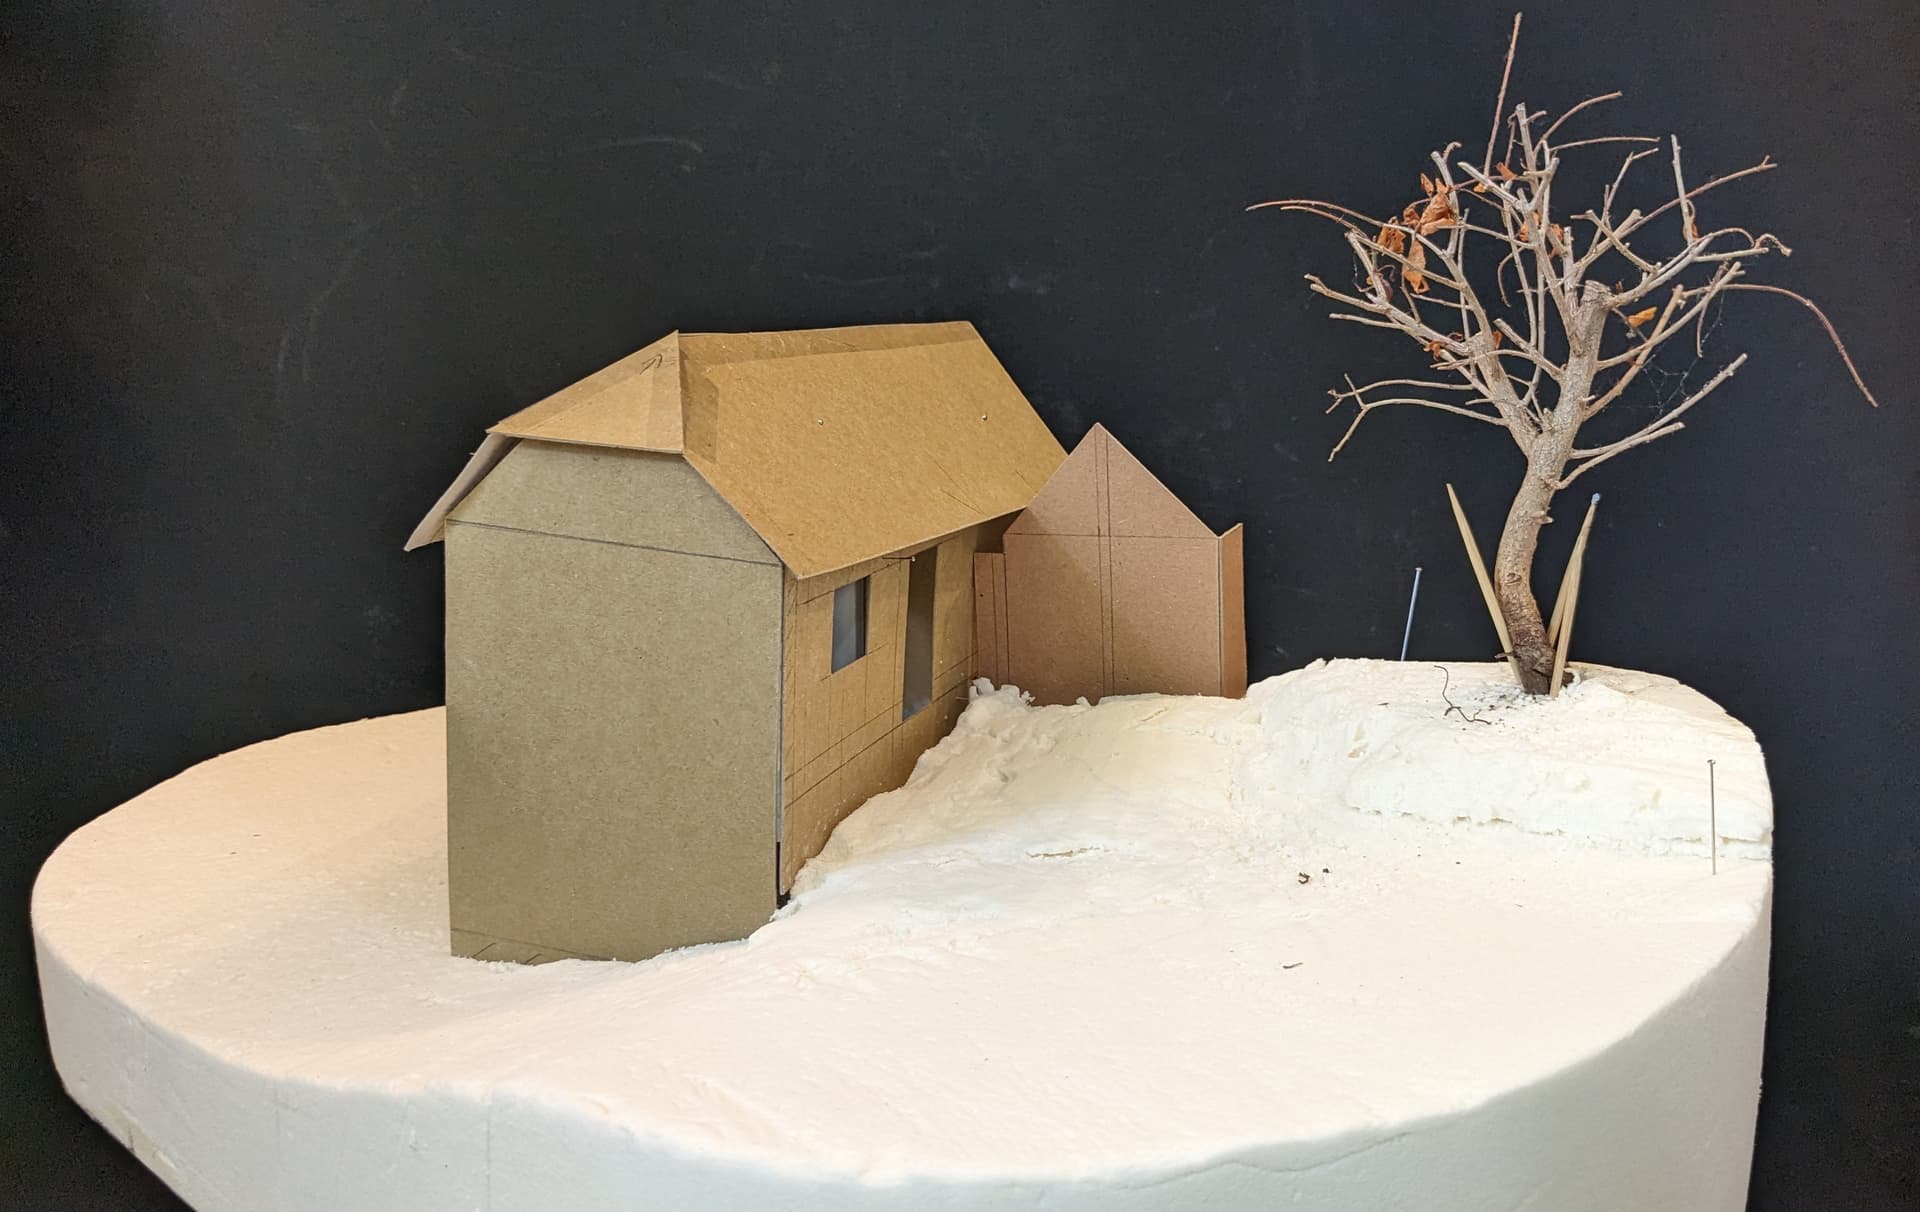
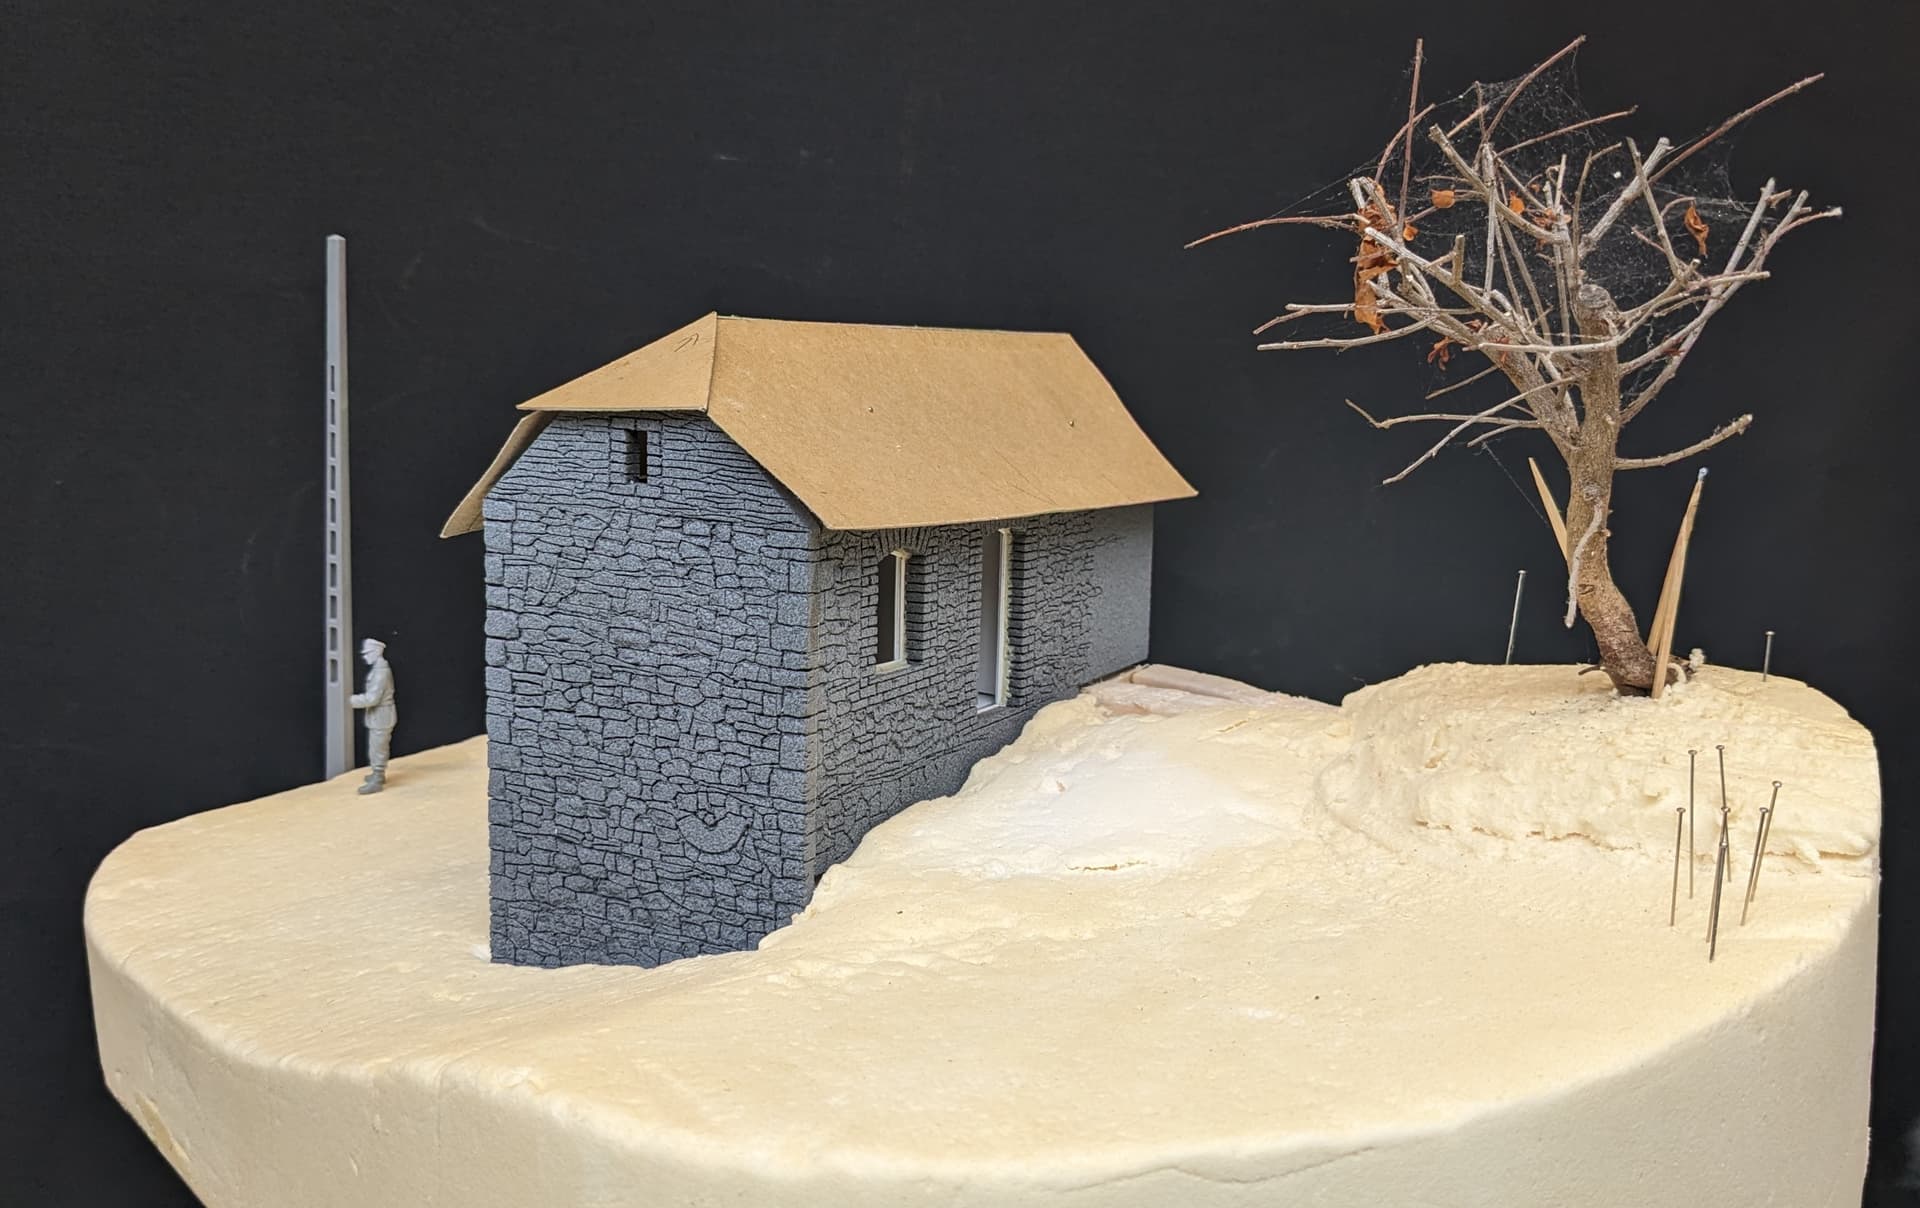
So I think I may allow myself some snow after all…

2 Likes

Thanks Cheyenne,

Of course, I am in no position to give history lessons… but, like you, I look hard at the evidence and try to give a sensible interpretation!

1 Like

Always glad to have some local knowledge - and I will be looking for more help as I go on. More about snow above…

1 Like

I’ve read a bit about the campaign, and what I’ve read is that Malmedy proper has not been captured by the Germans. Baugnez is some 4 km’s from the centre…
image
Honsfeld is at some 600m above sealevel, while the Kaiserbarracke is at 479 m. That is some serious level differnce indeed.

2 Likes

To give You some first hand observation. 16th of December 2018 was actualy one of those years when it DID snow. It started around midnight and in the morning the Bastogne area had about 10 - 20 cm of snow. Enough that the road service had to clear the roads. But areas around were not covered. Foy was only partialy covered. St. Vith had some show, but the Eifel to the east, which is actualy higher did not. La Roche was without snow aswell. So its VERY random.

Thanks so much guys, that is invaluable info.

So I guess that depending on which route my reccon group were taking - and how far they had got - I can have no snow, lots of snow… or a bit of snow!

Looking for the right building

So this next bit was fun - even if a bit slow. I went onto Google Maps Streetview and followed a few routes away from the Kaiserbarracke crossroads in the direction of German advance.

All the time I was looking for buildings that a) looked like traditional farm houses and b) looked old.

Here is a selection of what I found:

I was not trying to find a specific building to replicate, but a type: i.e. a typical farmhouse that would look authentic for the place and the time. Of course, all of these buildings will have changed over the intervening 70 or so years (although Google images are often several years old) - but you can still see that they are OLD.

Among some of the common features I noticed was the combination of a large barn door with what appeared to be living accommodation.

This immediately brought on a rush of nostalgia and made me think of the classic Verlinden ruined barn that I had built as a teenager back in the 80s…

Verlinden Ruined Barn 106 MDA 35011

I guess this makes sense, since Francois Verlinden was Belgian and would have based his diorama construction sets (DCS) on buildings that he was familiar with.

On many of the buildings there is also a distinctive sloping element to the roof at the gable ends. This helps to break up the outline and gives them a much more ‘rural’ look, although I’m not sure what practical purpose it served.

So this gave me a few ideas about how my building should look.

Another image helped me to understand the method of construction. You will notice here that the stone courses might appear random, but every now and then they are roughly levelled with a line of smaller stones. The stones at the corners are also better ‘dressed’ to help keep the structure square.

So this will be my inspiration for the work that is about to begin…

6 Likes

The research is excellent, TFM, Ruck On!

2 Likes

Thanks mate.

If I’m honest I find buildings as fascinating as vehicles - plus you don’t have to be quite so obsessed with accuracy…

2 Likes

So back to the actual build…

So once I had the basic shape worked out in rough card I began to build the farm house again using thinner card. This meant that I could draw the precise dimensions on to the surface in pencil and cut out the apertures using a sharp scalpel.

This does not have to be a precise architectural process but it needs to follow a certain amount of science amd common sense. [Have I mentioned the fact that I am married to an architect?!]

Because the building has two stories - but the higher level only at the rear - it is important to ensure that the floors and windows line up at front and back.

As for the size and shape of the doors and windows, I feel that it’s a mistake to use commercially available parts (e.g. Miniart) as a guide. Rural structures come in many shapes and sizes and, as a tall person I am painfully aware of this fact. Using photos and any decent 1/35 scale figure will give you a good enough guide to the appropriate height of doorways, windows, etc.

As I would soon discover, the advantage of using card to cut out the shapes was that I could use it as a template for cutting out the foam sheet which I would use to make the walls. Also I could adapt the form as I went along.

So you can see here that I reduced the size of the barn door after my initial cut because I felt that it was too large. This was simply done by putting the putting the original piece of card that I had cut out back into place and fixing it with masking tape to the rear. I then drew the new outline and cut again.

The distinctive dropped gable to the roof and end wall was also made at this time.

I also marked in the

7 Likes

Yep narcolepsy comes with the territory for dioramacists, I should know. A great-looking scene evolving Tim, glad you came round to my way of thinking re snow/slush :wink:.

Max points for research too, as you’ve said there’s a reasonable amount of latitude possible and

4 Likes

LOL… I guess I shouldn’t post so late at night.

I think that was just a rogue sentence that got pushed to the bottom of the page - and then I forgot it was there!

5 Likes

Materials…

The last time I made buildings (on my ‘Liberation, Italy 1944’ dio) was also my first attempt since my teens - way, wayback in the 1980s. My older self had used thin plywood, laboriously cut to shape with a fret saw, then covered in thin plaster.

When I made my Italian church (a few less years ago) I was glad to have discovered foam board - sheets of foam covered in layers of thin card. This was easy to cut and, once built into a structure, fairly rigid. It could then be covered in Das clay for that traditional weathered plaster look. One of the drawbacks, however, was the fact that any relief stone work then had to be carved back into the surface.

Here are a few reminders:

This was also pretty labour intensive!

Of course, things have changed… even in the last few years. We now have high density foam… otherwise known as styrofoam… or XPS foam.

This is not exactly a ‘new’ material. In fact, I suspect it has been around for a lot longer than its use in scale modelling. But it seems to have become the ‘go to’ for making scale buildings quite recently.

The advantages are pretty obvious:

(a) It’s light
(b) It’s rigid
(c) You can carve into the surface very easily…
(d) … yet it has a springiness that means you can also indent shapes

However, it is also quite fragile - so if you mishandle the sheets it will dent - or snap.

Also, once you carve, there is no going back. In fact, it’s all about the surface. This also means that, if you are joining sheets or blocks, then there is no way to cover over the join - unless it makes sense within the structure

I am sure that everyone here will be familiar with the videos posted by Martin Kovac aka Nightshift. He is a fantastic modeller (and one who is quite happy to talk through his mistakes) and he has been using high density foam in many of his dioramas. Here is a great example:

Well, I am about to dive in to world of XPS!

12 Likes

Yep, the days of poured plaster were tough, but that was all I knew back then, too. My Hue City dio has a massive chunk of plaster for the Citadel wall. I would have saved a lot of heartache and time if I had ever considered blue construction foam back then.

I really like how the church building came out, that’s classic work, btw. Standing by for more. :wink:

3 Likes

Thanks Steve.

I was happy with the way the church turned out, but having seen the advantages of high density foam, if I did it again, I would probably go with the new material… but then again, I’m not planning on building another Italian church any time soon!

1 Like

Let the cutting and scribing commence!

Although Nightshift / Martin Kovac gave me some of the inspiration for this build, I didn’t exactly copy his method. He tends to make structures that sit at the back of his dioramas and which are only partial in depth, so his use of foam blocks makes sense. But since I am building a virtually complete farm house, this would be excessive. There is also the problem of hiding joins between blocks. So I decided to go with the thinnest sheet (6mm).

The thickness looked about right for the walls of my farmhouse - or at least the bits that were going to show. I say this, because I am not planning on having any of this building ‘opened up’ - i.e. there will be no open windows or doors (with one exception, but this will be at the back) and no ruined walls. This means that the only depth required will be what can be seen externally in the door and window apertures. Any extra depth will be suggested by the frames.

The other advantage of using the thinner sheet is that it is easier to cut with greater accuracy.

So, taking my card templates - and my heart in my mouth - I began to cut using a metal rule and a sharp knife. The results were not perfect (and they look pretty terrible at the back) but they were good enough. The arched tops to some of the windows and doorways were the most challenging, but here I could use the card template to guide my knife. Also, another advantage of this foam is that it can be (lightly) sanded using sanding sticks or sandpaper to bring it into line.

The next bit is definitely the most nerve-wracking part of the whole process: scribing the bricks and stones. It’s not that it’s difficult exactly - it’s just that, if you make a mistake, there is probably no going back.

Why bricks? Well, as you will see from some of the images above, although most of the old farm buildings in the Ardennes appear to have been built from stone, there also seems to be a common feature of using bricks to surround the window and door apertures. This not only creates visual interest - because of the contrasting shapes and textures - but will also allow for a more varied colour palette.

By the way, here I did use Mr Kovac’s suggested dimensions for bricks. He advises that in 1/35 scale they should be: 2.5 mm tall / 4 mm deep / 8 mm wide. I also copied his method of using a paper template to measure out the courses of bricks.

The trick (as always) it to ‘measure twice, cut once’. I also used Tamiya masking tape to mark the outline of the brick courses - so that I did not stray into the area which would be occupied by the stones.

Undoubtedly the most challenging parts of this exercise were the arches of bricks over the top of some of the doors and windows. I thought long and hard about how achieve this, but in the end chose a rather ‘old school’ approach: I cut out brick shapes using the masking tape and then laid it over the foam until I had the right look. Then I simply scribed the bricks around them. It worked well enough…

Finally, once all the measuring and scribing is done, the next part is actually very easy and satisfying - you simply take a sharp toothpick and run it along all the lines and around the corners. This opens up the scored lines and starts to make the shapes that are left more like they are intended to be: i.e. bricks!

Then I moved on to the stone work… of which more next time!

16 Likes

Beautiful looking Tim- a very fine piece of architecture in miniature! Thank you for explaining how you went about it too.

2 Likes

That looks really good to me, excellente!

1 Like

Thanks guys.

Sorry for the long gap since my last post… I have actually made quite a lot of progress since then, although not everything will be obvious here.

The advantage of building everything from flat sides is that you can not only lay them flat on the workbench whilst scribing and shaping the stones and bricks, but also detail the window and doors more easily.

I will focus on the woodwork in another post (it’s actually all made from plastic sheet), but I have now reached the stage where the building can start to go together. The roof you see here is still the temporary one made from thin card.

The glue I have used so far is an old favourite (and for those of us who grew up in the 70s a real blast from the past): UHU. This ‘Extra’ version is perfect for the high density foam because it doesn’t contain any chemicals that eat into it. It’s also pretty fast acting, whilst allowing a little time for re-positioning. The only downside is that it can be rather ‘stringy’.

Here are some more images of the structure temporarily positioned on the base…

15 Likes

Impressive work!

2 Likes

Really looking excellent so far Tim, your stone work is intricate and beautiful. You have integrated it into the terrain seamlessly. This is going to be a great diorama!

3 Likes