Good to see this back up and running, standing by to stand by for more ![]()
3 Likes
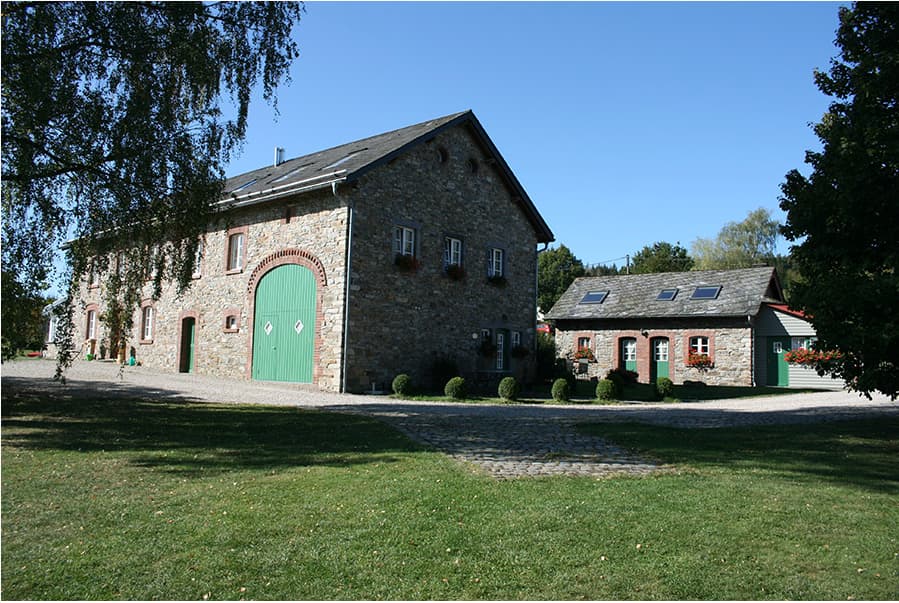
Love the barn… It does remind me of the holiday home we rented when we stayed in the Belgian Ardennes…
6 Likes
Outstanding work Tim, cant wait to see more. Amazing job on the barn
2 Likes
That looks like a wonderful place to stay!
It’s good to see some of the details that I picked up from google images: barn doors with an integrated (smaller) access door, brick surrounds on the windows, etc. And the familiar barn and farmhouse combined.
So it looks as if I’m on the right track…
2 Likes
Thanks for all the kind comments.
One problem that only emerged once I had started putting the walls together was how to level the building within the base.
This may sound obvious, but given the sharp slope I had chosen for the terrain, once the structure was in place it looked a little lop-sided. In the old days, when I built everything up from a flat base, this would not have been an issue: I simply made sure everything was flat with the base. But by digging down into the insulation board I felt that I had lost my bearings.
I used a spirit level and realised that my balsa base for the building was actually a little out of true. So how to fix it? After a lot of head-scratching I came up with the answer: wooden chopsticks.
I held one up to the rear corner of the house and measured where it met the top edge. Then I measured the height of the wall and marked the bottom edge on the stick. I then knew that this should be the correct distance between the lower edge of the base and the bottom of the building. Next I cut three chopsticks to the same length and simply pushed them into the insulation board until they met the bottom. These became the supports for the other three corners of the building. Does that make sense? Anyway, it worked.


4 Likes
Ah the ol’ chopsticks ploy! Bravo, they’ve saved me more than once too. The barn looks positively delicious but I’ll need a spoon at the very least. Great work Tim, glad to see you back & Happy Xmas.
2 Likes
It is… The house has 3 levels, of which 2 are for rent as holiday homes. But only the front half. The other is in use as homestead for the owners, who are very nice people… The old bakery in the back is also a holiday home… It is not too far from Malmedy and a nice starting point to explore the Ardennes…
2 Likes
For what it’s worth (a point of interest) the Tiger ll’s, of which 222 was part of Peiper’s Kampf-Gruppe, were at the tail-end of his unit because they were too slow, and their weight tended to turn the roads into deep mud ruts, which was not good for his wheeled vehicles. When he arrived at the Stavalot bridge, he waited on the east side, and metaphorically “shot himself in the foot” - he decided to wait overnight for his Tigers to catch up, giving the American defenders in Stavalot several hours to bring up re-inforcements, and A/T guns. This poor decision cost him several Tiger tanks, many hours, and the fuel dump just outside of the town. The American re-inforcements remaining in Stavelot sealed off the town, and road, behind Peiper, preventing any future retreat route. Those hours delay at Stavelot allowed American re-inforcements all along Peiper’s intended attack route, and finally stopped him at La Gleize/ Stoumont.
![]()
![]()
3 Likes
That’ll work just fine, imho! Ruck On, Bby!
2 Likes
Excellent progress and terrific building skills … Base area has the perfect angles for all aspects to make you move around as you view it … nicely done.
2 Likes
Thanks Tim! Main course still to come…
3 Likes
Sounds idyllic. It’s an area (and battlefield) that I must visit one of these days…
3 Likes
That’s fascinating, thanks. People often discuss the bridge-crossing issues with these huge tanks, but the damage they must have caused to the roads is also worth considering.
The issue of poor timing by the Germans is, of course, part of the theme (and title) of my diorama. More to come!
2 Likes
Thanks Johnny.
Yes, I am trying to set up several interesting sight-lines with this diorama - part of the reason I chose curved ends (something I haven’t tried before). The height increase is another way of adding interest: dramatic, to be sure, but (I hope) not unrealistic…
3 Likes
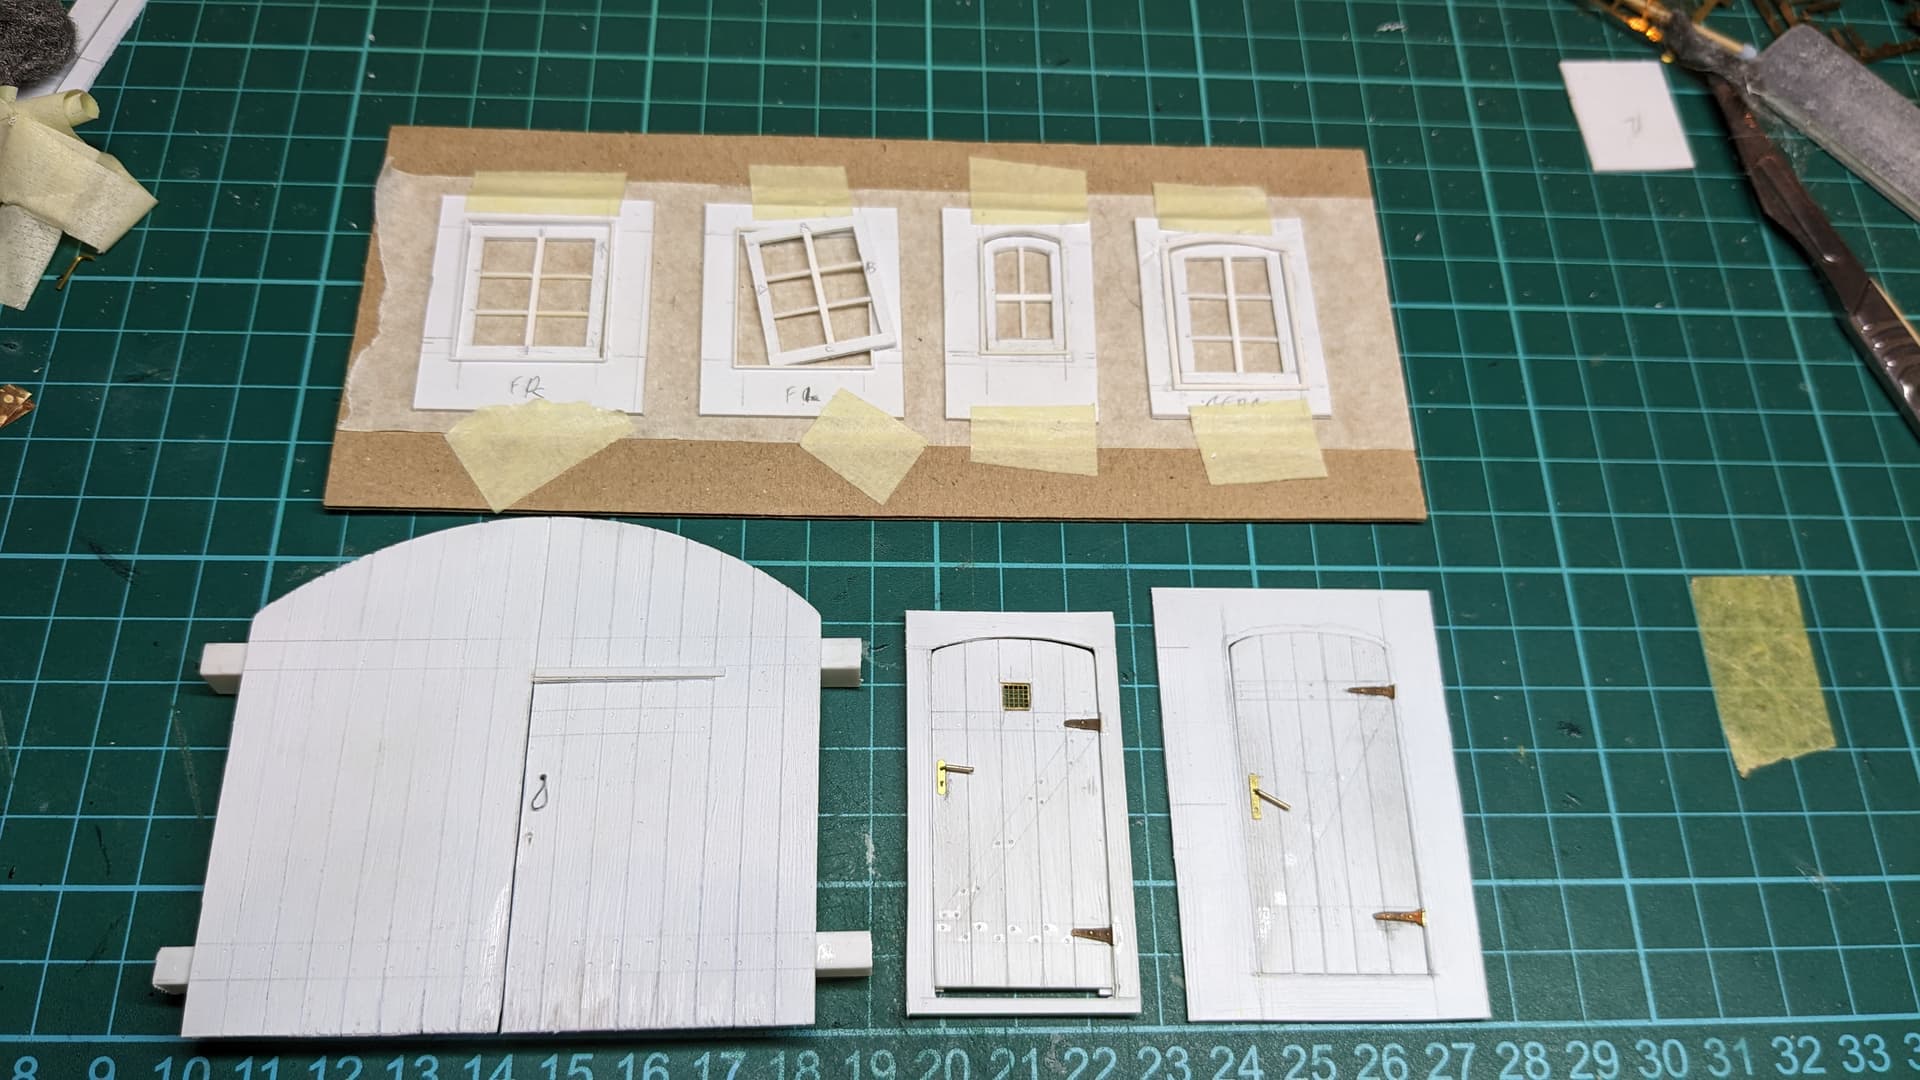
Windows and doors
SInce I have finished all of my windows and doors I may as well show them off at this point.
Perhaps it is because I am such a poor carpenter in real life that I really enjoy making woodwork in miniature.
For my Italian project a few years ago I started off using wood strip and thin hardwood sheet to make my doors, but in the end I switched to plastic card. Here are a couple of examples…

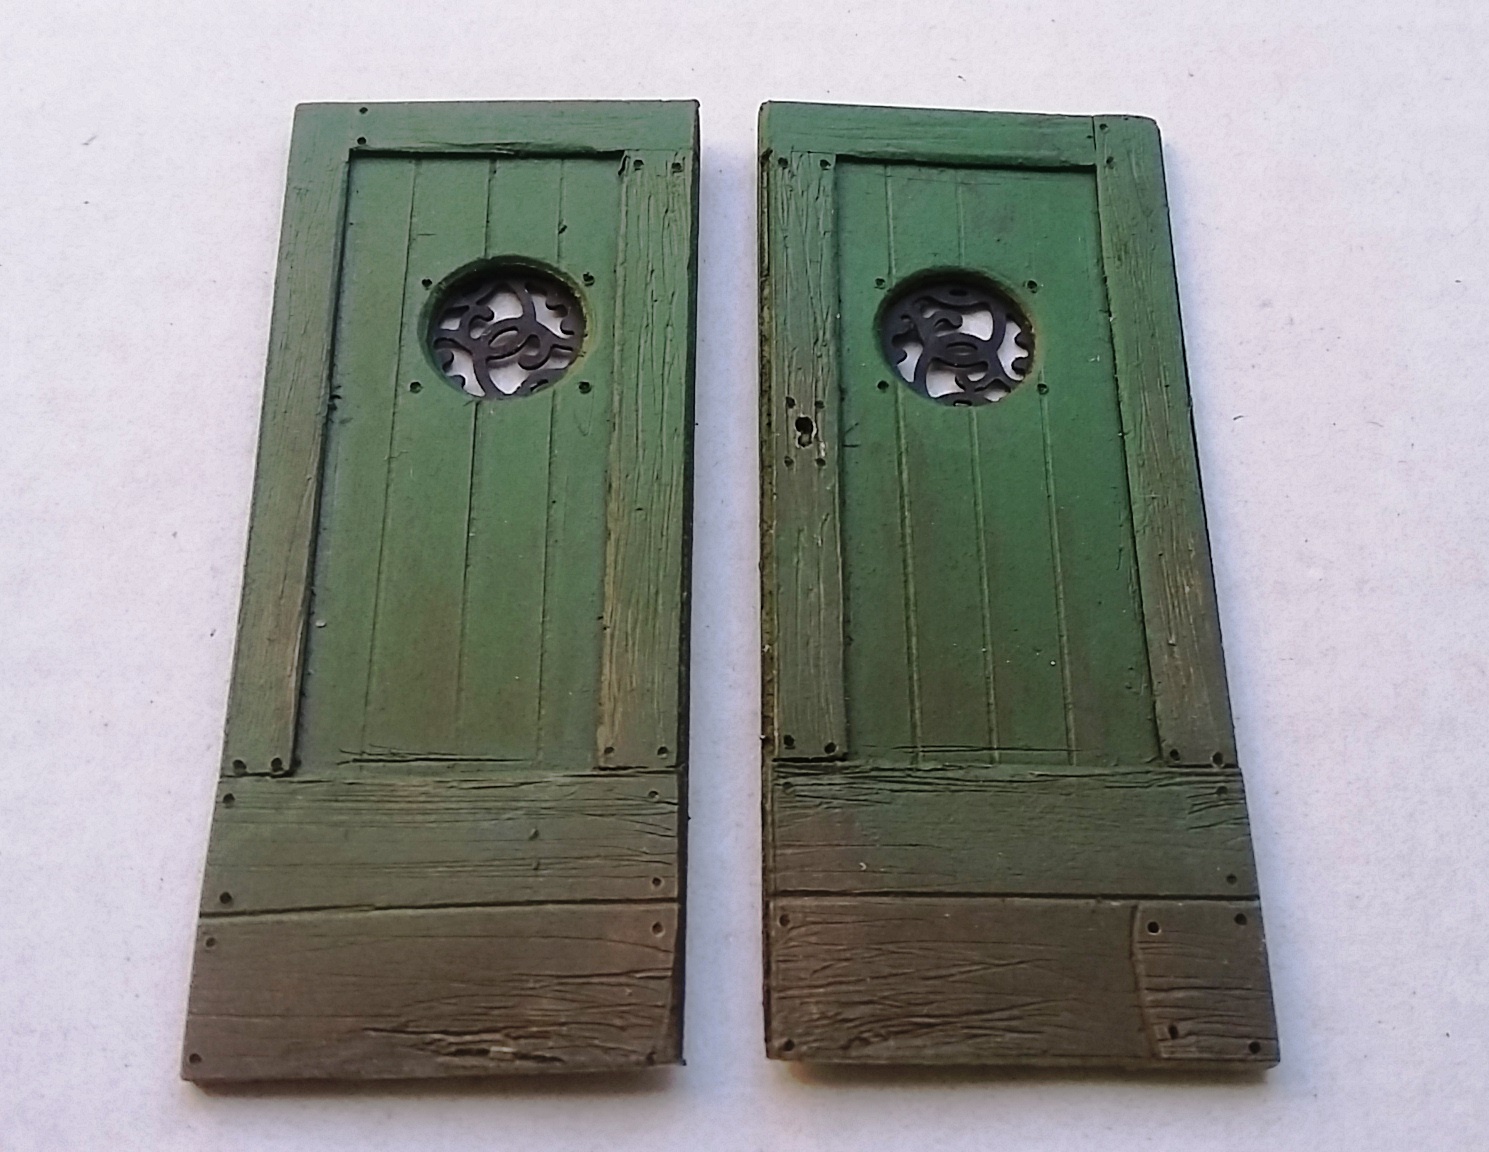
I still believe that, for doors and windows, plastic is the way to go. Plastic card is just so much easier to cut and glue than real wood and the wood grain and other details can be scribed in with a razor saw or knife to make very realistic textures that take paint very well.
For the new project I needed to make two house doors, a set of barn doors and several windows along with the frames. Of course, I had made life a lot harder for myself my choosing to give some of them an arched top, but here my original card templates (see above) came in handy once again, because I could use them to trace the outlines before I cut the plastic sheet.
Also, because I was not planning on having any of the interior visible (except, perhaps, through dim window panes or a partially open door) I did not have to worry about how the interior would look. Thank goodness I wasn’t building a ruin…
So I designed each with a larger surround that could be glued in from the inside and then built up the window and door frames to fit within the aperture. All of these were built away from the walls because you DO NOT want to mix plastic cement with the high density foam. If you do it will start to disappear!
15 Likes
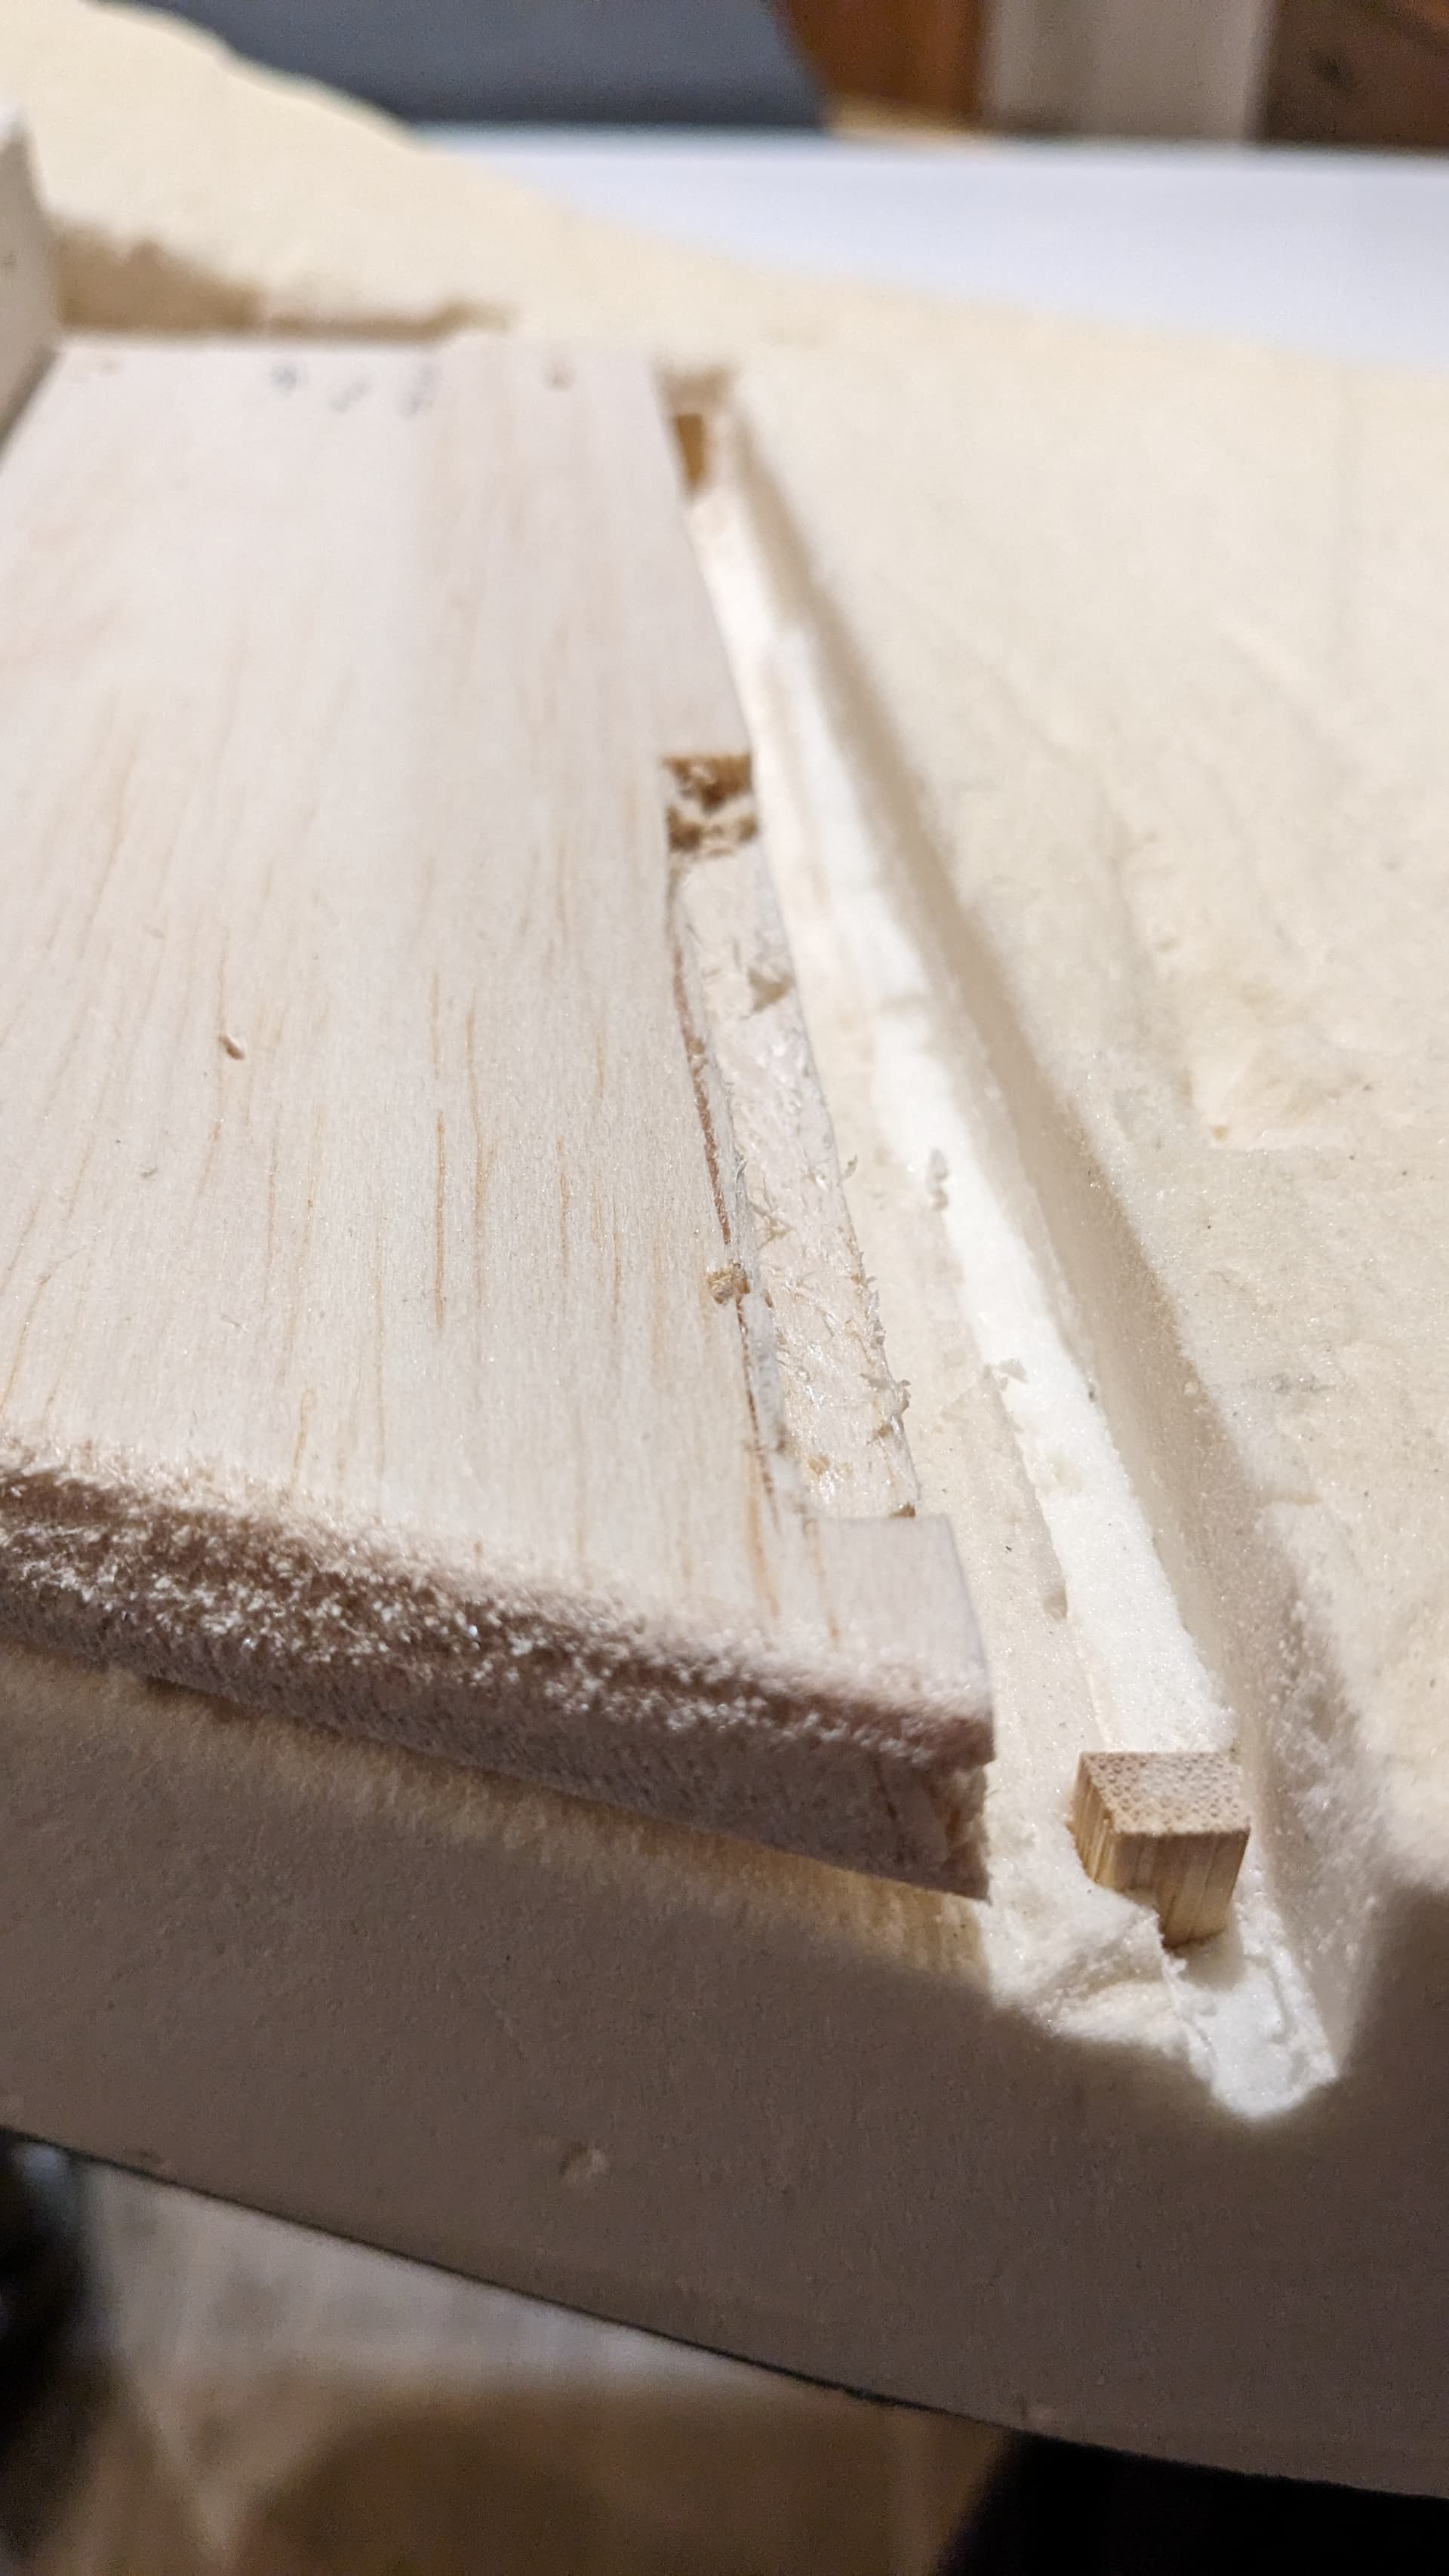
Those green doors are Perfection! I tend to agree plastic’s best although thin balsa panels can be an option depending on what’s required. Granted problems can arise if scribing across the grain, and it’s typically not possible to get the very fine lines that you’ve demonstrated on plastic. But balsa does tend to shred realistically if replicating damage, and it does take paint fairly well.
4 Likes
When the time comes, send me a PM, and I’ll give you the details…
2 Likes
Nice work Tim2 problem solving at its best .
Plastic is cool , wood veneers work very good too . Go bass wood , balsa sucks , too hairy , harder to work with , for me , doesn’t take paint and stains to my liking .
For me , there’s more work involved in scribing and creating wood effects in plastic than just staining real wood .
To each his own and what ever your most comfortable with , Your plastic doors are proof of that , very cool !!!
4 Likes
Well, Tim, you may get hired on as a miniature carpenter, so there is hope for your woodworking, HA! ![]()
The doors look great, the Italian building does too, lot of character, excellent!
2 Likes
Tim, I have to agree with you there - if it’s damaged wood you’re after then wood is the answer. I would also use it for fence posts and rafters, so I shouldn’t have appeared so dogmatic.
2 Likes