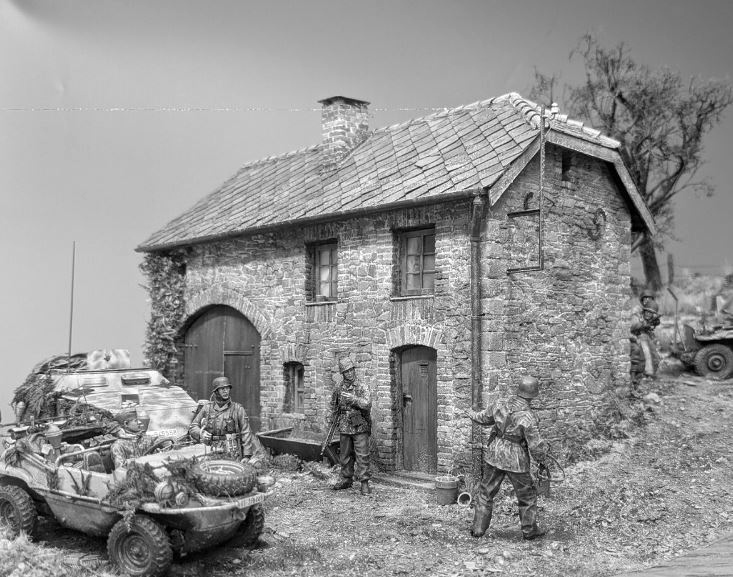
Superb in every way Tim, my only suggestion would be a couple of views in daylight. Meanwhile sorry, I couldn’t resist…
19 Likes
 Very well done. All details are terrific. I like very much the house.
3 Likes
Wonderful to see it all together Tim. I have really enjoyed seeing all the many elements of this masterpiece come together. You’ve managed to make such a packed scene with so much to see in terms of figures, vehicles, buildings, groundwork and vegetation- those various elements come together so well to tell a story. But more than that its the sheer authenticity of it- from the shape of the stone walls, the wonderfully subdued and used uniforms and vehicle paintwork, to the carefully considered staging to the many little pieces of vegetation and farmhouse clutter- it all adds up into a beautiful dio that delights the viewer from every angle.
3 Likes
Exquisite work as usual Tim!
2 Likes
The newest dioramic triumph from yerself !
Every aspect of this art is covered superbly from base to foliage to vehicles to figures to smaller details to storyline. Nicely done sir. Hats’ off.
J
2 Likes
Great job, Tim, and congratulations on the prize. Well deserved.
Cheers,
Jeremy
2 Likes
Beautiful work and well deserved award !!!
I especially like the tonal differences in the buildings stone work .
I took a selfie of me lookin at your build .

6 Likes
Thanks for all the kind comments.
I thought that I should explain how I approached the groundwork. Since I had not made a winter diorama before, this was all very much worked out as I went along.
I decided some time ago not to go for snow. My scenario depicts the first days of the battle when there was only snowfall in the higher areas (there is none visible at the Kaiserbarracke Crossroad for example).
Snow also alters the tonal balance significantly, making lighter colours look darker by contrast. I wanted to give it that cold, wintery look whilst still keeping a wide range of tones.
If you look at the diorama from a few months ago you will see that I had already added plenty of texture, paying particular attention to the muddy slope from the upper part of the farm to the lower. I used a Tamiya donkey to add hoof marks.
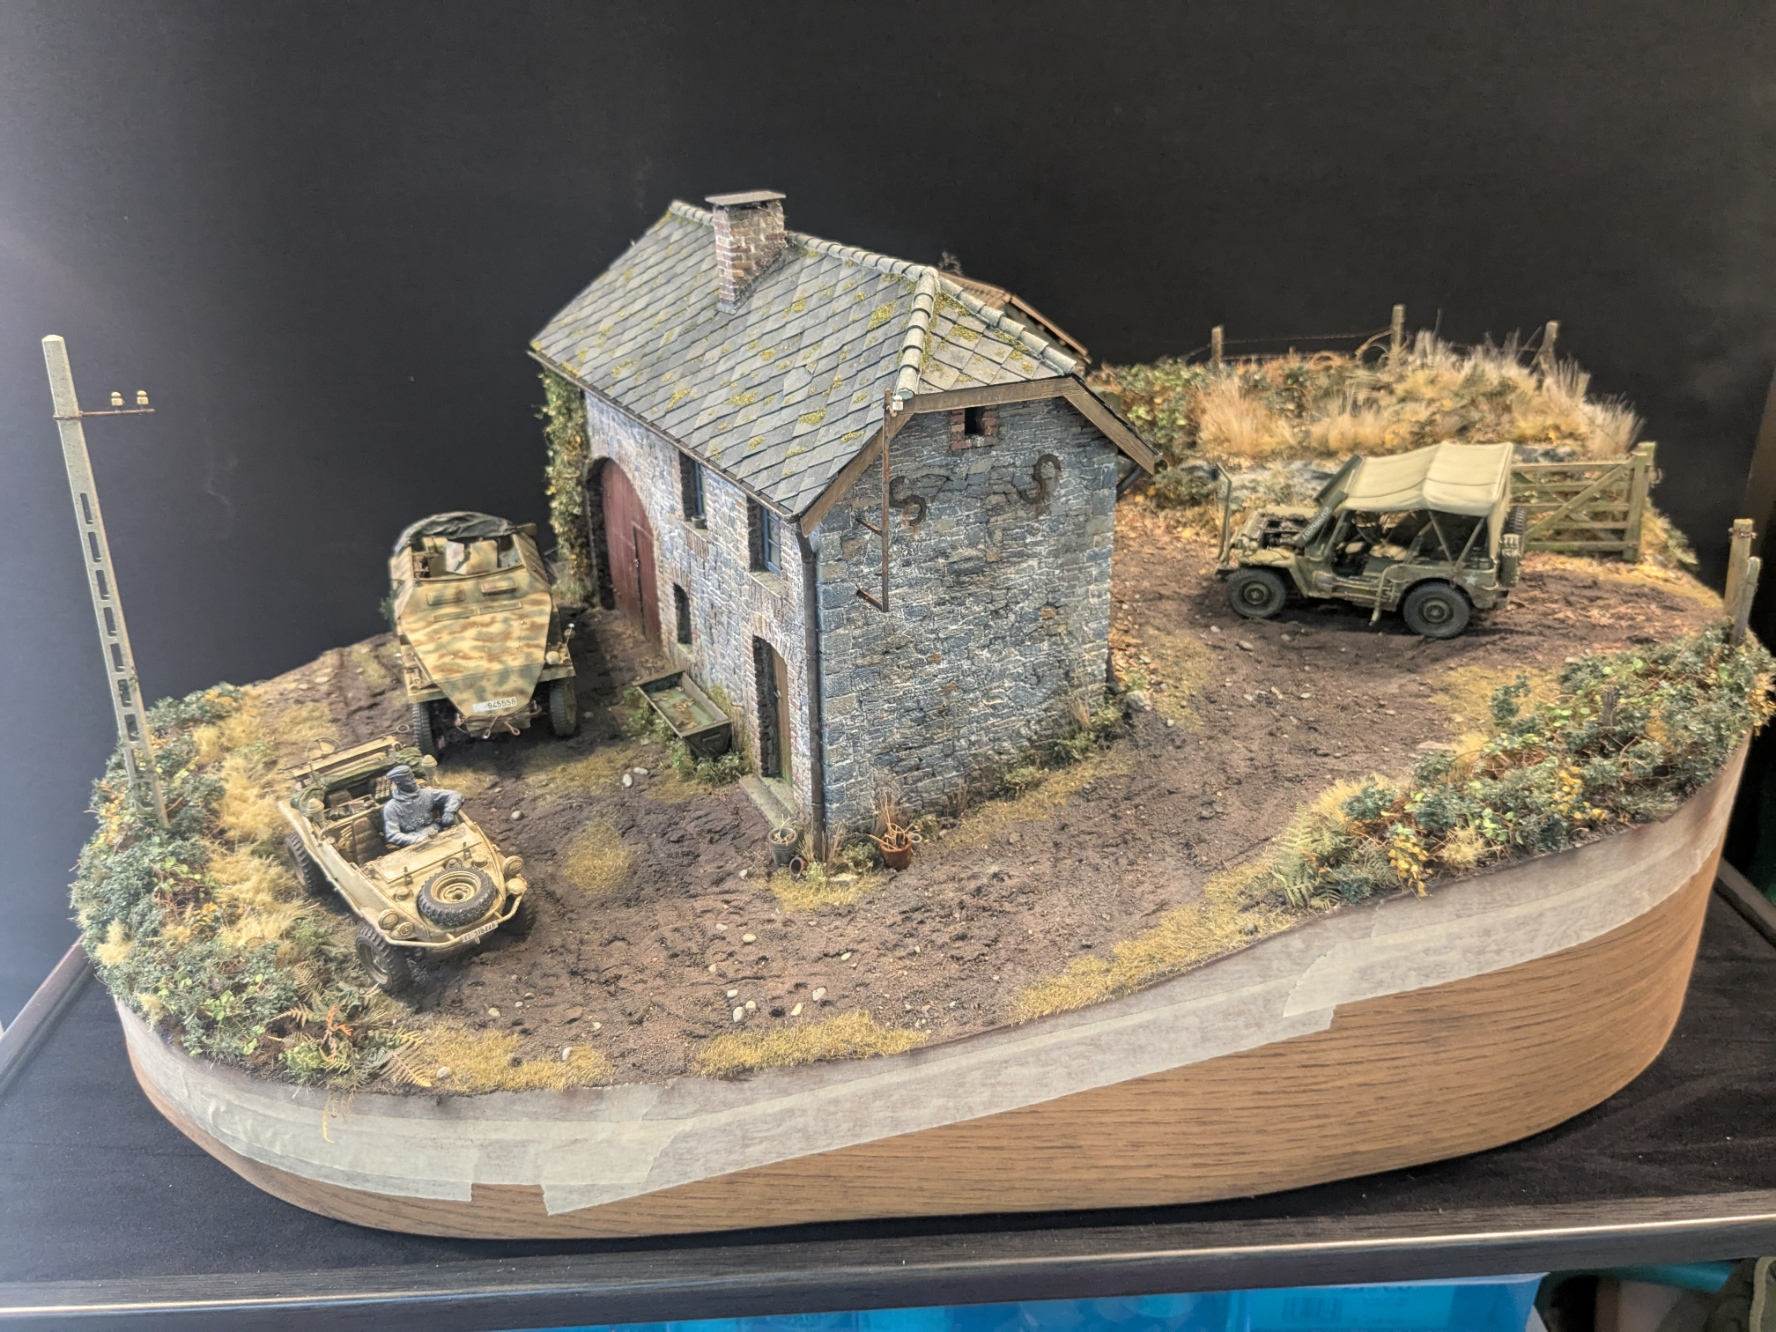
However, colour-wise the groundwork was pretty monochrome, apart from the scattered stones and some rather artificial-looking static grass. I also had yet to add any leaves to the lower half.
In this view of the water trough (which I knocked together from plastic card) you can see the groundwork in it’s earlier state. However, I had started to add water to the trough using two part resin from Deluxe Materials (tinted slightly green) and some leaves.

Once I had added leaves everywhere else, I then scattered seagrass (now hard to find it seems) and a some finer stones pretty much everywhere. These were fixed into place using AK Gravel and Sand Fixer.
The next step was to add darker washes before drybrushing with lighter shades. Finally, I sprinkled most of the landscape with magic fairy dust, a.k.a Icy Sparkles (also from Deluxe Materials). This stuff is perfect for achieving that sparkling, frosty look.
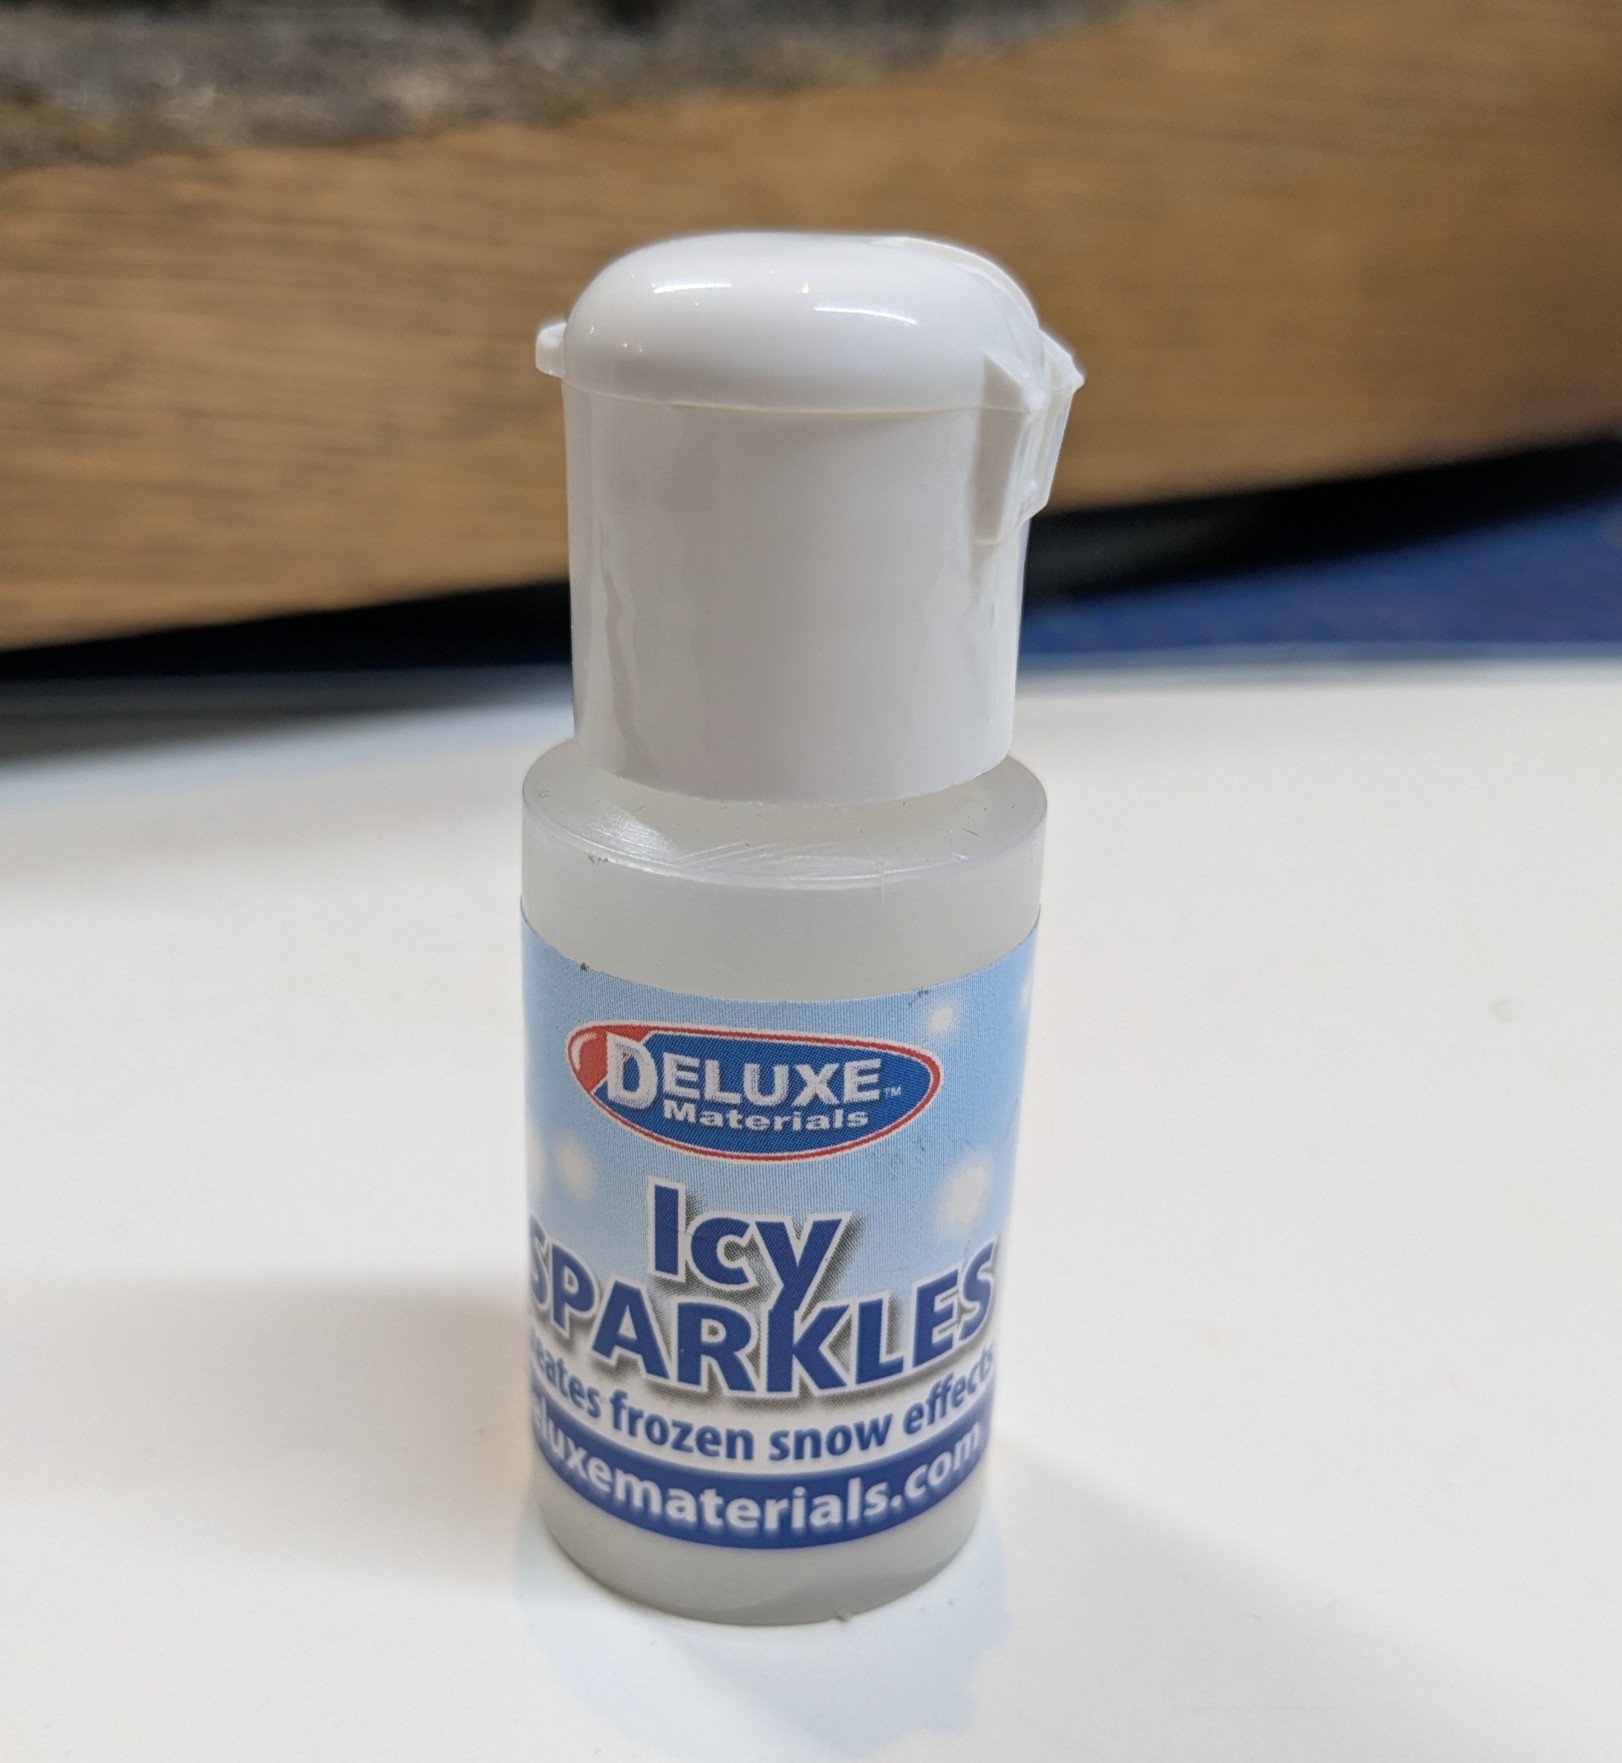
I also mixed some into the final layer of resin in the trough to give the look of frozen water.
The ground was given a overspray of semi-gloss varnish to give it all a damp look, whilst resin was used to add some puddles and give more of wet look to the track and wheel marks.
The final effect of all of this can be seen here:

And here is the same spot with the MG42 gunner in place…
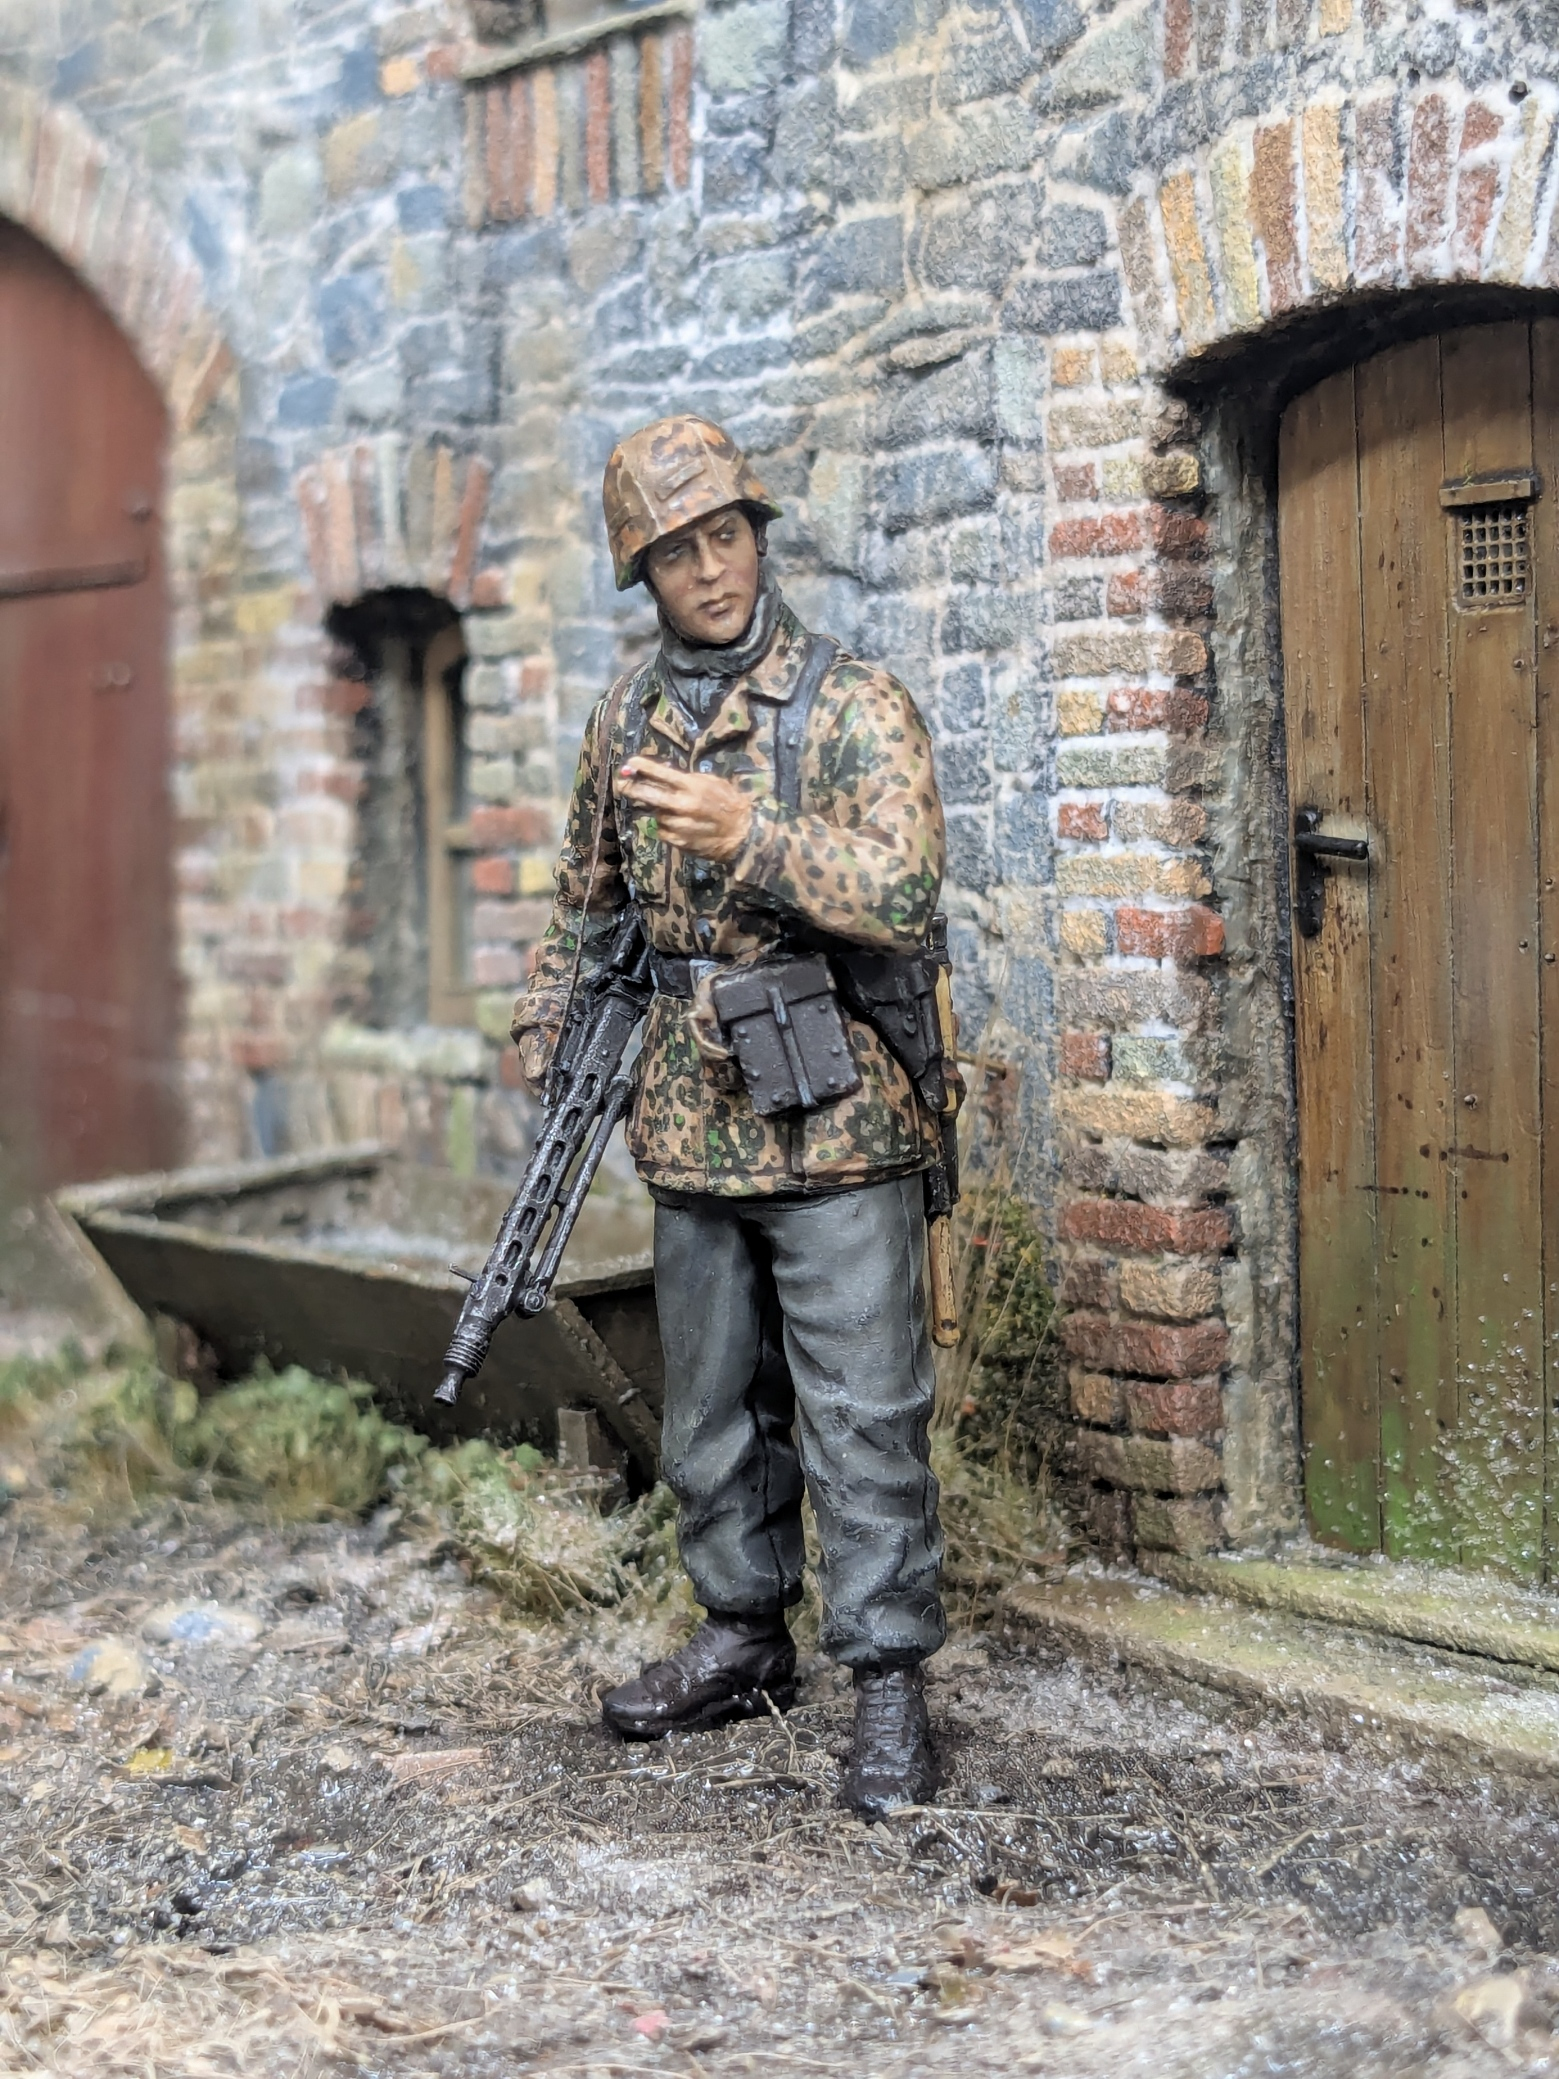
You can also see the effect of the Icy Sparkles on the telegraph pole and parts of the farmhouse.
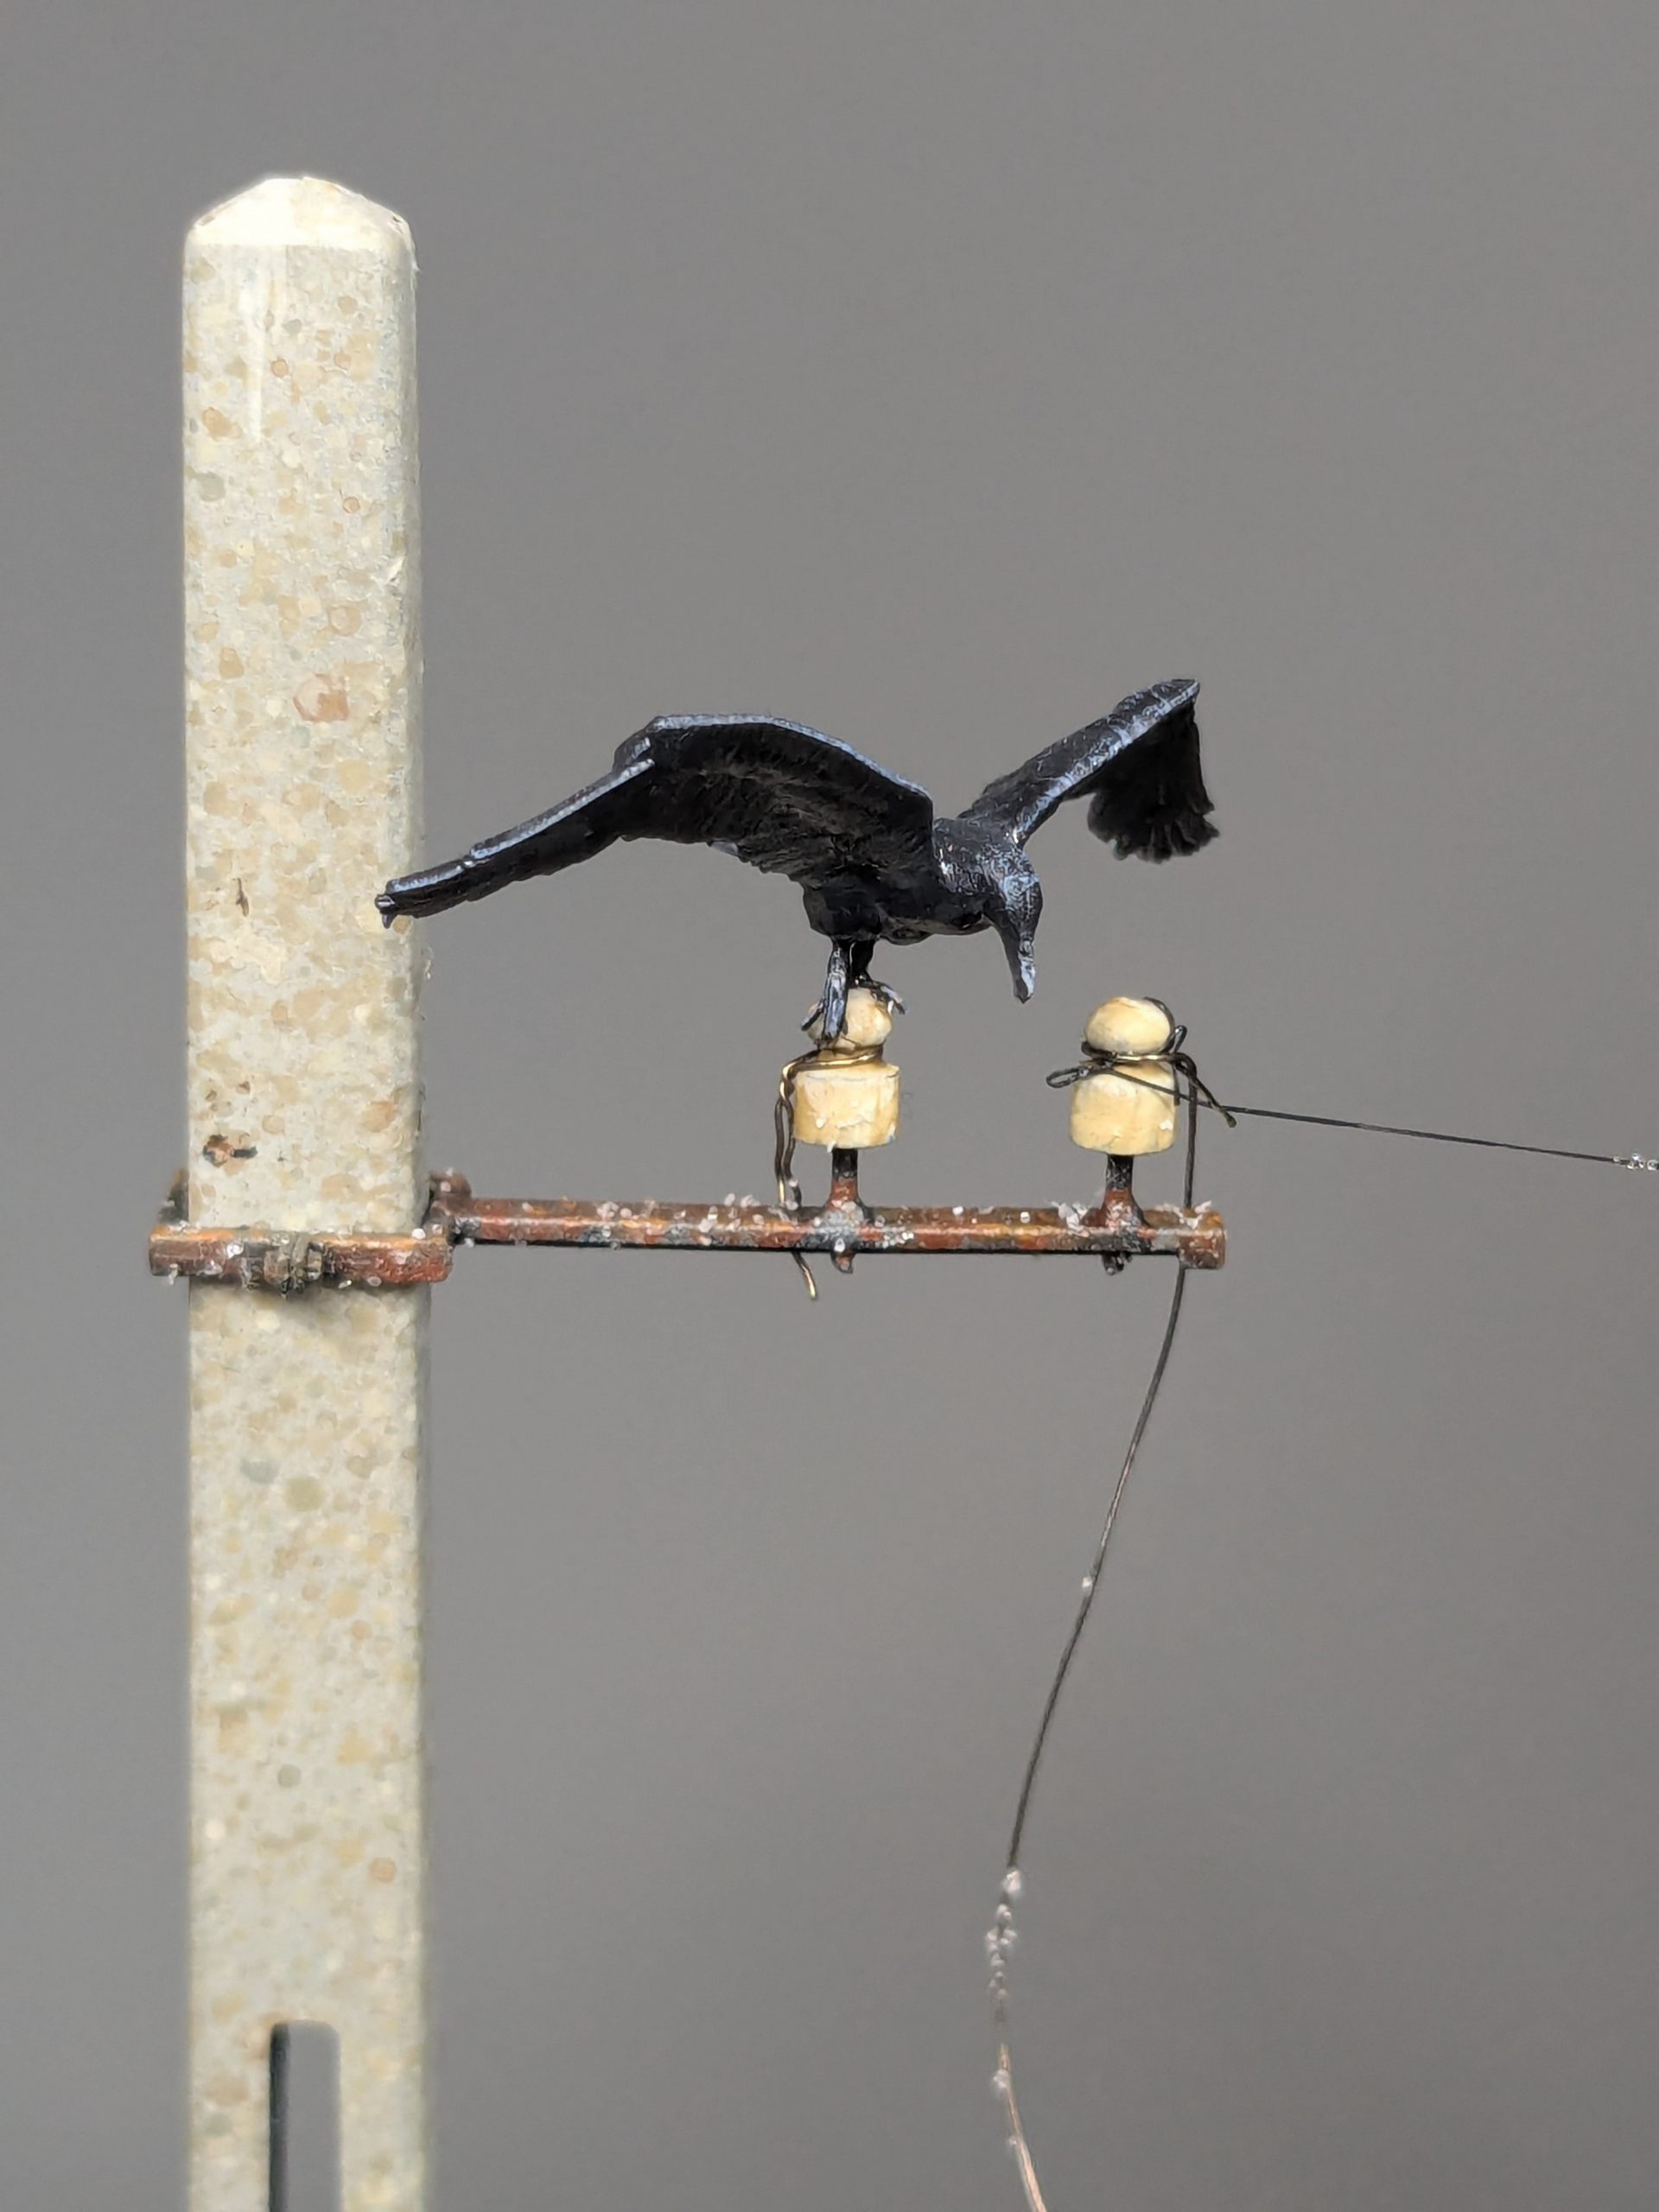
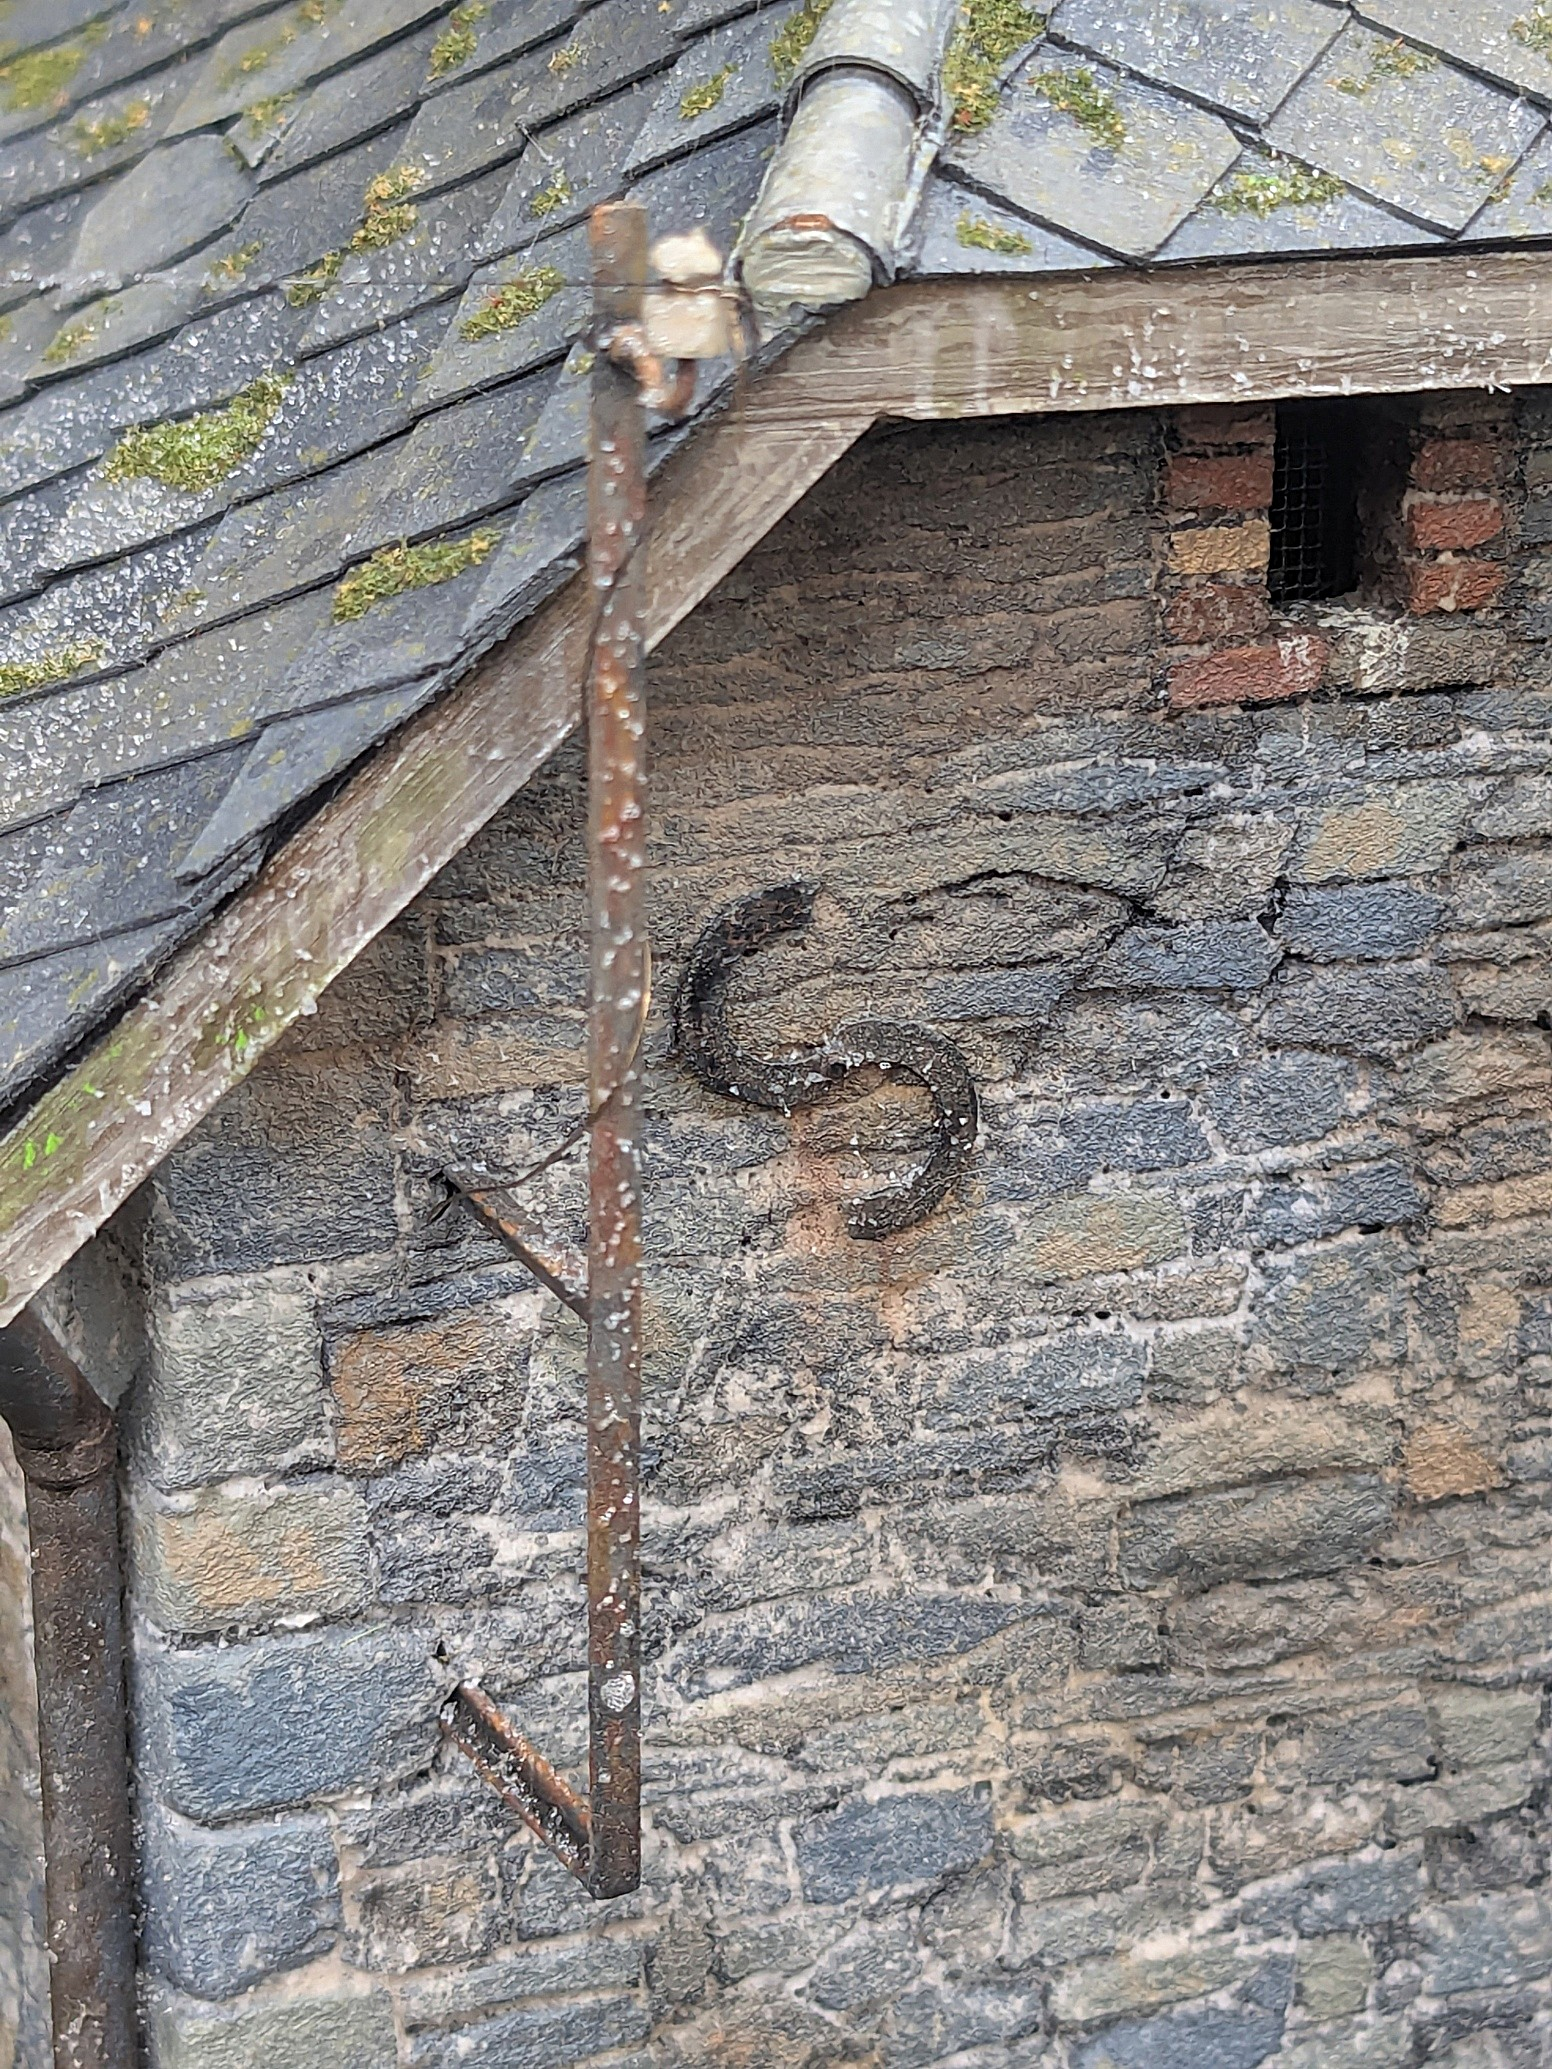
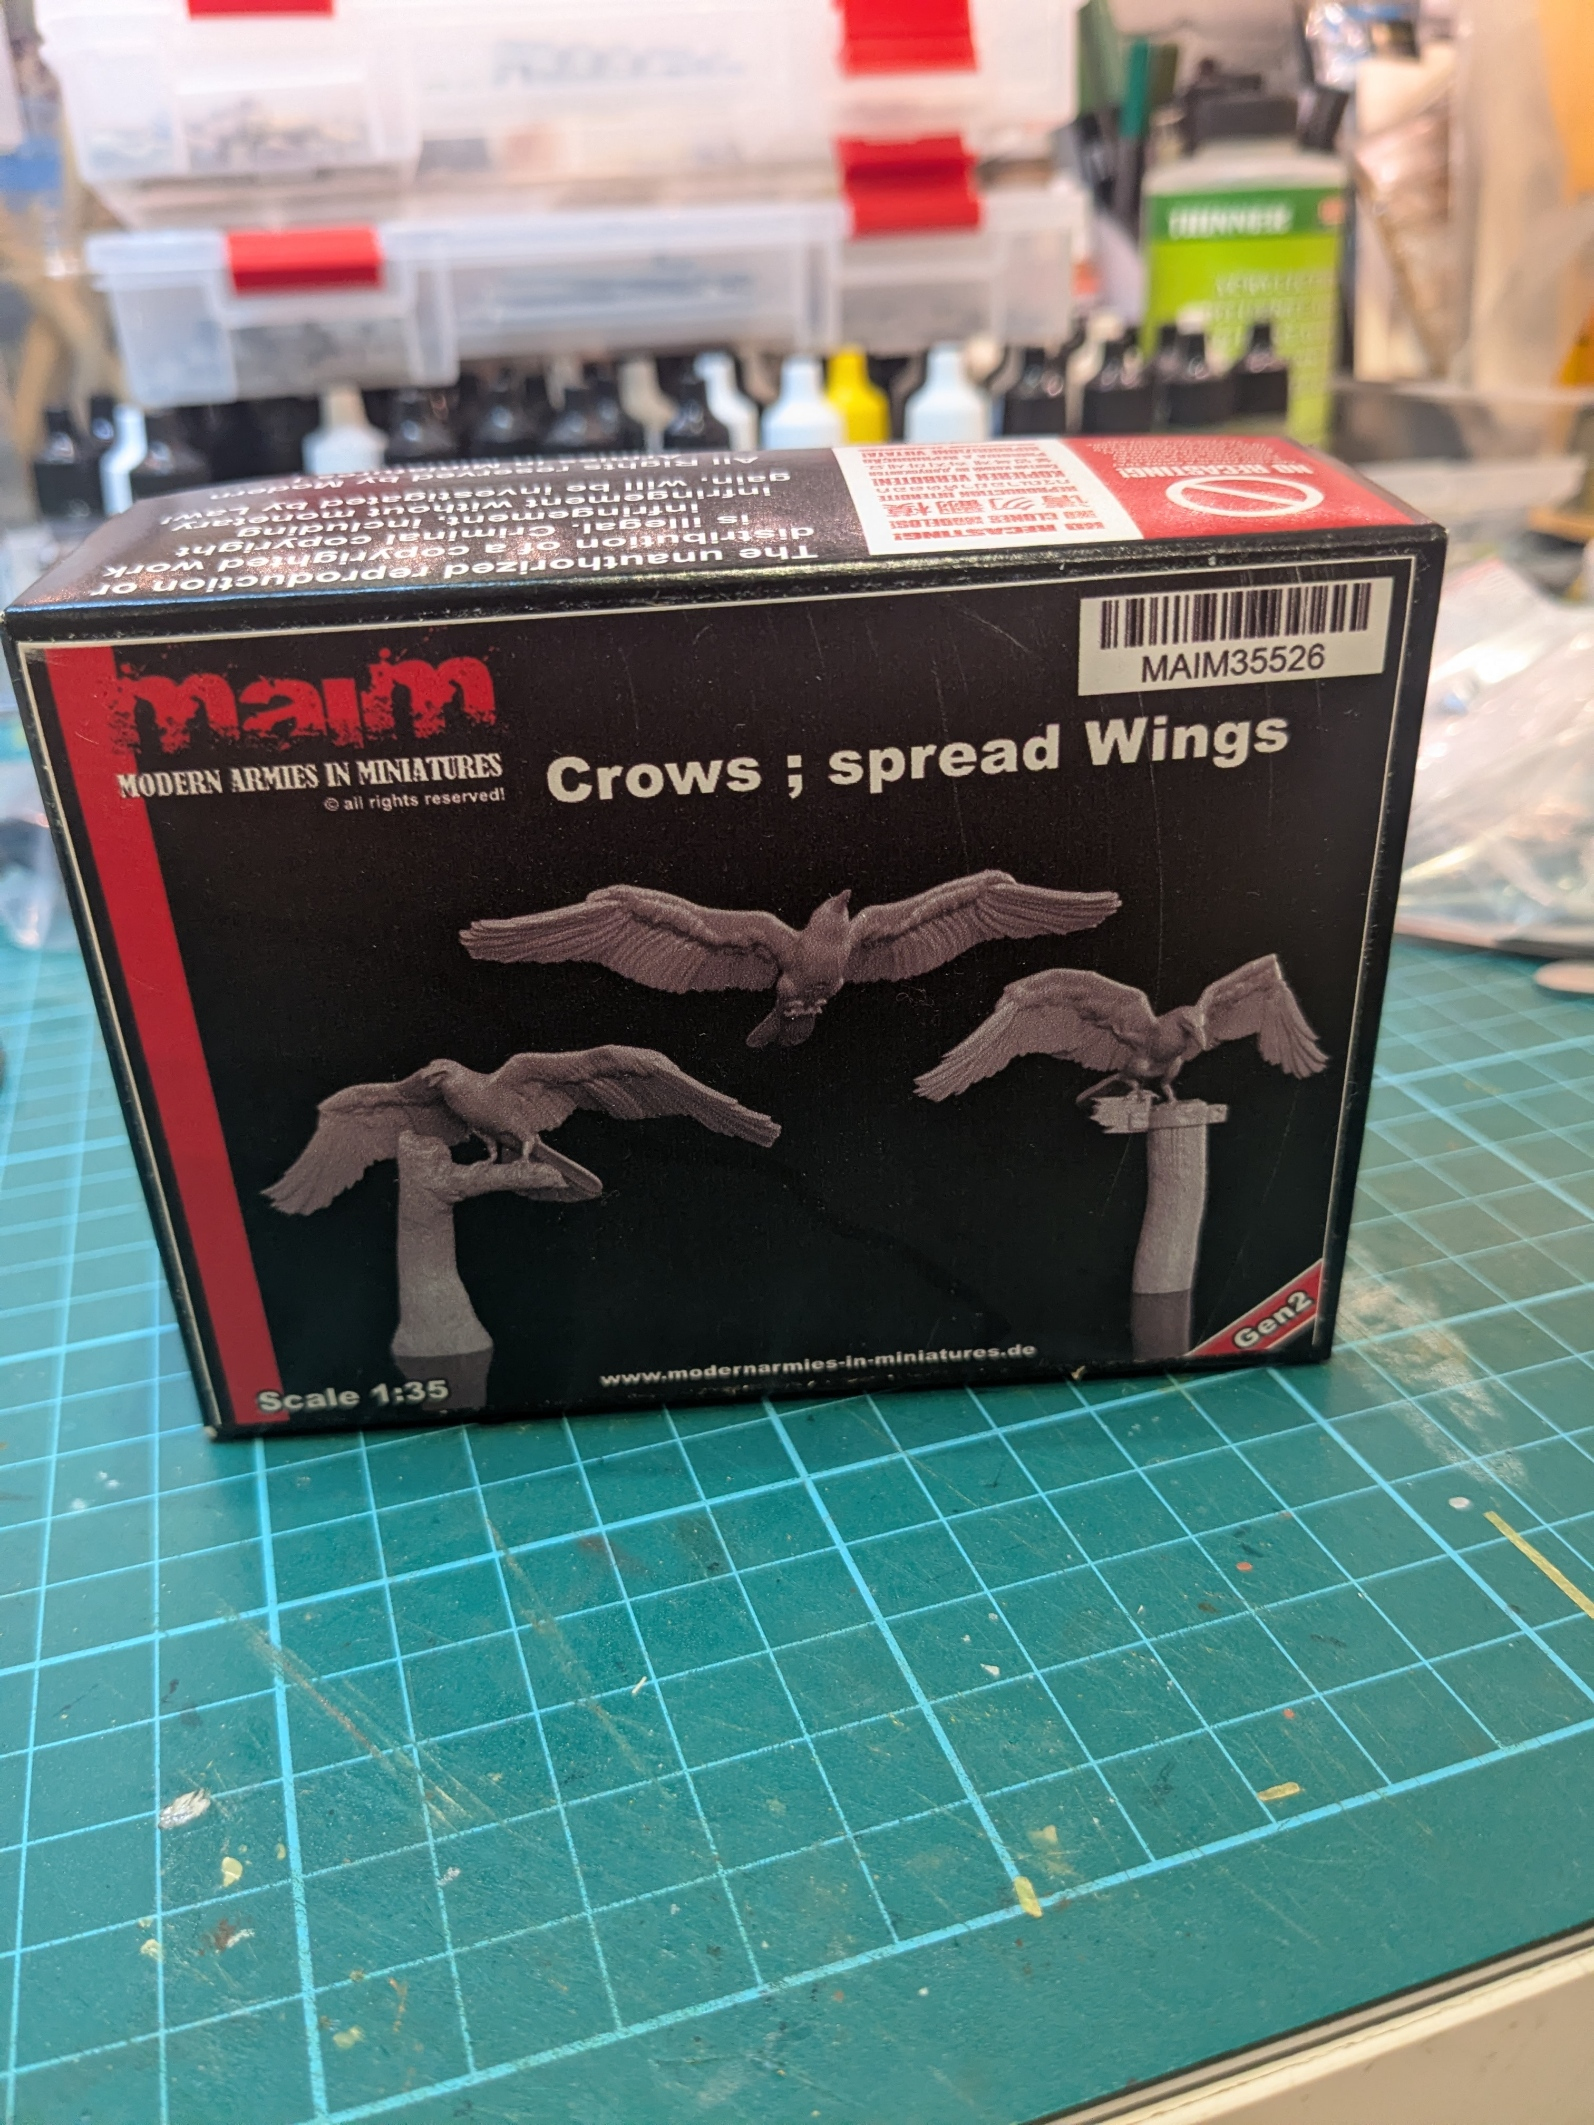
The beautifully sculpted crow, by the way, is from MAIM models.
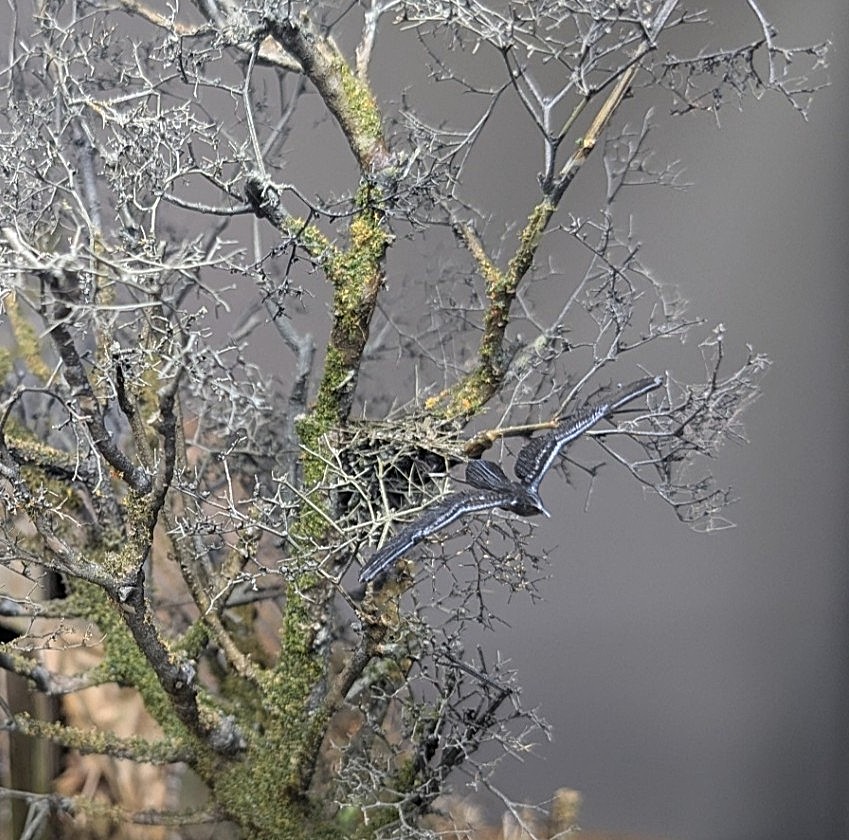
I added another to the right-hand side of the diorama to add to the drama of the GI running away.
24 Likes
The amount of planning as well as the consideration of the ‘real world’ conditions is just amazing and has made this an absolute stand out!
Should we create a separate topic category for ‘Diorama Masters’ particularly where they have ‘how to’ elements included? This and any of @JRutman, @Stickframe or @Cheyenne would be the sort of pieces that really inspire and it’d be great to put them in an easier to access location. There’s a bunch that I’d love to be able to refer to in one spot other than having them saved in my already crowded bookmarks.
Just stunning work!
4 Likes
Amazing work Tim, beautifully executed as always. Fingers crossed it’s at Telford 2026.
2 Likes
Wow, talk about full circle. I remember seeing that Road to Singapore diorama a few years back, maybe 2022 or 2023. It inspired me to look into more Japanese armor models. Now here I am watching the artist behind it at work on another.
I want to say I saw it on Facebook. Cant remember where exactly or if it was even posted by you or a reposter, but it blew my very inexperienced mind and lit a little spark. Thank you for giving me inspiration.
3 Likes
Congratulations are in order Tim, BRAVO! Not only for a brilliant diorama, but for it’s completion.
Well done Sir. Everything just fits together. You’ve told a good story, very original. Your level of
skill and knowledge of the events are obvious.
Sooo, when are “we” starting the next creation.?
Cheers 
Dave 
2 Likes
Thanks Sam.
As I have made abundantly clear I am a very slow worker… or perhaps ‘infrequent’ to be more apt. The downside is that these projects take so long to complete. The upside is that I have a lot of time to think about something before I do it!
3 Likes
Thanks Dave.
Yes, I finally got there… or have I? There may be just a little extra thing to add..!
1 Like
Thanks Brock. You are very kind.
If you didn’t see it here at the time, you probably saw my Malayan dio on Facebook.
Regards, Tim
2 Likes
Thank Owen,
Yes, I can guarantee that this will be coming to Telford. But first will be MAFVA at St Ives in June.
2 Likes
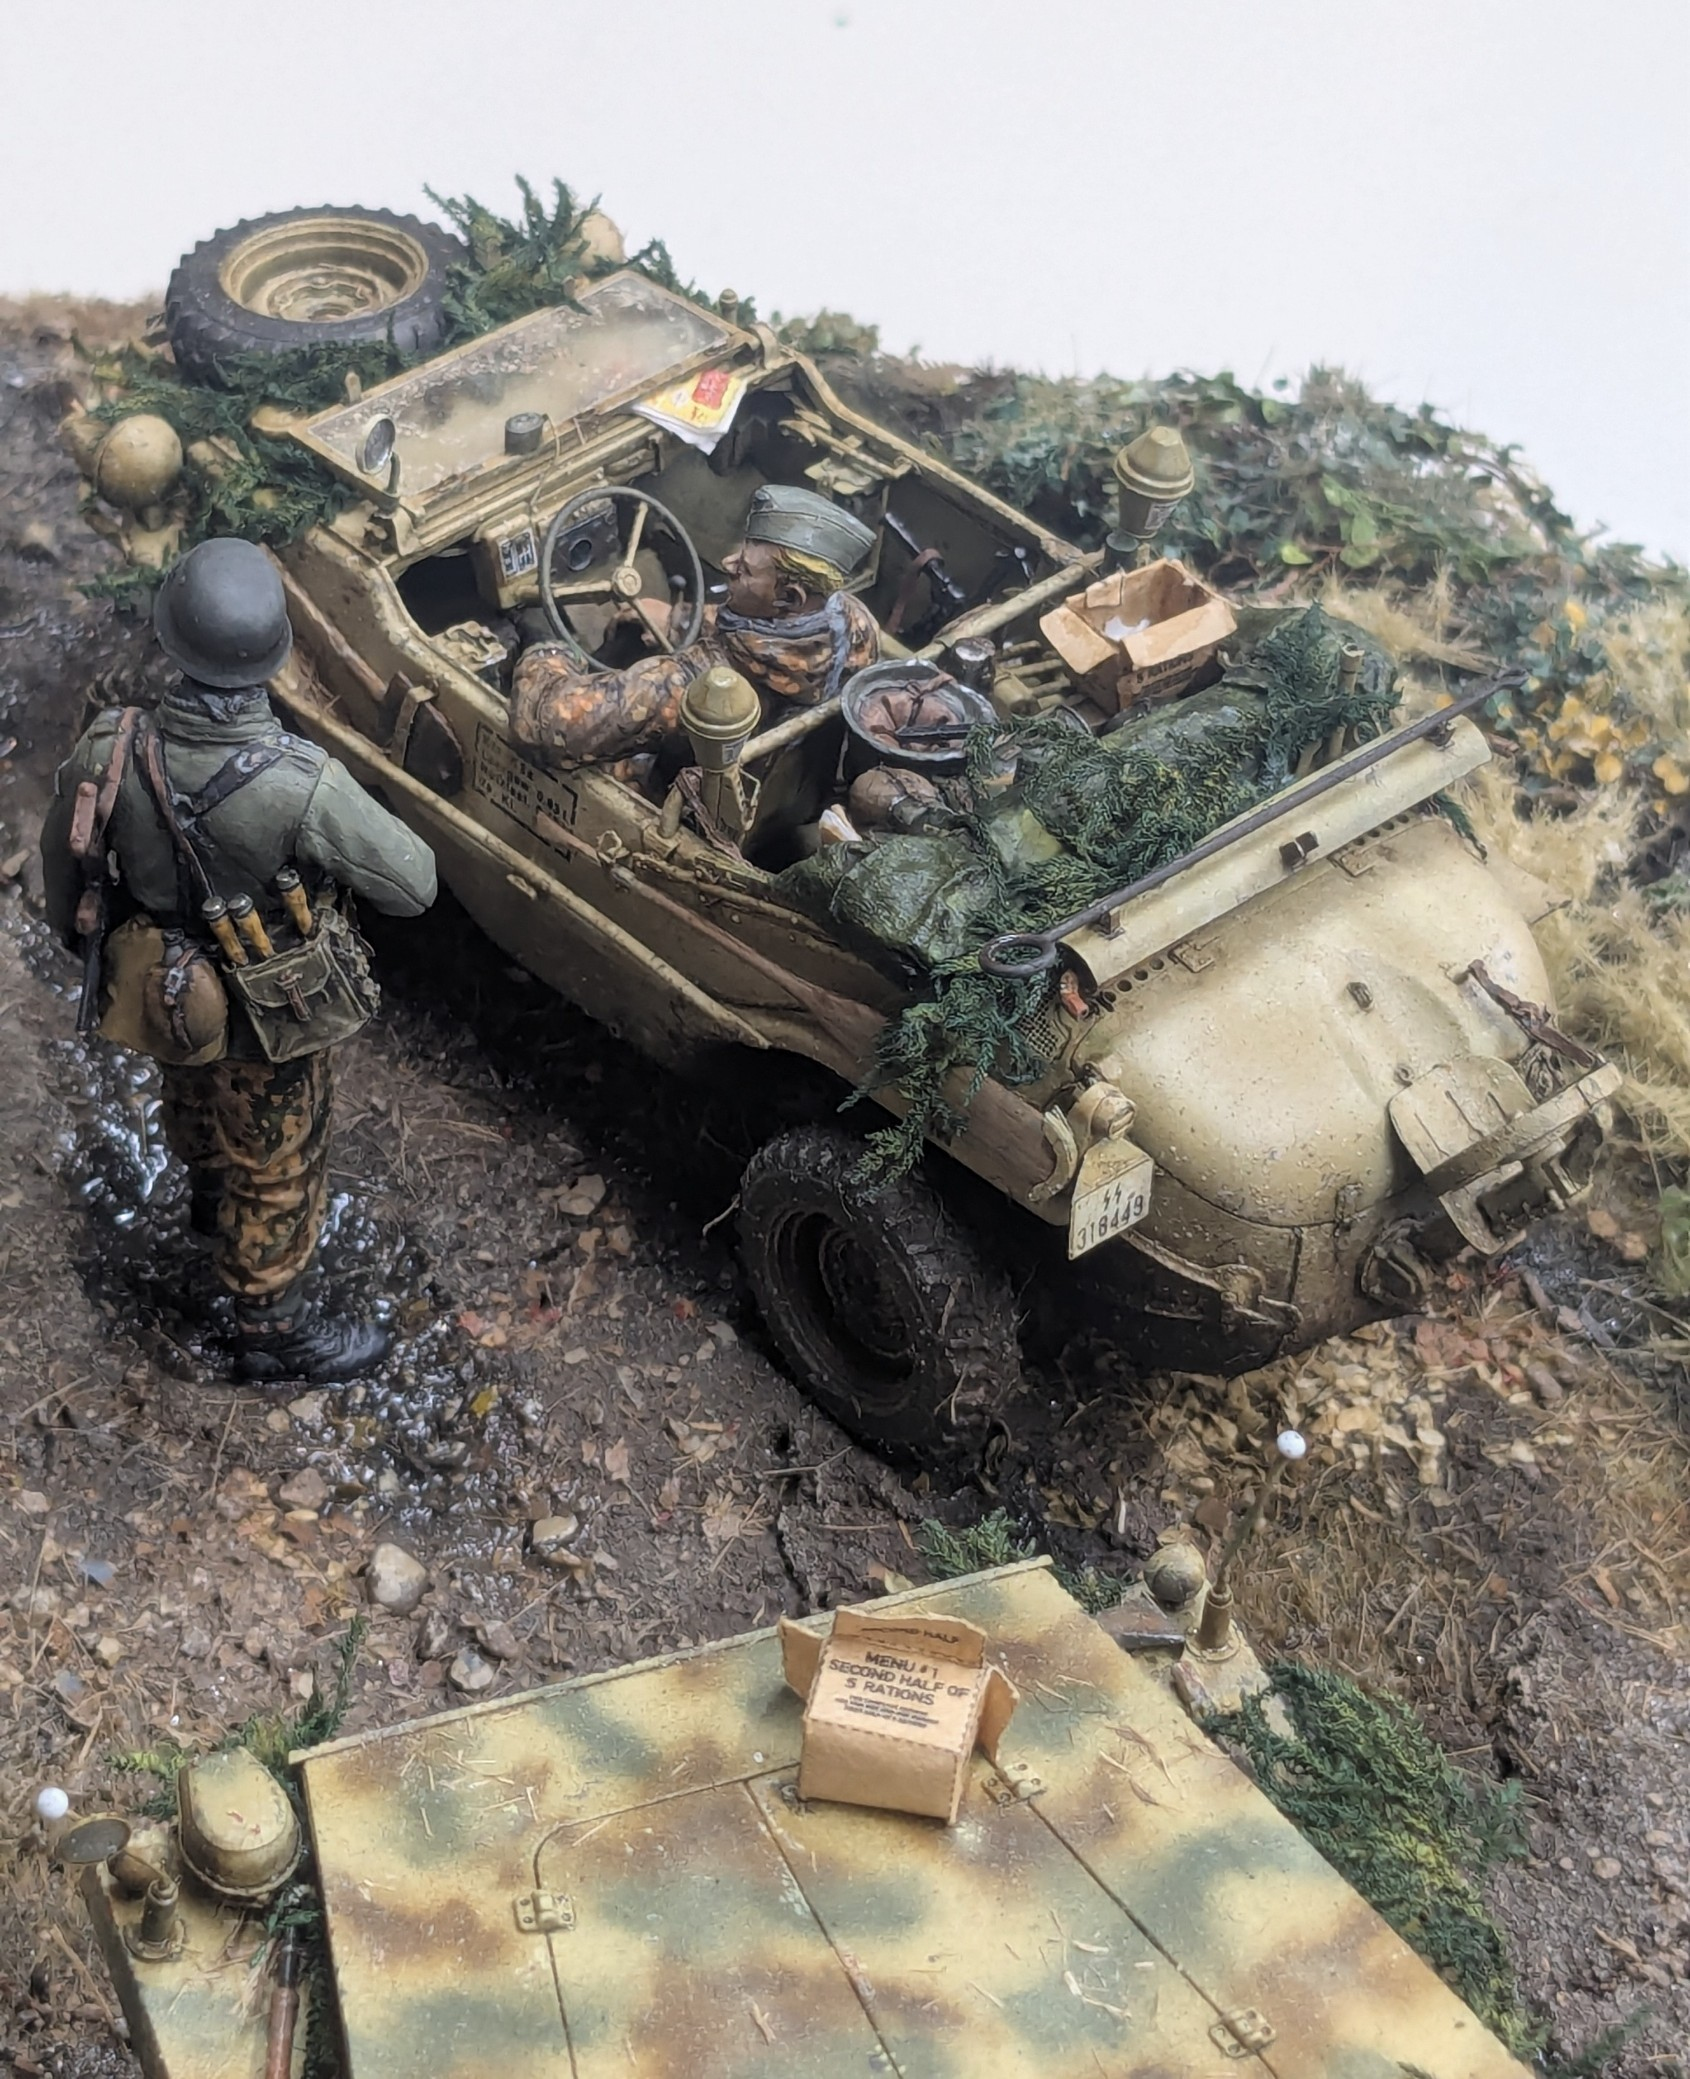
And here are some more detailed shots…
First the rear left side of the diorama.
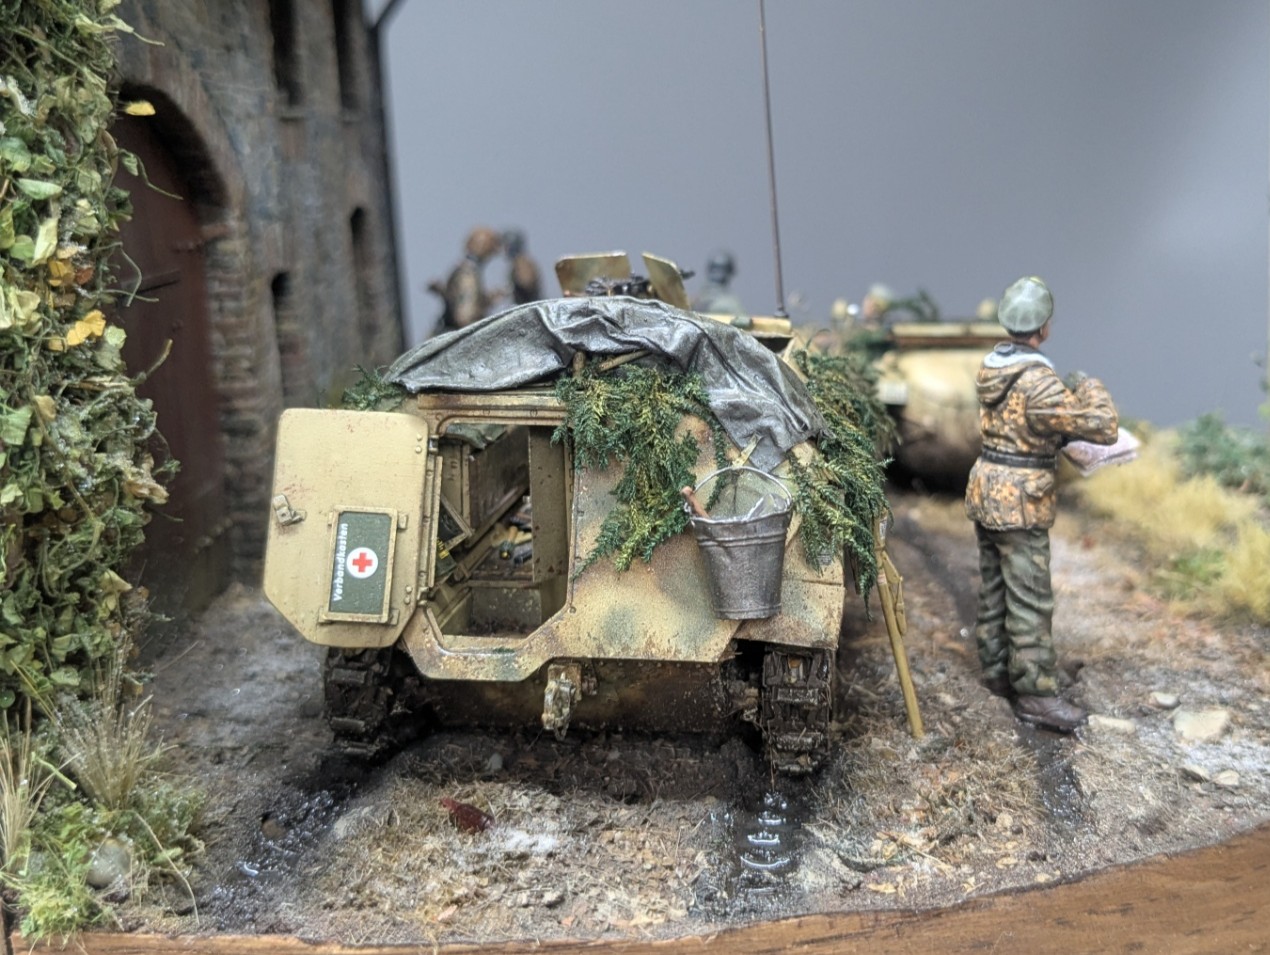
The tarp was made from two-ply tissue soaked in PVA. The battered bucket was bought as a 3D printed model by MAIM (the same company who made the crows).
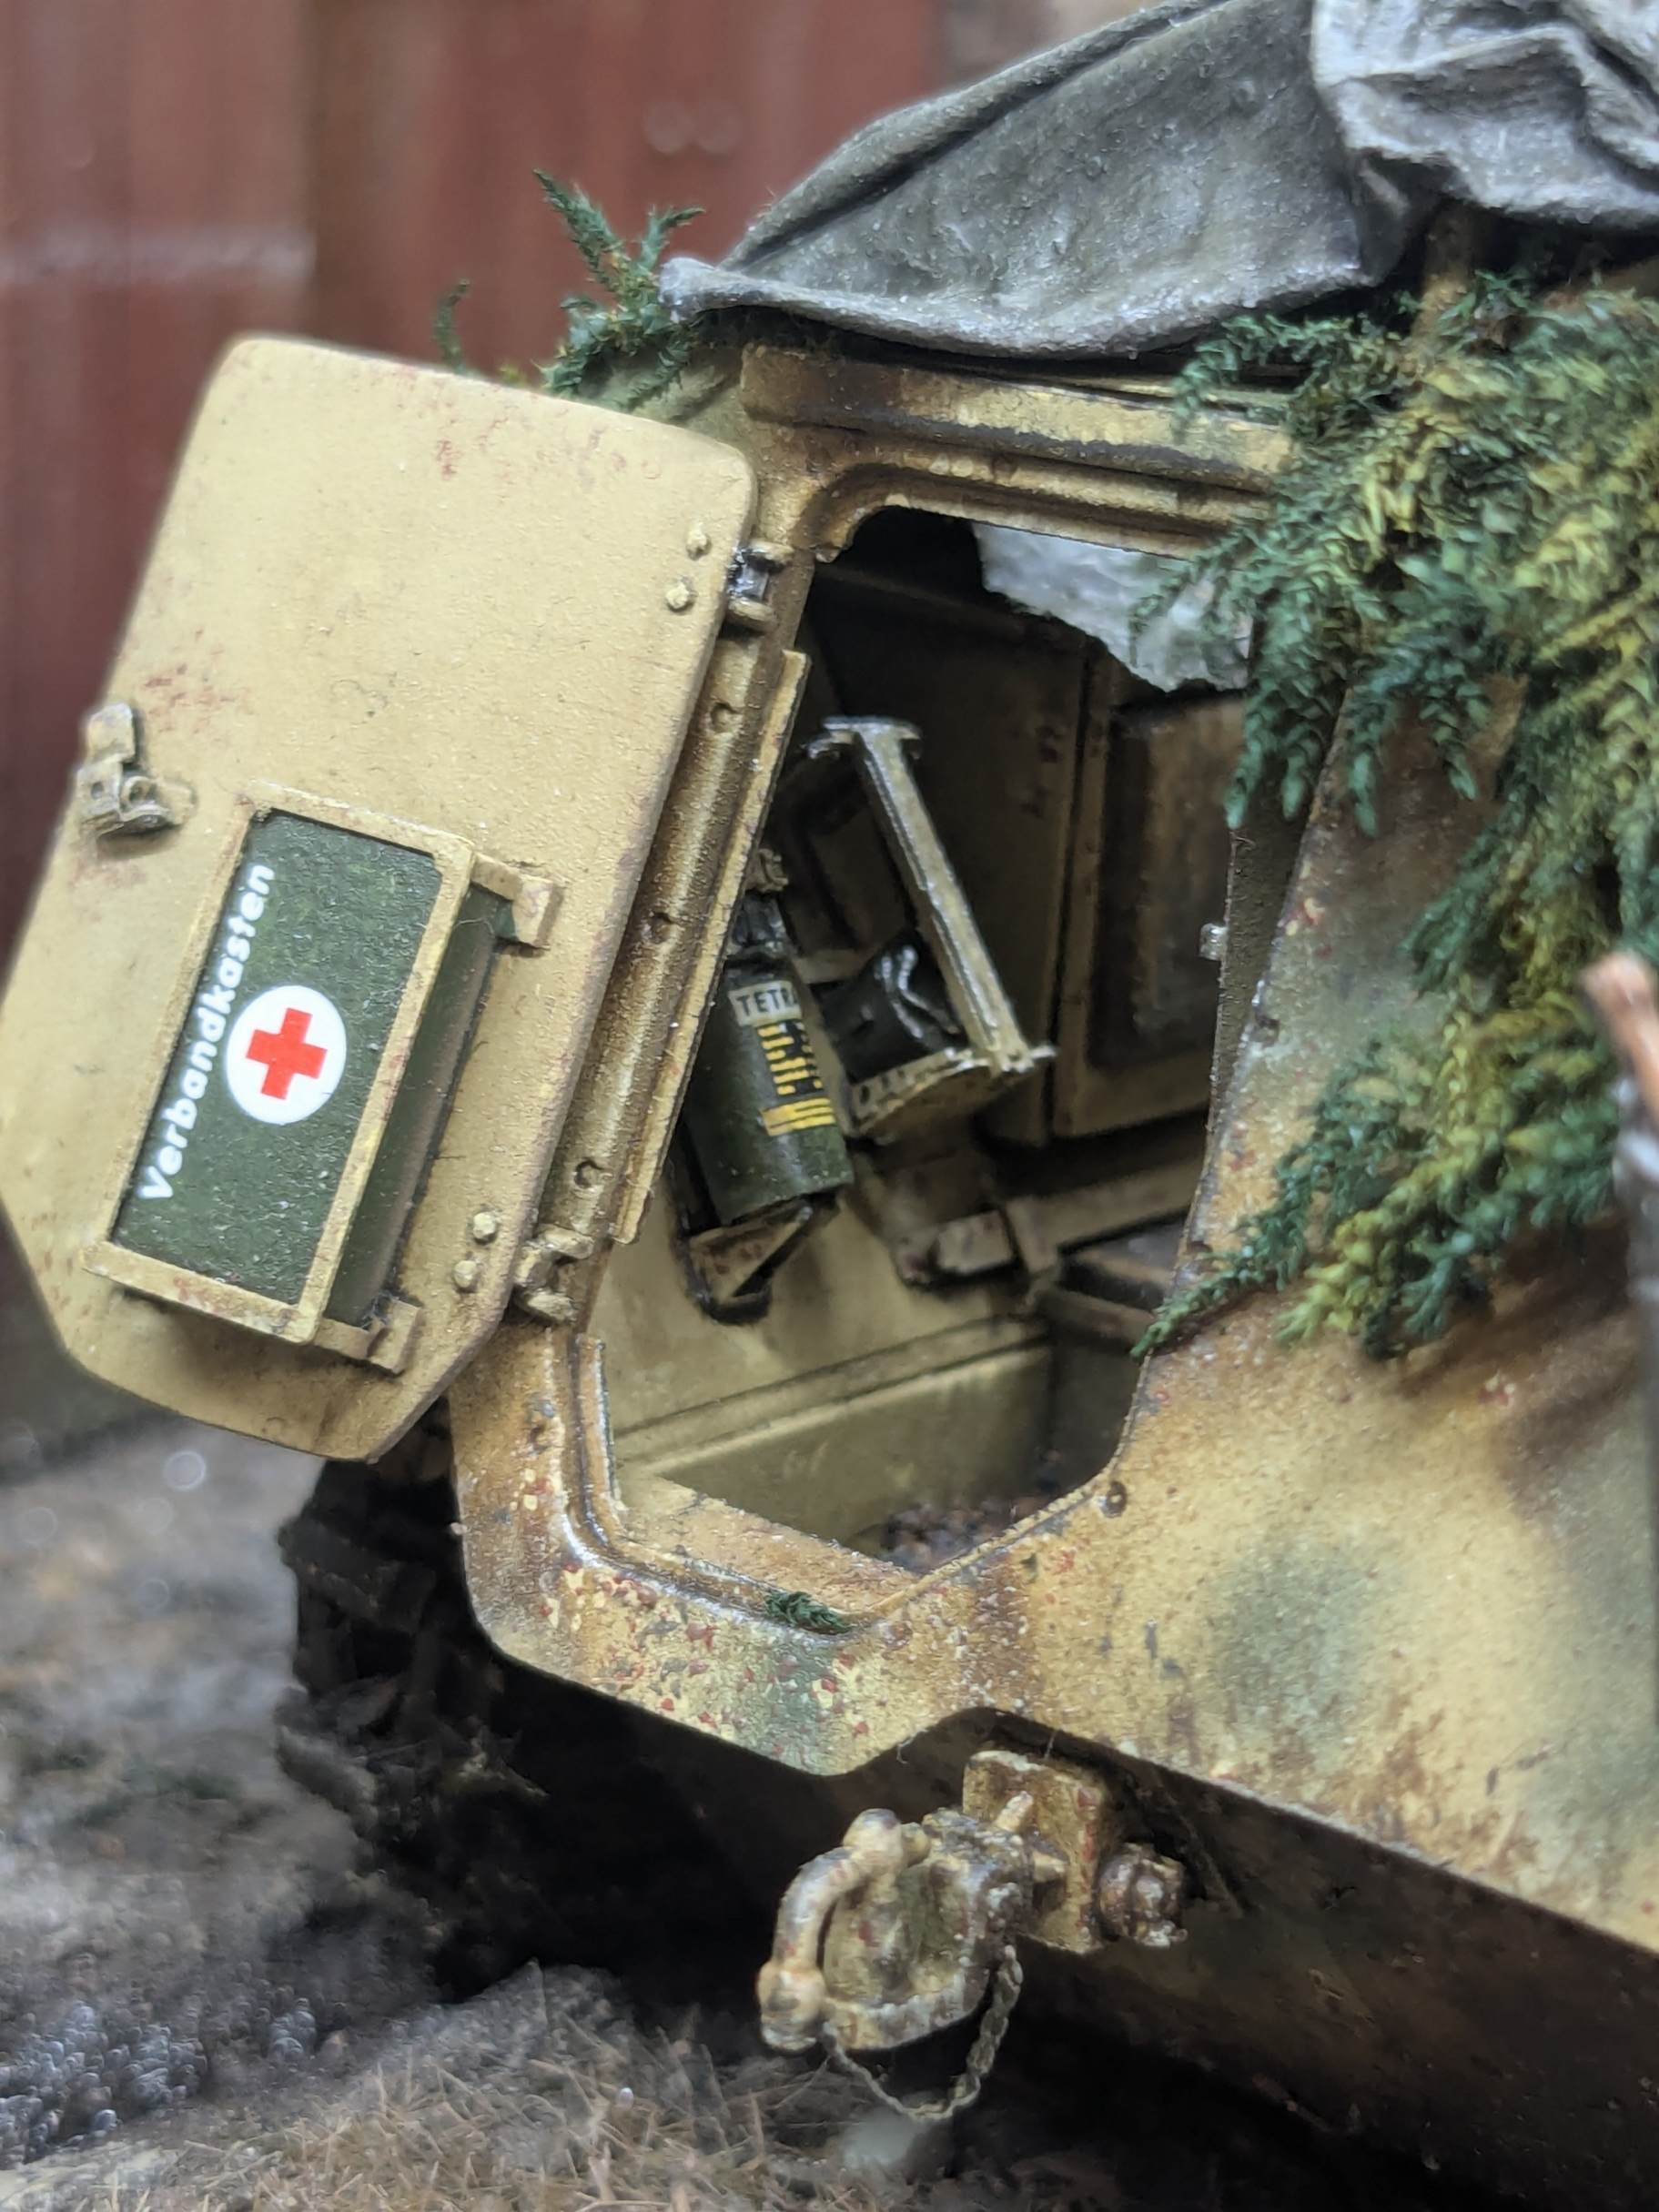
The decals for the first aid box and Tetra fire extinguisher come from Passion Models German Equipment Detail Set.
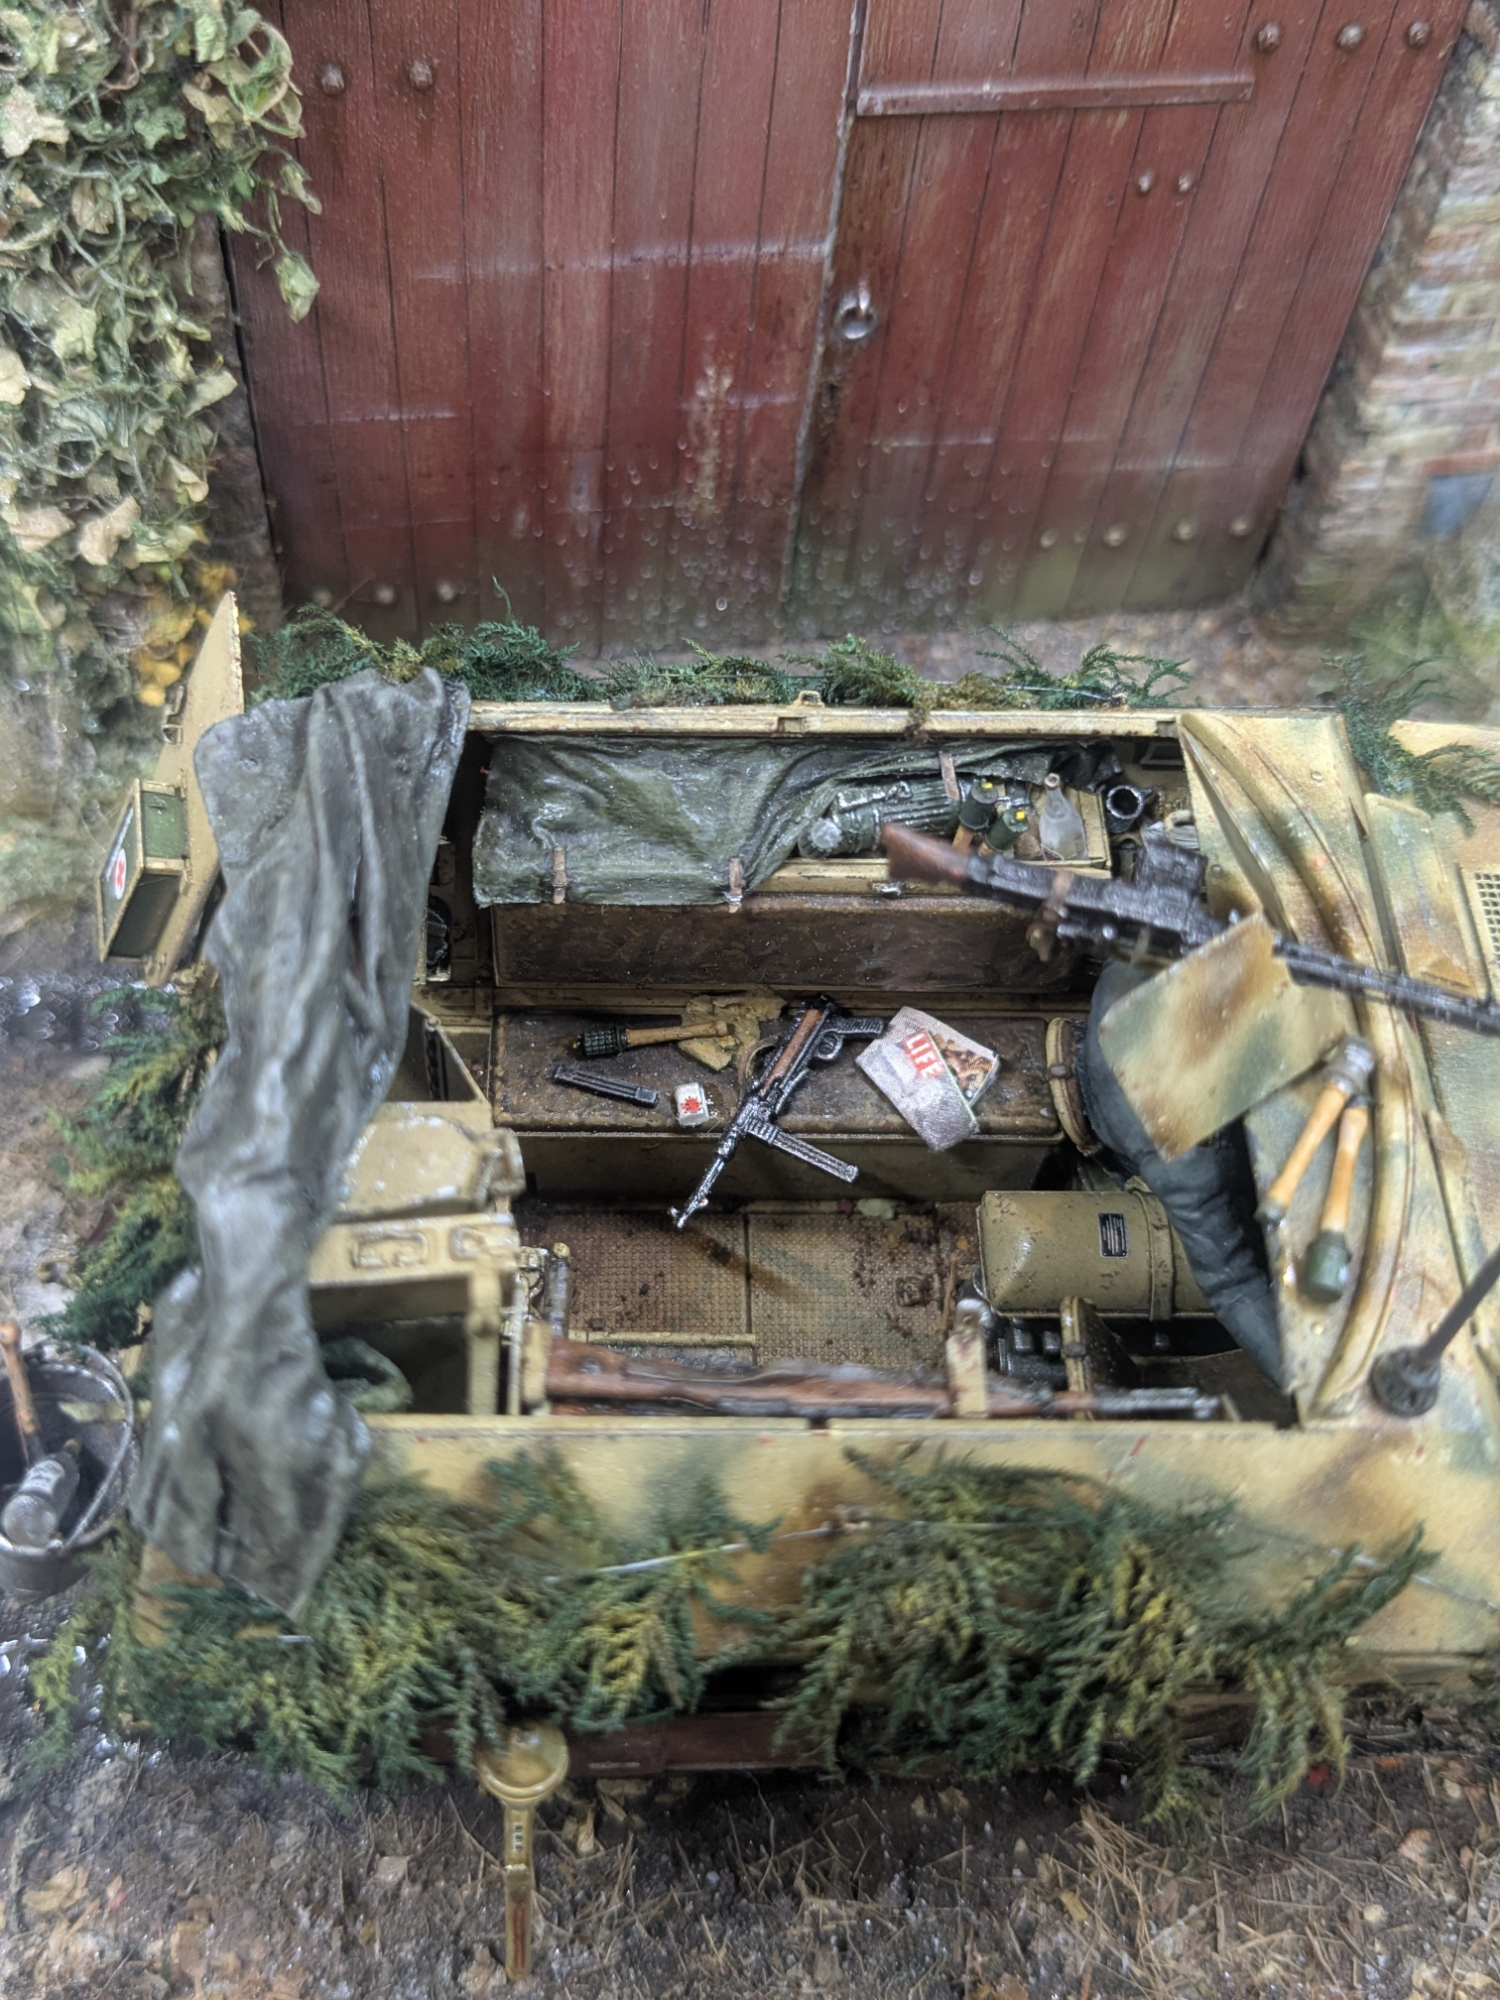
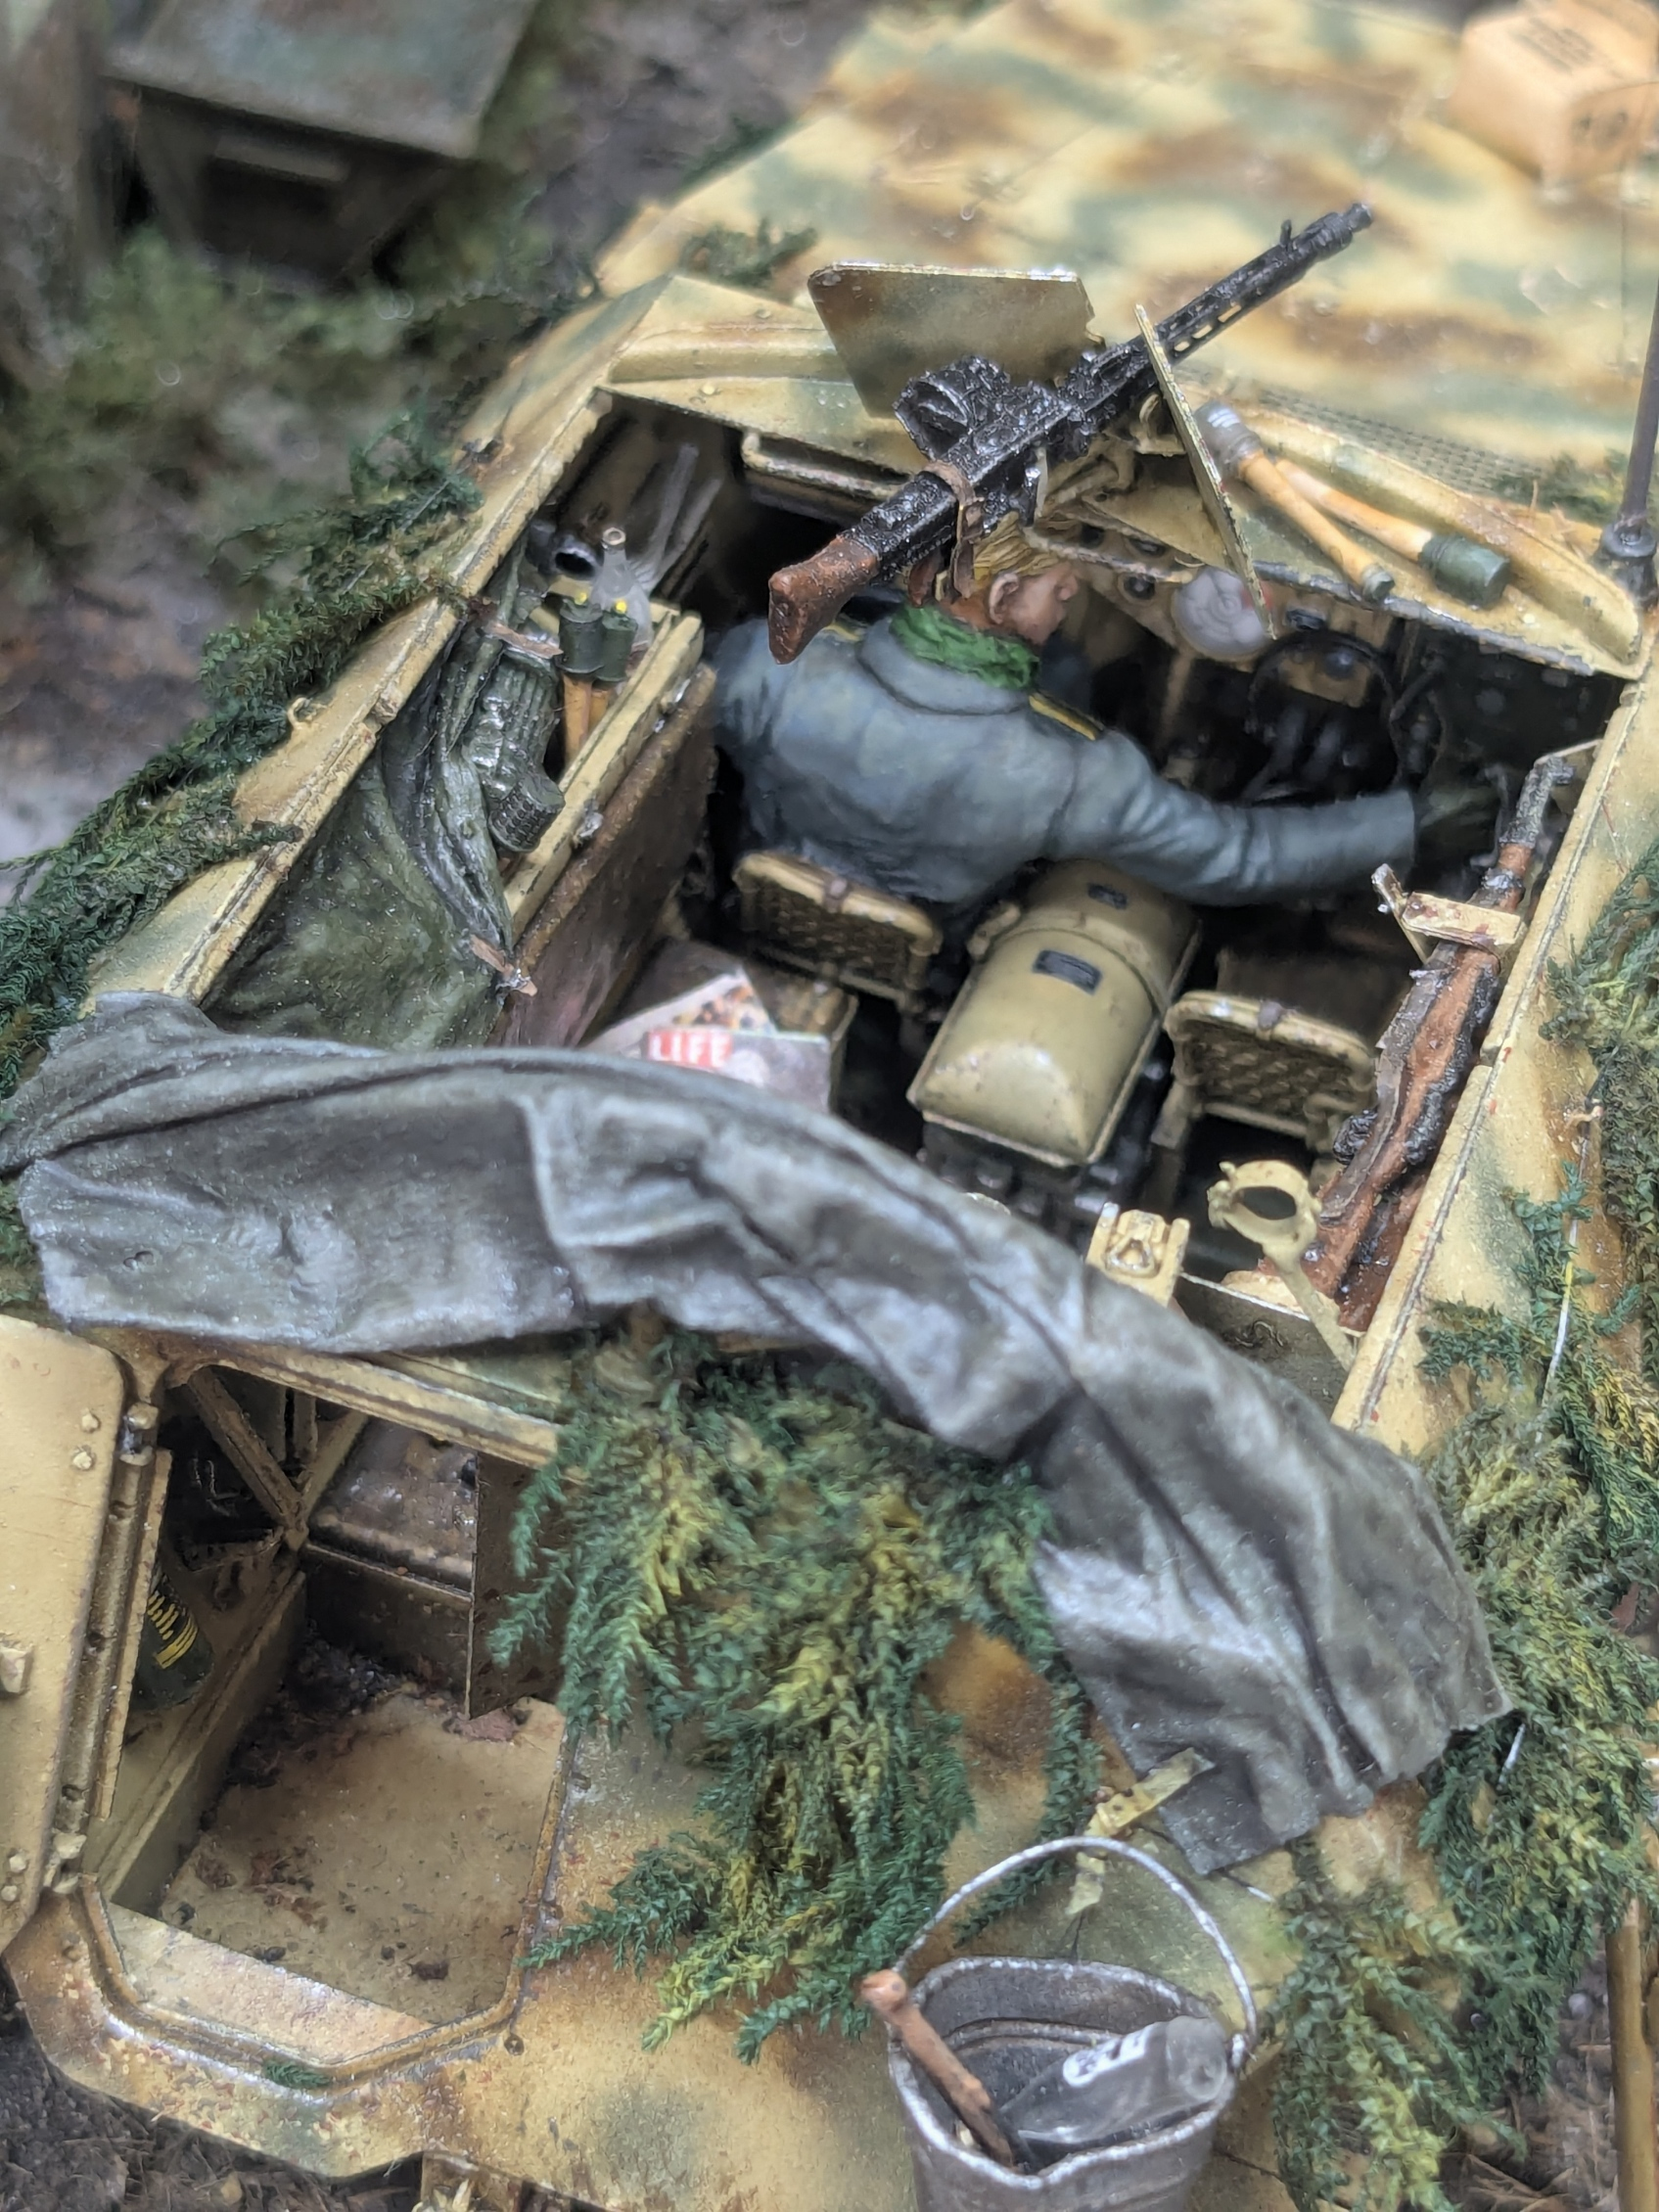
Note the Lucky Strike cigarette packet and copy of Life magazine. Both came from the D-Day Miniature Studio 35158DDM Schwimmwagen Accessories Set Ardennes 1944.
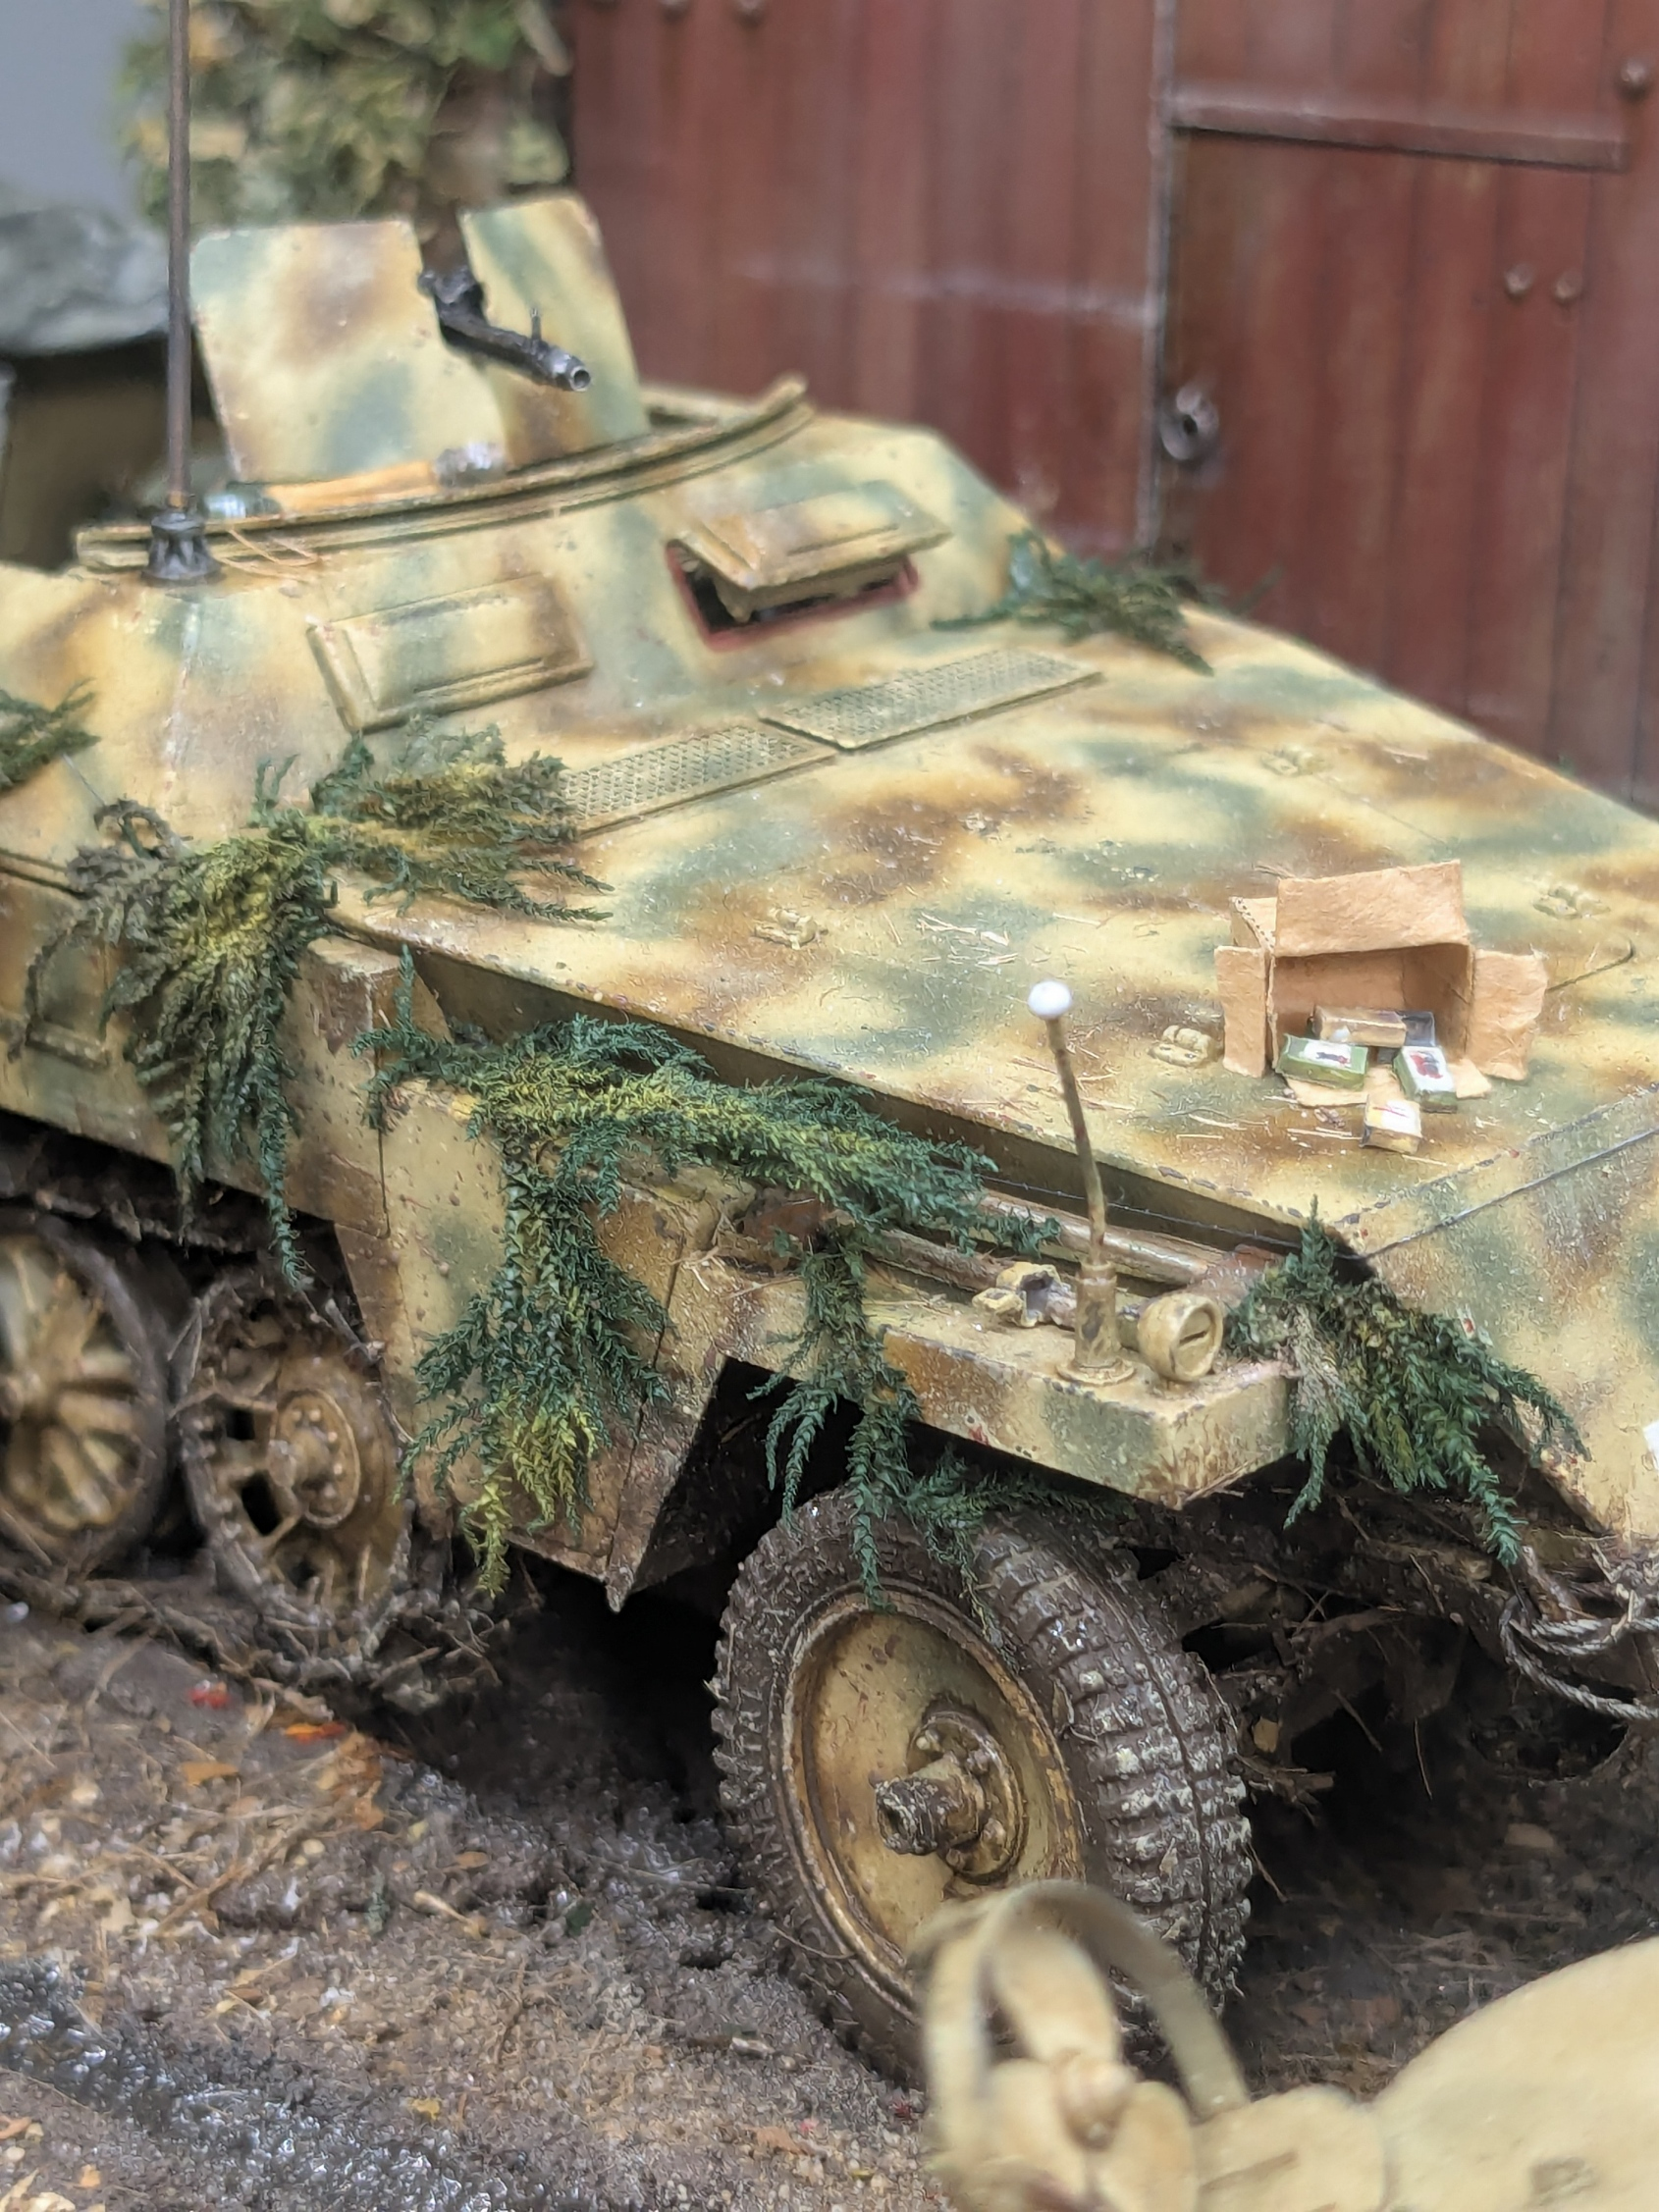
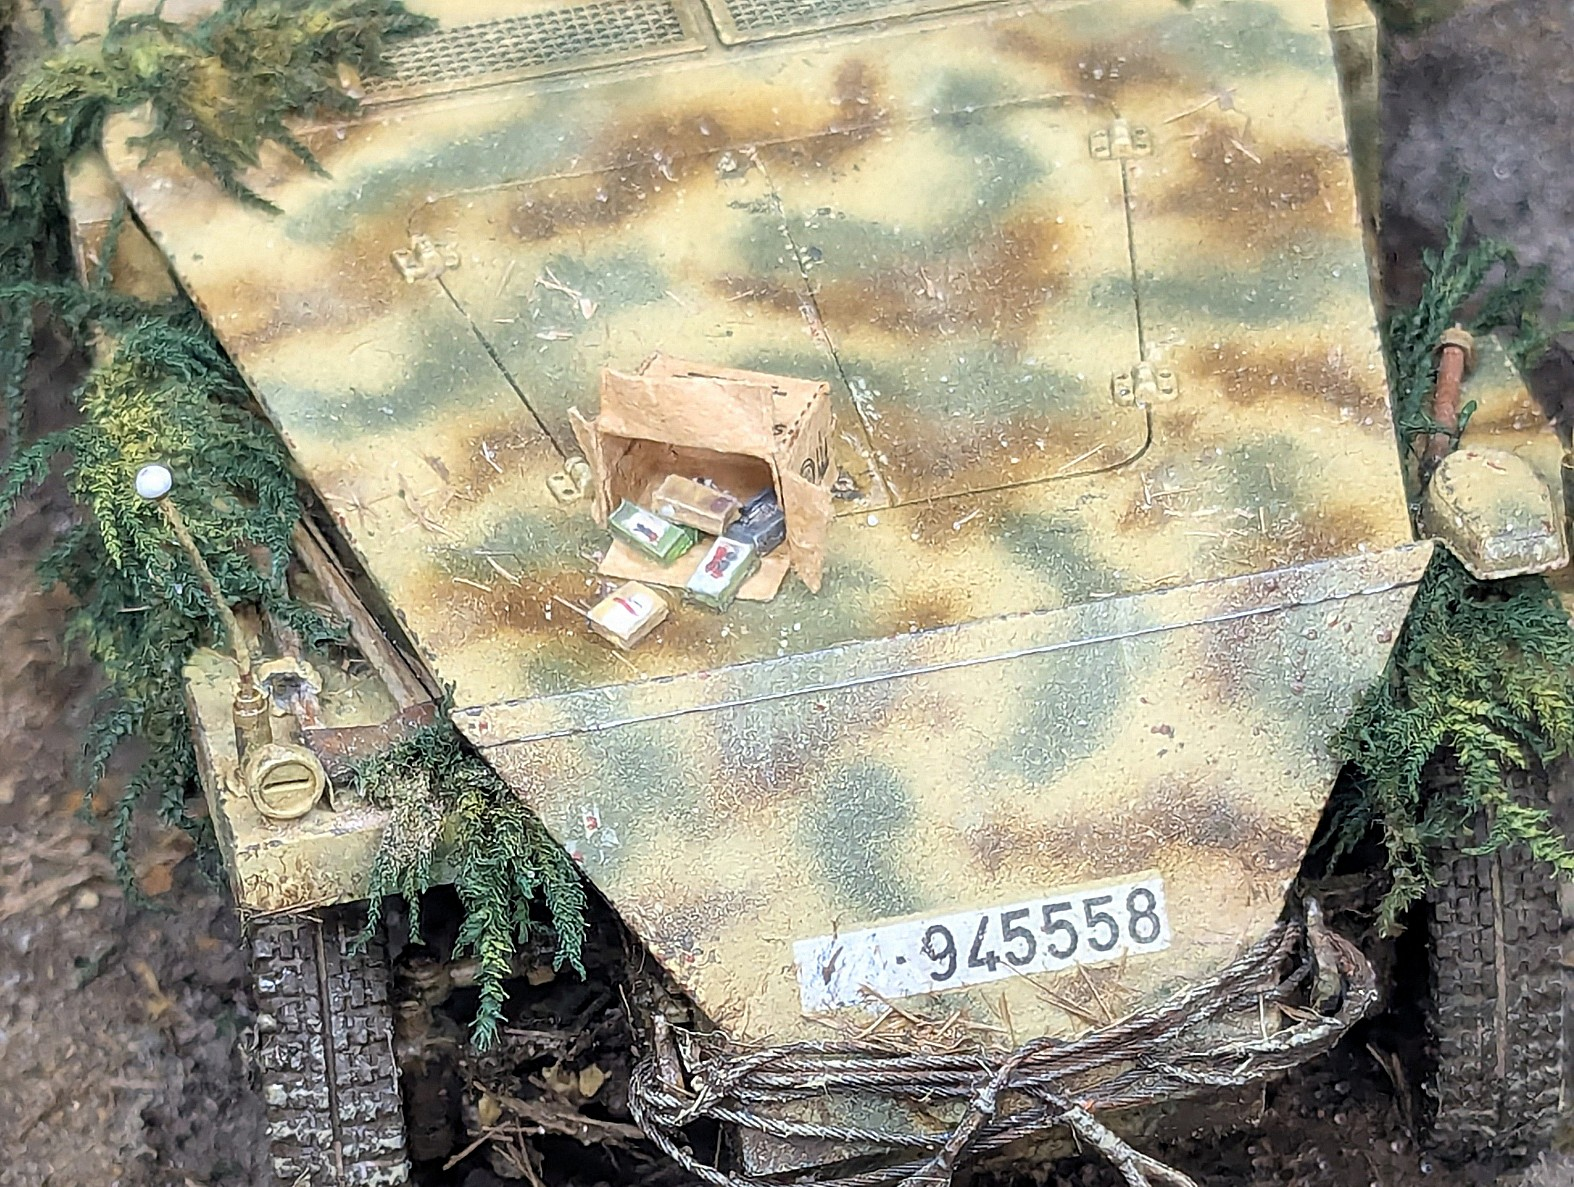
The K Ration boxes are from Tamiya. They come printed on paper and, although a little fiddly to cut out, they fold like origami and are actually rather fun to make. They need to be ‘stressed’ with tweezers to give them the look of cardboard. The spilled packets were simply cut from random bits of plastic card and painted in various colours…
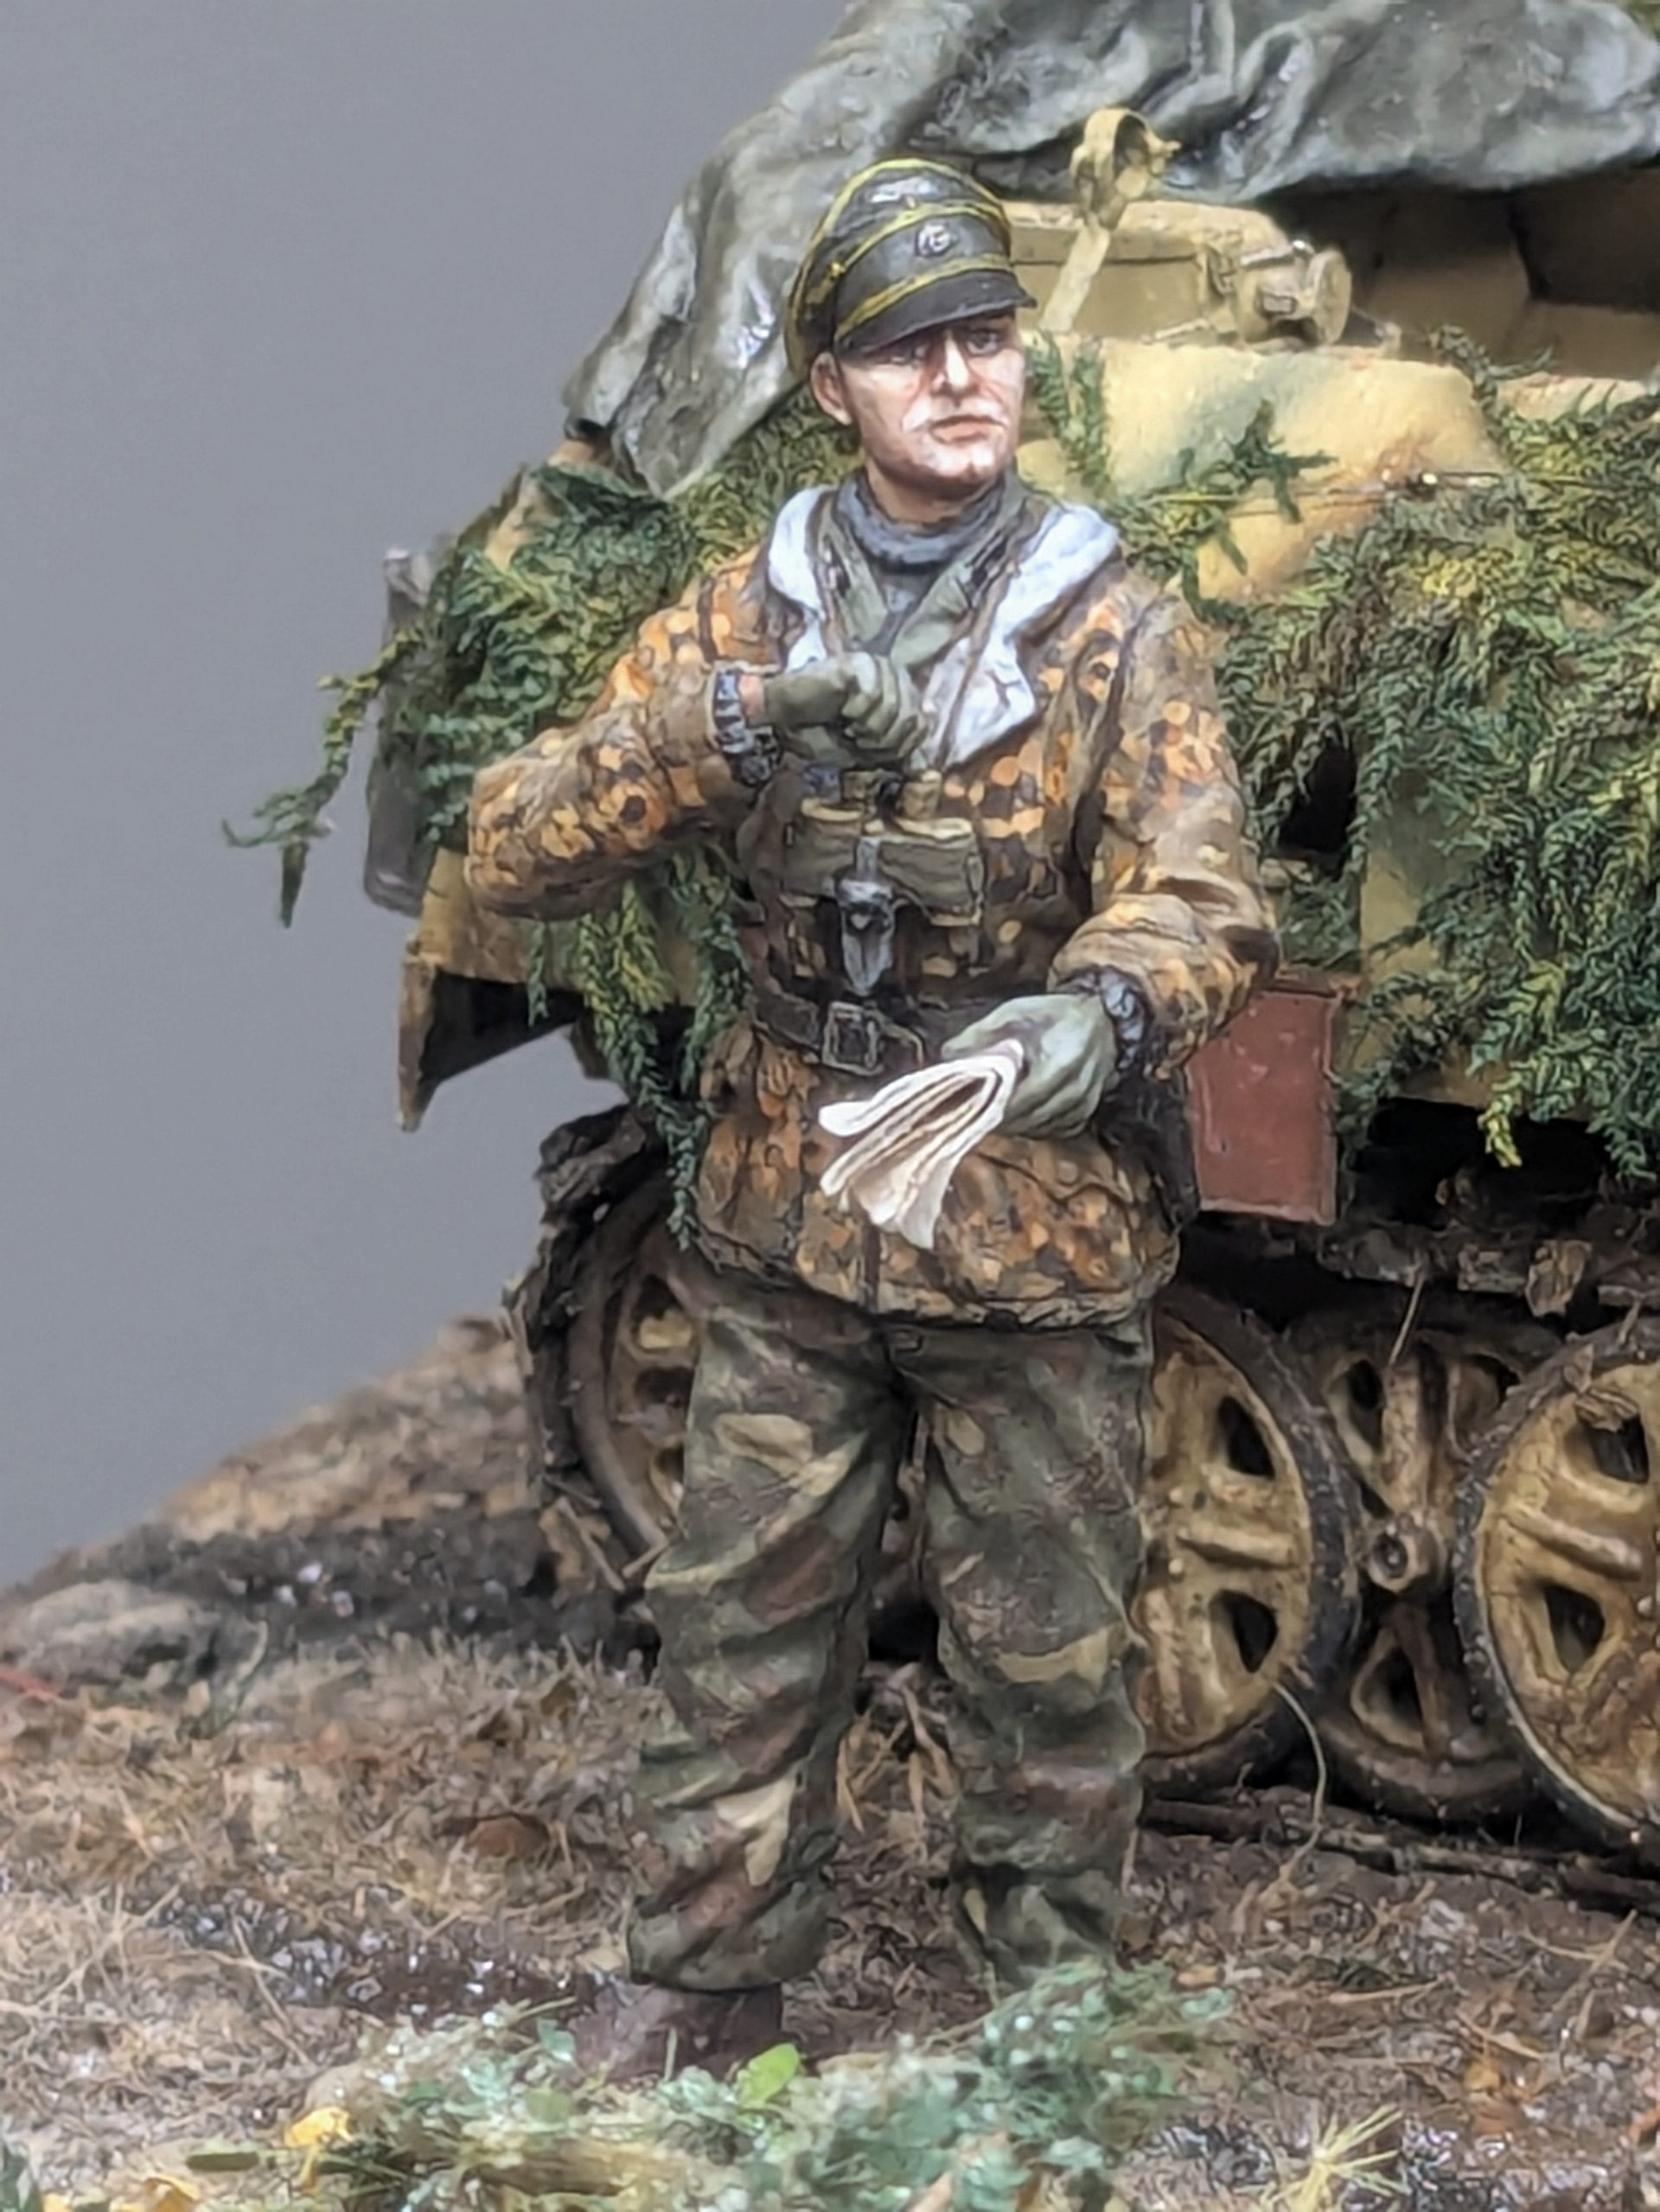
This guy is an Unterscharfuhrer, equivalent to an Unteroffizier in the Wehrmacht and a Sergeant in the Allied forces. Although you can hardly see them here, I used Tamiya decals for the collar tabs.
As for the map, like all paper items I use this was made thinner by gently stripping away a layer of the original paper using fine tweezers. It can then be folded and bent to look much more in scale…
22 Likes
Delicious details, bravo. (btw cigarette paper e.g. Rizla needs no stripping) I assume that penultimate image shows the frosting you mentioned earlier. Still pleading for some daylight shots pretty please?
Well if this doesn’t win any/every comp you enter it in, we’ll need to make the judges an offer they can’t refuse. And round up some horses. 
4 Likes
Now Tim, as we all know, it’s not the public glory that we seek - just the warm inner glow of self-achievement… but prizes help!
Yes, I will get around to an outdoor shoot. However, I still plan to add an extra figure and there’s the off touch up needed here and there.
Thanks for the Rizla tip - but I was talking about pre-printed paper goods such as maps, magazines, etc.
4 Likes
More detail shots
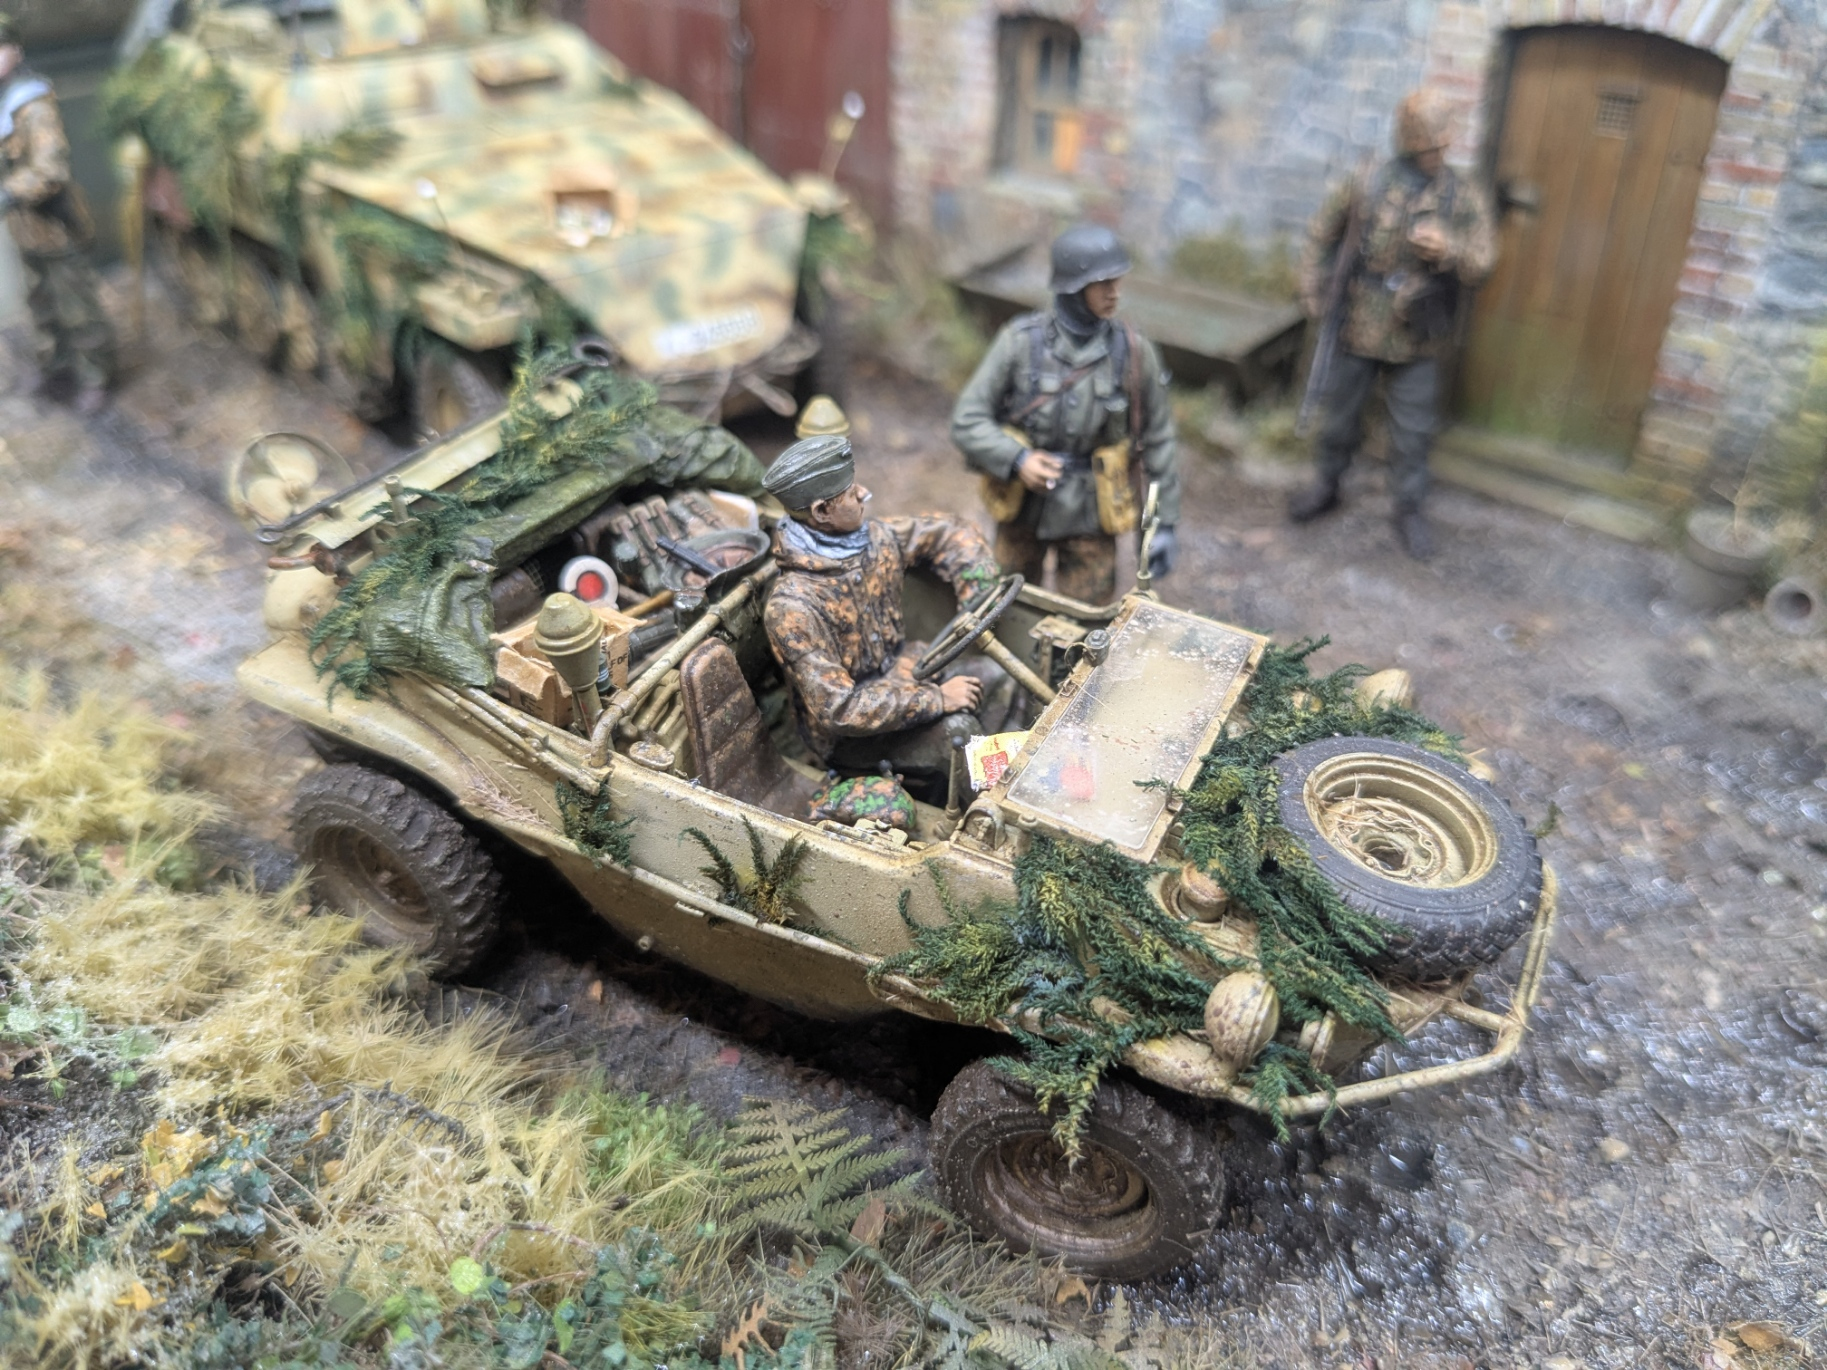
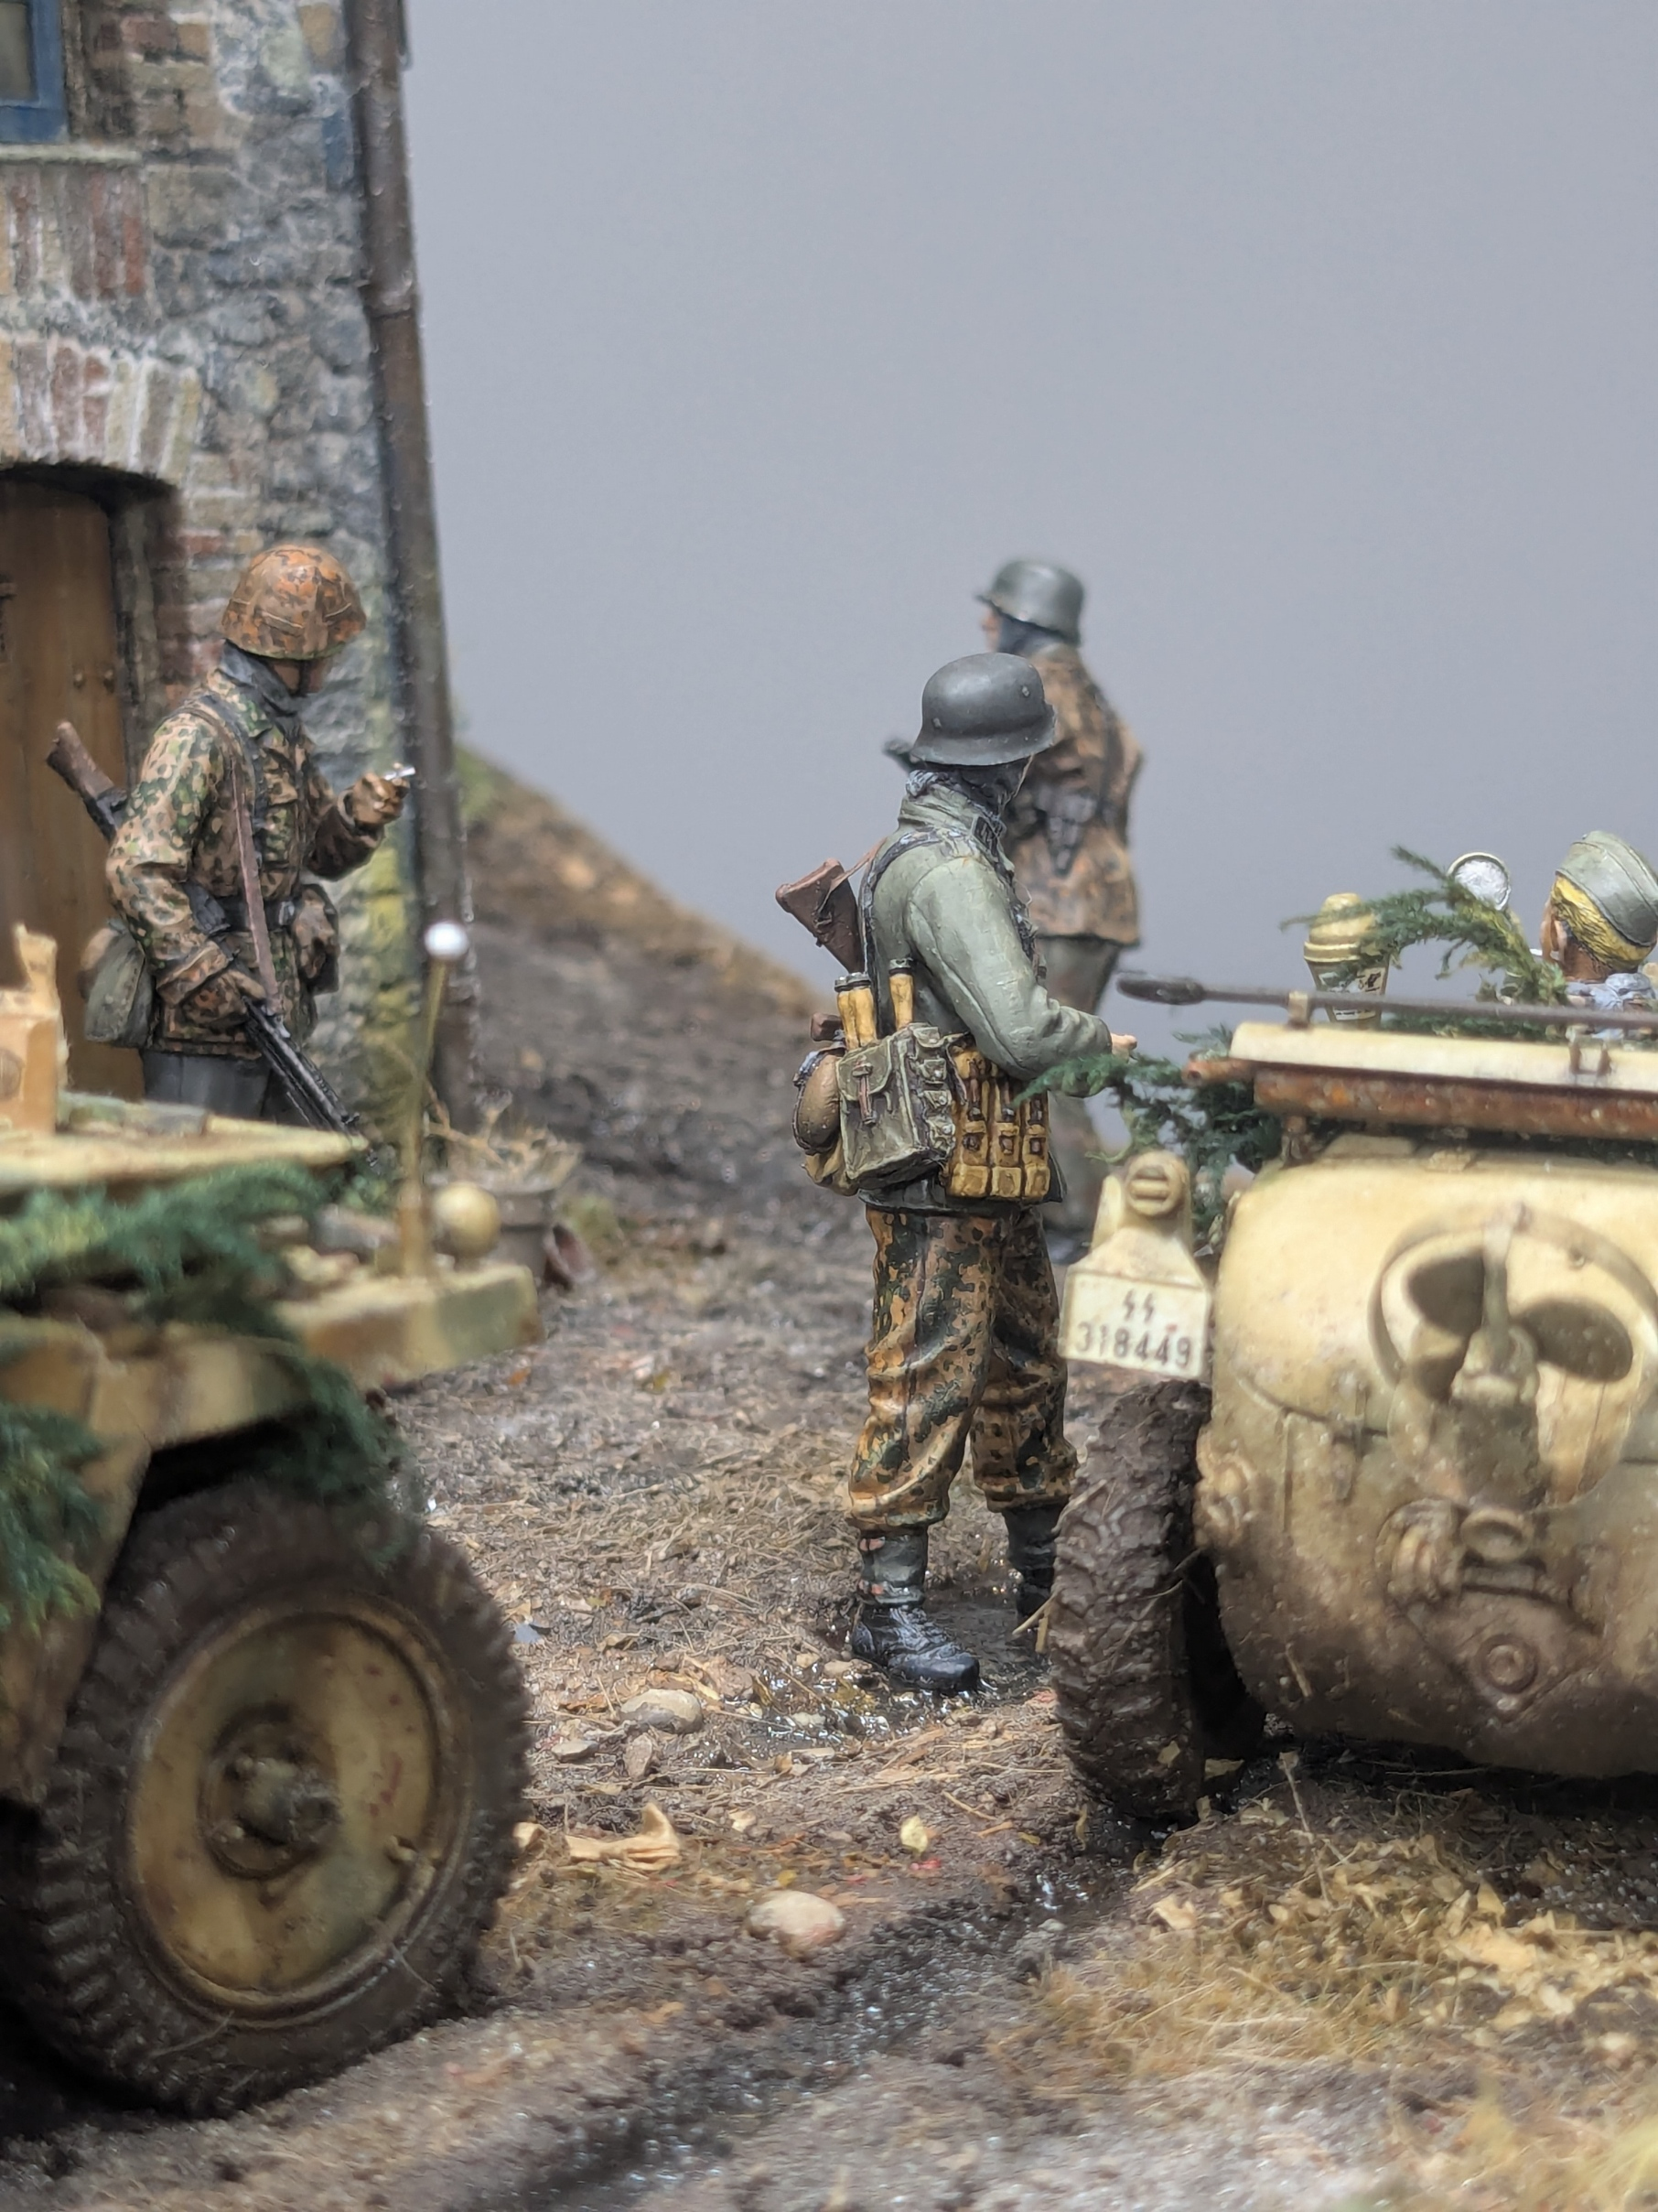
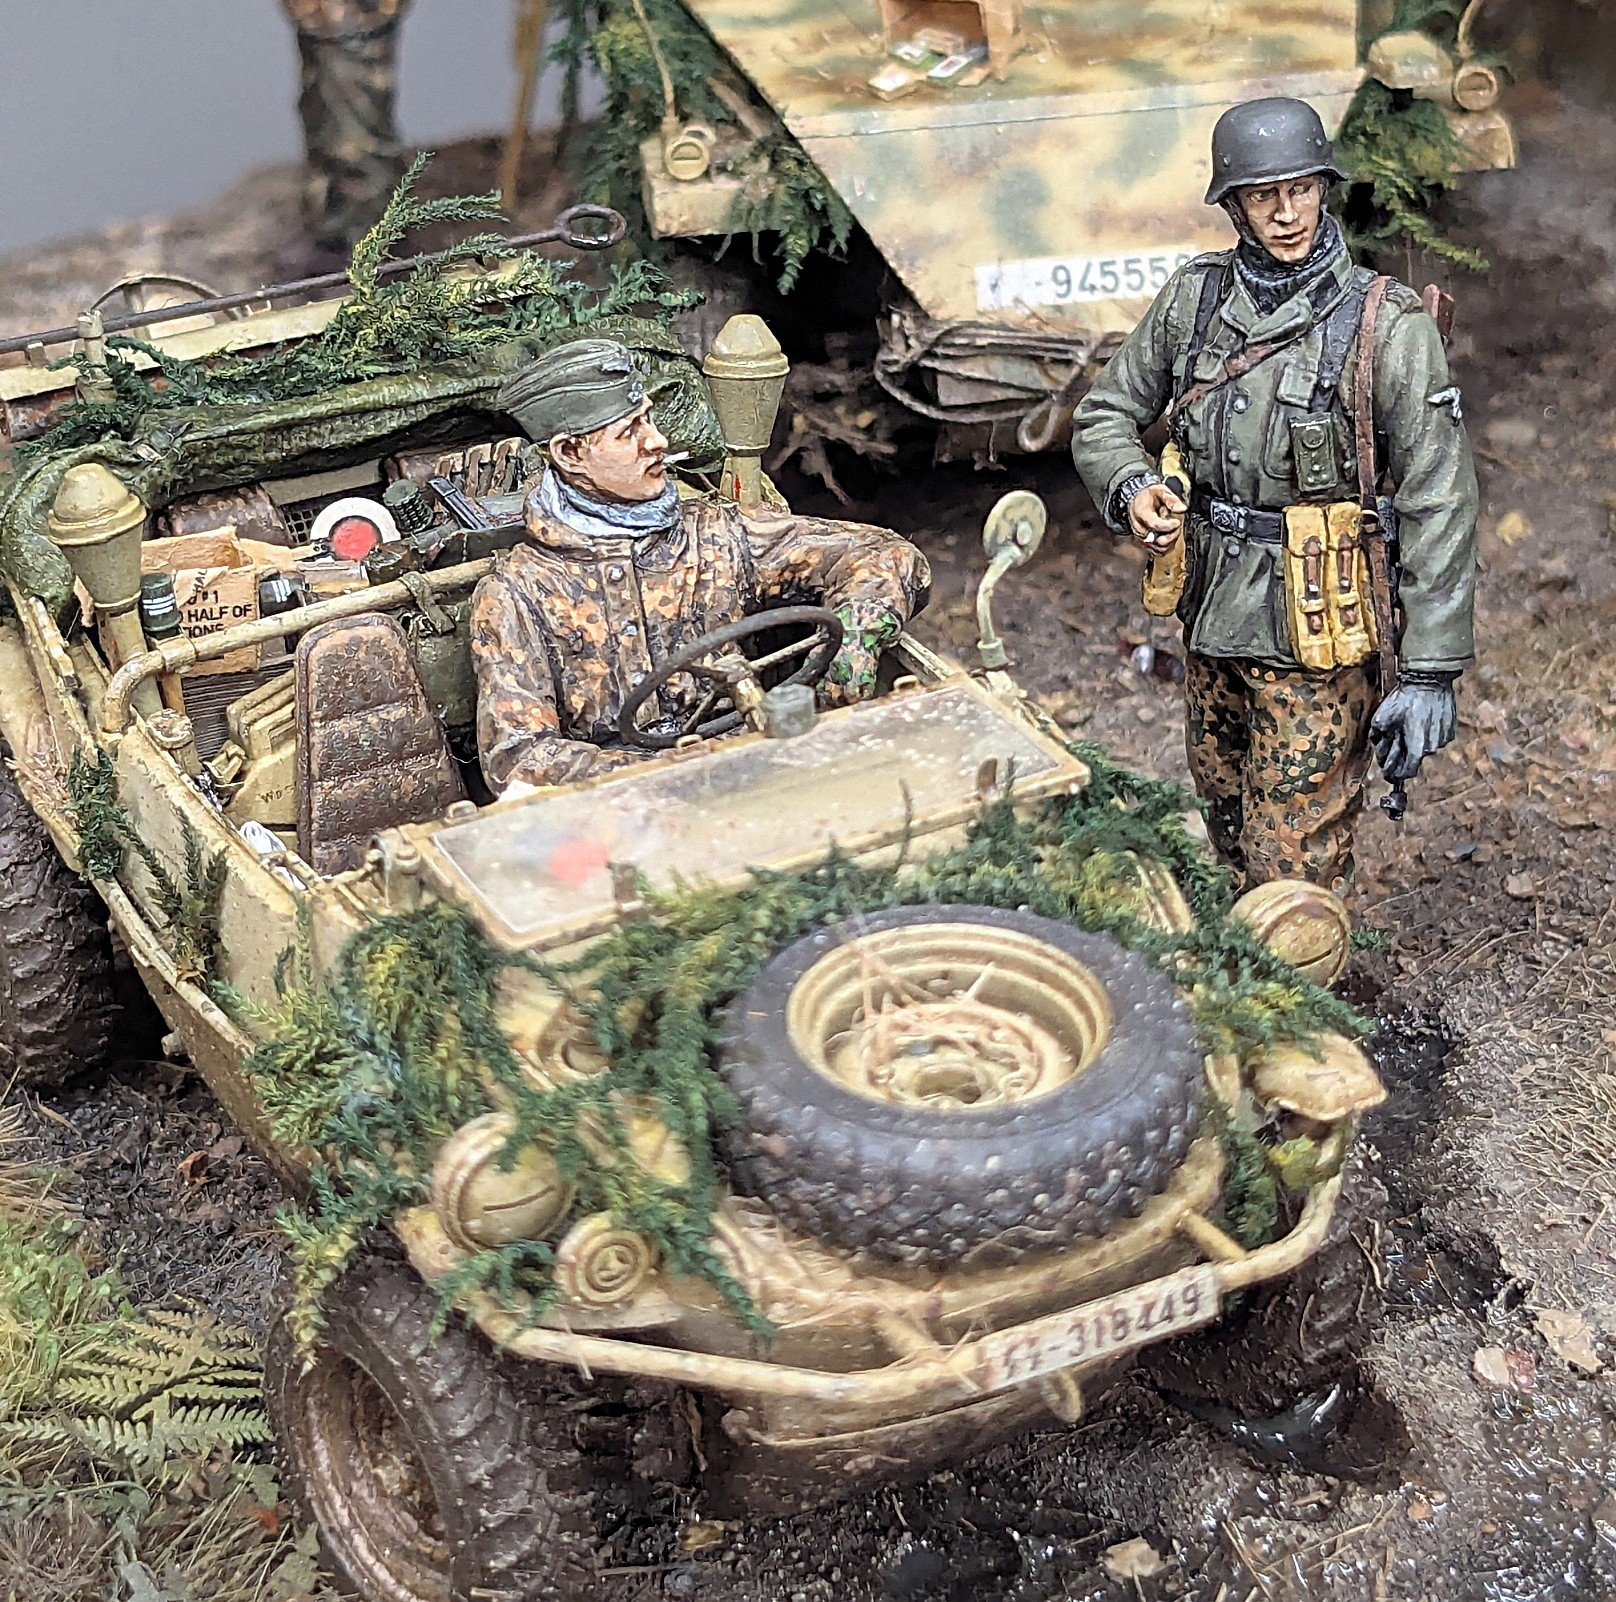

I have covered much of the ‘junk’ in the Schwimm already. These vehicles were packed to the gunnels with stuff for the advance and there doesn’t appear to have been room for any back seat passengers.
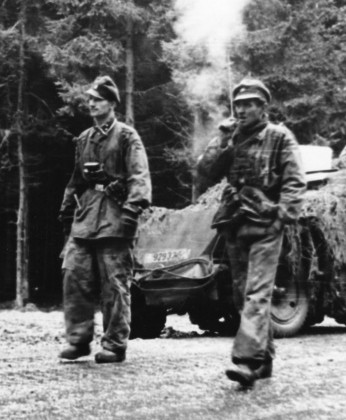
There’s another Tamiya K rations box. The traffic wand adds a nice touch of colour. This was in one of the PE sets for the 250 halftrack. Someone on-line pointed out that the guy on the left here (said to be Oberscharfuhrer Persin) has an upturned wand stuffed into his front pocket.
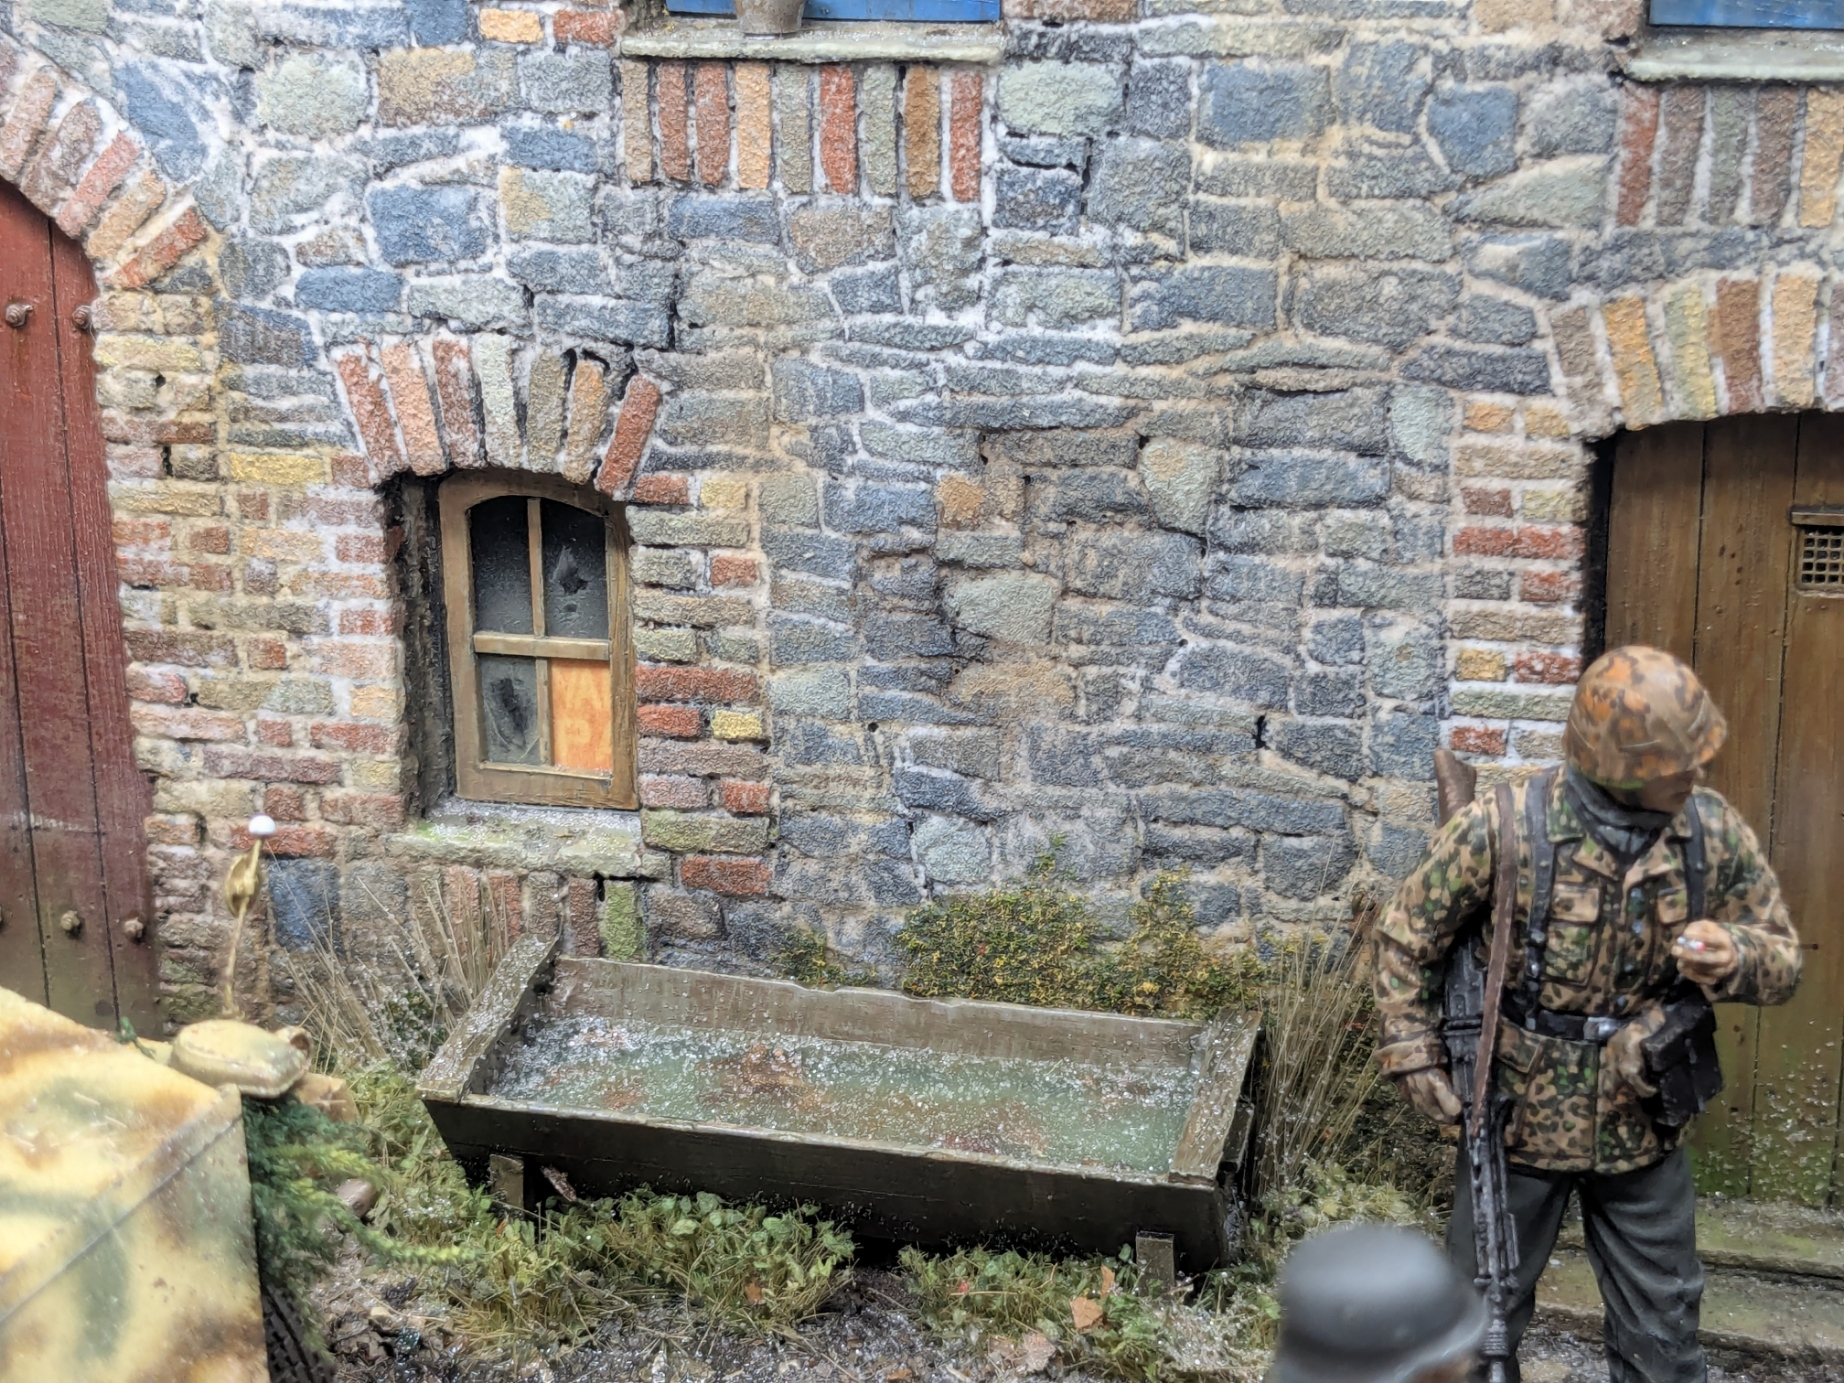
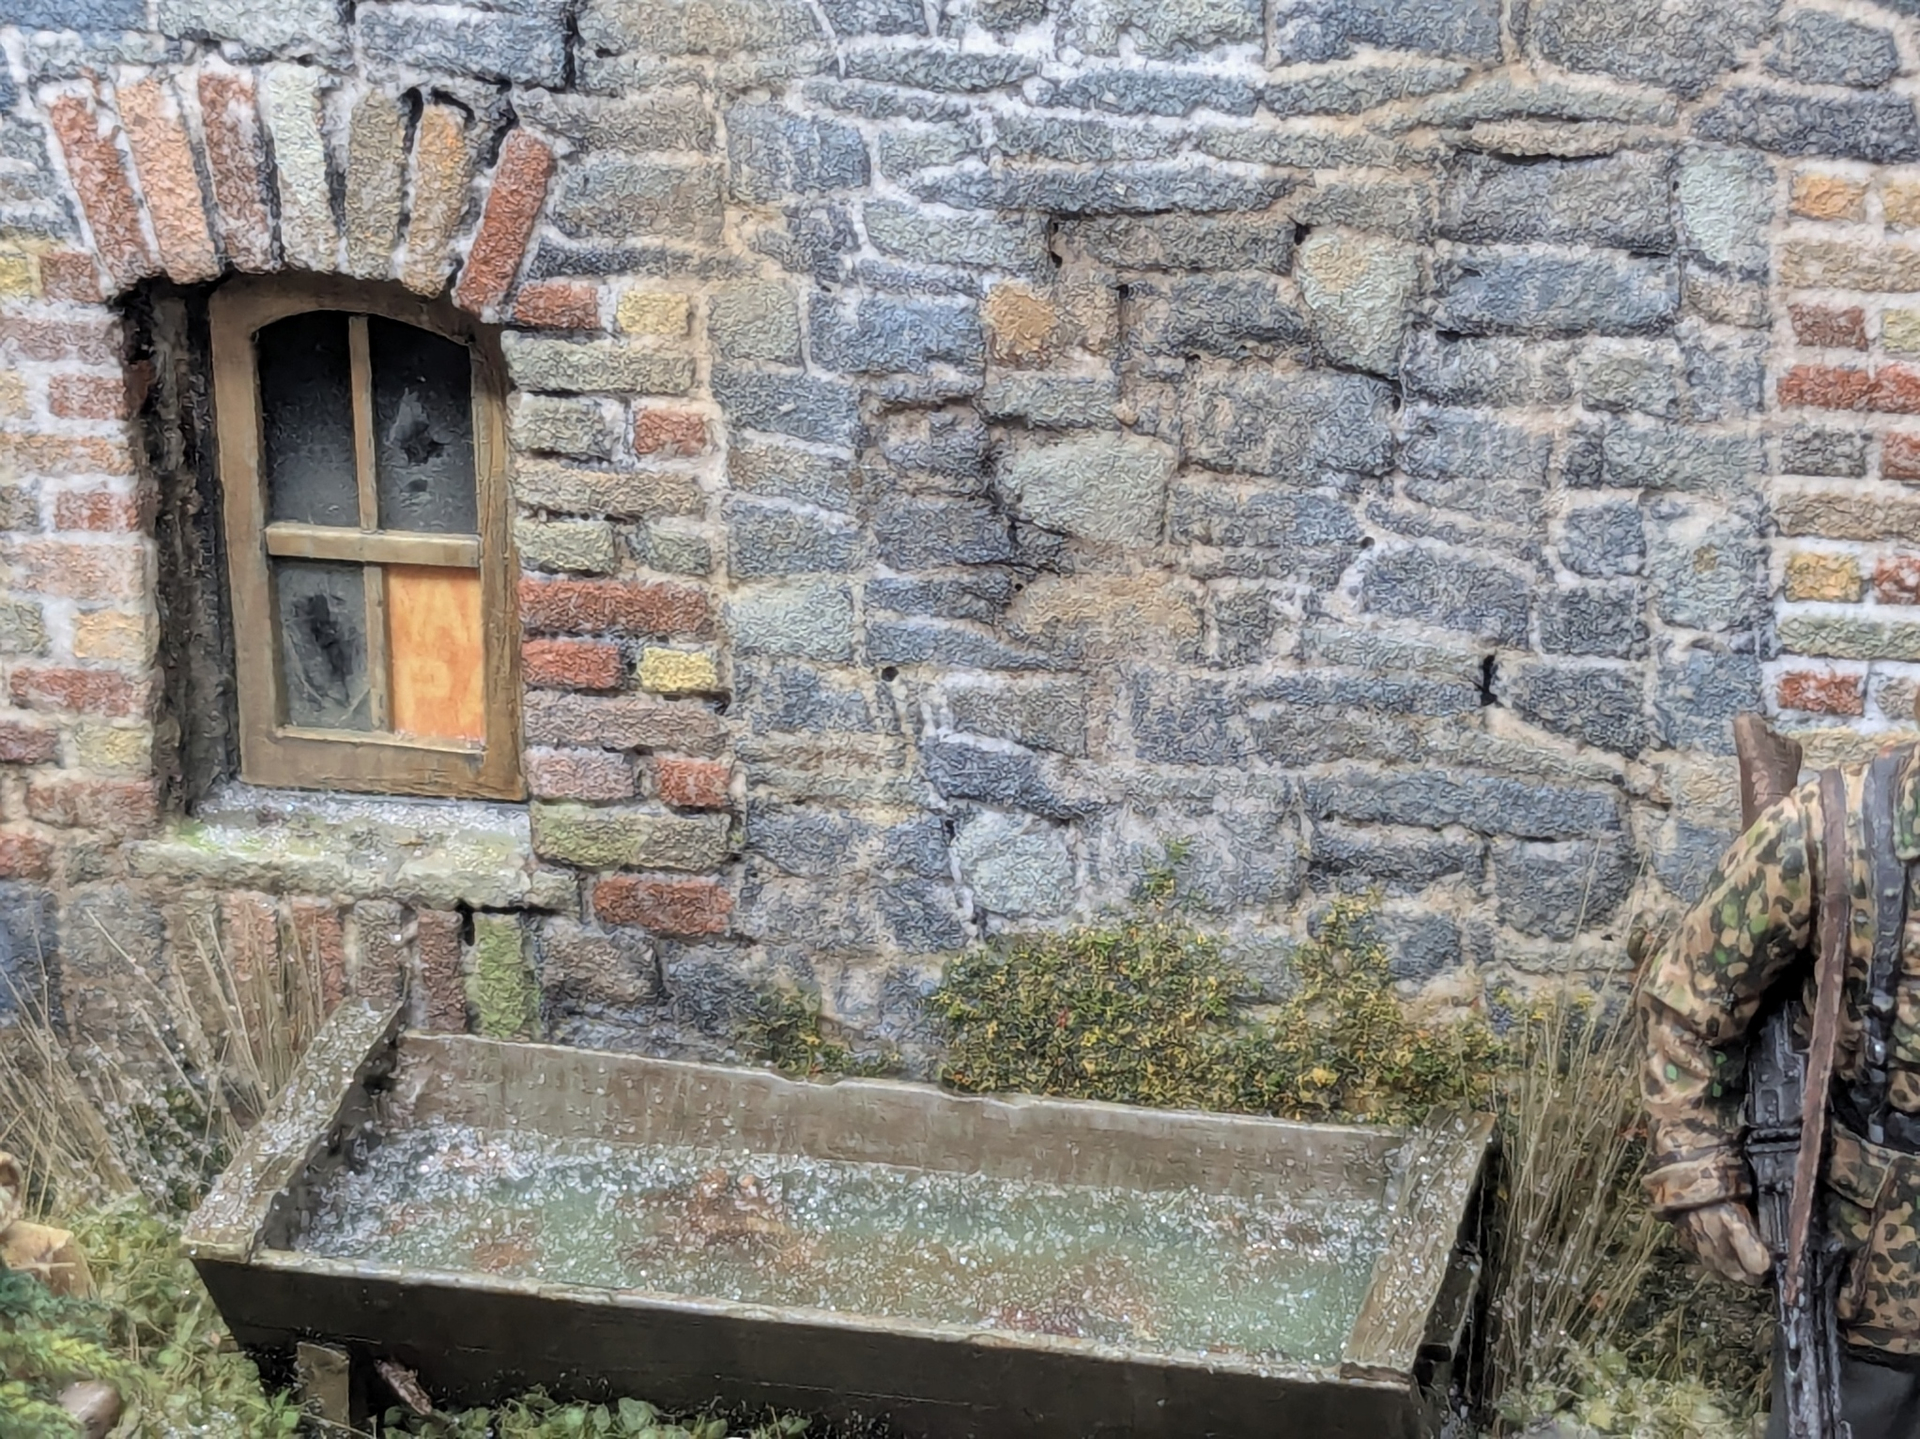
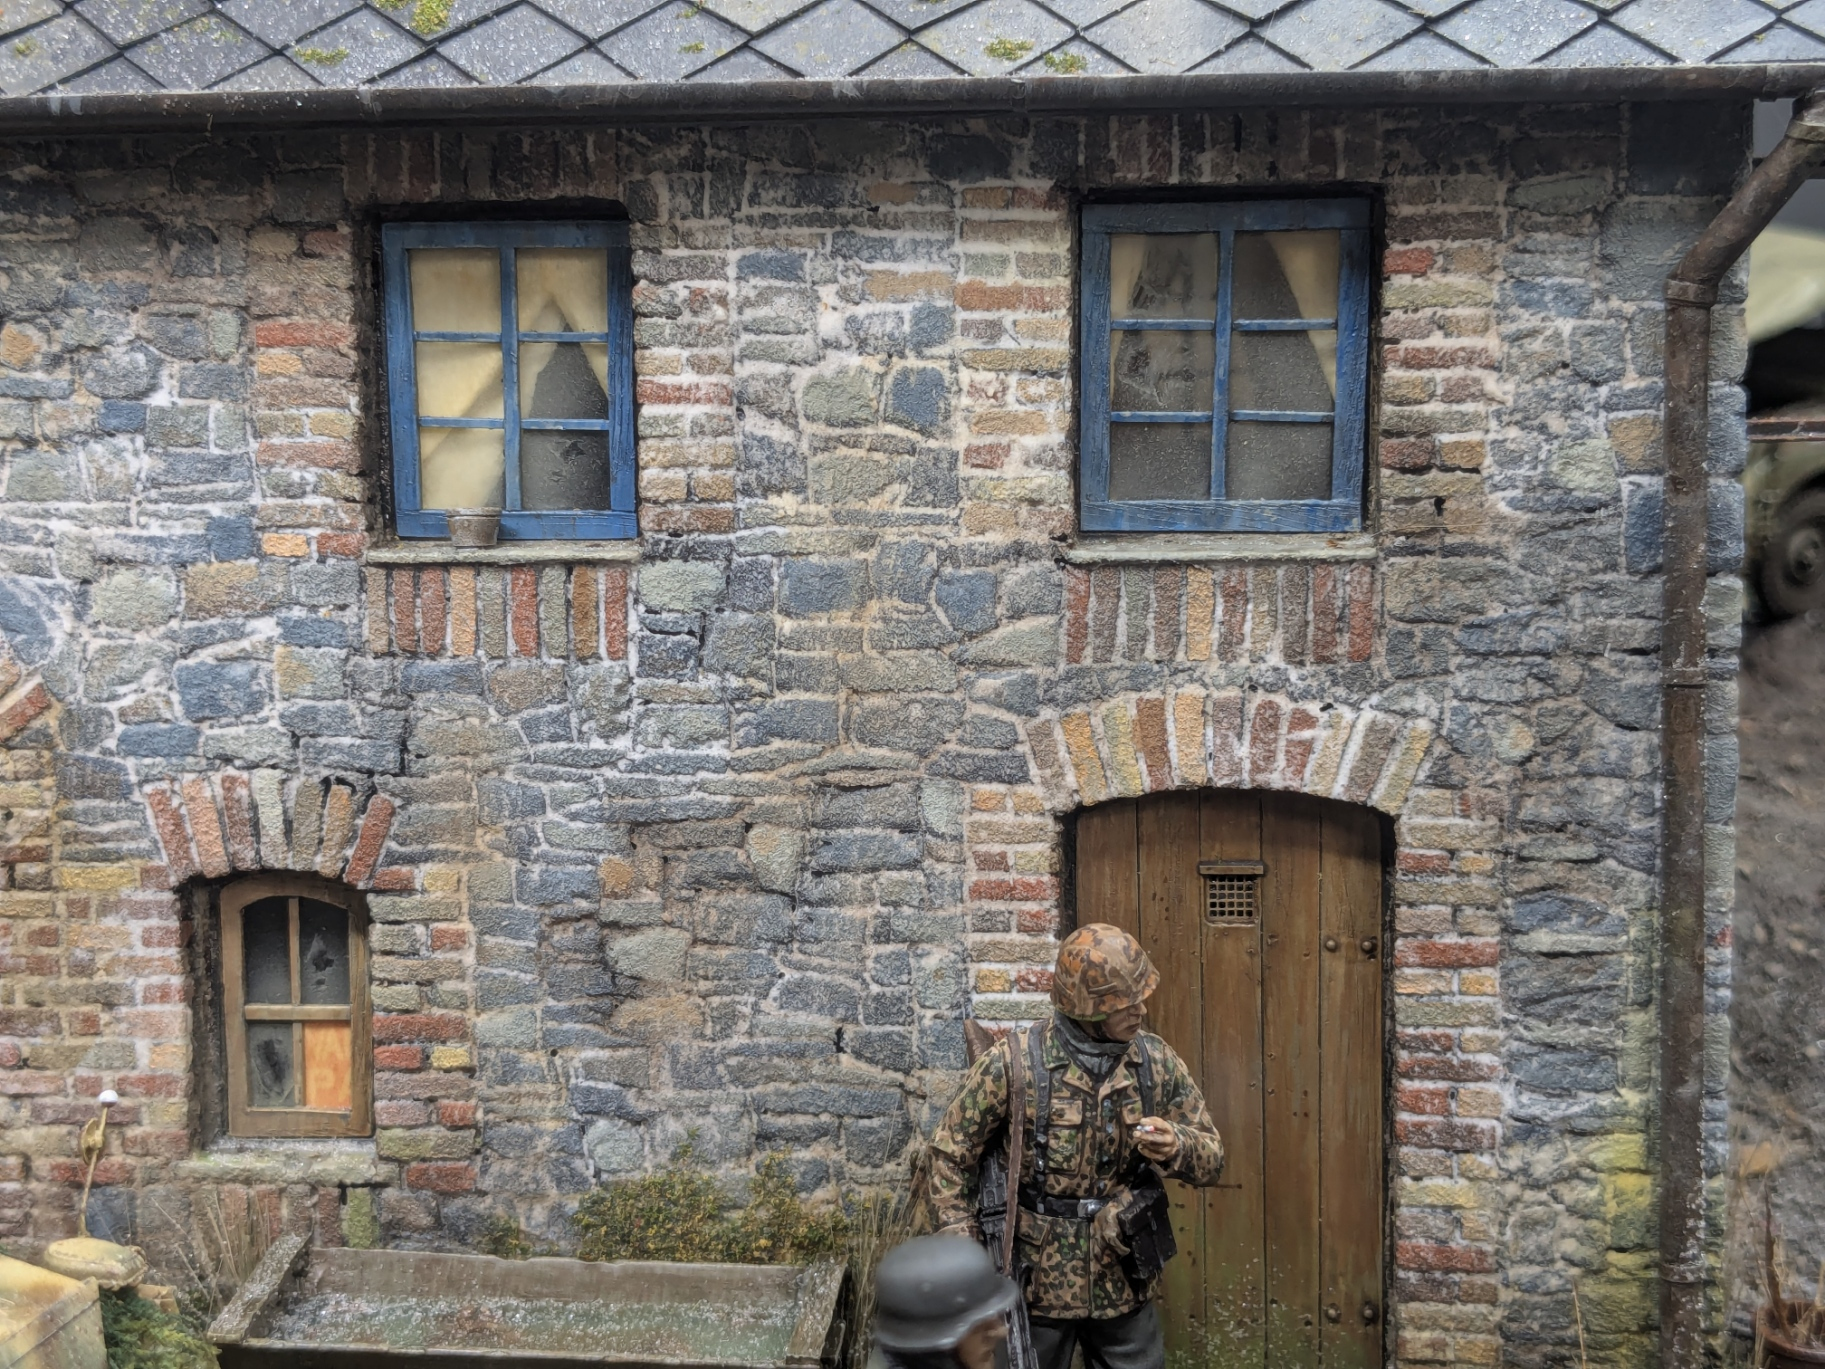
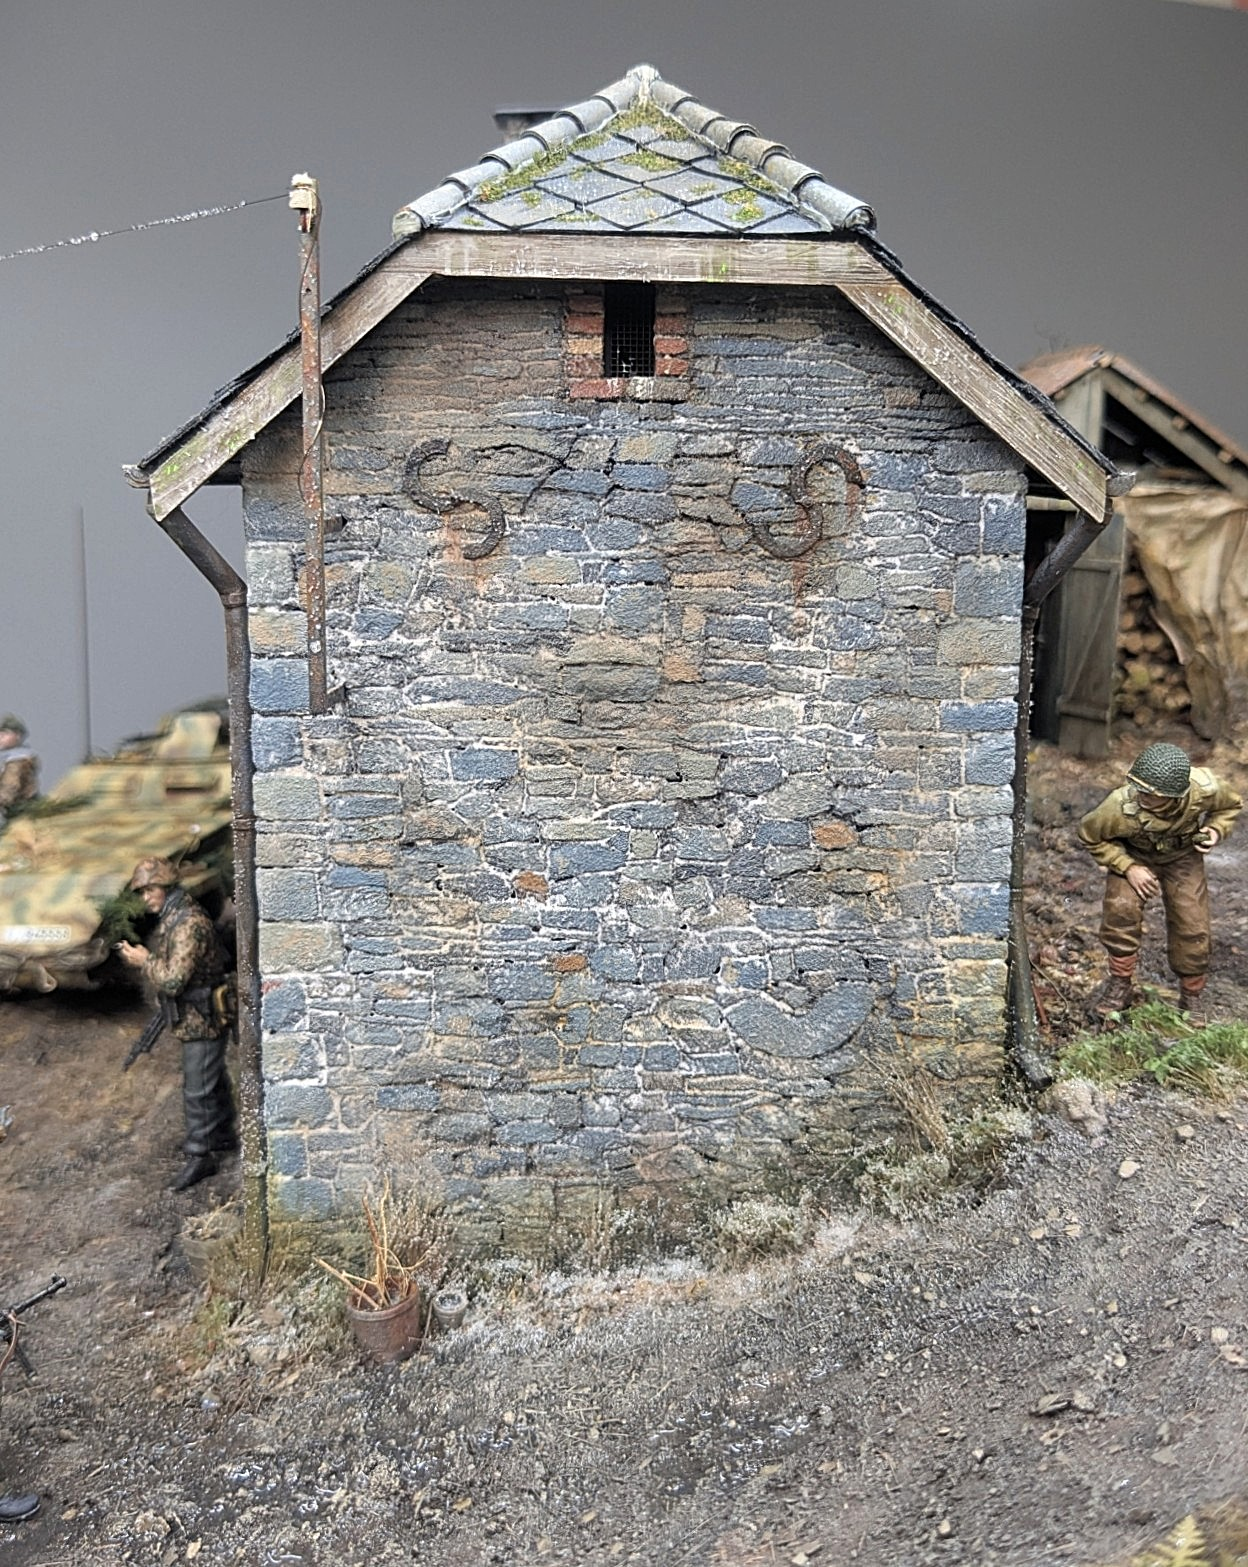
And here are a few more views of the front of the farmhouse…
20 Likes