I already weighed in here but I have to reiterate how very “Ardennes” looking your buildings are here. Spot on.
J
4 Likes
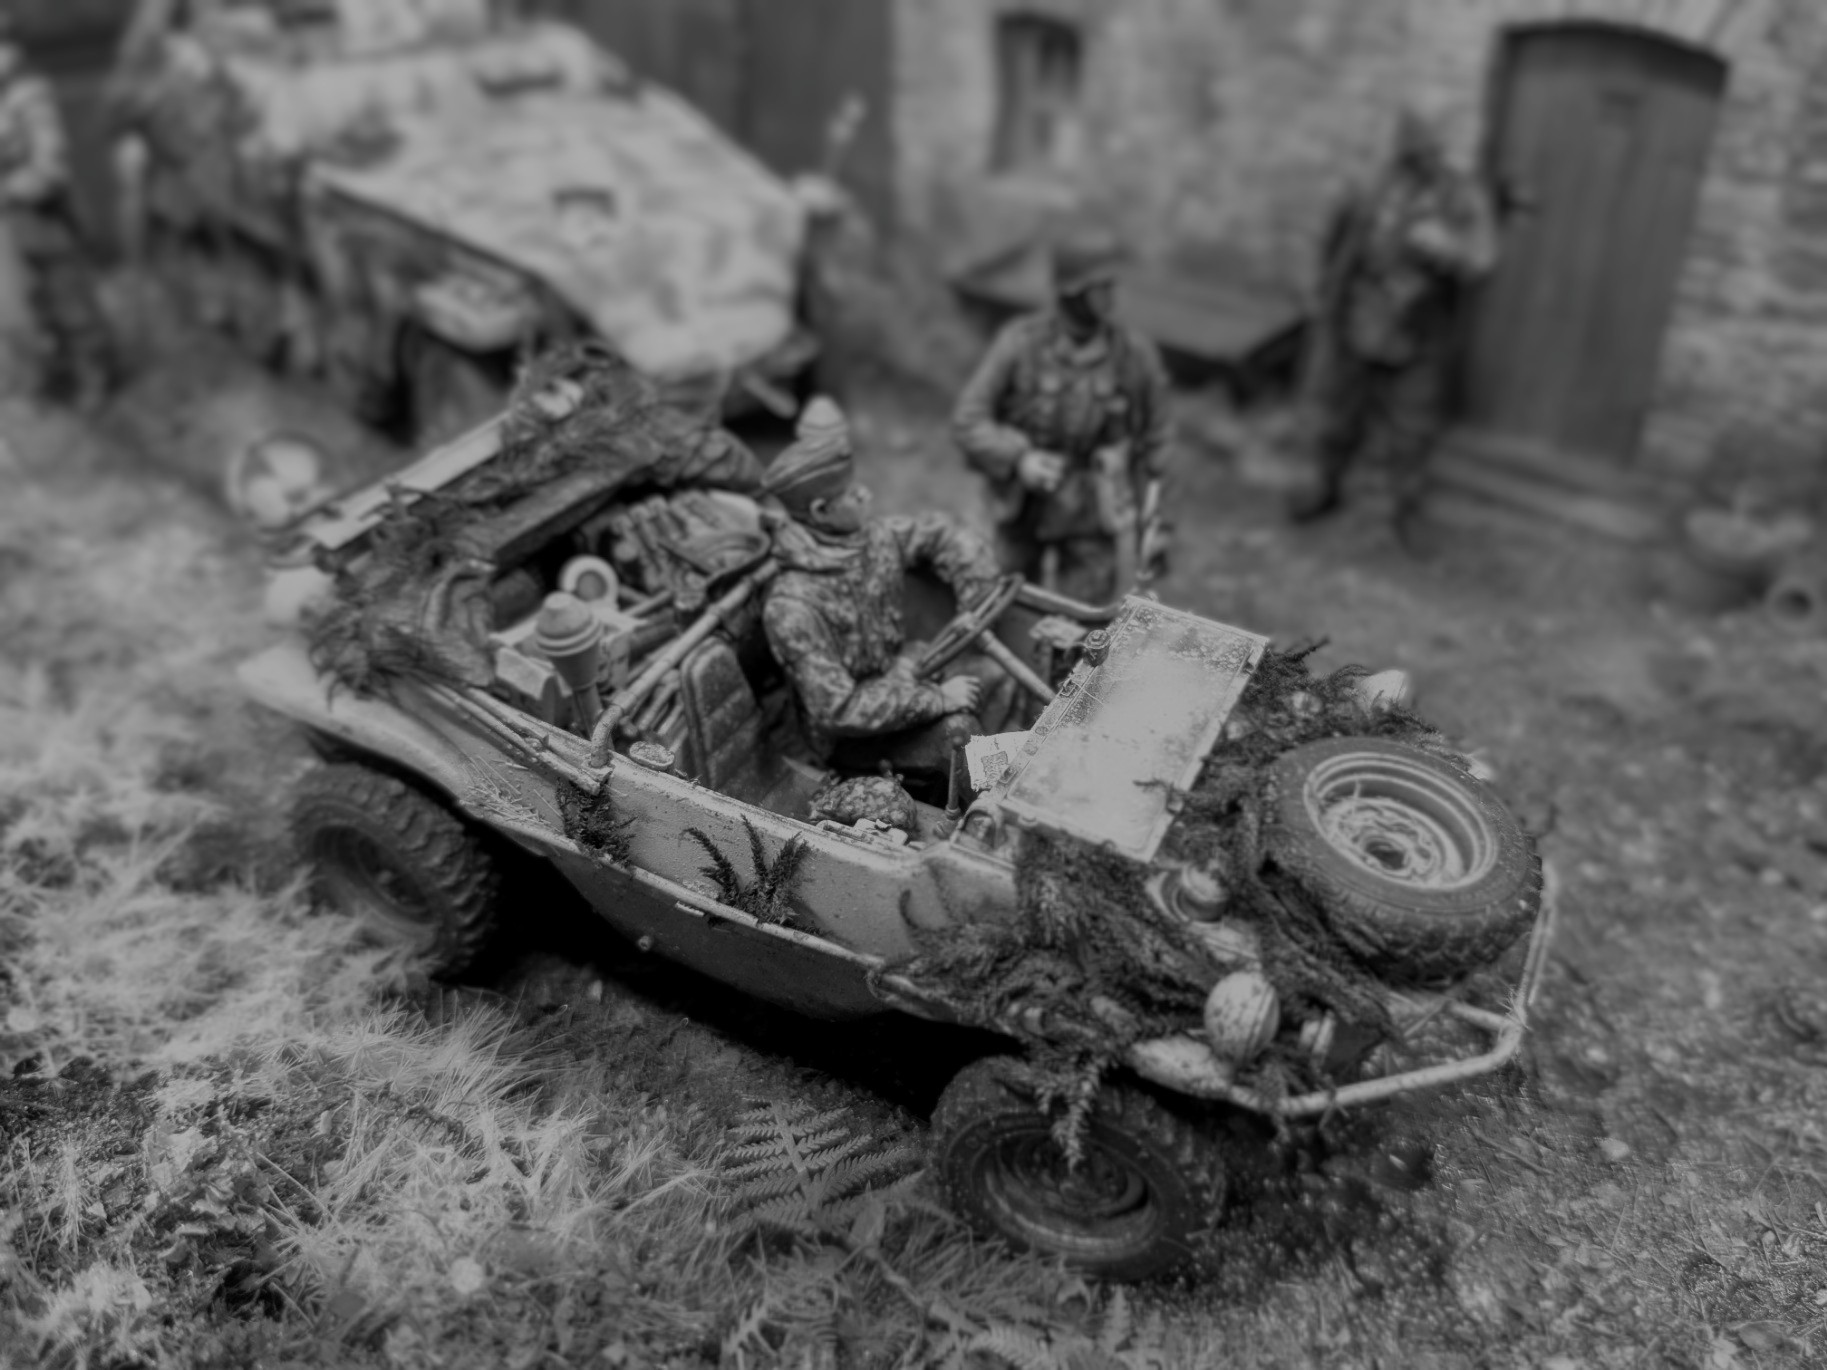
Had a play around with photo settings on my phone to try achieve something similar to the original Ardennes photo. With a more expert photo editing hand, I reckon it’s not far off being able to be passed off as an image from the time.
4 Likes
Nice B&W treatment. I think you would be well served to try and get some"ground level view" pics. You will have to fine some sort of backdrop then. But even a sheet of medium gray posterboard works.
2 Likes
This is just so good…..
2 Likes
Thanks guys. I will be getting some better eye-level shots eventually…
Meanwhile… over Christmas I decided that one more figure is needed alongside the halftrack.
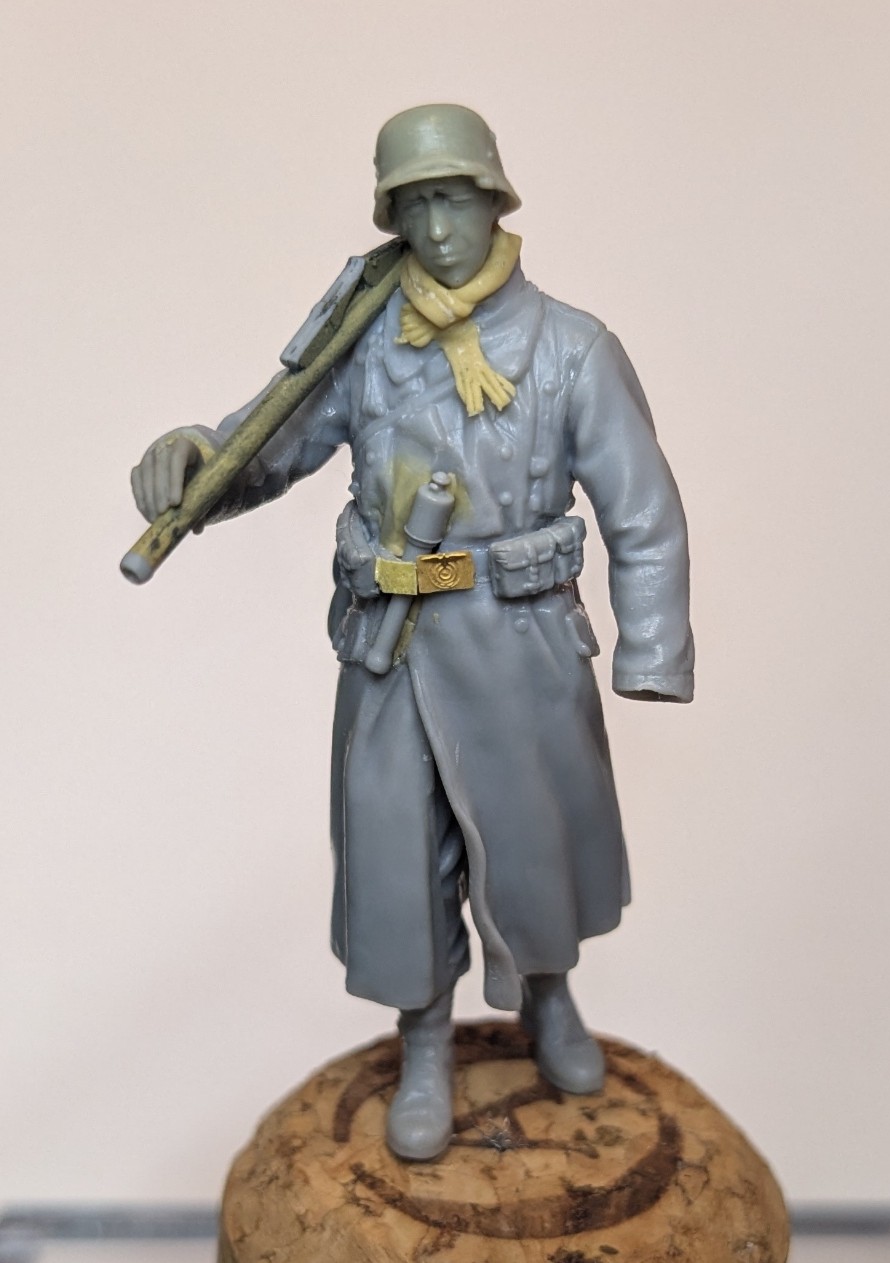
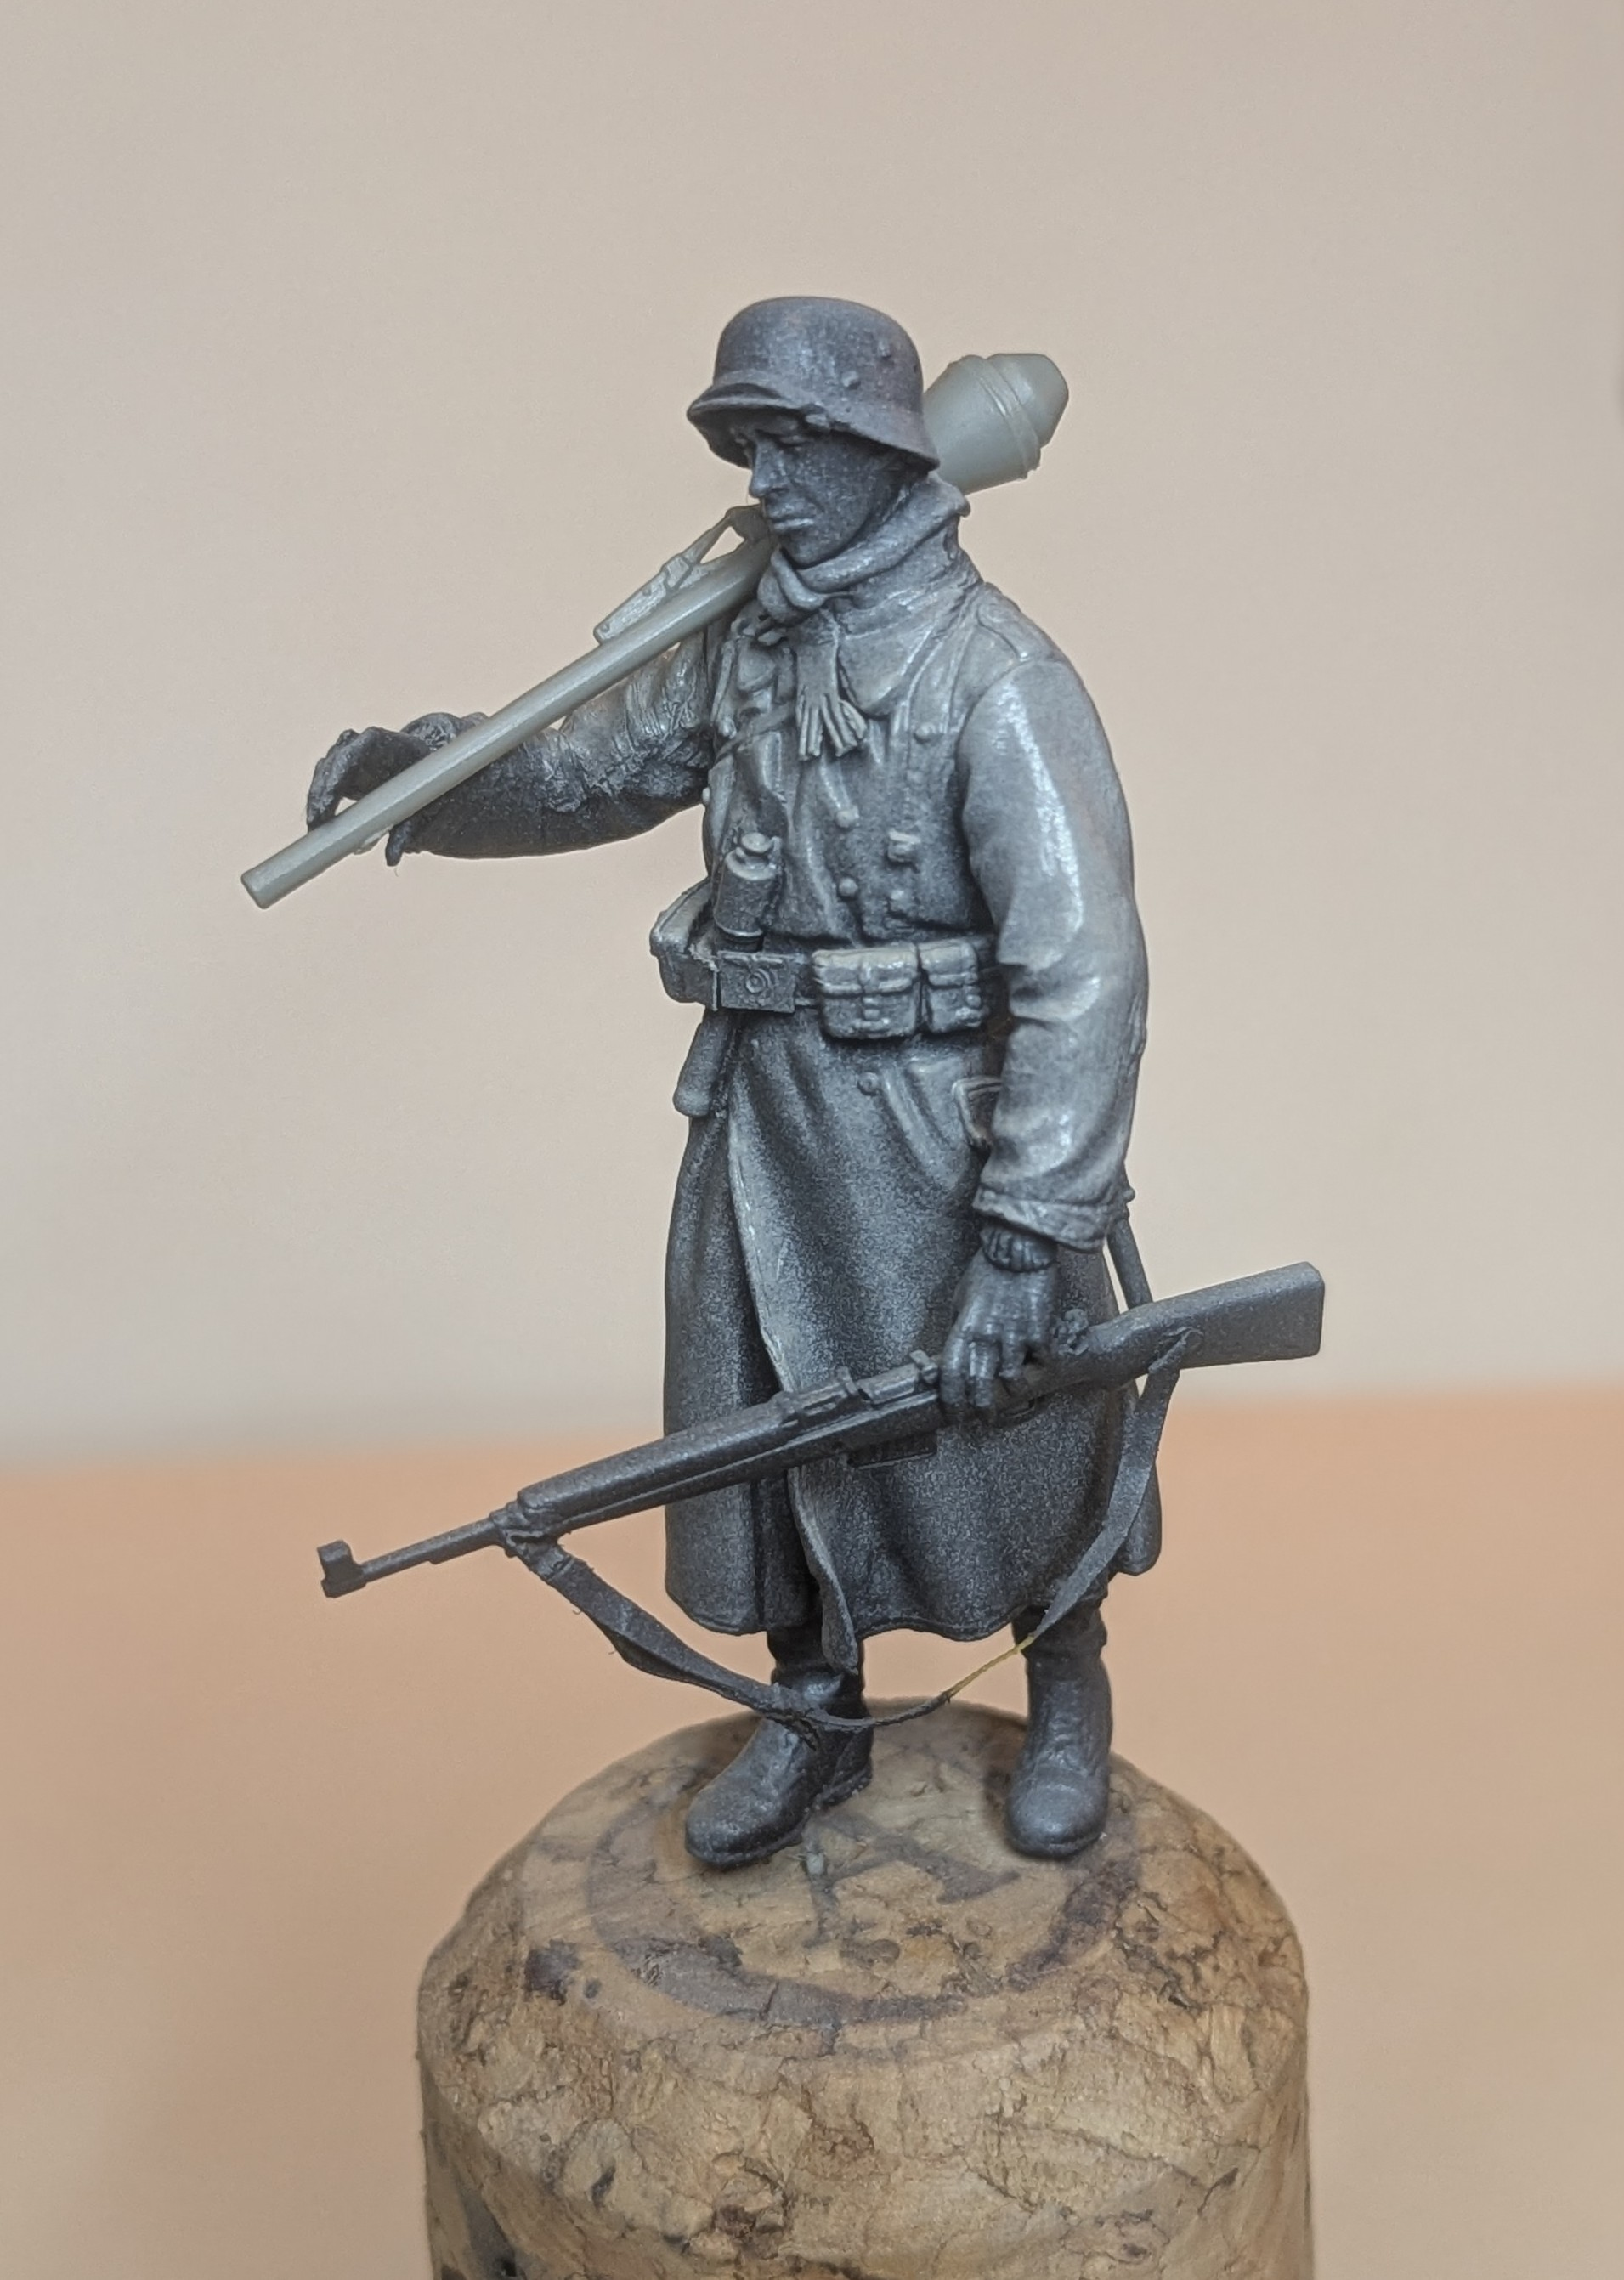


This guy is based on a Dragon figure from the 352nd Volksgrenadier Division (Ardennes 1944) set (lower left):

I think the head is from Royal Models (it was rolling around my spares box). To me it gives him more of the look of a veteran. Interestingly, this is the first time I have ever used any rifle other than a Kar 98k. This is the Gewehr 43. It looks heavy!
17 Likes
Tim, what’s the method for the tarp after soaking in PVA? I’ve only tried once to make one with tissue paper. How do you get the shape of it? And are you mixing the glue with anything or just straight from the bottle?
2 Likes
Beautiful work as always Tim2 .
3 Likes
Great show Tim, you’ve really nailed this. Like the addition as well.
Too bad I (we) can’t view this in real-time. Posting online gives one
the advantage (!) of zooming in, truly studying all the fine detail, and
color work is great. But I would enjoy witnessing this masterwork live.
Cheers 
Dave🙂
2 Likes
Hi Brock,
I used two-ply tissue (the sort you get in little packets) which I cut roughky to shape. I then mixed standard PVA with water (keeping it quite gloopy). I also added some Vallejo acrylic the second time around after I learnt the hard way that parts of the underside of the main tarp were hard to reach.
As for shaping, it’s just a matter of trial and error using a brush and cocktail sticks - but it’s important to have the underlying support. So for the main tarp I had the metal hoop already in place to drape it over and for the stowage bin a stuck some random pieces of foam in place to give the illusion of stuff beneath.
Depending on how smooth you want it to look, you can also ‘paint on’ undiluted PVA with a brush once it’s dry…
7 Likes
Thanks for all the kind comments guys…
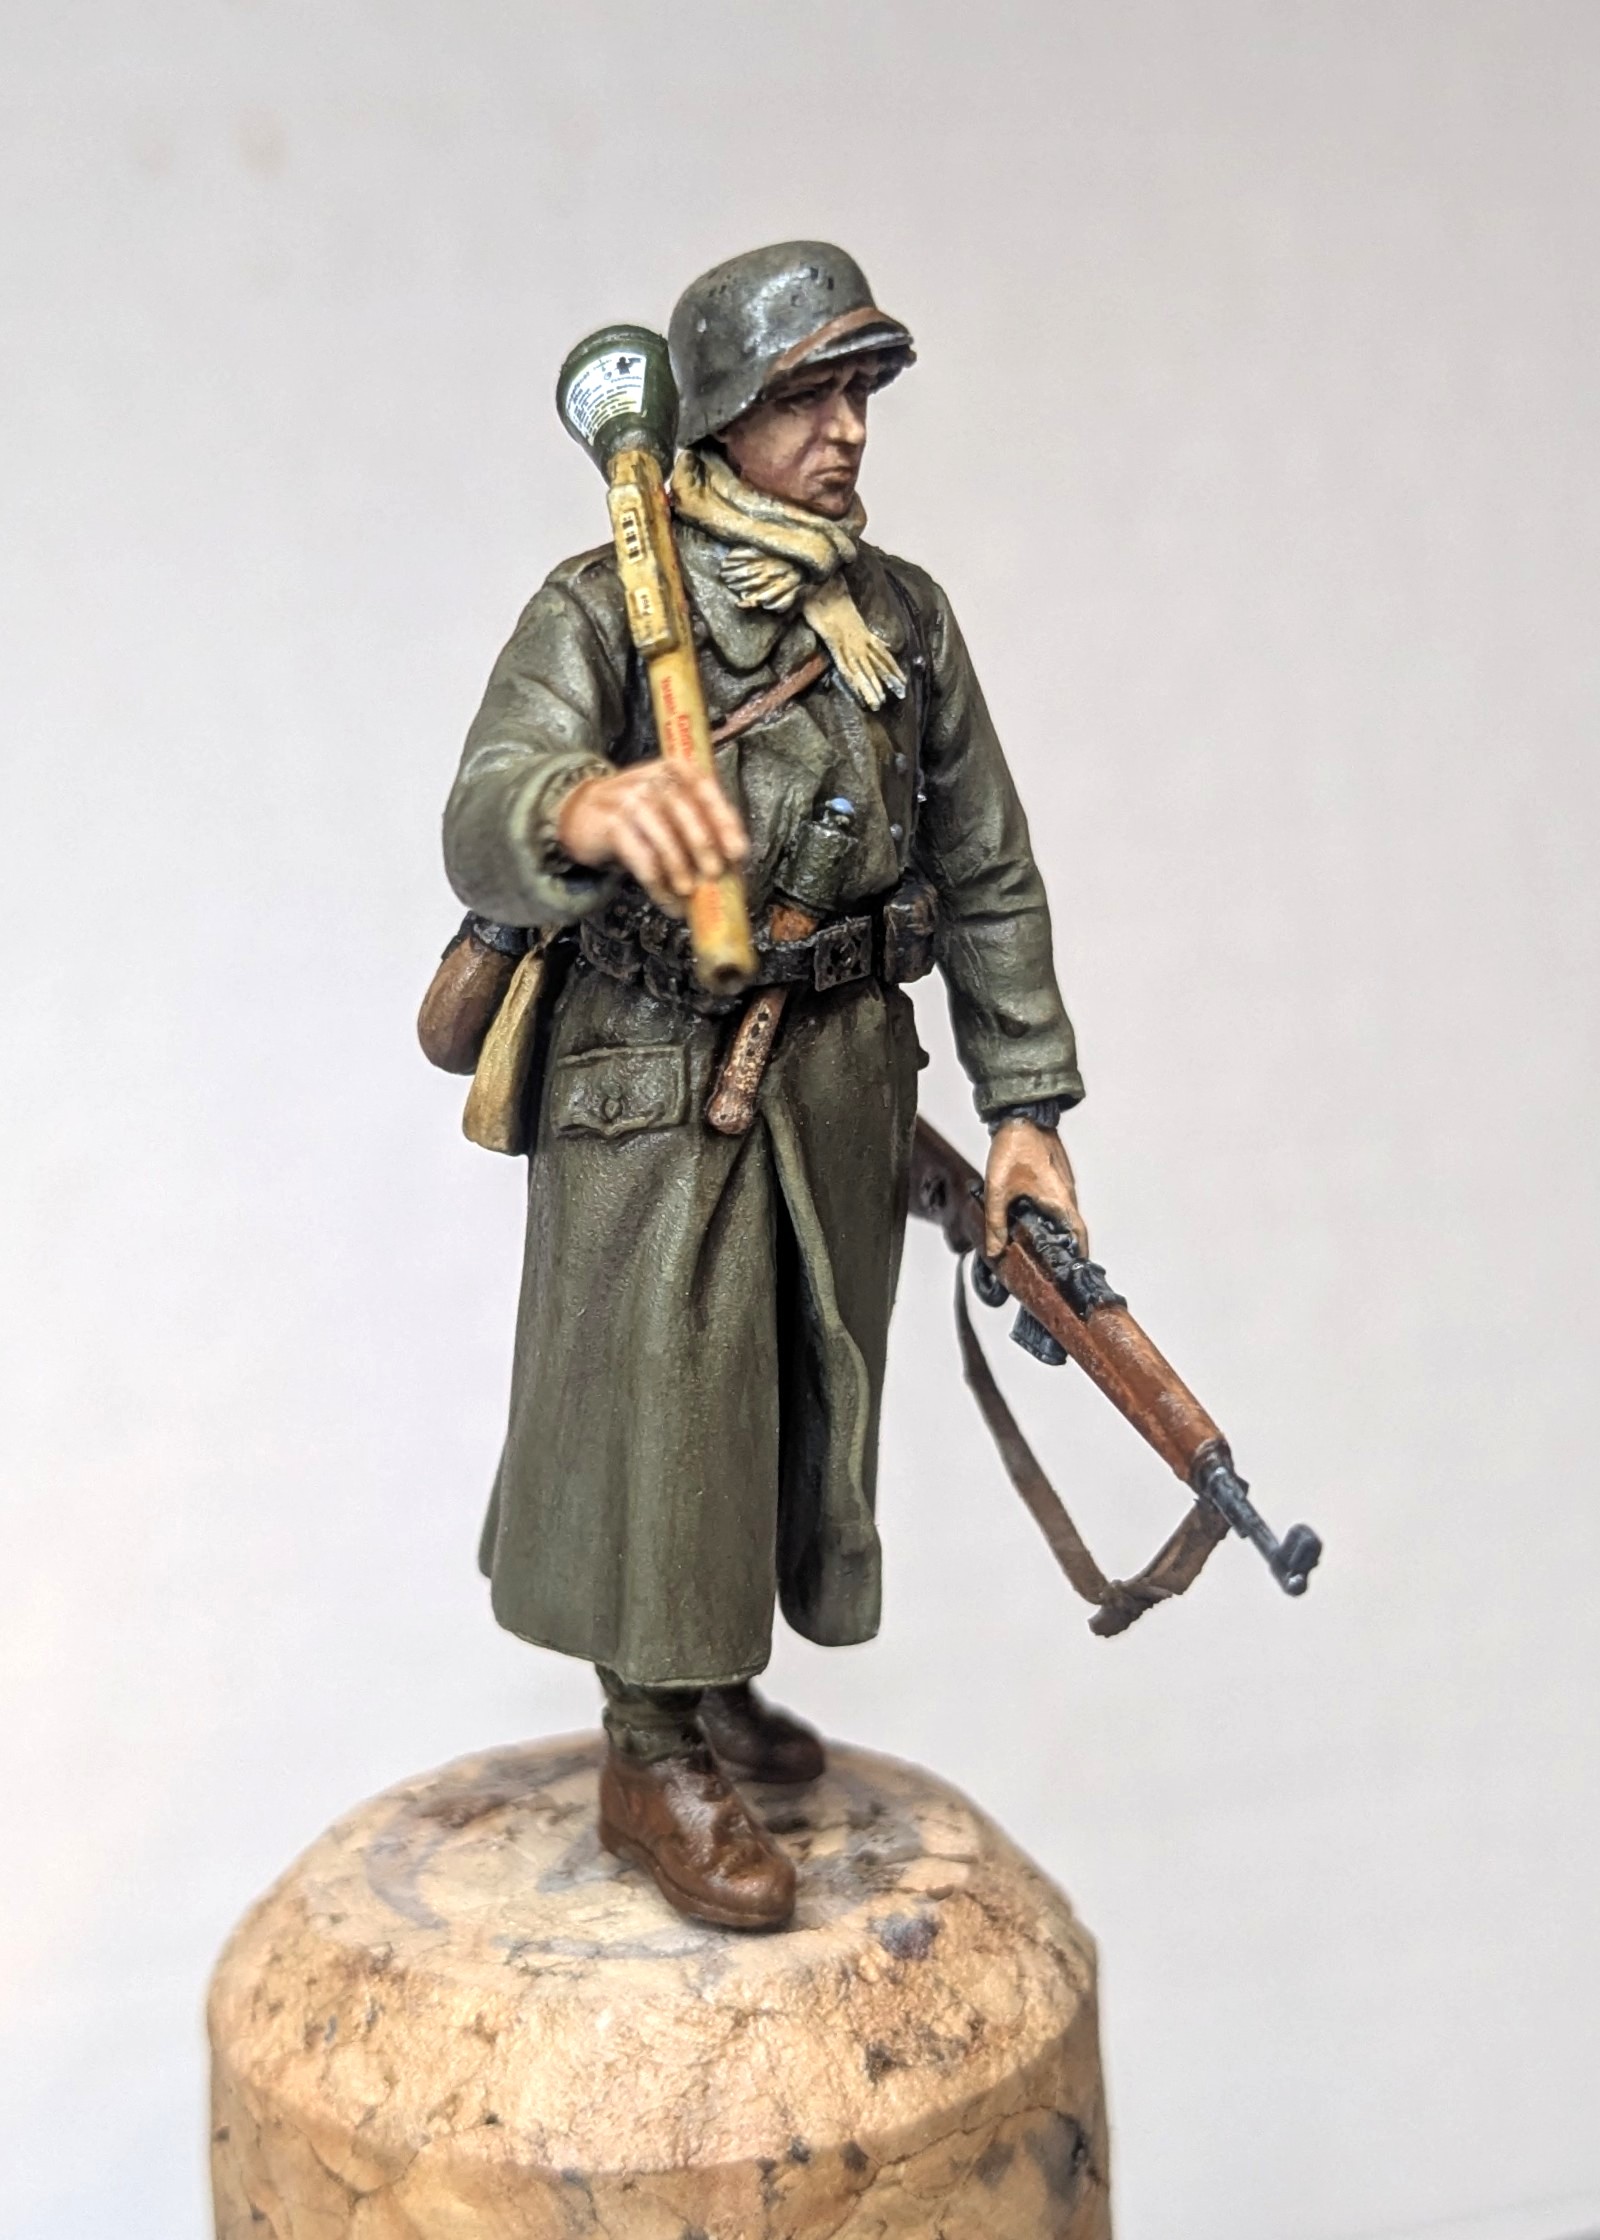
So here is the additional figure after the paint. I’m planning to put him in position over this weekend and then… well that’s it I guess!
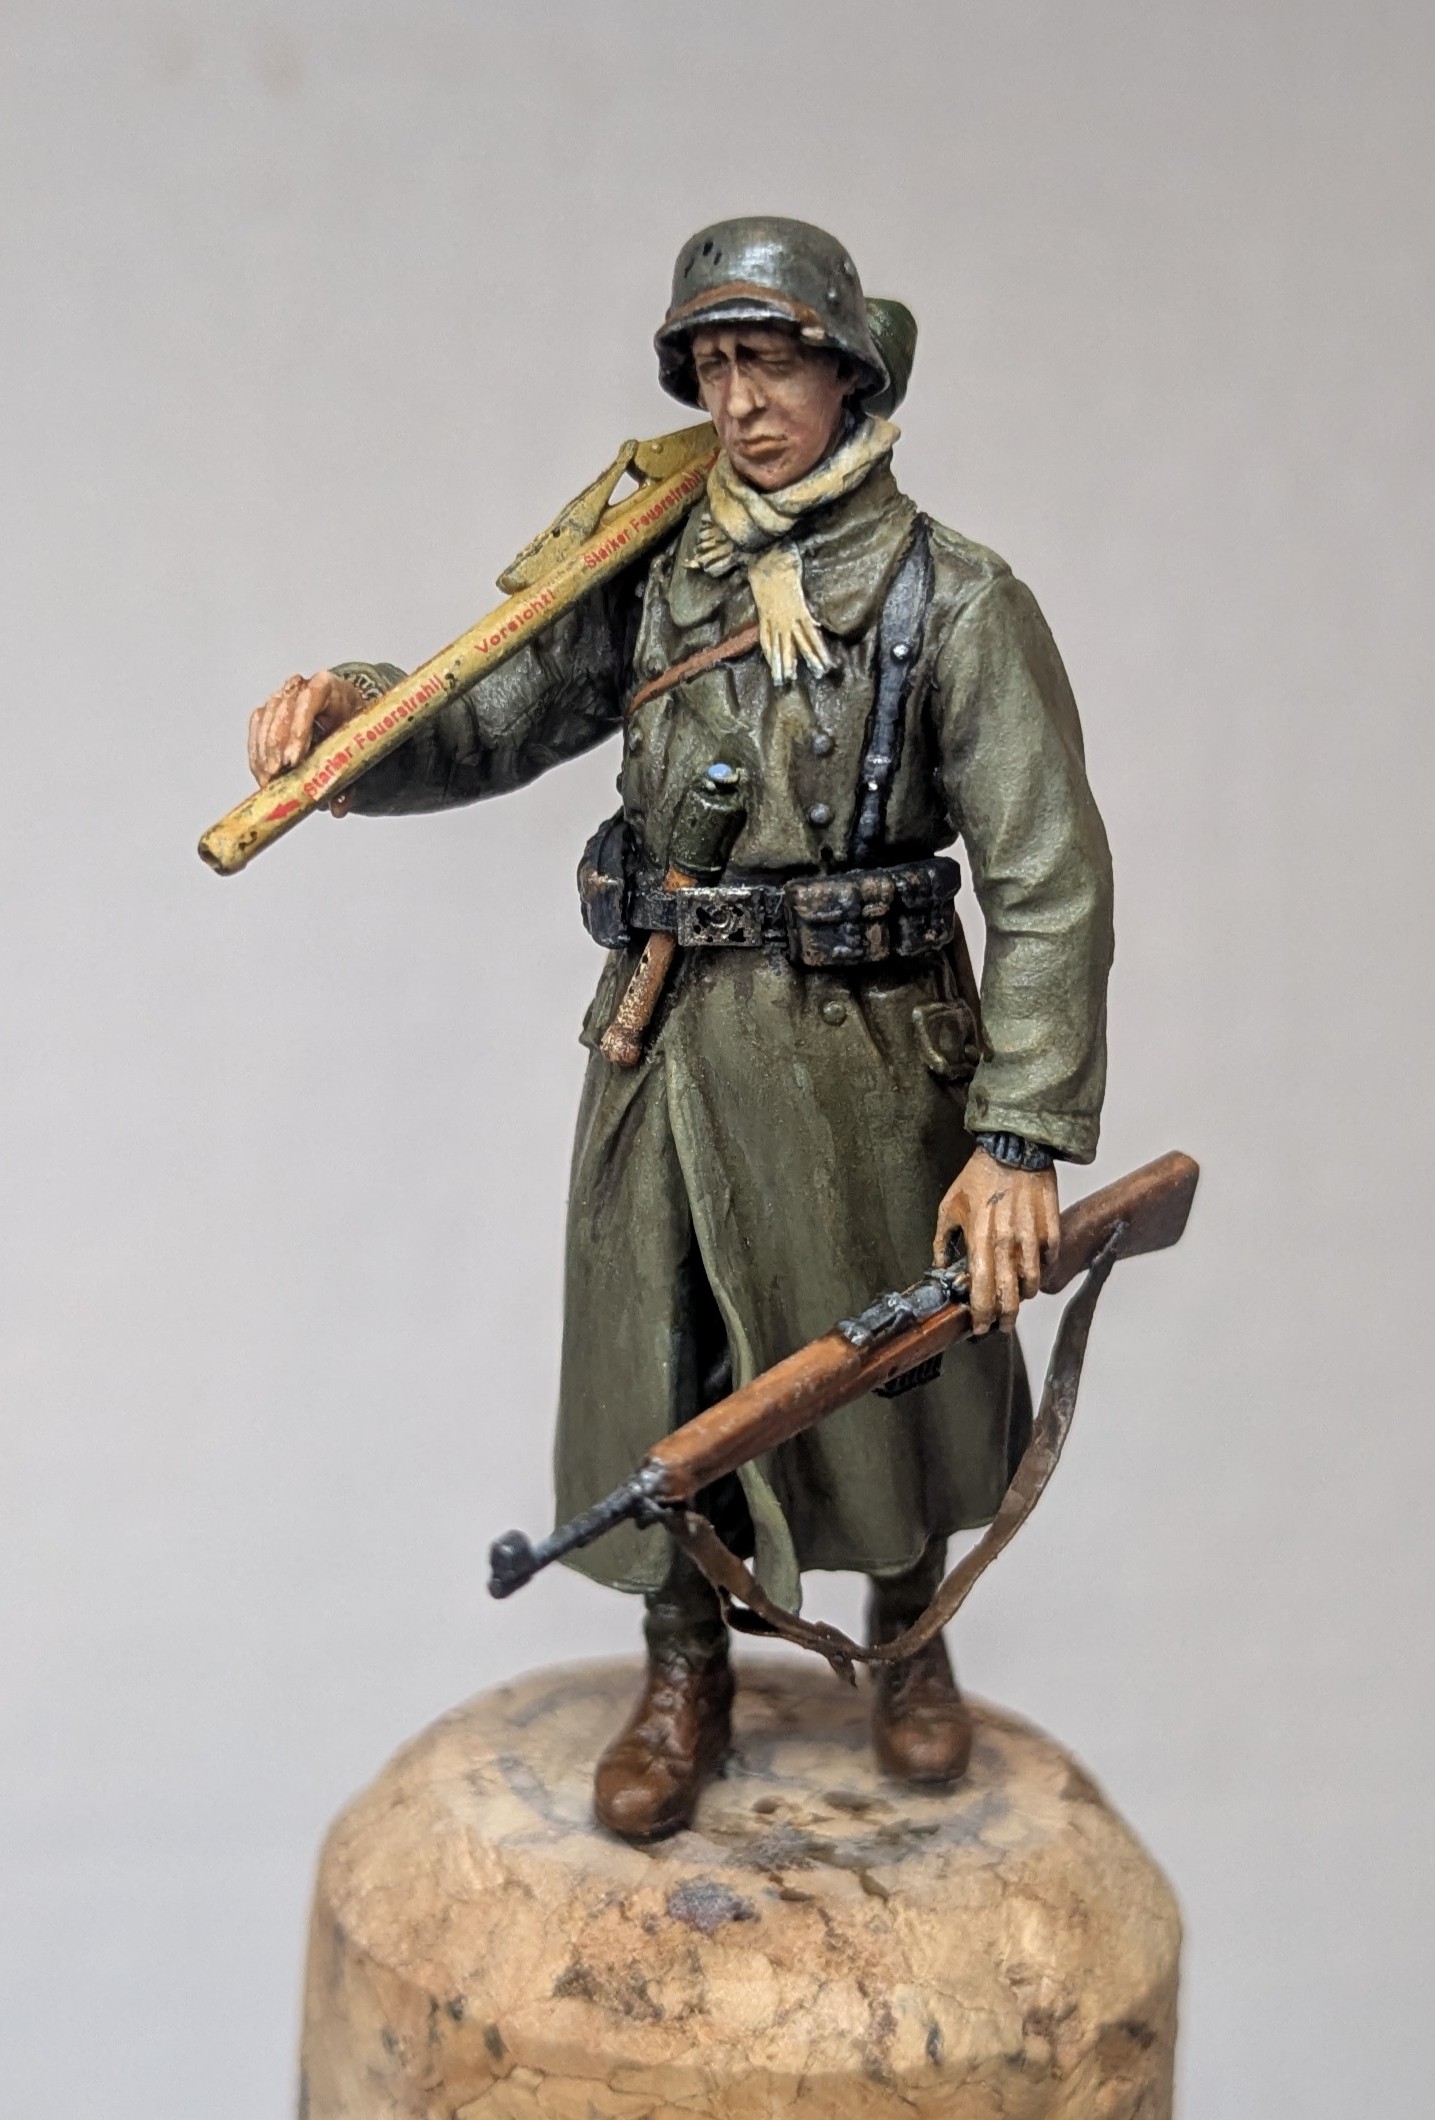

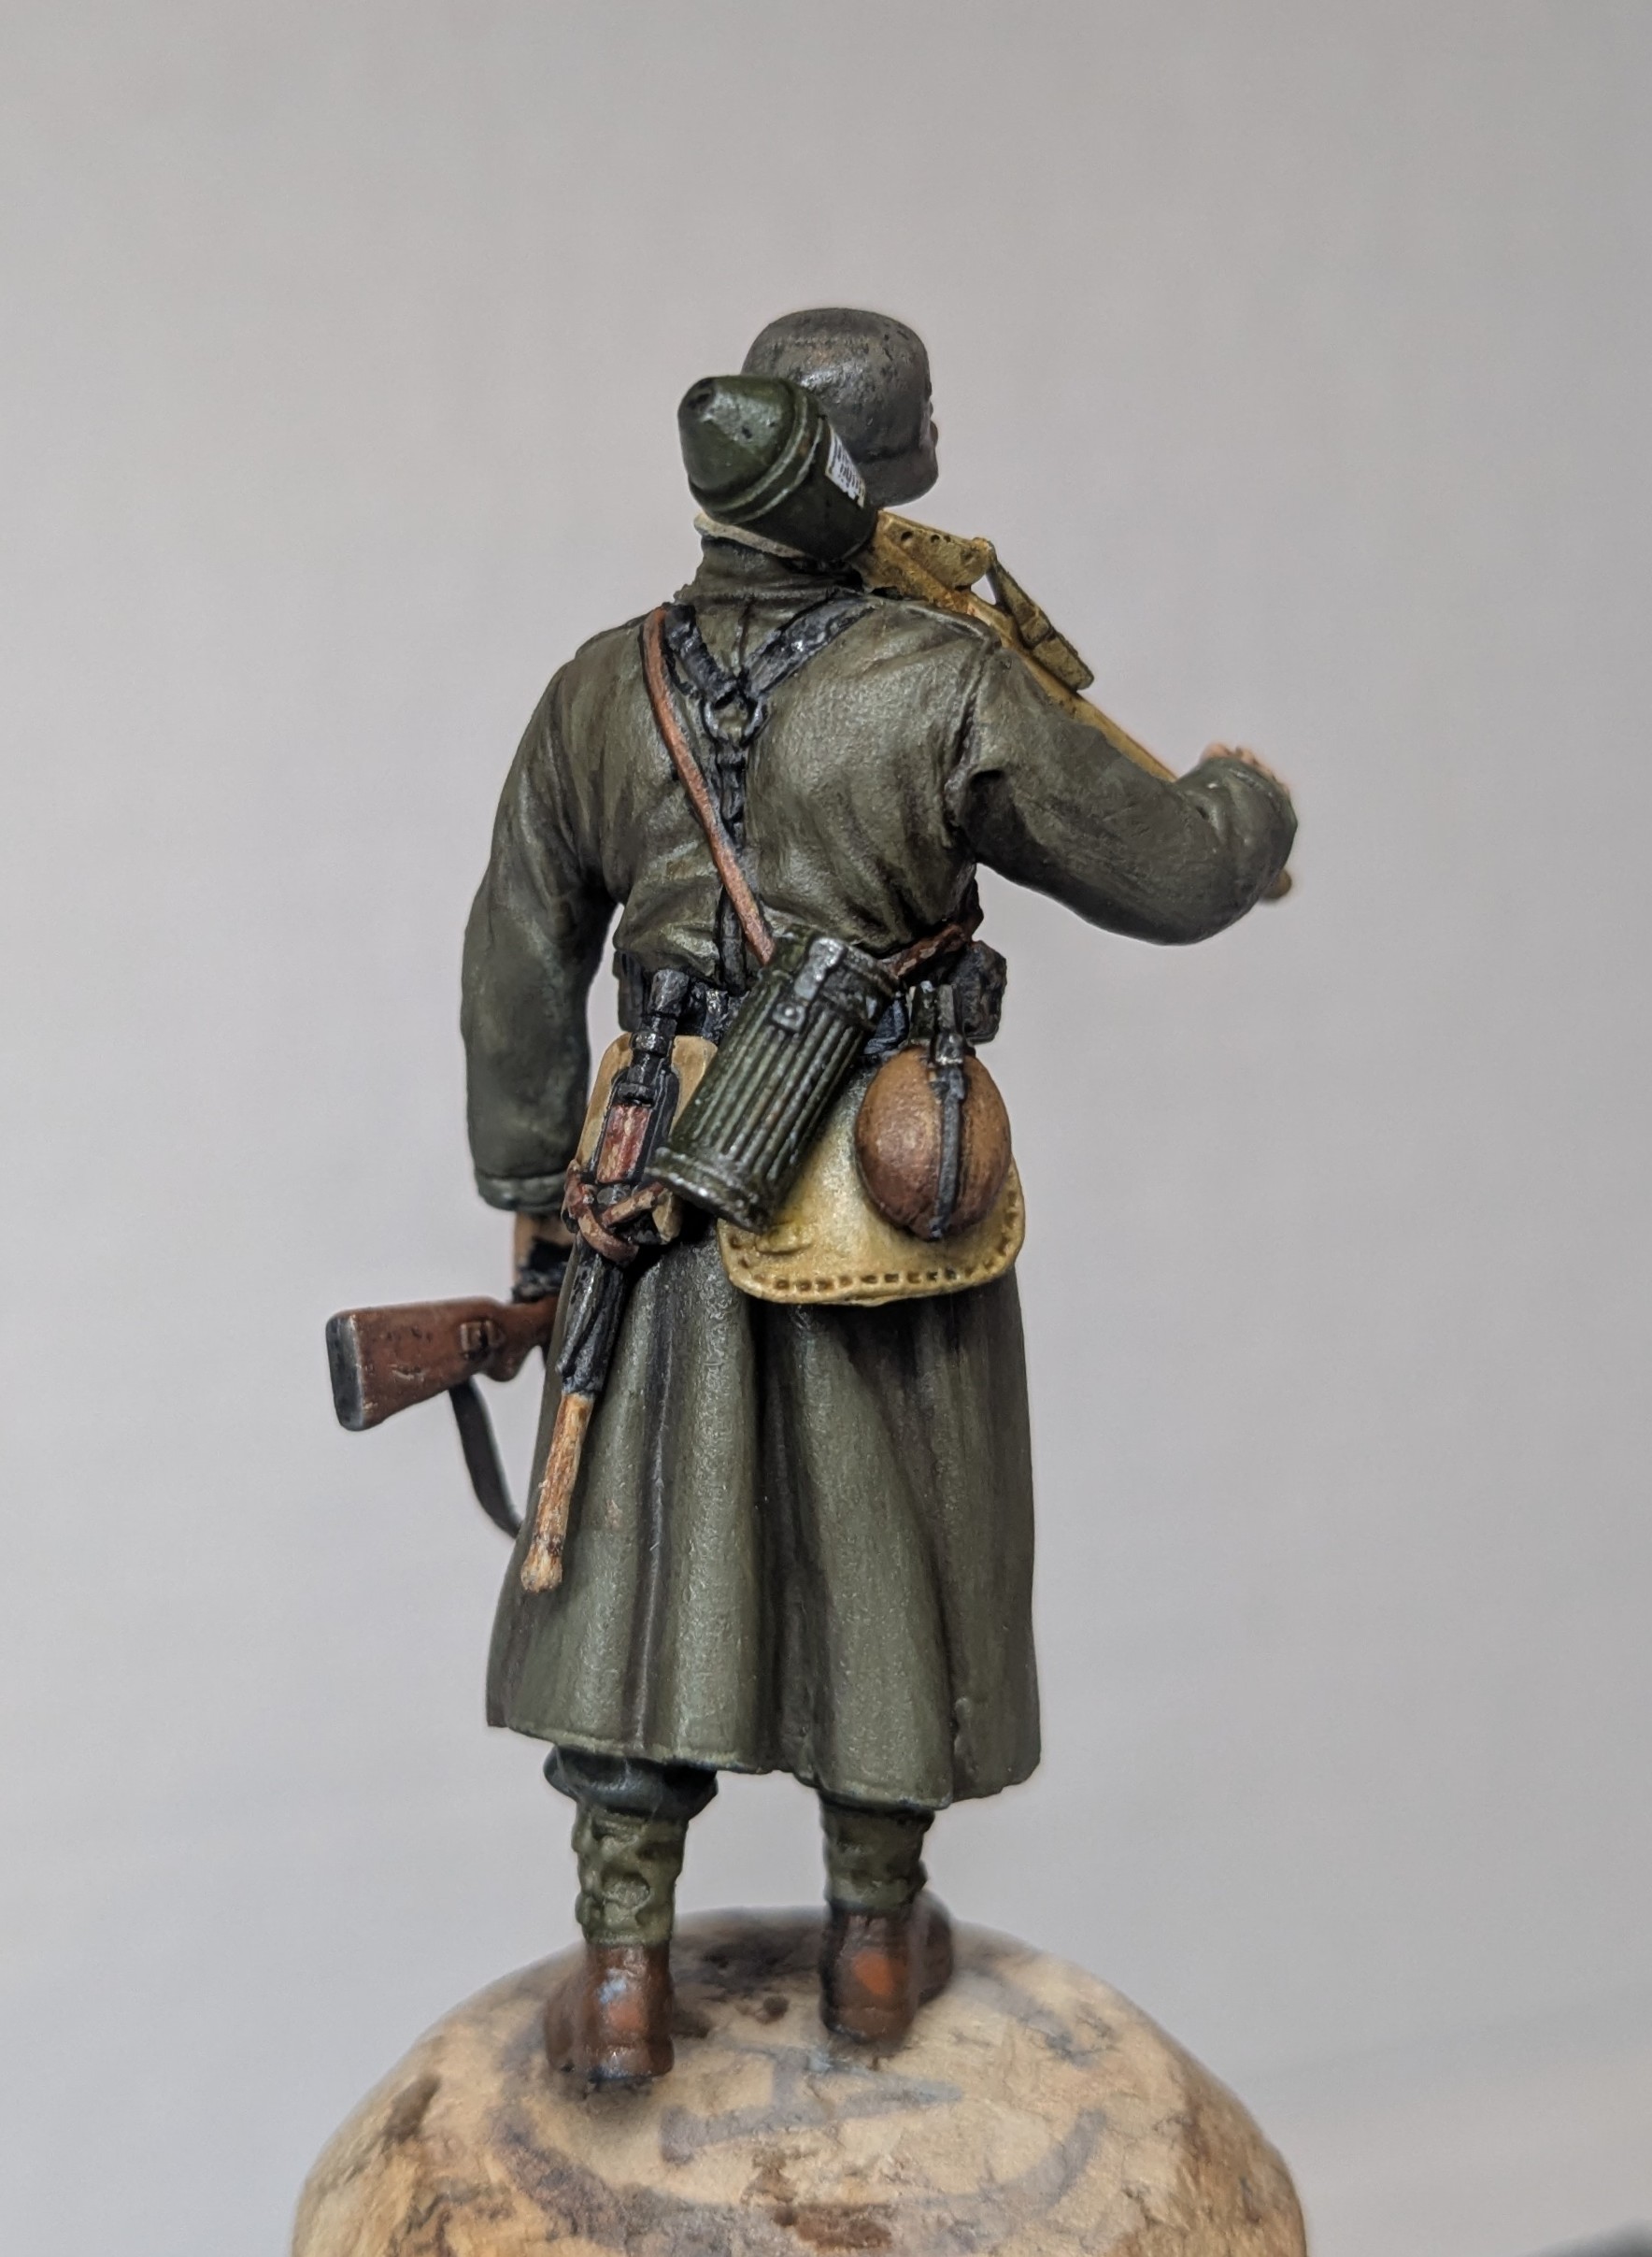
19 Likes
So am I finished?
Probably…

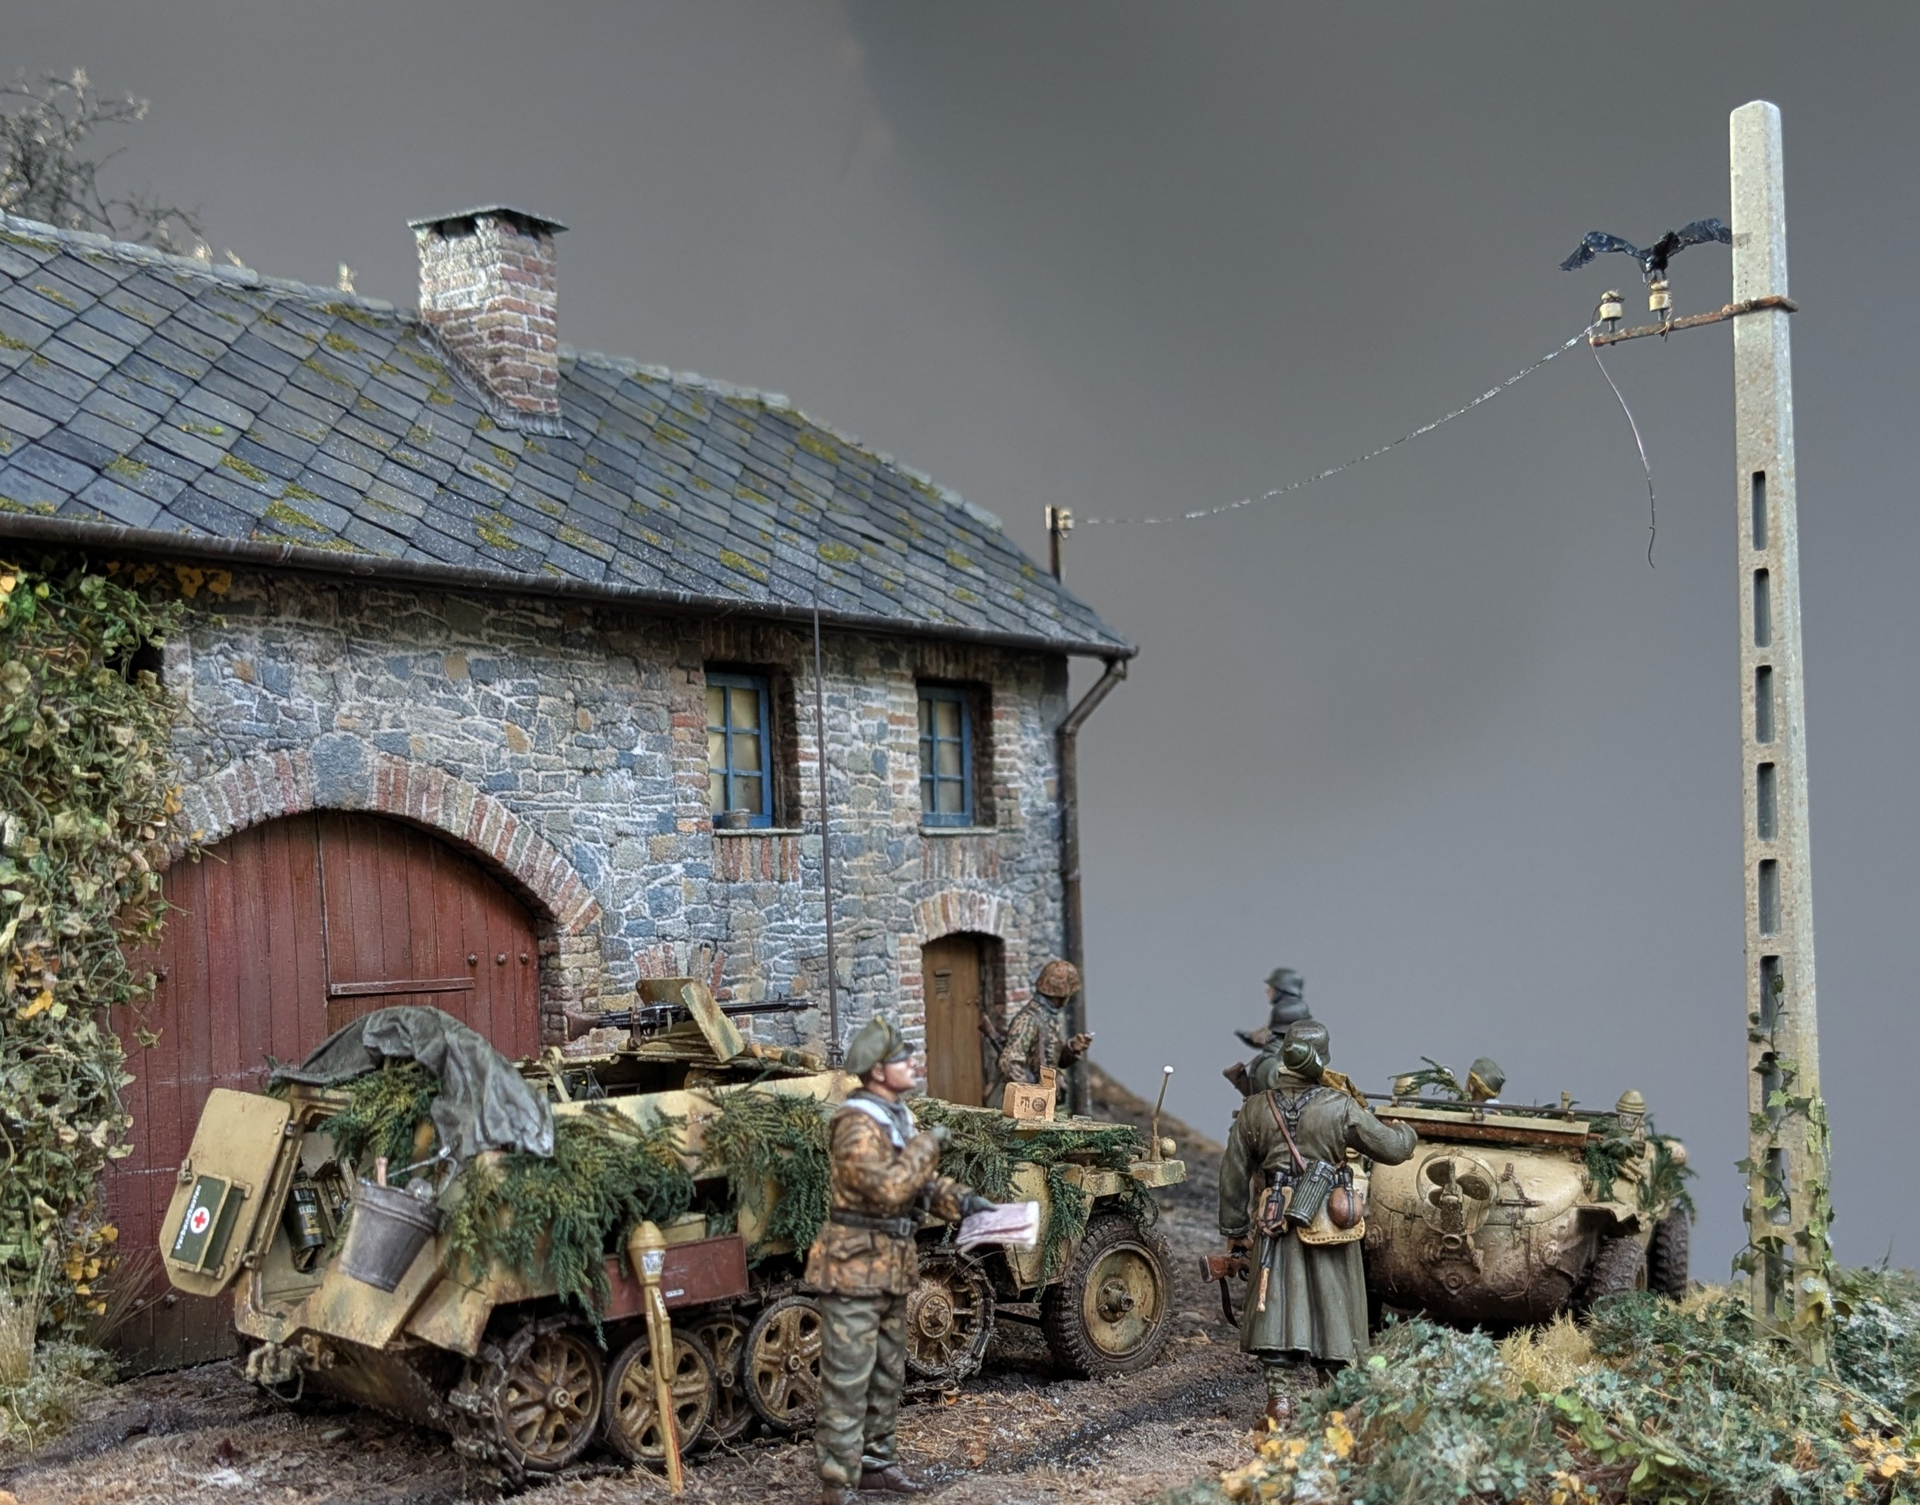
The eagle-eyed will spot two changes from the last time I posted images of the dio. As well as the new figure (with the panzerfaust) I replaced the telephone wire. The last one was taught, whereas in real life they tend to sag. I added frost by ‘painting’ the wire with Sand and Gravel Fixer and then sprinkling with Icy Sparkles.
The new figure helped to fill a bit of a gap… His arrival also means that I have almost reached the six-man compliment for the crew of the 250.


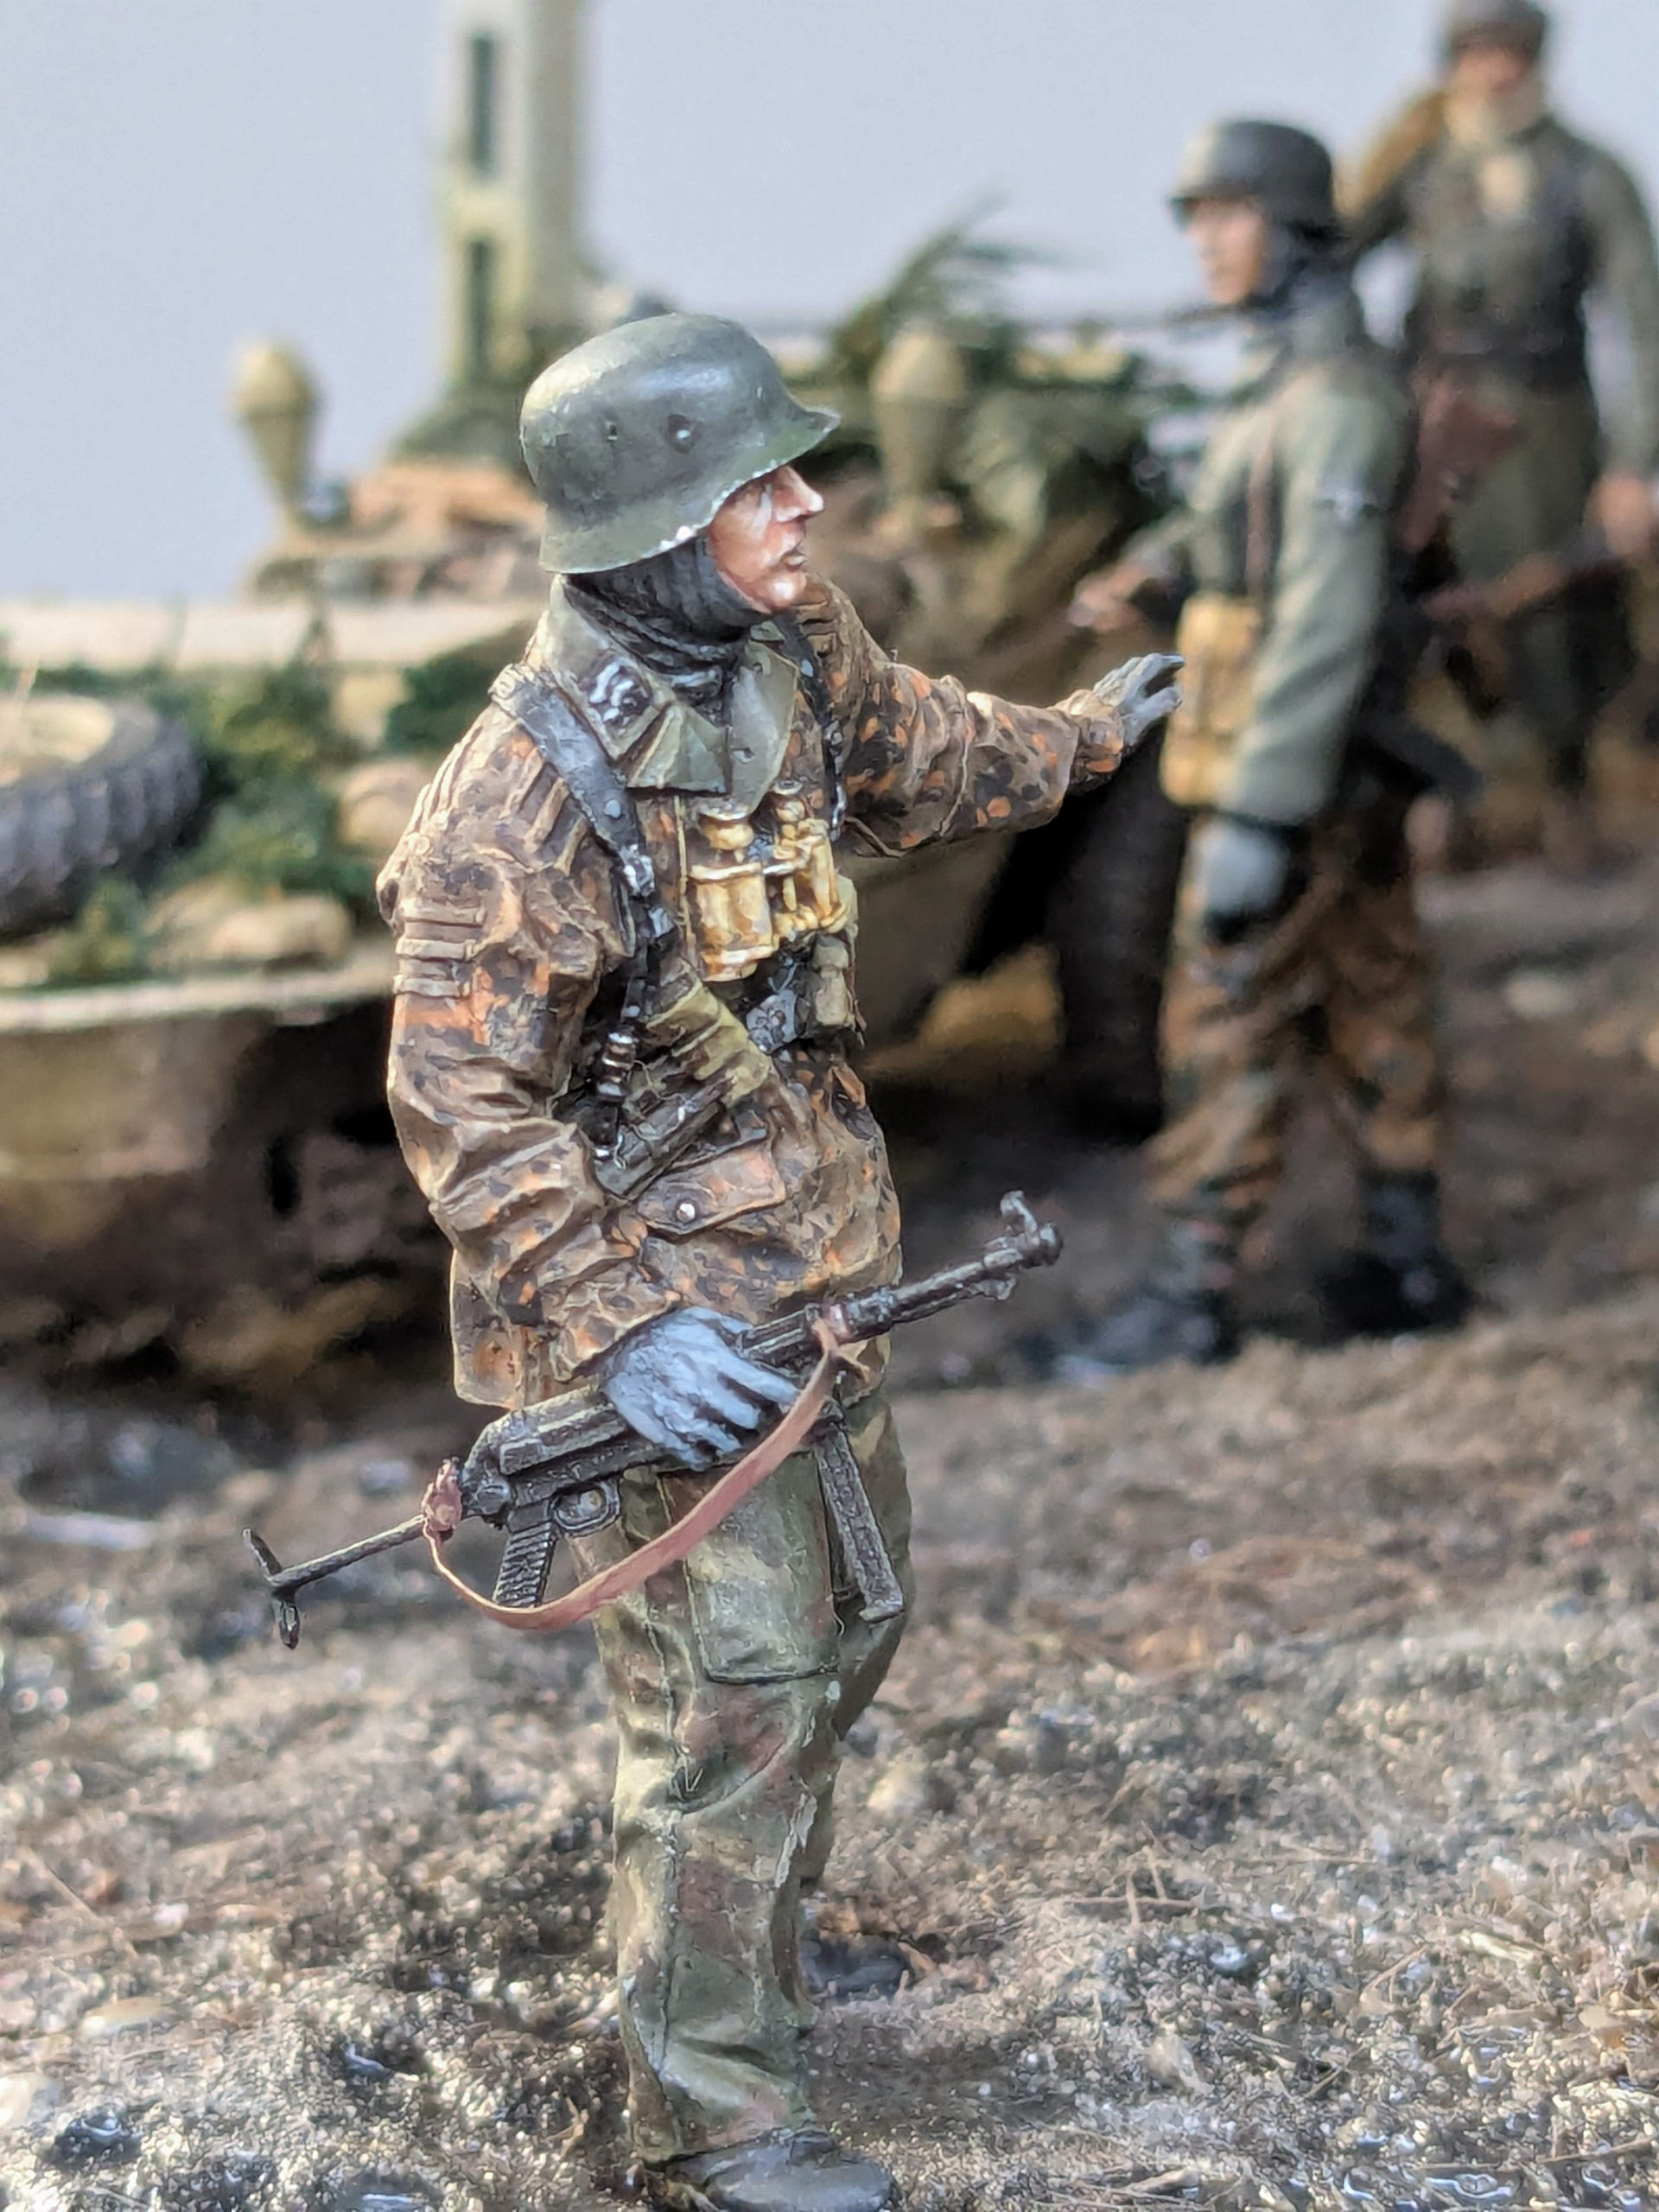


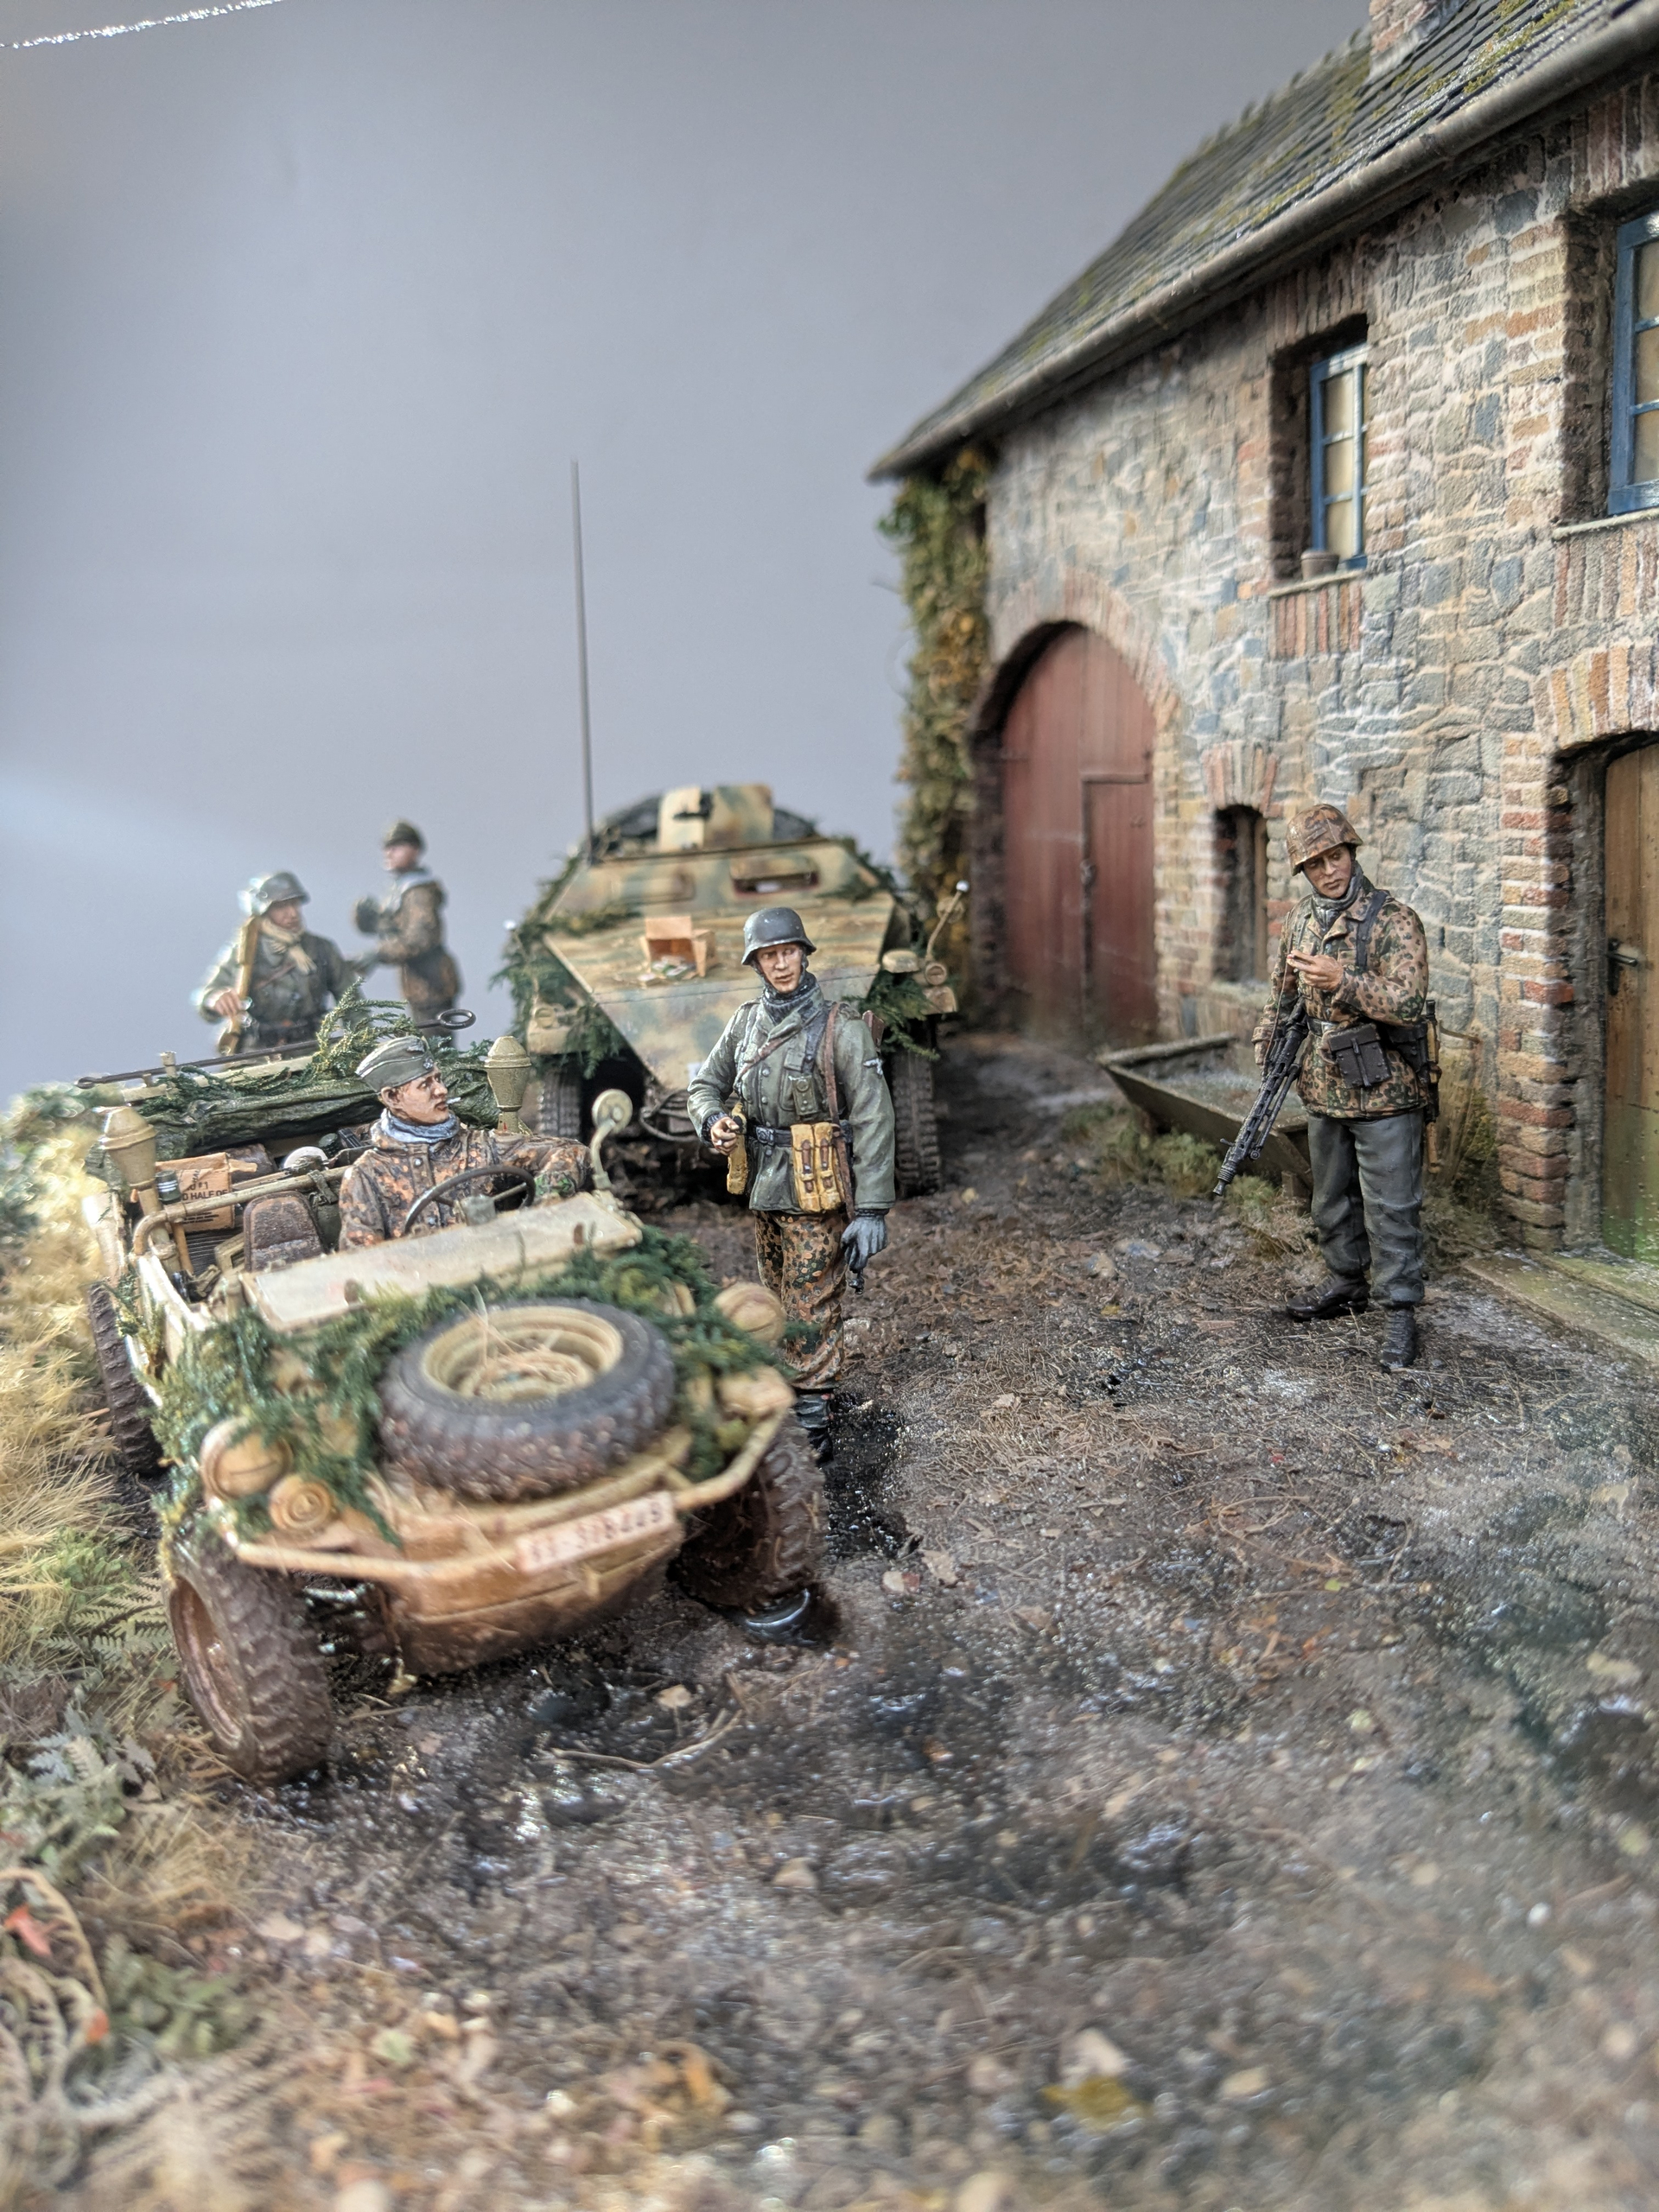


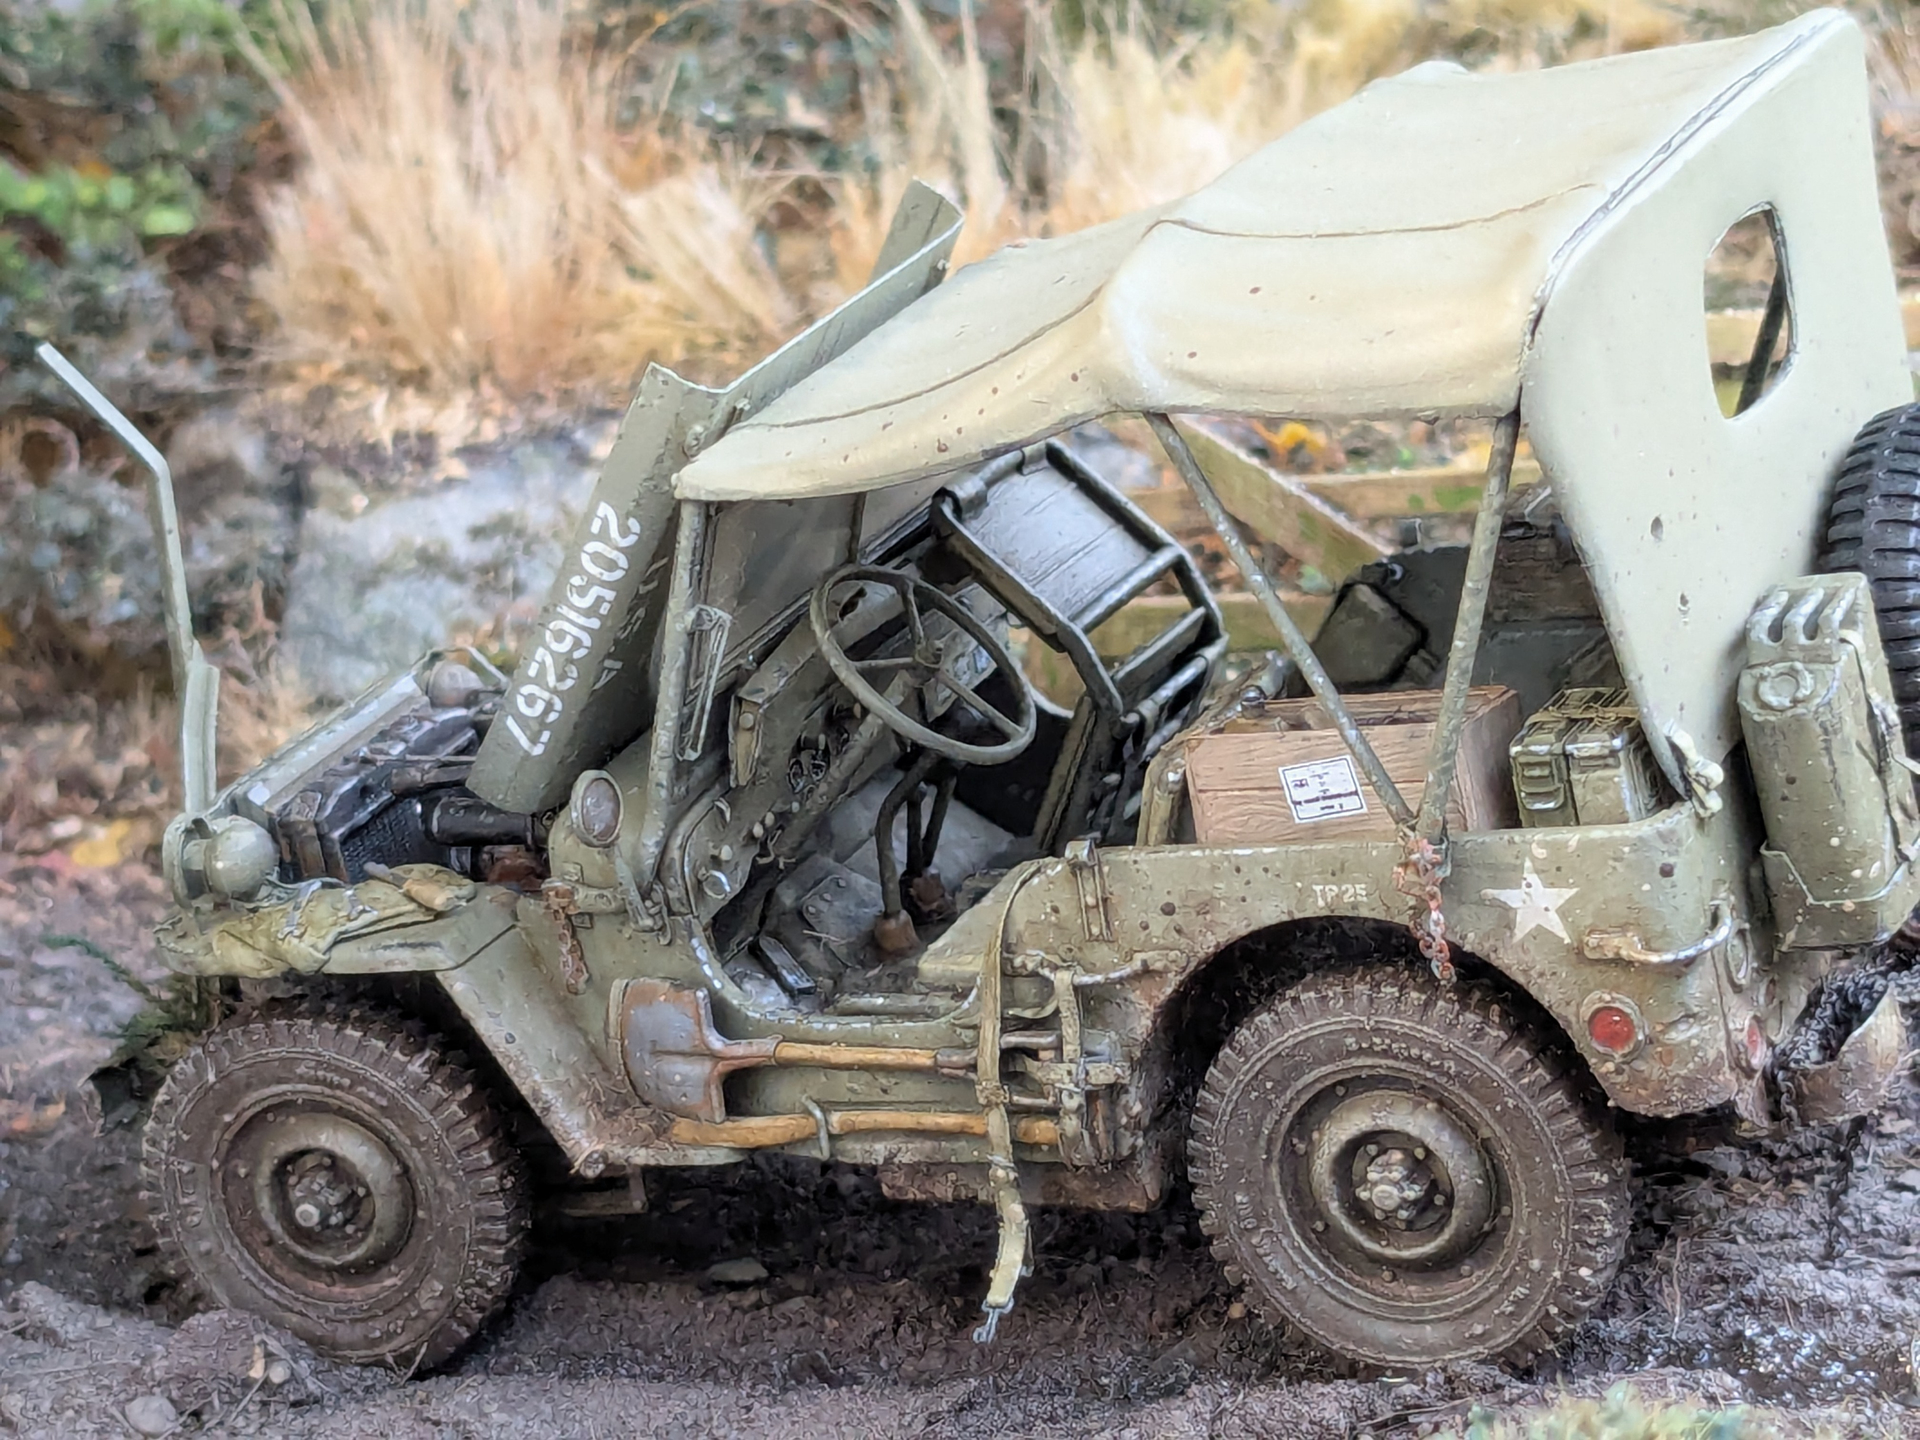
Most of these shots were taken in daylight by the way… I just used a grey photographers backdrop held up with two brooms and some masking tape across my garden table. Some sunlight deflected from the rear windows of the house made for some interesting effects… Perhaps I should try adding a little mist?
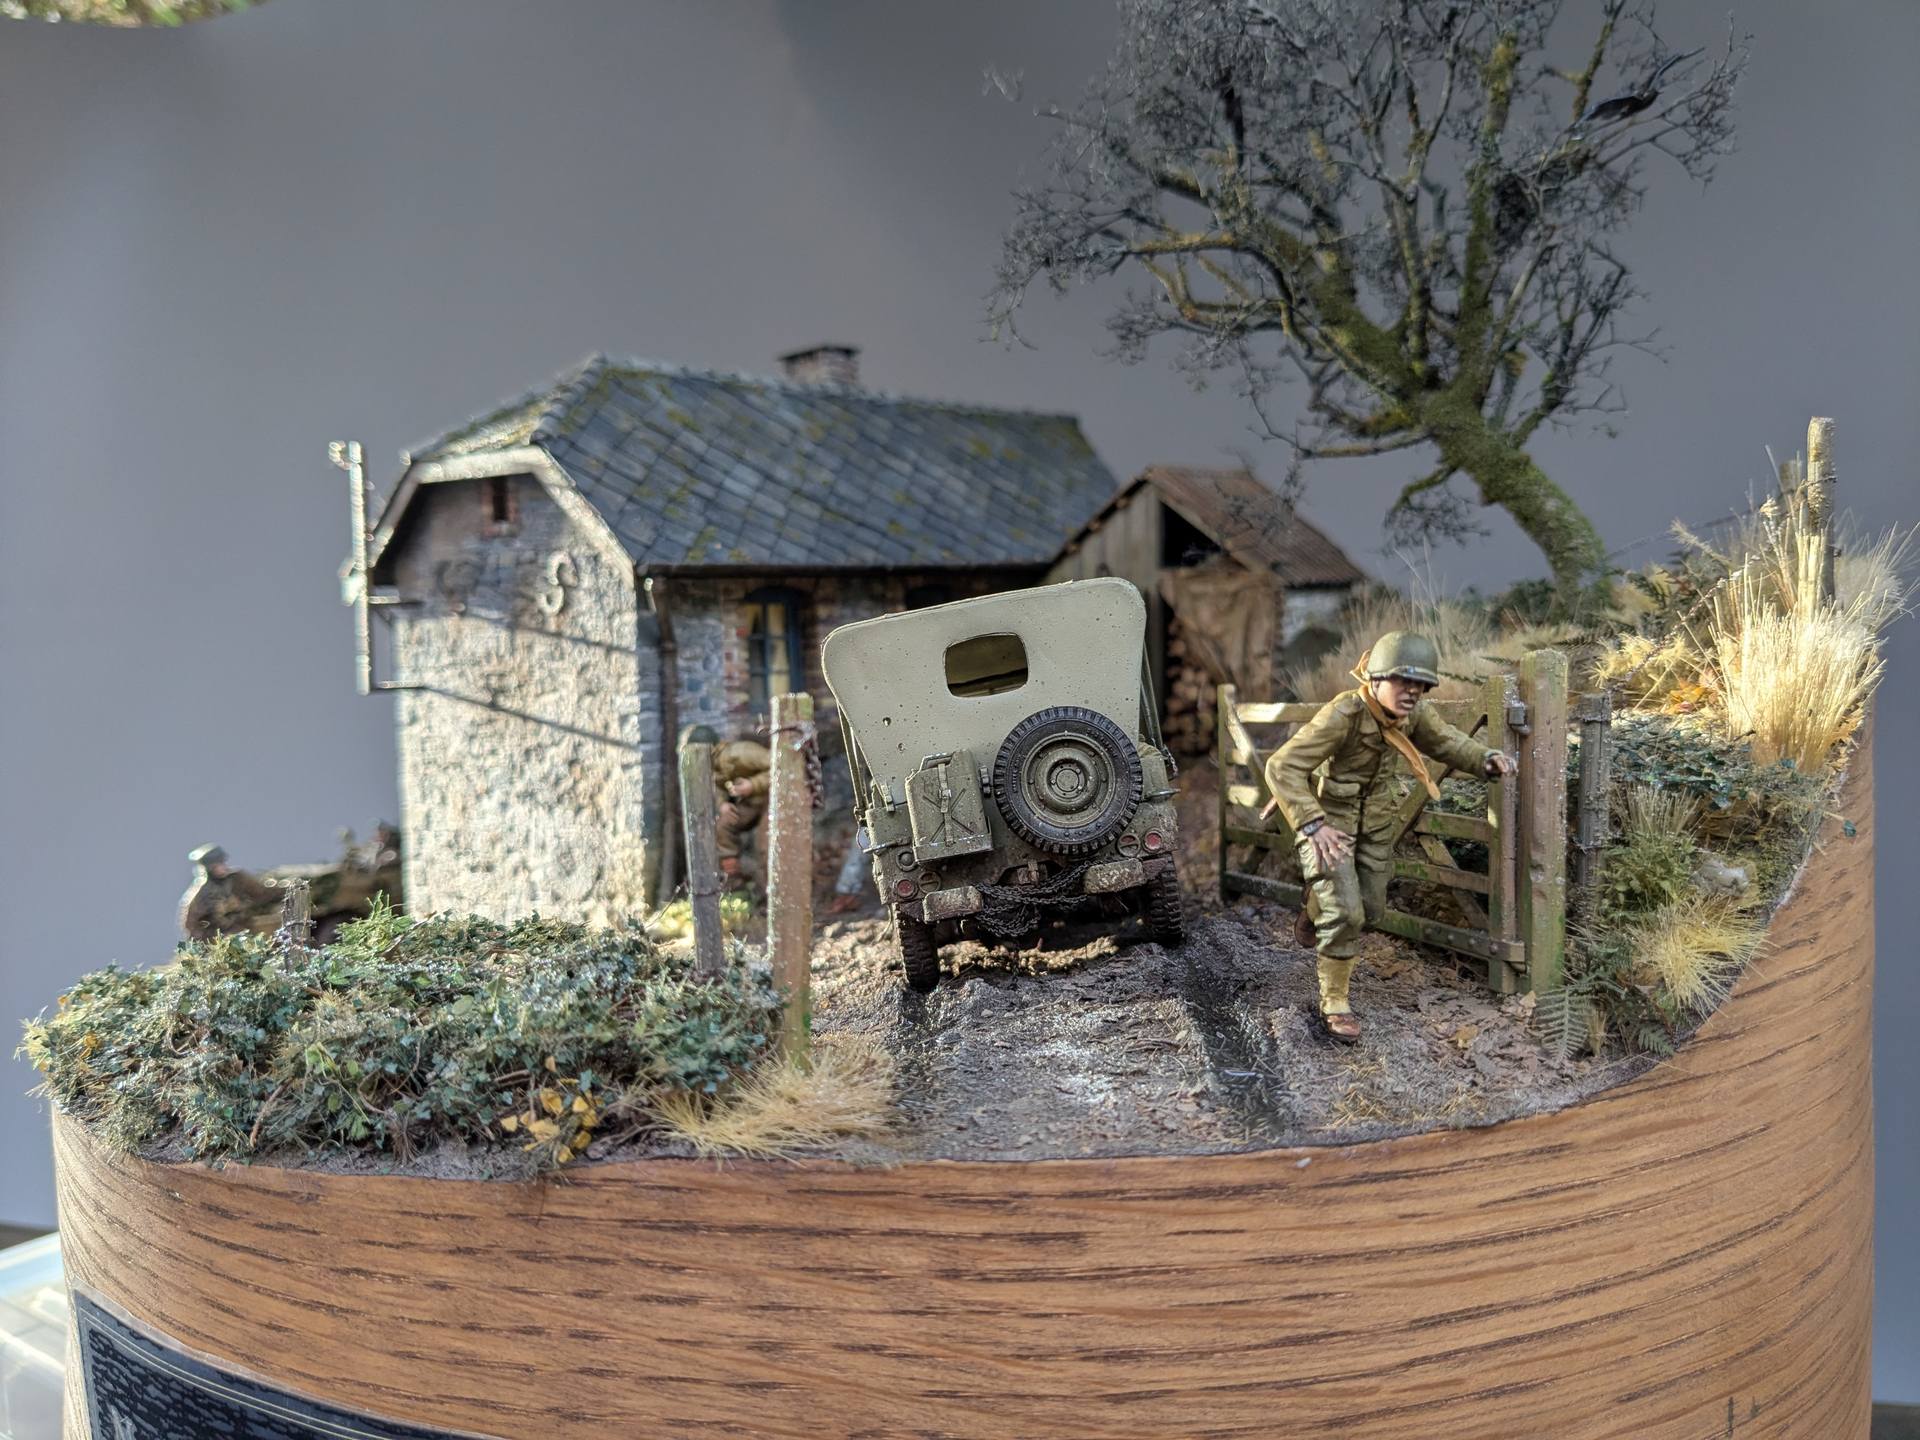
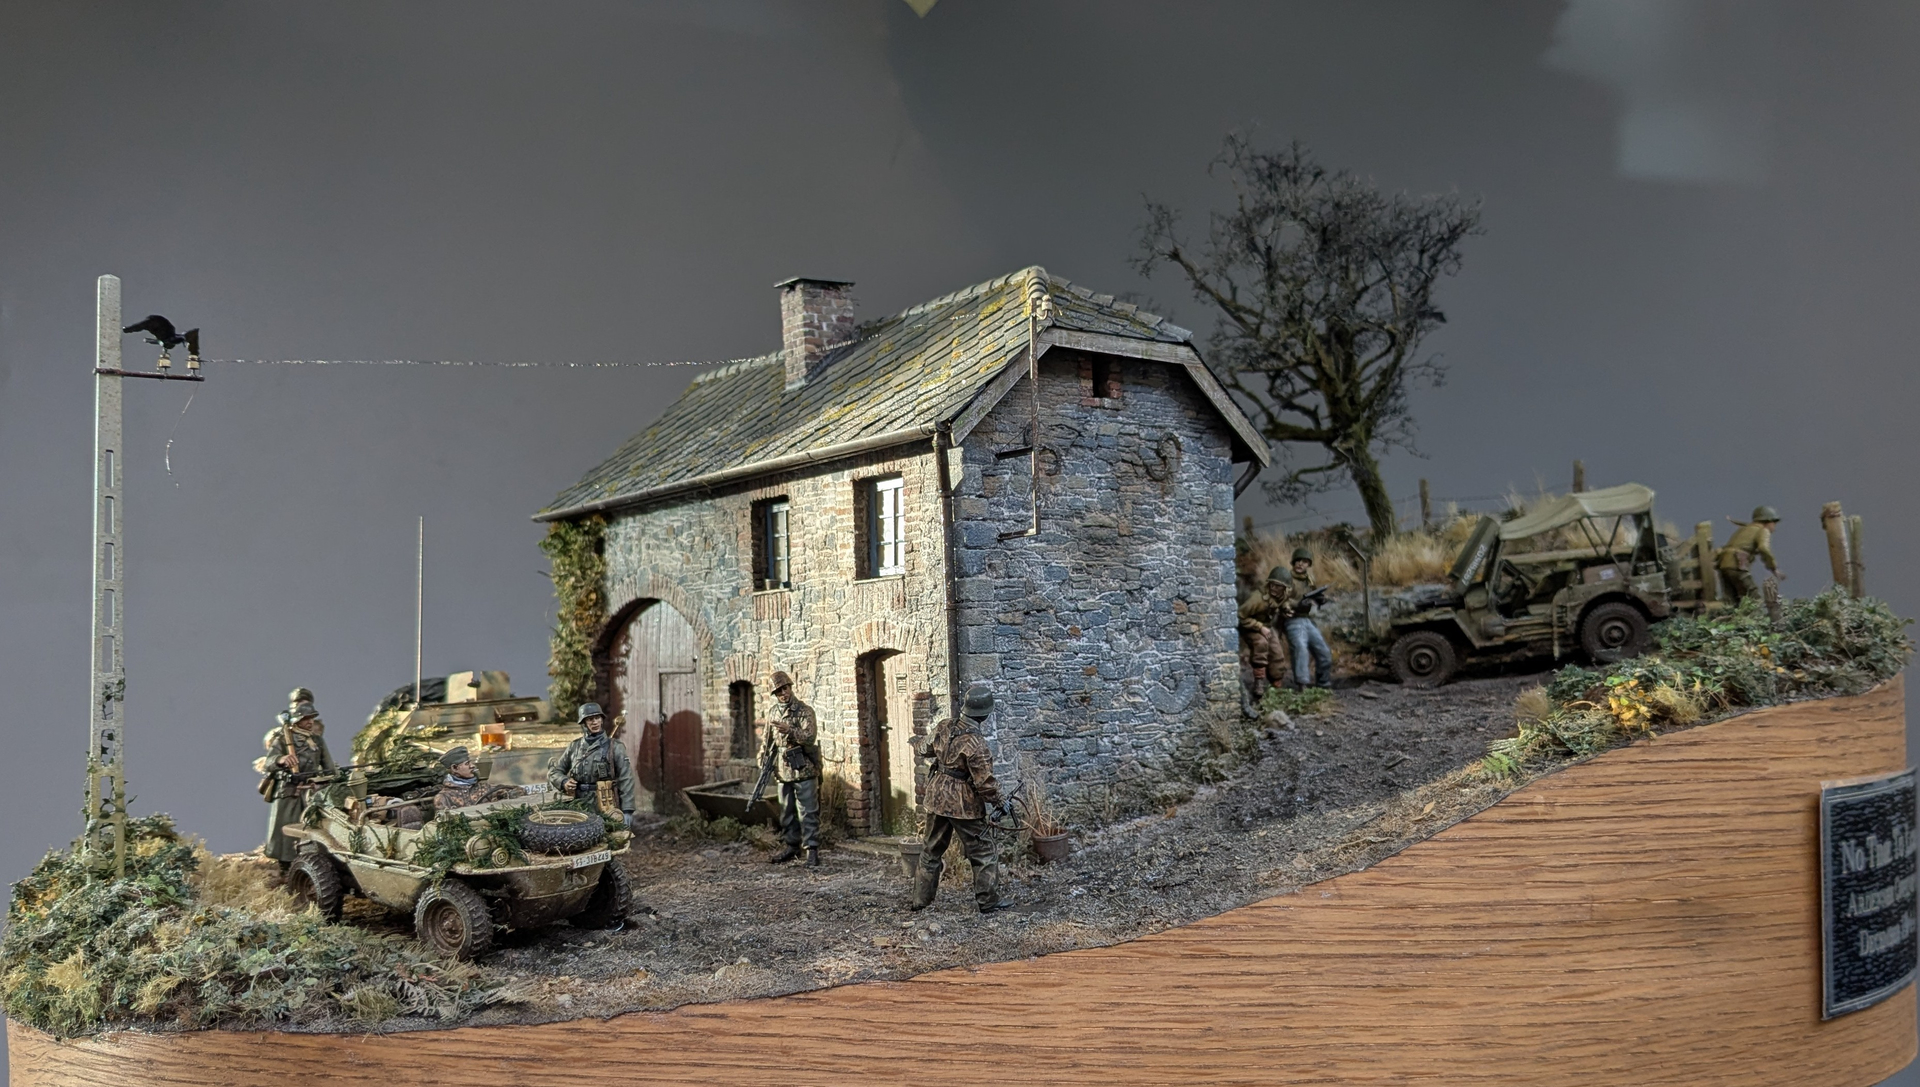
26 Likes
Tim, there’s not much more anyone can say. The superlatives have already been used. This most recent round of photos just highlights how fantastic this is. All in all it’s a work of art!
1 Like
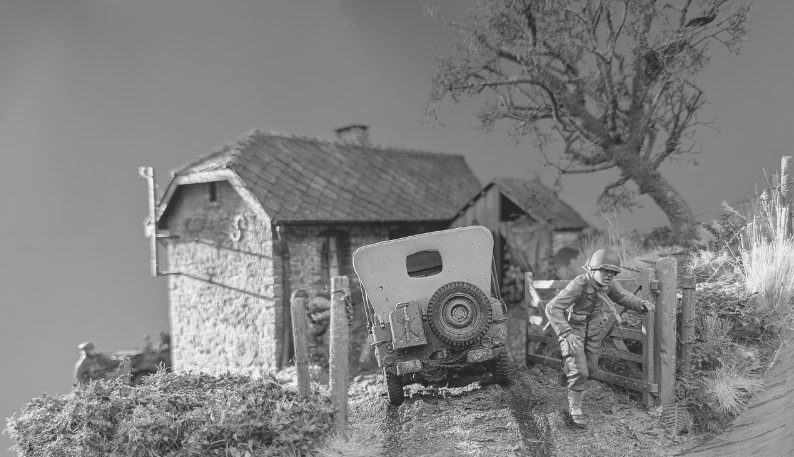
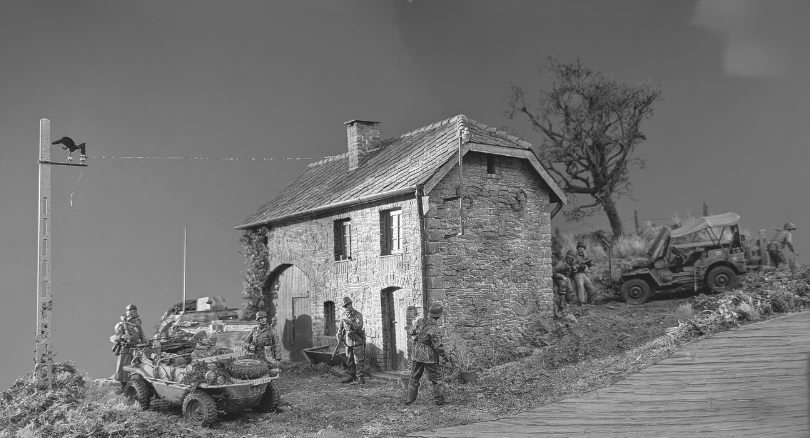
What an incredible scene. JT’s been awesome to see the process along the way. Do you travel to shows and if so, would you take this? Hope to see it in person one day
2 Likes
Thanks Brock,
I do (and will) take it to shows - but sadly Texas is a bit of a stretch!
I will definitely be at Telford in November and, before that, the MAFVA show at St Ives in June…
2 Likes
Tim, you just couldn’t help yourself!
3 Likes
Superior work, Tim, as per your usual. I’ve enjoyed your mastery since “Liberation Day” on the gone forever site.
Here’s my take on one of my favorite vehicles of all time.

10 Likes
Thanks Phil!
Amazingly this was my first Jeep in 57 years…
Just shows that, with a bit of pimping, Tamiya kits still RULE!!
3 Likes
I’d so like to see this one in person. So many details. You could spend hours staring. Mind blowing work!
J
2 Likes
Echoing Yossarian, I’d love to see this in-person! The whole project has been a masterclass in planing, scenery, building, vehicles, sculpting, and composition. Truly fantastic work and thanks for sharing in such detail. I love it!
3 Likes