Well, it’s time to start my next build after the Tamiya 1/20 scale 1979 Martini Lotus Type 79 crossed the finish line last week.
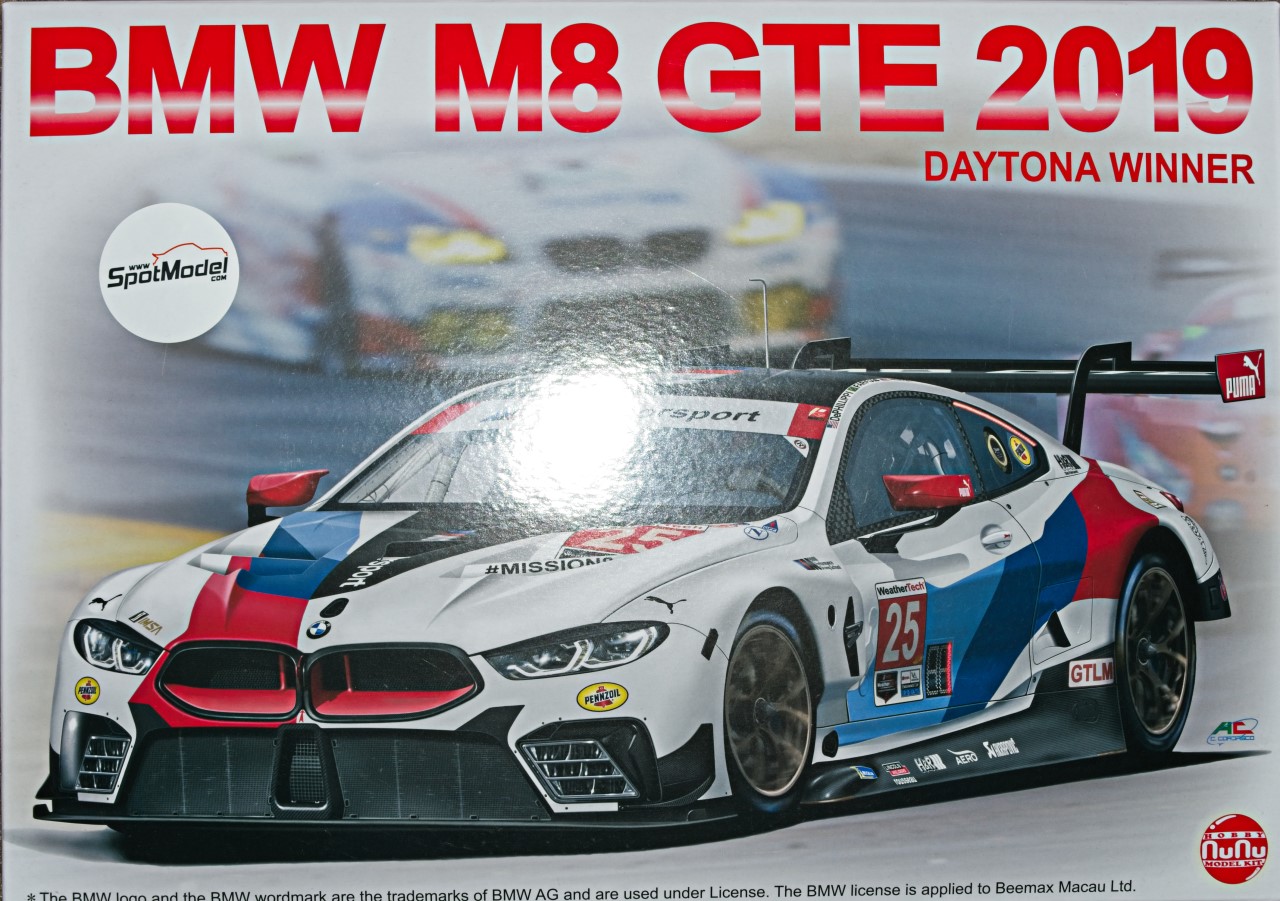
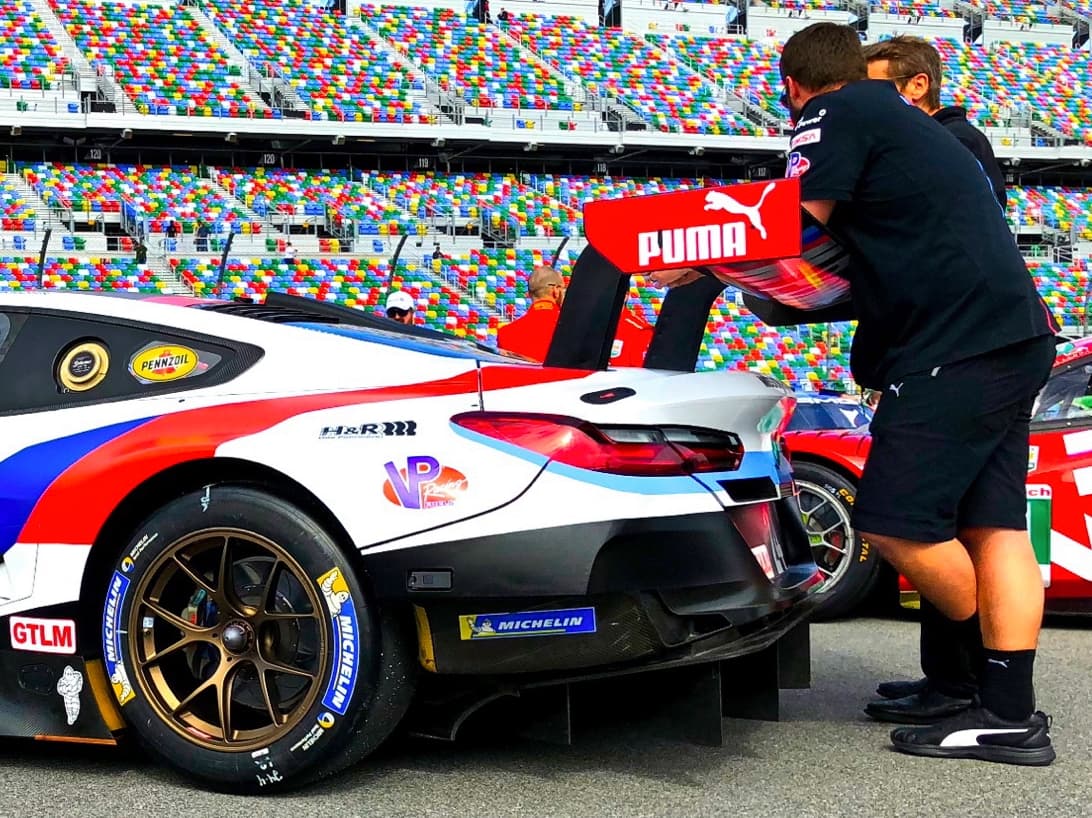
The kit I’ve selected is the brand new Nunu 1/24 scale BMW M8 GTE car designed specifically for the IMSA Weather Tech Sports Car USA series. The box version is the car that won it’s class at the 2019 Daytona 24 hr. race,
I also decided for some strange reason to purchase the Nunu detail up set that contains plenty of PE and a few sheets of Carbon Fiber decals. The SK decals also contains a lot of Carbon Fiber decals, so I should be covered for any mistakes I make in applying these decals, some of which are quite large.
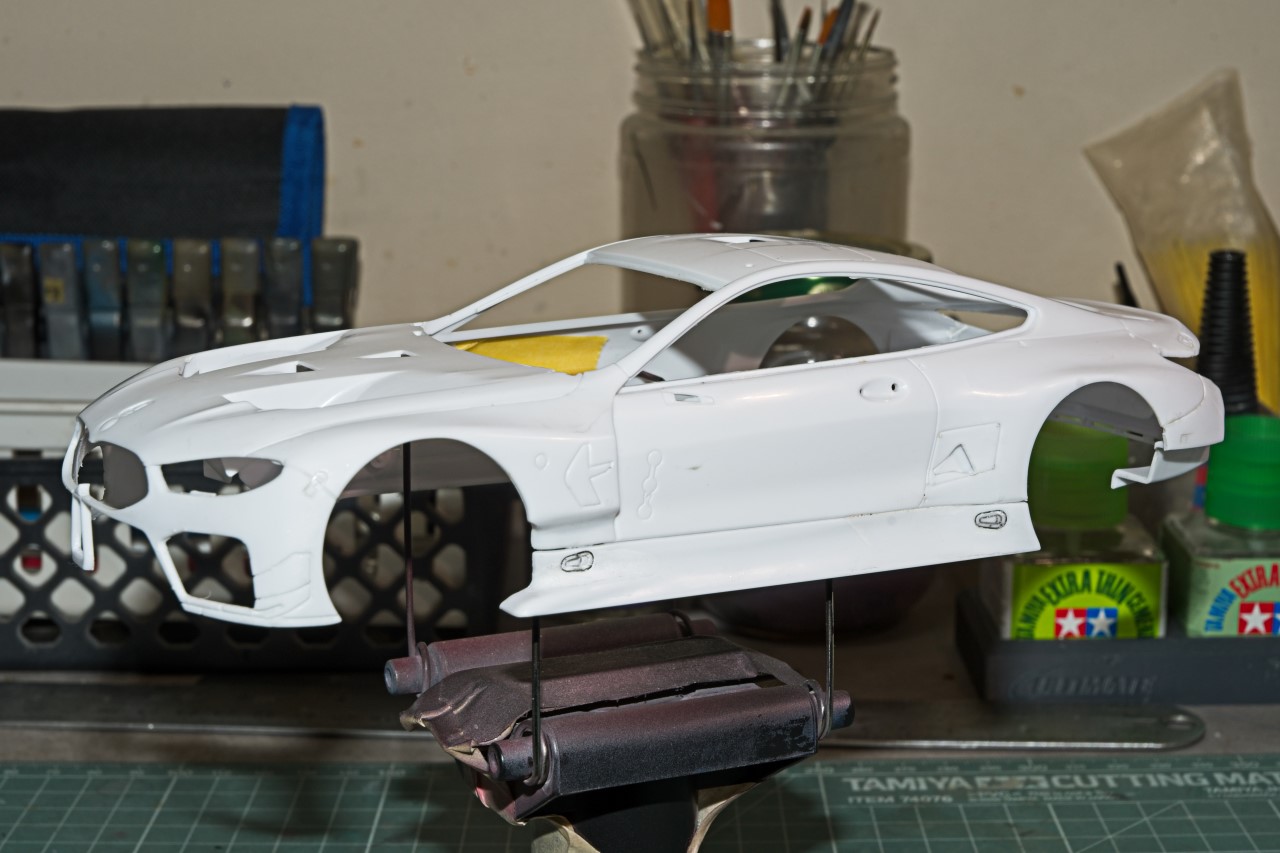
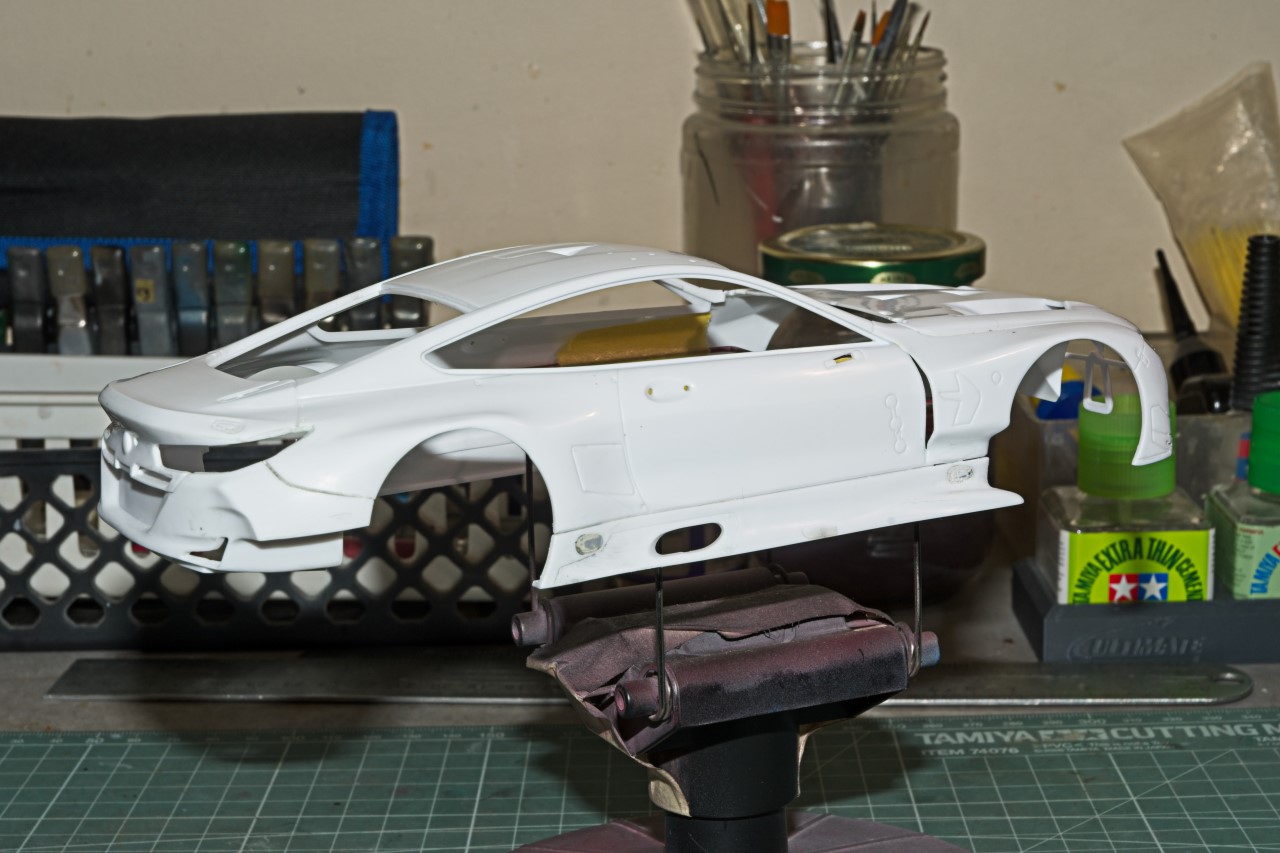
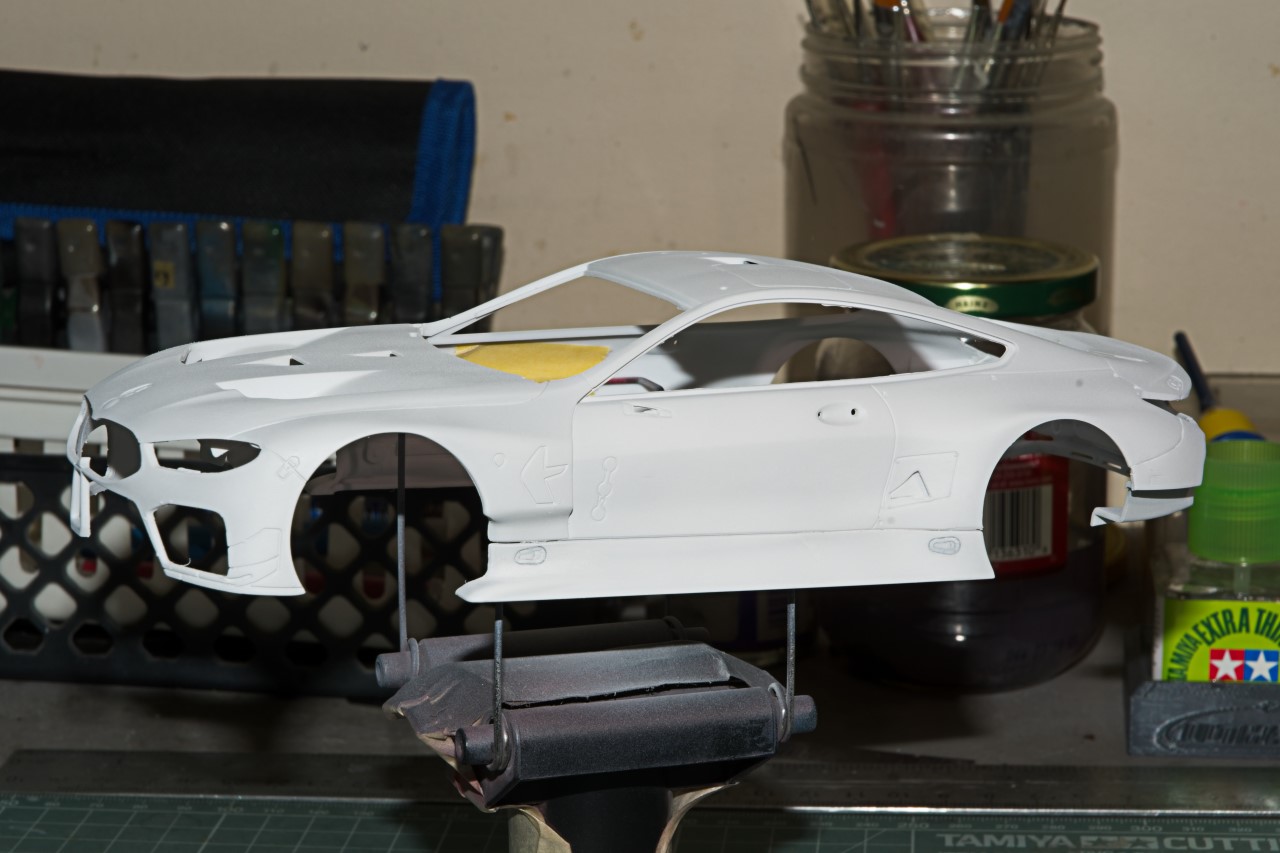
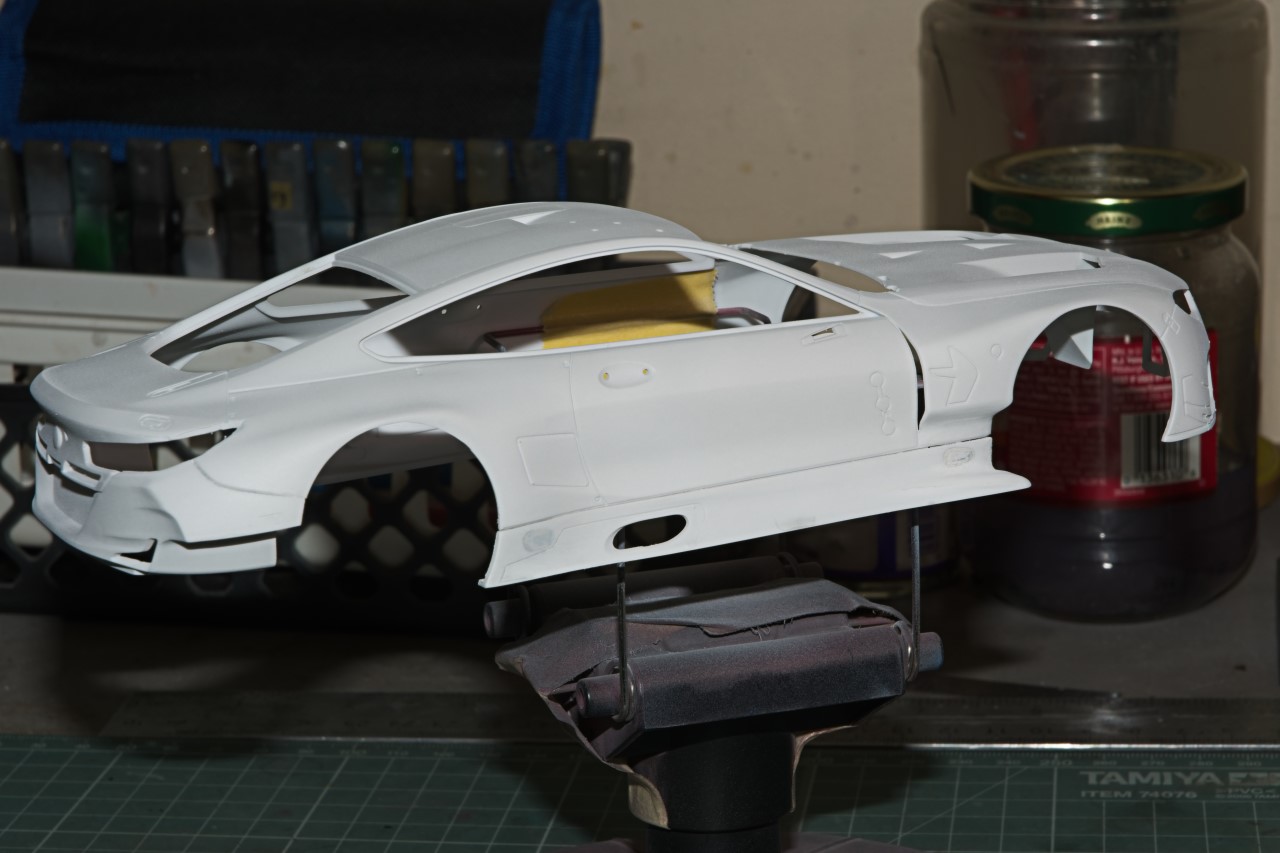
As usual I don’t follow the kit instructions as to build sequence, preferring to assemble the full body and additional parts such as the rear wing assembly, so that I can prep, prime, paint, decal, and gloss coat the body. Ready for primer coat:
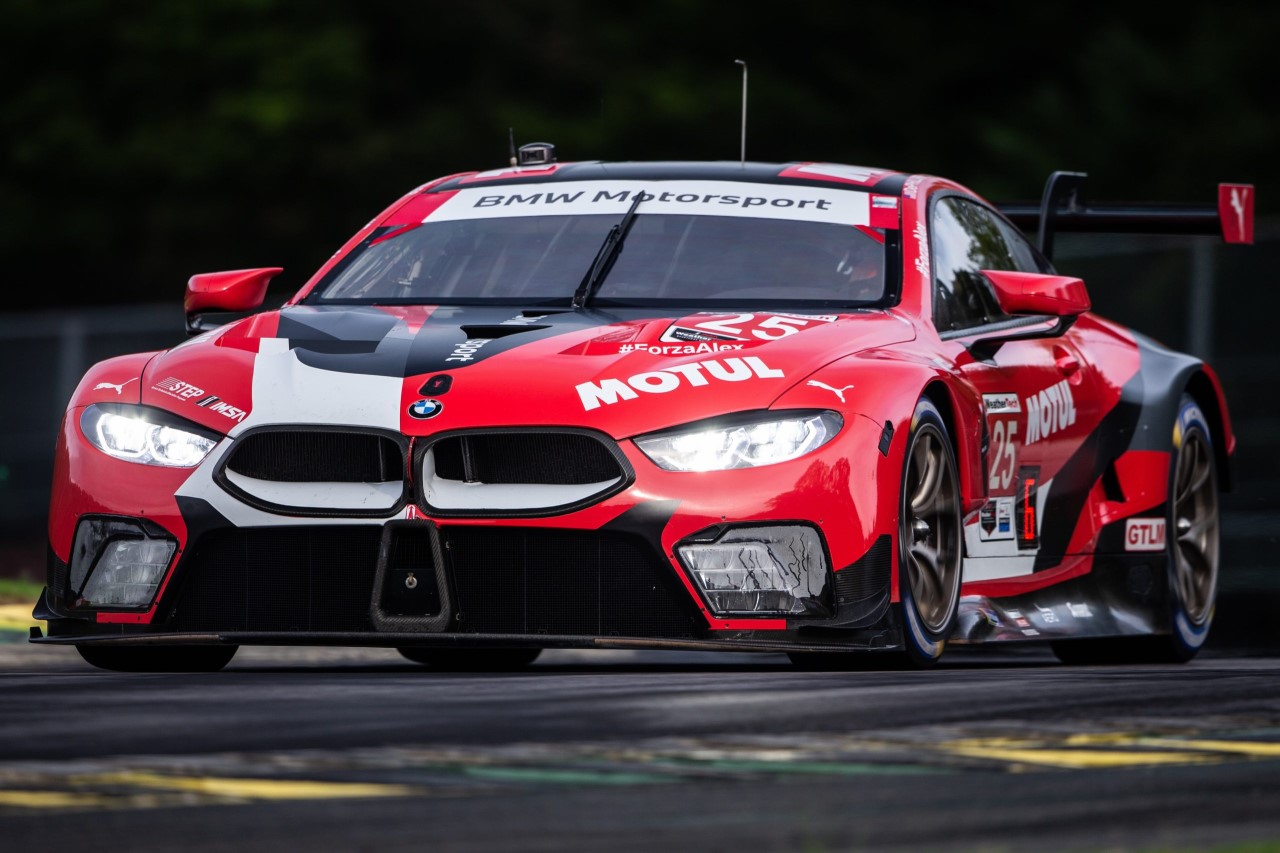
Should be an interesting build to follow. I think I prefer the BMW race team colours though on the box art. I have always though that was a pretty cool scheme.
Michael,
Glad to always have you along for the ride. I to like the original factory team colors but more then half of my builds are white cars, so I kind of look for alternative schemes, and when I found the SK decals for the Road Atlanta 6 hr race, I was sold on it.
D,
Pull up a rocking chair, and I’ll get the popcorn popping soon. All of the PE is the main reason I went for the Detail Up set as I’ve never felt comfortable working with PE and usually make a mess of it. Hopefully, it will be a great learning experience for me.
BTW, one of the PE frets has the rear wing supports which are way to thin when you look at a picture of the rear car’s wing. The kit parts sanded and reshaped actually now look exactly as they do. The PE pcs really needed to be twice as thick but still wouldn’t come close to the real overall shape. PE seems to really be at home with flat or easy to curve parts. I’ll post pics of it in my next update for sure.
Not much modeling time these days as all we seem to do is go for medical tests and see specialists. Getting old sure sucks right about now.
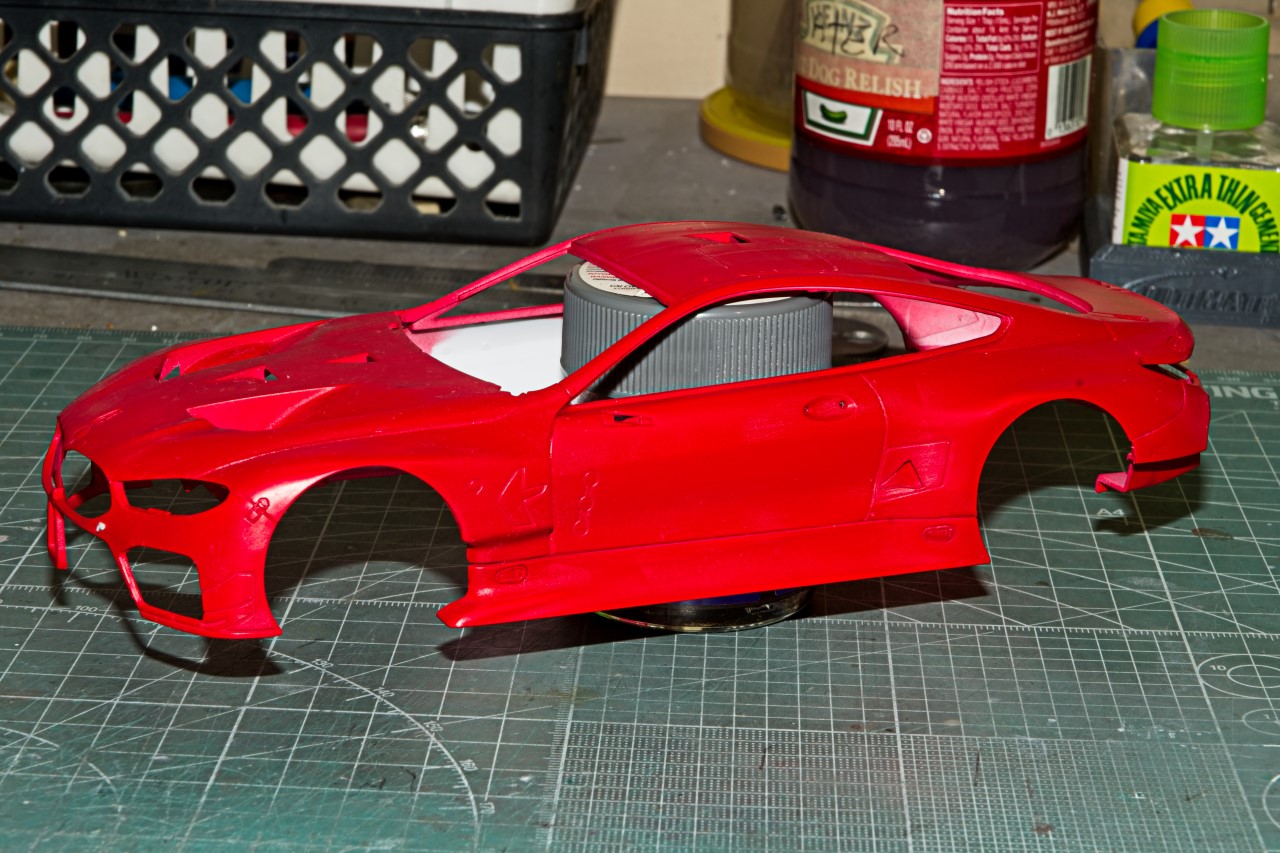
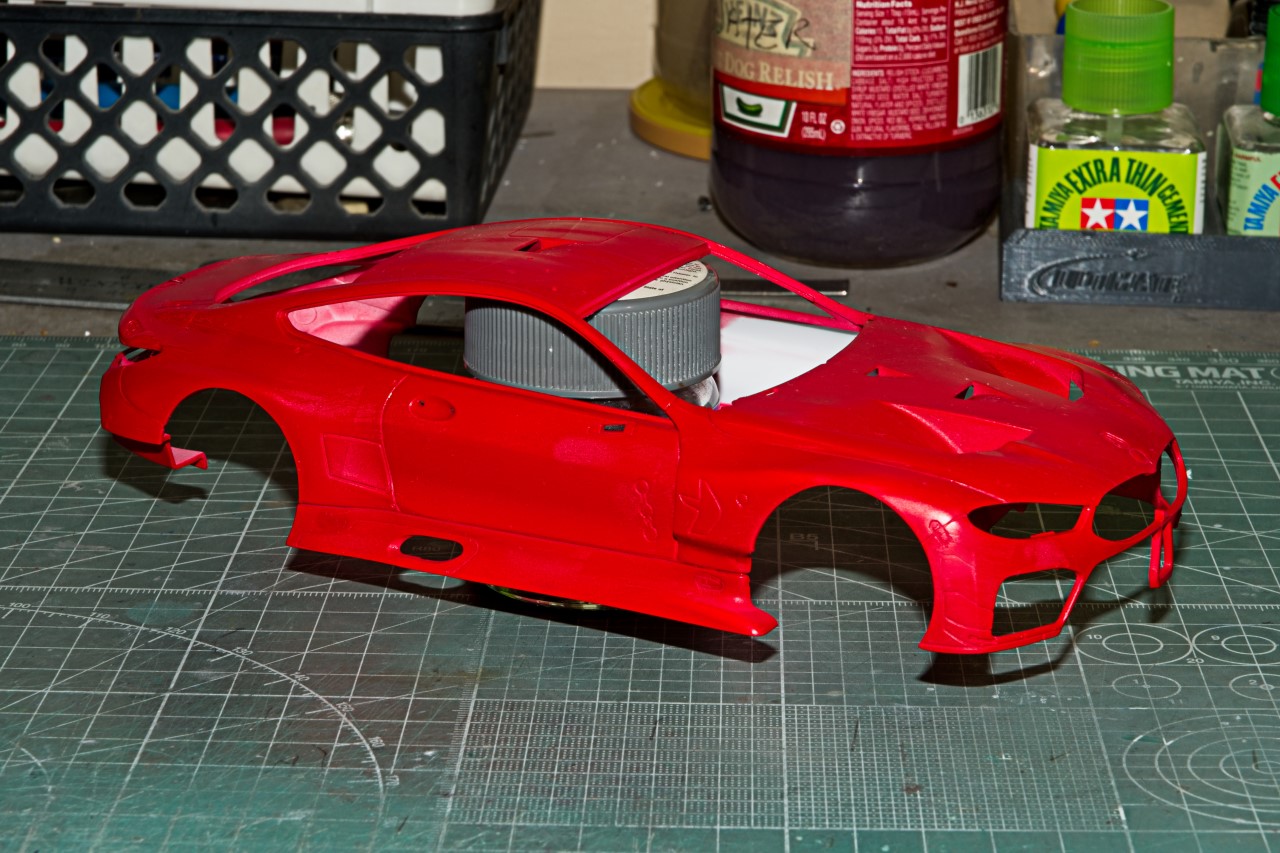
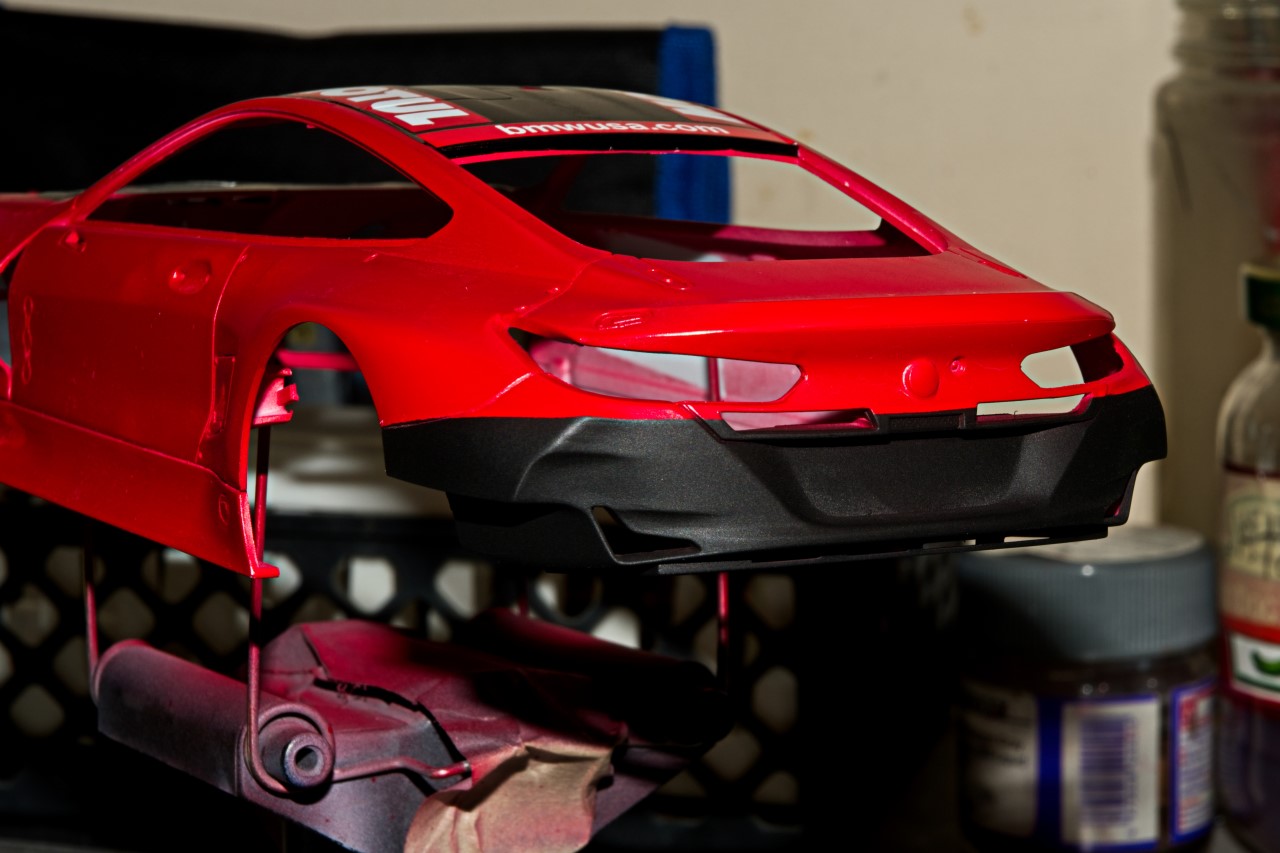
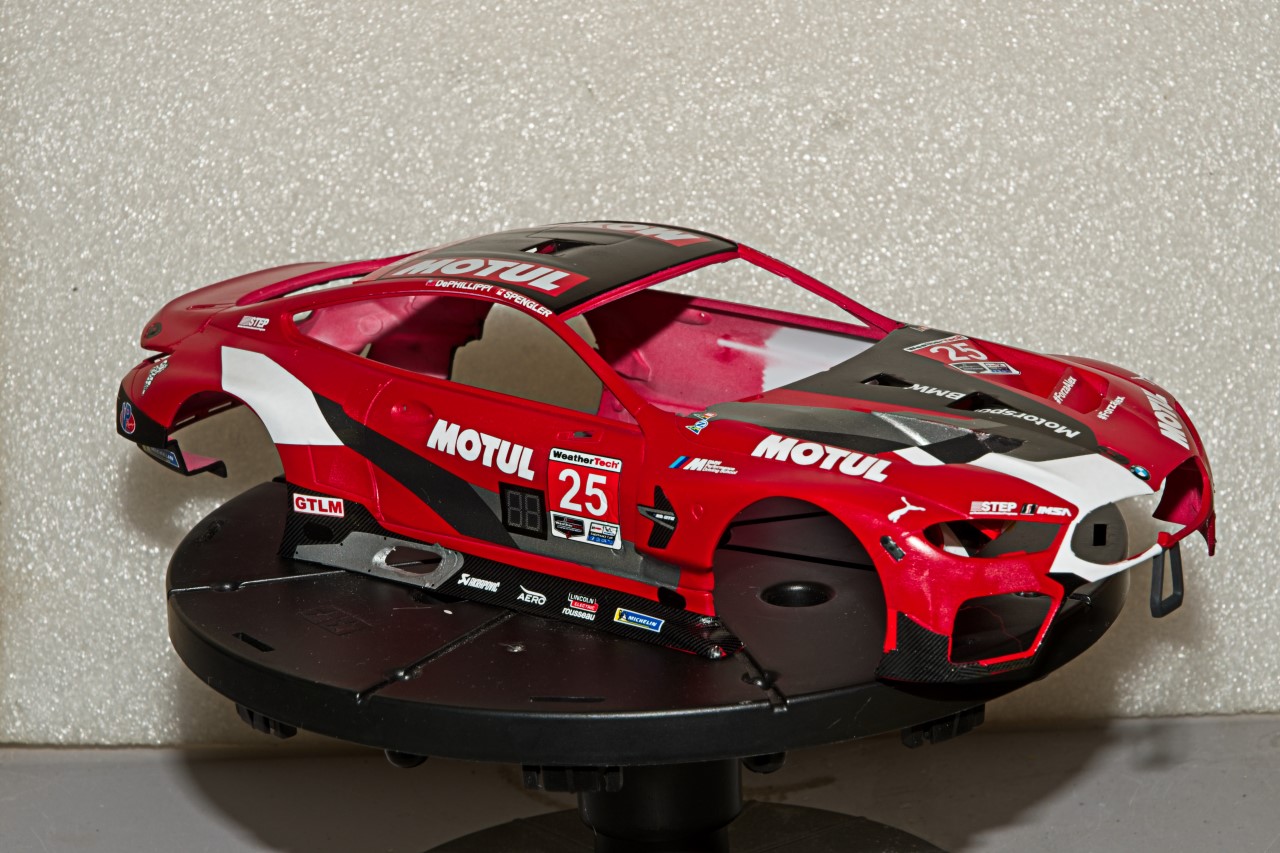
Anyway, I’ve managed to apply the Red body color with a slightly doctored mix of two different shades of Gravity Red, one new bottle and one very used one.
So I masked the bumper off and then covered the entire body with a Ziplock bag and a lot of Tamiya tape. I decided that the closest I could come to that look is with Mr. Finisher Surfacer Black 1500 but thinned by eye less then 1:1 for that surface texture in the picture.
Looks a little to rough, so I’ll give it a wet sand with Tamiya 3,000 sponge.
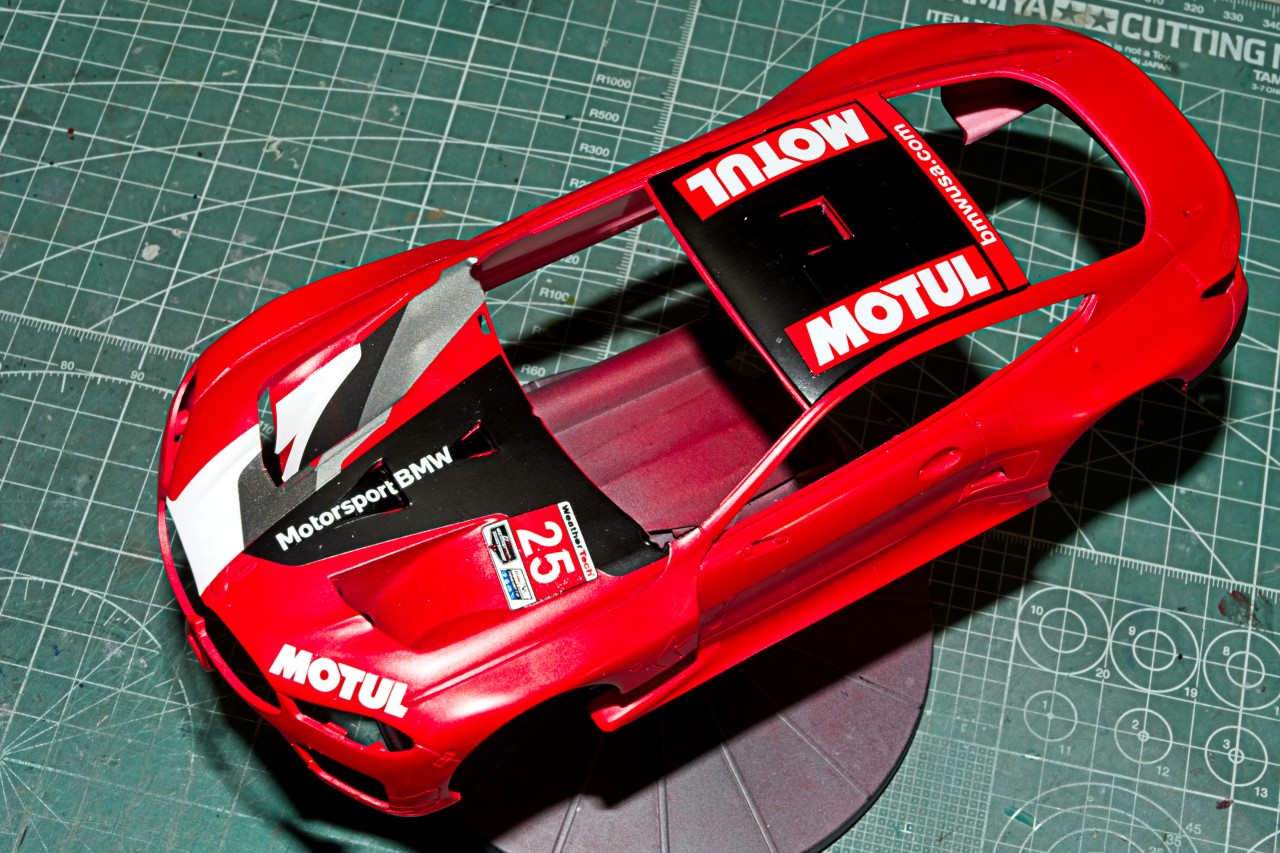
As you can see I started to decal the body when I realized that I forgot about painting the rear bumper. Here’s an overall pic of the start of the engine hood and roof. There’s more then 120 decals from both the SK and Detail set that needs to be applied, so I’ll be at my favorite part of the build for quite some time.
Love to watch you do your paint and decal magic - bet they look even better in person !
When you consider the alternative to growing old then growing old doesn’t seem so bad.
Cheers buddy !
Jesper,
Agreed about the color and scheme. The Team that runs this car is a factory sponsored team: RLL. Rahal, Lanagan, Letterman. Rahal is none other then Bobby Rahal of Indy Car driver and owner fame. He was always one of my favorite drivers, and is a past Indy 500 winner. His son drives one of his Indy cars and is pretty good, but not in the same class as his Dad.
Michael,
thanks Michael for checking out my Bimmer, it’s always much appreciated. The high decal count comes from the fact that I’ve got 3 different sets of decals: SK for the body, Nunu Detail up set for most of the Carbon Fiber, and the Nunu kit decals as some are not supplied by SK. They add up really fast. Good thing that my favorite part of any build is the decaling.
Awesome stuff as always Joel, that body is looking so good with the bright red base and the decals starting to go down. Love the finish on the rear bumper as well, very nice!
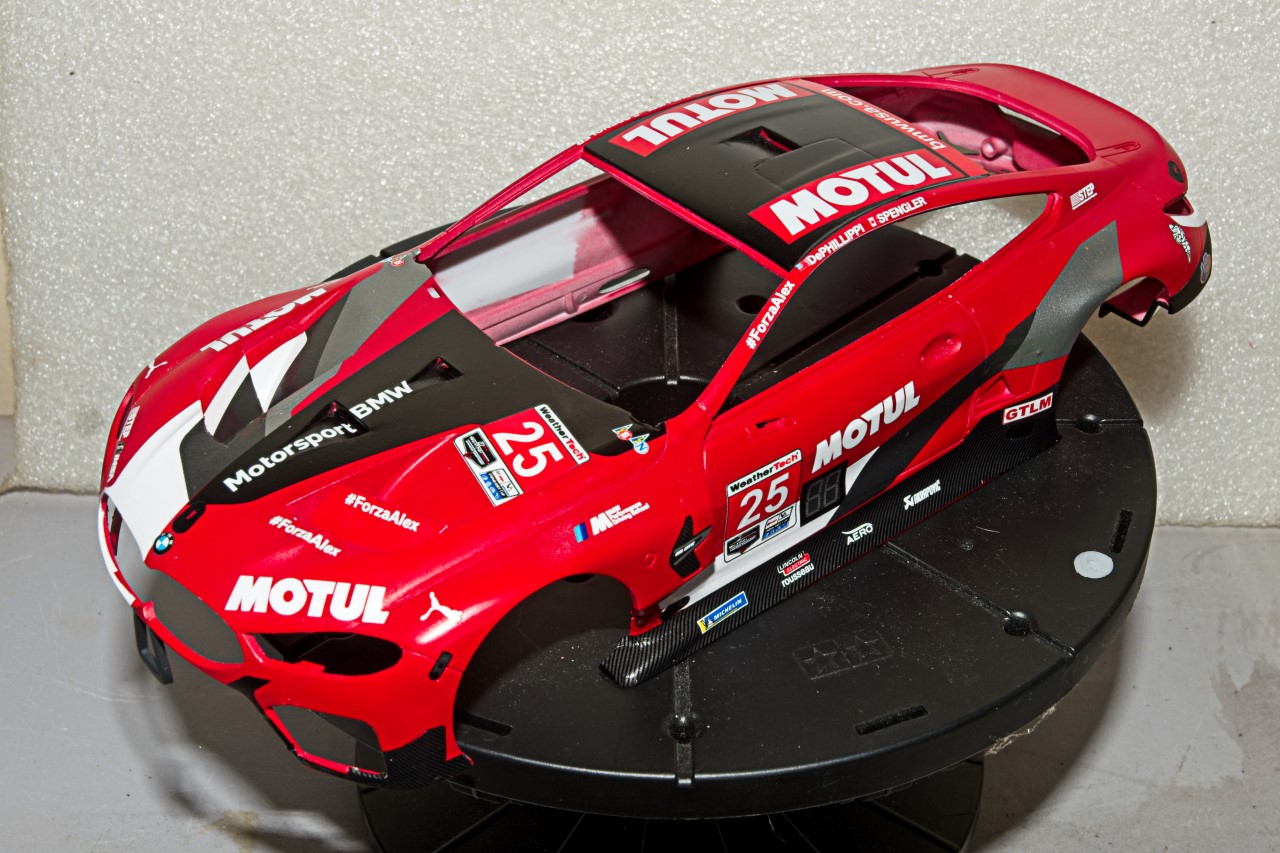
Needed to touch up the open side spaces left when I cut the black decals for the Naca ducts. Little Black Acrylic paint that will blend in perfectly once the Gloss clearcoats are applied.
D,
Always glad when you stop by and like my progress to date.
I do love decaling, and this time I’ll surely be tested to the Nth degree, but I’m enjoying every decaling session.
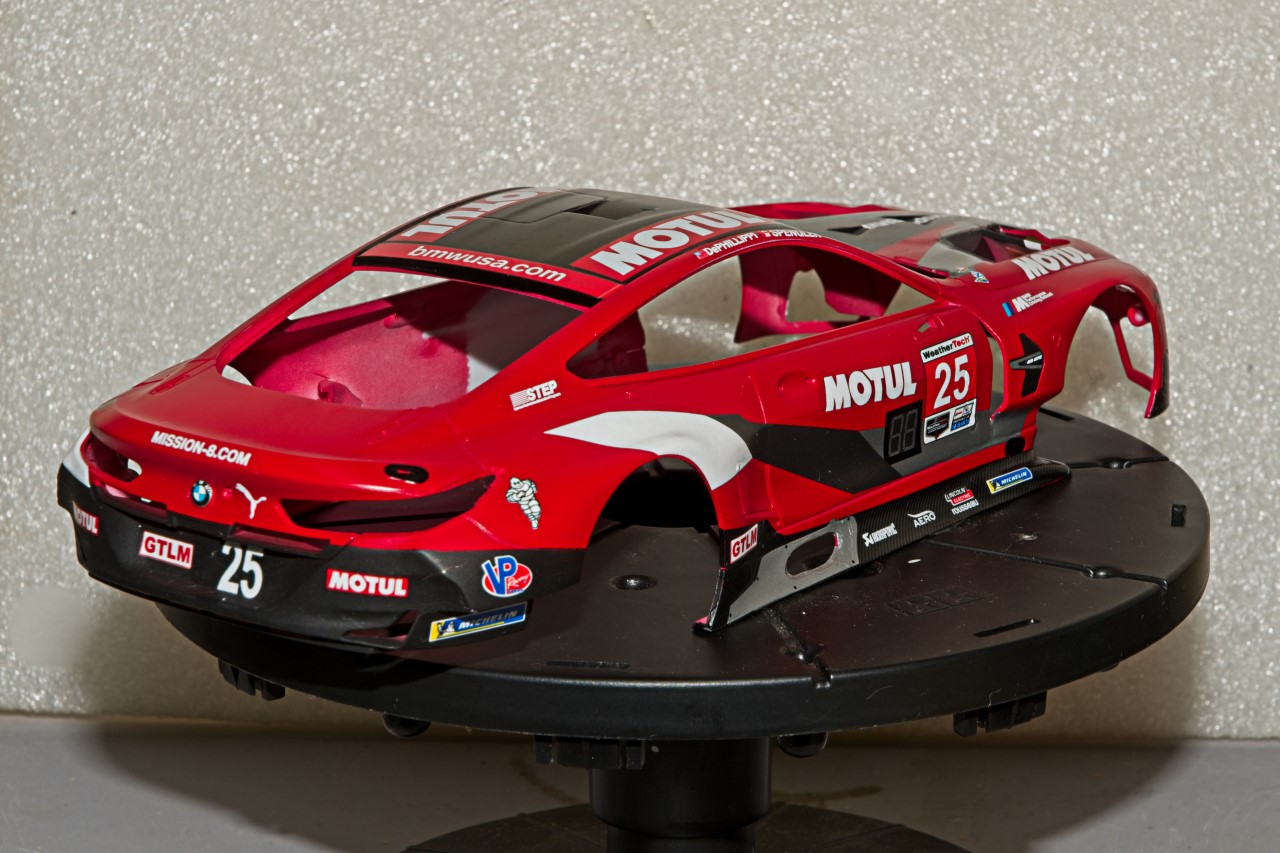
Well, finally it’s time for another major update. Since my last update where I just started the massive decaling effort for the basic body shell, I’ve been working for the last 10 days little by little to apply nearly 60 decals from 3 different sources.
SK Decals for the RLL Team decals, and some of the Carbon Fiber decals.
Nunu’s Detail upset for the majority of the Carbon Fiber decals.
Kit Decals for the few sponsors and secondary decals that SK omitted.
I must say that the SK and Nunu’s Detail up decals are a pure joy to work with. Perfect color registration, absolutely no bleed through of Red nor Black that can be seen in either the White or Red decals from either source. Now that’s a 1st for me. The decals are just thin enough to conform using my 3 part decaling system that I borrowed from Paul Budzik of Microscale Set, Sol, and then a light coat of Solvaset. It does take me longer then most of you to lay down a decal, as I let the solutions do 90% of the work before I gently touch or roll them with a dampened Qtip. I’ve recently added sort of a 4th solution that’s what I use under the decal rather then just the water I dampen the decal in. It’s basically tap water, with two drops of Dawn detergent, and 12 drops of the Micro Set into a empty Micro set bottle then filled to the top. I use this solution rather then the decal wetting solution as each decal adds just a little of it’s backing glue to the water as it loosens up from the backing paper. So my mixture stays consistent, lets me move the decal into it’s final position, and then when lightly tamped down starts to soften the decal just a tad.
You’ll notice that in most of the openings for the various intake radiators, and light fixtures, that the decals are only rolled in with no effort to cover the entire space. That’s because all those areas will be completely covered by whatever fixture or grill is inserted into each opening. Odds are I’m going to have to lightly sand a lot of those excess decals if the parts don’t slide into proper position.
Here’s a few pictures of the body shell with just the Gravity paint buffed with 6,000, then 8,000 Micro Mesh followed by the decals. No clear coats as yet.
Wow, Joel! I can only reapeat what Rowan already said. I’m really impressed by your decal work. You beat yourself with every new model, The Lotus recently was fantastic and now you present us another top decal job on this BMW. Top notch, my friend, top notch!
Torsten
PS: I can read “ForzaAlex” on the hood. Do you know what that stands for? Is it maybe for Alex Zanardi?


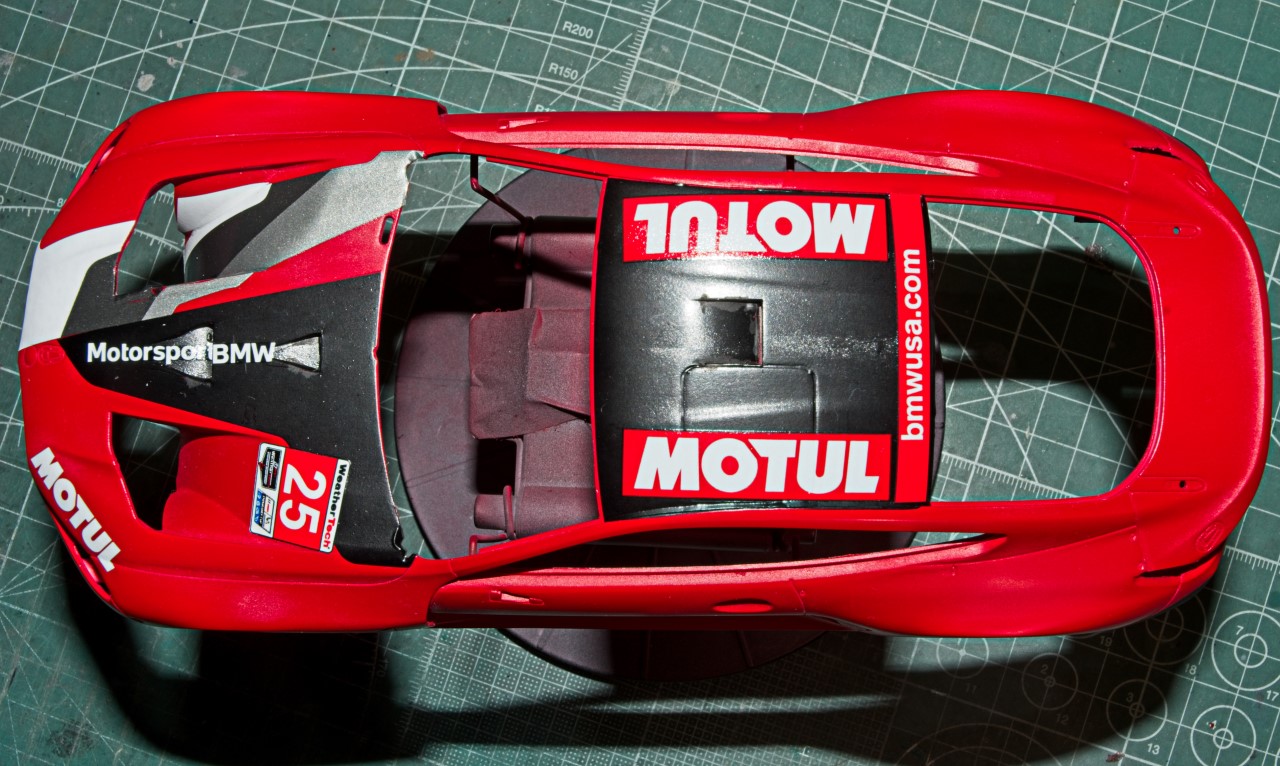

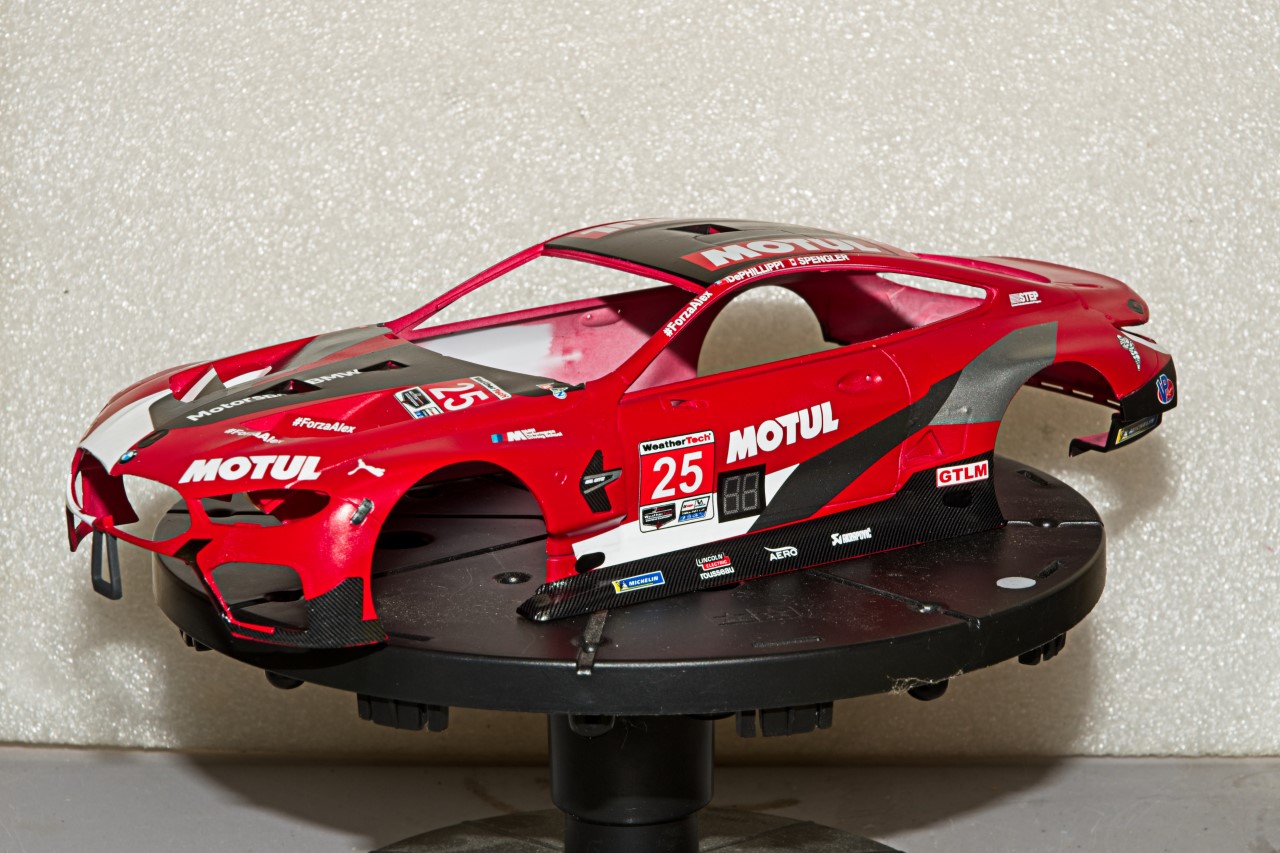
 I’m really impressed by the opacity of the white items over that intense red.
