Torsten,
Thank you my friend for those most positive words. By far this has been the hardest and most complicated decaling scheme to date, and for what it’s worth, it’s still on going as I have more then in total 120 decals to deal with. The body shell is mostly done with the exception of the glass rubber seals which I’ve actually started doing with decals no less, and the side windows are plexi and Carbon Fiber, so I’m attempting to use those decals as well.
As for the ForzaAlex, it did cross my mind that it’s for Alex as he had been driving a BMW in some races with just hand controls as he lost his legs in that Cart racing accident. Now he’s once again fighting another comeback of the ages after his horrific crash with his hand cycle.
So many other things have really started to limit my modeling time as my wife’s hip replacement surgery is this Thursday. The nearly endless doctors and pre tests, and of course once she comes home, I’m basically there for her 24/7. At the same time I’ve developed several heart issues, and at least two of them will need surgery sooner then later. But I’m still here, and I’m going to continue to model for as long as I can.
Jesper & HG,
Thanks guys for stopping by and checking out my Bimmer build to date. Still got a long way to go just to finish the body which still needs glossing.
Tomorrow is my wife’s hip replacement surgery, so modeling bench time will be at a premium once she gets home.
Right now I’m just about done decaling the glass for all the rubber and Carbon Fiber strips rather then masking and painting, and I’m more then pleased. Hope to get another update posted with those ready for installation along with the all the light fixtures that still need Carbon Fiber decals as well.
Lee,
Thanks so much for your well wishes. Today was the surgery, and she made it through it just fine. Not sure when she comes home, but they had her up and walking some, which is a great sign. After more then 40 year of being married, I honestly don’t know what I’d do if she wasn’t here with me.
joel
I’ve found a little time here and there in between visiting my wife in the hospital and actually being able to concentrate on the build for a little while.
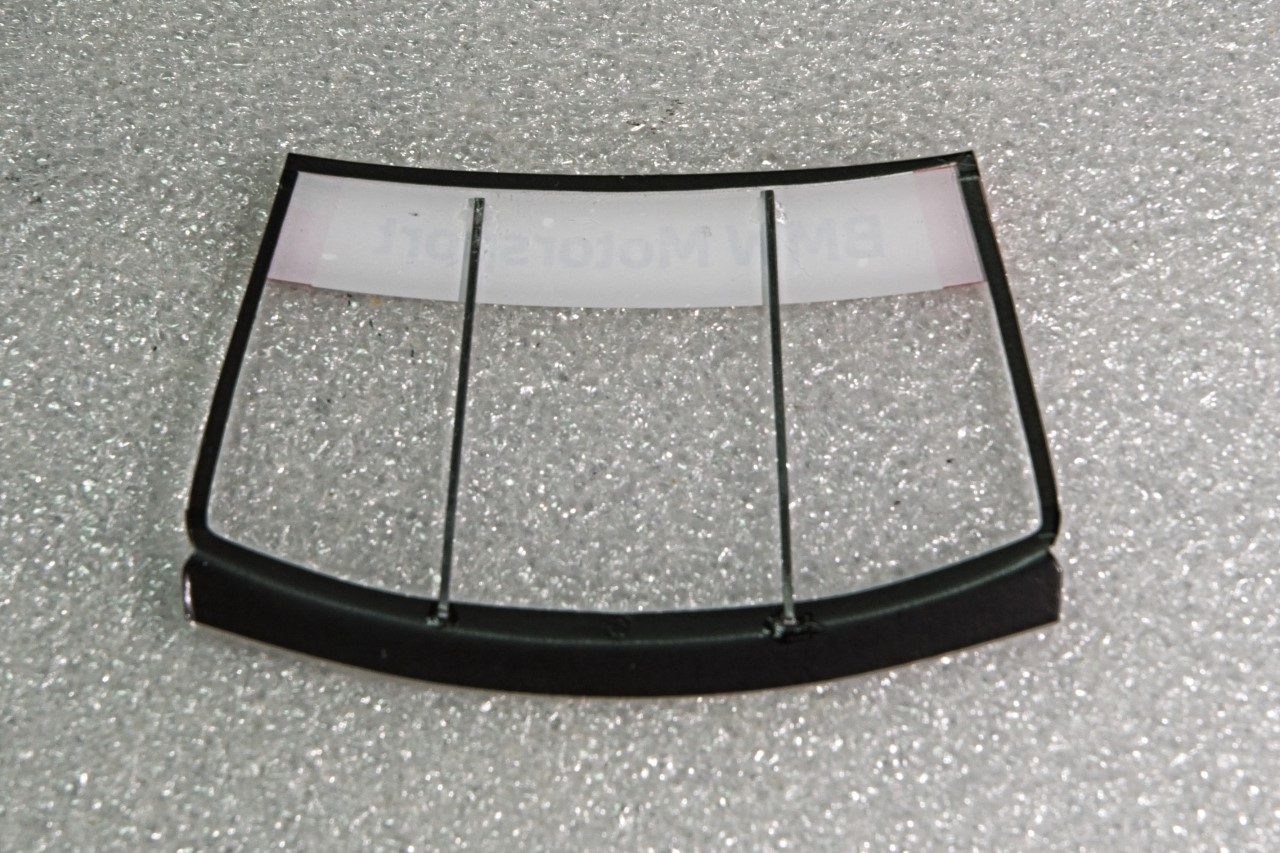
Work continued on the body shell with the prep of the front and rear plexi glass as well as both side Plexi windows. unlike every other build I’ve done to date where I masked the rubber seals either front or back as the case may be, this time the Nunu Detail Up set actually had decals for them. So I thought that I’d try them out as they looked darn good to me. The one “could be an issue” I saw is that the decals are applied in sections. So I decided what the heck and gave the front windshield the honor of being the official test case.
the front windshield has 6 decals: the 4 sides, the sun visor, and the inspection sticker. The rubber seal decals are applied from the inside, while the sun visor is applied on the outside as is the inspection sticker. When dried and cured the next day I added the window support braces that I’m also assuming protects the driver from the windshield from coming into the cockpit in case of an accident from one of the PE frets using thin CA.
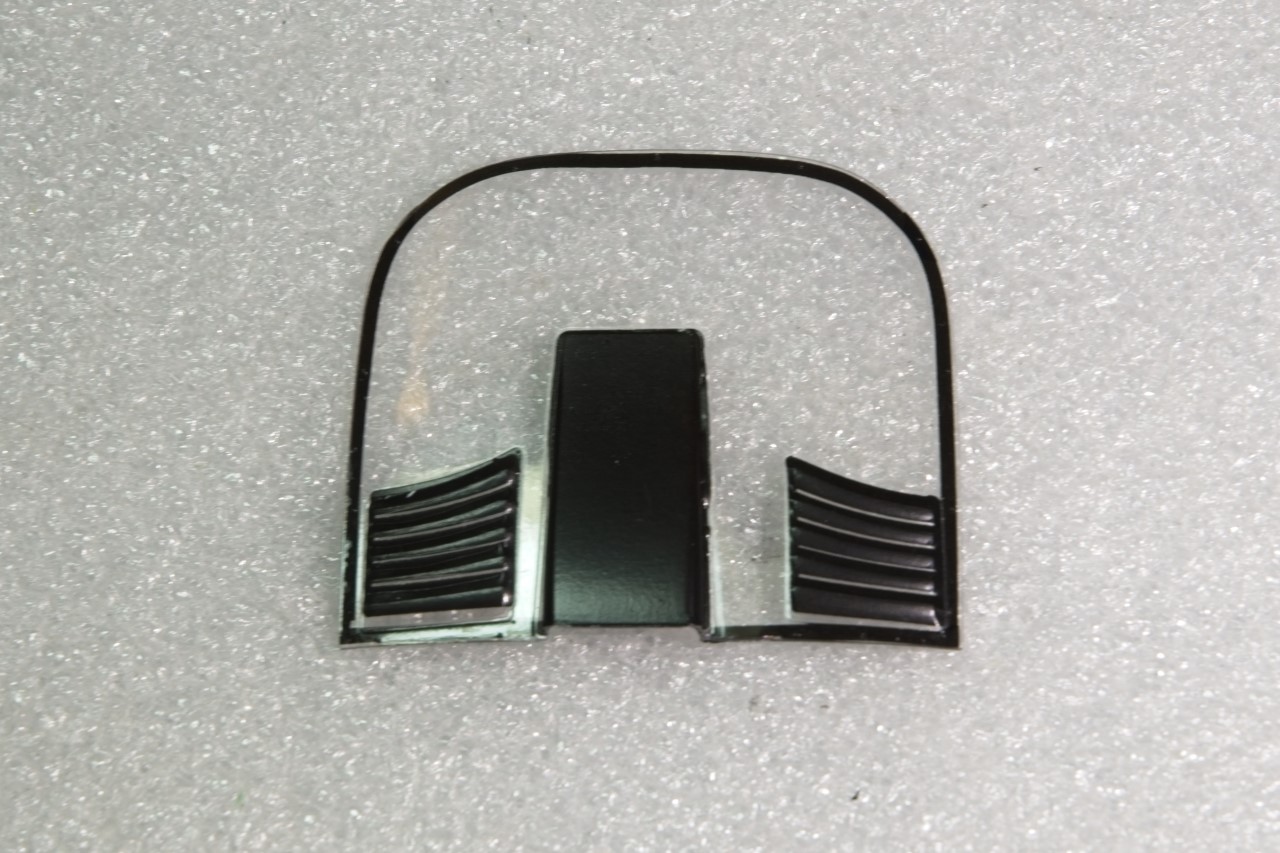
The back plexi glass was a little more complicated besides the 4 sections, as the top section had to conform to a molded in air intake, which it did just fine. Then the scoop and the two exhausts were decaled as well rather then masking and air brushing. What a pleasure as they fit perfectly.
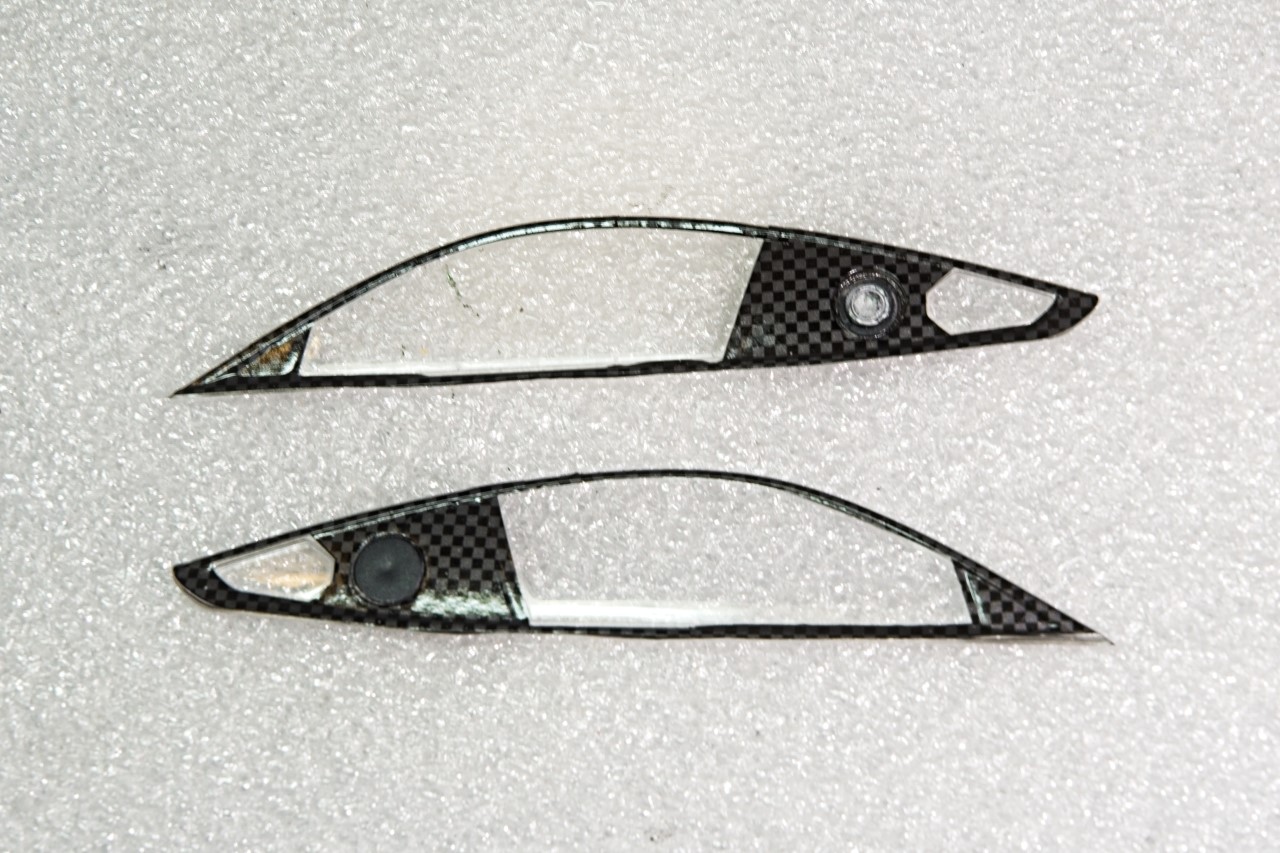
The two side windows are Carbon Fiber, and the Detail Up set had them as well. Each window’s frame was constructed out of 3 decals. The fit was slightly oversized, but a little trimming took care of that issue. After the decals had cured for a day, i added the gas receptacle on one side and the cap on the other side as refueling is only allowed on the side closest to the pit but can vary from race to race.
Ken,
Actually depending on the window the full decal was either 3.4. or 5 sections which made them very easy to work with, and not a single one folded up on to its self.
Thanks guys, but I’ve seen both of yours decals applications on several models, and you’re the equal to me if not that much better. Still the compliment is really much appreciated.
Been a while, but I’ve finally managed enough bench time to make some progress on my Bimmer.
1st up was finally finishing the rear wing. I painted it semi gloss Black then a single carbon fiber decal wraps around the entire wing including what I still call a Gurney Flap. The M8 has a BMW sponsor decal on both the top and bottom as well as red side plates.
Top
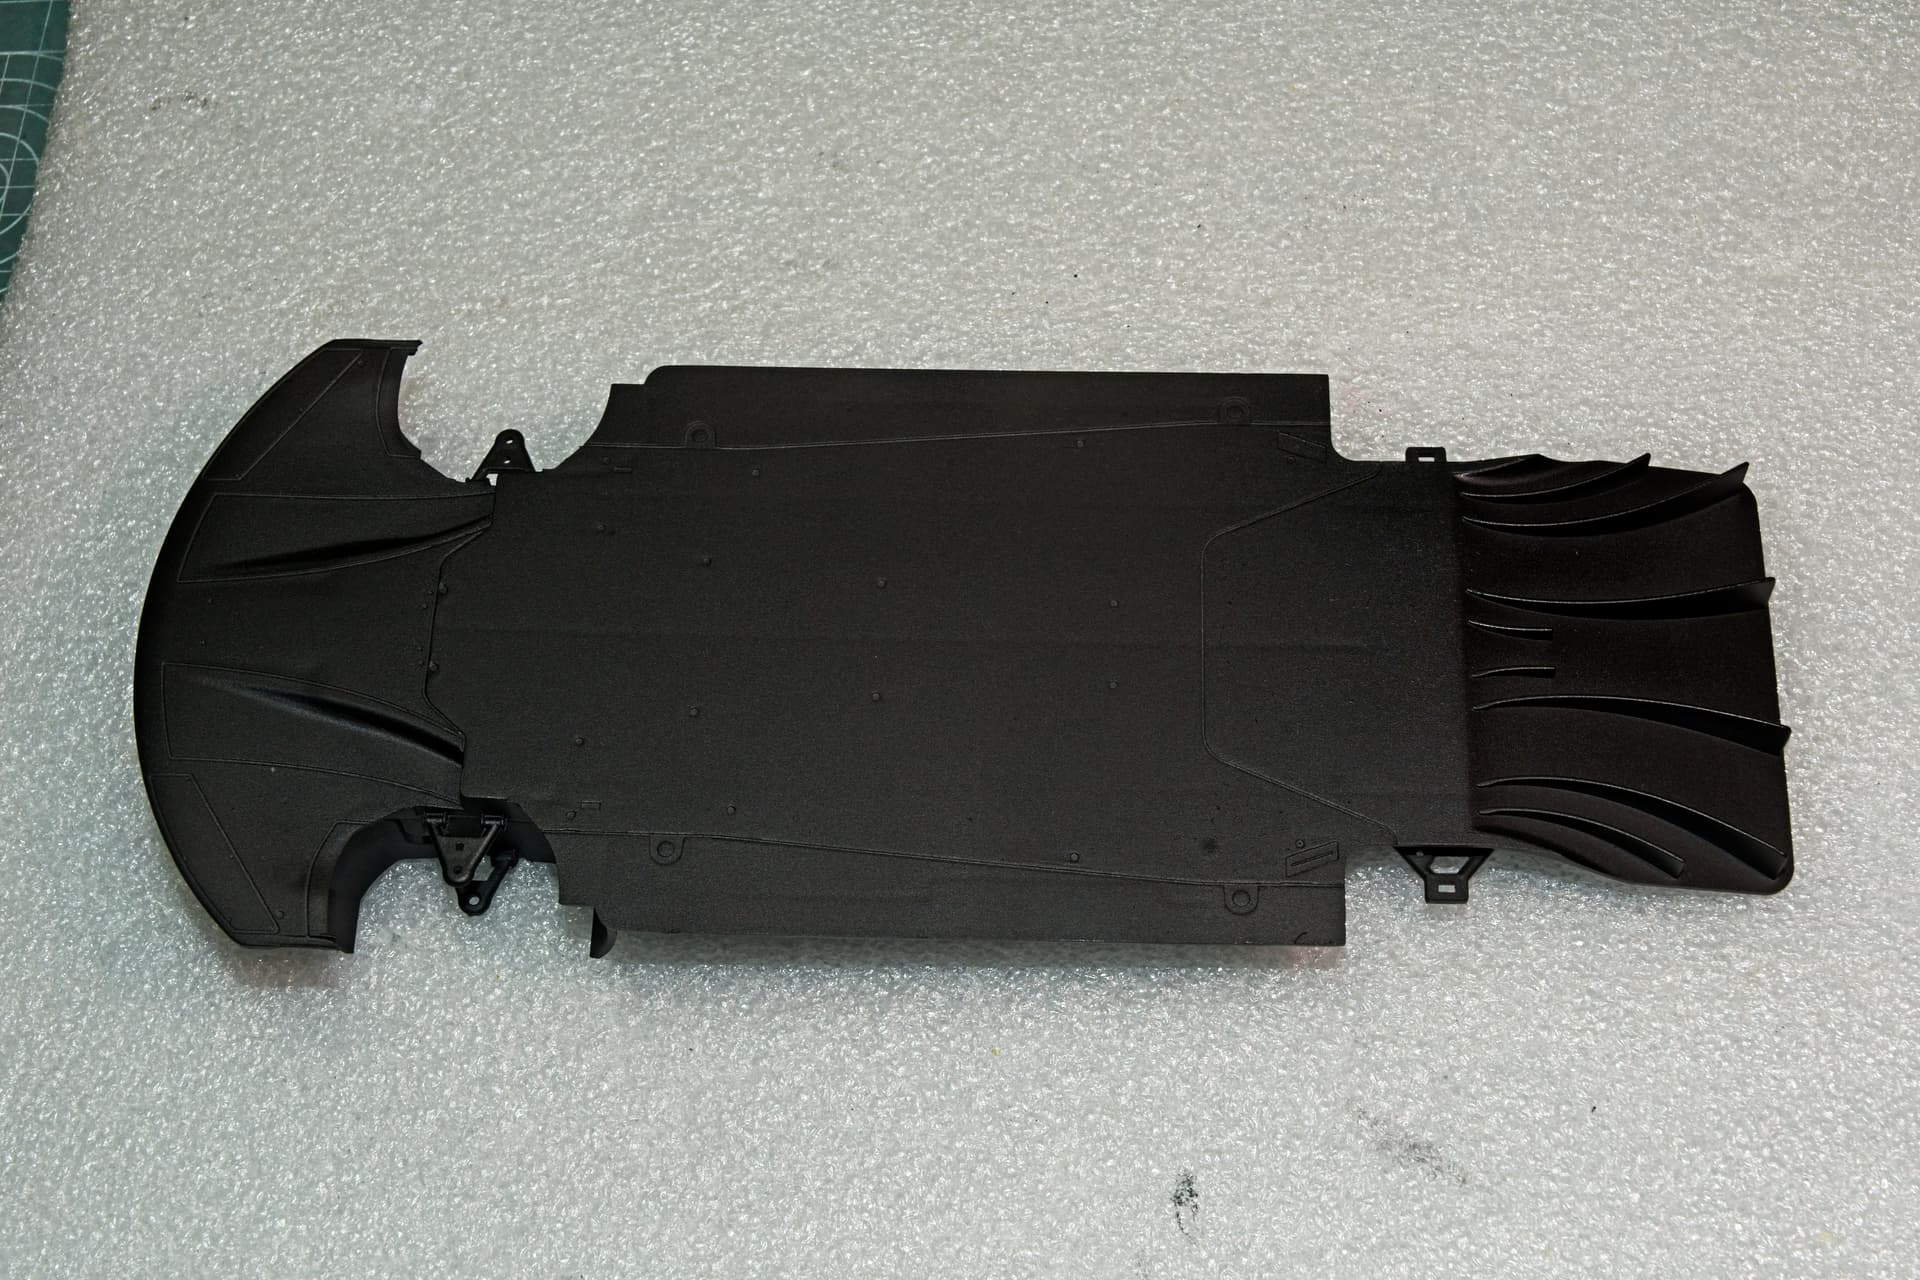
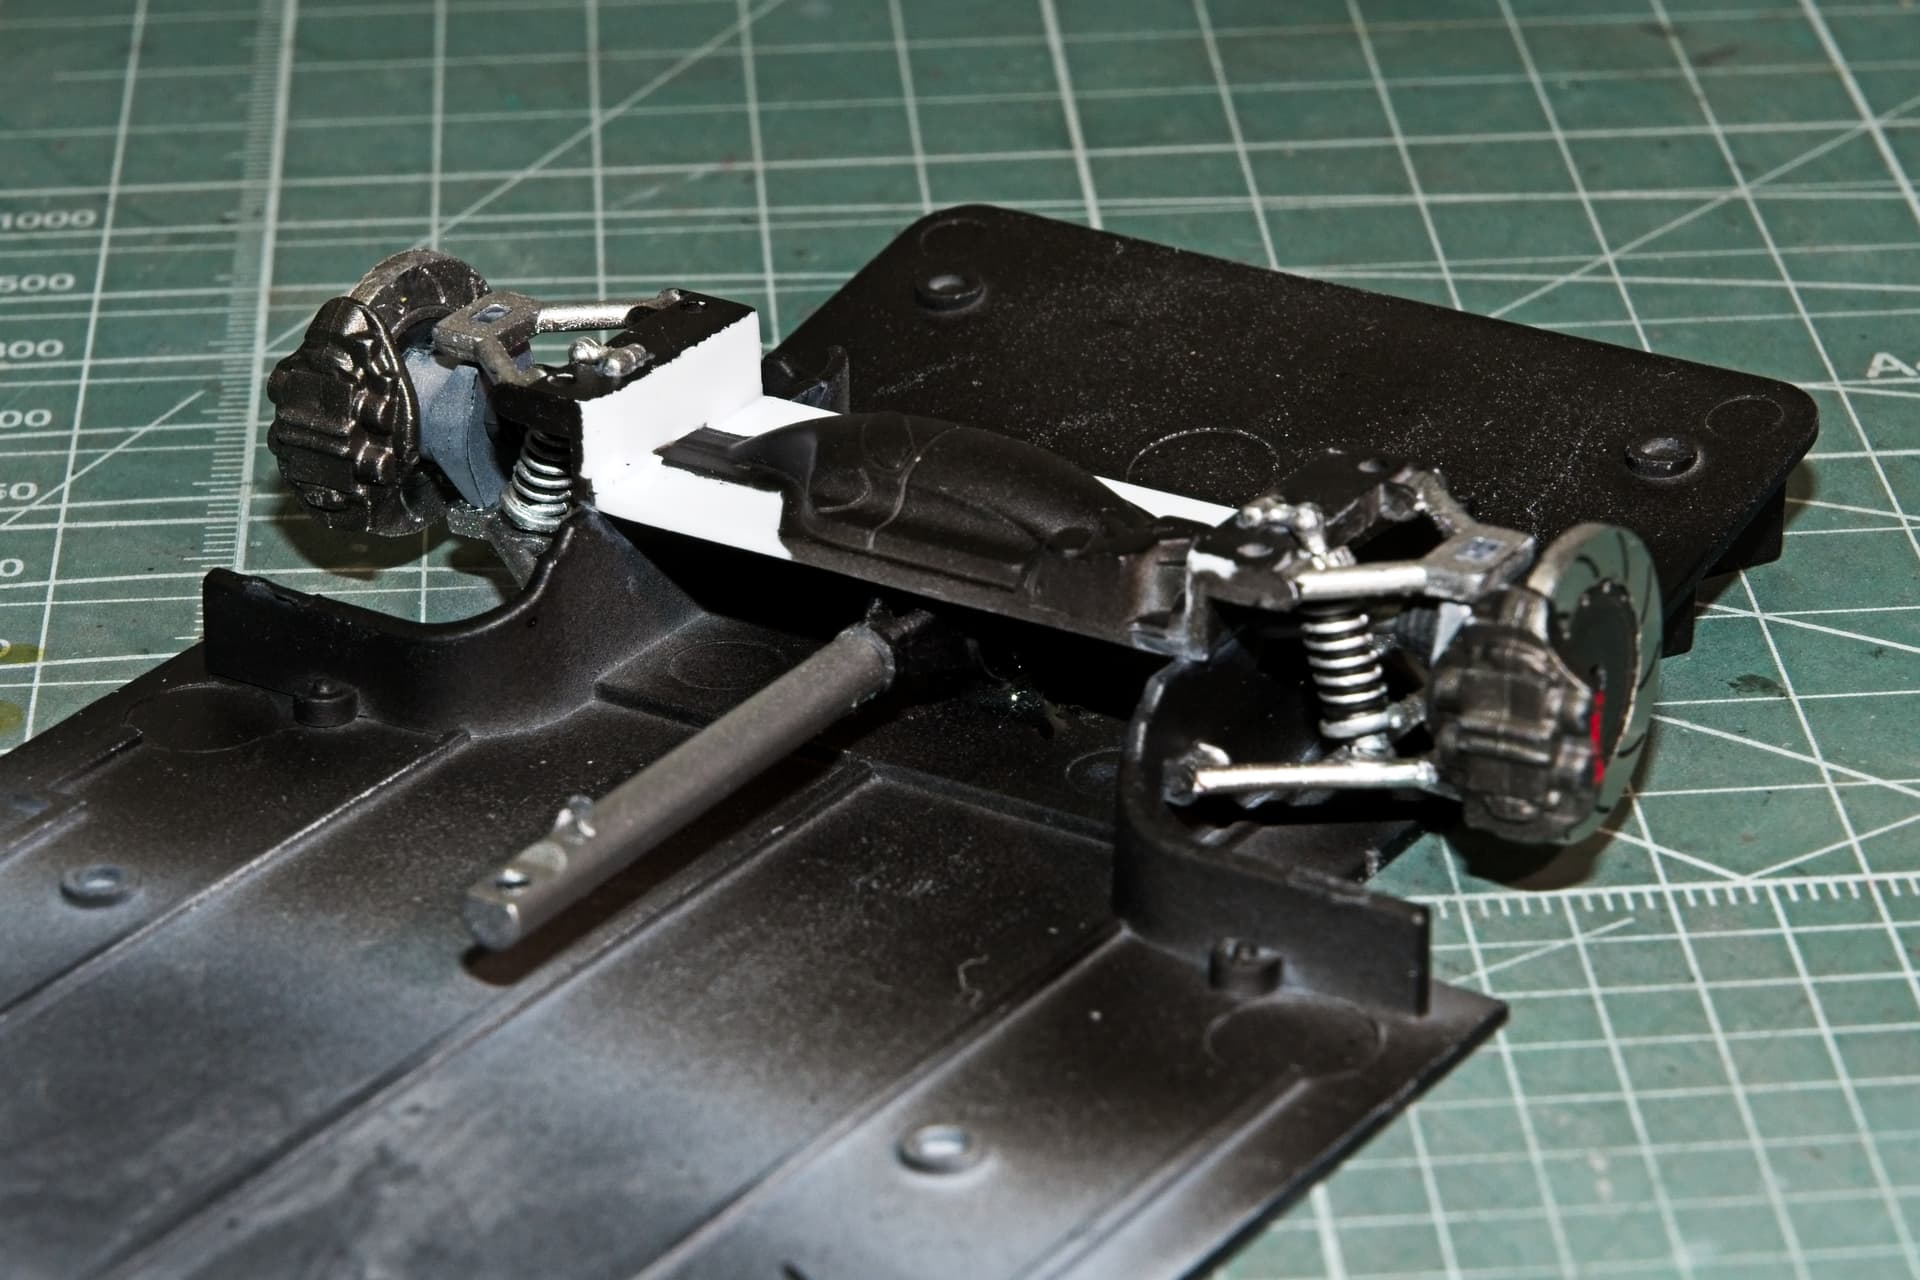
Next up I started the chassis and both front and back suspension which are basically just the upper and lower wishbones to hold the wheel/brake assemblies and the shocks. The bottom of the chassis was primed with my mixture of Tamiya LC primers then 3 coats of Tamiya LP Semi Gloss Black.
I still need to apply the carbon fiber decals if I want to go that route.
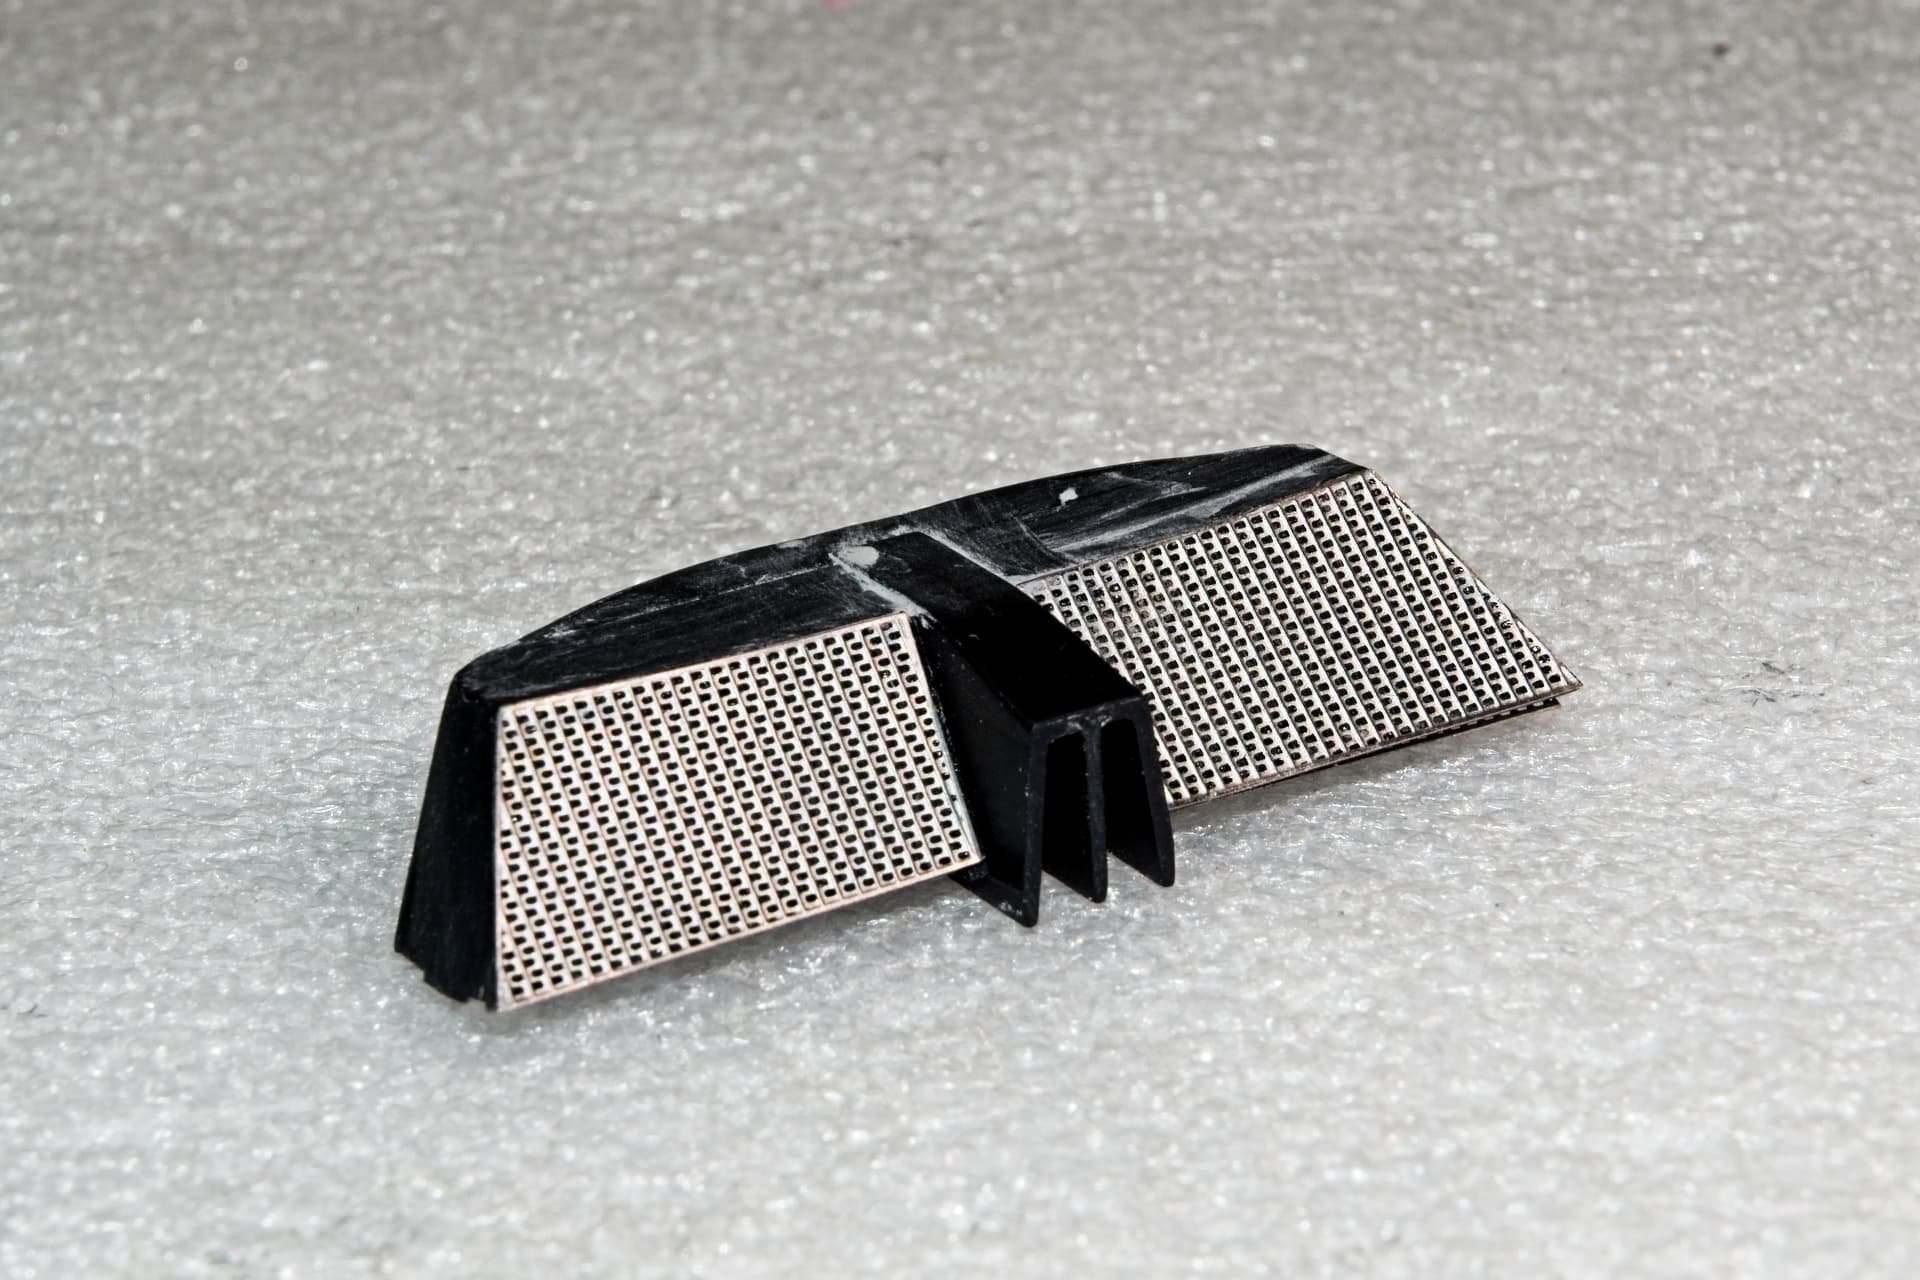
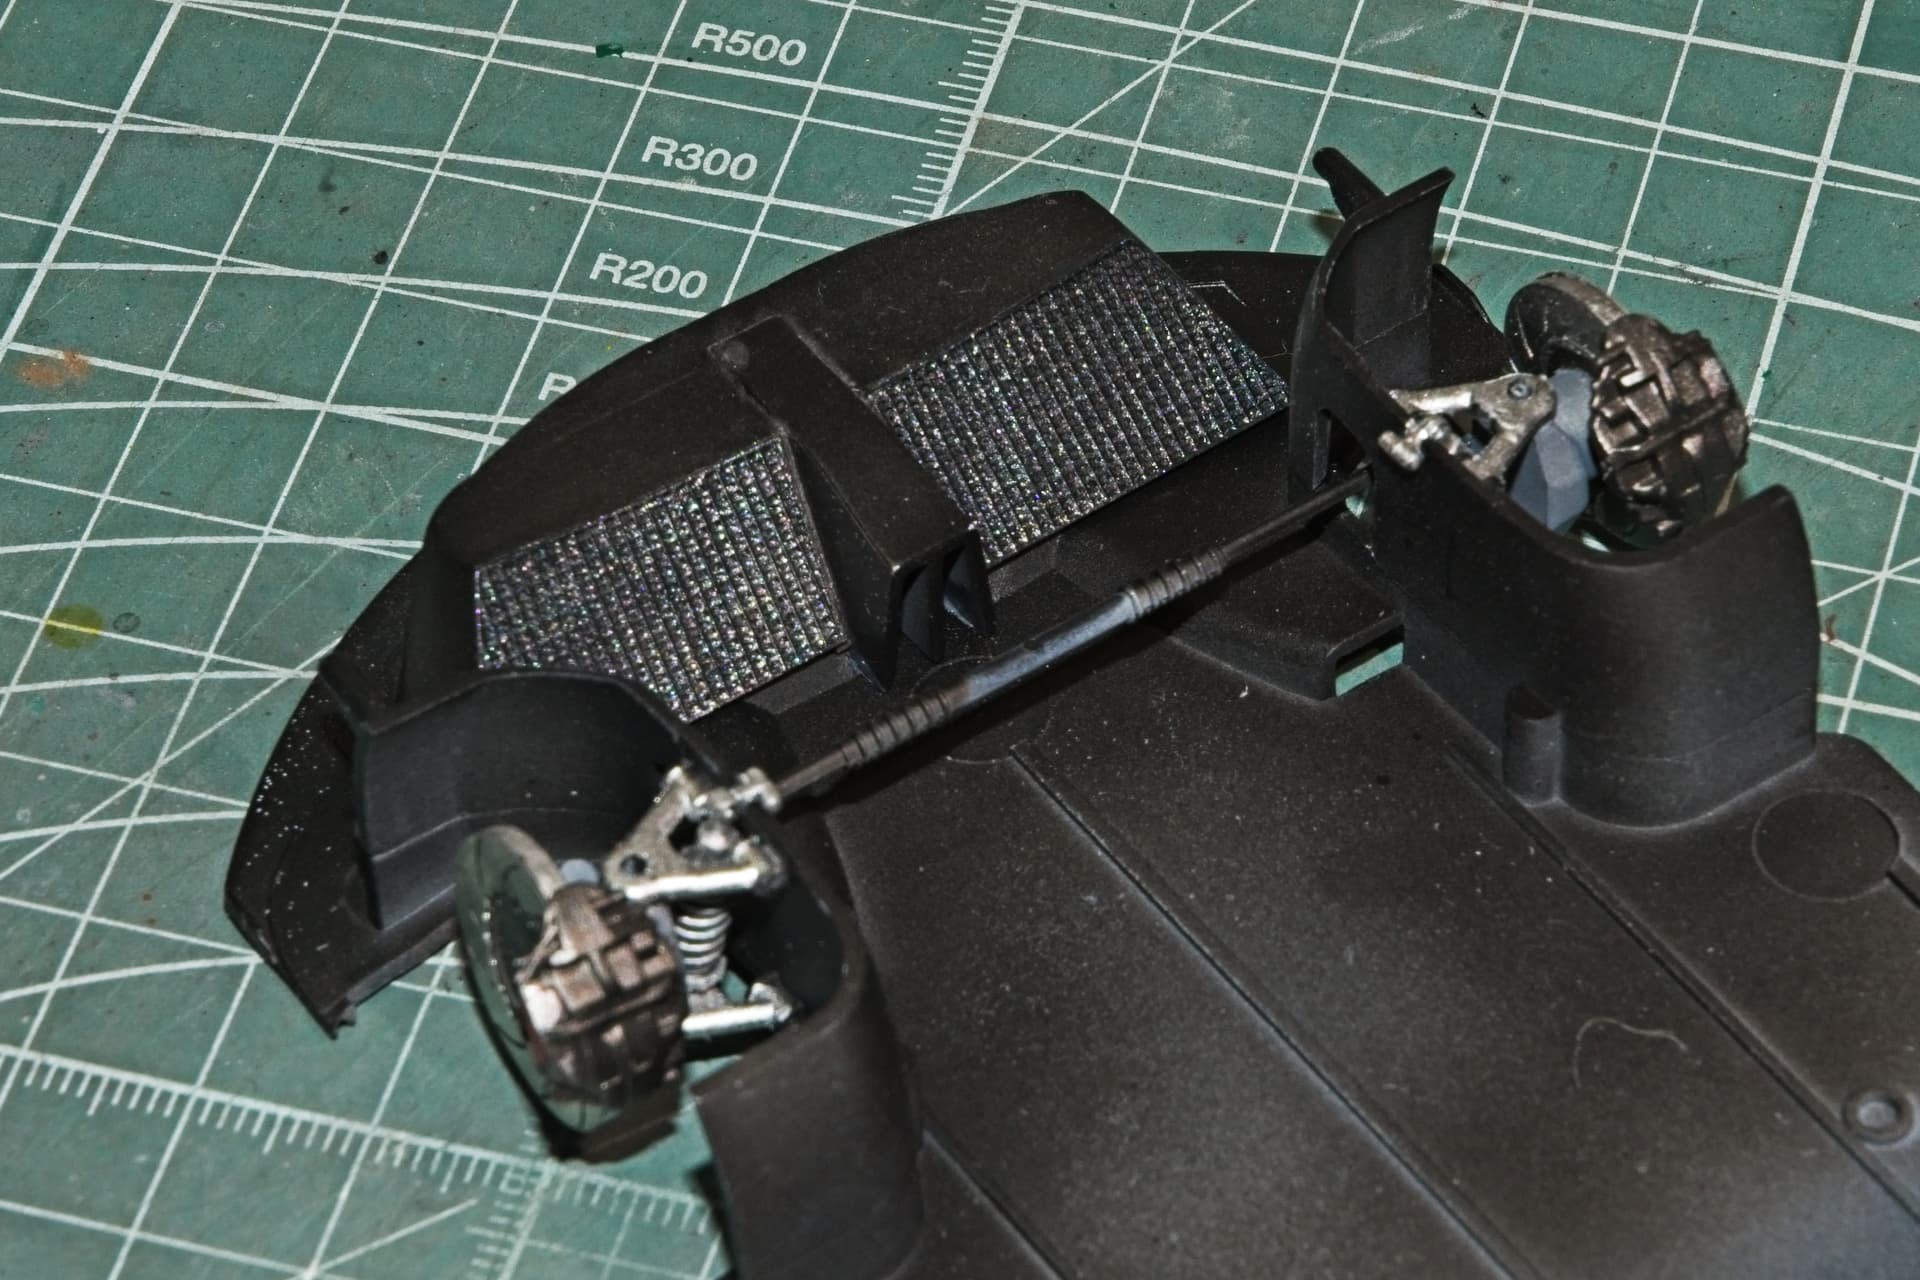
the front twin radiators and housing got assembled next and the radiator fronts and backs had PE ones added.
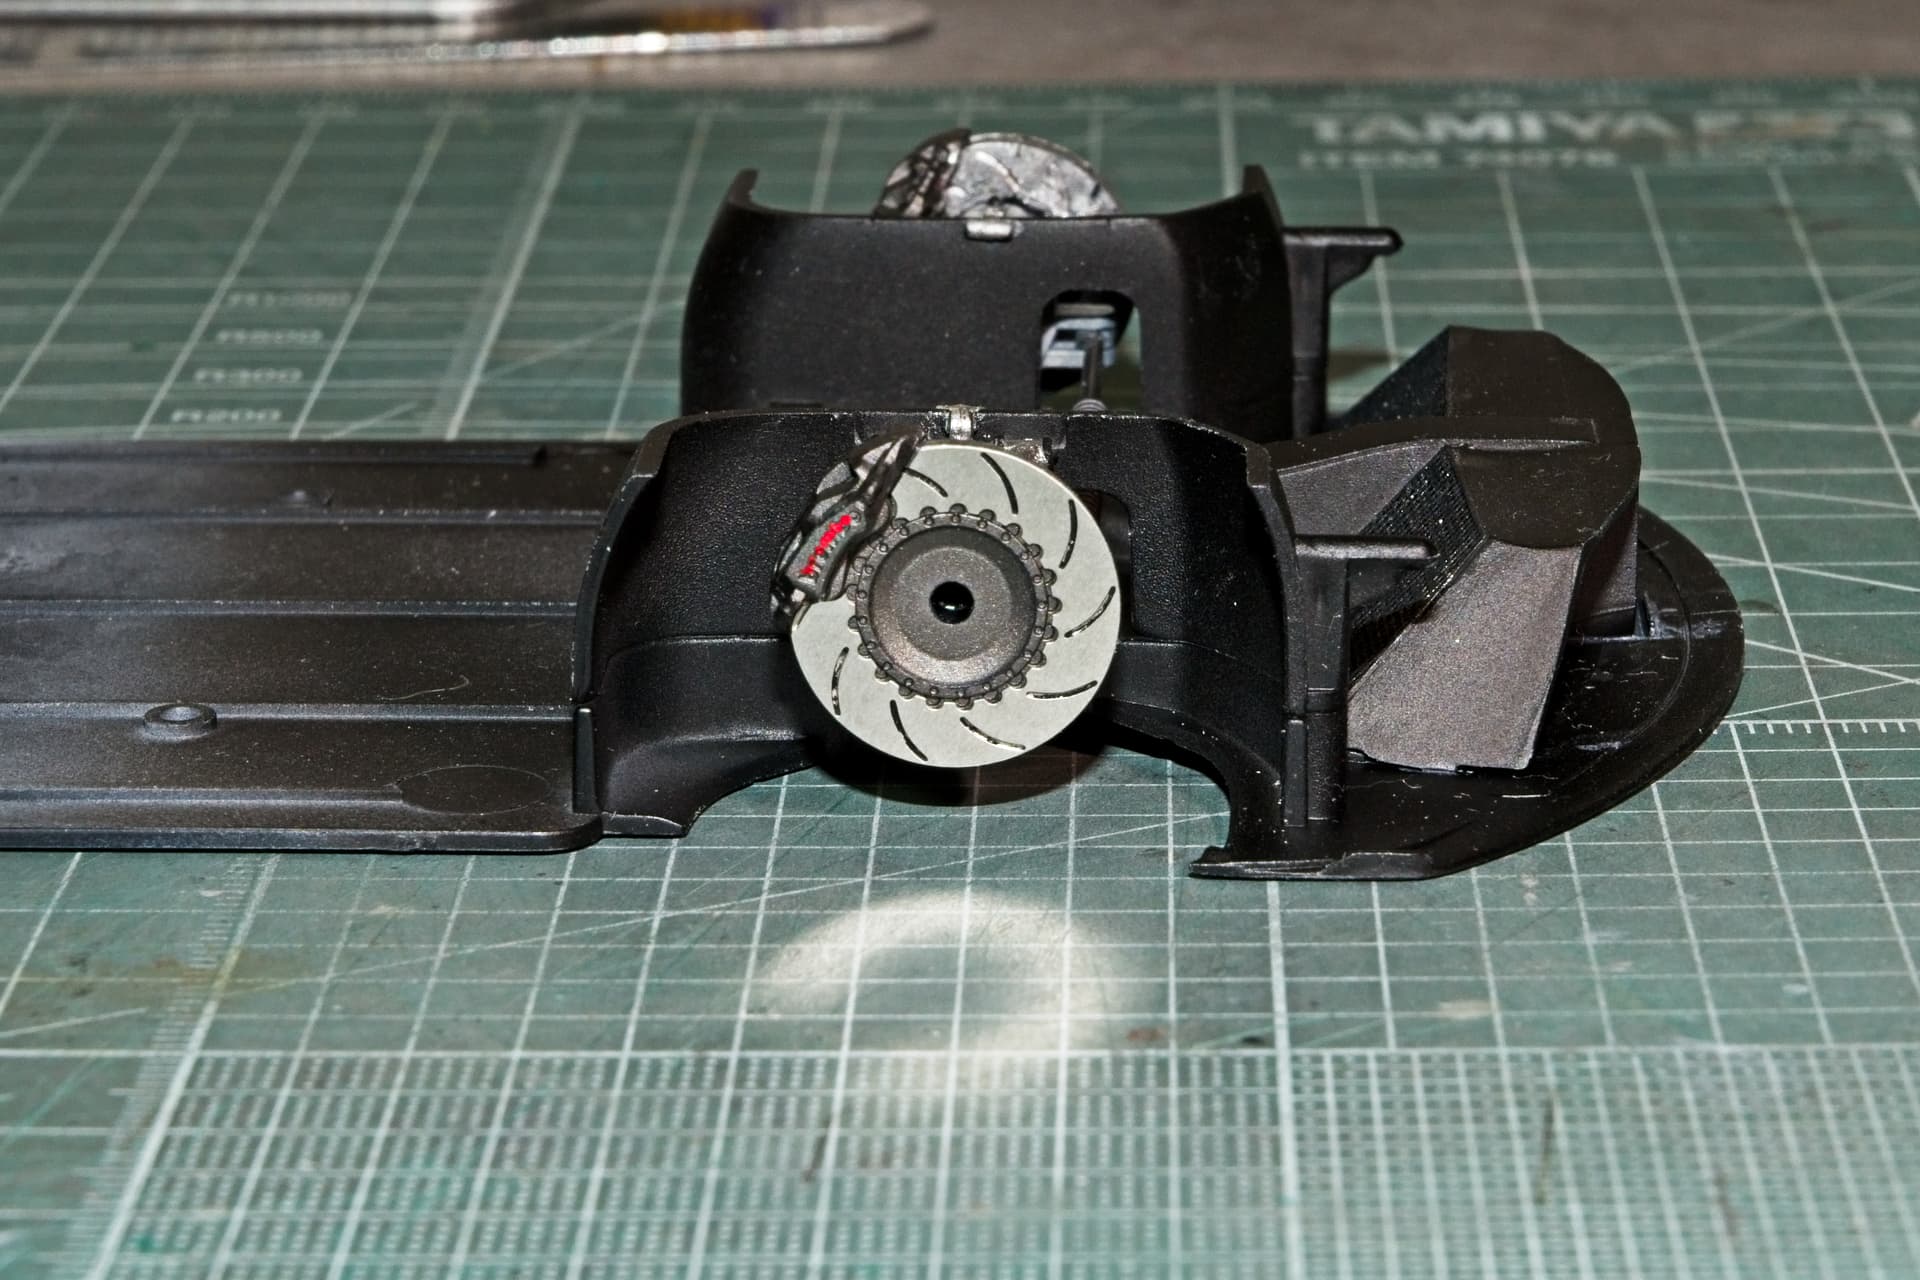
Next up was the 4 disc brake assemblies which I used polished PE parts for the discs. For some reason Nunu in their detail up set decided that there’s no reason to include the PE discs for the backs. Makes absolutely no sense to me.
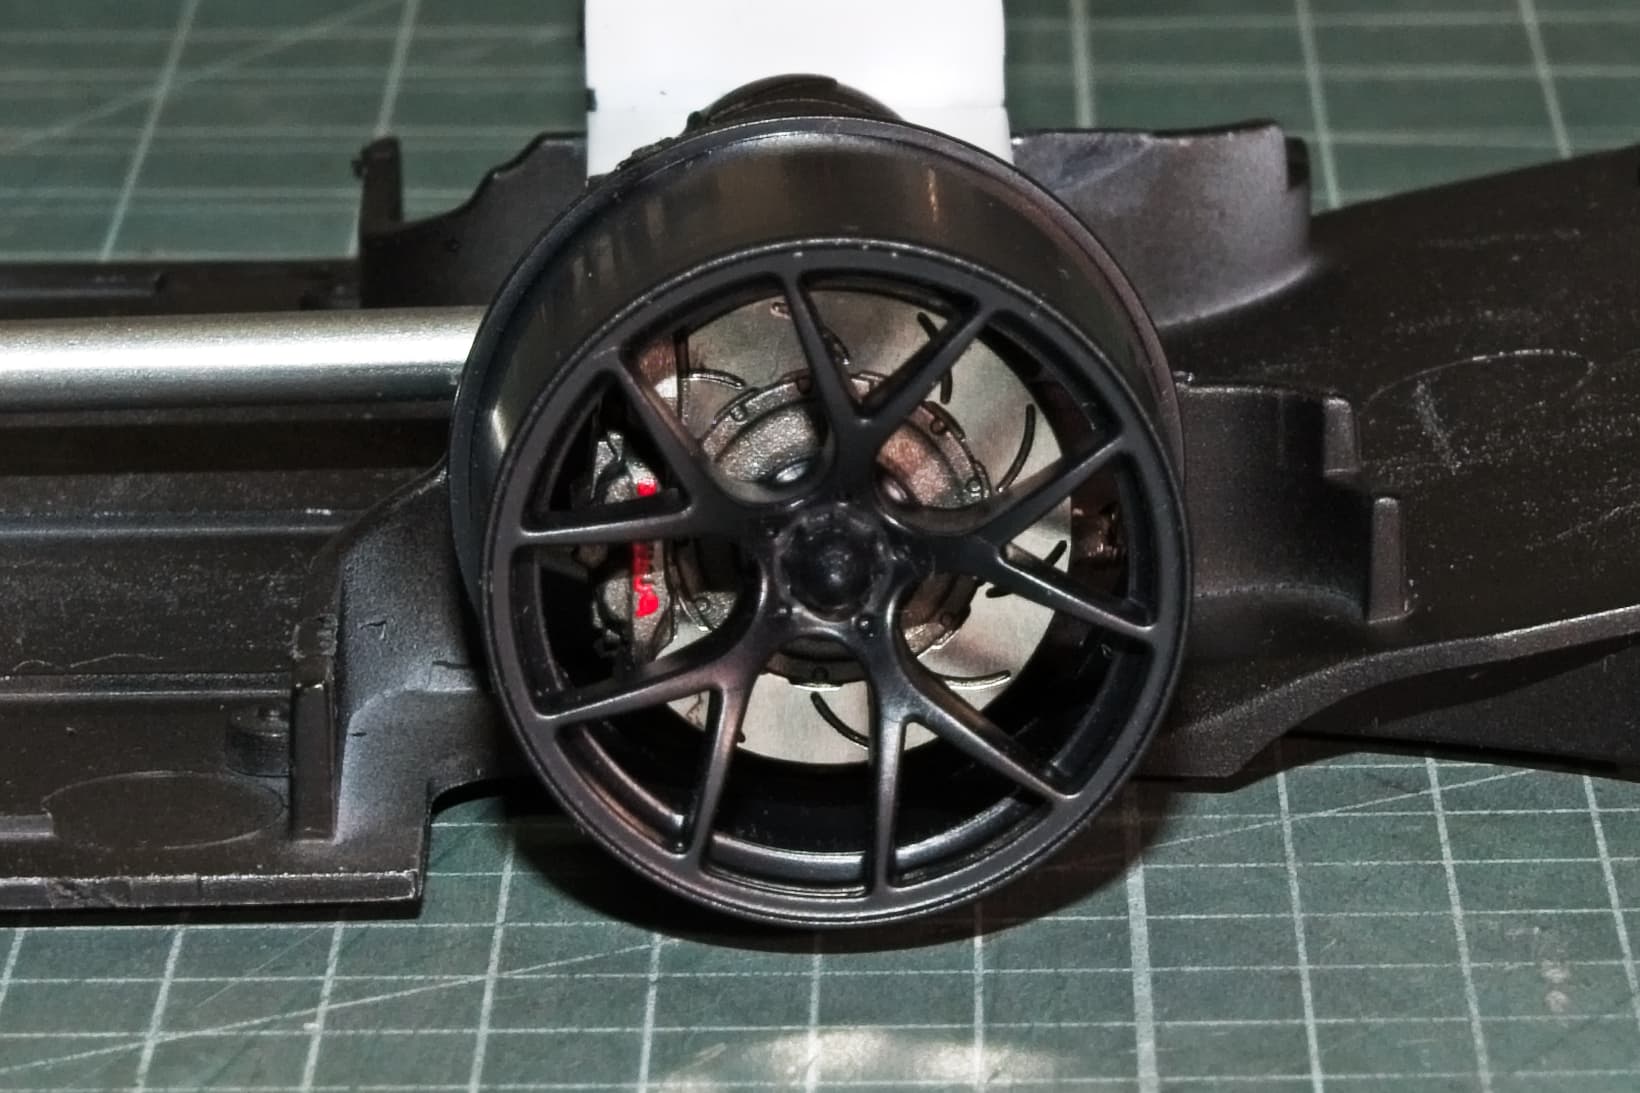
Here’s a quick picture of how the disc brake assembly will look inside one of the wheels. The wheel is straight off of the sprue tree at this point. I gotta admit that I do like the overall look.
One strange decision by the designers was to include the rear end, the back half of the drive shaft, and the two rear axles. So I primed, painted, masked and AB’d Steel on all three shafts that I found out can’t be seen from any angle once the interior tub is glued into place.
Mark,
I’ve never stopped, just really slowed down due to lack of time and a lot less concentration. The Angiogram has been postponed for Monday, but that’s also subject to change.
Ken,
Thanks for stopping by and checking out my progress to date. I really appreciate it.