I too also use the circle template, when I’m not lazy. It works well, but I can agree with not using it for 11 PZ IIIs
1 Like
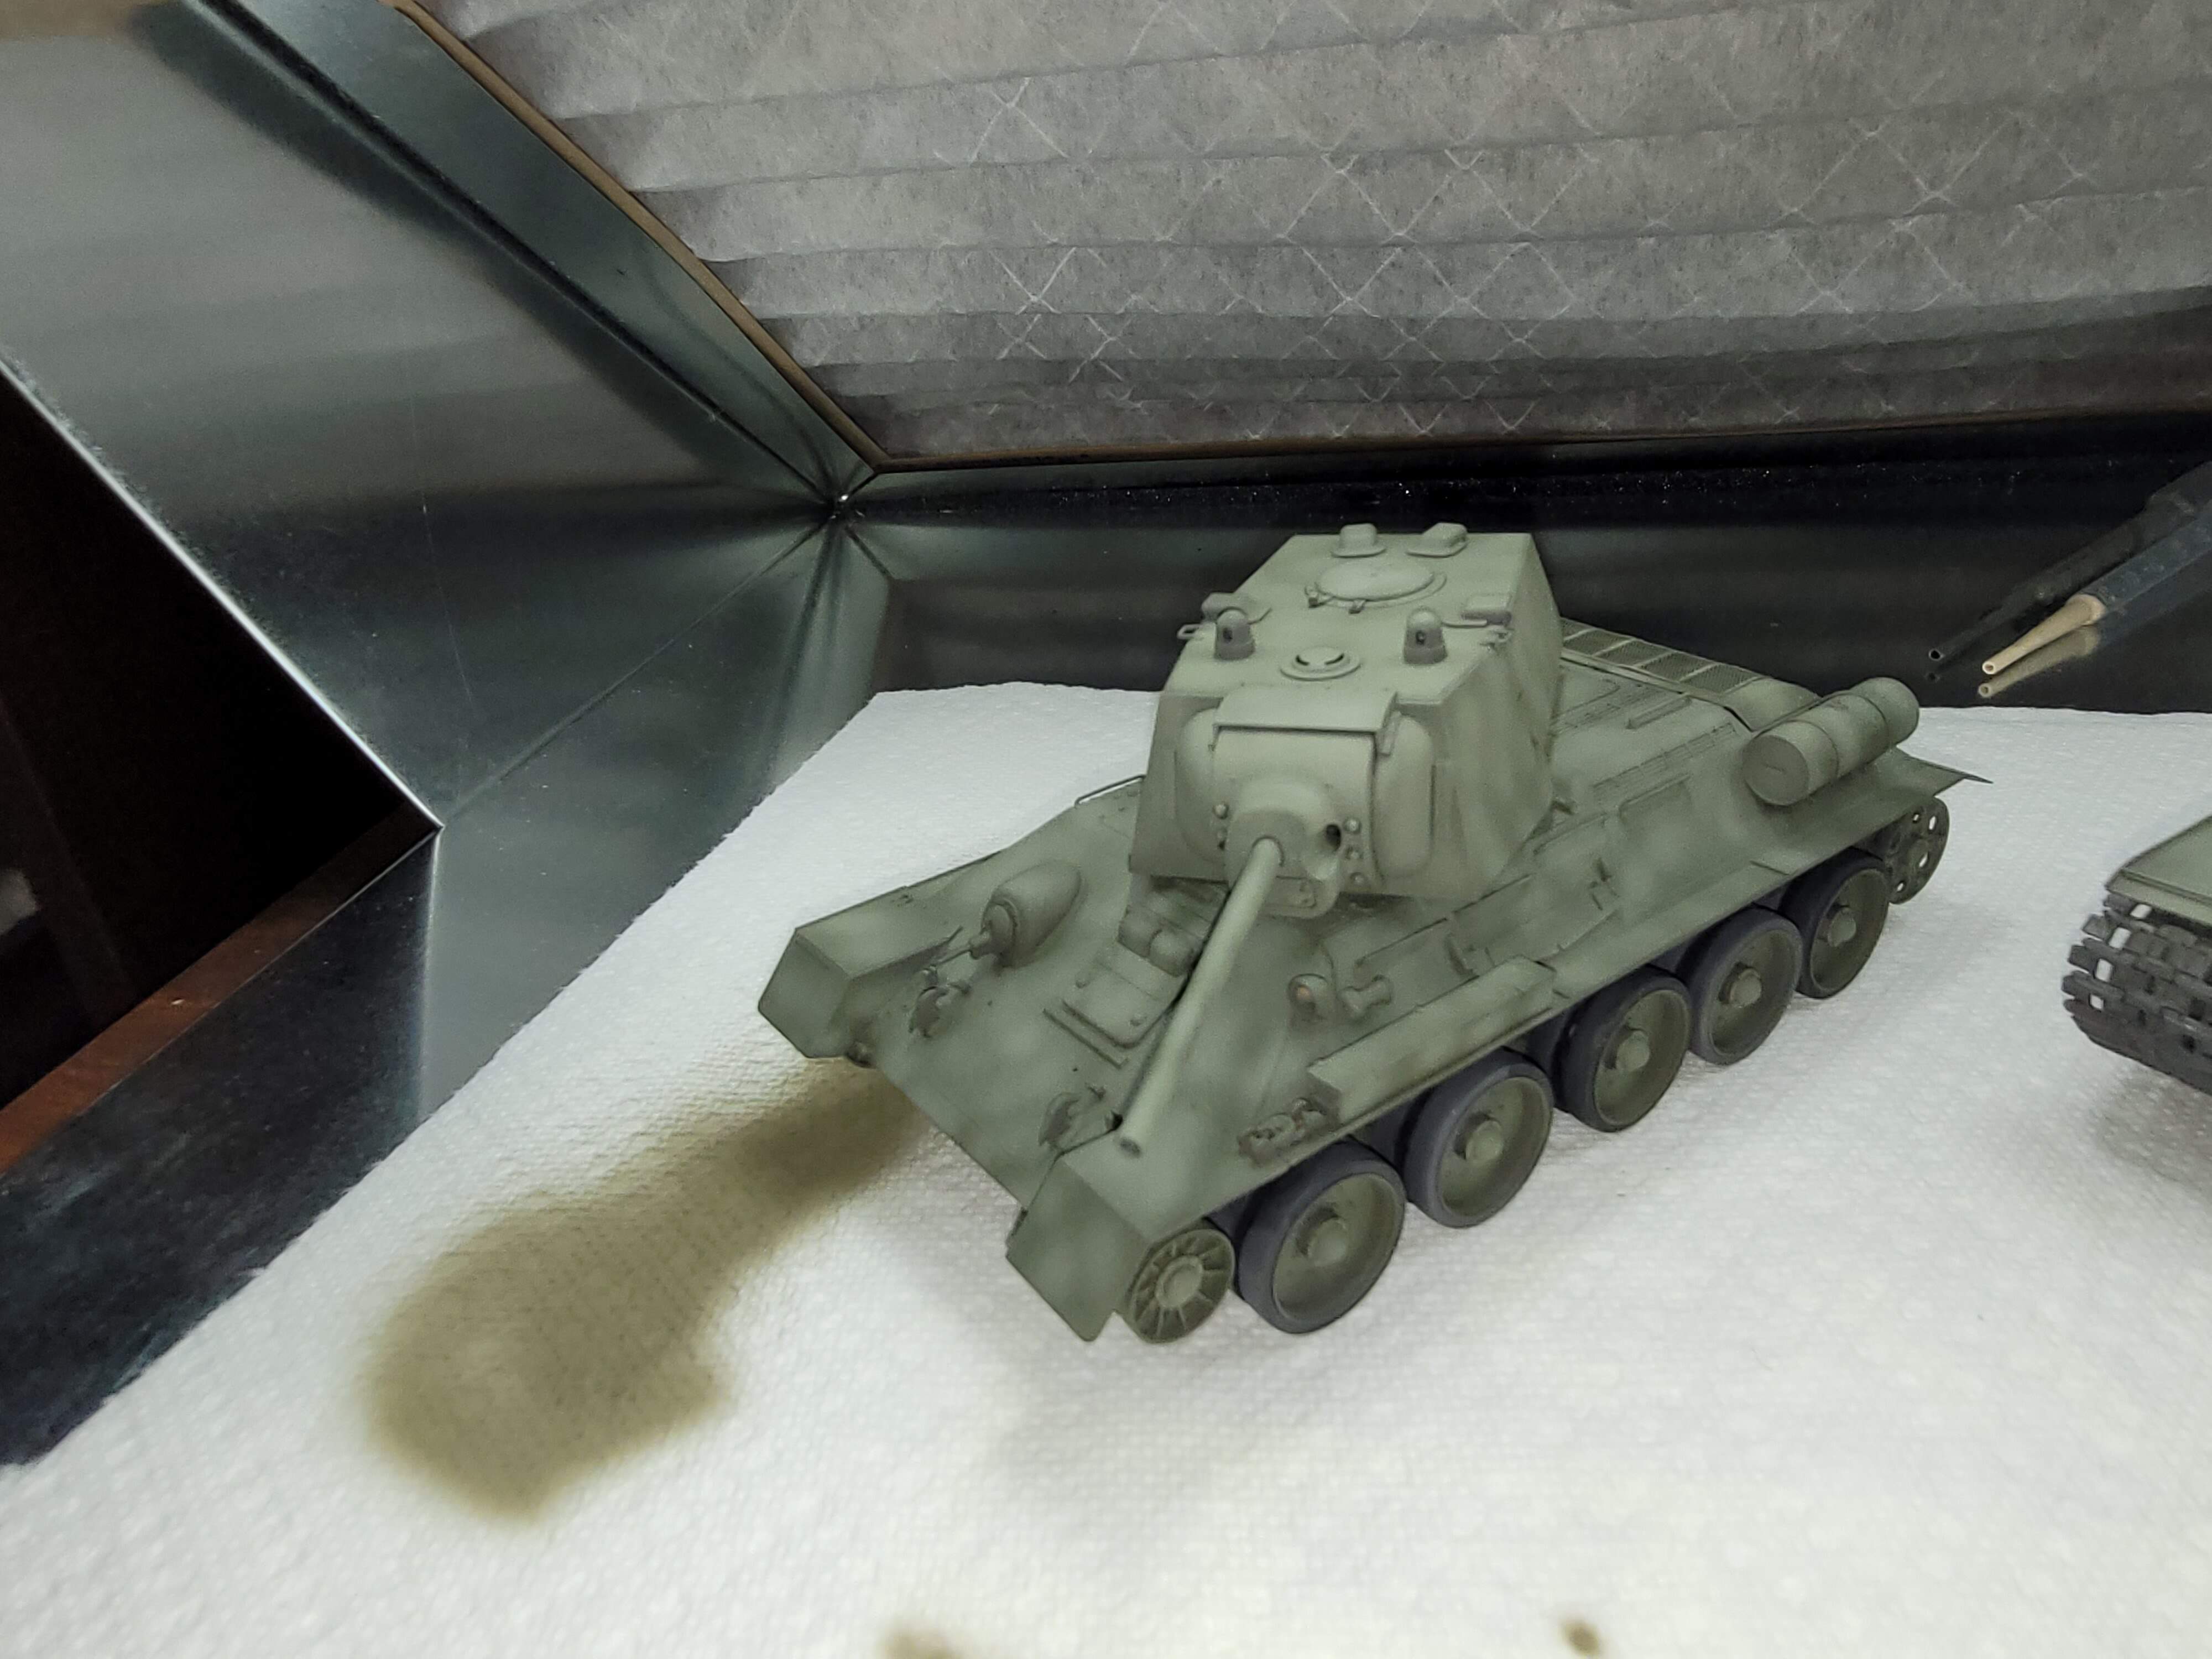
Are they reusable?
Yes, quite so.
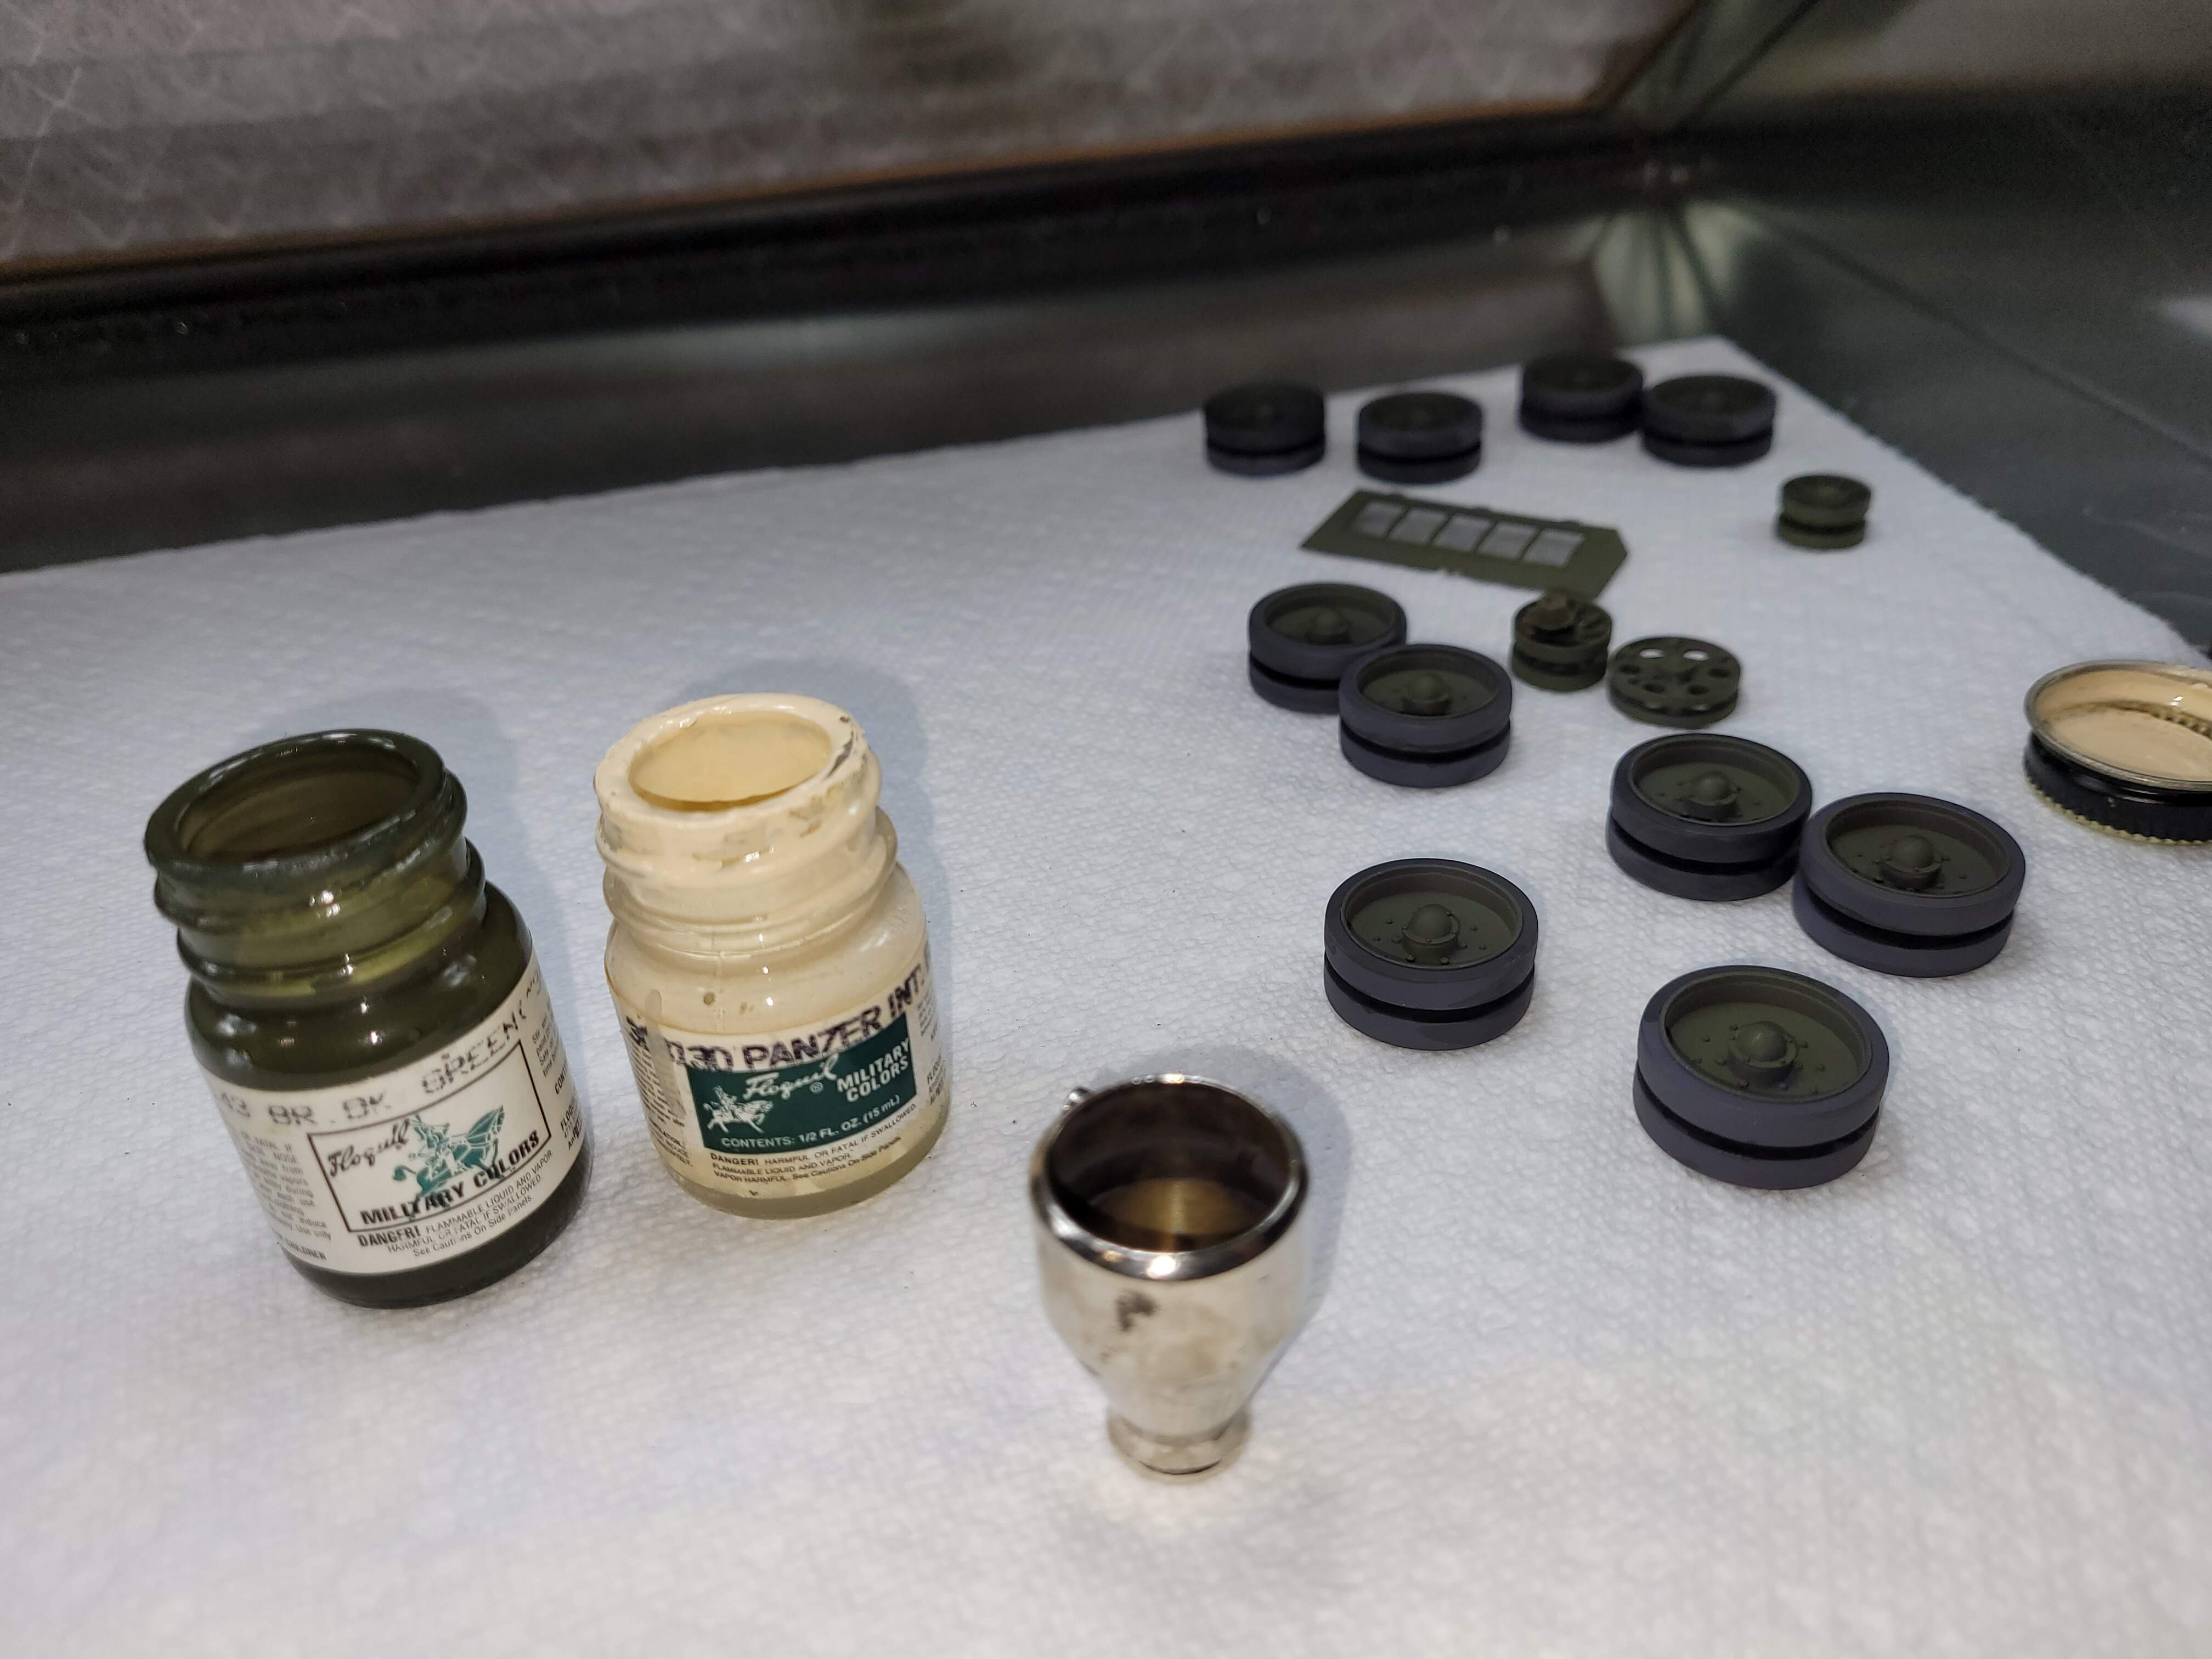
Alas I am down to my last few dozen bottles of Floquil and will really miss the blacks when I run out. Not having DioSol is not a problem as Zylene works just as well.
1 Like
1st High Light - RFM T-34-85 #174
Time to do the first high light color. Some modeler’s choose to grab a different bottle of paint that’s a lighter shade. That can work very well. It may require buying more paint or keeping a wider range on hand.
For the T-34 & KV-1, we will mix our own high colors from the base color British Dark Green and Panzer Interior Buff. My personal preference is for off white ivory colors for highlight but many choose to use white.
With the paint nice and warm, it’s time to mix the first high light color.
Into the color cup went 1 cc of British Dark Green and about a 1/2 cc of Panzer Buff plus a 1/2 cc of thinner.
The air pressure is dropped to about 10 psi static, spraying its at 8 psi. This adds a little spatter to the paint dots. I want those little dots going all over the place.  They’ll be very subtle by the time the model is finished. A hair more thinner is added to get what I want.
The color to the left is the highlight color. To the right is the British Dark Green. To me the highlight is too weak and needs more Panzer Interior Buff.
Added several drops of P-Buff and thinner. The color on the right is the new highlight color. I think it’s better.
I tested the mix on the backside of a road wheel. There isn’t a big difference:) It’s easy to feel a little disappointed in the result. However, the goal is to build the color variety and first highlight can be subtle. Sometimes paint dried and the color shifts a bit as well. I favor the subtle approach.
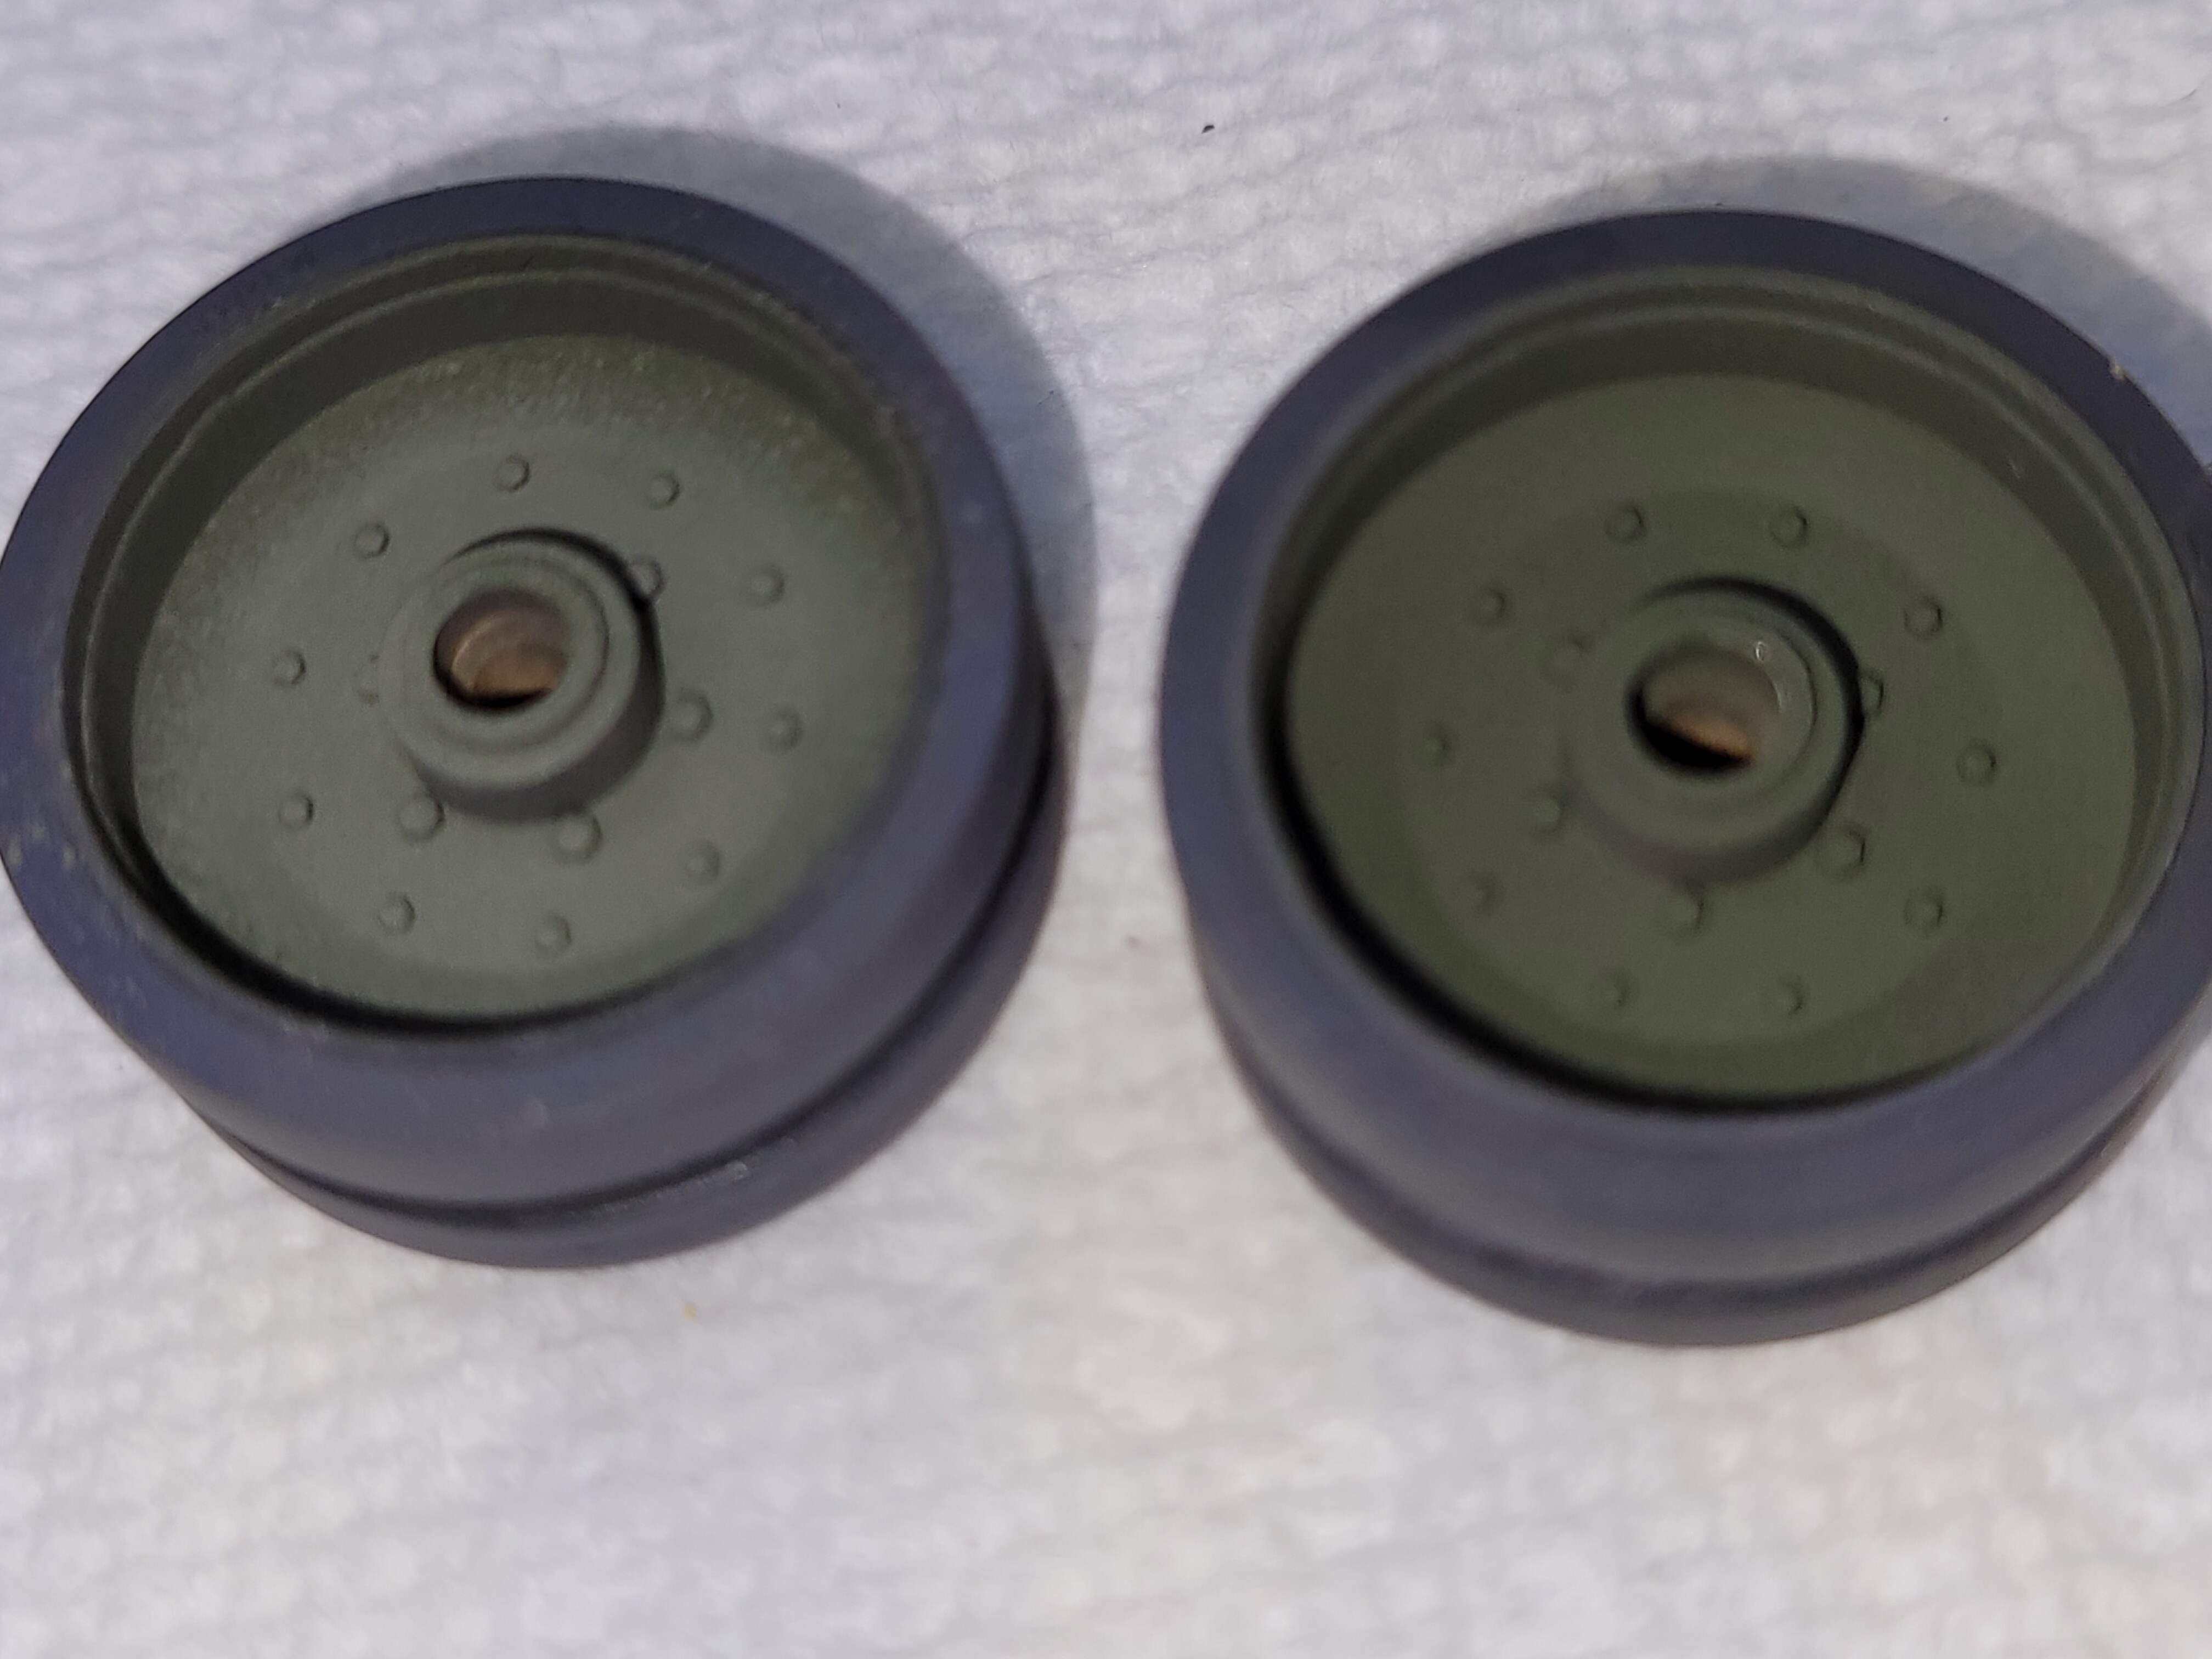
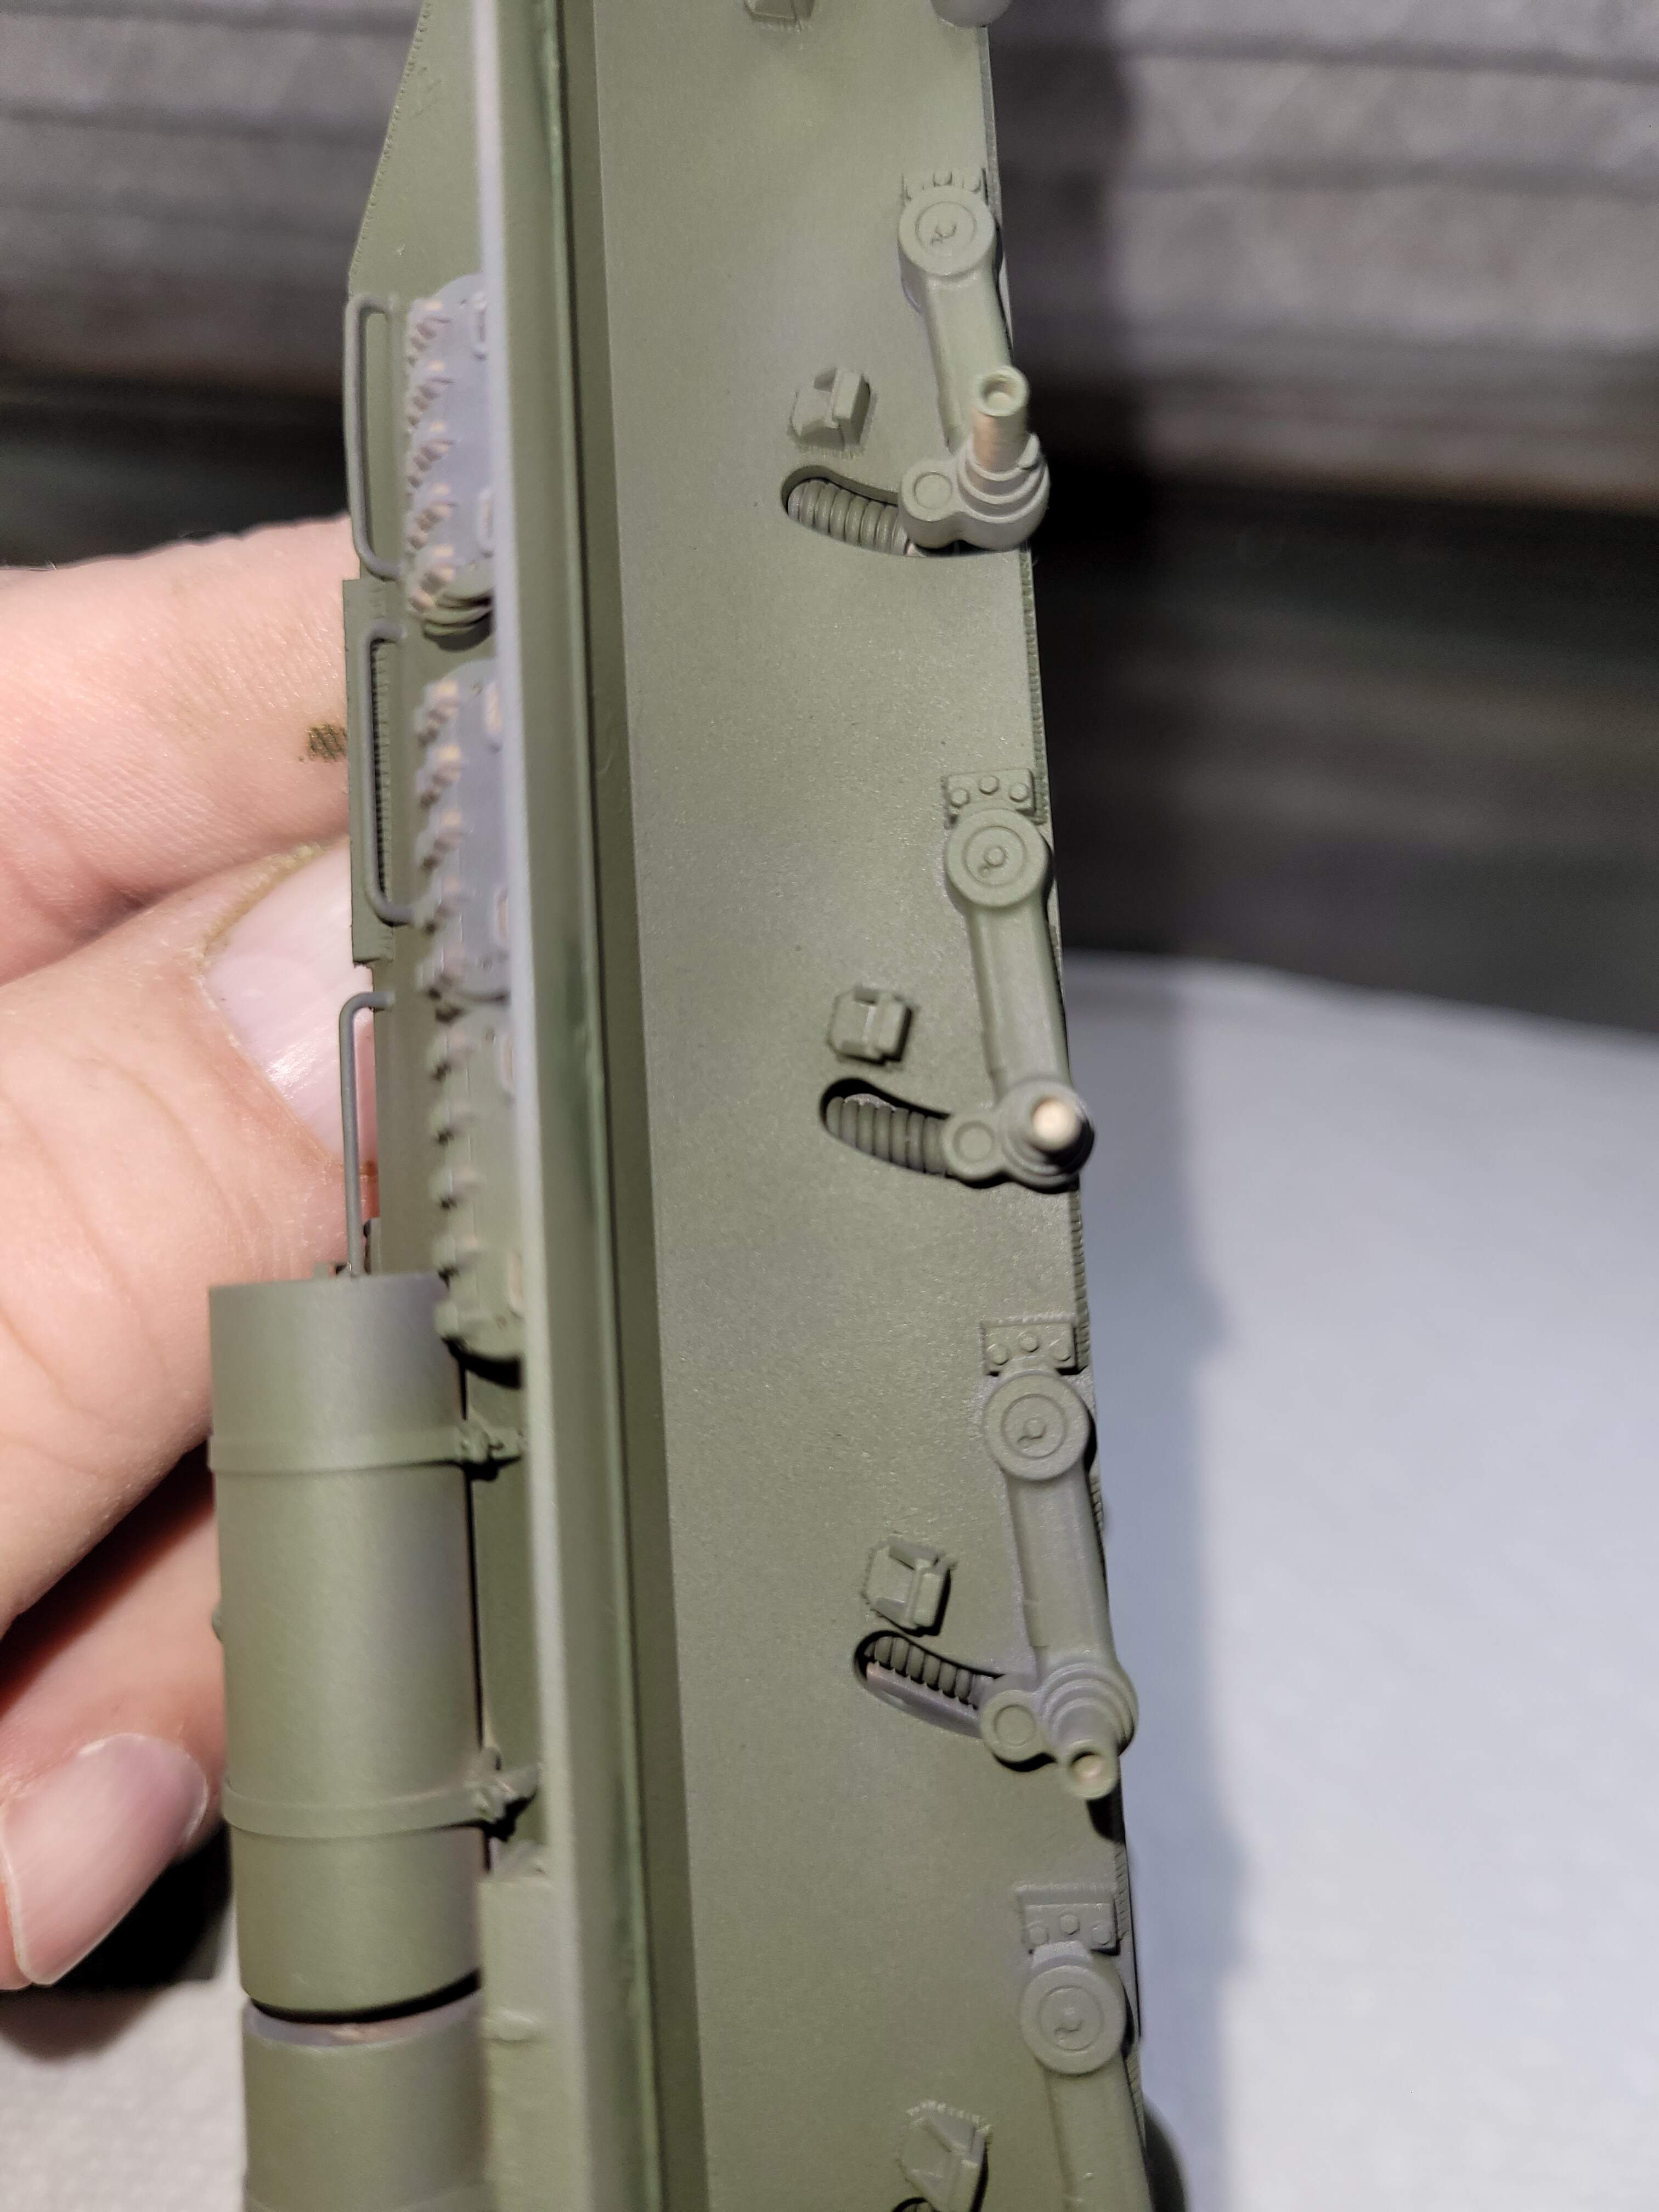
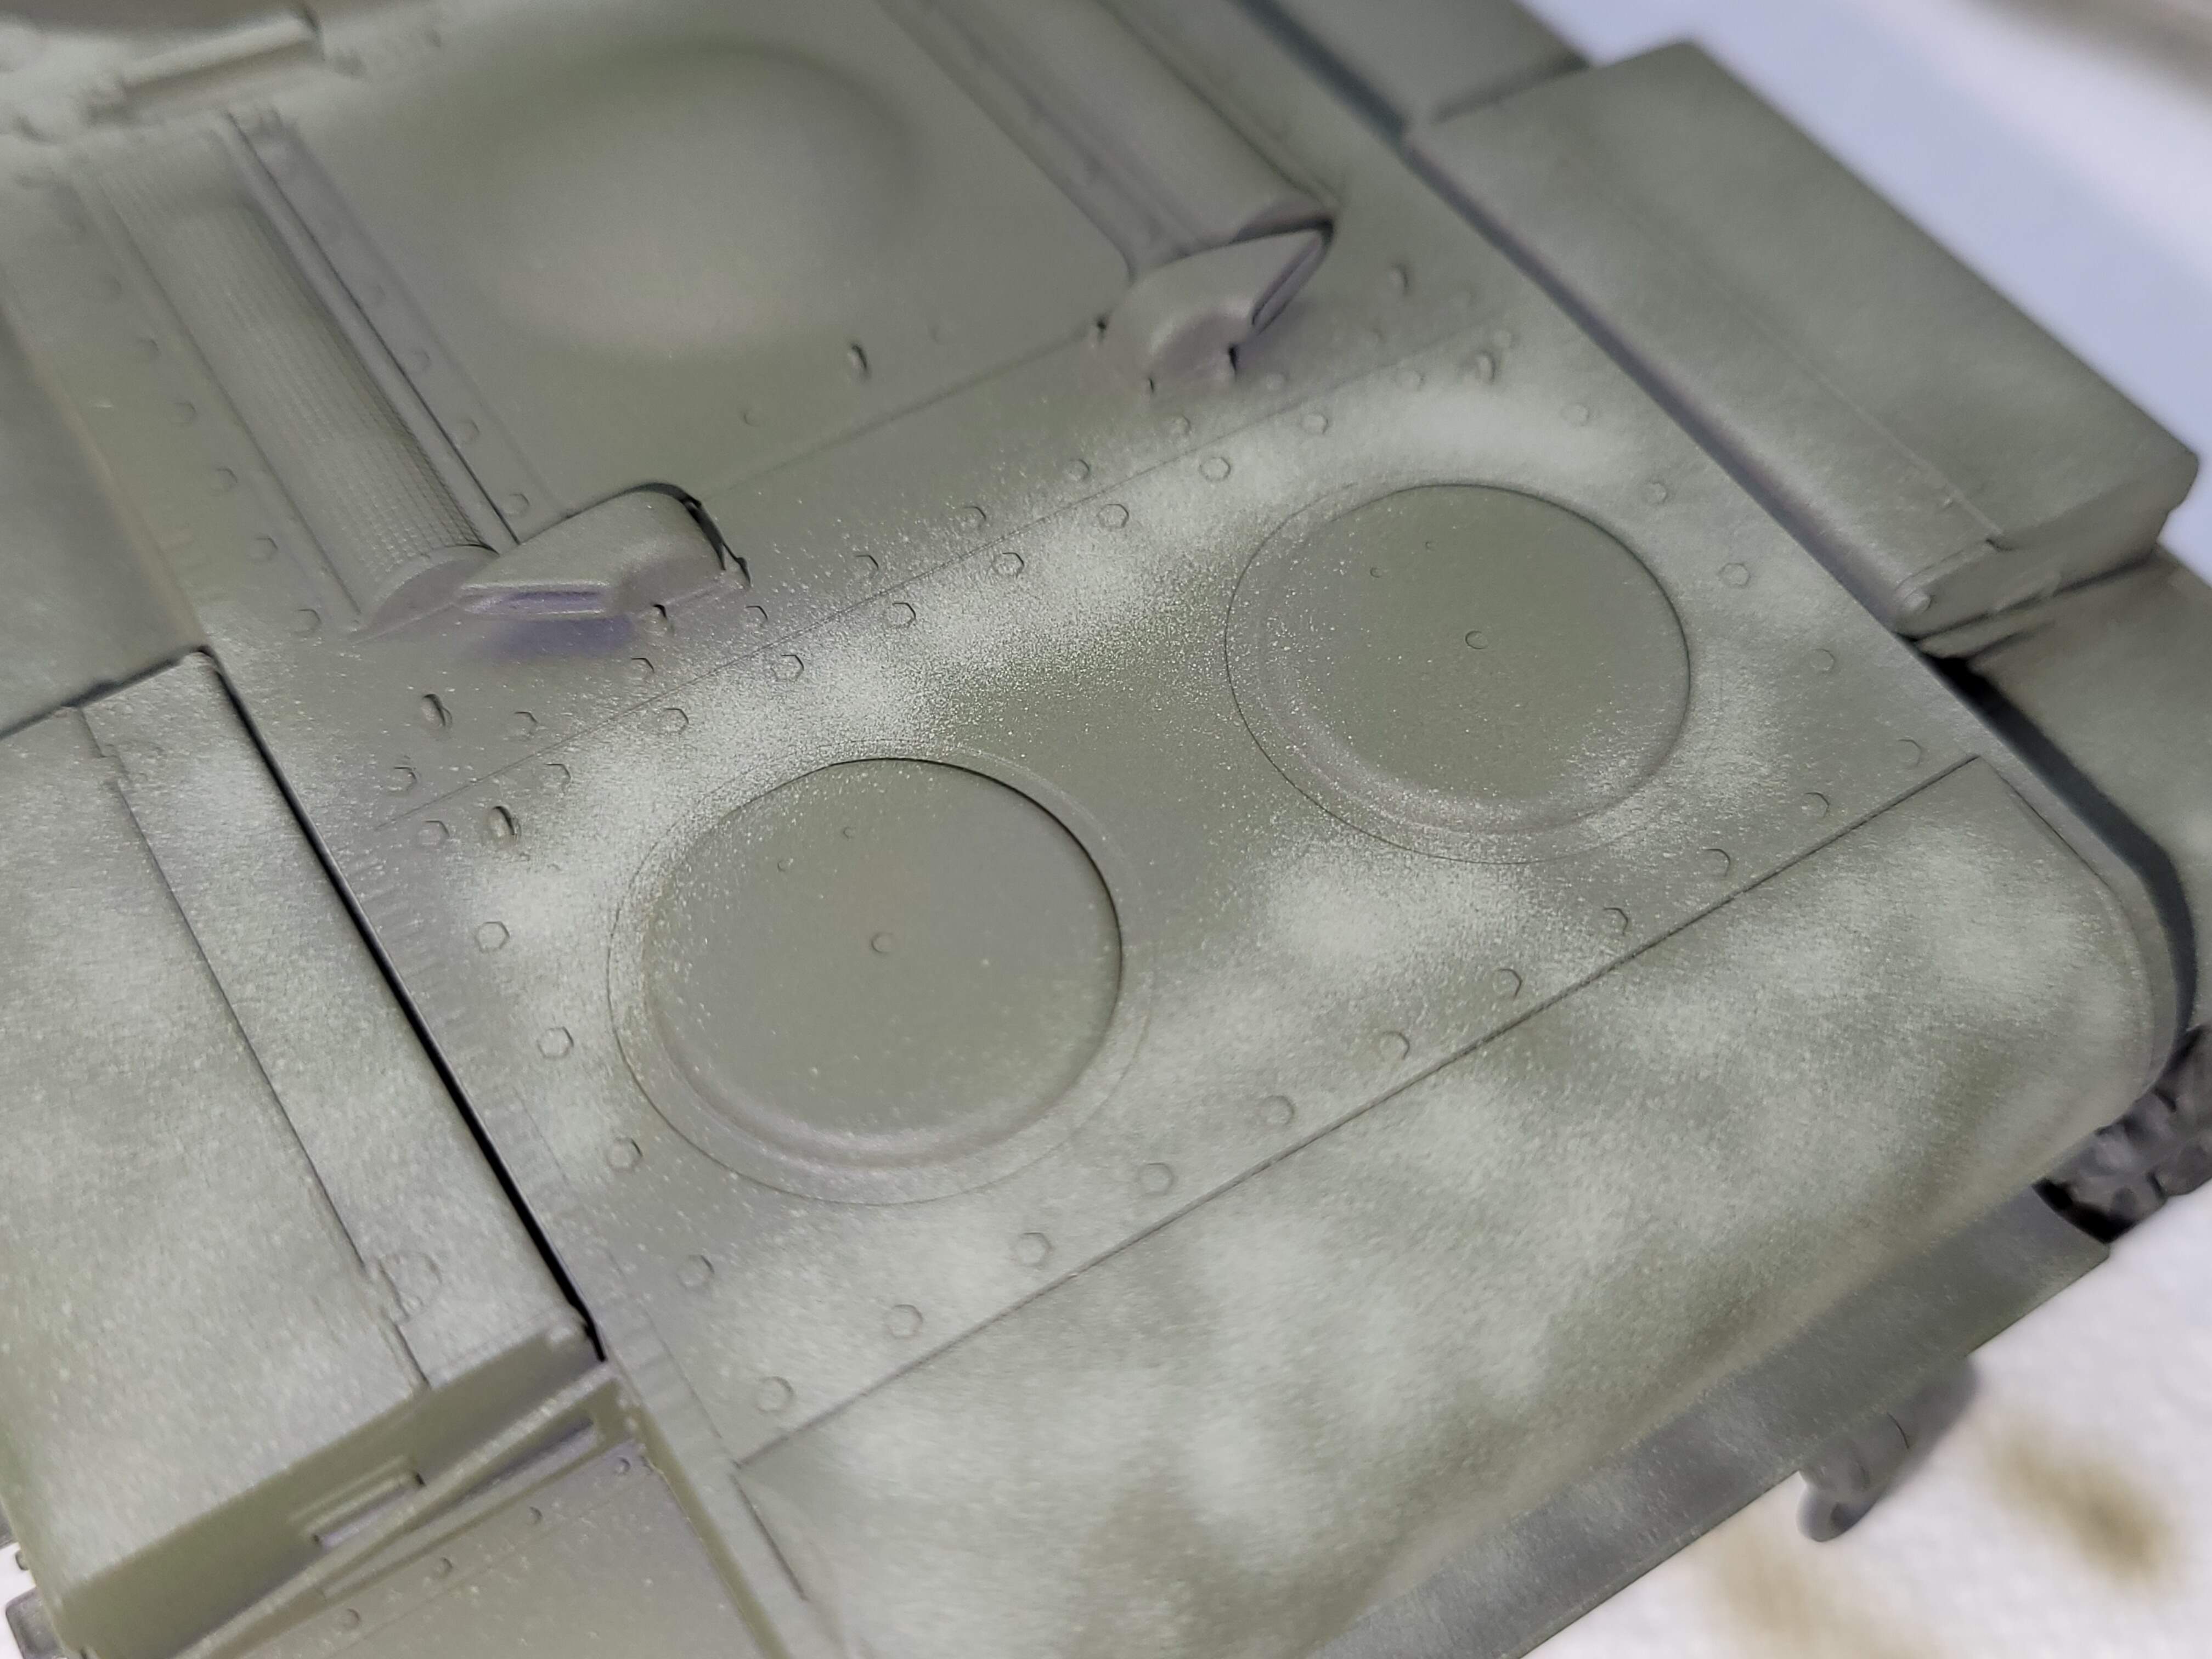
Time to fog the hub and spots around the hub of the wheels, idlers etc

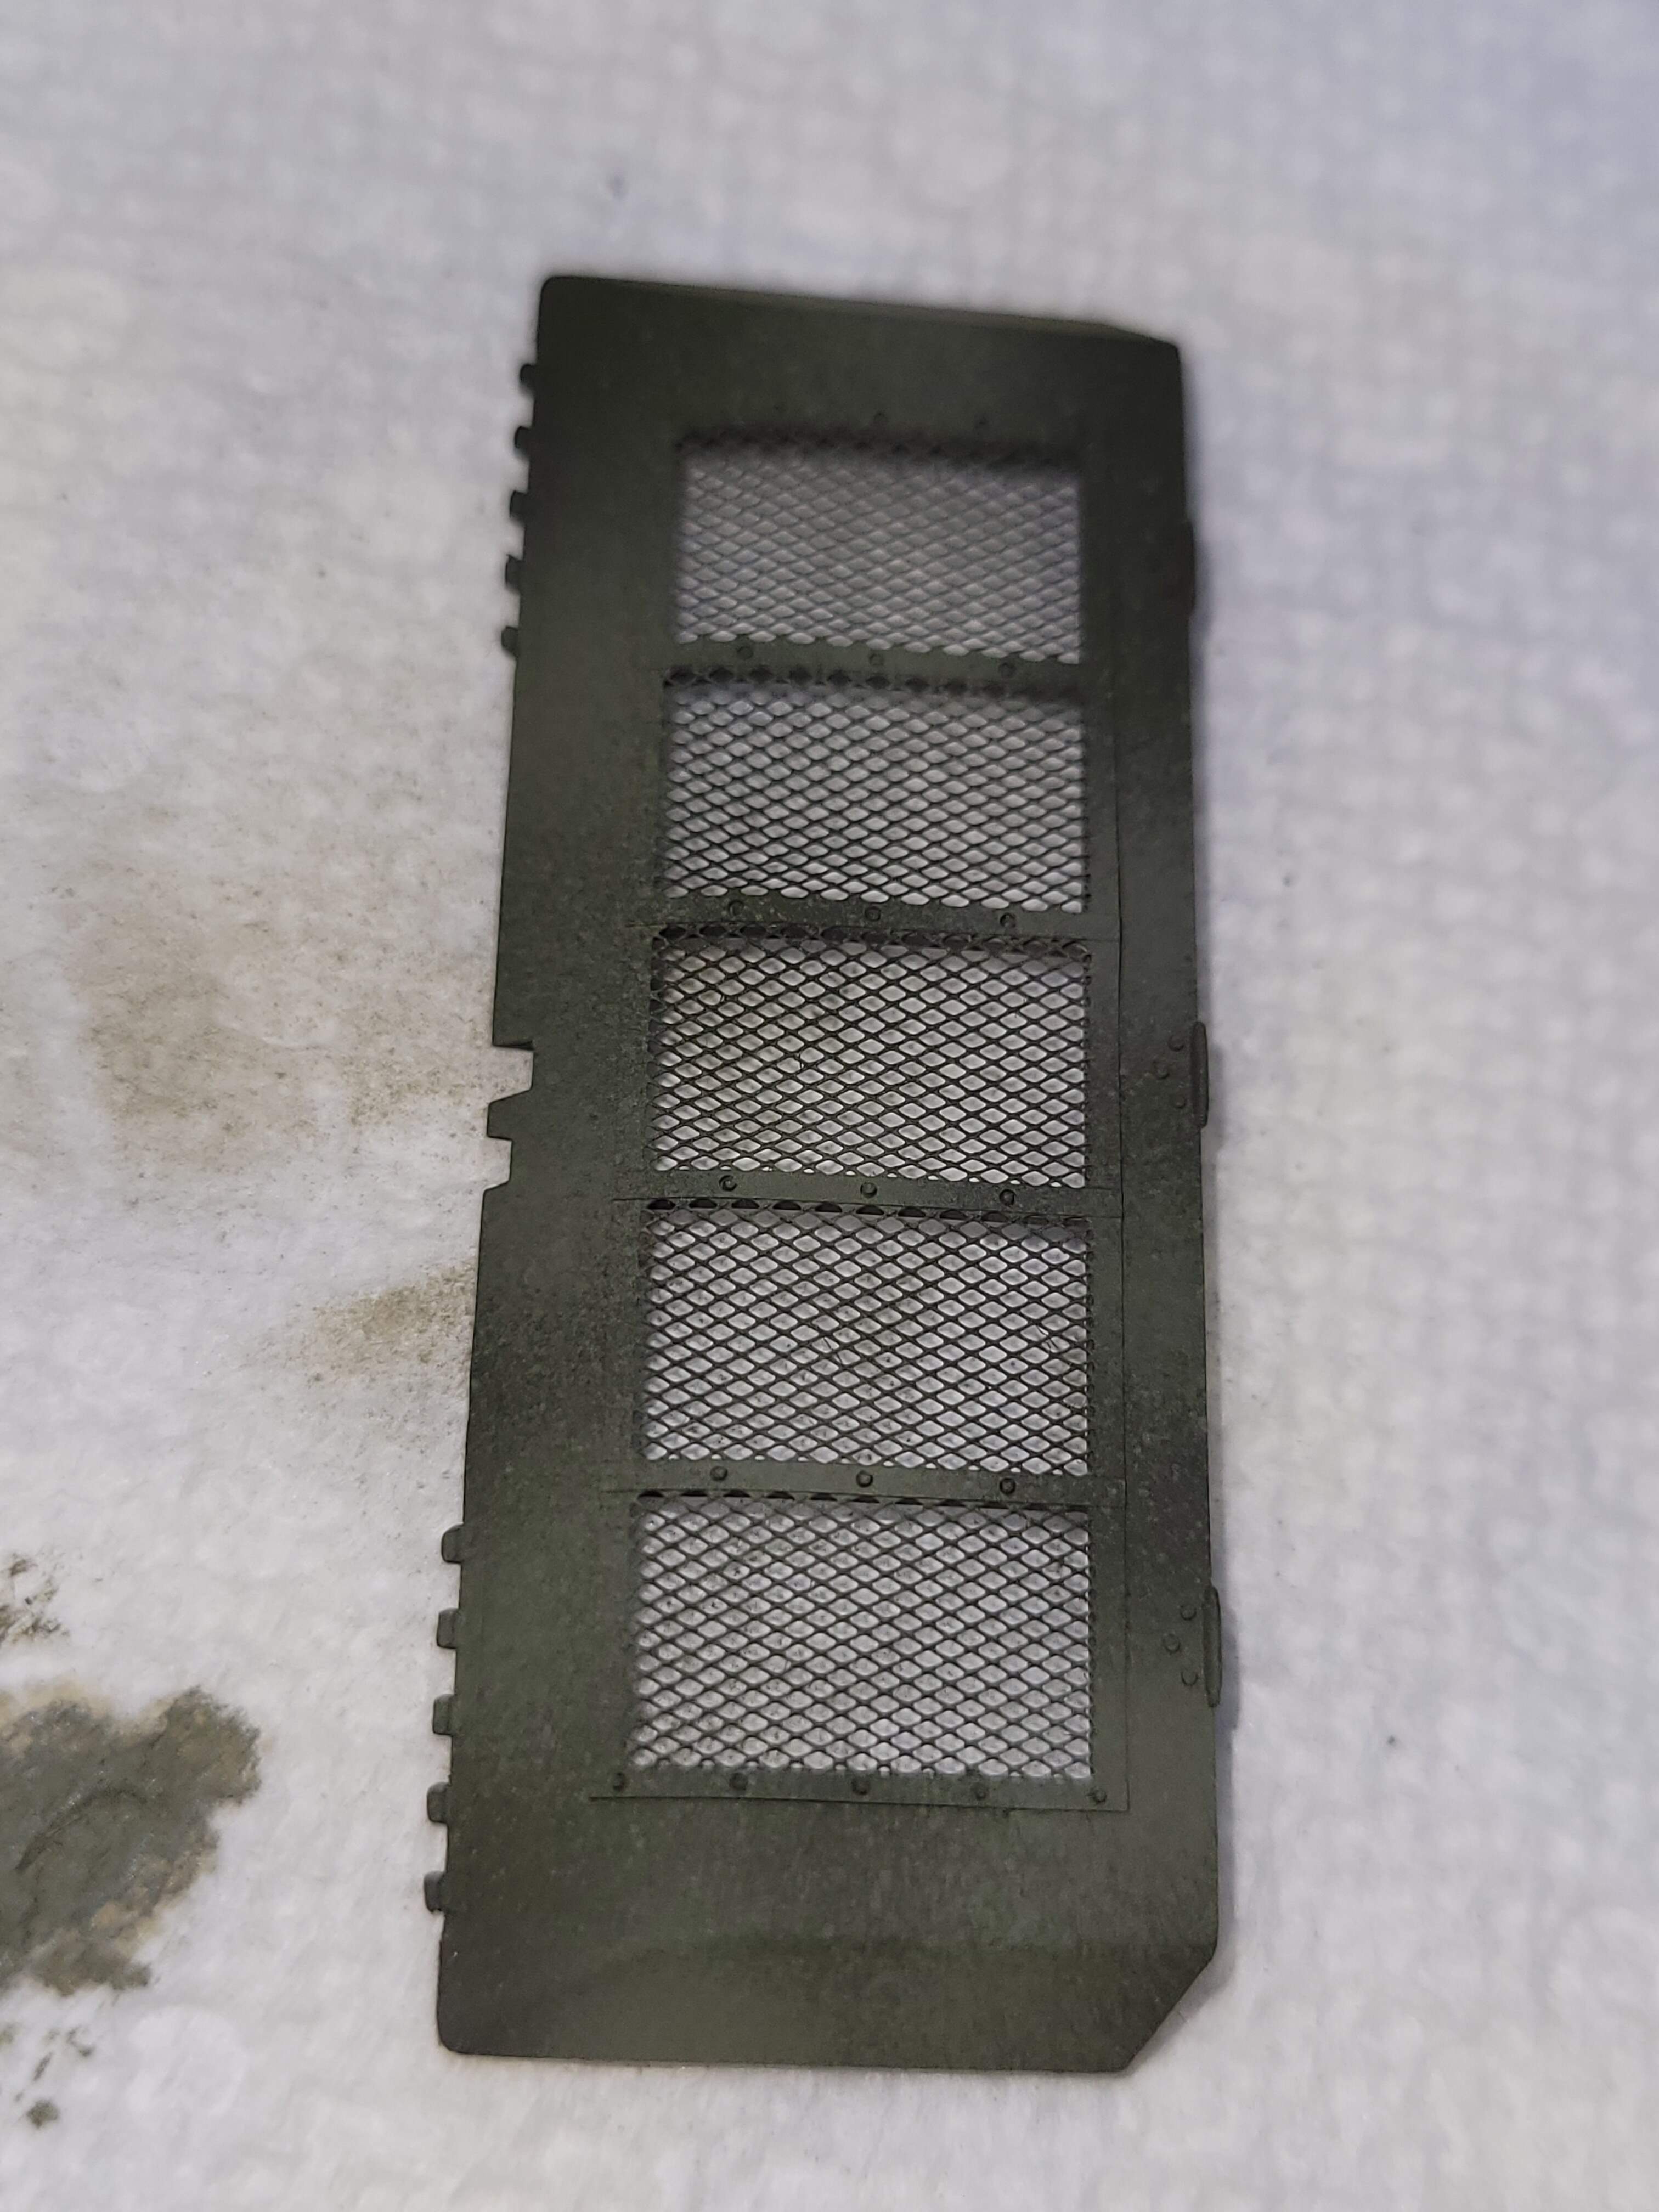
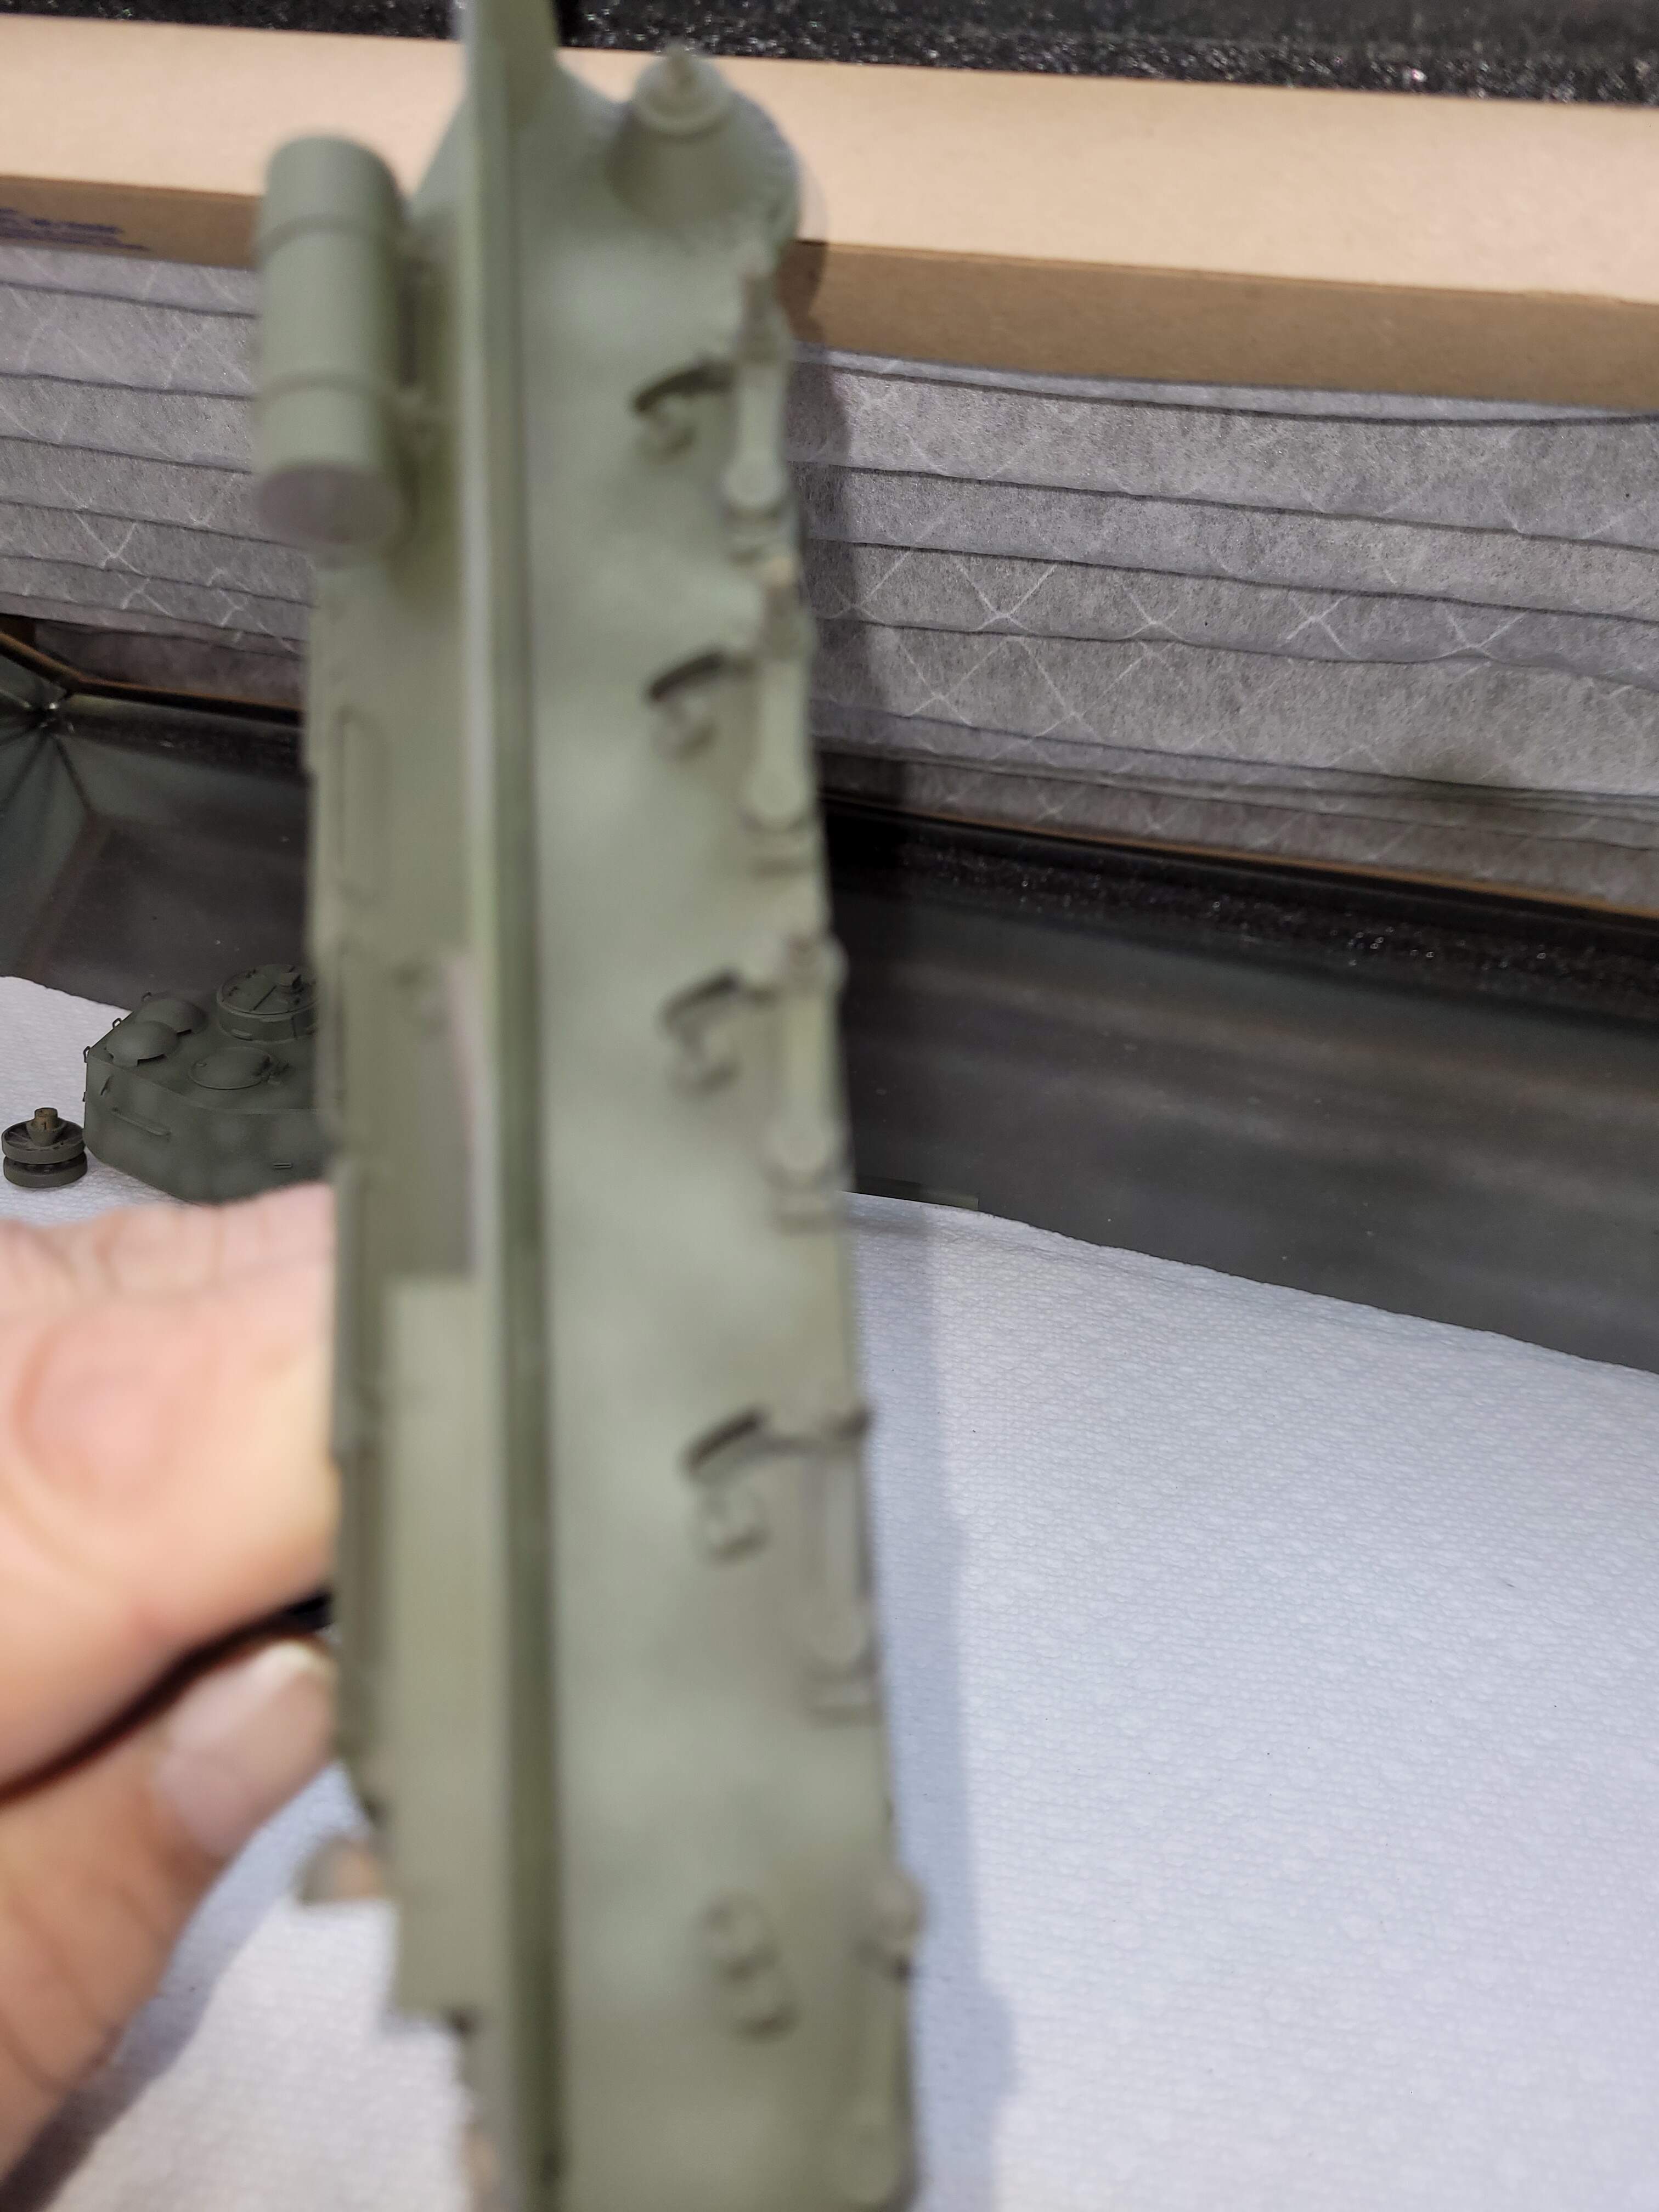
Rear cover
The result
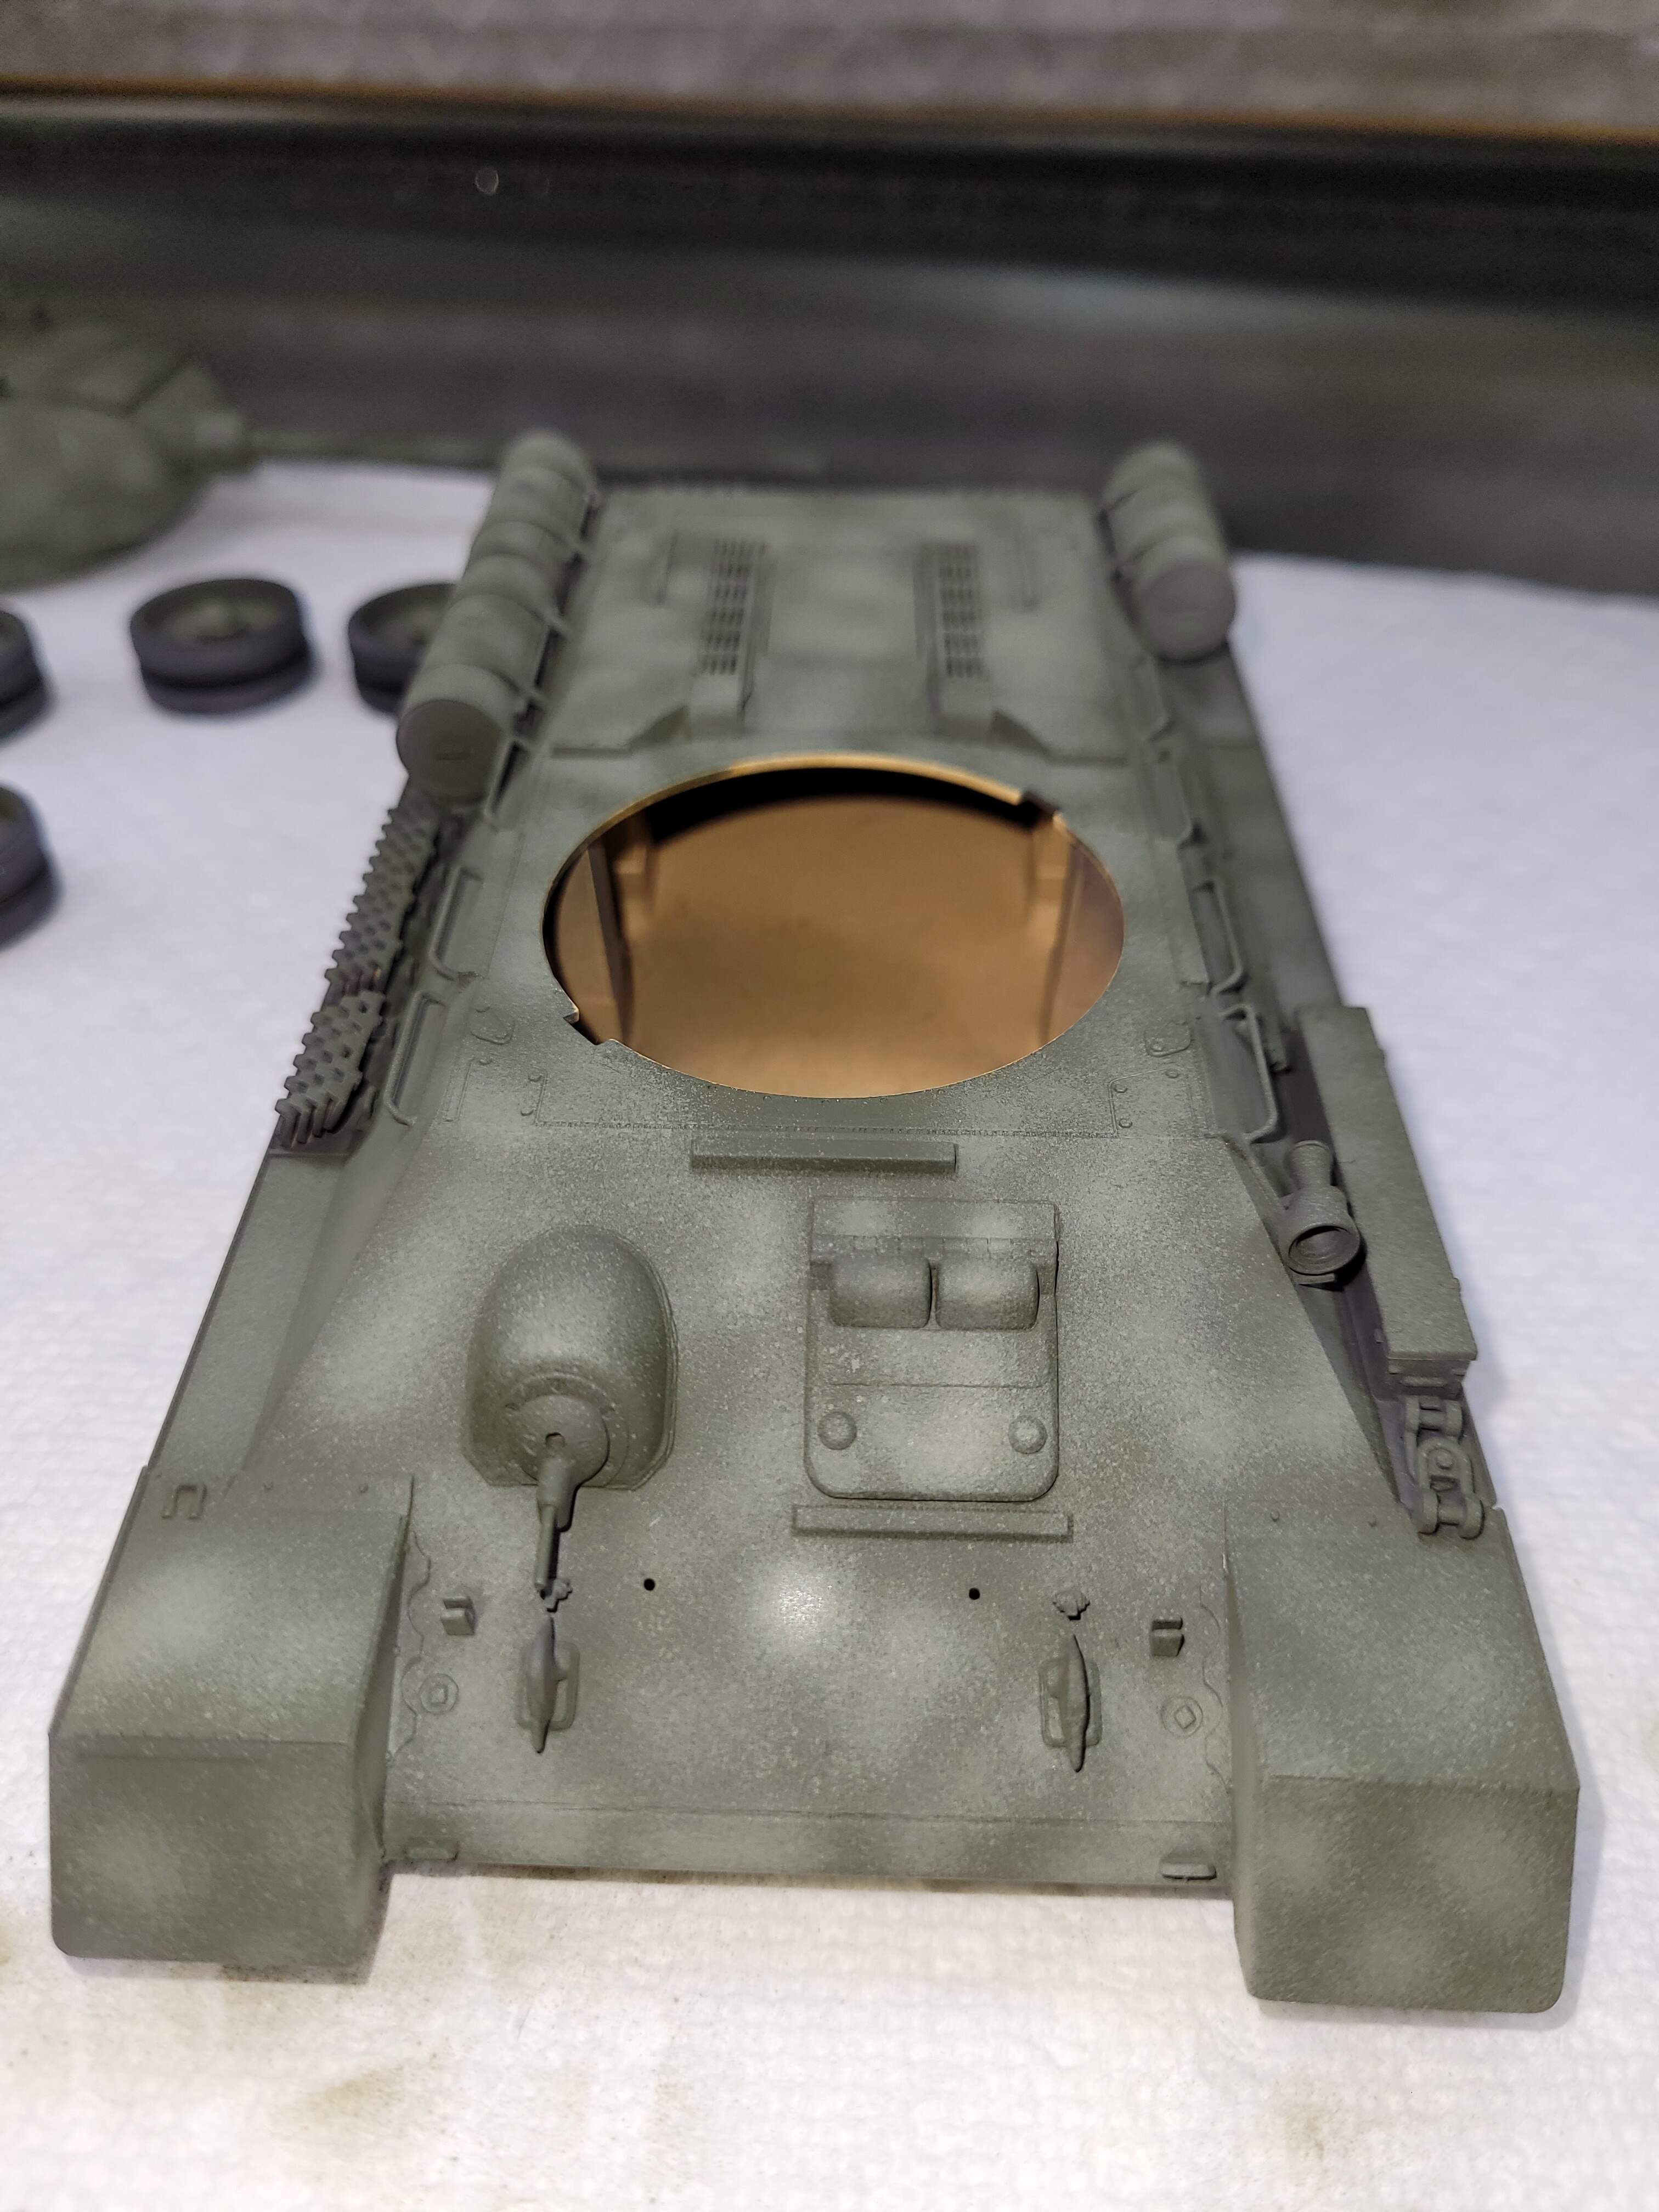
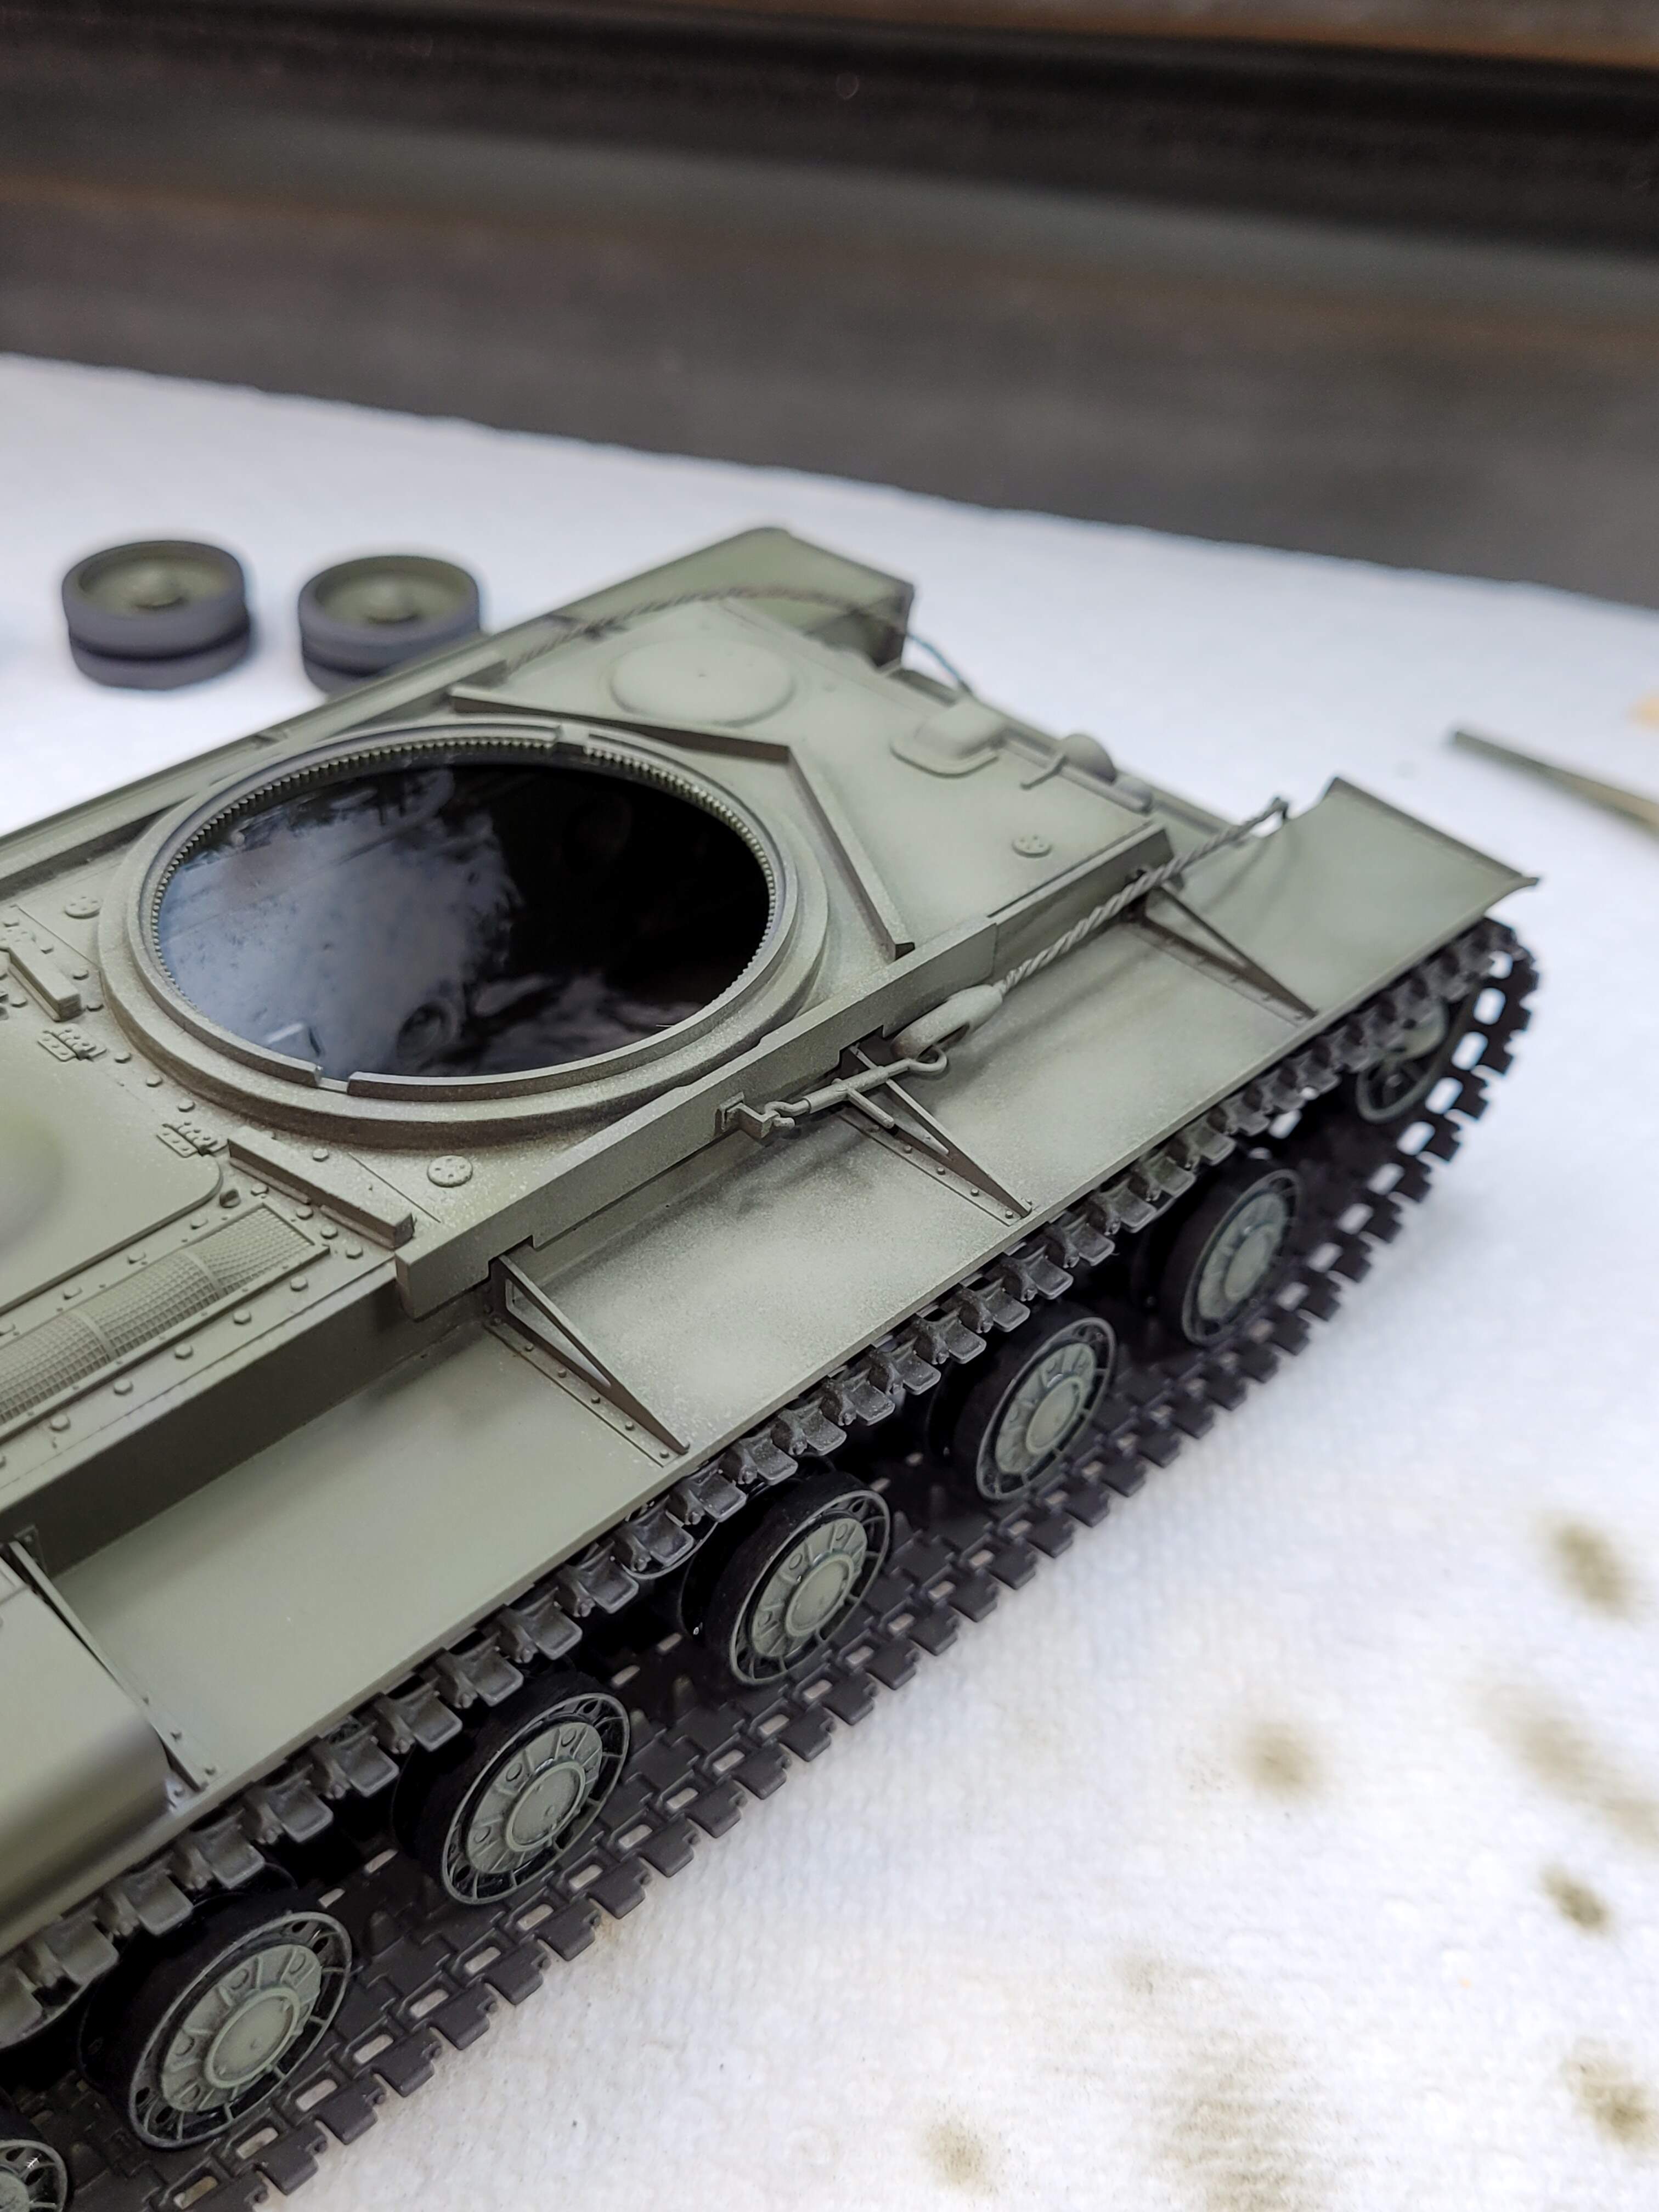
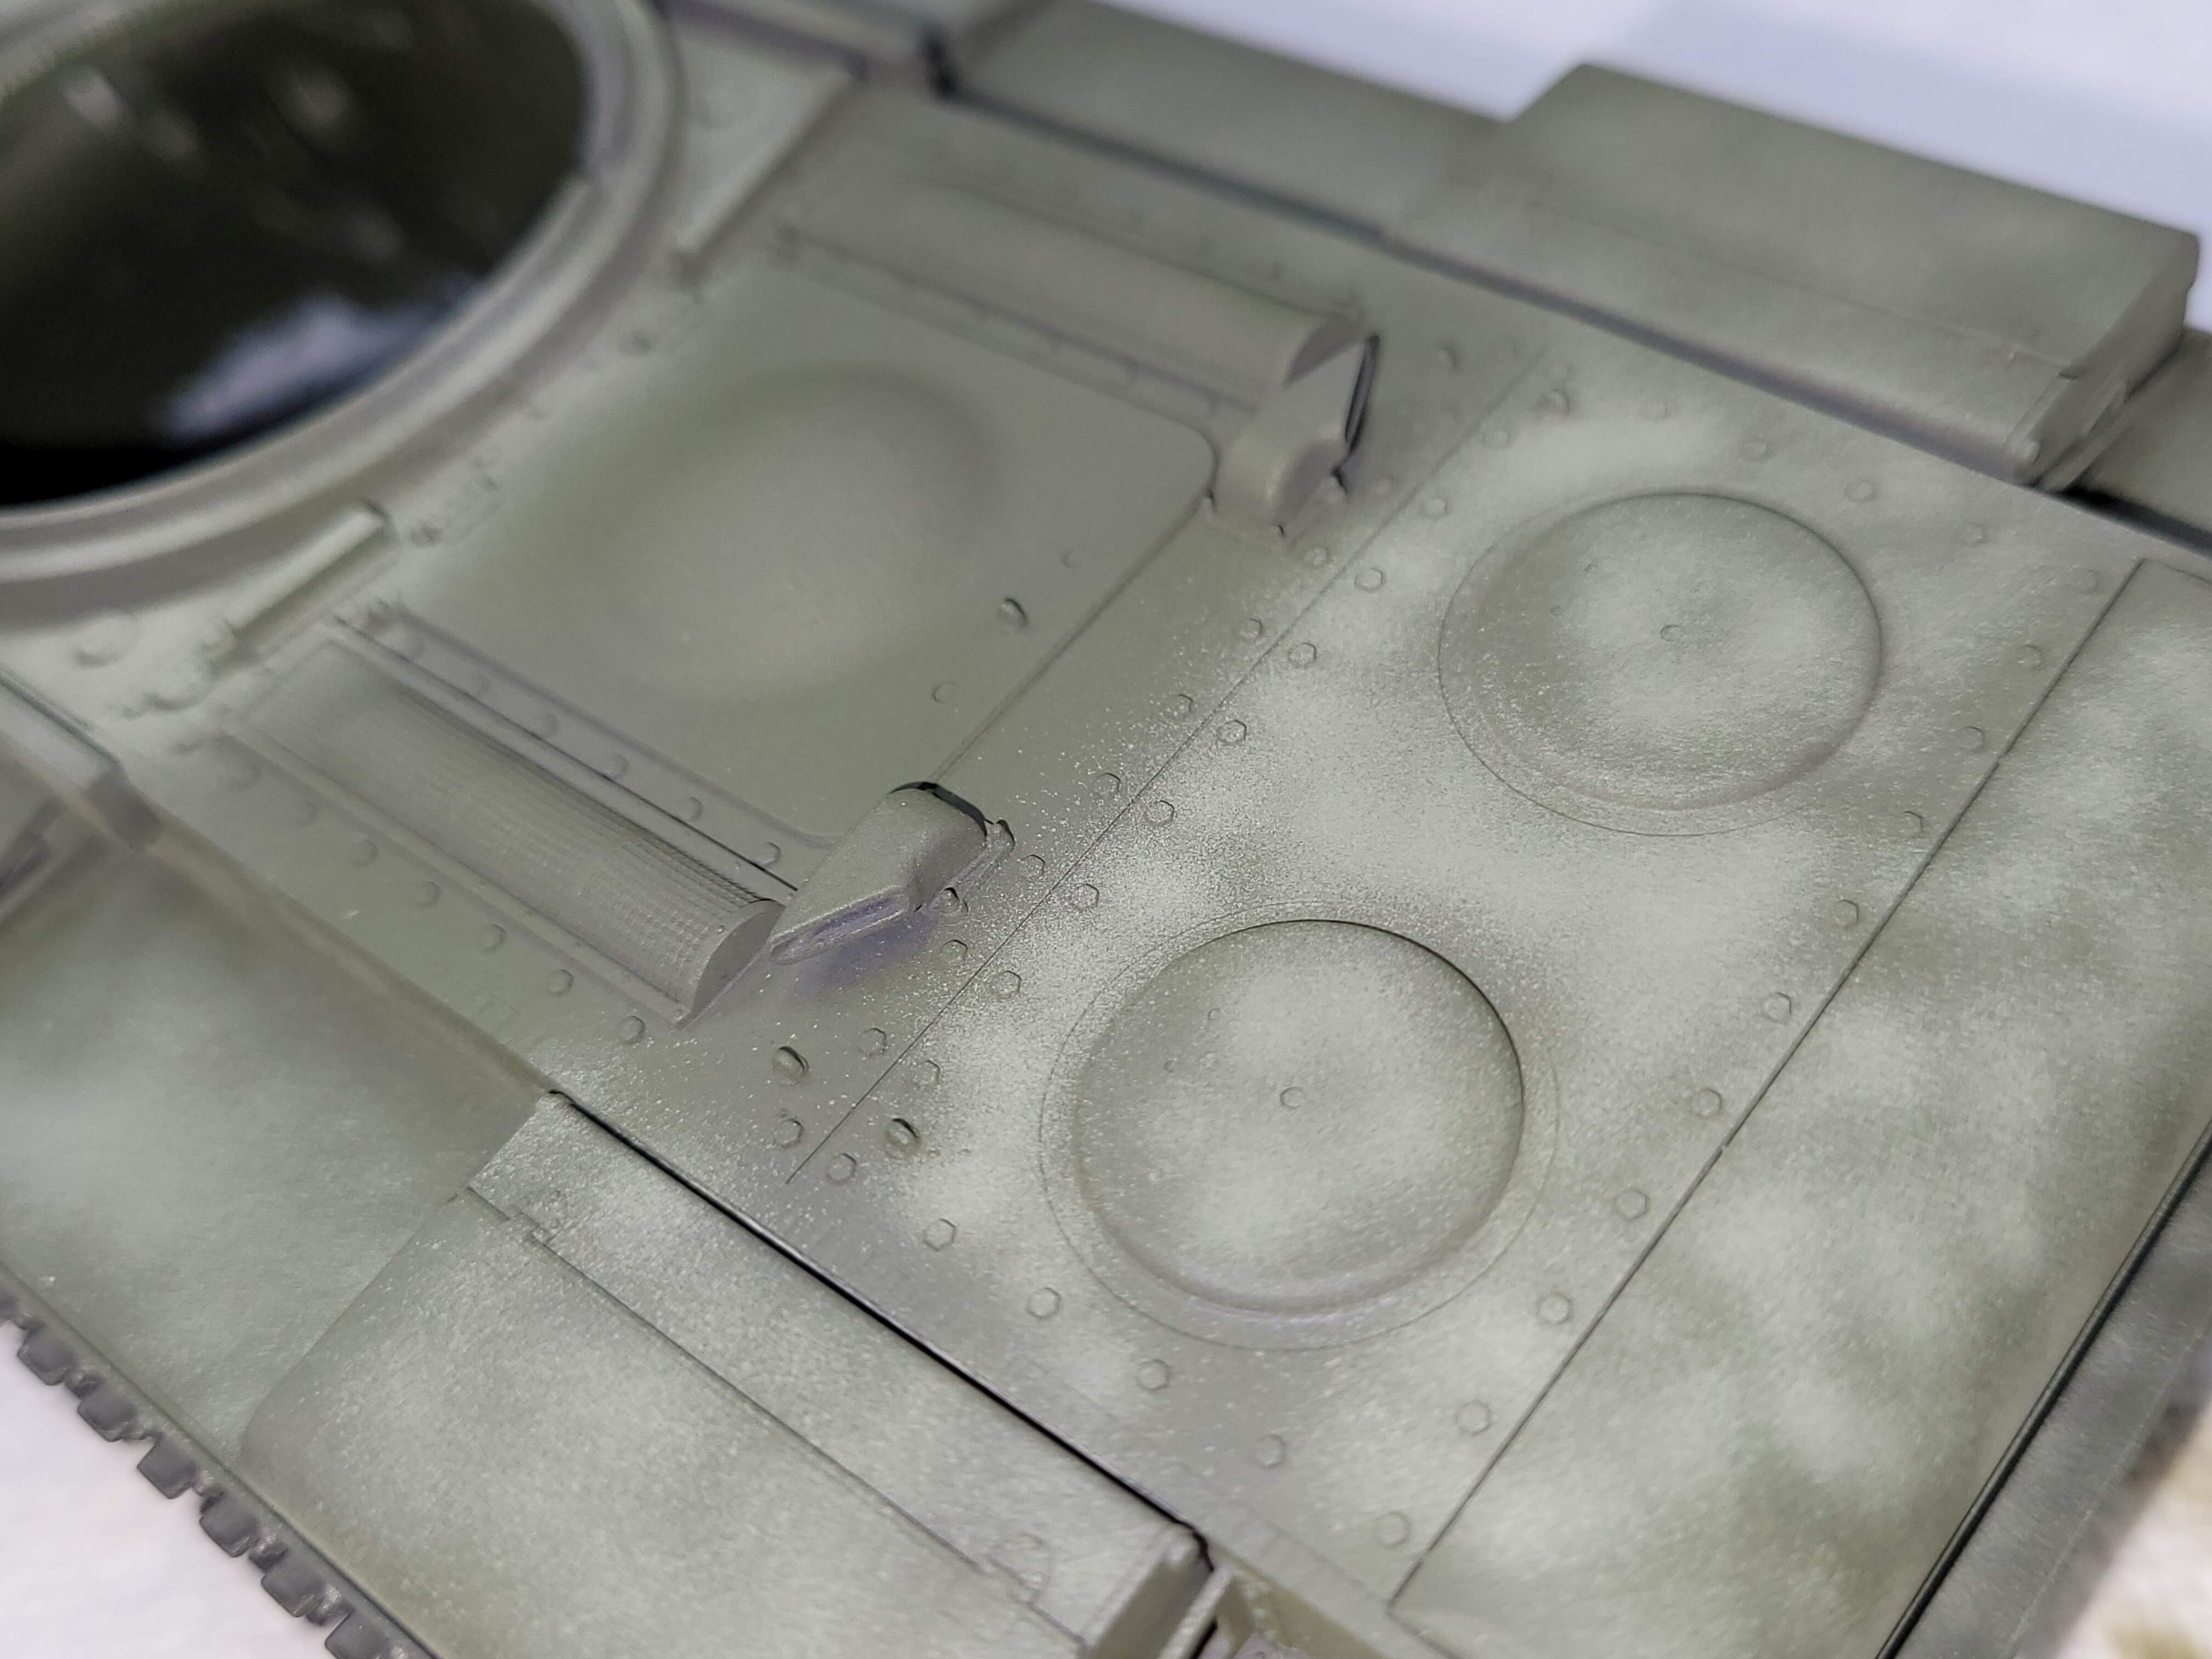
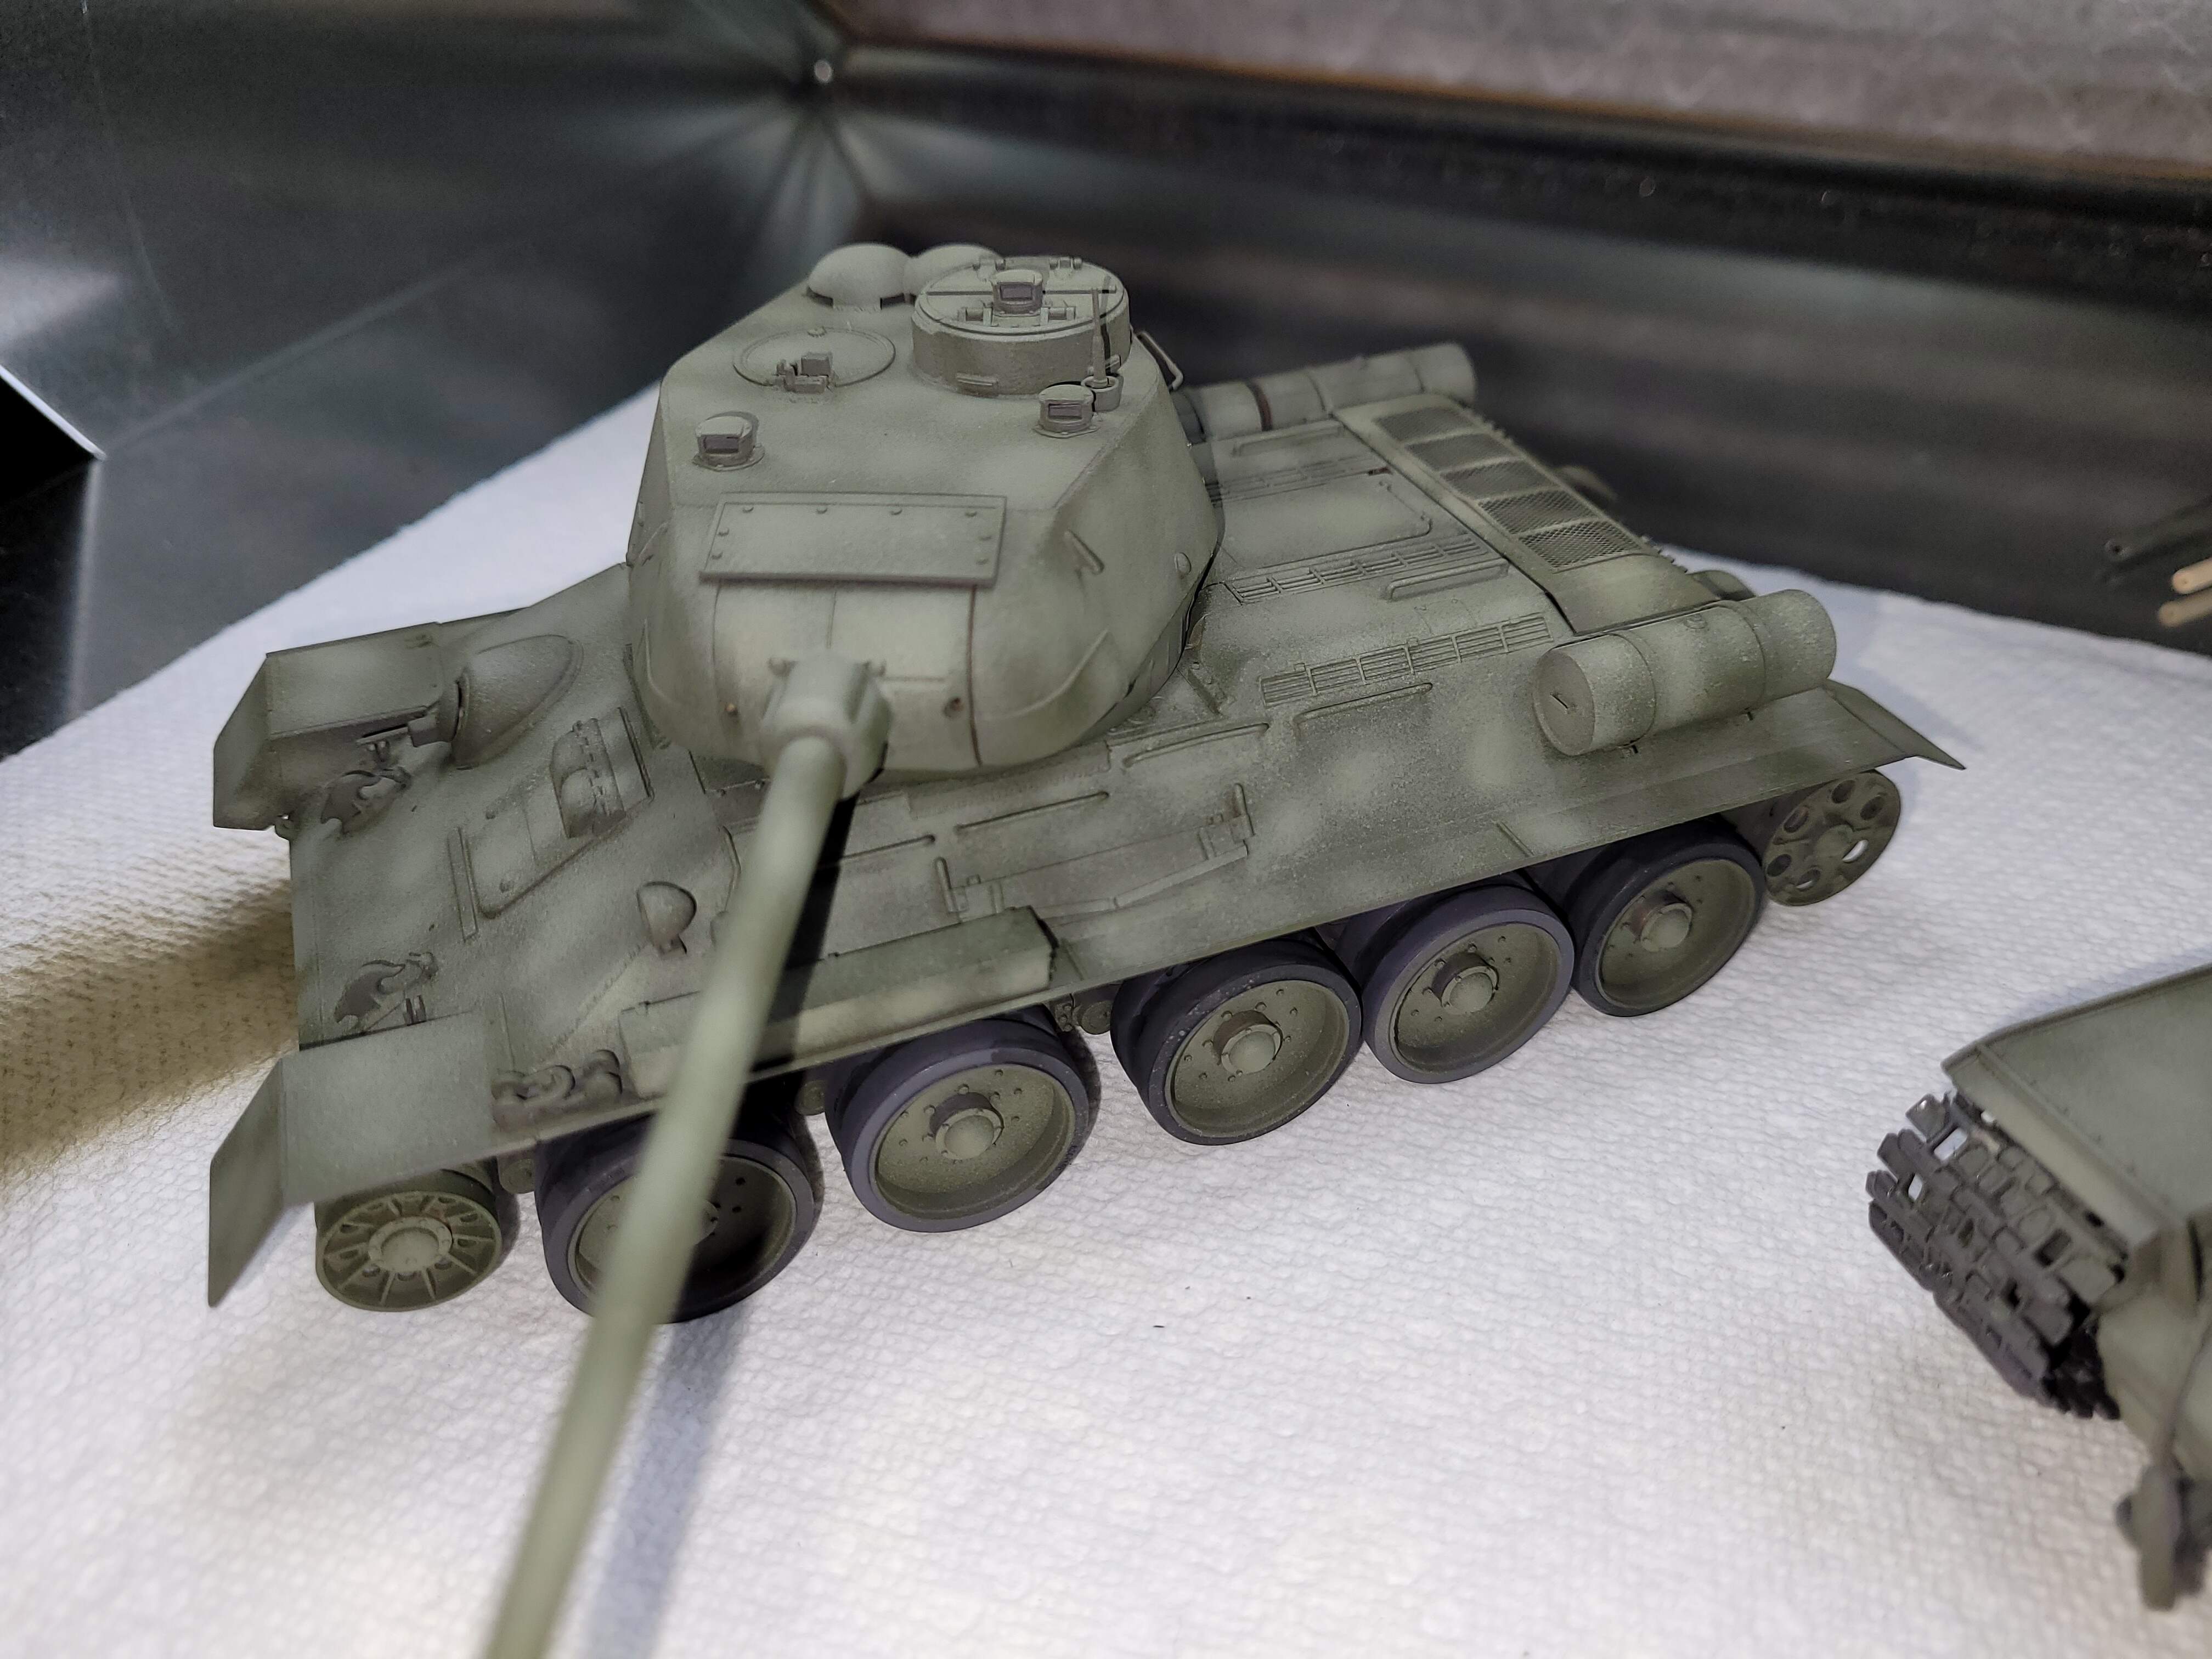
T-34-85 Turret Spot & Dot here we go! I like starting on the underside of the turret. Mainly because this area will be dry when the turret is painted and it’s time to put the part down.
Gradually work around the turret with spot & dot. I try mostly not to hit details but no big deal if a random detail gets hit. I want to focus the paint into the open areas in a more or less random manner.
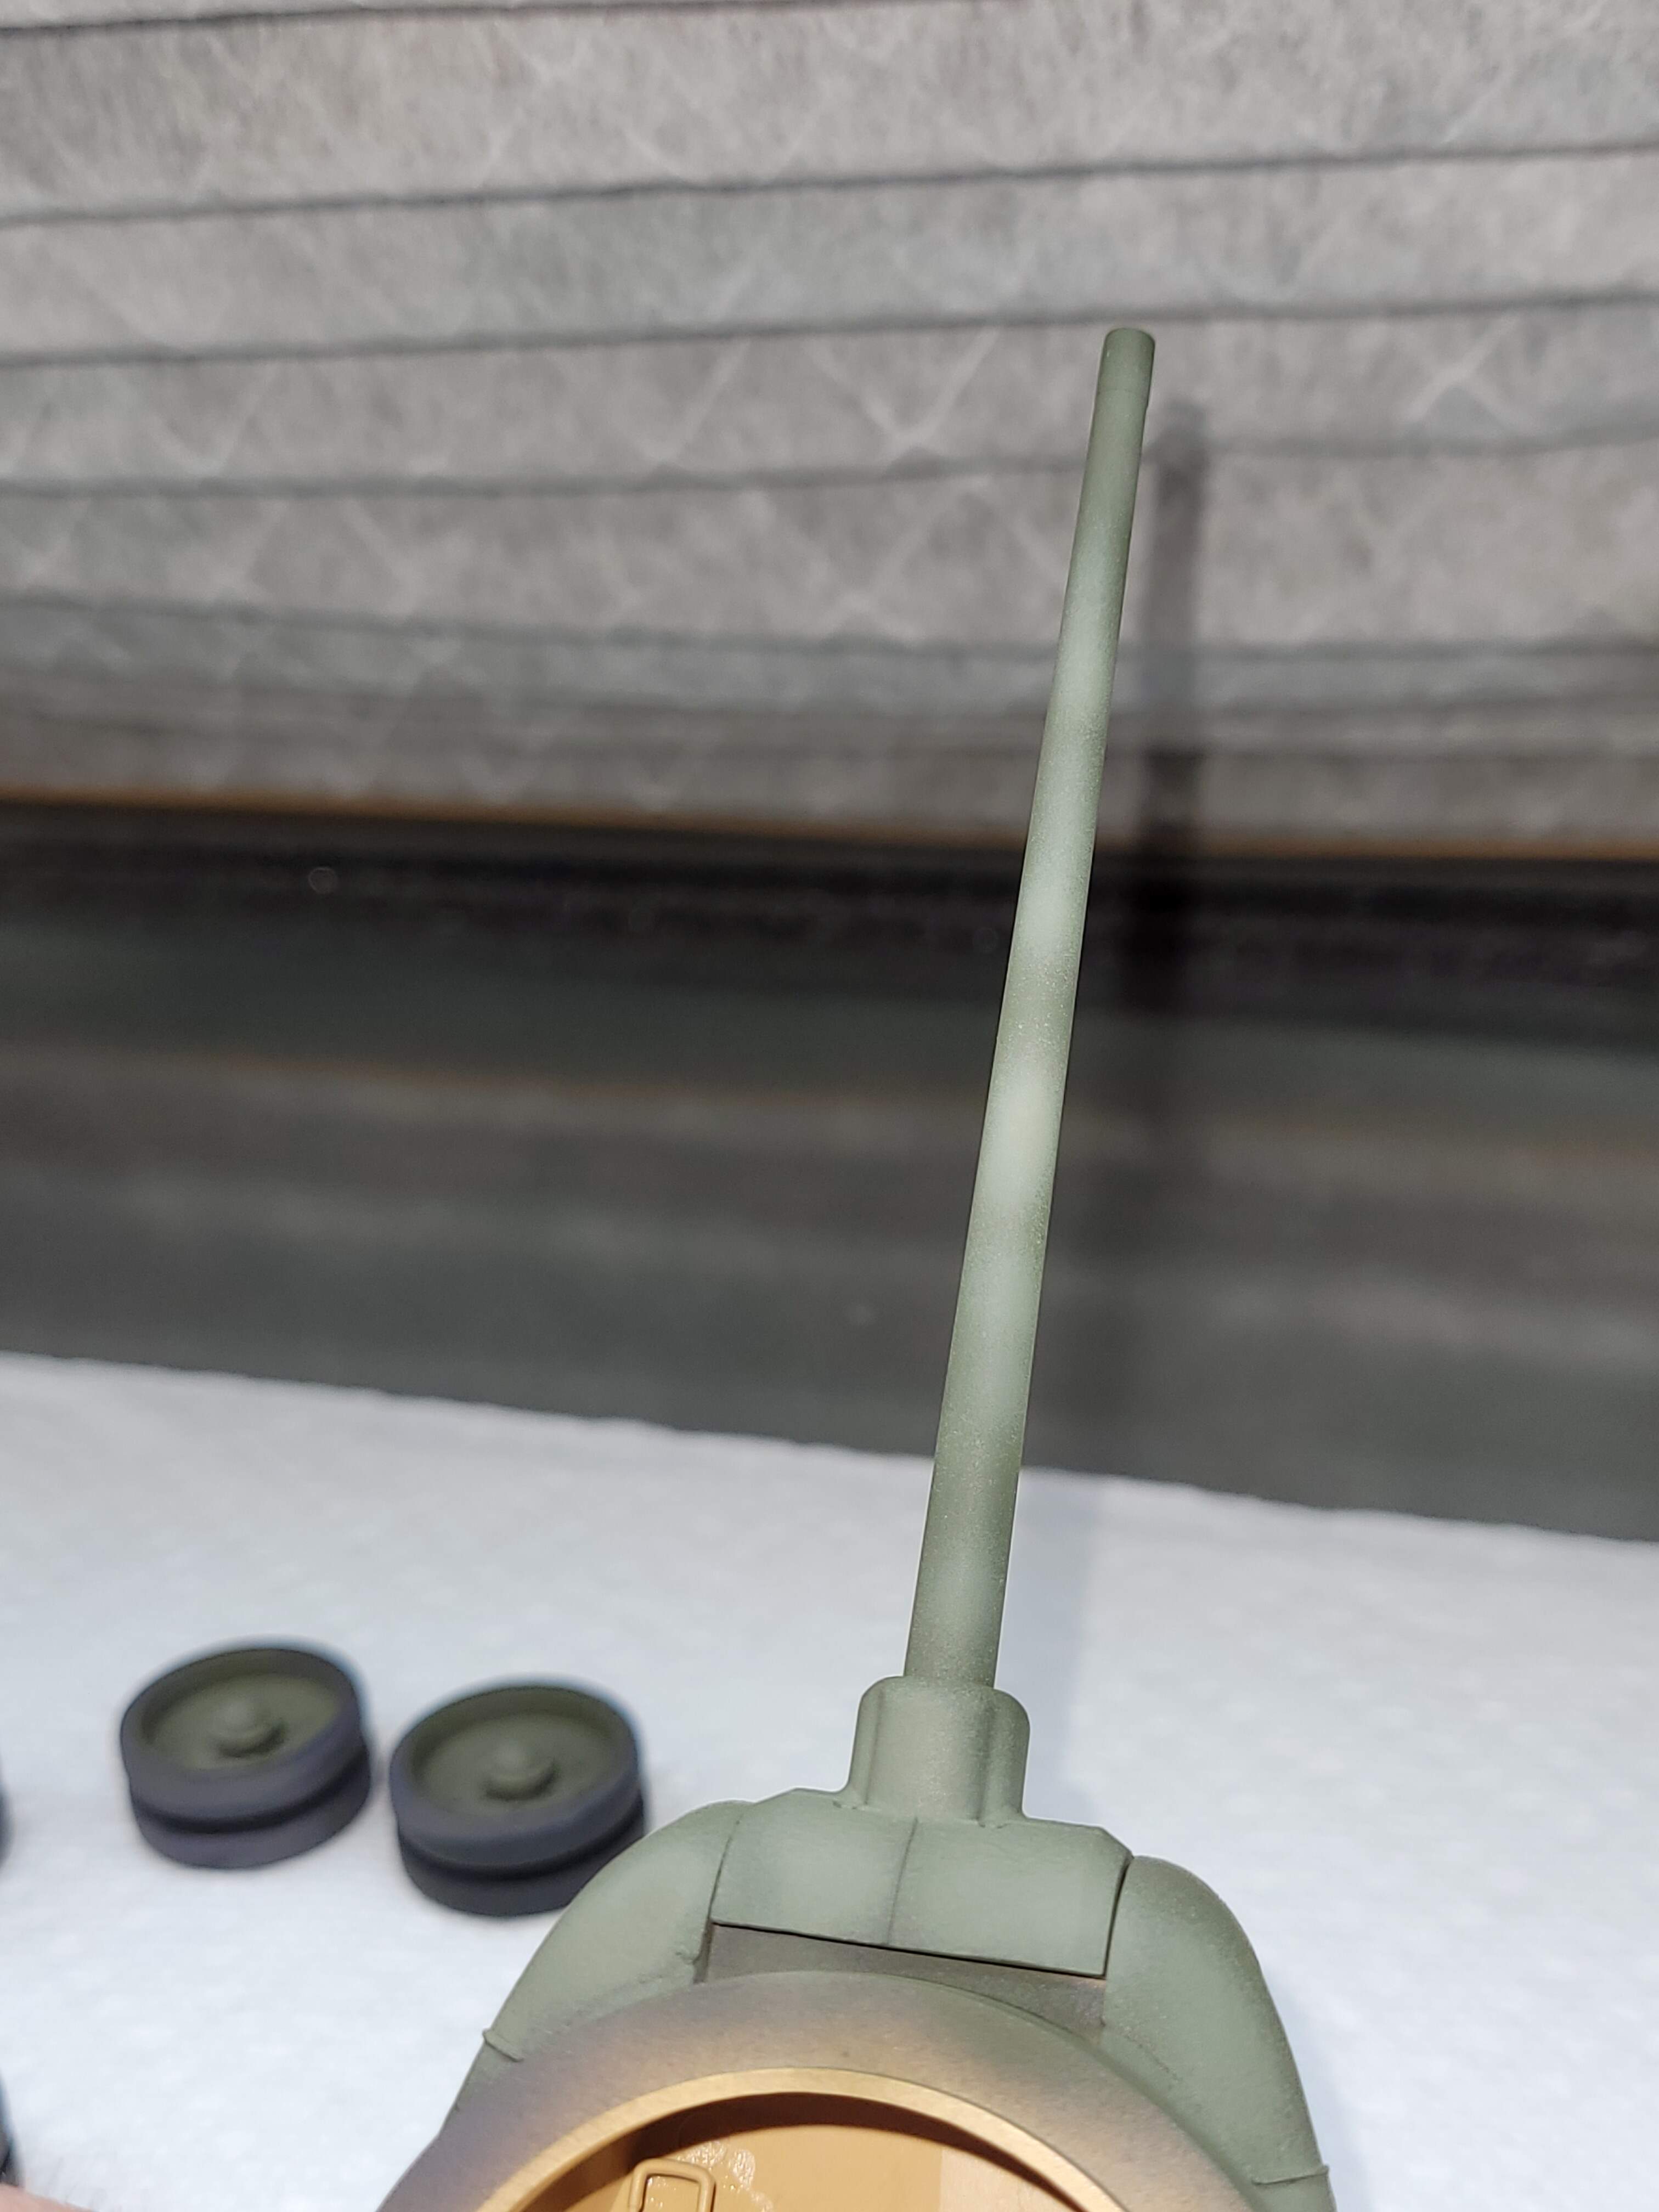
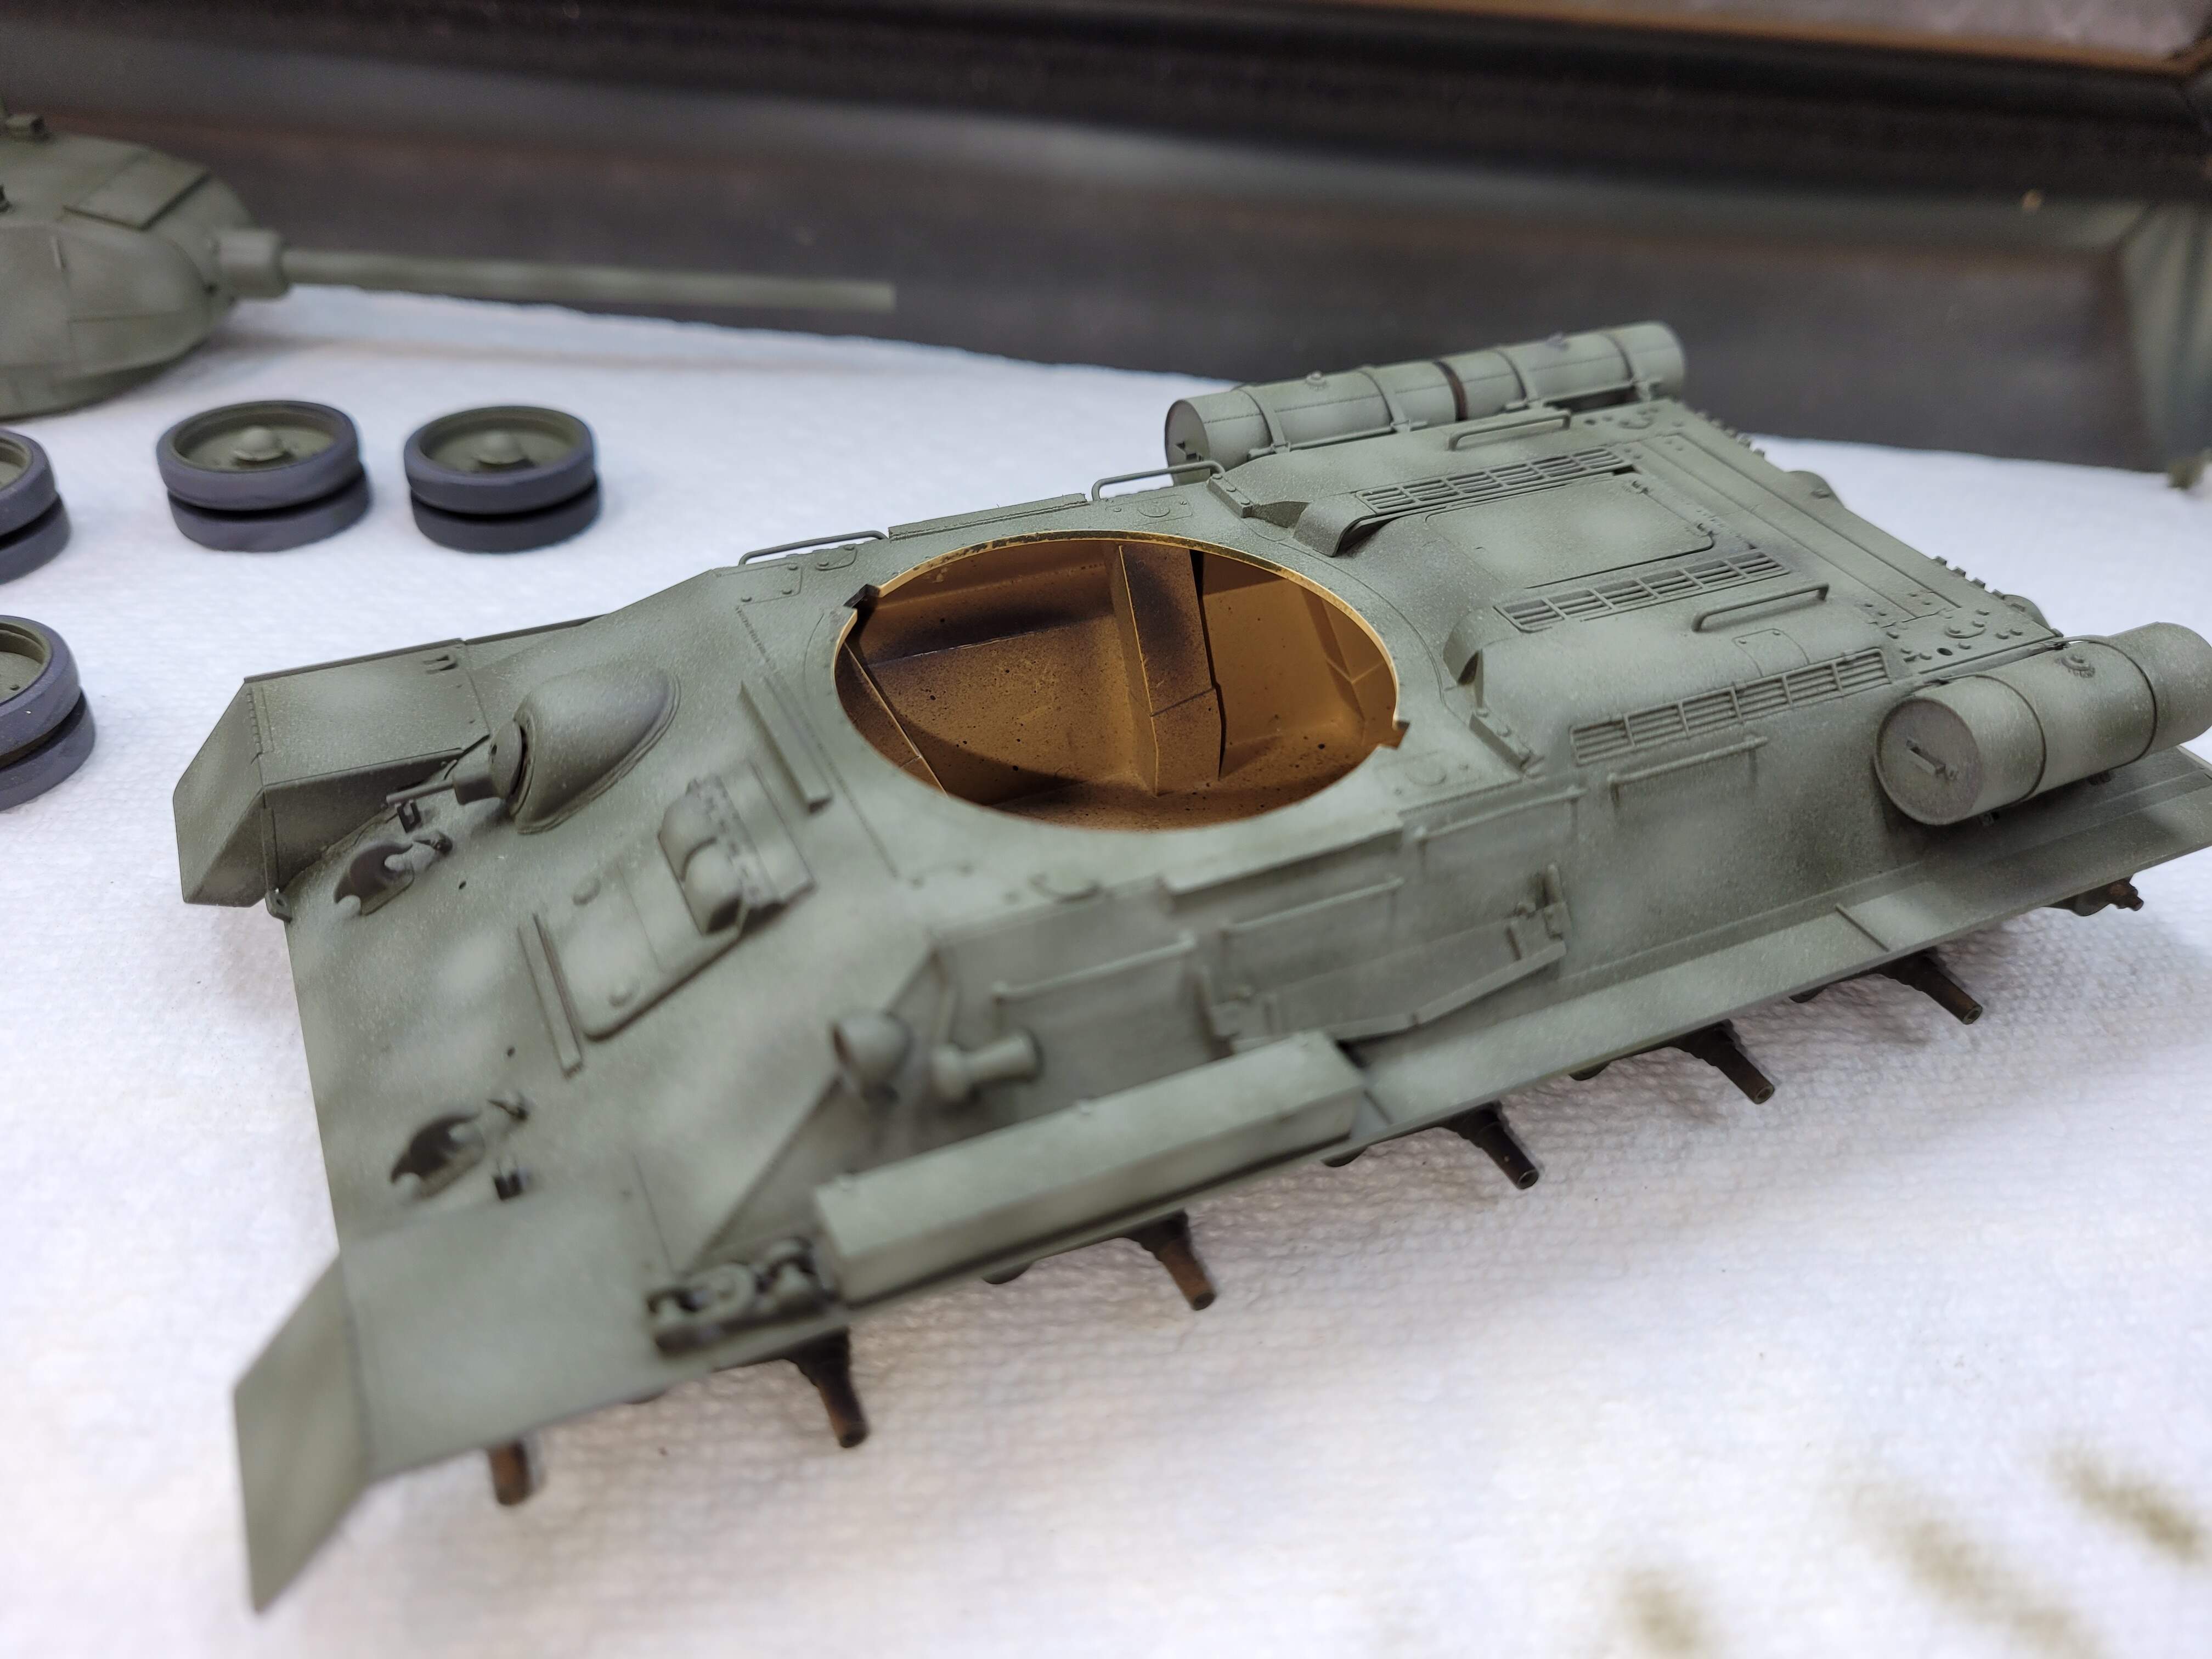
While the highlight looked sort of crappy on the wheels, it is what I want contrast wise. I like the result on the more open areas of the turret. Don’t forget to give the barrel some attention 
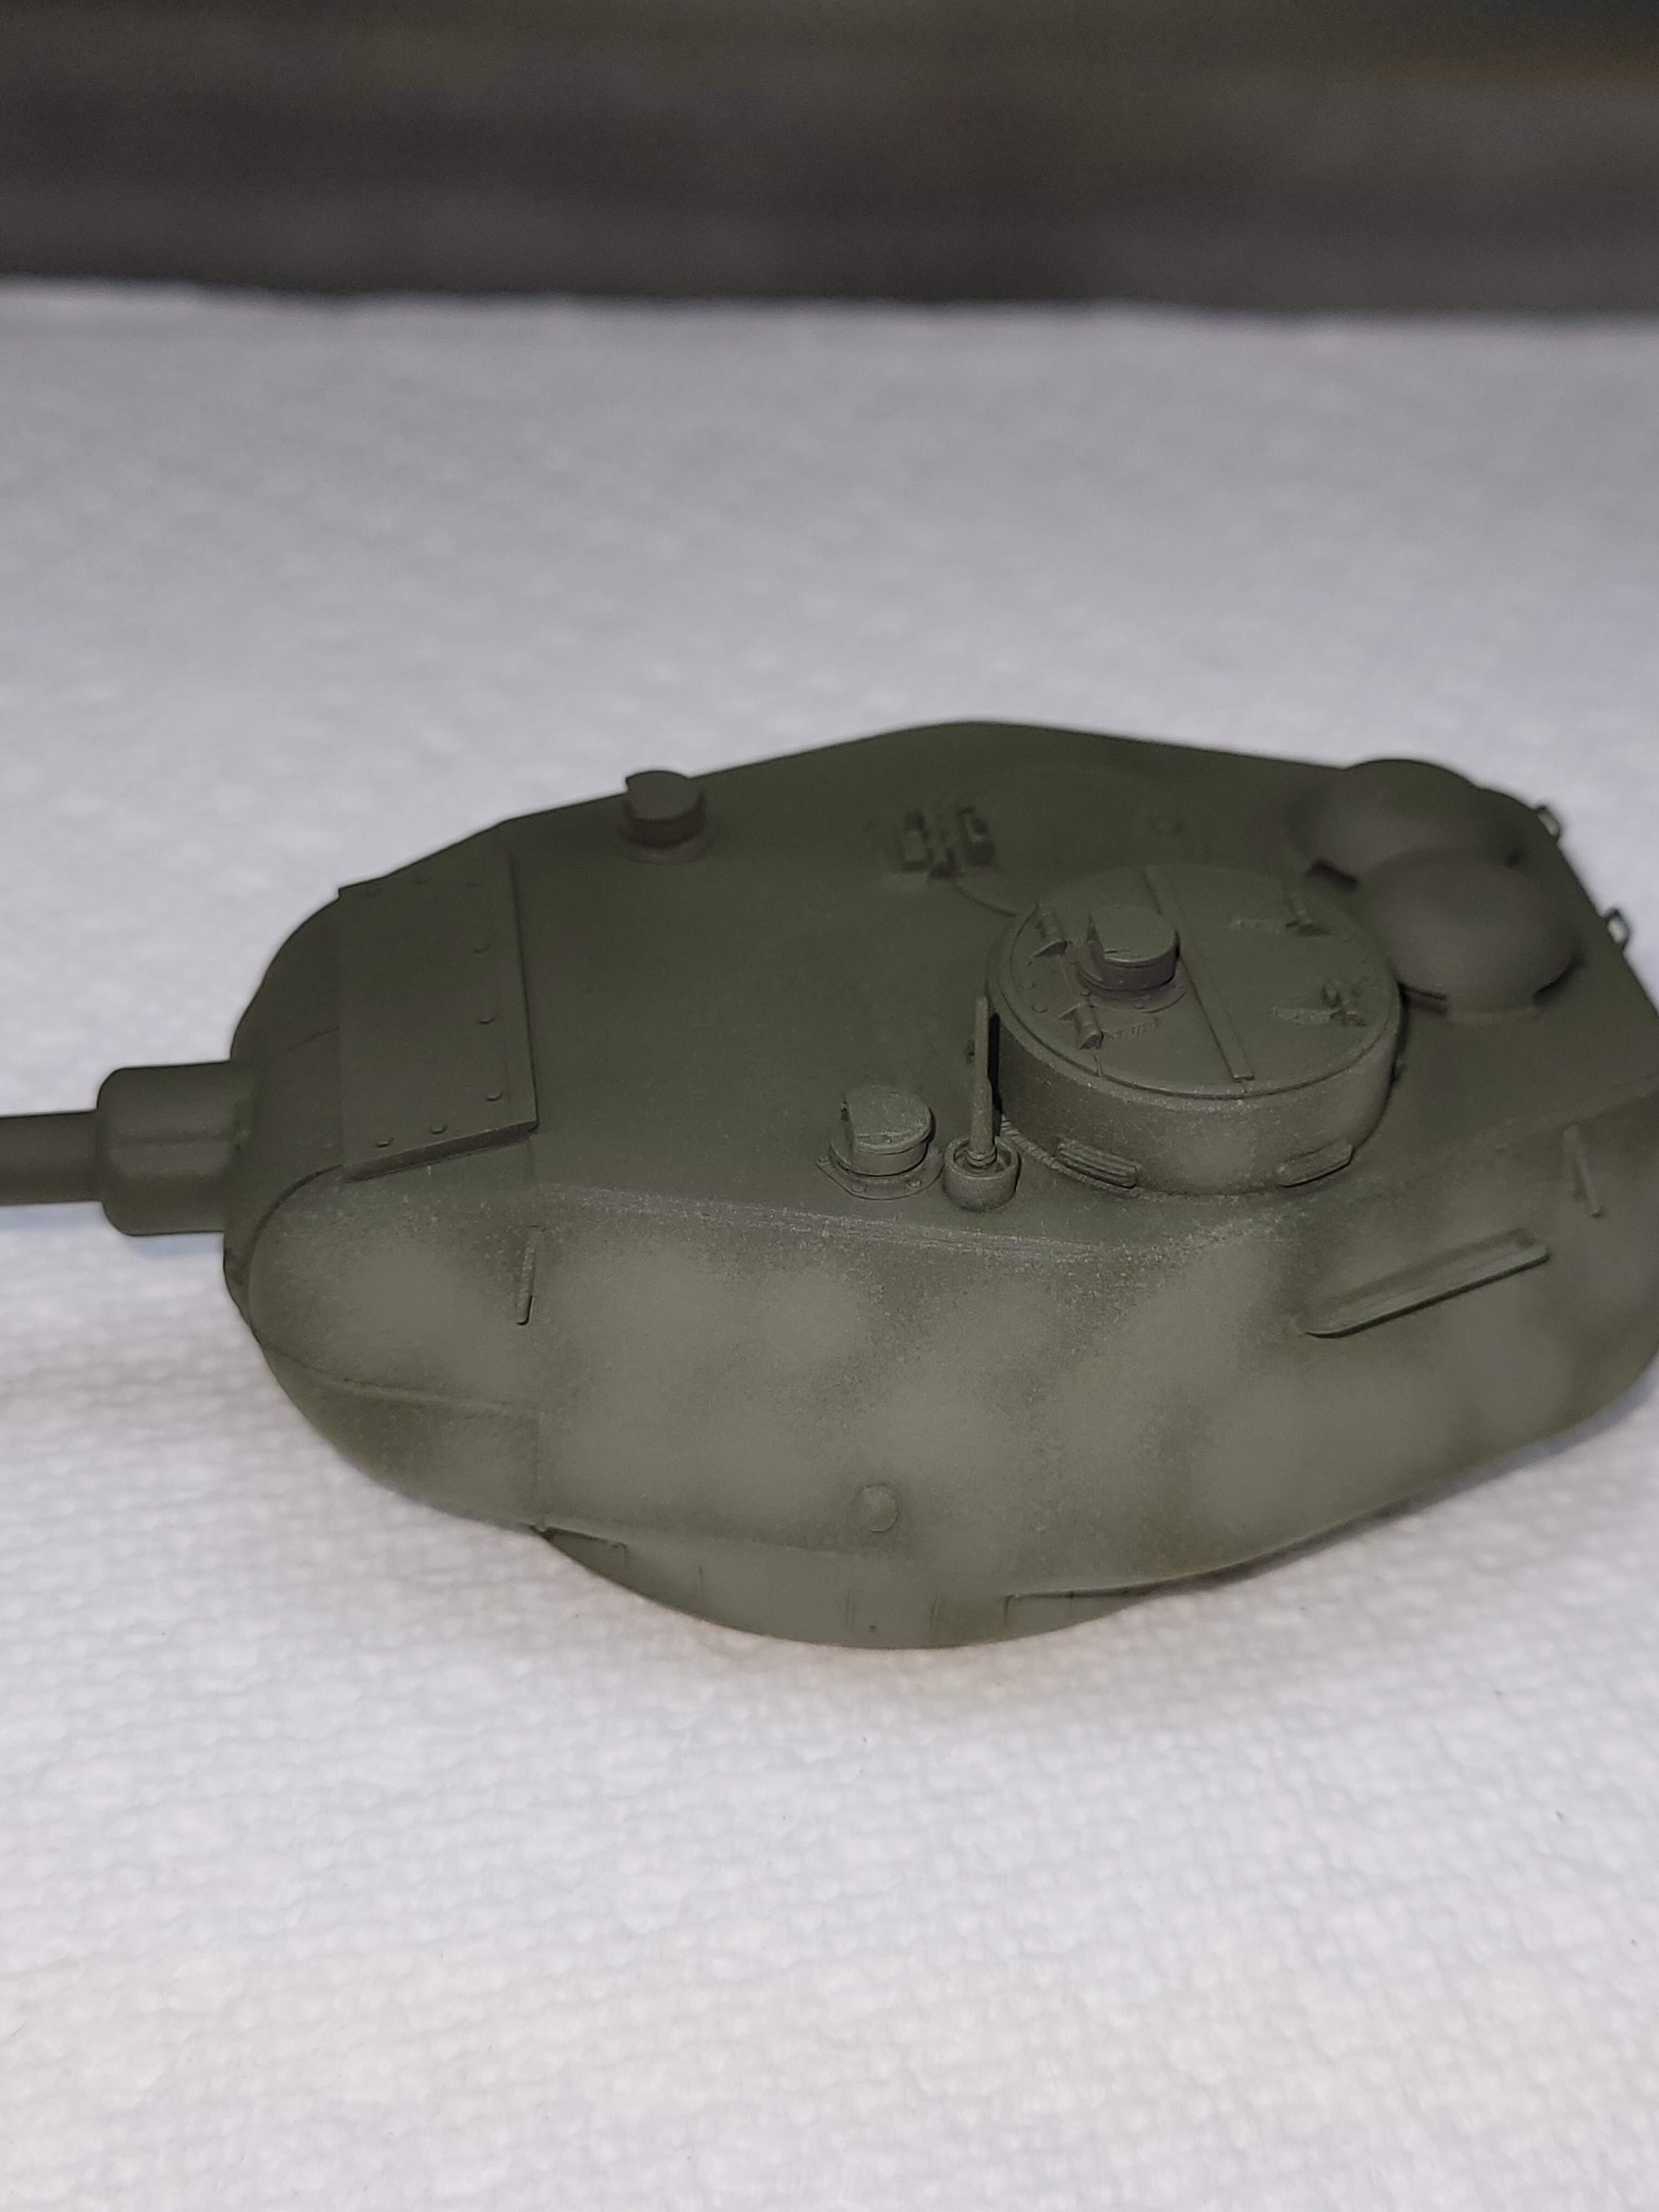
Result
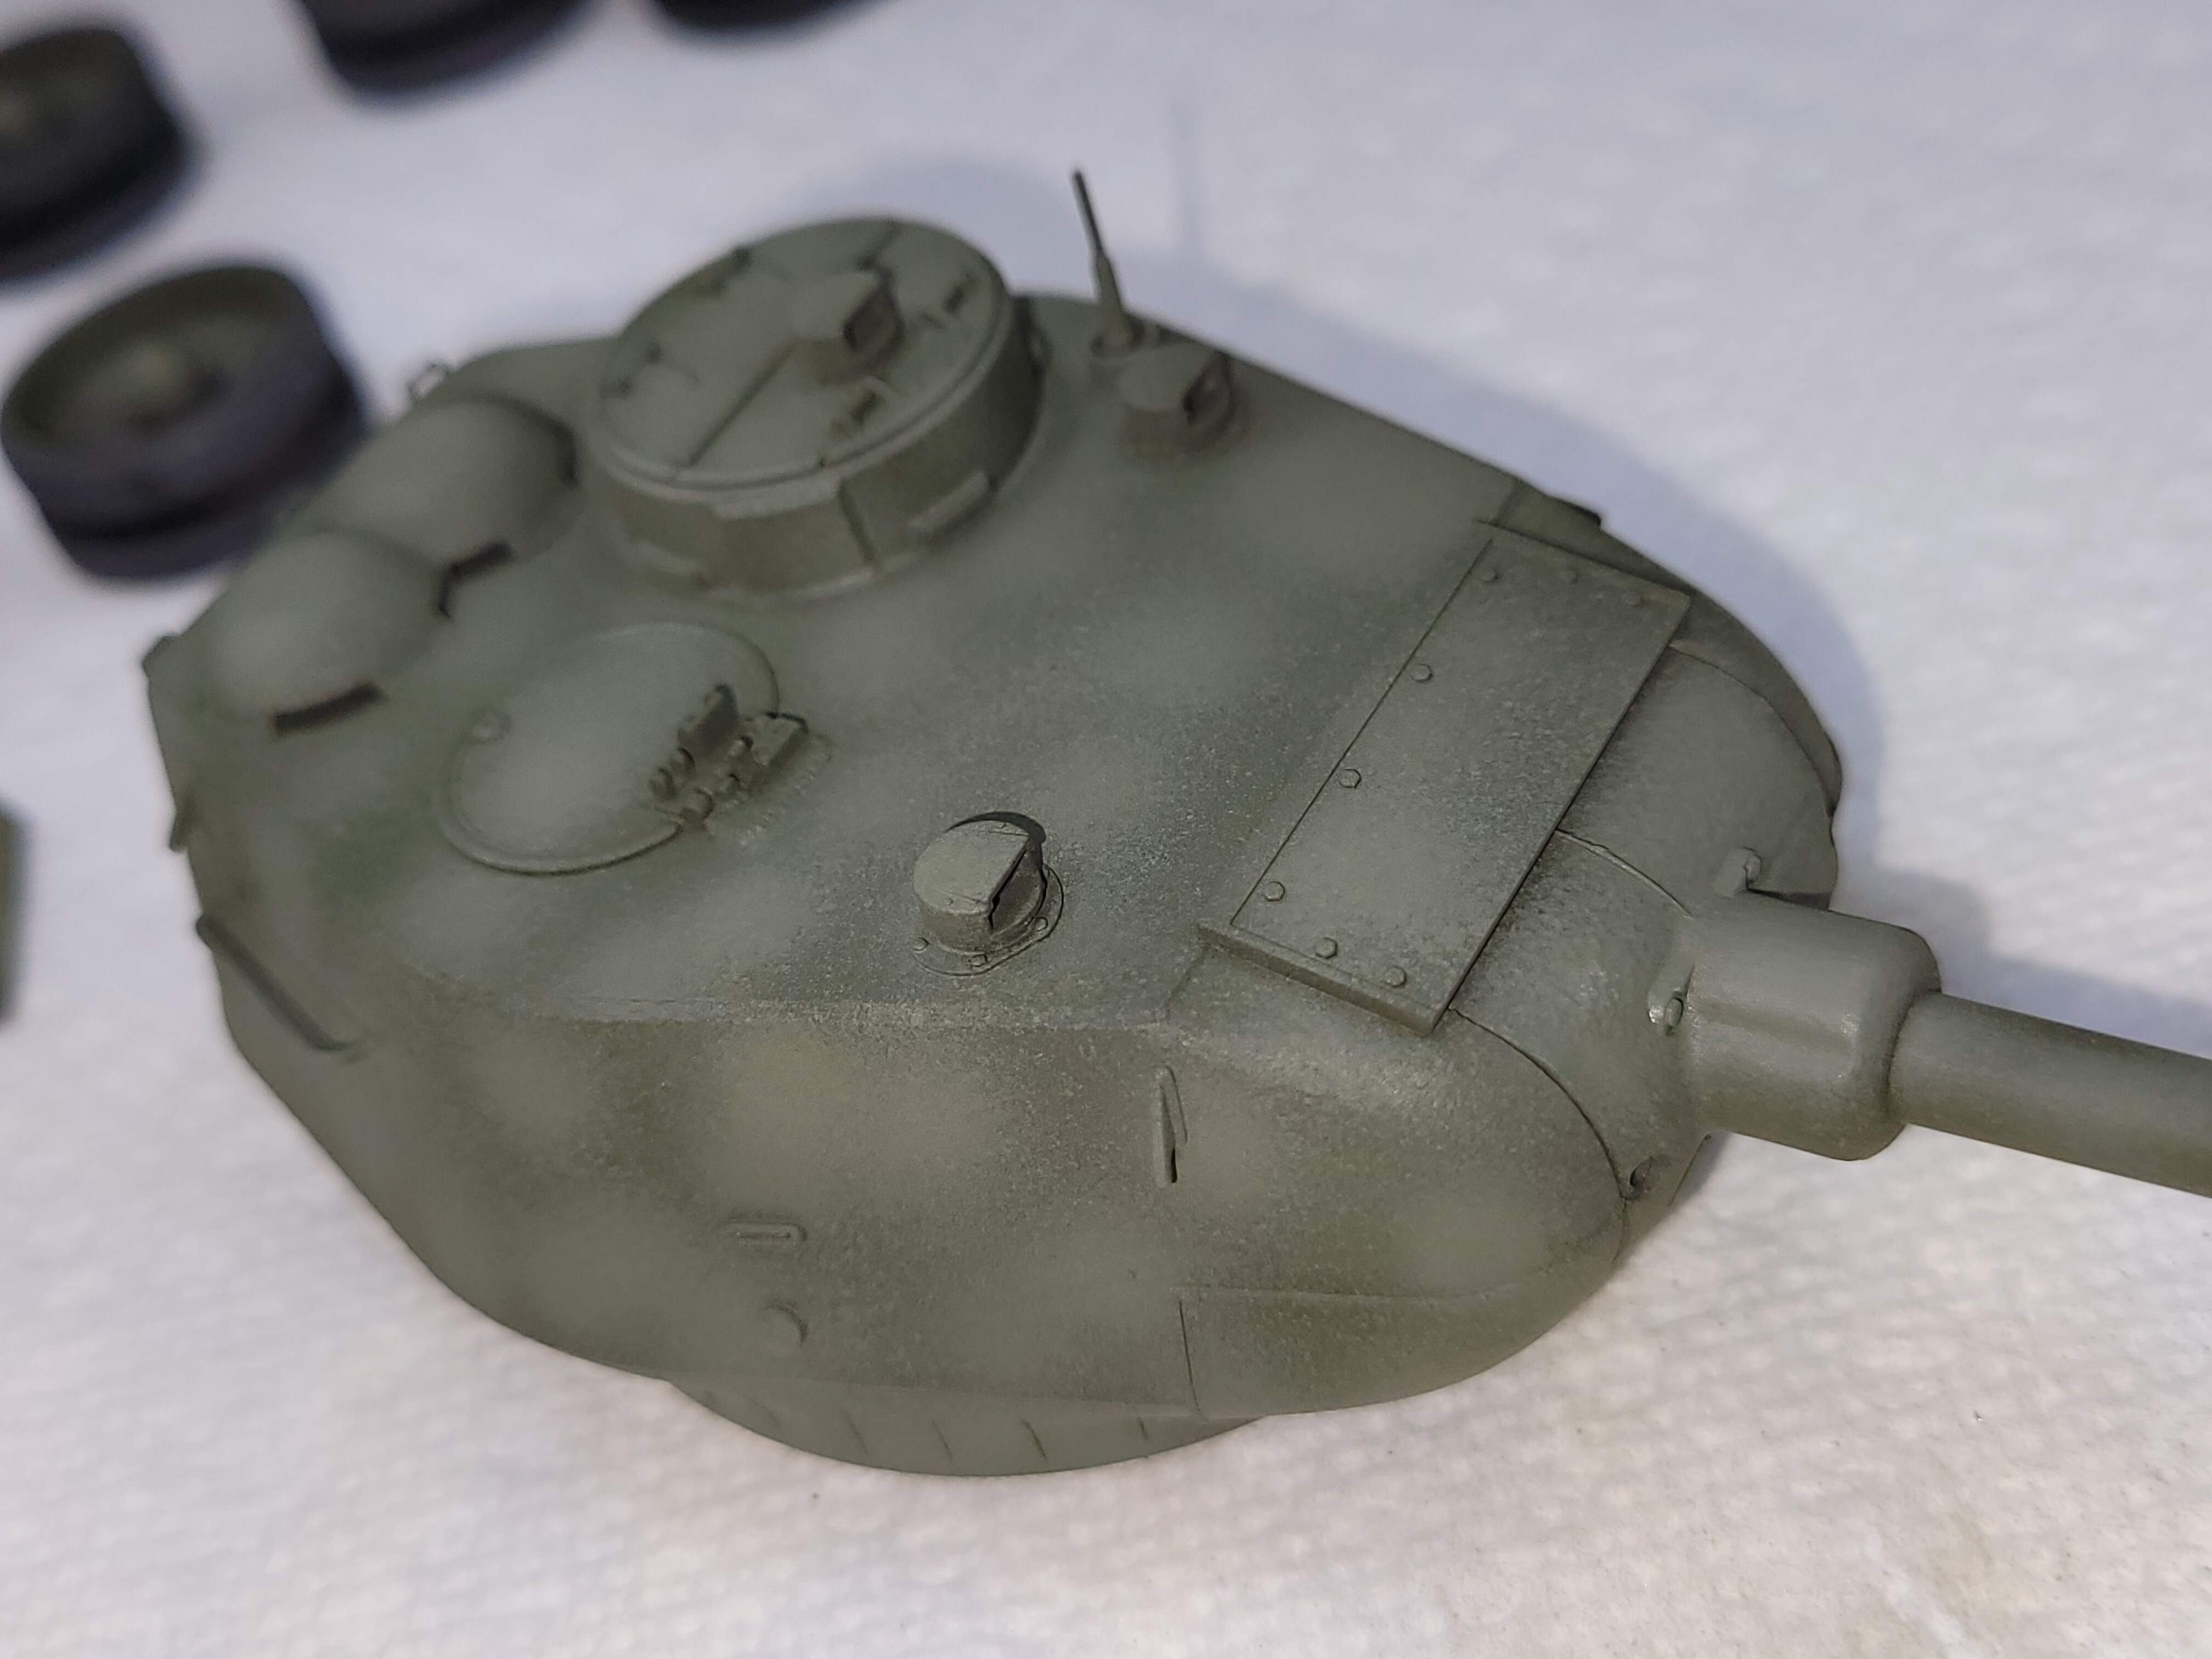
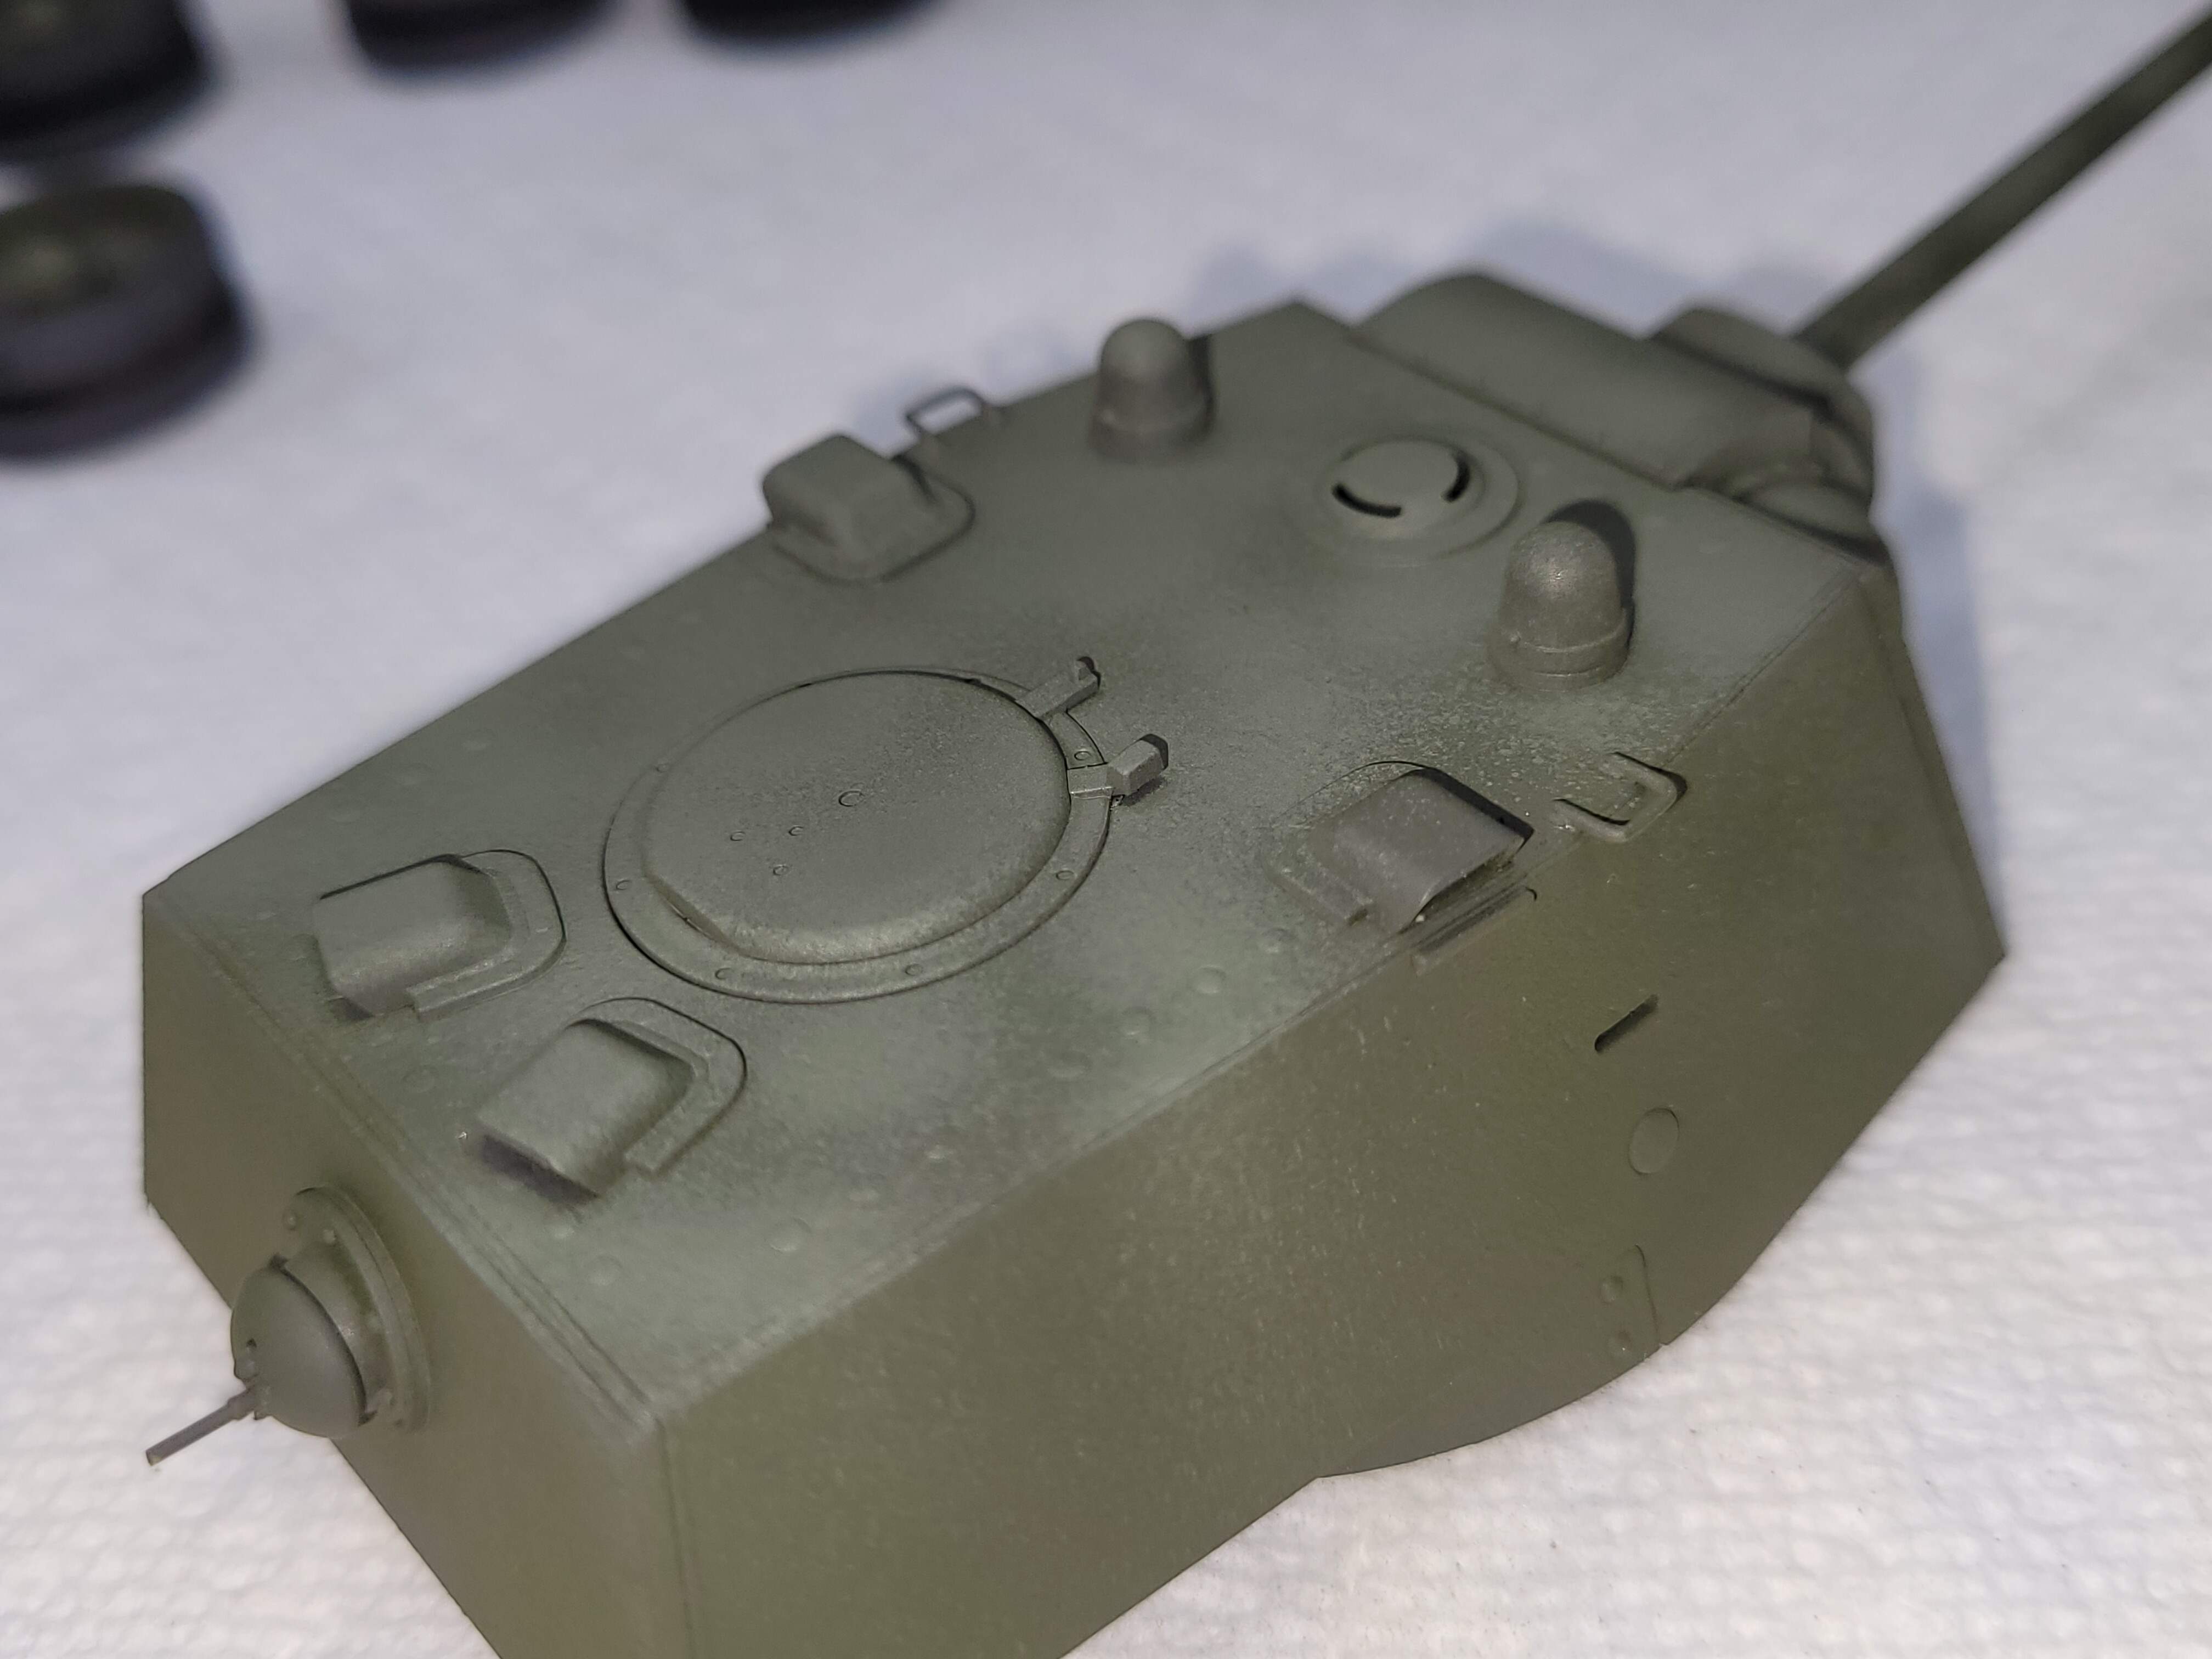
We have another stage of highlight to do on the turret but I want this to dry so moving to the hull.
Basically will follow the same procedure as above. During taking pictures of the hull with phone in one hand, model in one hand, holding airbrush by handle between teeth, I FUMBLED
…it looked sort of like that
according to Kali Kat…
So anyway paint spilled and more was mixed 

Same procedure of Spot & Dot as mentioned above.
On a tank with fuel drums, I always try to shoot a little extra paint under the drum at ends & middle. As tight as the drums fit care is needed to ensure no unpainted plastic is left exposed.
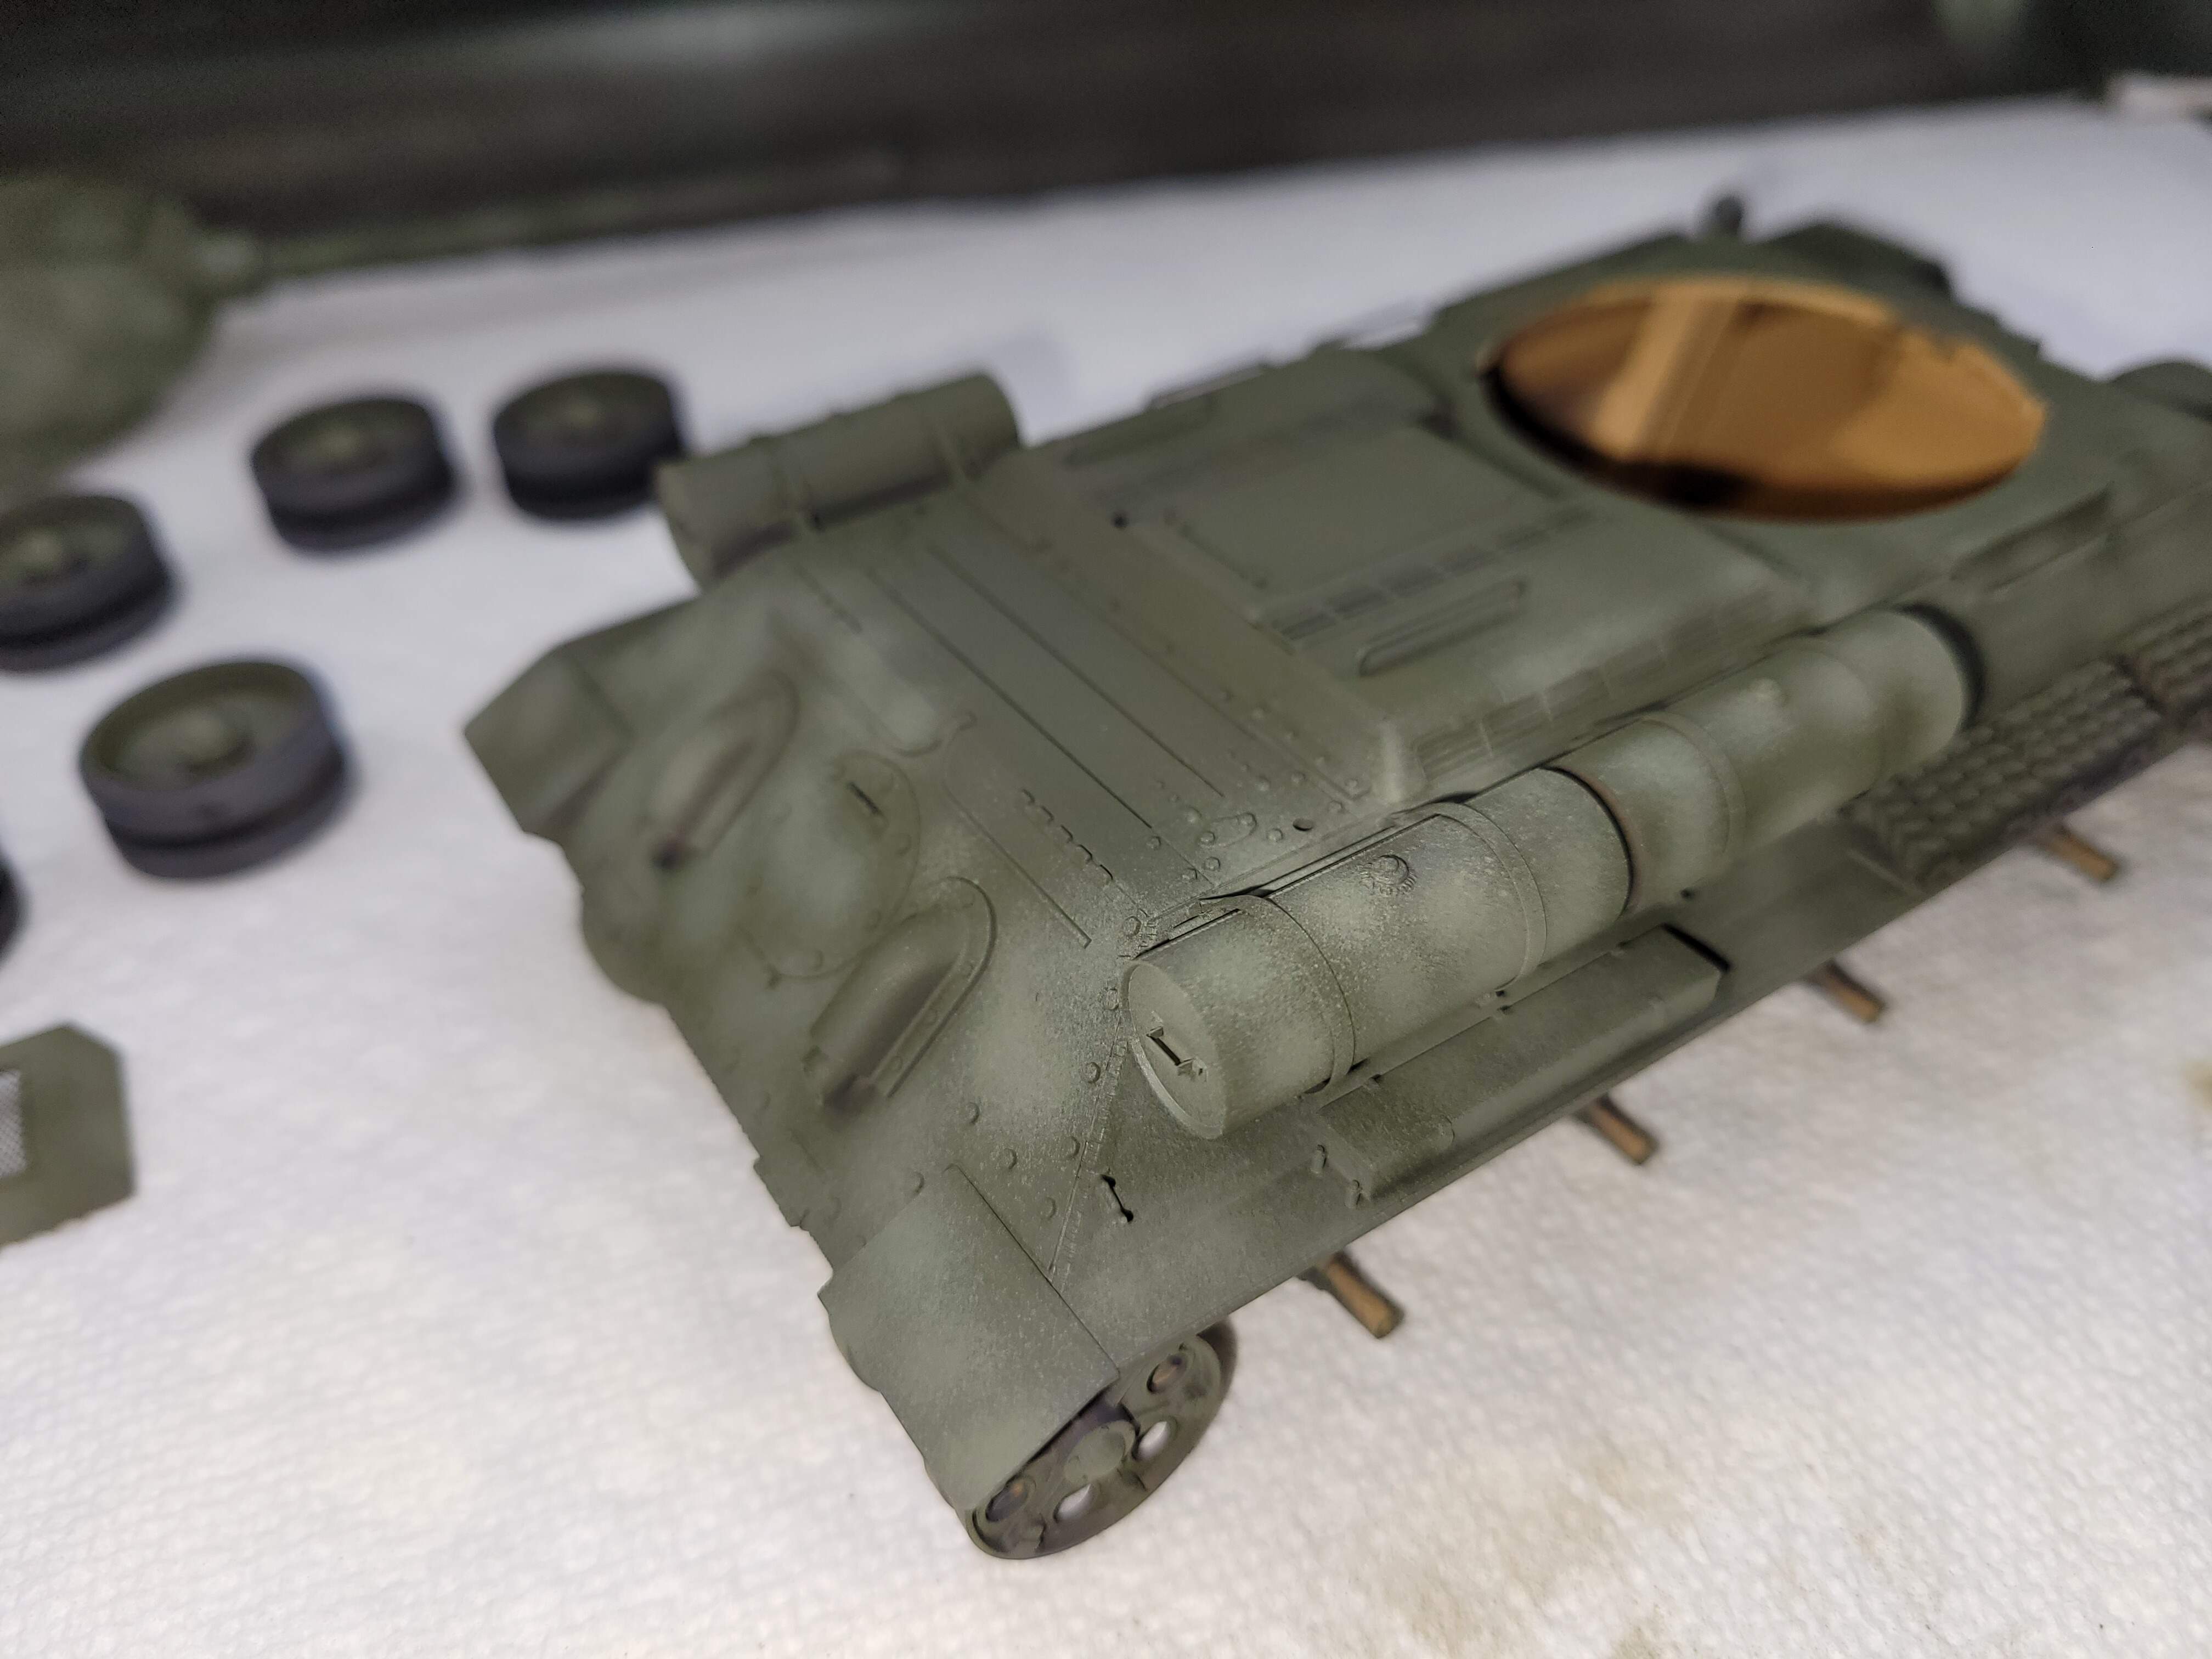
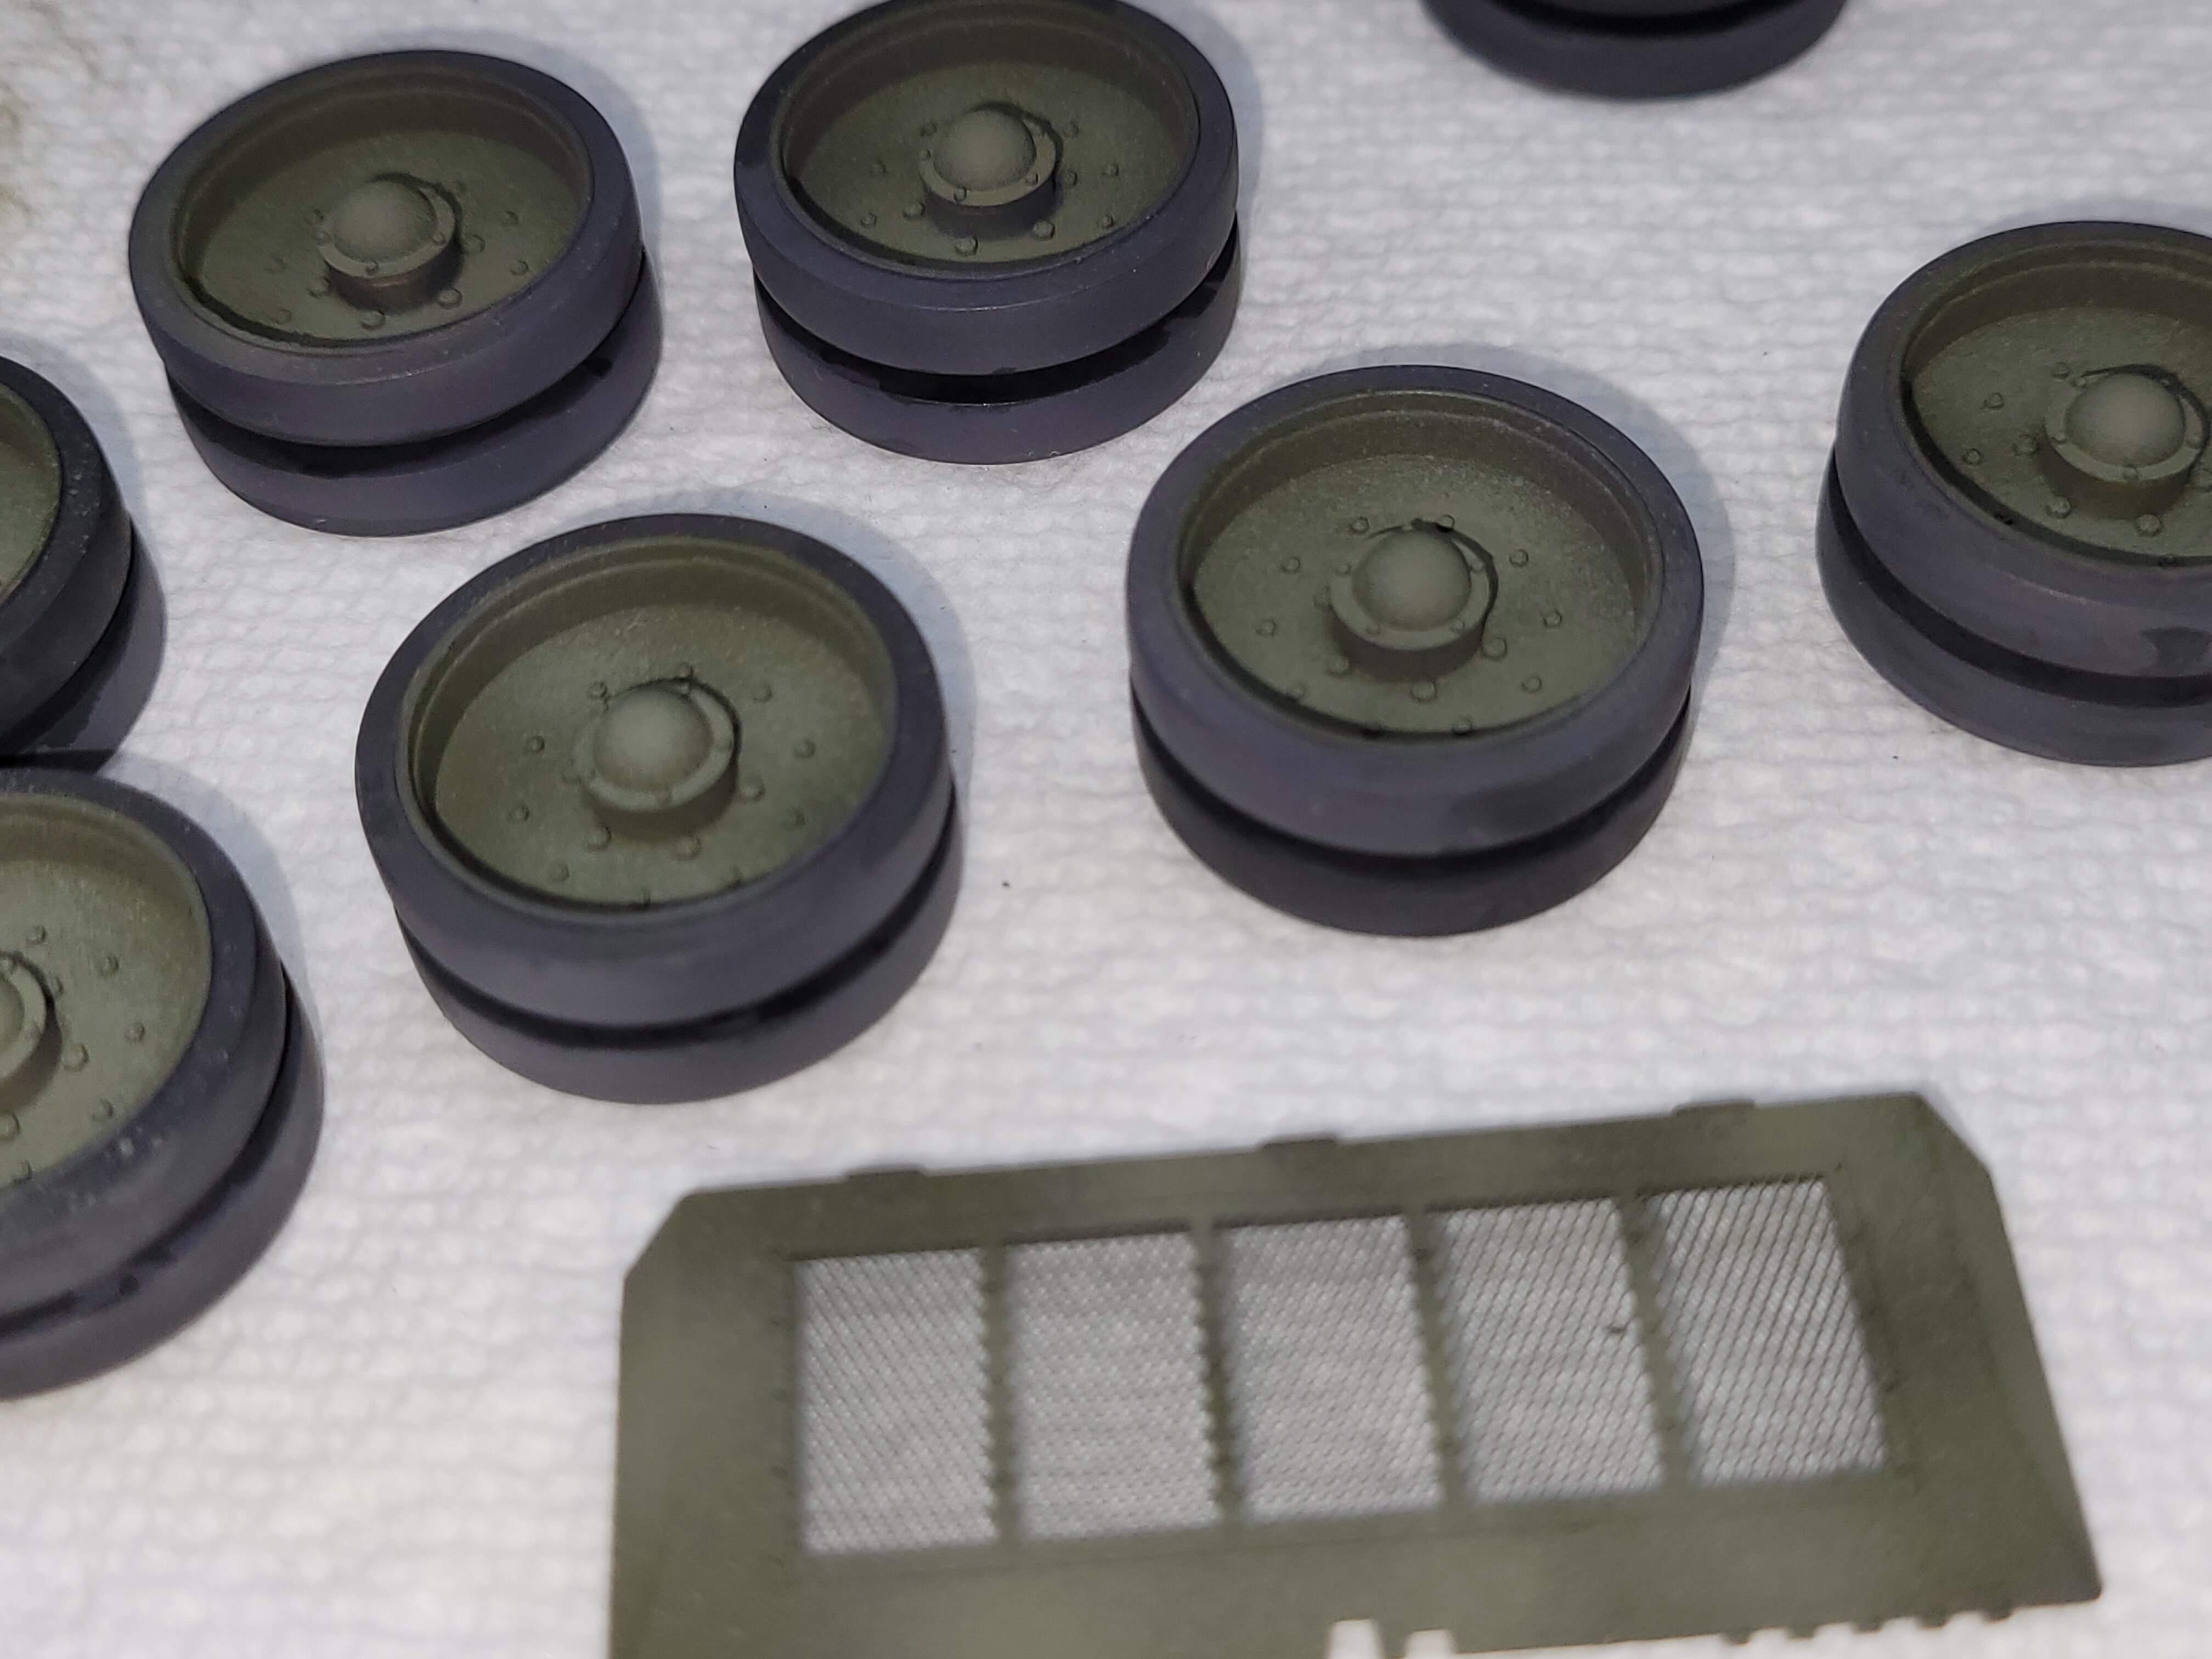
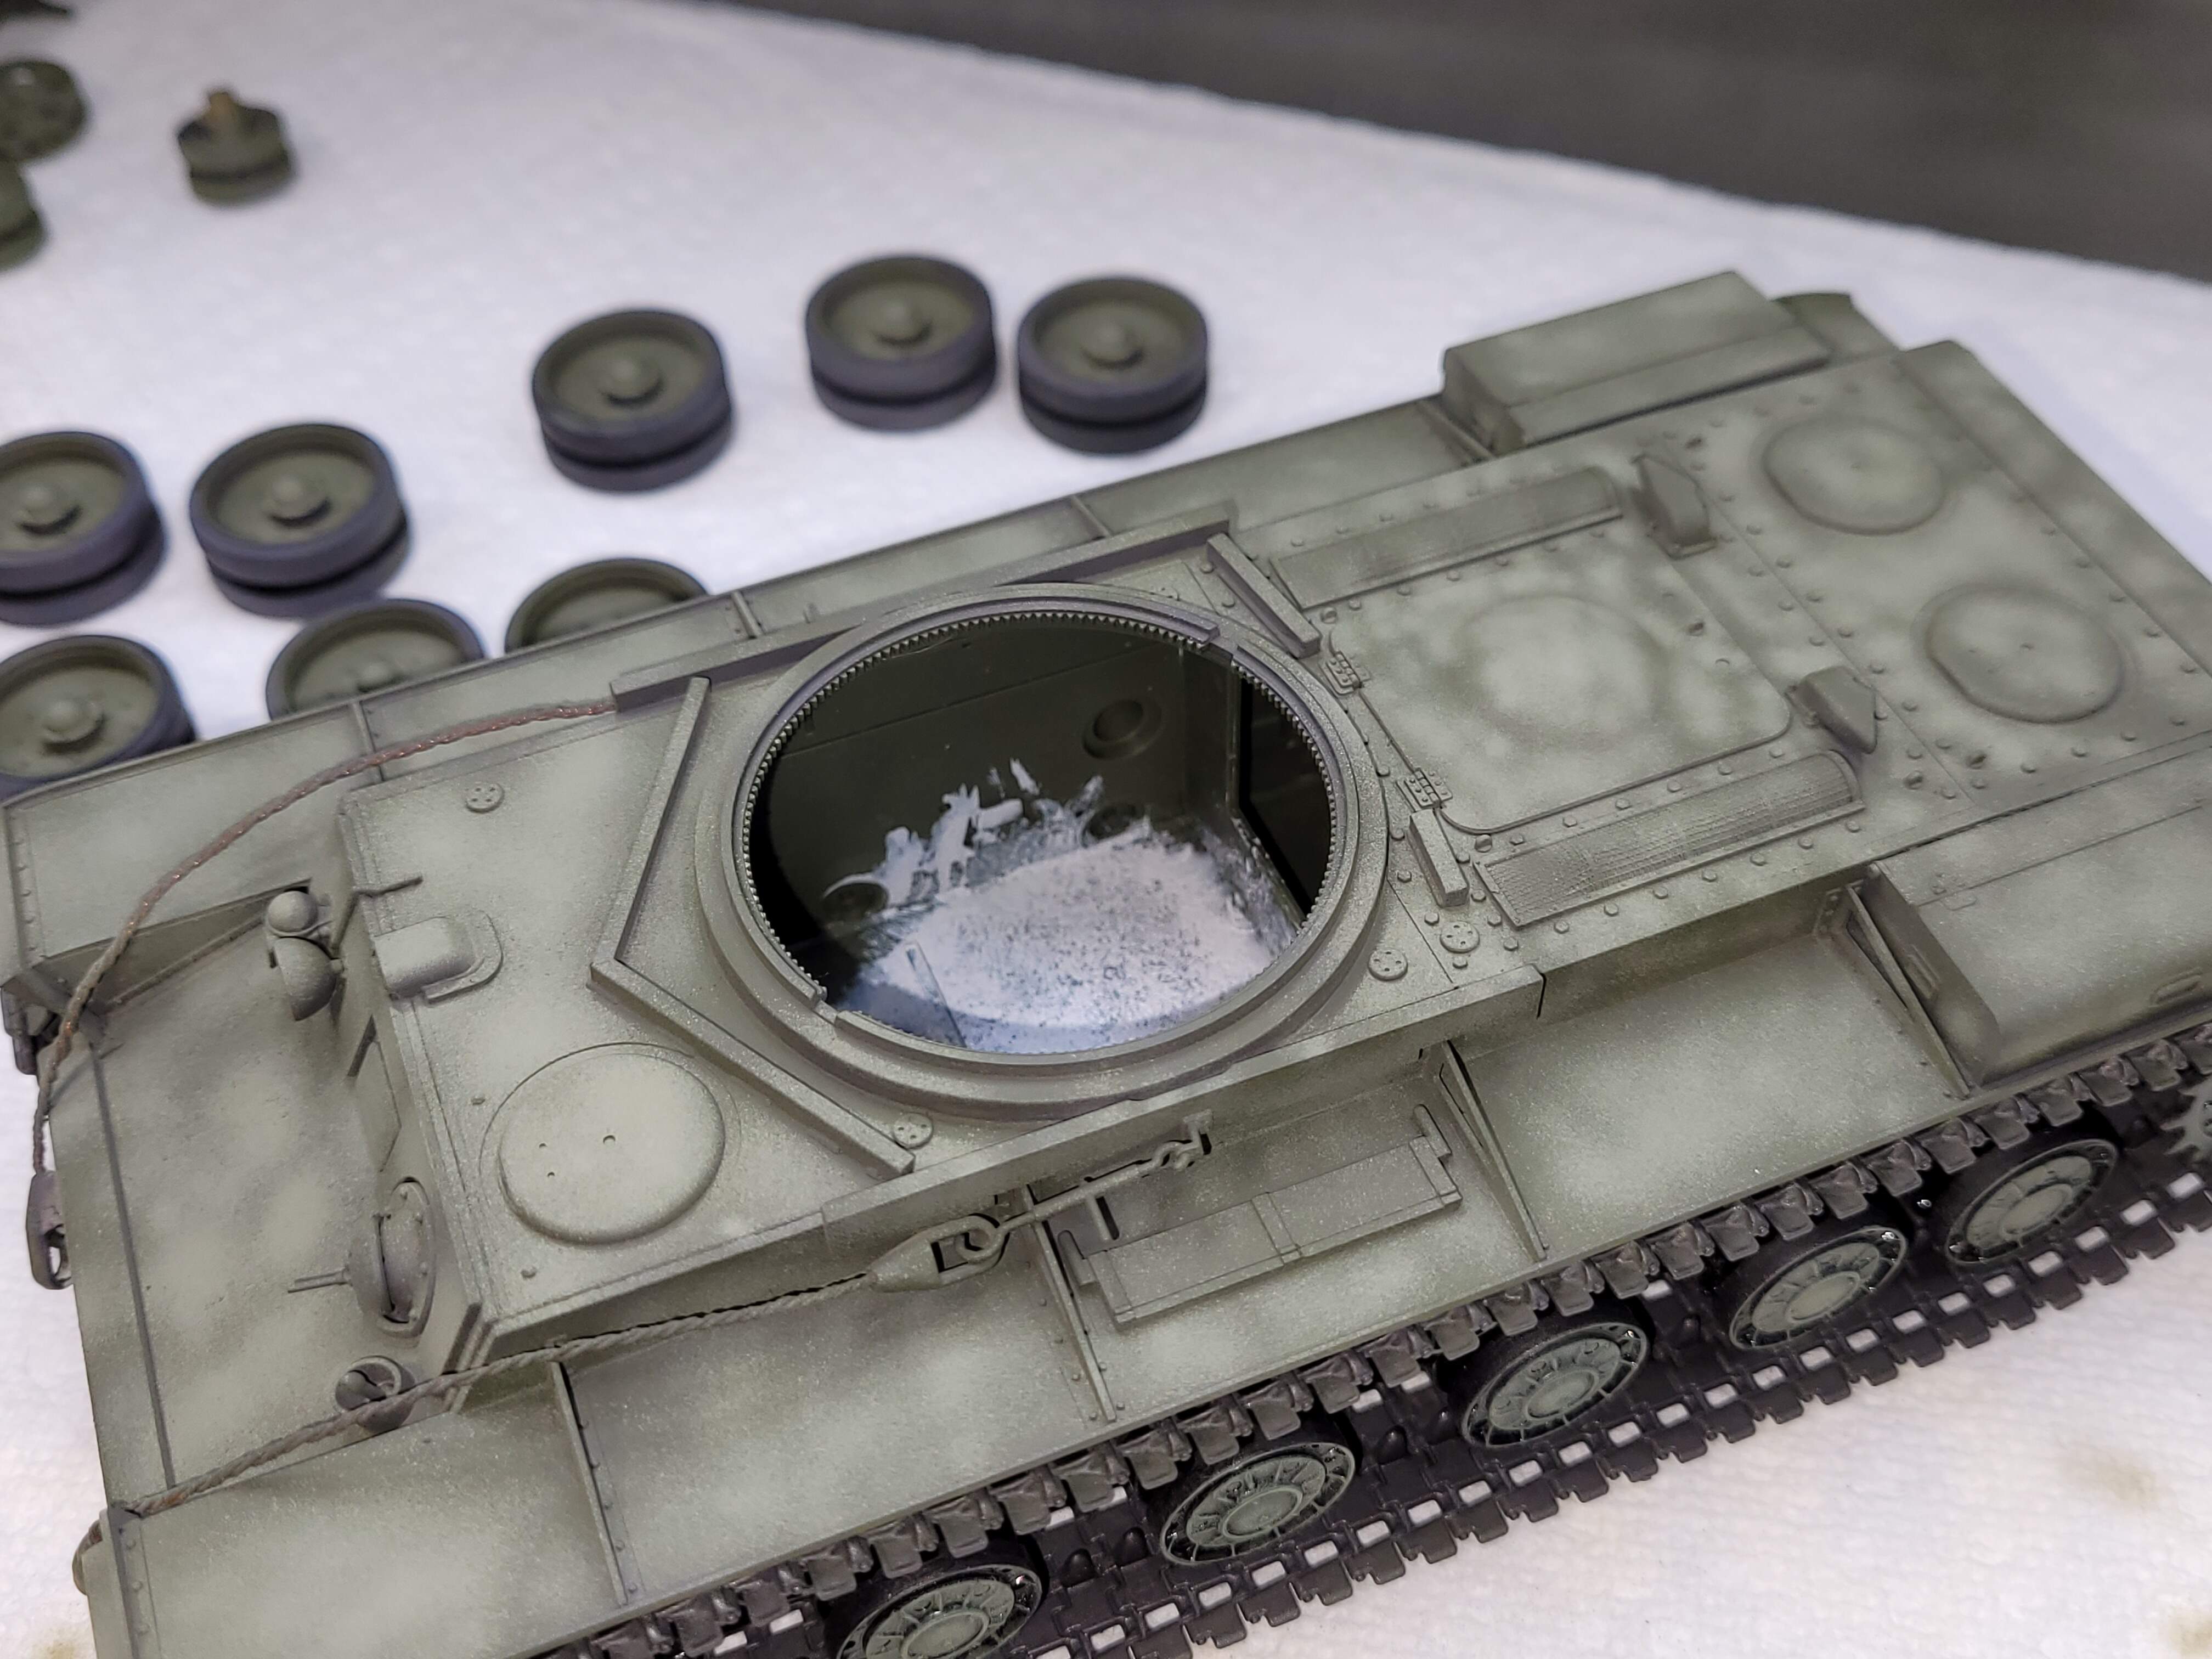
Turret & rear cover laying on hull to given idea if result.
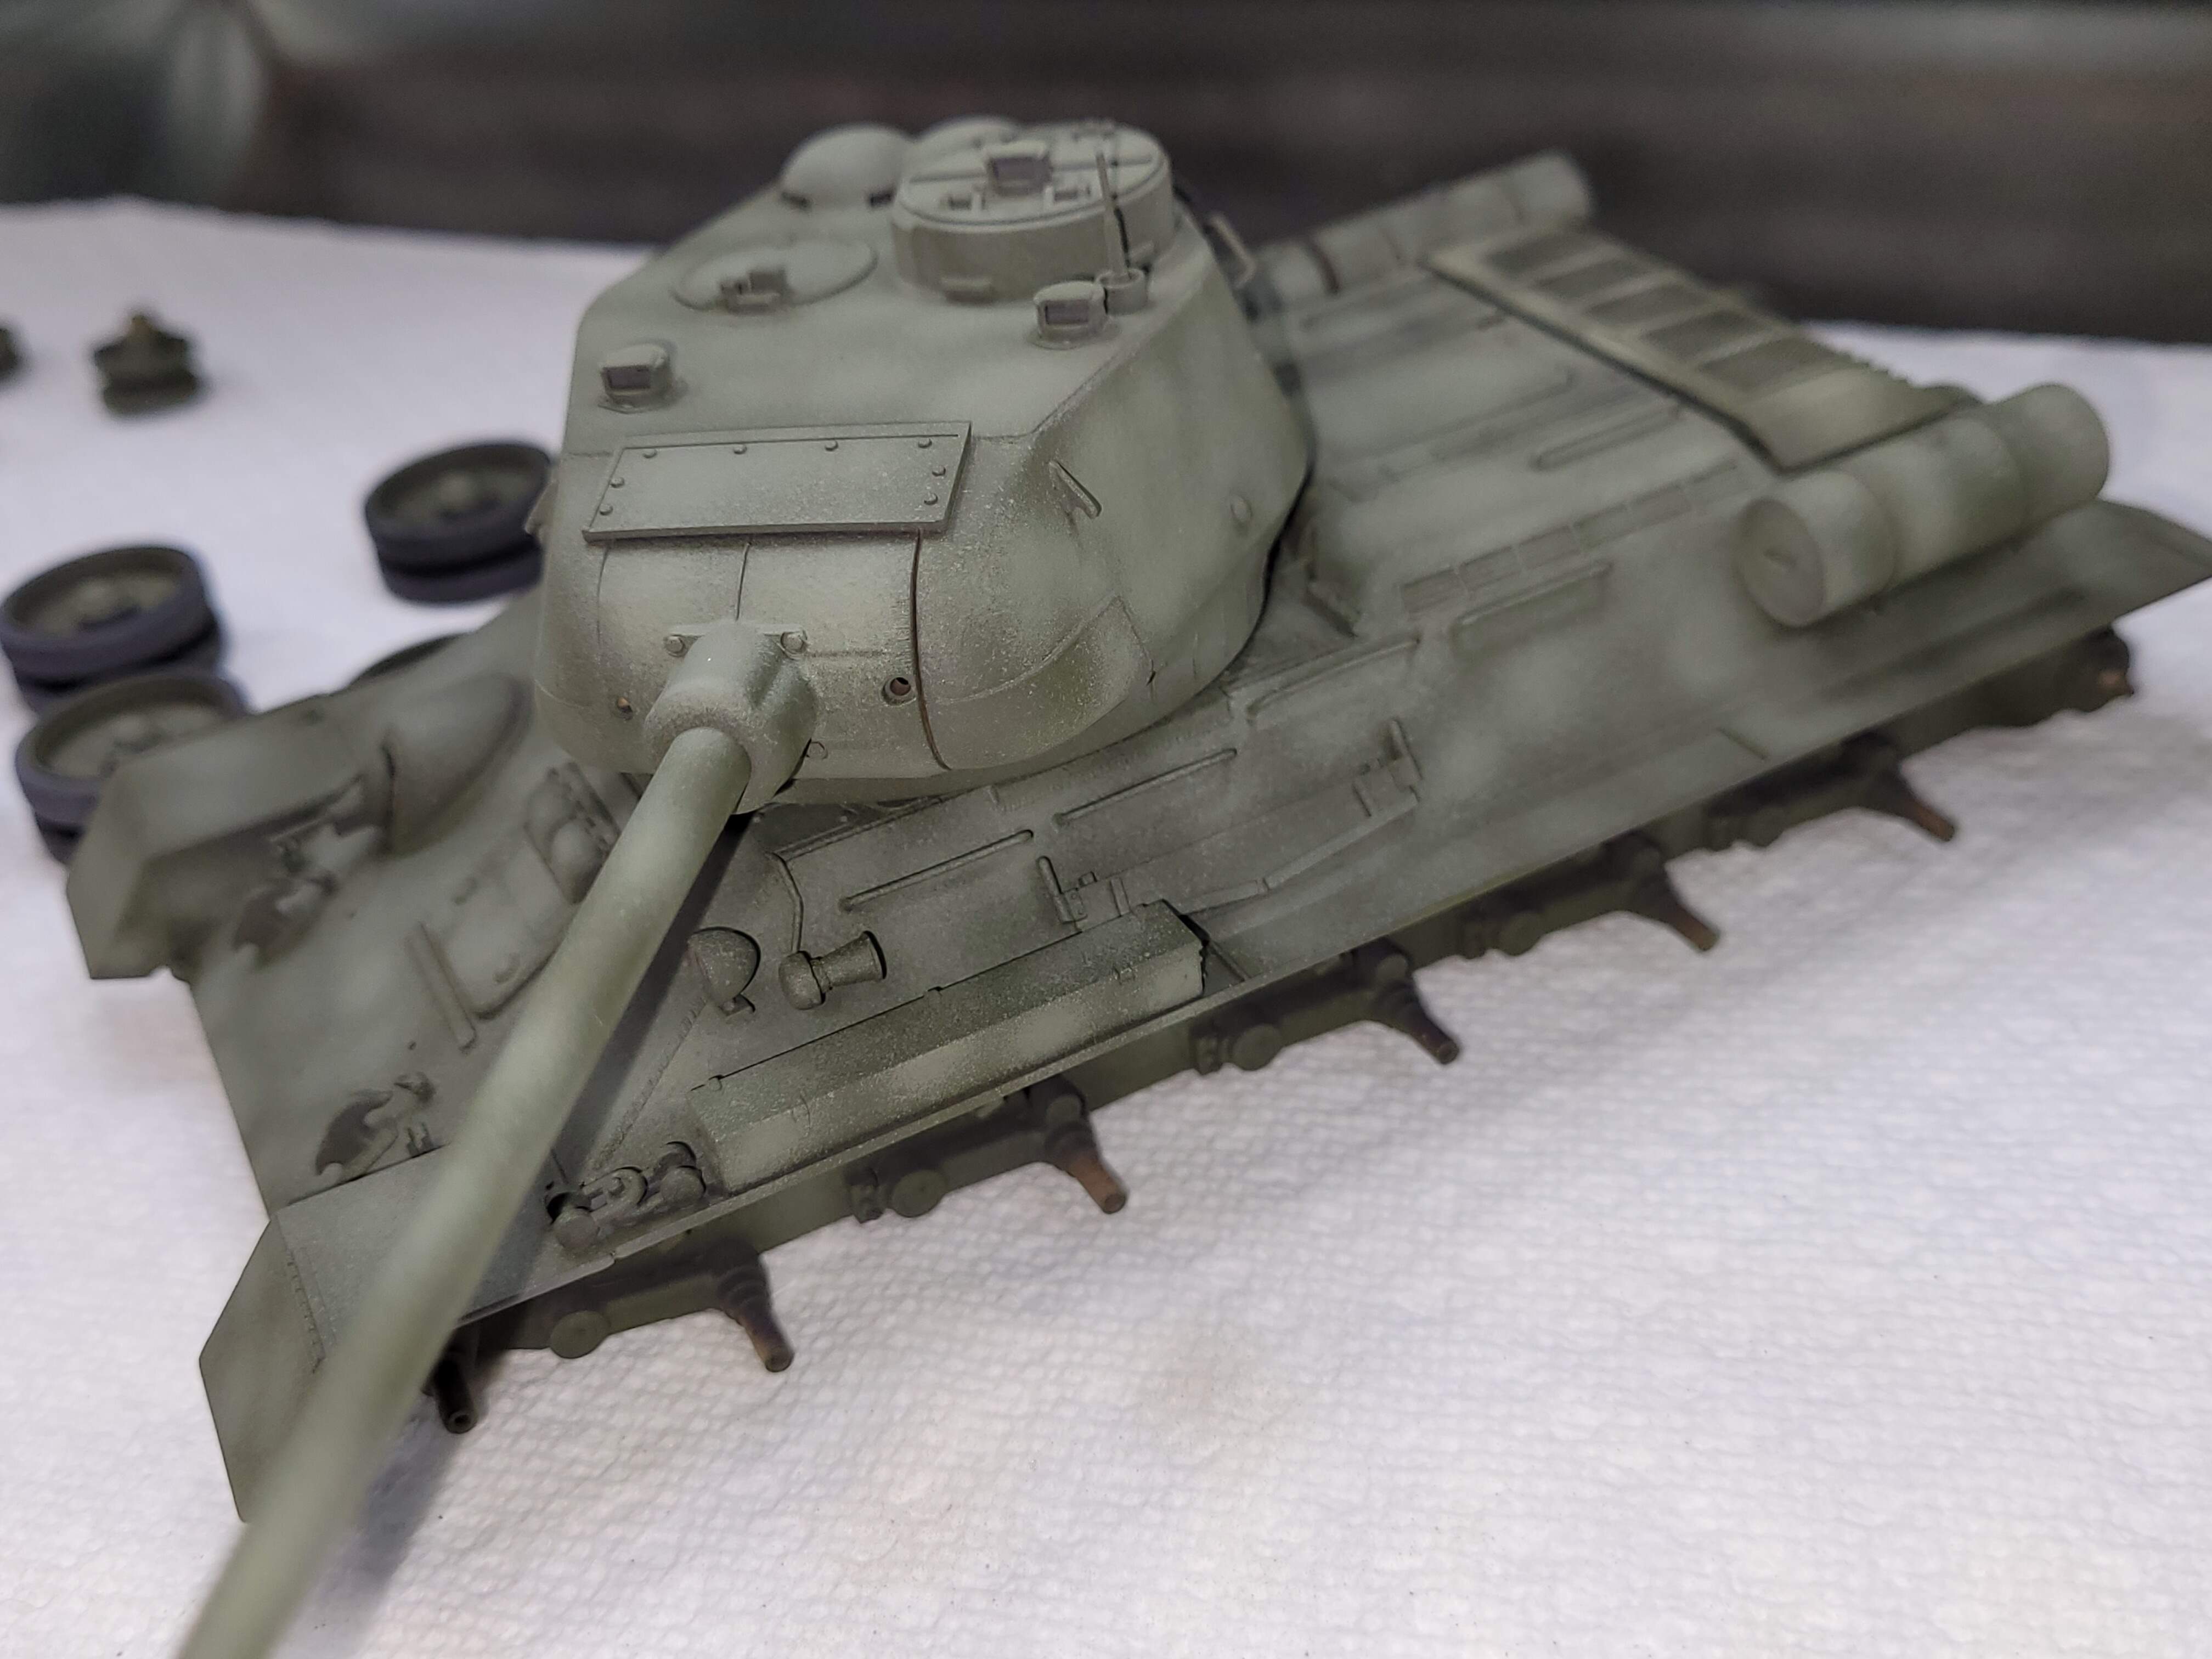
I think one more round of highlight will benefit the T-34-85.
5 Likes
@camshaft Cam, the Floquil black colors definitely rock! That’s great info on Zylene. Thank you for sharing it.
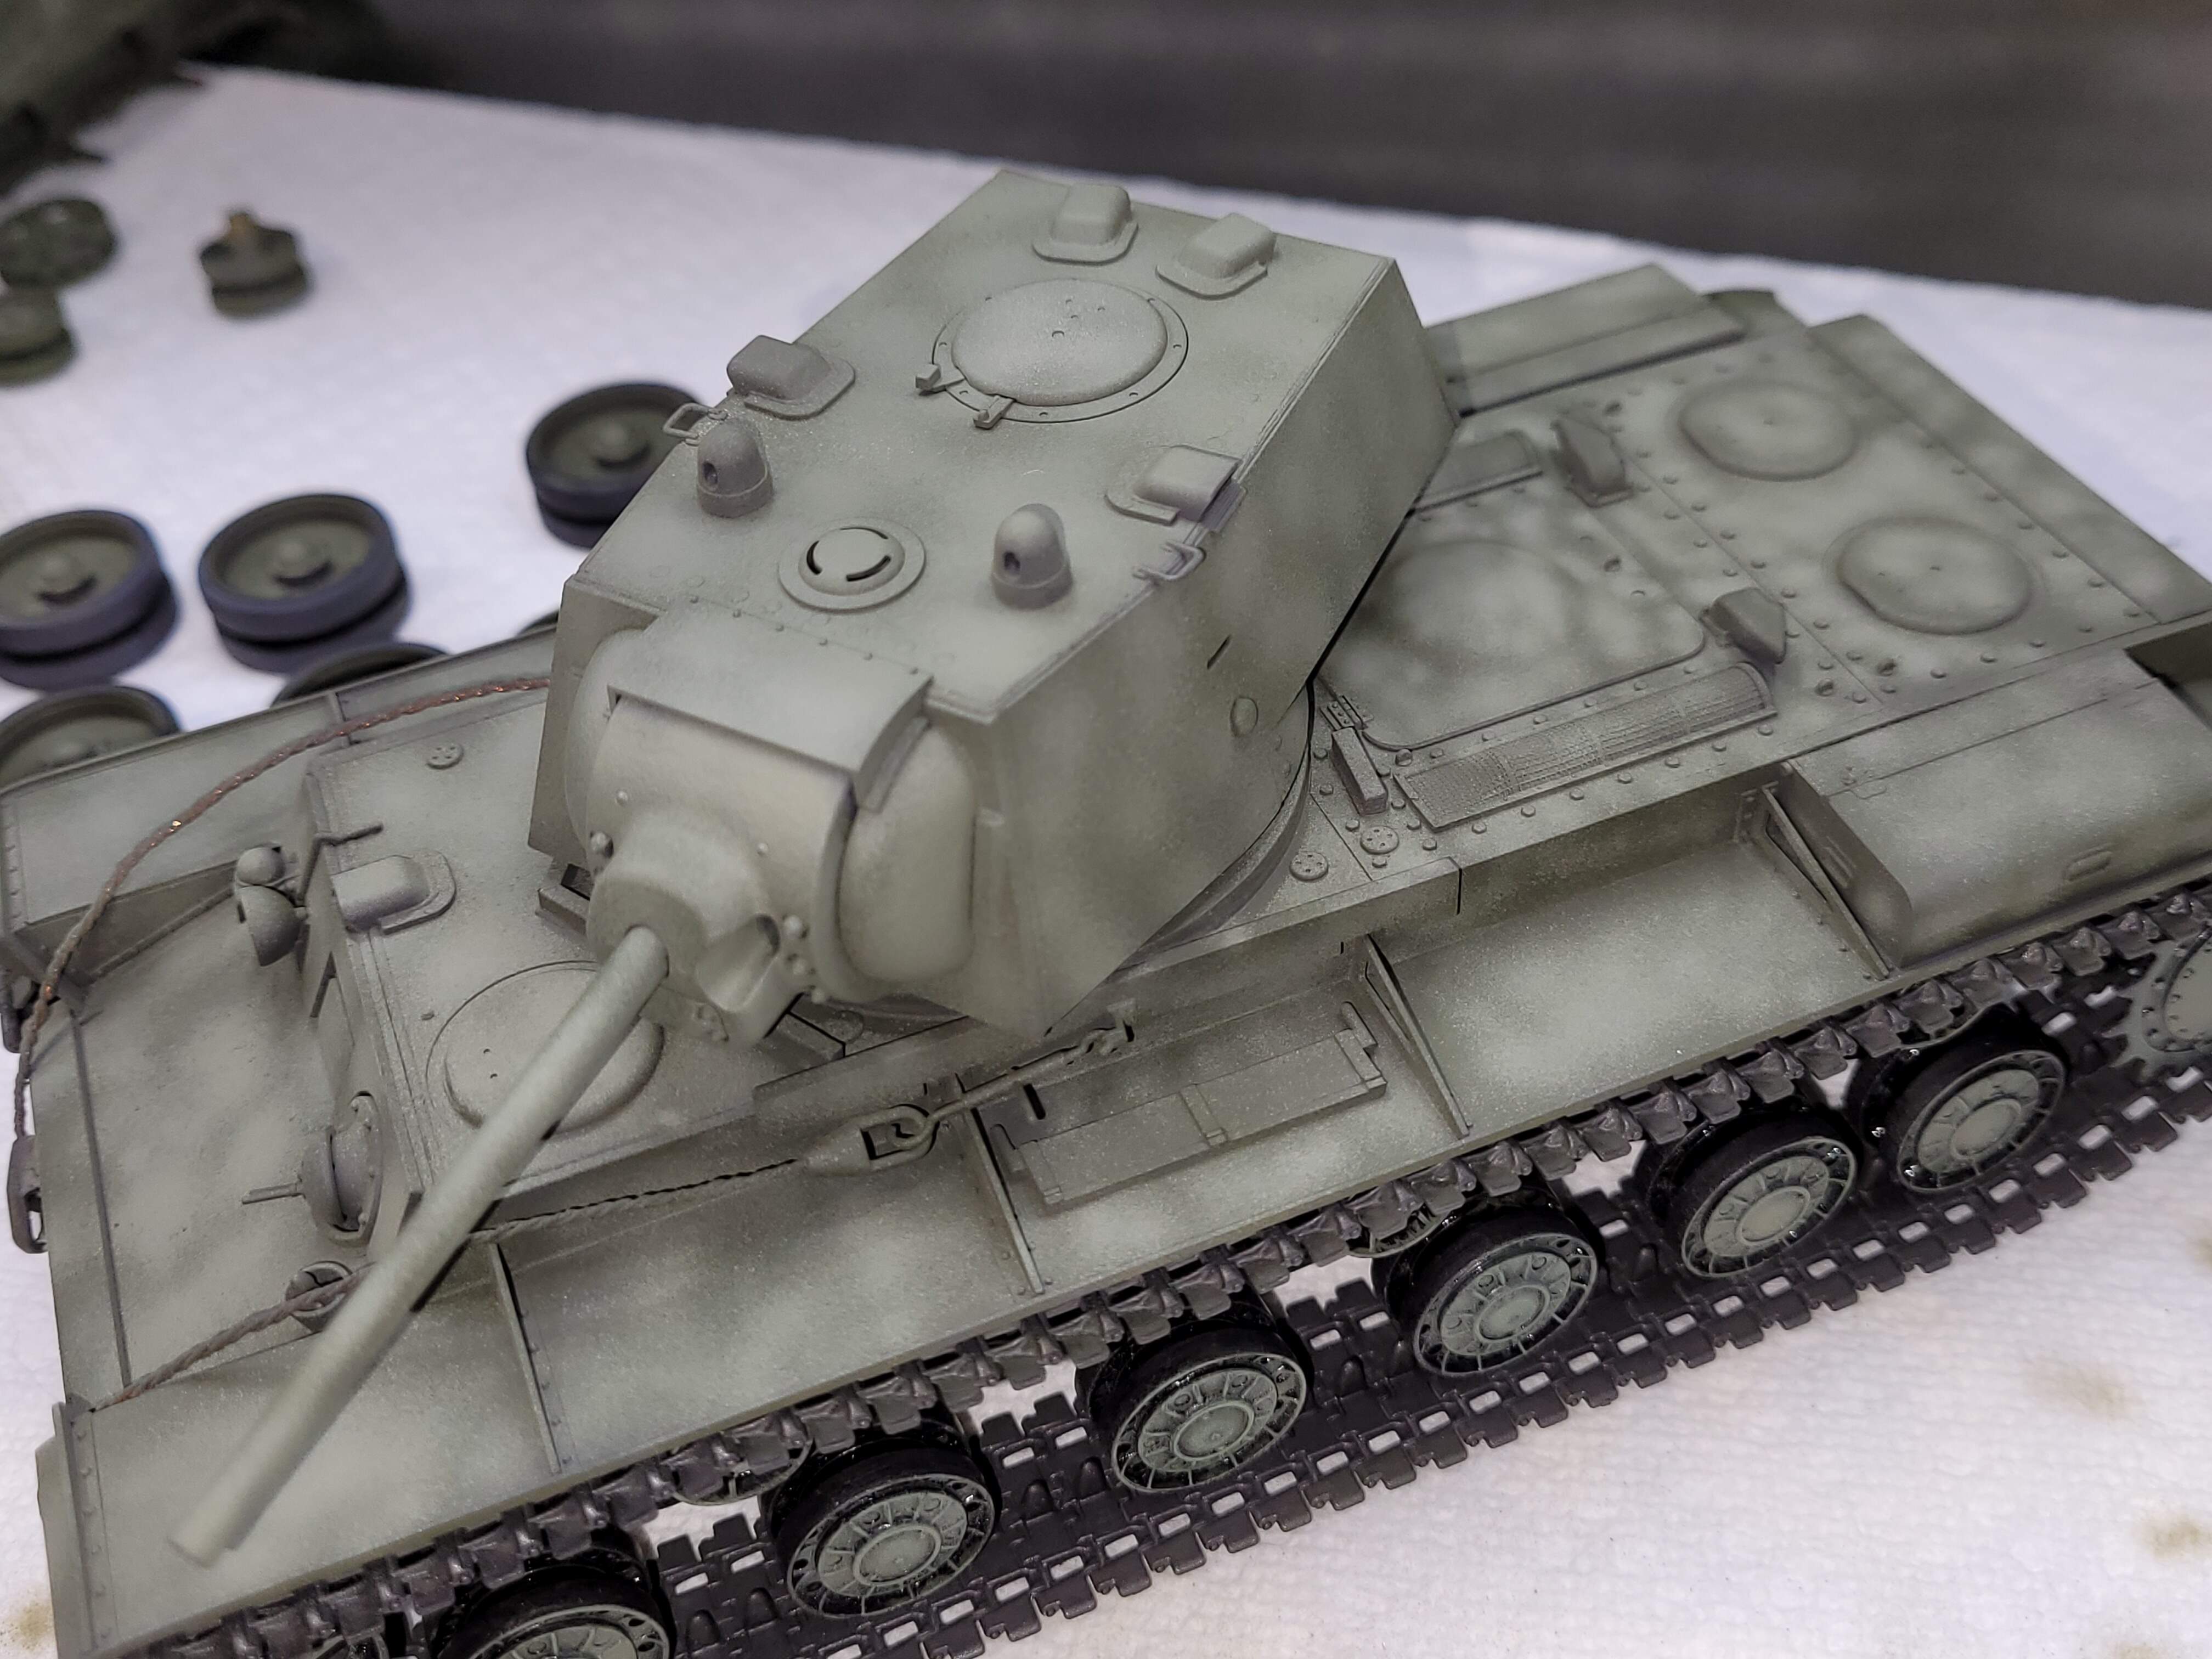
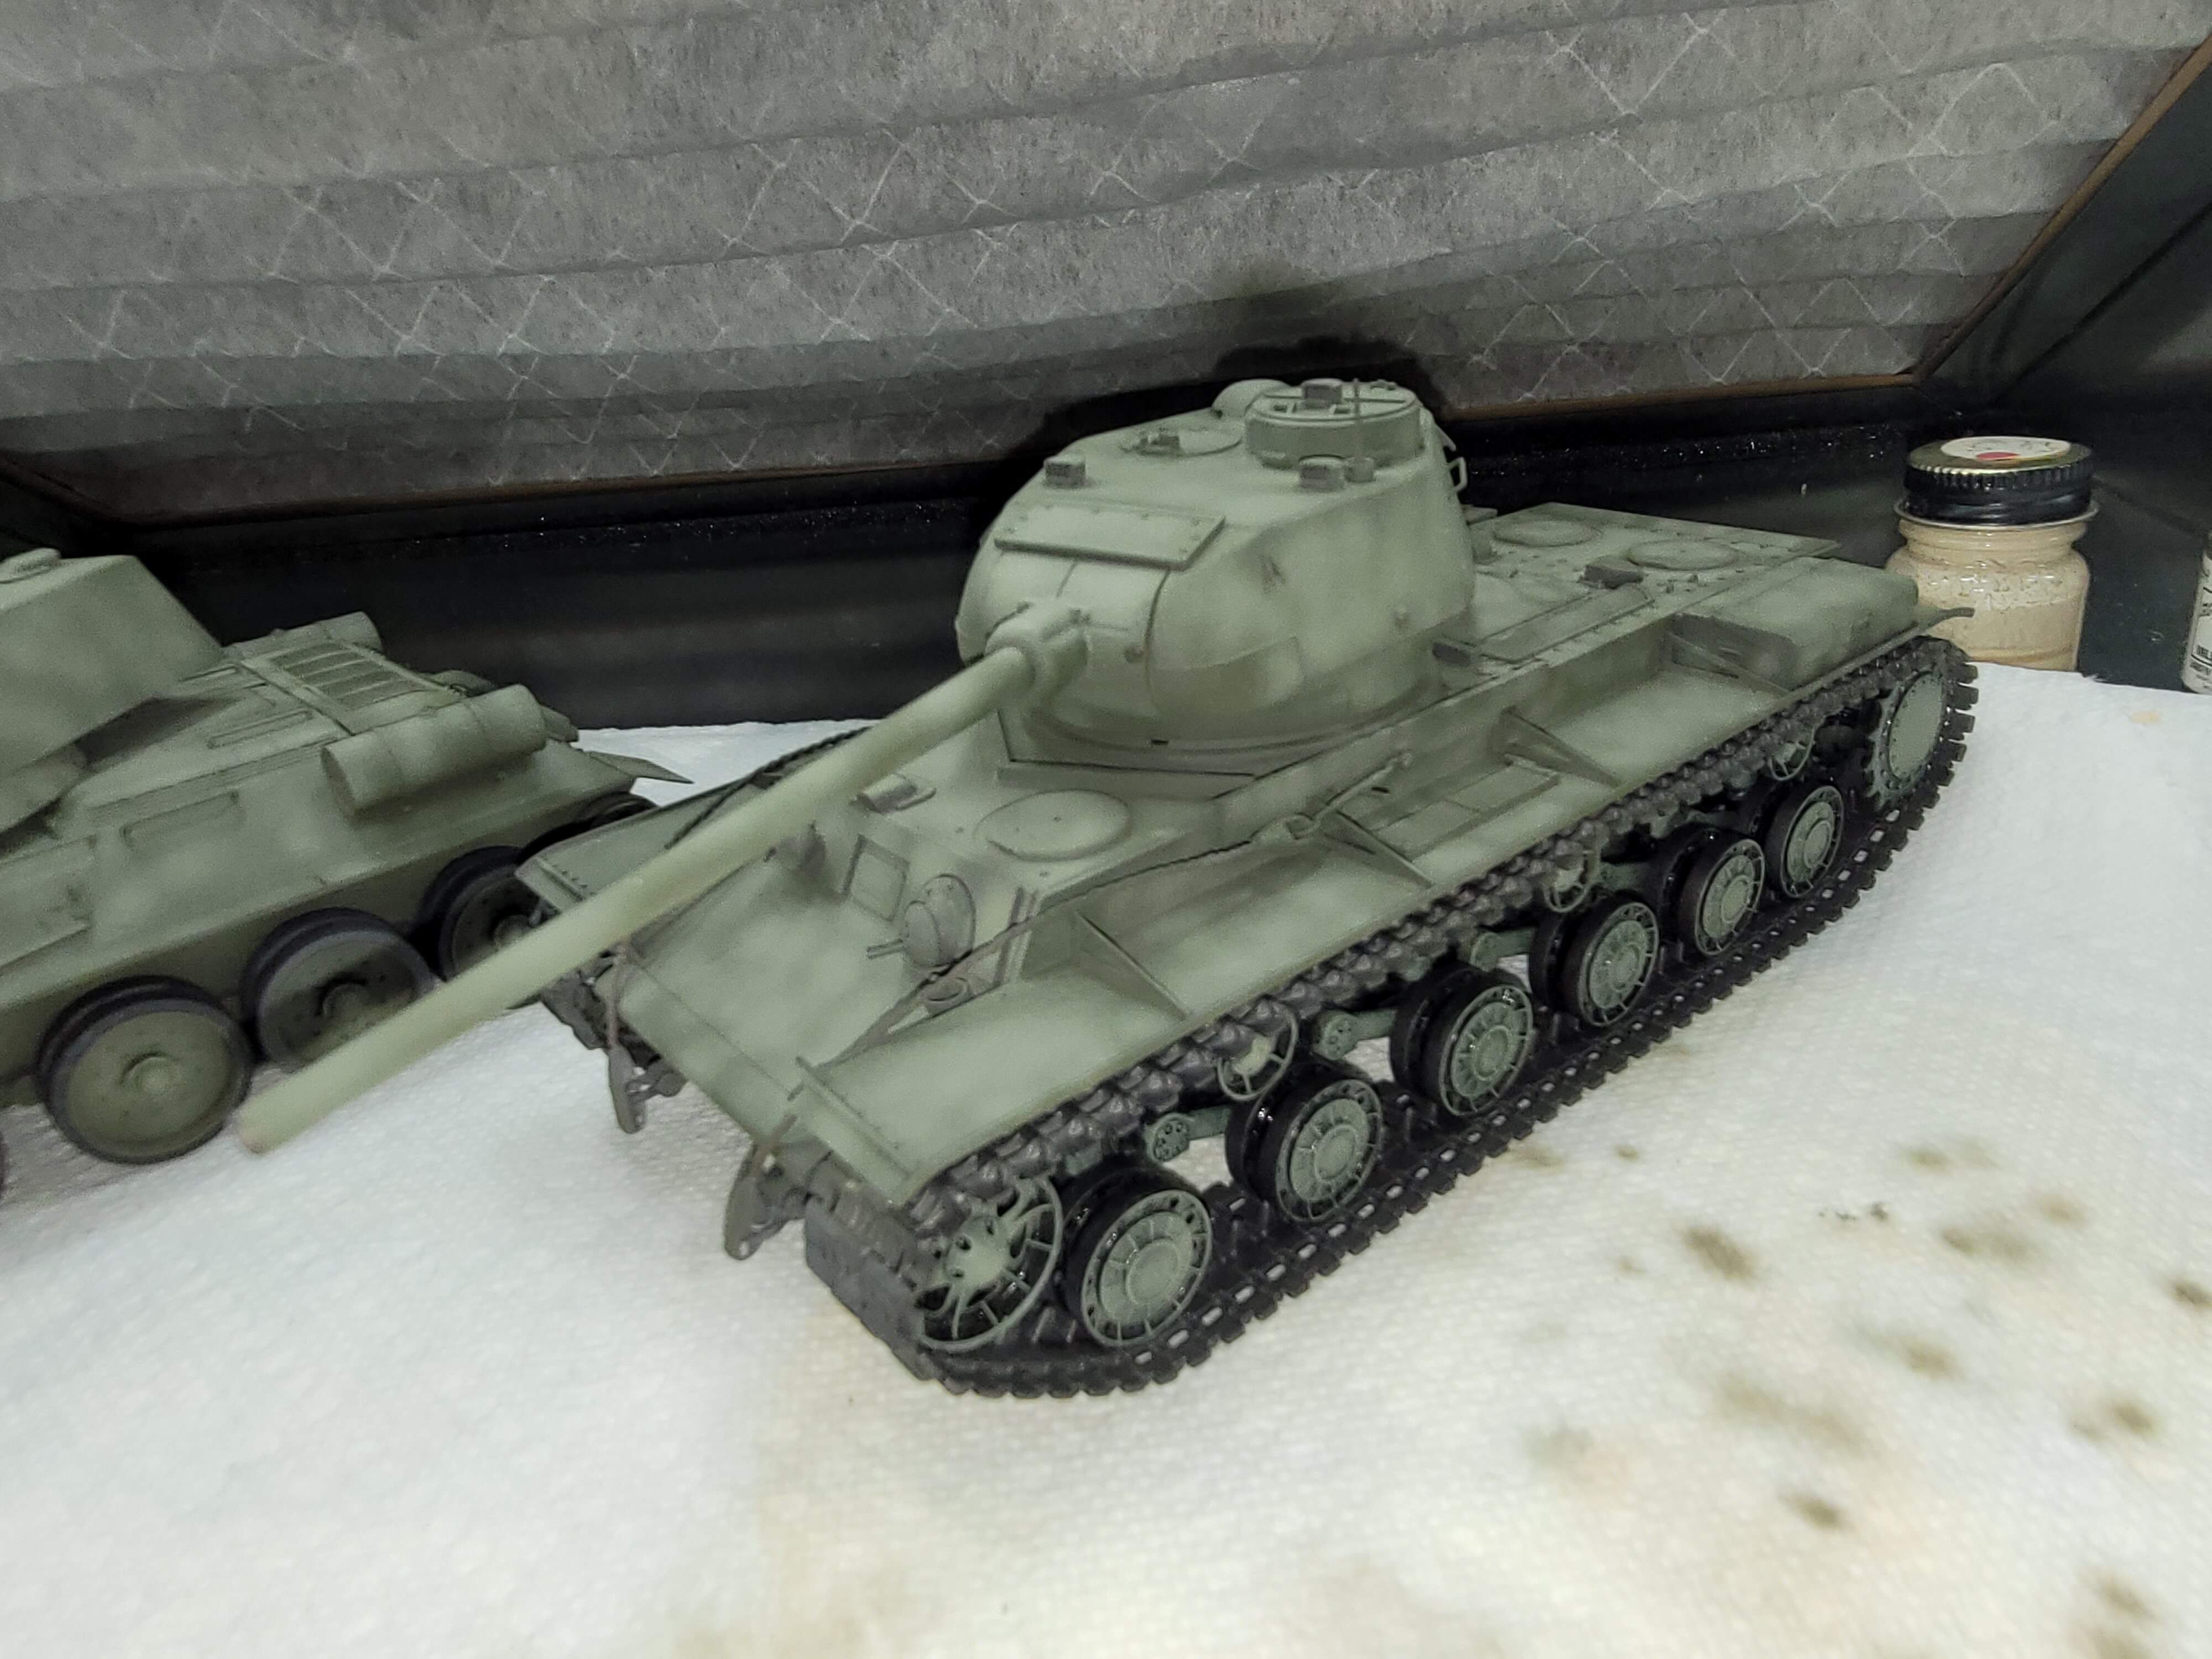
Highlight #1 - Tamiya KV-1
This follow the same procedure as the T-34 highlight. The KV-1 has more open area, literally acres of it on the fenders and turret sides. With that in mind, I want to focus the Highlight into the open areas.
Starting with underneath the turret again.
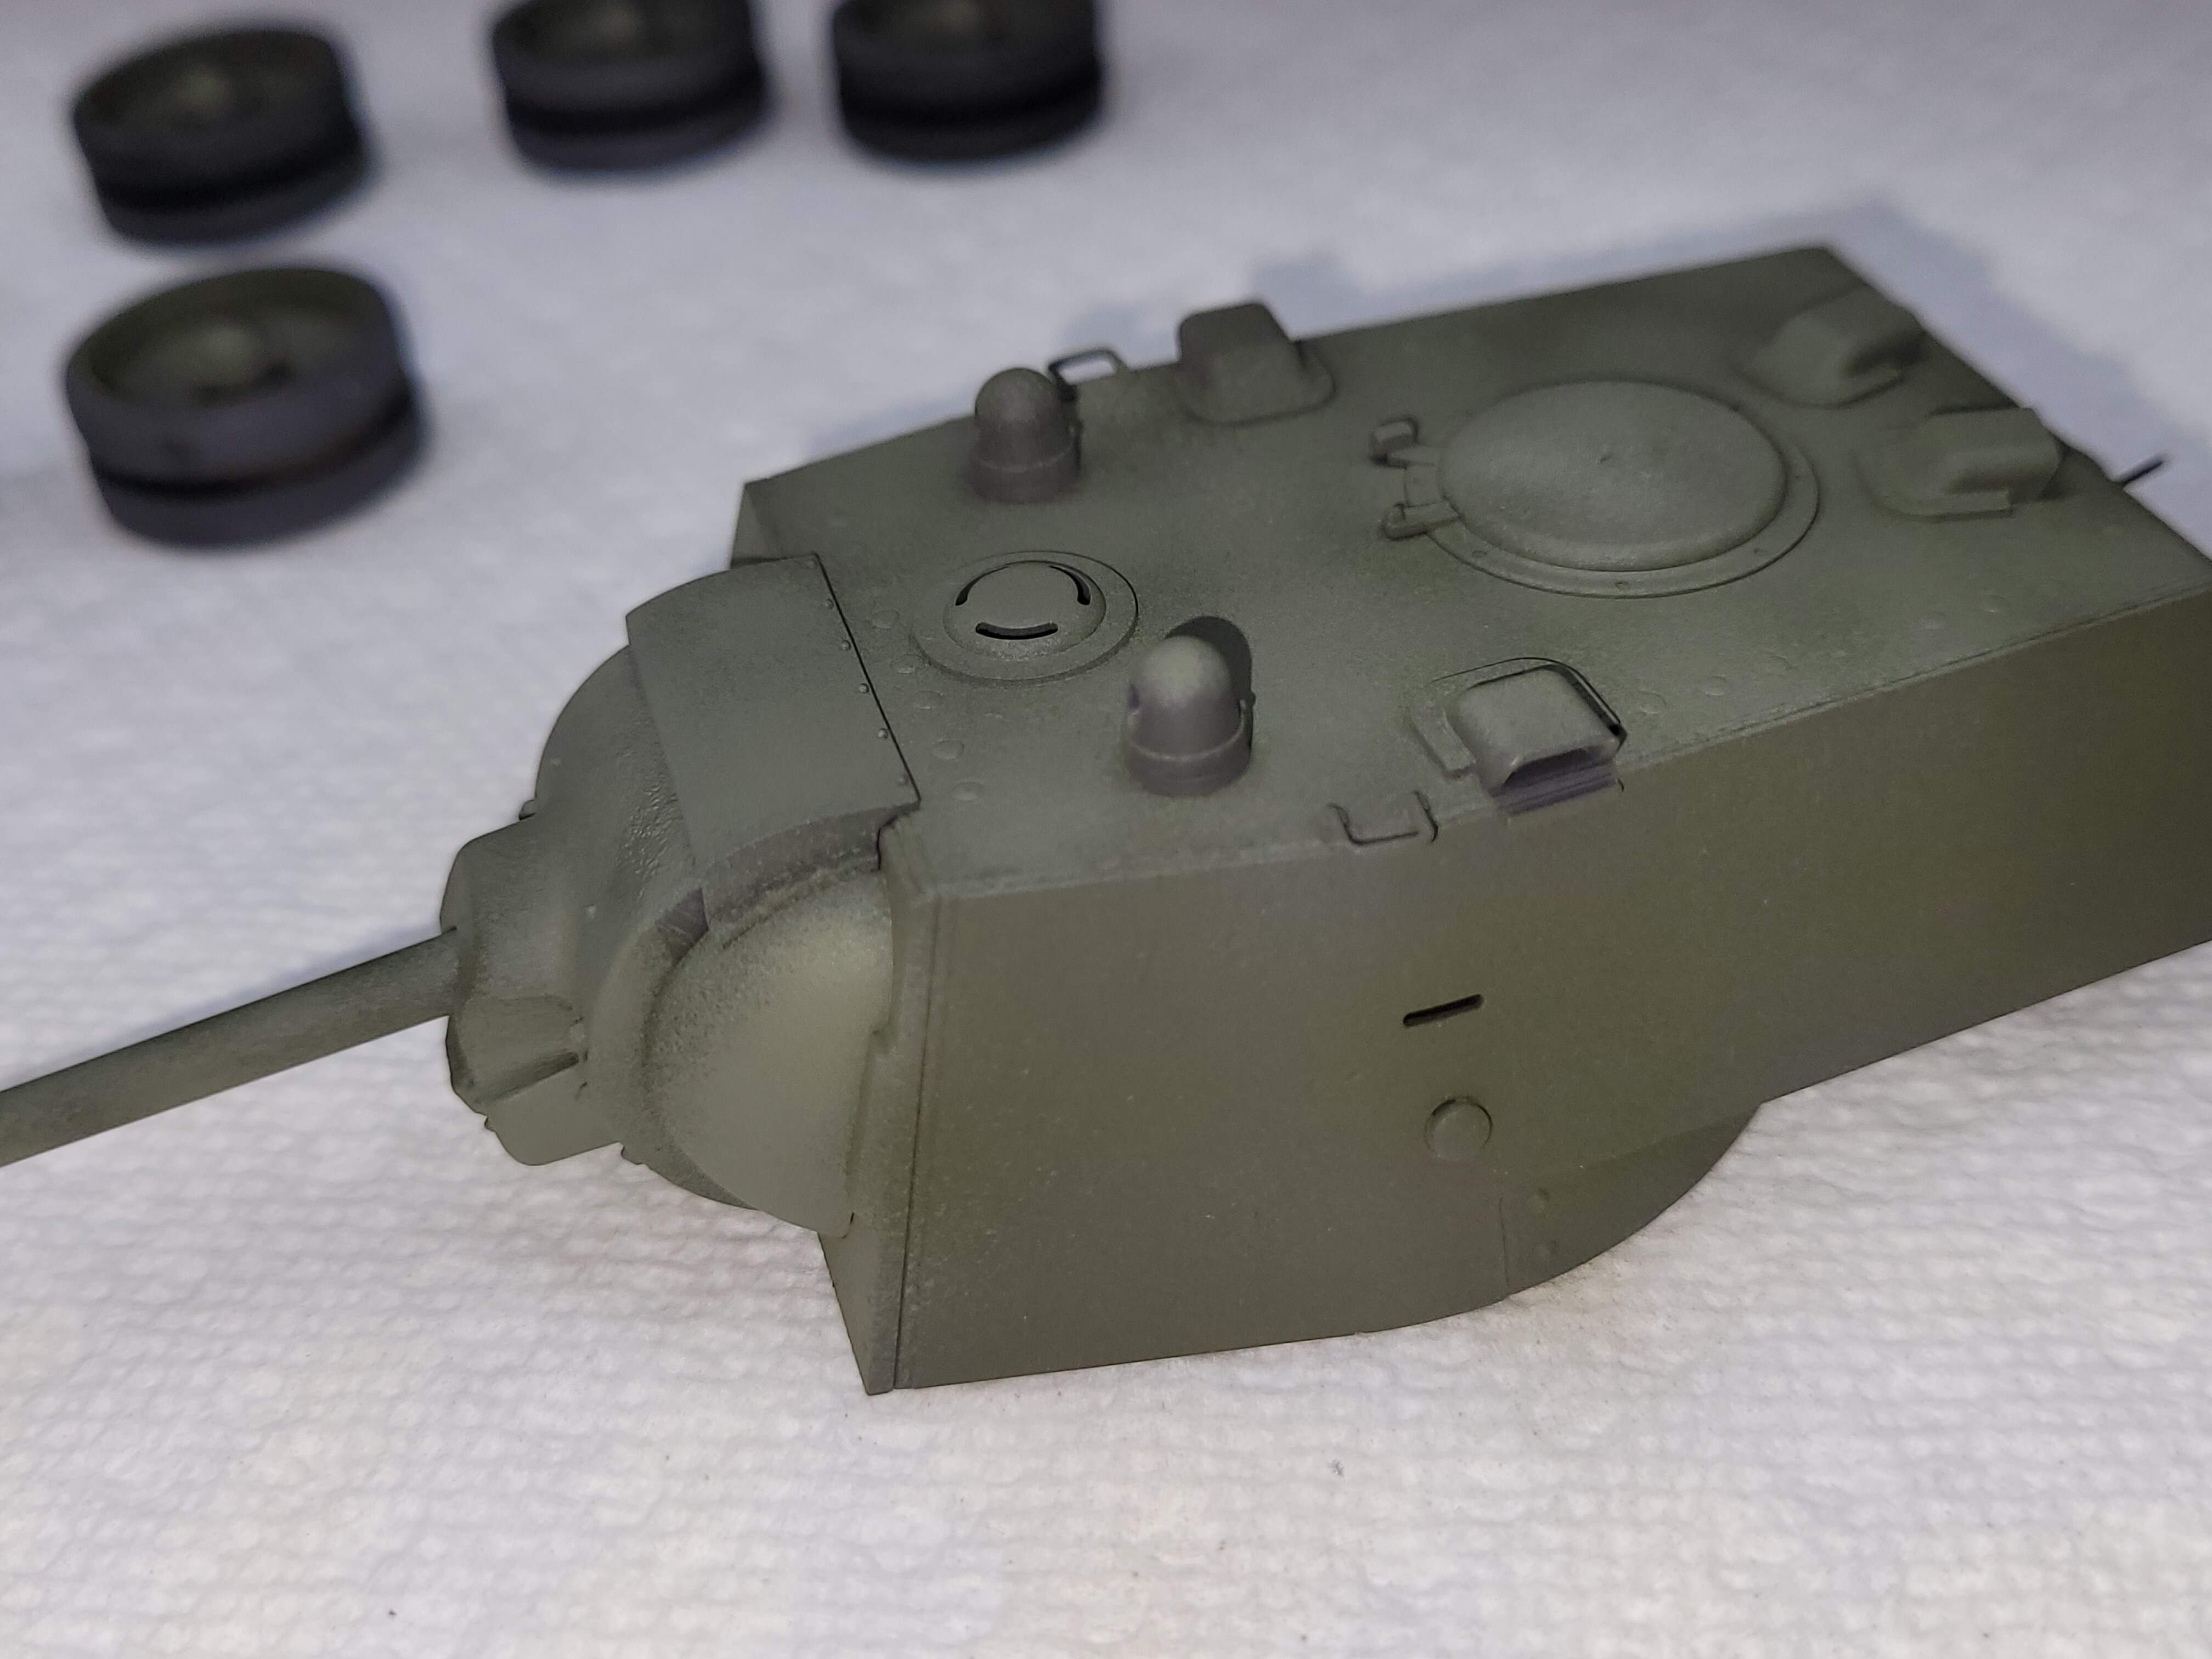
Painting the turret really brings how a massive
KV-1 tank was used for a 76.2 mm gun. I kept wanting to put the T-34-85 Turret on the KV-1:)
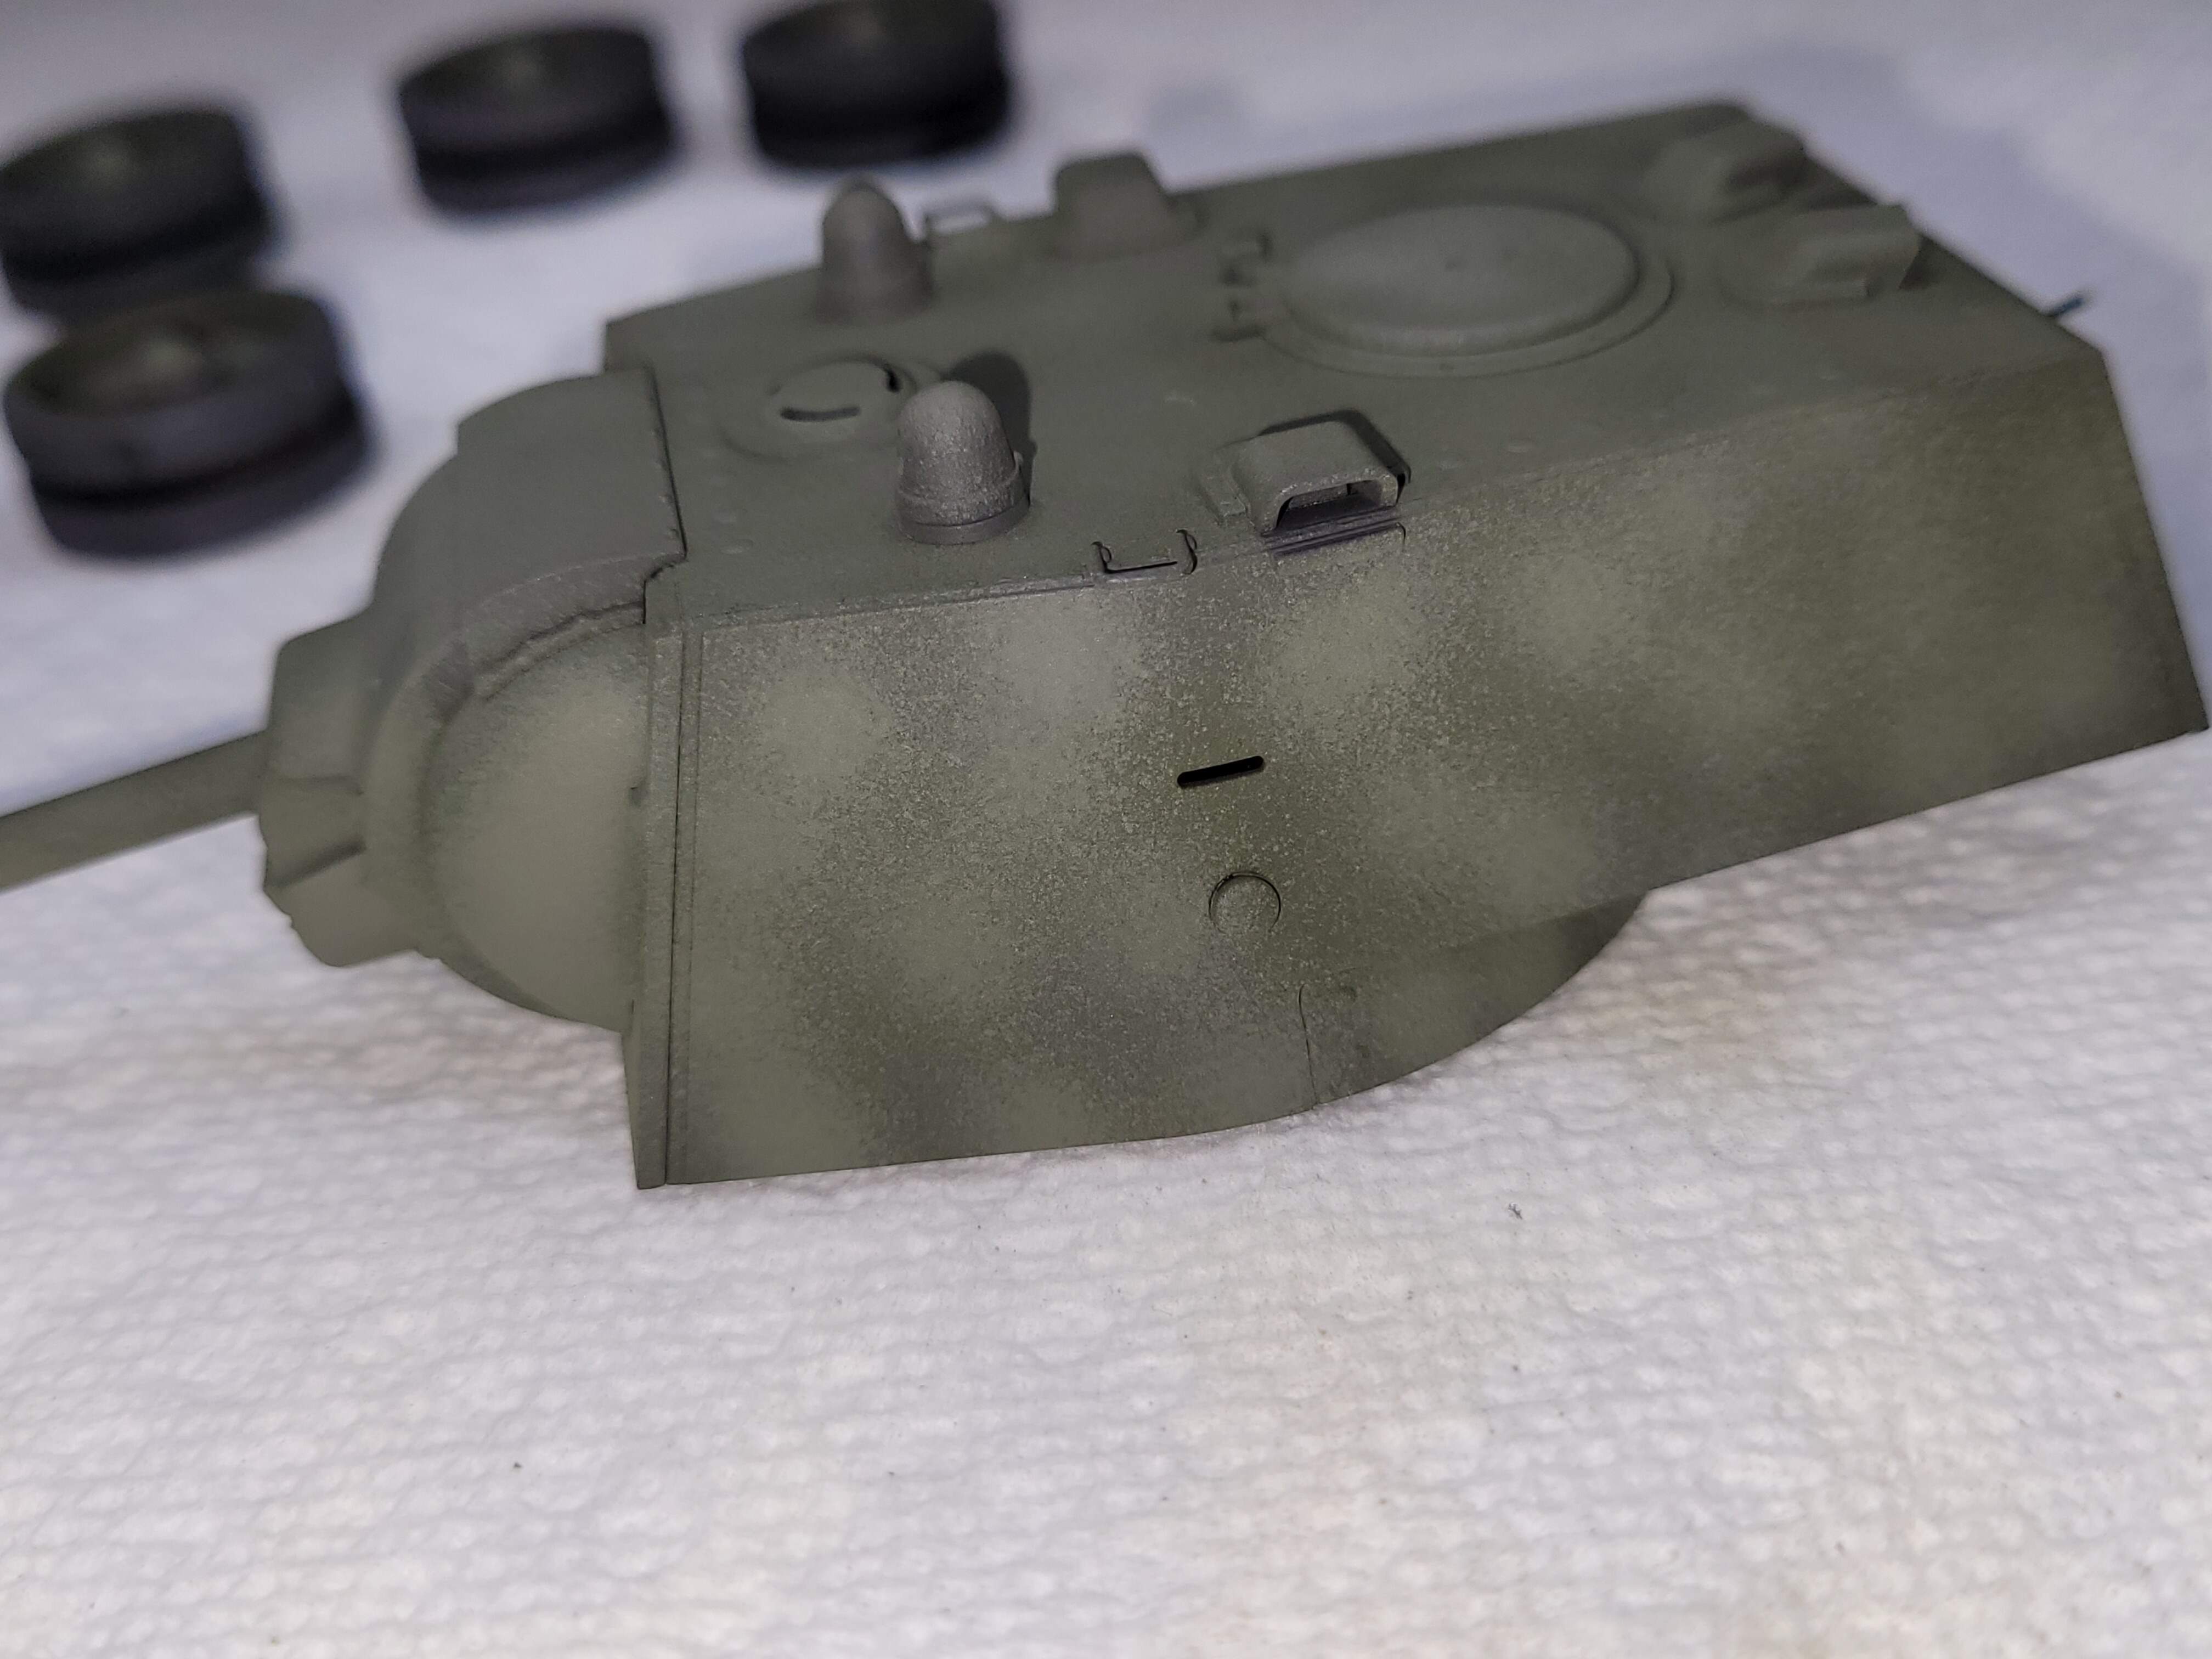
That’s not spatter, it’s little baby, NightShift pre-paint chips …  wink.
wink.
Dot pattern was shot in crude manner compared to the T-34 which was a little more subtle. This a KV-1 after all. It has acres of open area. I think that needs a little contrast to break it up the empty areas and look a little more interesting.
Laying 30 to 40 random dots into those big empty open fender top areas.
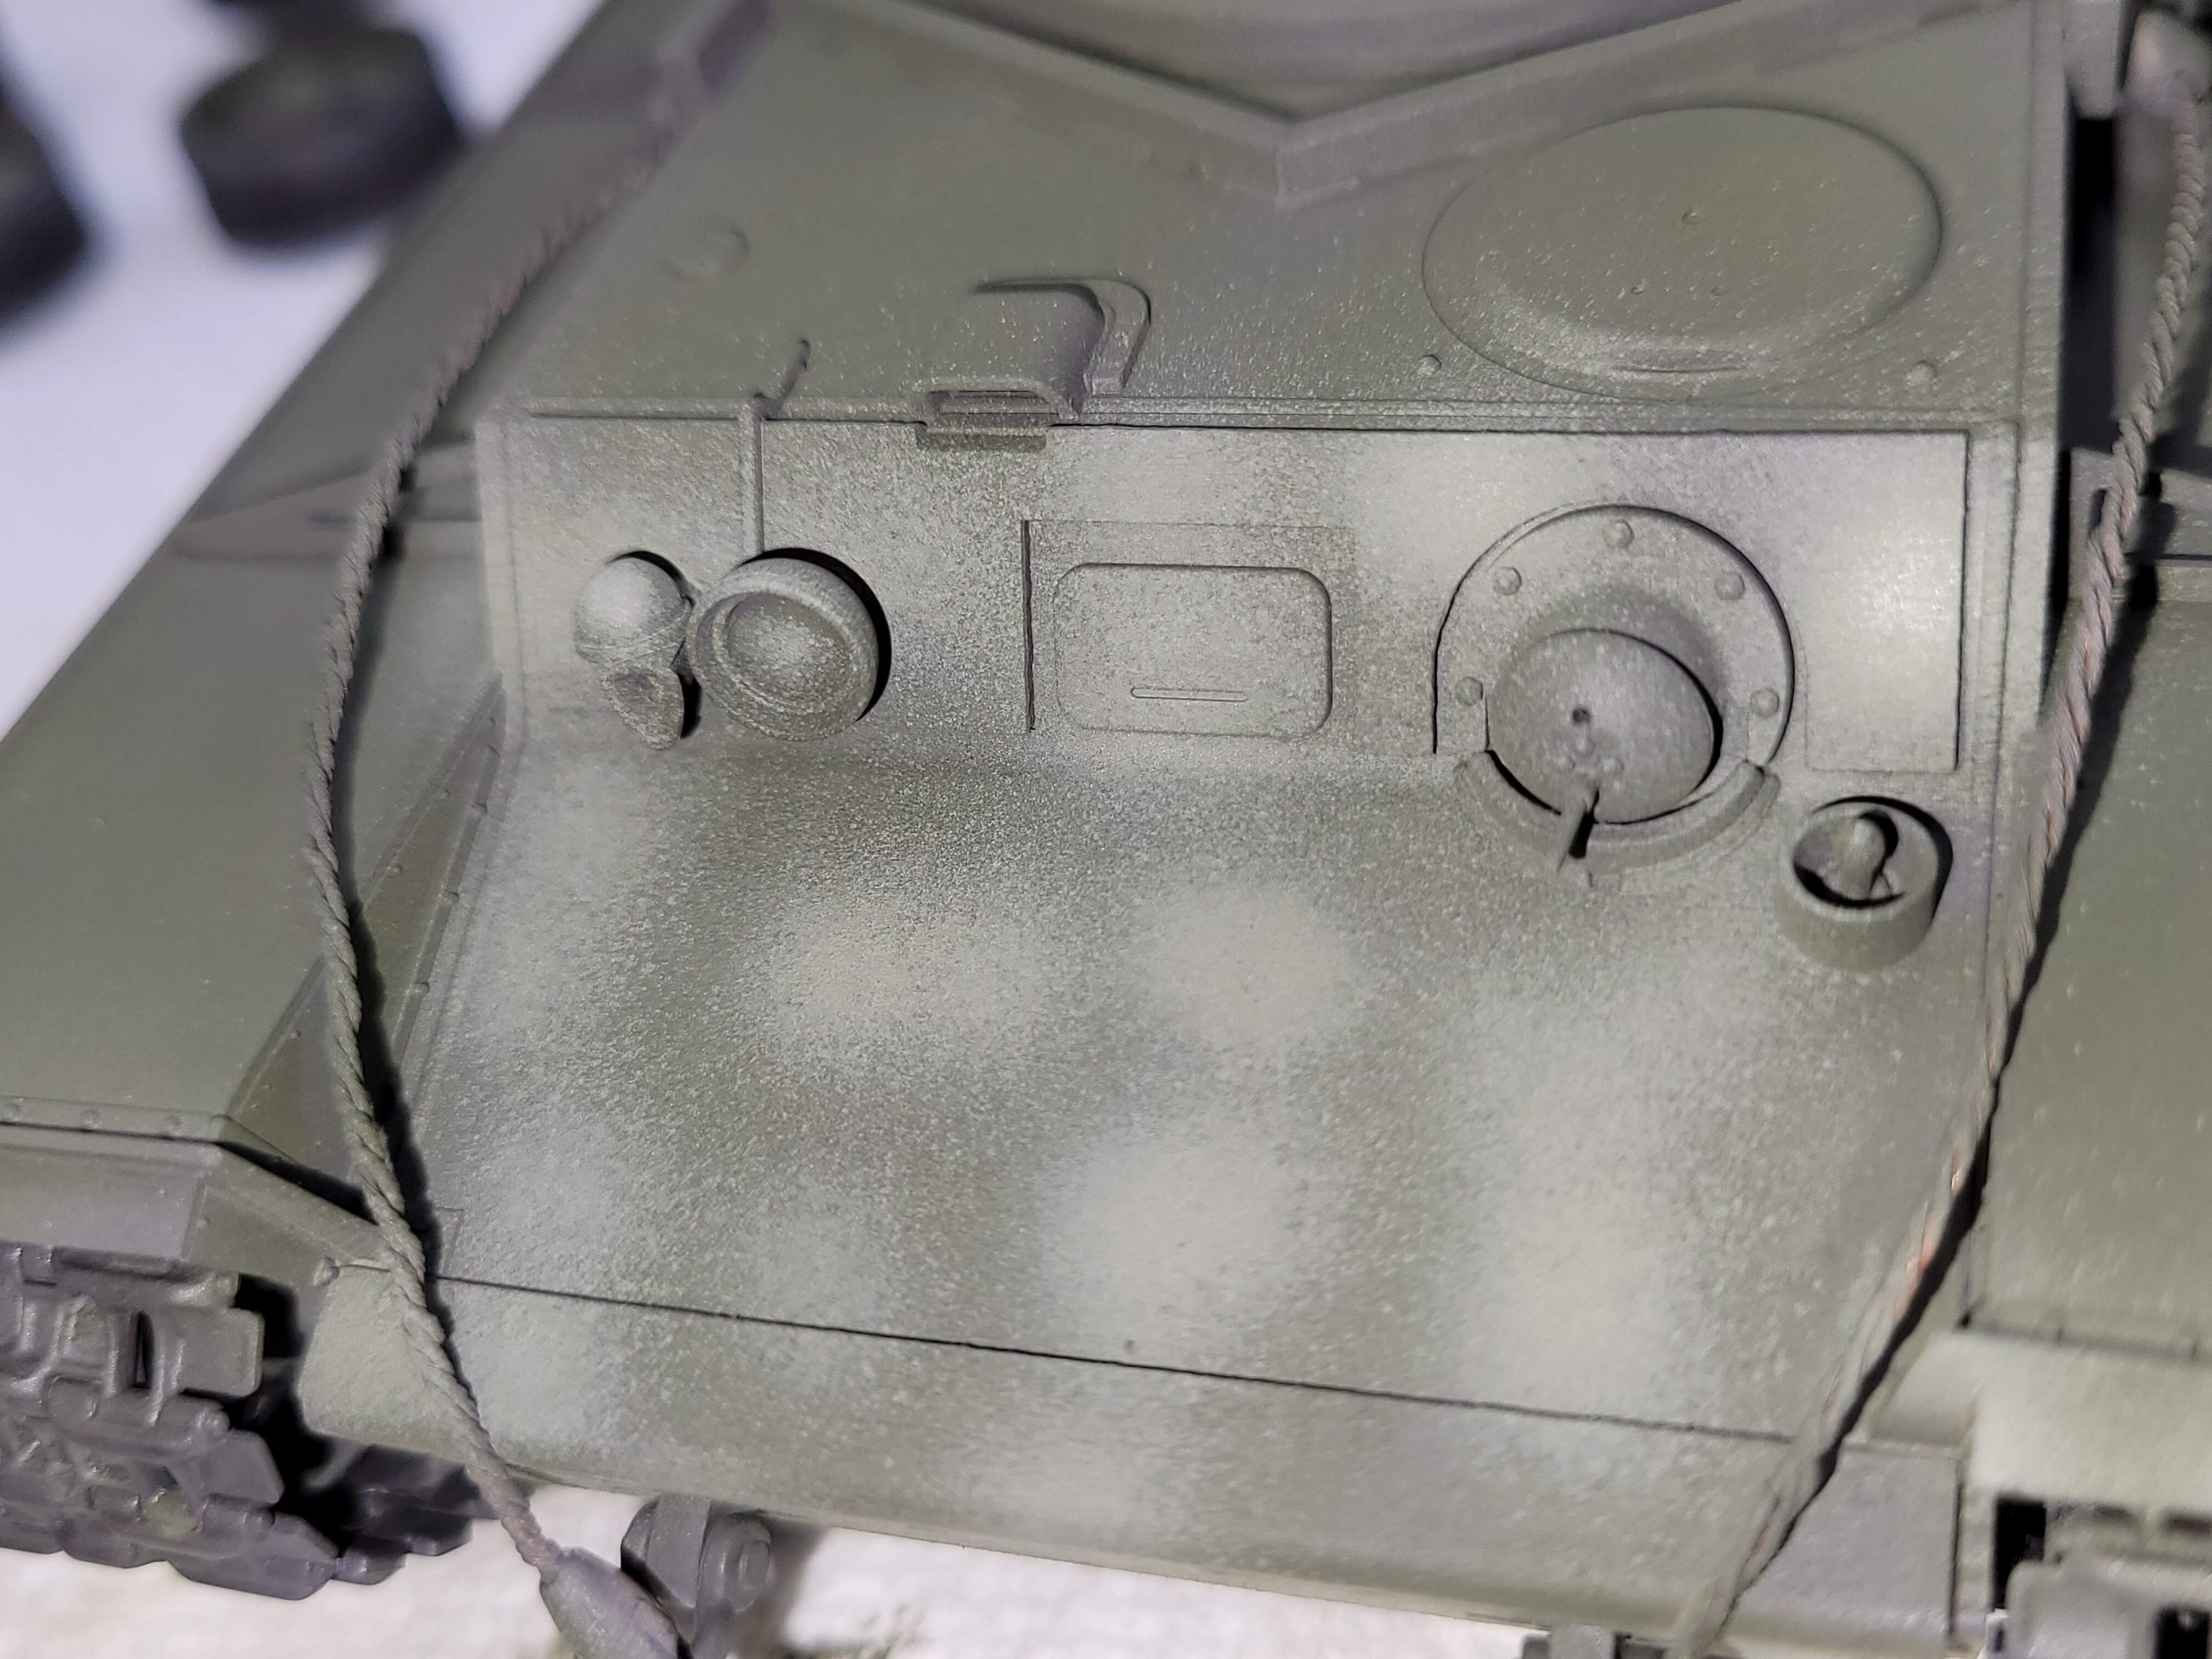
Given the sparce detail the engine deck is critical. Small dots in open areas. Around details as much as possible.
Basically shooting dots between bolts as much as possible.
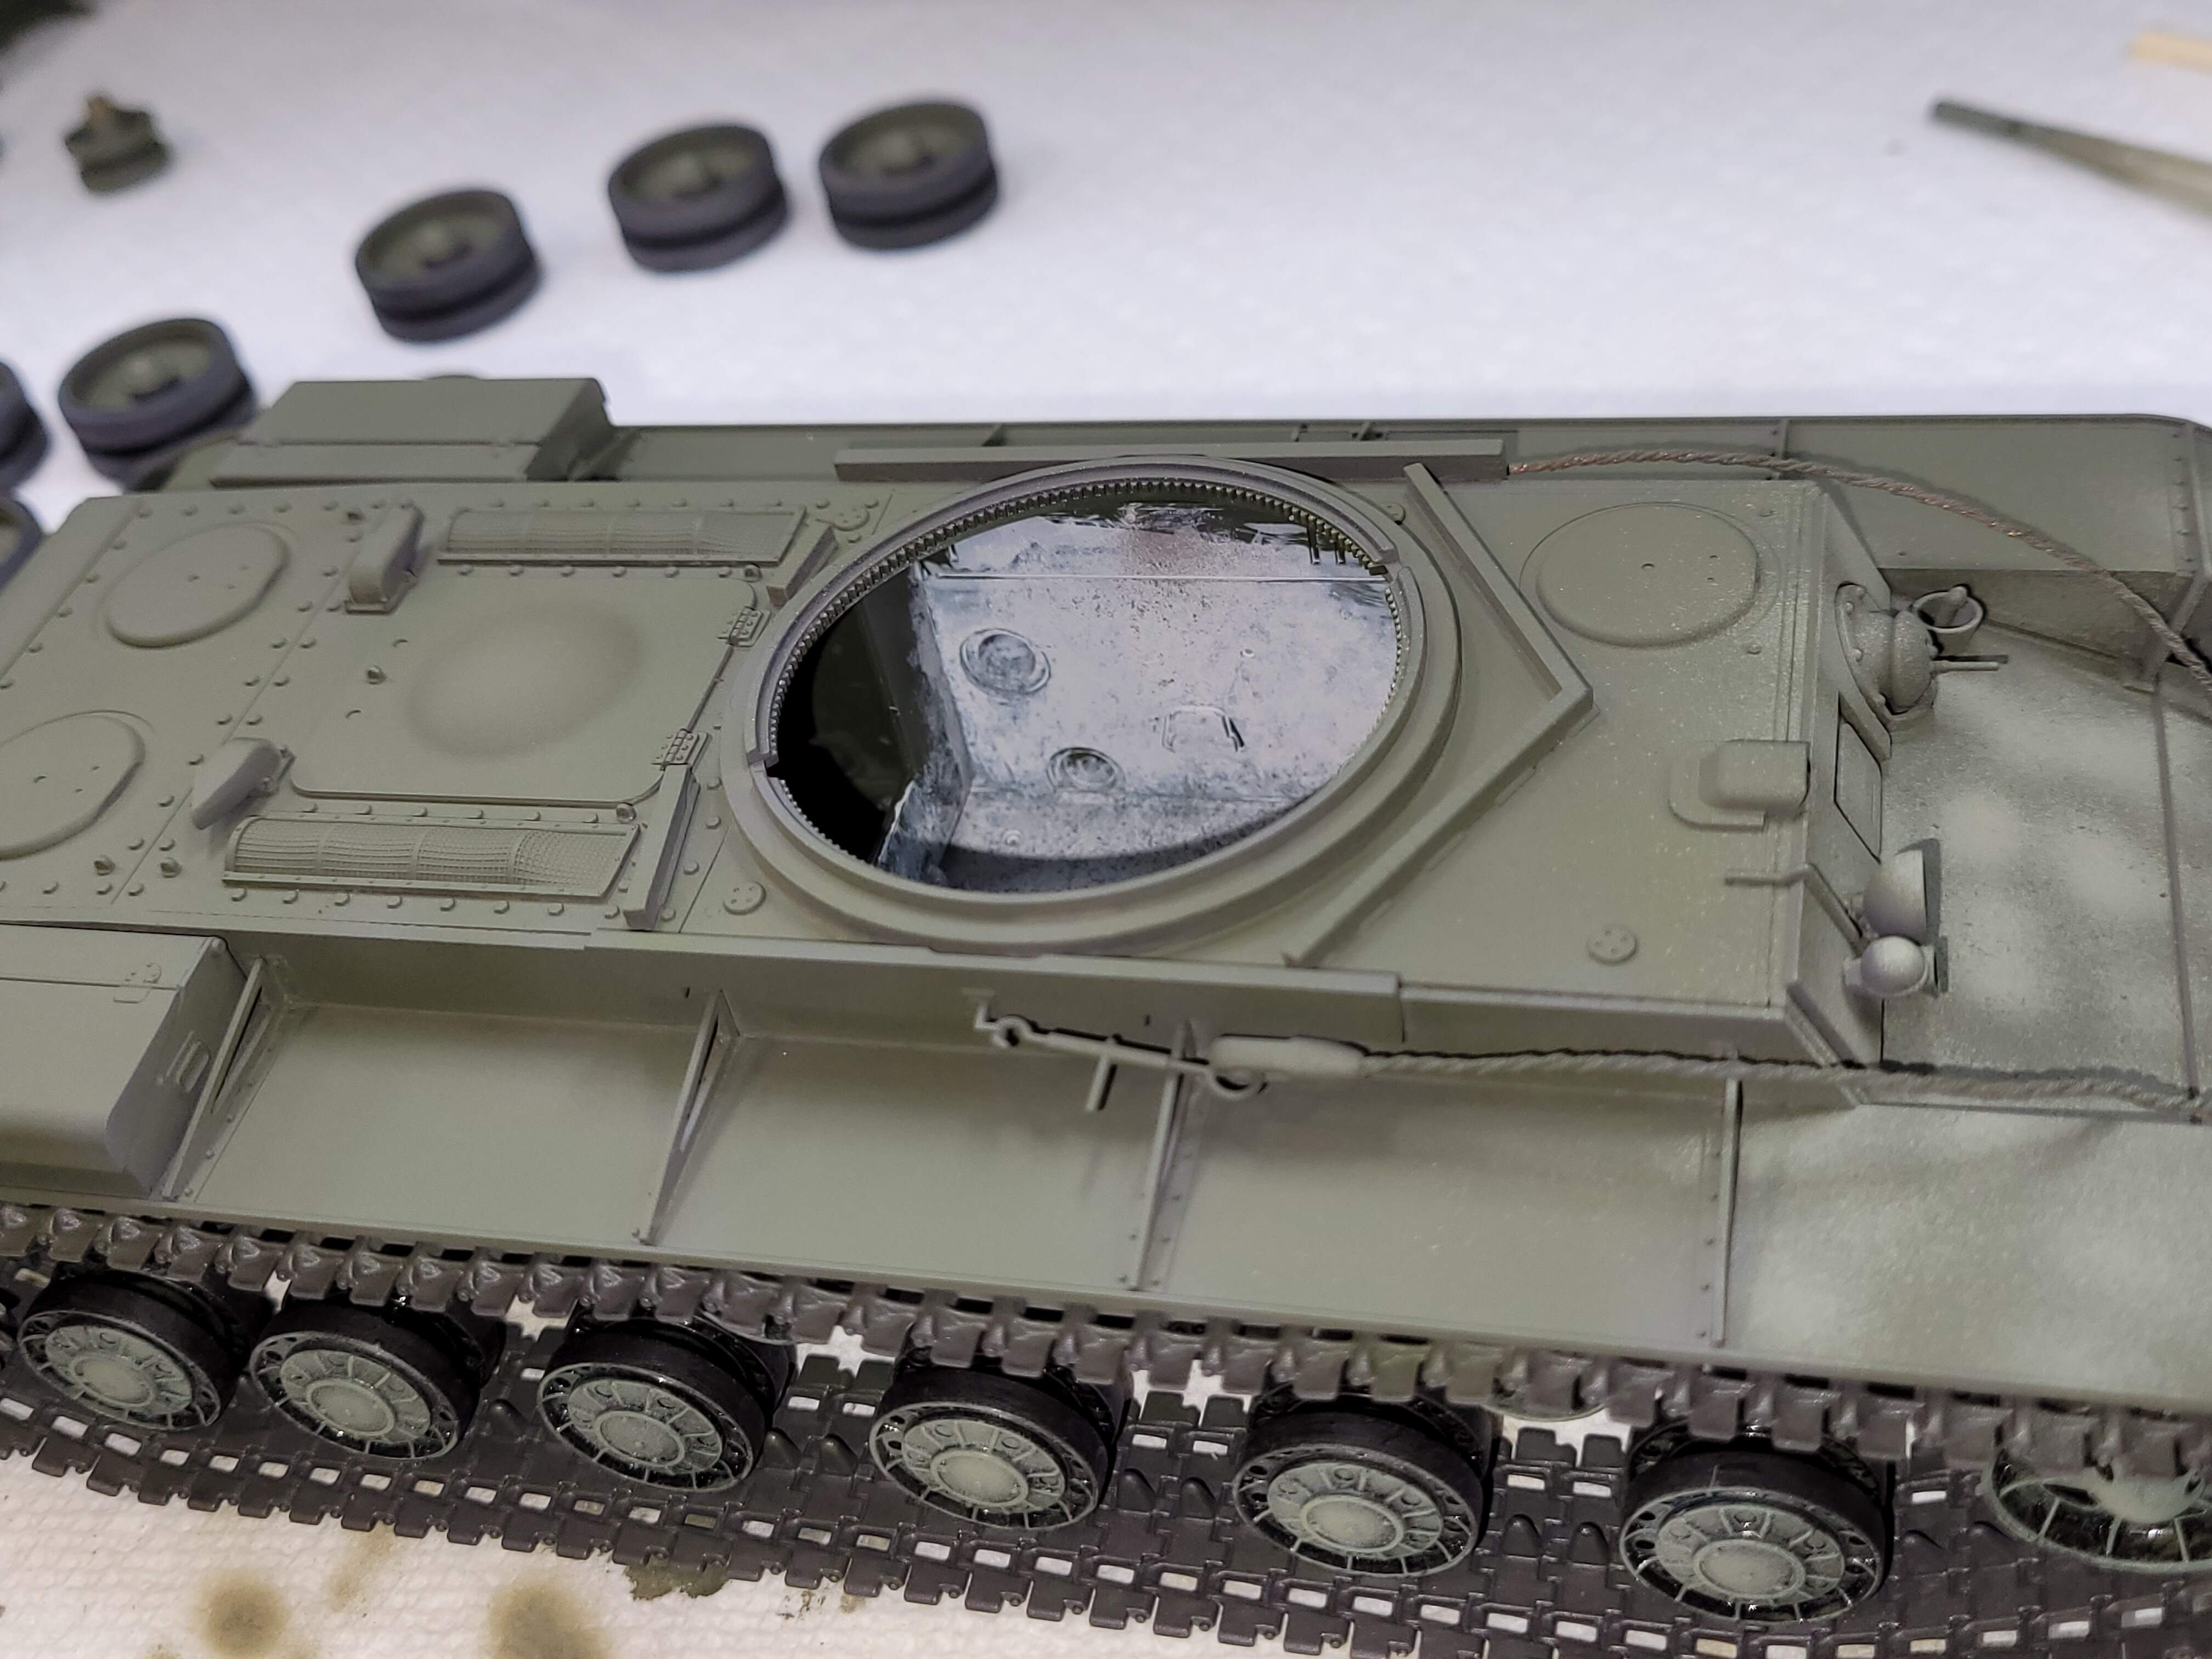
The hull
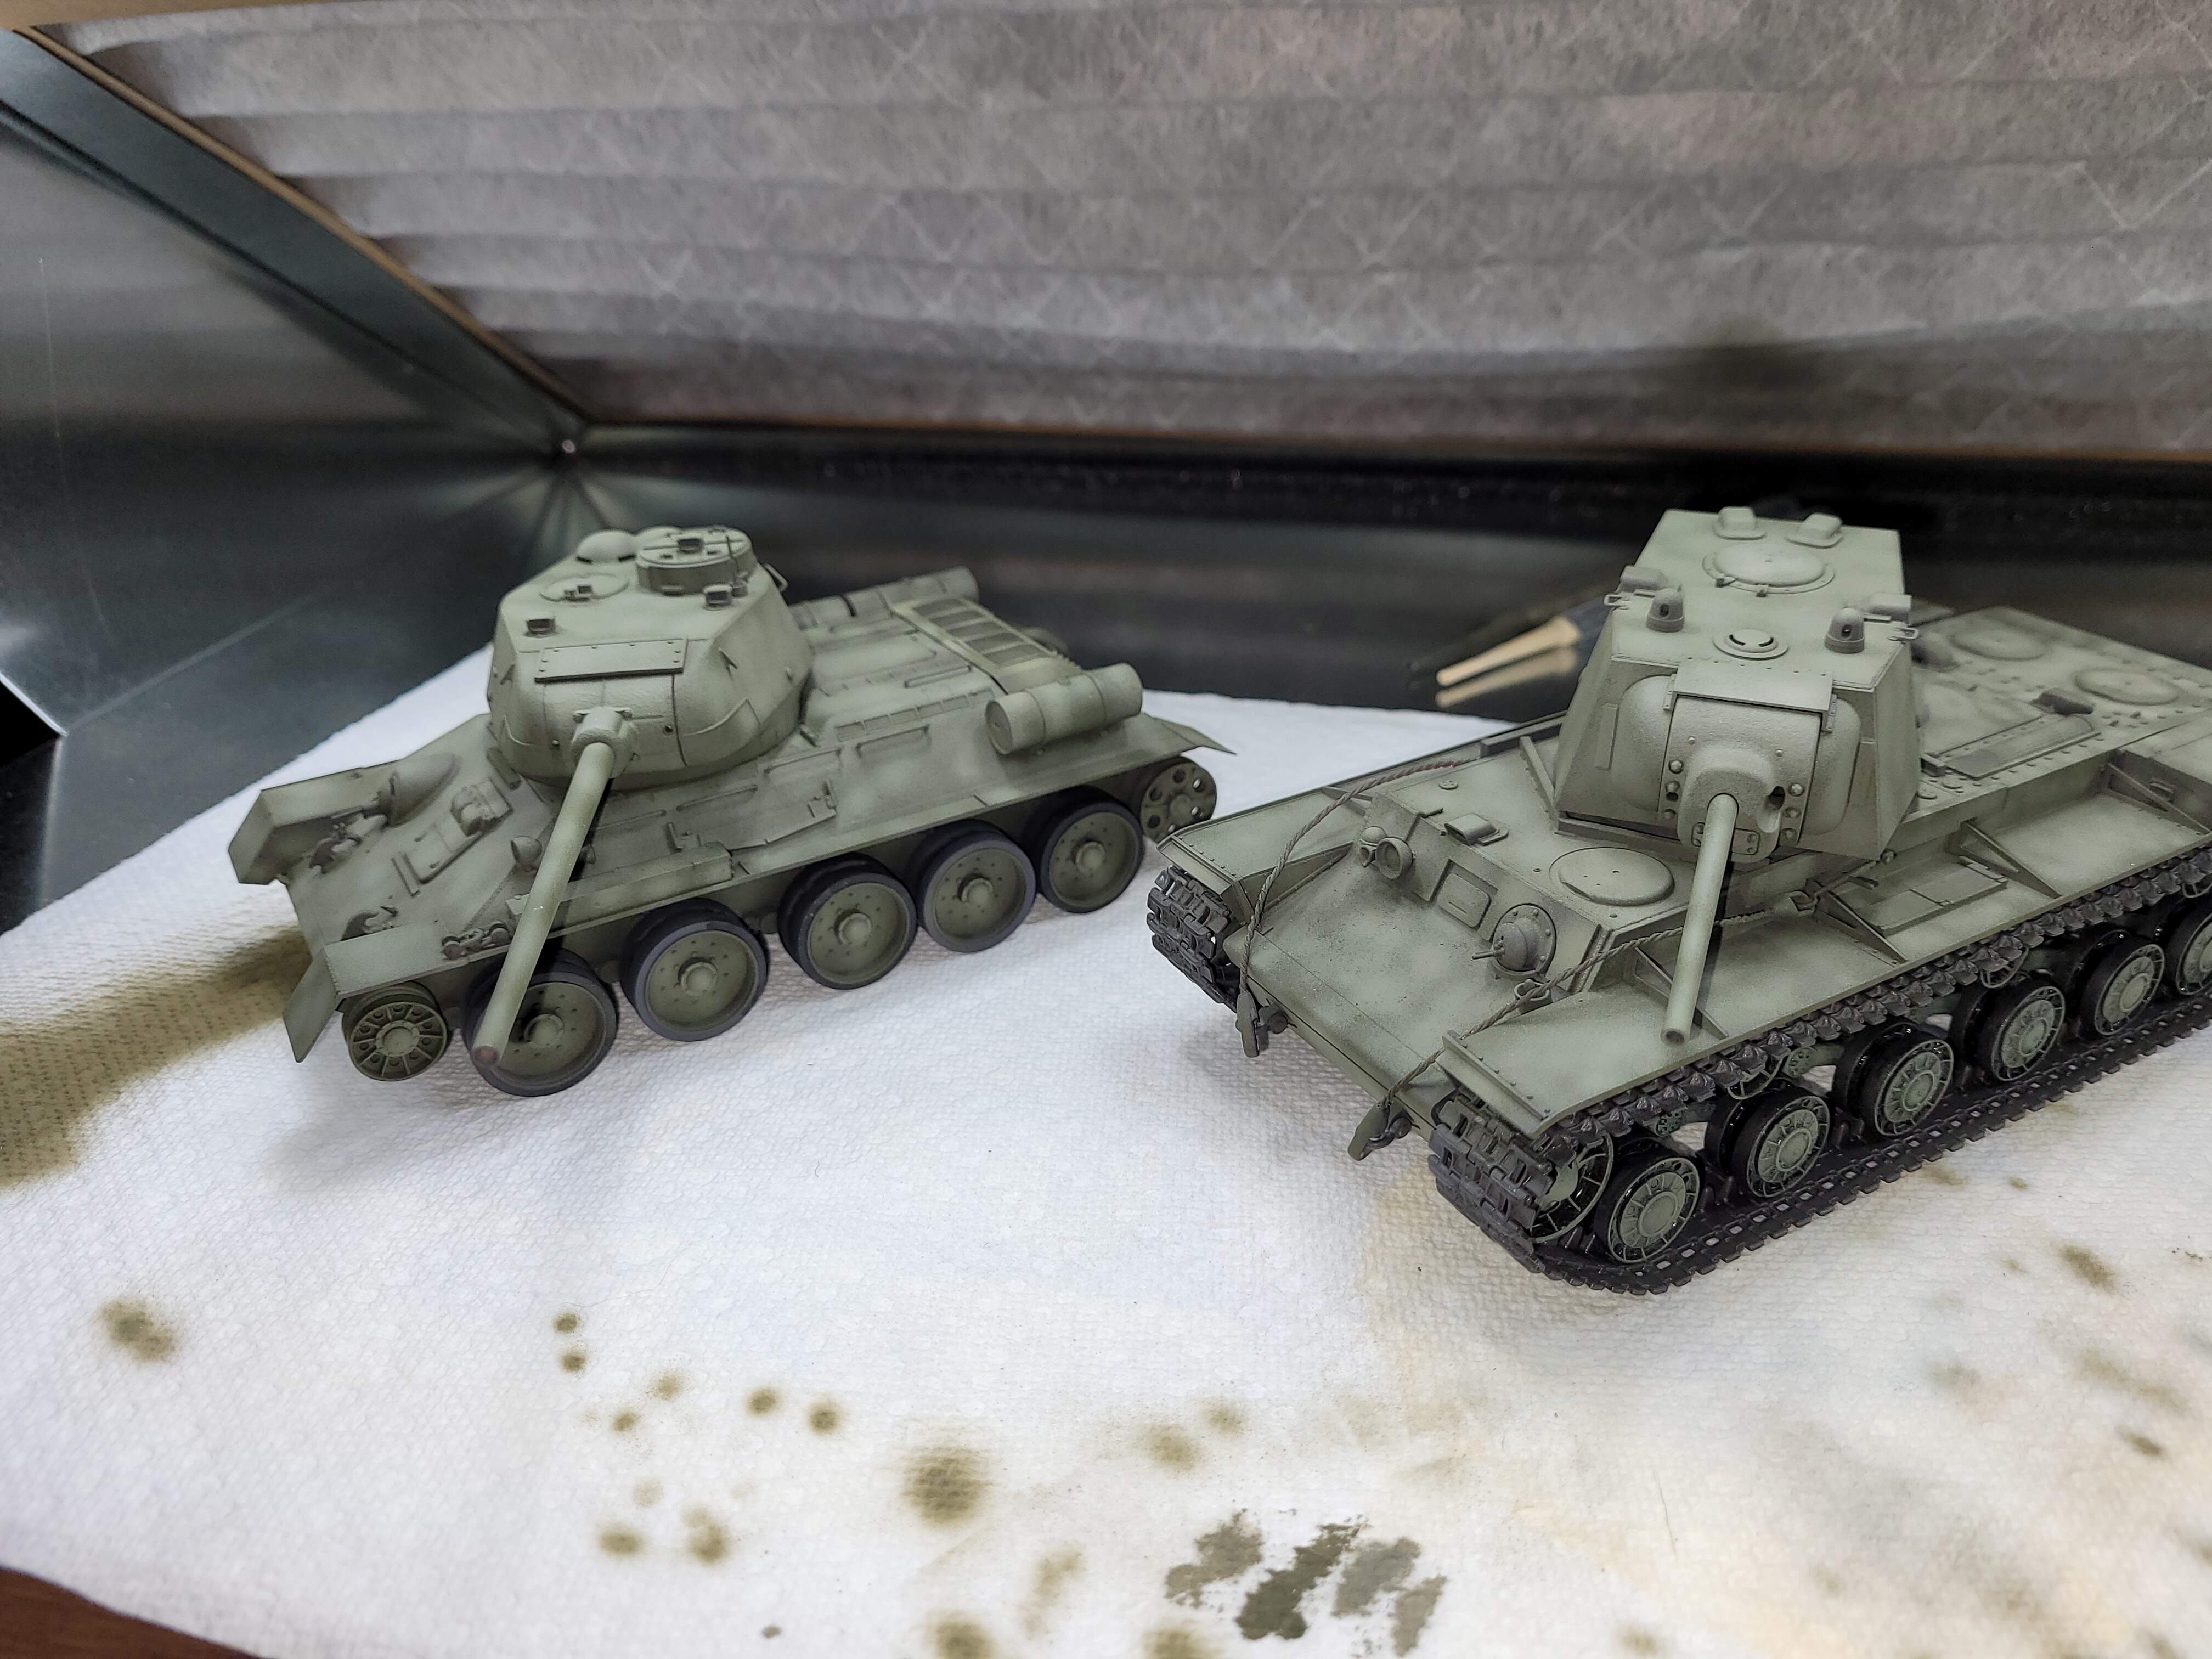
Mocked up for evaluation.
I think the KV-1 needs another round of highlight.
Keeping the bit of paper with,the test shots is handy. It will help with mixing the next round of highlight.
4 Likes
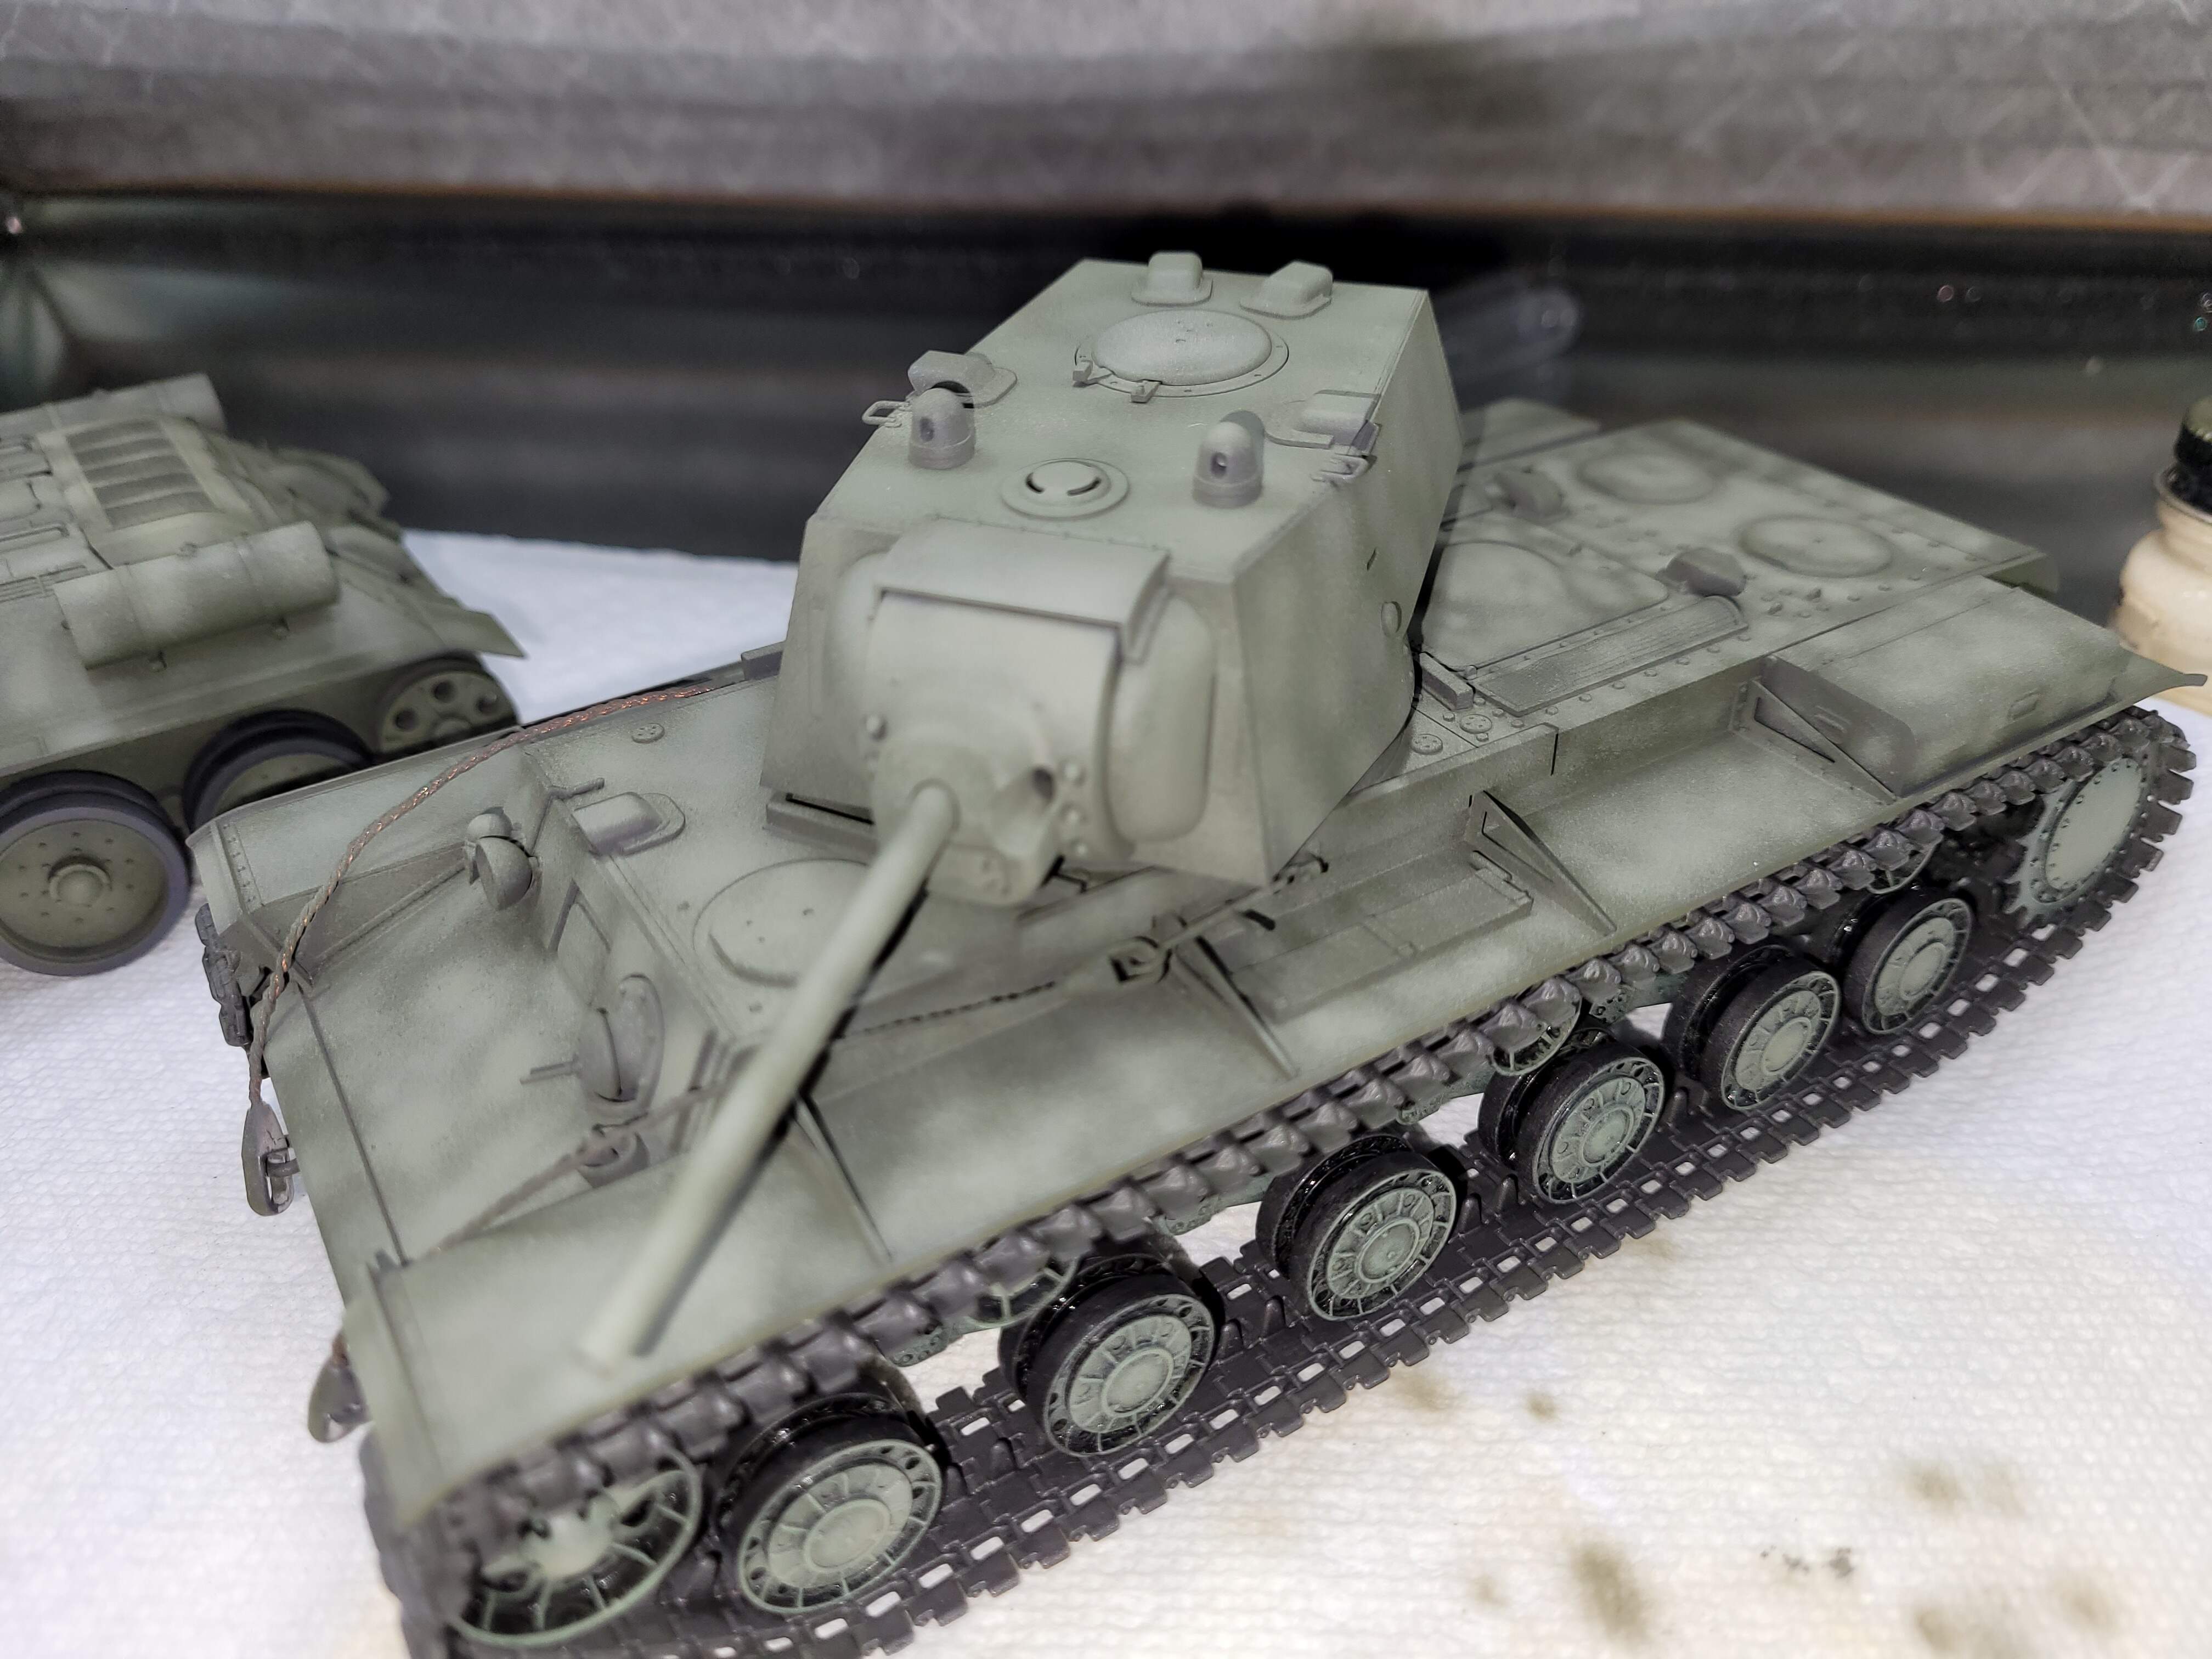
Two hours after spraying highlight tone…not sure if it shows in the pictures…but as the paint cures there is a slight color shift.
9 Likes
Nice technique, I am not an armour builder but this could be useful
1 Like
@Amegan, Hi Andrew thank you for taking a look!
Agreed, the technique can work very well on many different subjects. I’ve had success using it with space ships & submarines too I think there are other subjects it would work well on too.
Please feel to grab an armor kit, they are lots of fun to paint & weather All types of models are always welcome at Kit Makers.
BTW - have to share my new inspirational painting T-shirts that just arrived from Sofielein. Very happy with them. Fun wear for model club meetings, contests, the hobby room etc
3 Likes
Looking really good.
Quick question about the dots. Are you literally spraying a single dot (I assume by gently pulling back on the trigger, and then letting off when the dot is the opacity you want), or are you doing this with a little more flow keeping the paint flow up and just moving the airbrush along as the color builds?
Sorry if that is confusing
1 Like
Great SBS you have going here. Exactly the way I used to do it before I went to the preshade method I favor now. However, if I’m not satisfied with how the preshade turned out I will postshade to fine tune. And yes you are correct there is color shift as the paint dries.
1 Like
That’s an excellent question!
Both ways work well, depending on what you’re wanting.
I’m generally wanting random dots, mostly overlapping since both of these models have lots of open acres of plastic with out lots of detail.
With my single action Paasche H, I just hit the trigger rapidly and randomly machine gunning little paint dots. No pull back on trigger being single action. Set the nozzle opening and set the line or dot size. Fire and forget:) One can definitely do this with a dual action, and I’ve used my Paasche VL. Being able to pull back and increase paint flow can be very nice etc. I paint a little slower doing this with my VL. I tend to get caught up in the moment and like to be very rapidly on/off the trigger - basically my personal preference favors the old Paasche H for this style. Most of my friends that used this and explained to me used dual action airbrushes. I also wanted to show the technique can be done with one of the simplest most basic airbrushes like an H - because it’s straightforward.
Making a line or squiggle works too. On something like an M60A1 w/reactive armor, I’d work with more line and squiggle.
On areas like those KV-1 fender tops, I tried to stay away from lines as they are so rectangular and I’m wanting to build interest and depth. I feel lining the fenders would probably pull the eye to lines.
There no hard and fast rules as it’s a very flexible technique. Other modelers may do lines where I dot and line where I dotted and make do a nice nicely painted model.
1 Like
@Armorsmith DV,
Cool Beans! Good to know sometimes the older technique can still have its uses.
Thank you, and thank you for verifying that subtle color shifting. It’s one of those little “ethereal” things - one paints and it looked like that - now it looks just a bit different:)
Awesome! Thanks for the detailed reply. I had kinda of done a hybrid on my lower hull when testing. Not quite doing a line but pulling back lightly enough on my trigger yo slowly build up color and randomly move on a bit when the color reaches the opacity I want, I think it’s gone okay. Rest of hull and turret base today
@Mead93 , Outstanding! I sounds like your well on the way!
I’ll post a picture when I can get better lighting in a bit today. The two I have are washed out and don’t show the contrast.
As an aside, I agree with the Kv-1 having a commically large hull for the turret. I just checked mine and the hull is longer and wider than the t-54 but the turret is like half the size, looks really funny
1 Like
KV-1 definitely needs a bigger gun aesthetically speaking in my opinion. Stalin probably threw someone in the gulag over it.
Can’t you just hear that RFM kit saying, “Hey Give Me Back my Damn Turret - I Don’t Like Looking Like a Block Head”
Or get that thing off me before I end up in some stupid anime like this!
4 Likes
It cant be emphasized enough that this technique relies heavily on the random application of the dots. You are not looking for even coverage as in laying down paint in the conventional way. As I’m sure Wade will demonstrate later, the splotches will all blend together and look more natural once weathering takes place. Great job again Wade.
1 Like