Old School Shadow Painting & Finishing - Primer

I want to do a primer on the old school technique of “Shadow Painting” as we called it, that two friends shared with me. This isn’t a tutorial, as I have no desire to tell folks how to model. It’s more of an explanation of an older technique used in the 1980’s & 1990’s. Hopefully, it can serve as a primer for anyone interested in playing around with this fun old technique which lacks internet presence.

I apologize in advance if my tone comes off as preachy or like a know it all. That’s not my intention. It’s just the Asperger’s seeping into my comments. I have a hard time gaging that when rambling on about something I like according to my fiance :slight_smile:

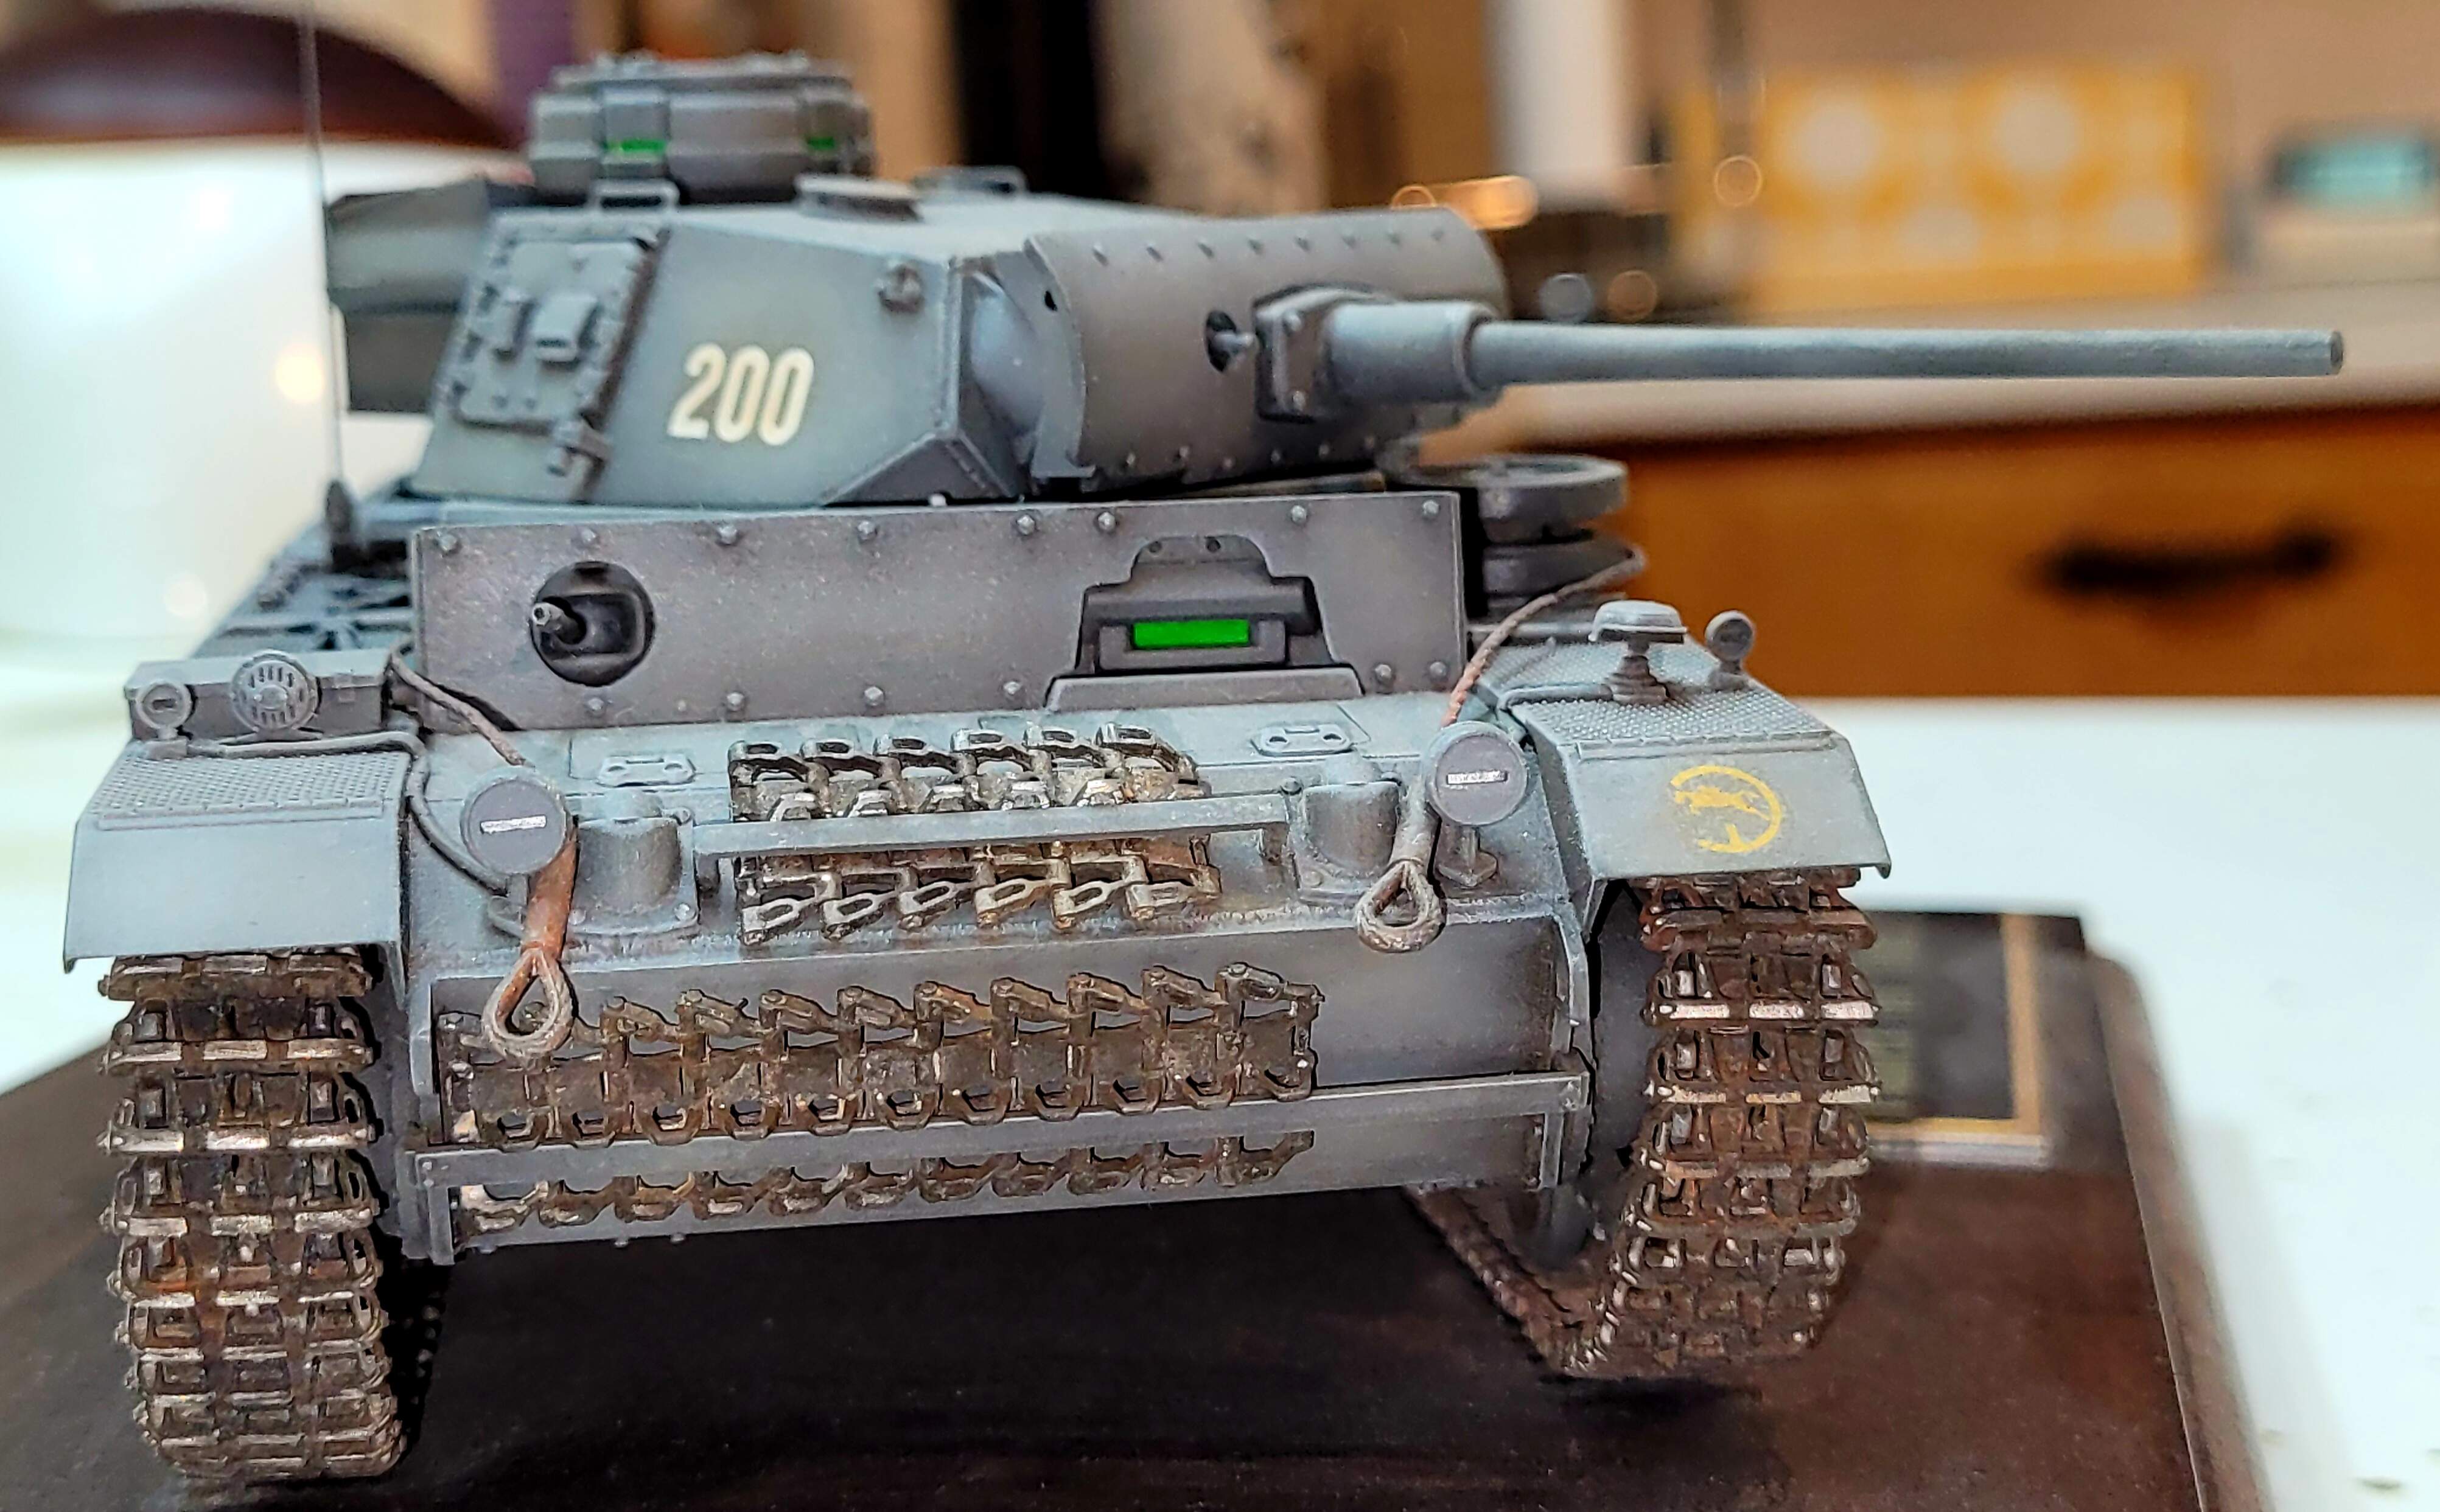
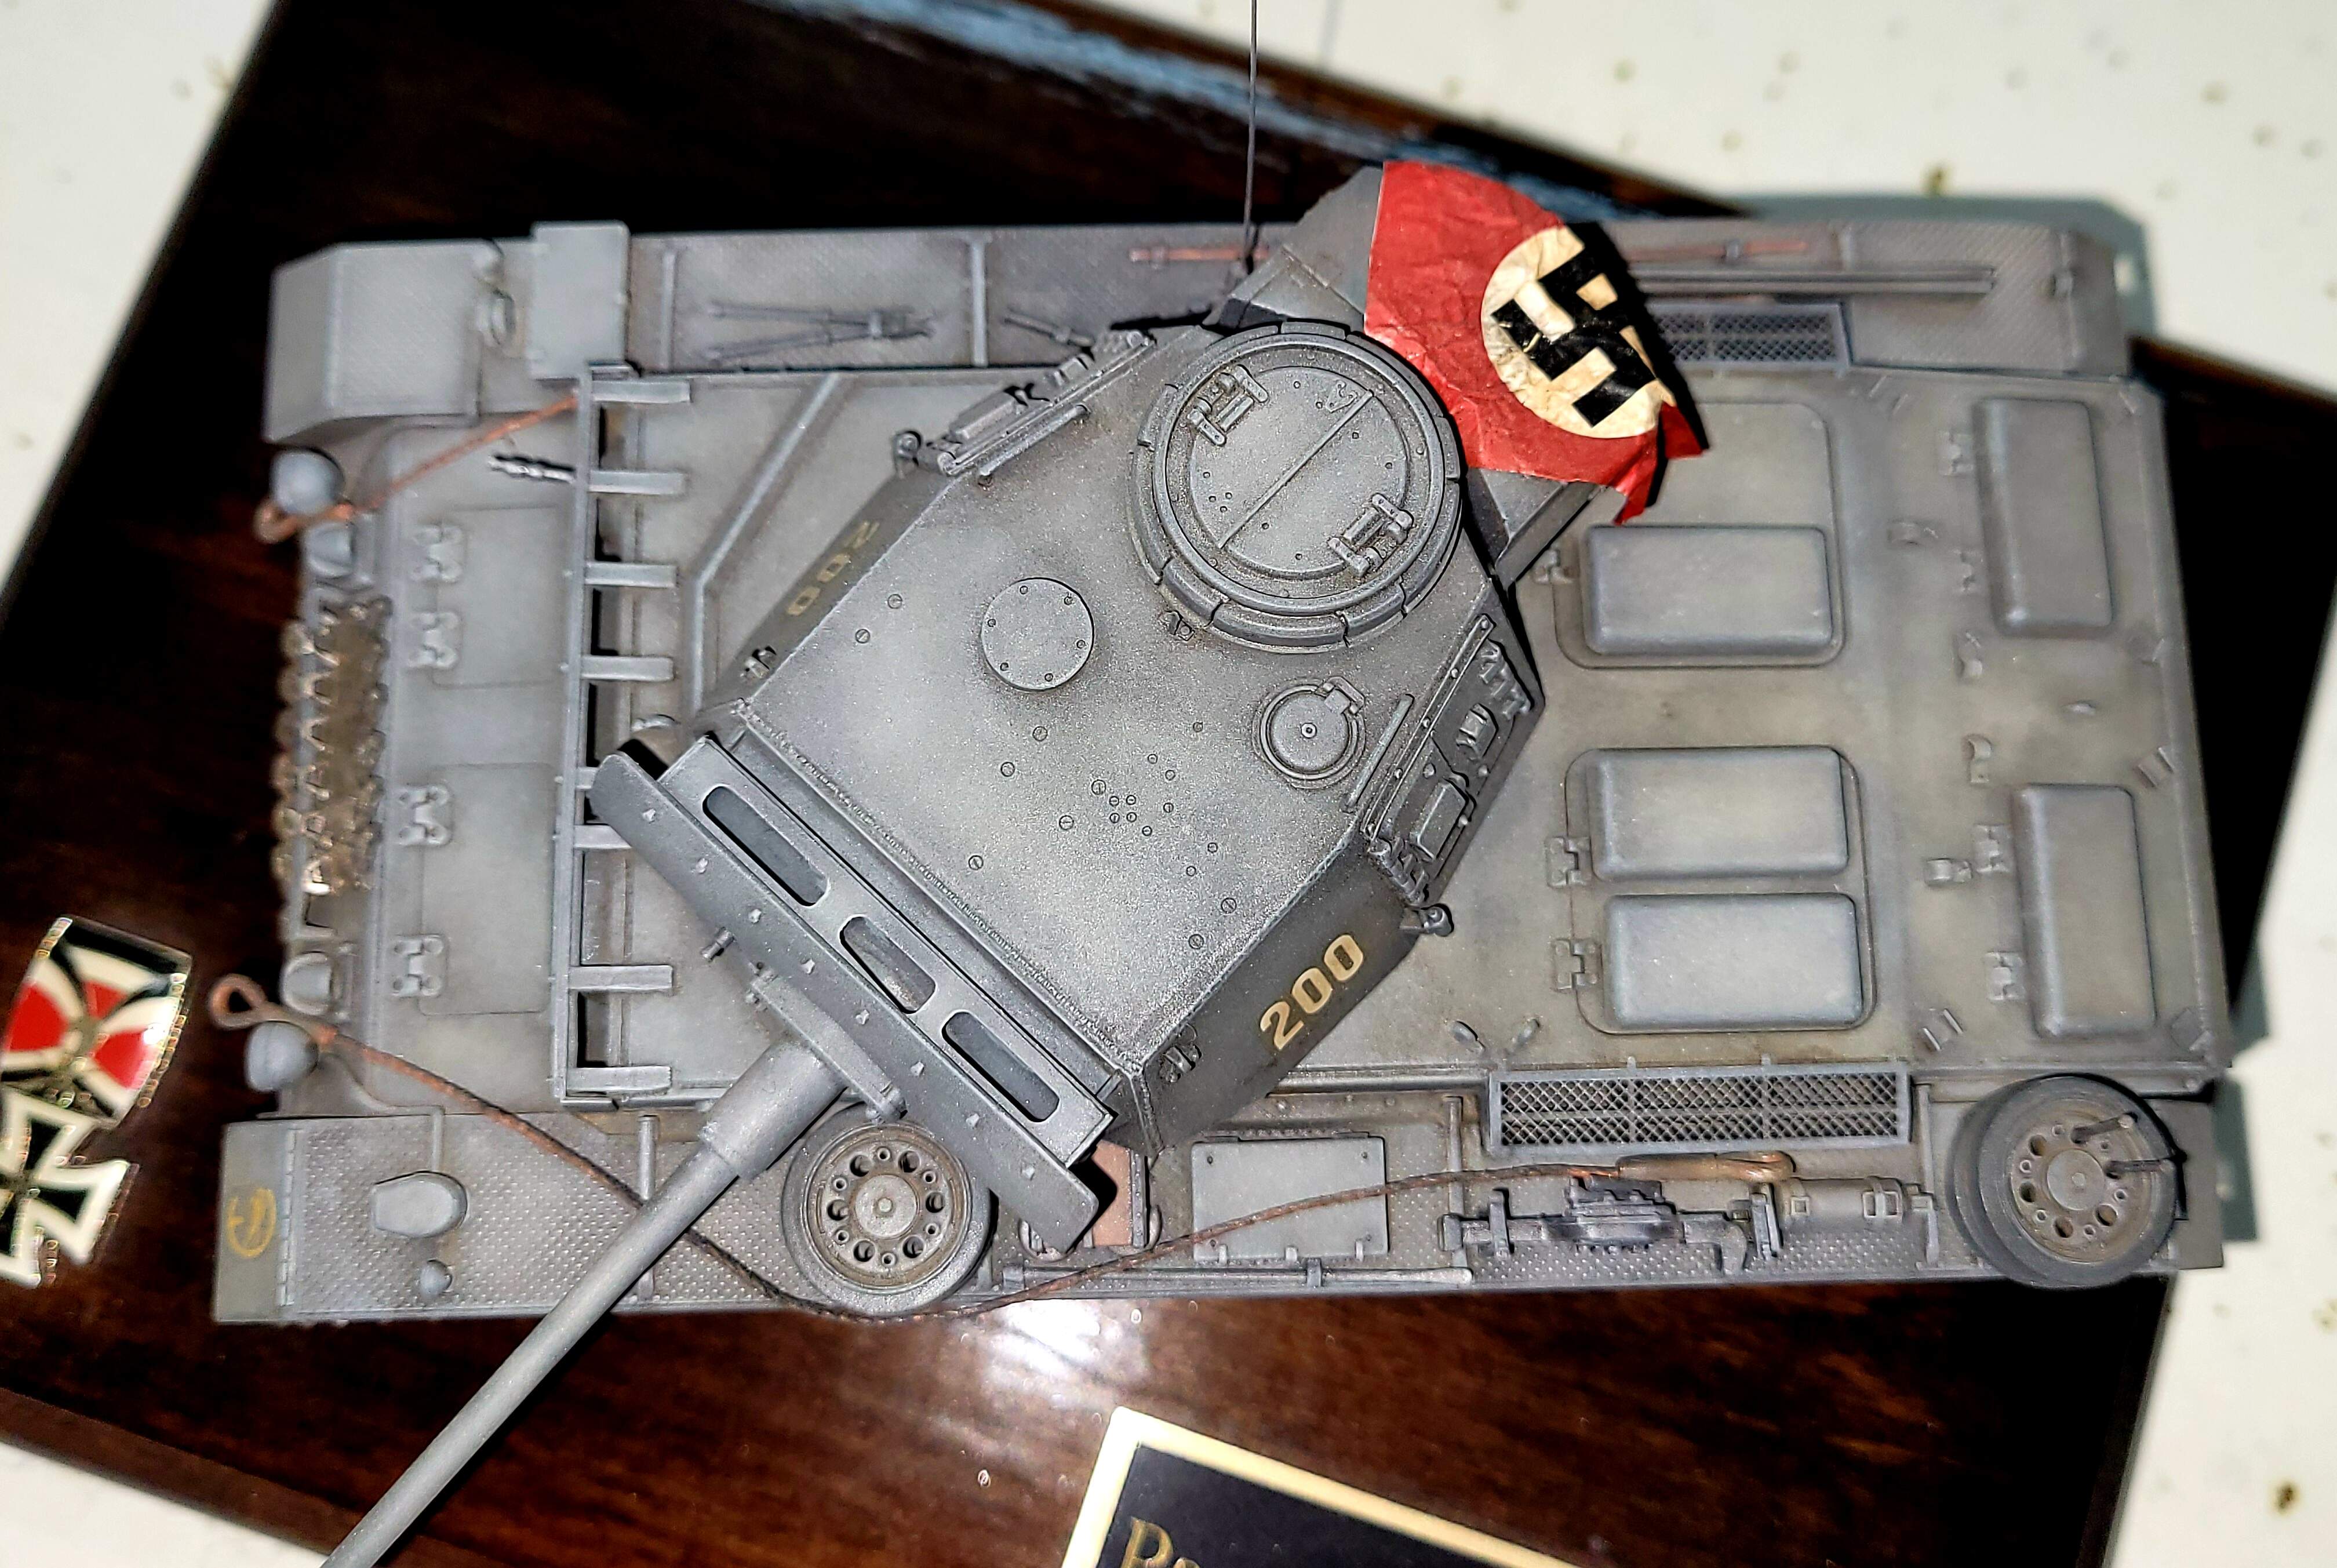
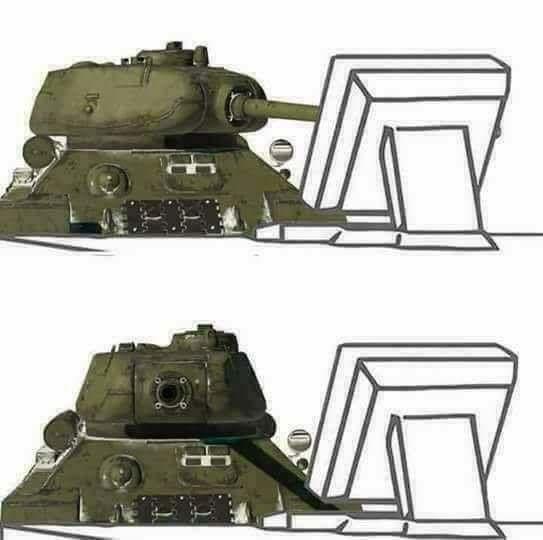
Shadow Paint yields this type of finishing style:

Over the next couple of weeks, I will post as these three models go through the process.

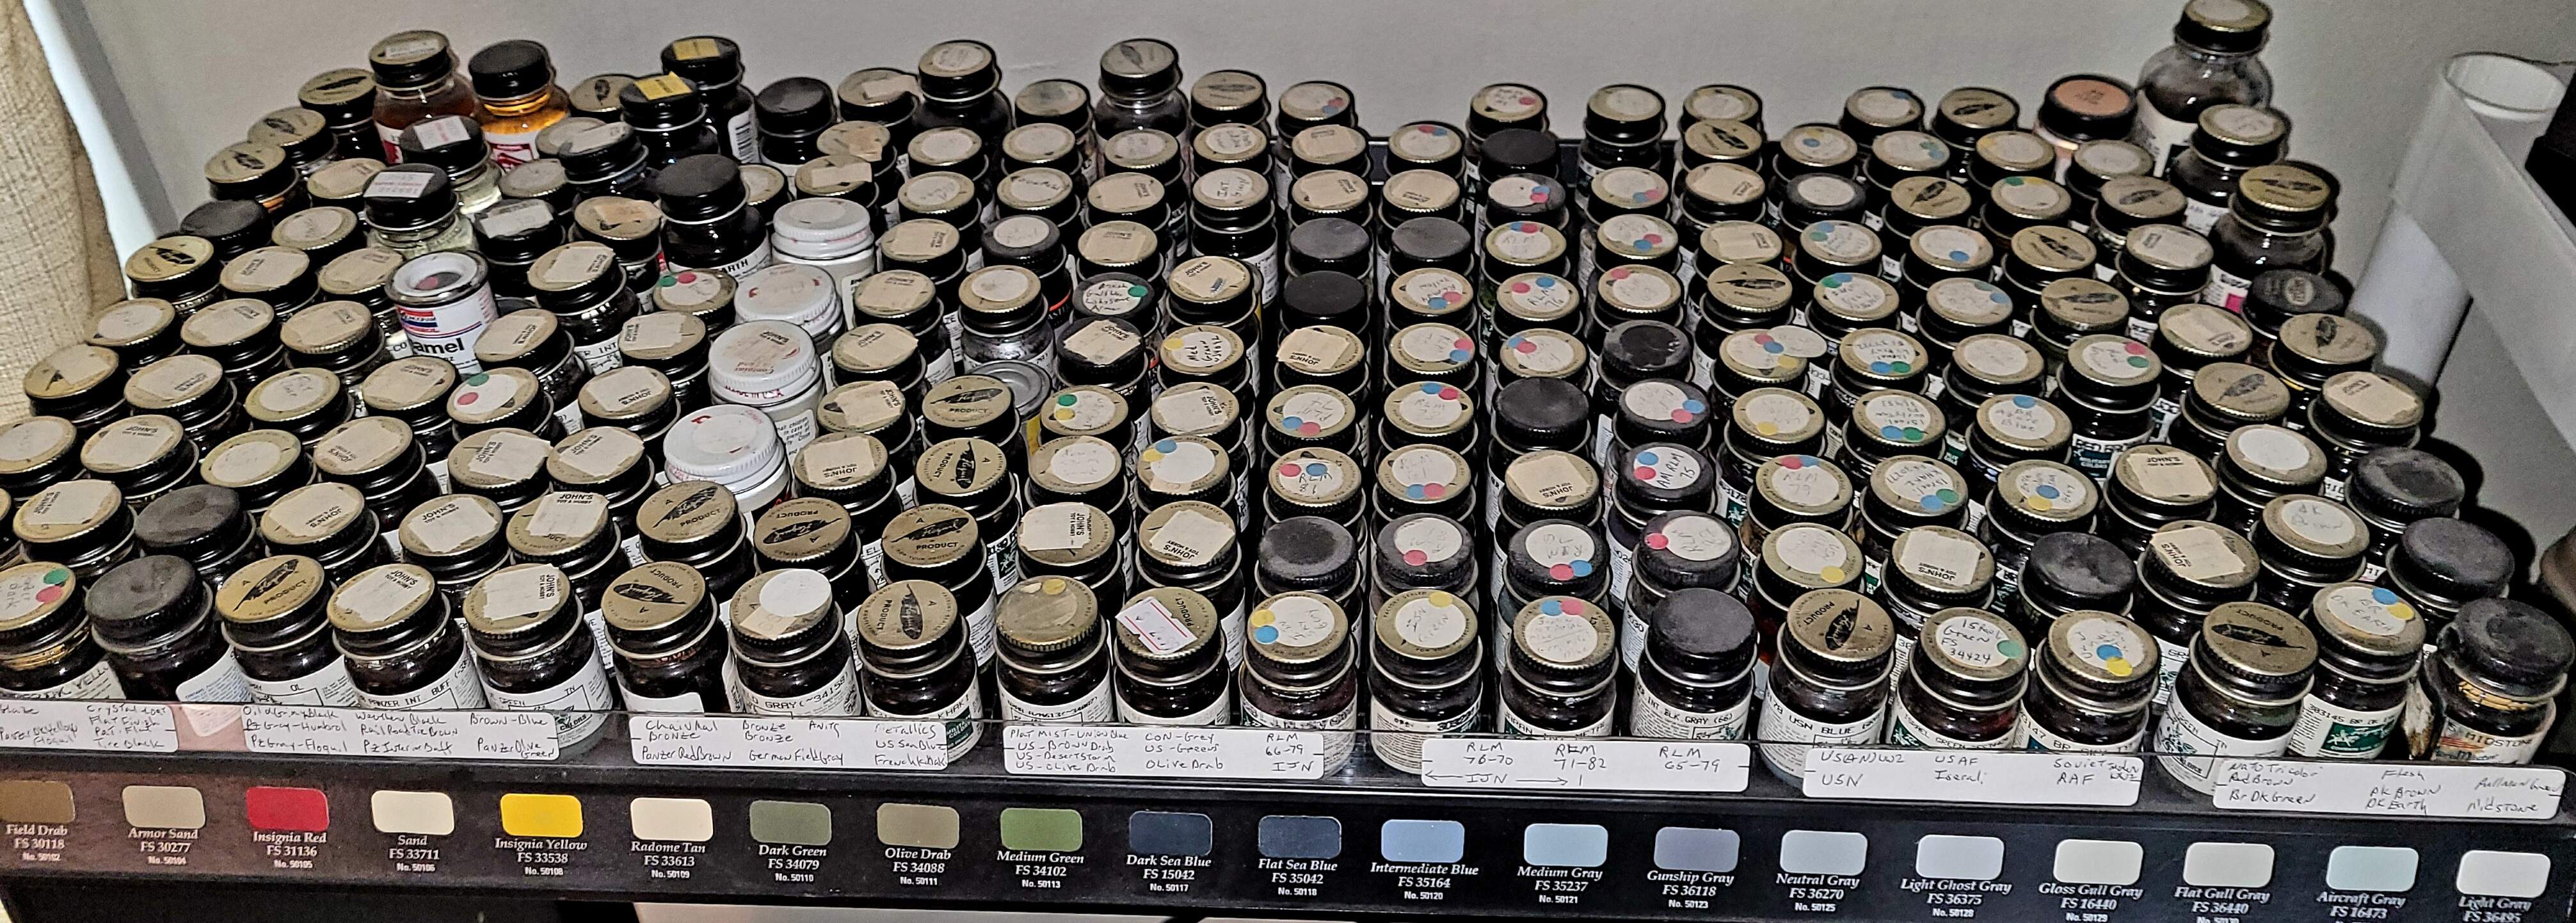
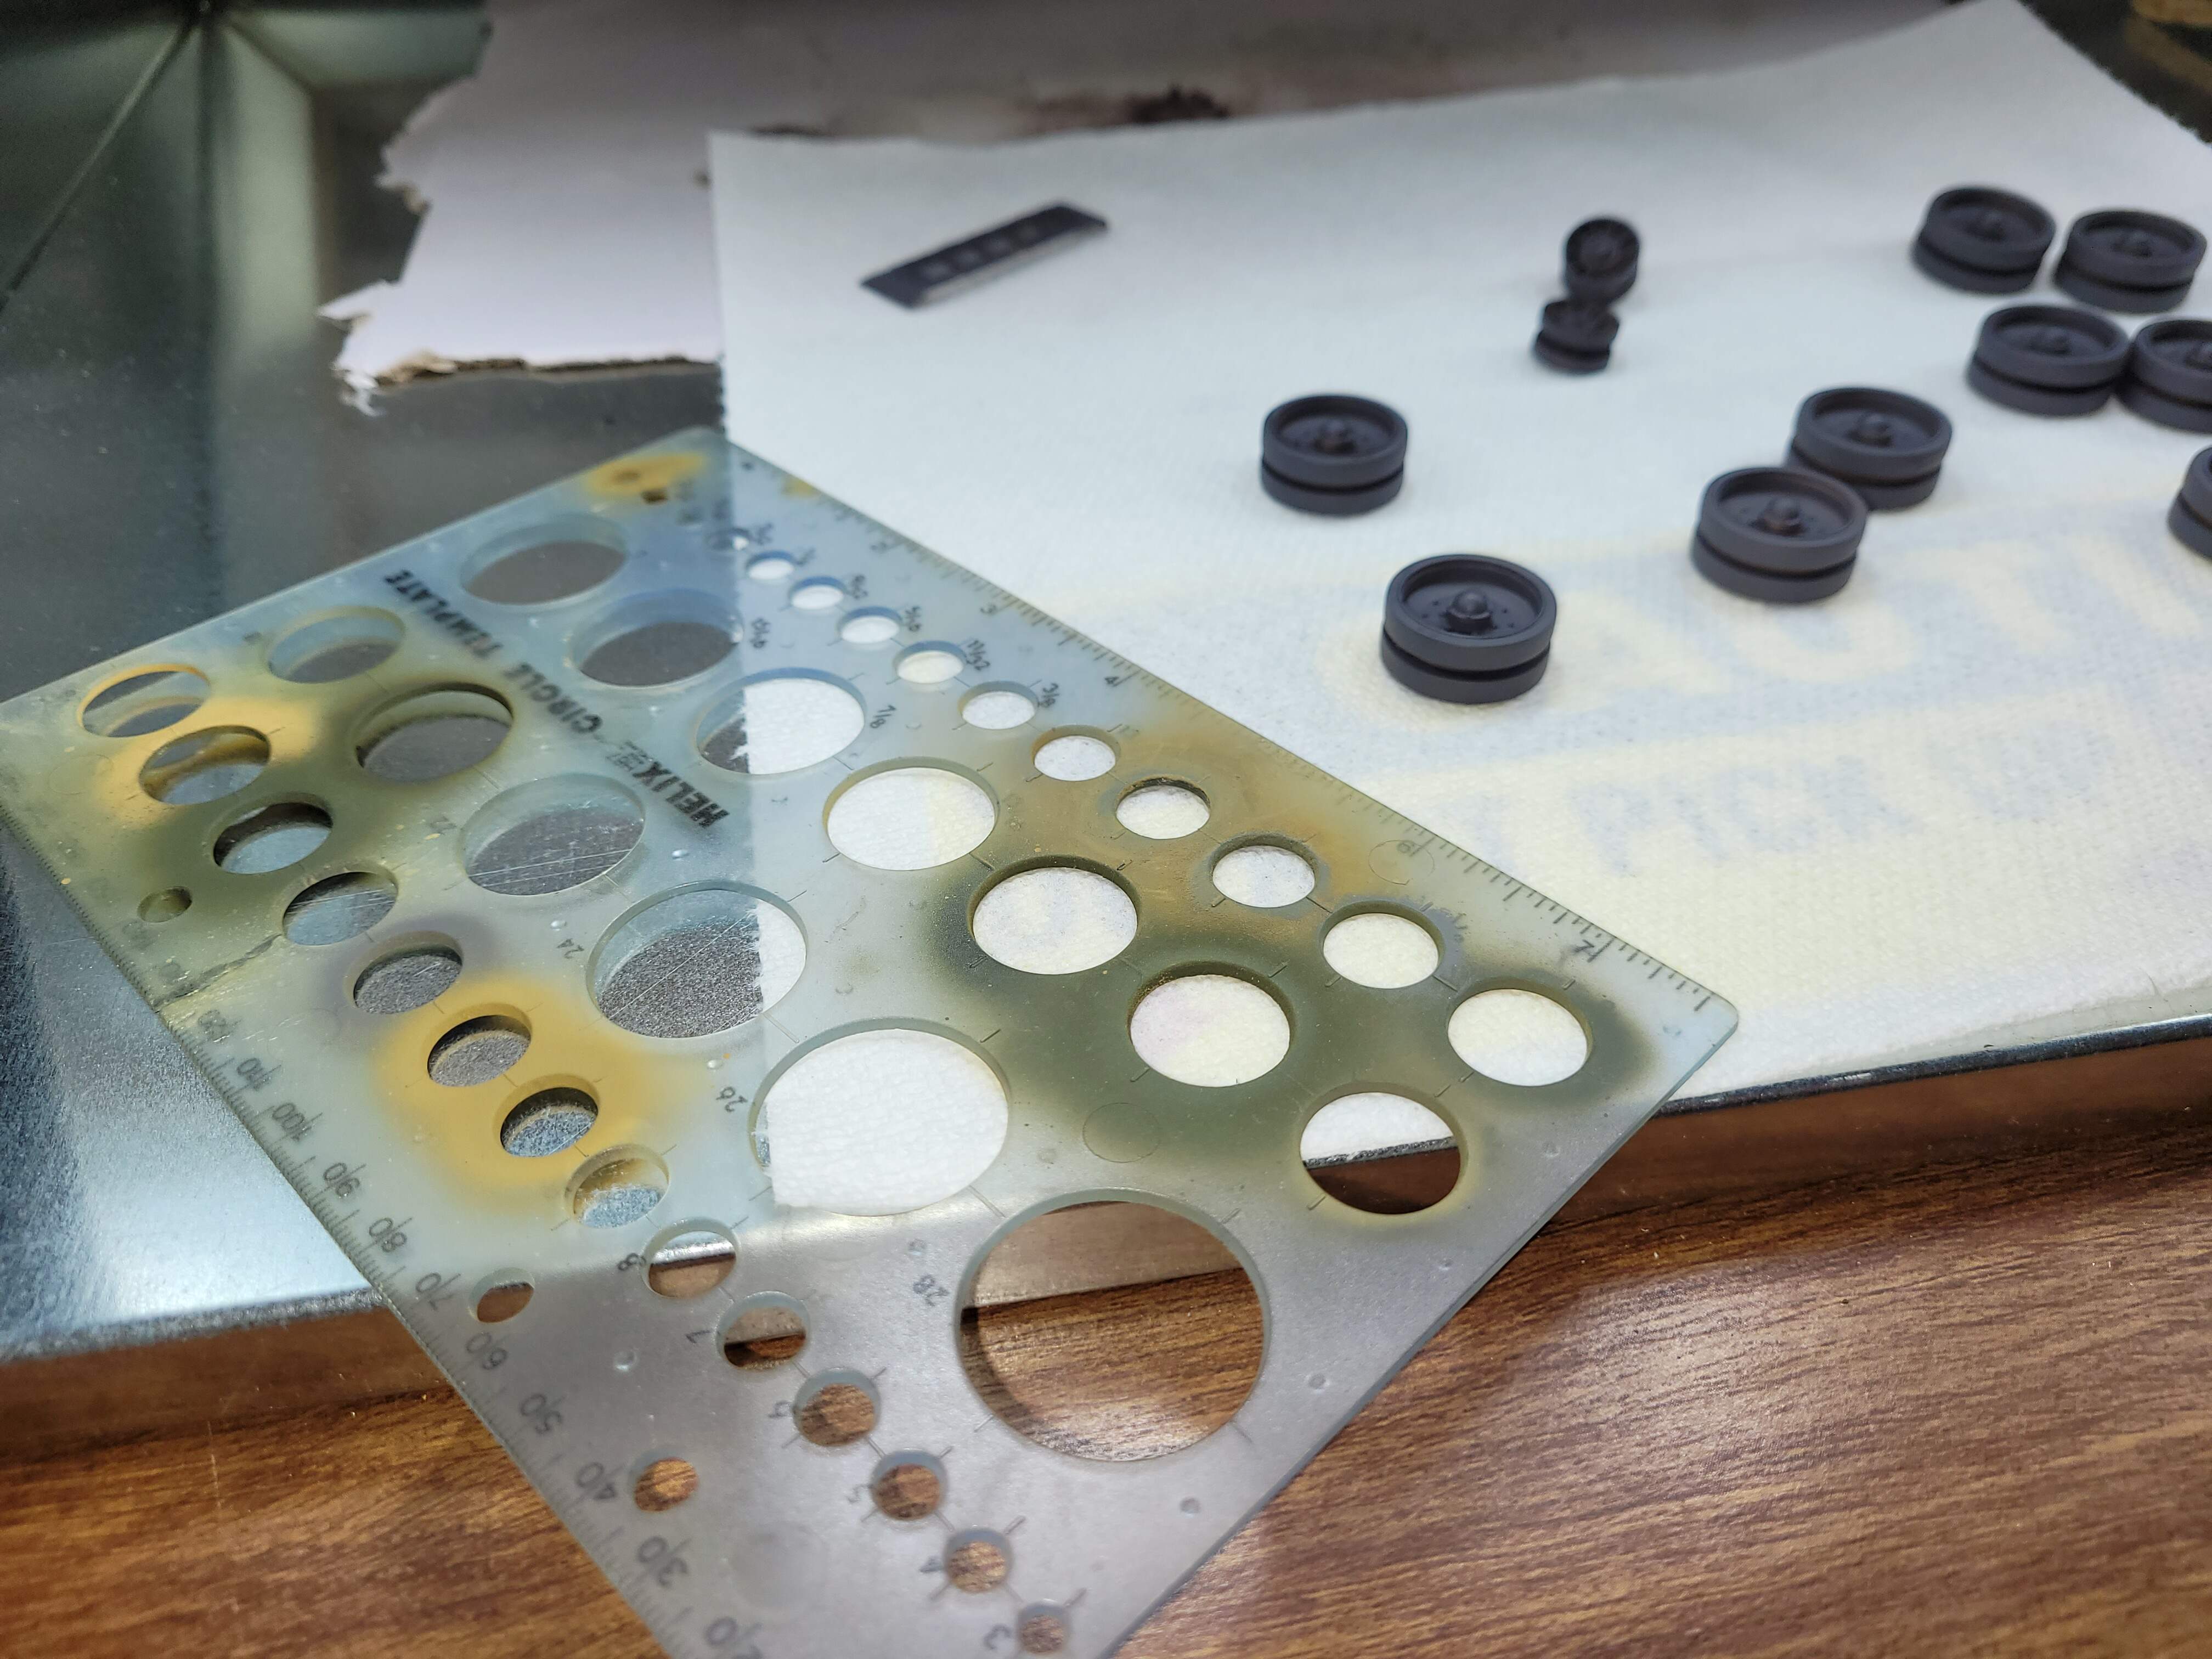
Four main colors will be used on the three models. I still prefer Floquil but this will work with any high quality model paint. Floquil being an excellent enamel paint does have a special property that will come into play with dry brushing that’s very helpful in my experience.

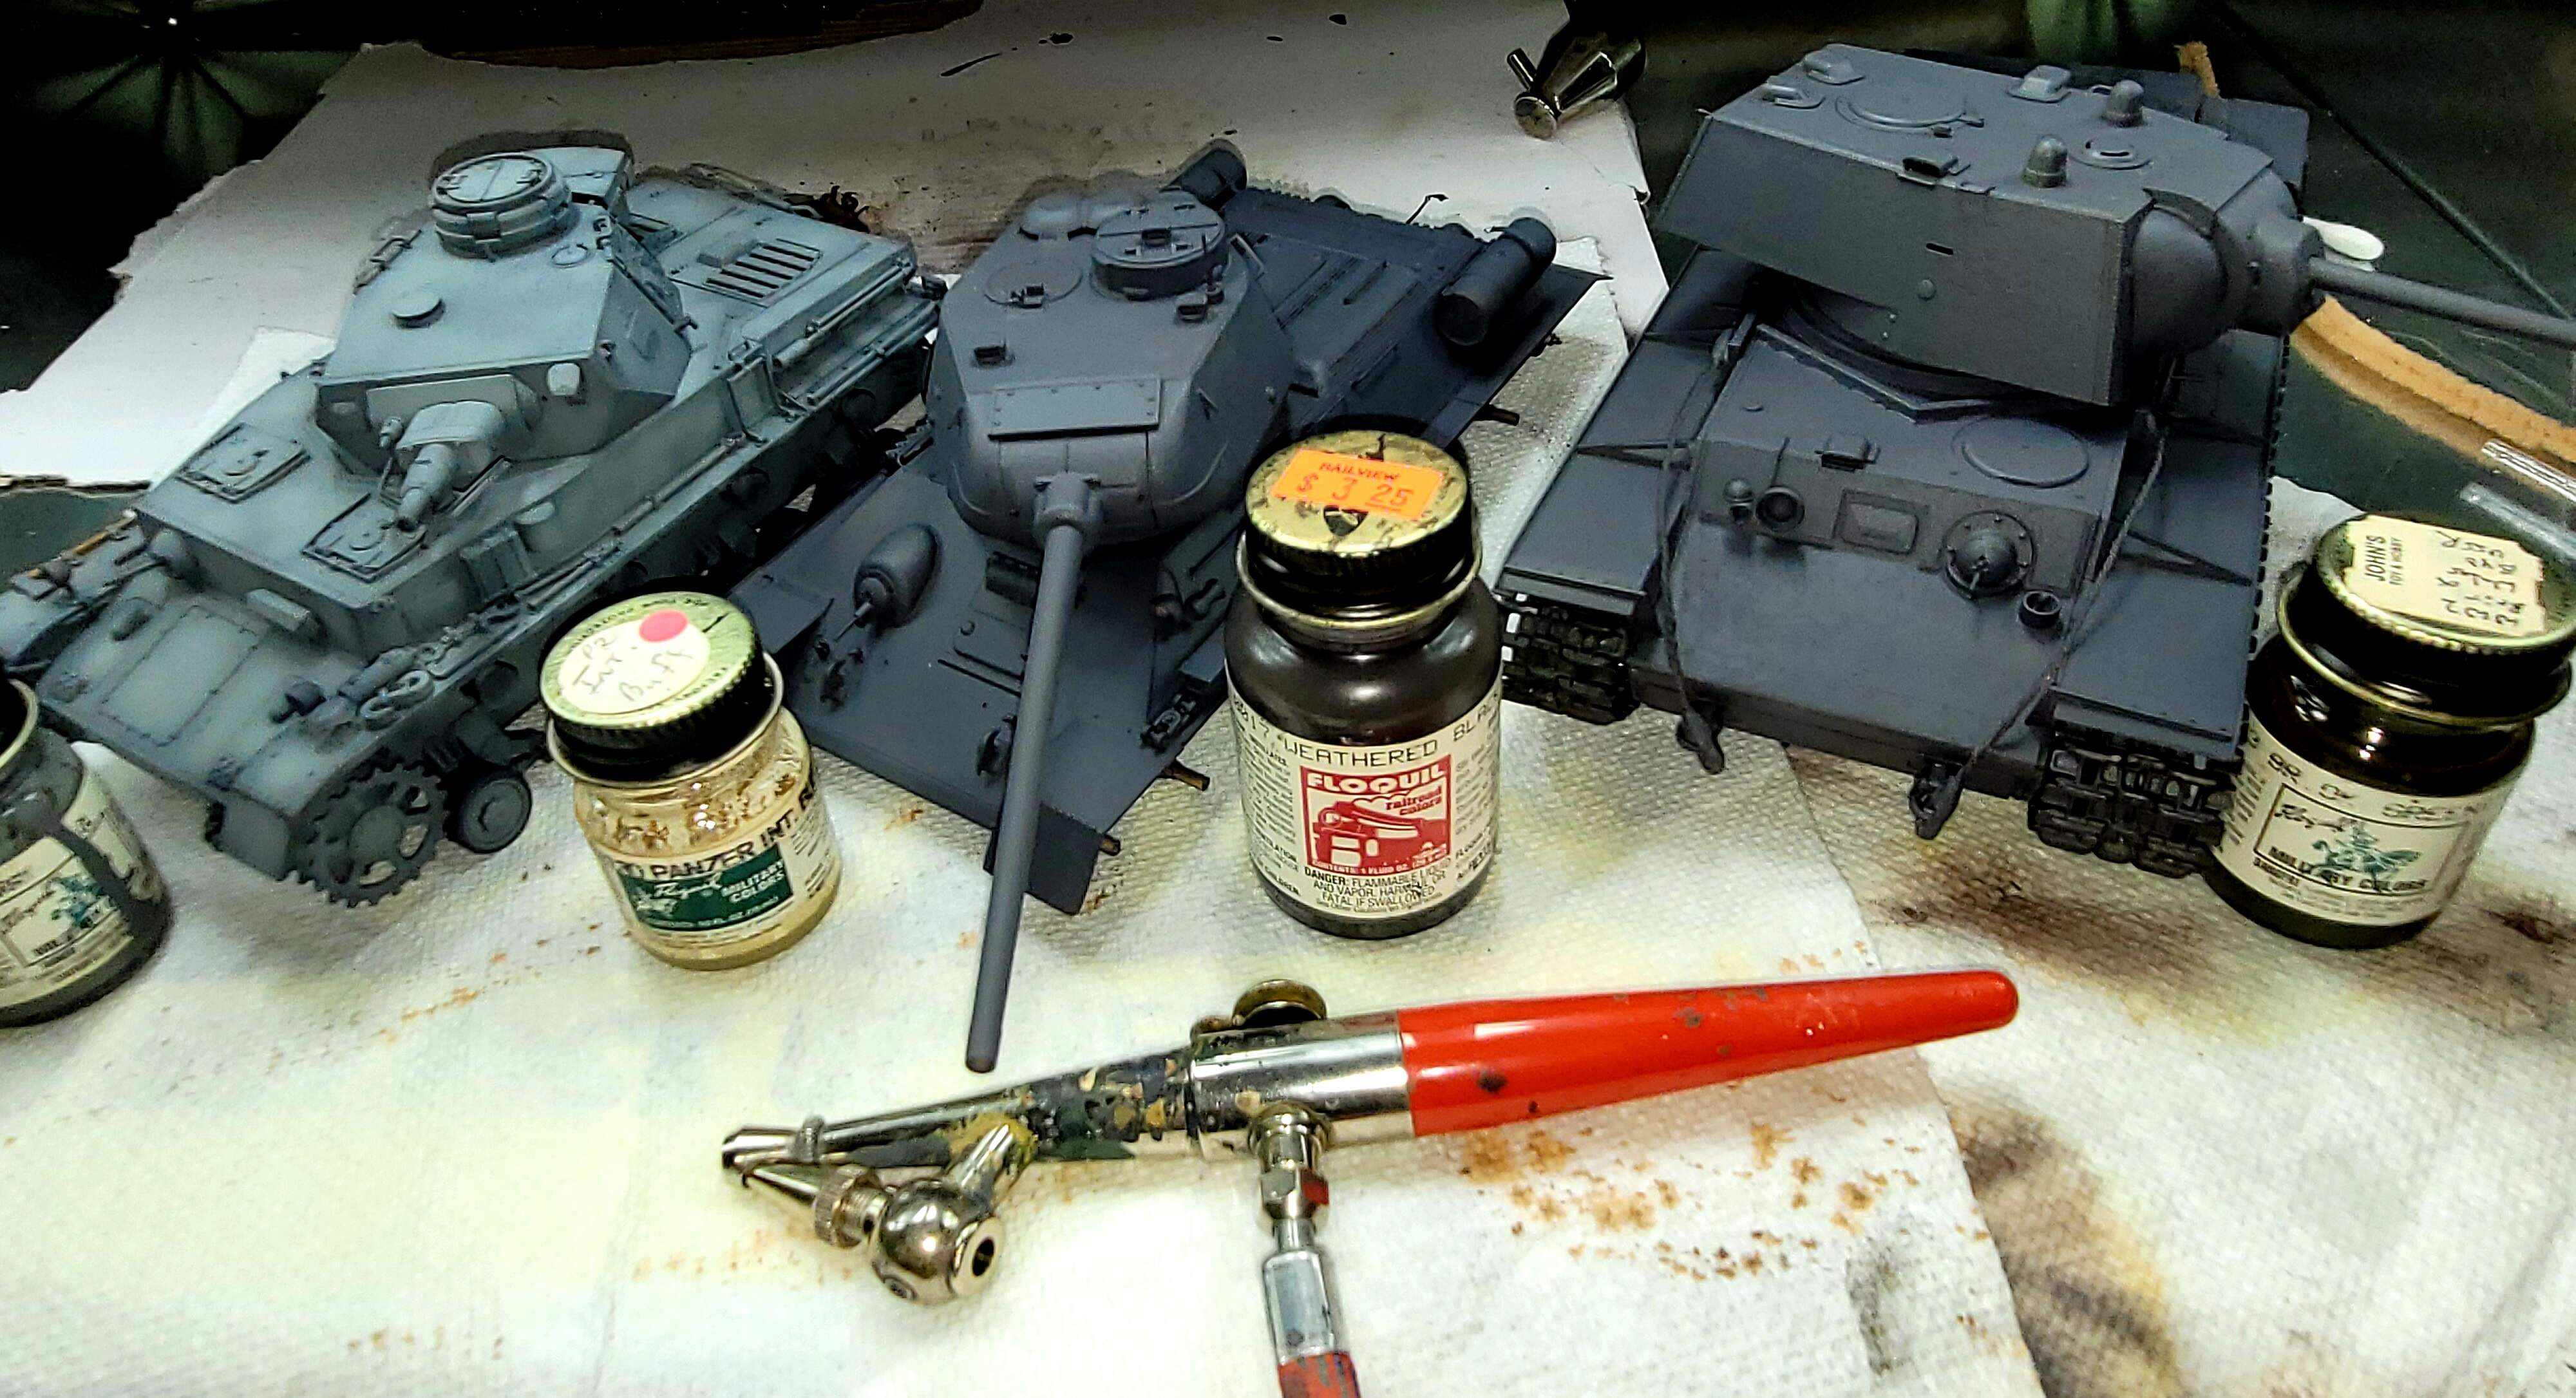
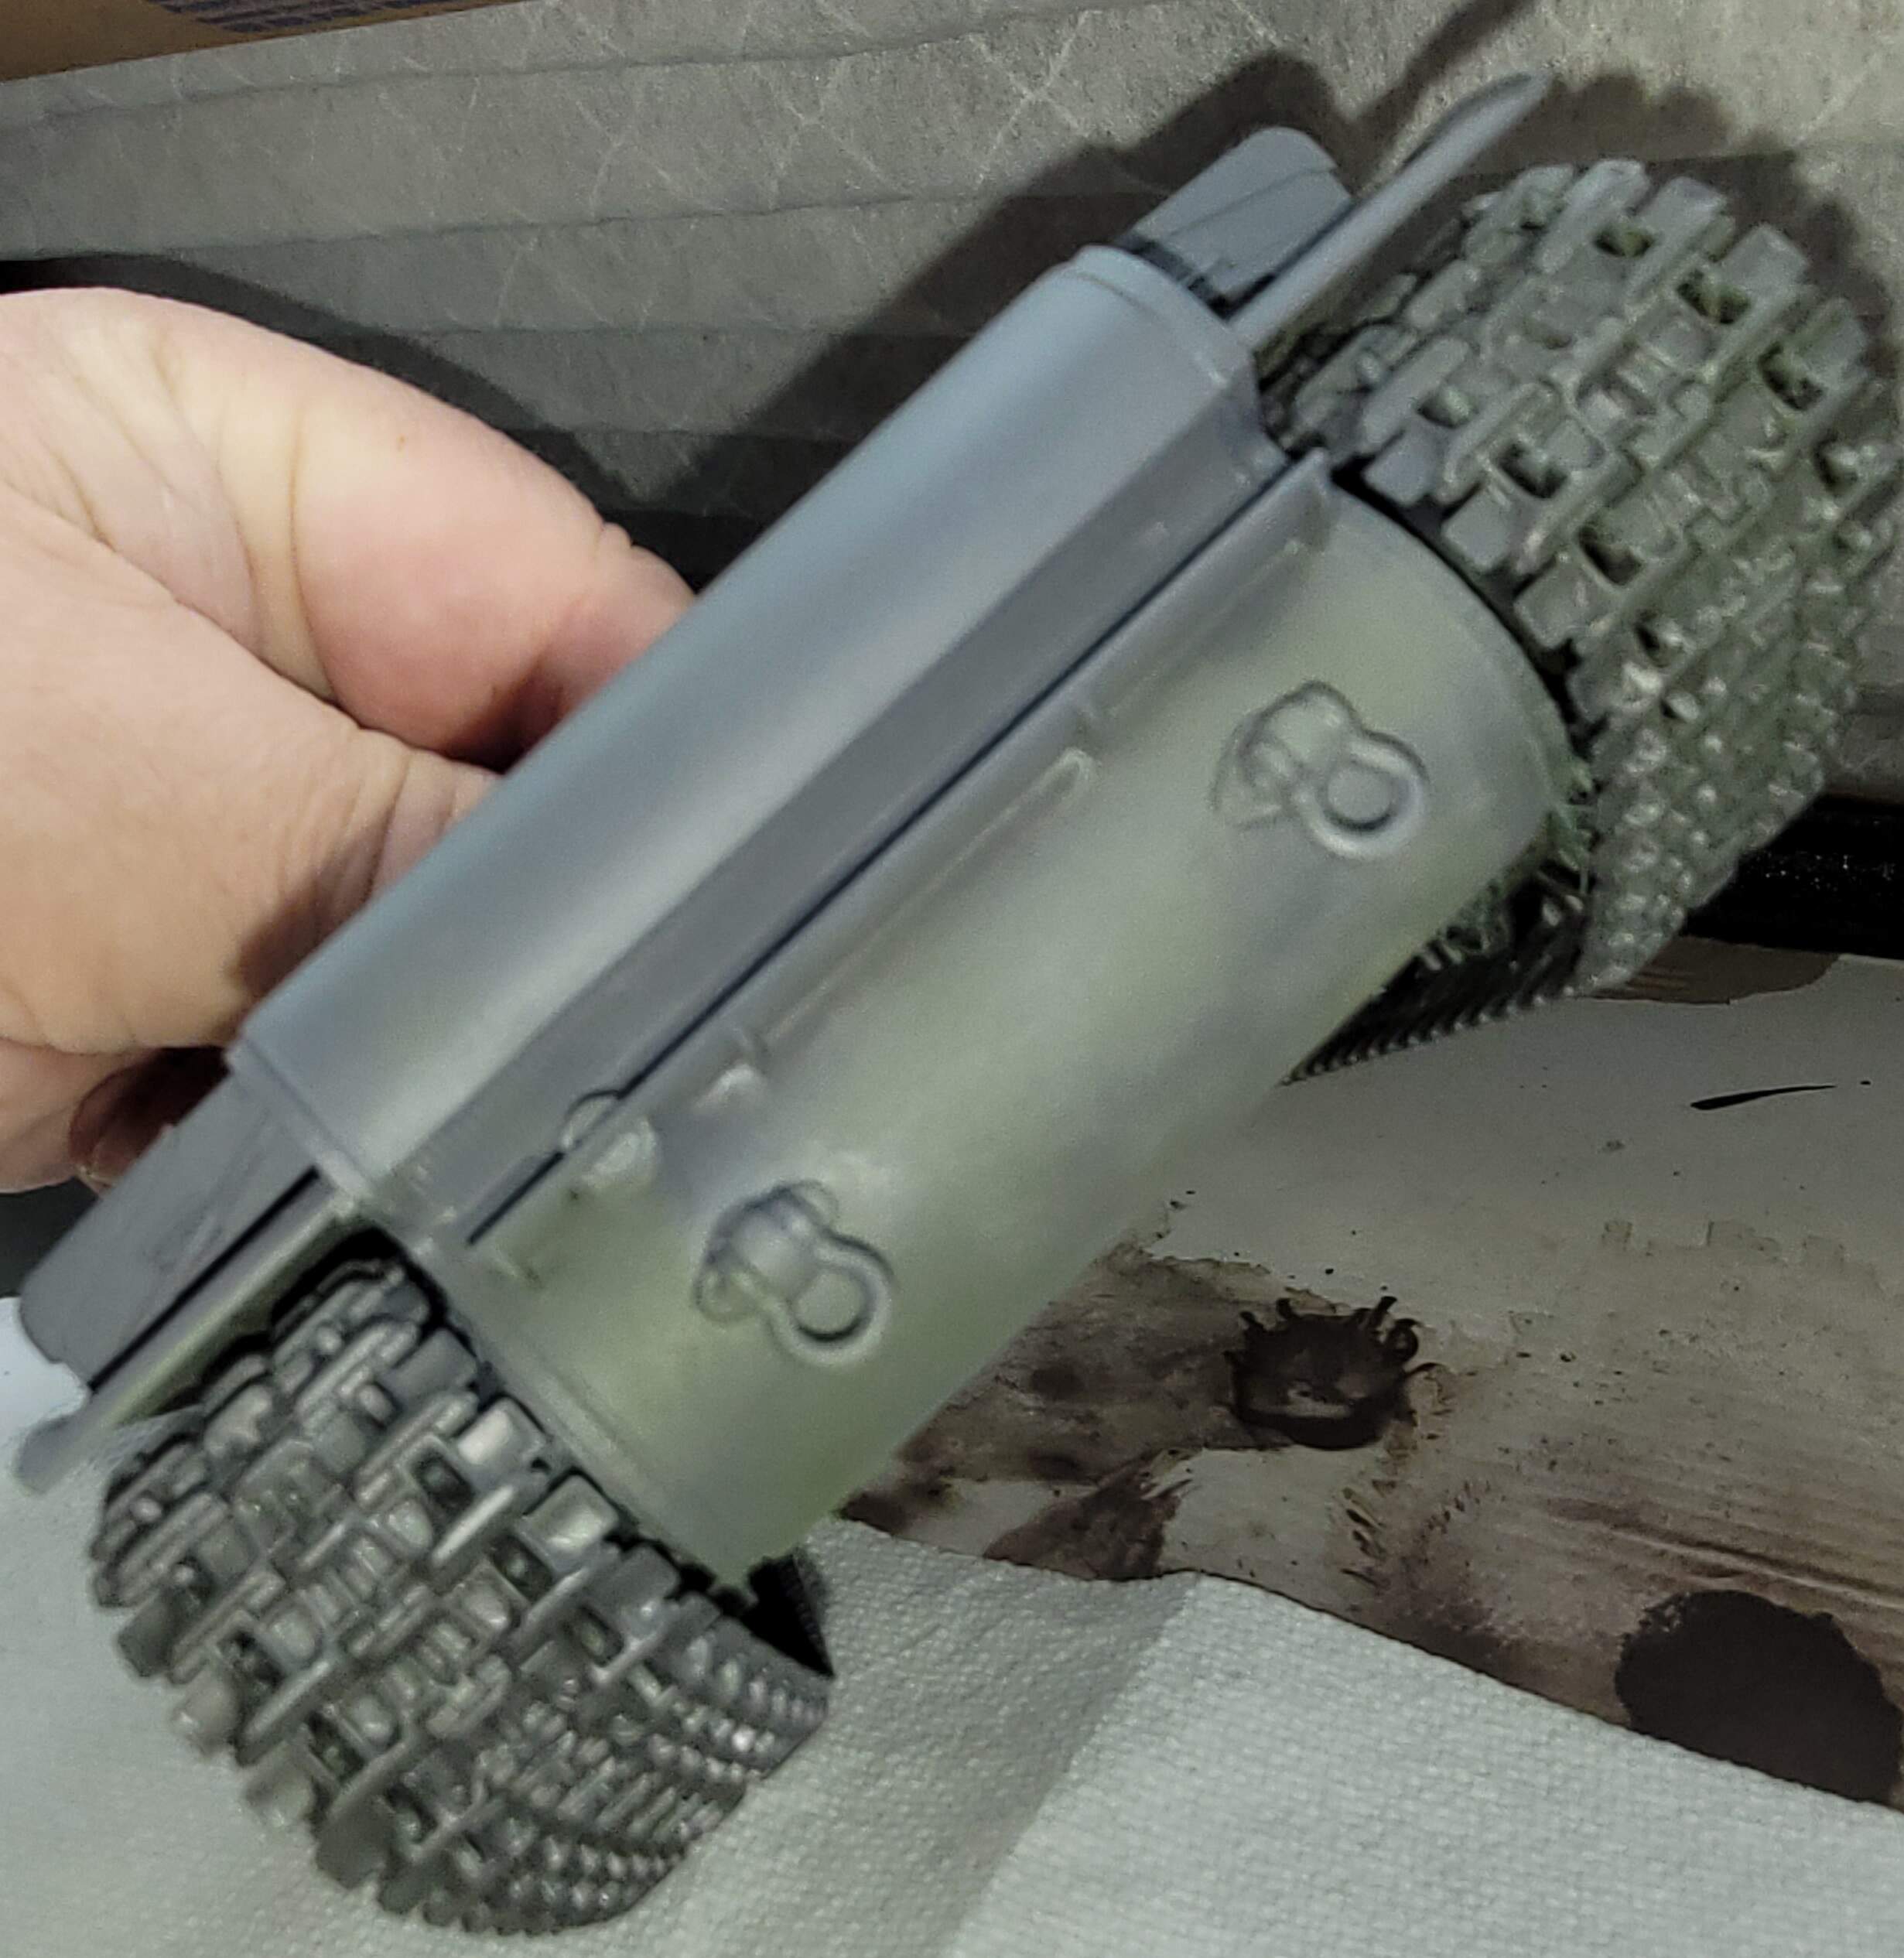
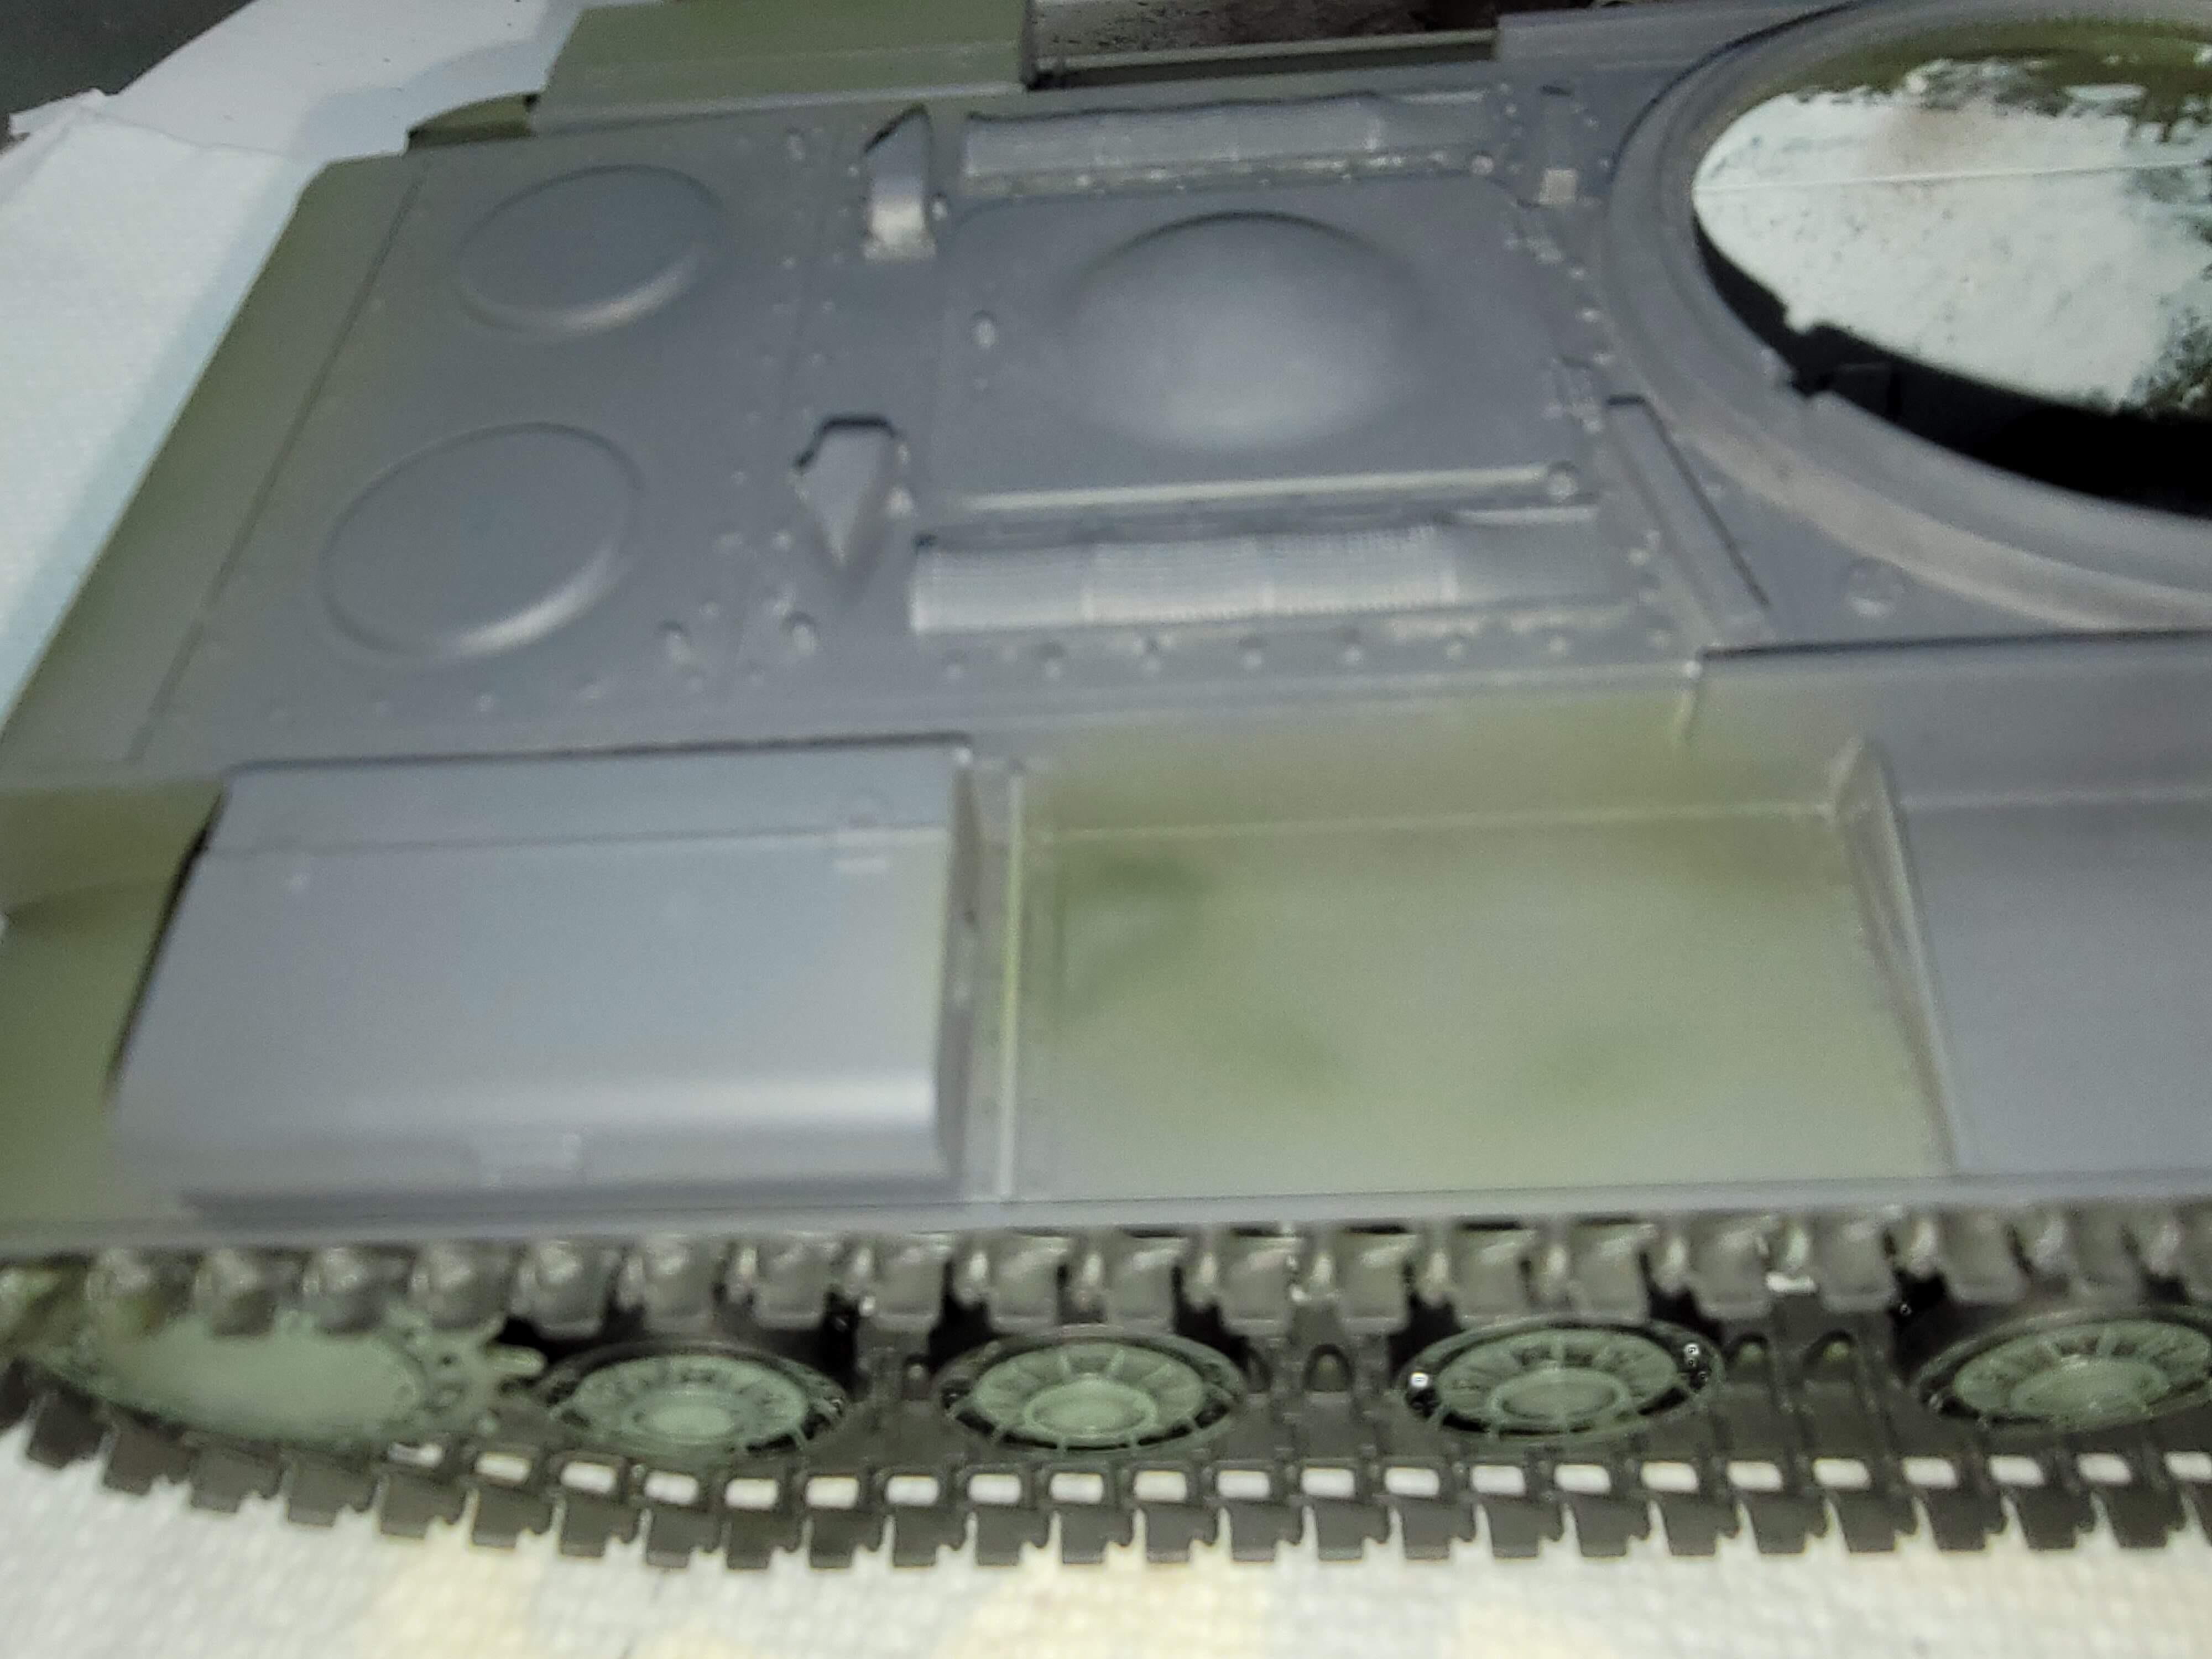
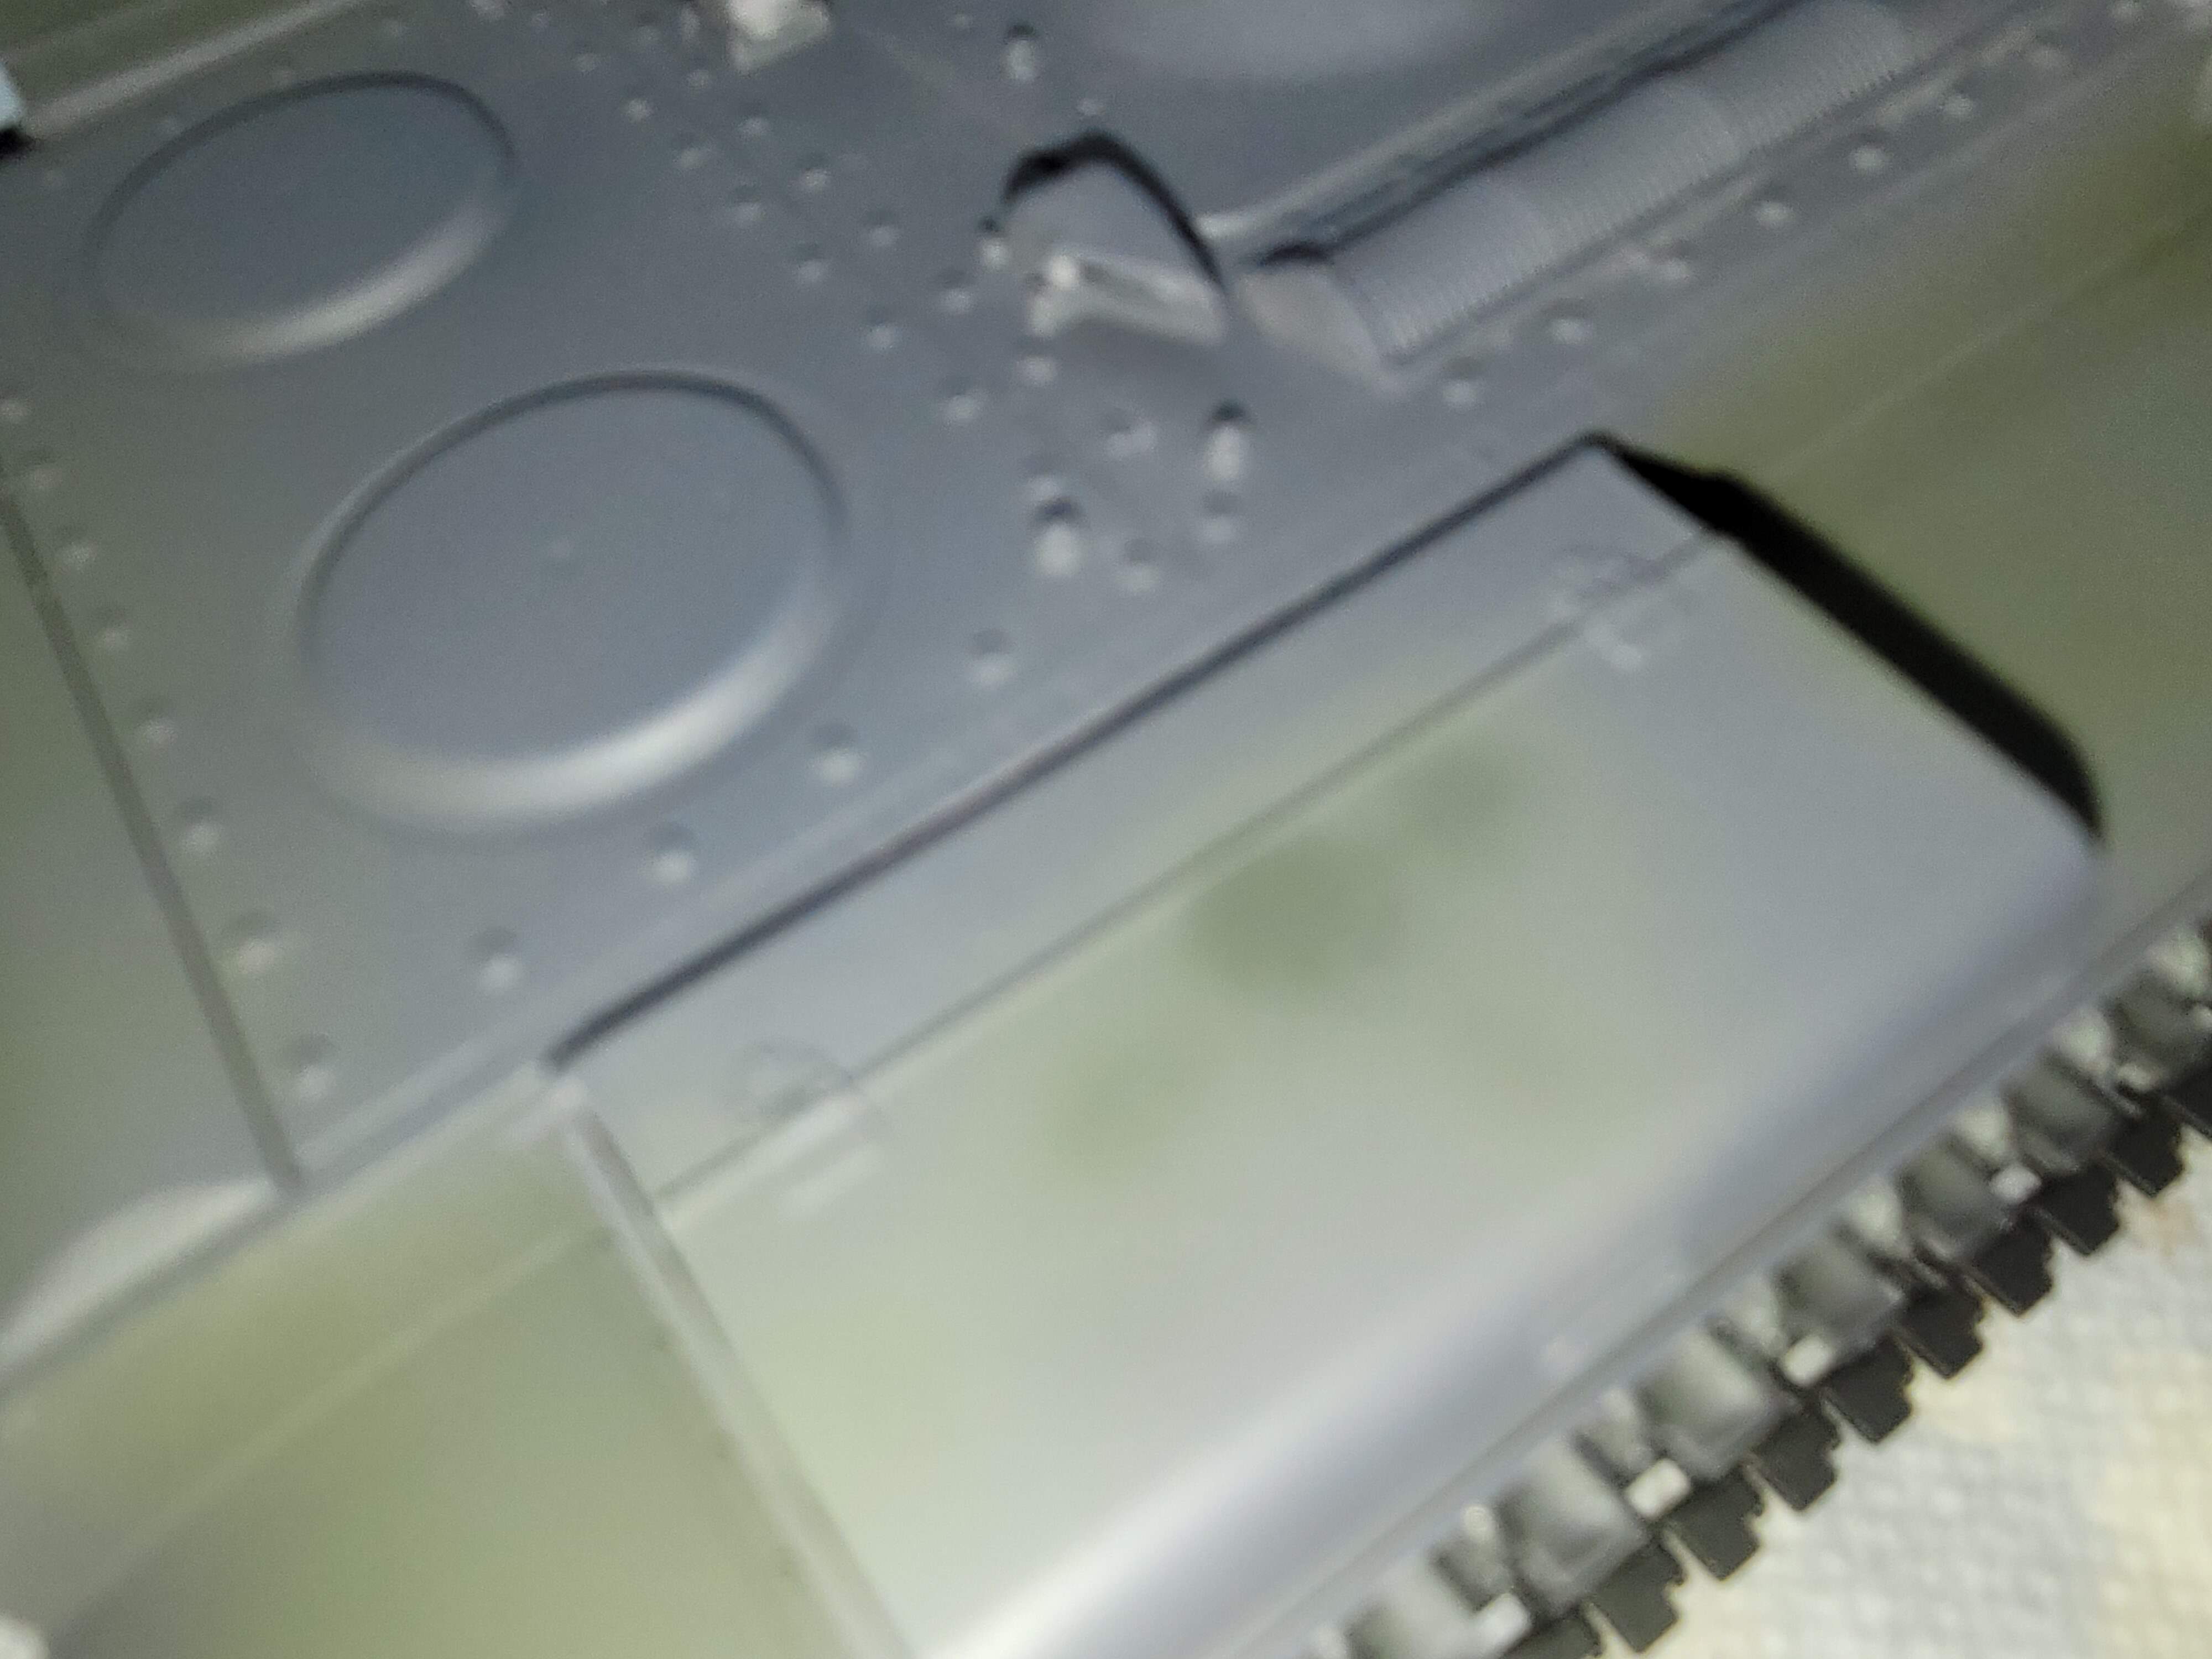
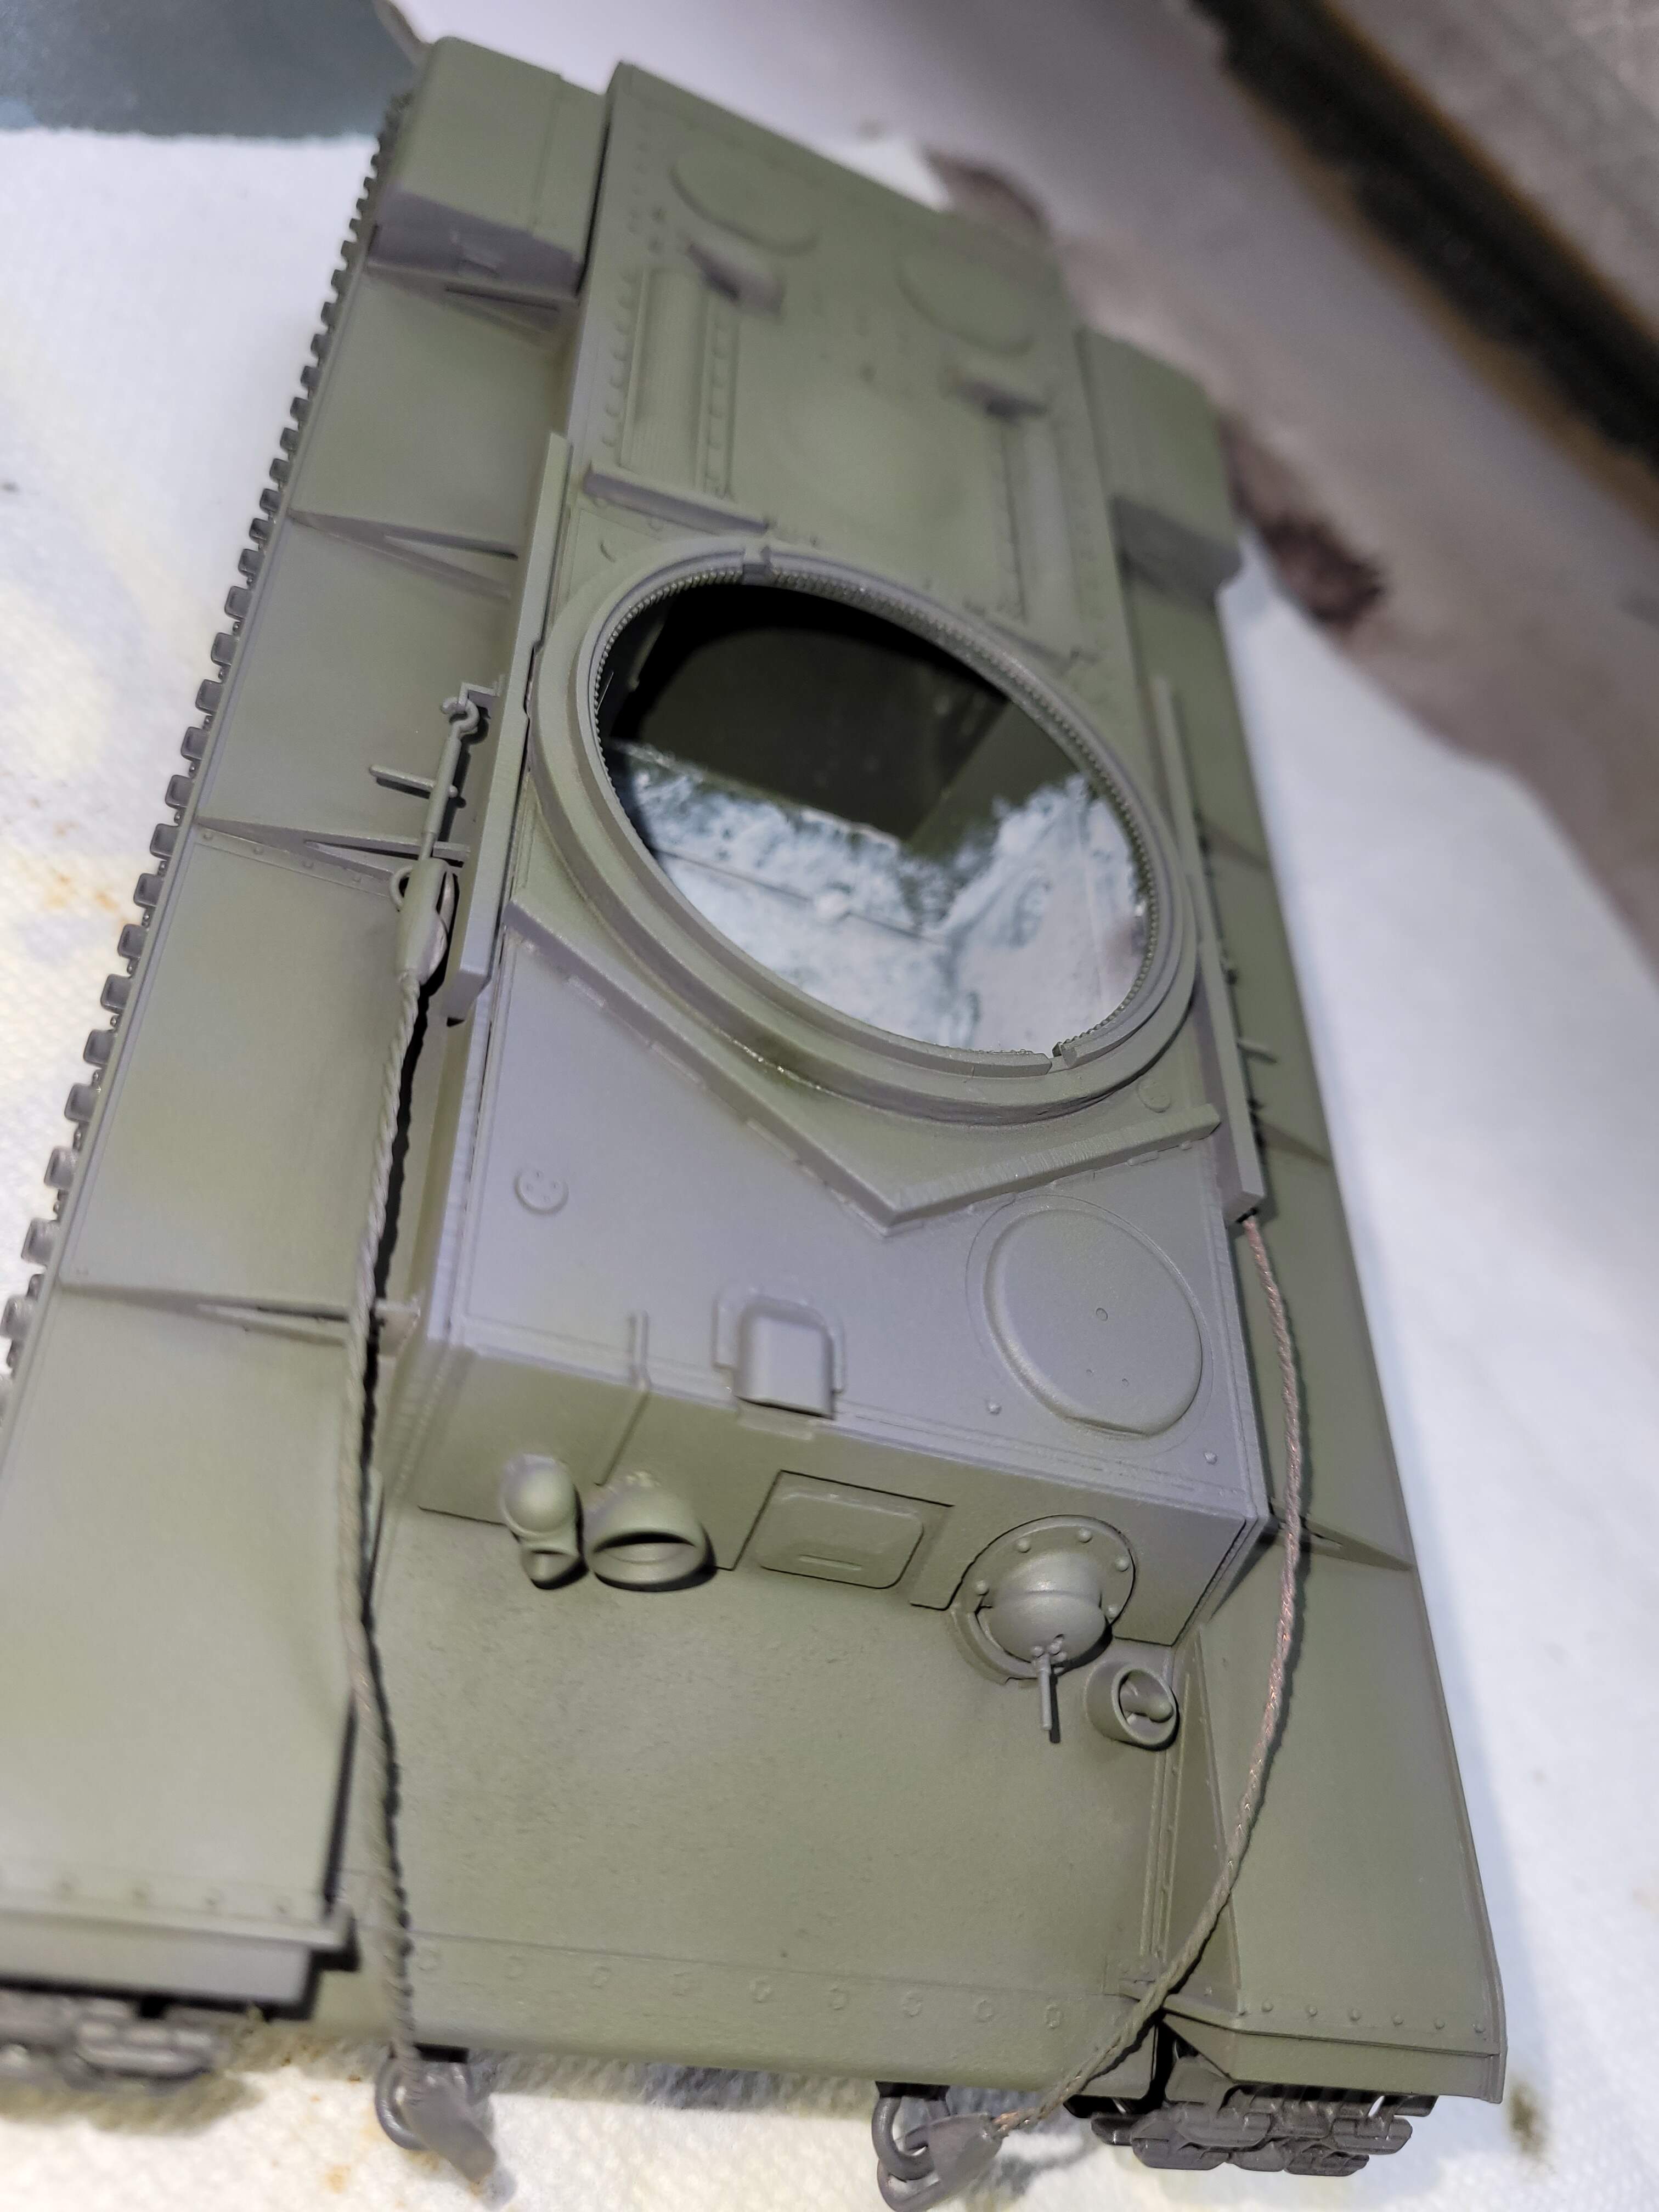
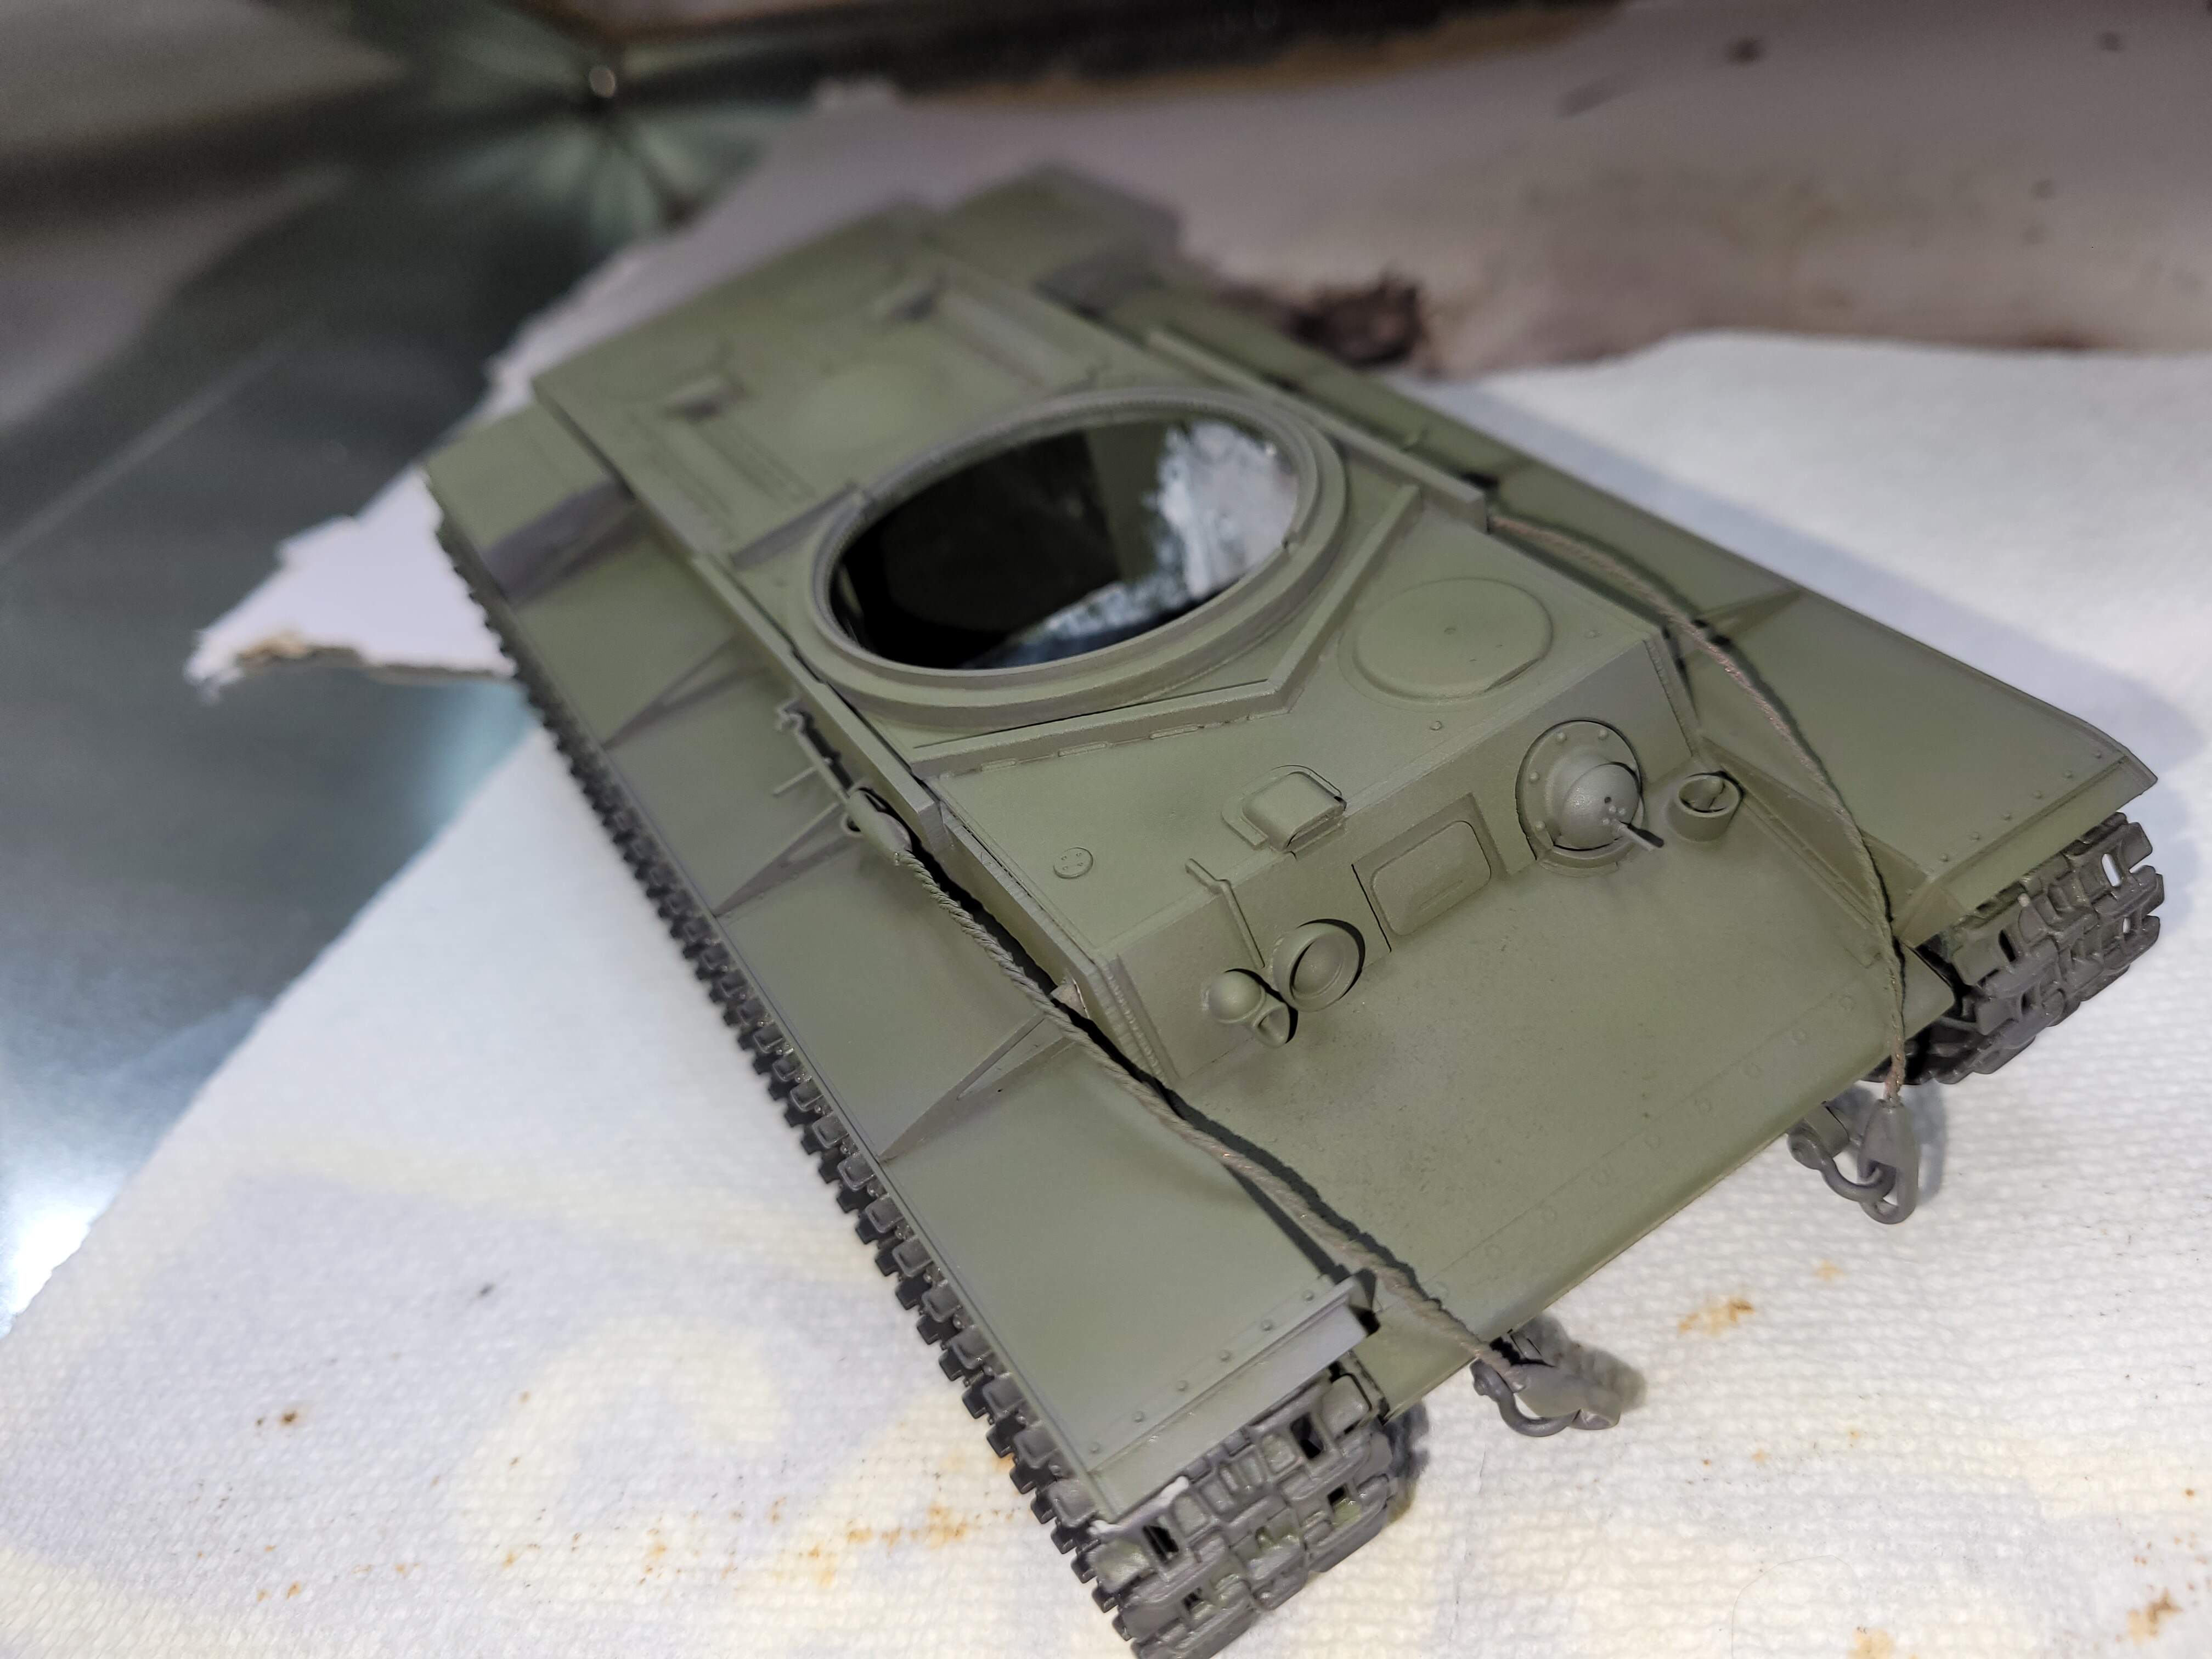
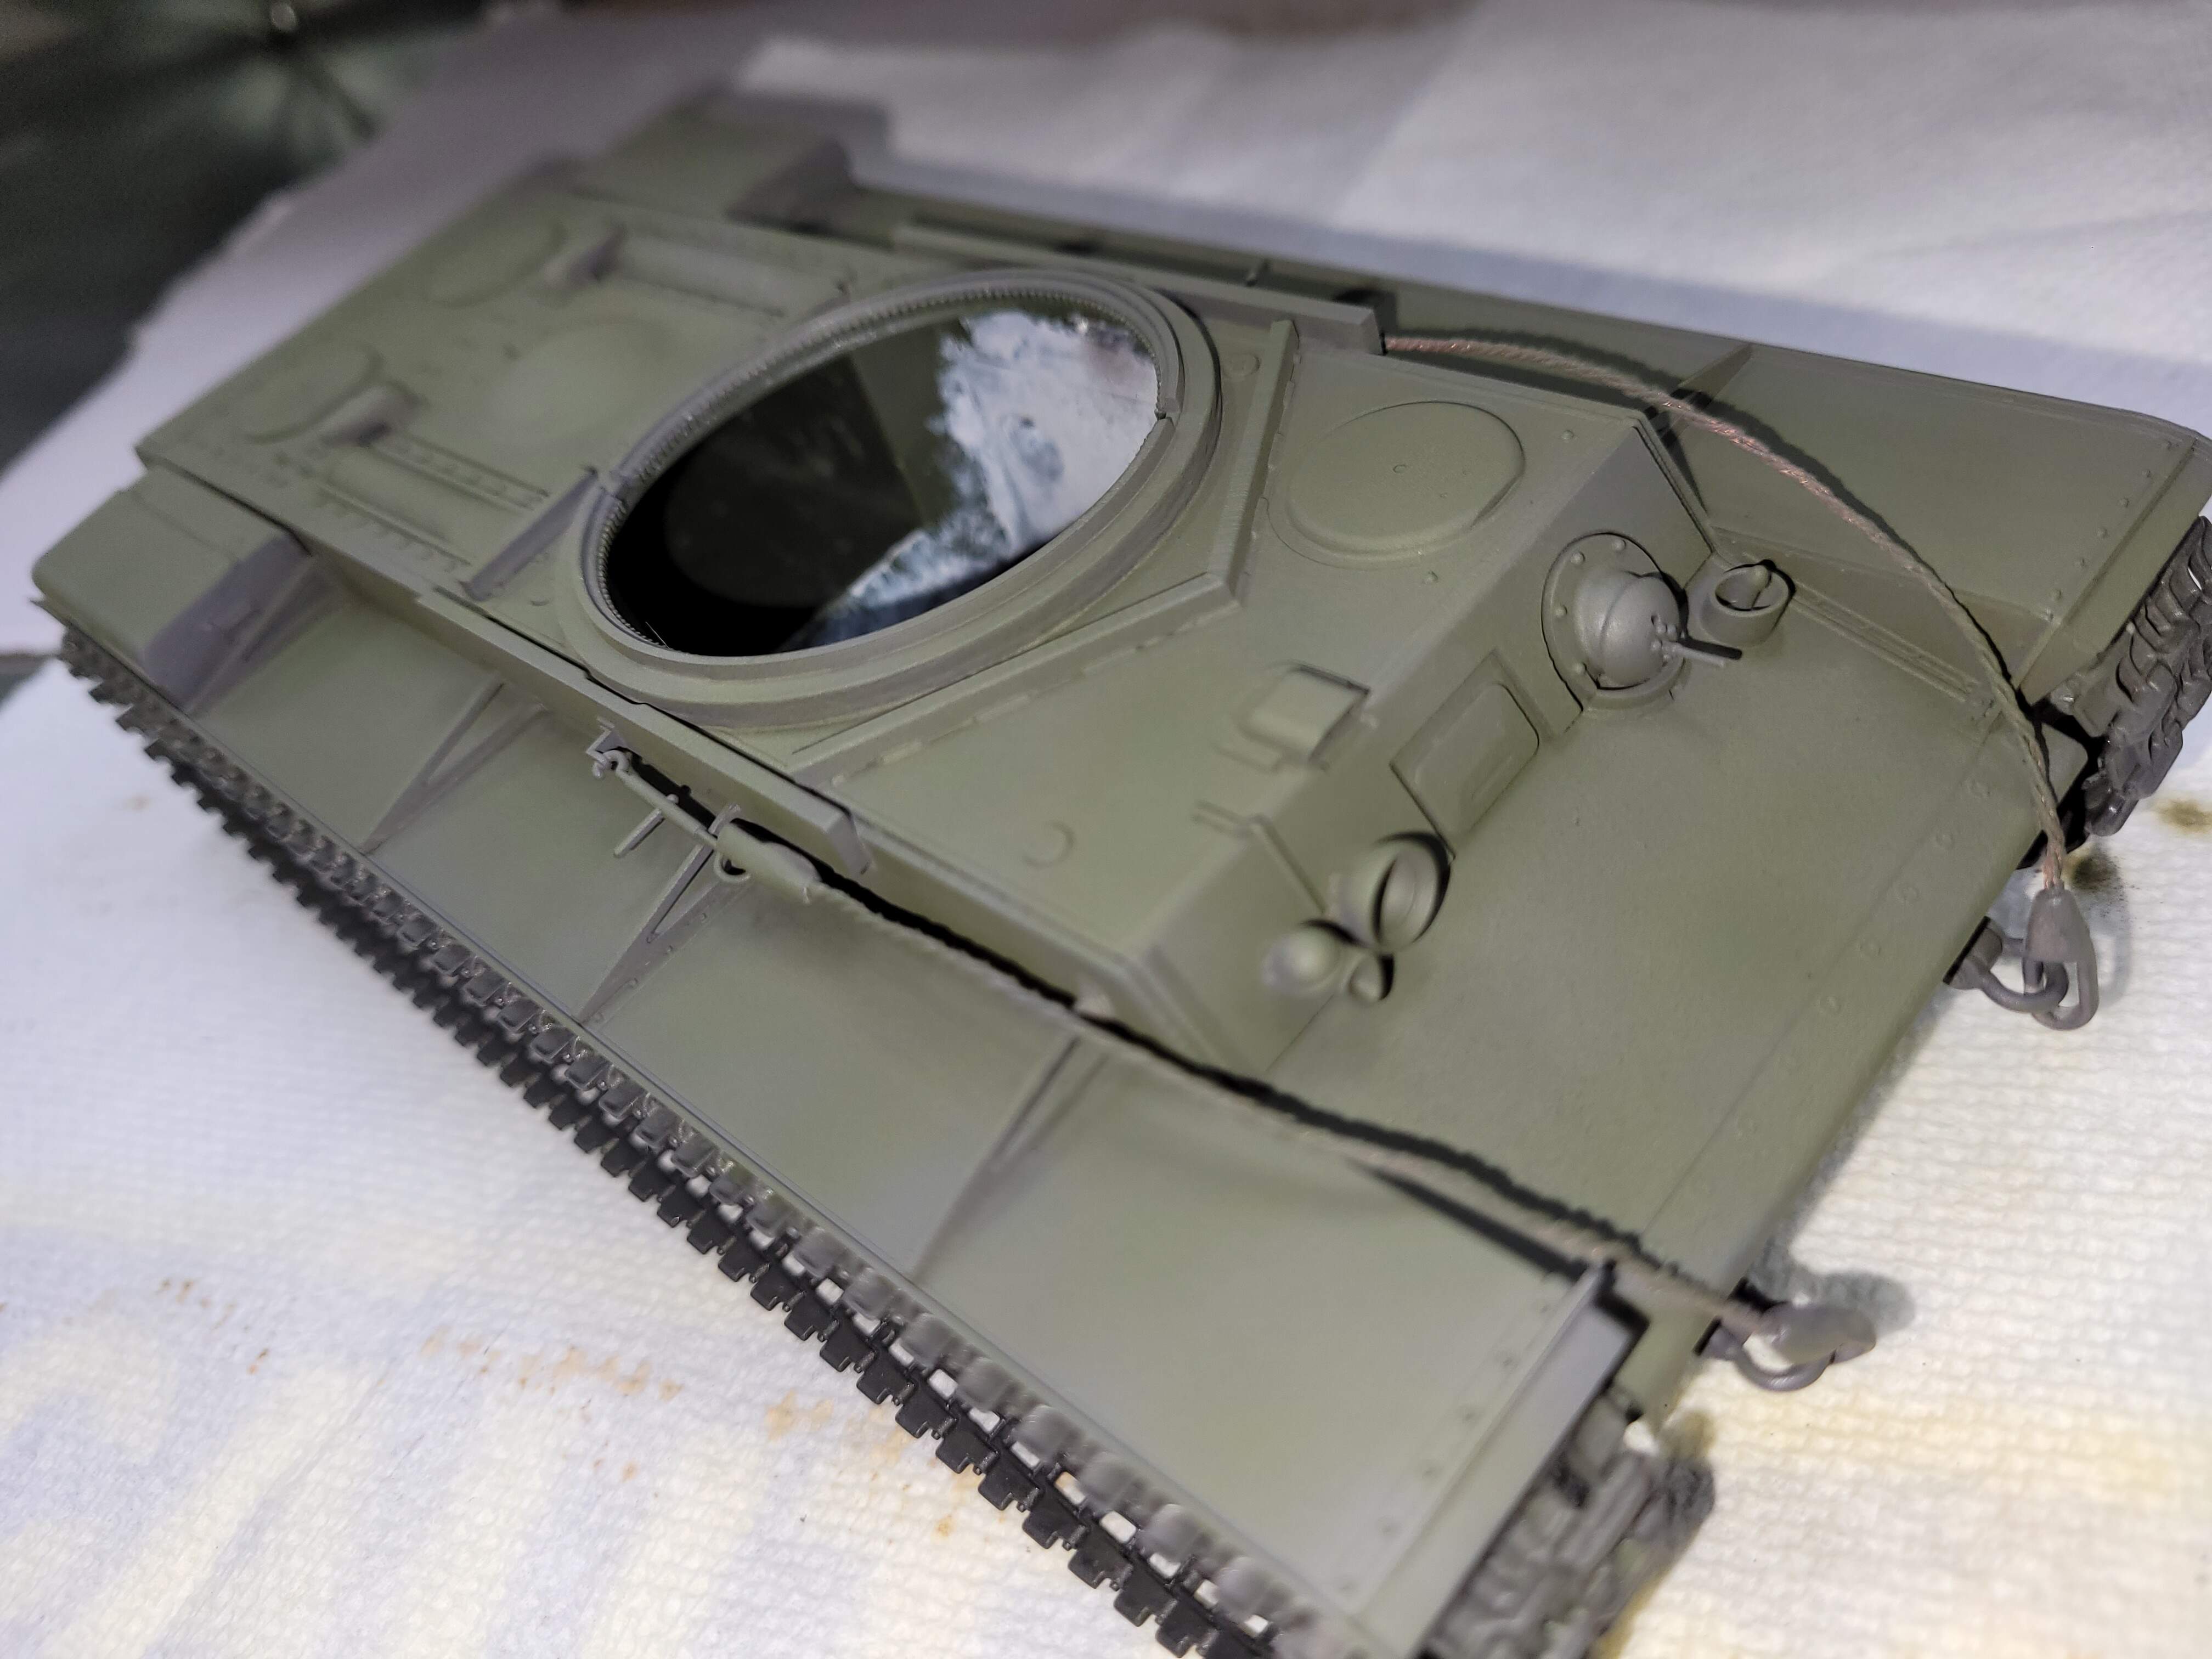
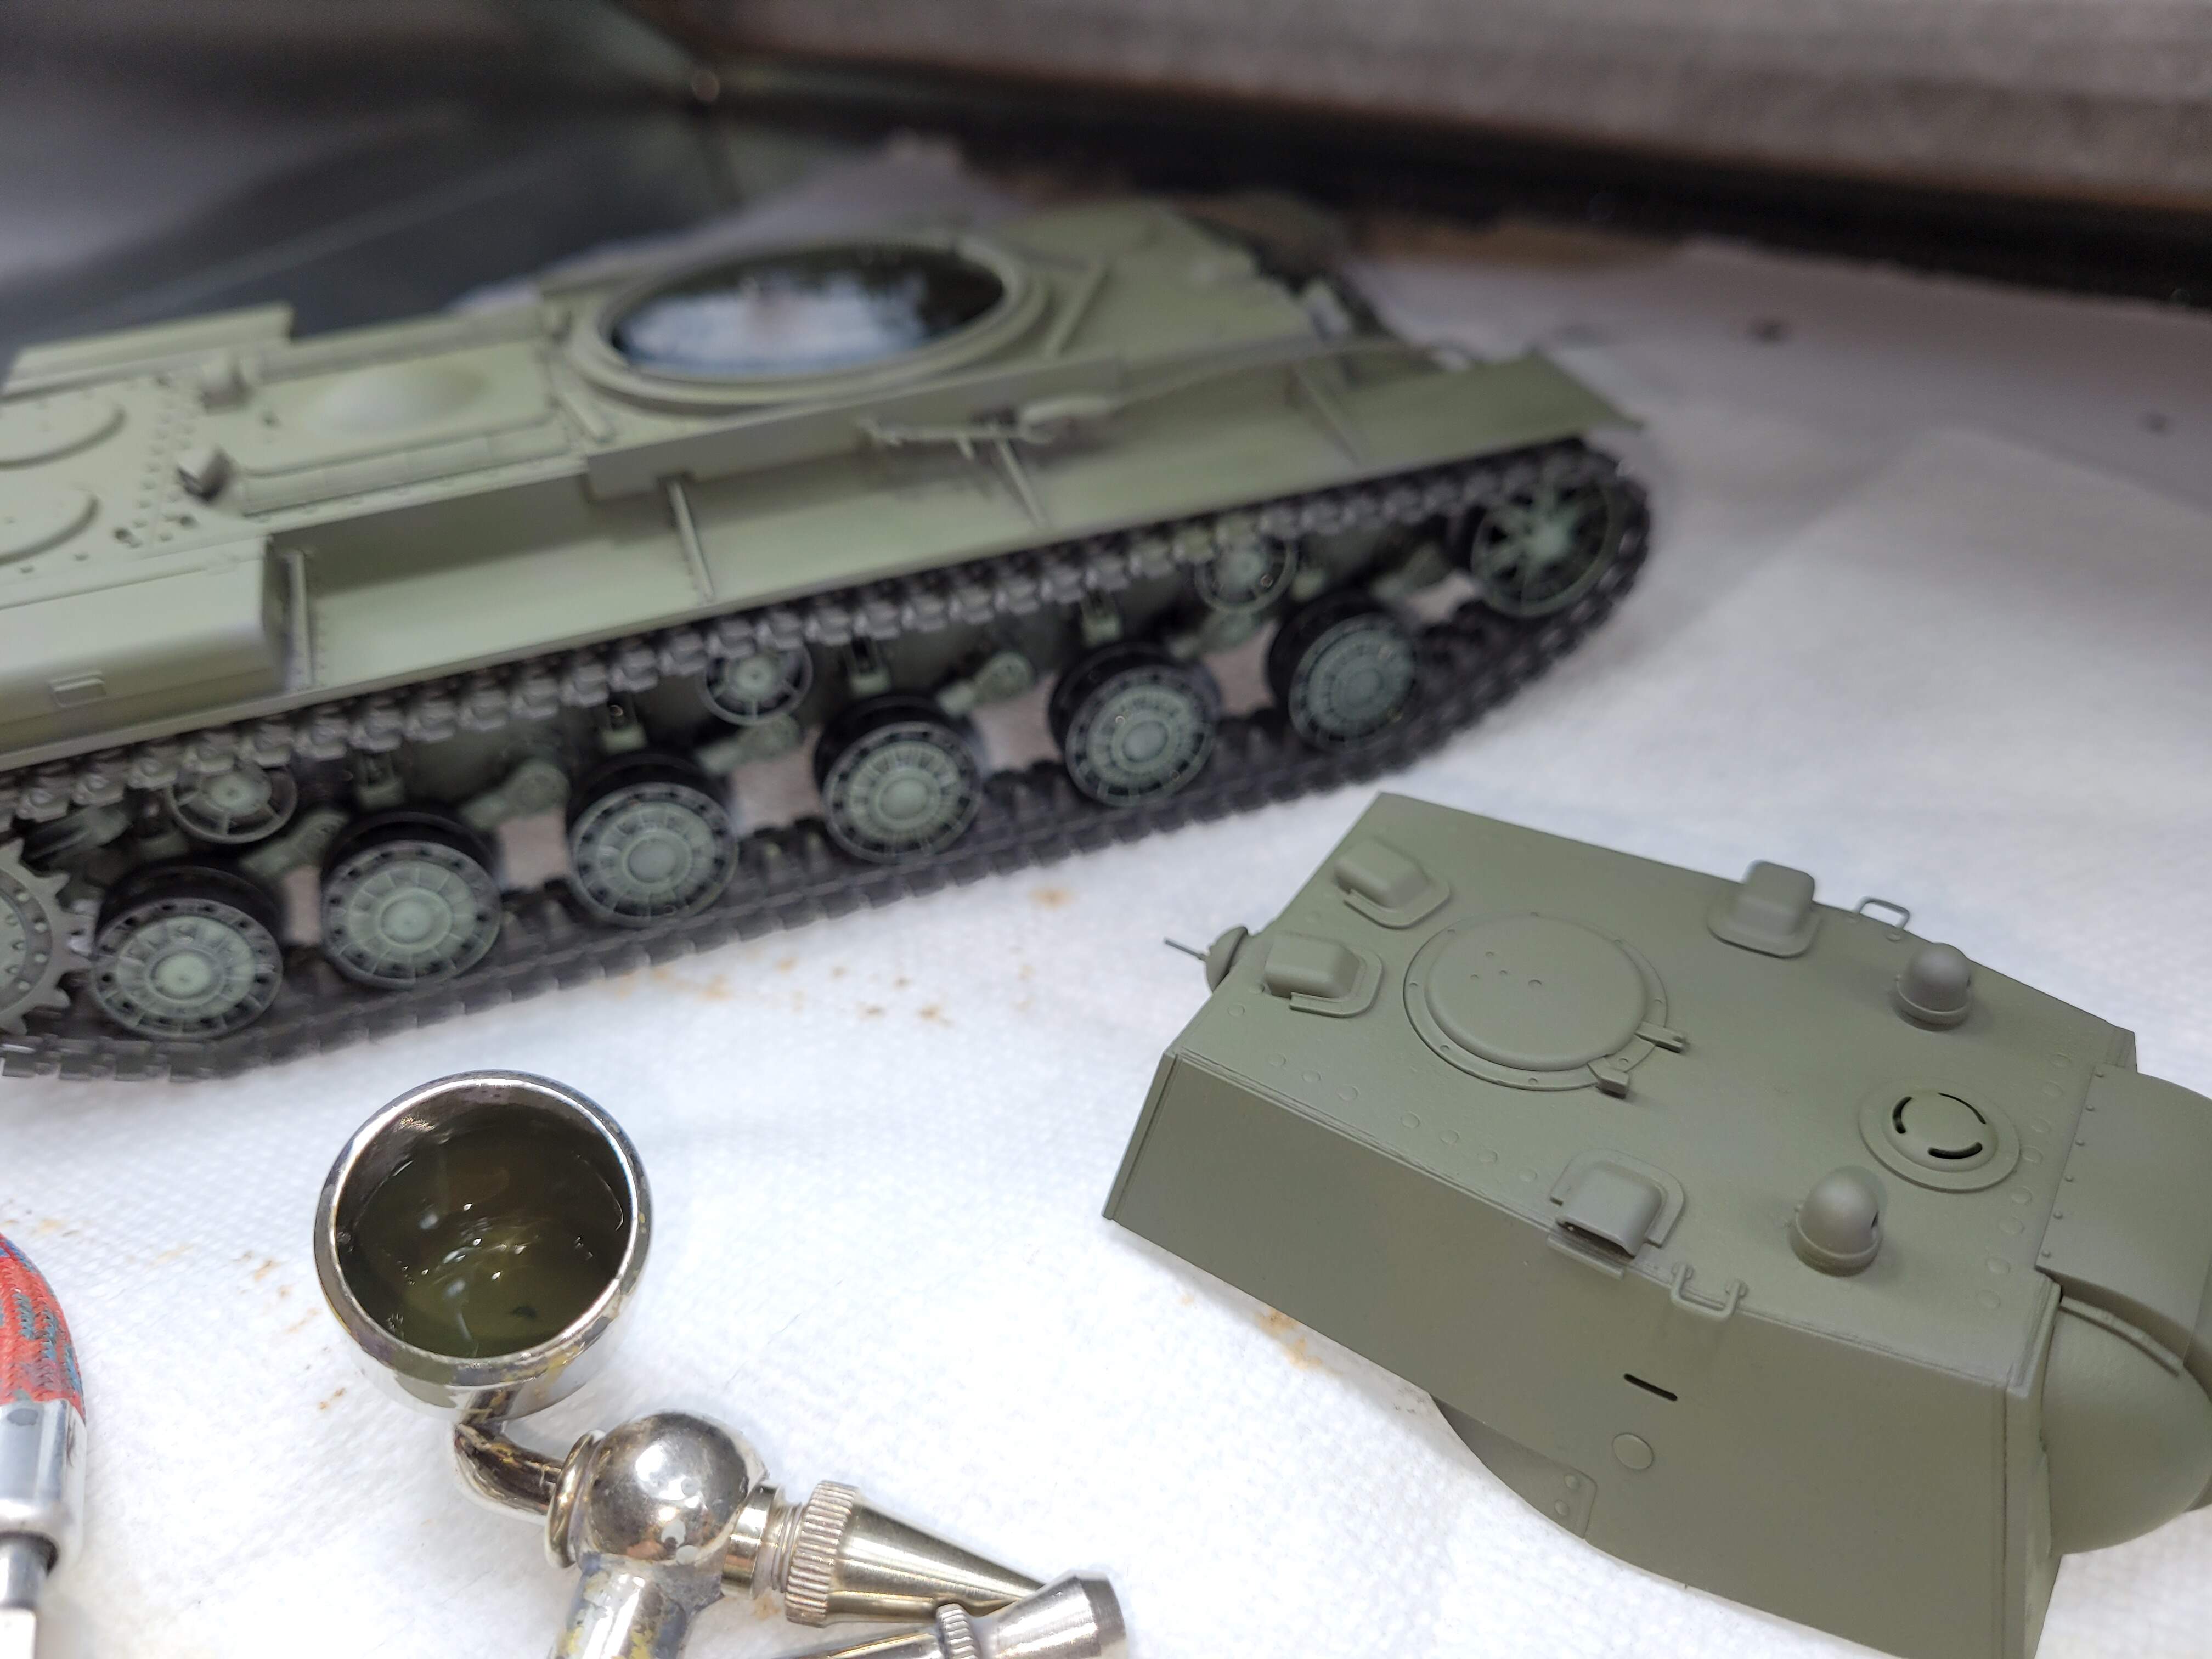
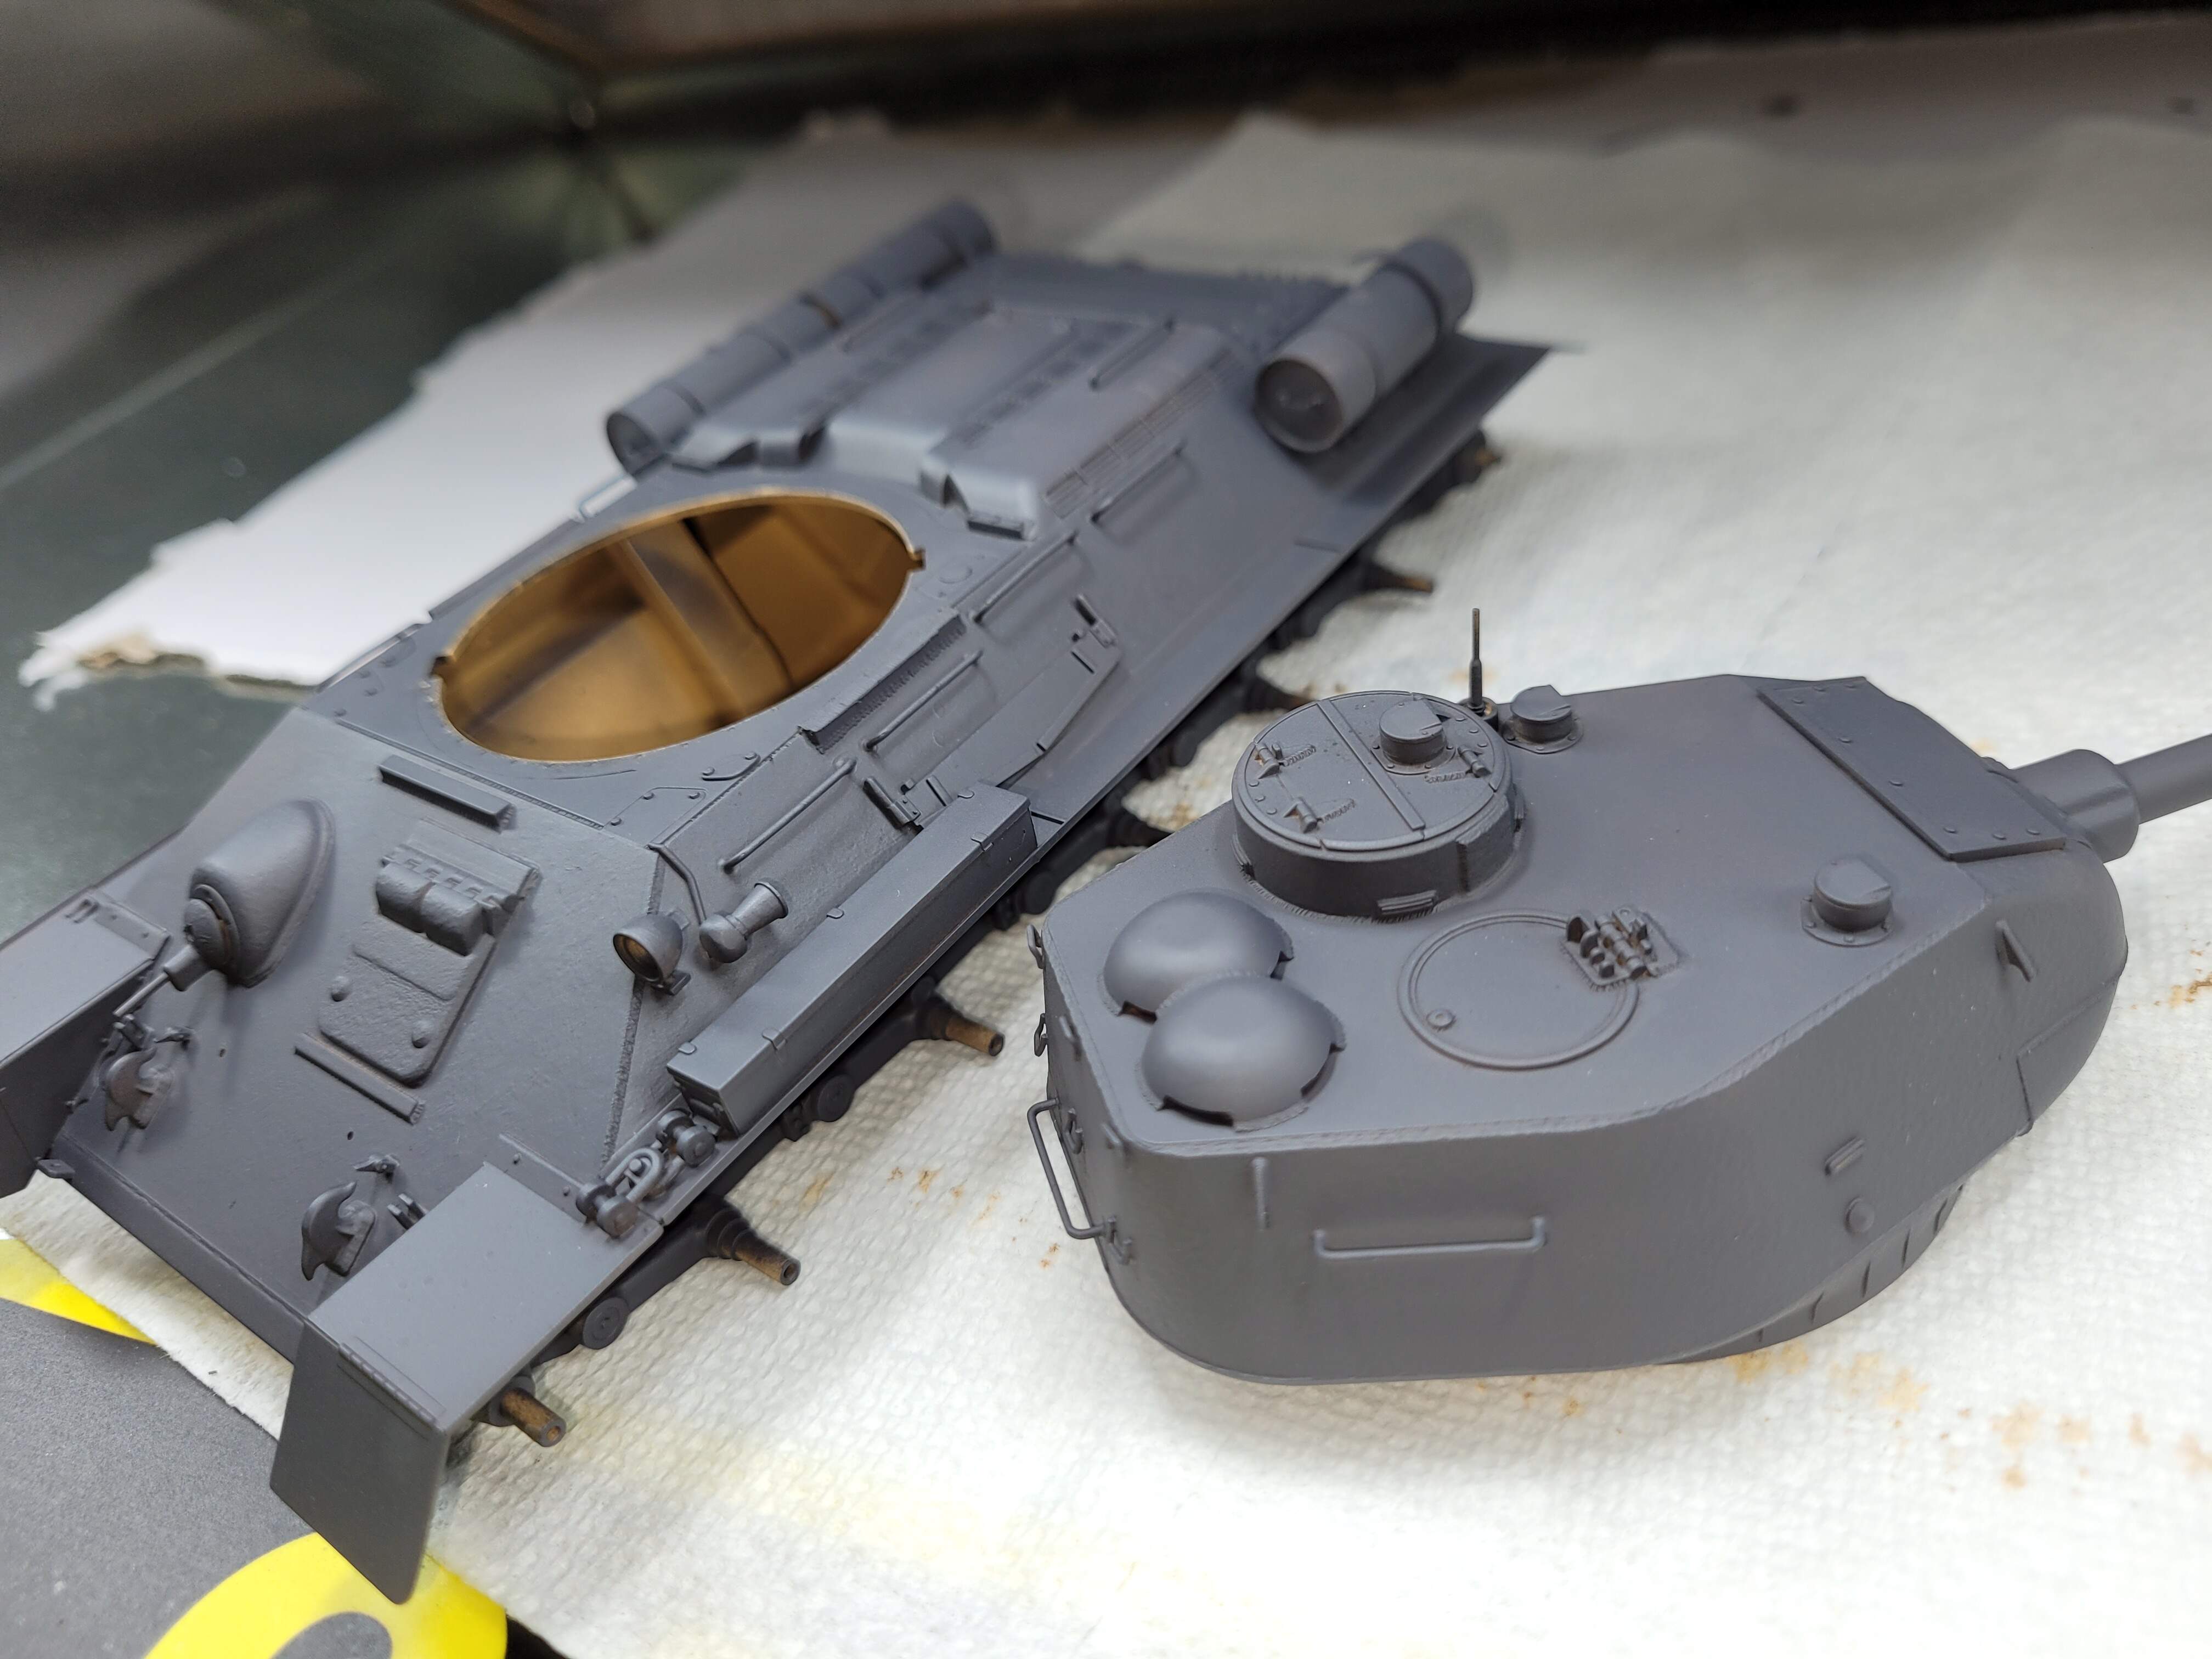
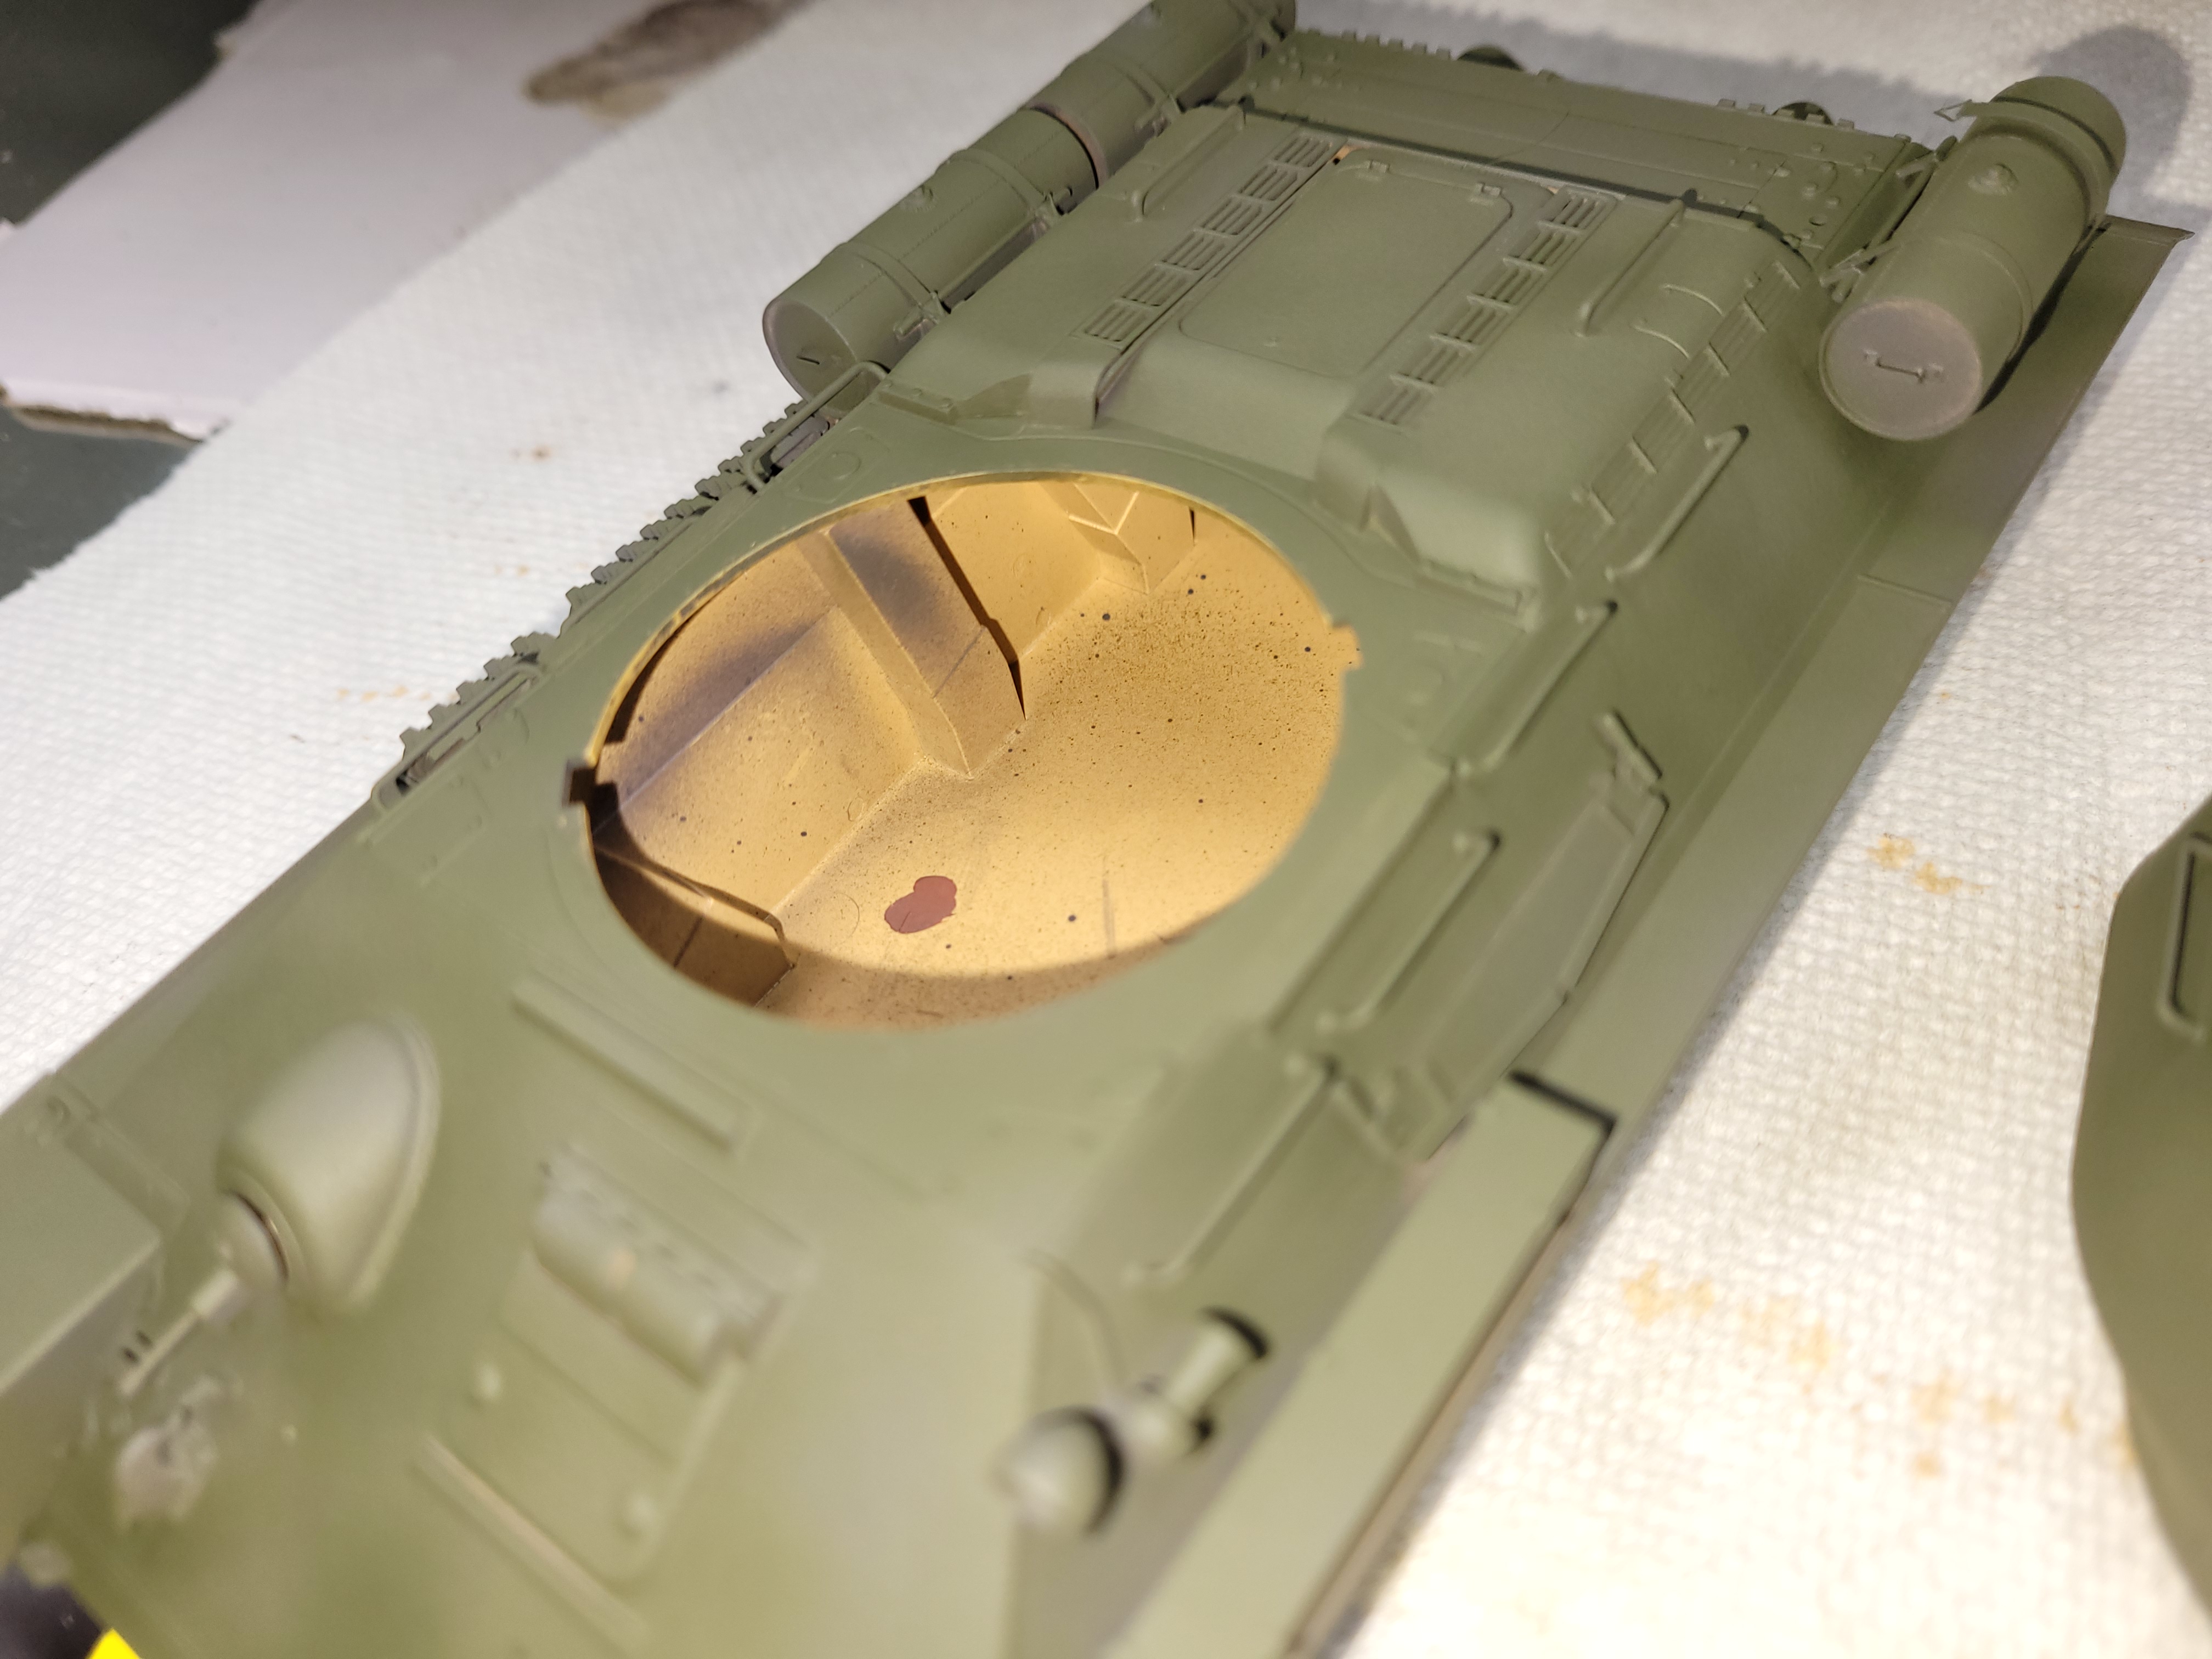
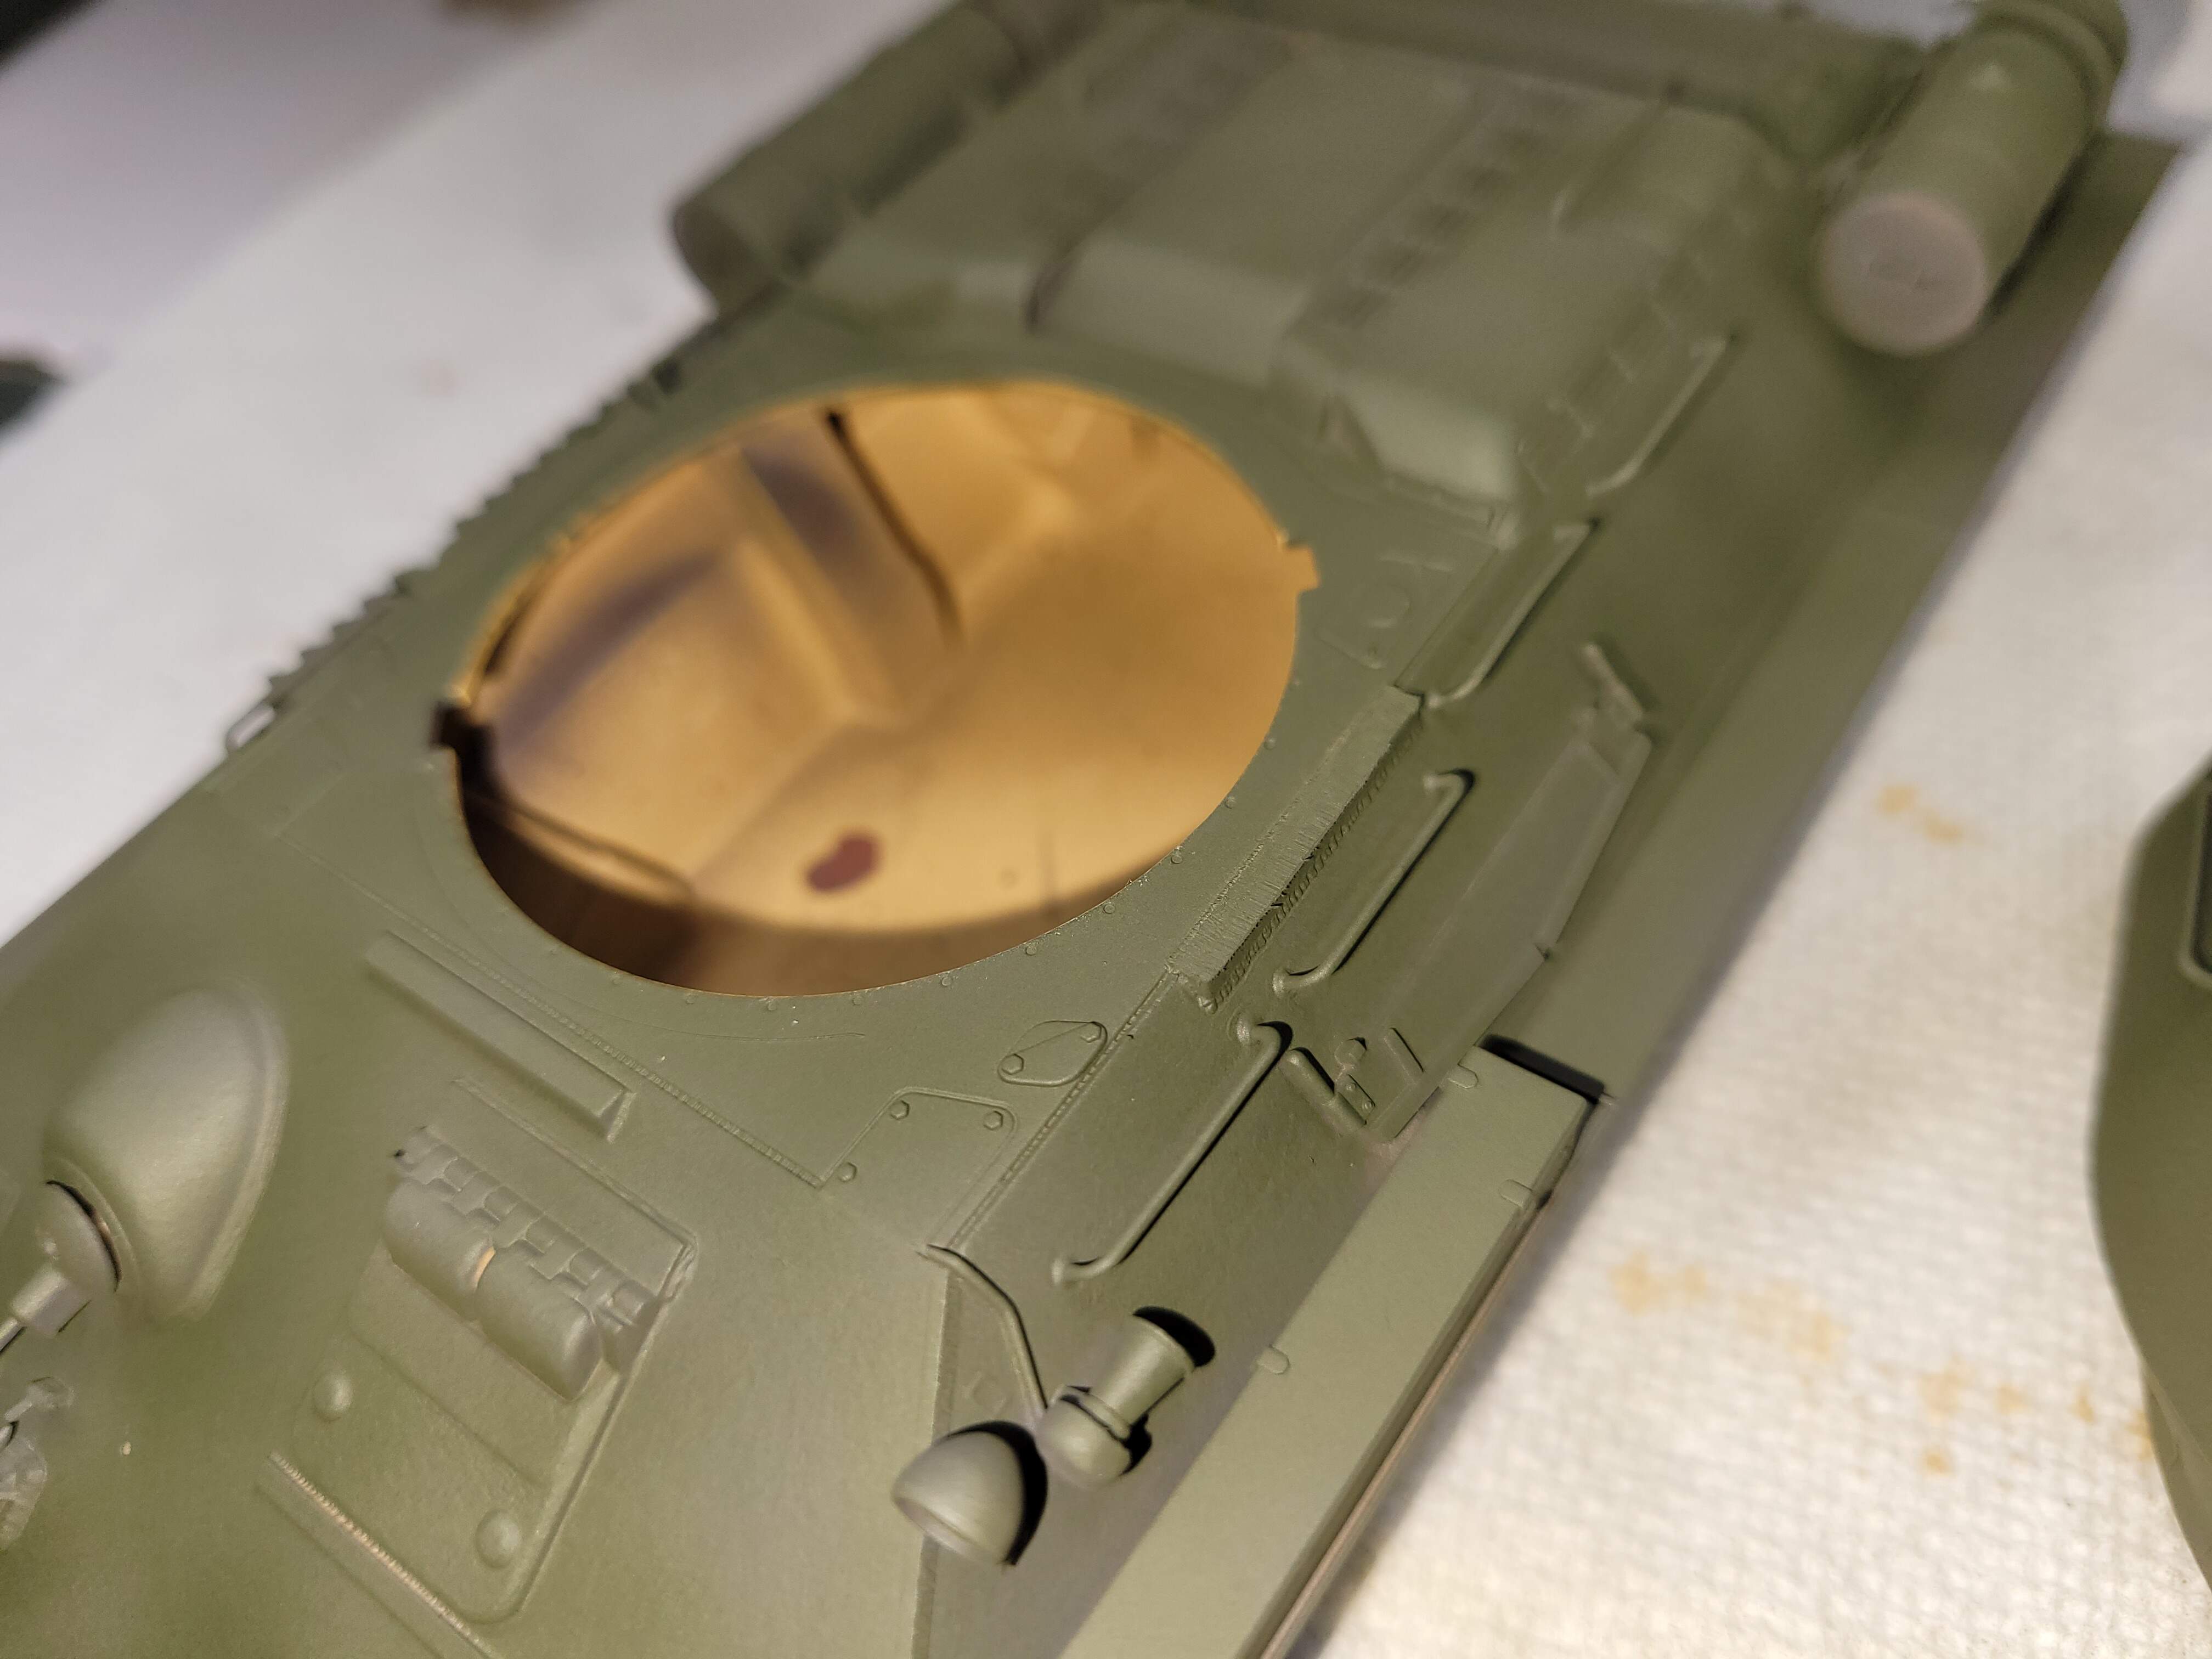
Floquil Rail Road Weathered Black - used for base coat on all three, still showing on the RFM T-34-85 & Tamiya KV-1. This is the foundation the finish is built on. Other dark colors can be used black, red primer, chocolate brown etc as desired. Any construction flaws tend to pop out at this step and can be fixed or not as desired.

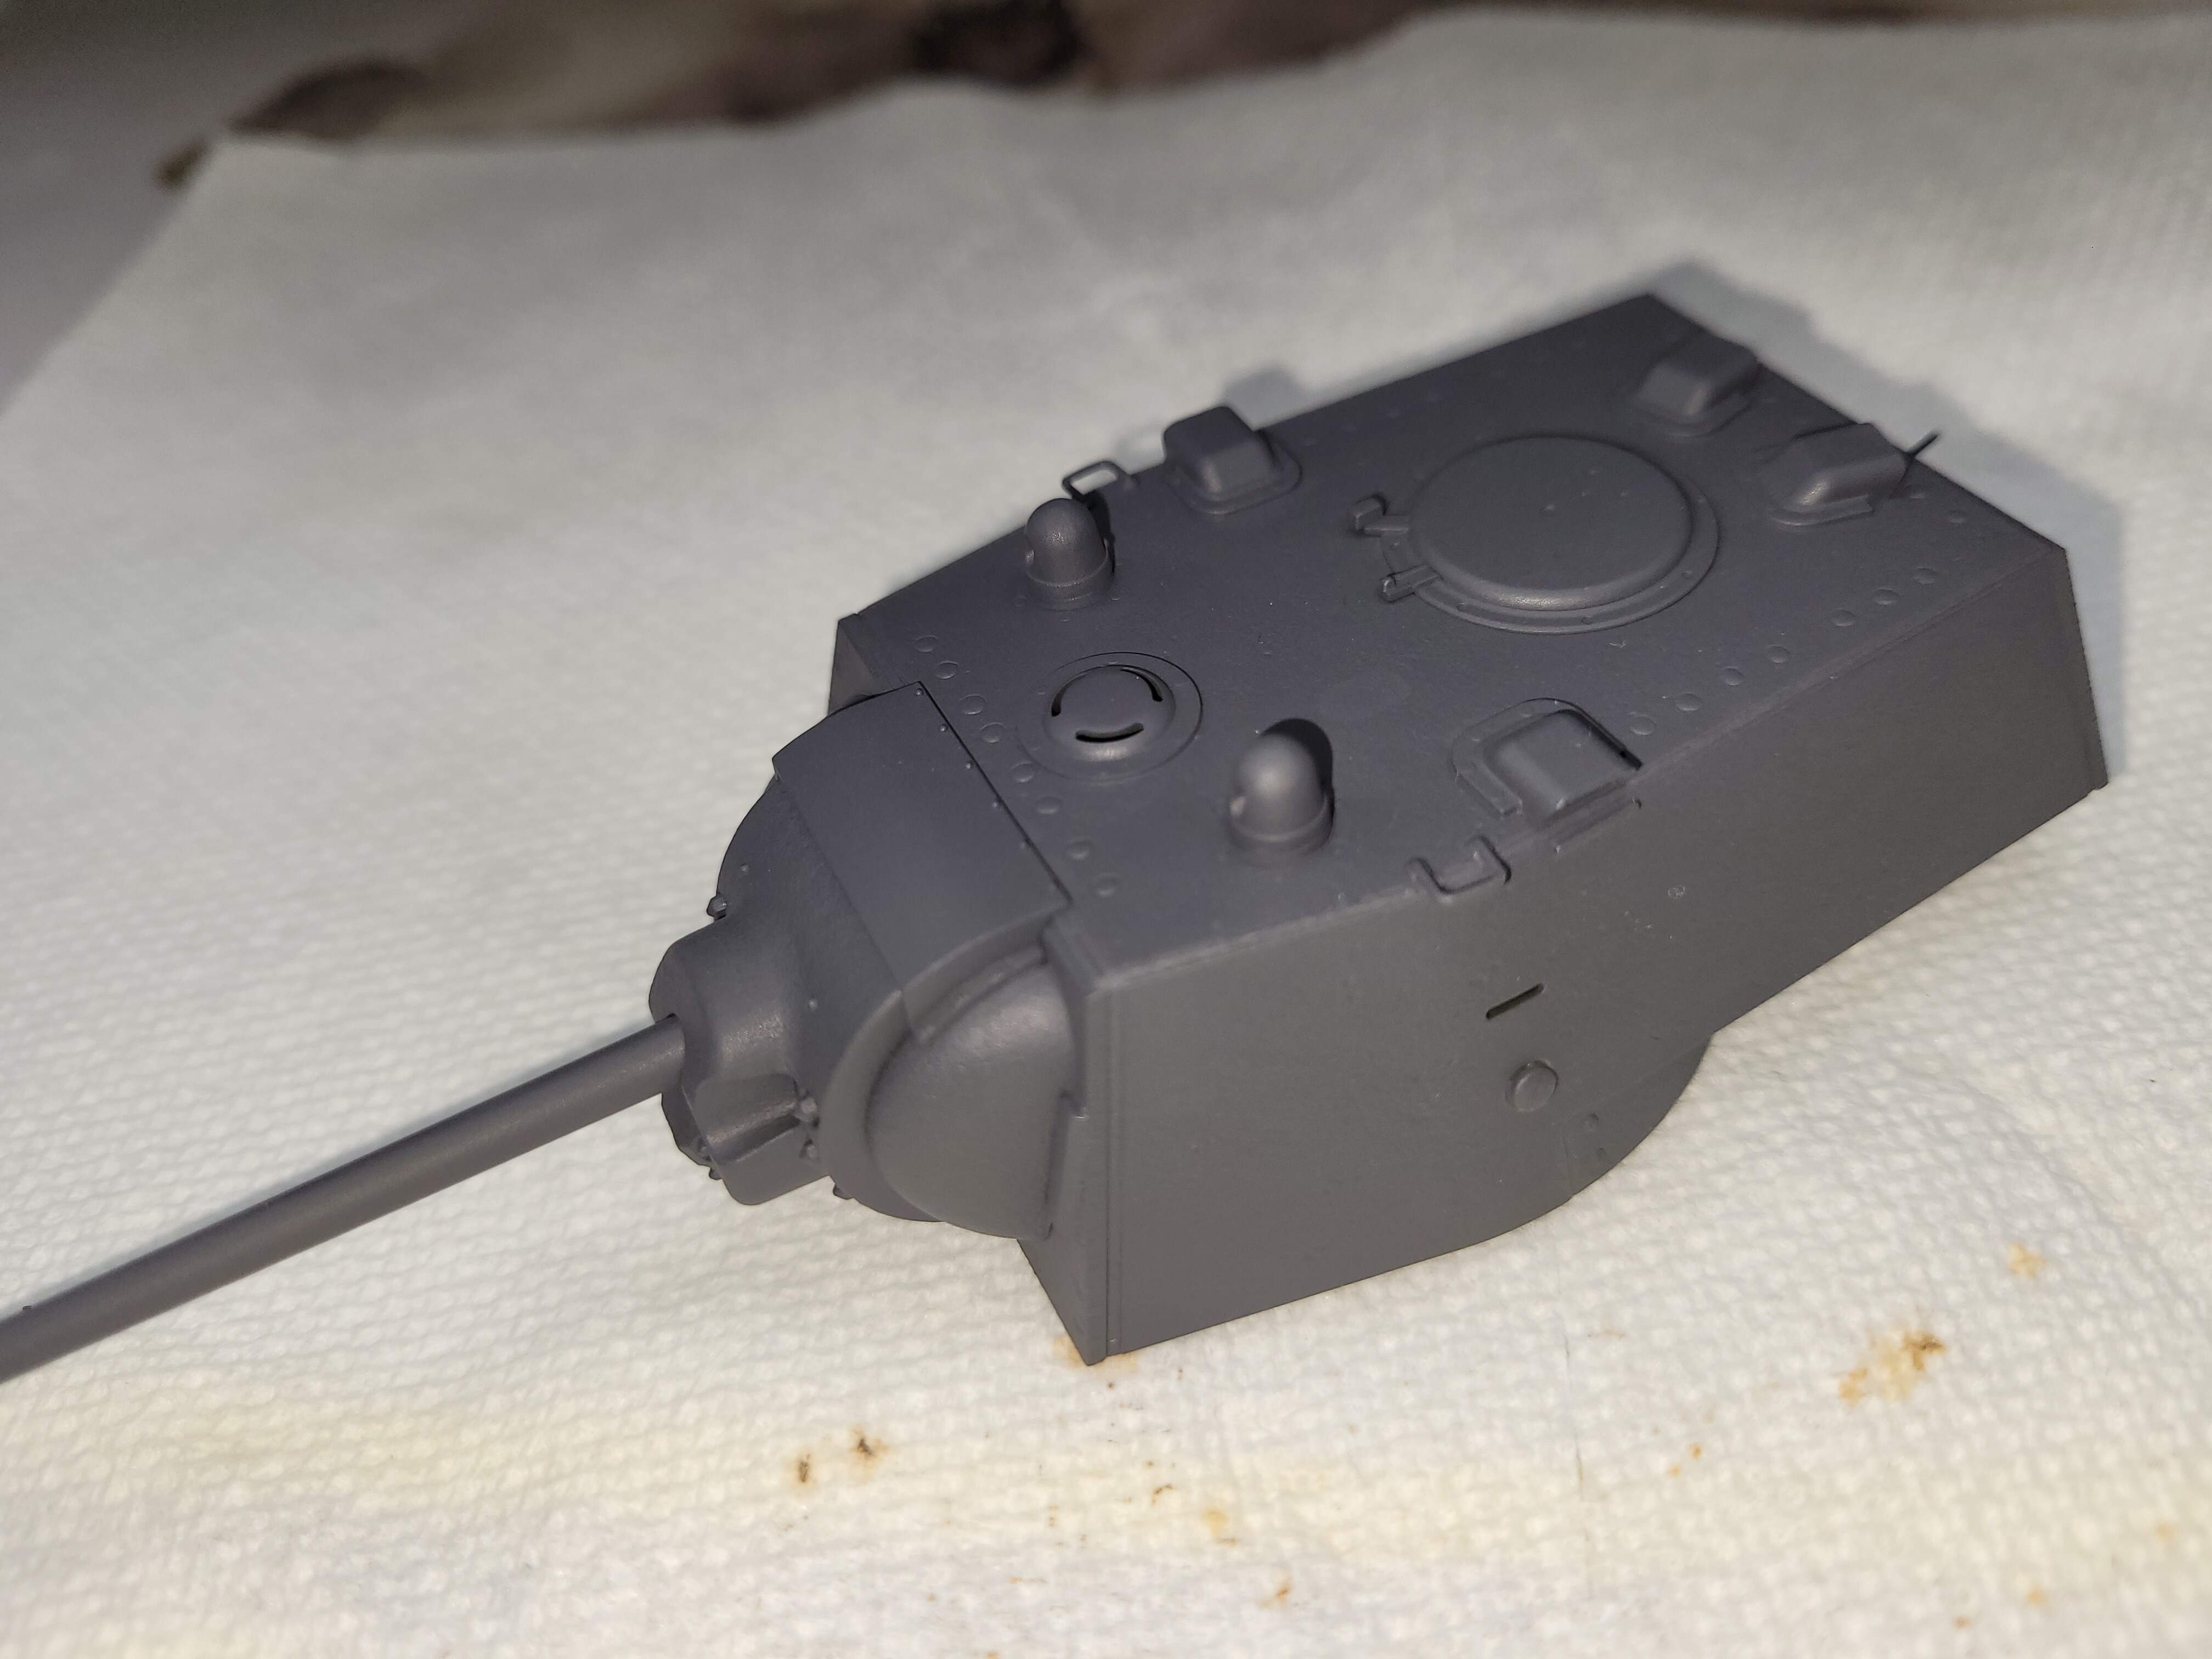
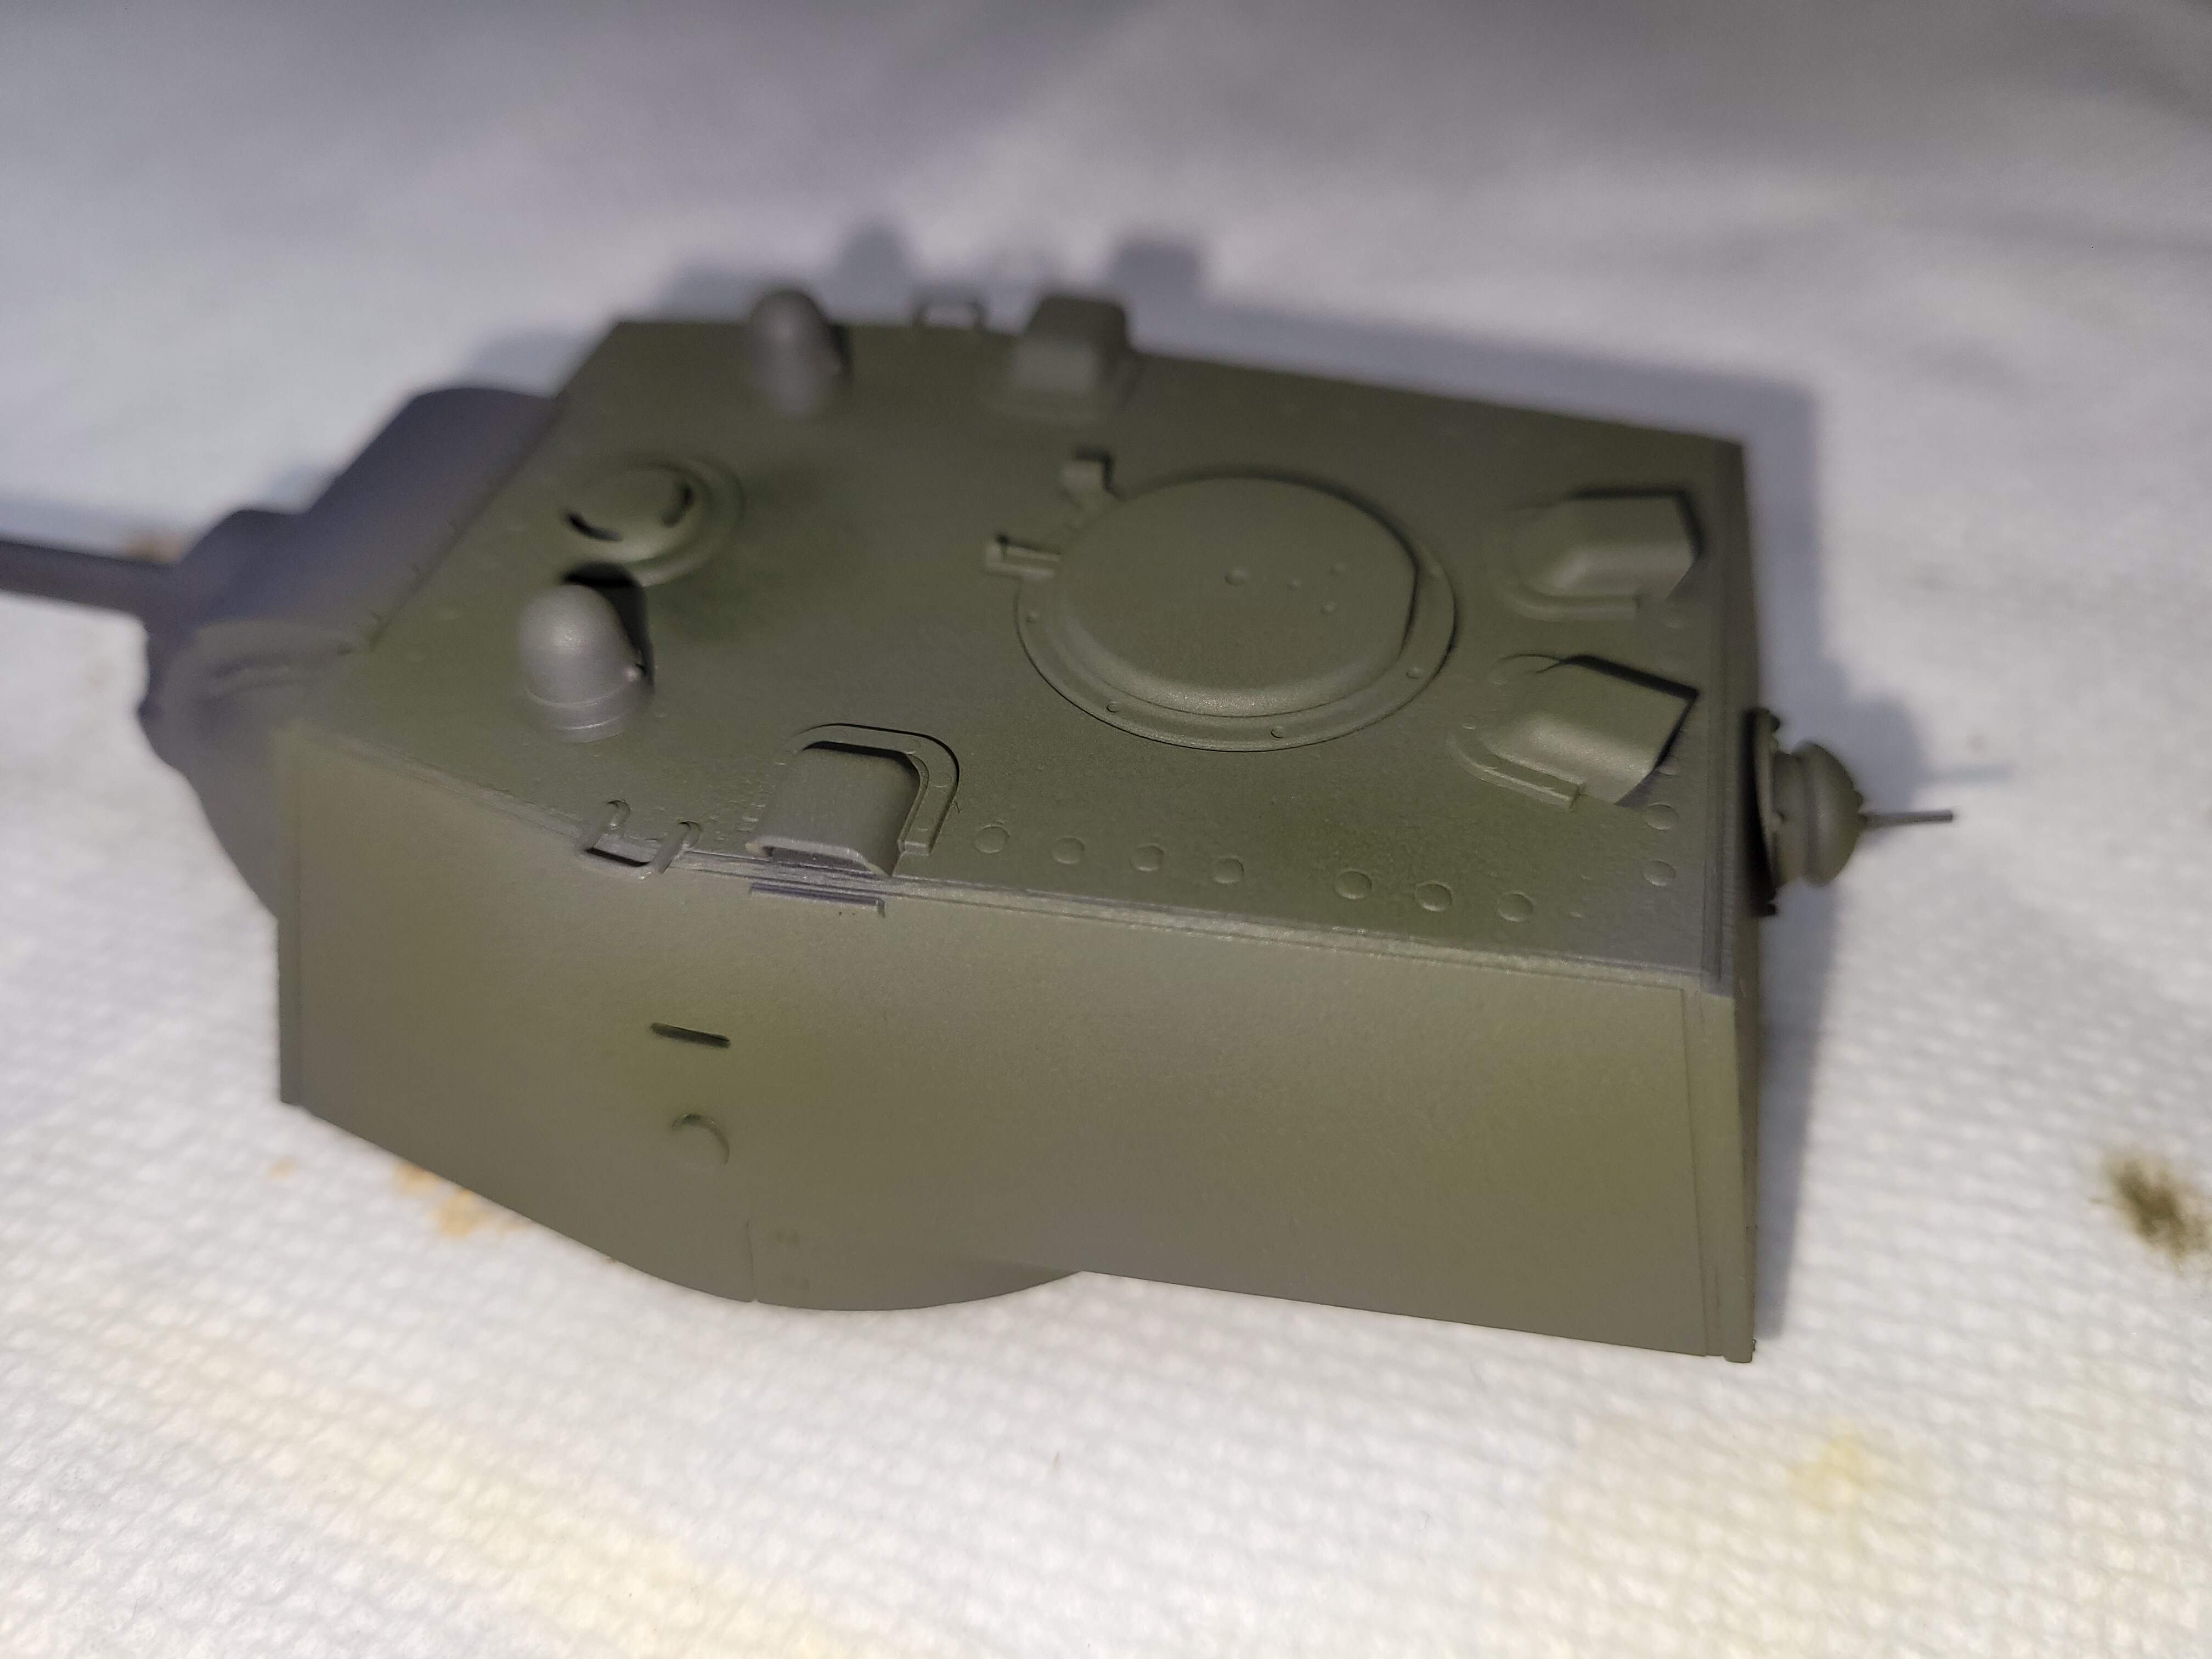
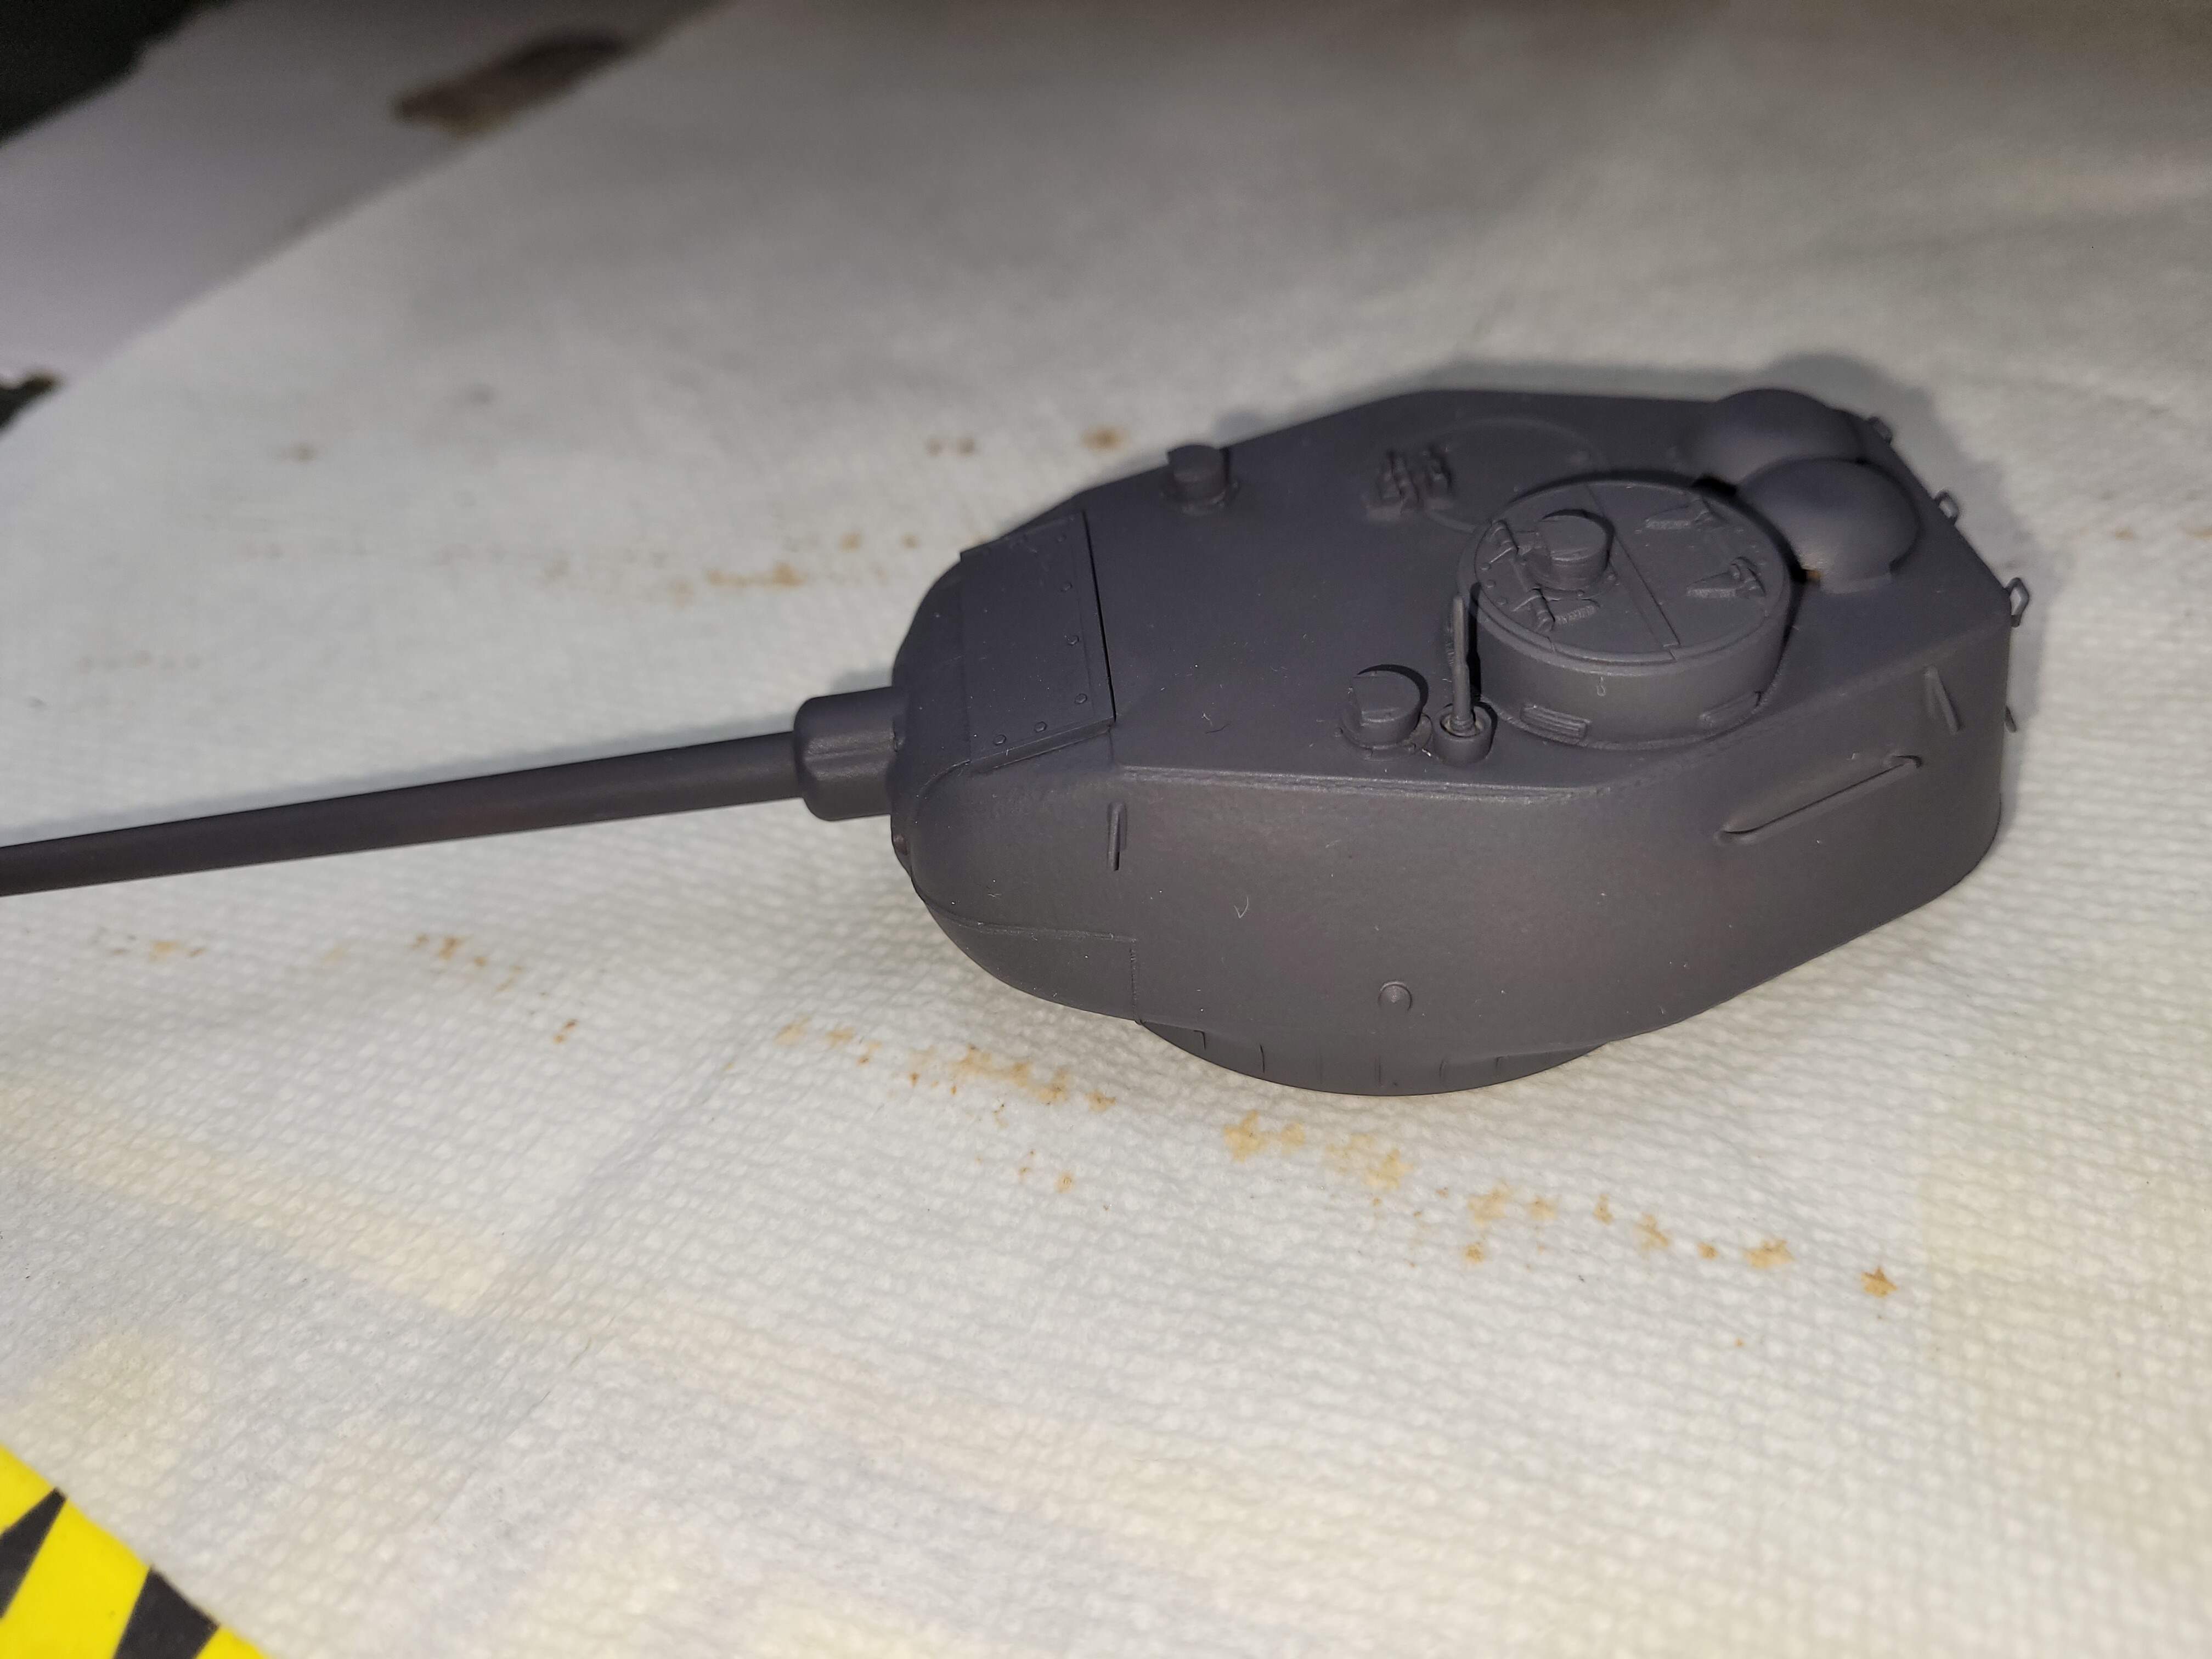
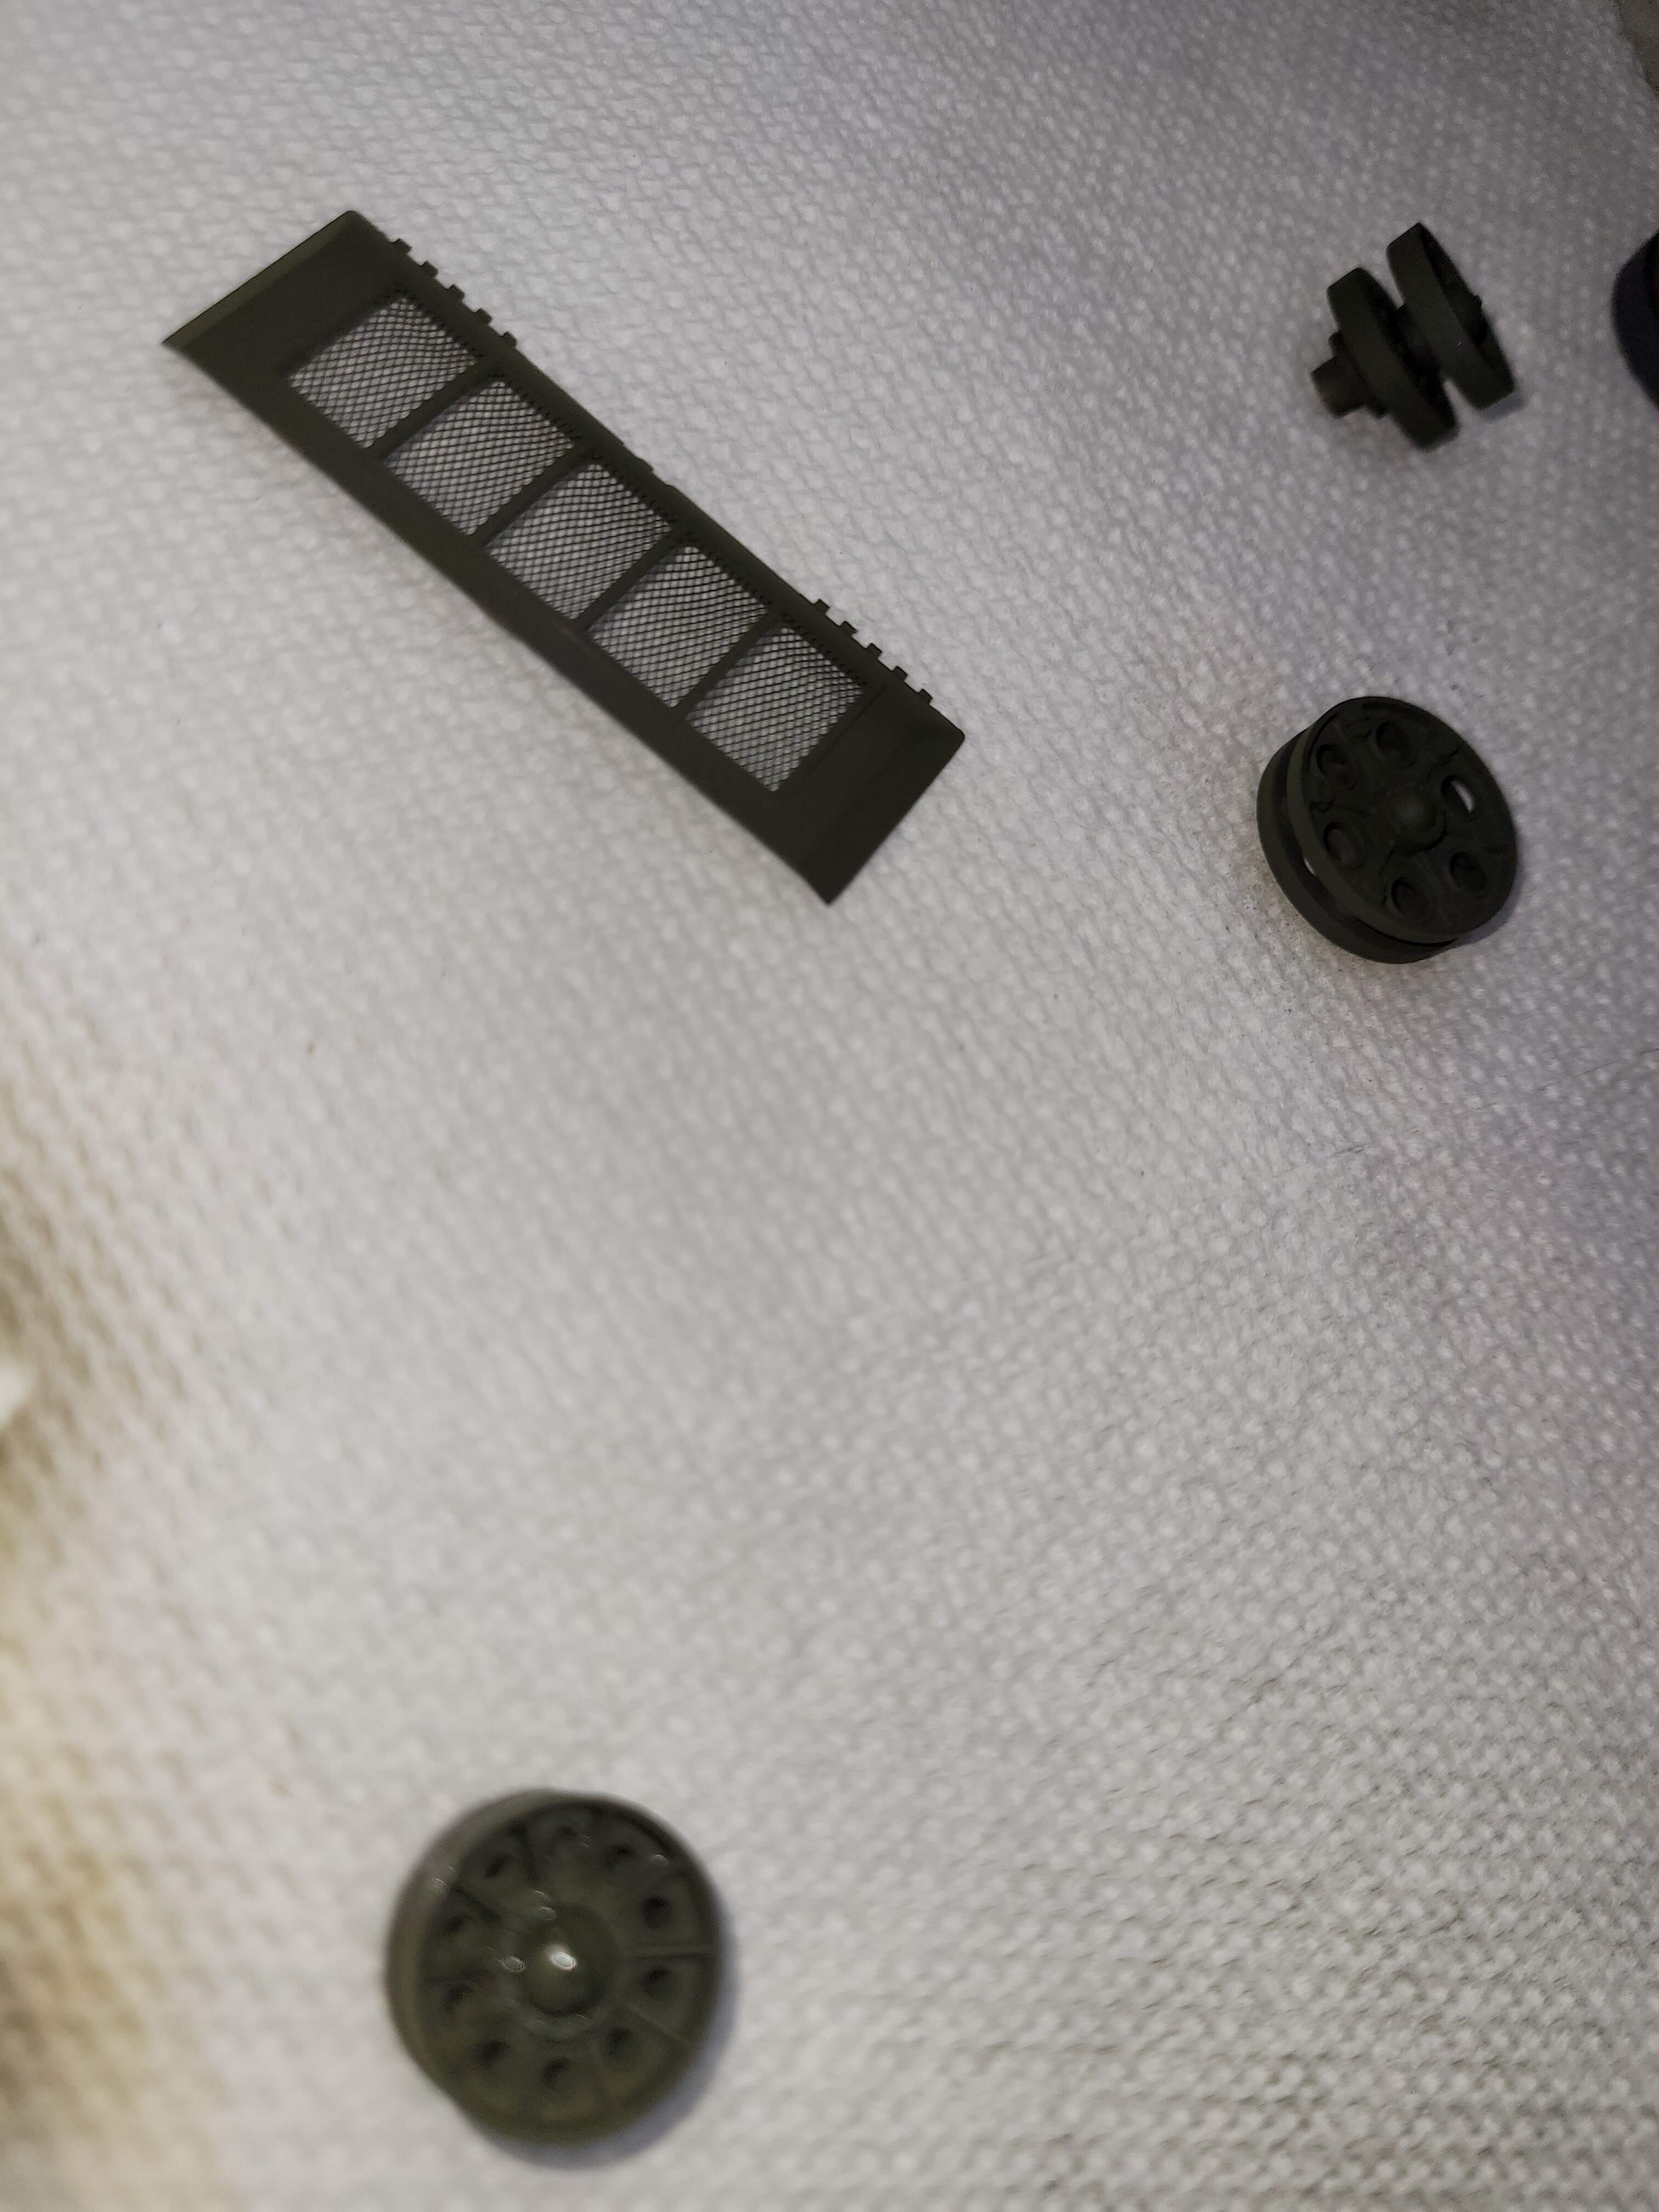
DML Pz IV F1 - weathered black w/Panzer Gray using Panzer Interior Buff to lighten color. Model is really for detail painting, washes & drybrush. We may return to it later when the paint is curing on the KV-1 & T-34.

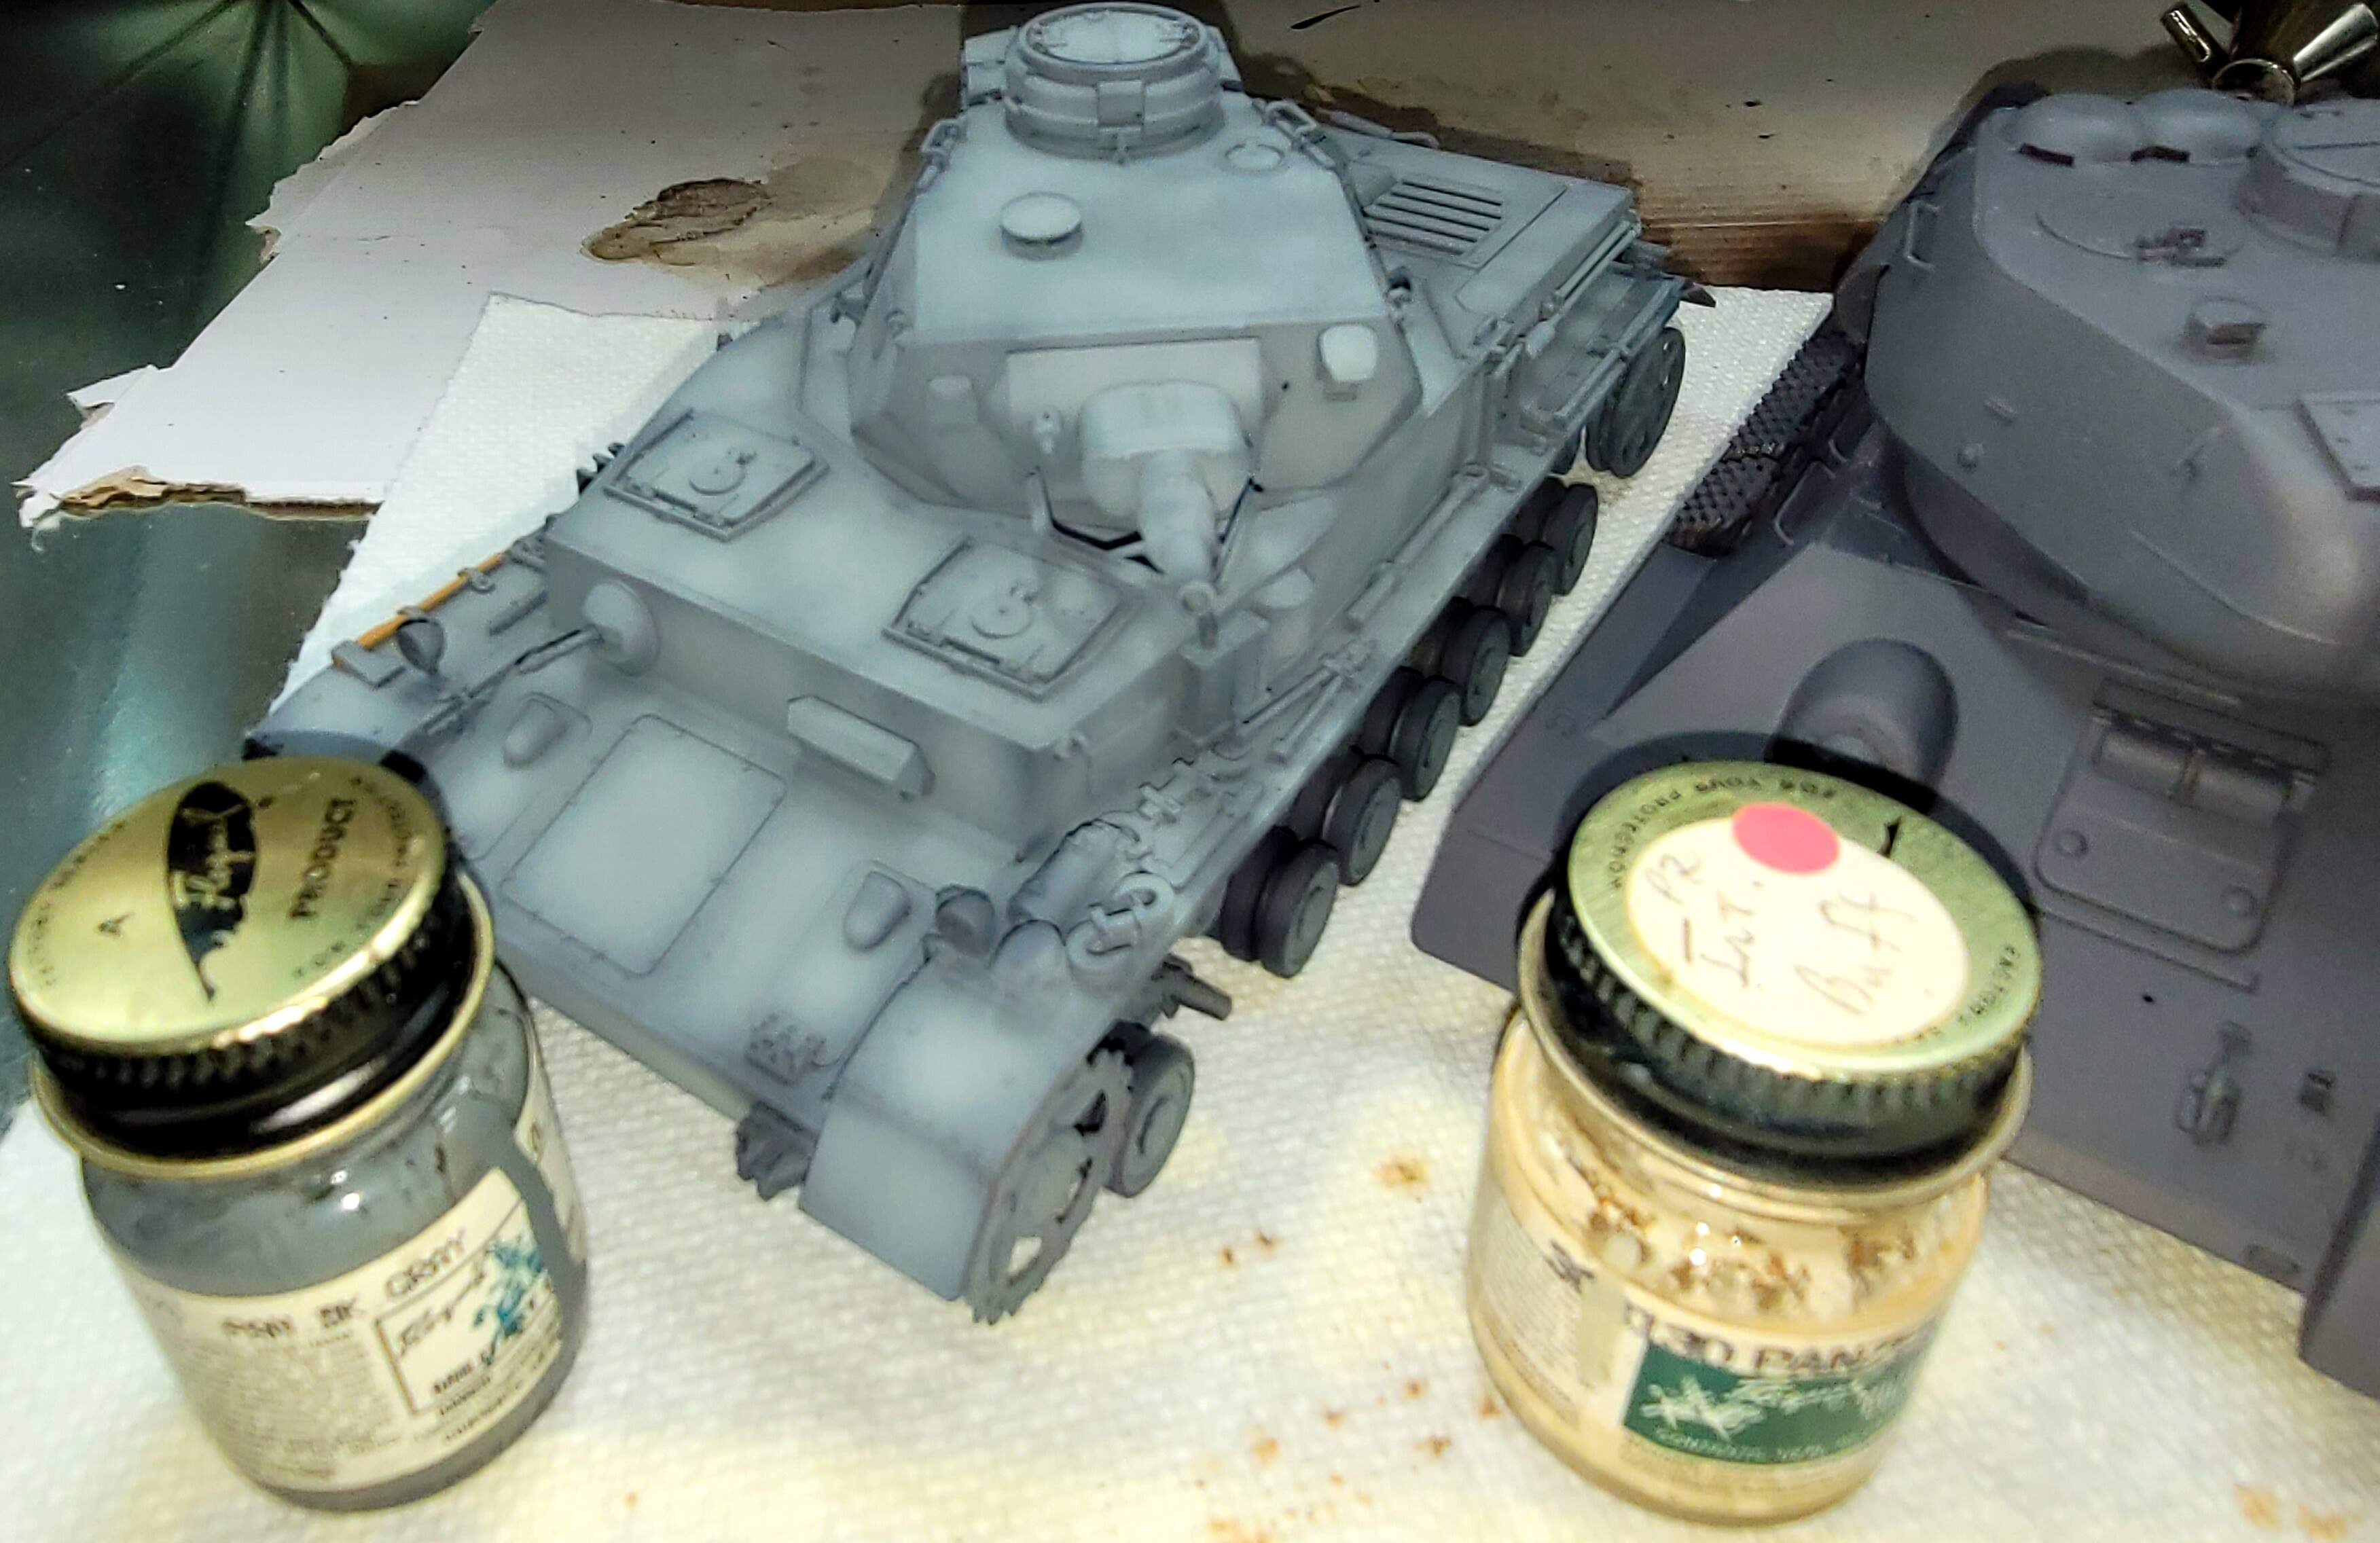
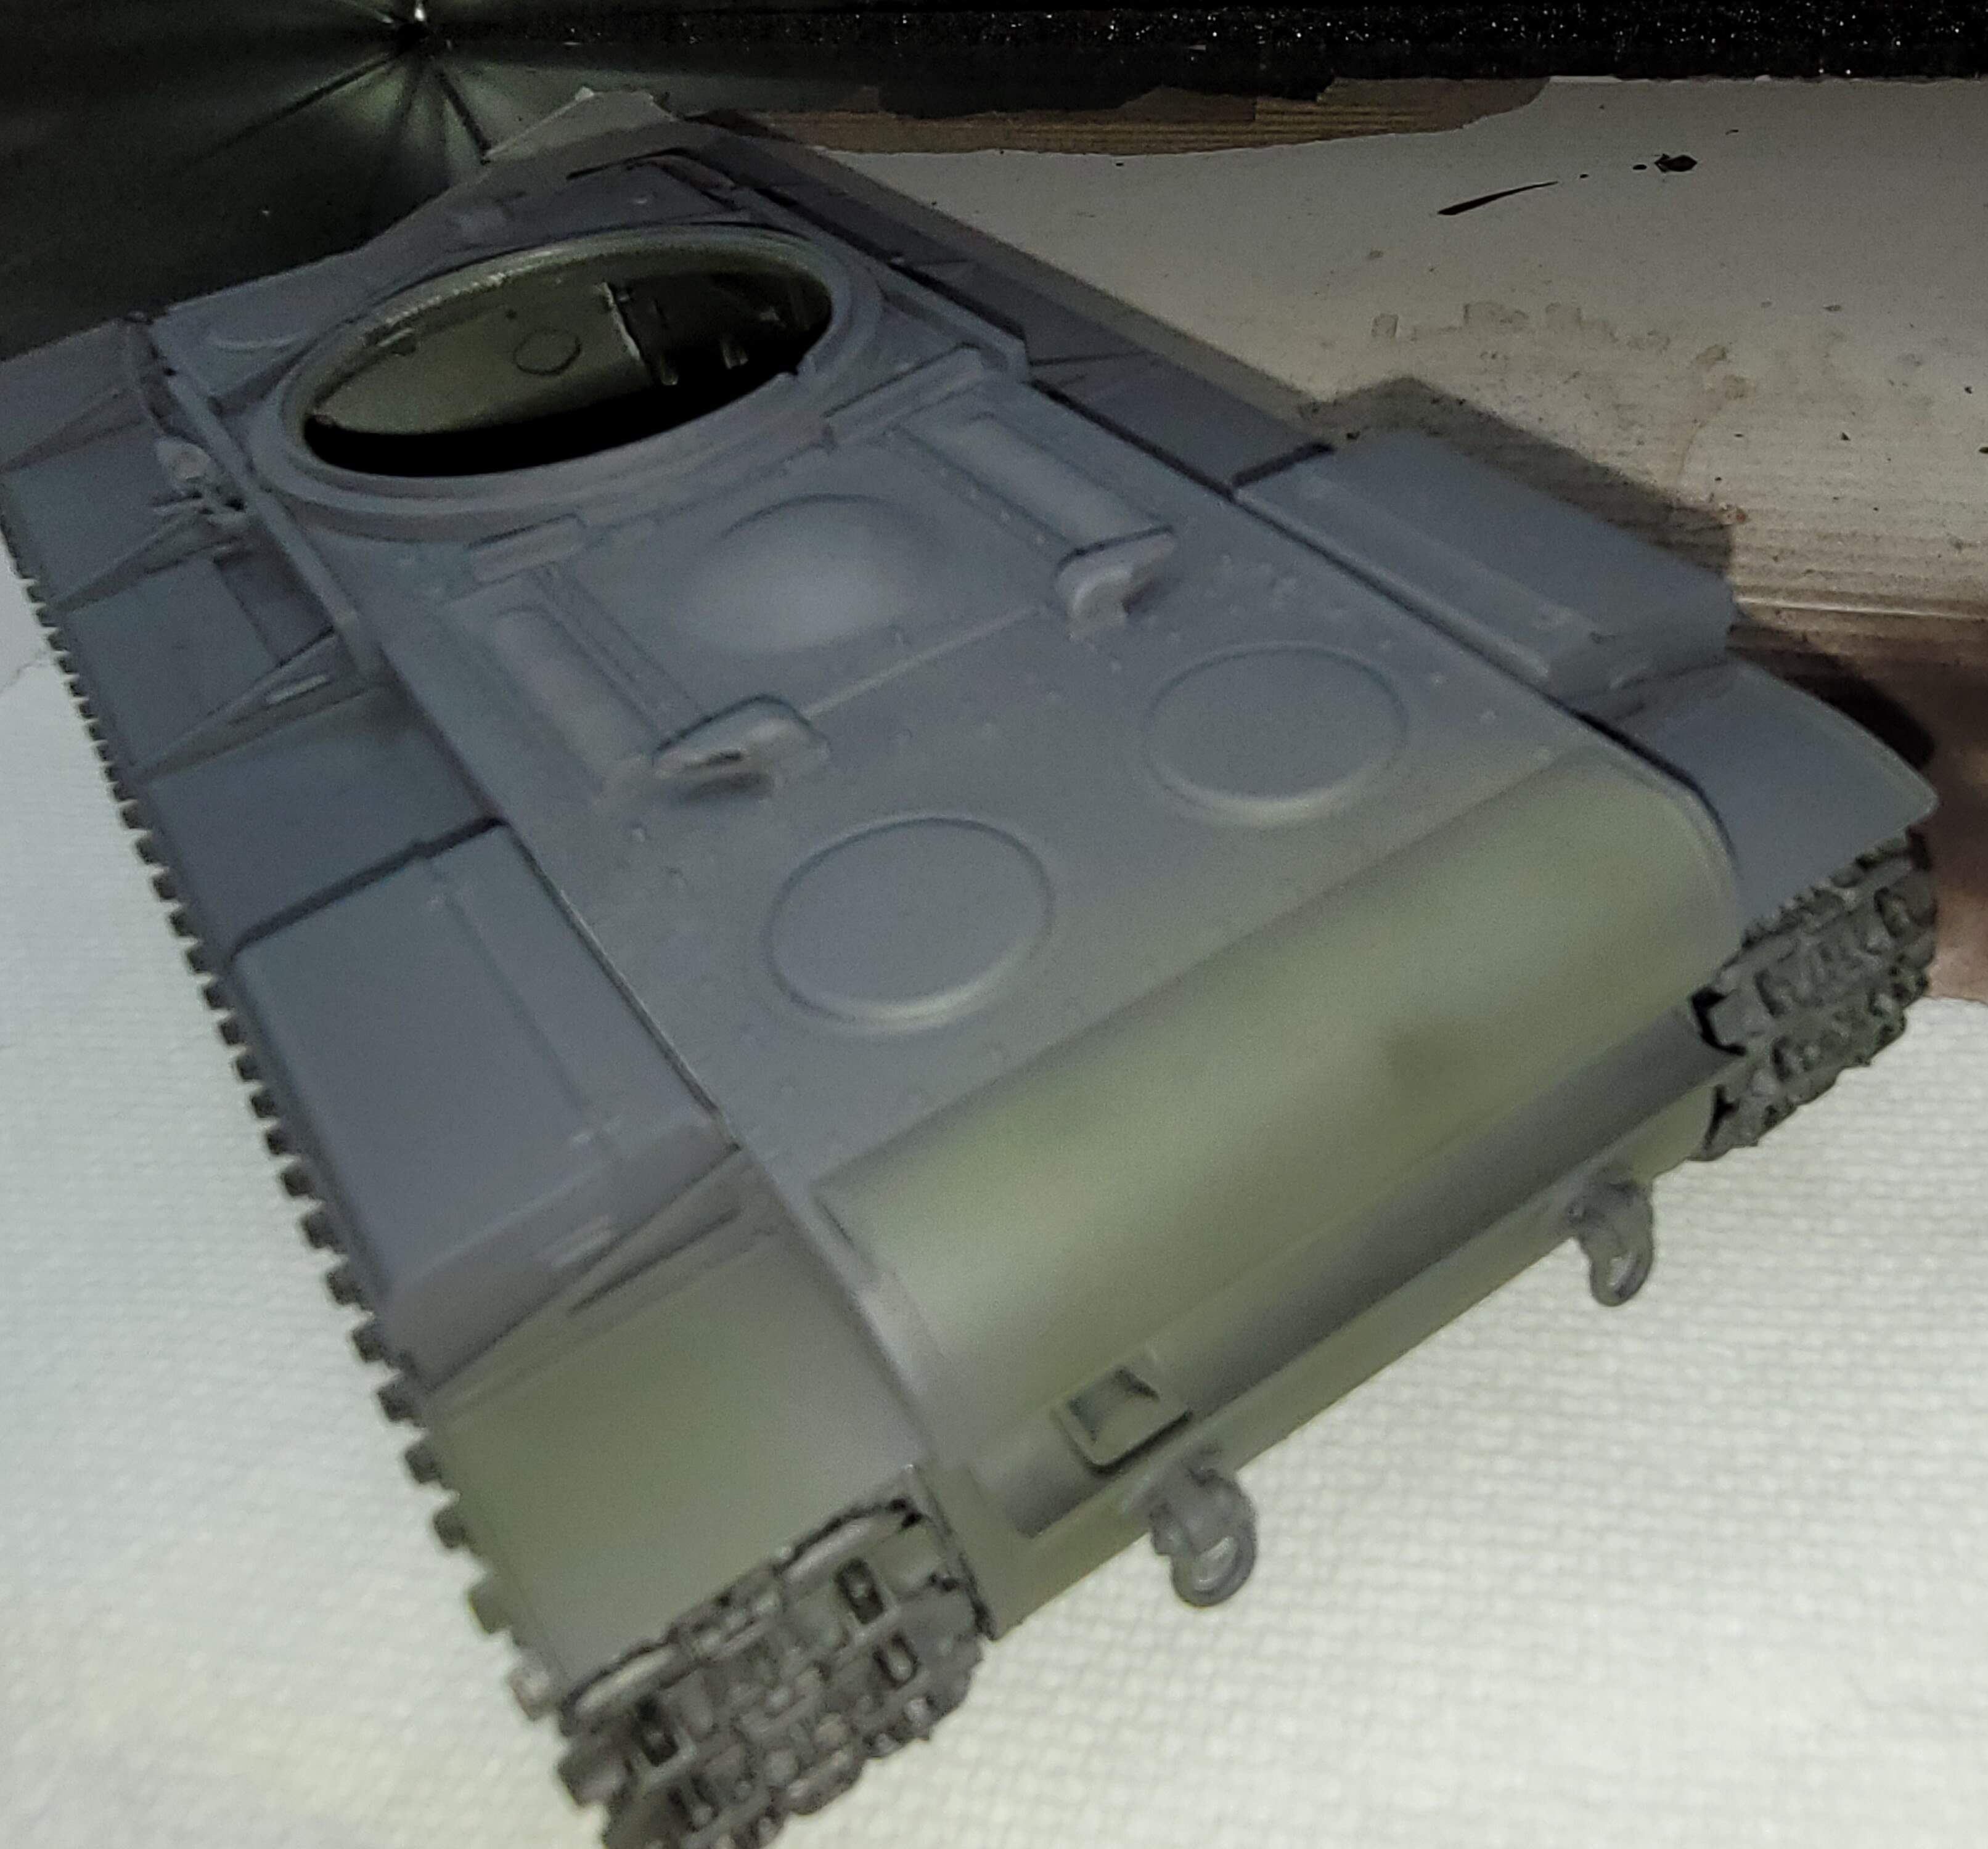
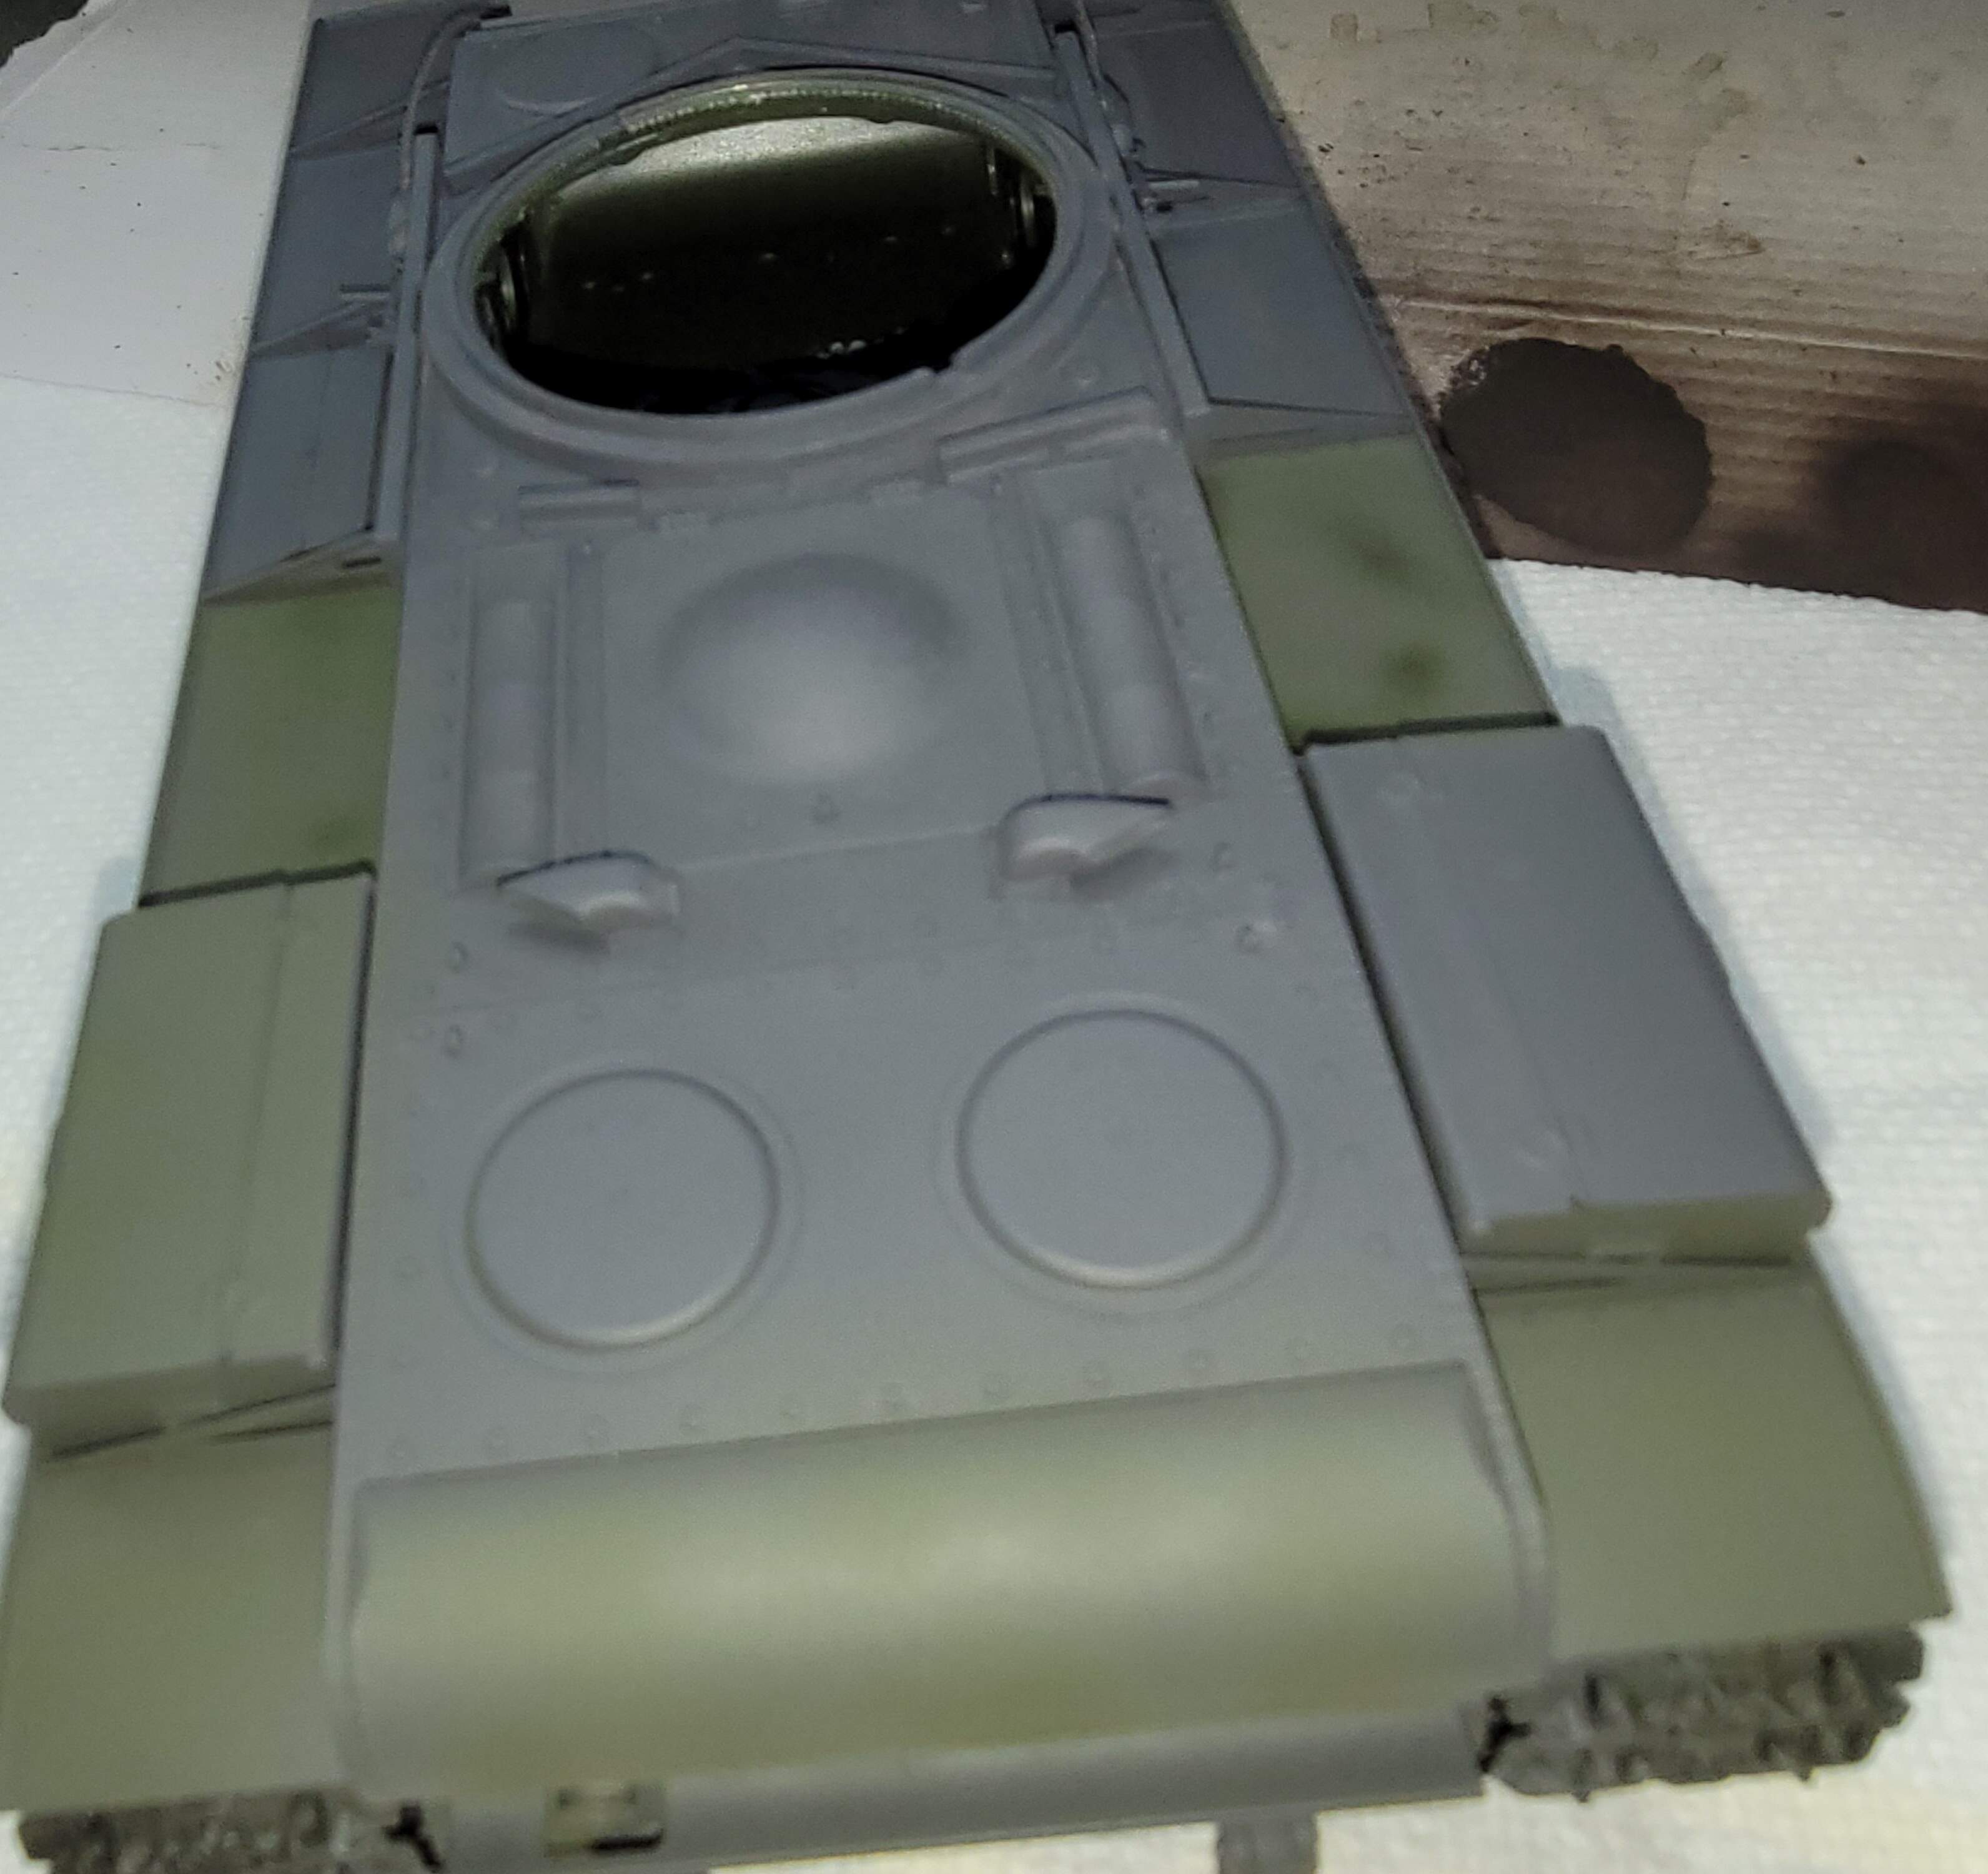
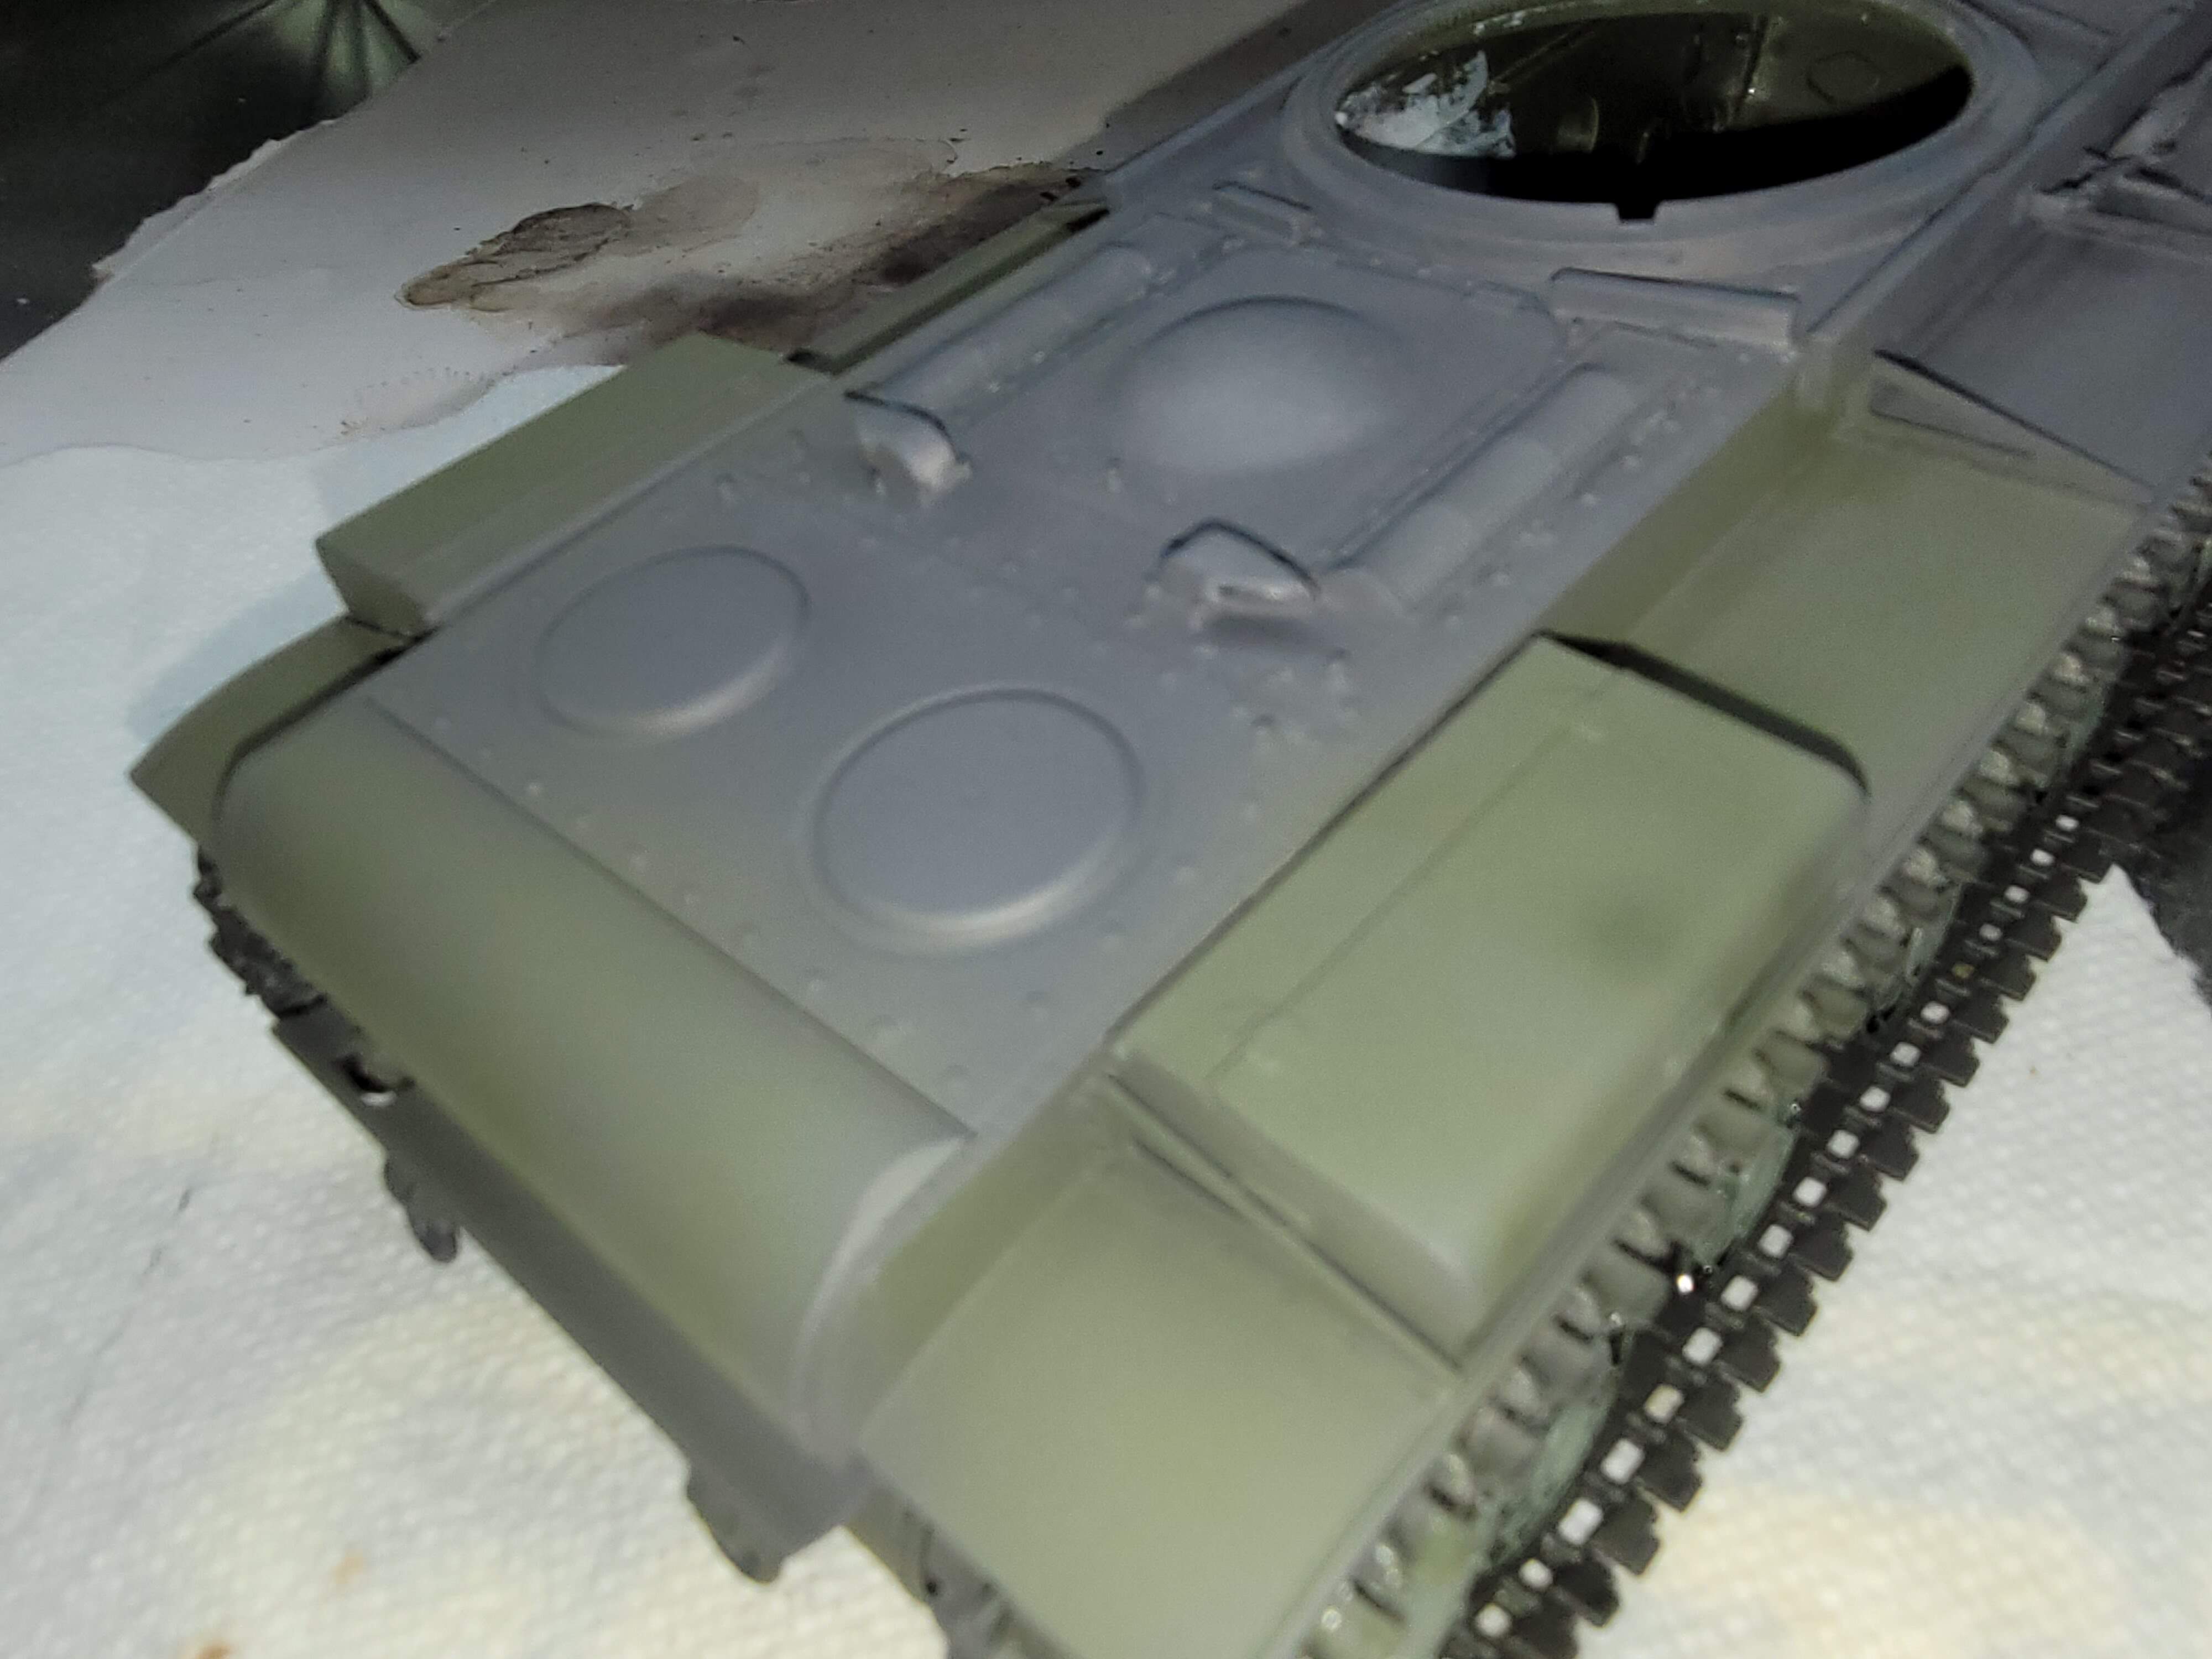
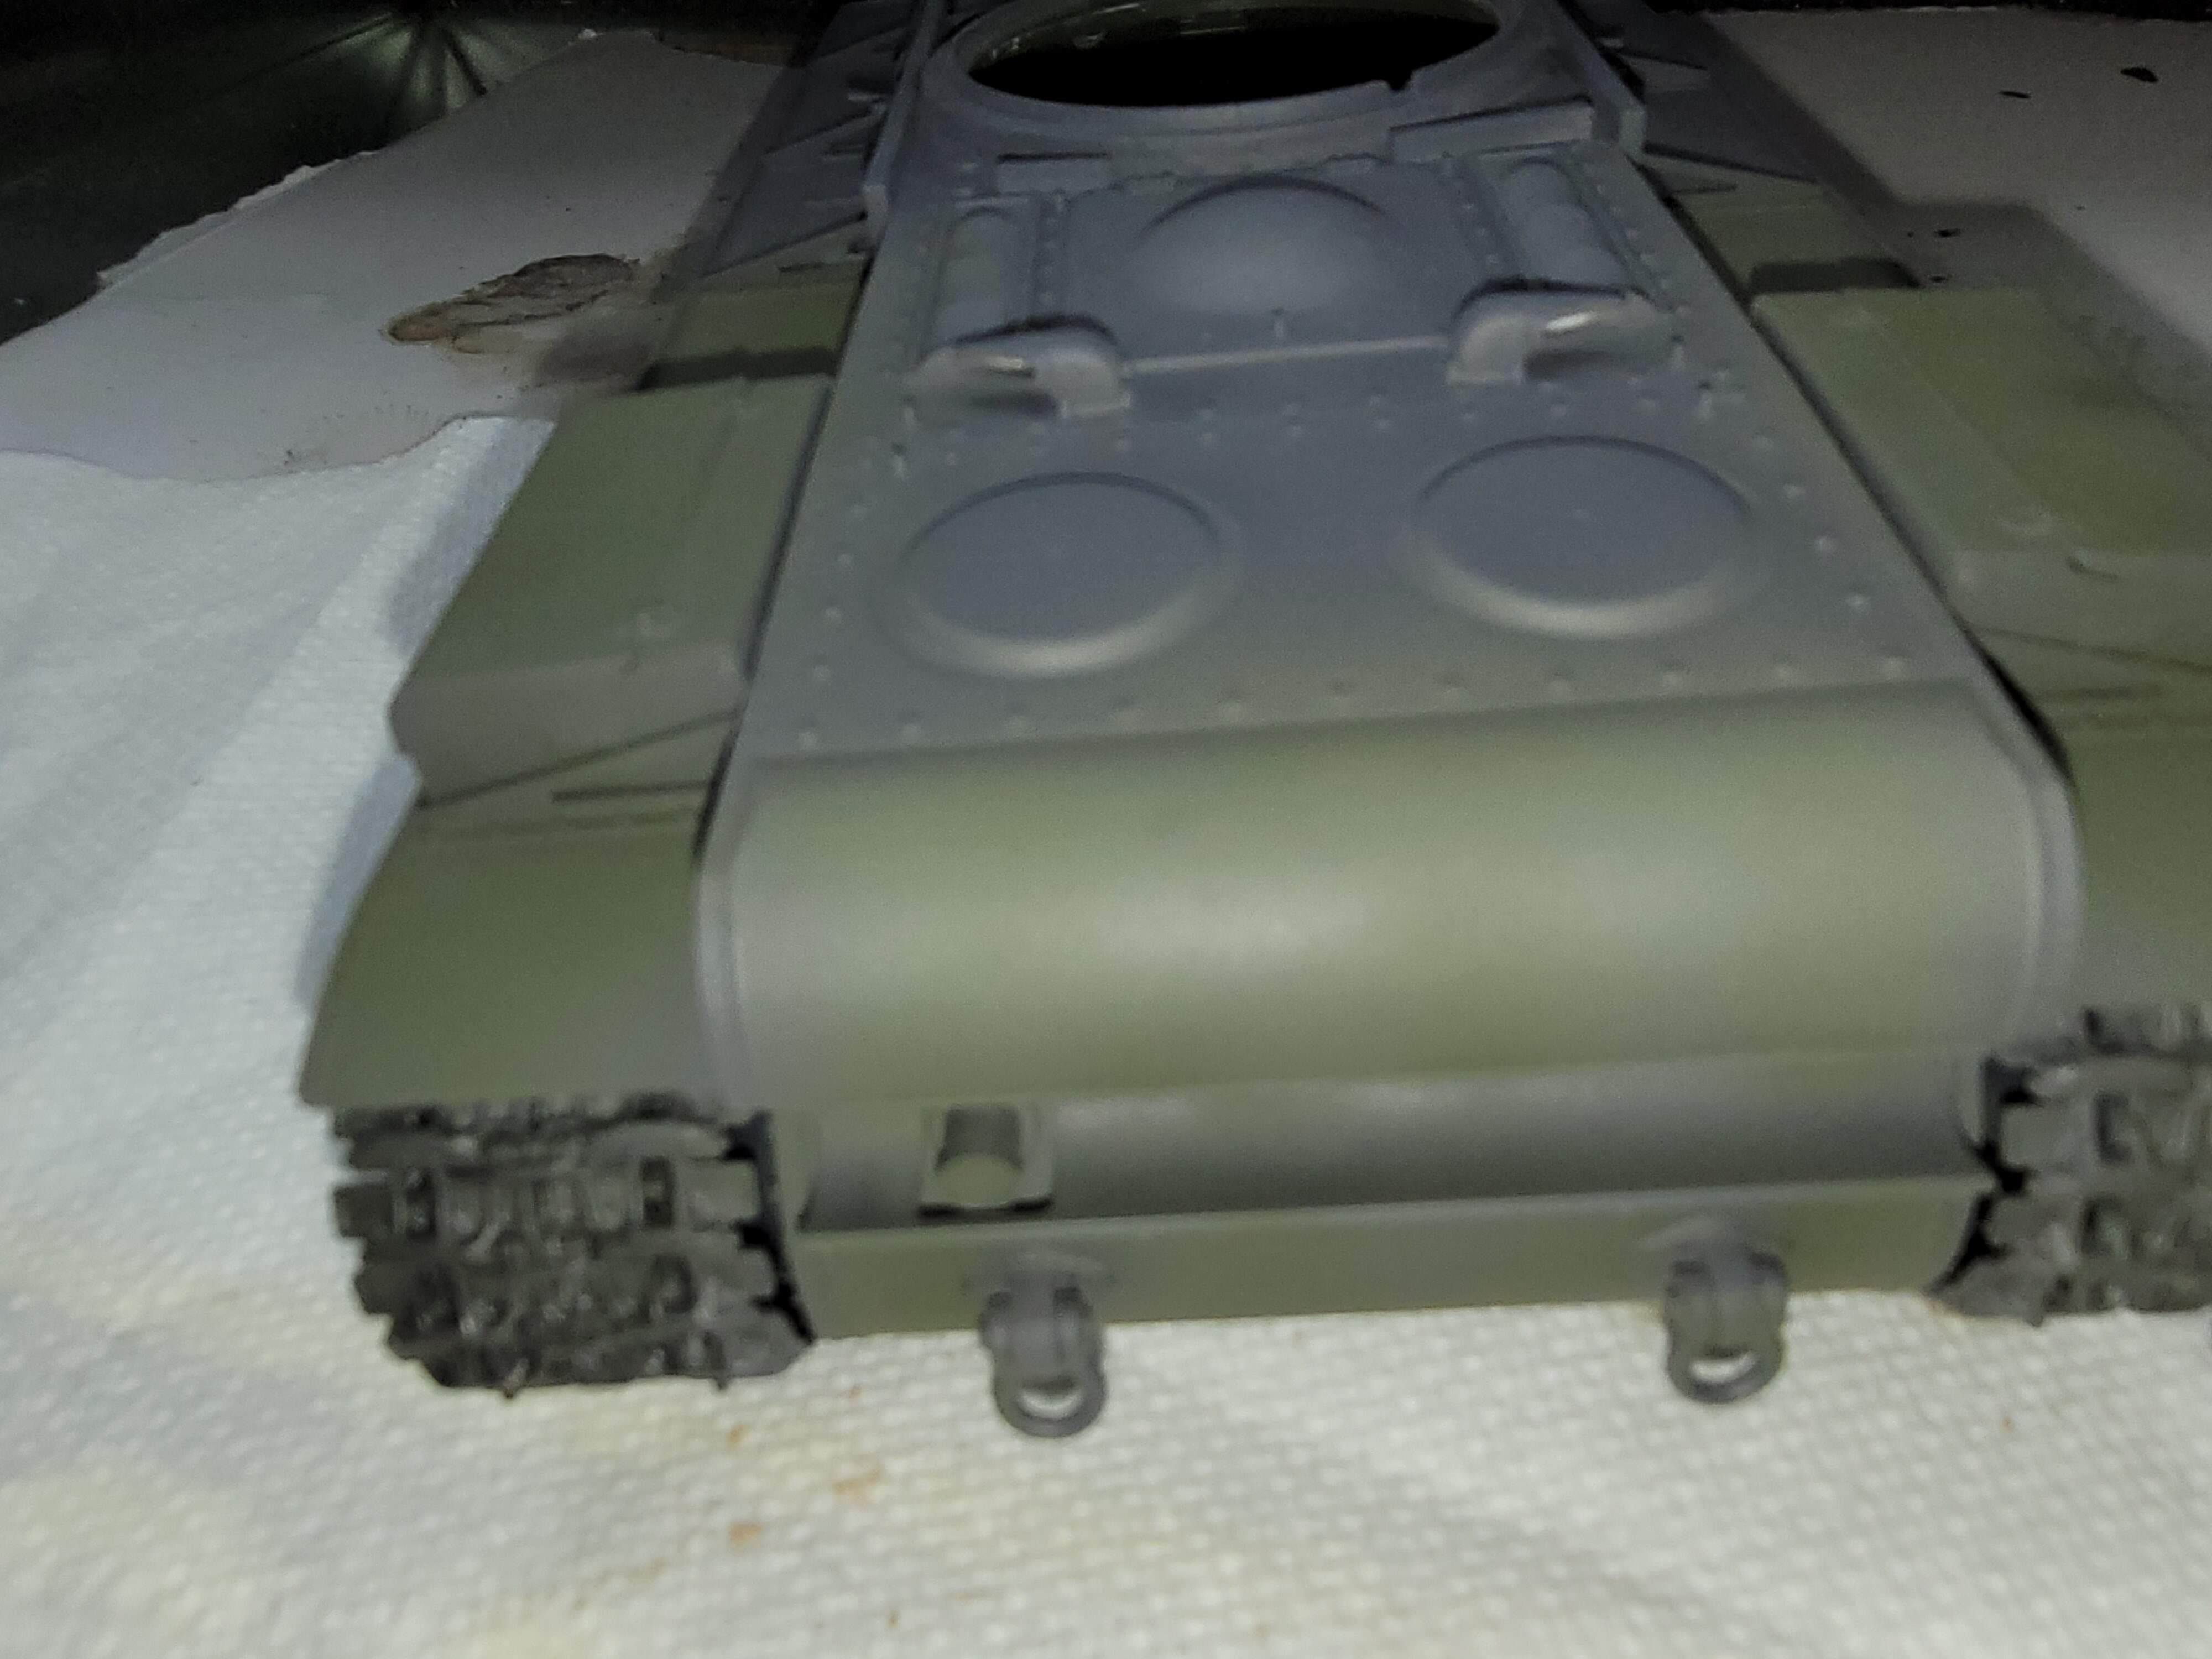
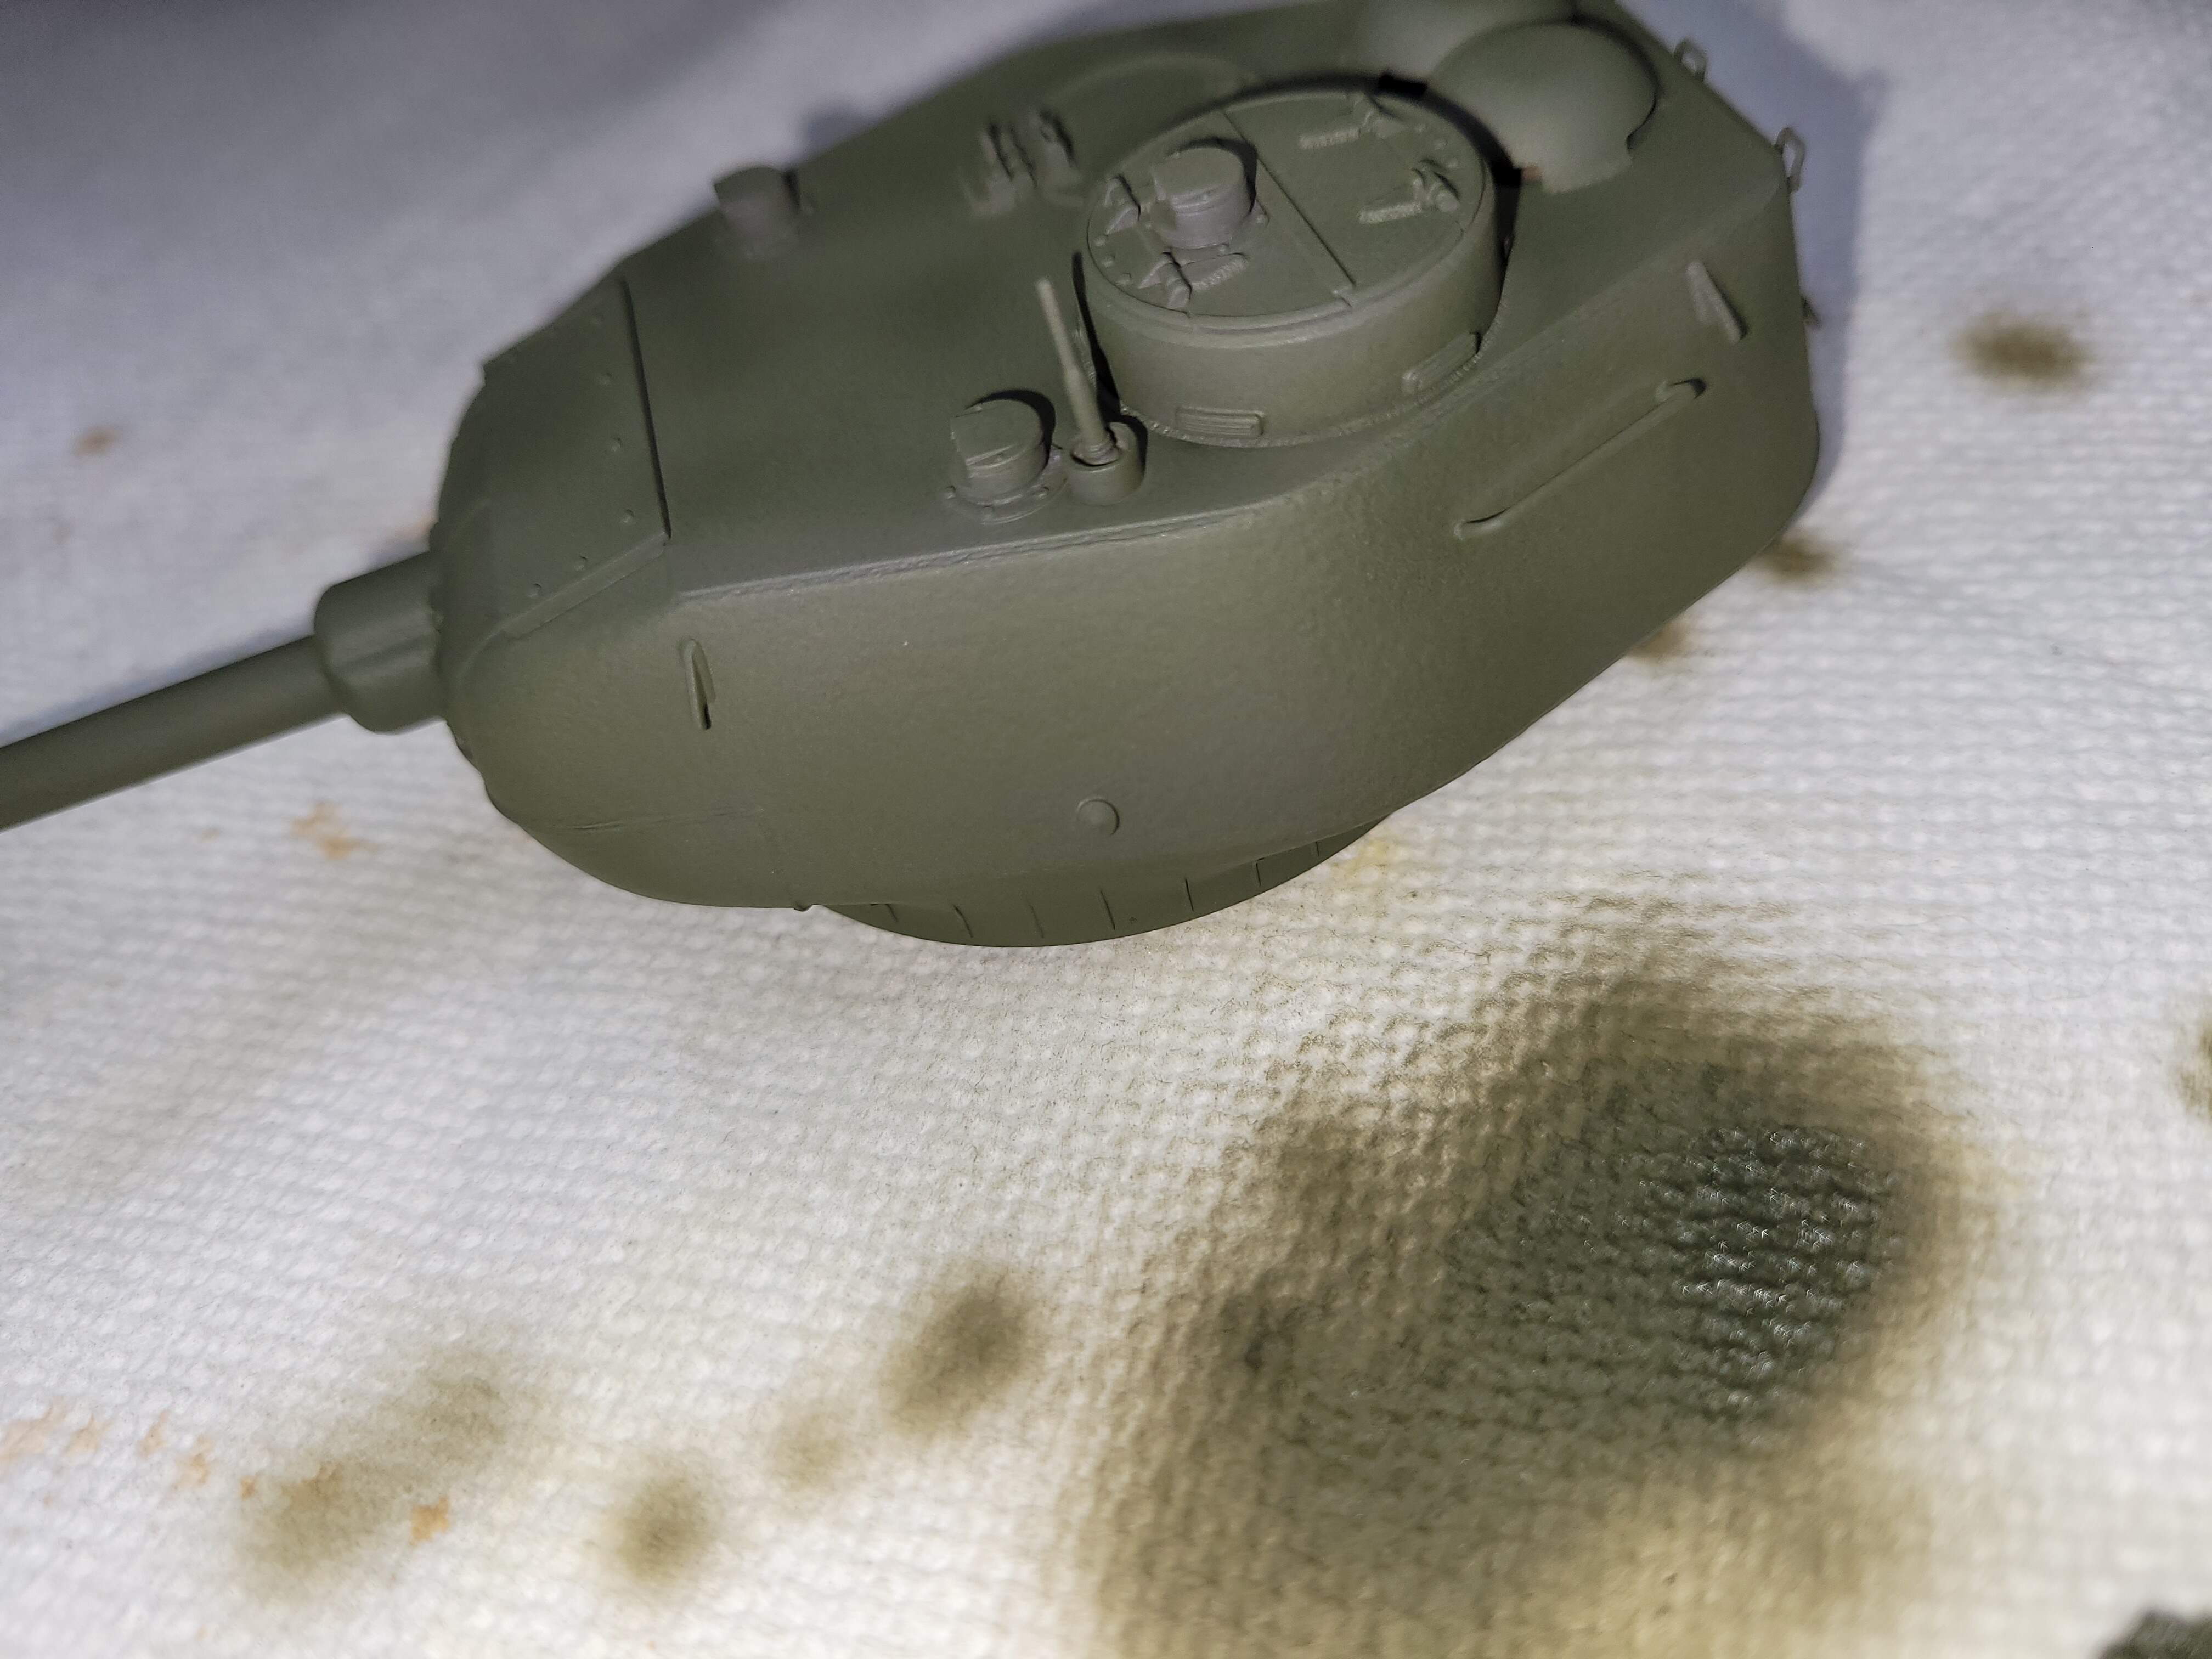
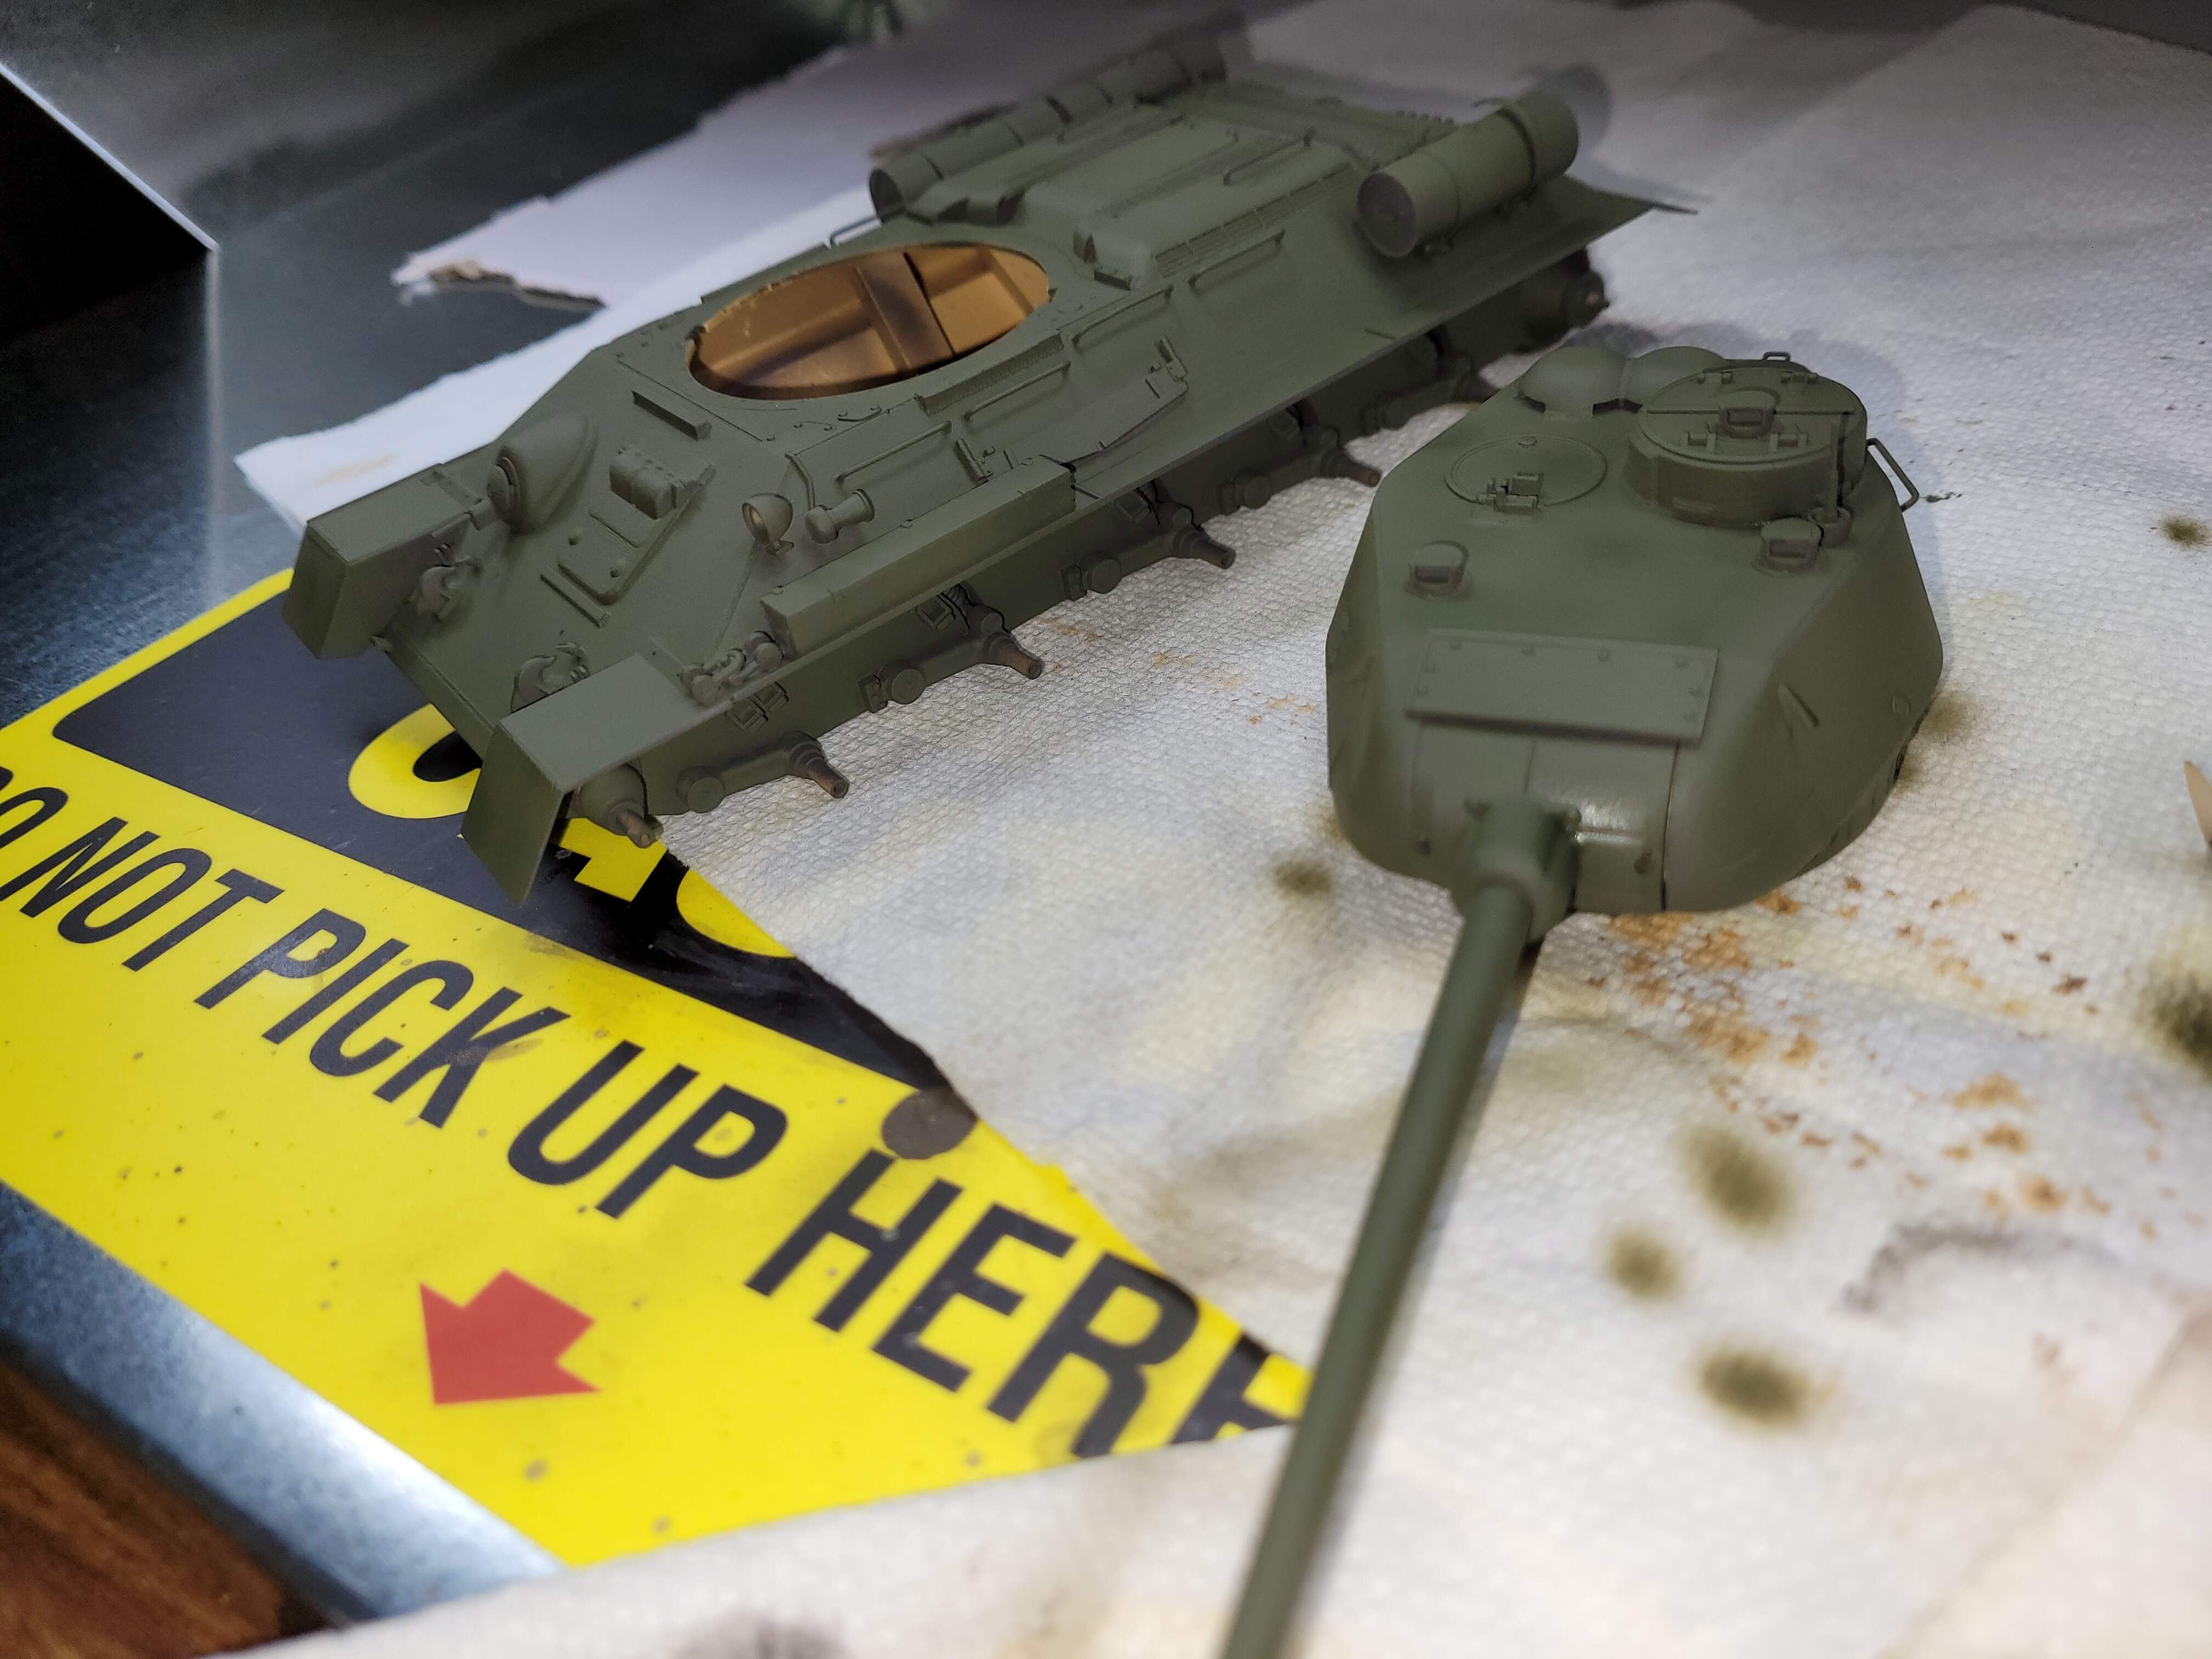
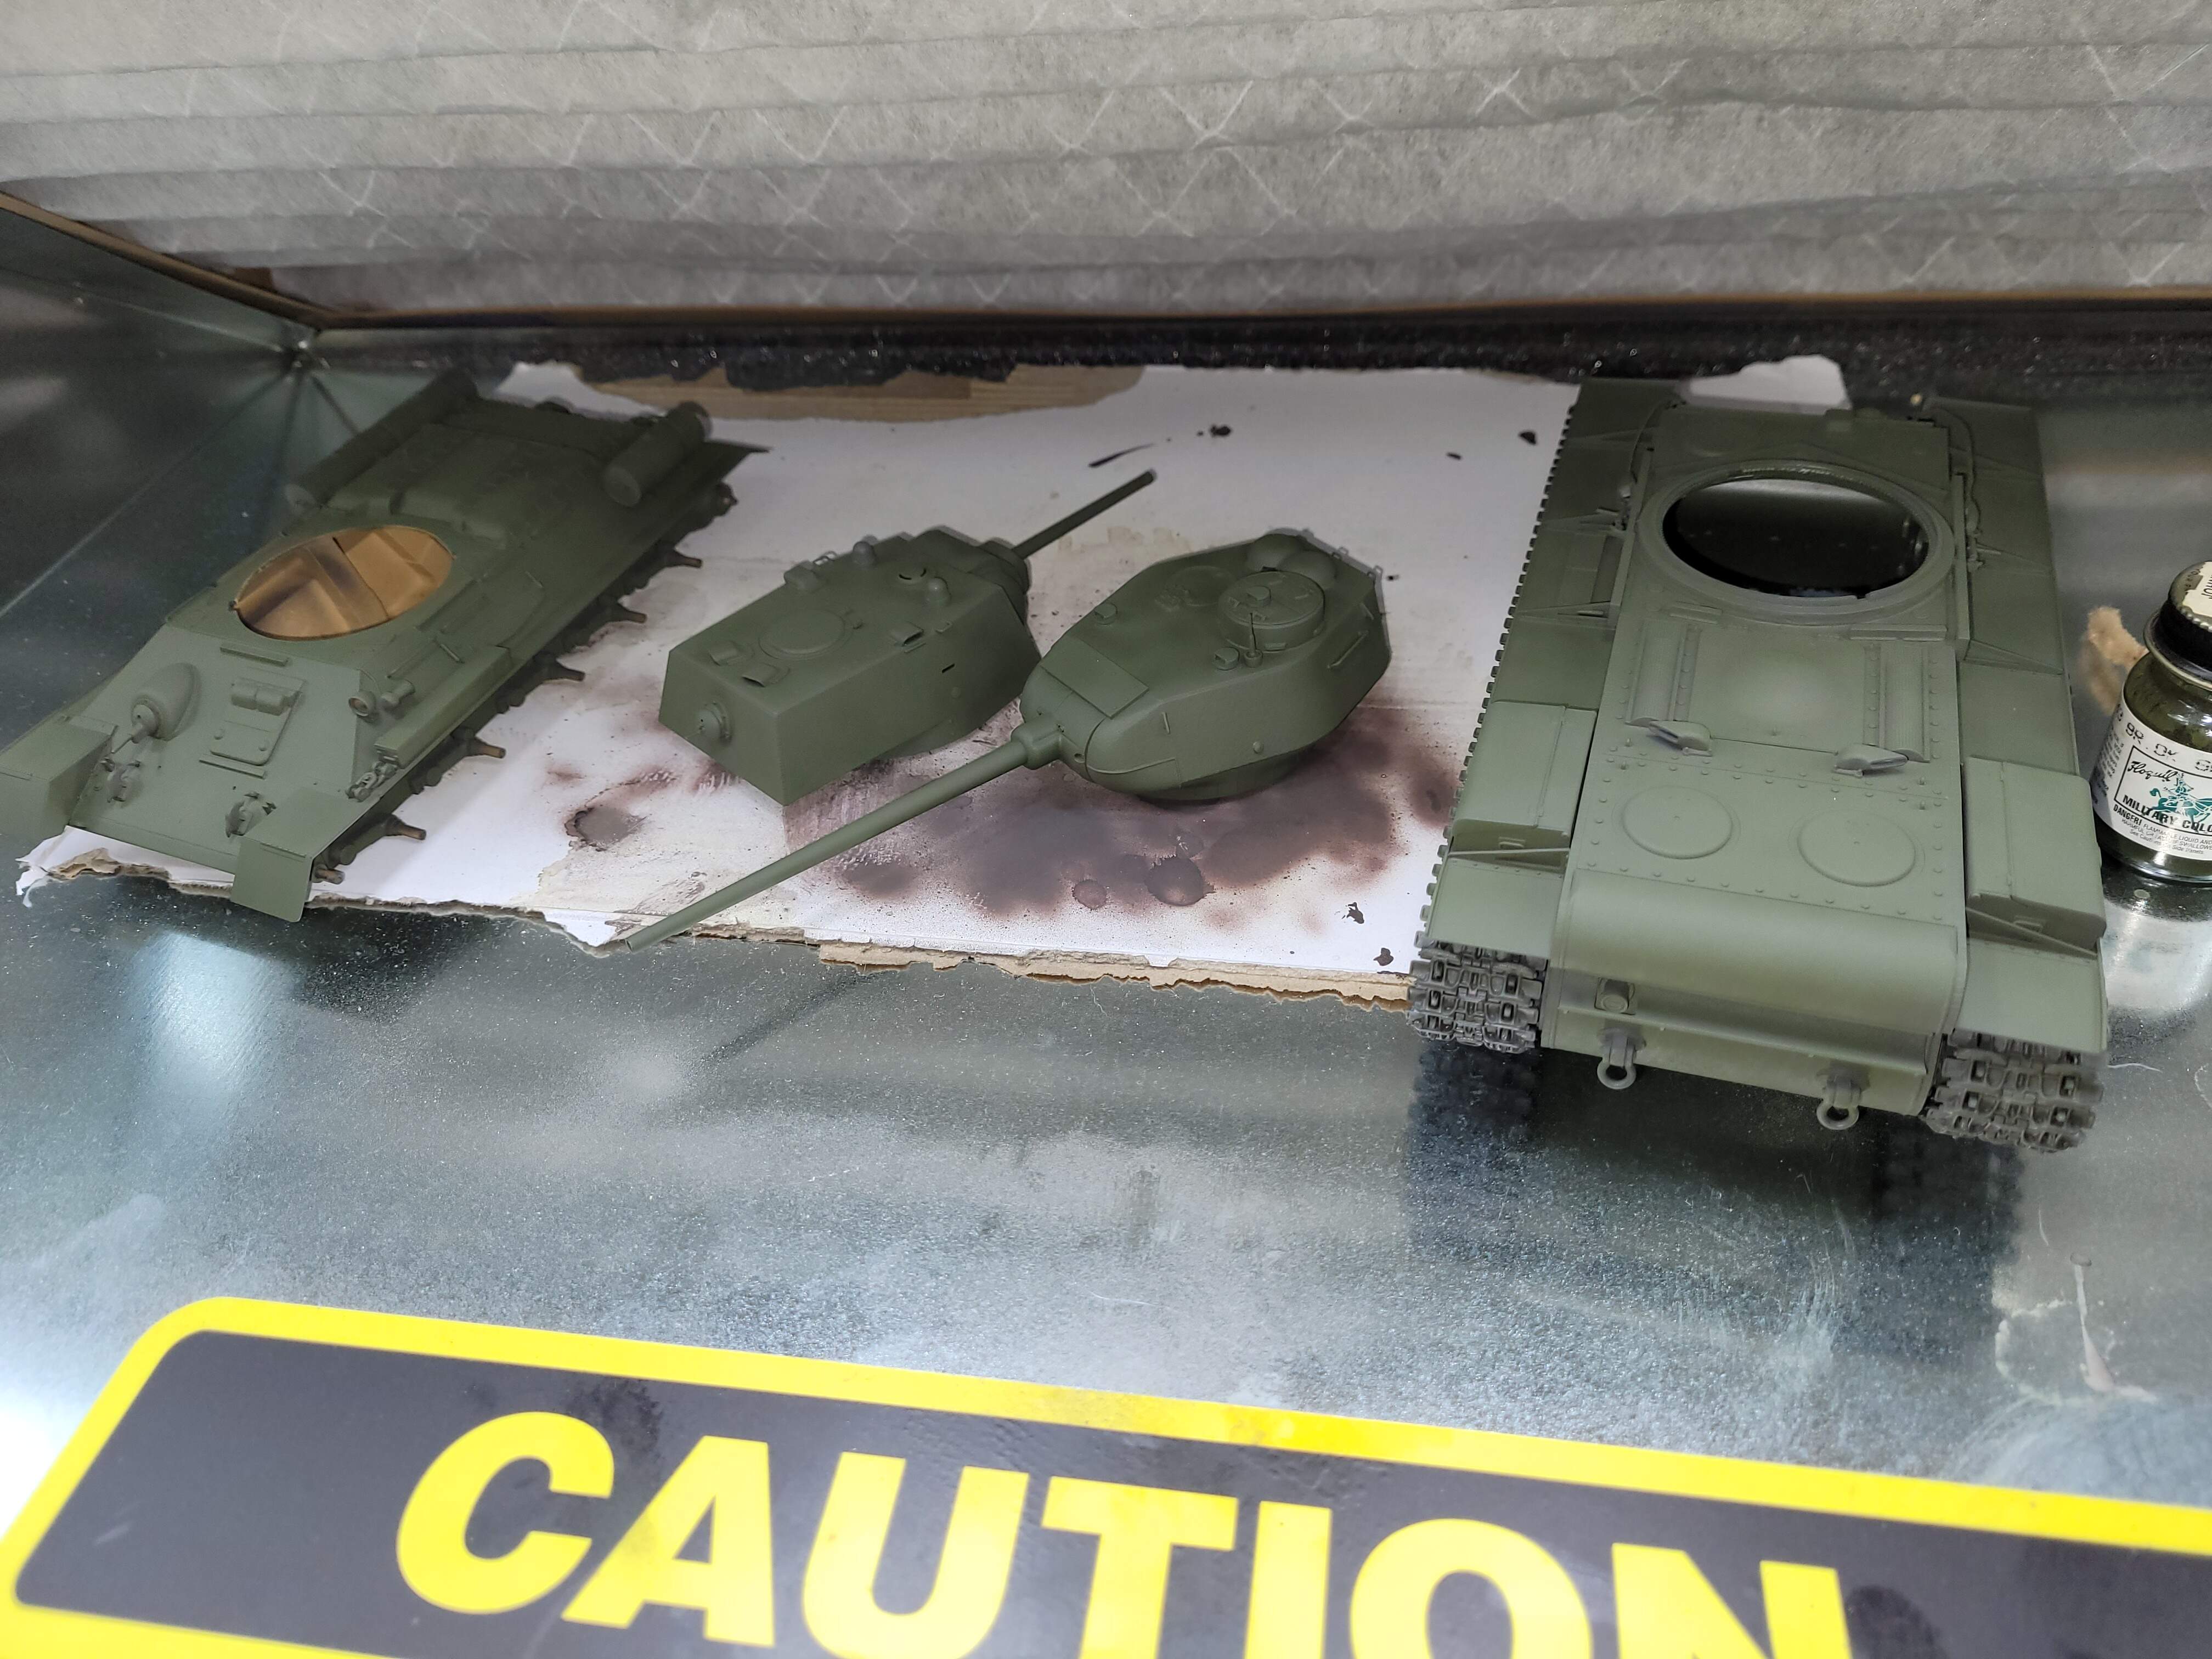
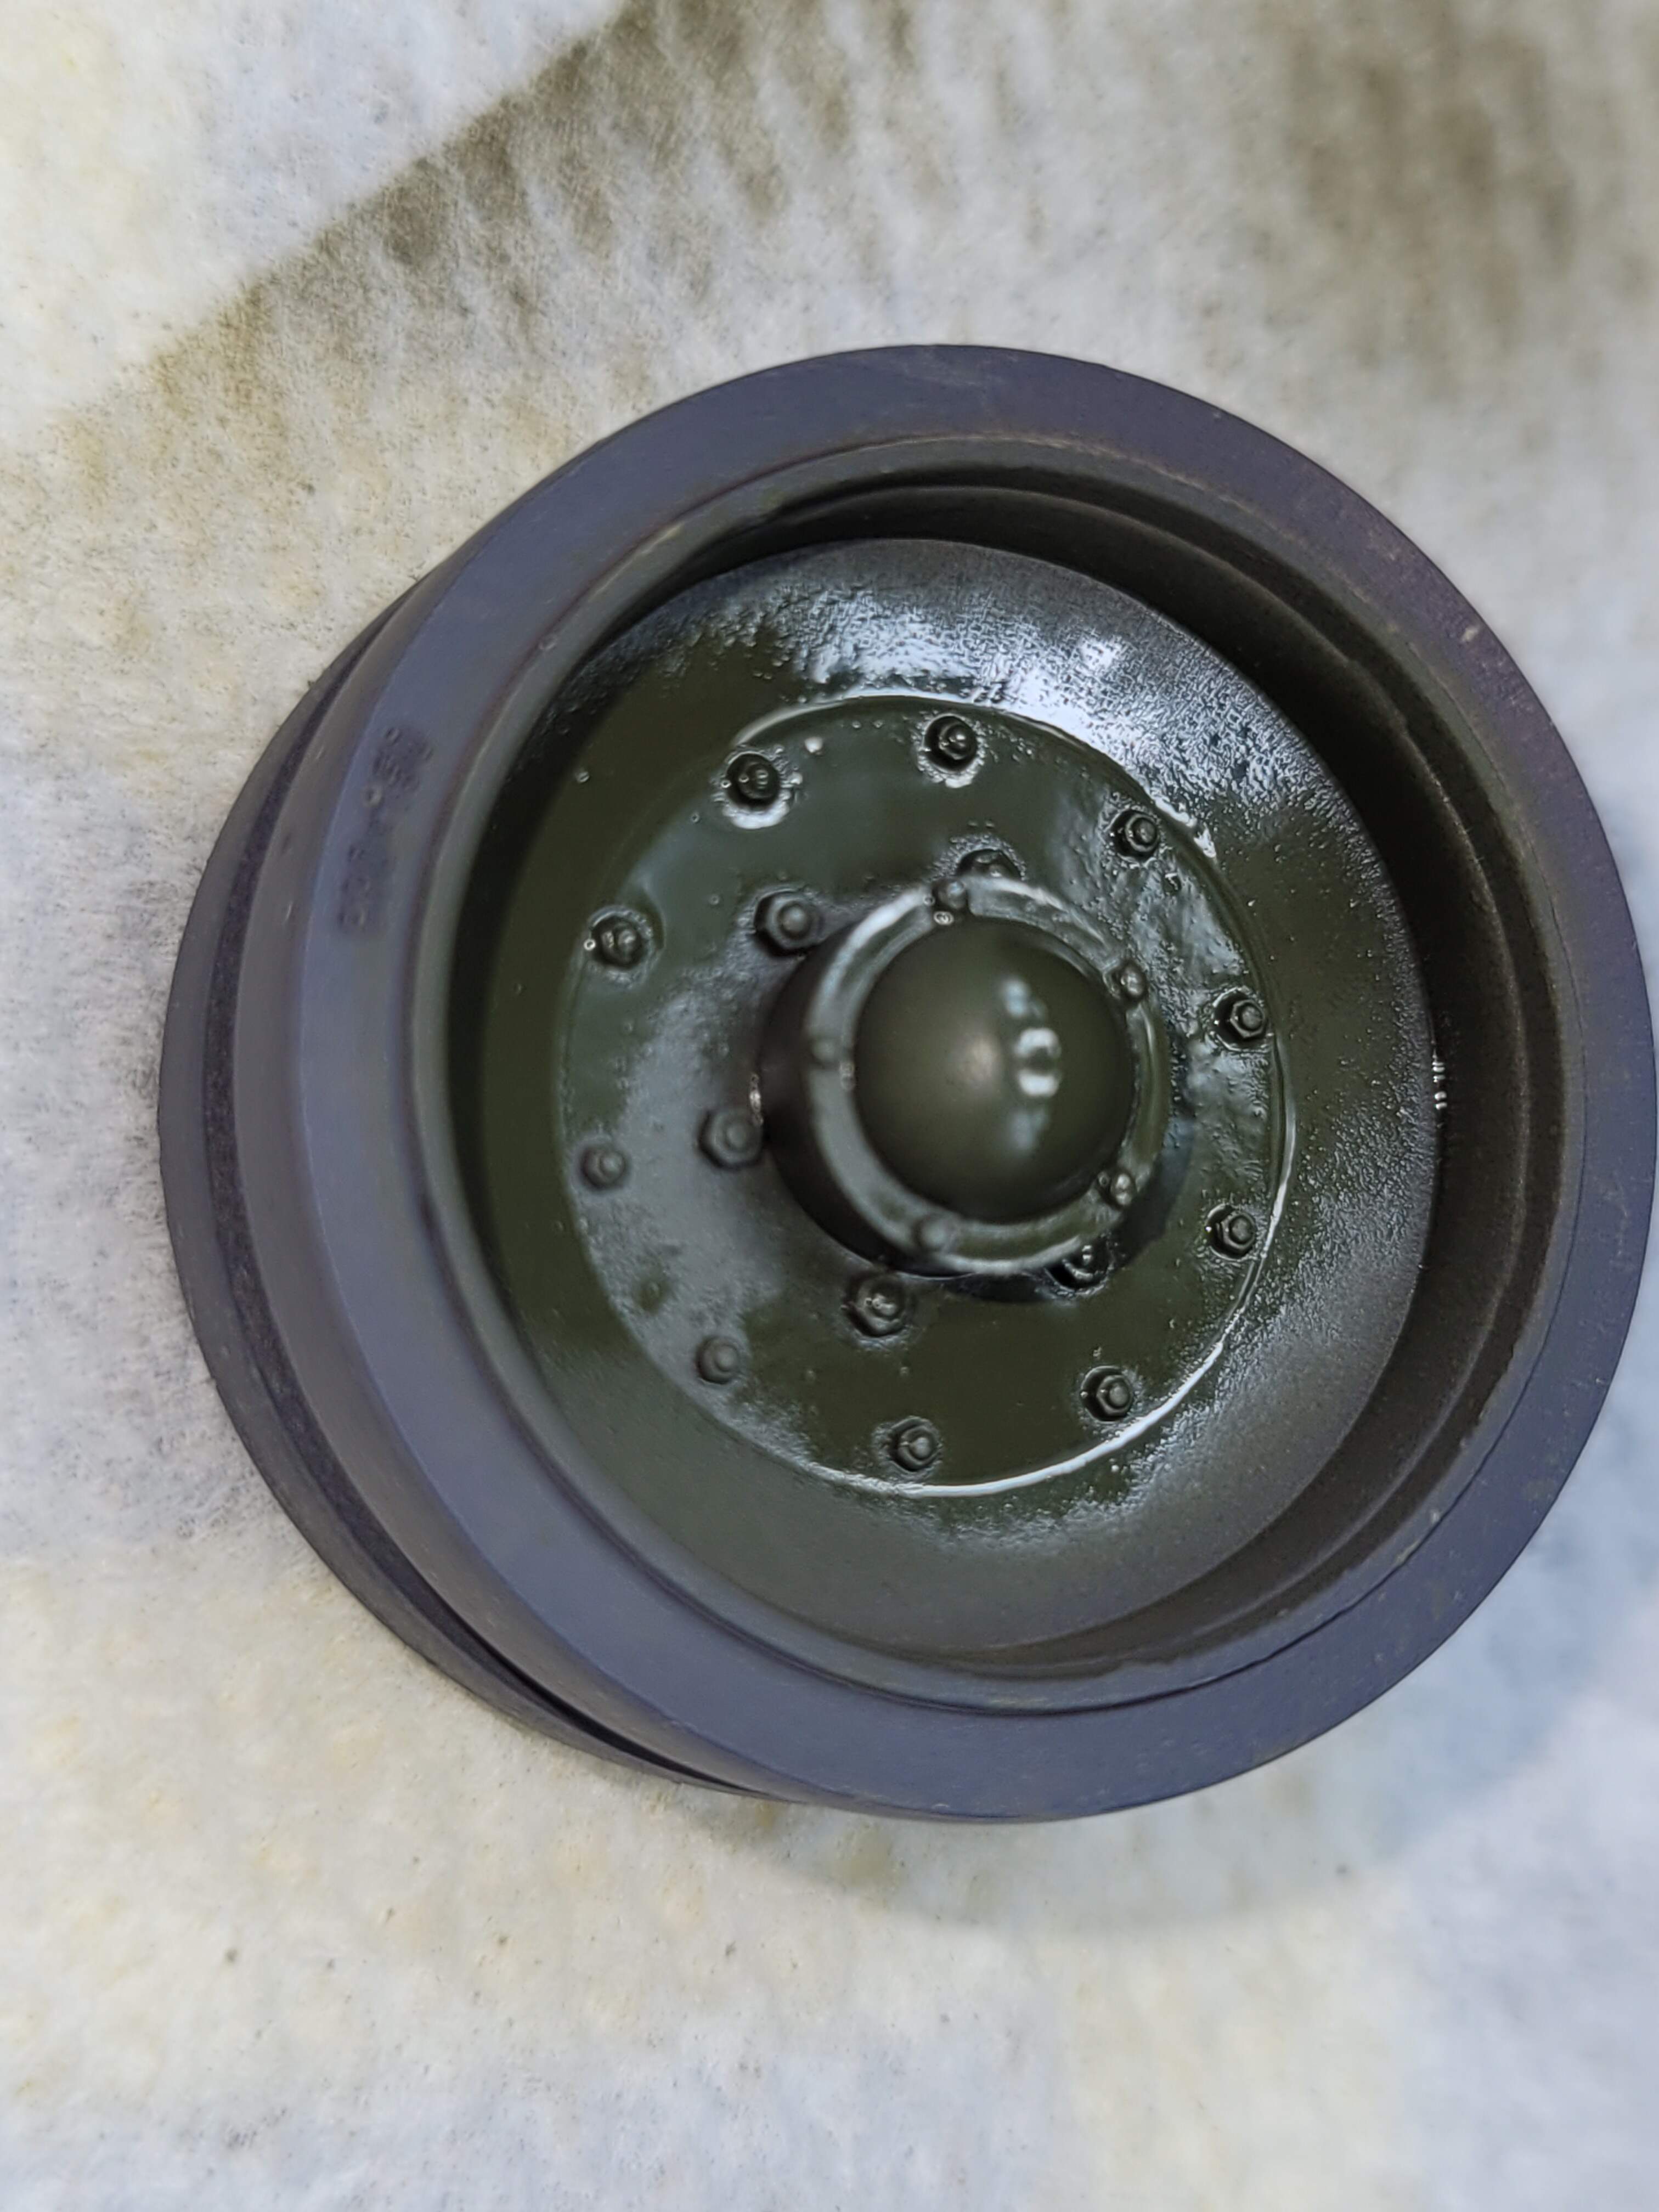
RFM T-34-85 #174 & KV-1 - weathered black, will be finished in Floquil Military British Dark Green using FM Panzer Interior Buff to highlight.

Some modeler’s immediately object to British Dark Green on a Soviet tank. However we’re going to be altering the color significantly with highlight, washes & dry brushing. Since we tend to work from Dark to Light when shadow painting the too dark British green works as a good starting point to end up with B4O flavor result.

DML T-34-85 & Tamiya T-55 shadow painted with Floquil British Dark Green

How pronounced is that effect of color tweaking? At least one Kreigsmarine U-Boat shadow painted in Luftwaffe RLM 74/75 etc placed in the IPMS Nationals.

In other words, to paraphrase Shep Paine “if it looks right - it’s right”

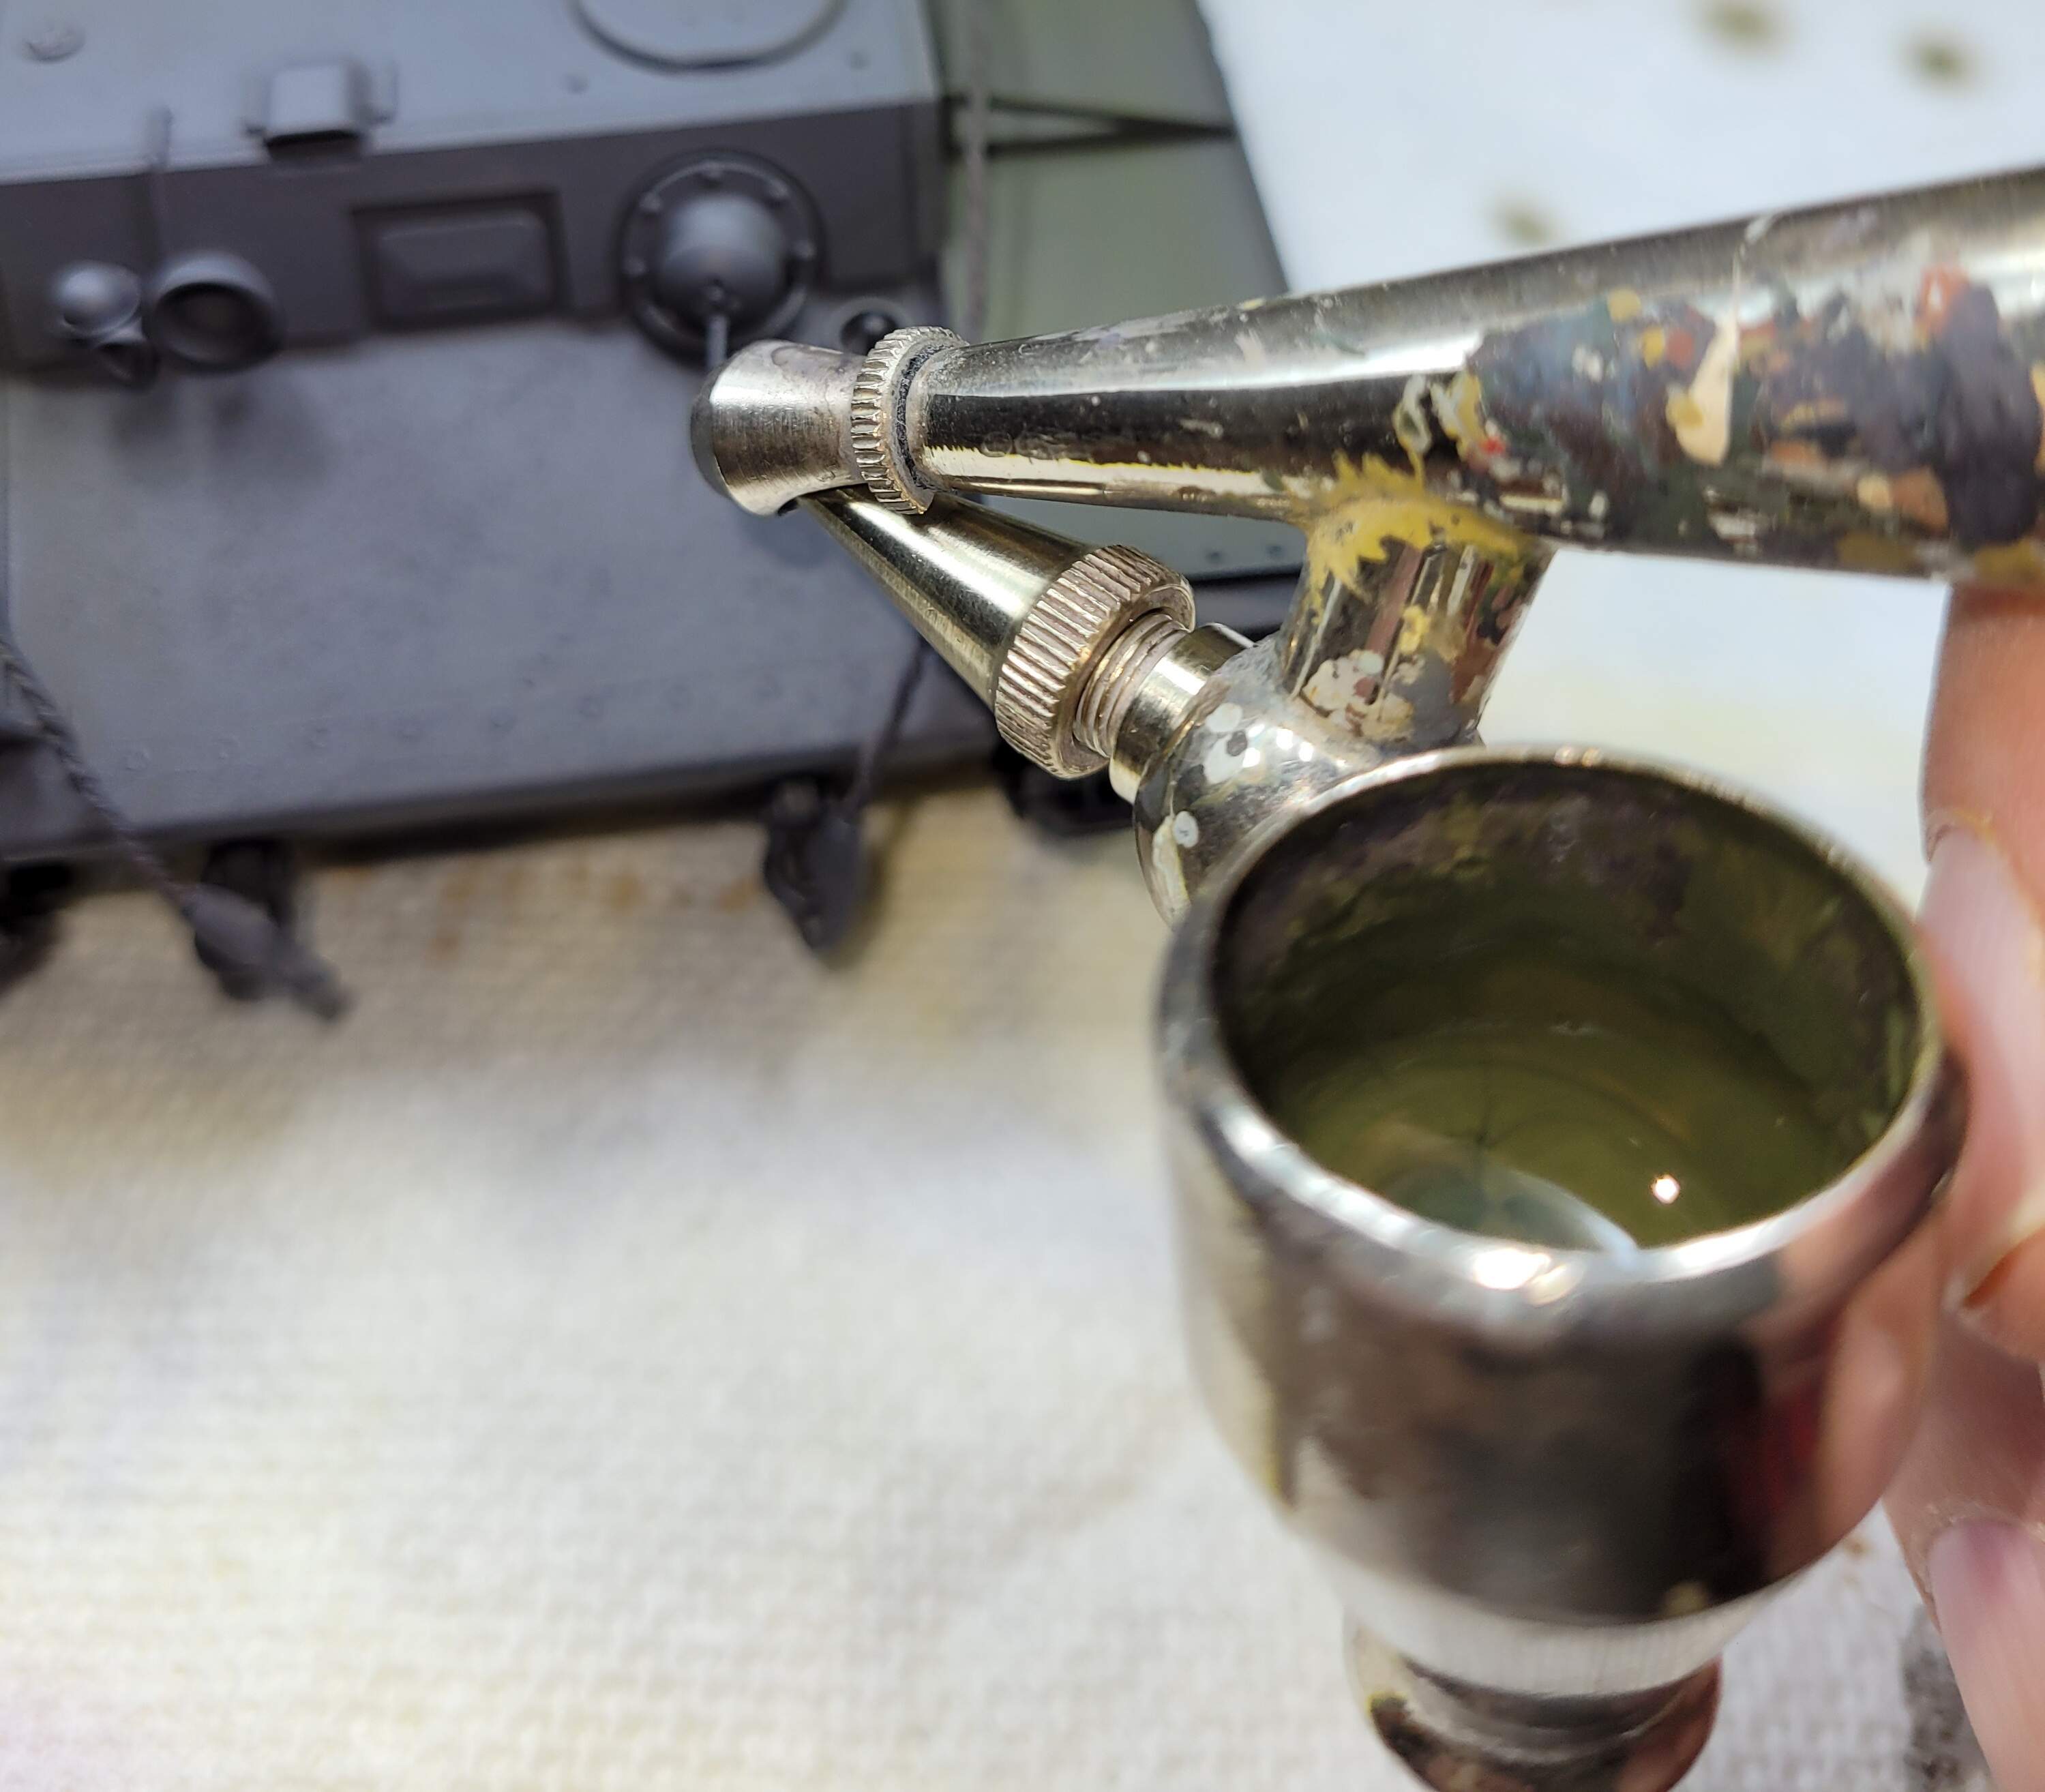
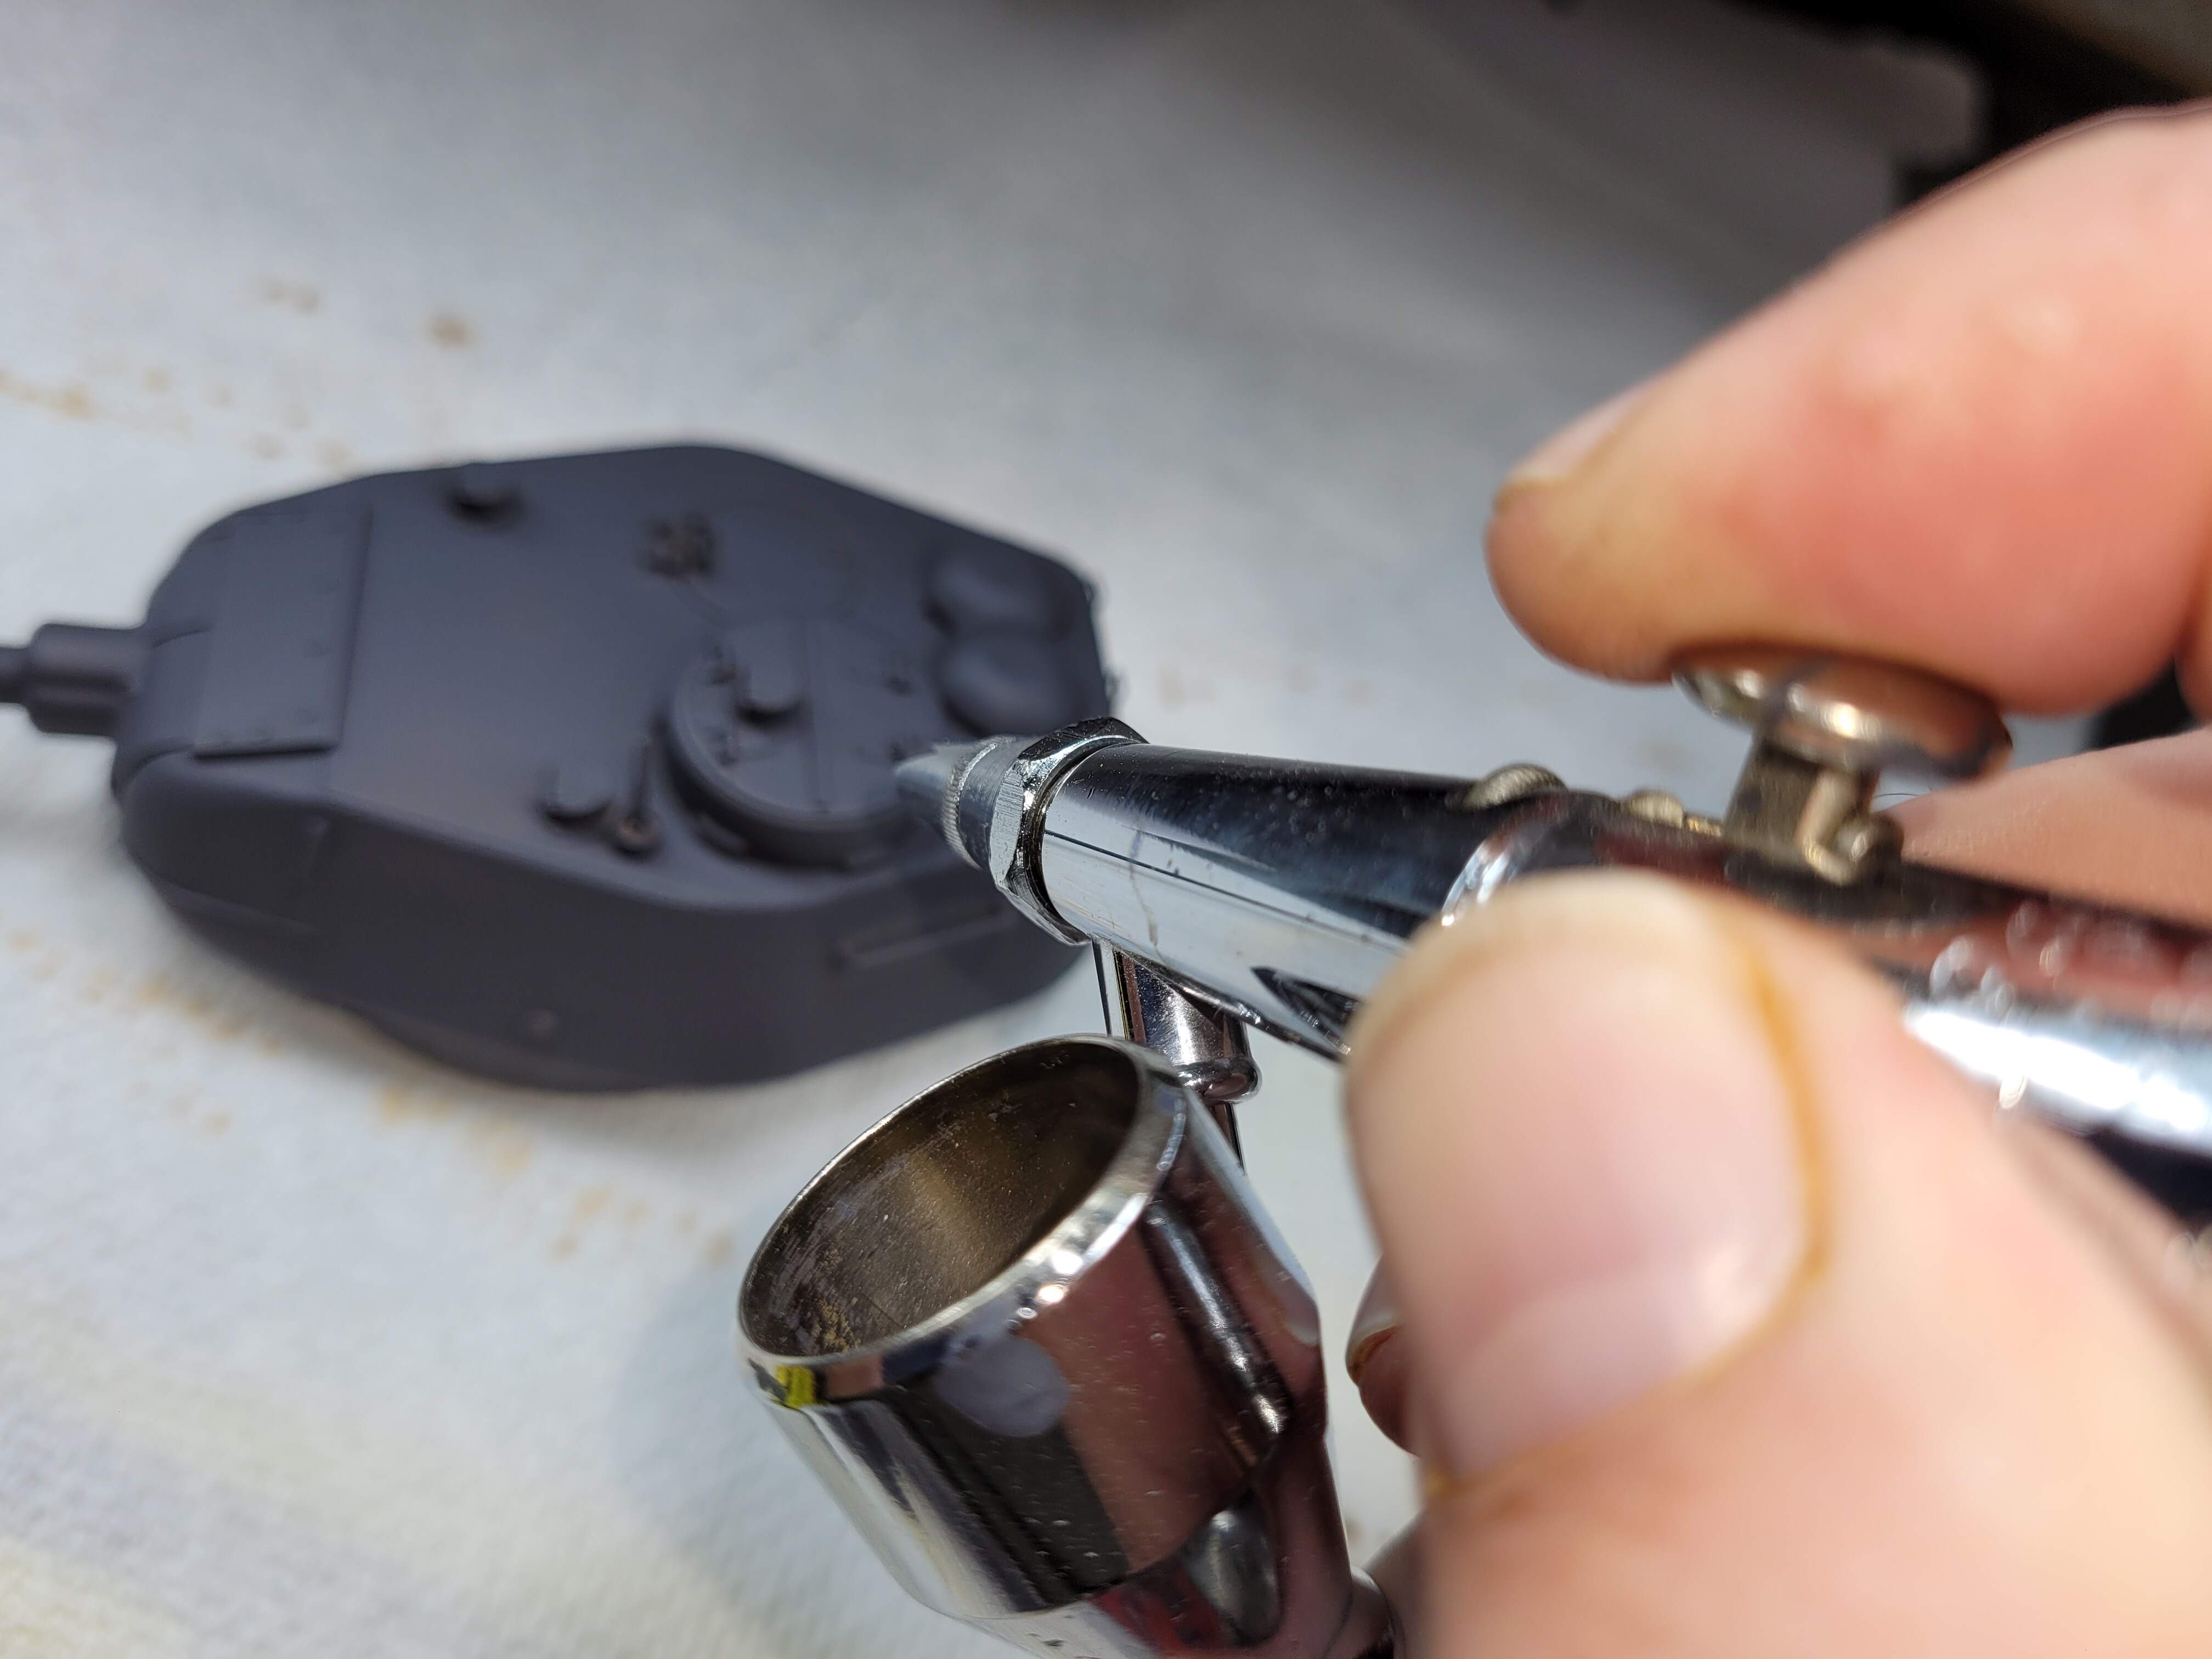
Yes that’s an obsolete ~35 year old external single action Paasche H airbrush in the bottom of the picture. It was used to paint all of the models above. The old Paasche H is basically the Pz IV, Sherman, T-34 of airbrushes…aka a simple workhorse.

The Paasche VL is used for camouflage. (M48A5 Patton, T-72)

The expensive Iwata Micron photo-retouch is used occasionally. (M1A2 Tusk2, Challenger 2)

14 Likes

We are of the same minds on this. Been using this technique for years with award winning results. Much easer to learn and master than most folks think. As for using dark colors as a base I’ve even used purple on a Stryker then base coated with NATO Green. Will continue to follow.

2 Likes

YES!!! Exactly :100: on the mark!!! That’s Awesome DV !!!

1 Like

What was used, and how was the application made, for the green vision block on your Pz III??

@vettejack John,

I cut a piece of sheet styrene to fit behind the visor inside the hull. Mainly did because the IPMS judges back in the day would shine a high intensity mini-mag flashlight into driver visors to gig the model. They were looking for a raw open and unpainted plastic behind it.

So I dipped the sheet styrene in chrome silver paint and let it self level and dry.

Next dipped in Gunzy Sanyo clear green and let it self level and dry a couple of times.

The ones in the cupola are more sheet styrene done the same way.

A friend discouraged me from using a small mirror in the Pz III so it could counter punch certain judges. My initial idea was a mirror booby trap for the judges who like to get eye level and shine a bright flashlights into driver visors. In others, keep the Death Ray away Mr. Judge :slight_smile: My friend was right - as I was way too wrapped up in the contest stuff at the time…LOL

5 Likes

Being a National Judge for AMPS and IPMS, I never held a death ray of judging… :grin: On another note, nice technique for the glass.

2 Likes

@vettejack John, cool deal judging both IPMS & AMPS Nationals. Thank you for the kind comment.

No offense intended.

My flashlight comments are really meant cheek & tounge. Several R3 (now R12) judges at the time were excellent hard-core mini-mag Jedi. I haven’t judged at an AMPS show but I have done a lot of IPMS judging including at several Nationals. I was always one of the mini-maglight in hand Death Ray judges, looking for punch marks types etc. Look at every model and hose every mosel in flashlight for 30 seconds or so. Some of that came from a lot of venues with poor lighting as well.

2 Likes

Prep

We’ll start with the boxy KV-1.

Backgroud
During assembly using the link and length tracks, the suspension needed to be painted as fitting fenders and tracks looked difficult after hull was assembled. Not having a spray booth at the time and needing the suspension painted, both lower sides, suspension & wheels were painted via drybrushing. They will be ignored going forward. We will do the suspension on the T-34 later etc.

We all know to carefully wash the model in warm soapy water, rinse and allow to dry before painting. Apply dark base coat/primer. Fix construction flaws as desired.

Step 1 - Base Color Coating

Check to make sure enough paint, thinner, pipettes, paper towels, time and excellent ventilation are available. I normally use the VL air brush to blast models with air to ensure a dust free surface.

Shake and stir paint. Ideally warm the paint bottle under an incandescent light. Warm paint sprays better and finer than cold paint.

While not required, I like using paint pipettes to measure small amounts of paint and avoid waste.

Floquil goes for $12 to $30 a bottle on Ebay these days so I try to conserve my mere 235 bottles of Floquil to avoid Ebay prices:)

Floquil Ready Rack.

The rest of the Floquil is stored in a Top Secret Secure location :wink:

Mixed in the color cup. 1.5cc of paint & .5cc of thinner for a total of 2cc’s of airbrush ready paint. Mixed thoroughly using pipette to pull in and squirt back into color cup. I like the color cup 1/3 full as I’m clumsy and that helps avoid spills.

Paasche H, #1 tip, ~18 to 20 in psi tank, 15 to 18 psi constant spraying

Note - I have zero artistic talent, so tech specification and rigorous procedure is my friend :slight_smile:

Check Spot & Dot on paper away from model.

The H is magic for this being a single action airbrush. Other single actions also rock at this.

It’s easy for me to rock back too far with a dual action trigger and get inconsistent spots & dots when shooting hundreds of dots and overlapping dots of paint onto the model. That’s why the H normally is my airbrush of choice at this stage.

That small Dot to the left is what I want. Going to cover model in those sizsd dots and overlap them.

BTW - with a worn threads on #1 tip, one can roll the nozzle adjust on an H, with the middle finger while spraying and do “dual action” with a little practice.

6 Likes

200w

I like to spray at roughly a 45 degree angle. It helps avoid paint build up in corners etc. Ideally we don’t want to blast directly into a tight corner etc.

Roughly like this.

Now I image several folks might be saying to themselves, “what the hell is he thinking the white/ off white layer for contrast hasn’t been applied yet”. We won’t be doing that. We’ll address the highlights in a more primitive fashion - by directly spraying later.

@Armorsmith did an outstanding thread demonstrating Preshading and Post Shading that discussed it very nicely. T55 Engine Rebuild - Finishing

Hopefully, DV will expand on Preshading and Post Shading in more detail.

I usually start on the bottom of the hull to makes sure everything is in tune and to get the MOJO fired up. That was drybrushed on the KV-1 so we’ll start at the rear.

Spraying random dots and overlapping, leaving some black in corners and edges.

The Shiney dot below…will level and blend

I like to work in small areas, say a section of a fender at a time. Switching back and forth left to right. It helps randomize the dot patterns. Otherwise, it’s too easy for me to lay down rows of dots that can end up looking like a :corn: corn field.


Moving to turret

Return to hull and randomly spot & Dot

Then return to turret and spot and dot

Note we have a good bit of paint left over from our 2cc’s we started with for the RFM T-34-85.

That’s part of why I find Floquil a joy to spray.

8 Likes

Thanks a million for this. I am going to do this on my T-54 so watching with lots of interest

Very nice work and tutorial!

I miss Floquil. I still have a small supply… and two of these…

1 Like

Some of those Jedi’s are still around in R12. Keep trying to kill them (flashlights) at each contest, mk I eyeball is the only tool a judge can use. From a timeline prospective, we have too models to too few judges to spend anytime with that mess. The lights, mirrors and whatever slows down the process.

@Mead93 Happy to share the information :blush:

T-34 Time!

IMG_0329

Not that 76mm one, this one, the 85mm one!

RFM T-34-85 #174

Of course check supplies again etc. Normally, I wear gloves doing this but ran out during COVID and keep forgetting to buy another box. So it’s back to the old wash hands before touching model routine.

There is enough paint left to start

T-34-85 minus wheels etc

Blast model with the VL to clean off dust

Lower Hull Bottom & under fenders are critical to paint. Not a such care is really needed but all the plastic should be covered. Just playing defense against Death Ray flashlight :flashlight: judges…like myself :slight_smile:

Oops! I goofed up the basic construction!!!
See my mess under the fenders!

Couple of holes were drilled for mounting parts and I missed filling them. That has to be fixed. It can be fixed

Easy fix, needs a little Molak Stucco Putty to fill tje holes and dry brush dark green over it.

Spot & Dot hull just like we did with the KV-1.

Another potentially fatal blunder on my part, yellow unpainted plastic is peaking out between the vision blocks on the driver hatch. Needs a little green dry brushed.

Notice on the paper towel how the intensity of the paint color varies depending on how heavy of a coat is applied. Thin and light coat tend to make even darker colors a little bit brighter.

What was left in the color cup was enough to paint the T-34-85 minus the wheels.

Basically, we’re applying thin amounts of paint basically just hair over 1cc of paint per model. Keeping our paint thin and crisp will help us build a 3D look as continue.

KV-1 & T-34-85 painted.

One can keep going and start on the highlights at this point but I need to fix the issues found on the T-34 before continuing into highlights.

7 Likes

You know the CDC stopped recommending the need for gloves and disinfecting with Covid as they have to date no cases involving transmission off surfaces, so you can start saving those gloves for painting again.

5 Likes

More to come on the CDC’s early errors.

3 Likes

@Tank_1812 Ryan, LOL sounds like R12 hasn’t changed much:)

@barnslayer, thank you:) Yes, Indeed I miss Floquil aw well. Is anything really better than the smell of Dio-Sol in the morning? OK maybe one thing but that’s the only thing :smiley:

I have a can just like that one maybe has like five drops left in it. It still rattles so I’m not out :slight_smile:

Have two cans of Floquil Military Color thinner remaining…in a remote Secret Location…

@brekinapez , yes indeed but I still have to remember to go by Harbor Freight to grab some more gloves :slight_smile:

T-34-85 wheels and miscellaneous

Time to get the circle template. Works wonderful as a mask. The weathered black is almost a perfect match for the old Aeromaster (Floquil made) Tire Black which Tamiya Rubber Black matches.

So by shooting weathered black as base coat we can avoid having to fool with painting wheels :slight_smile: Circle templates rock and save a lot of time.

Build as many 32 wheel Pz IV’s as I have and you’ll develop a strategy to avoid painting wheels too.

We have the rear hull cover to paint and idler & sprocket. Spot & Dot the cover. We can just paint the other parts.

Ten wheels to paint. Don’t worry about spot and dot for the wheels at this stage.

Yes there’s a nearly perfect circle to mask the rubber part of the wheel. The Rim bead is right on the edge. It doesn’t matter if the Rim bead ends up black or green at this point. It will end up drybrushed and highlighted.

Fits nicely. Shoot paint. Doesn’t matter that template gets painted. At end at end of session dry paint on template is an issue for the OCD, wet a paper towel with lighter fluid and wipe it clean for enamels. For acrylic I imagine Acrylic thinner or paint remover will work just as well.

Freshly painted wheel

Heard of the Vulcan neck pinch, Vulcan :vulcan_salute: 
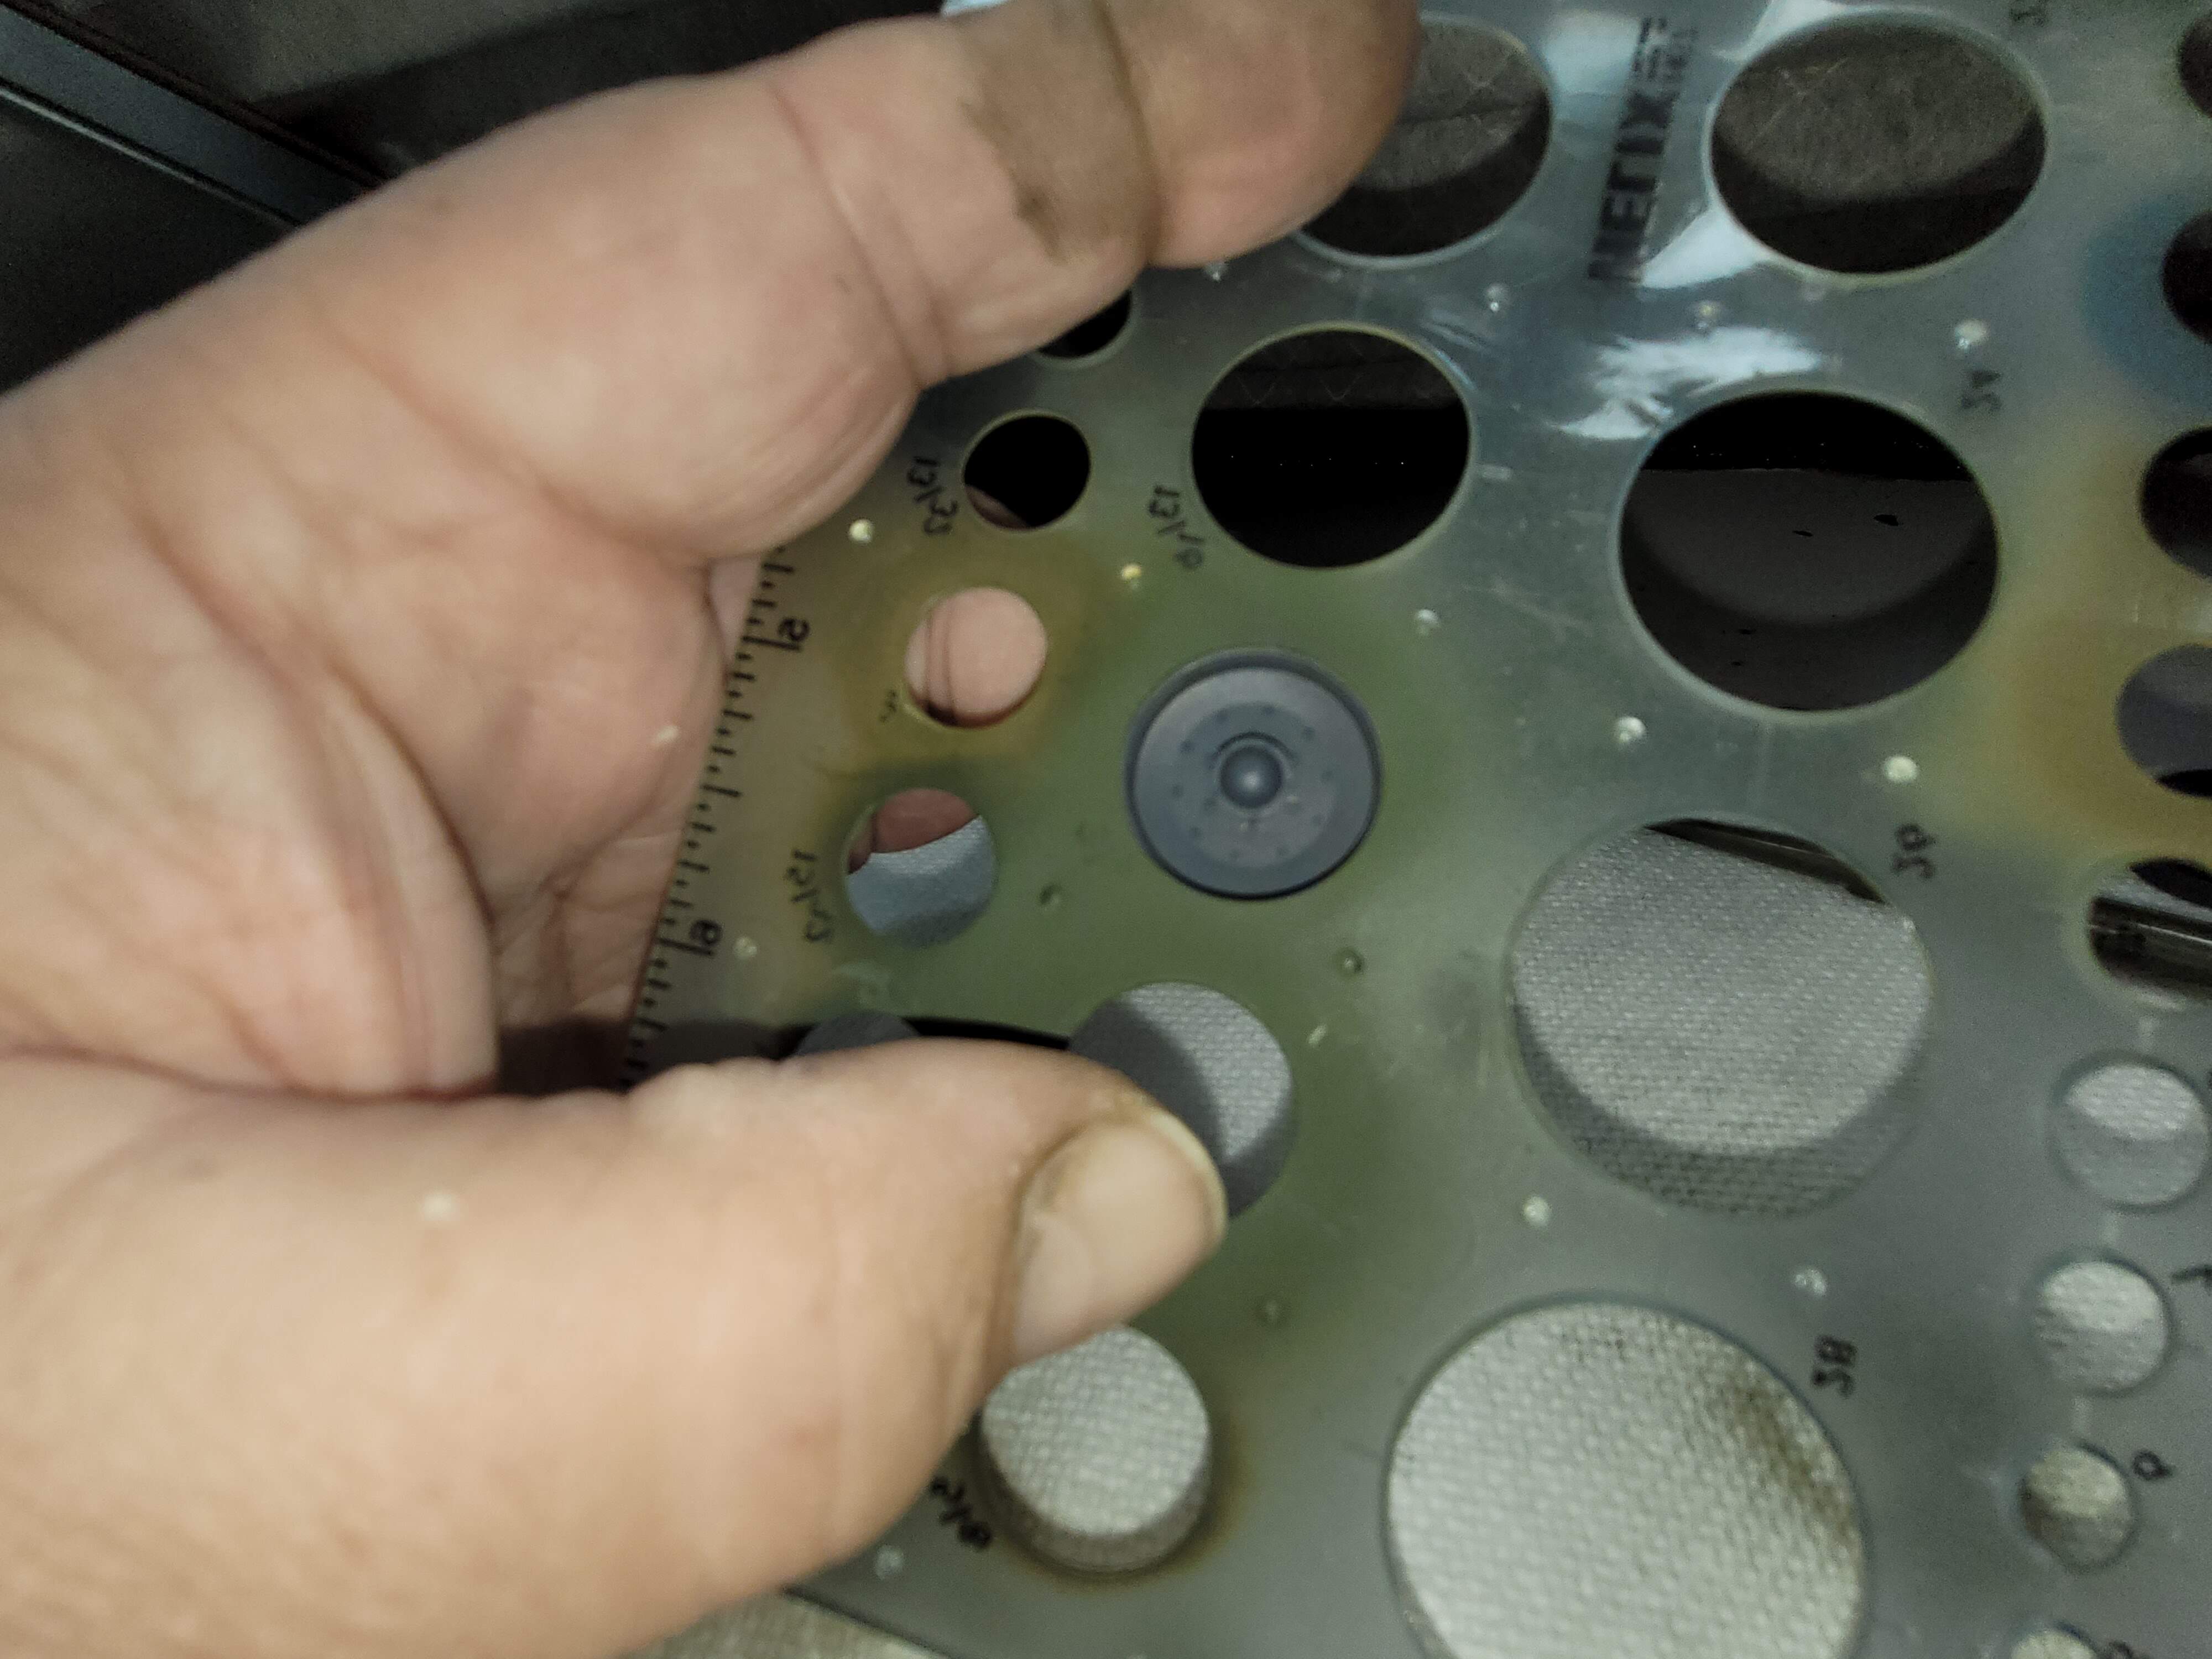
salute etc? This is the Vulcan painters grip. Pin wheel behind mask. Shoot it. With practice you won’t even put the airbrush down.

Be sure and go back and paint the back of the Rim the same way :slight_smile: The first wheel painted will be dry enough to paint the back by the time all ten wheels are painted.

Remember what I said about 32 wheels to paint on Pz IV’s :wink: well actually 36 counting spares.

All painted.

That will wrap for today. Will be away from hobby room most of the day tomorrow.

Next update probably Friday.

6 Likes

Sorry, but I broke down long ago and got one of those Quickwheel masks that holds all the wheels for the Pz IIIs. Considering I am in the middle of 11 kits there’s no way I’d have the patience to use my circle template.

1 Like

@brekinapez, sounds good who sales them? Would love to add one for Pz IV’s to the tool box.

I got mine off ebay. I got a set for the Pz III, Pz IV, and SdKfz 251 as I have a ton of each type of vehicle.

Maybe when I’m done with my III’s I’ll do all my 251’s at once.

Or not.

Should give me time to base coat my t-54 as I follow along :face_with_monocle:

1 Like