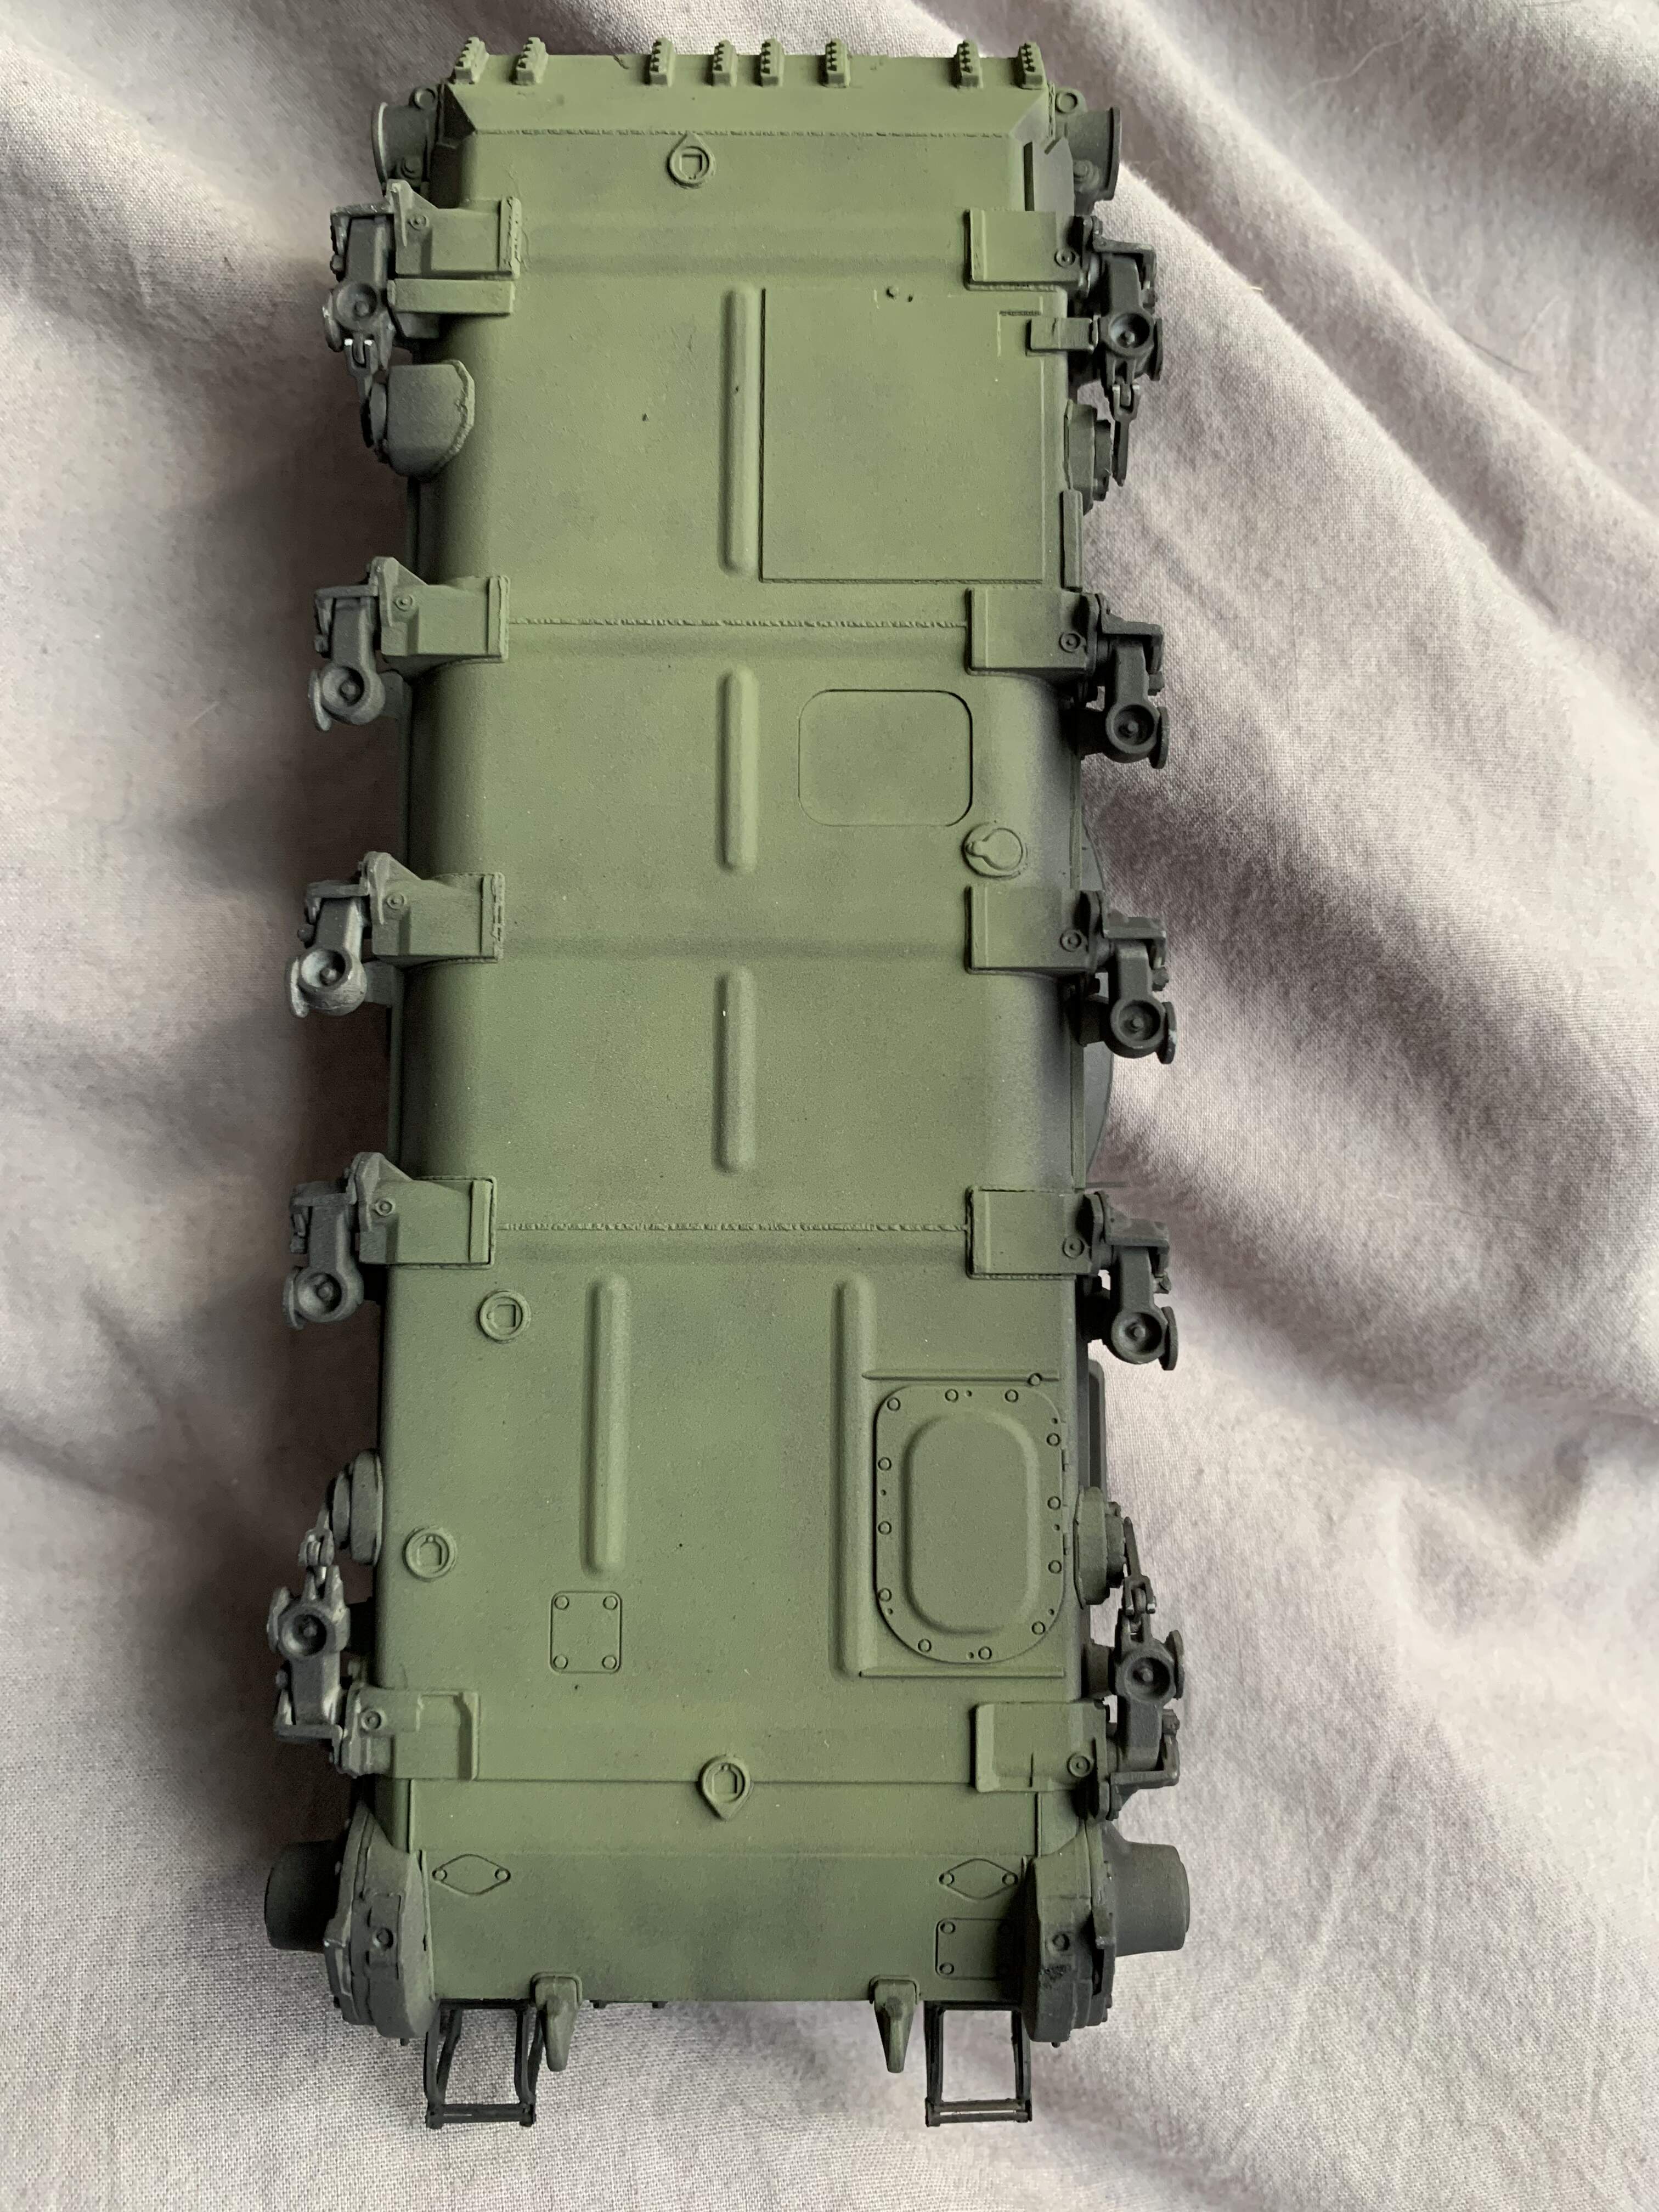
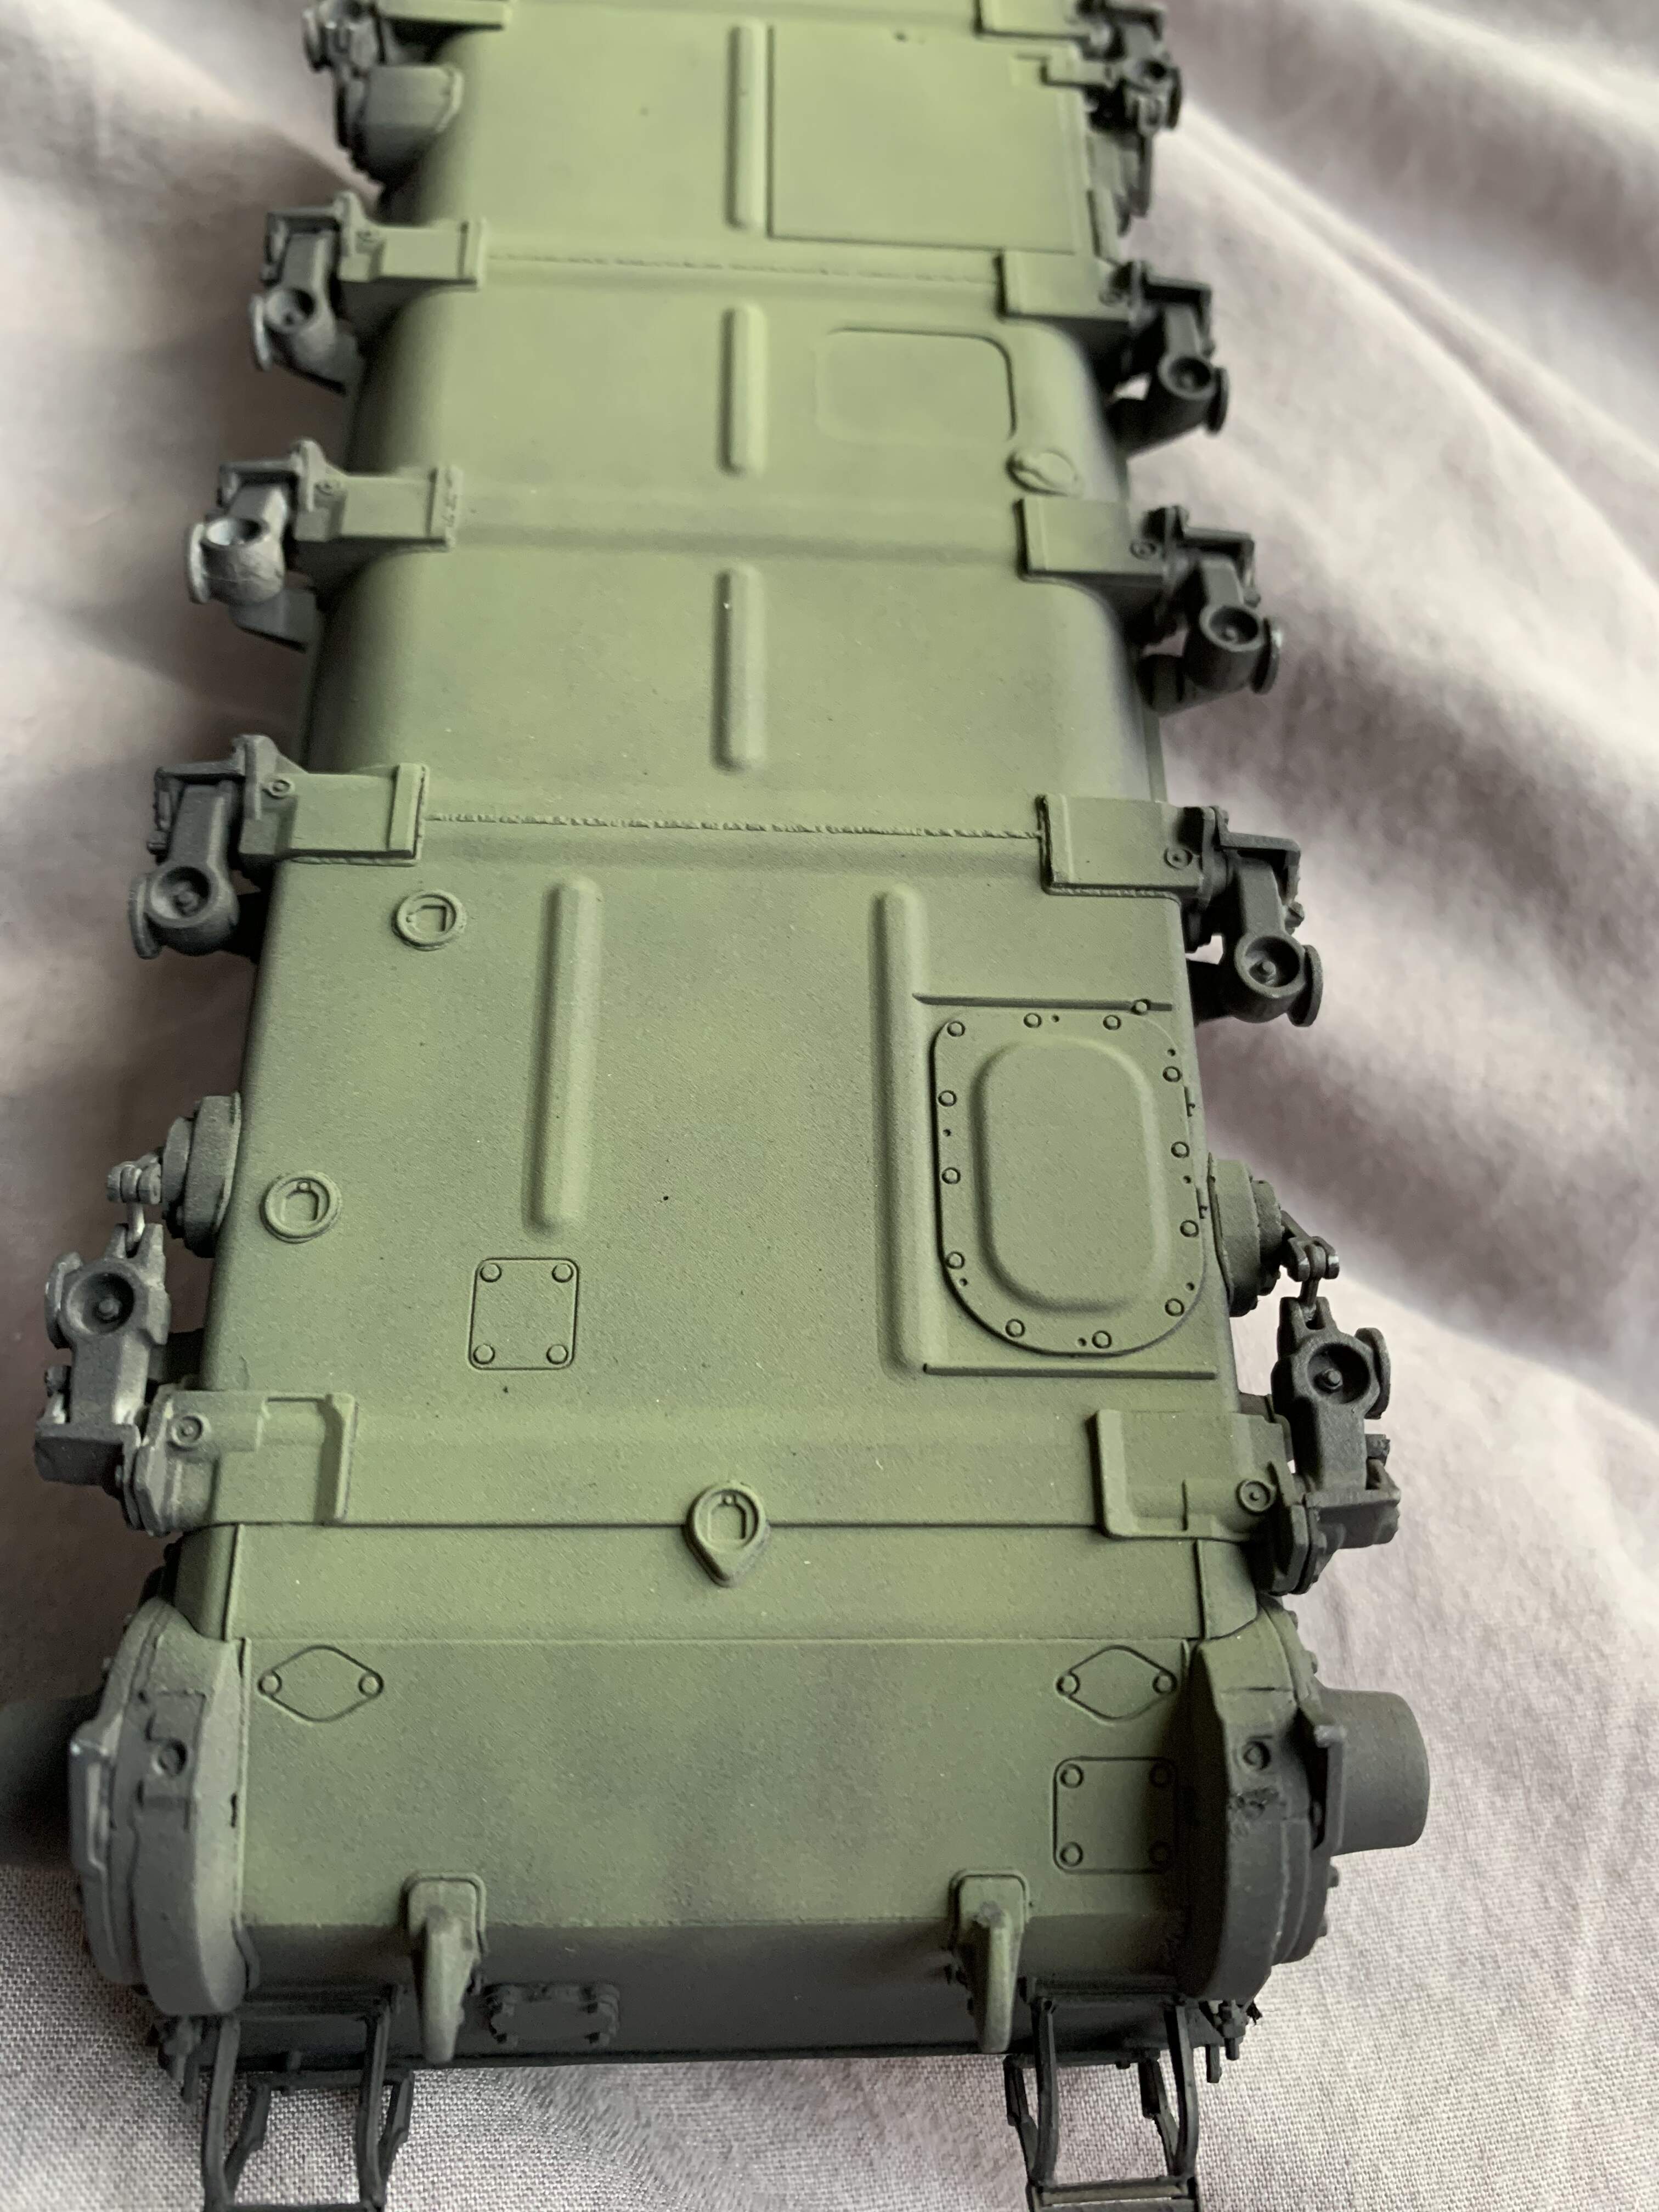
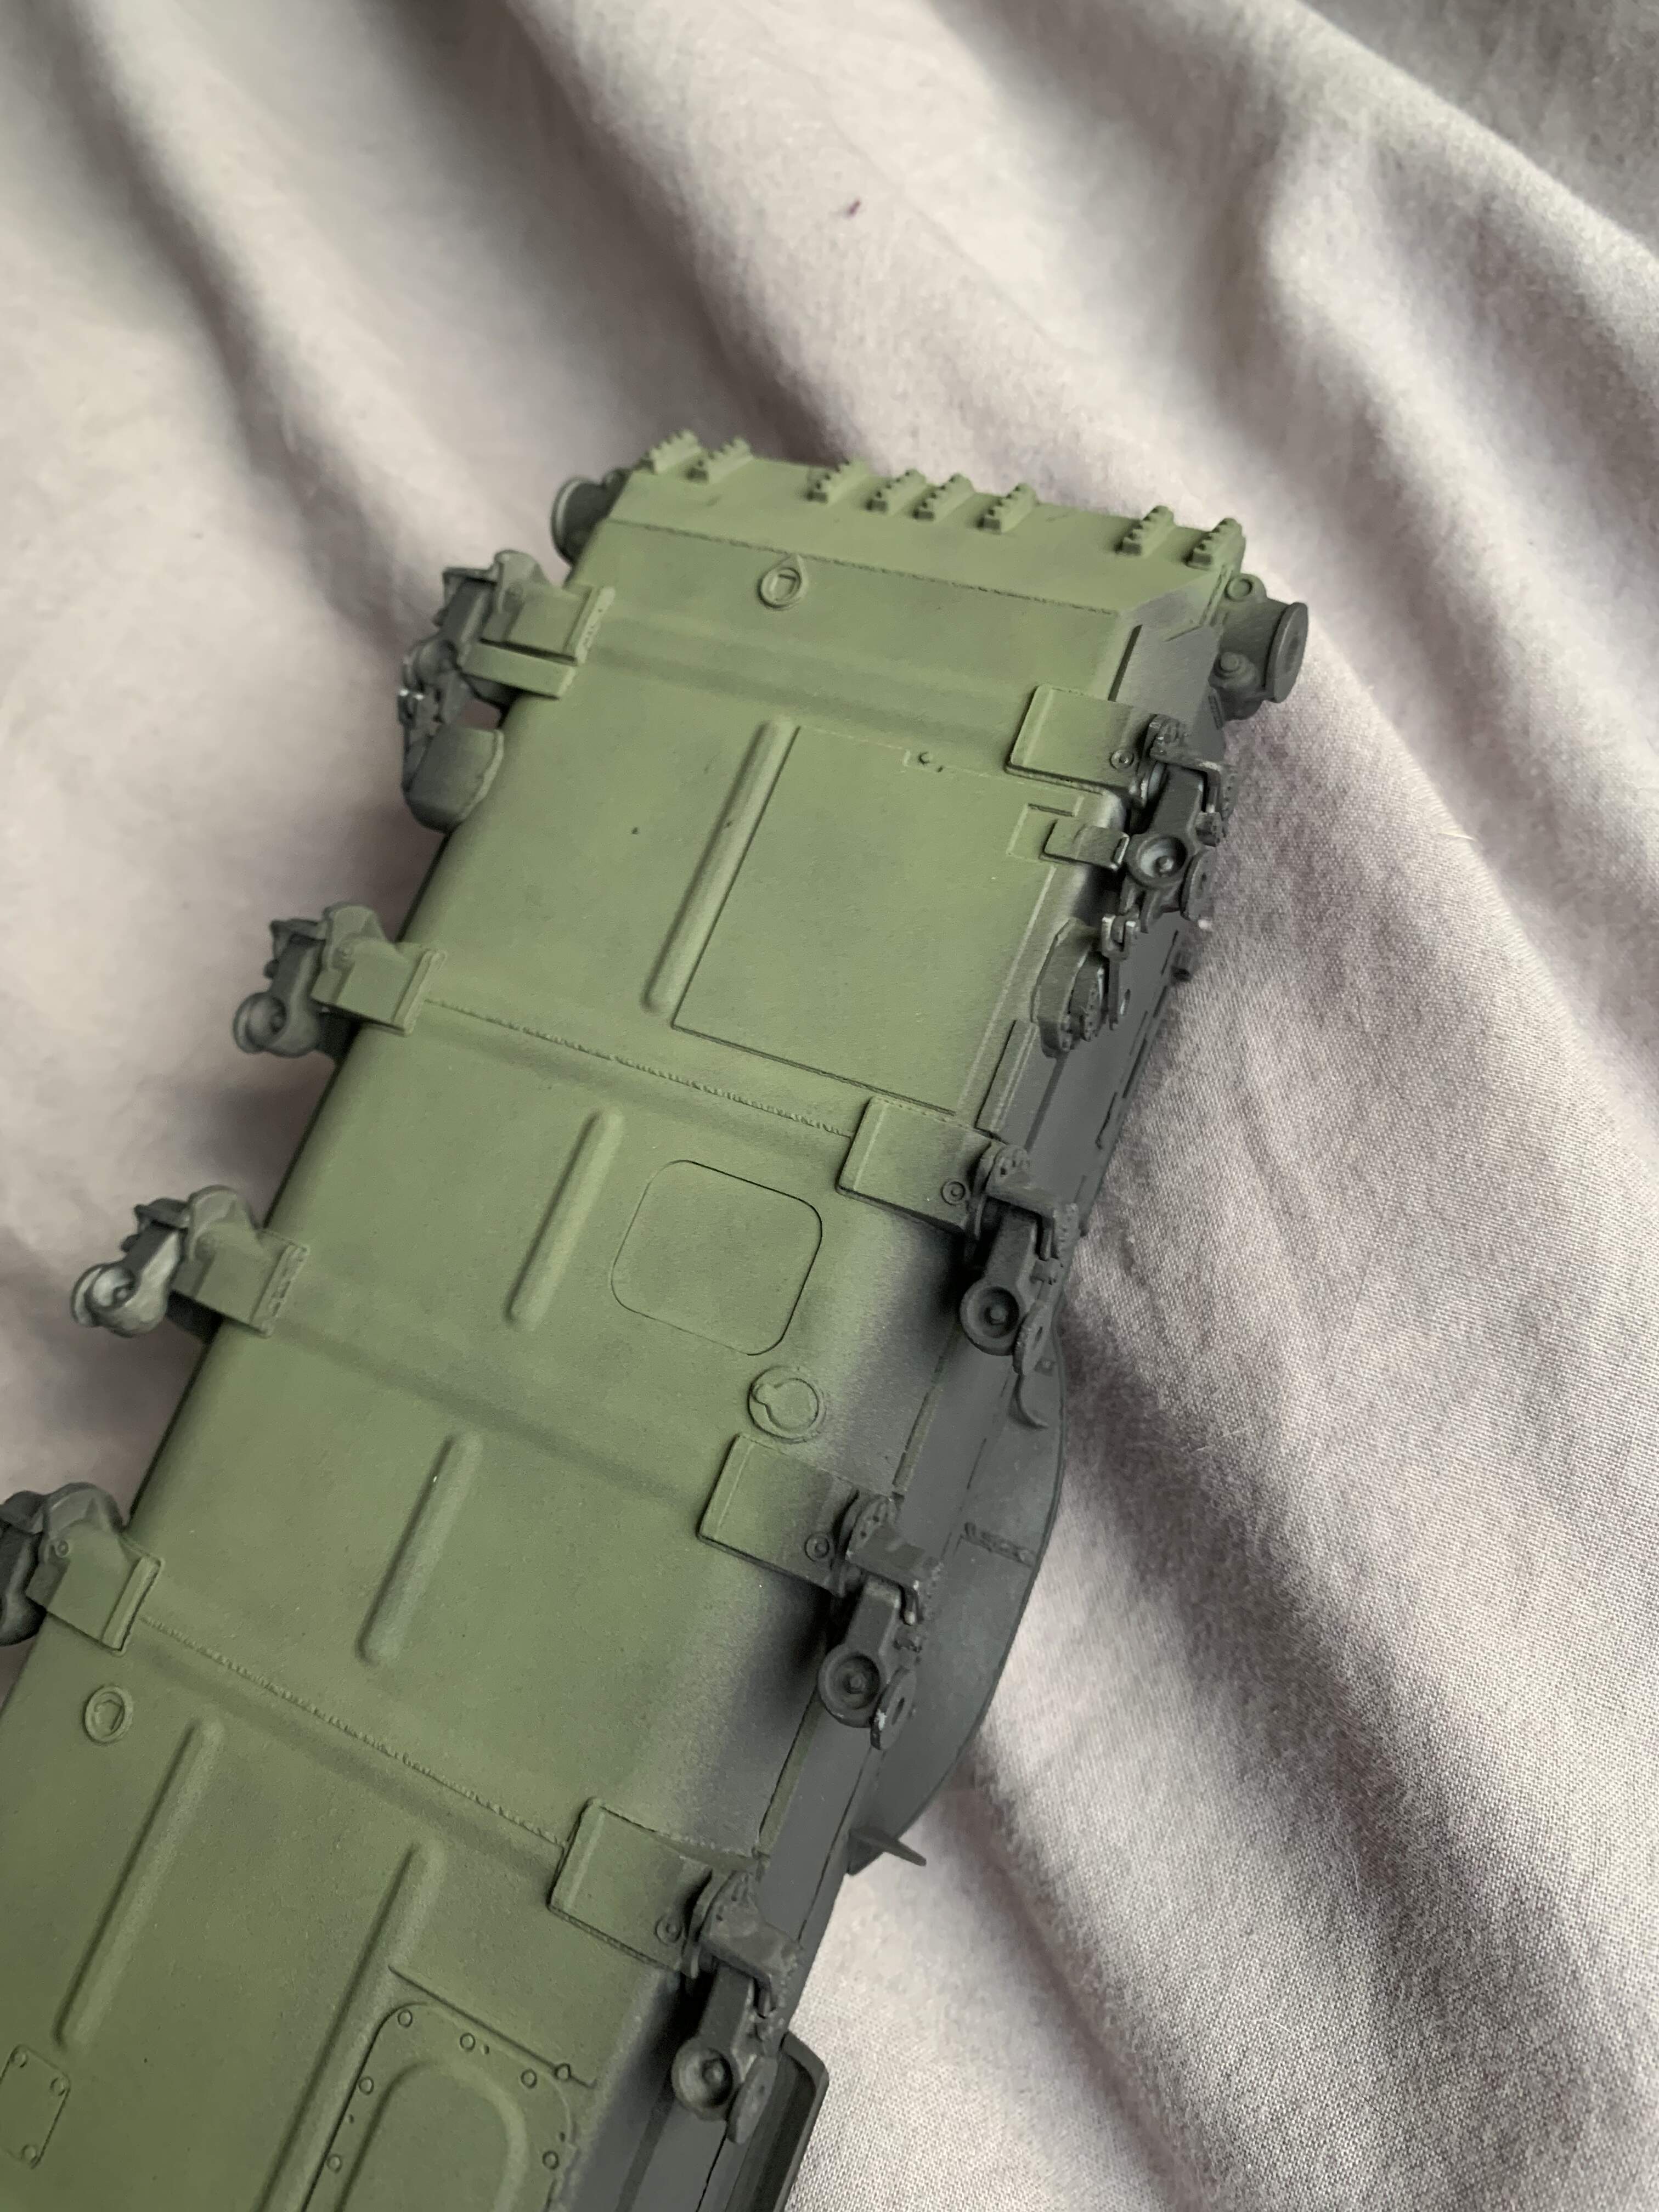
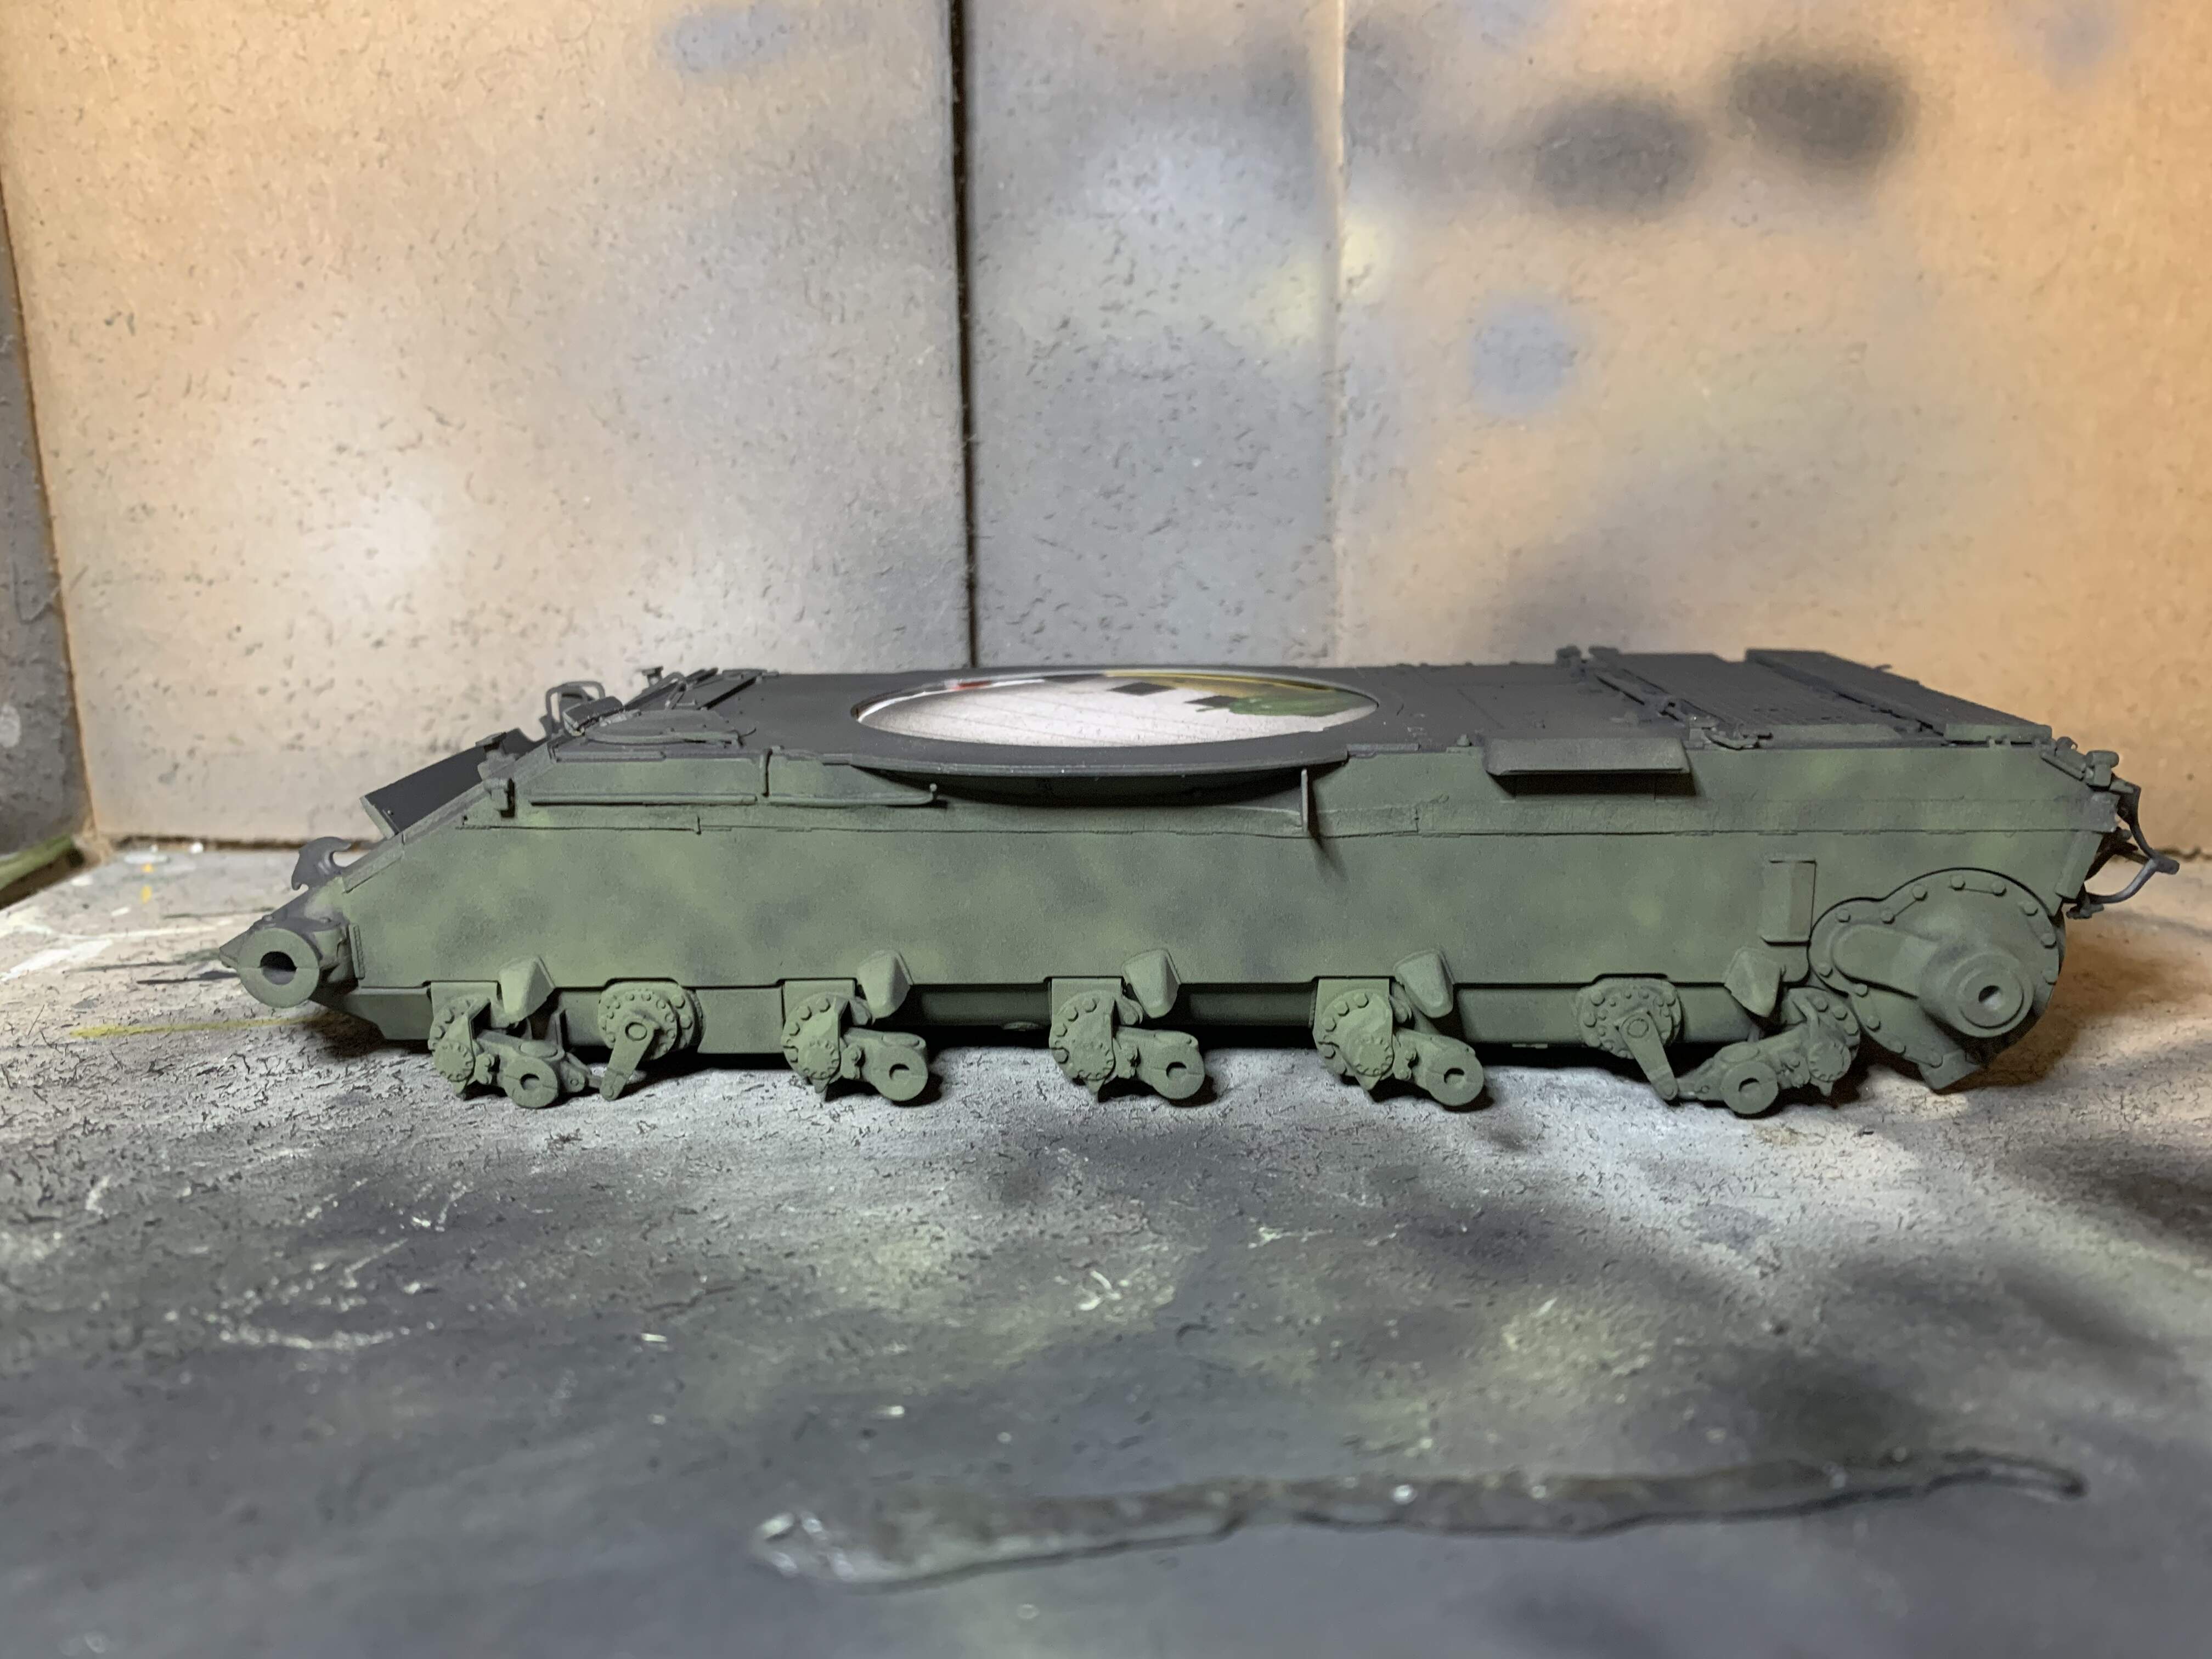
Here is the start of my lower hull, probably went a bit too opaque on the bottom but that’s why I started there.
3 Likes
@Mead93 , I think you’re on the money  with the technique.
It’s fiddle  , review, tweak, practice & personal preference now

Thanks! Defintley time to practice. Goal for today is to finish base coating and then highlights tomorrow.
Thanks for sharing, was really looking for a way to add depth to those monotone models
What I really like about this is there no guess work on much black to add in panel lines. I hope it shows here but the bolt heads and weld seams really pop with this method even before a pin wash
2 Likes
Hopefully @Armorsmith DV, will chime in too. He has an outstanding eye for shading & shadow.
Yes, @Mead93 with the air brush at a roughly 45 degree angle, this technique can pop details out. That’s was one of those little side benefits frequently over looked.
Outstanding!, looking forward ti,seeing more of your T-55!
Likewise, with modulated color being flat sometimes little minor touch ups can be dry brushed. Example - I royally Jacked up a fuel drum on a T-72 and missed sanding a seam out. The hairline popped up right after the highlight paint hit or that’s when I finally noticed it. I let it dry a few days sanded seam, filled with Molak Stucco Putty sanded again. Dry brushed the repair and no one ever knew. Easy fix. Model was contest competitive etc. Didn’t have to airbrush repaint and redo etc. That sort of fix is a little tricky but with shade/shadow painting experience it becomes very doable.
1 Like
Agree with @Armor_Buff that you are on the right track. With practice and fine tuning will you will improve quickly. You correctly observed that the spot and dot was a bit heavy on the bottom but there are still places where it shows to good effect. One thing you might try is to thin your paint a bit more than usual. Thinner coats will allow you to build the layers more slowly giving you more control over the degree of coverage. That said I think you are off to a good start. 
2 Likes
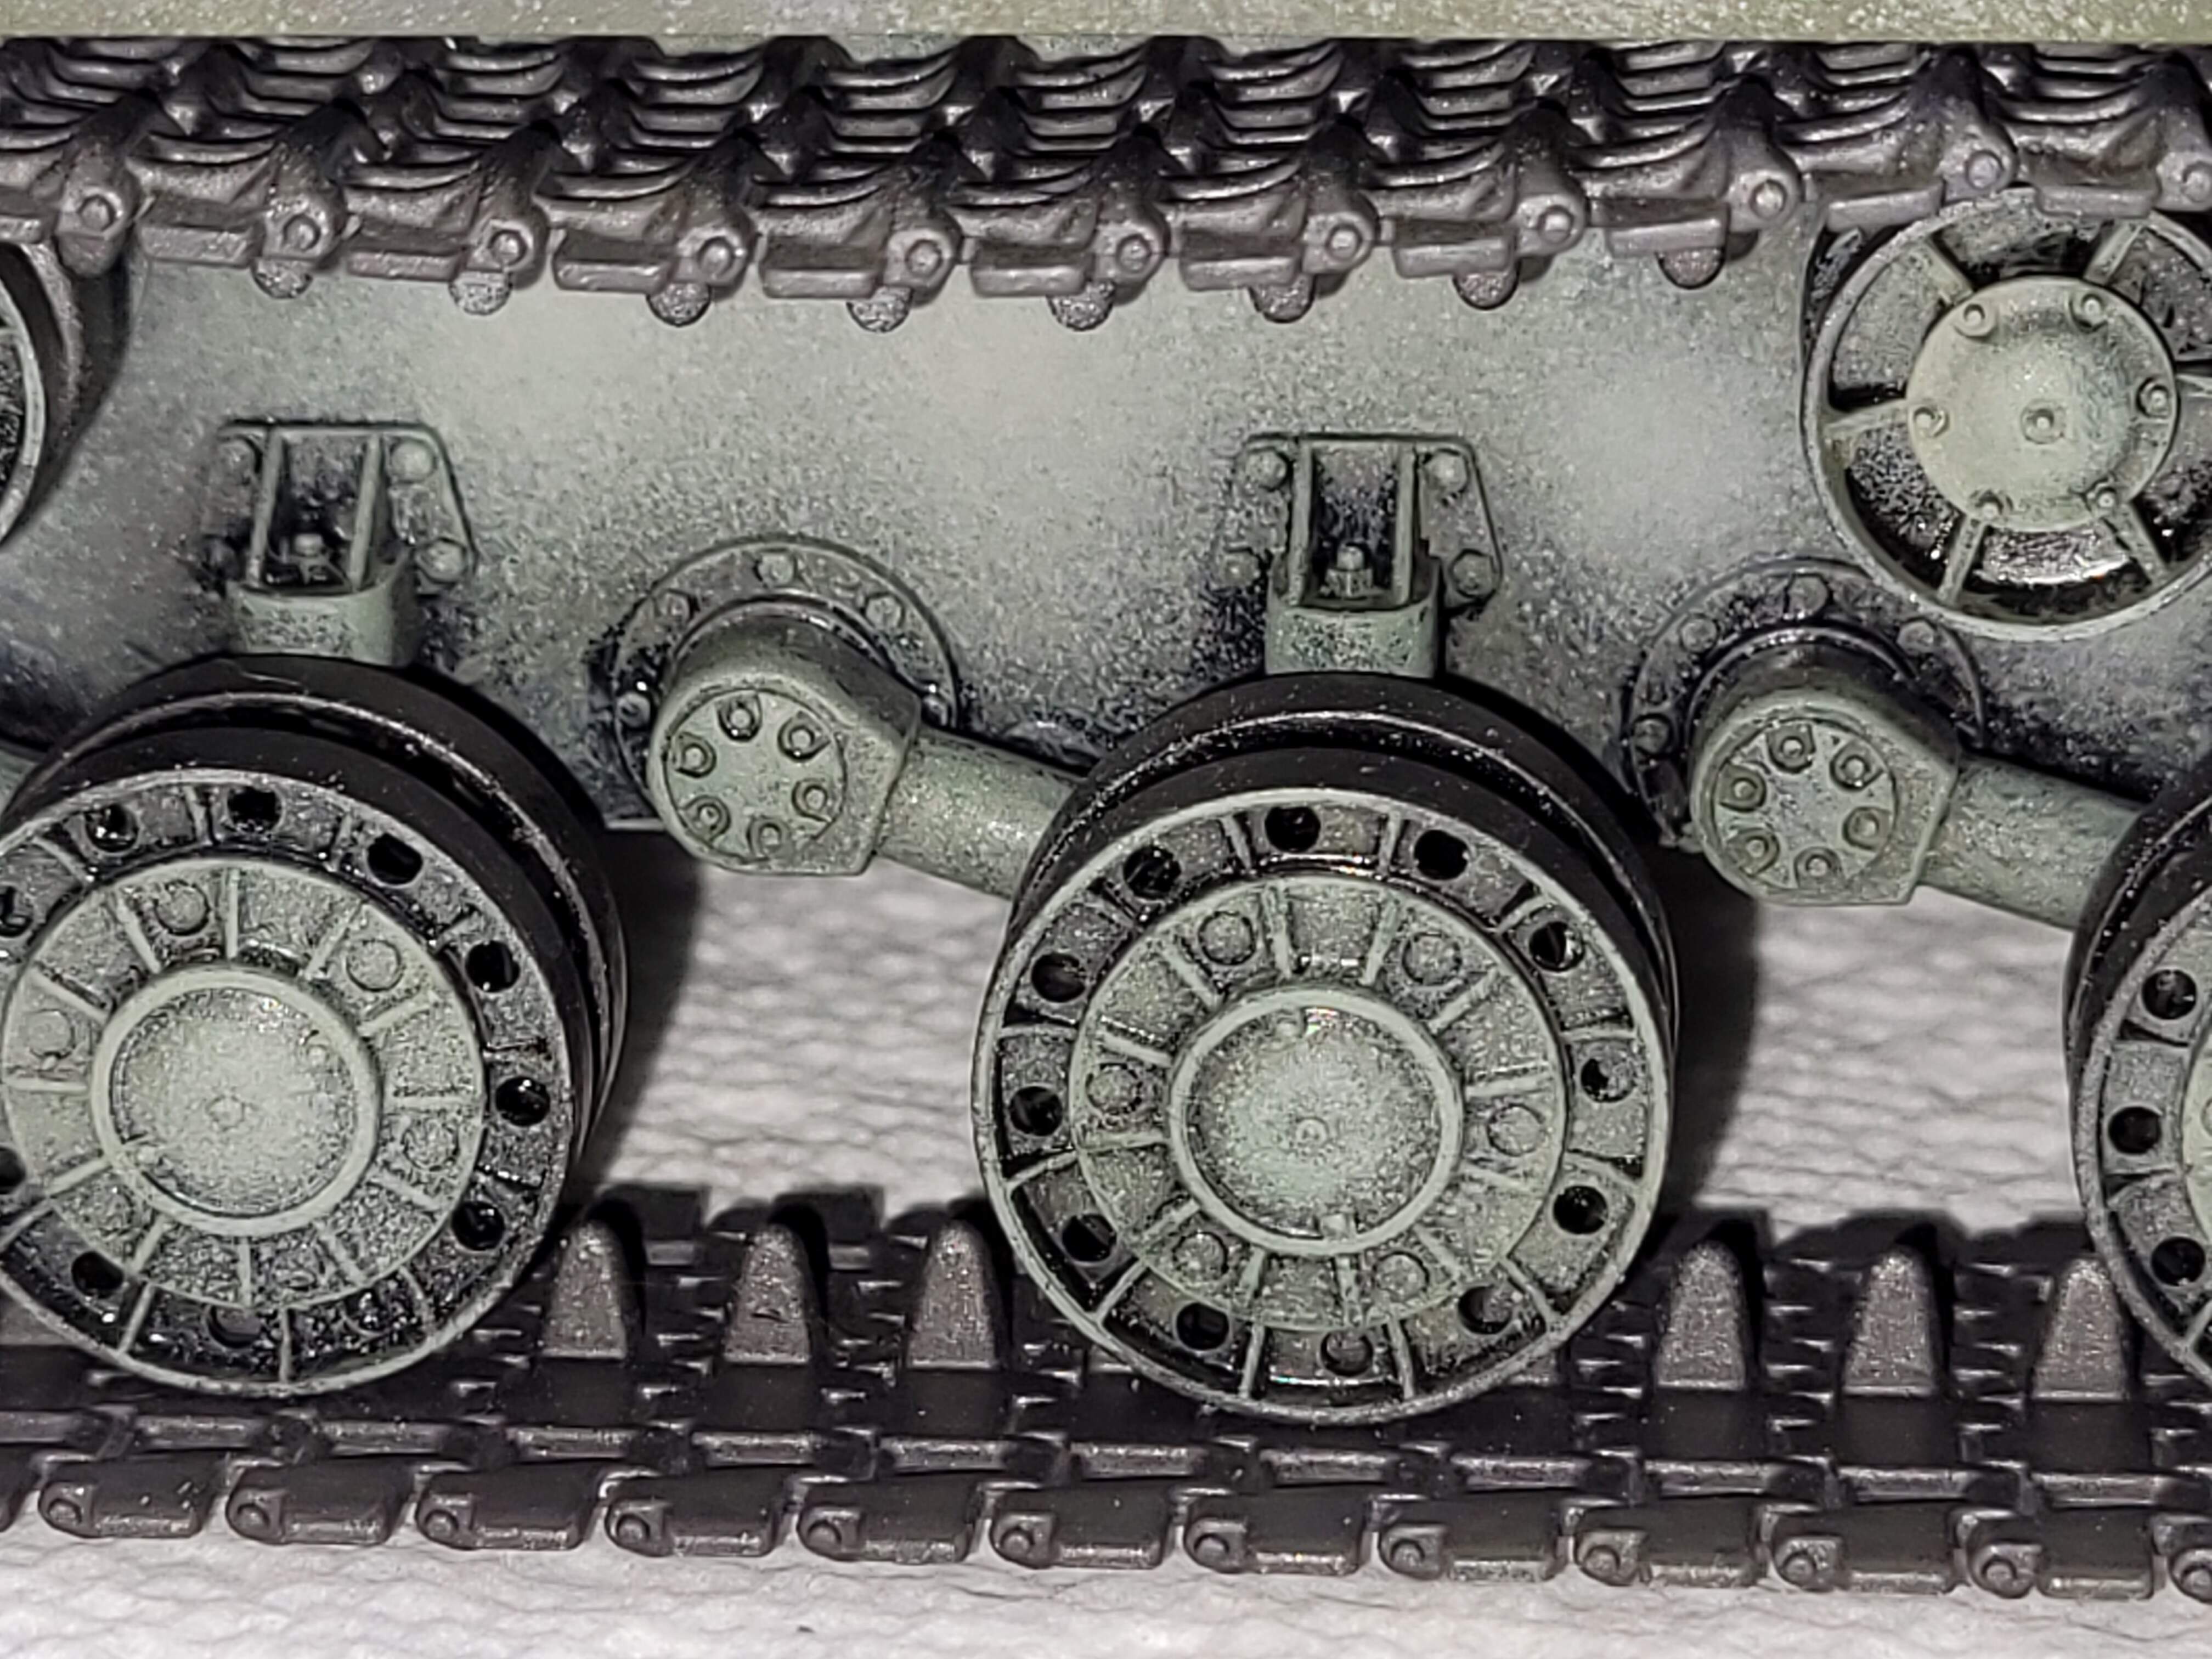
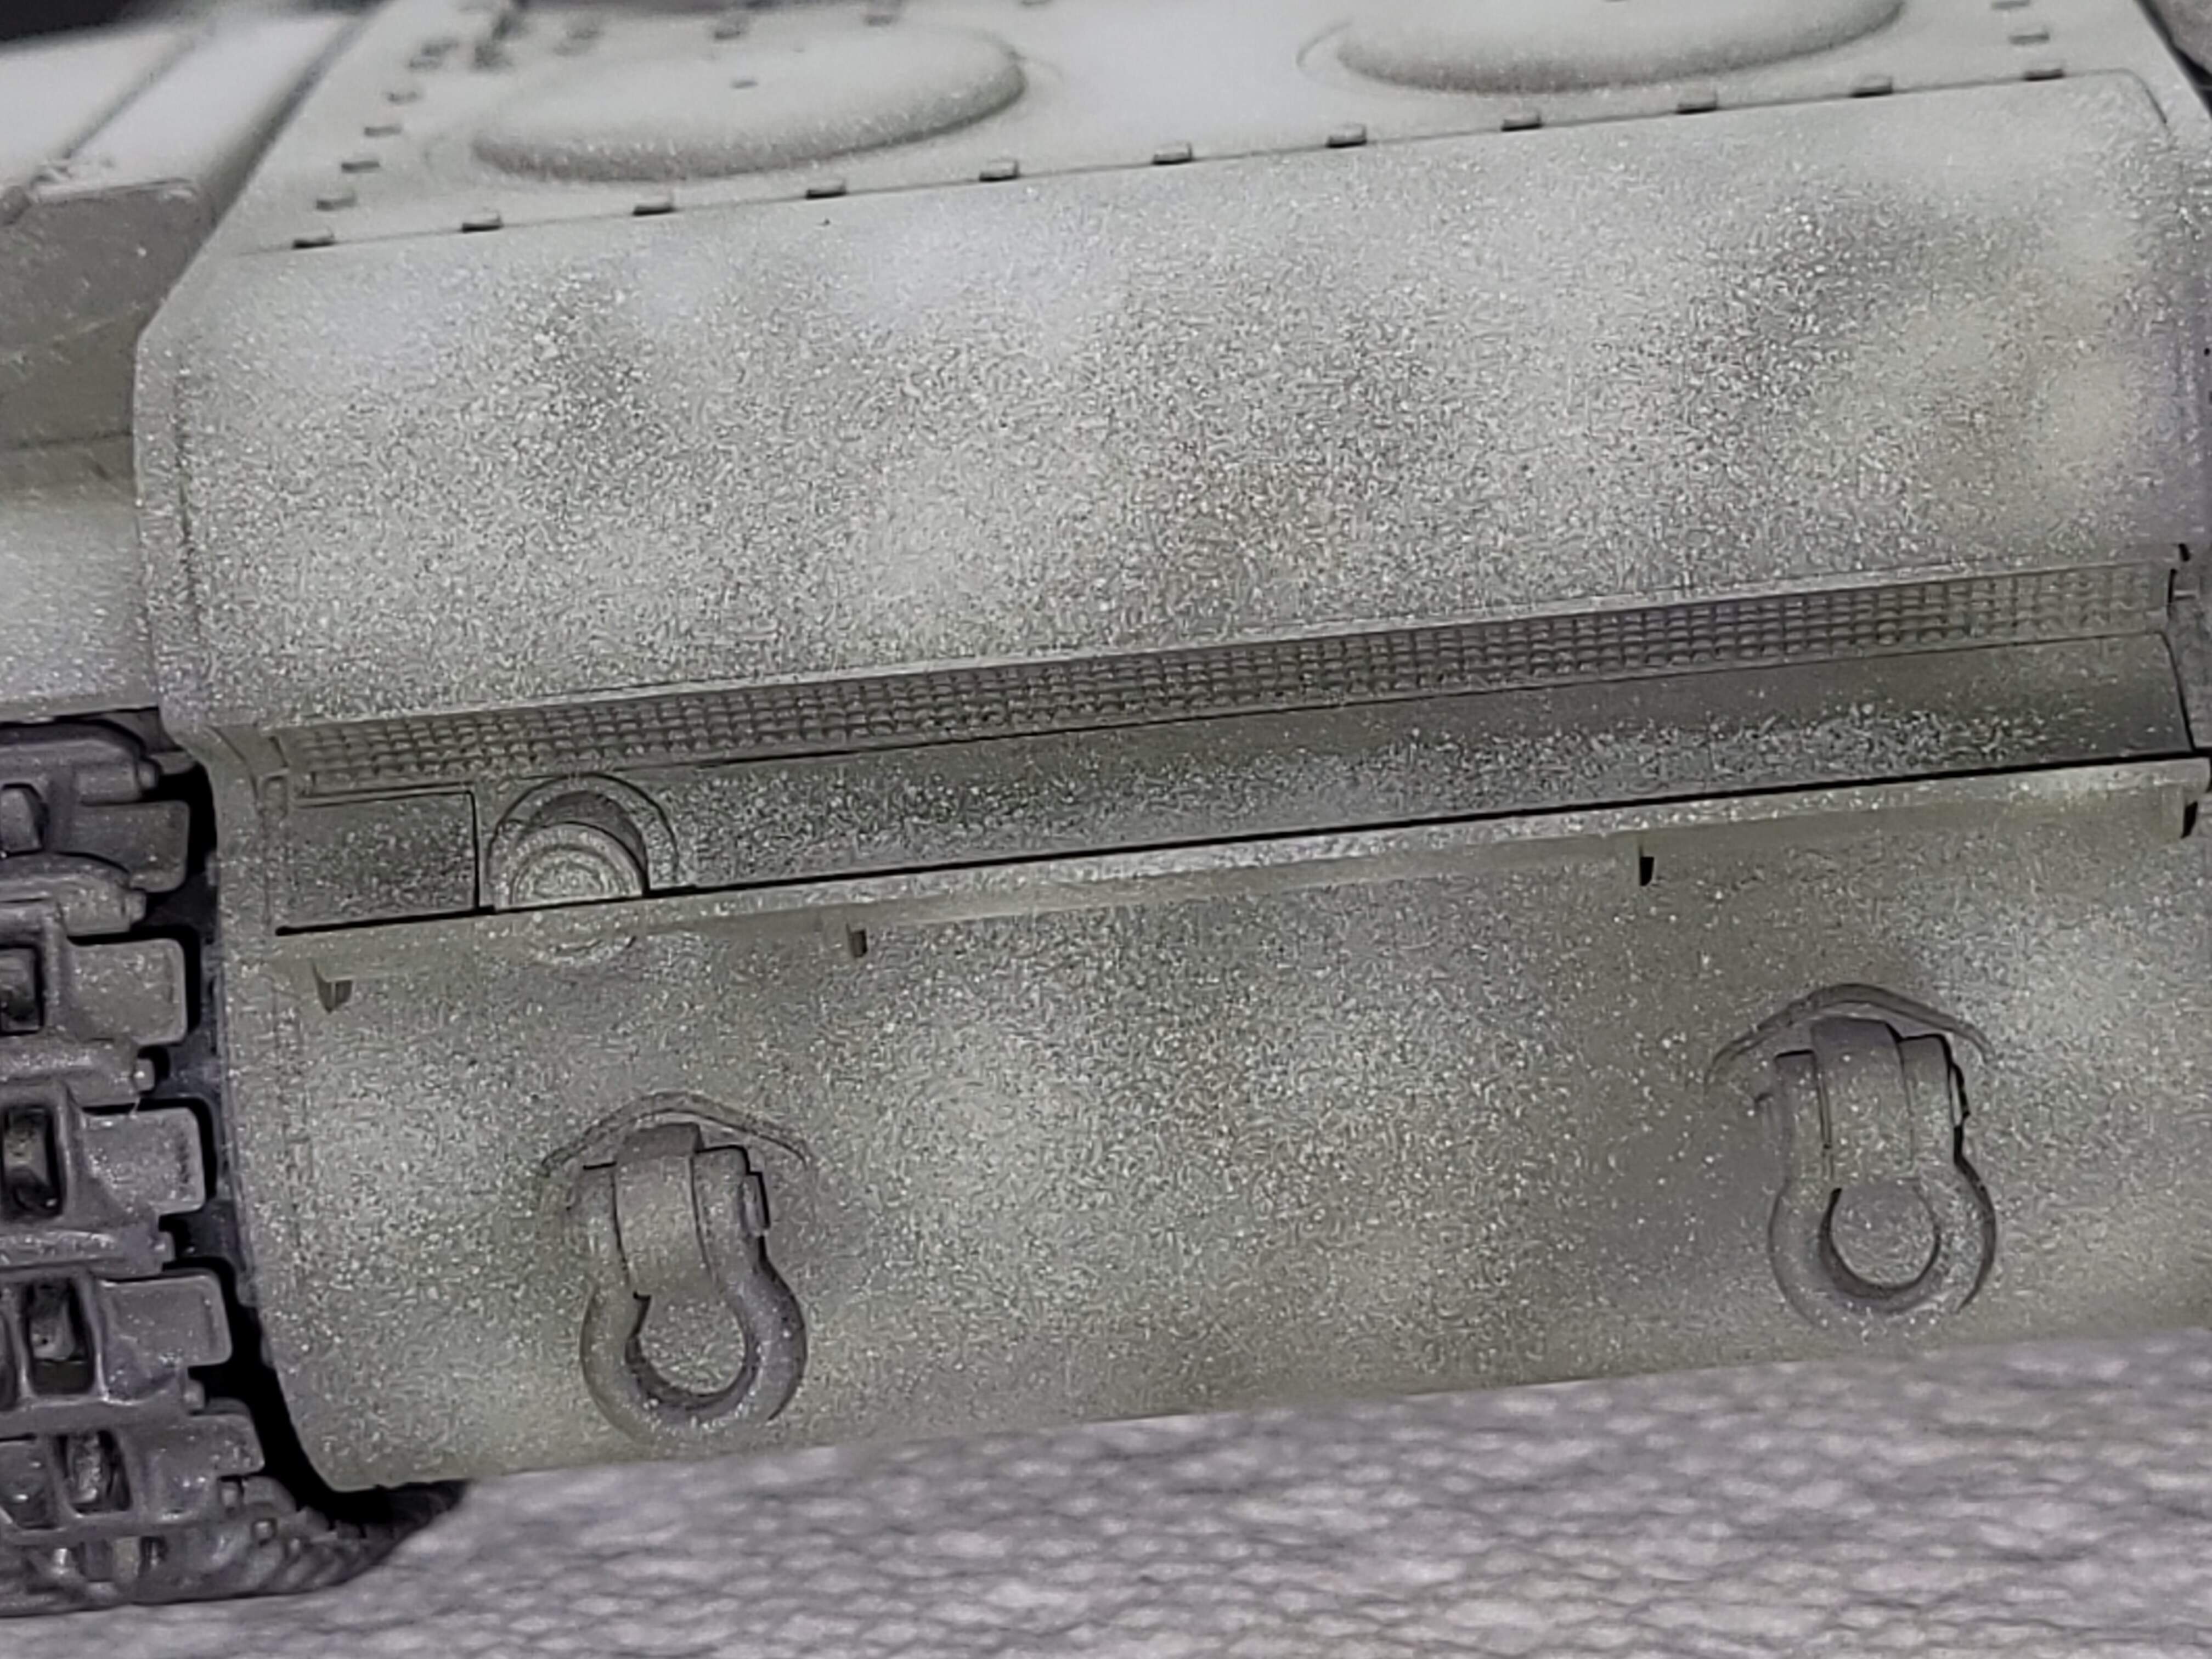
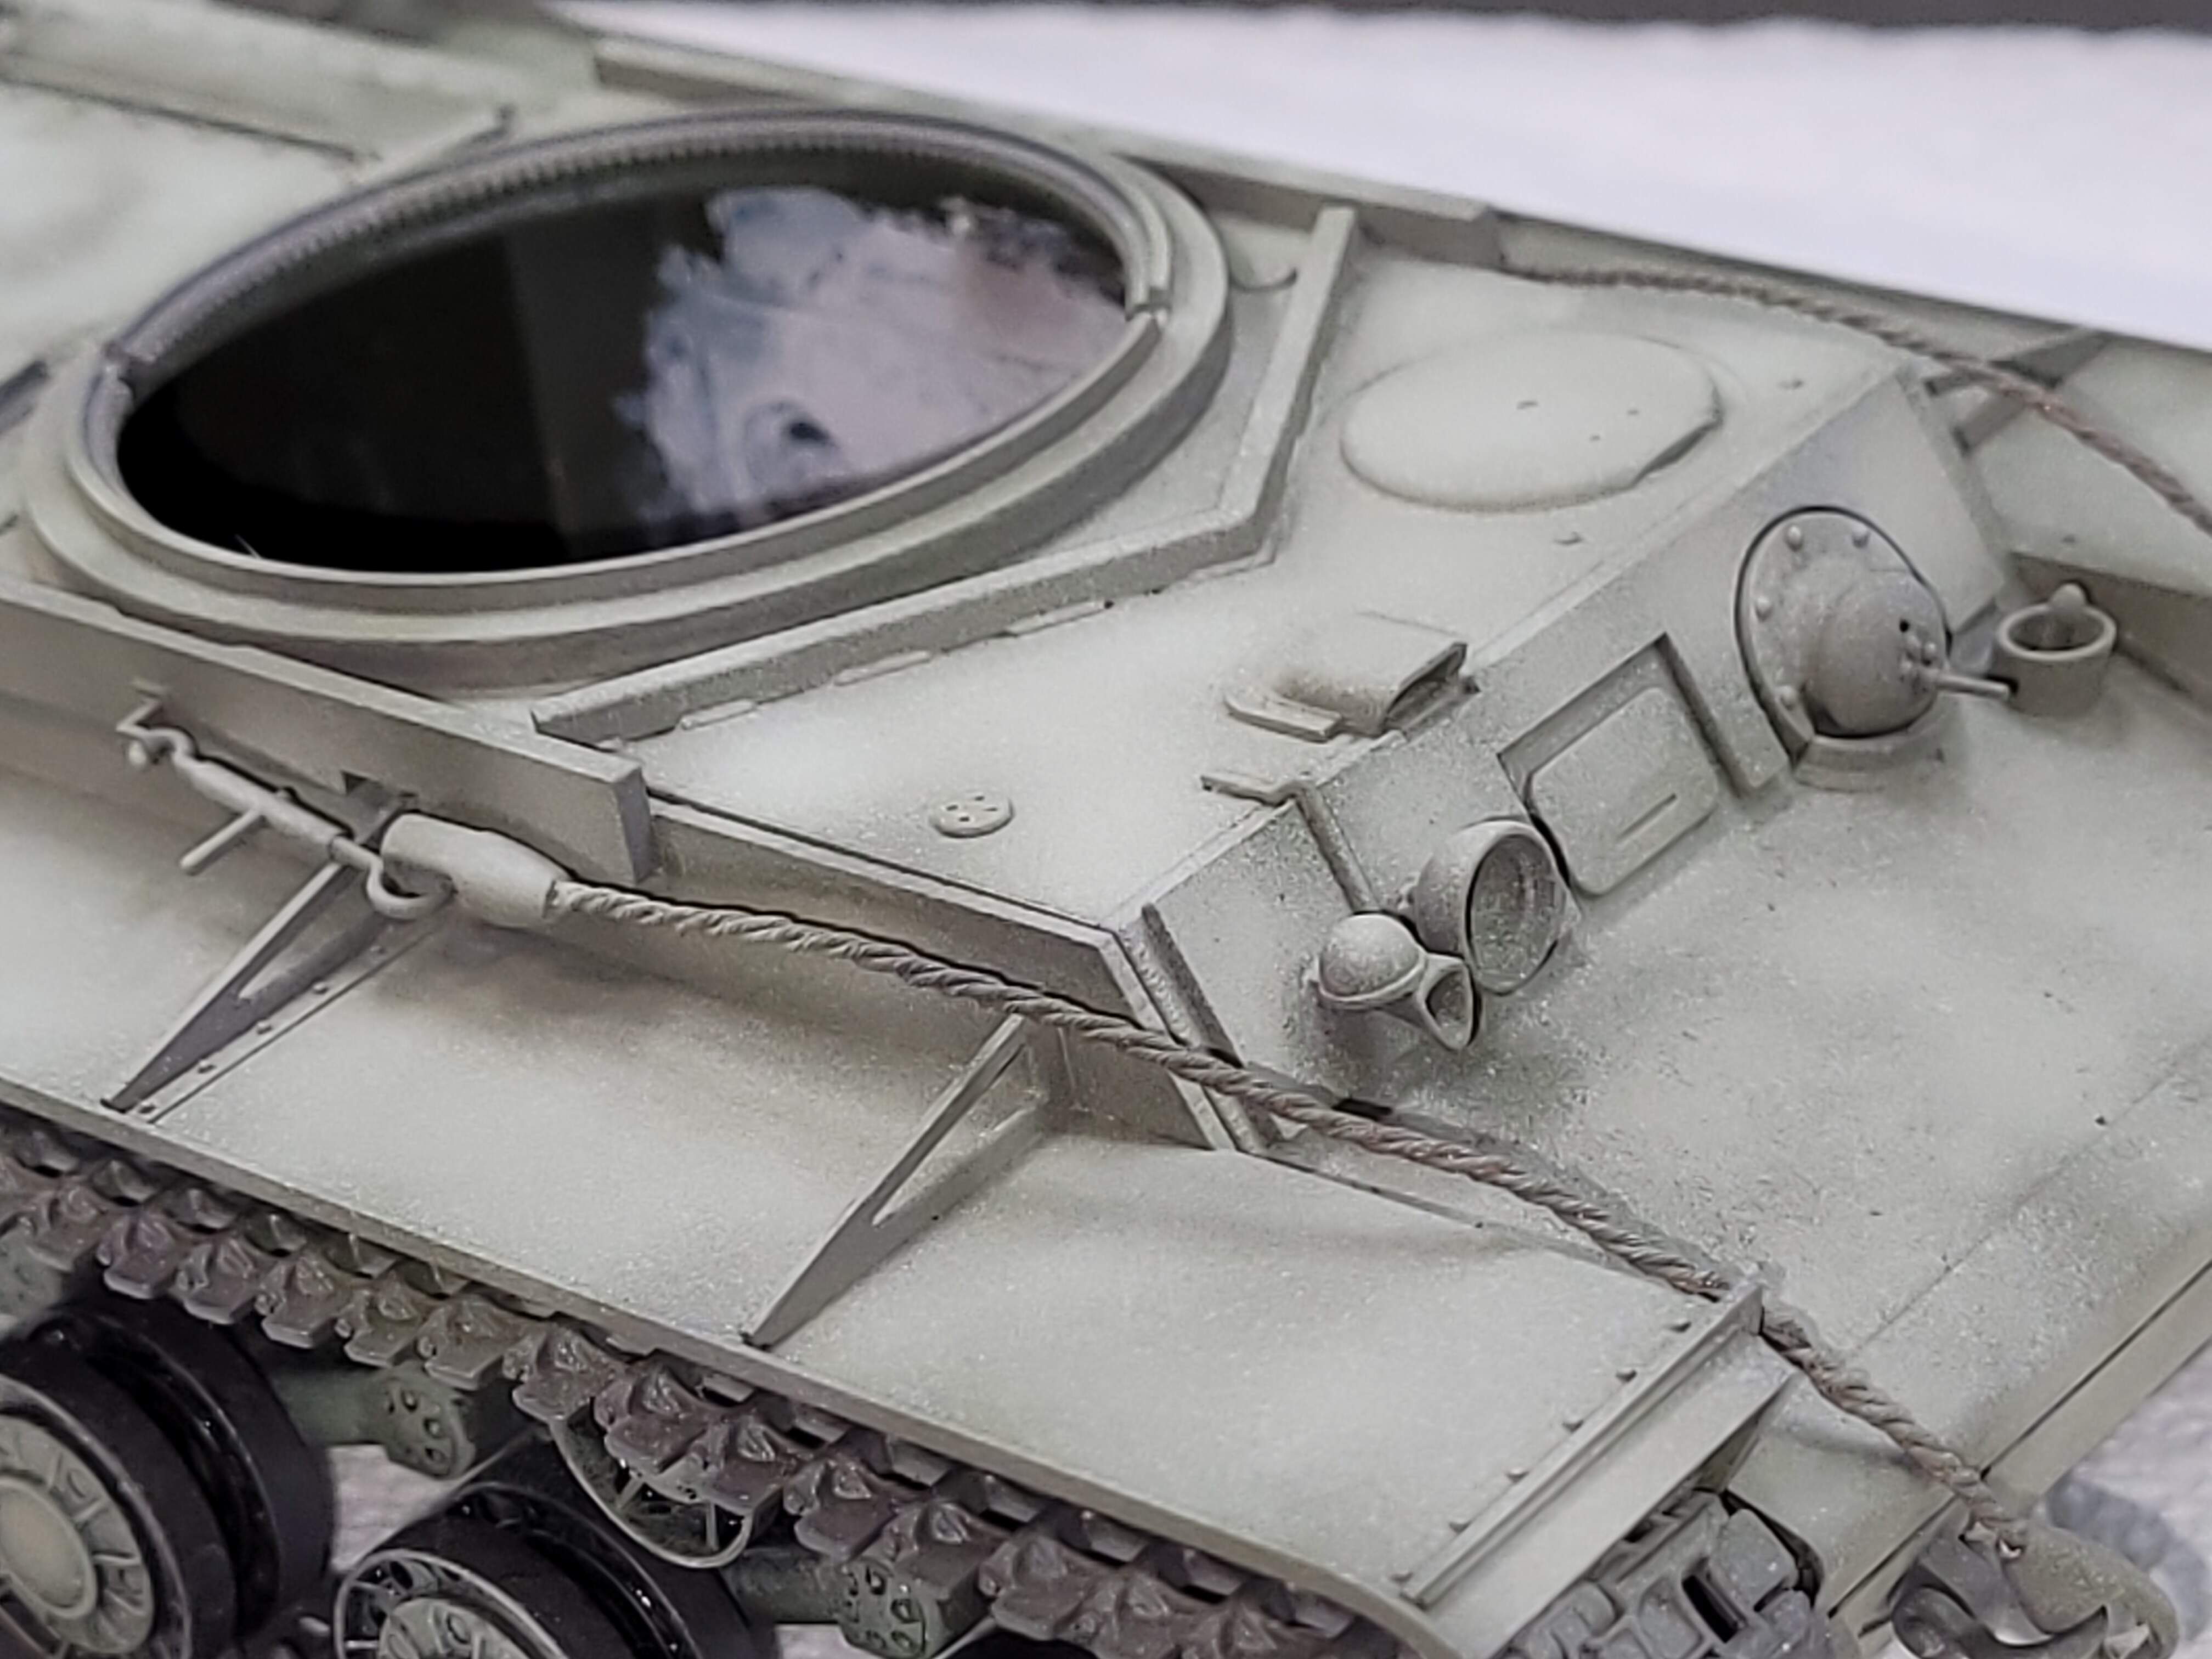
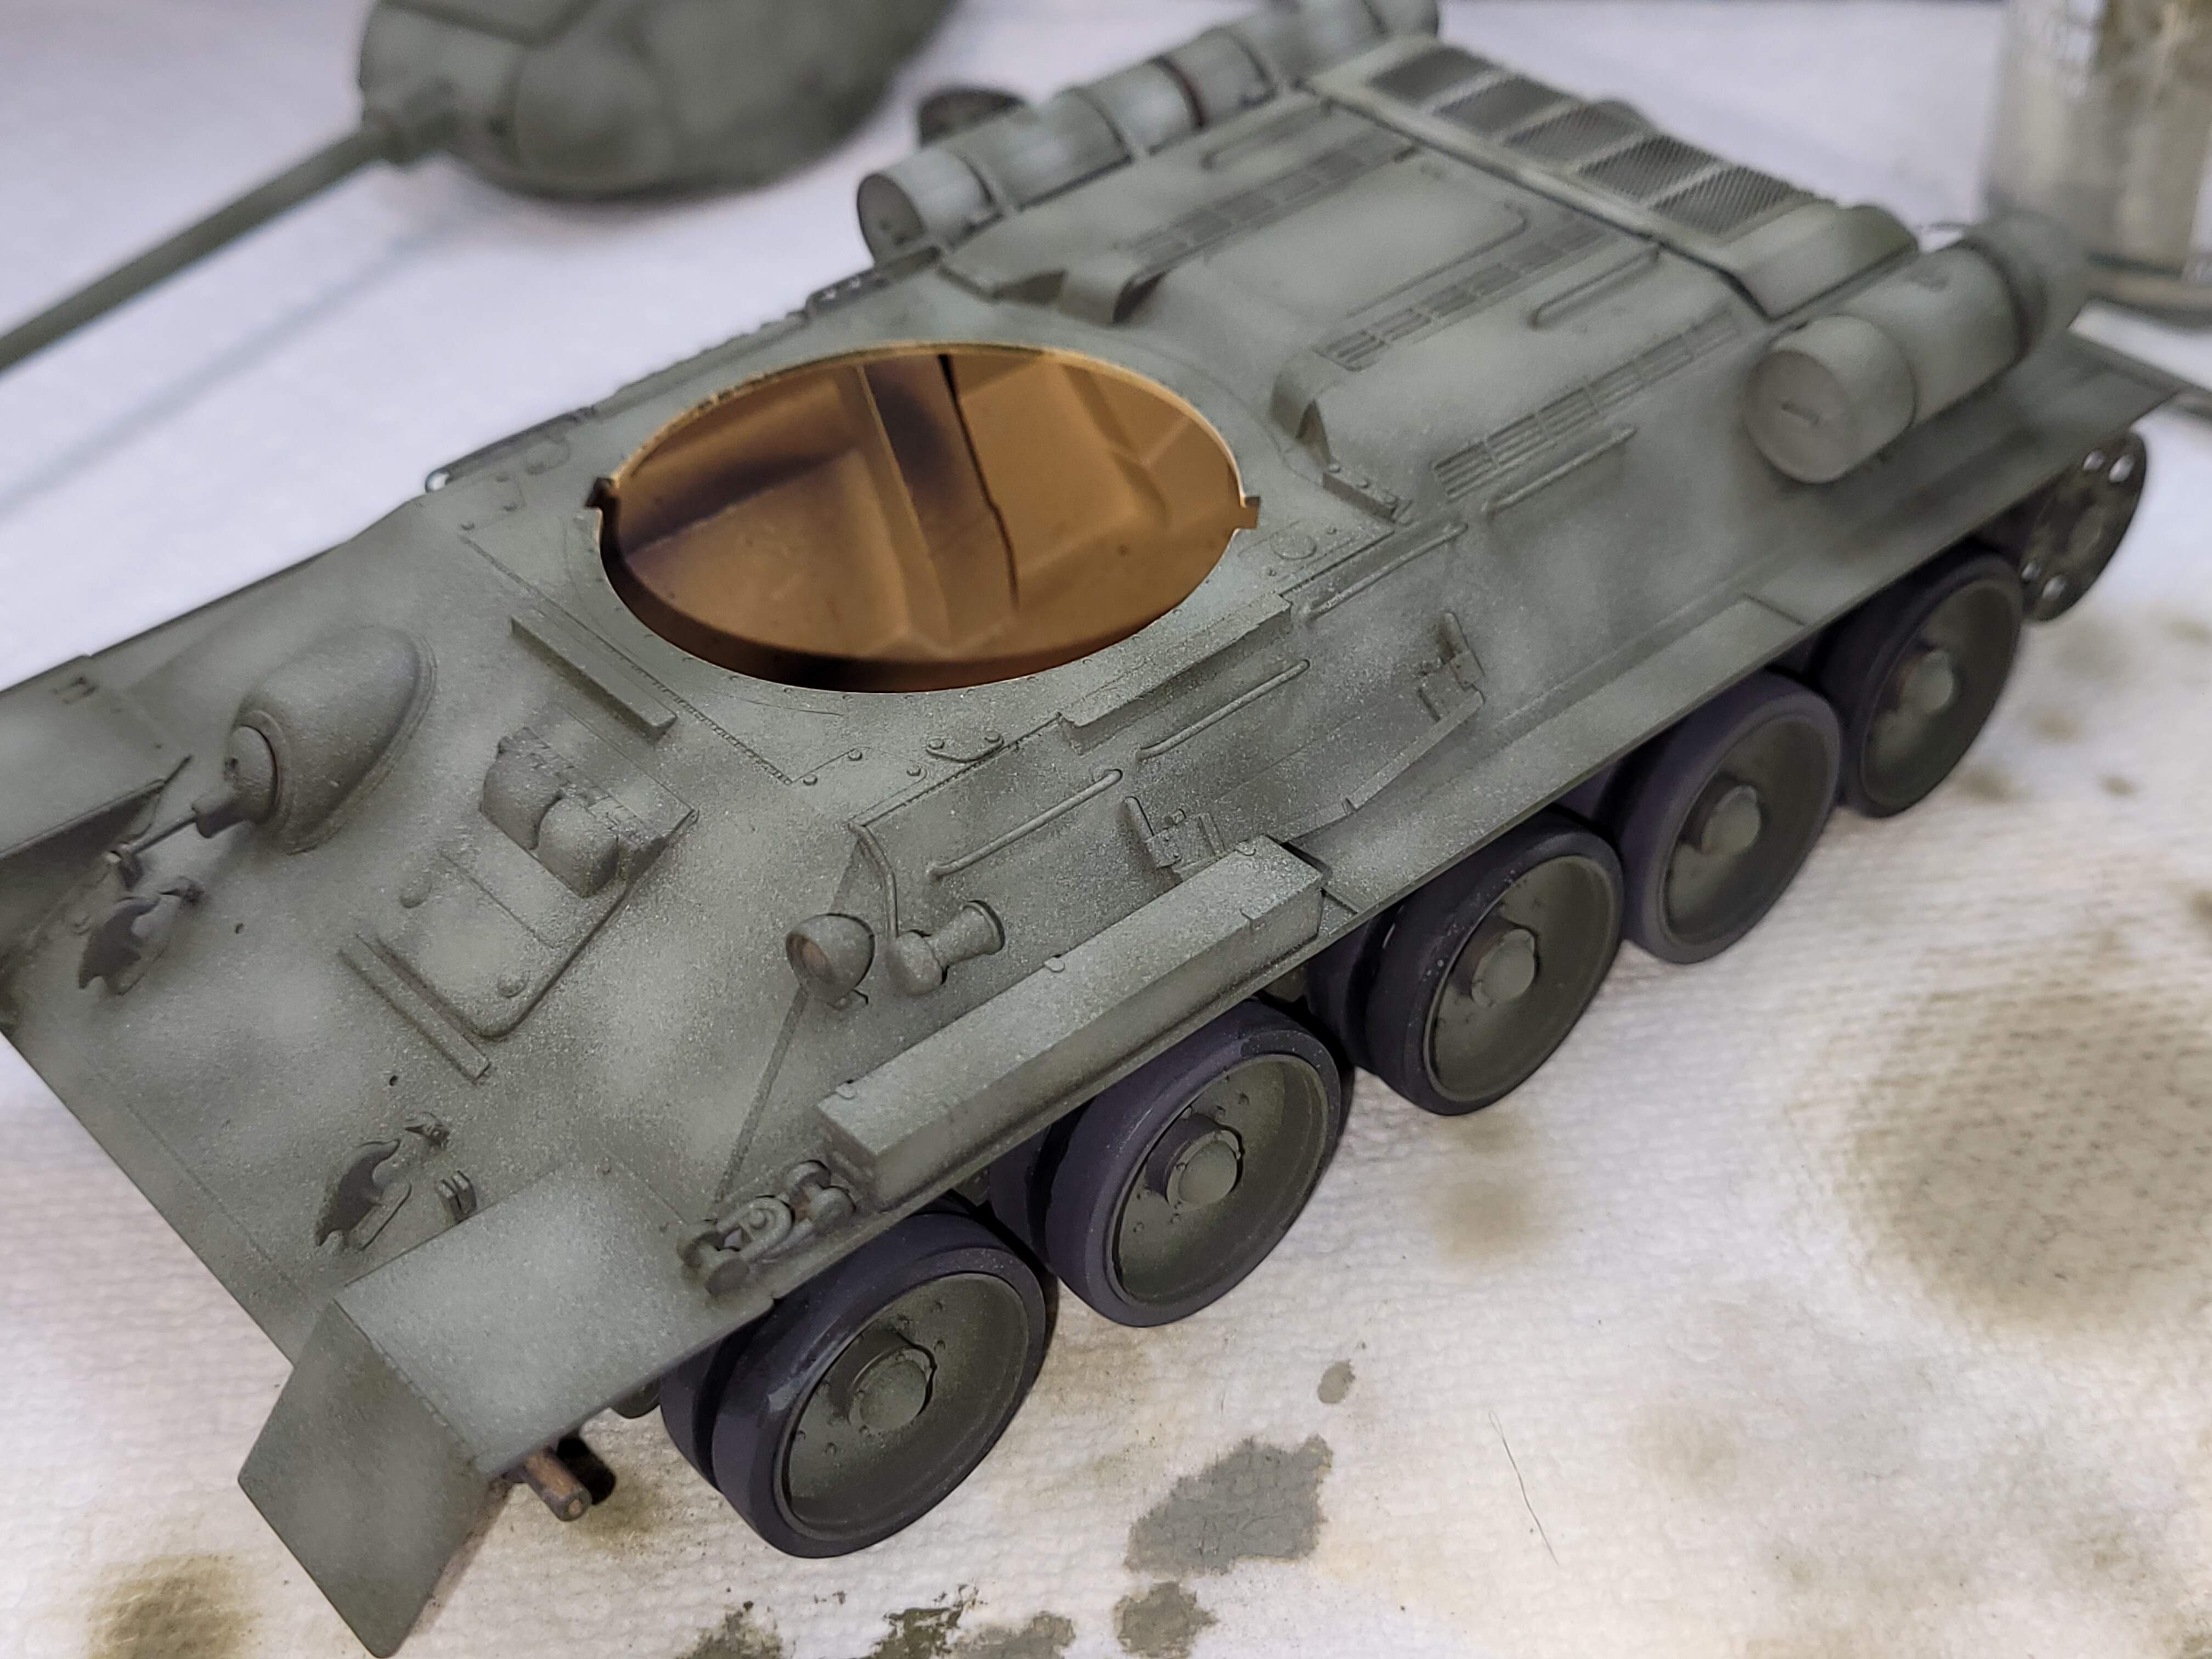
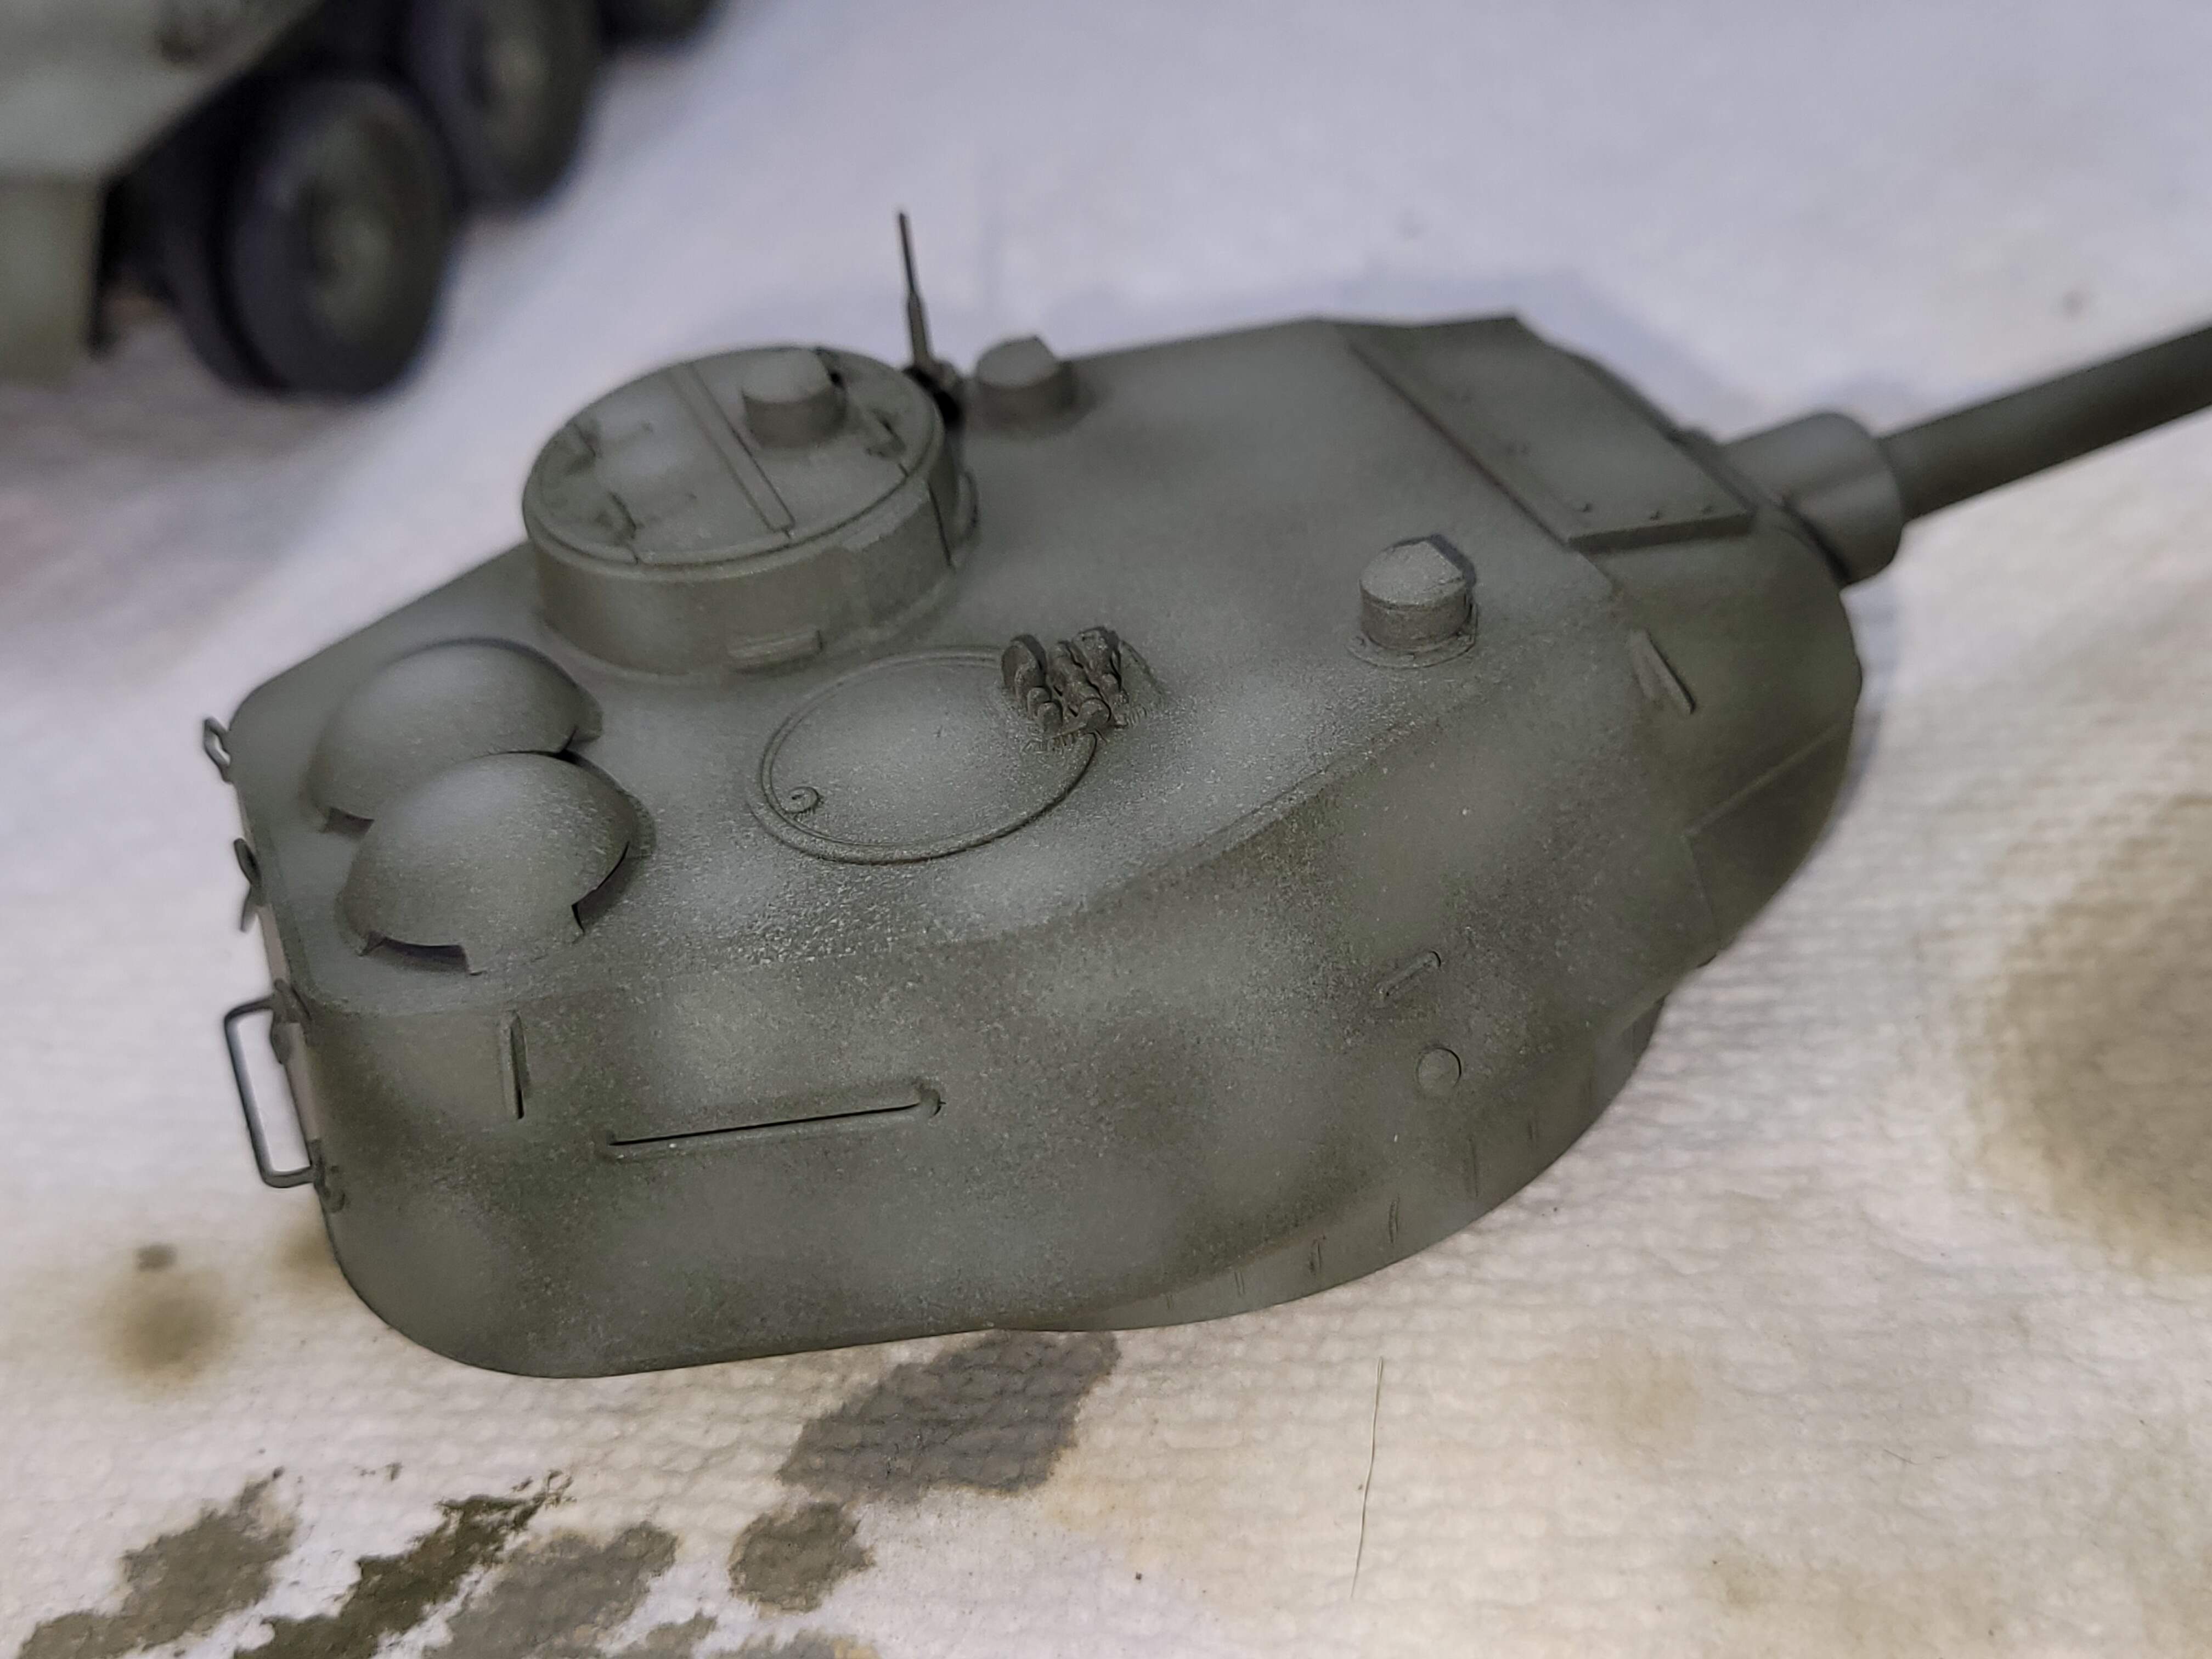
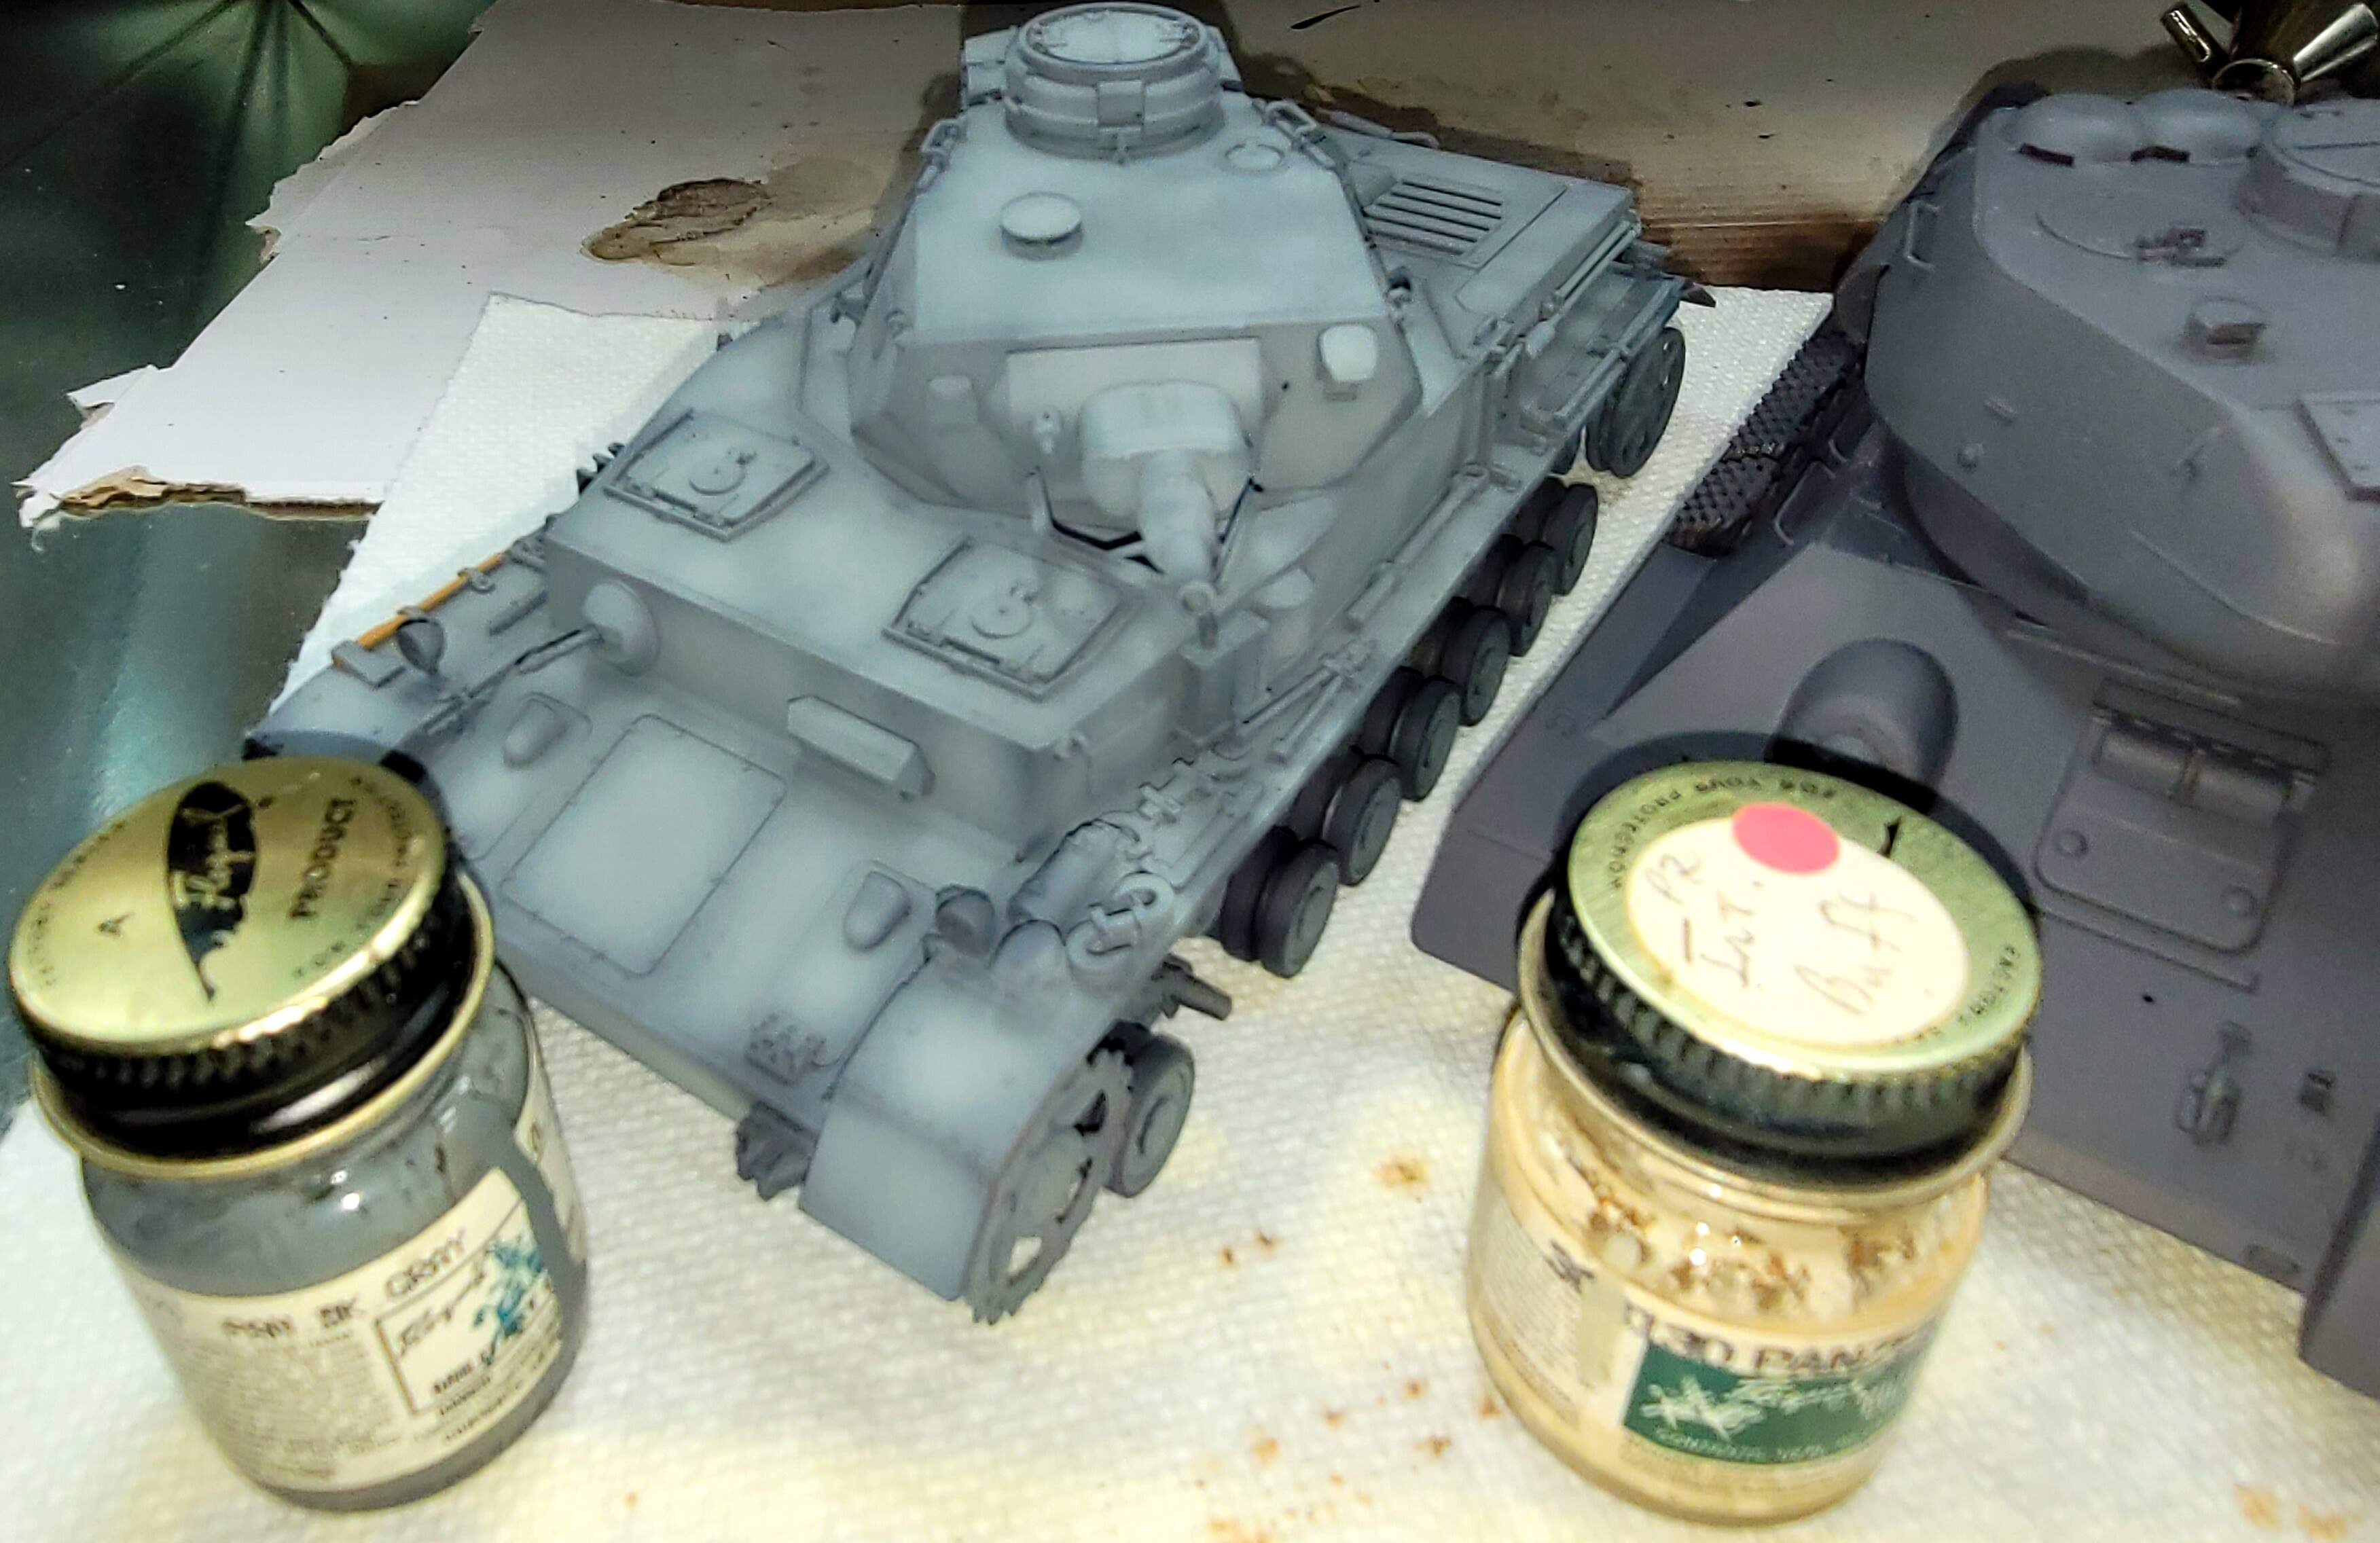
Highlights Stage 2 for T-34-85 & KV-1
Basically we’re just going to do the samething we did in Stage 1 with a lighter shade of paint and apply more sparingly.
Air pressure, about 10 psi static, spraying ~ 8 psi constant spraying.
Paint same British Dark Green & Panzer Interior Buff as before.
One cc is way too much, since only a small amount of paint is needed. Probably 6 drops of BDG & 6 to 8 PIB. Diluted 50/50 paint to thinner.
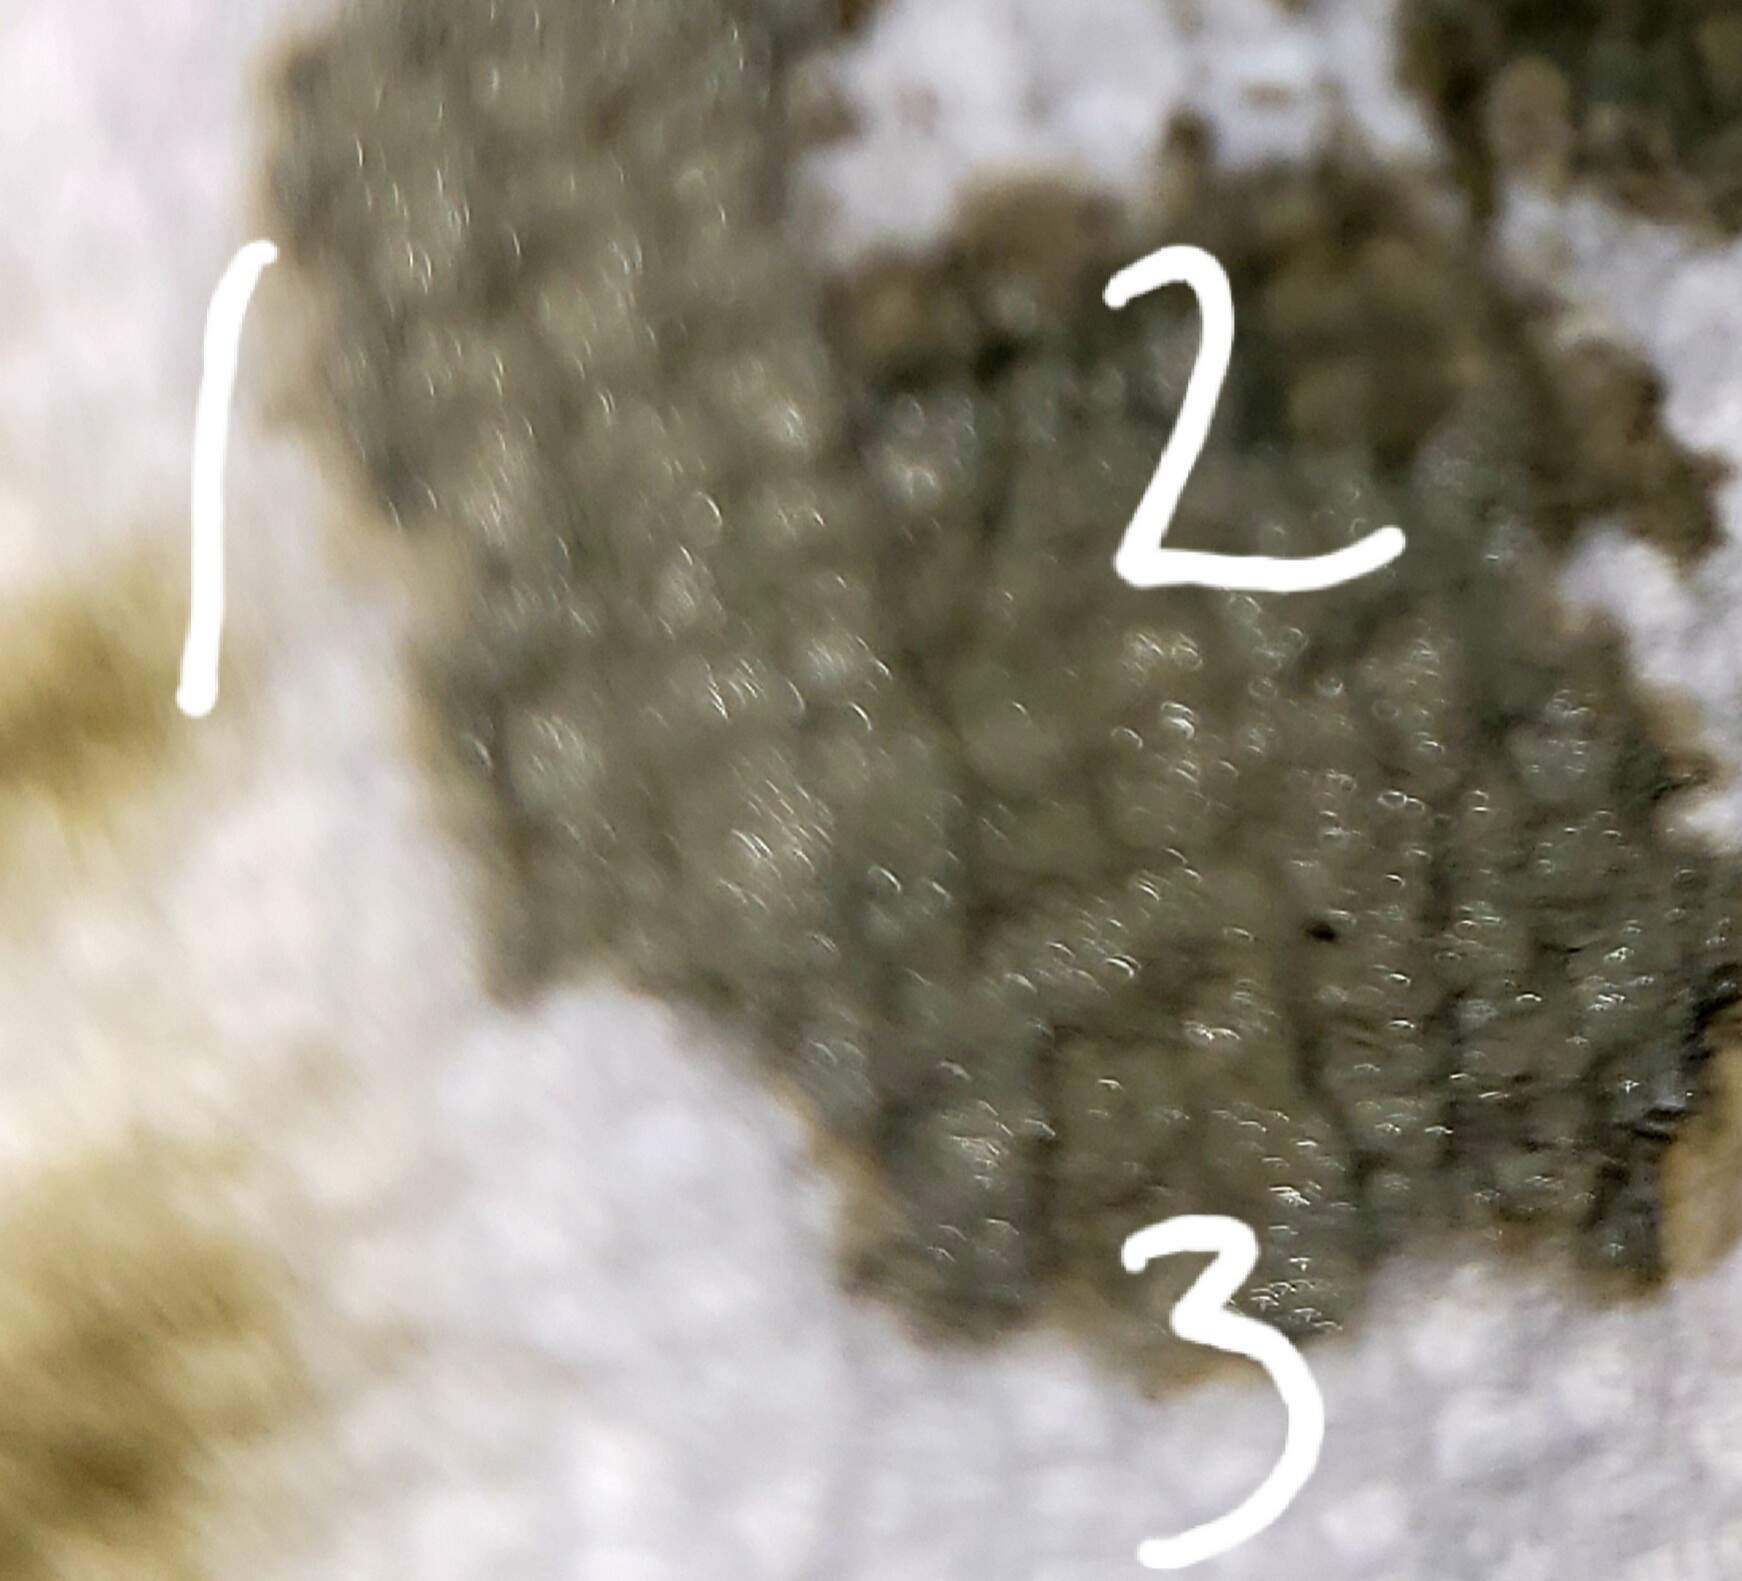
Yesterday’s first highlight color is #1.
My first attempt at 2nd highlight color is #2 and I feel it’s too dark. #3 is adding a couple more drops of PIBuff & thinner. Not sure that this shows well in picture but in hobby room was obvious.
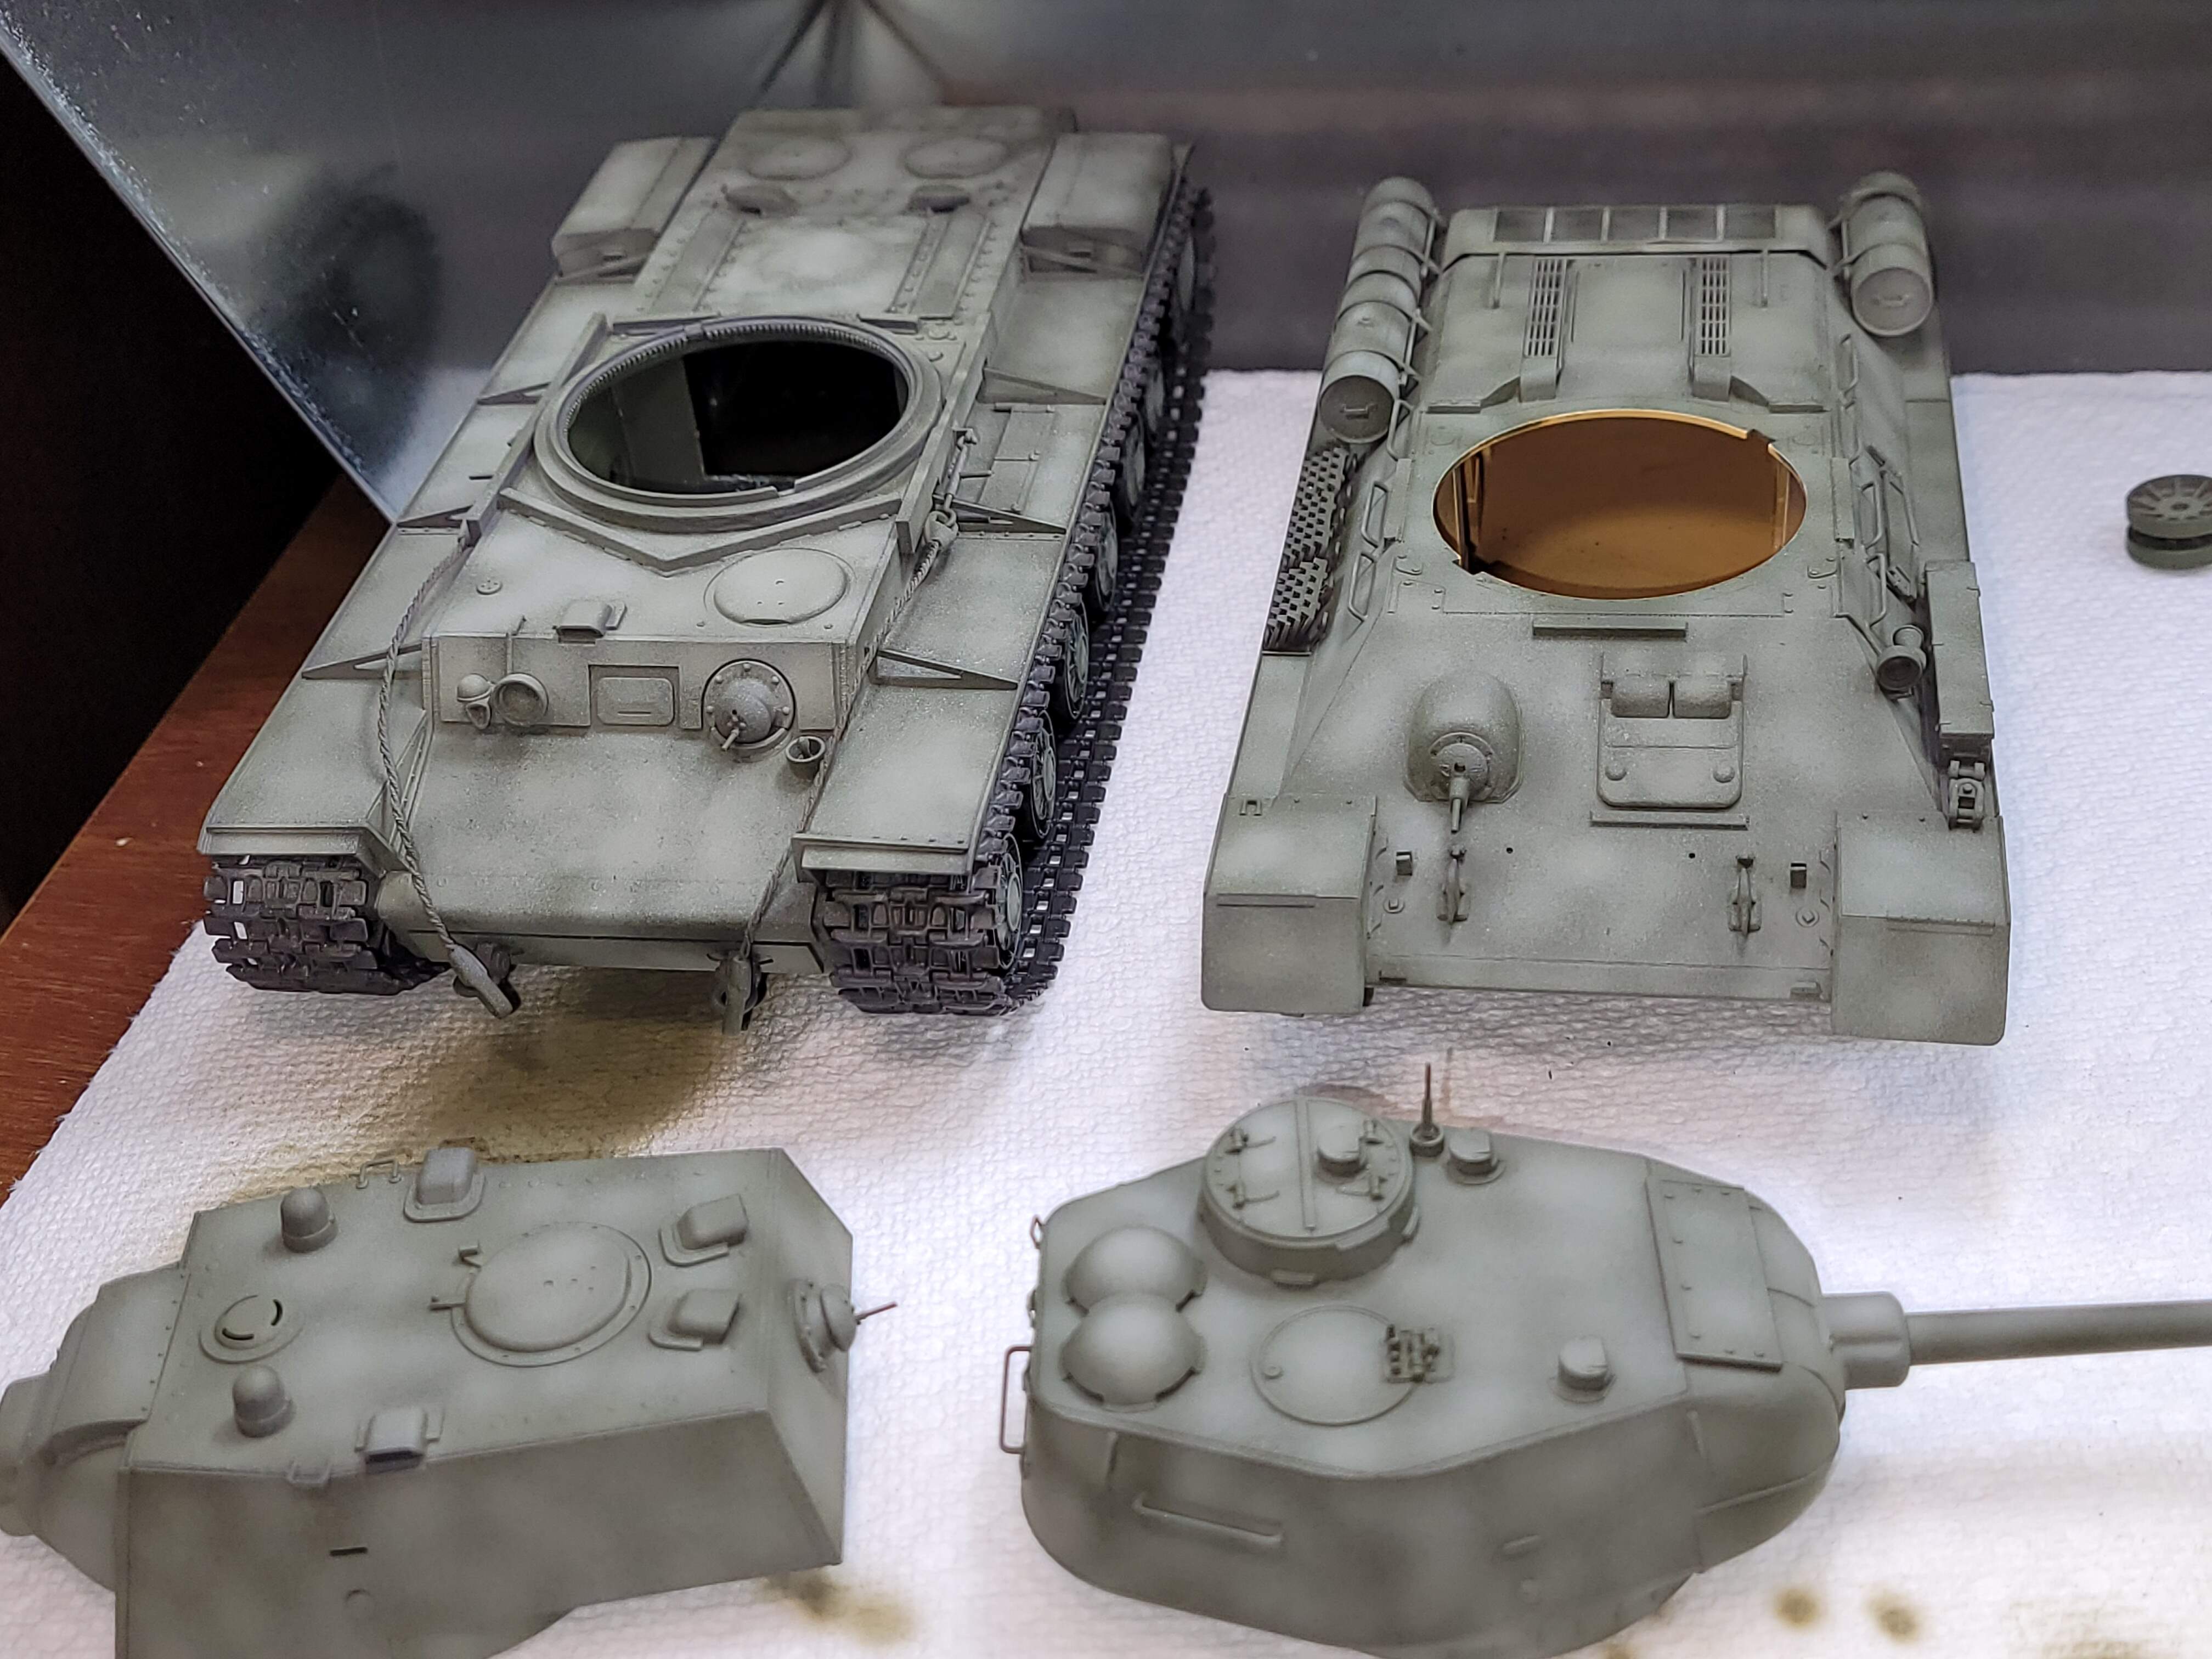
The KV-1
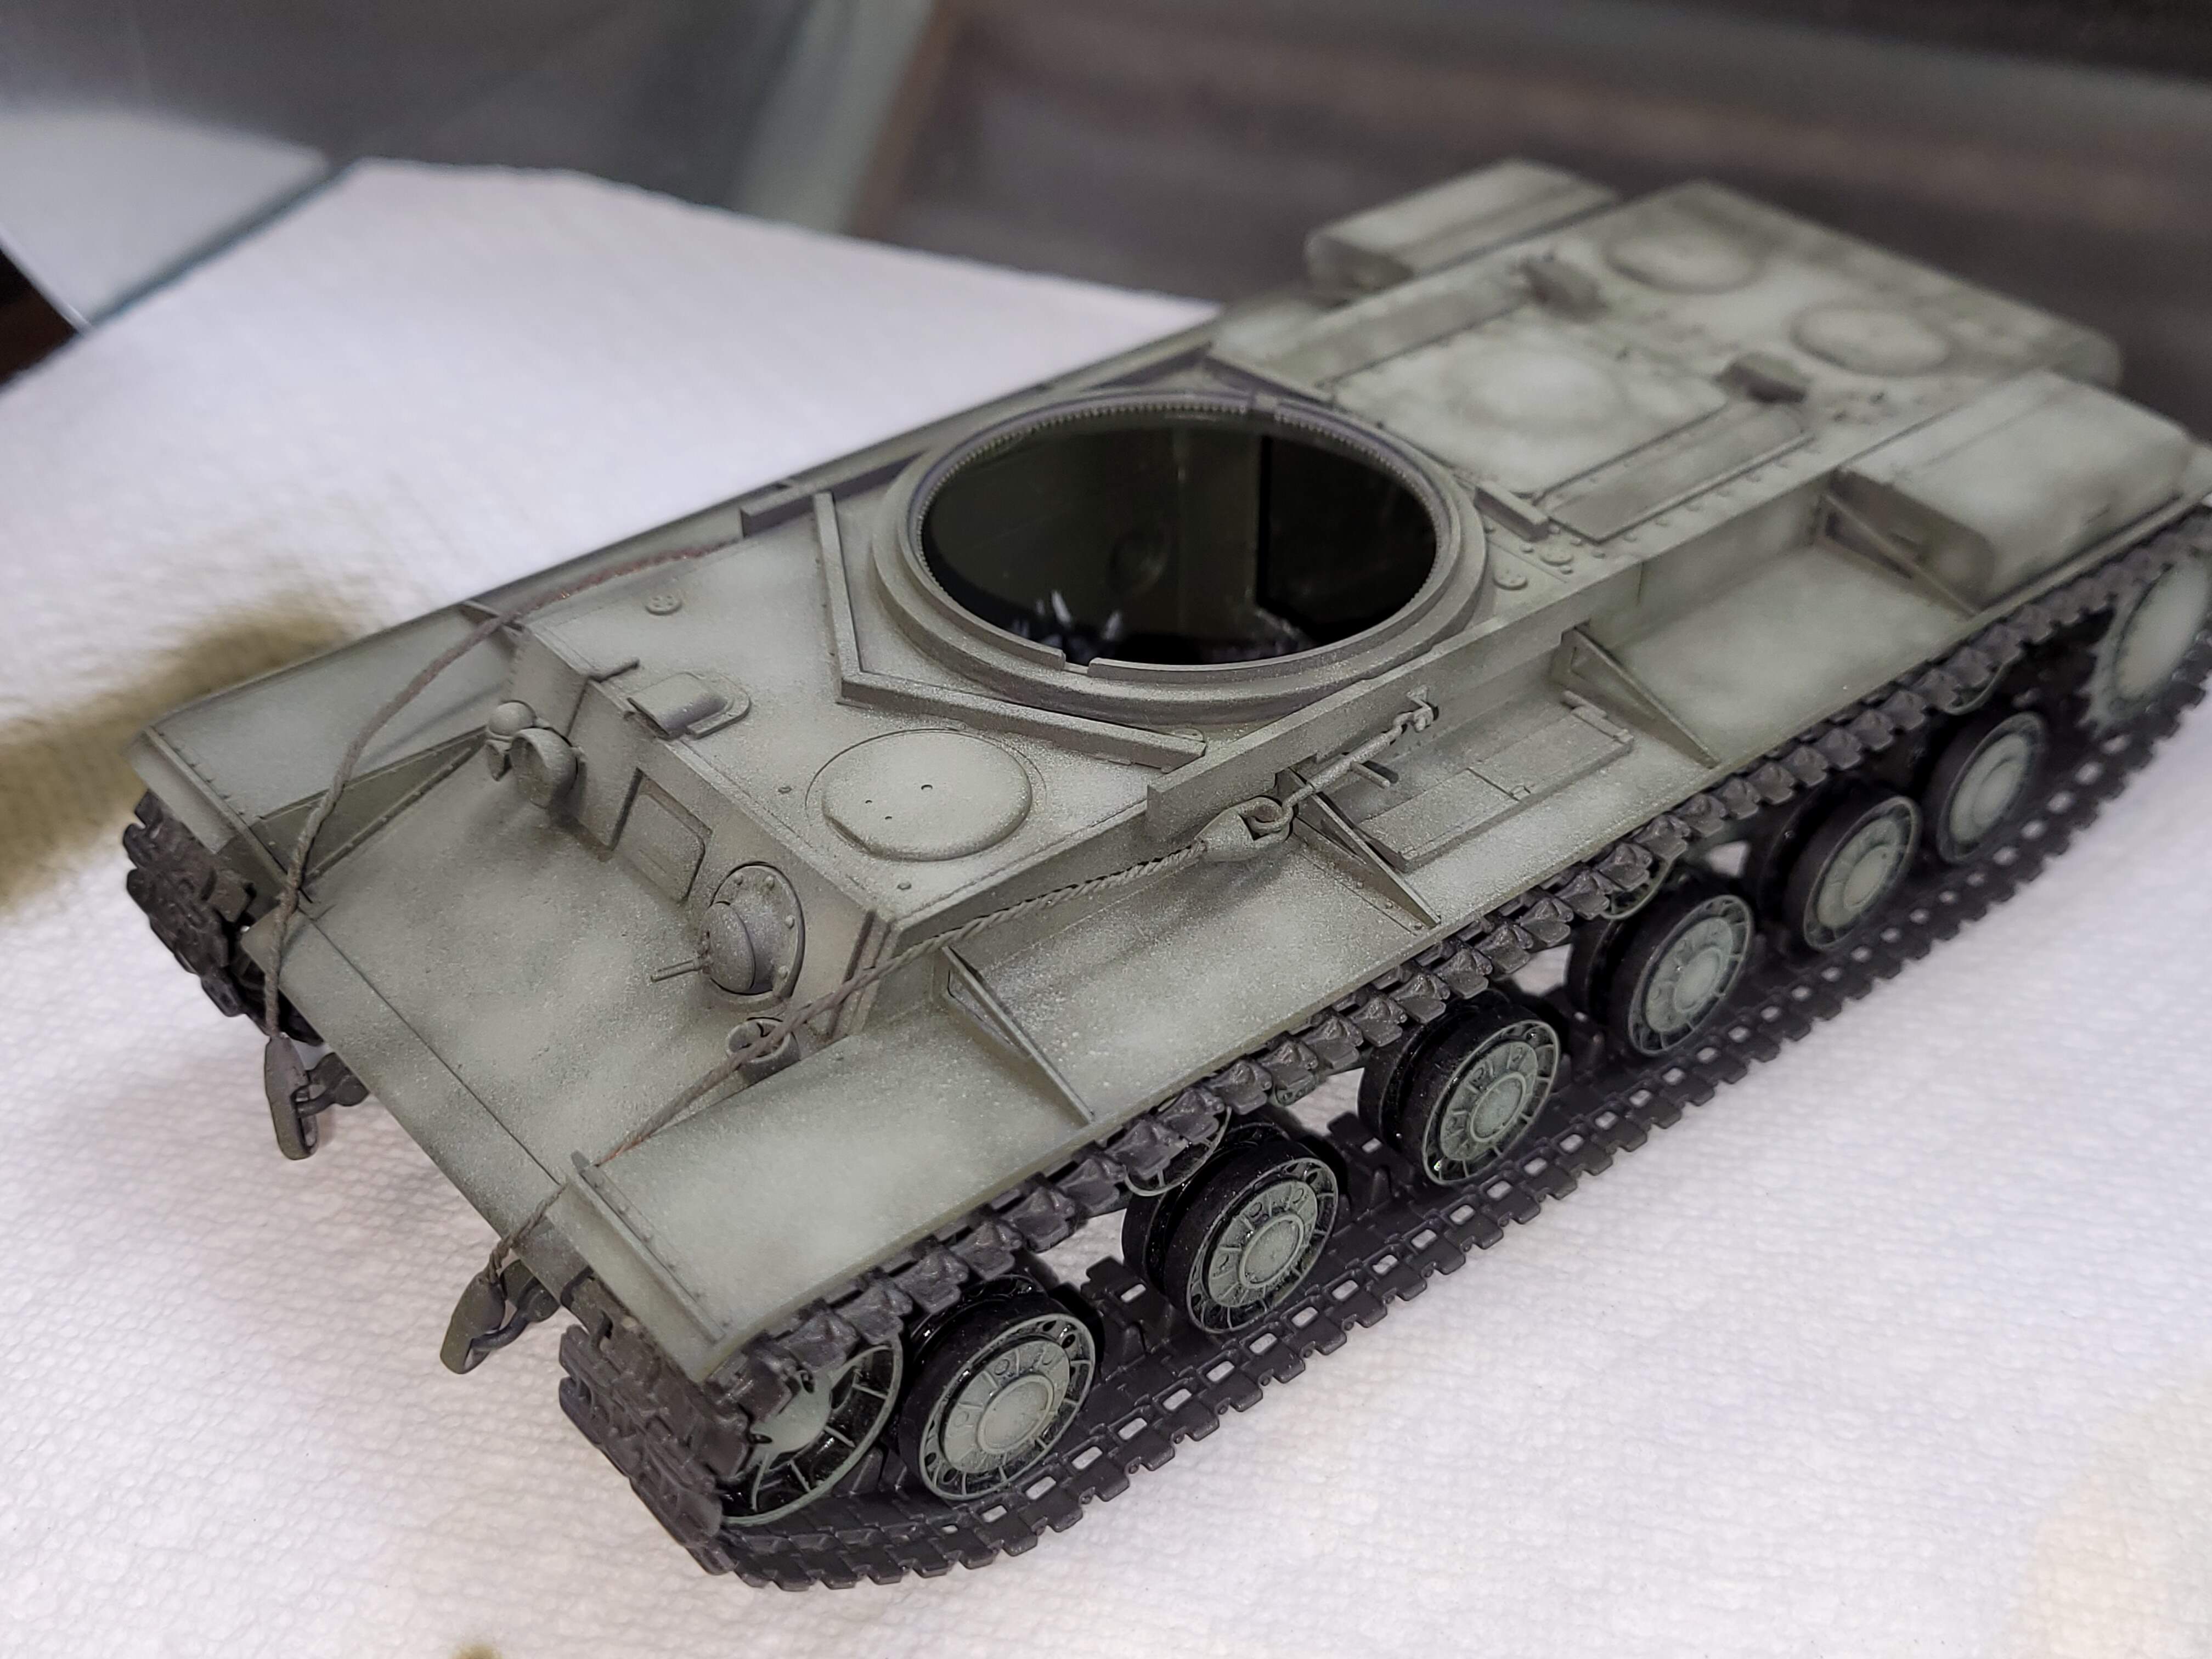
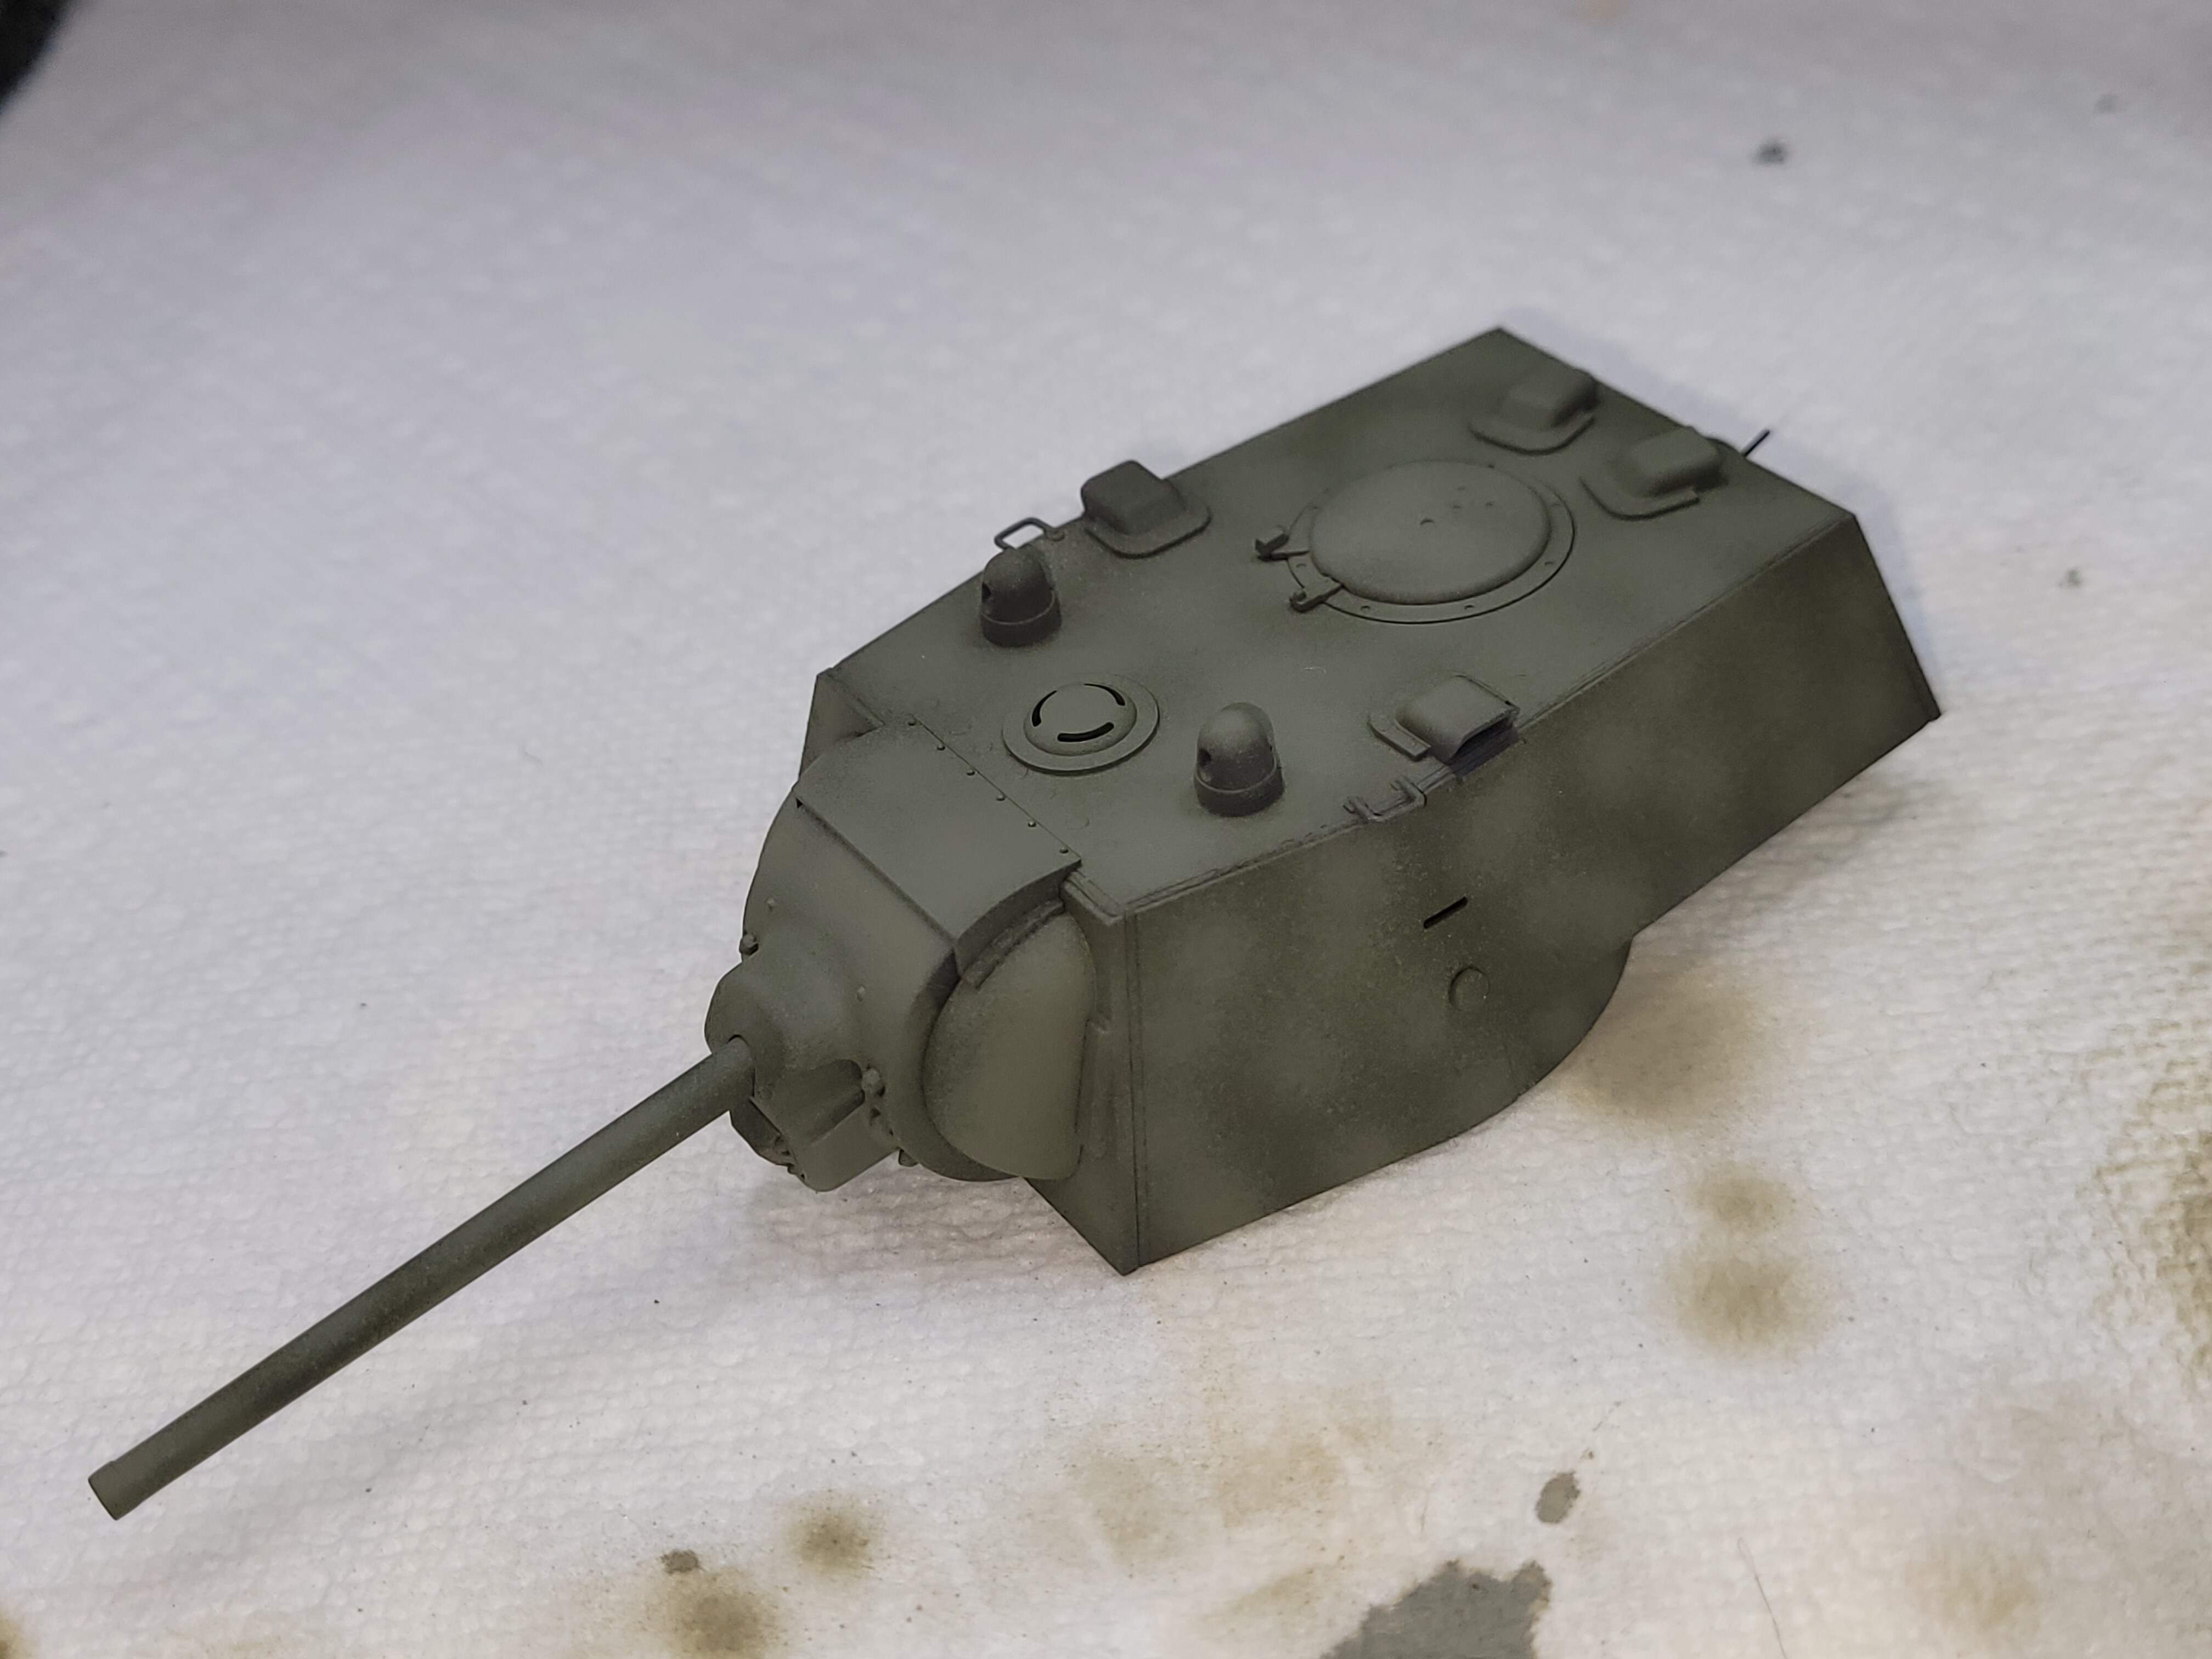
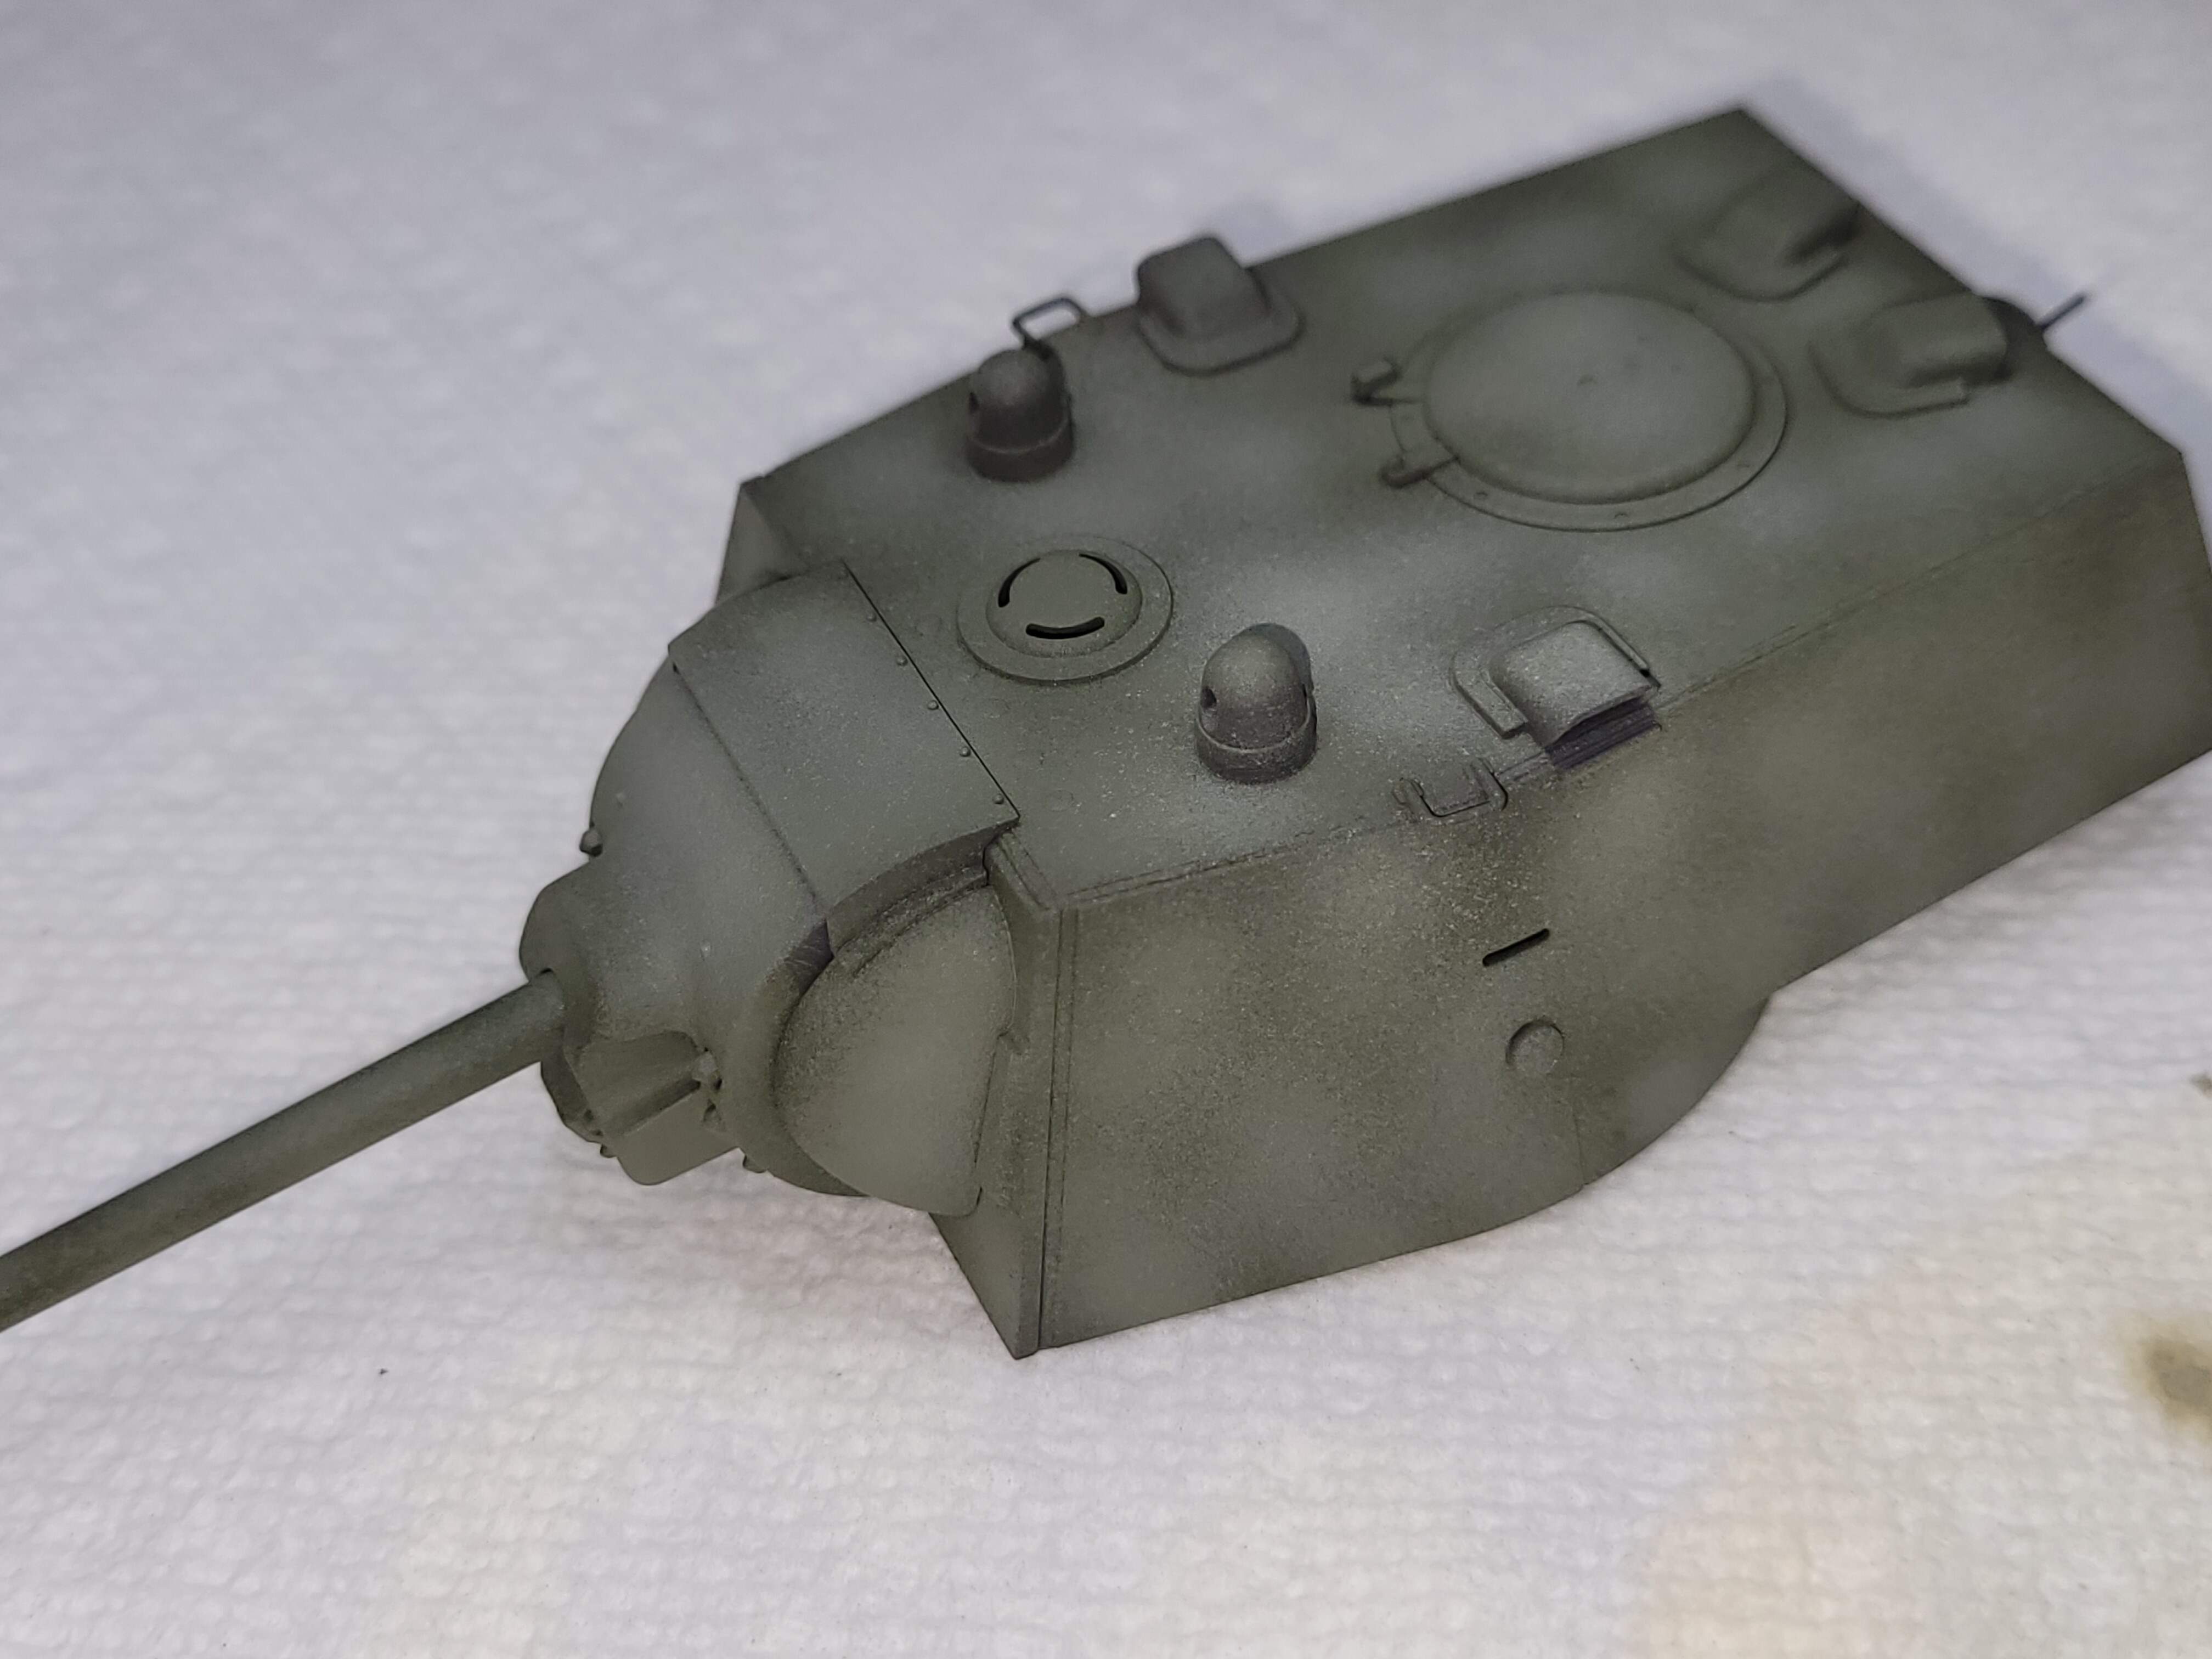
The T-35-85
Both KV-1 &T-34-85
This will conclude the airbrushing. The next step will be washes & drybrushing.
I prefer to allow the paint to fully cure for one week before applying washes. The reason is I no longer force cure paint with heat lamps after melting a DML T-34-85’s upper hull a few years ago.
Force curing can allow doing washes directly on the paint in as little as 12 hours with the same solvents used to thin the paint. Likewise, acrylic paint can be hit almost immediately with oil washes due to the different paint types and different solvents etc.
Anyway, now I let the paint cure for at least a week before doing washes. That will also allow anyone following along to work on their model, paint etc and apply gloss coat before doing washes and allow it to dry cure etc.
Being a Floquil spraying barbarian, I don’t apply protective gloss coats before doing washes. I like to directly assault and distress the bare paint 
Yes, that means having to aggressively work the oil wash and work in small areas at a time etc. Yes, its messier, Yes, can easily get tide lines if you’re not on top of it. Don’t care. Old school here, gloss coat is for apply decals
Joking of course as there are many ways to do things that work very well
I’m NOT suggesting other folks try skipping the gloss coat before doing washes. I have no idea if someone’s brand of paint, type of paint can withstand that sort of abuse. I don’t want to see anyone ruin a model etc.
So while the paint cures, for a week, my intention is to demonstrate a wash/dry brush routine on…
…to keep our discussion going.
Then T-34-85 & KV-1 will get the same process. I hope that will allow for good discussion and questions etc.
2 Likes
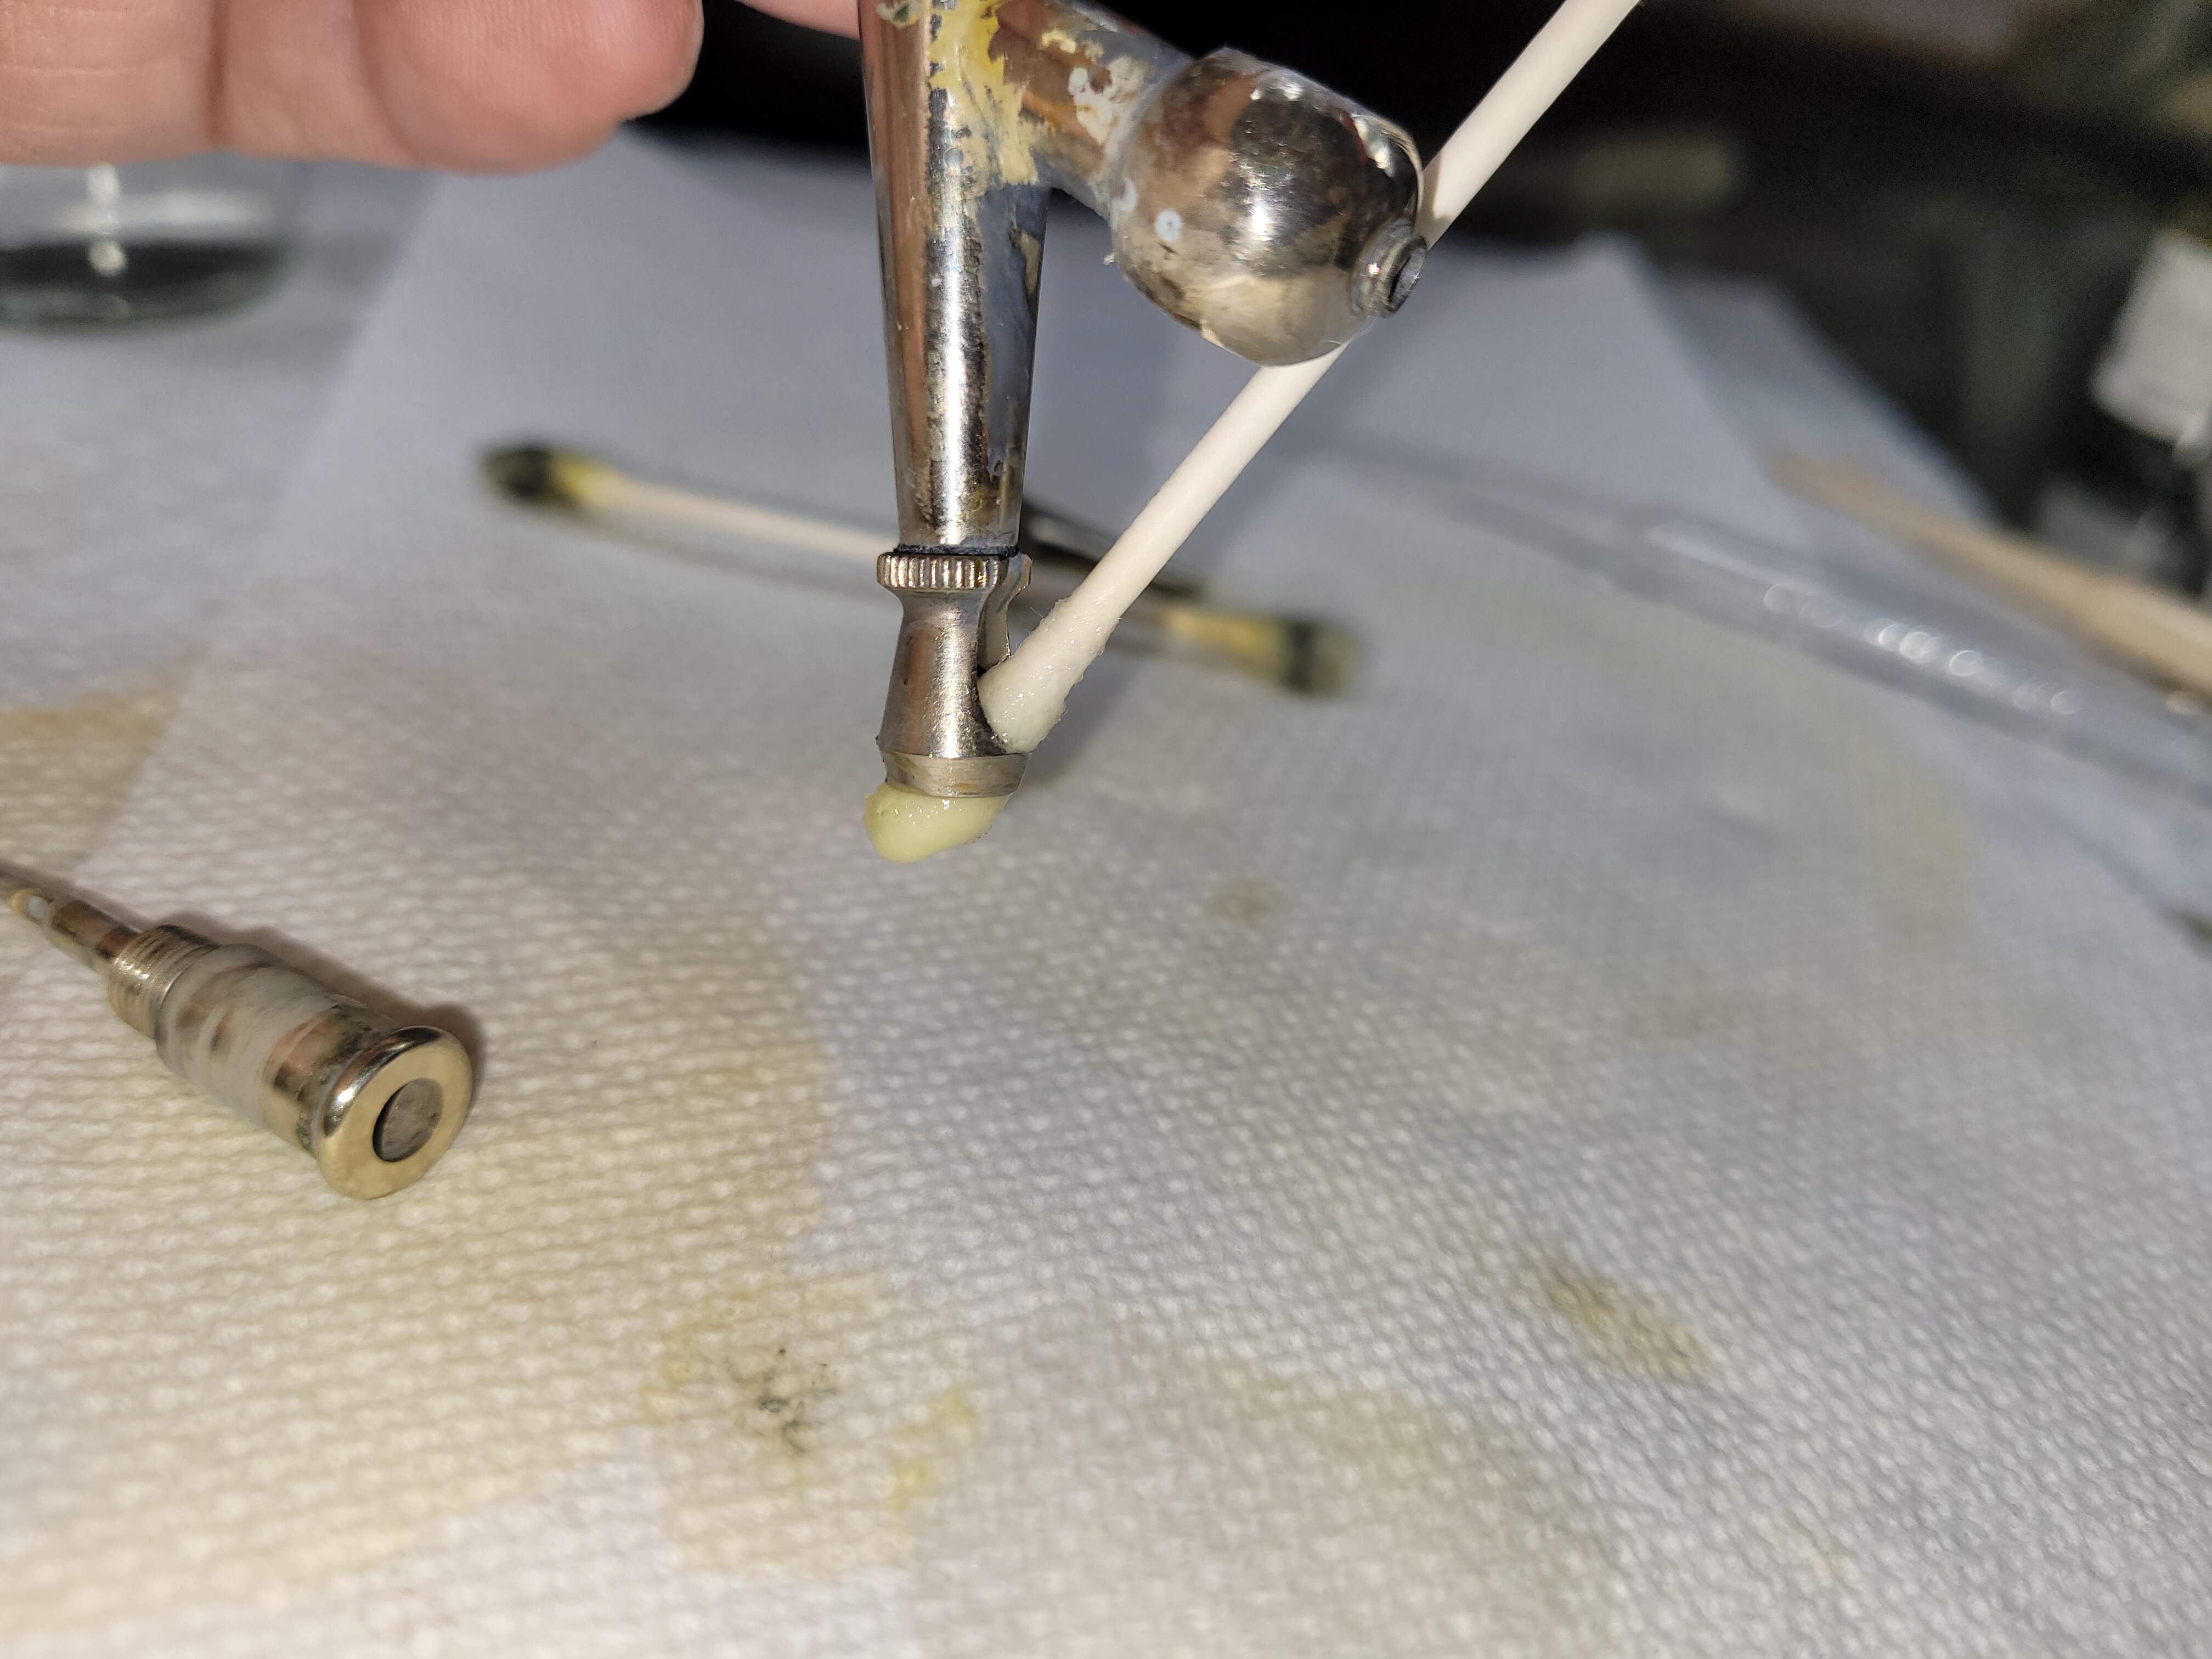
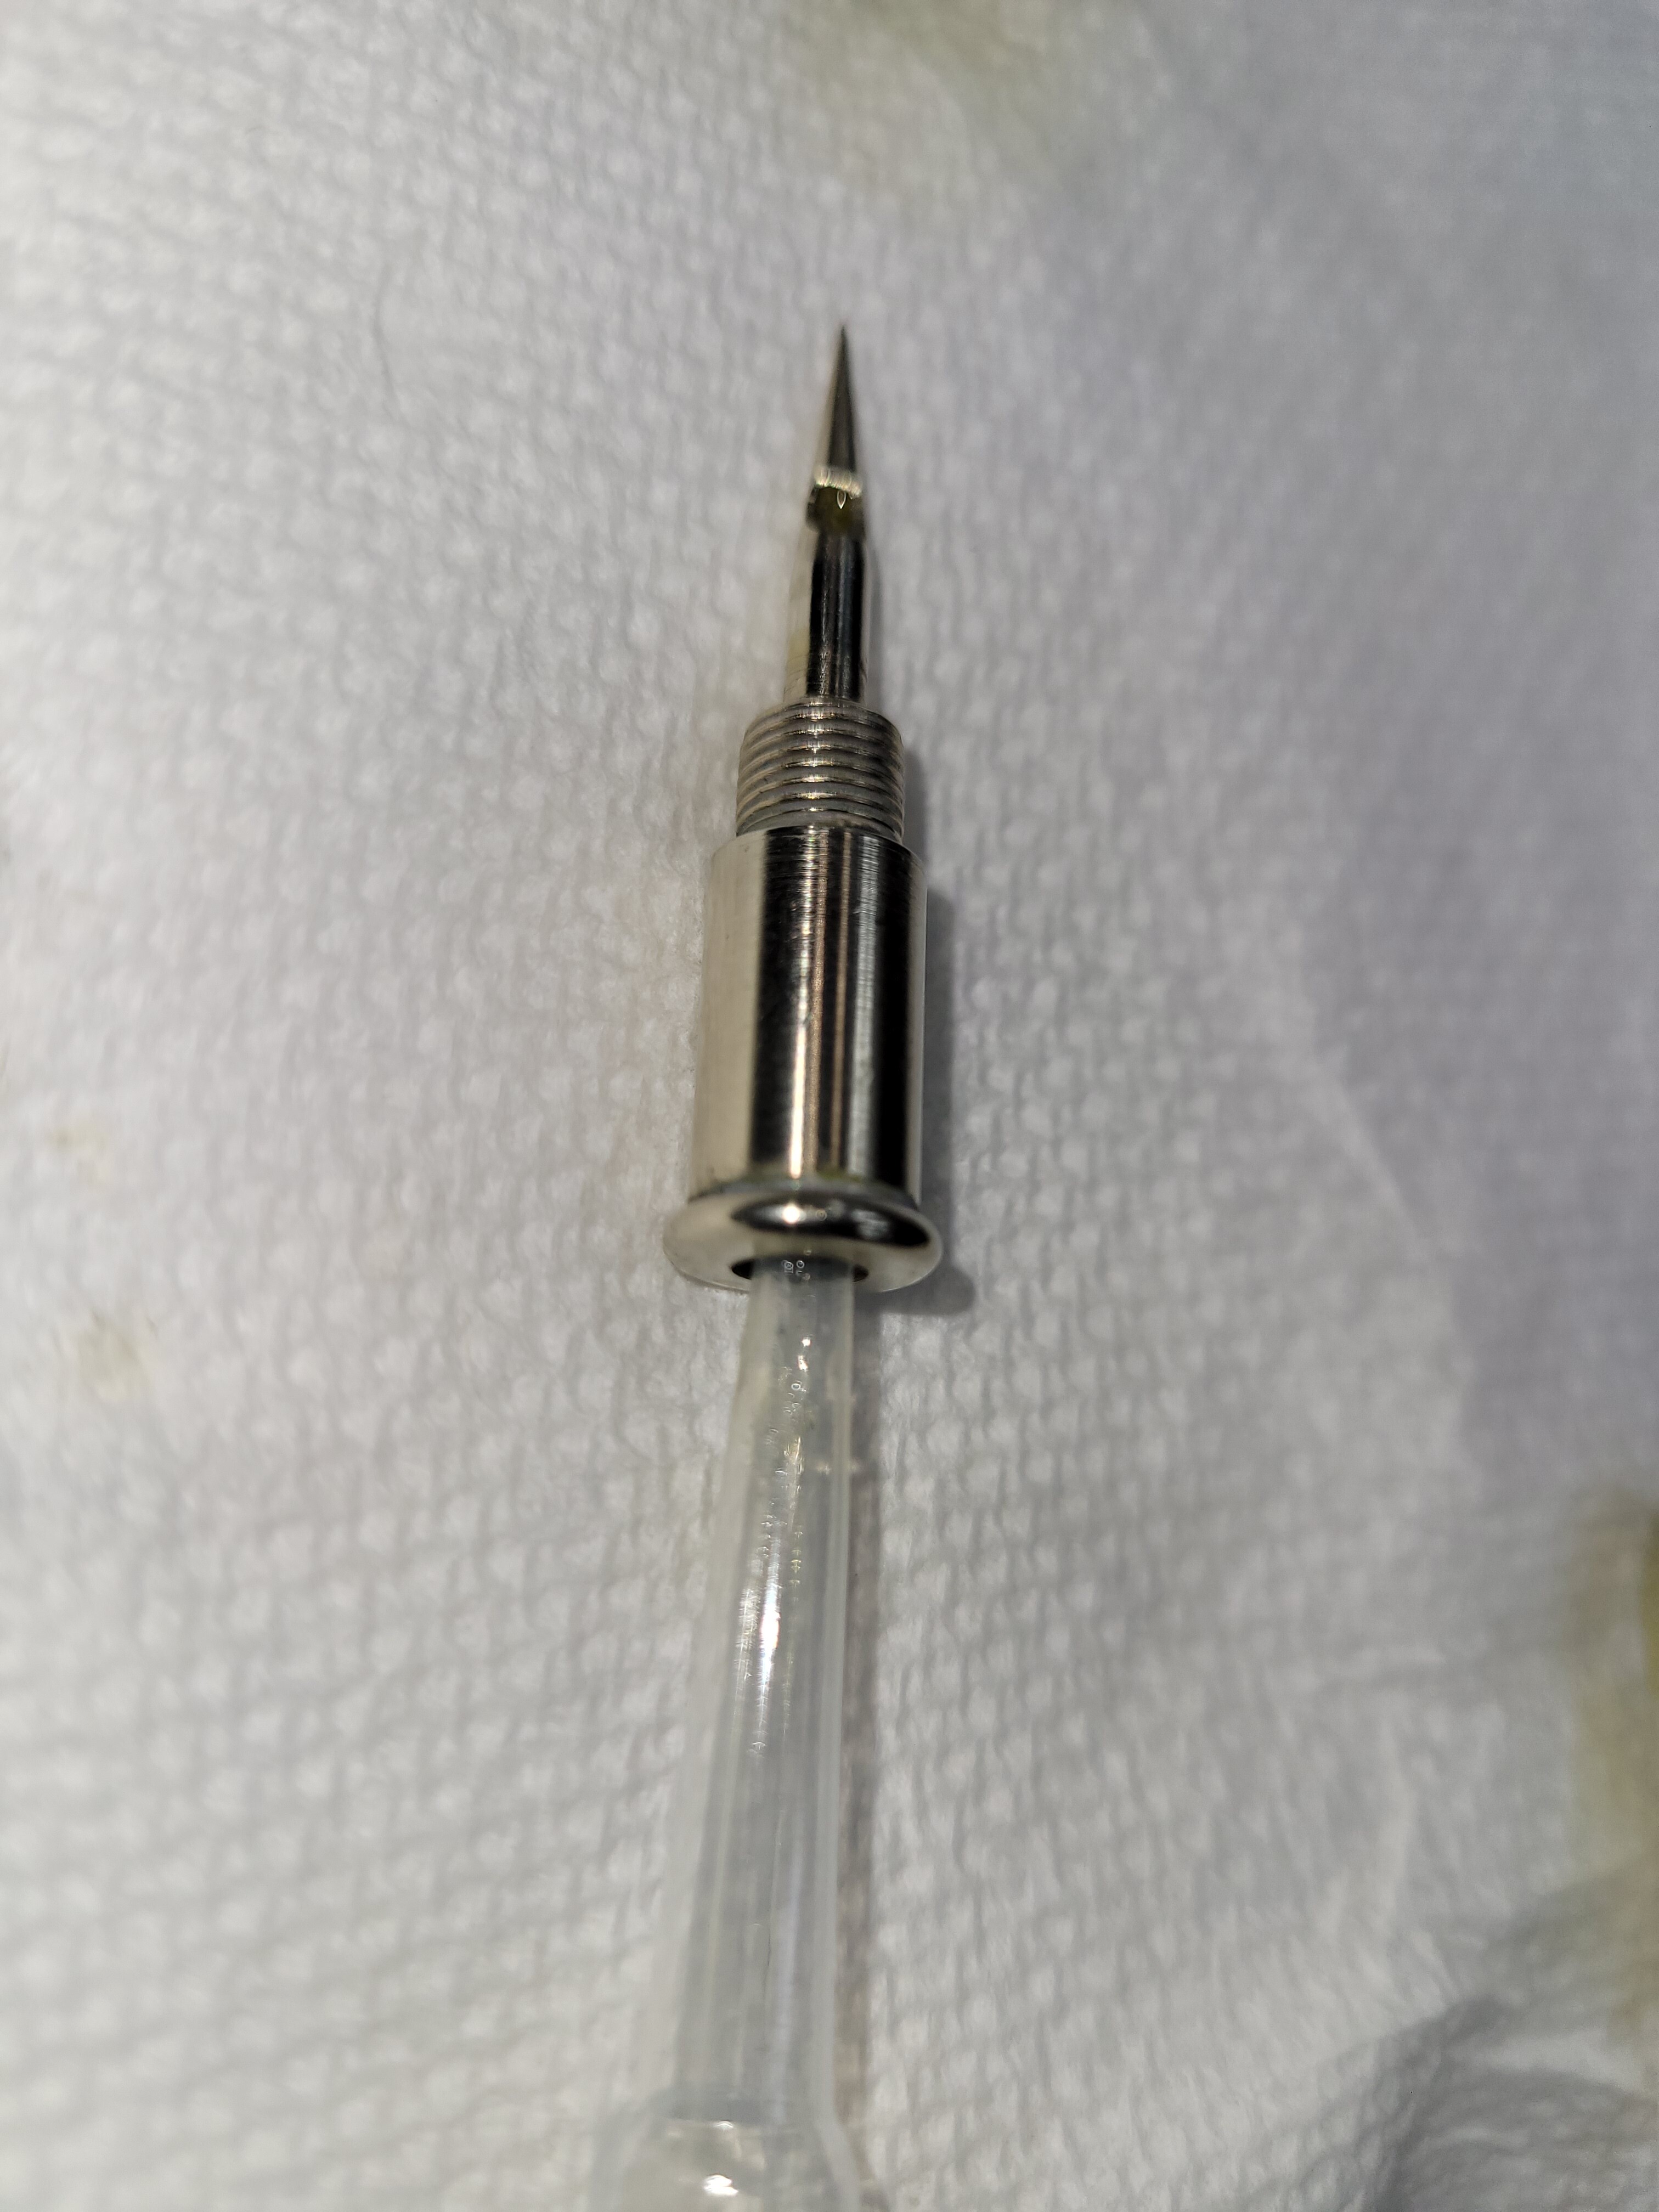
Now for the less fun but absolutely necessary Cleaning the Airbrush. I’m sure most folks know how to do this and probably are more diligent than myself but this is critical so…
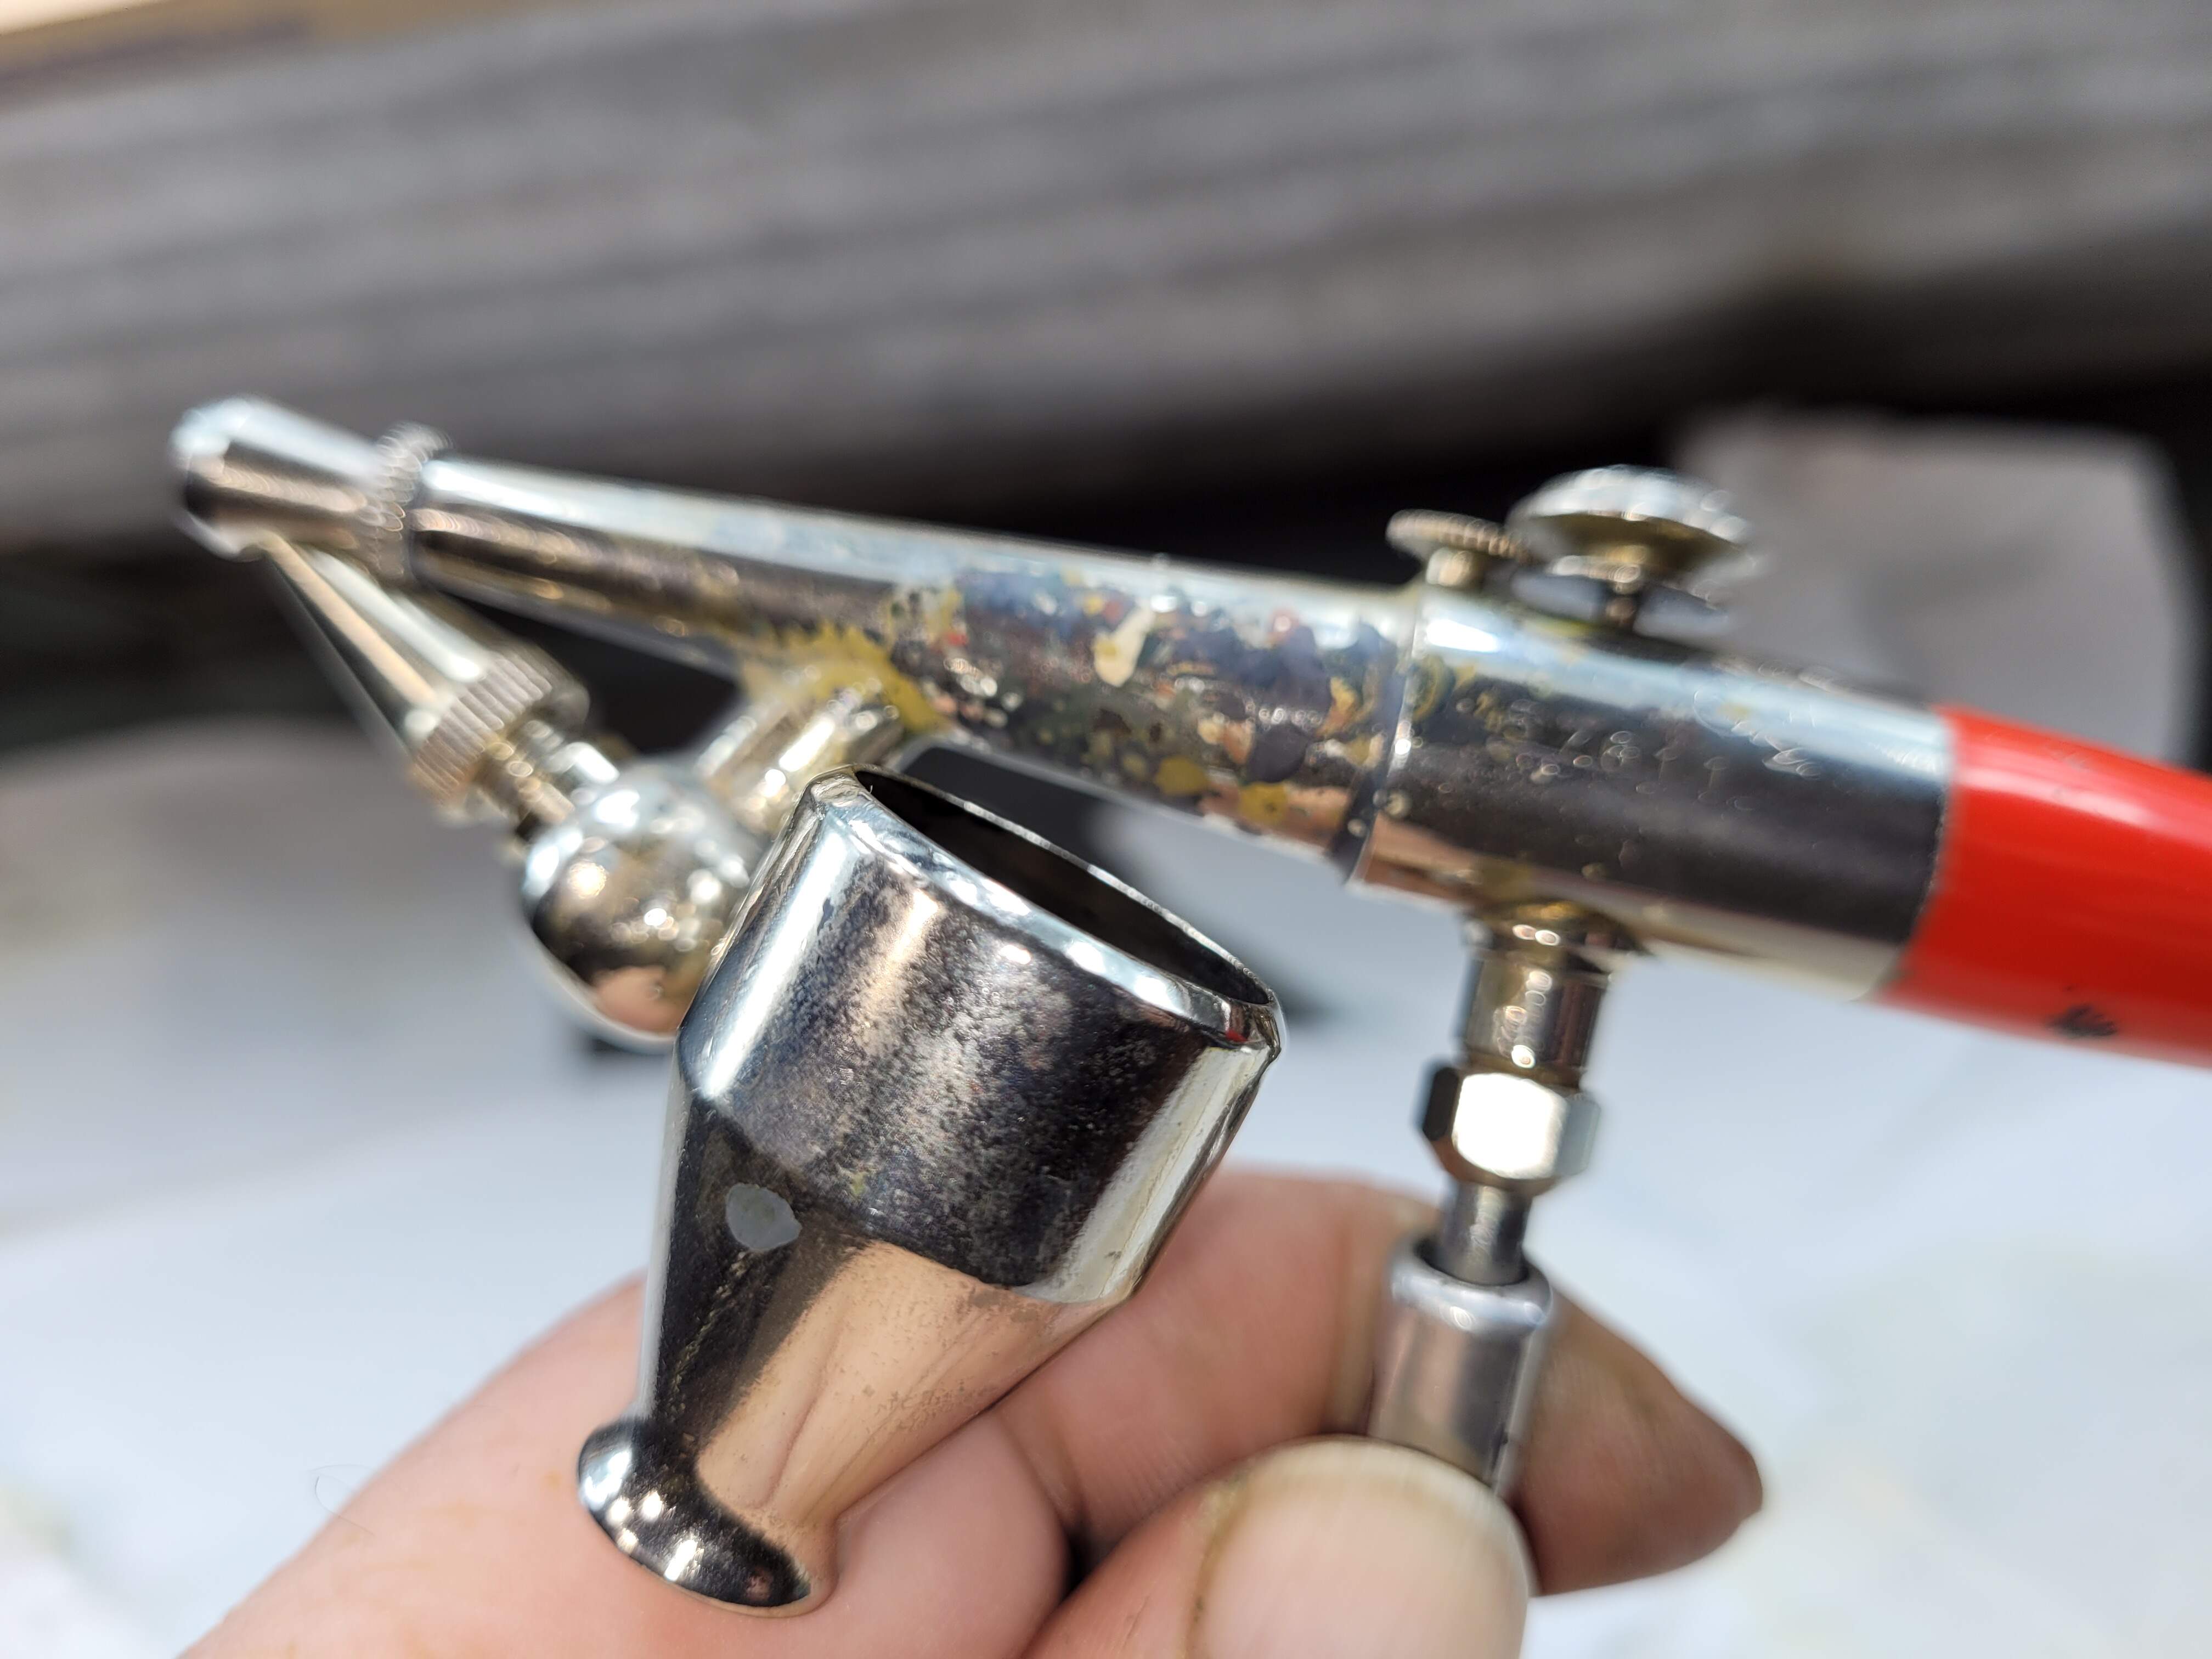
The Paasche H is easy to clean. Removing color cup blasting some solvent through is basic.
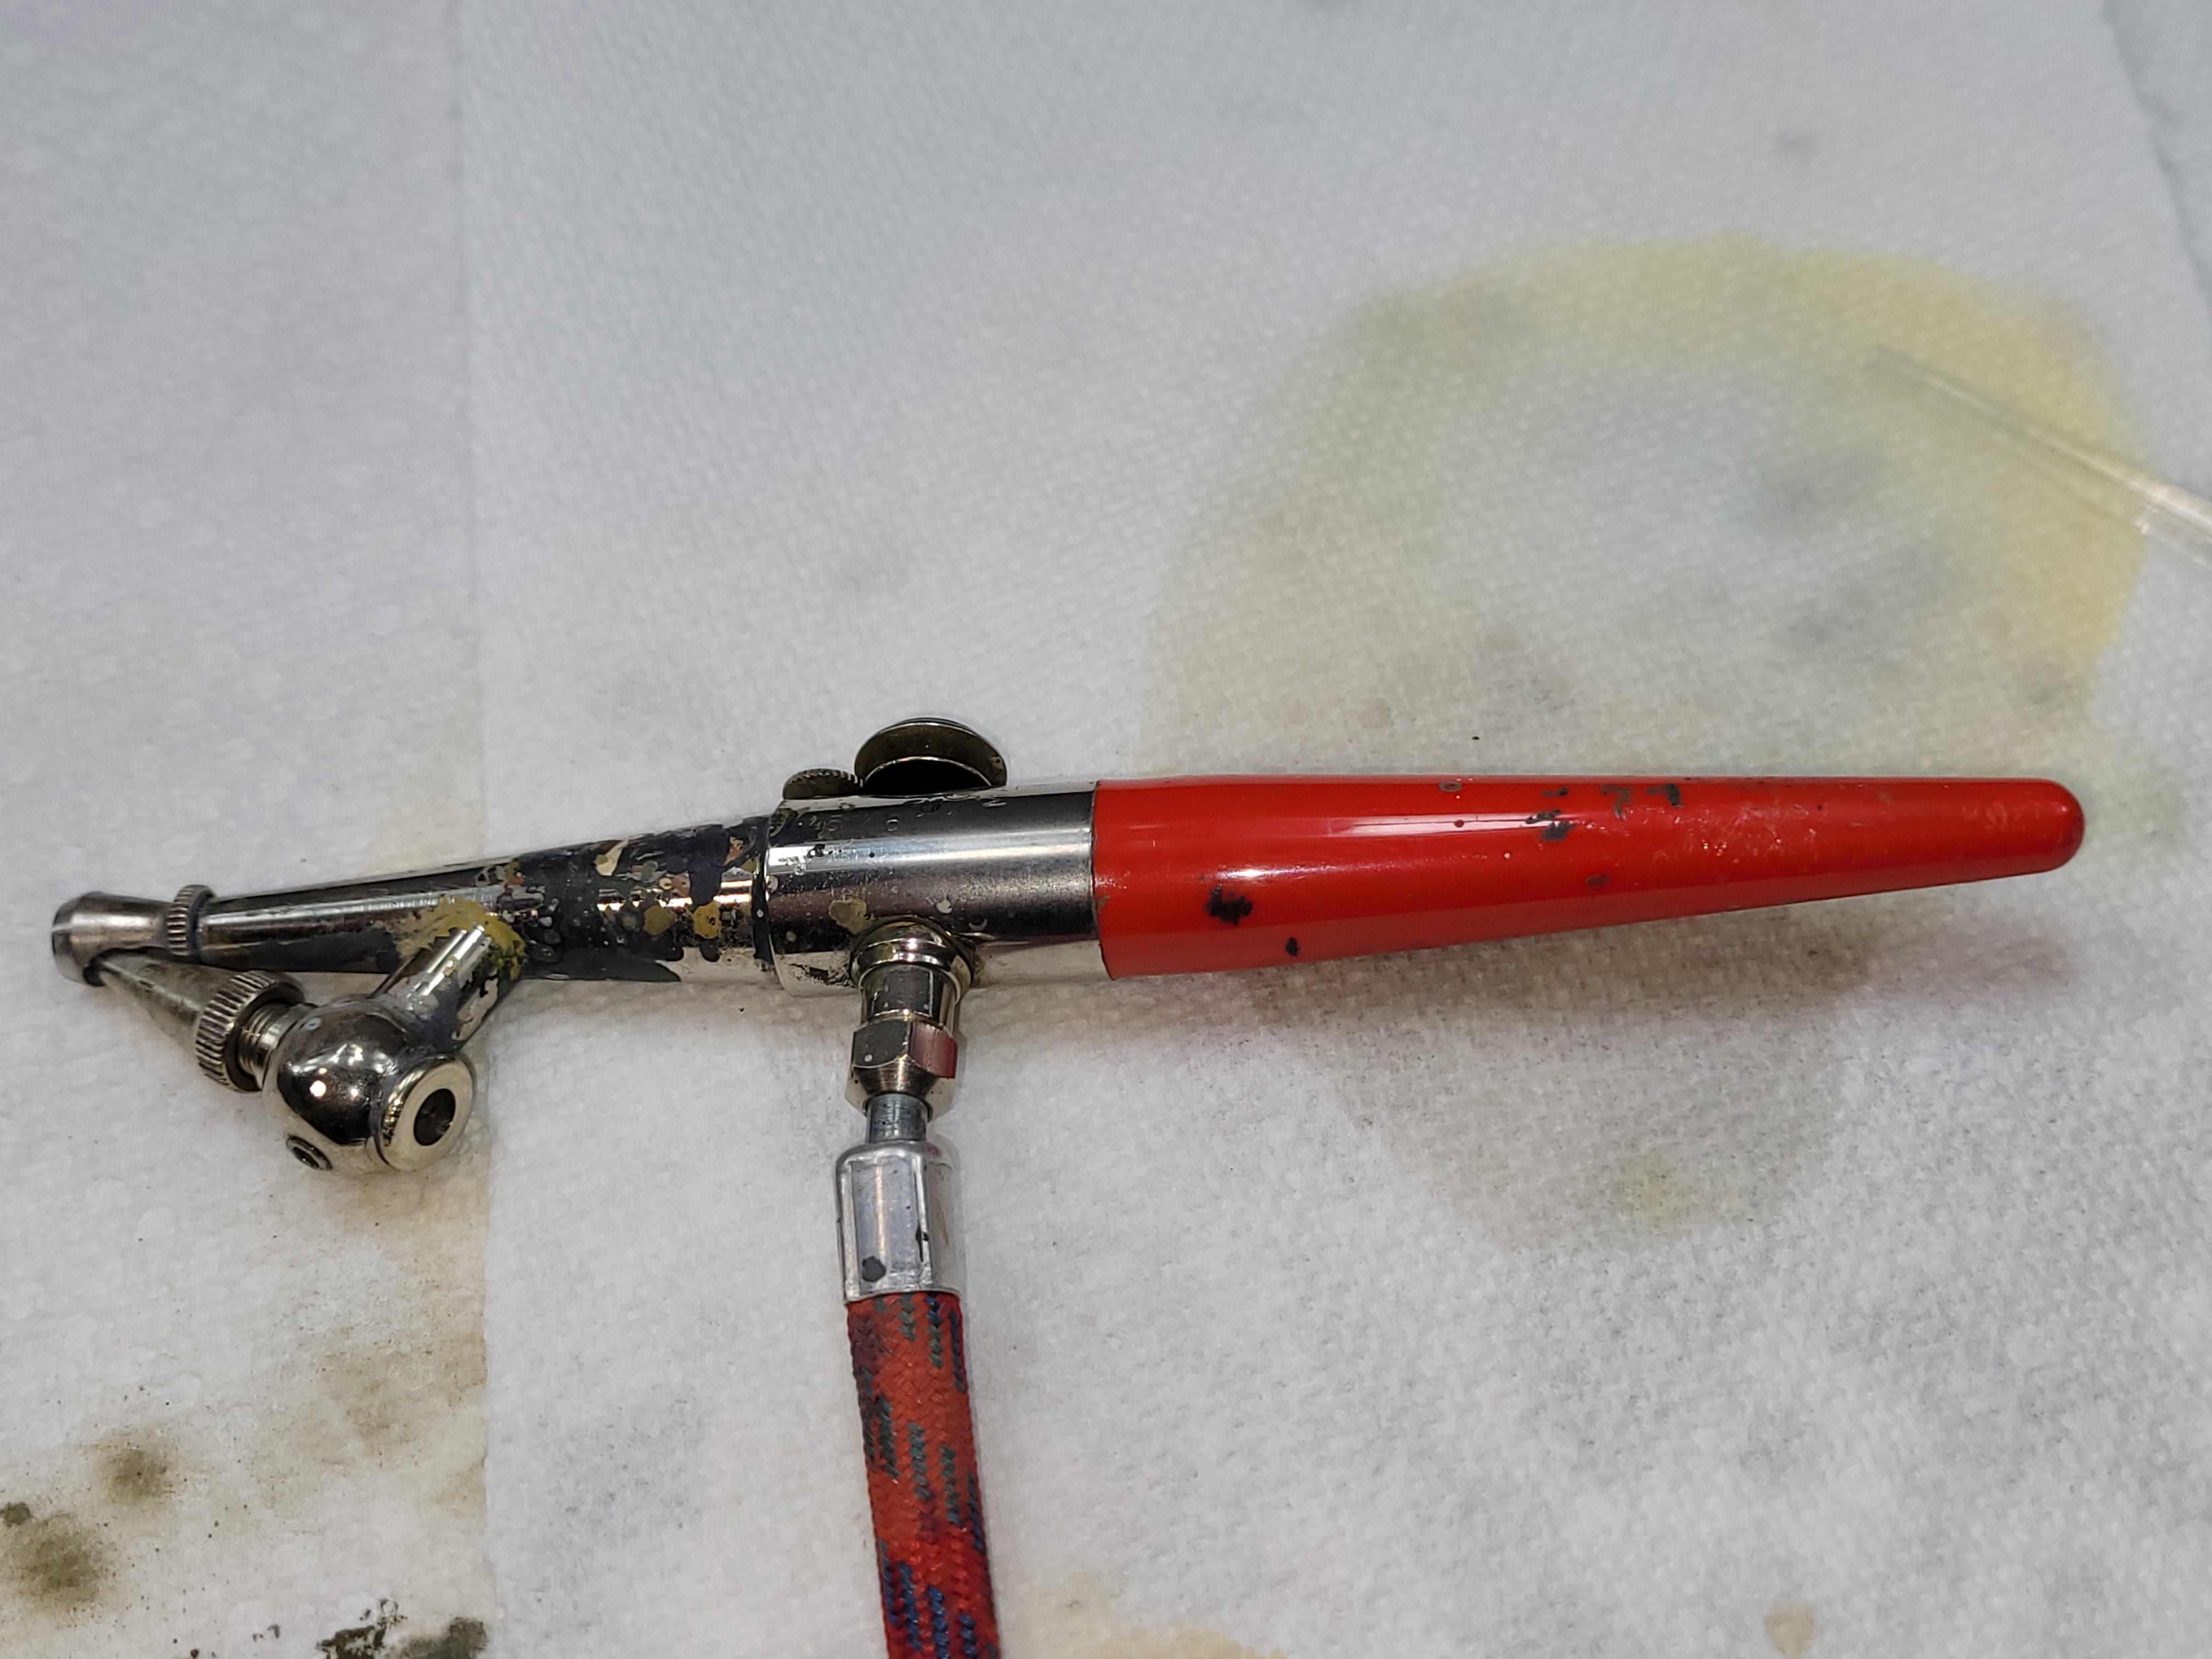
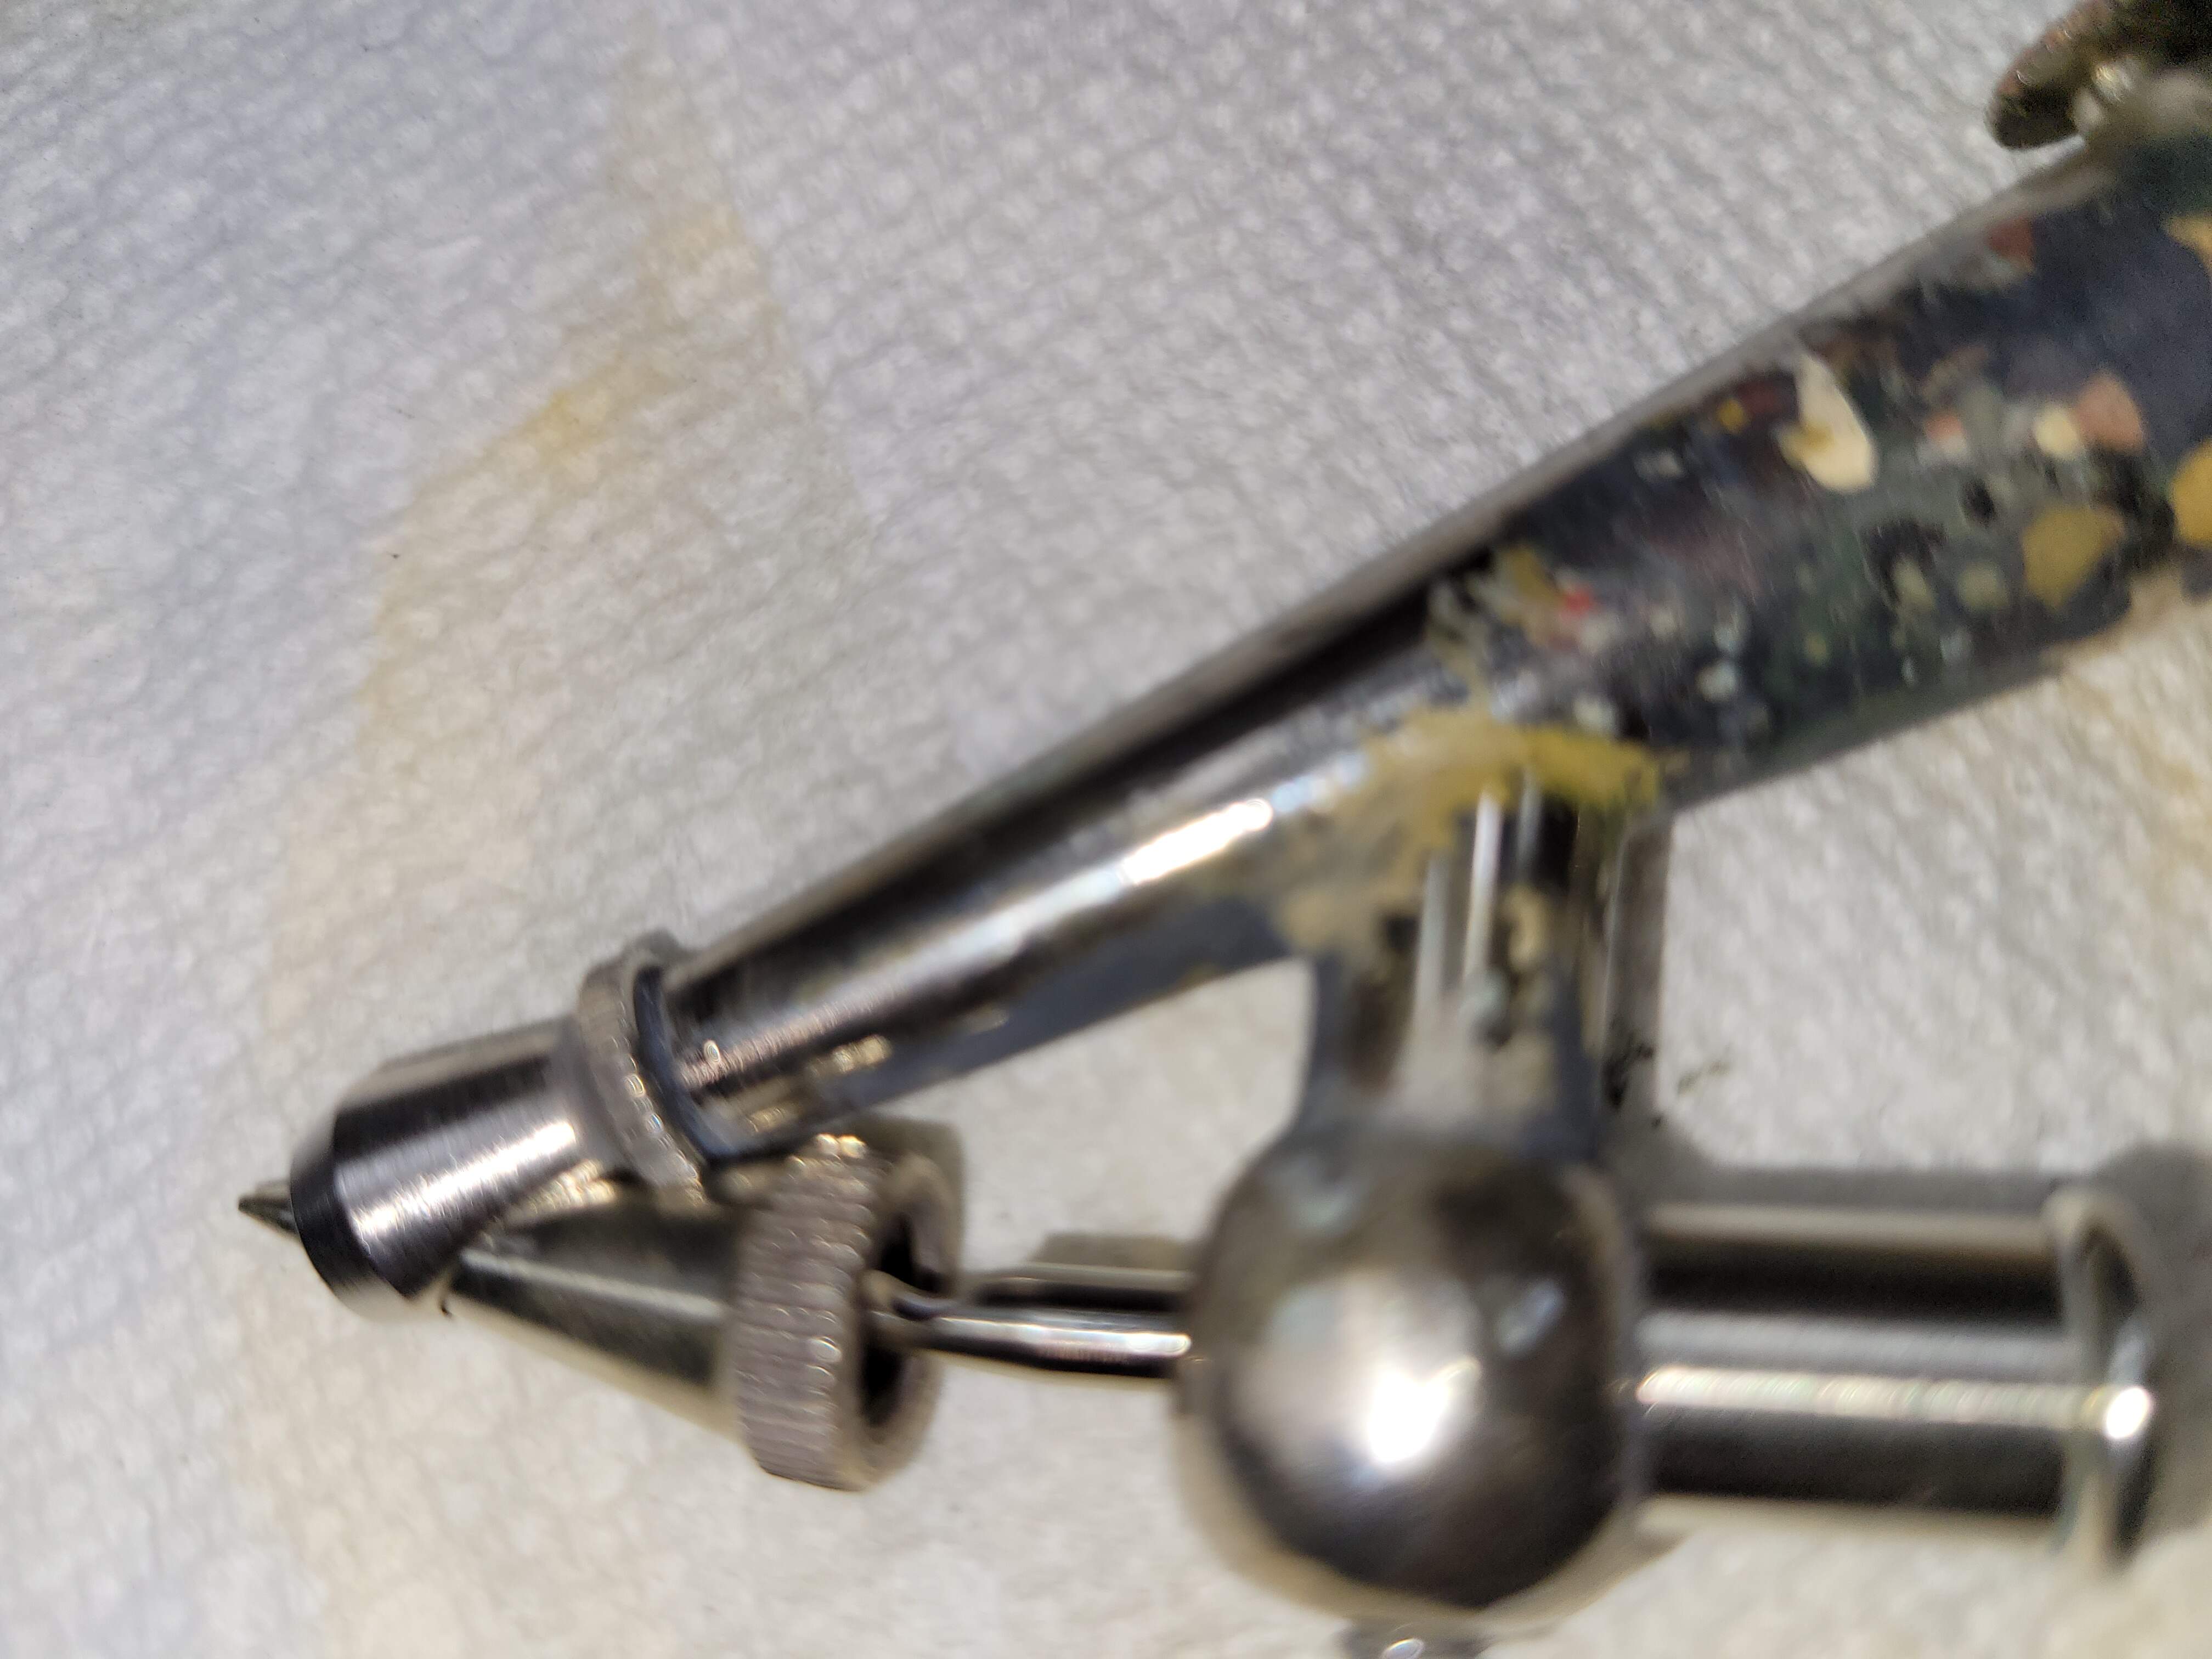
Loosen retaining screw w/supplied Allen wrench.

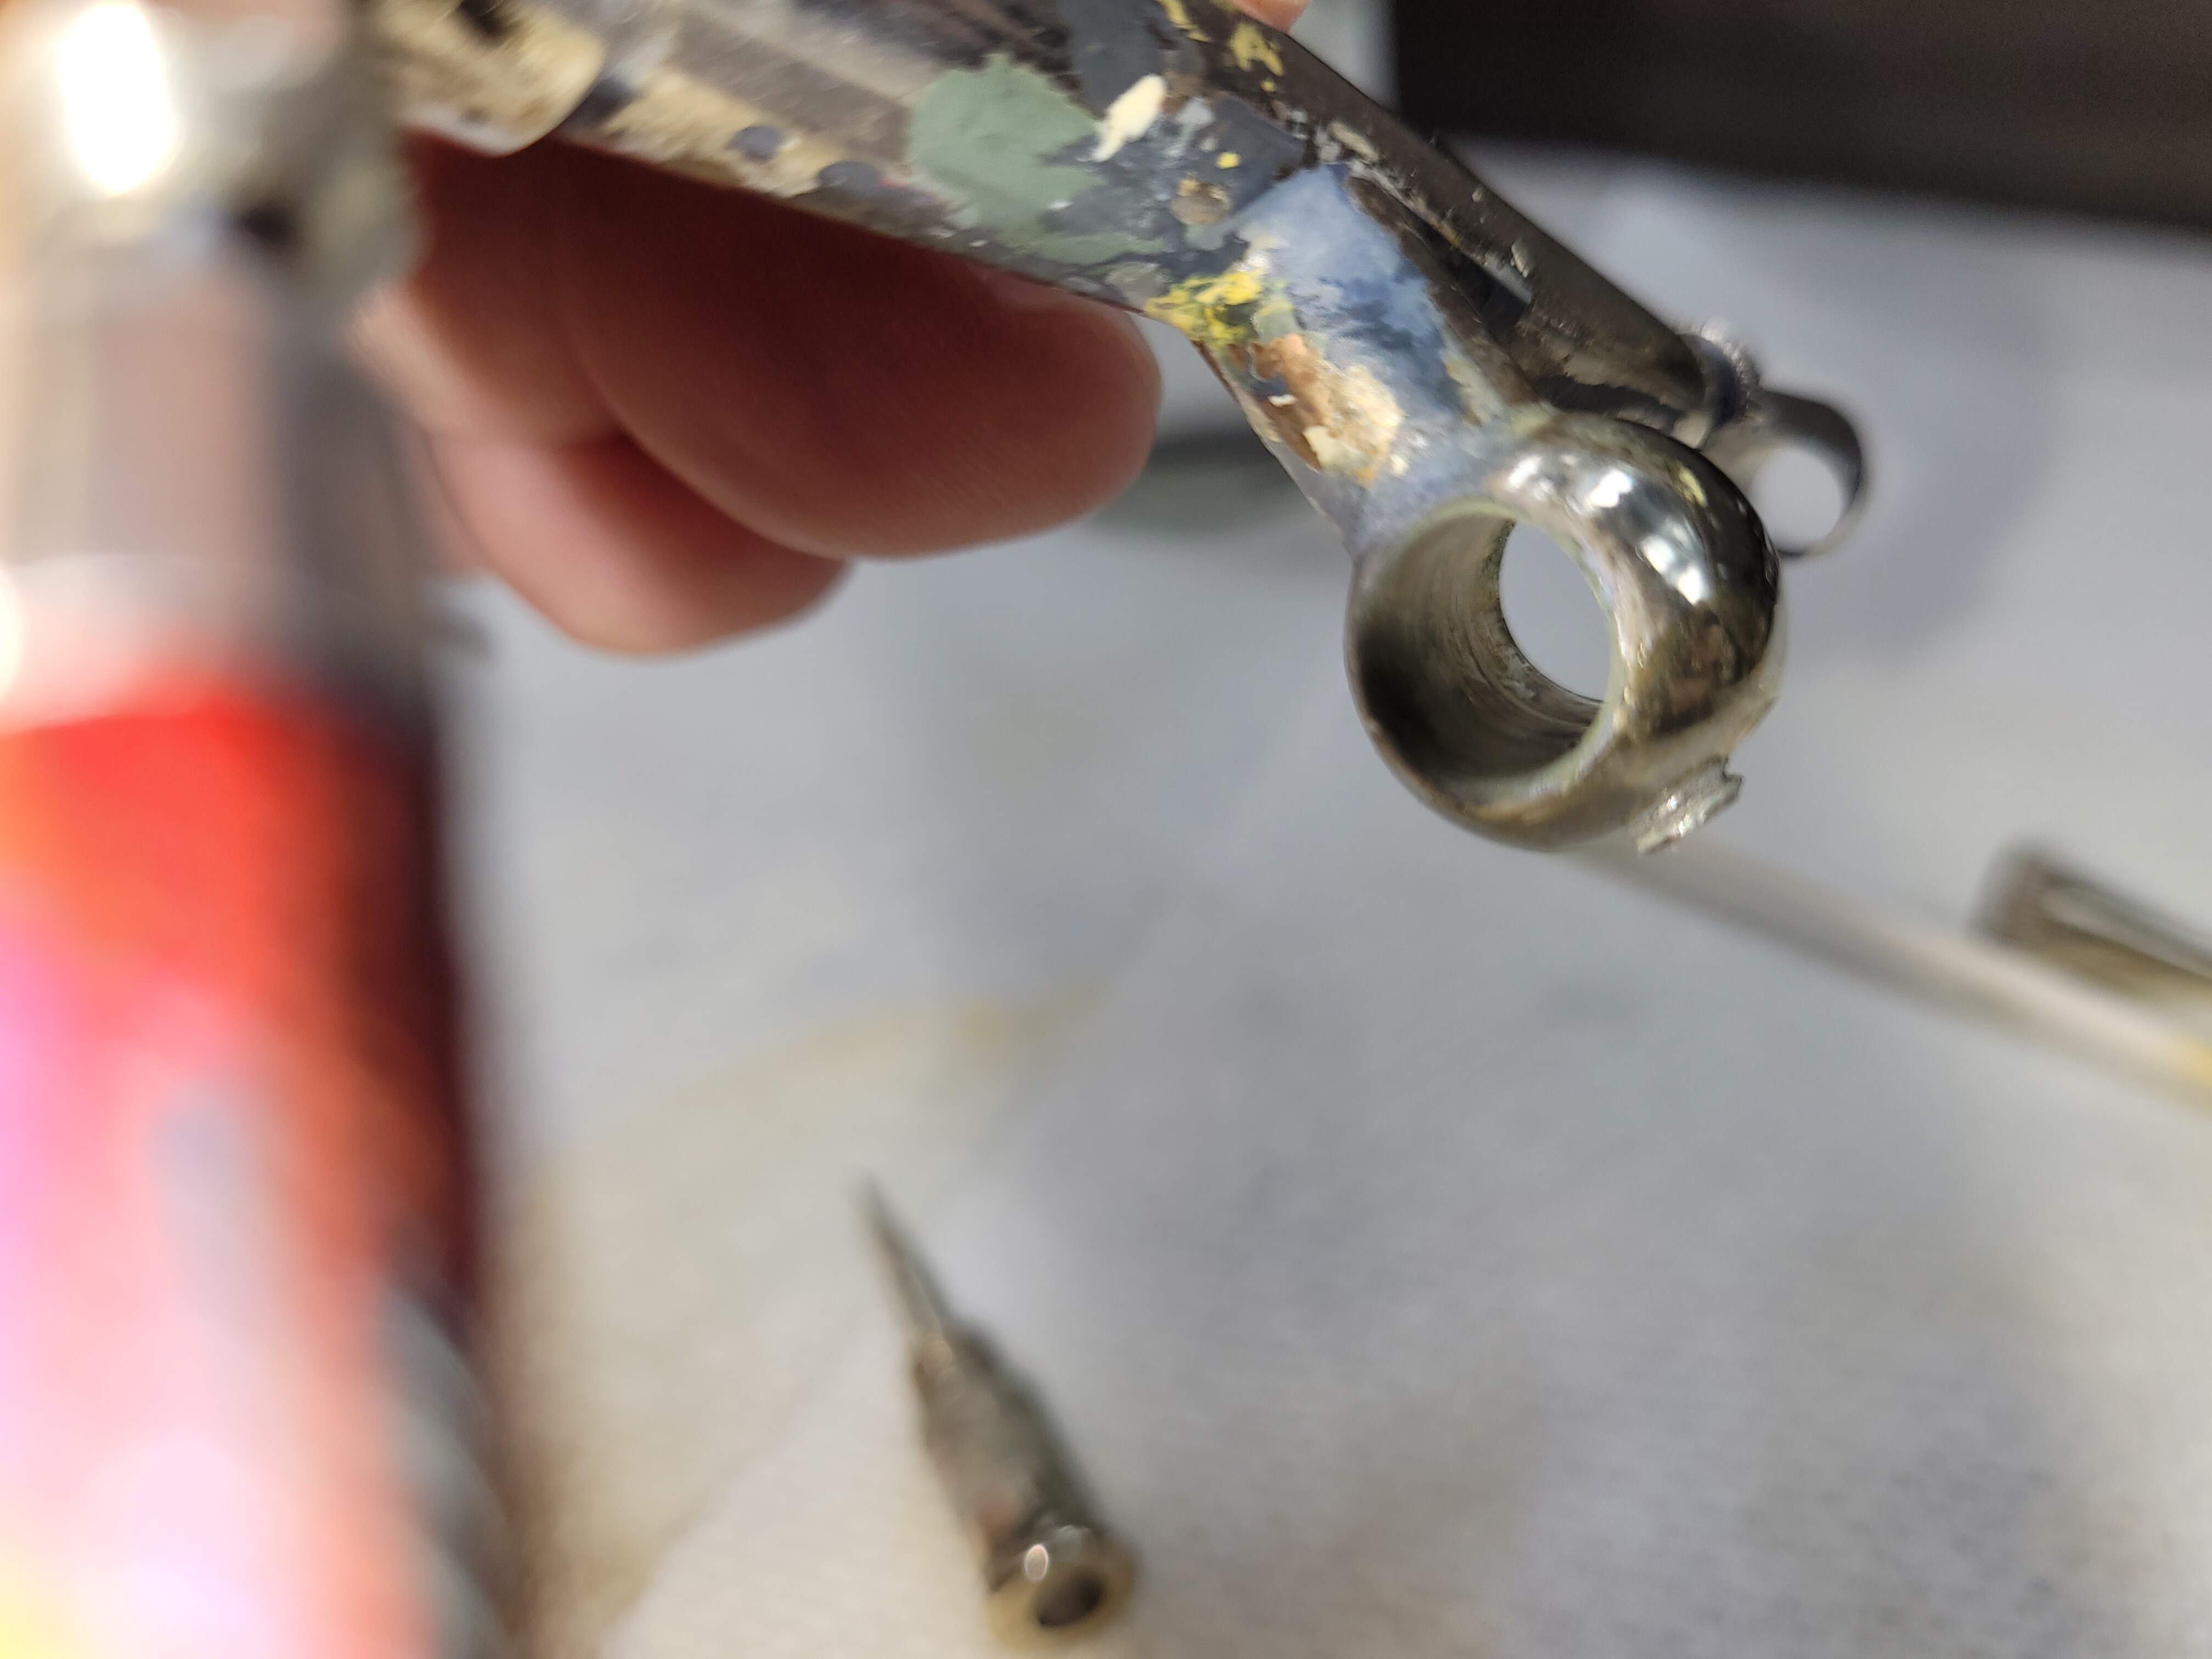
Slide needle & cone back
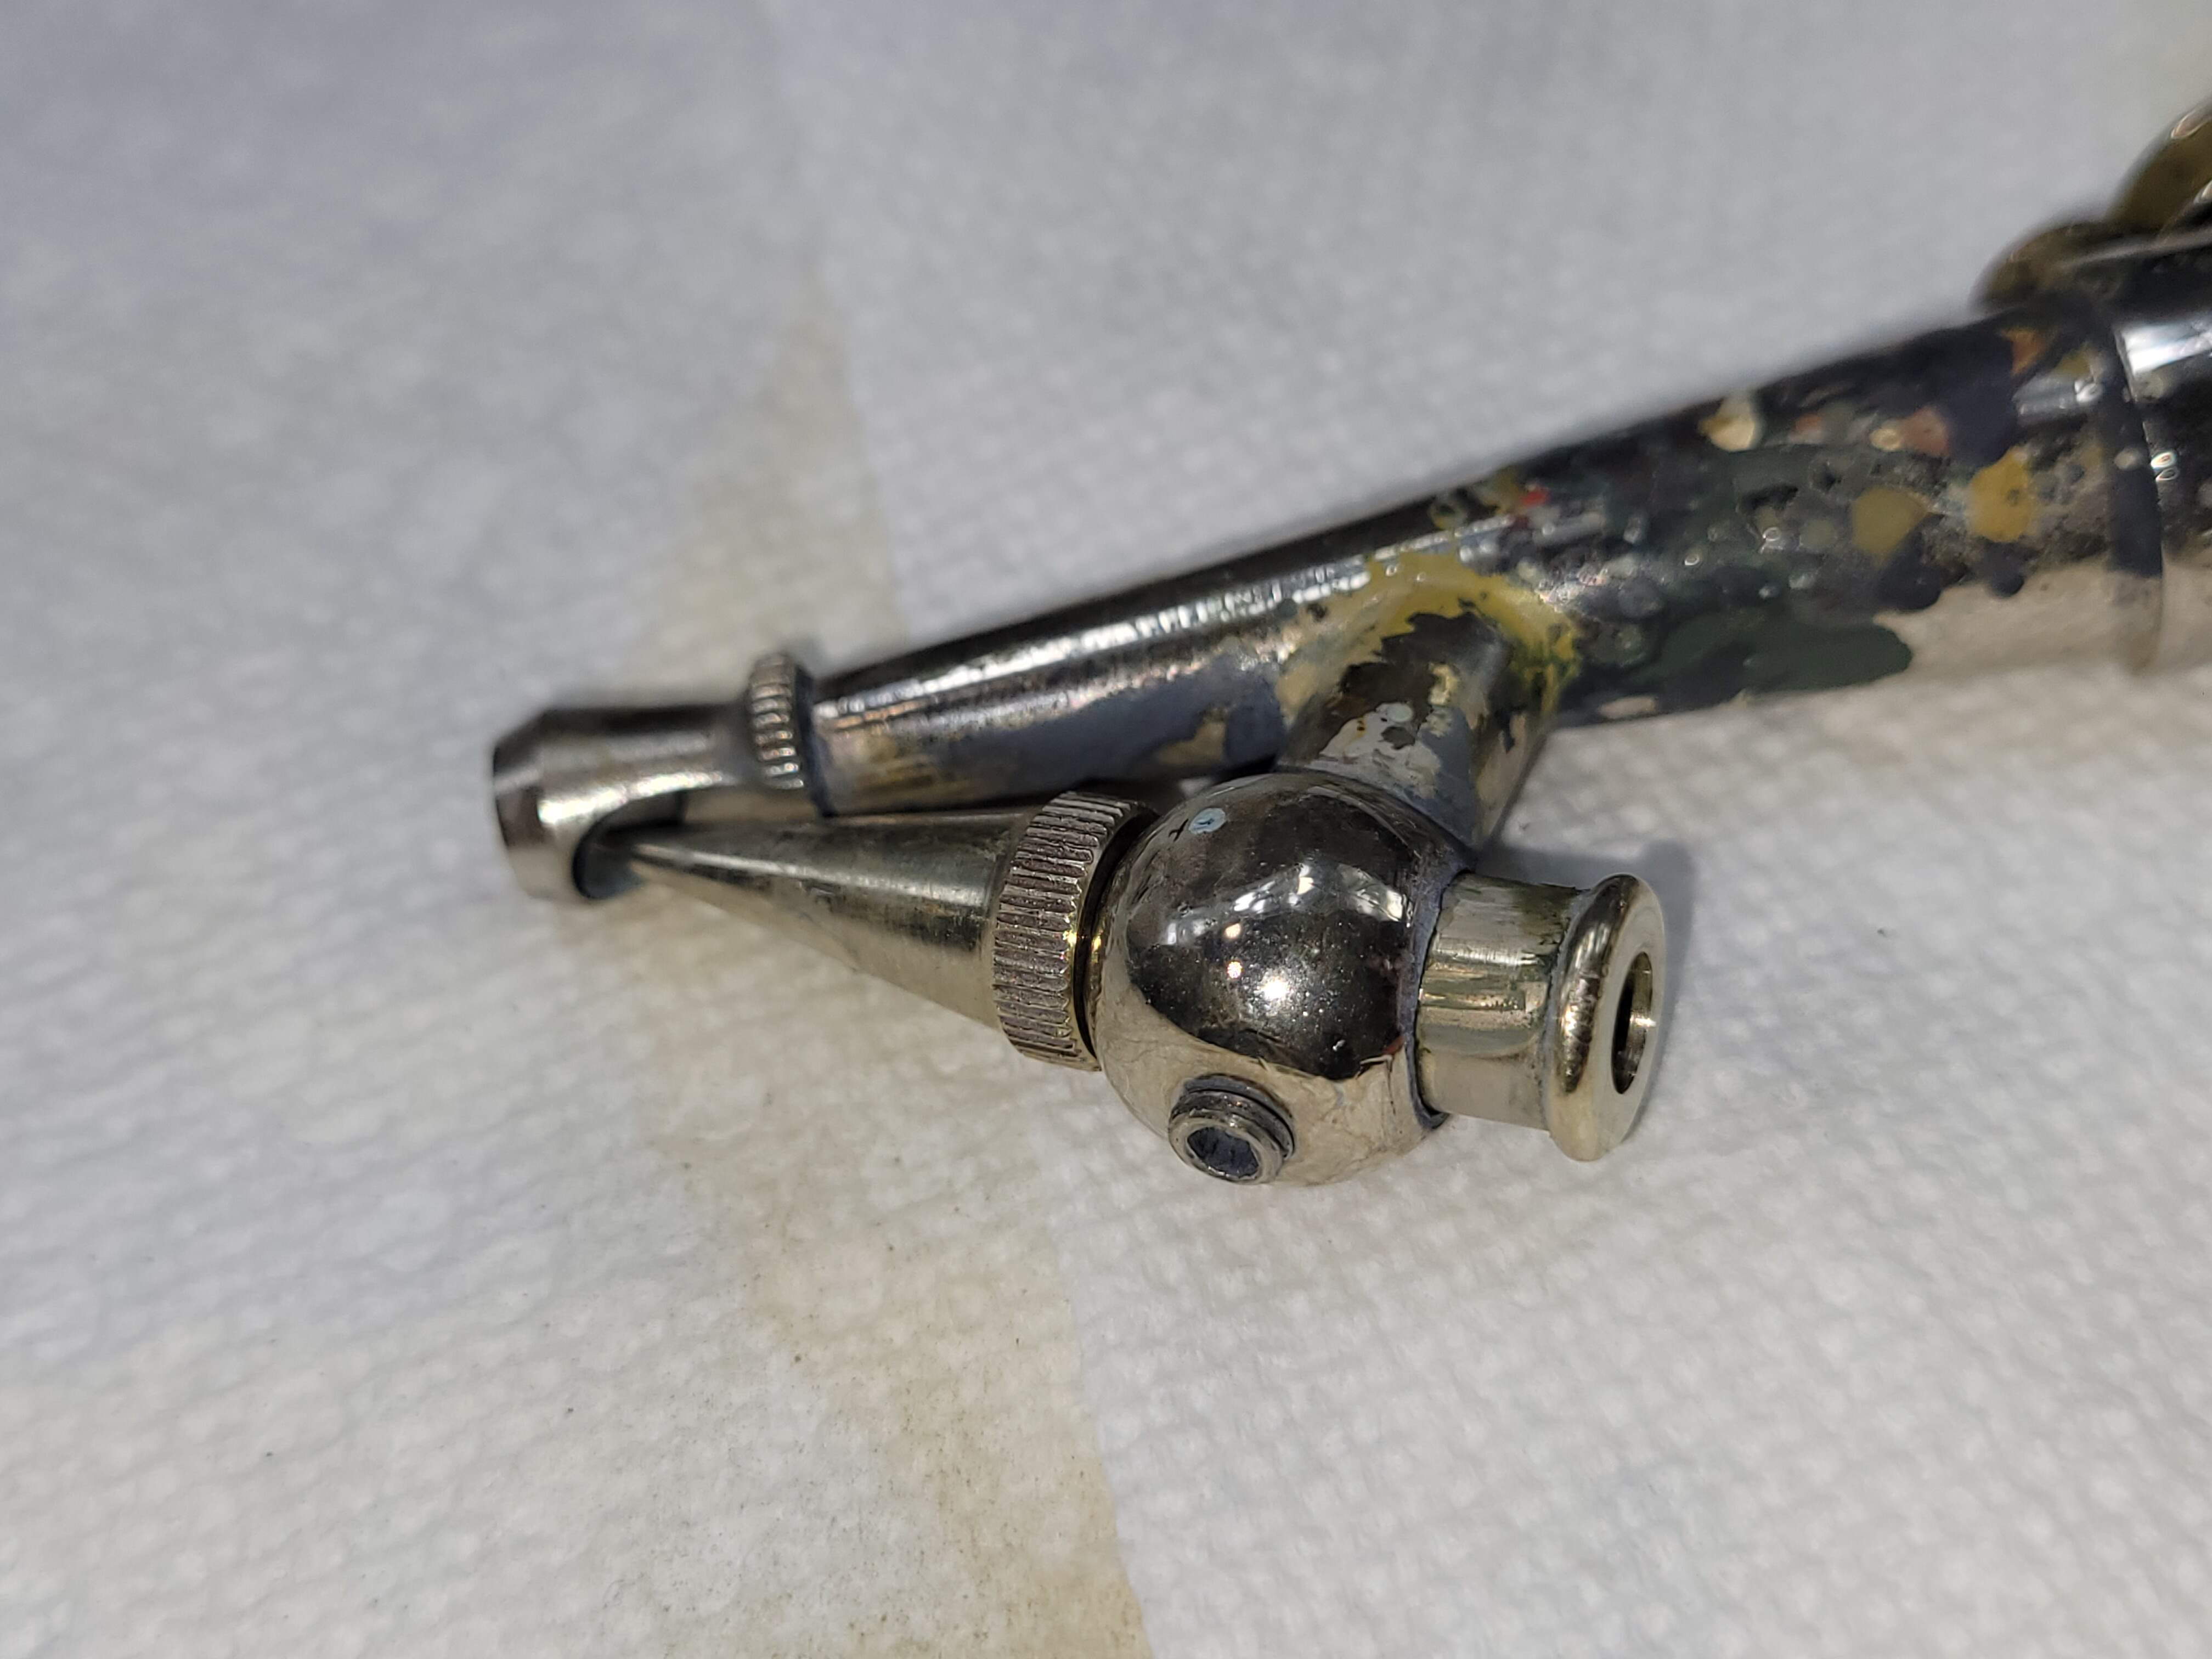
Unscrew and remove needle & cone
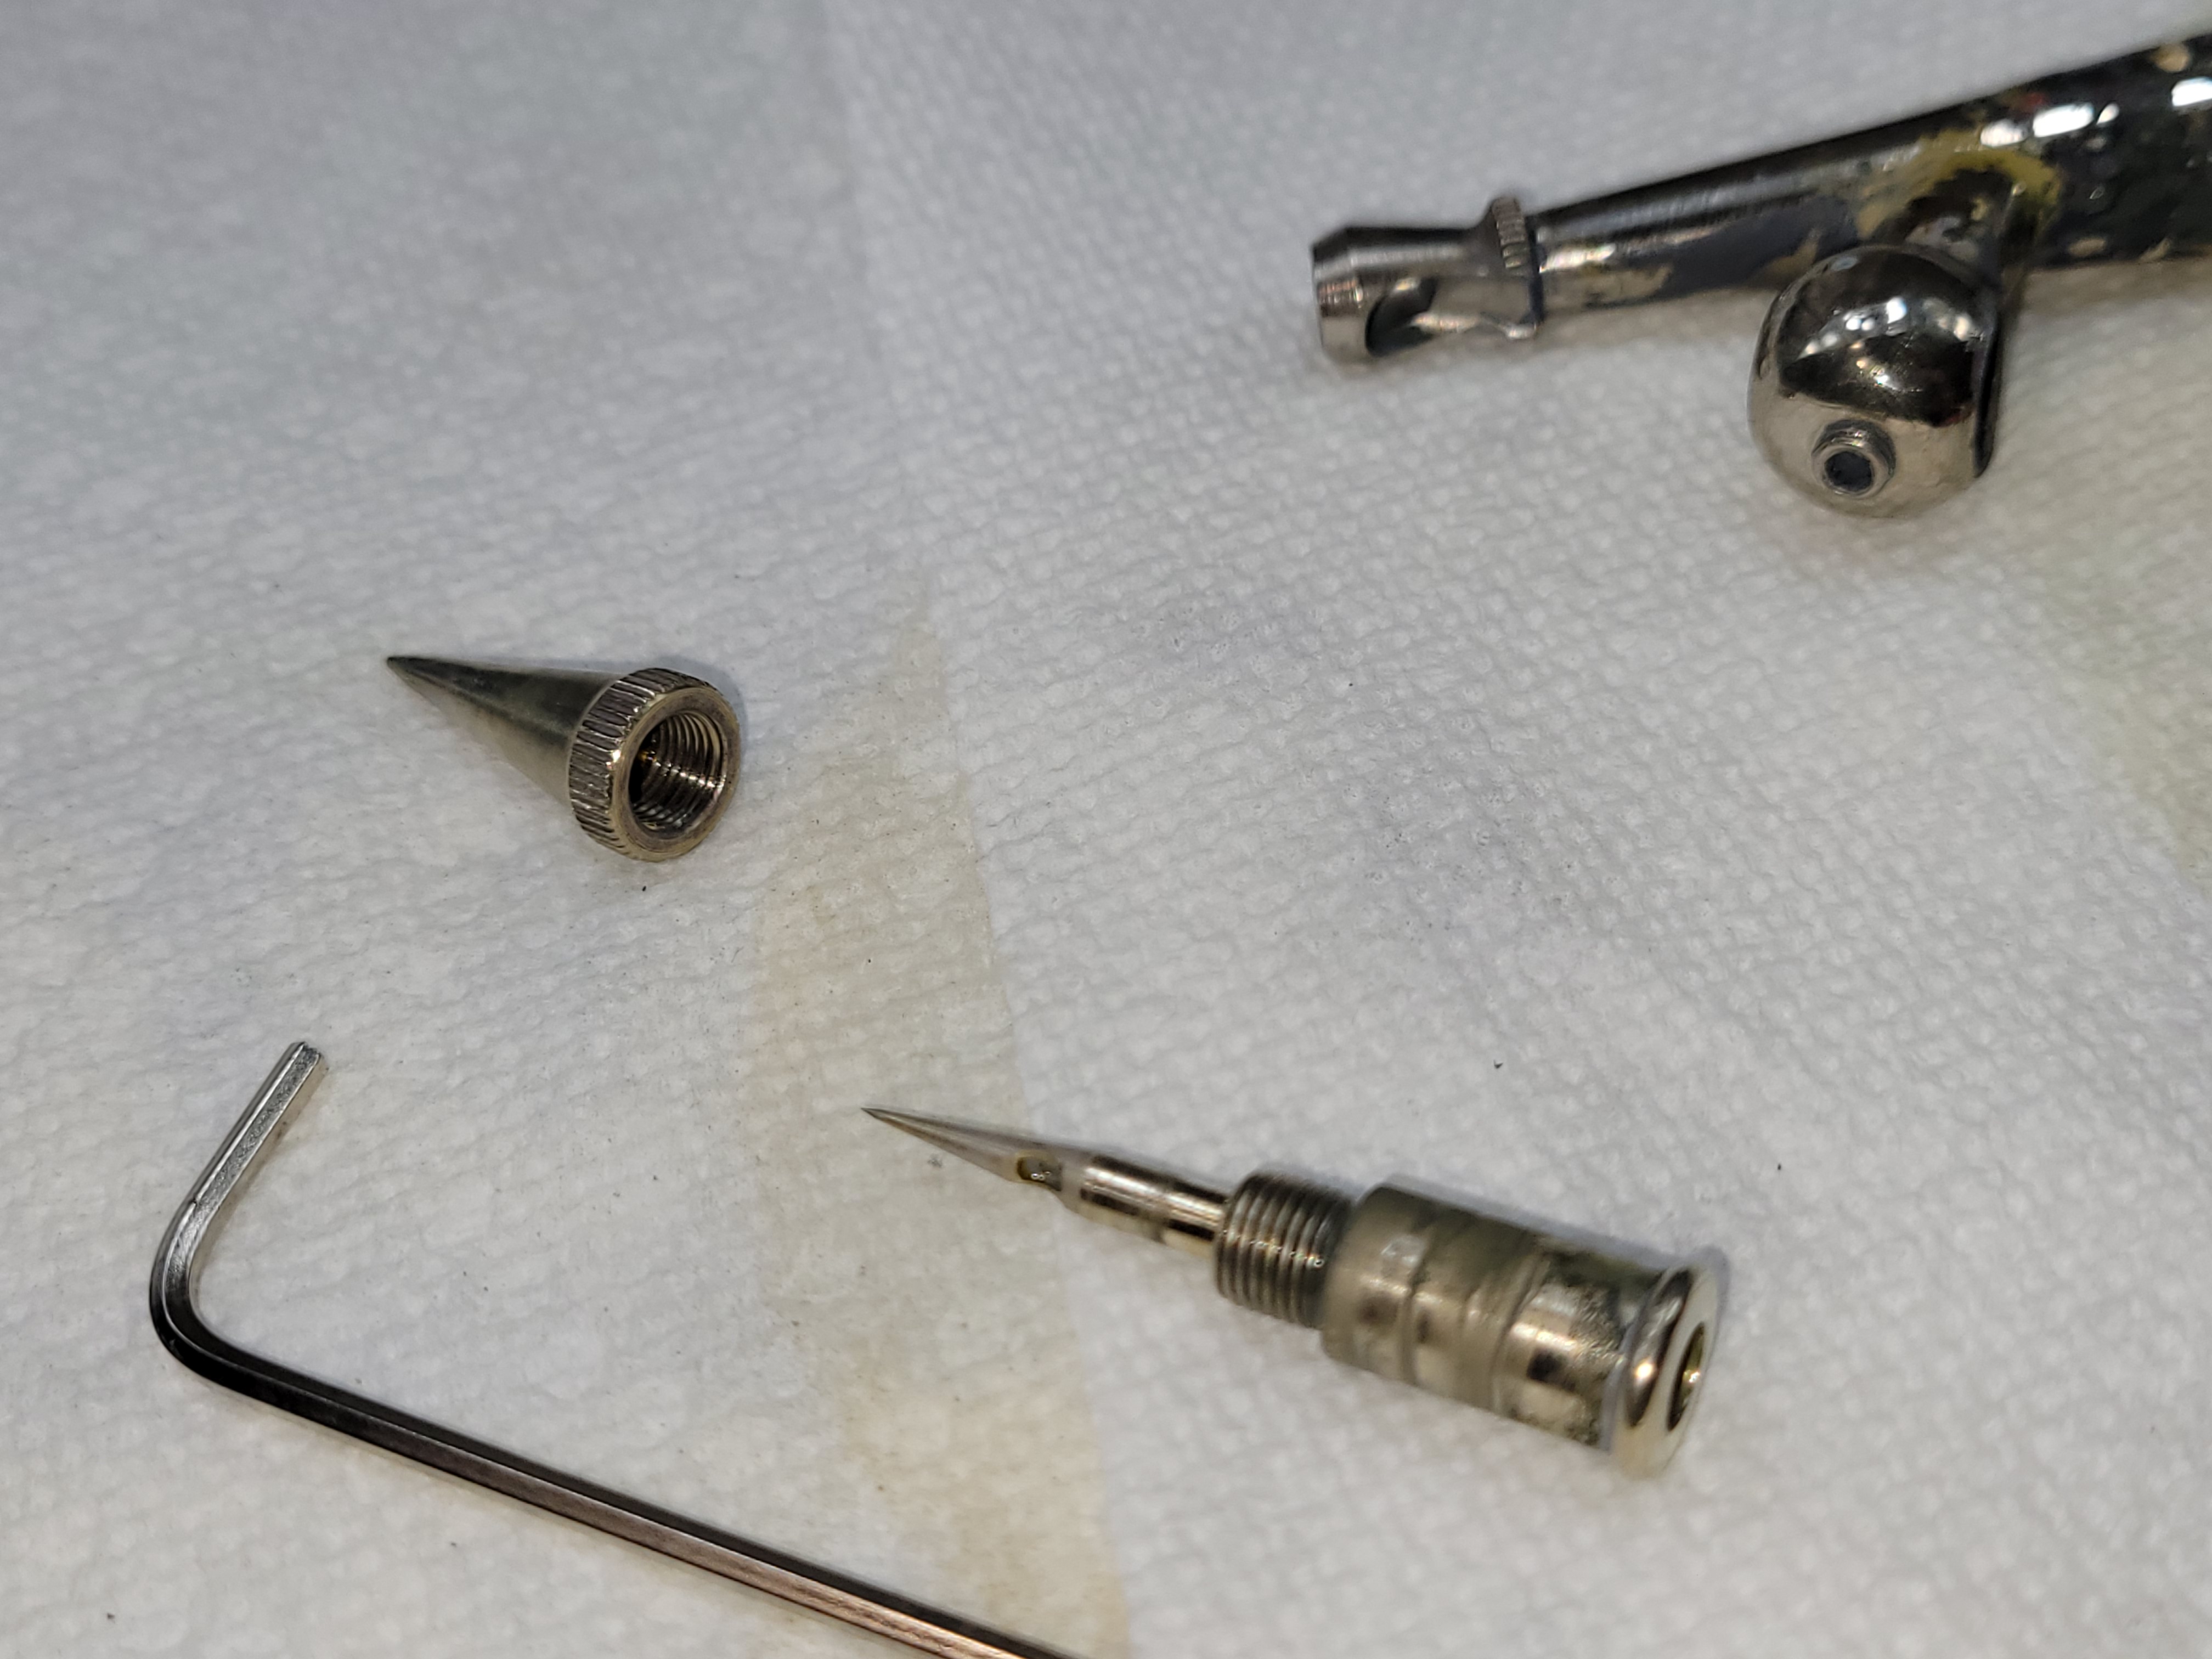
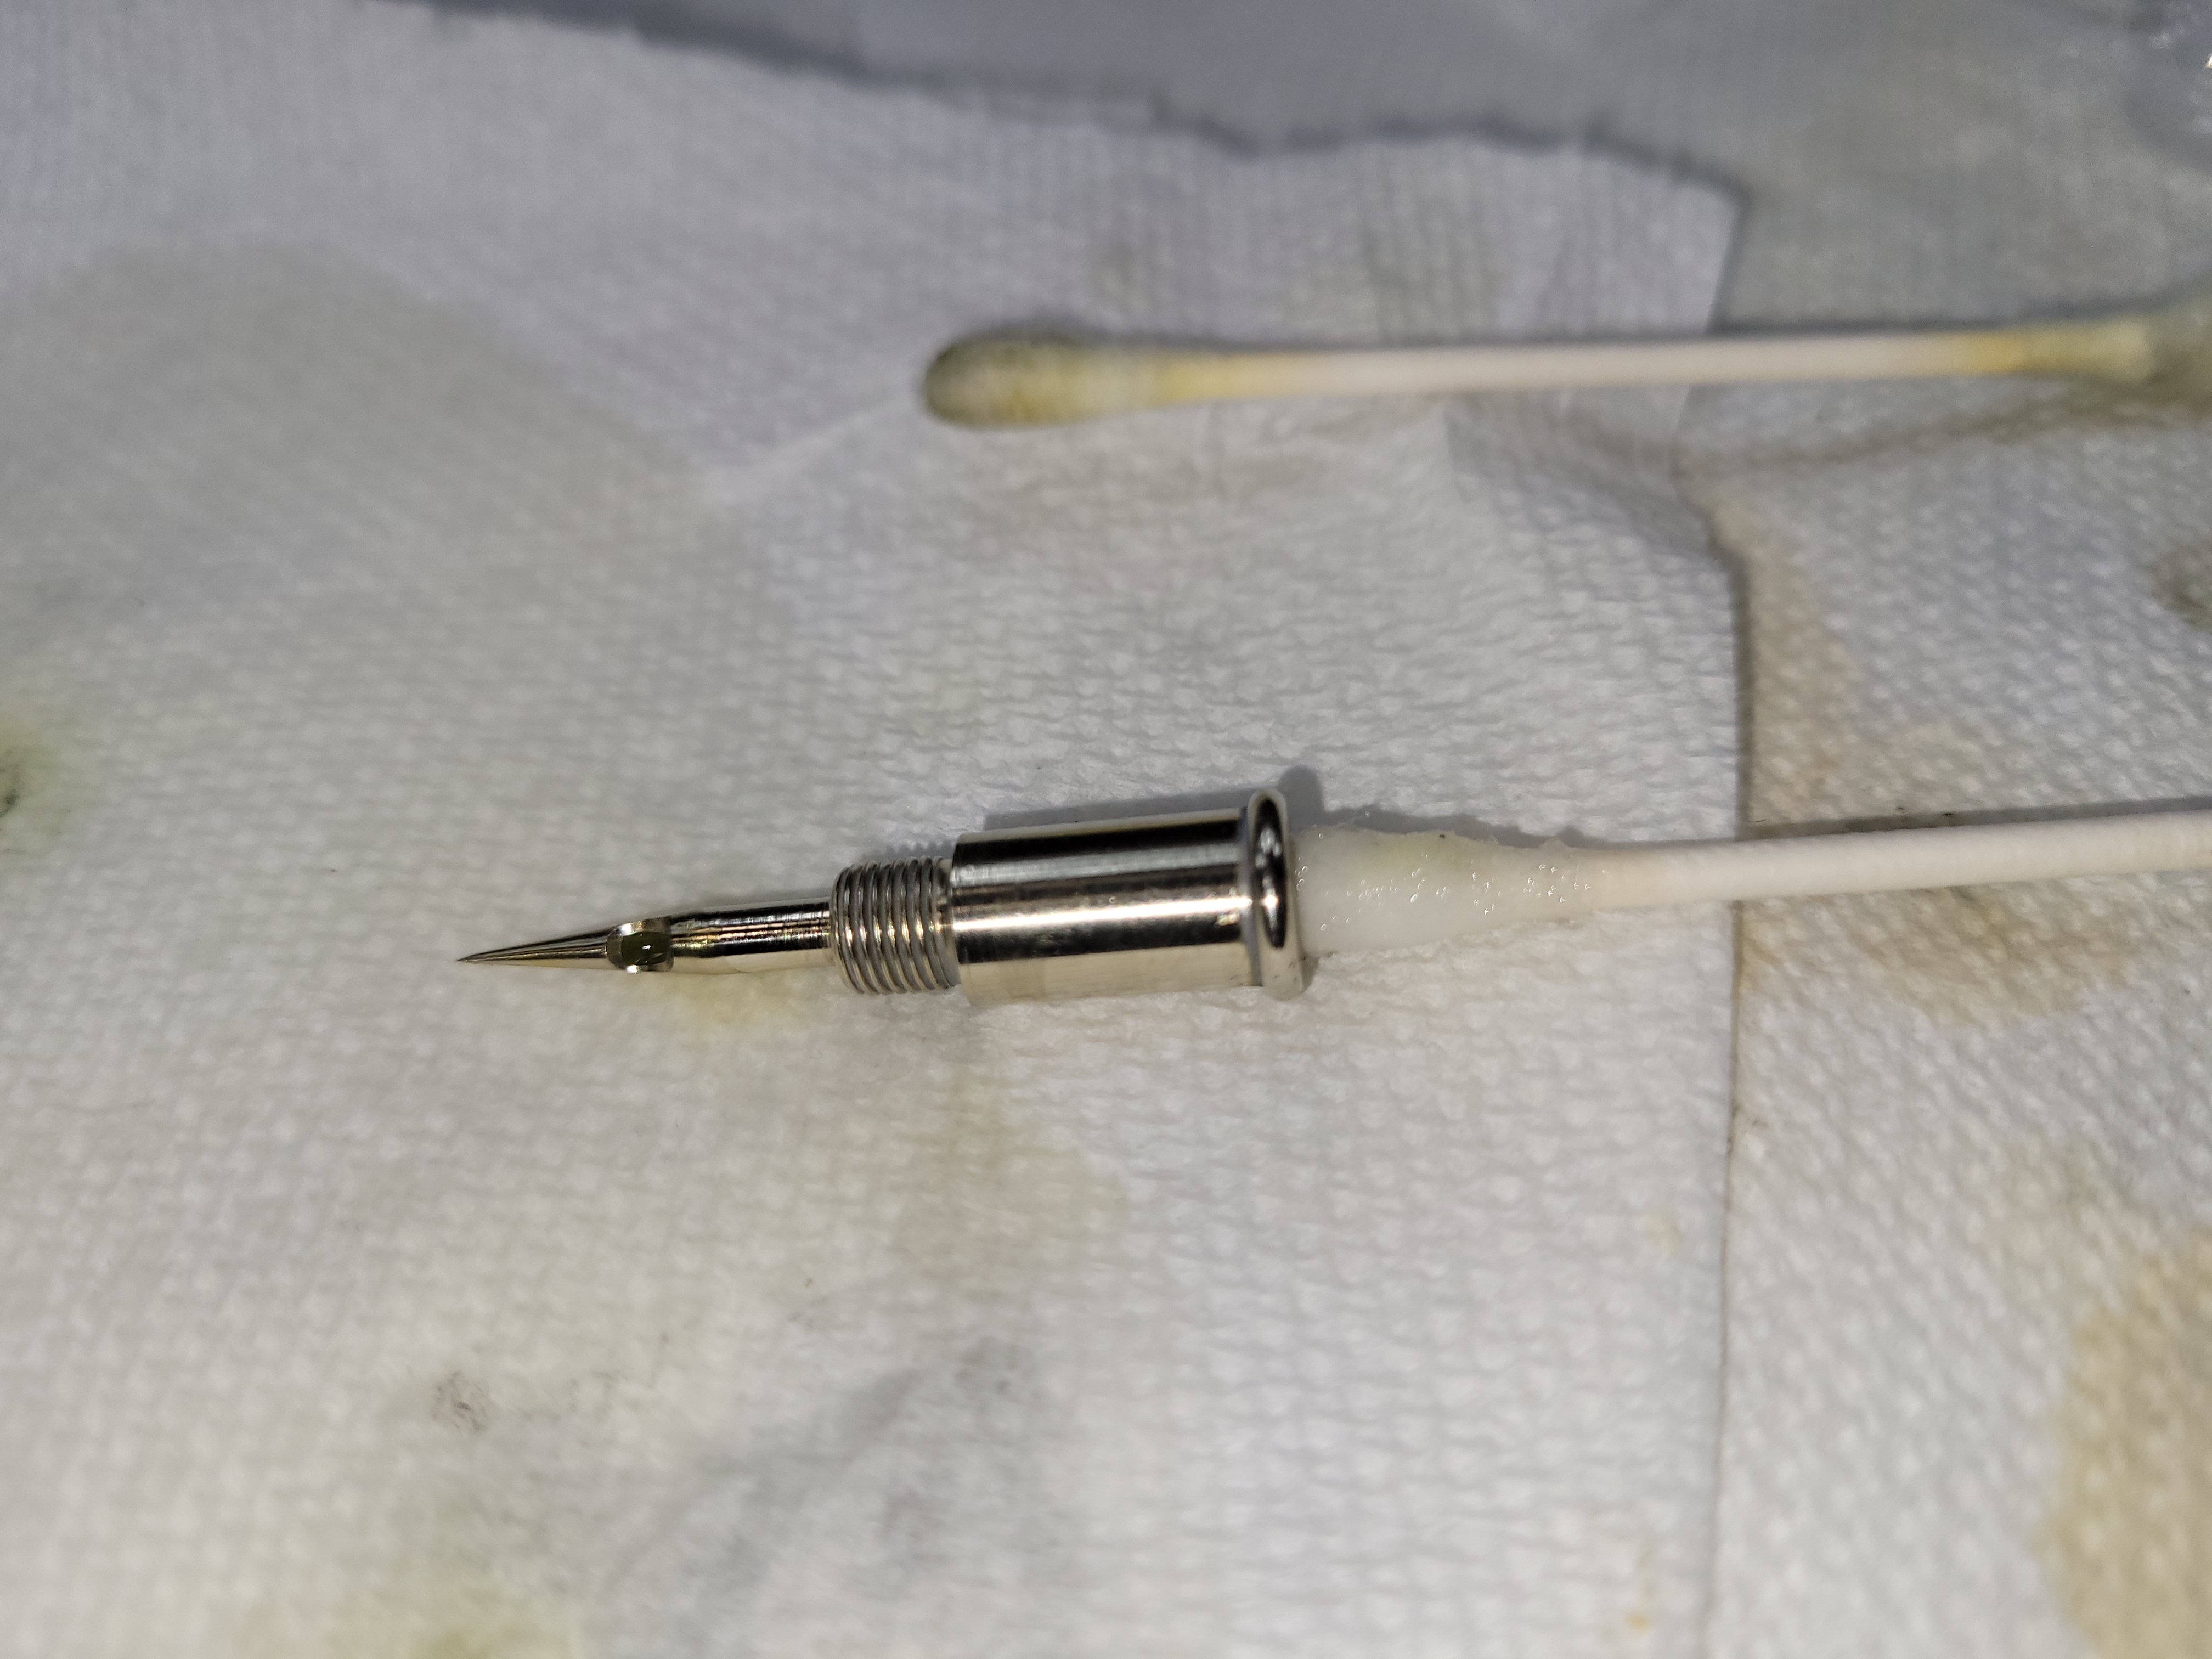
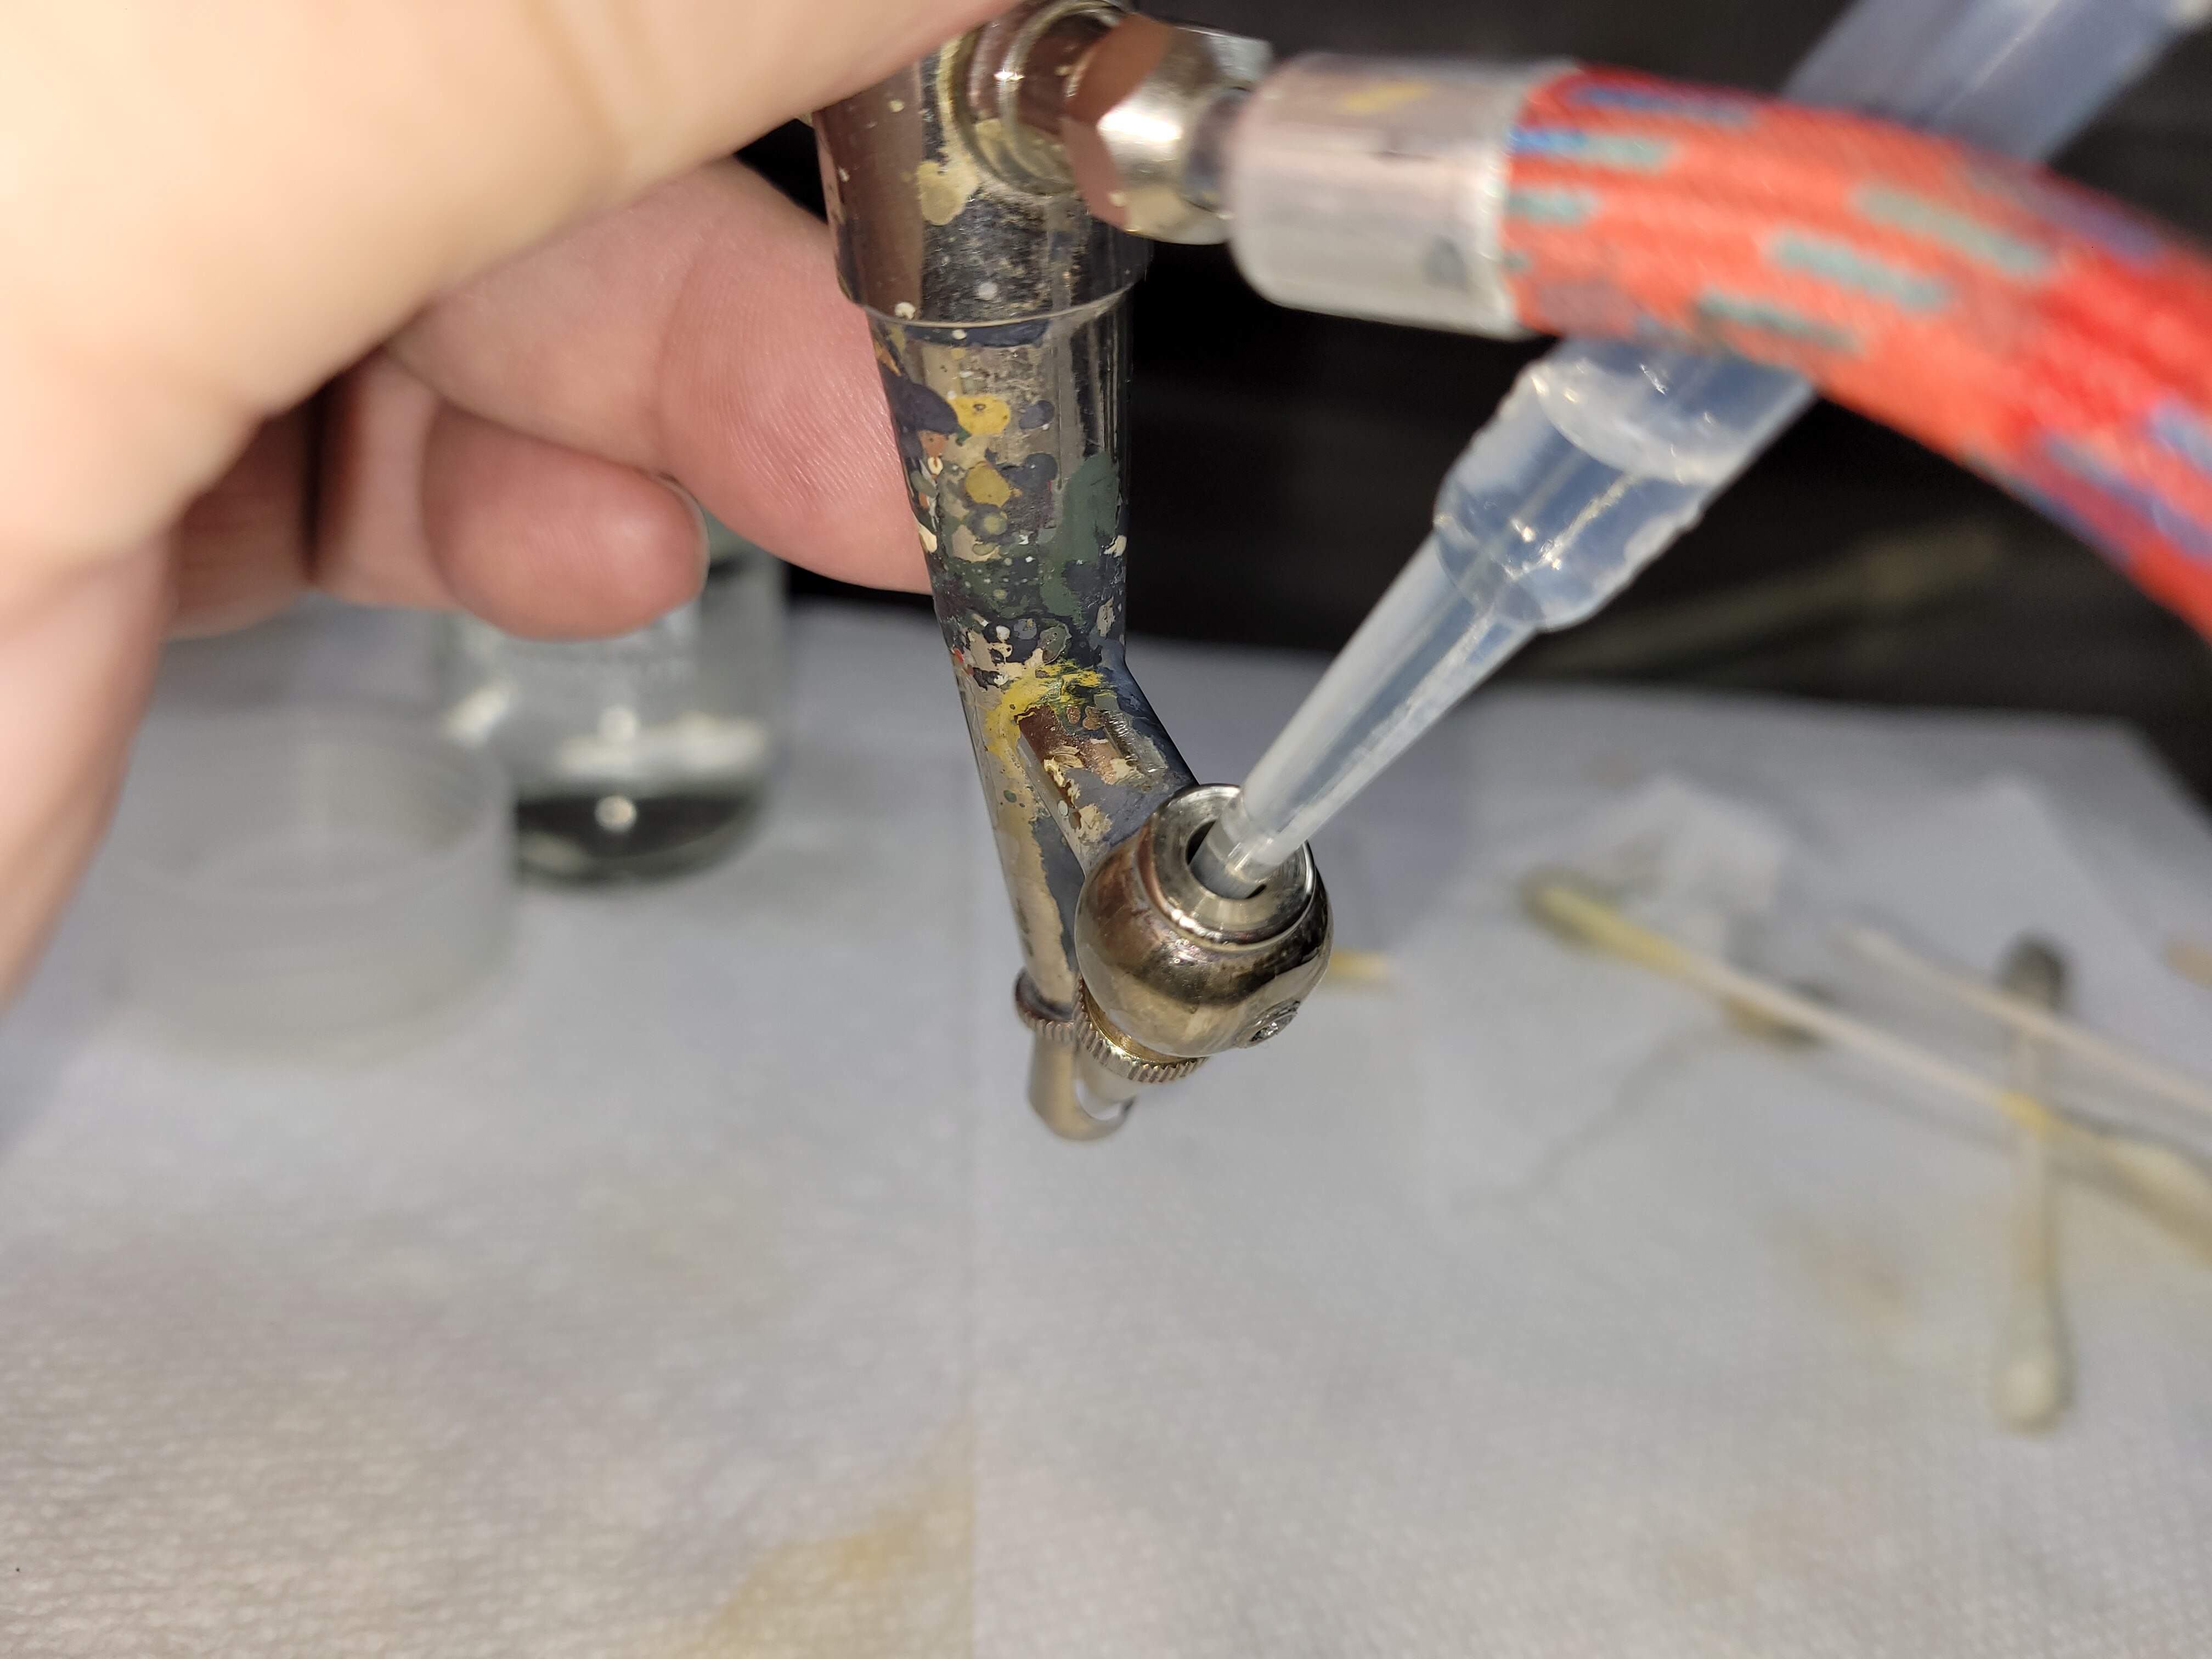
Flush cone with thinner. If obstructed a shaved tooth pick and thinner is useful to gently remove paint.

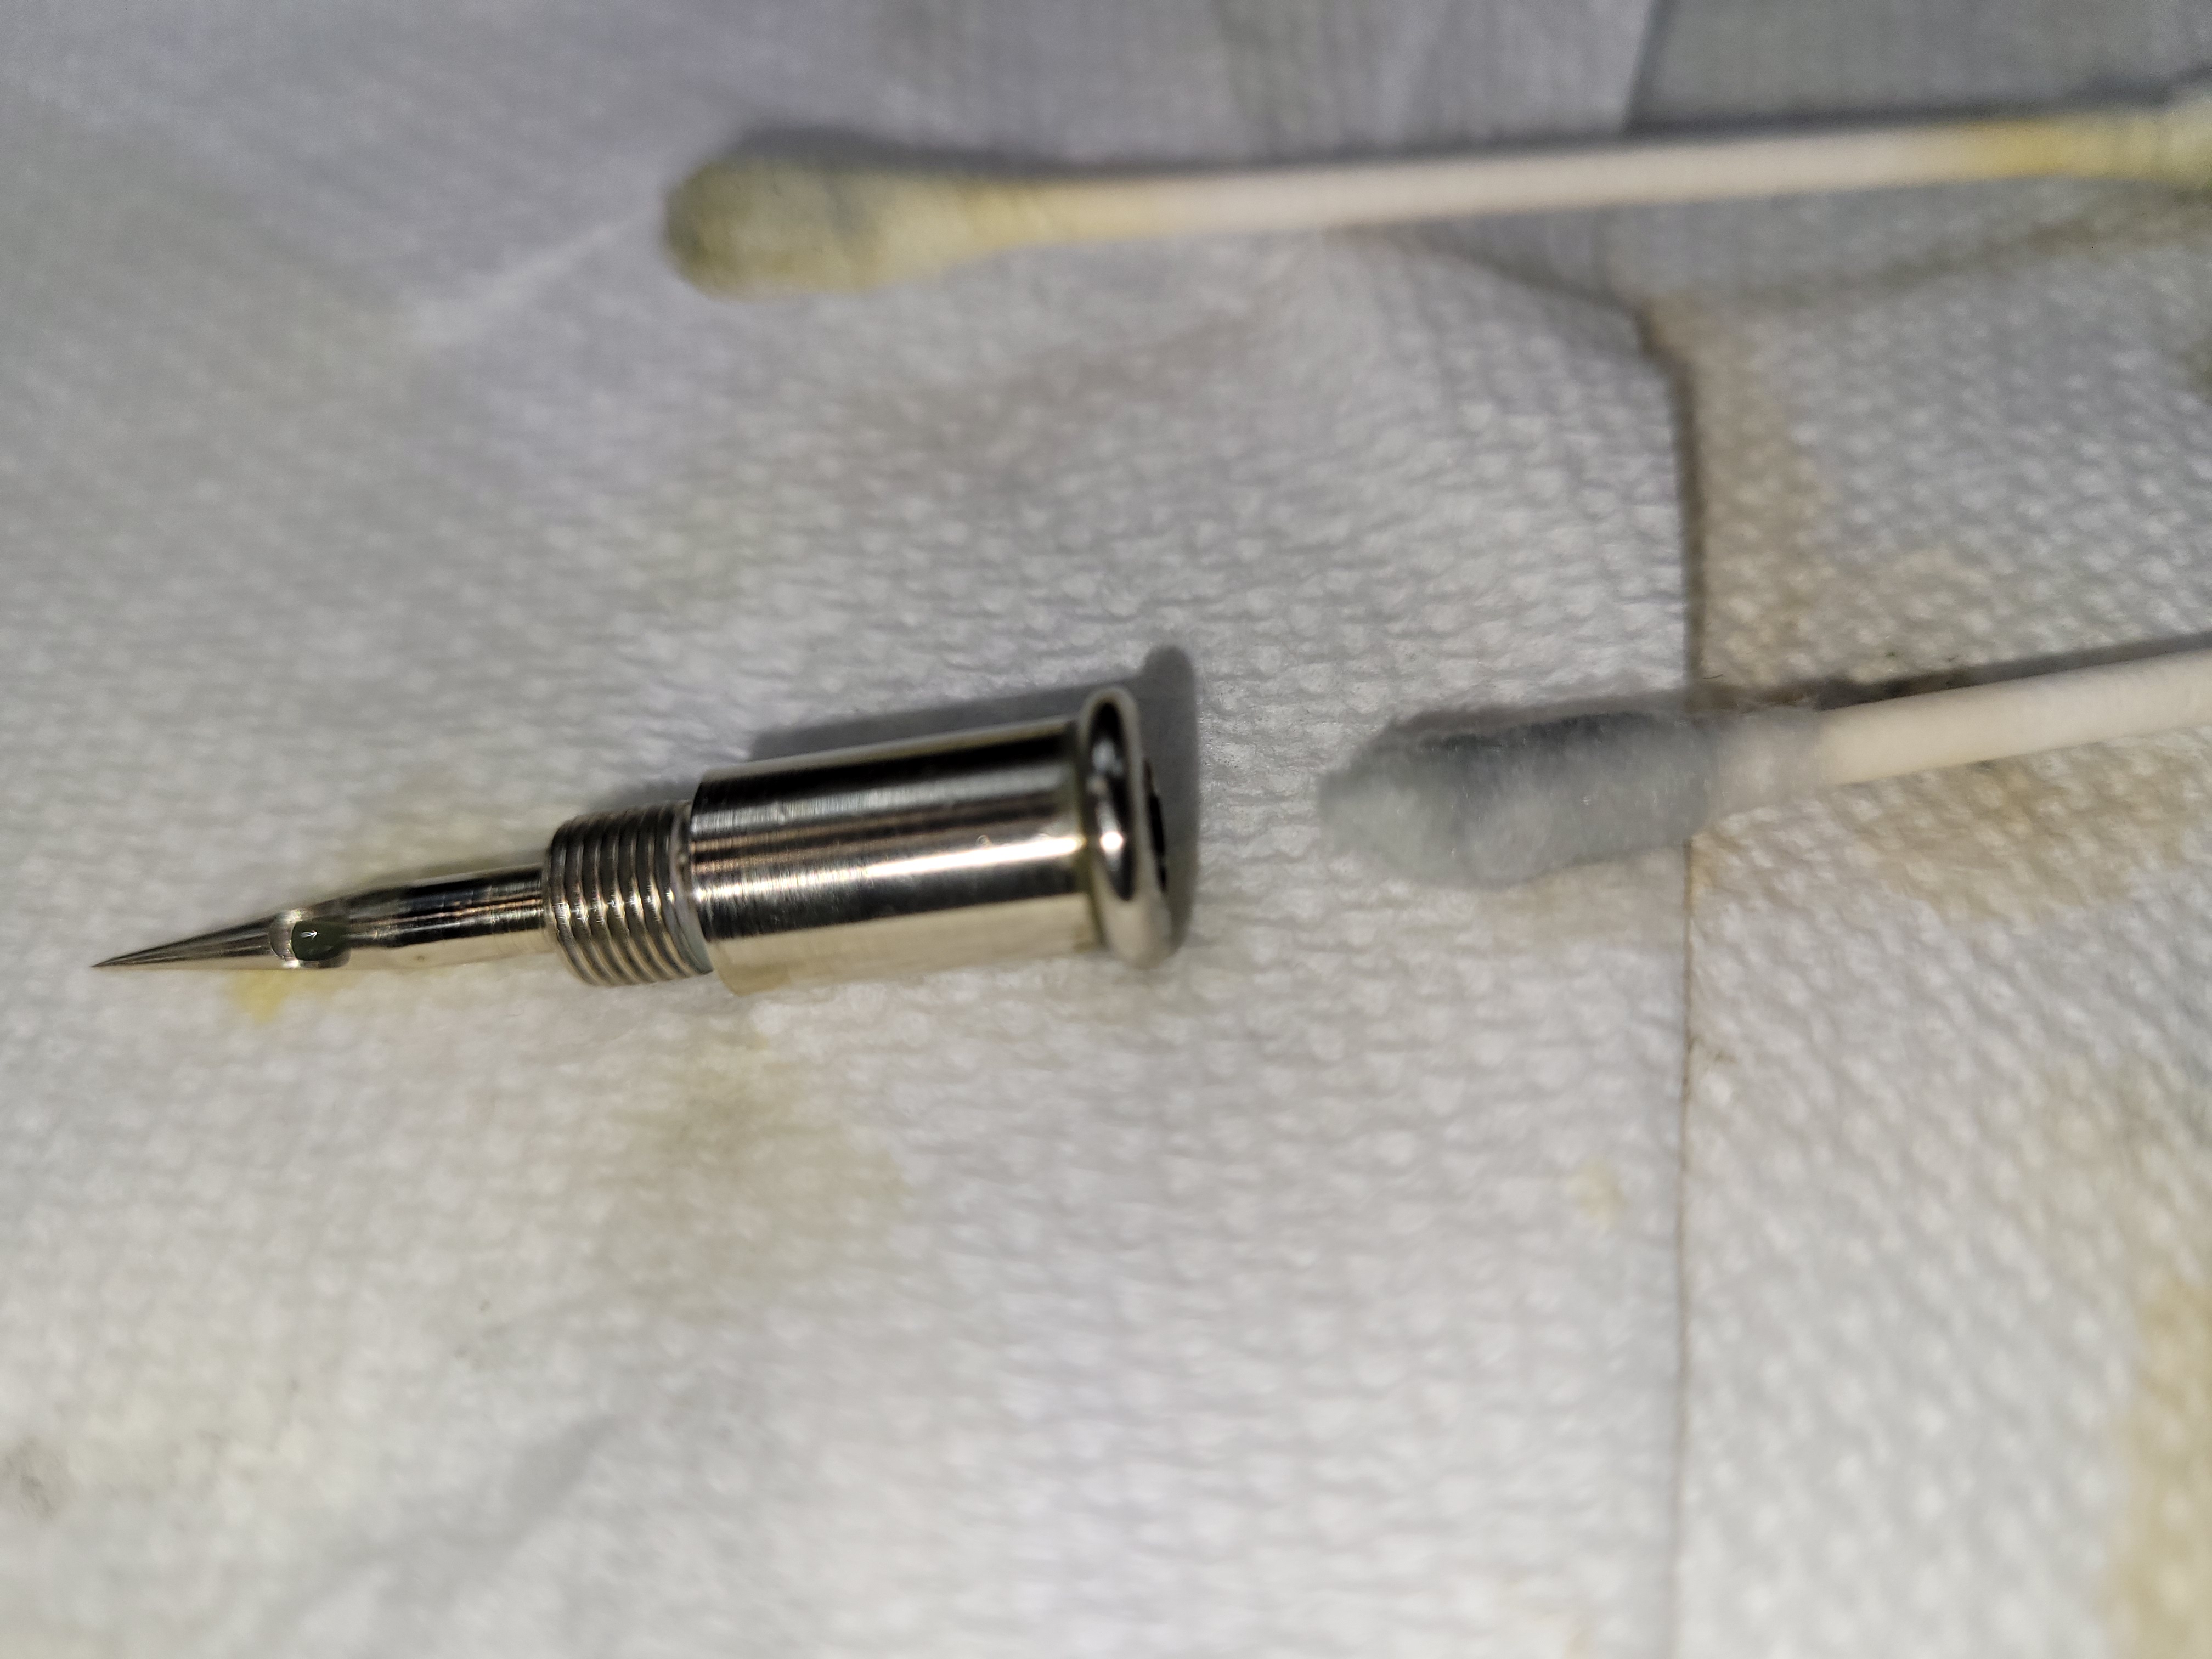
After cleaning inspect cone. If it’s damaged replace. A nicked or split cone will screw up spraying.
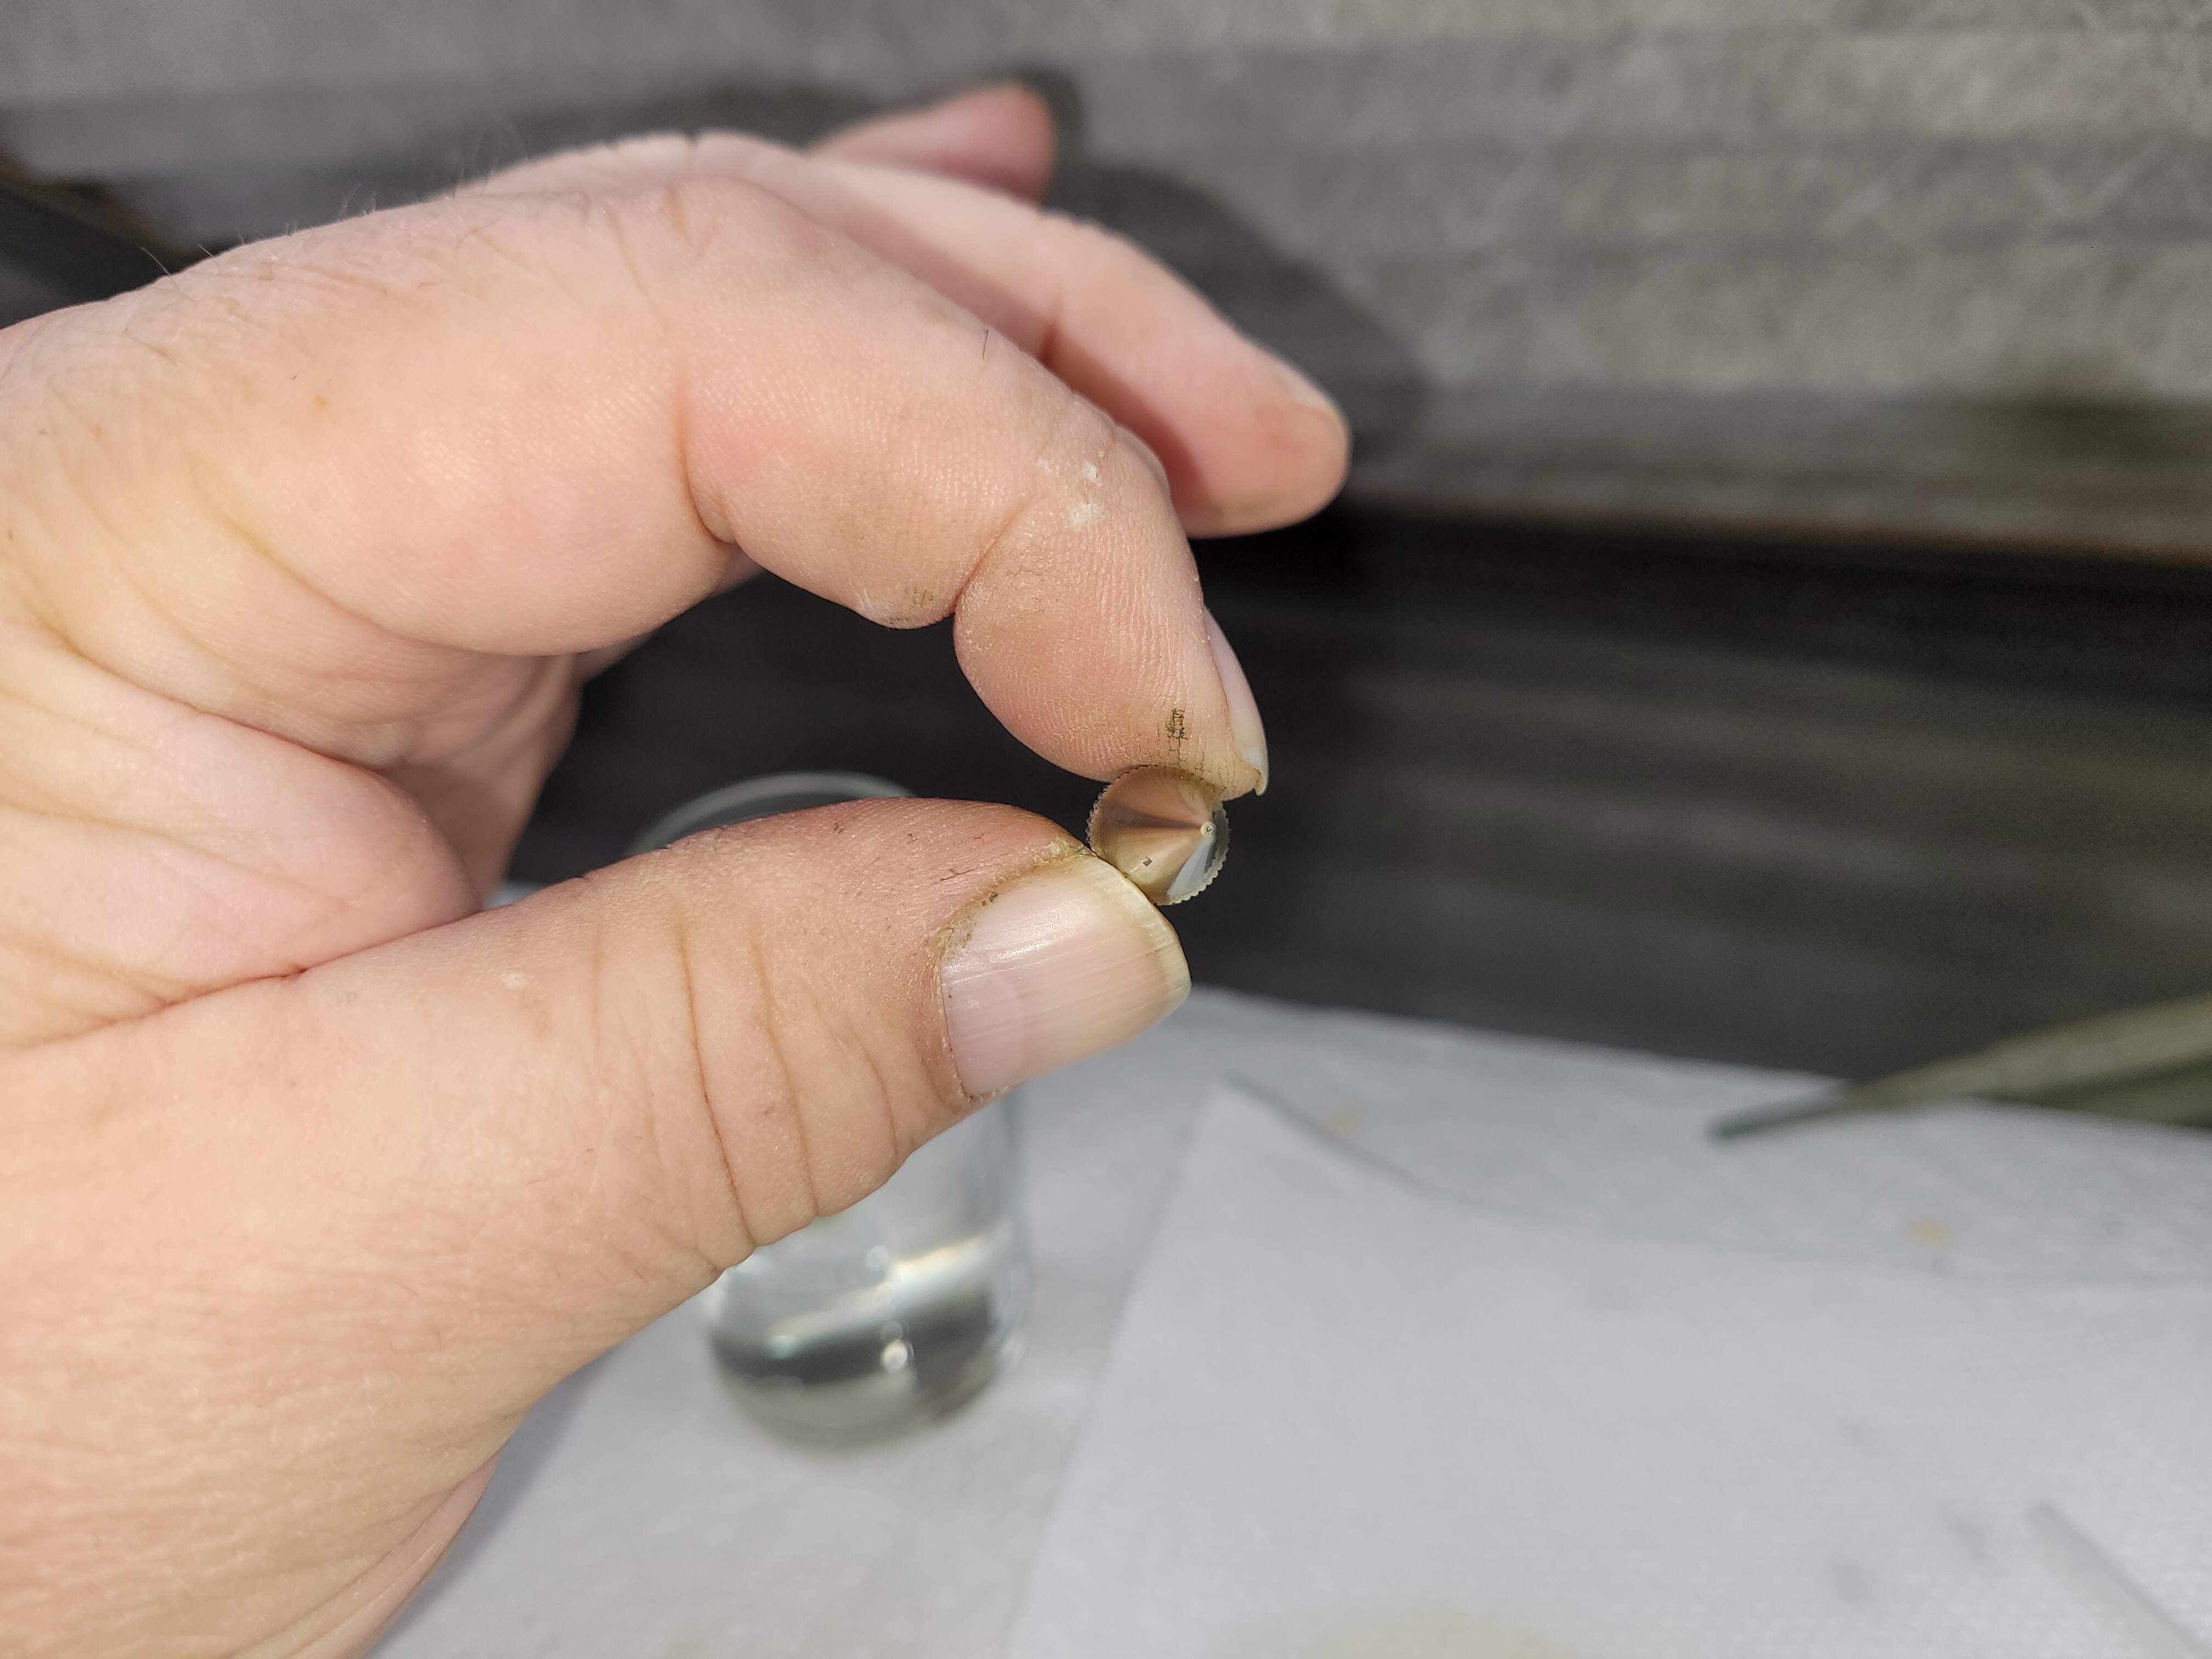
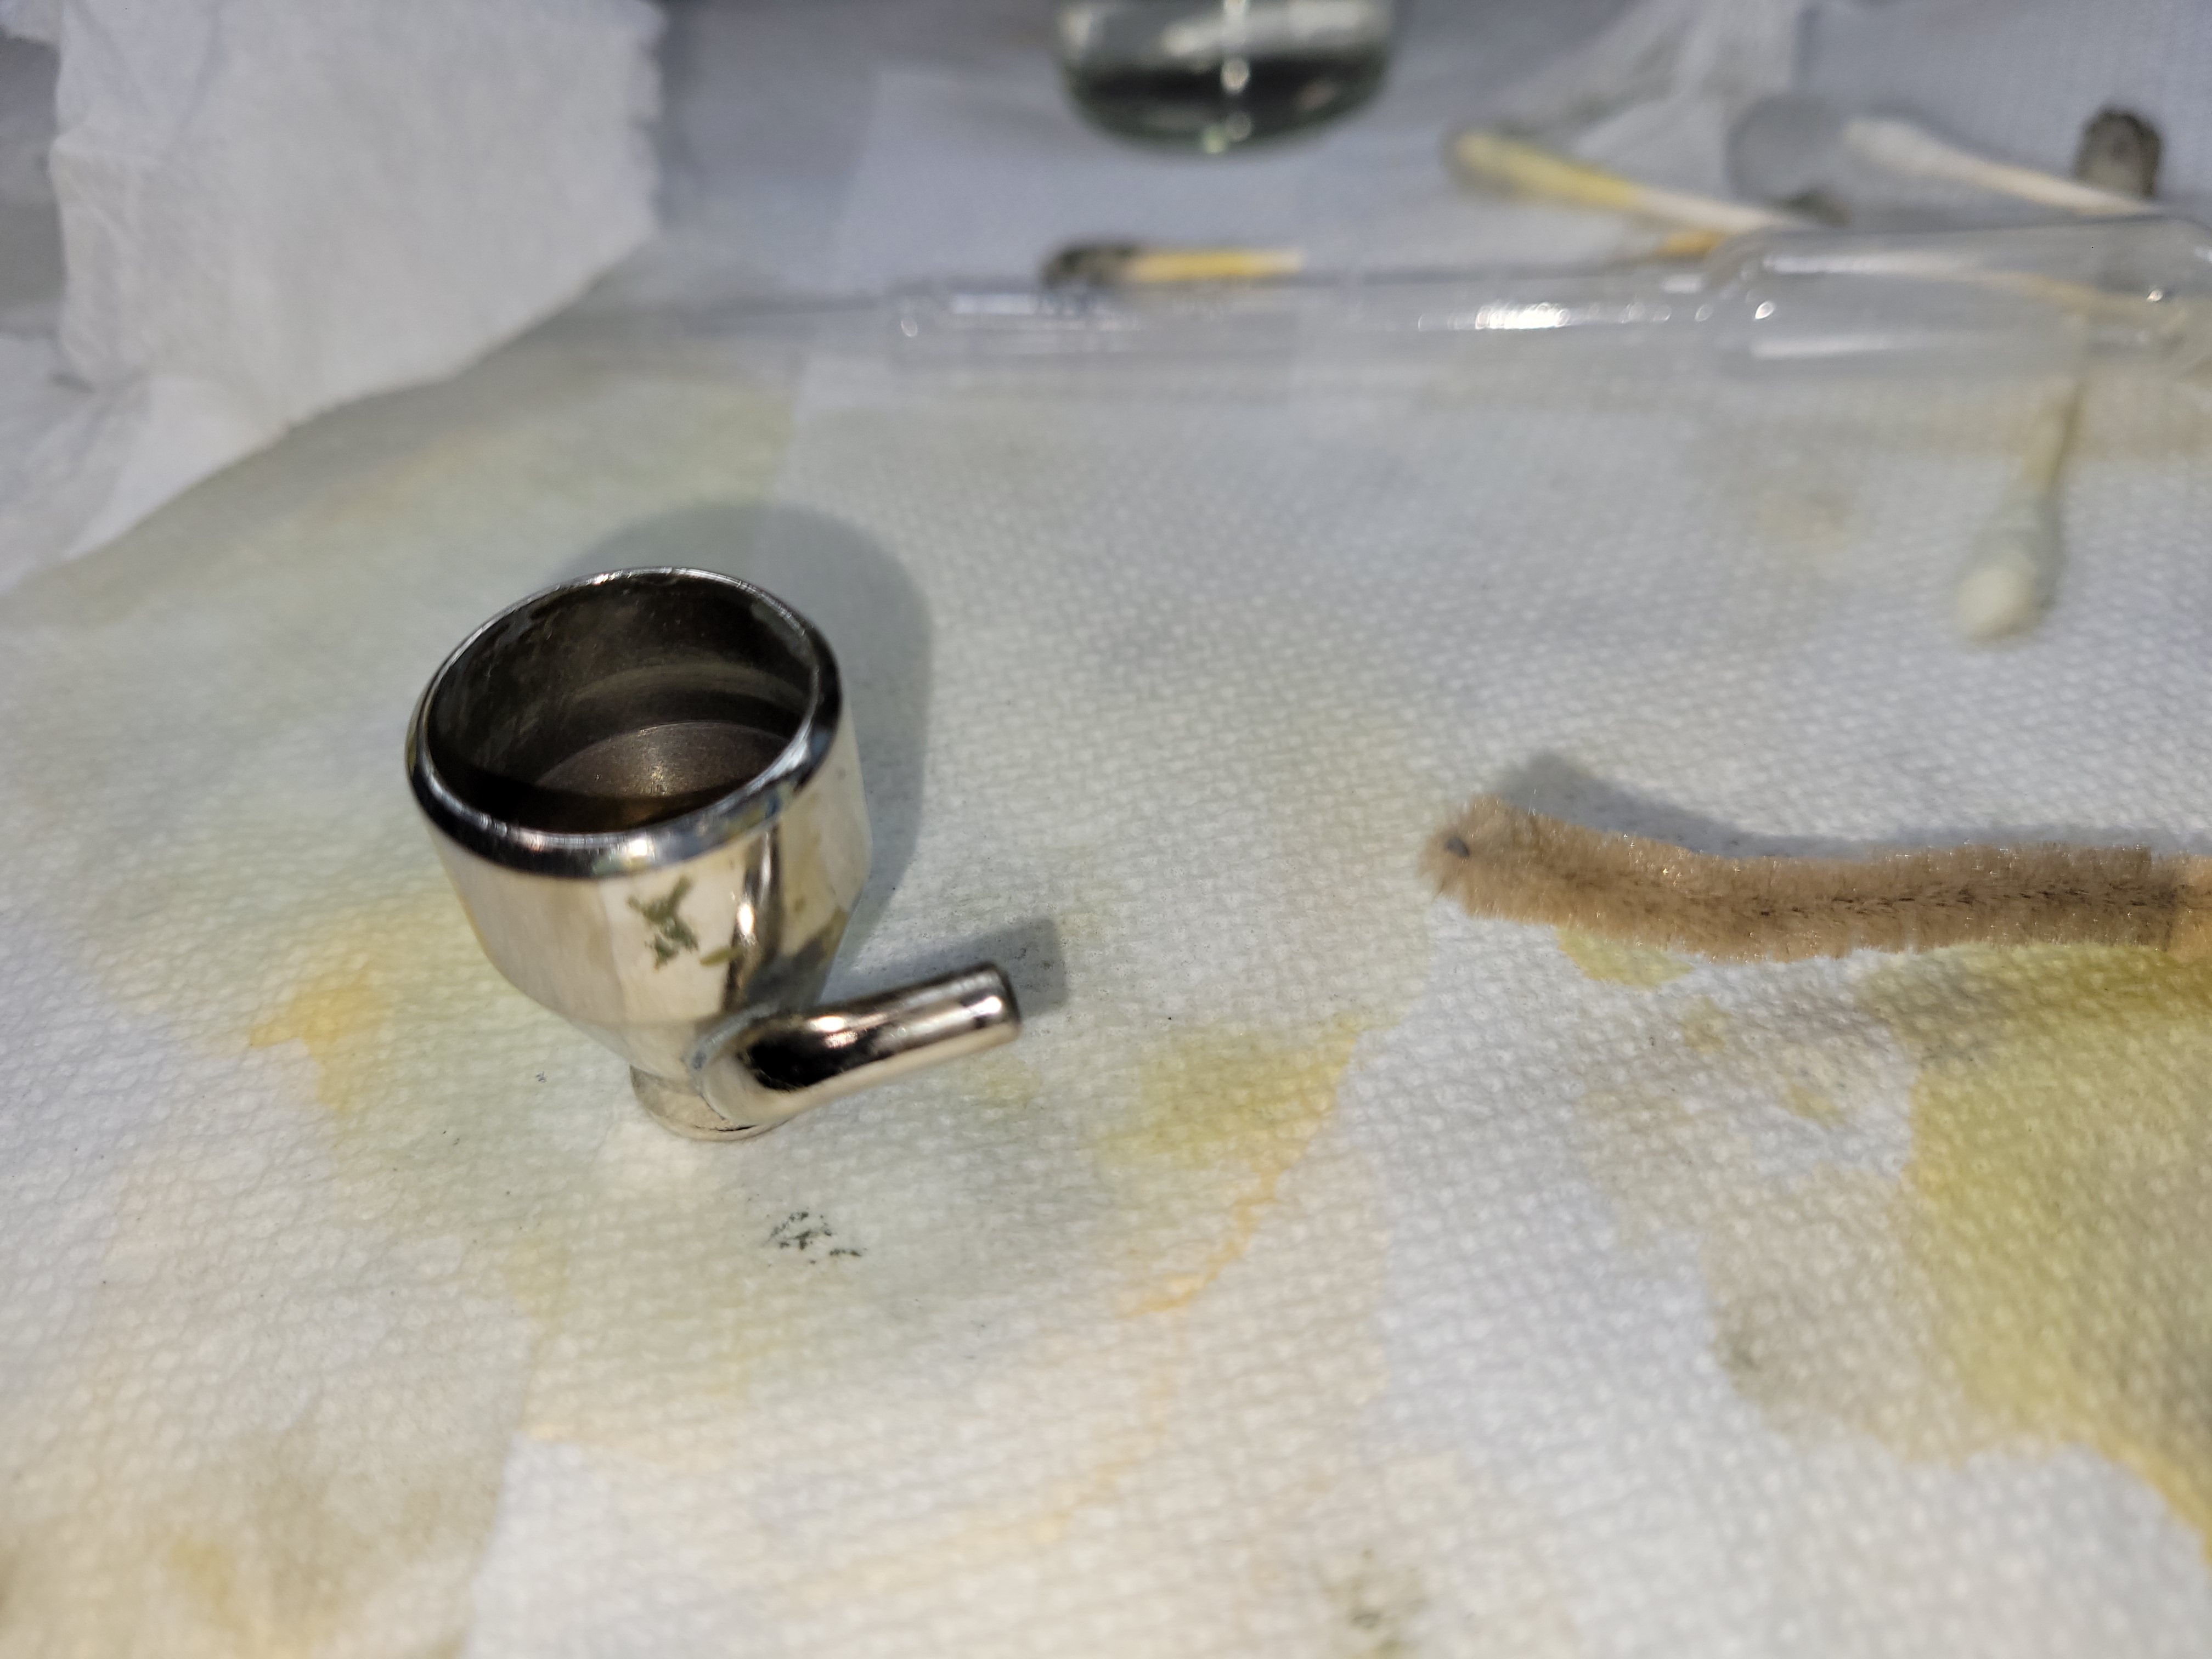
Clean nozzle, Q tip & thinner/solvent.
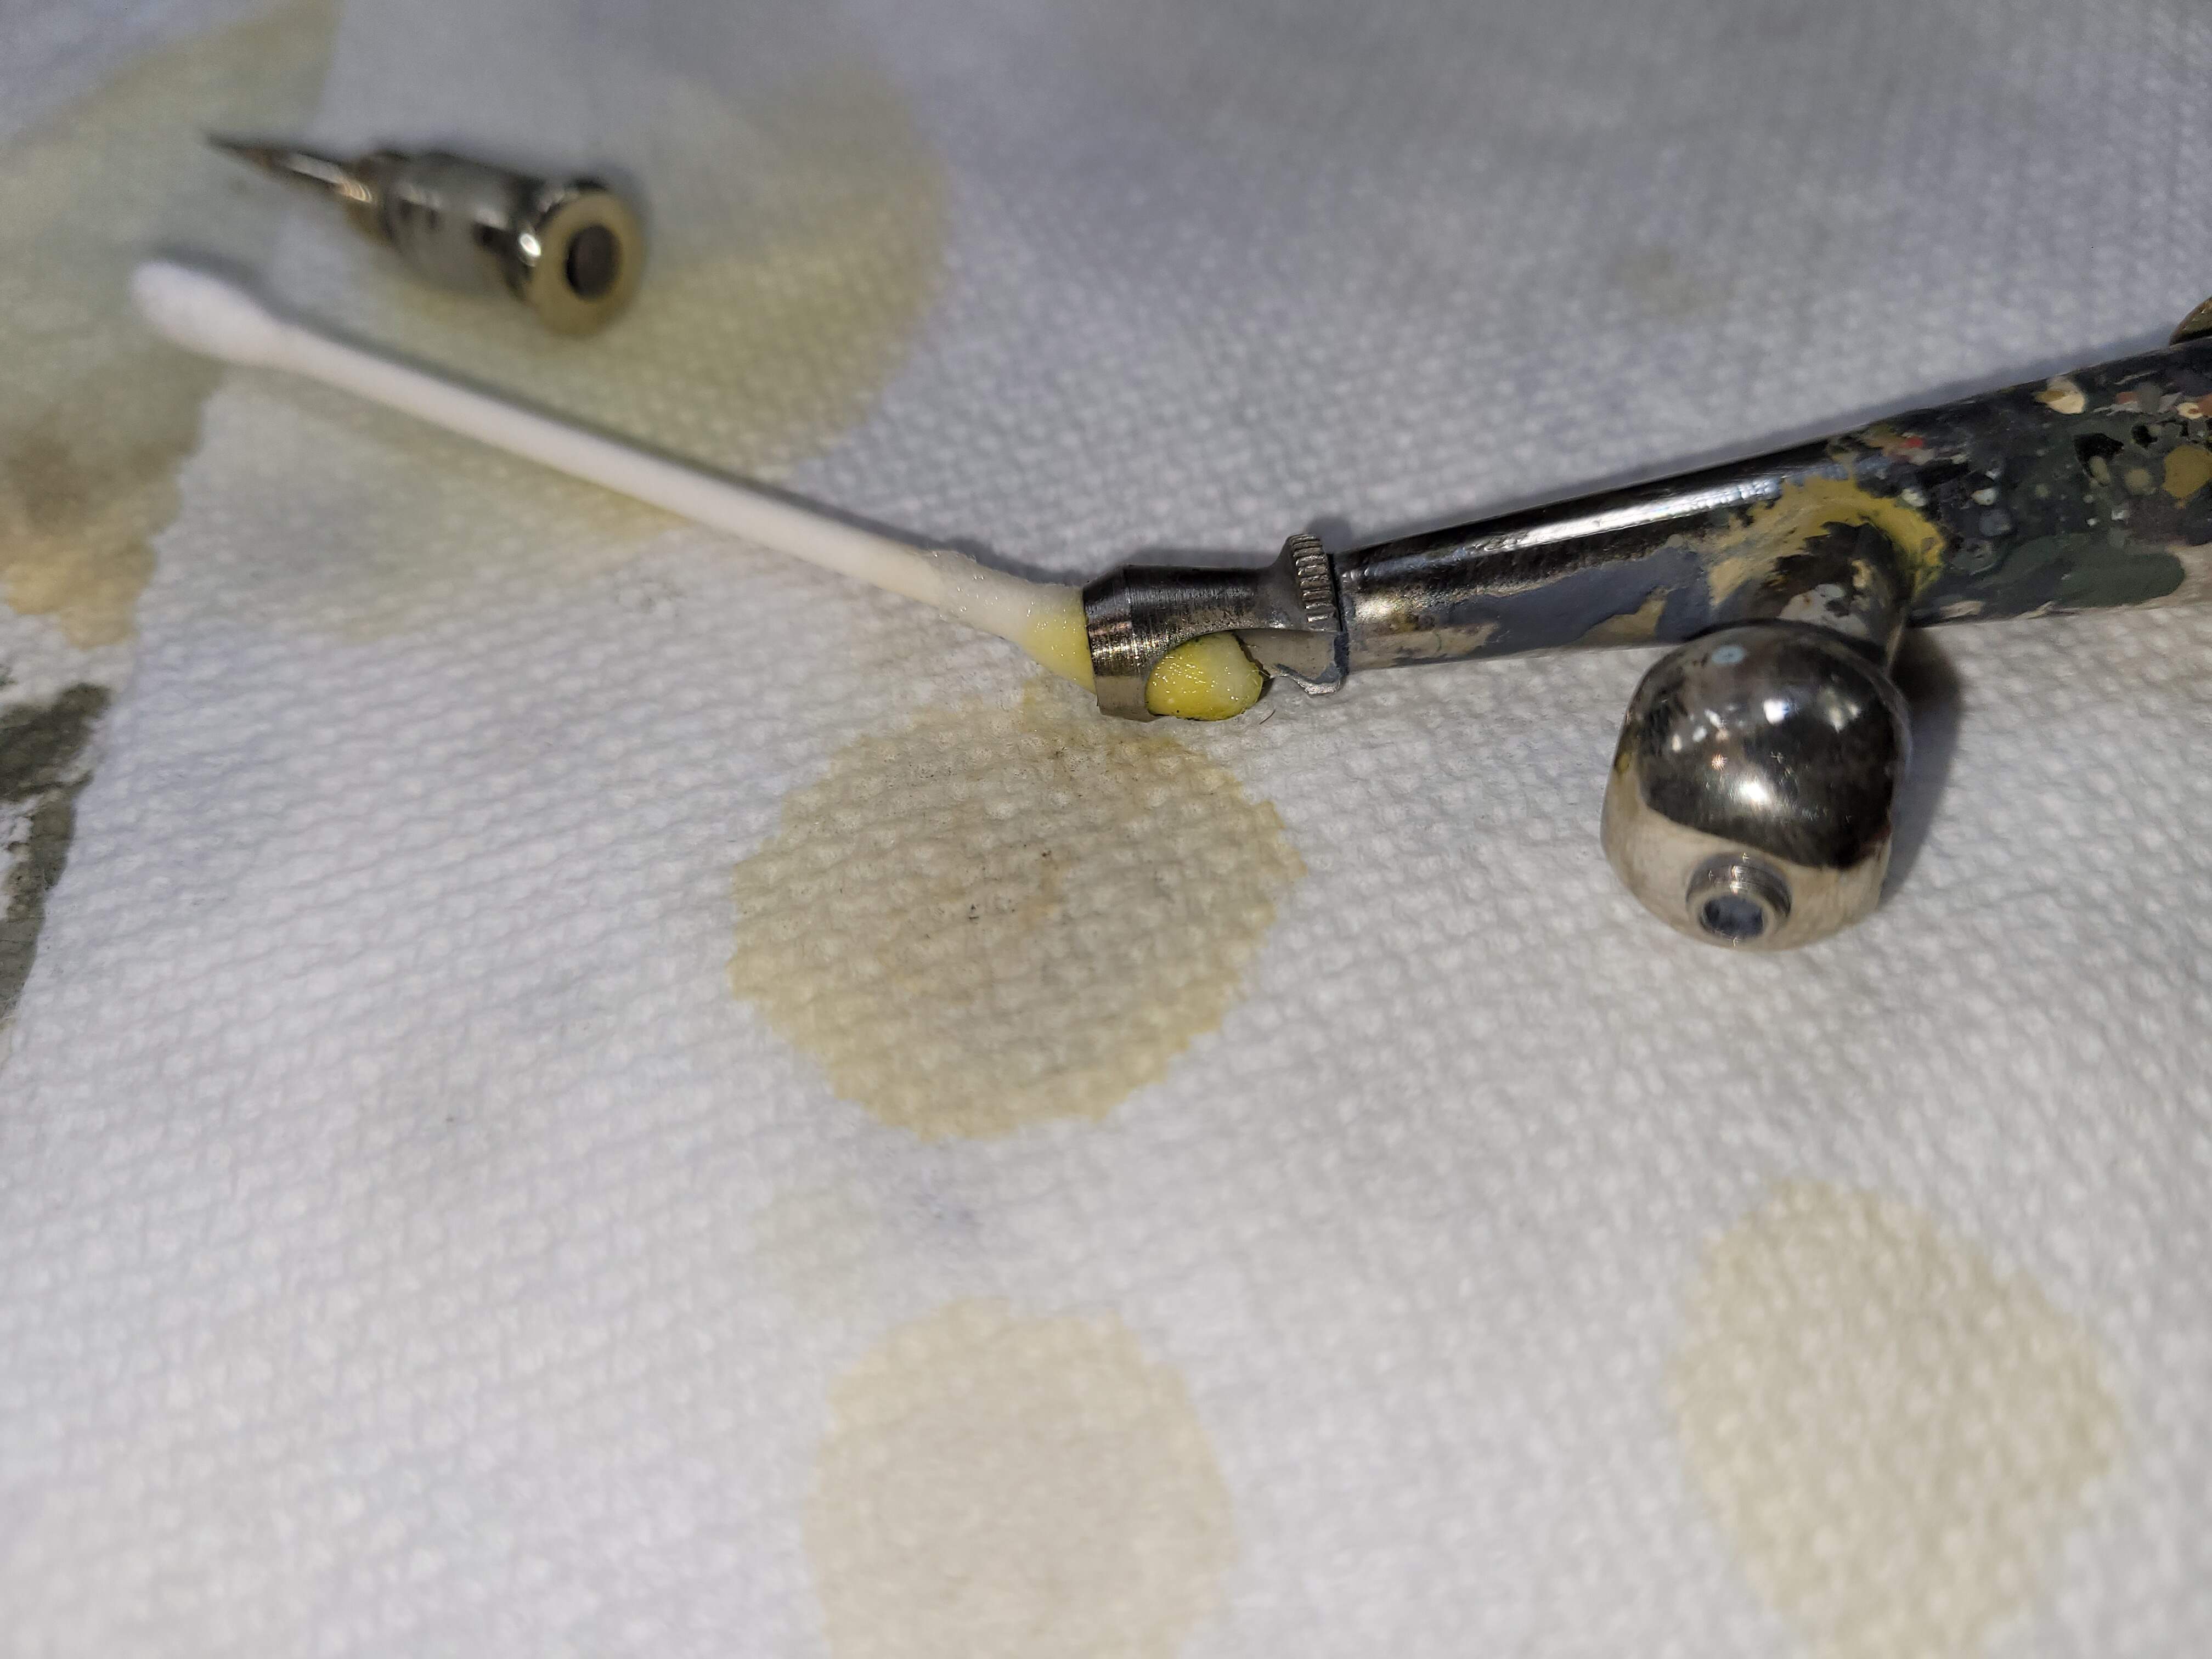
Clean and wipe out this area.
Wet & wipe
Flush out
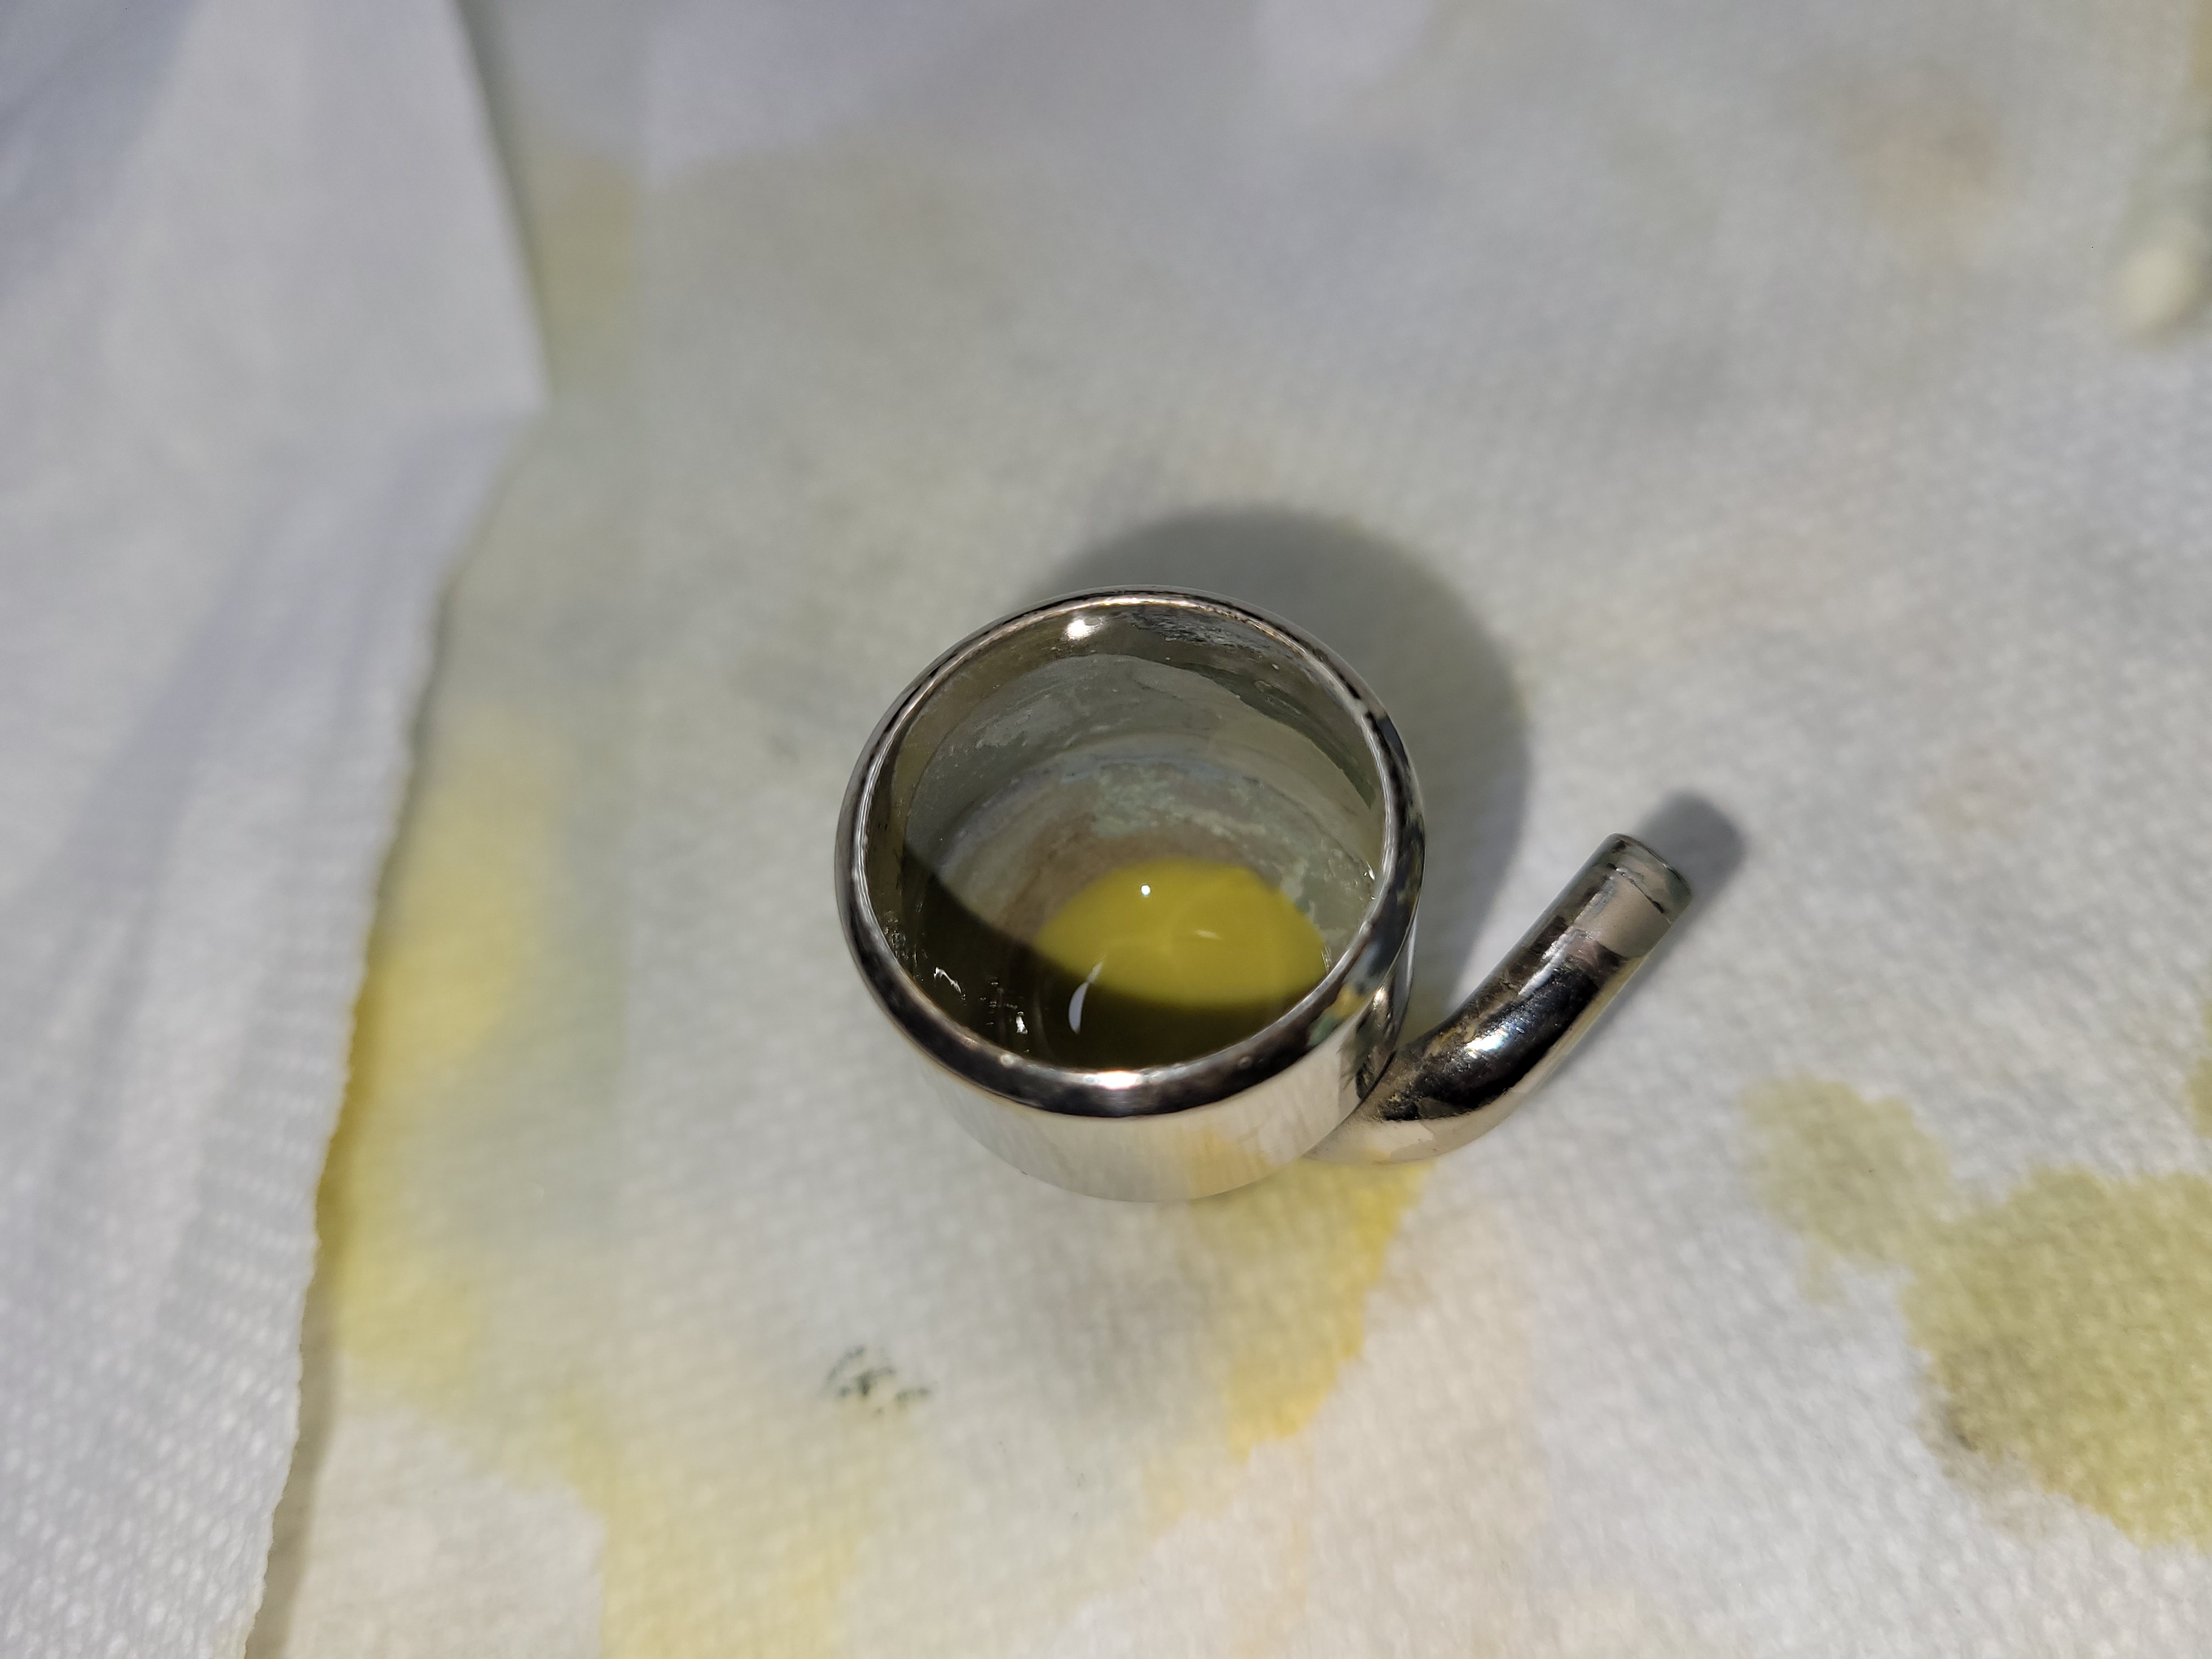
Clean out where color cup attaches
Flush again

If paint remains used shaved tooth pick, pipe cleaner to remove etc. Always flush throughly afterwards.
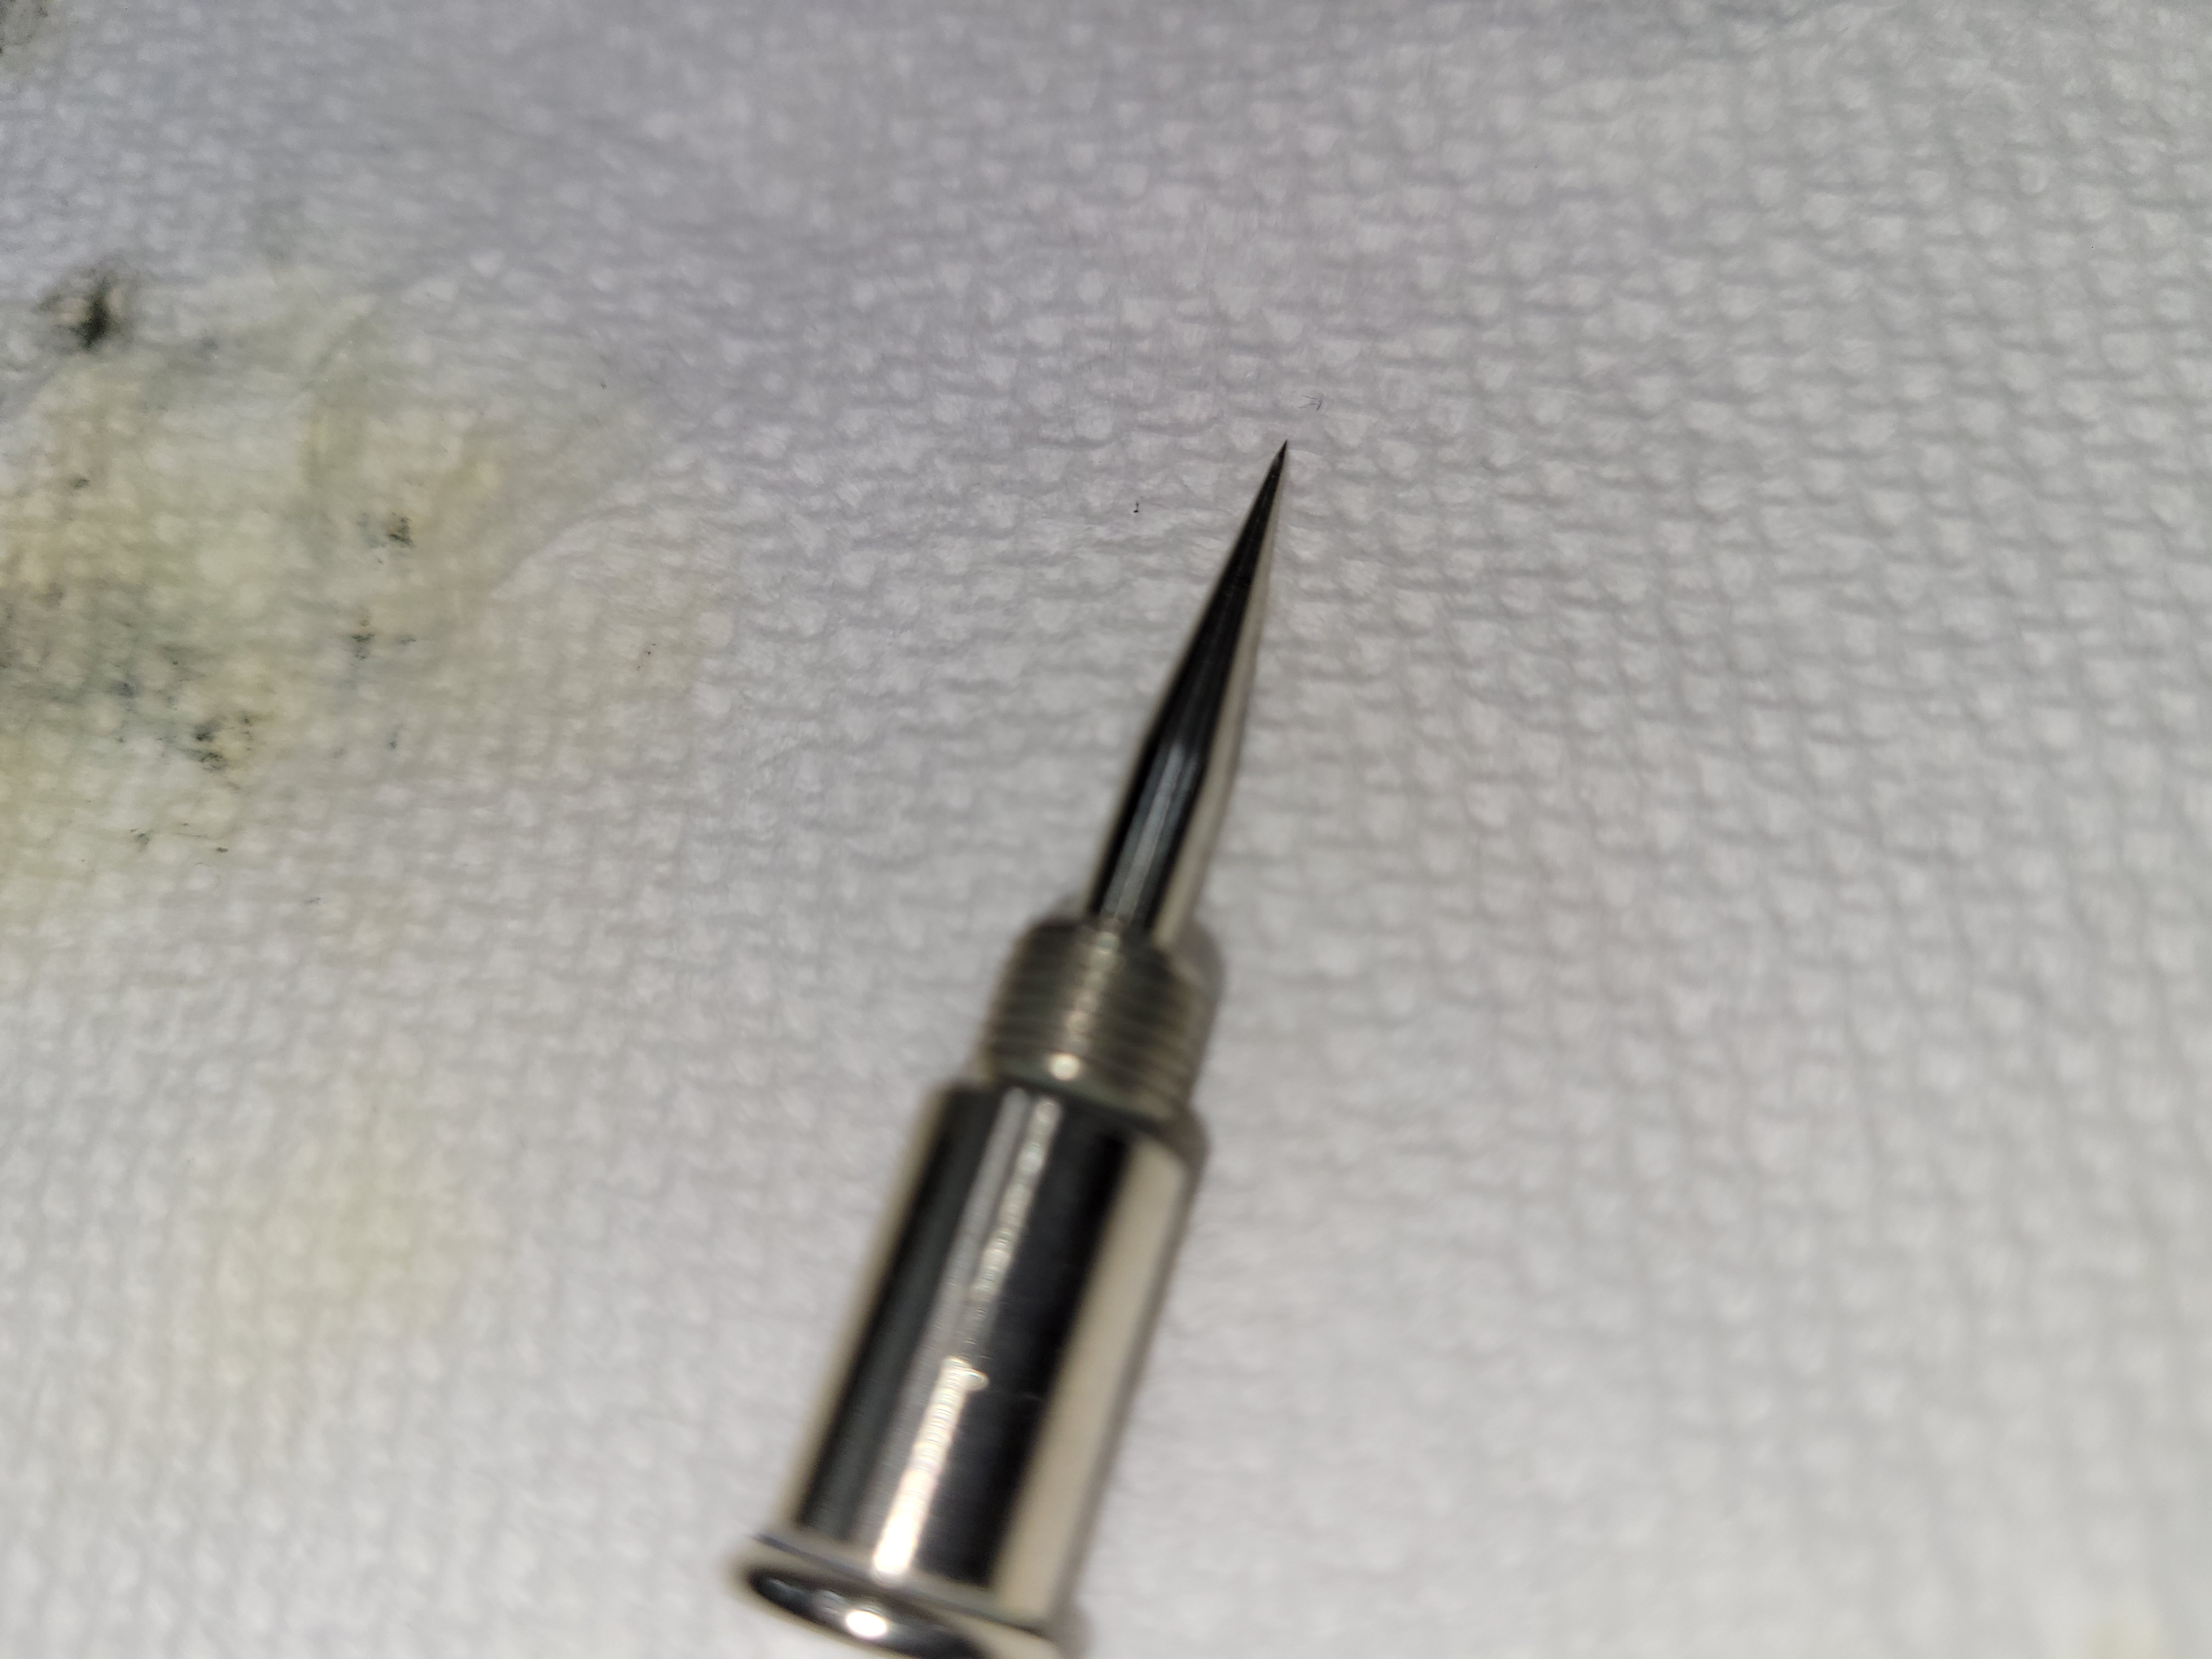
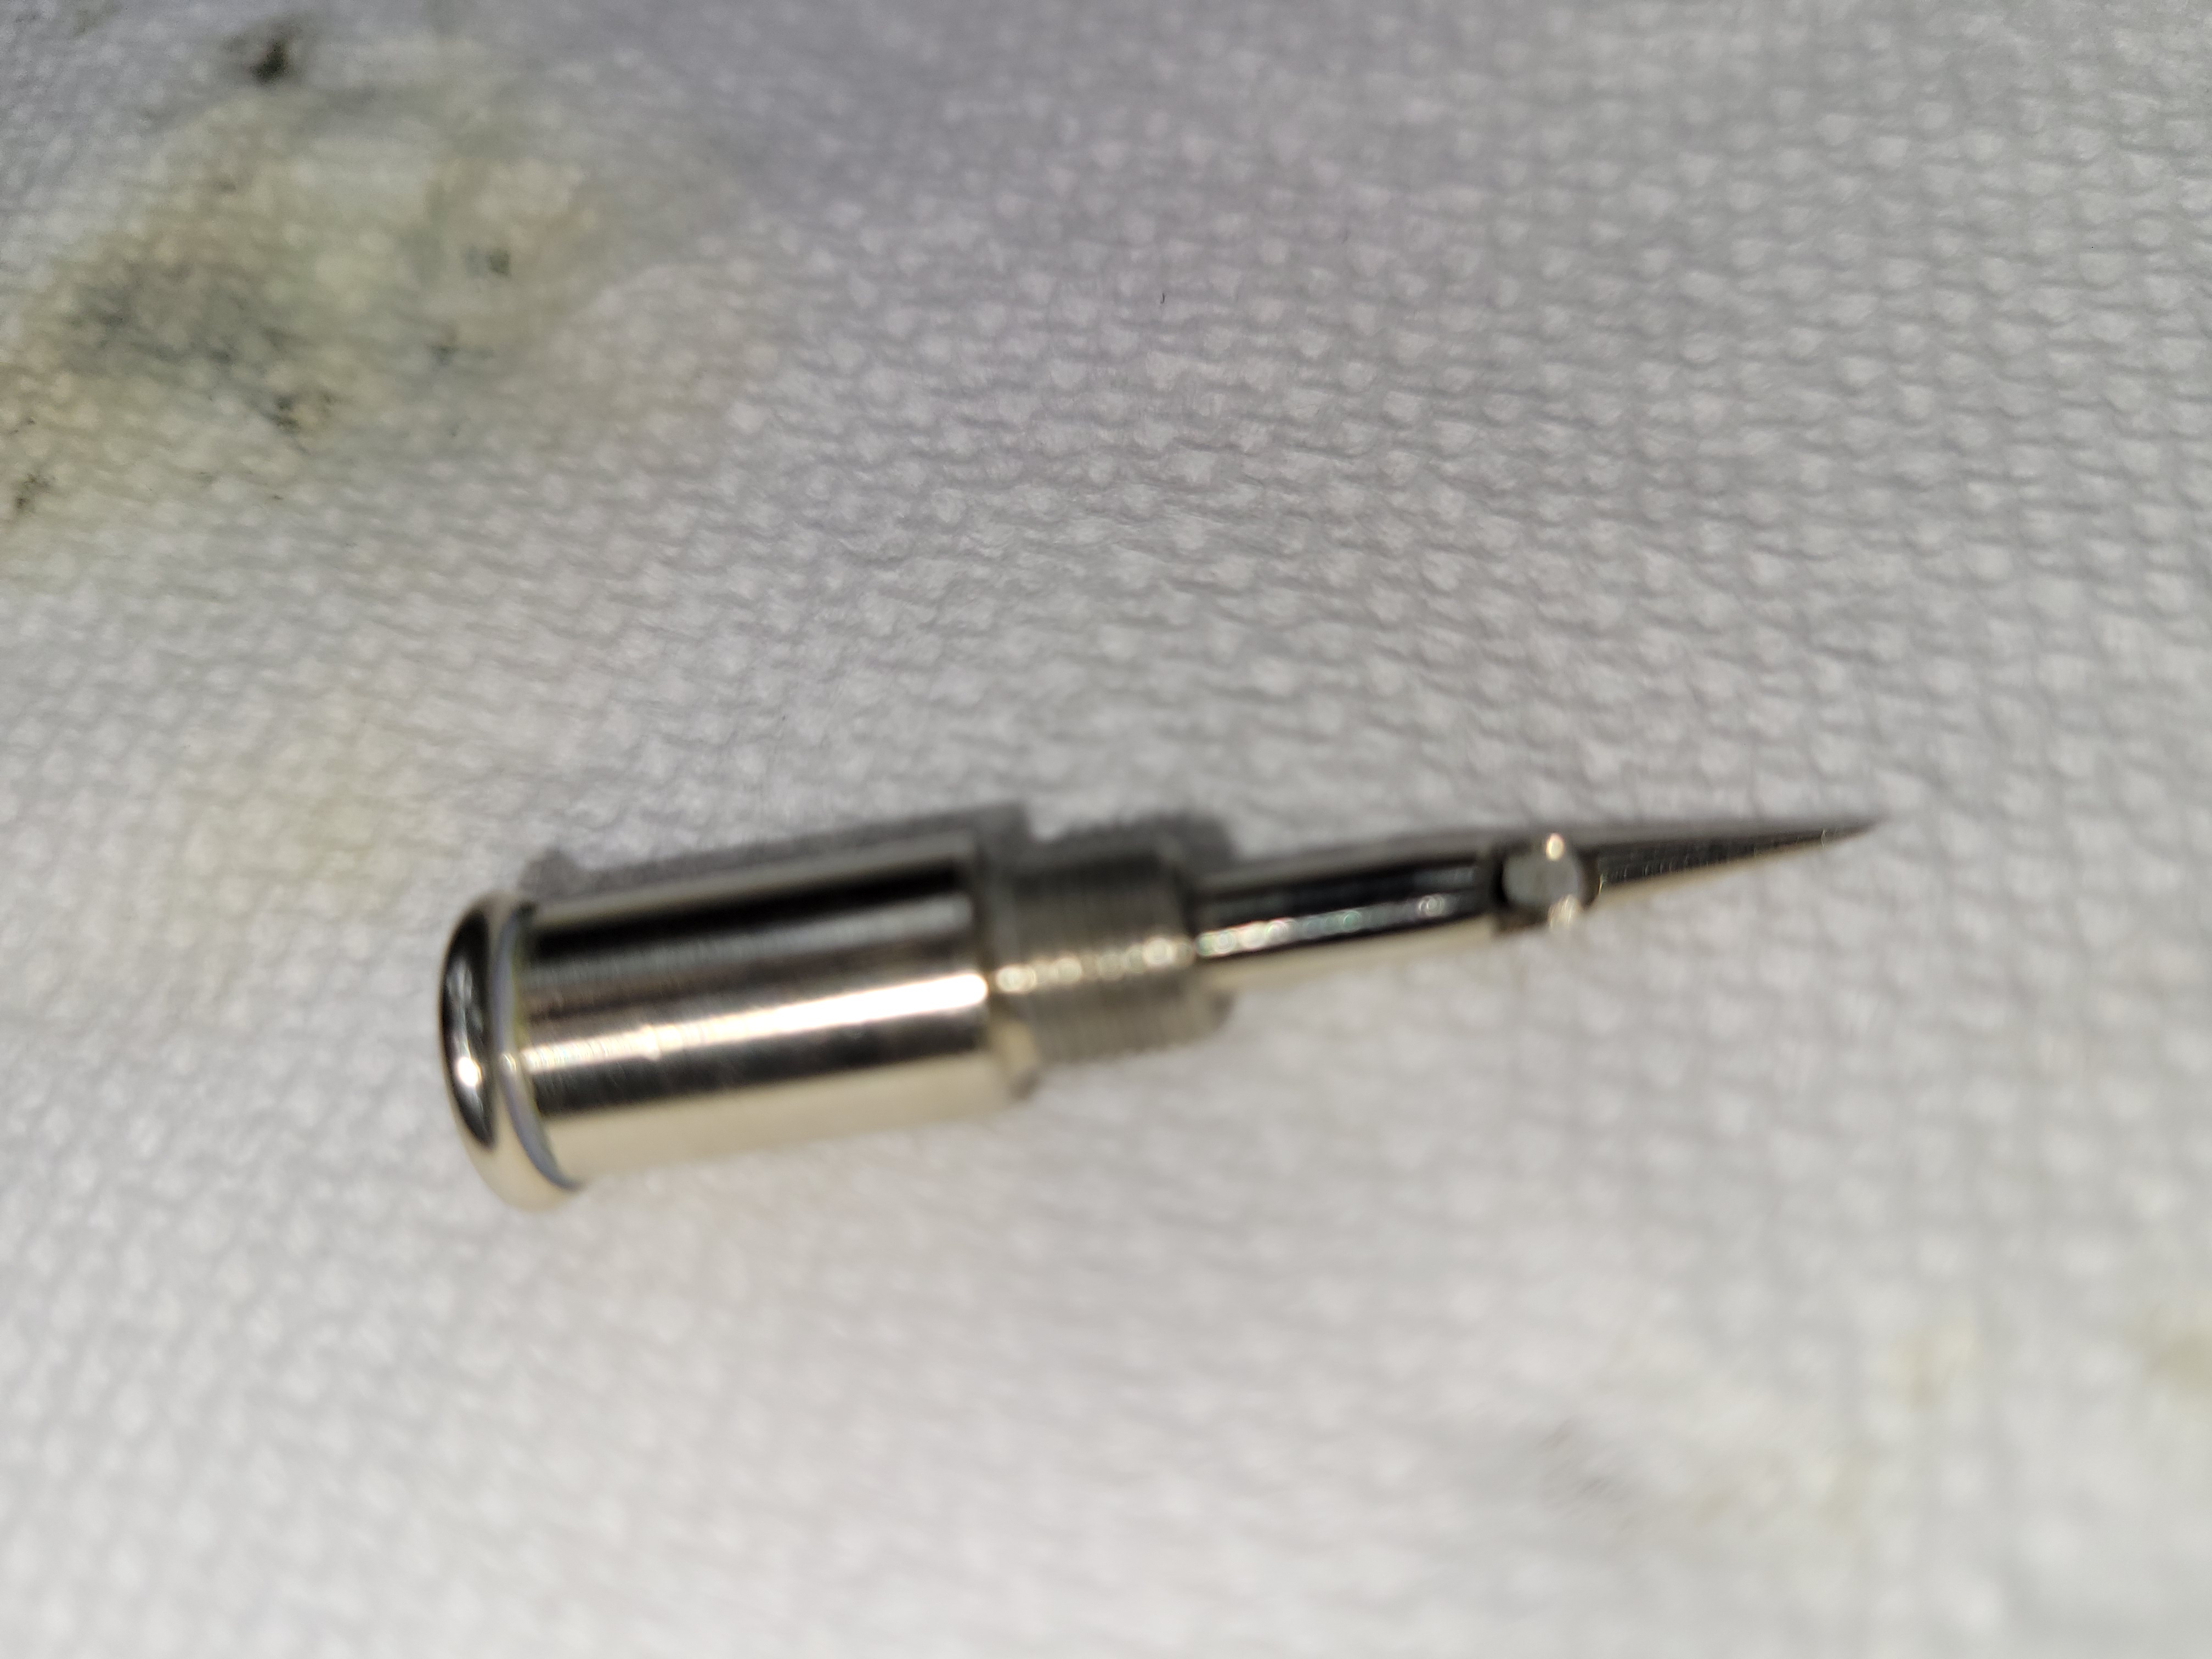
Reassemble. Cone in first and then insert needle.
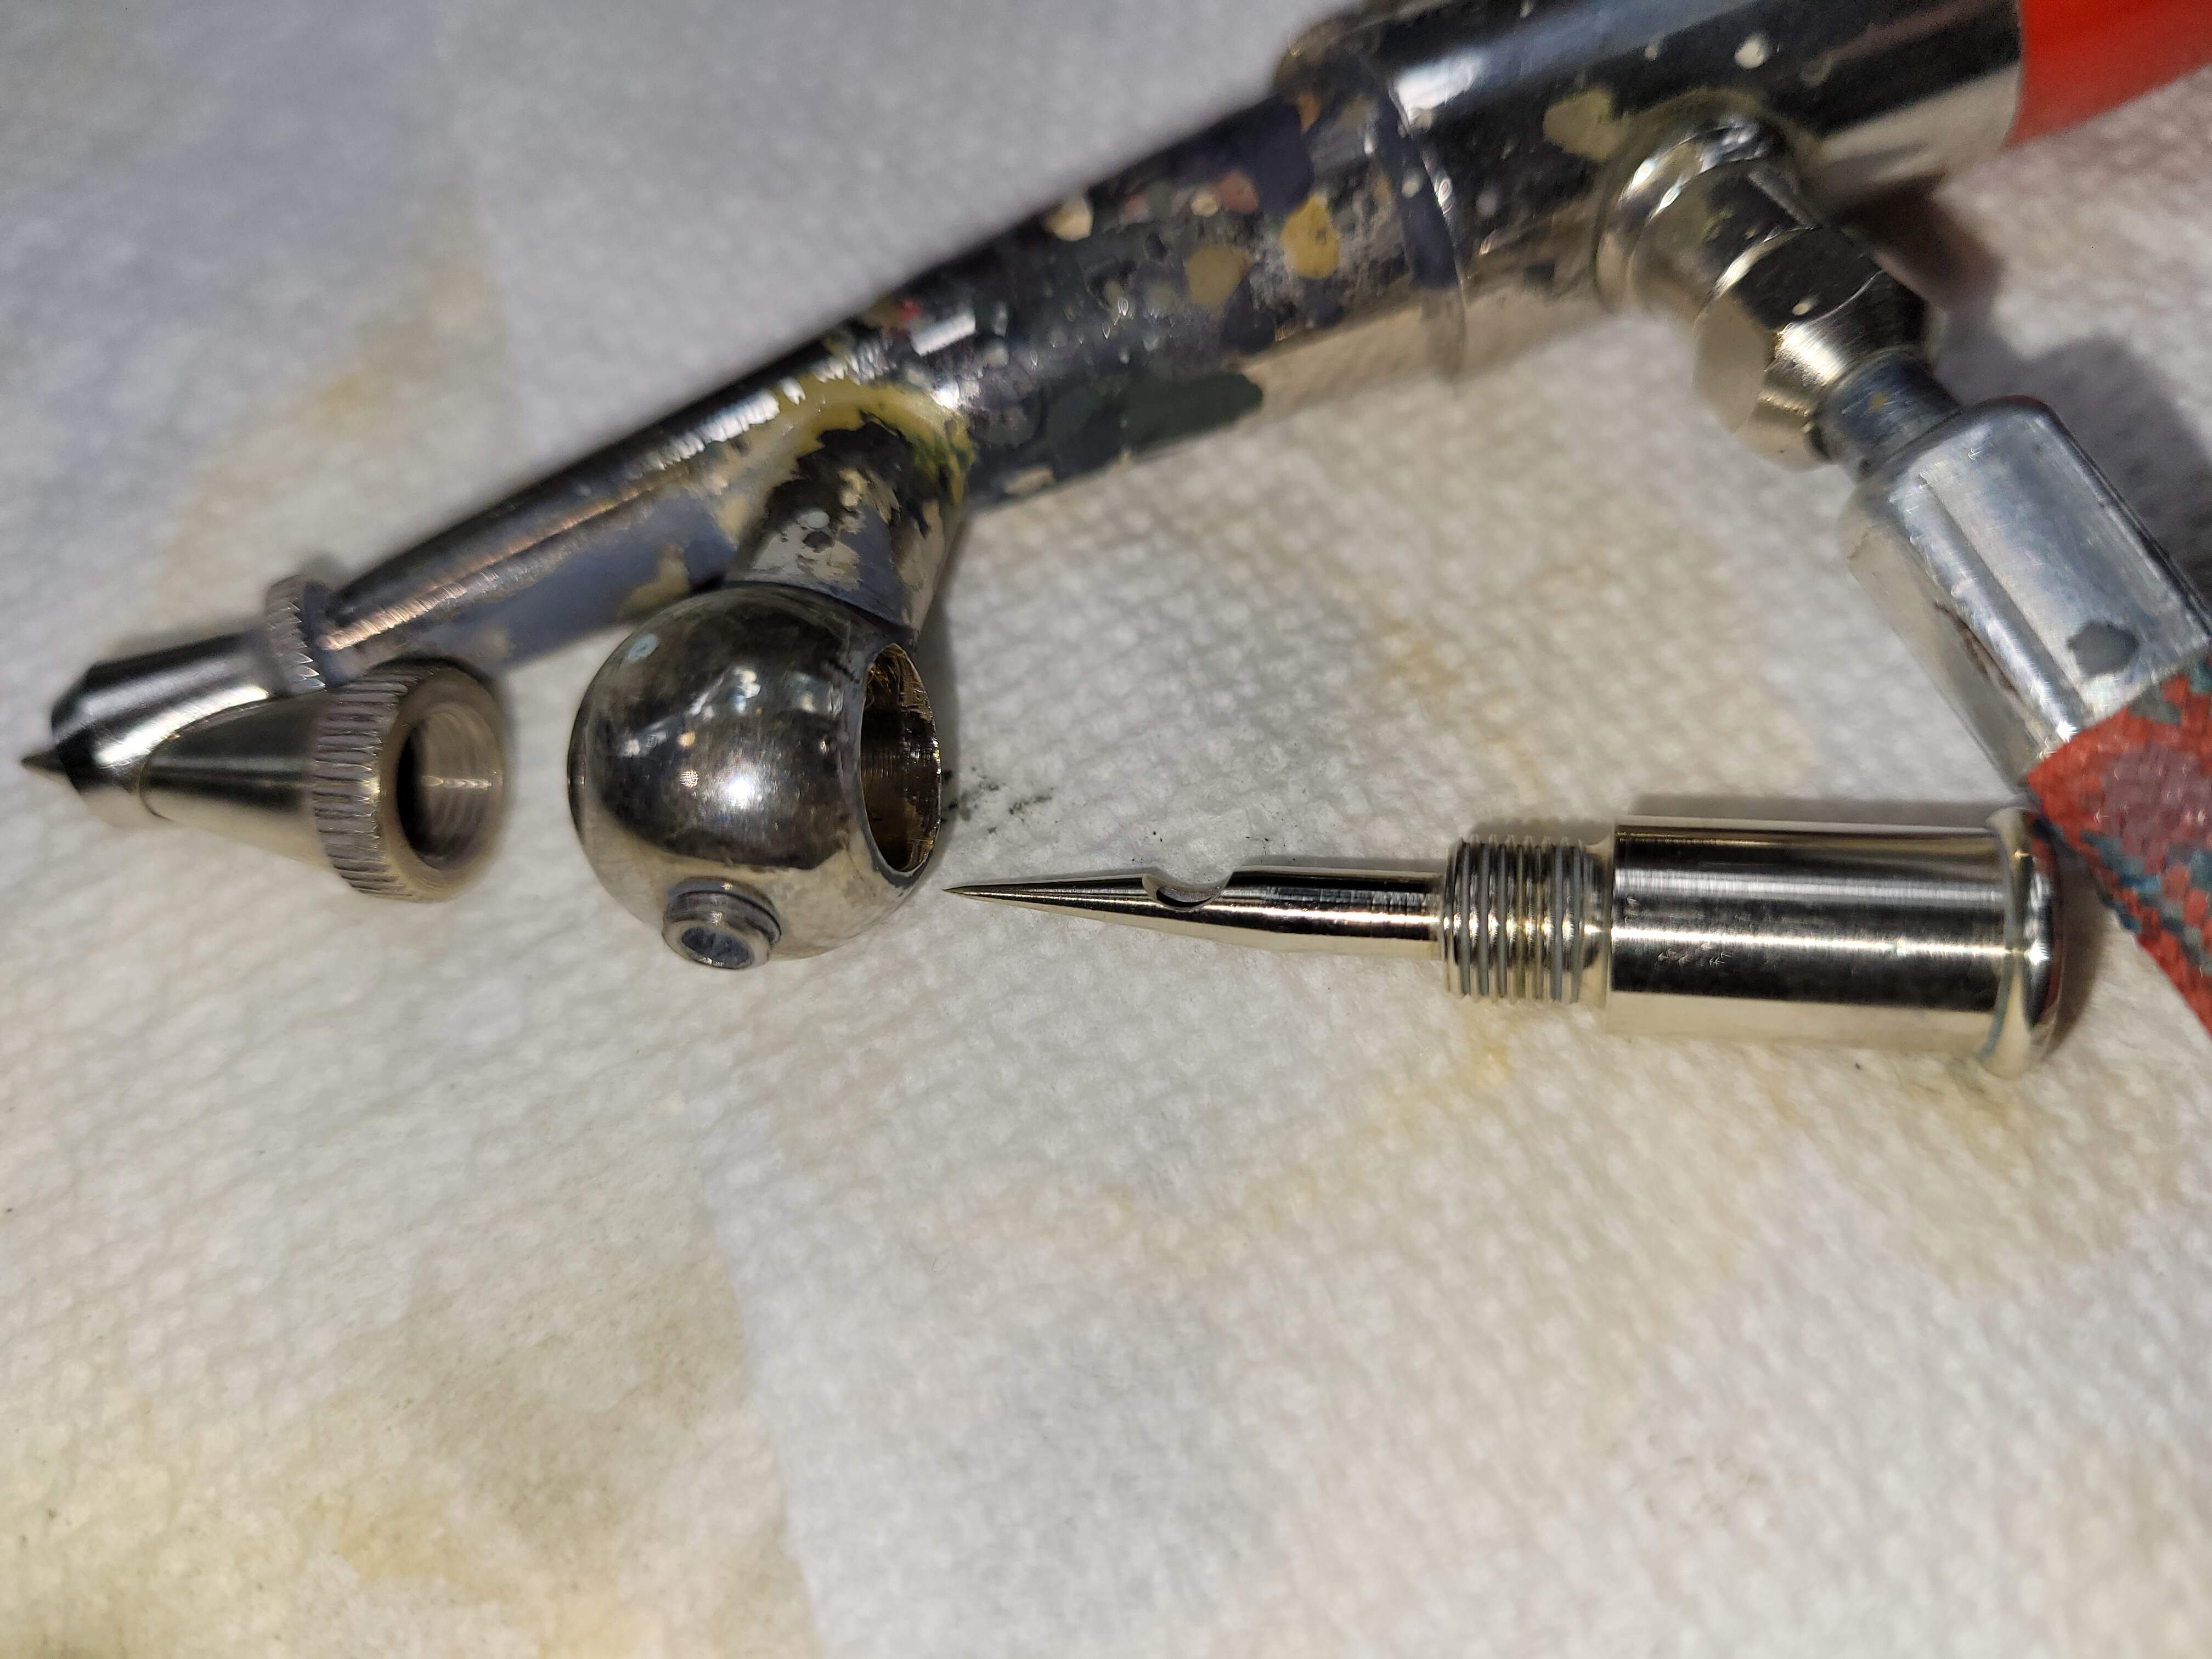
I always want that opening in the end of the needle pointed up aligned to the air flow. I don’t want to the side or down. Most say it won’t matter. Always putting in same alignment helps keep things consistent and that matters. If you really get to know your Paasche H, you’ll probably decide it matters.
BTW - FWIW this #1 needle was hand polished by me. Most will say it doesn’t matter with an external mix brush. I think it helps a tiny bit.
Gently snug down retaining screw.

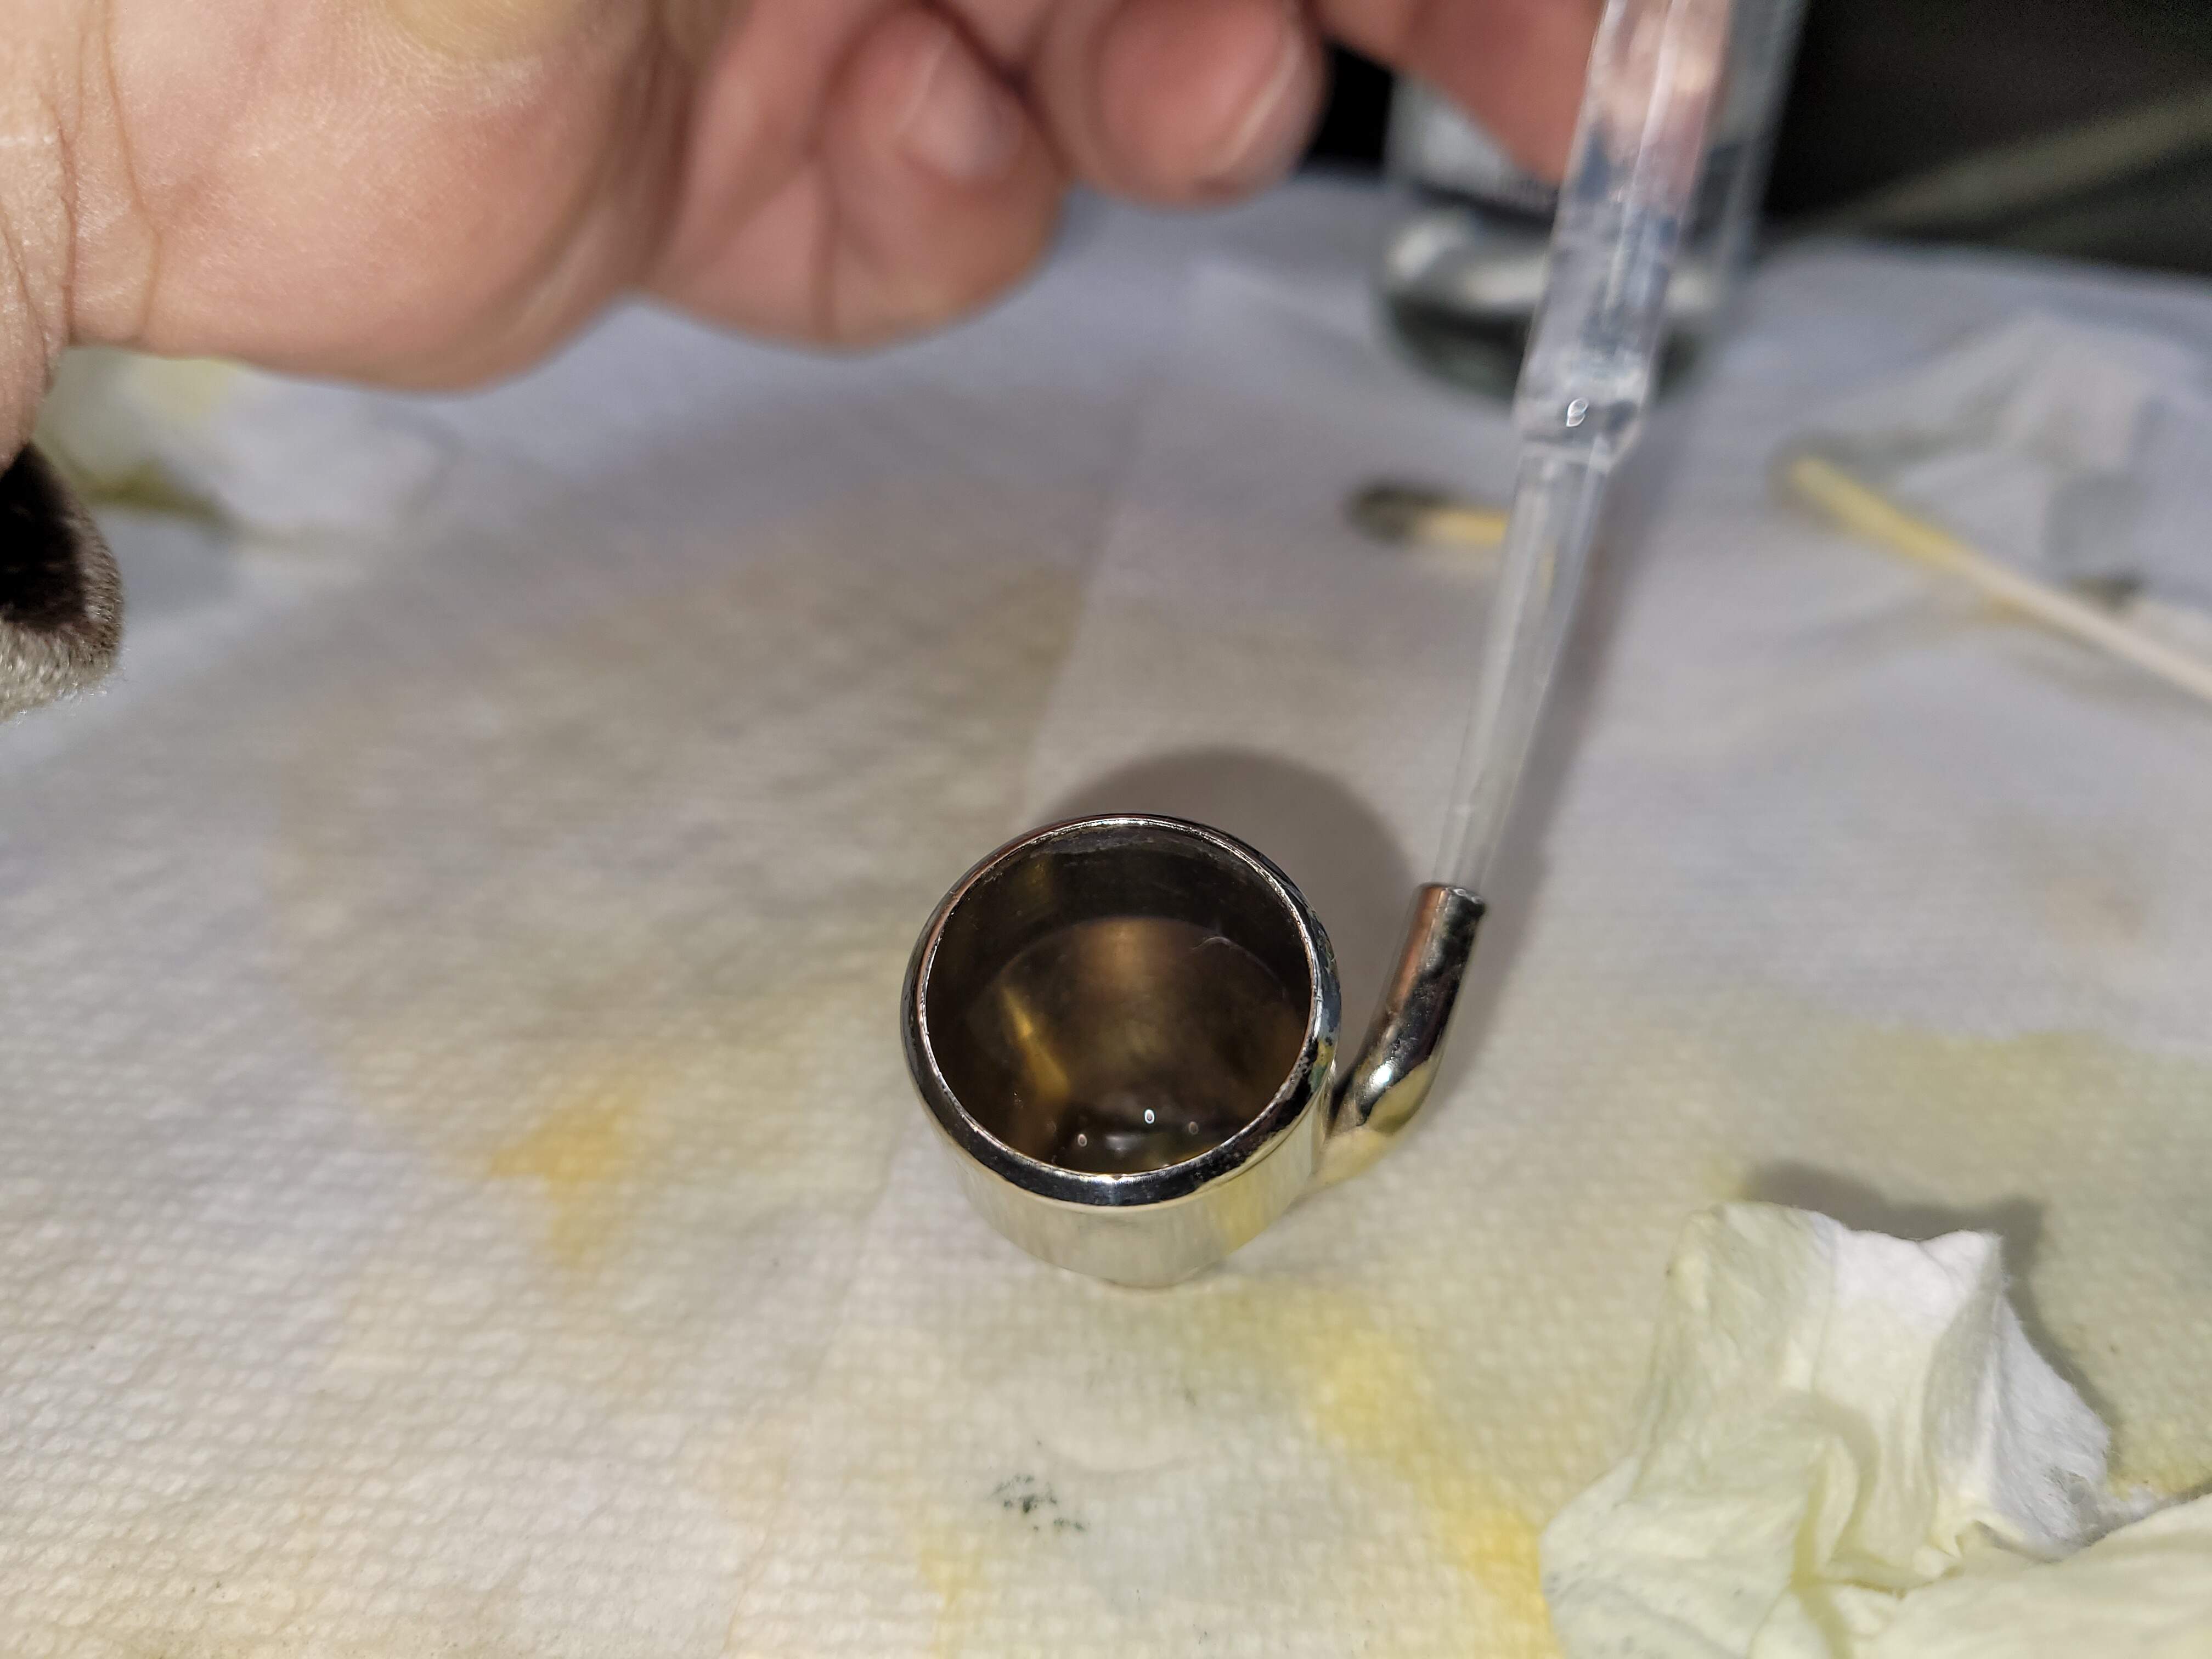
Flush with thinner again to confirm all is good. I like to feed with Clean pipette.
One can also load a drop or two of prepped paint this way for minor touch up. Saves cleaning the color cup.
The cleaning the color cup. A surprising amount of issues for all airbrushes come from dirty color cups. A bit of crap will flake off and cause a clog or worse.
When done, I empty color cup and wipe it out then refill it with thinner and let it sit soaking while cleaning the airbrush.
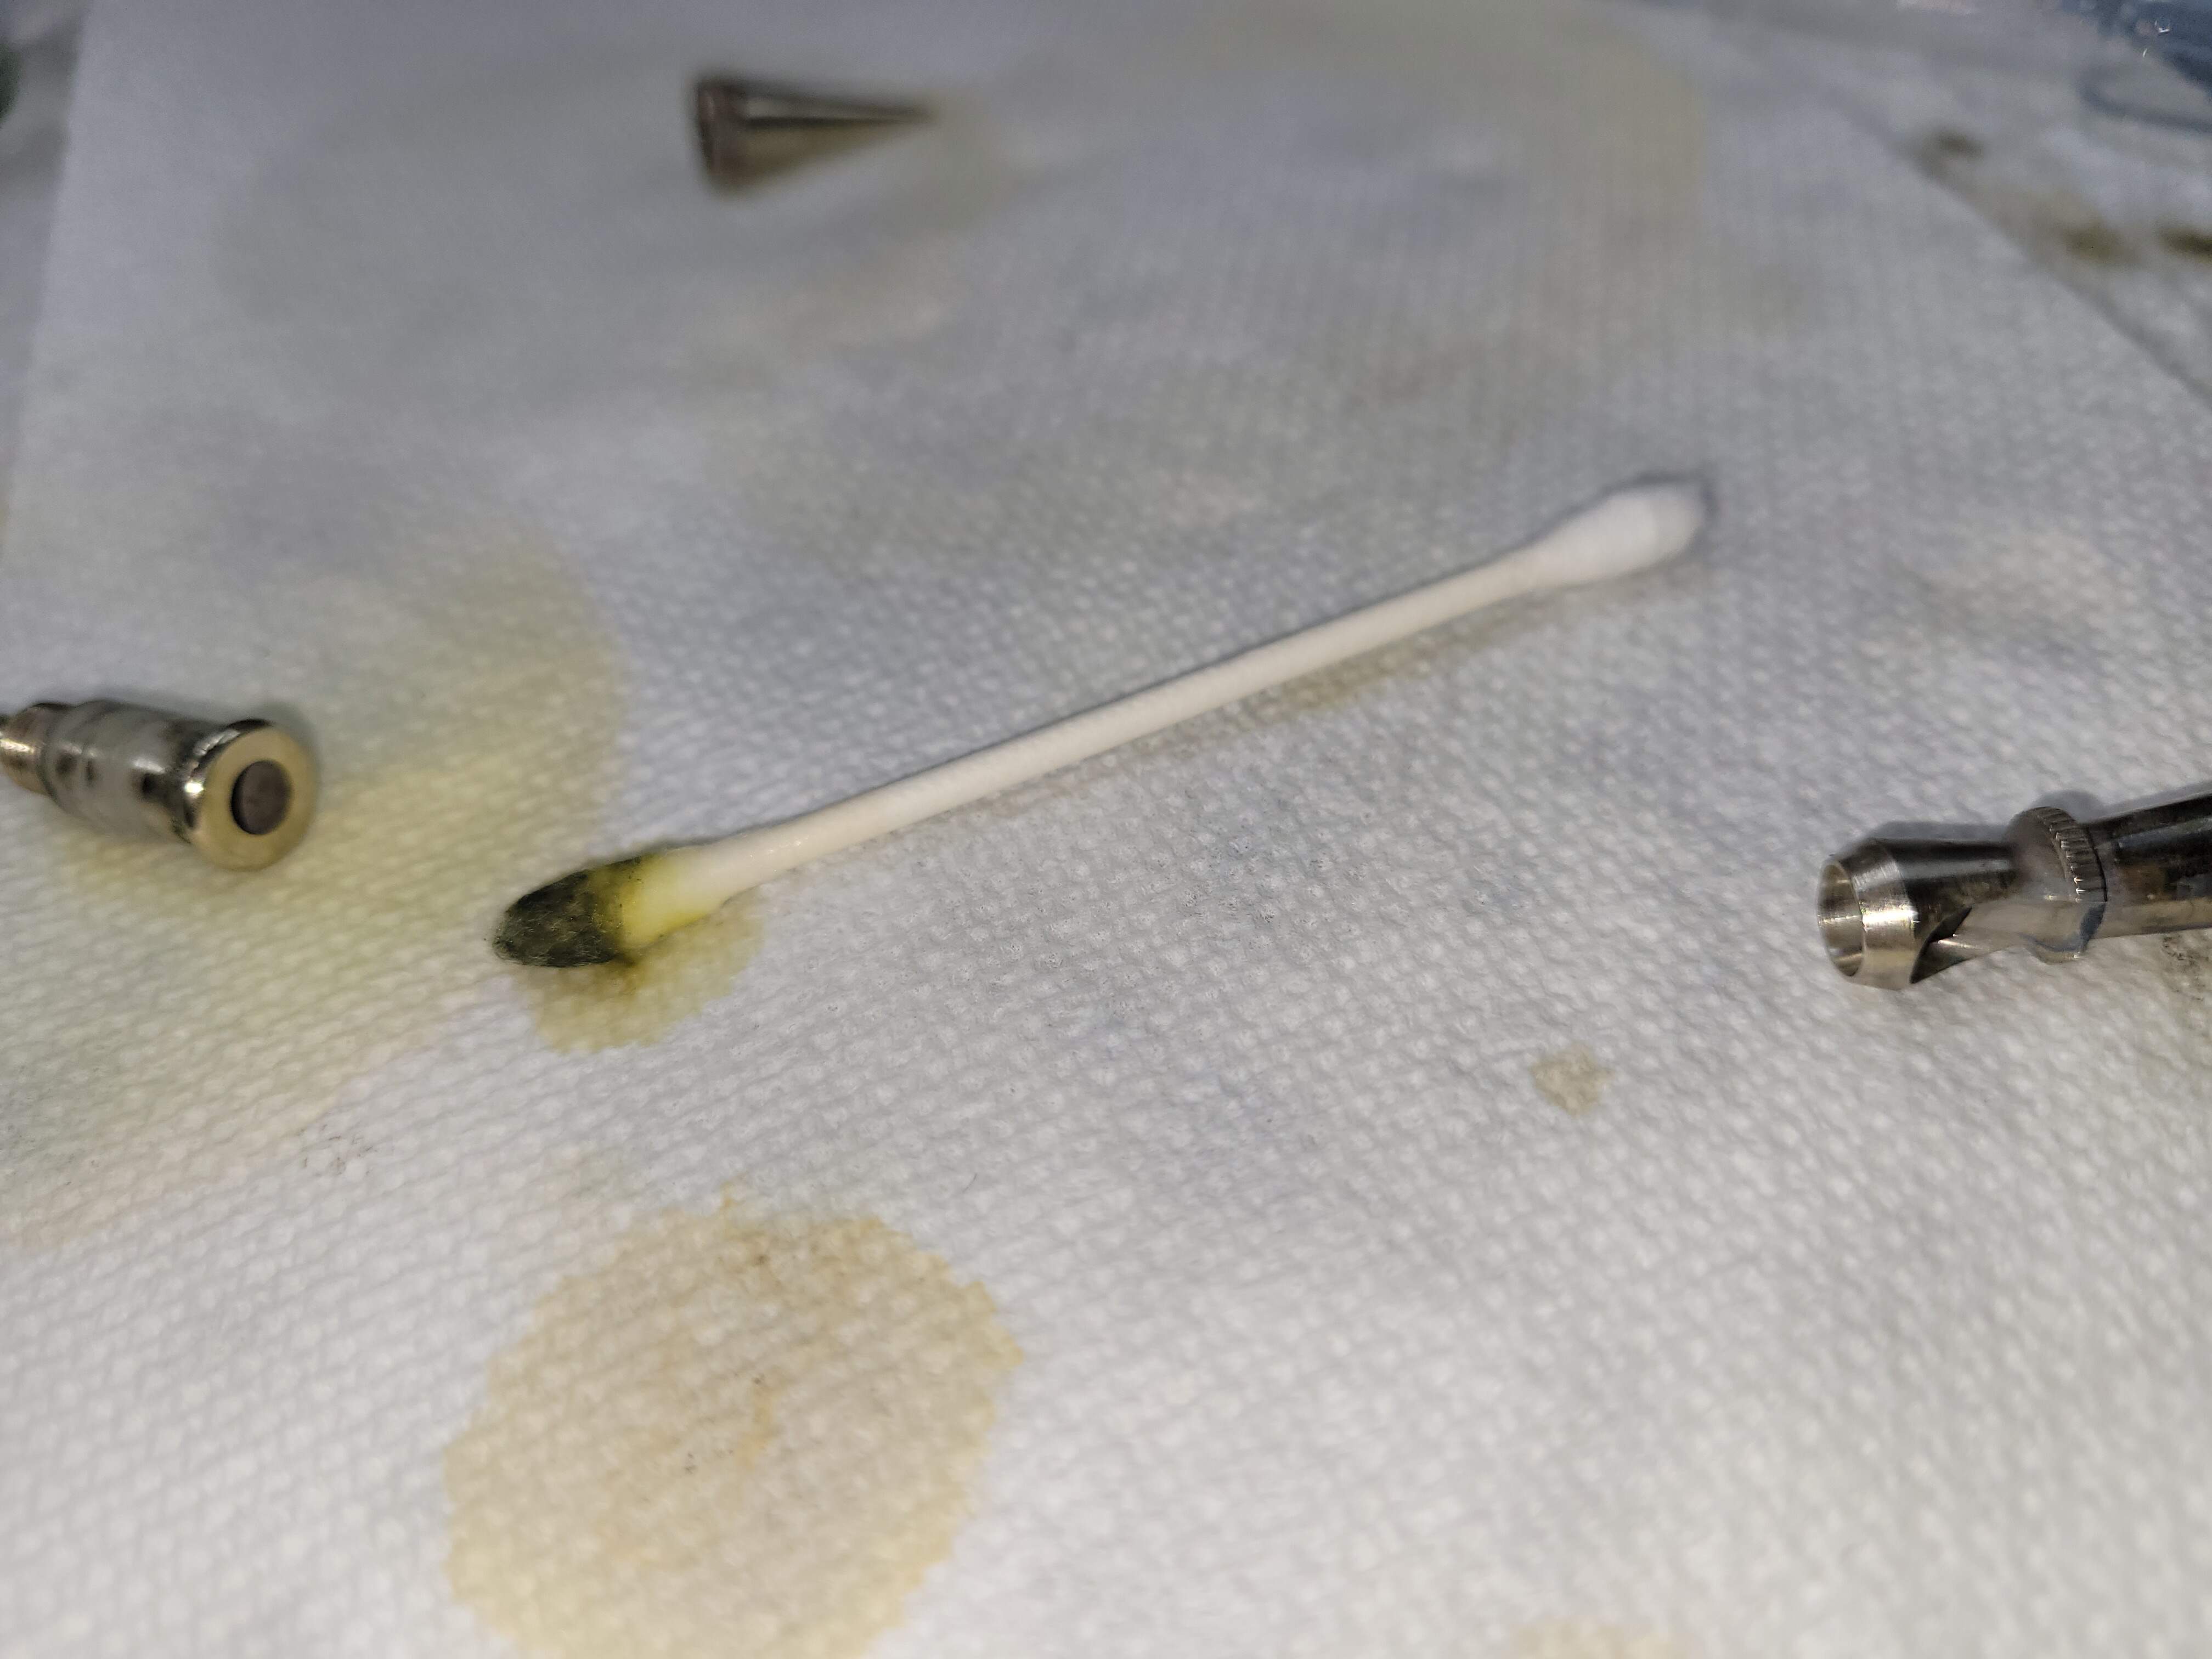
Pictures should be self explanatory. Always flush after using a pipe clean. They can shed.


One more small Flush with thinner to make sure all is good. Blow until dry and a little more. Ready for another trouble free session 

…or another 175-200 models:)
6 Likes
There have been plenty of discussions on how to clean an AB but this is the first time I have actually seen it demonstrated on one of our forums. I suppose there are videos on line but this is one stop shopping. While you use a relatively simple single action AB the same steps also apply to just about any AB you would use.
I use an Aztec 470 cause I’m lazy. Unscrew the tip throw it in a jar with some Windex and shake… then rinse in water. Not nearly as complicated but the point is the same, a clean and maintained AB greatly reduces painting problems.
5 Likes
@Armorsmith DV, Aztec 470, excellent AB, a good friend really liked his! Nice clean up too! Very durable with proper care. A++
I’m sure unnecessary to post a cleaning ritual but thought there might be a new modeler somewhere it would help.
BTW - Old School Heaven, post man left this today!
Out of production for like 20 years and resupply shipment for at least eighteen armor projects of various flavors!
Totally Stoked to Paint, paint and paint some more!
3 Likes
Got that right. I used to make fun of my friend who used the Aztek…while I spent and hour cleaning my Passche between colors. I have five different brands of AB and while I think there’s hardly a difference between 3 of them, the feel and simplicity of the Aztek trumps them each time.
2 Likes
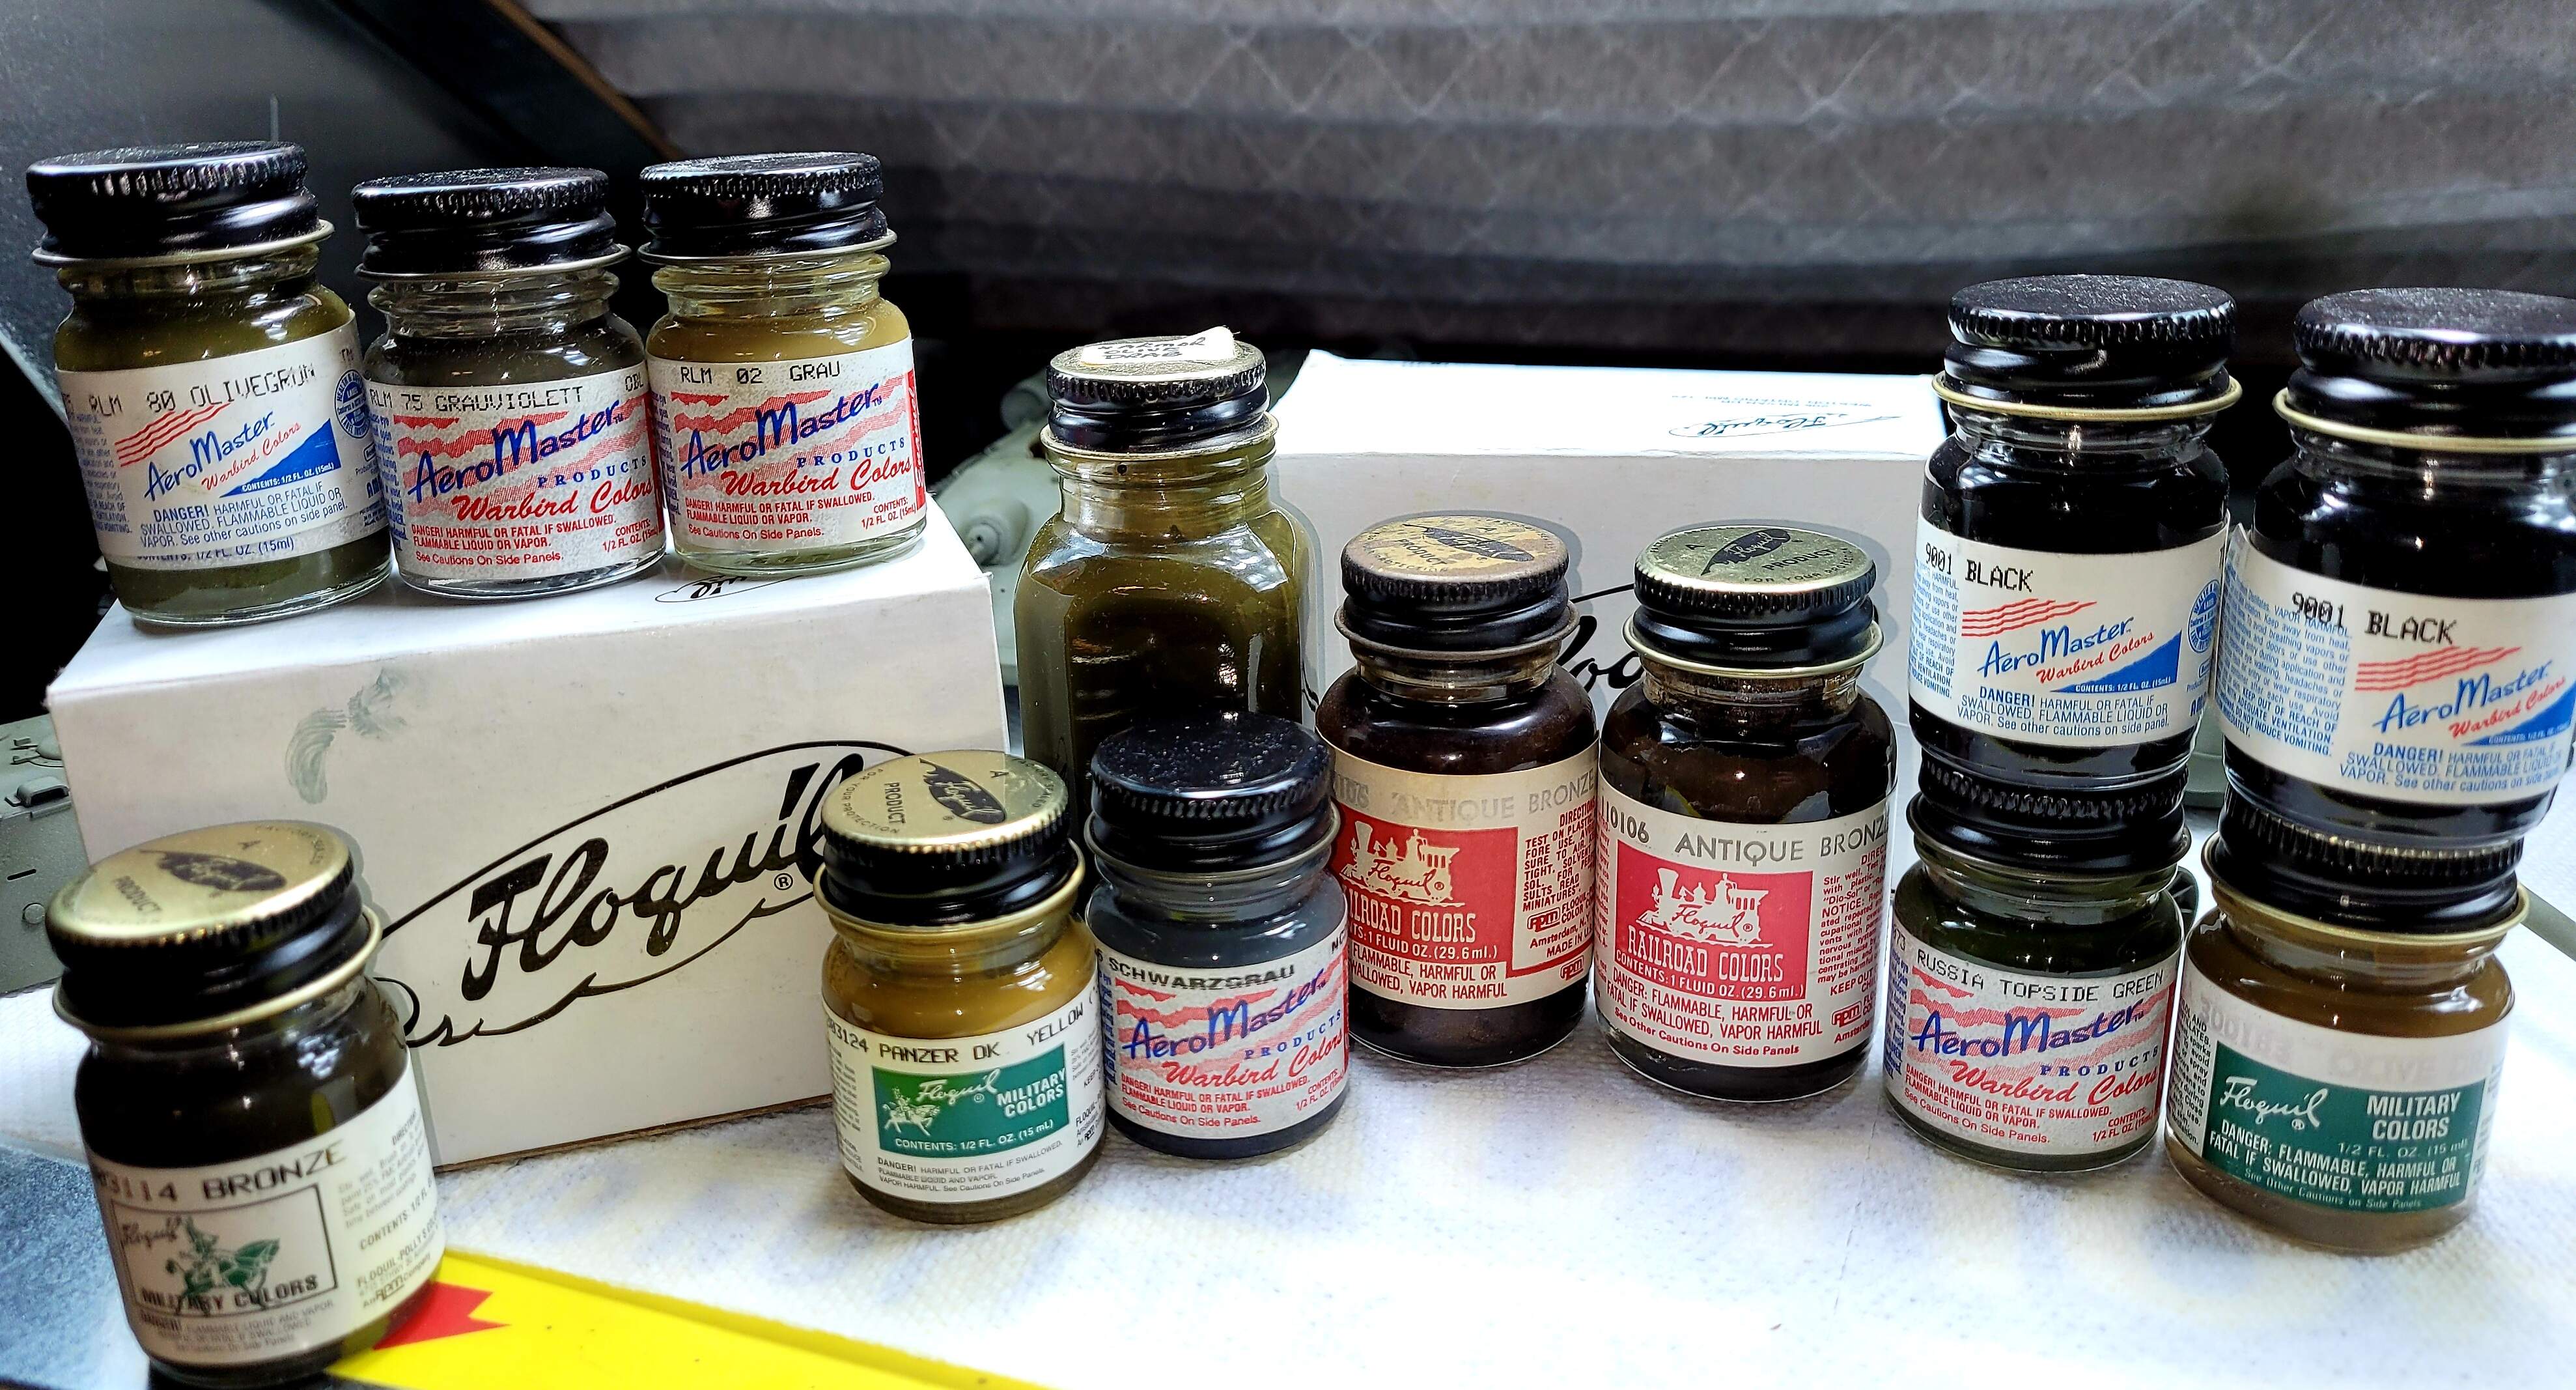
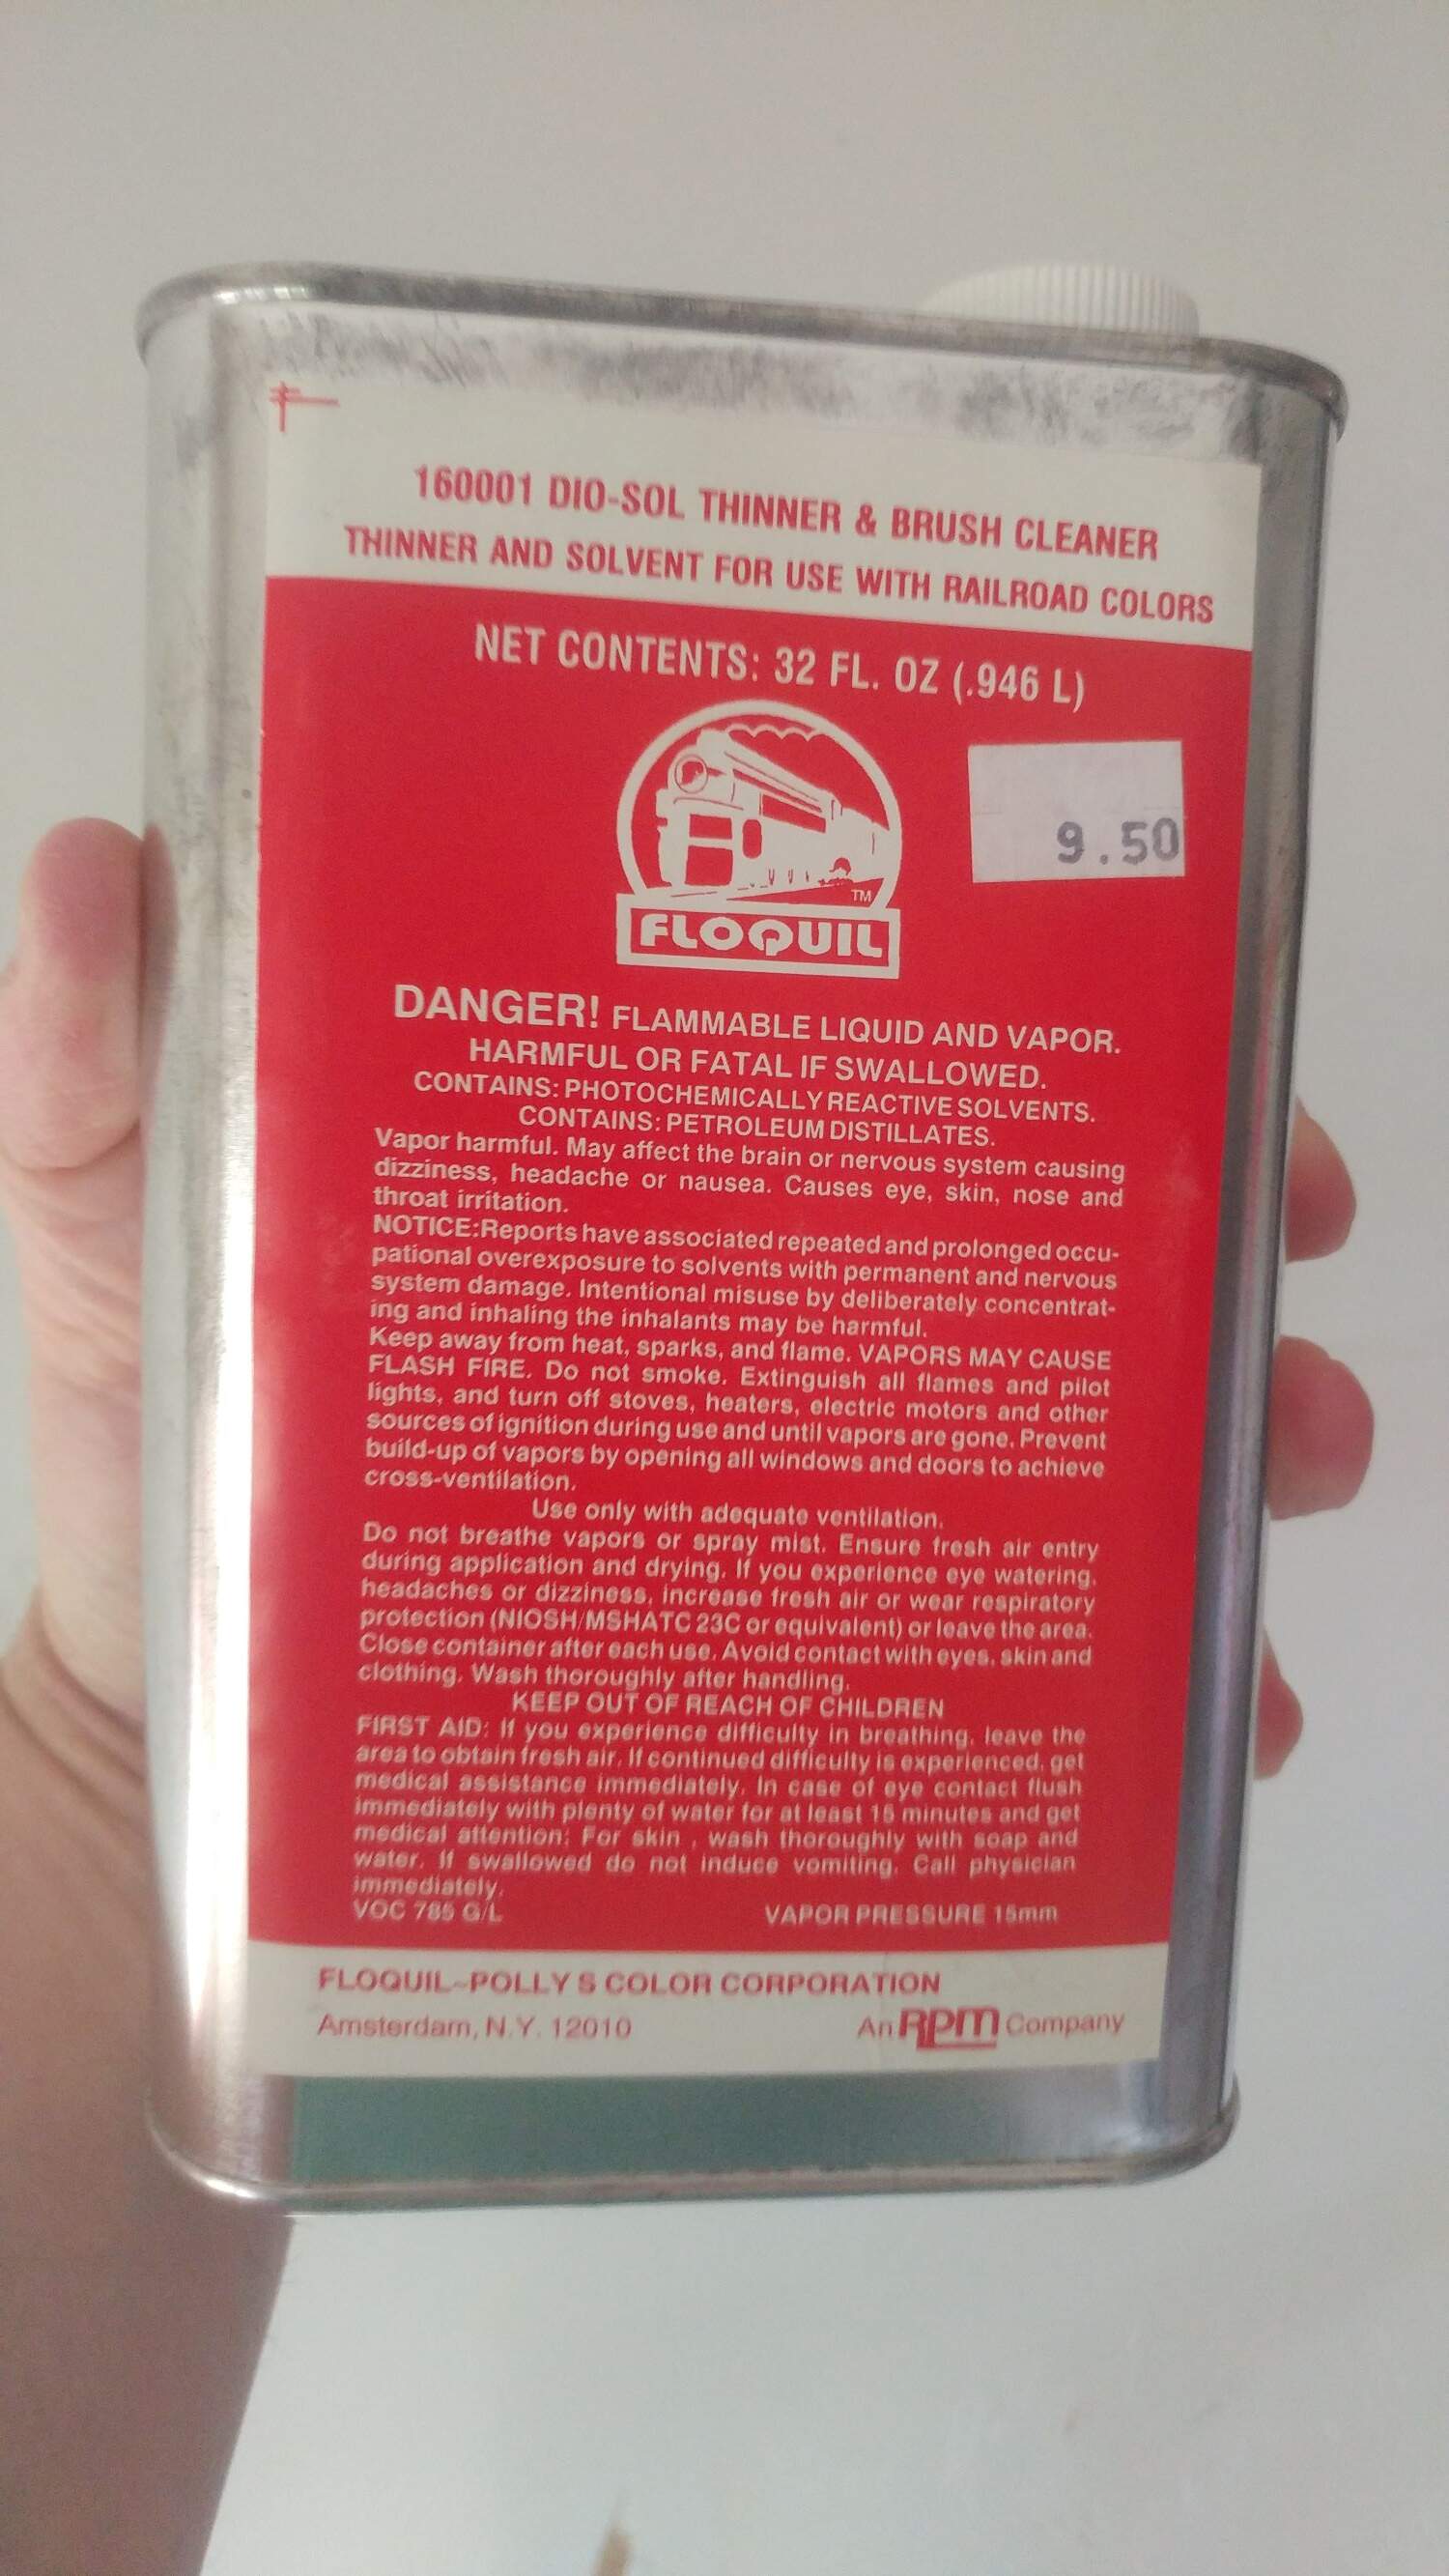
Floquil!!!
The rest of the Floquil is stored in a Top Secret Secure location
Understood. I curse so many factors that lead to Floquils demise, not the least of which was RPM being gobbled up by Testors, to be discontinued for their crap.
2 Likes
Screaming! You are tormenting me! Where’d you find those??? PM me?
BTW, snared this at a closed LHS in Indiana last autumn. Seal so tight that I can’t even smell any vapors.
2 Likes
Wade, thank you for this detailed and comprehensive tutorial. We need more modelers like you to put in the effort.
2 Likes
Shake it to be sure it didn’t all evaporate. 
1 Like
My thought exactly. 
3 Likes
I know your quite right there is a bit of a risk of getting a bottle of sediment instead of paint.
So far all the paint I’ve purchased from this guy had been good Floquil shelf life unopened will exceed 35 years at least. I have a few bottles that are opened but carefully resealed pushing 30+ years that are still good.
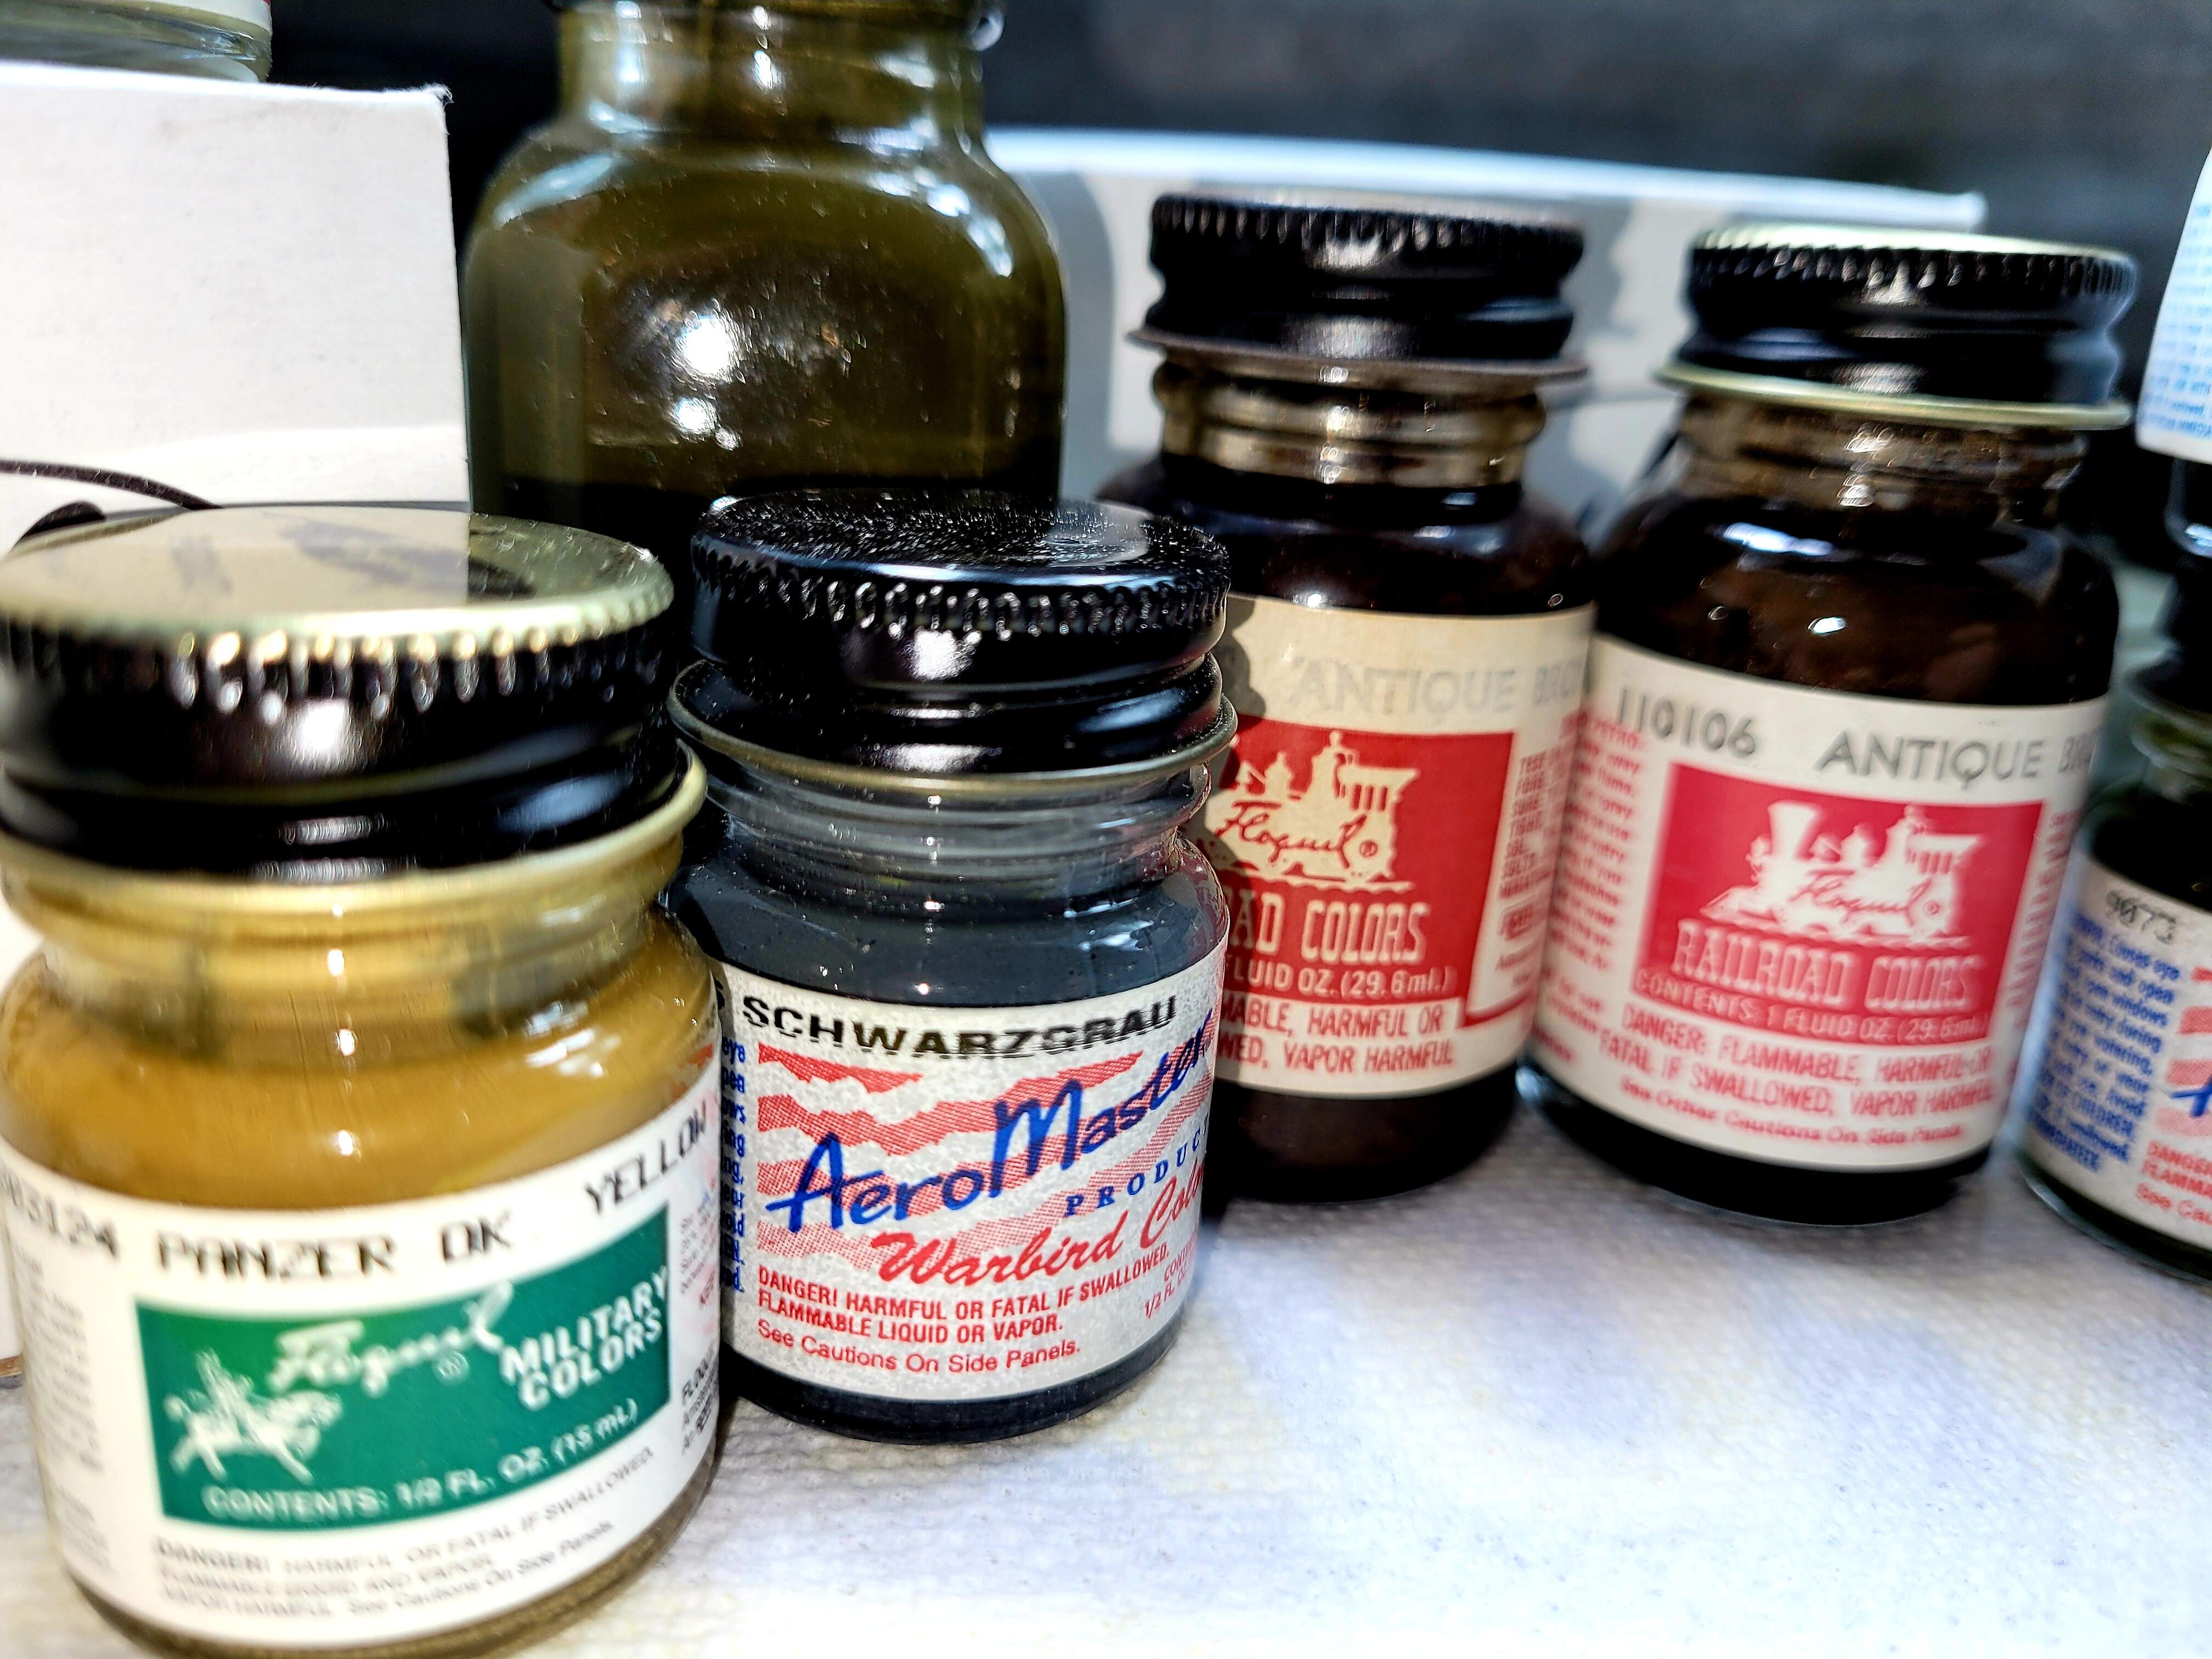
Antique Bronze is almost an ironic name I had about 1/4 Oz of Antique Bronze left. My bottle was from the 1970’s Note the other bottle of just merely Bronze on the left - it’s from the 1990’s not old enough to be Antique yet (pun intended).
In my opinion, Antique Bronze is magic  in a bottle. To steal a Star Trek analogy it’s dilithium crystals, anti-matter & wrap drive all rolled up and put in a paint bottle.
Floquil Antique Bronze & Rust on grayed white metal. I tested a new burnish chemical and it merely grayed the white metal. The tracks looked like Panzer Gray or RLM 02.
Big disappointment? No
My ally is Floquil Antique Bronze and a powerful ally it is.
Wink.
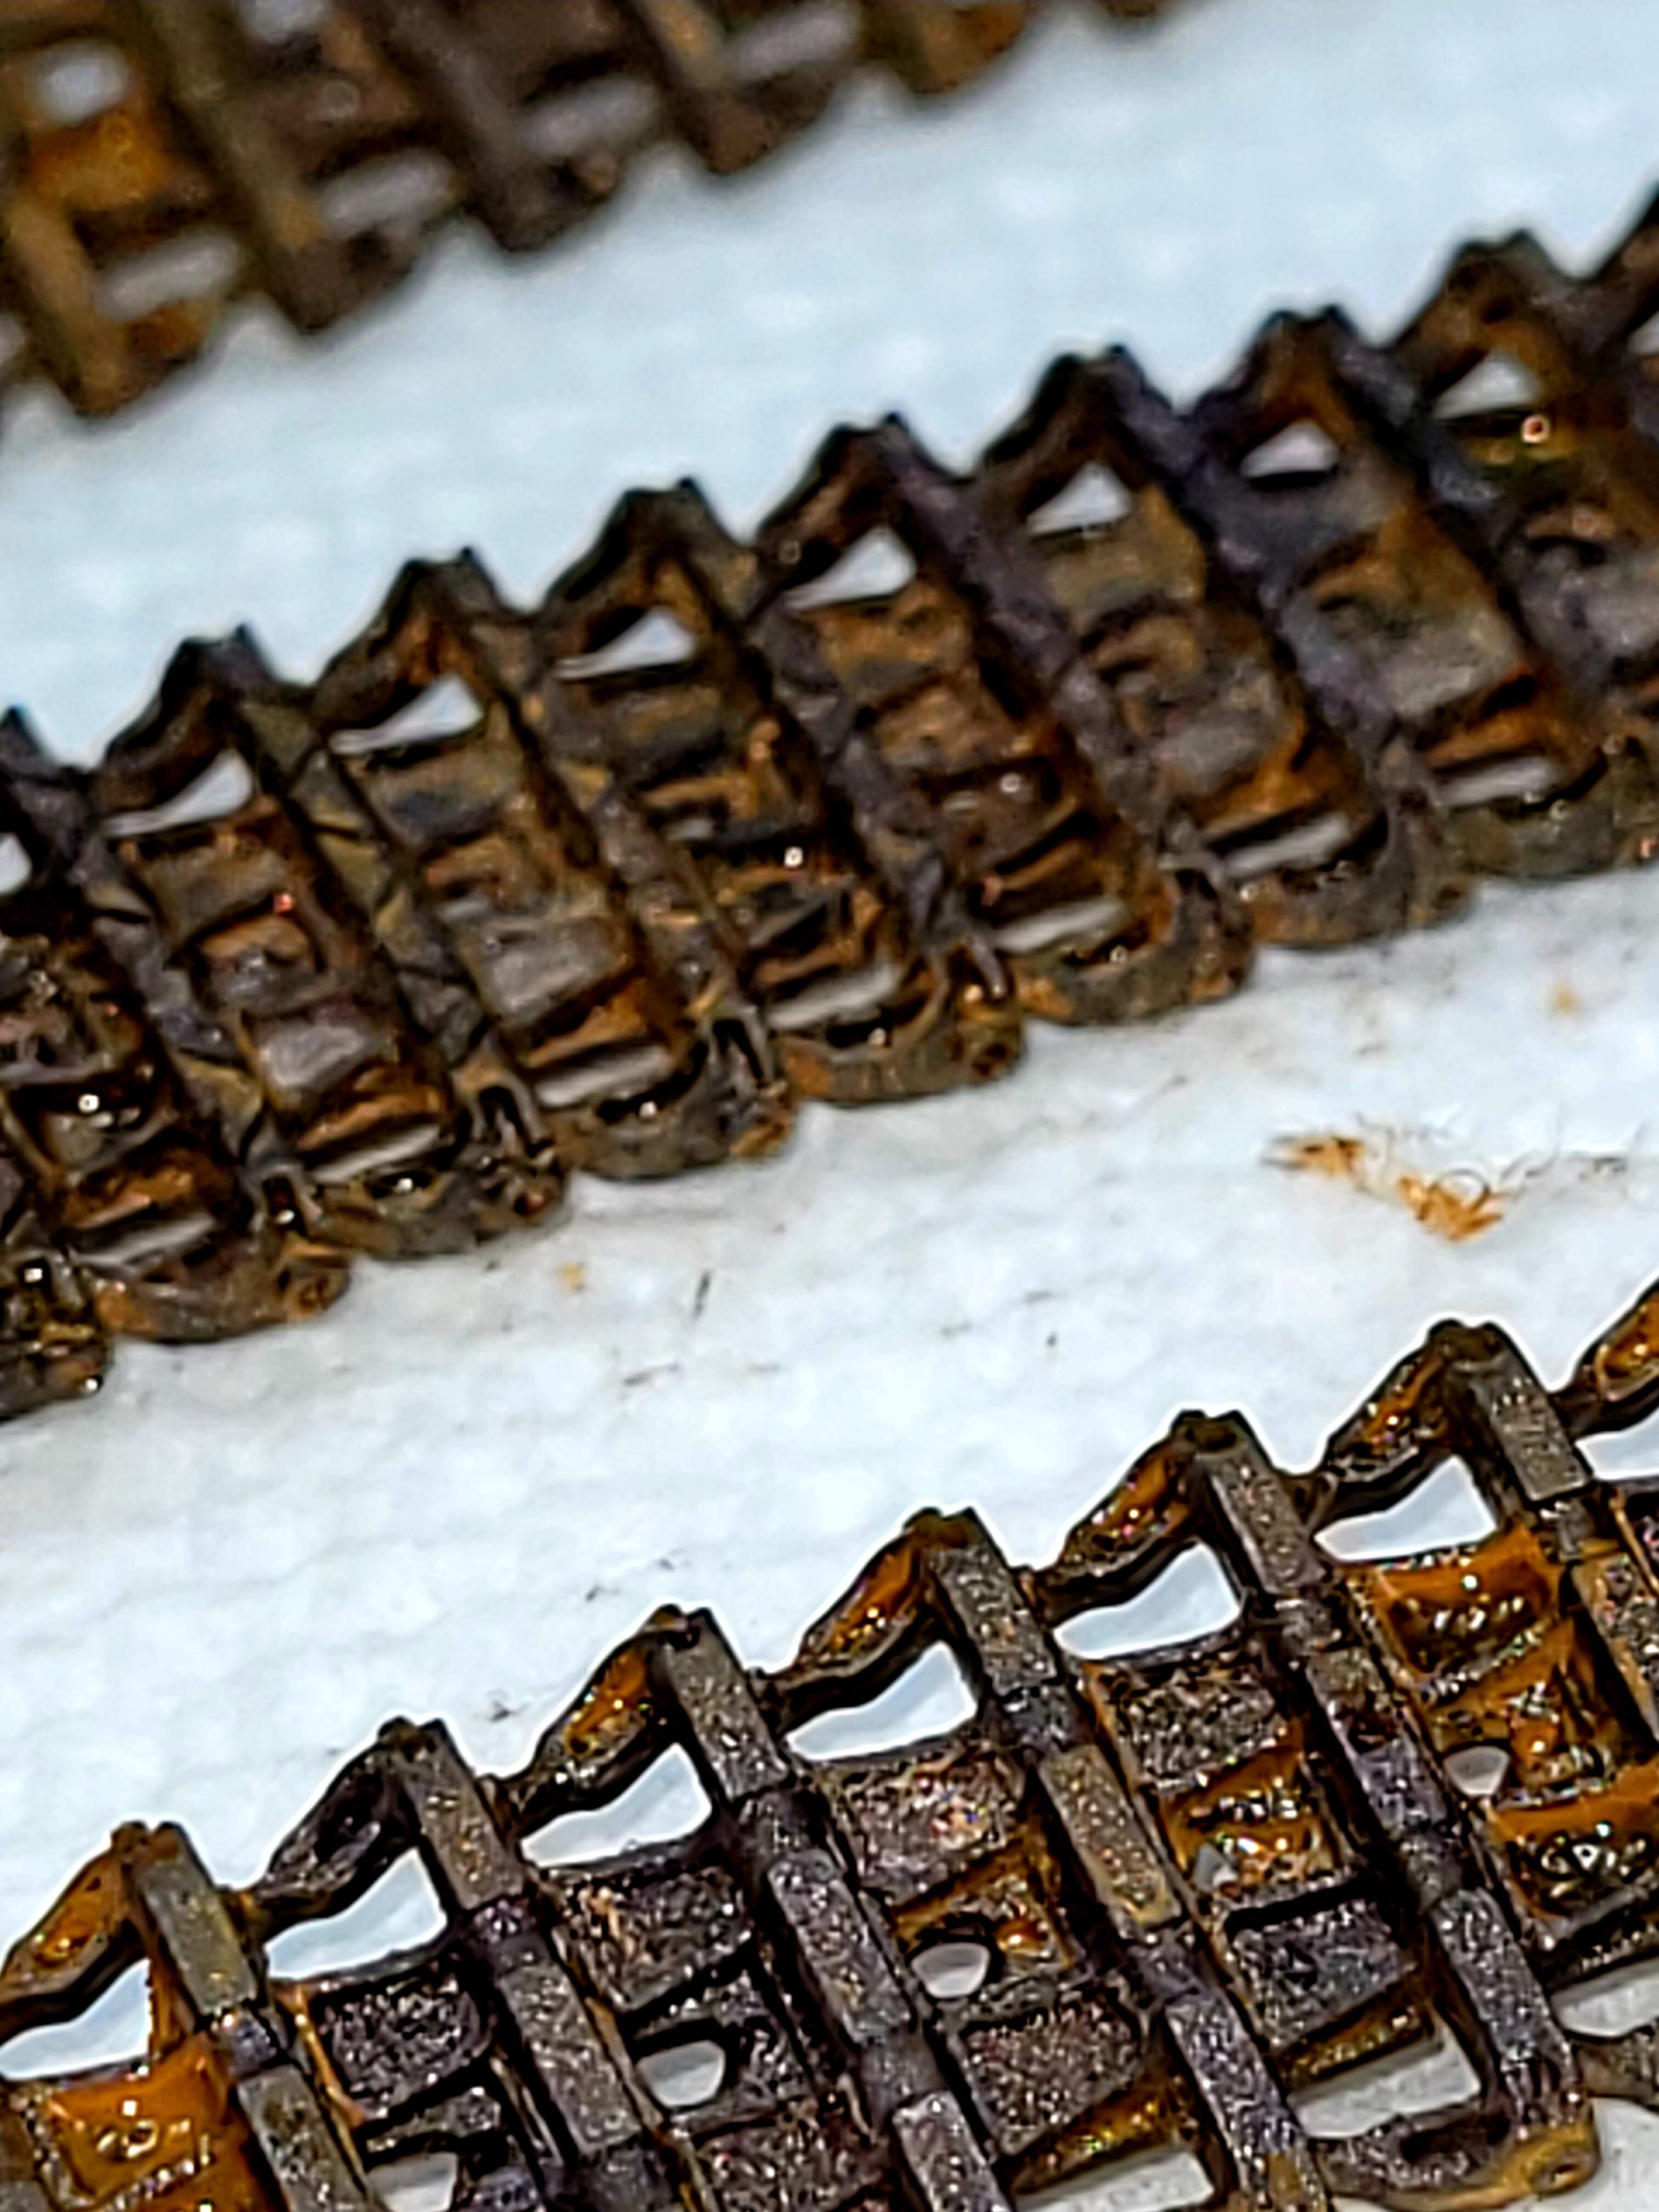
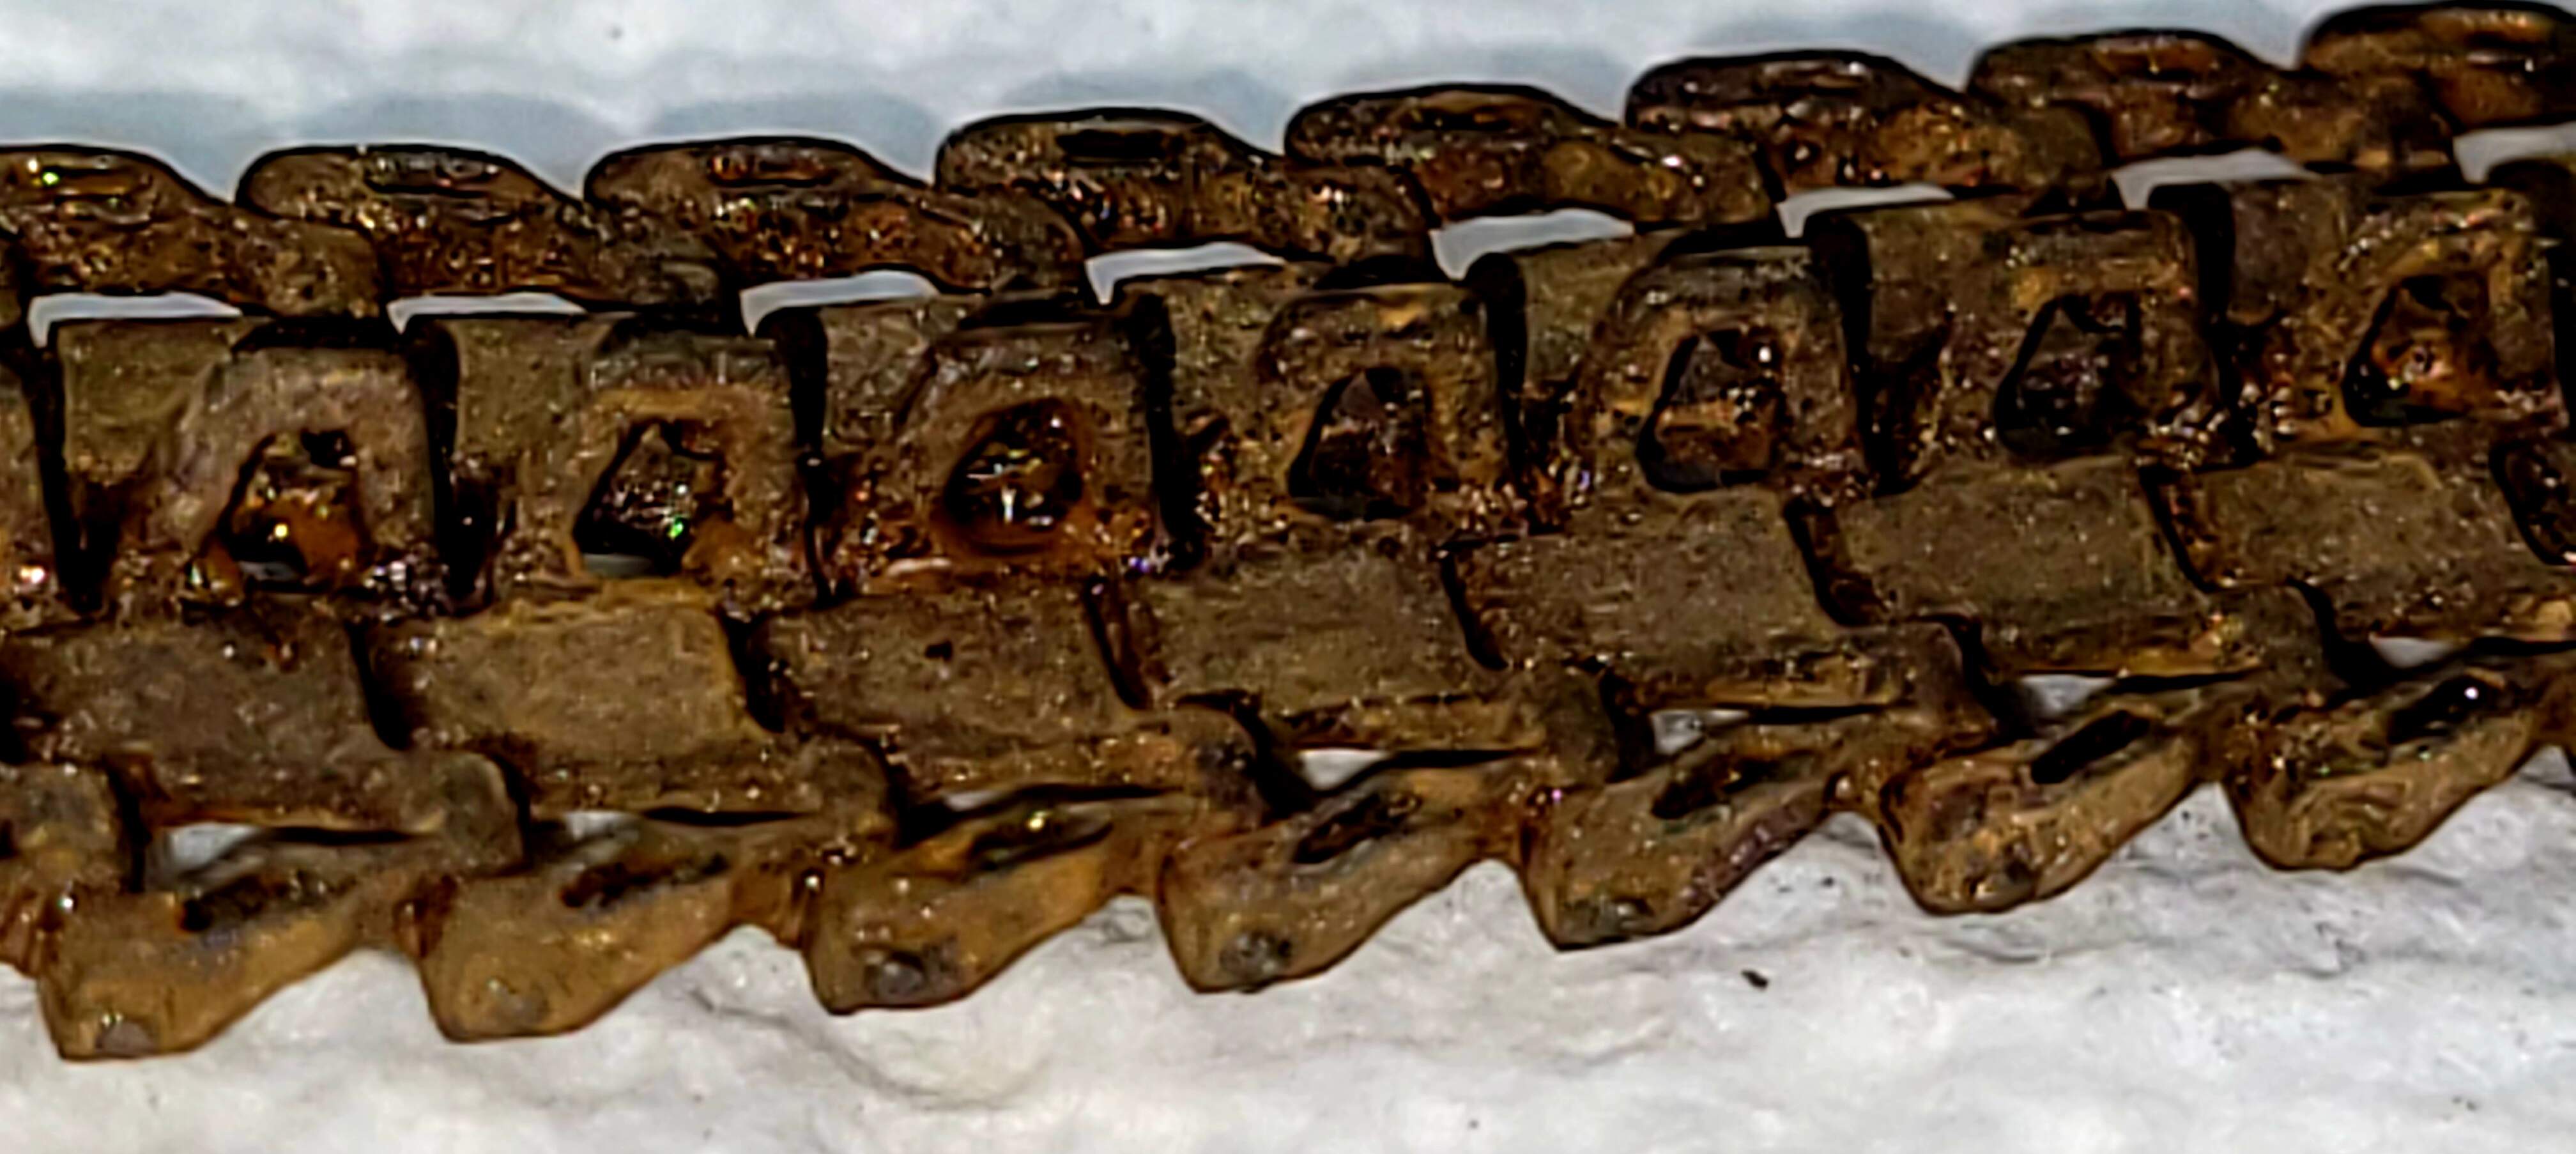
Blacken-It chemically burnished white metal Fruils below.
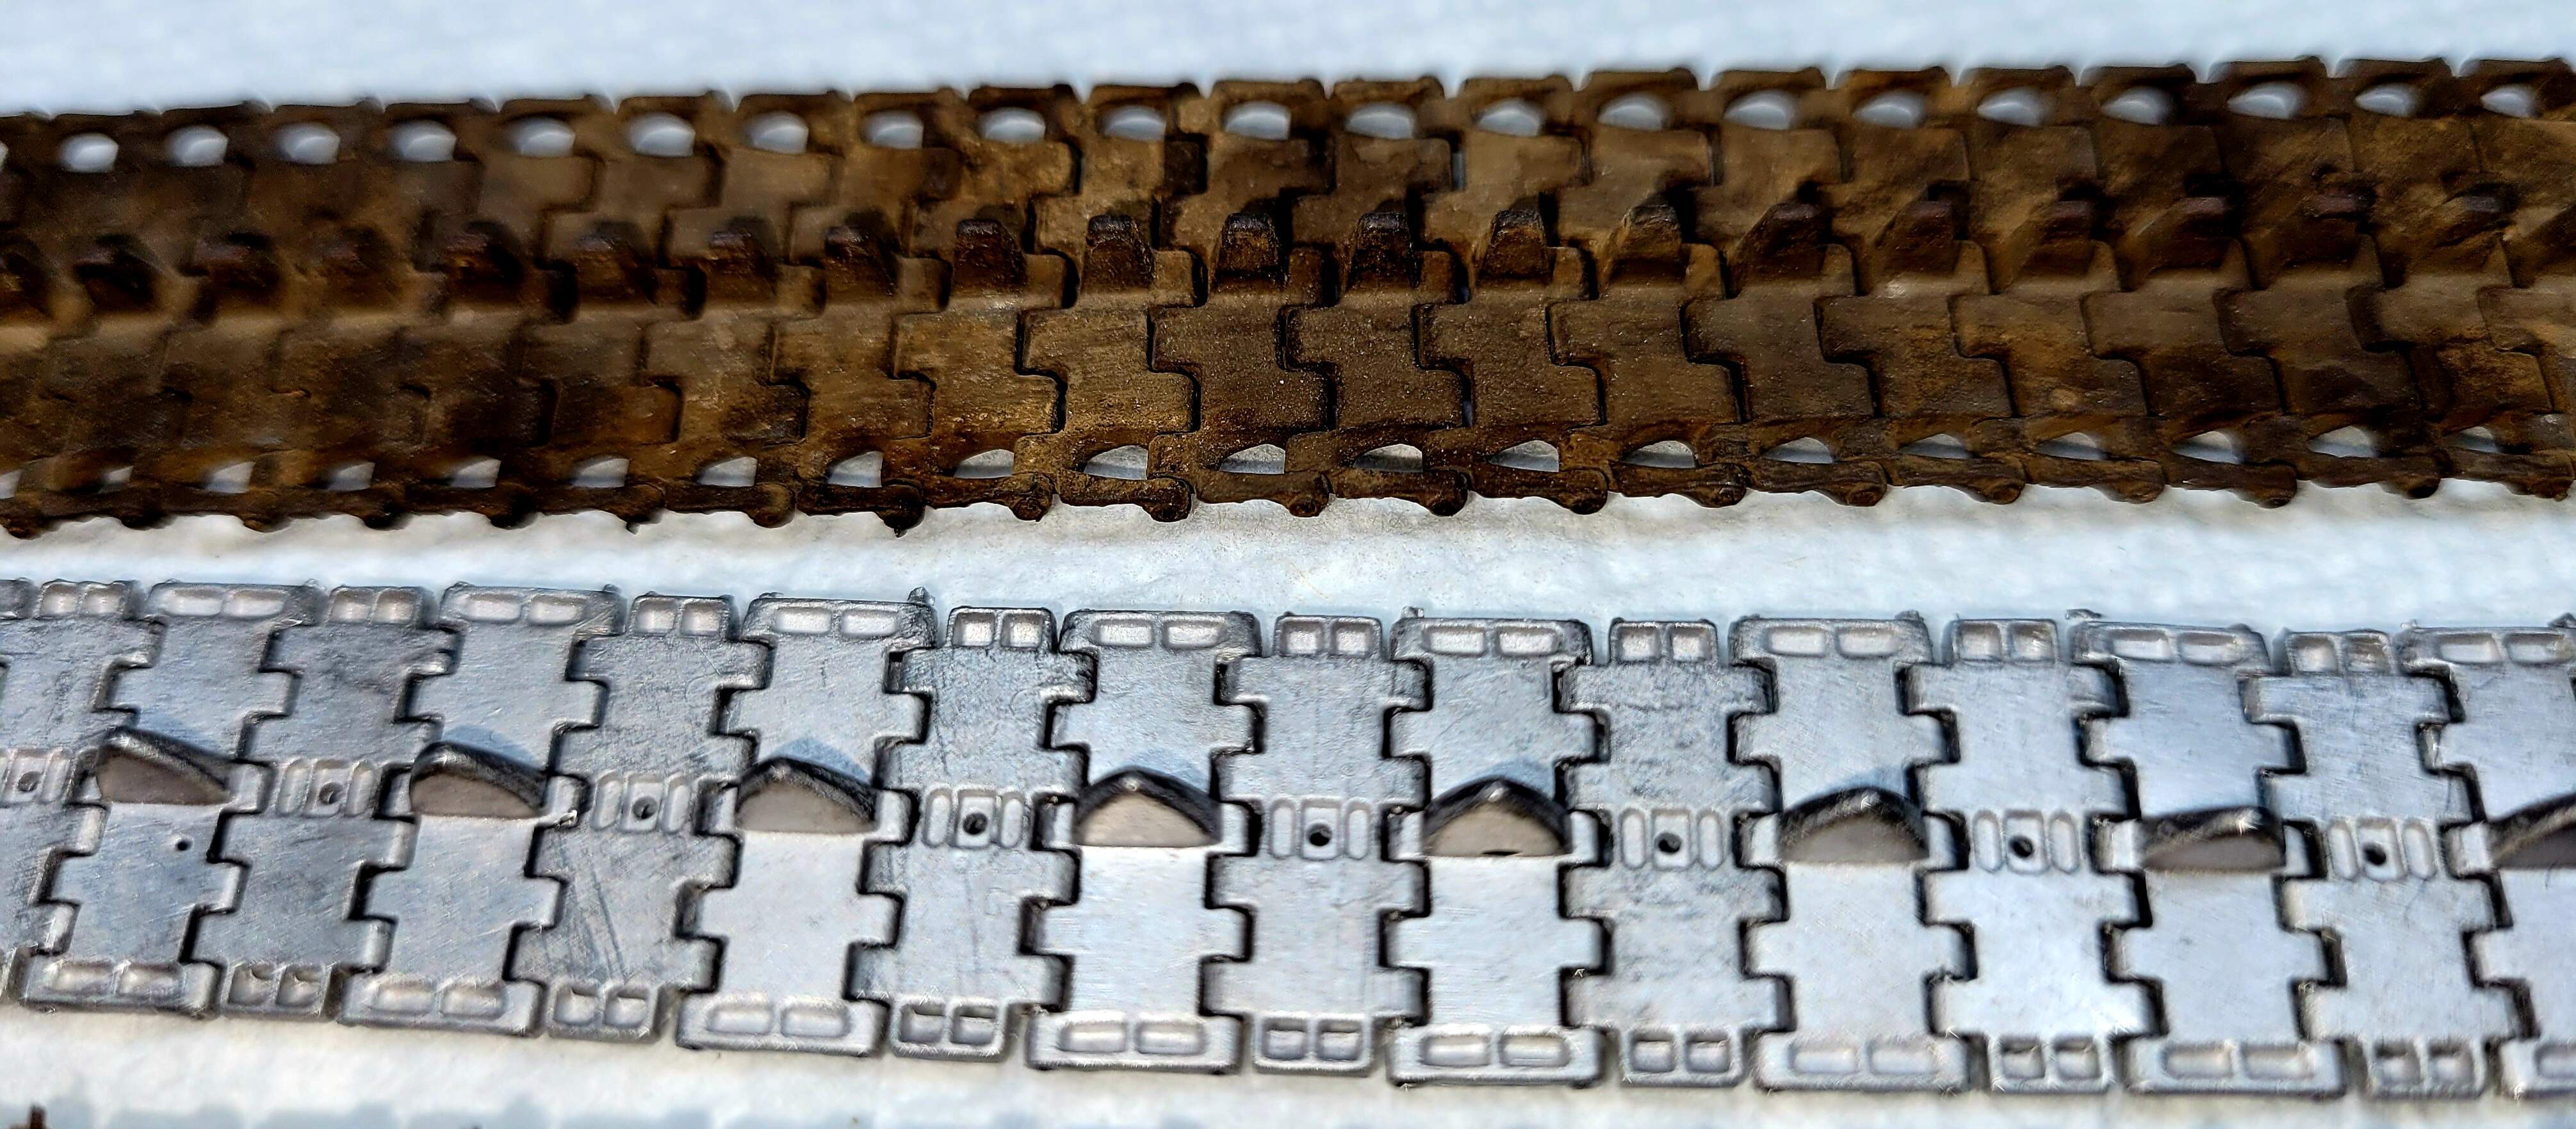
The Antique Bronze & its friends can just about pull that off on a set of rubber band or plastic tracks as well
…and its easy enough even I can do it successfully
5 Likes
Pm sent ![]()
Not sure what RPM/Testor’s malfunction was for them to make that decision. I suspect Model Master was rapidly loosing market share to Floquil, Tamiya, Gunzy and everyone else. There was a period almost no one was using Model Master in our area. RPM was cranking out defective DullCoat, many of their Green pigment paints were horrible - like trying to spray sand, if it sprayed it would lift and peel.
I think RPM bought Floquil to get rid of the domestic competition and copy paint formula. Model Masters reputation recovered in our area after the purchase. Likewise Muddle Masters horrible quality improved significantly.
I’d really like to know the true inside story.
Of course one always has to remember, it seems like Testor’s is one of the stupidest, most clueless, idiotic companies around. They managed to loose market share in liquid cement while having one of the best products.
How? At least in part by putting it in the wrong style bottler that tips over easily with a worthless application brush.
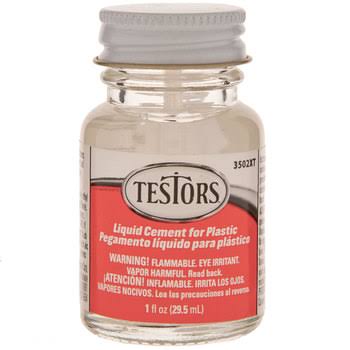
This more expensive import product just totally kicked Testor’s butt. Note Tamiya actually has a correctly designed bottle with a quality brush.
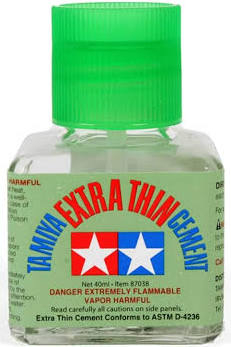
I use both glues. I used four times as much Testor’s because it’s slower and doesn’t evaporate as quickly. It allows me to position parts more accurately.
Of course, my Testors Liquid Cement is in a Tamiya bottle so that it’s actually usable.
2 Likes
Thanks for bringing this thread to my attention!
Interesting stuff.
1 Like
Nice. Much better than your first effort. Told you it was pretty easy to get the hang of it.
Don’t worry that it looks too splotchy. Once you’ve done the whole tank you can do a filter of the base color to tone everything down a bit and blend it all together. Weathering will also bring it all together.