Hi all
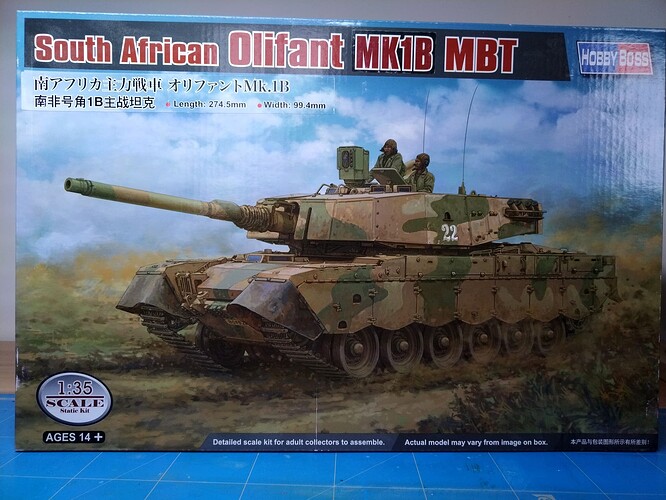
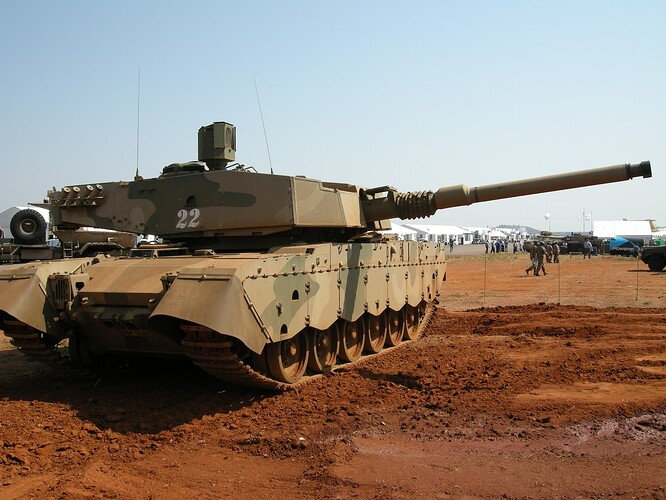
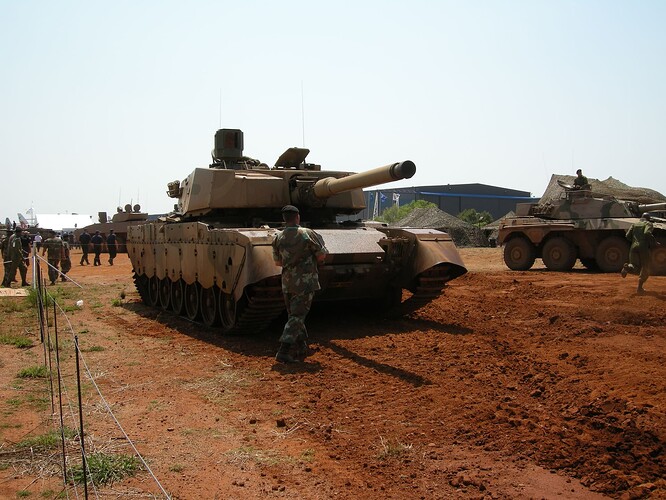
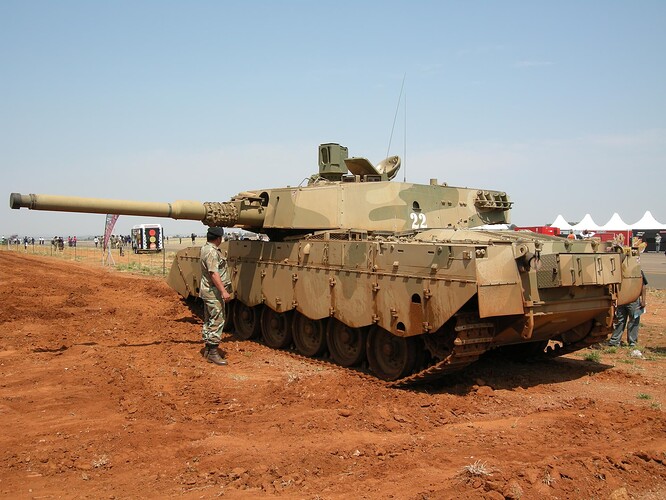
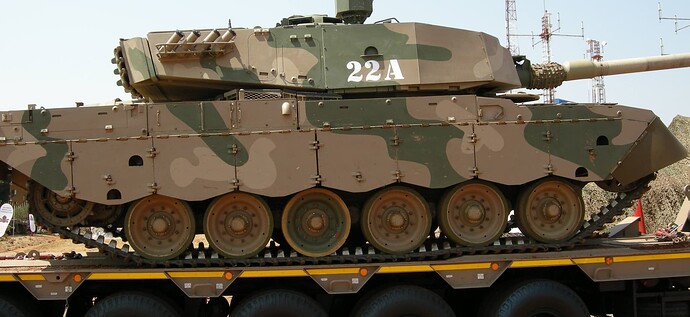
here is my latest project. If I’m not mistaken the kit depicts an Olifant Mk2 and not a Mk1B as it is labeled by Hobby Boss.
This the last MBT avatar of the Centurion to be developed. The suspension is heavily modified as is the turret.
The kit comes with 4 sprues, 2 hull halves, 1 PE plate, 1 decals sheet and 1 instructions booklet. The detail is a bit soft and the canvas at the rear of the bore evacuator needs to be modified (pictures later).
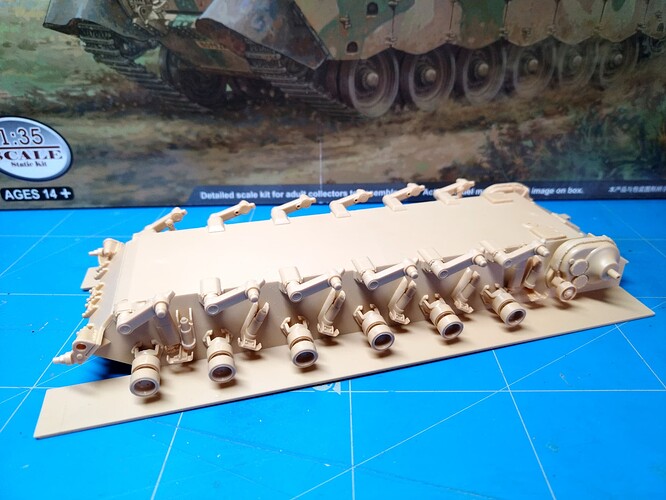
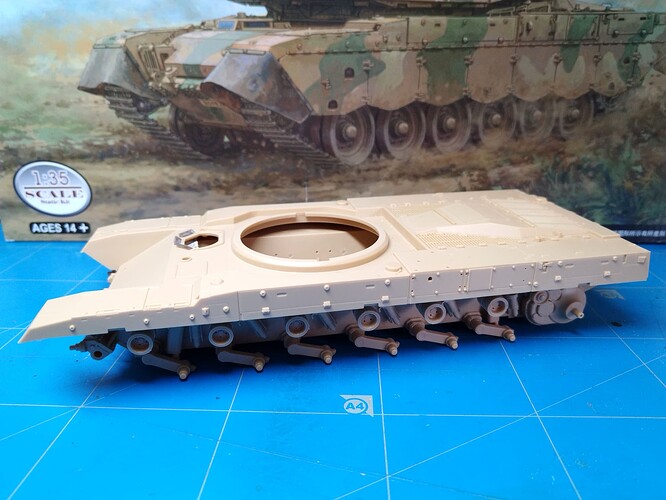
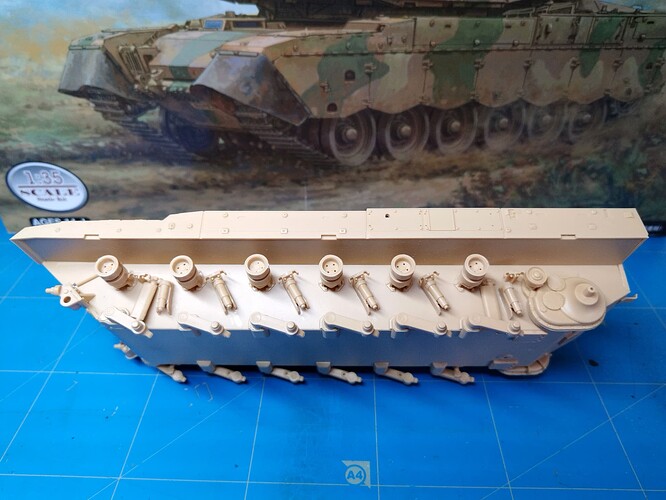
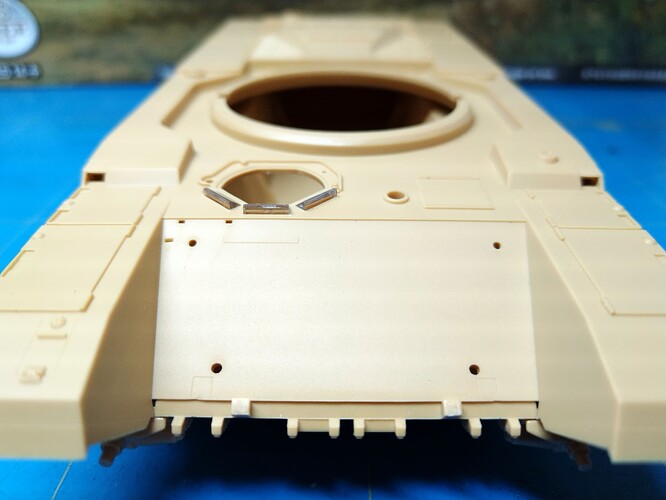
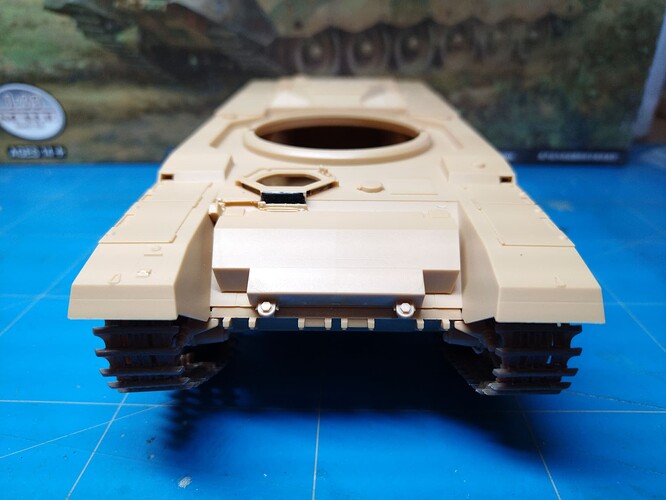
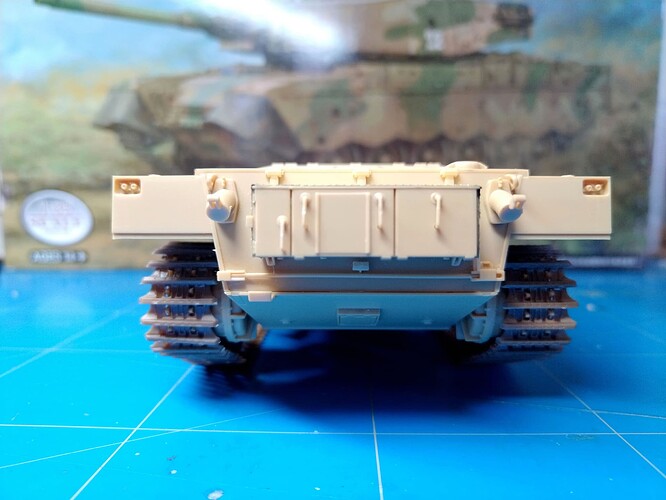
Here is where I am after 2 days of work.
Olivier
17 Likes
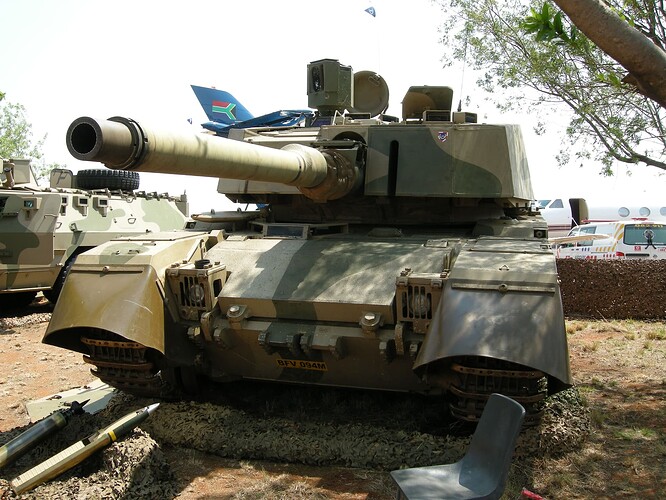
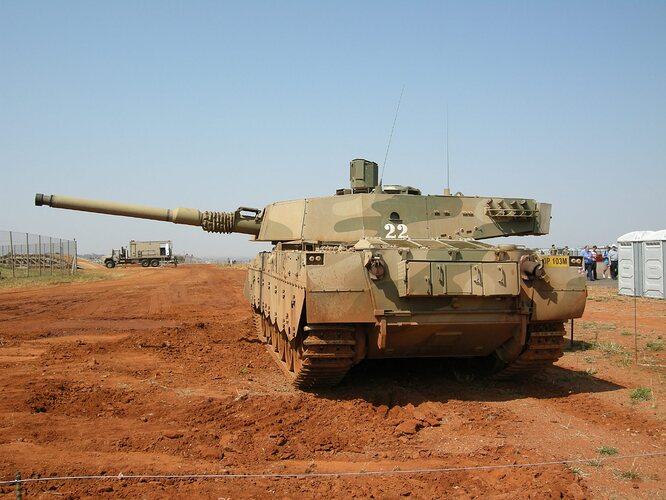
True, it is a Mk2. Do you need photos? I have some really nice ones from the late Charlie Deale (who was a great guy and really helpful with all things about the South African Army)
10 Likes
I love seeing more of these not-so-famous AFVs and those of countries not usually covered. Very nice!
4 Likes
Oliver
as usual looking forward to a great build, I’ve got this on the shelf and am interested in how you taccle the cam job (if you do it.
David
2 Likes
I have this kit as well and will be watching.
2 Likes
@gtdeath13 Thanks for the proposal. I already have a comprehenive series of pictures including the ones you posted. I must confess I don’t remember where I downloaded them.
@dmiles Of course I’ll paint it in the 3 tone scheme. It is a hard edge camo so my best option is the paint the outlines with a brush and fill the areas with the AB. I usually have good results doing so.
Olivier
2 Likes
Intersting point, I did not notice until now…
Externally, the Mk2 looks identical to the original Mk1B but features an upgraded Continental 29 Litre turbo-charged V12 diesel engine that produces 1040 hp. The only prominent identification feature is the box-shaped commander’s sight.
So HobbyBoss messed it up again, but it is an easy thing to do both tanks
Thank you
Rabbits
1 Like
The painting instructions sheet is labeled Mk2. And the box title has a sticker to hide Mk2. So I don’t understand what made Hobby Boss change their mind.
Olivier
1 Like
Some people were calling them out that it was the wrong designation before release and they changed it.
If I recall correctly the illustrations Hobby Boss showed as the new kit announcement did not show the commander’s sight.
2 Likes
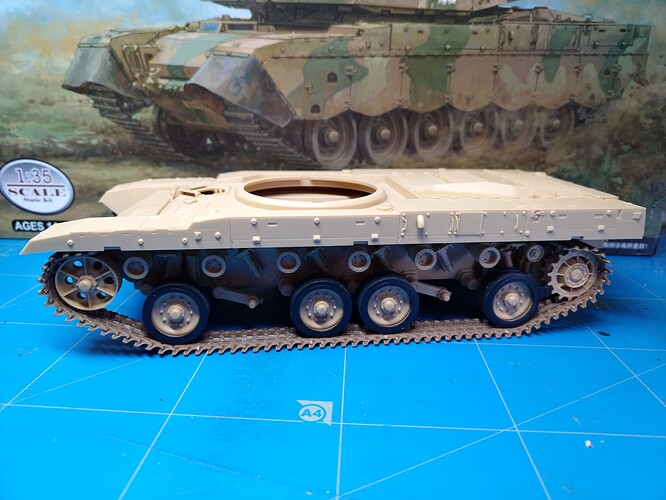
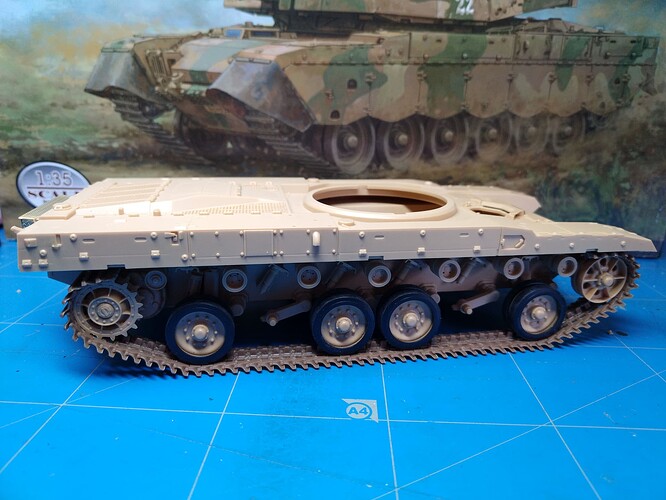
Some slow progress due to real life priorities.
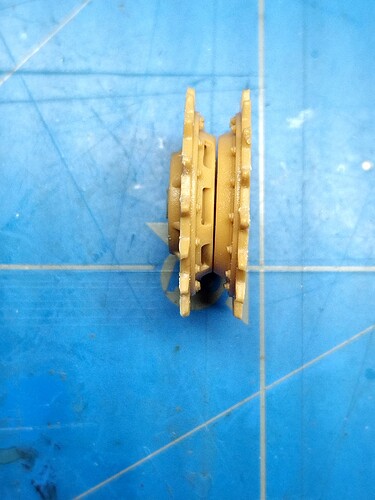
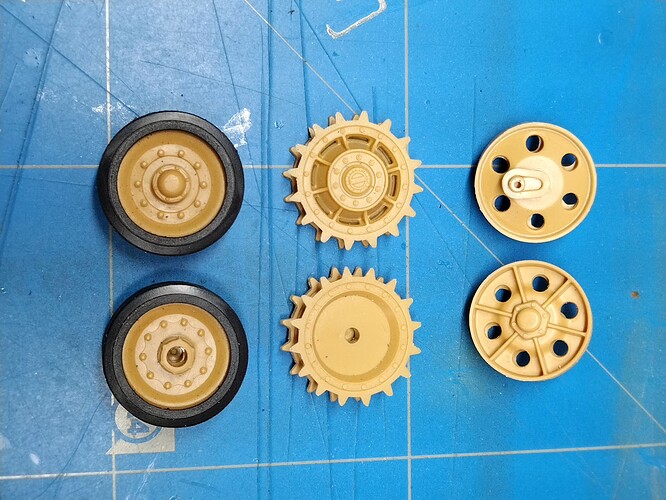
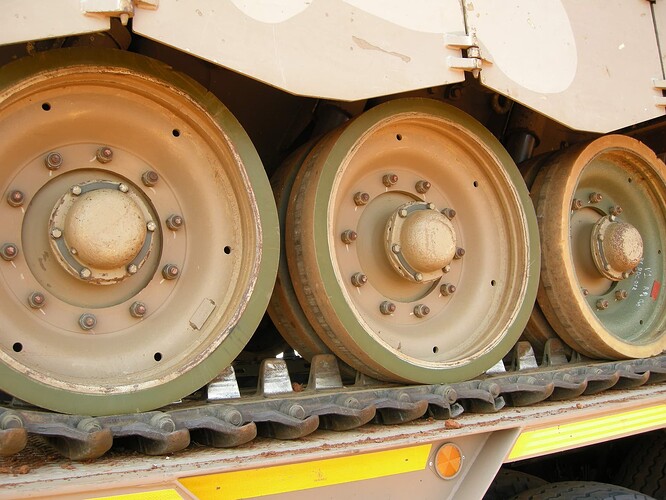
I managed to assemble all the sprockets, idlers and roadwheels. The sprockets halves are not aligned so you need to remove the tab on the back of one half.
I also assembled the hull before adding the details unlike what HB tells you to do.
Olivier
7 Likes
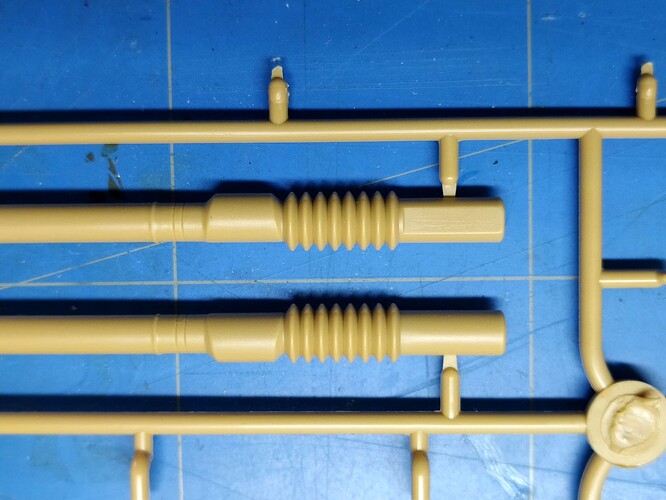
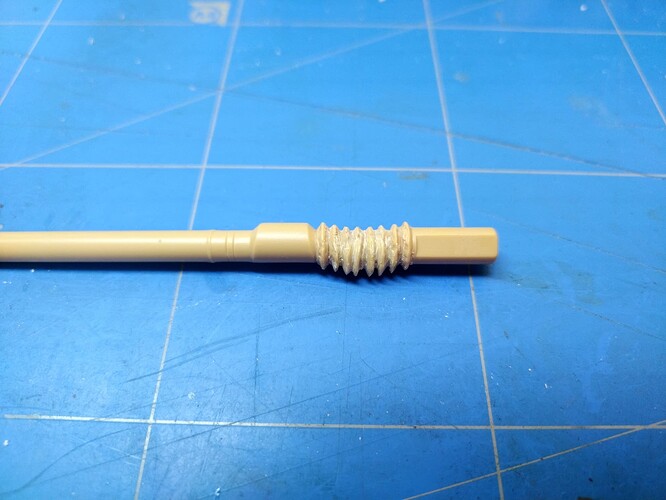
While the tracks are curing around the sprockets and idlers, I’ve modified the poorly represented bellows.
Here are the kit parts.
Here is the modified part with some sagging, maybe excessive to be honest.
Olivier
9 Likes
Excessive or not, it looks a lot more realistic than the kit offering 
4 Likes
Hi Oliver,
The sag looks good, you could cover it with tissue soaked in pva just to refine it a bit.
David
3 Likes
David,
I have put the turret on a hold to complete the hull.
The tracks are assembled and put in shape around the idlers and sprockets. The upper links being hidden by the skirts are not assembled.
Some details have been added to the front glacis, the rear plate and the sides.
6 Likes
I have fixed some minor errors.
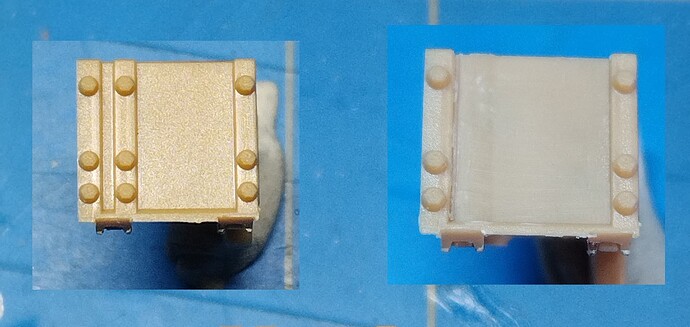
On the headlight housing there should be only 2 lines of boltheads and not 3.
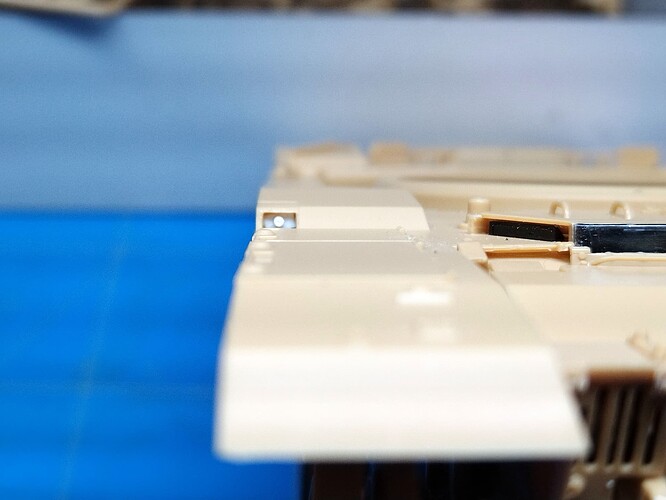
On both sides of the hull front Hobby Boss molded a large rectangular hole. There should be a small light. So I glued a 3.5 x 2 mm piece of plastic card on which I glued a bit of 1 mm diameter styren rod. The center is drilled out to depict the light glass.
Next step is painting the lower hull and running gear before adding the side skirts.
Olivier
6 Likes
Looking good. For the tracks the South Africans have lengths of ten complete links then two links have the edges cut in order to make it easier to remove the pins.


5 Likes
Good to know. The Israelis have the same method but with 6 links instead of 10.
Are the 2 shortened links in a row or just between each series of 10 normal links?
Olivier
2 Likes
10 links - 2 short links - 10 links - 2 short links and so on
3 Likes
Nicely done Olivier…love seeing attention to detail like this 
2 Likes
I have started working on the turret. There is a lot to do to get a correct rendition.
Hobby Boss omitted obvious details, simplified some parts, made mistakes on other ones.
I admit that there is some nitpicking in what follows.
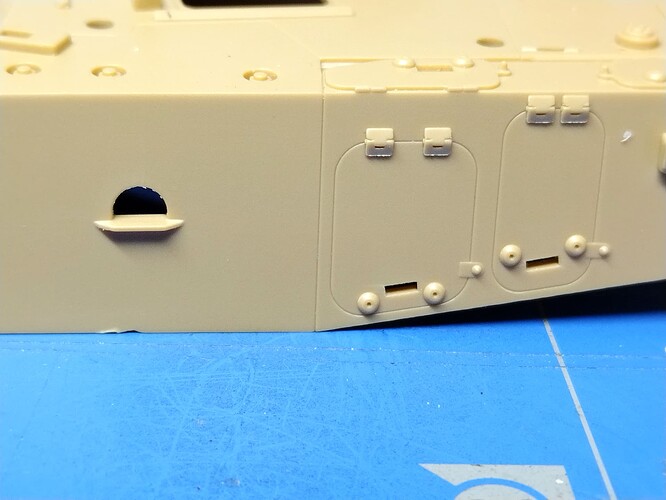
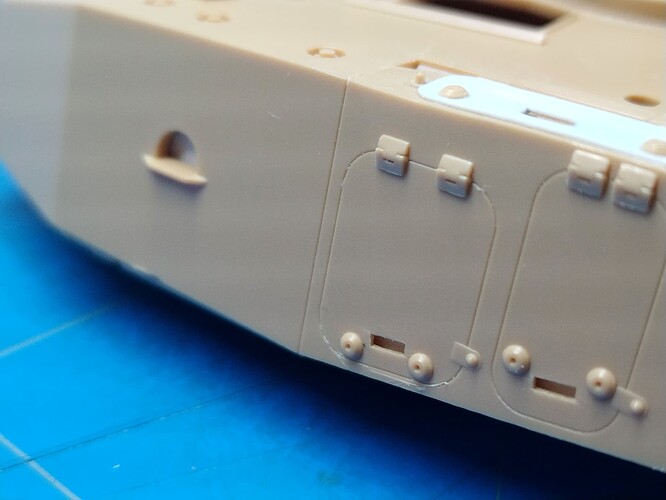
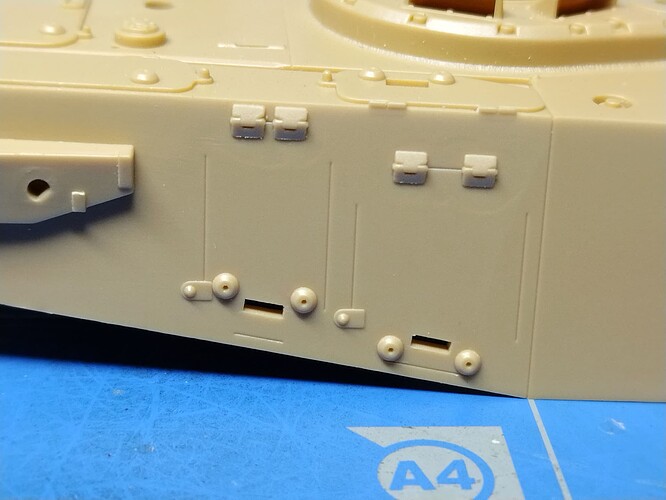
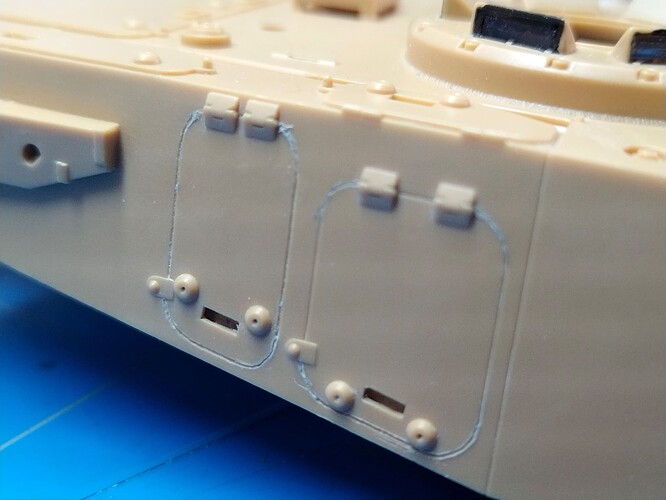
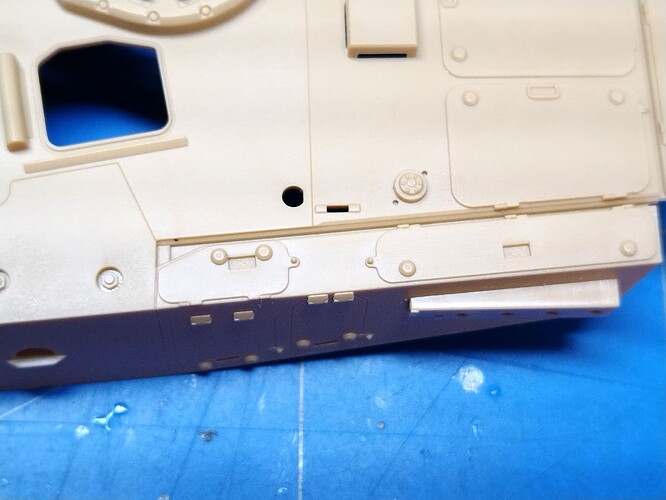
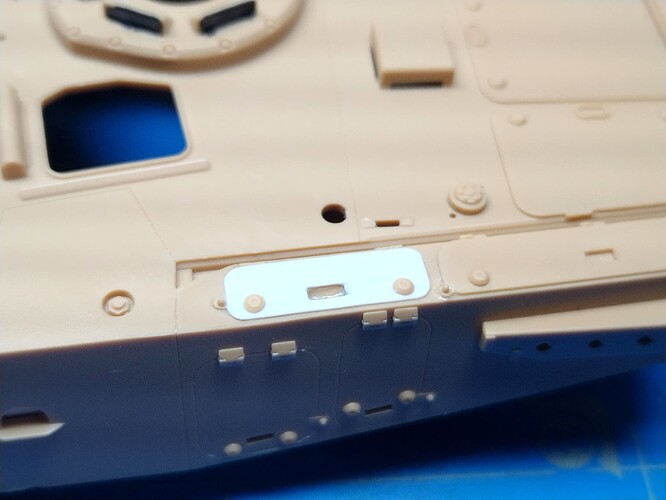
I started by fixing the side bins. HB made slots to represent the “handles”. While this is not wrong, the thickness of the plastic is excessive. So you need to thin it from inside before adding a piece of plastic card to “close” the hole. Note that on the right side HB omitted to engrave some panel lines around the doors (the curved ones).
The footstep is modified slightly differently. No need to thin the plastic. However you have to add spacers to the piece of plastic card.
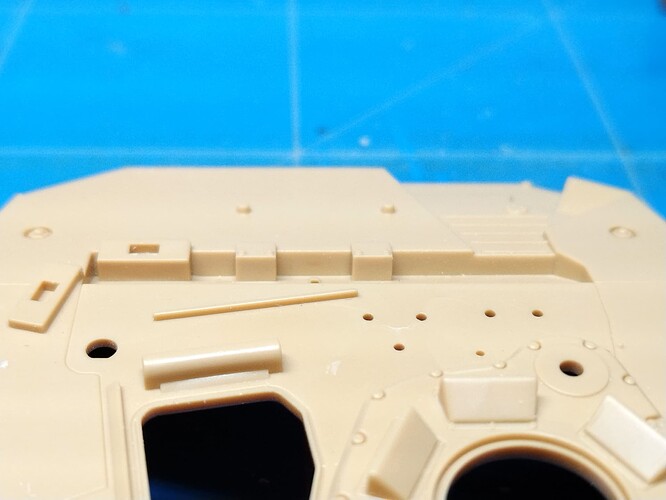
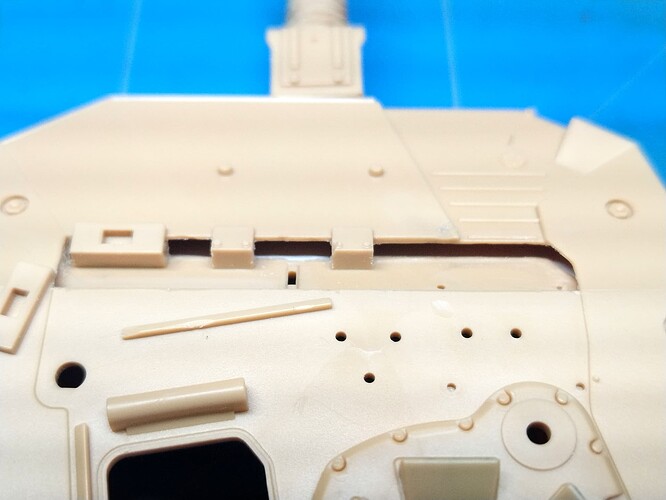
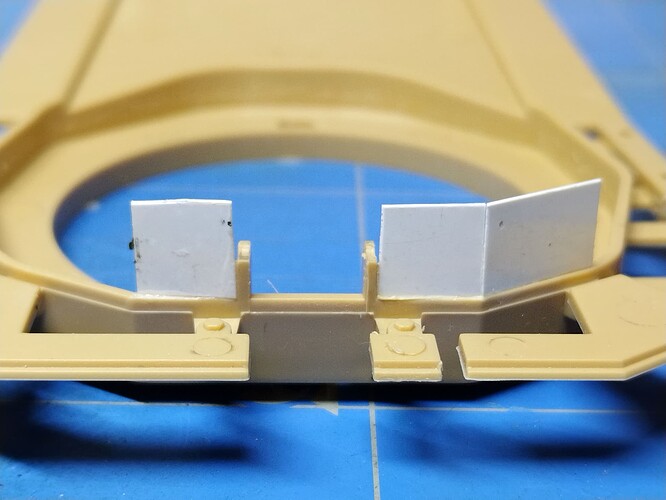
Then I tackled the top of the turret. HB has molded the roof solid while the add-on armor rests on spacers. So there are large gaps between the original turret roof and the add-on armor plates. I used my Dremel tool to hollow the part. Inside the turret I had to add a piece of plastic card to simulate the original turret roof.
I also noticed that a bin hatch was wrong. It was the wrong shape and the wrong sizes. I removed it however I saved the locks and the hinges. I made a new hatch from thin plastic card.
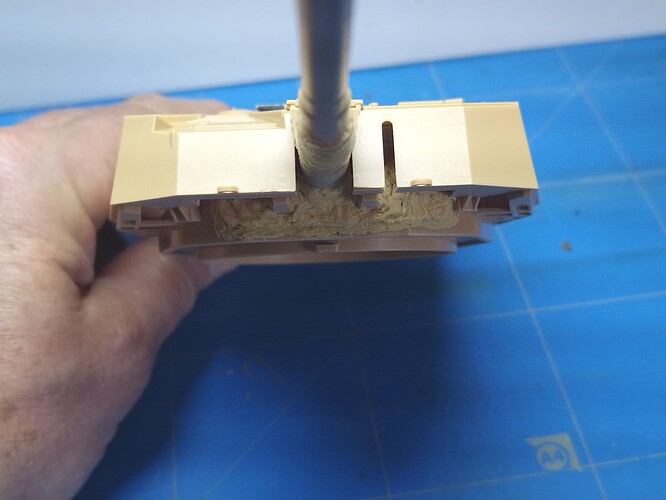
The last thing I did was making the mantlet canvas cover which still exist on the Olifant. HB gives you a huge hole. I started by adding some pieces of plastic card to the lower part. Then I filled the gaps with epoxy putty. When it is hard I will add the riveted metal strips.
Olivier
8 Likes
