Thanks buddy!
J
1 Like
Sorry I haven’t chimed in in a while but those radios are epic Jerry! A excellent job on the shelter half too.
Thanks man! And…welcome back.
J
Looks lovely:) /Erik
Thank you Sir!
J
Looks great JR !!!
Thanks buddy!
J
Some folks over on FB were talking about the ‘he-man" looks that some Dragon figure sets had. I was working up some new little dudes for a dio and thought I would give a quick tutorial ( let me know if you are getting sick of those) and so here it is in all of its’ sartorial splendor,
A fig from the Dragon “Last Battles” set. You can see the body builder appearance.
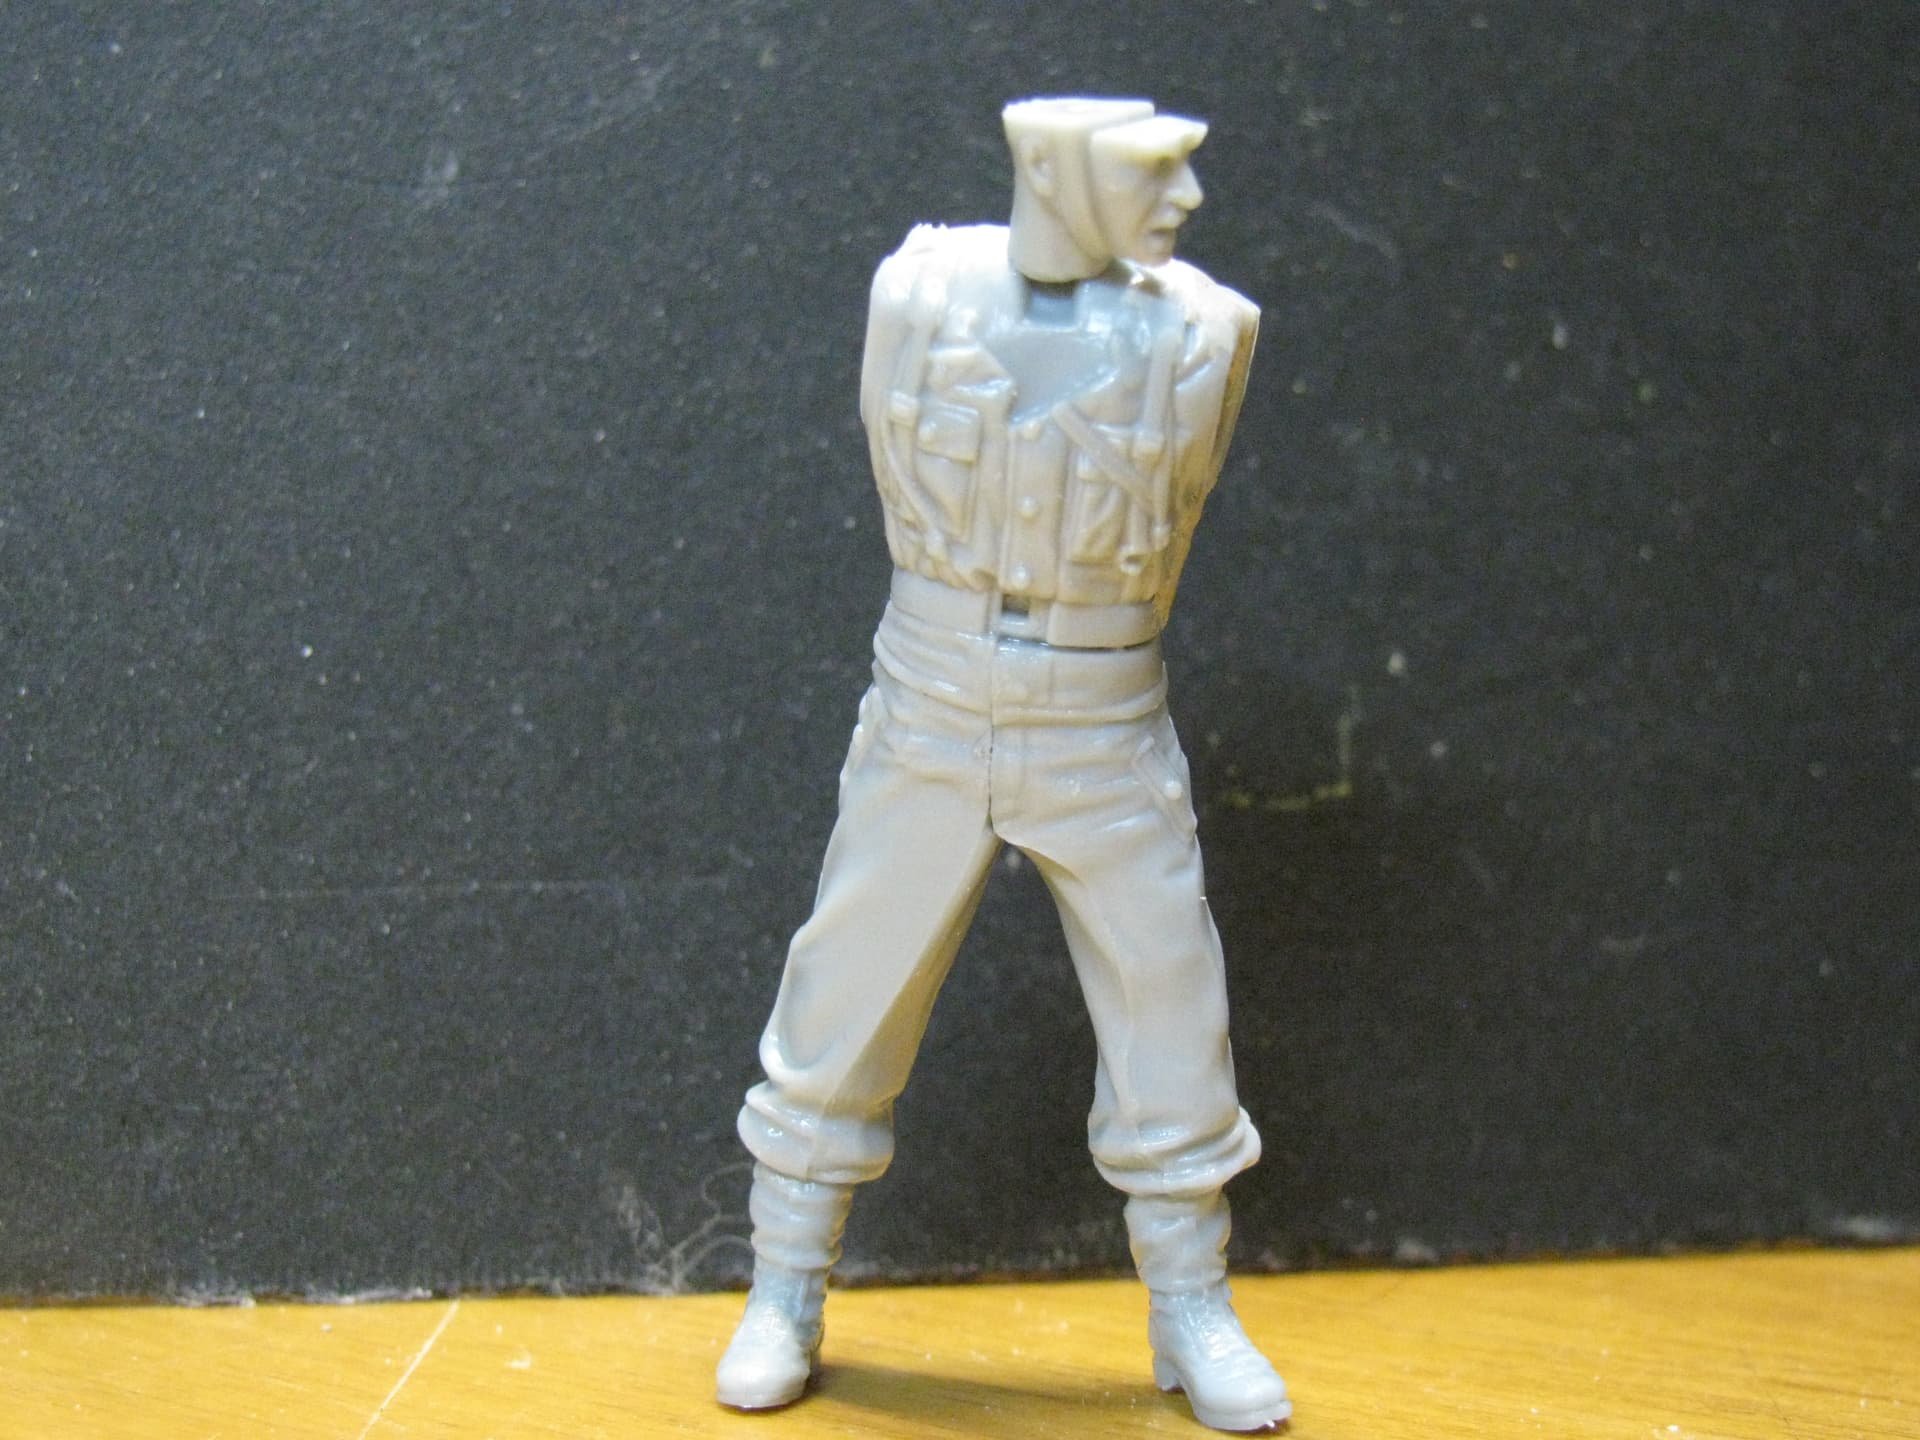
I began by removing girth from his belt area and also width from shoulder tip to shoulder tip,
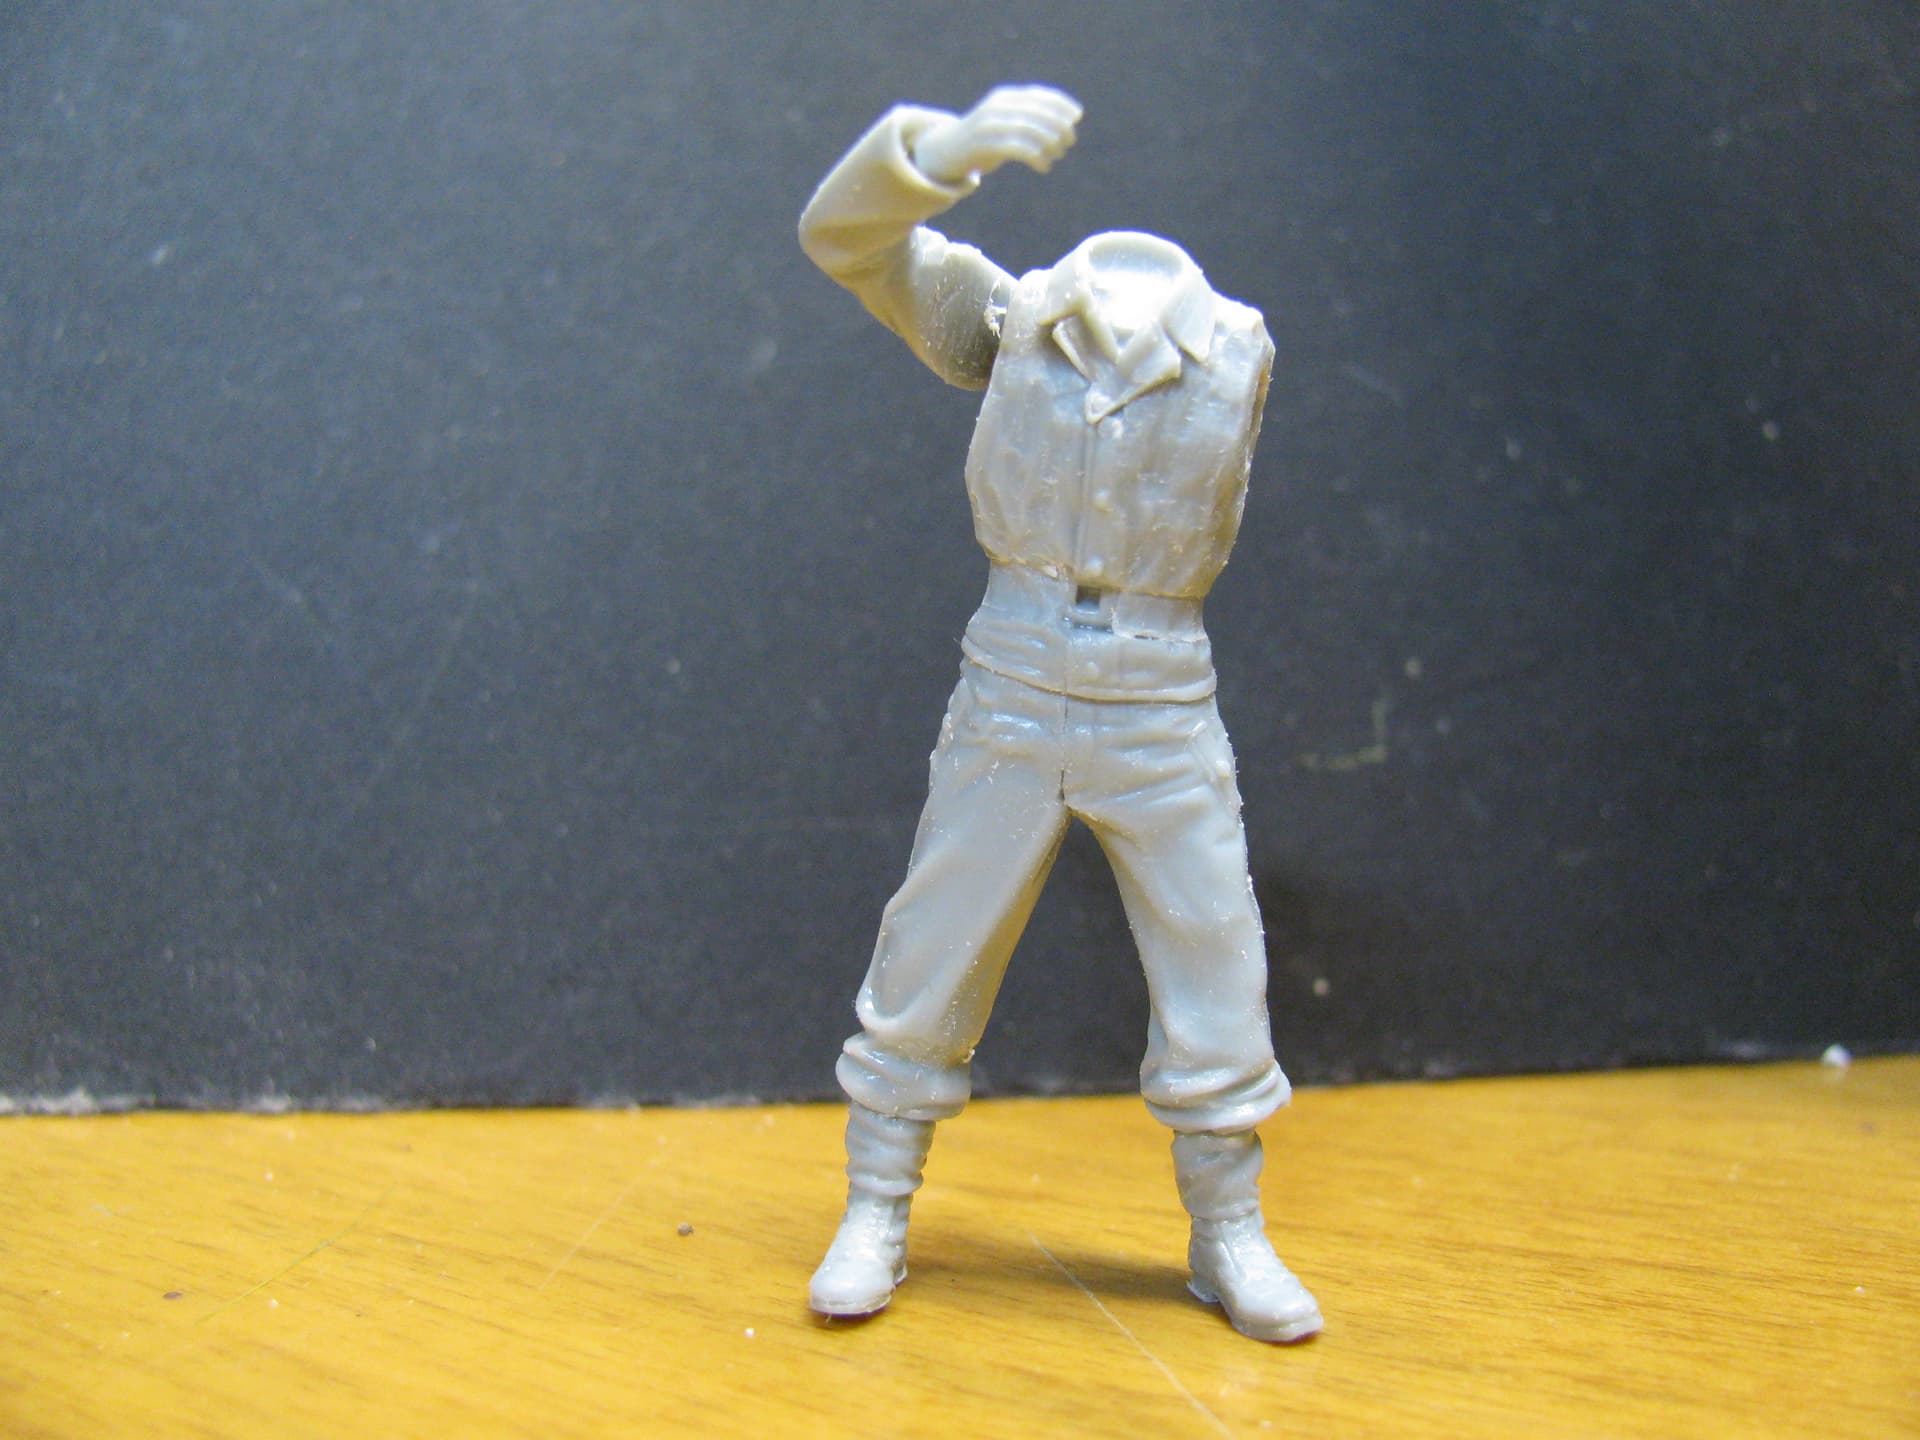
Began building him back up with putty. I had to convert from the last pattern 2 pocket jacket back to the last pattern 4 pocket. along the way.
Finished off the bottom pockets and added the button,shoulder boards and belt buckle.
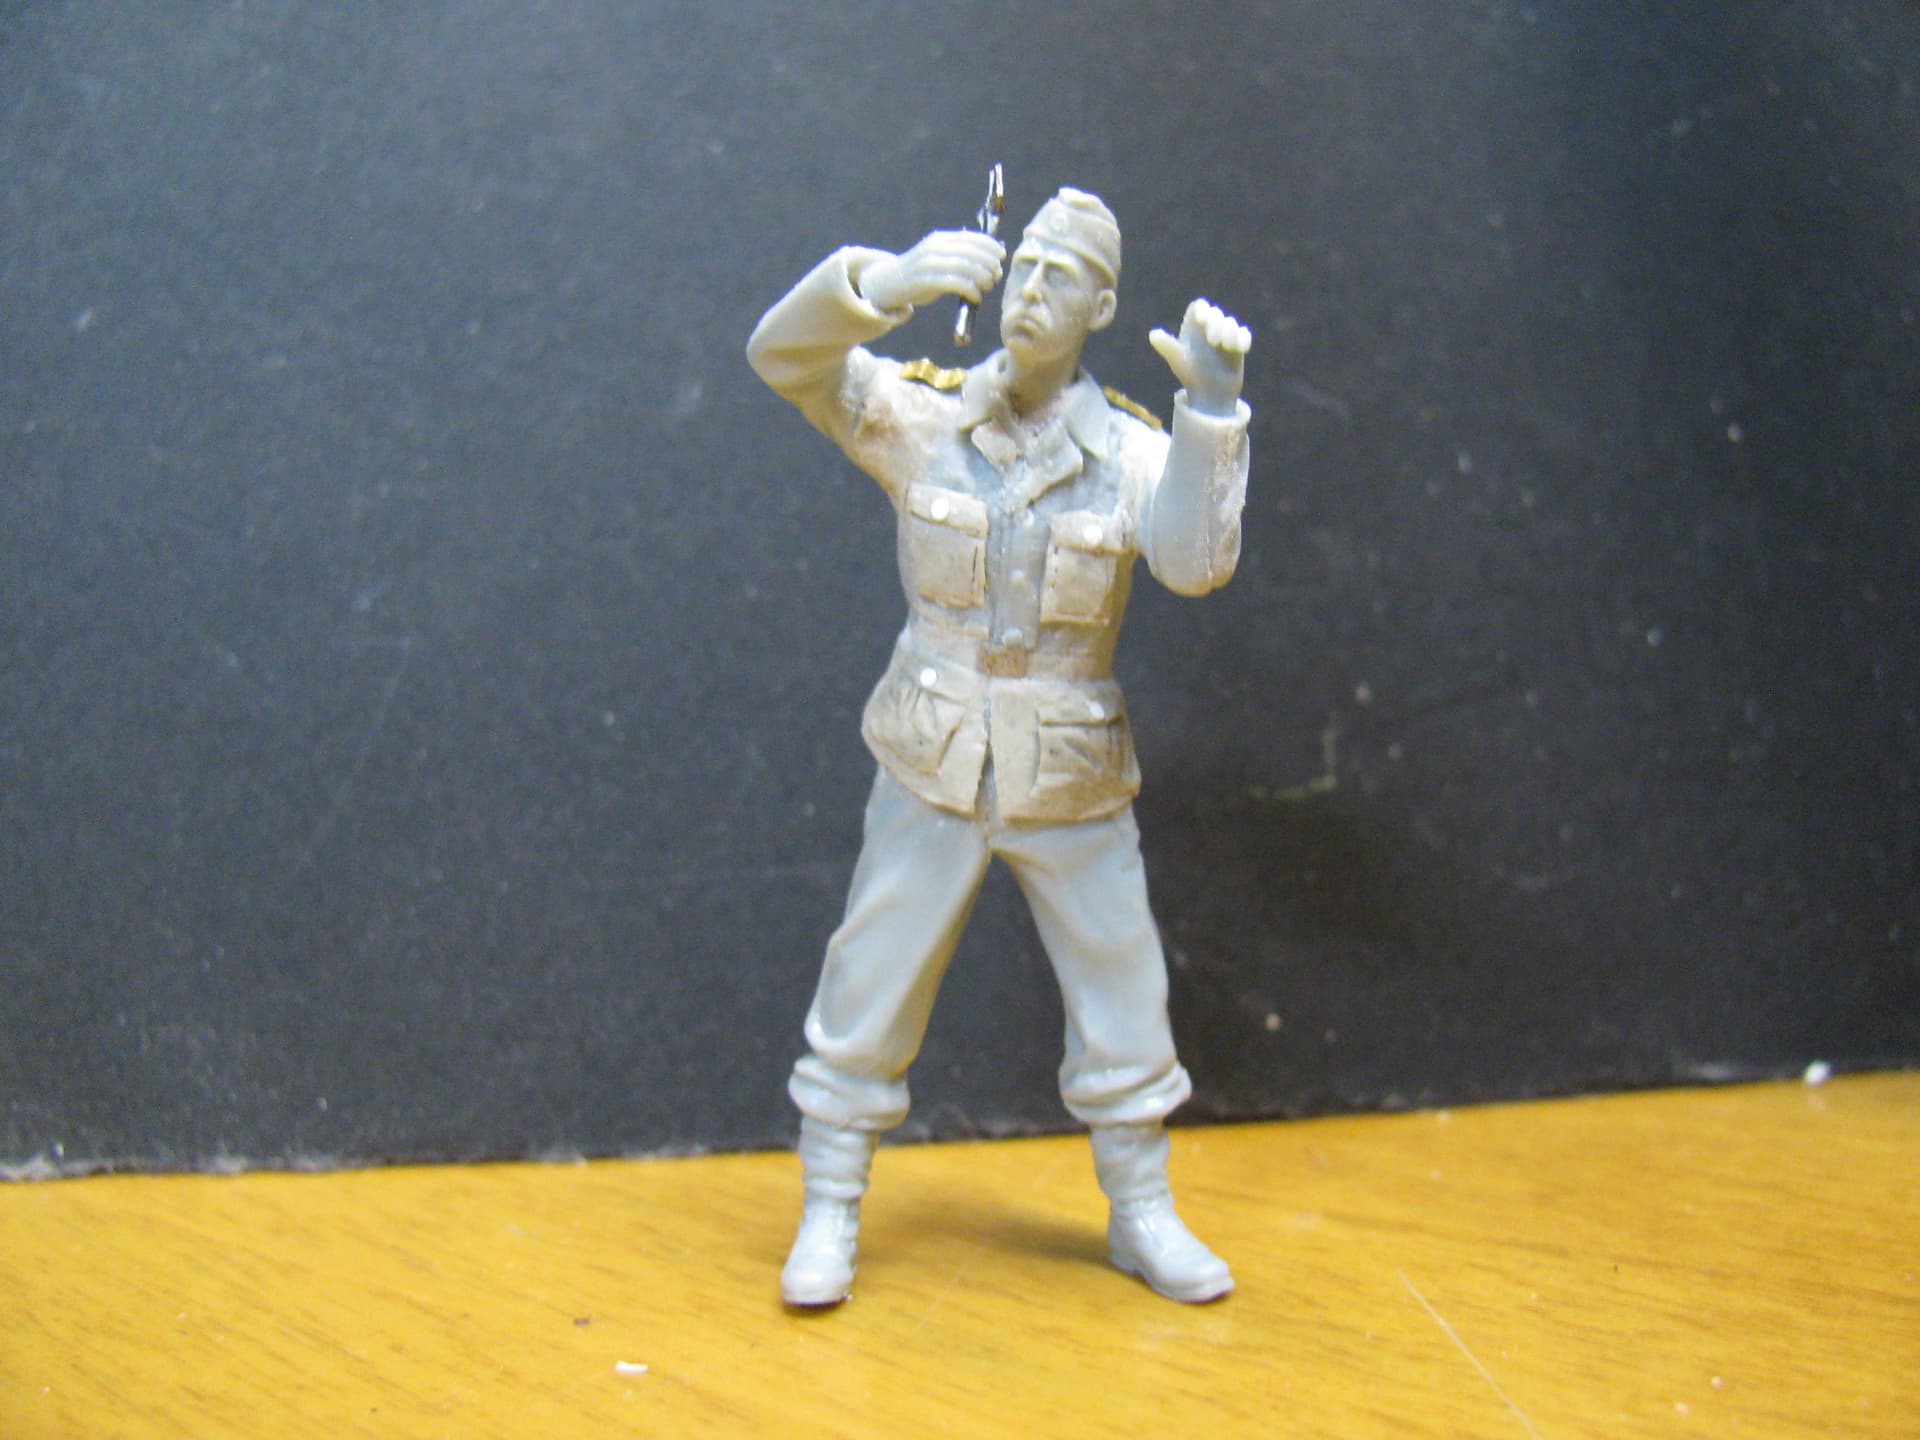
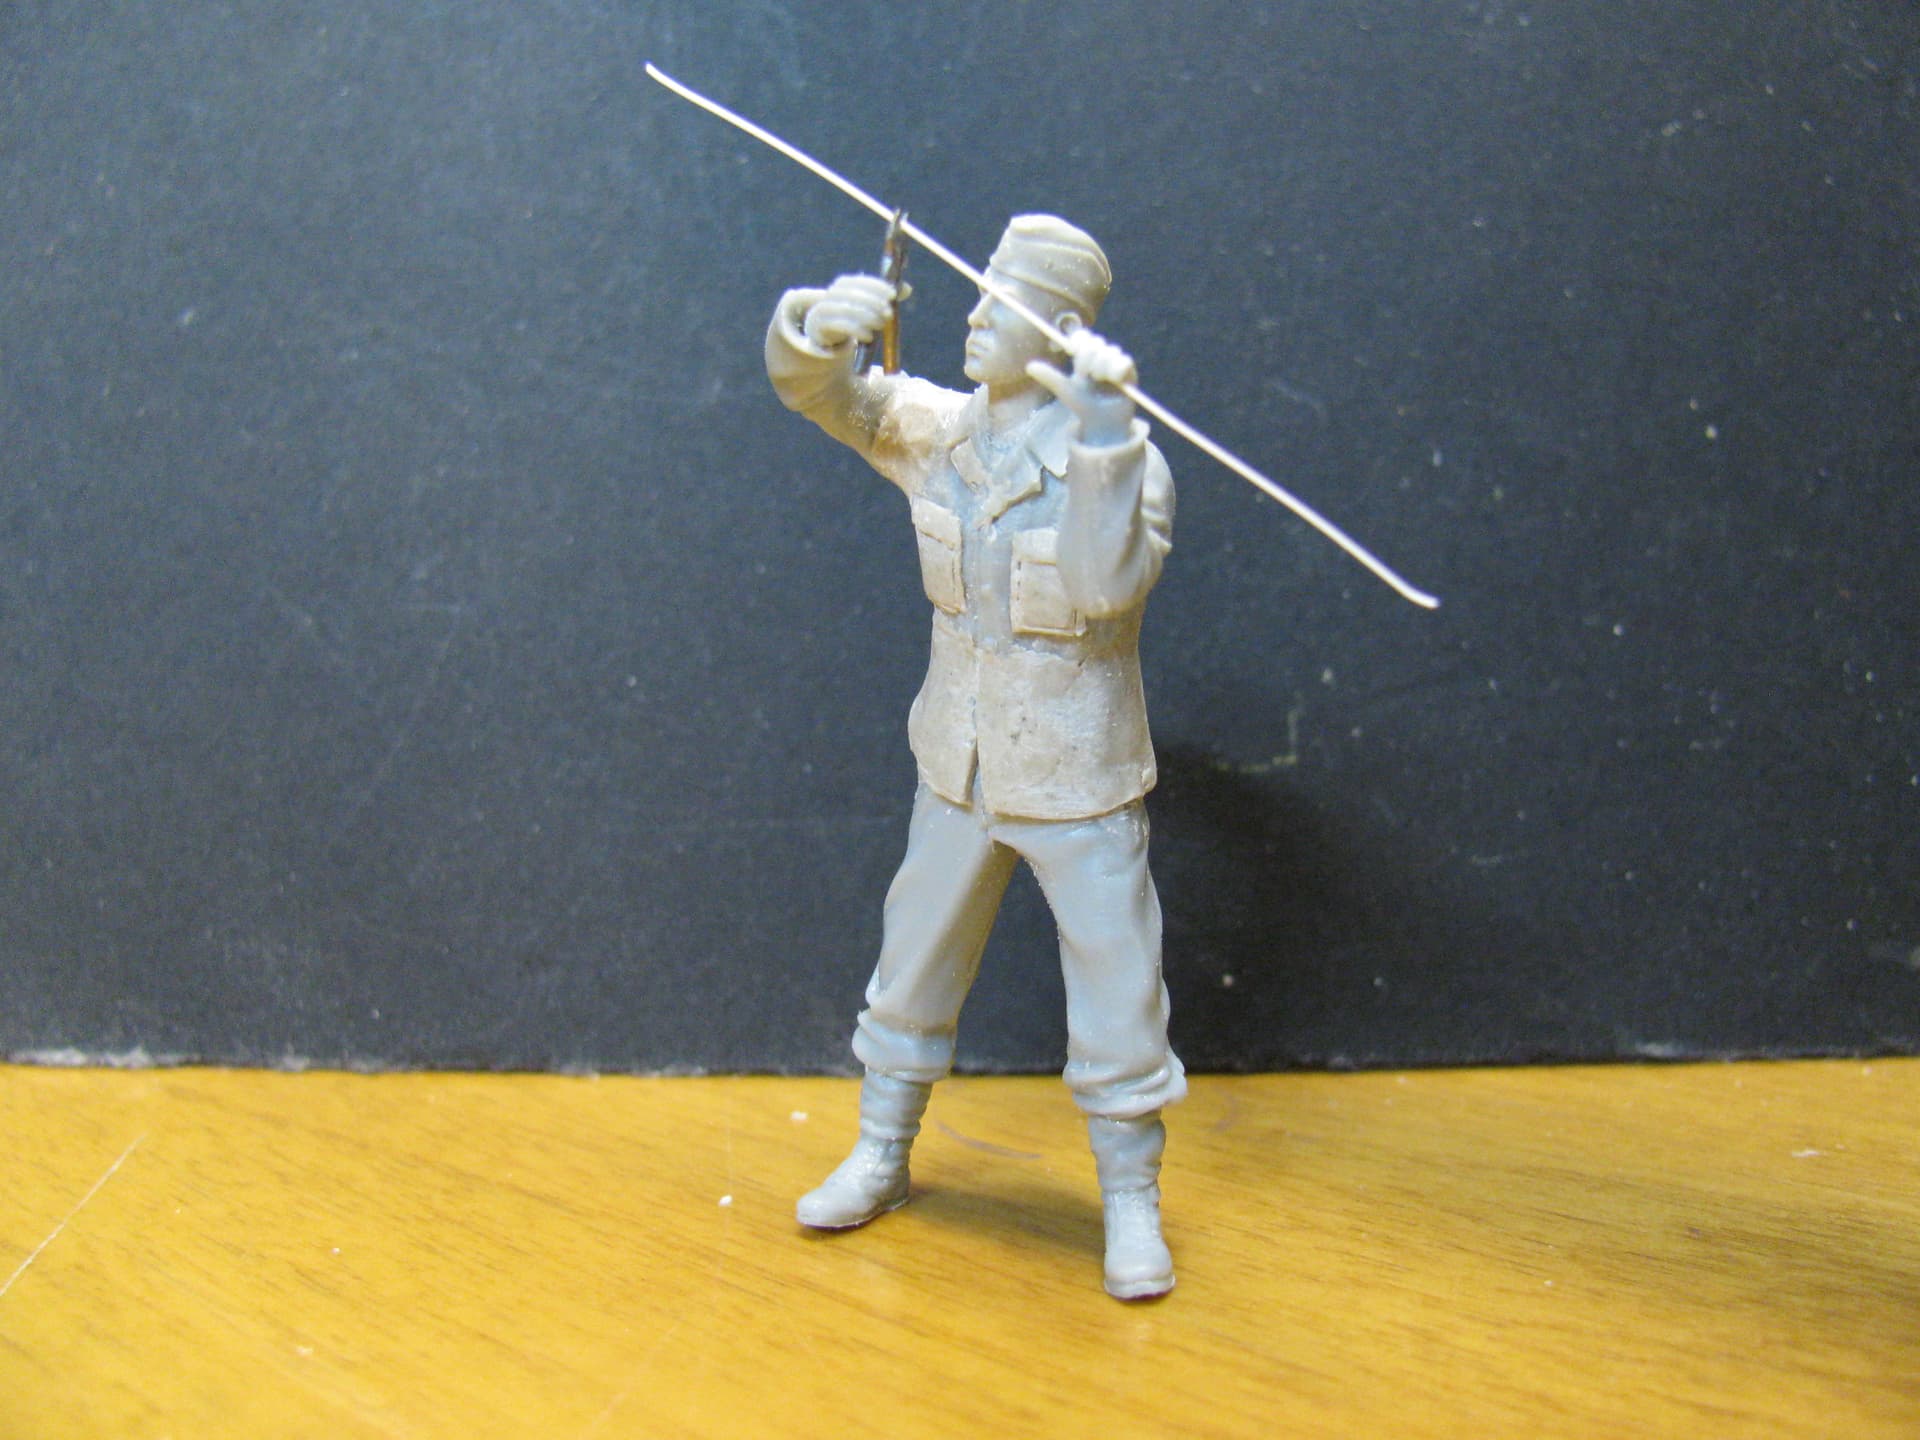
Got out the paint roller and pan to slather the colors on and here we go. Just a quick temp. pose to show the fig.
13 Likes
A tutorial such as this is always useful Jerry; whilst I labour long and hard to obtain half decent renderings of Cold War figures, the principles here are always helpful.
2 Likes
Thank you Sir! Glad it’s a bit helpful then,
J
And you make it seem so easy… “converting jackets with putty along the way” pffffff ![]()
![]()
![]()
1 Like
Hey I try man. I do try,heheheheh
Thanks buddy,
J
Always good to see a tutorial like this Jerry!
2 Likes
Thanks buddy. Then I will not quit.
J
2 Likes
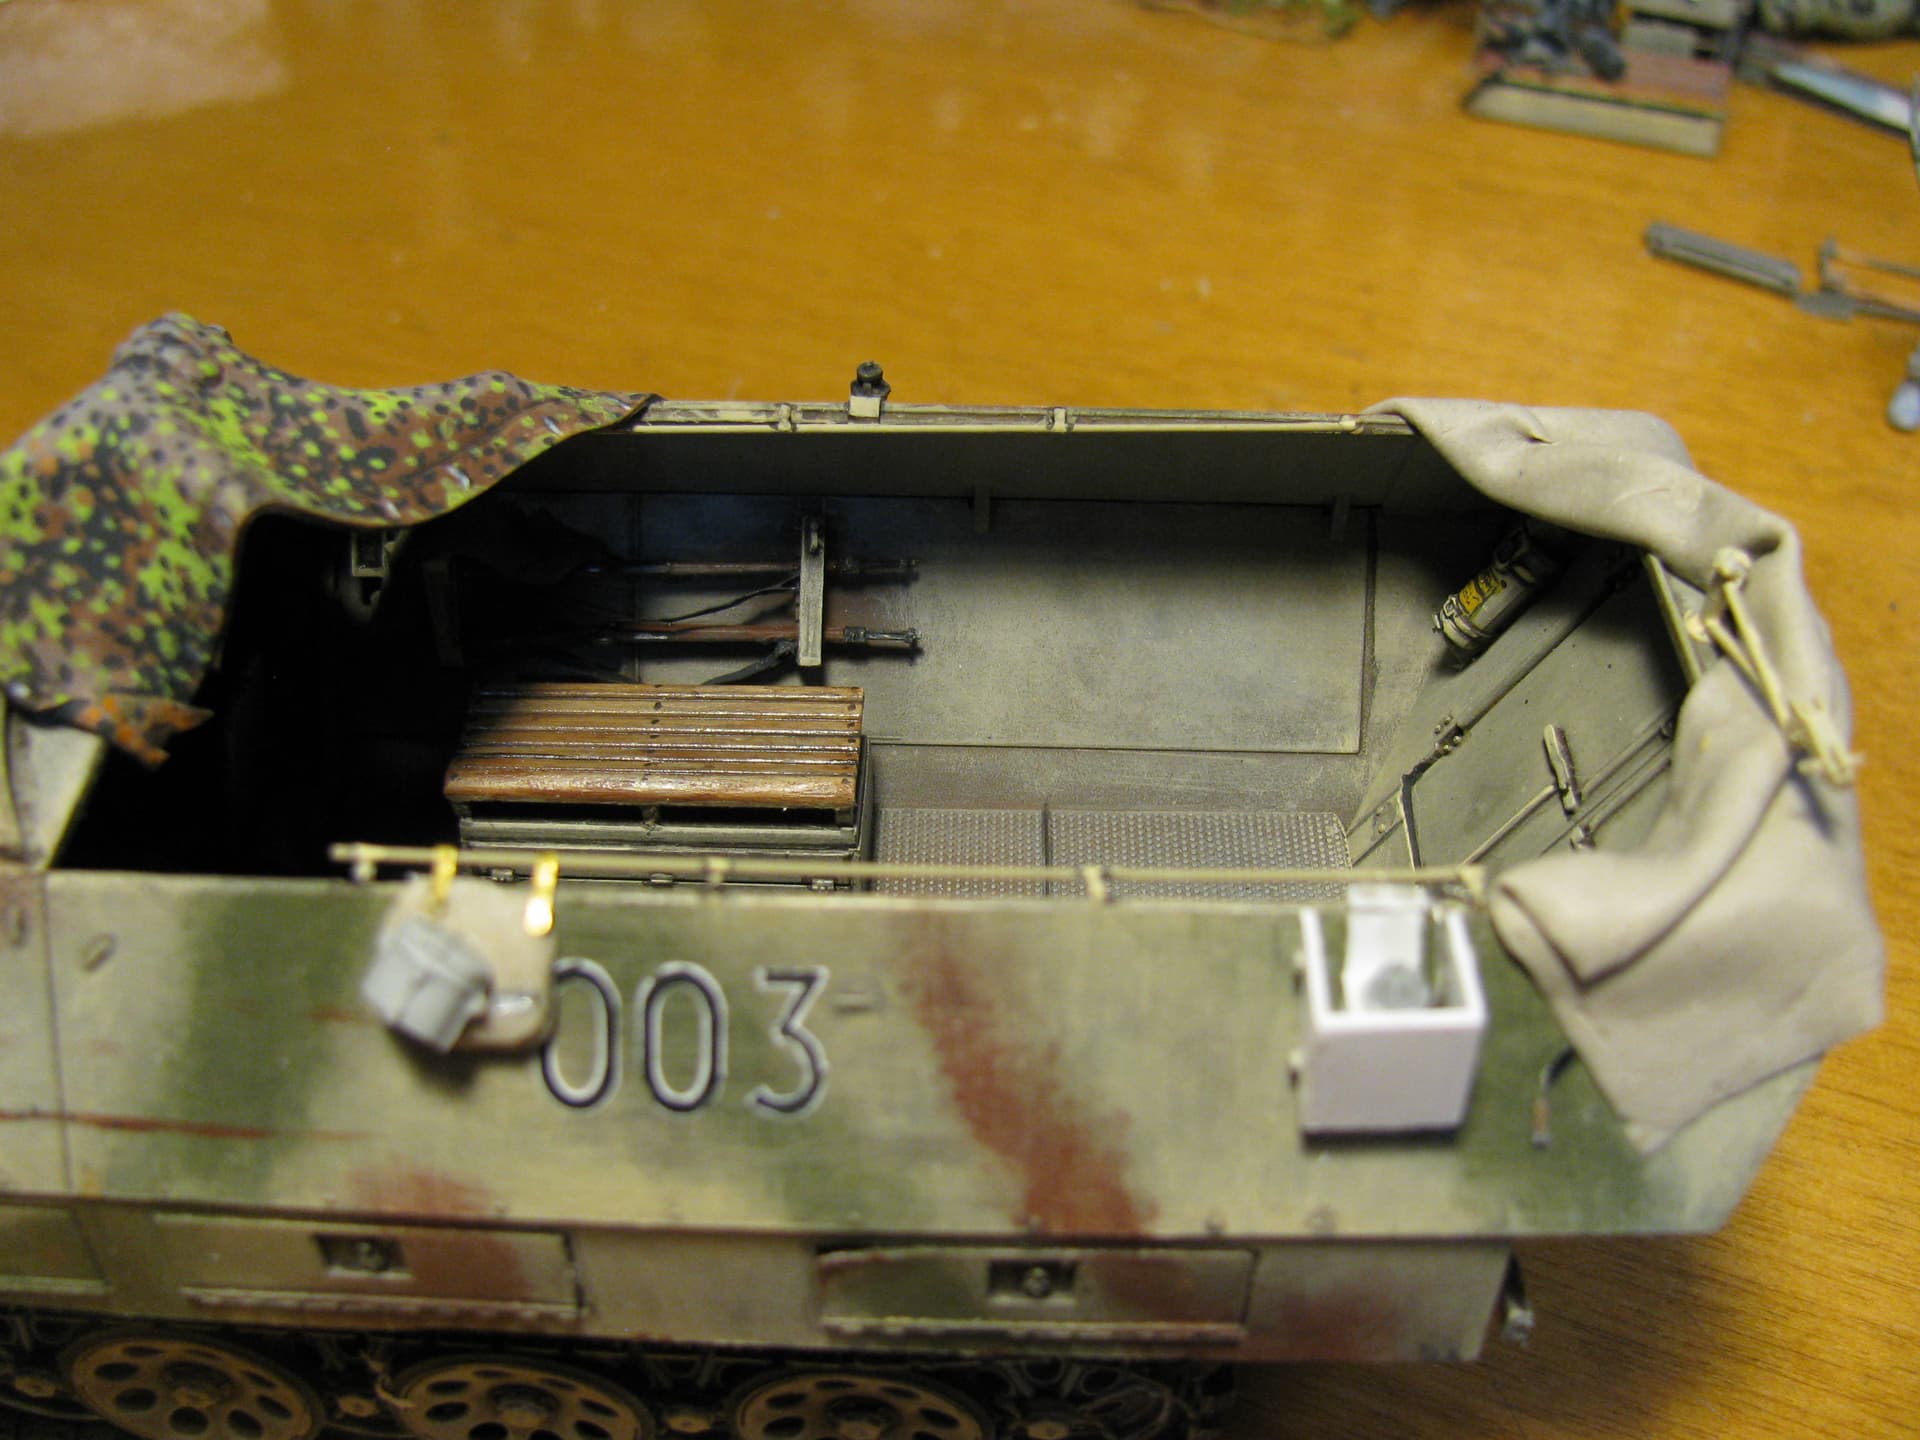
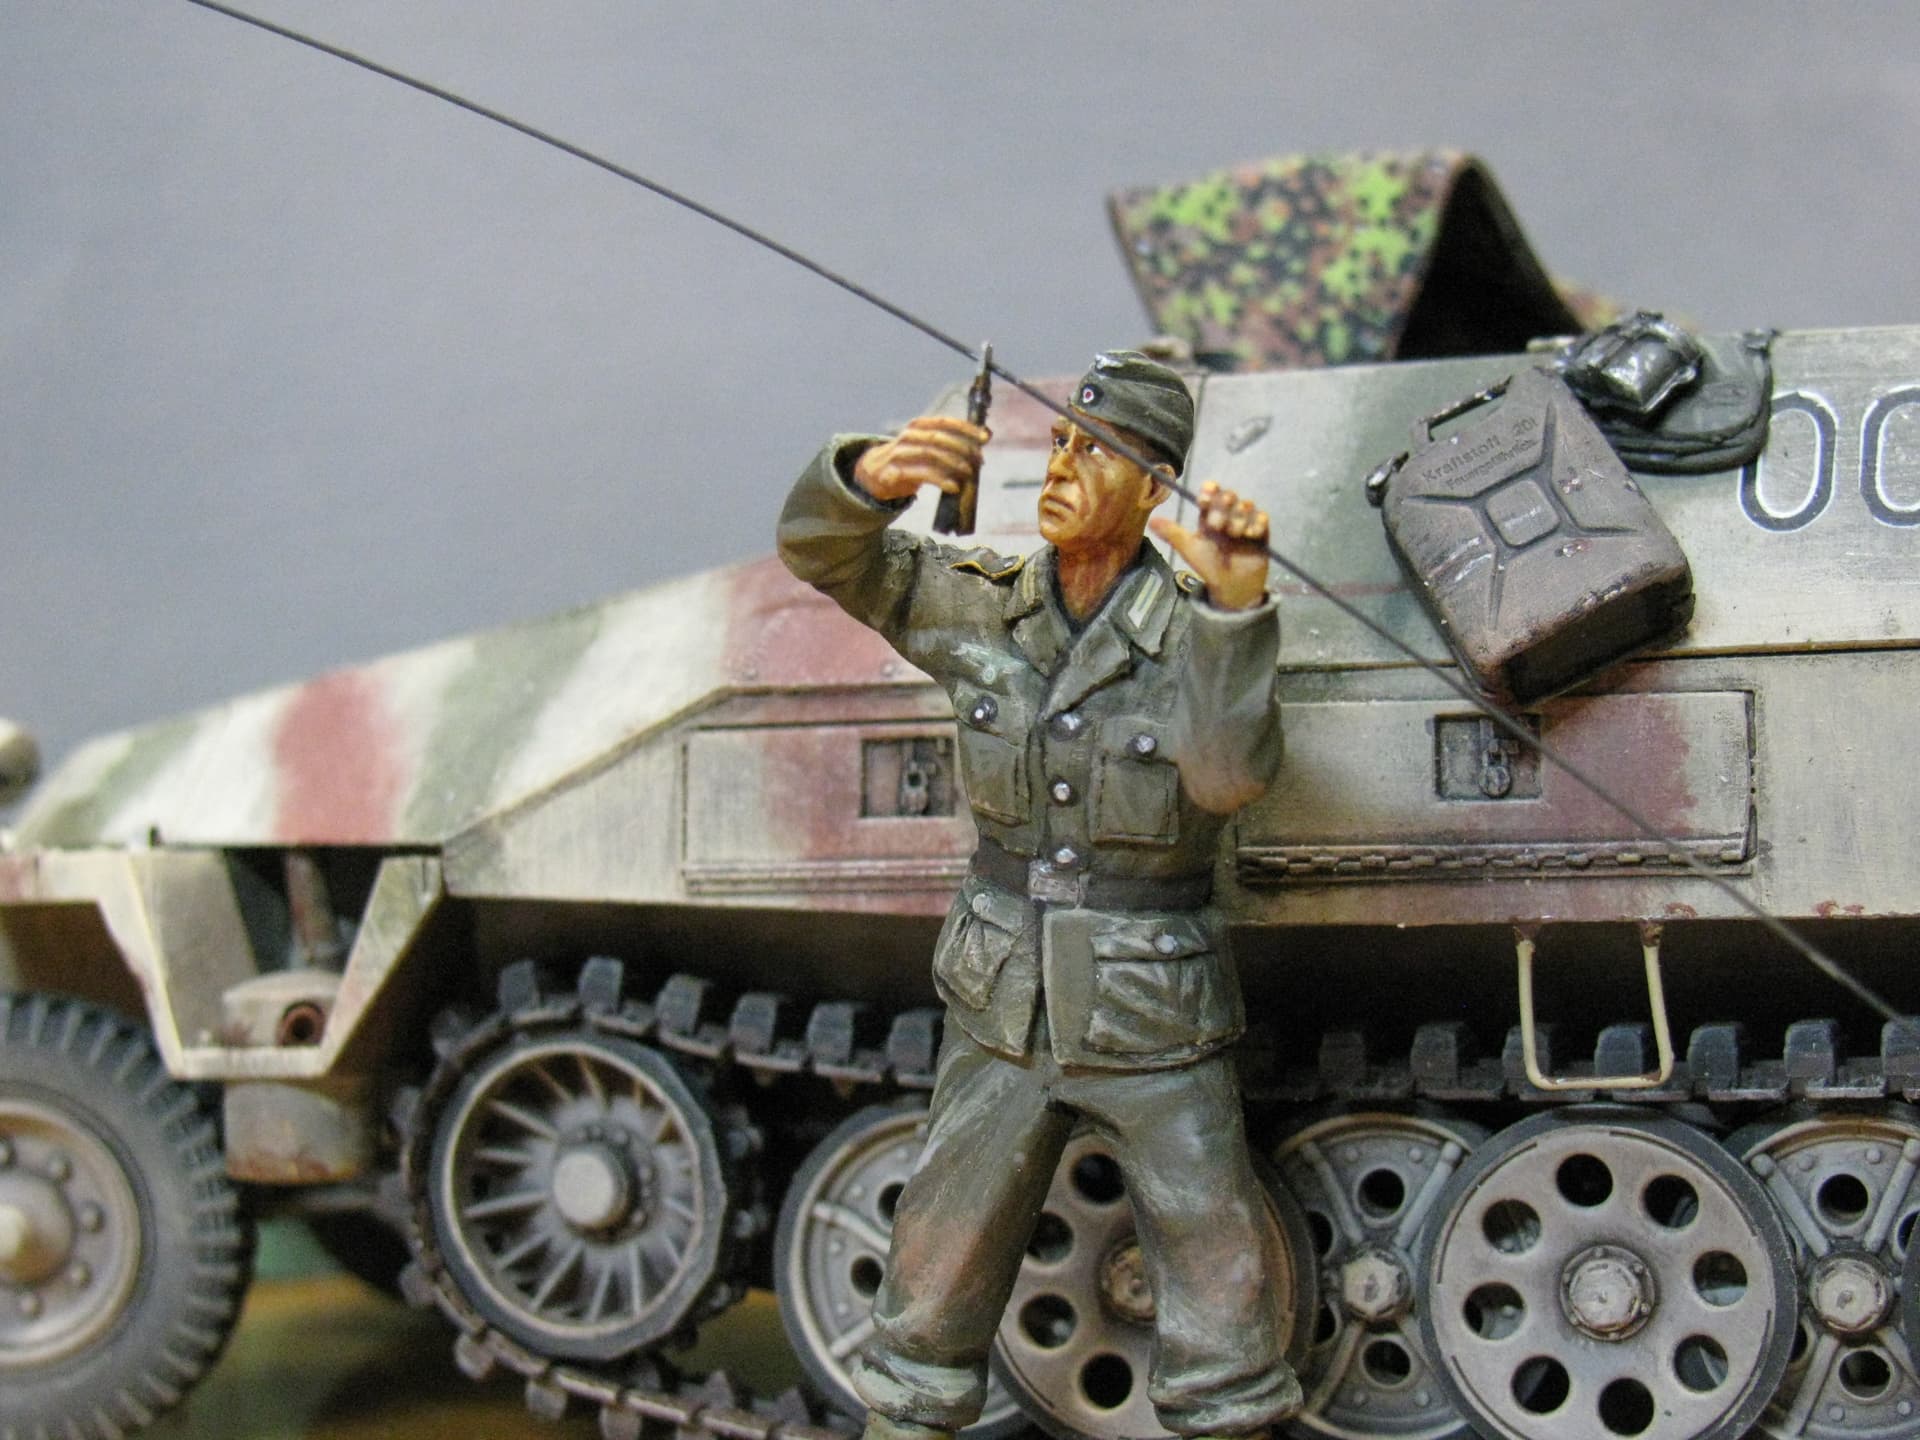
Another radioman finished up. Miniart fig from a PzGren set, modified in pose with a Hornet head and K59 headset/throatmike.
J
9 Likes
Nice work JR excellent pose .
He looks a little like Will Ferrell …
Long time no see. Nice to see you active again…And nice work…
Thanks man. Yeah, lil bit,
J
Thanks buddy! Nice to be back,
J
1 Like