Glue the tracks solid. The workability feature in some tracks is the Devils work.
With some care it is possible to make one deep U that goes from one or two teeth onto the sprocket, around the idler and back to one or two teeth onto the sprocket from the other side. This plus one or two small bits of track to cover the remaining sprocket teeth and the track is complete
It is easier to handle if the deep U is divided on the idler, one section with the track sag formed over the return rollers and one section under the road wheels. Start with the bottom run at one or two teeth onto the sprocket and finish at the 9 or 3 o’clock position (depends on which side of the tank you are working on) on the idler. The top run starts at one or two teeth onto the sprocket and finishes where it meets the bottom run on the idler. Use track sag to adjust the length of the track. The track hangs down at most almost one thickness of a track link.
Nothing more than this.
More track sag means thrown tracks and a disabled tank. They checked the track tension daily and before they copied the Soviet system they had to check the sprints every time they stopped when not in a direct battle zone. Hitting a rock could damage the sprint and the track pin would start creeping out, or rather backwards into the chassis.
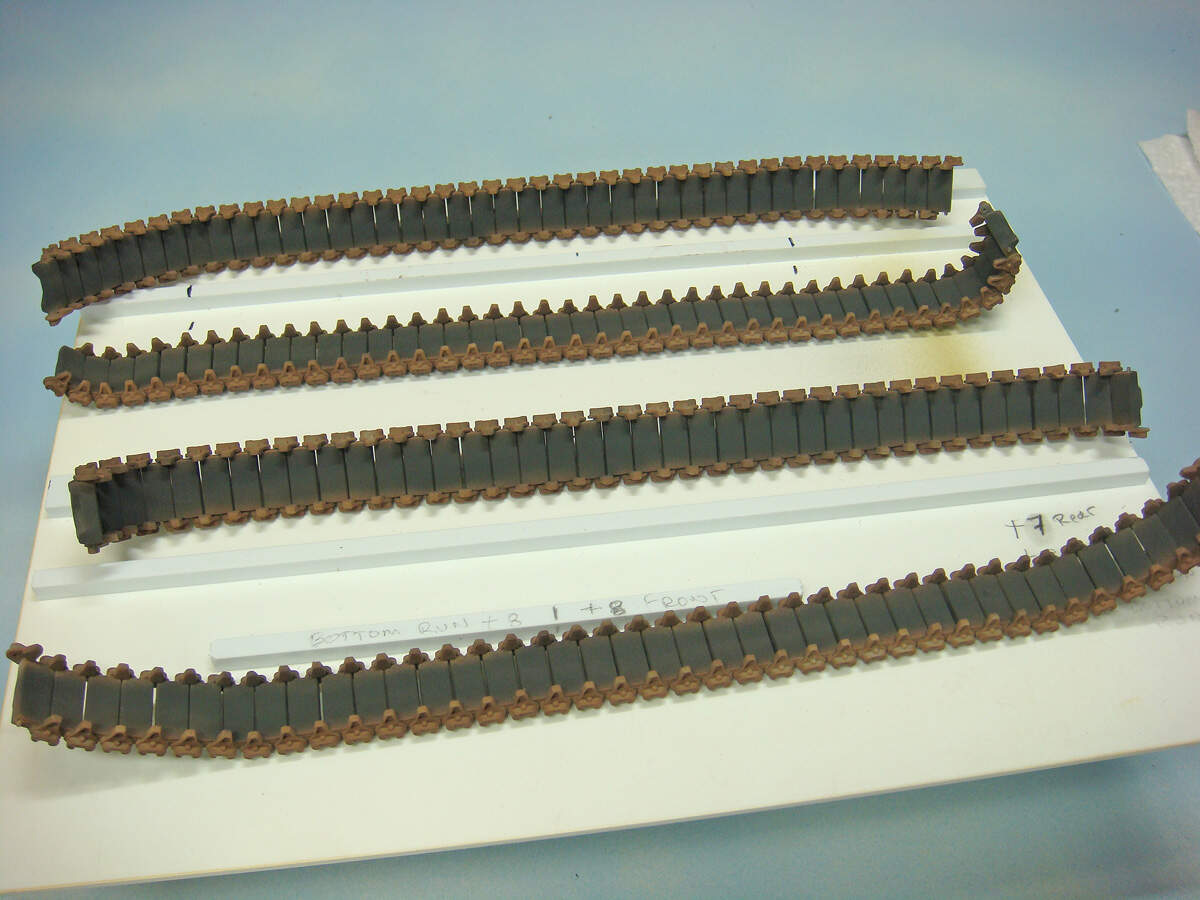
FWIW, I use a variation of Robin’s advice in that I glue up styrene link-to-link track into link and length sets. I usually make a long, straight run for the bottom. Two short, straight runs up to the drive sprocket and idler wheels. I then let all of these dry hard so they’re firm and strong to handle.
I’ll then glue up the links for the top run. I use a few individual links to connect all of these longer runs together, and while the top run is still drying, mold it down over the return rollers.
I usually leave “cold joints” (unglued joints) at the idler wheels and drive sprockets. I use tape to hold those in place until all the glue dries hard. This gives me two track sections for each side, a bottom section and a top section. I paint these and then install them later when it seems like the best time in the final assembly sequence.
I only try to keep tracks “workable” when the kit’s suspension will articulate, and I want to display the model with the track and suspension “undulating” across uneven terrain.
OK who’s the funny one? RFM I suspect. I’ve found an issue with installing the tracks that has been a large part of my problem.
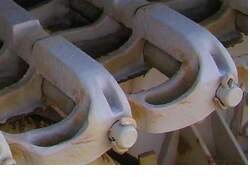
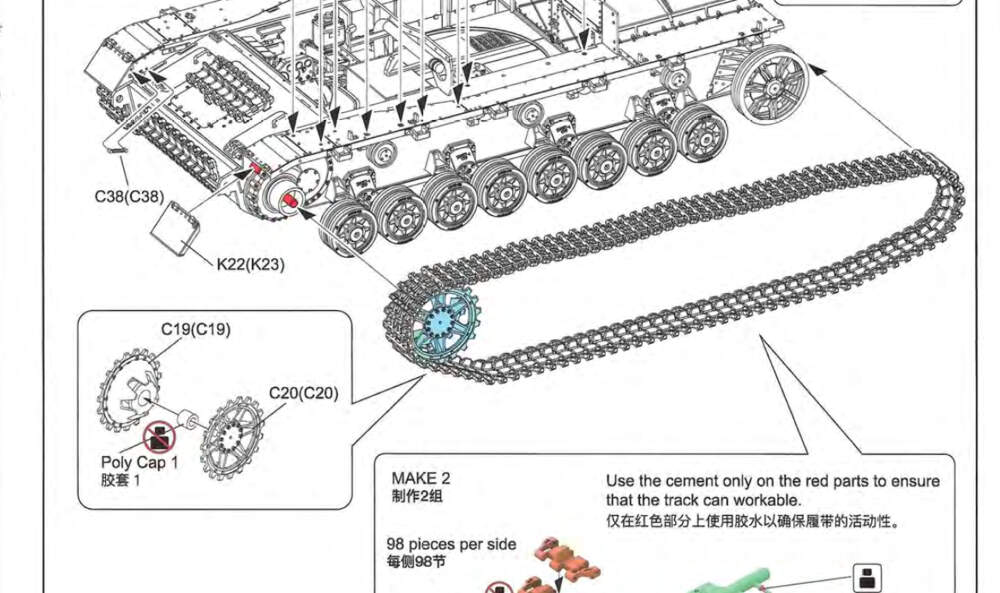
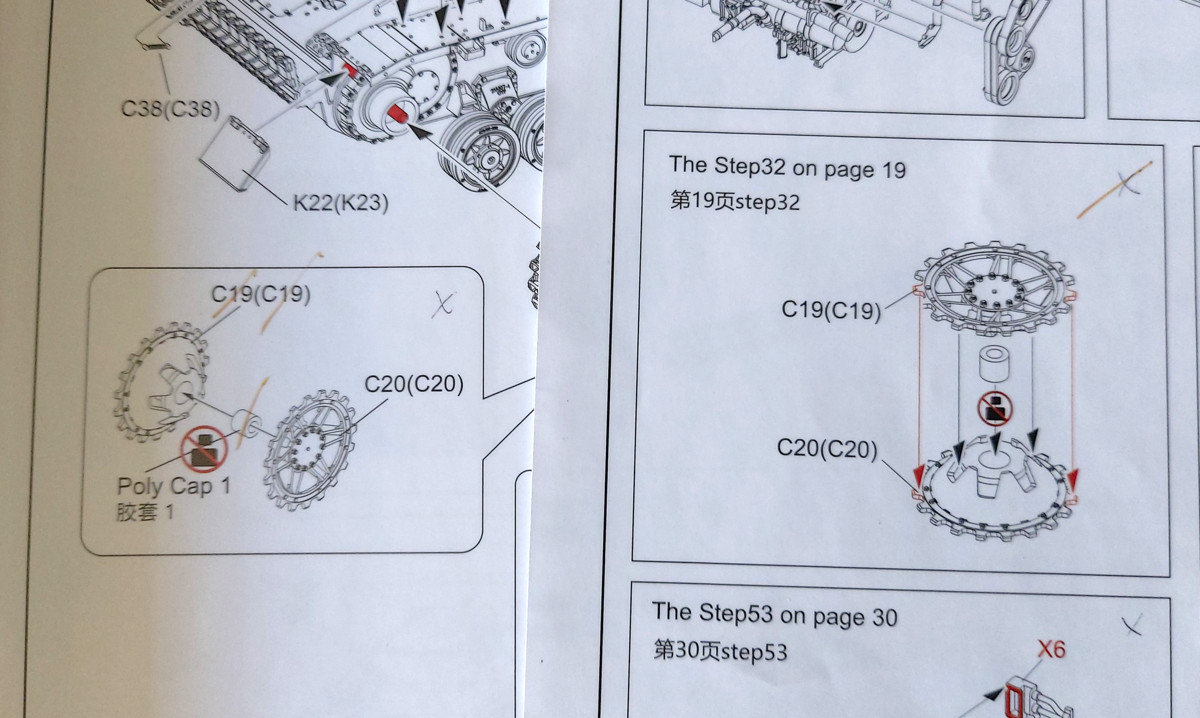
In step 32 on page 19 they show a diagram to put the drive sprocket together. That’s wrong so they have given a sheet of errors to look for in their instructions. That’s good. But even the correction needs correcting. See attached. (This is the original uncorrected drawing. But the issue is the same with the corrected page).
When you assemble the inside and outside of the drive sprocket the teeth don’t line up. They are half a tooth out. So when you try to put the tracks on the drive sprocket only one side will align. The other side lines up with a link. Note that there are 2 part 19 and 2 part 20. So I haven’t mixed the parts. They only go together one way.
So beside the tracks being very fragile they wouldn’t have fitted anyway. Even Fruilmodels tracks wont fit a bad part.
So now what? I think it may be a bin job if there is no replacement drive sprockets.
Thanks golikell. I looked at their web site and didn’t see any thing for a Panzer iv.
At this time I’m trying to sort out the misaligned teeth on the drive sprocket. I may just trim off the inside teeth where they wont be seen. A bit of mud will hide all sorts of sins!!
more than some months… they have announced they will be selling only through their website: From 2021, the FRIULMODEL company has decided to sell directly and only to private customers.
Thanks golikell. I used the part number in your reply and found the Masterclub item in stock at my local supplier. How do they compare the Fruilmodels. It looks like they have plastic pins.
The pins are resin. Rather stury and more than enough included, in case of breakage…
What helped me lot, was the usage of pair of very sharp tweezers, which I used to allign the holes of the individual links: simply connect 2 links, and then push one point in the hole so far, that it is certain the pin will go in …
@BGT
You don’t happen top have some of Dragons Pz III / IV kits in the stash?
Some of them contain alternative or extra sprockets.
Another option is to cut off, userazor saw, the tooth ring from part C19 and realign it.
The real problem is that the sprocket wheel halves line up correctly in only one position.
There is 6 spokes and 19 teeth on the sprocket. The teeth do not line up with all the spokes since 19 isn’t a multiple of 6, there is one combination of rotating C20 in relation to C19 where the teeth do line up.
If you get the injection gates aligned then the teeth will align as well.
This may not be of any help to you now, I assume that you have already glued them, but maybe it can help someone else.
Robin thanks for the feedback. First my stash is just 2 kits!! So no extra prockets.
The page of corrections that RFM include does show step 32 as a correction. It has 2 red teeth on C19 and 2 red teeth on C20. But no explanation as to what the relevance is. I just never considered the importance of the 6 spokes 19 teeth.
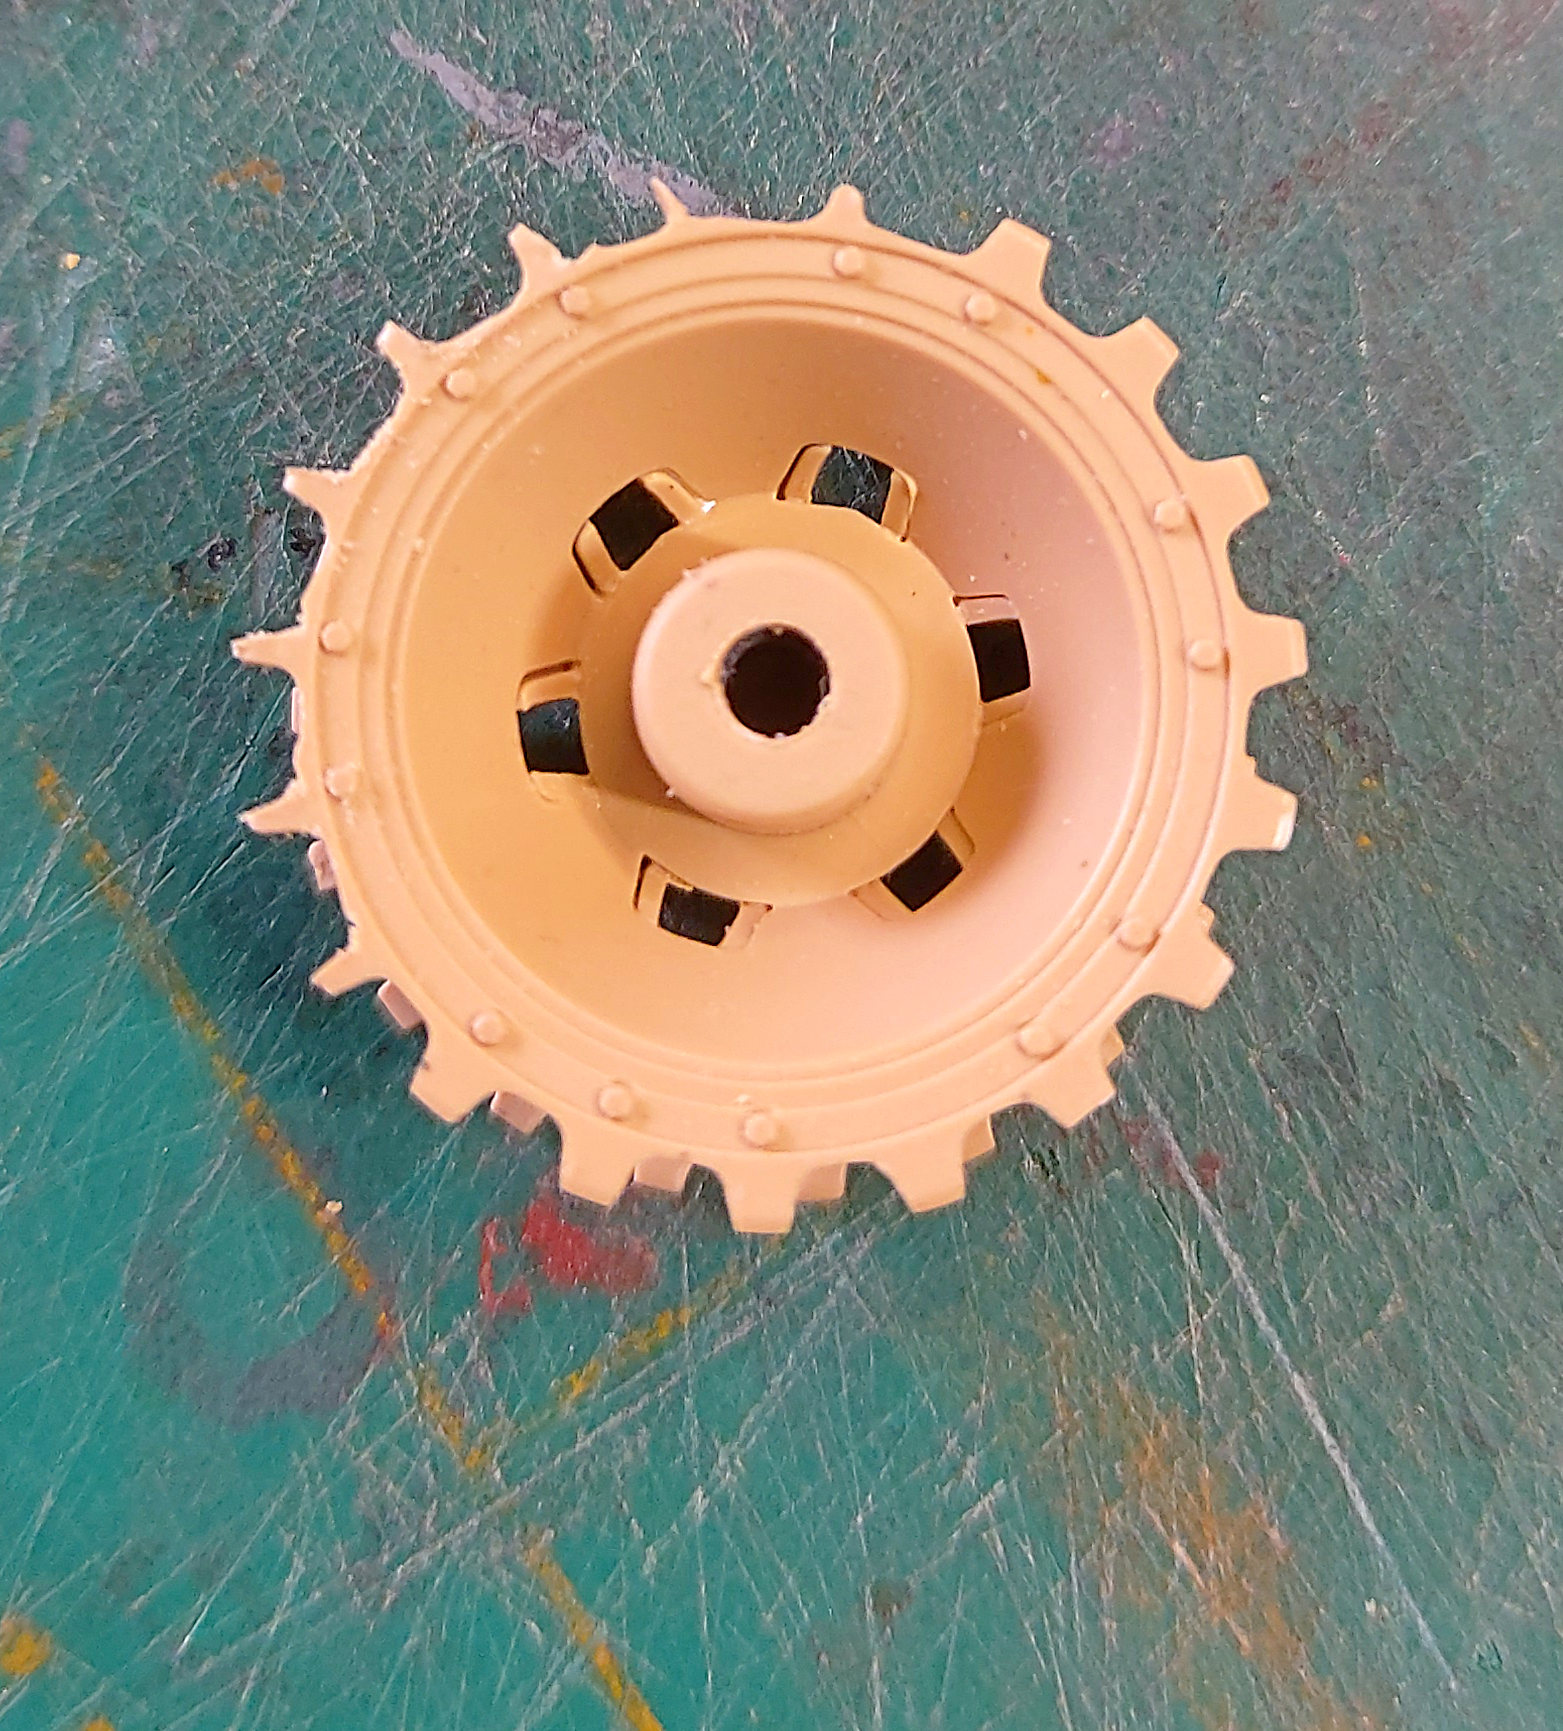
Here’s what I have done. I have given up about working tracks. That didn’t interest me anyway. But the tracks are so fragile they would keep breaking anyway. So I trimmed off 50% of 7 teeth on the inside sprocket. Leading edge of the teeth one side trailing edge the other side. Now the track fits fine over the inside and outside of the sprocket wheel. With the track on the sprocket it’s almost impossible to notice the difference. With some weathering and a bit of dirt/mud only those reading this thread will ever know!!
When I get time I’ll post an image or two.
I will try to glue all the bits of track in place. If that goes down the tube I’ll order some Masterclub tracks.
Thanks everyone. My first 1/35 AFV has been an “interesting” build.
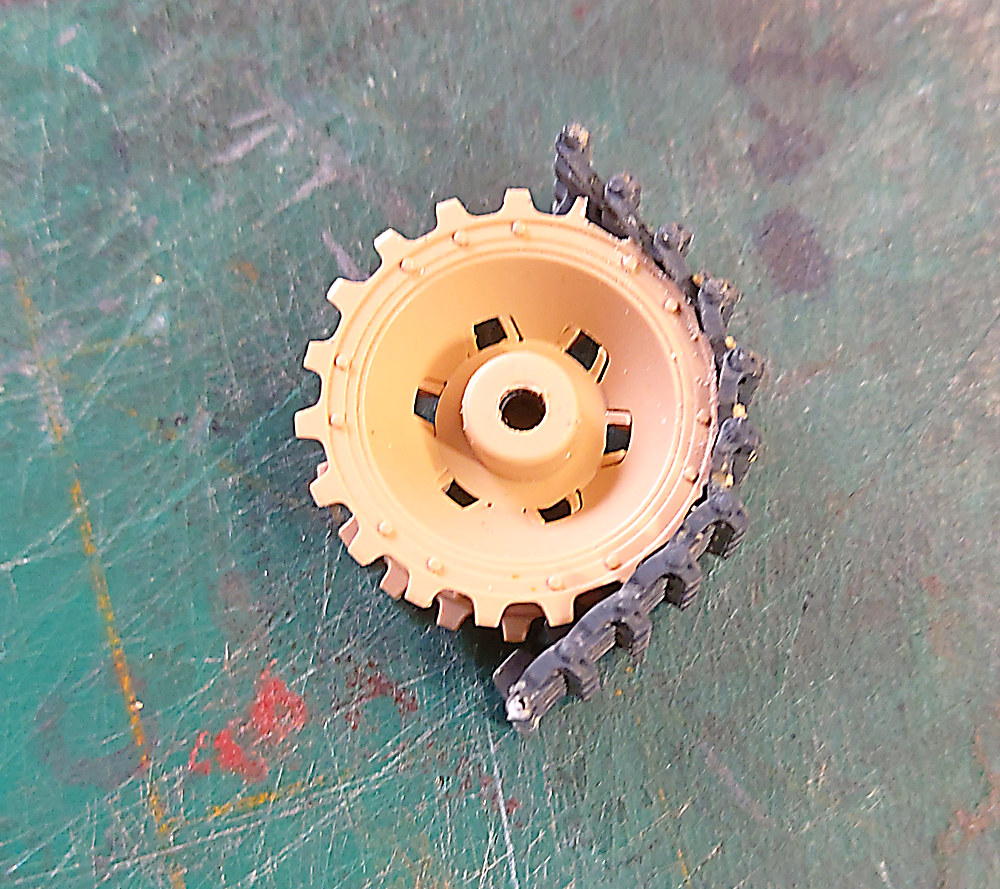
You can see on the first image how much I had to remove from the first tooth. Then less as I went along. This was just an eyeball measurement. You can see how much the teeth were out of alignment. The second image show how the track now fits snug on the sprocket.
The final image is the instructions and the correction page. Booklet on the left correction on the right. The correction show red teeth but no reason for the red teeth. A rookie AFV modeler, like me, could easily do the same. Yeah I should have know. But hey I just fitted them and then BOOM.
No big deal now as my kit will be on a diorama. But if you want working tracks beware.
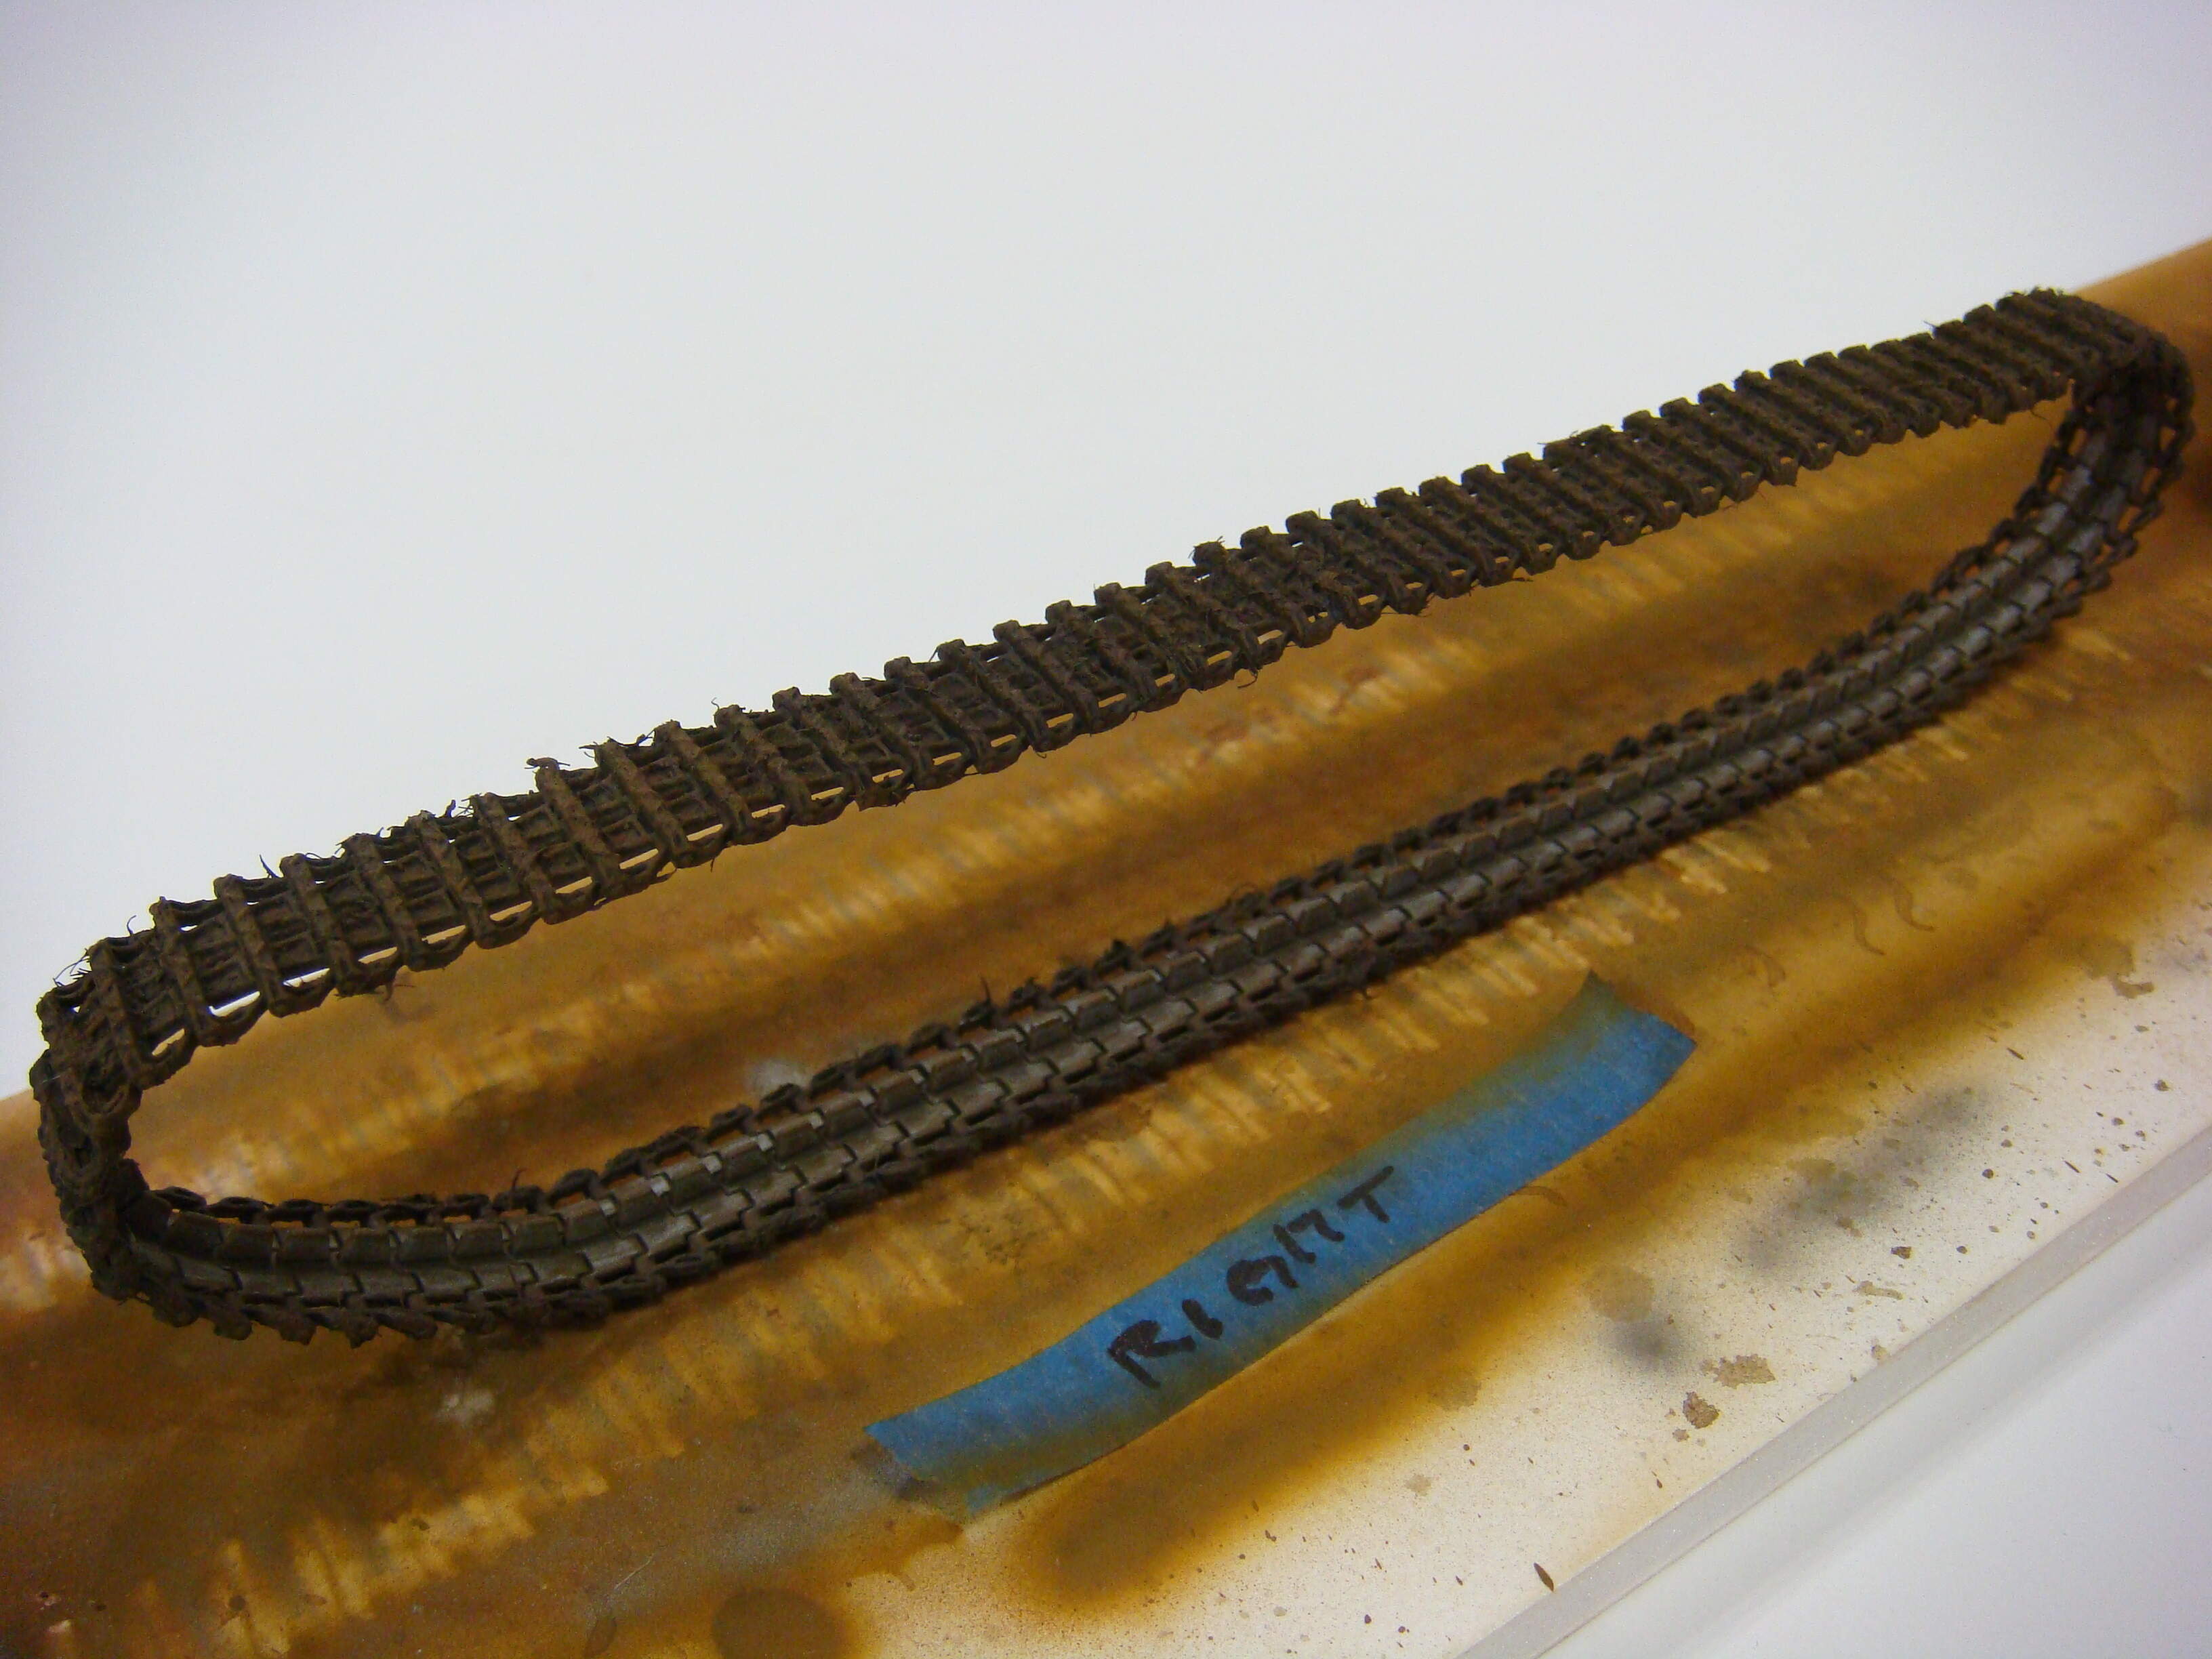
Oh and I have a heap of small sections of track like the one shown. They are VERY fragile.
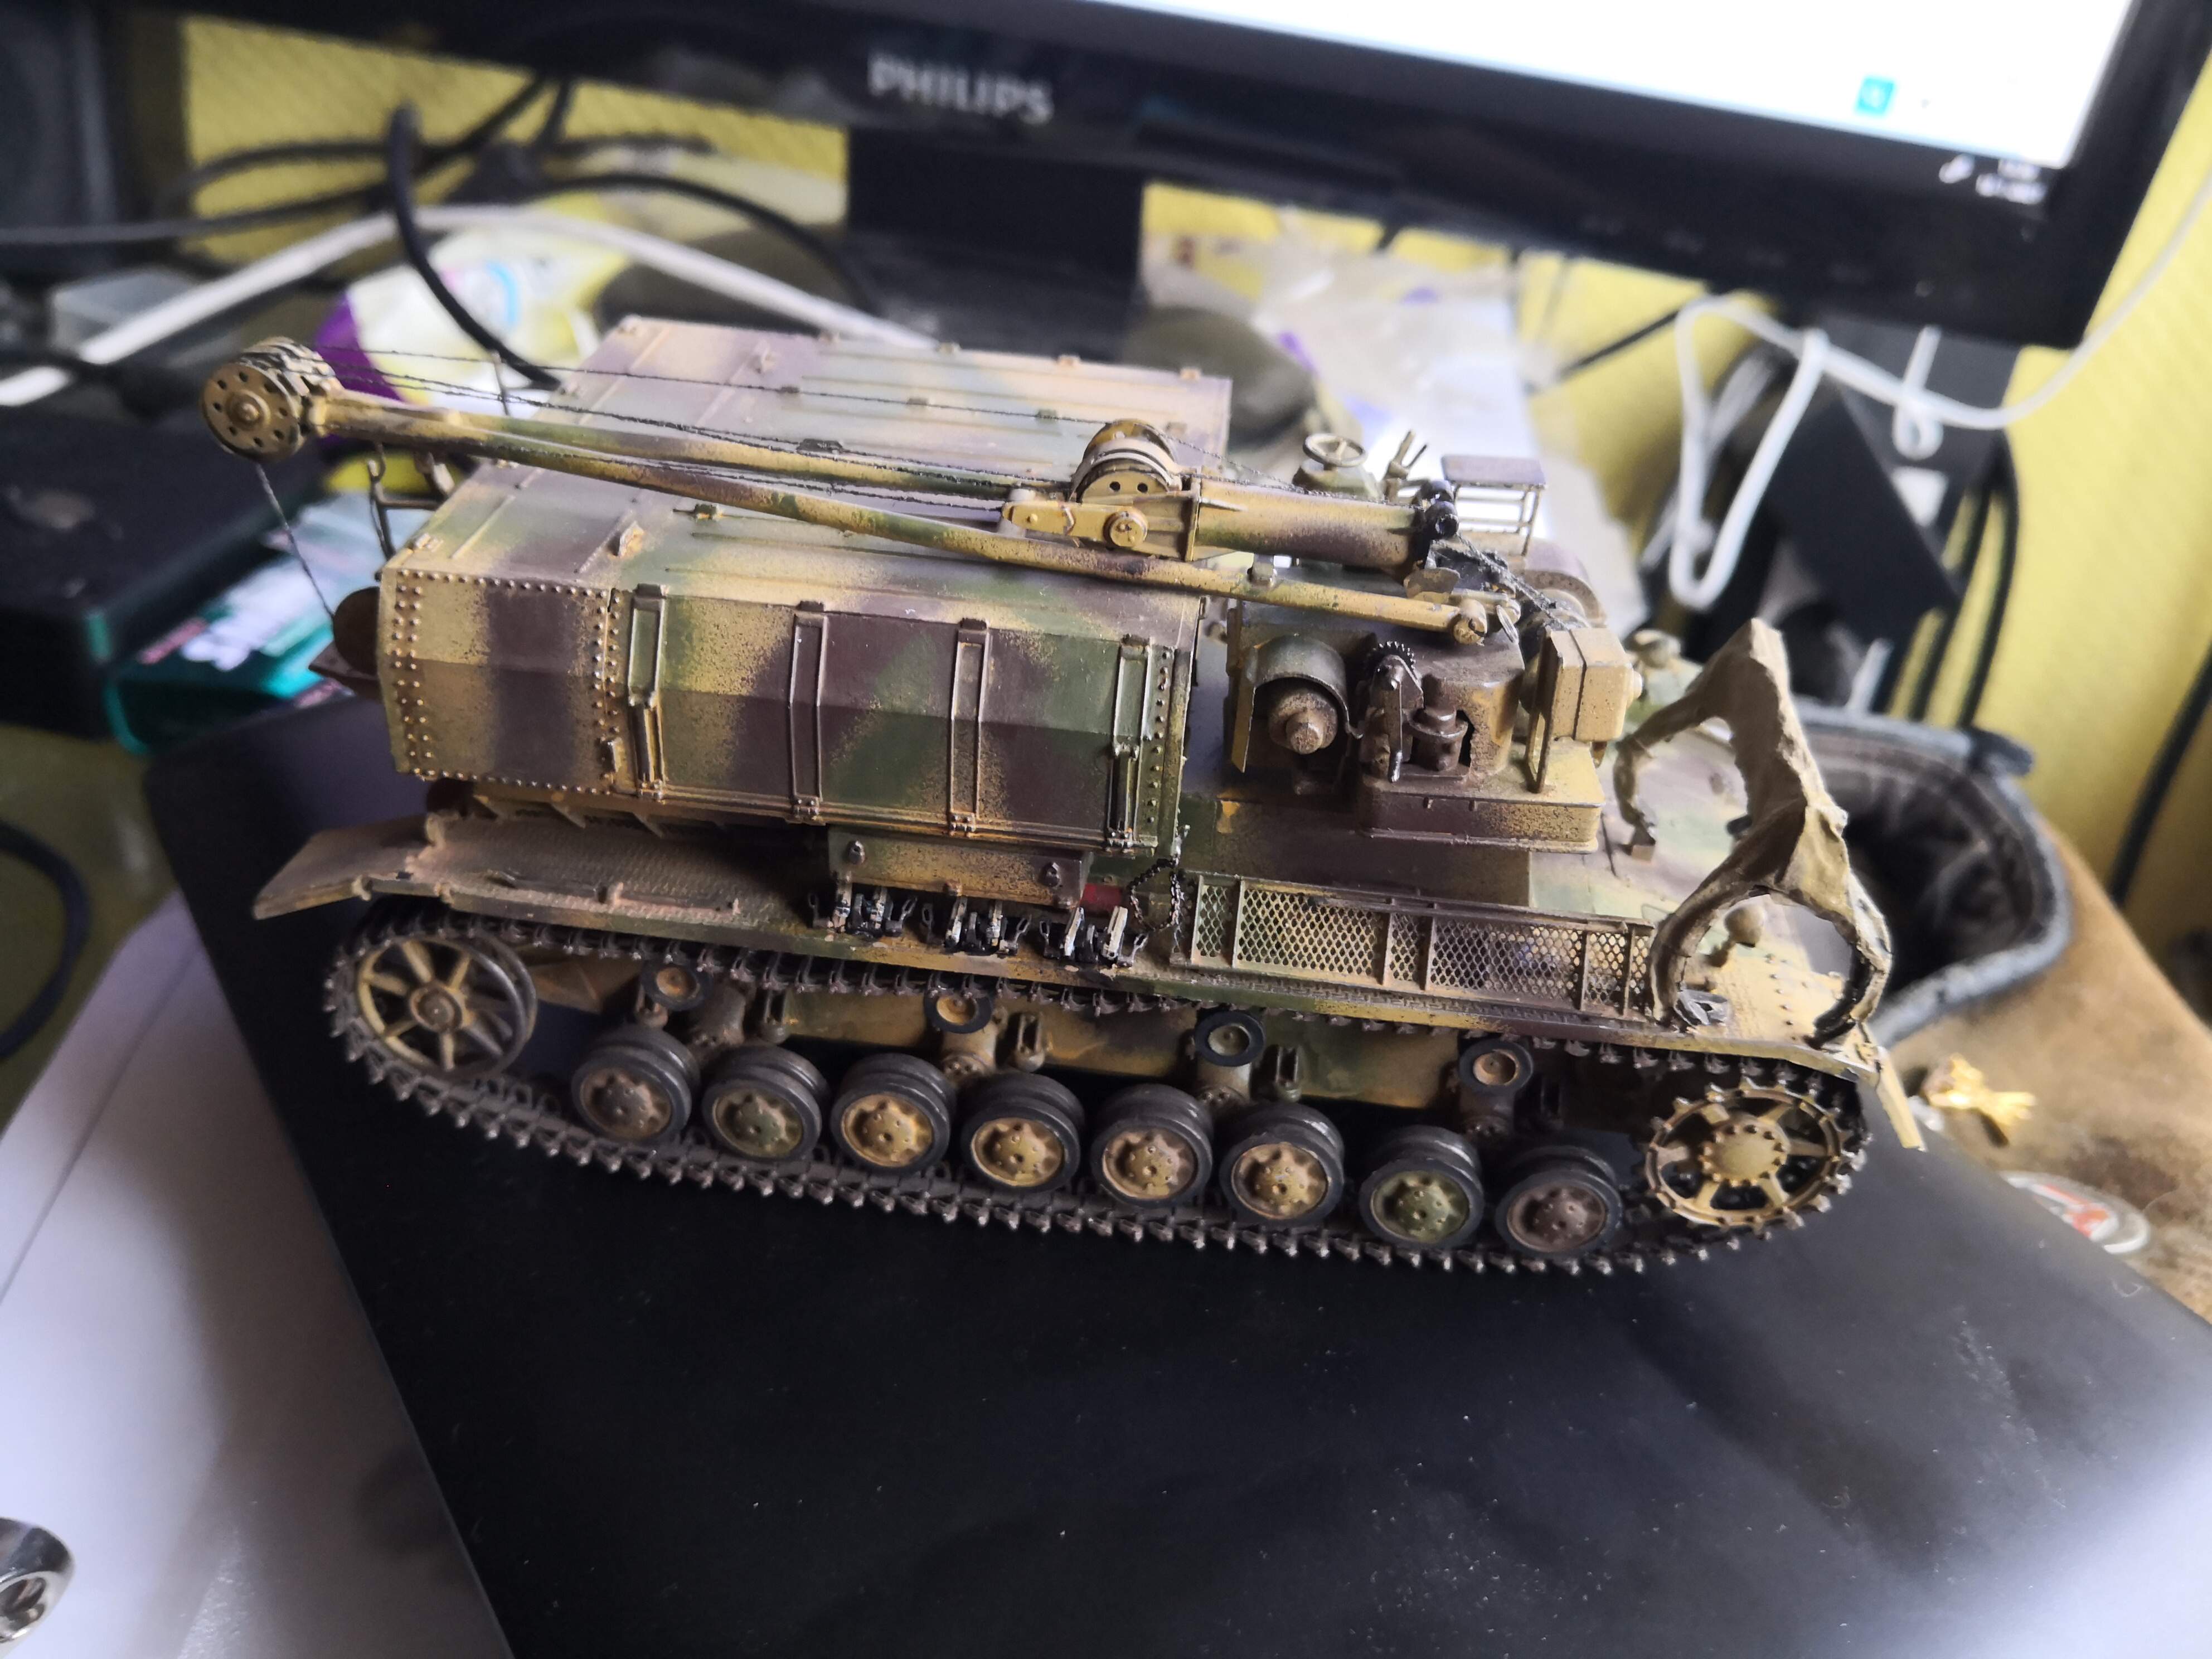
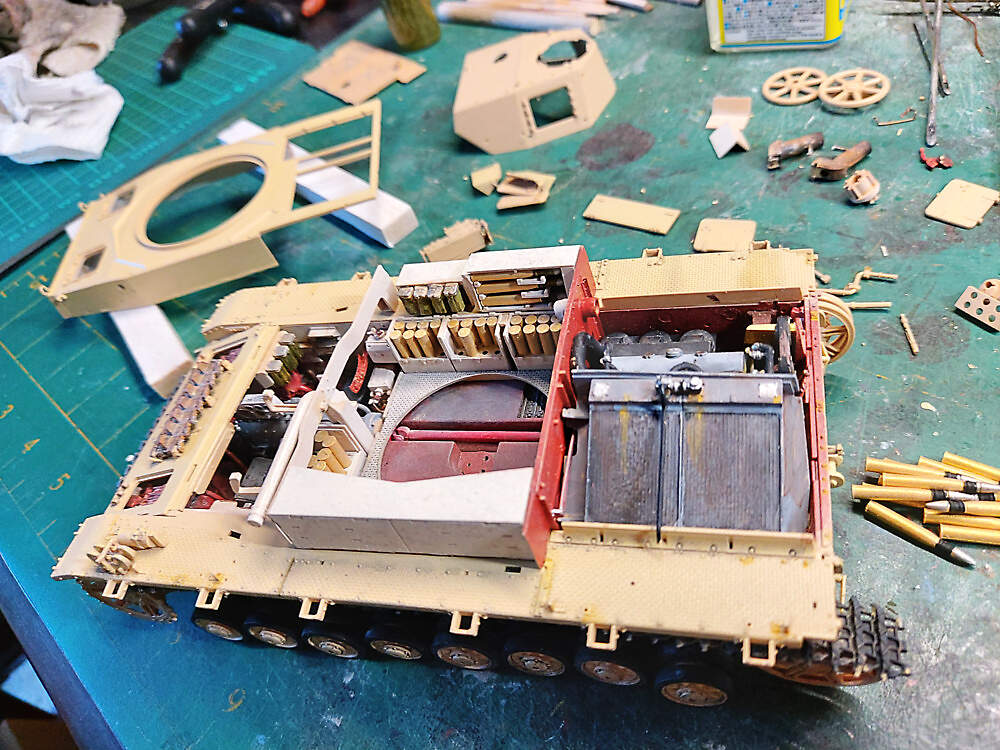
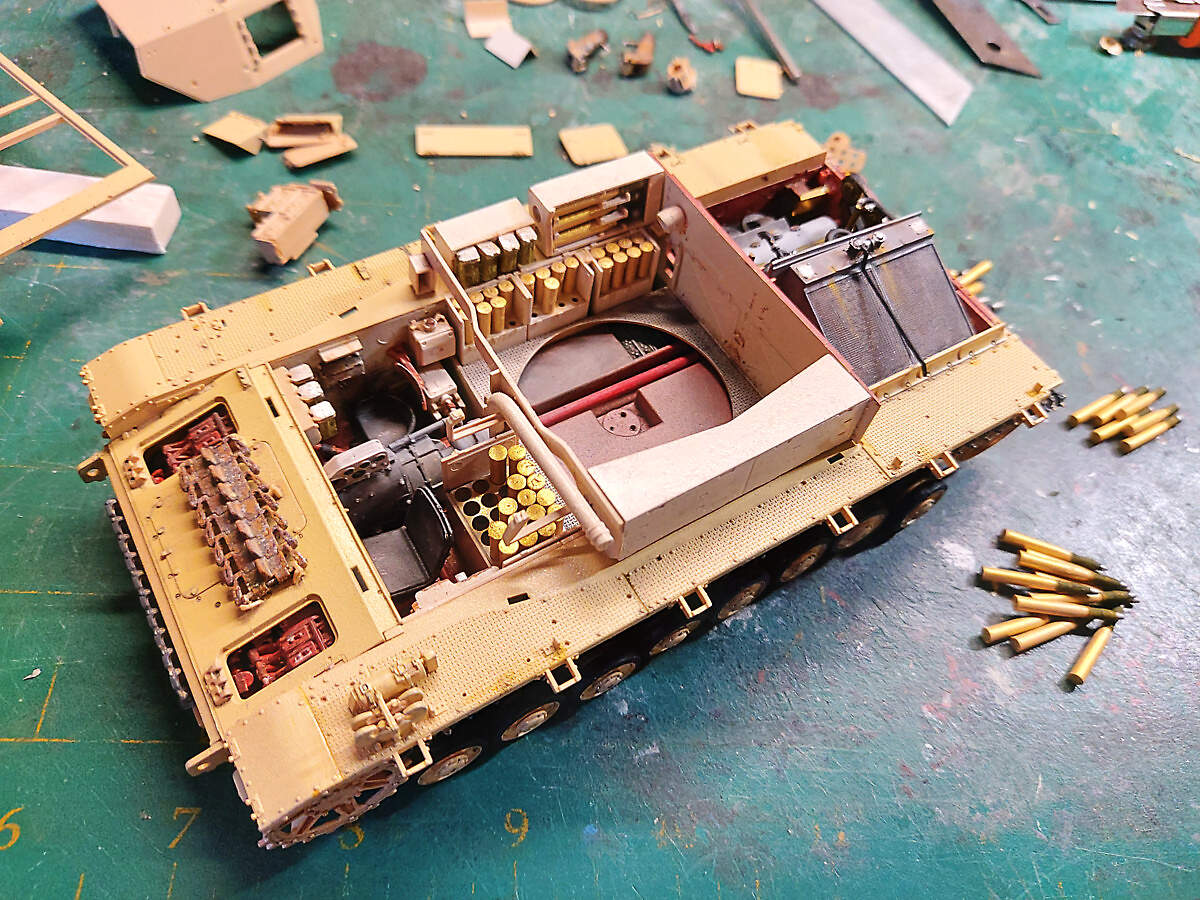
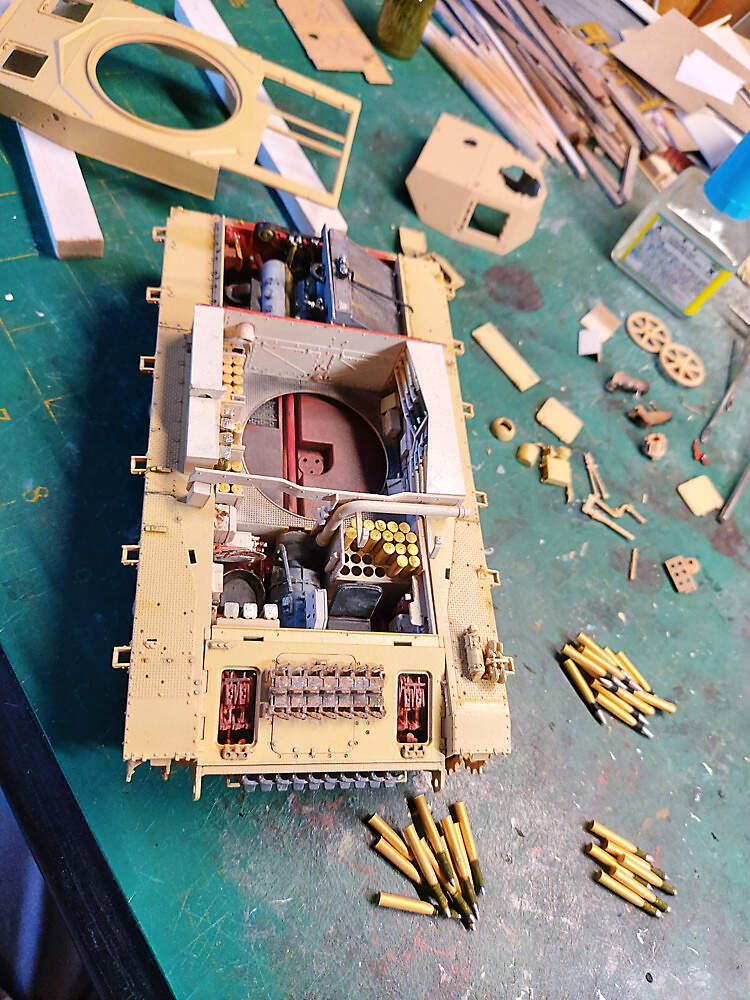
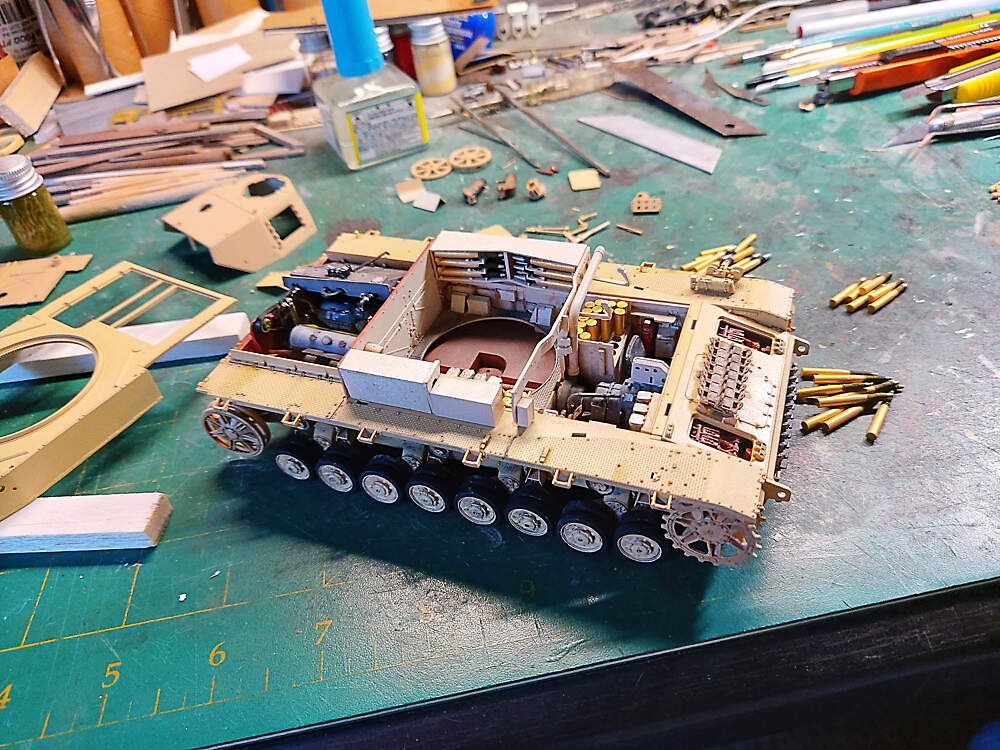
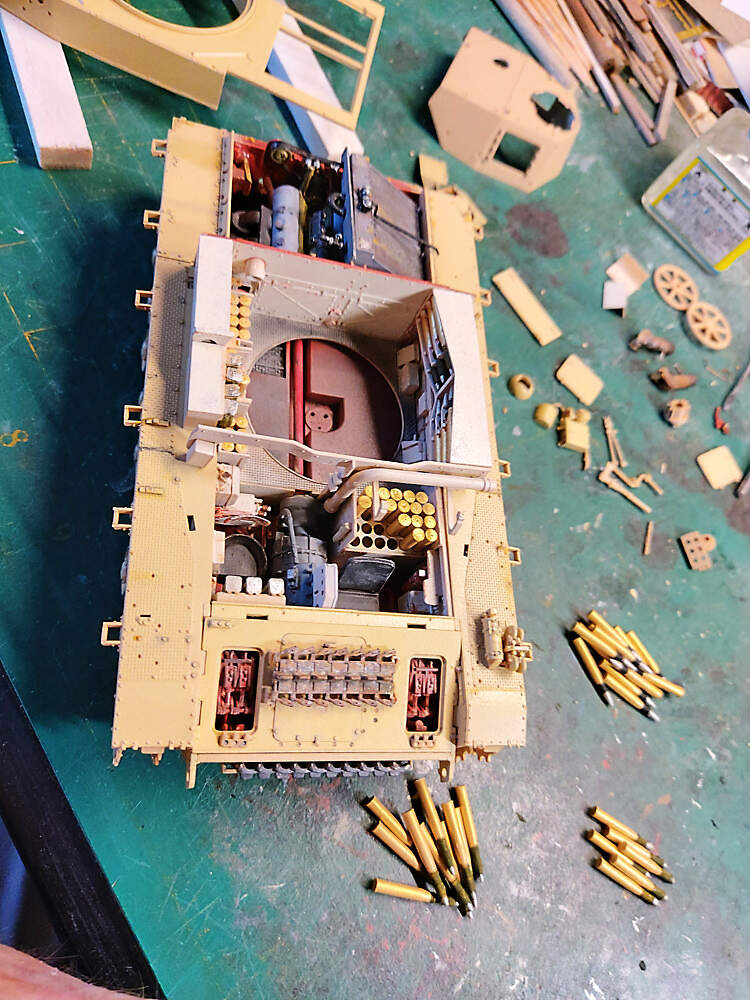
An update. Spent the day painting ammunition. Not all will be in the tank. The rest will be used in the diorama.
This is about the interior of the hull done. Top to fix down. And hatches open to give a view inside.
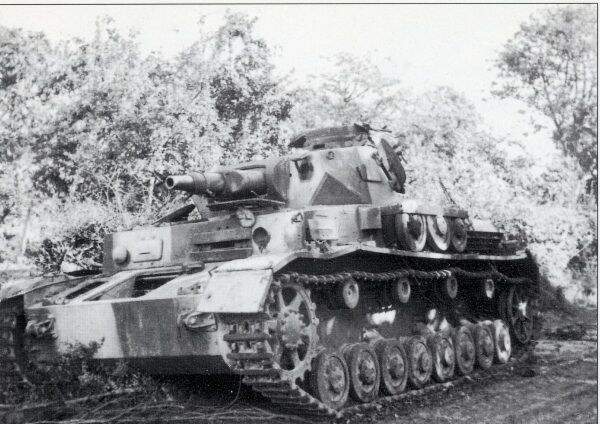
It’s a but ‘clean’ at the moment. My goal is a little used iv J that was meant to go to Nth Africa. Fiction!!!