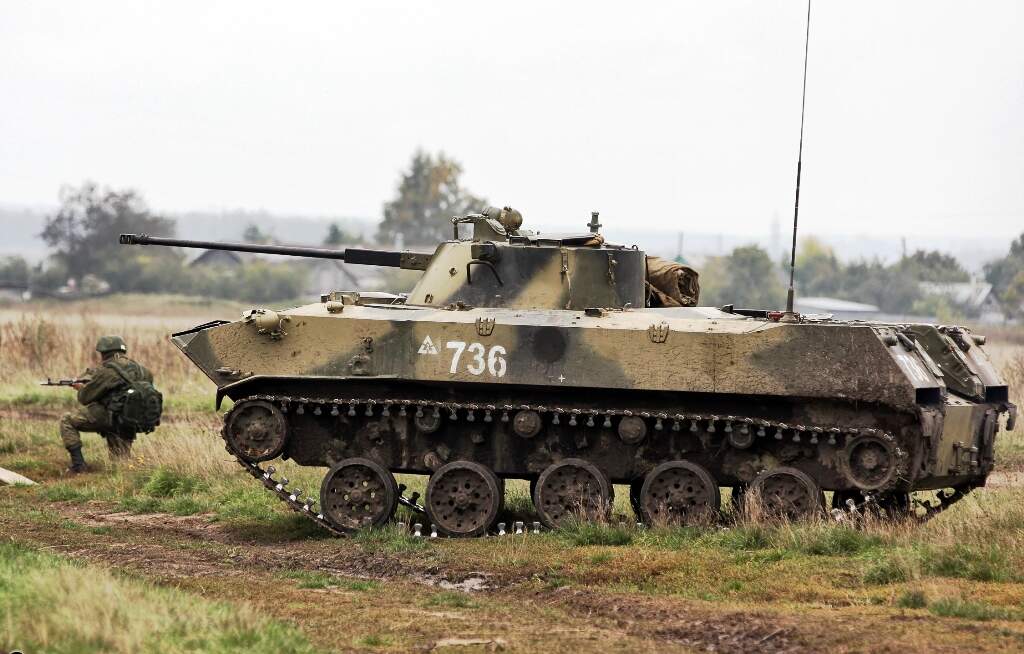
For my next trick Panda’s 1/35 BMD-2. After the time taken to complete my OH-58D for the Helicopter campaign I’ve not done anything else. Now that I feel the modelling itch again I want something with a low(ish) parts count that I can build OOB. I know the tracks on this are fiddly but I’ll take my time and do them a little at a time throughout the rest of the build.

5 Likes
Will be along on this one Max … Those tracks do look just a tad fiddly…I gotta say rather you than me… I think your philosophy is best…a little at a time…
this looks interesting, I think I will jump on this bandwagon for the ride.
Yeah I’ll be checking this one out. I have an old zvesda kit - I think- in my stash and always wanted to make a diorama of a destroyed bmd 2 during the gulf war or Iraqi freedom
I think this is the first time I’ve seen a build log of this kit, it will be interesting to see how it goes together and the level of detail. I think you have the right idea about tackling the tracks.
Have you looked into paint schemes for it yet?
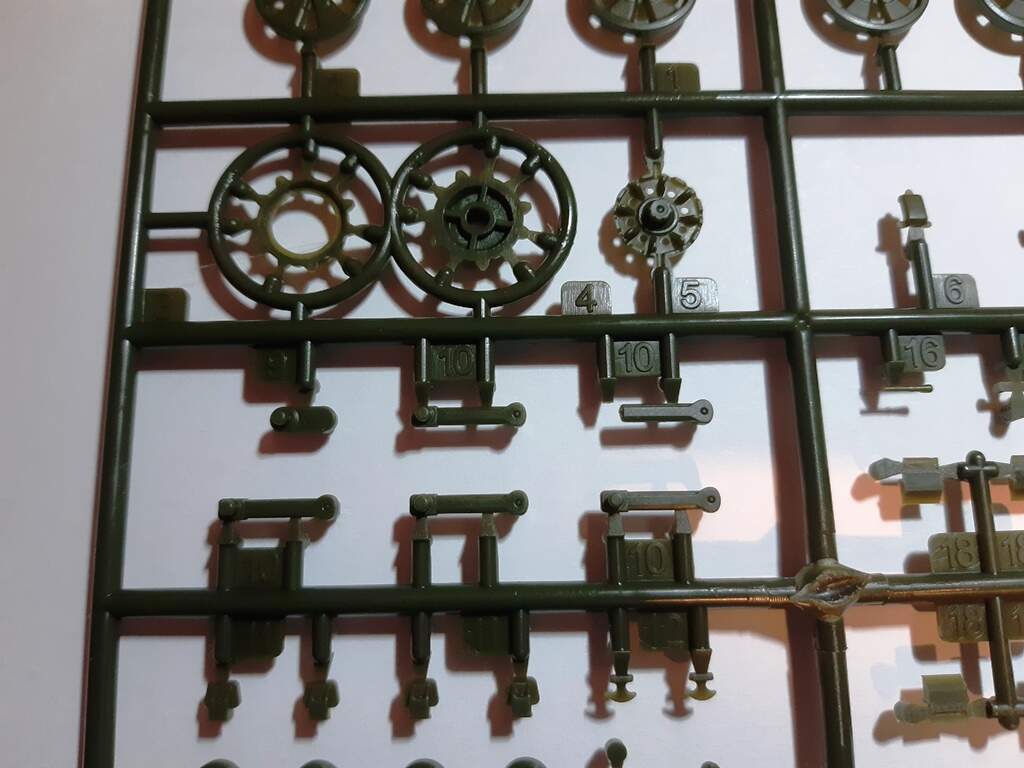
Just to really set me in the mood for the rest of the kit, just about to cut first plastic and I notice that on both A sprues one of the suspension arms is a short shot. Look at the top right hand of the 5 suspension arms item 10, it’s missing the hull attachment and that is both sprues. Not a huge inconvenience as I’ll just scratch the end of the arm but come on Panda!!
Not sure what to paint it, I was thinking on plain green with the blue decals as I like the contrast but I also like the three tone camo. I could also try and do a specific vehicle.
1 Like
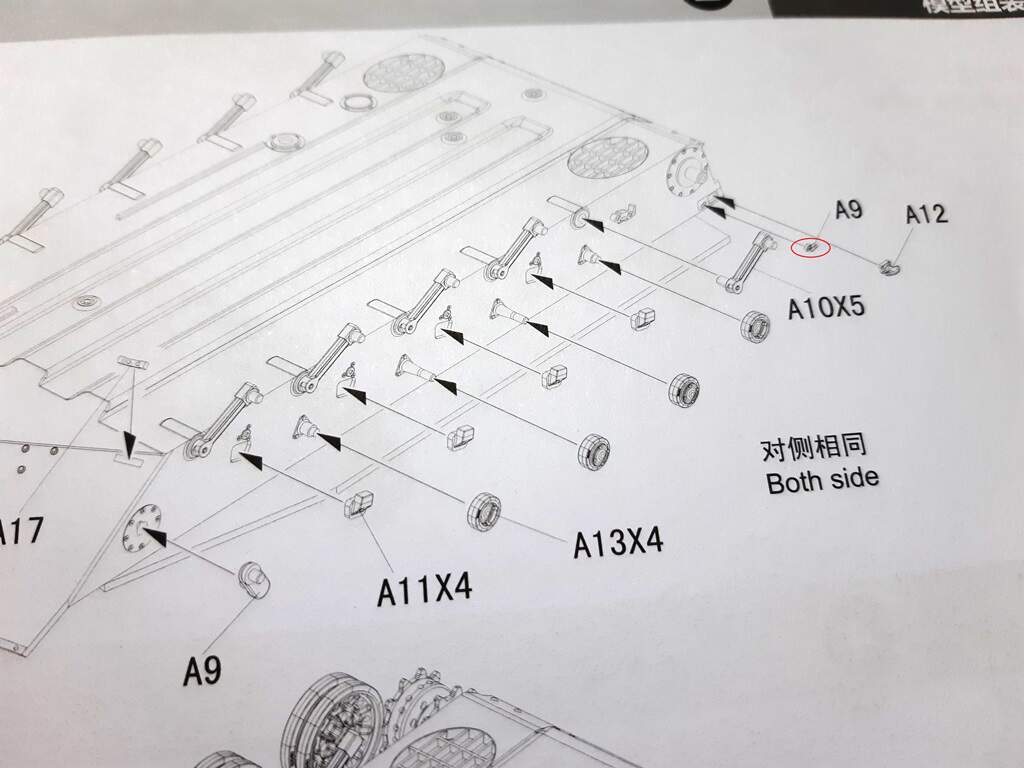
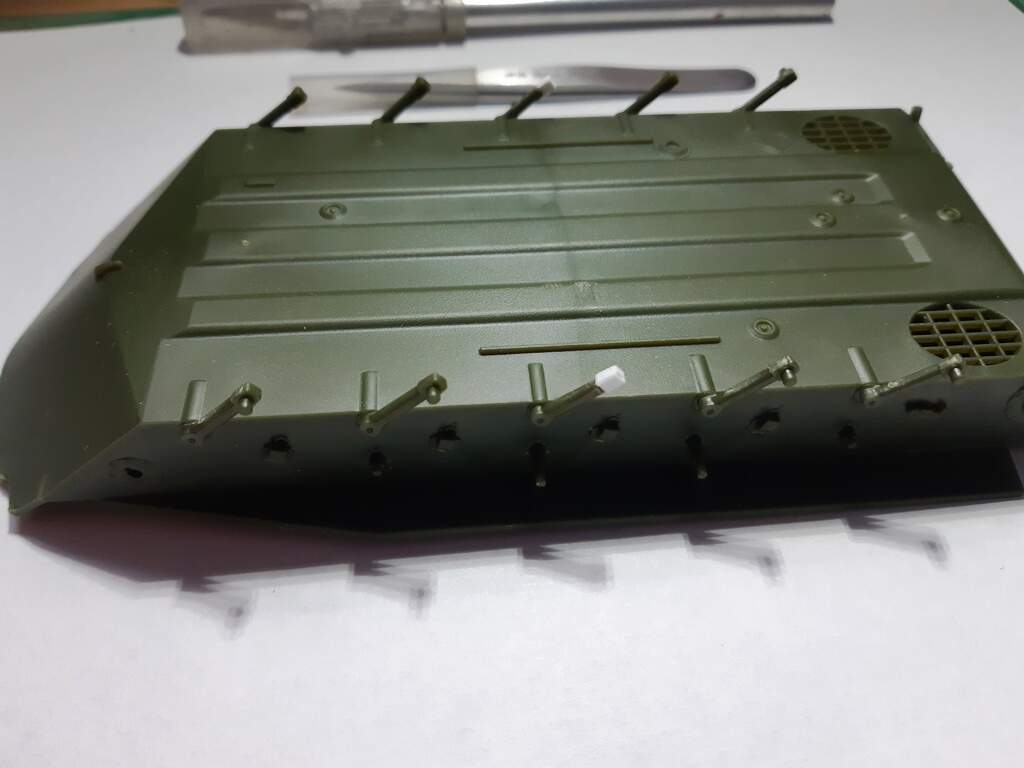
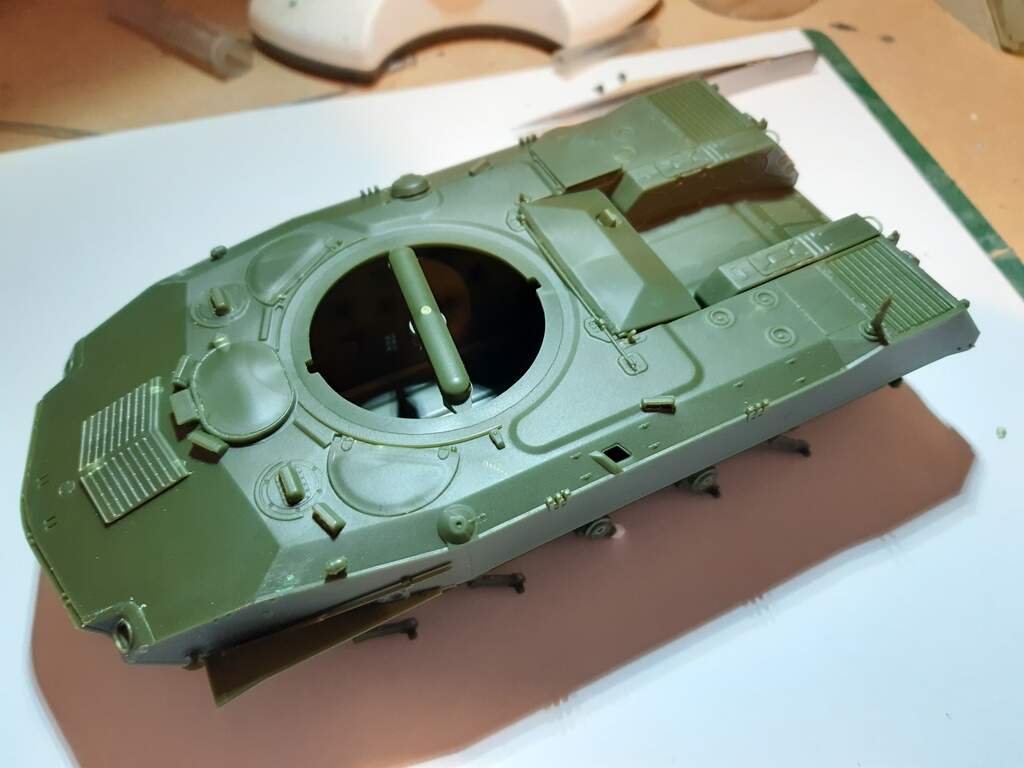
Moving on with the build. The plastic is quite soft and it’s easy to cut or sand too much off. There is a mistake in the instructions in that A9 is called out twice as you can see in the pic below. The proper A9 is the idler arm and the one ringed in red I can’t see on the sprue, however that’s more of an issue with my eyes and the size of some of the parts. I’ll find it eventually. The upper is dry fitted and fits quite well, there is some flash where the machine gun ports go but it won’t be an issue. The water jet funnels are fitted more to keep the rear panel rigid as unless you lift the model up and look through the intakes nothing can be seen. Oh and you can see where I’ve built up the short shot suspension arms. I’ll fit a stub axle for the wheel when it’s time to fit them.


4 Likes
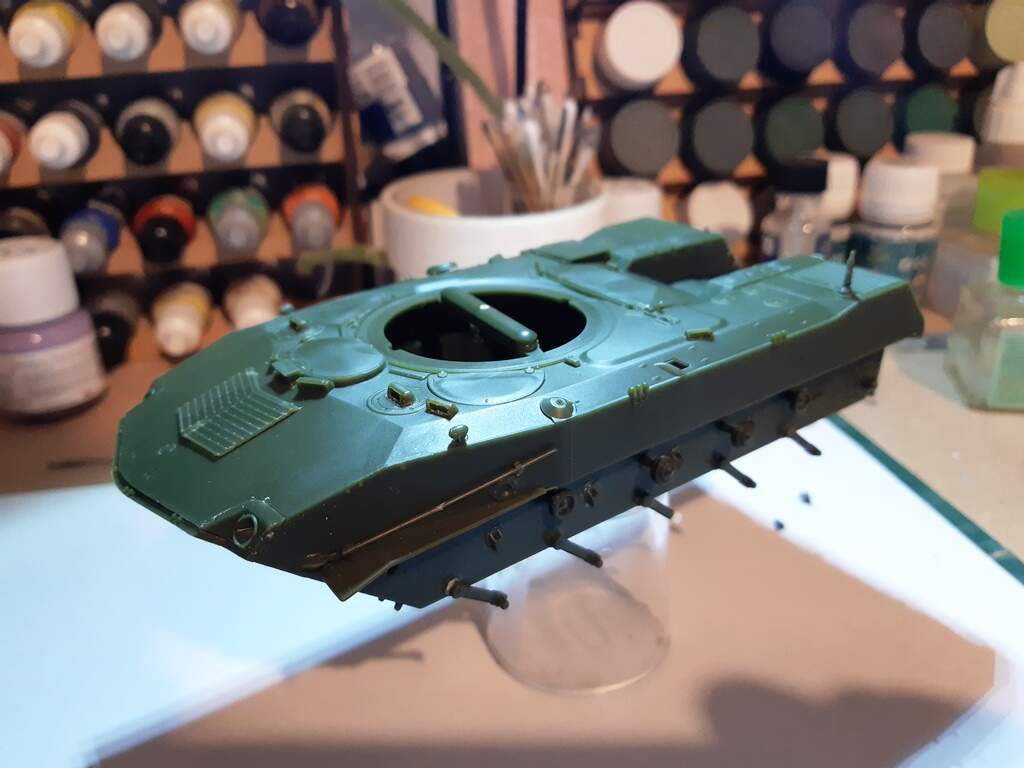
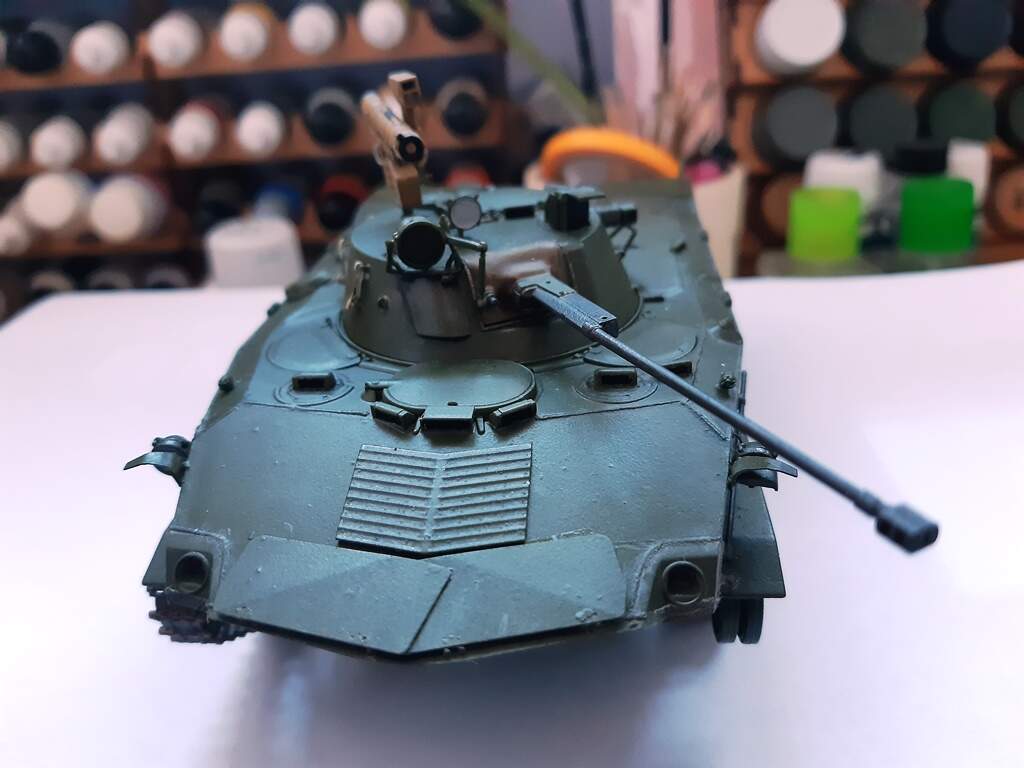
A small update, this little thing just falls together. There isn’t a lot to do on it really though I will be putting some weld beads on it as there are some missing and the others are very feint. I moved the front side lights as they were too far forward, references show them level with the periscopes though there are pics of them further forward also, different year of manufacture probably.

4 Likes
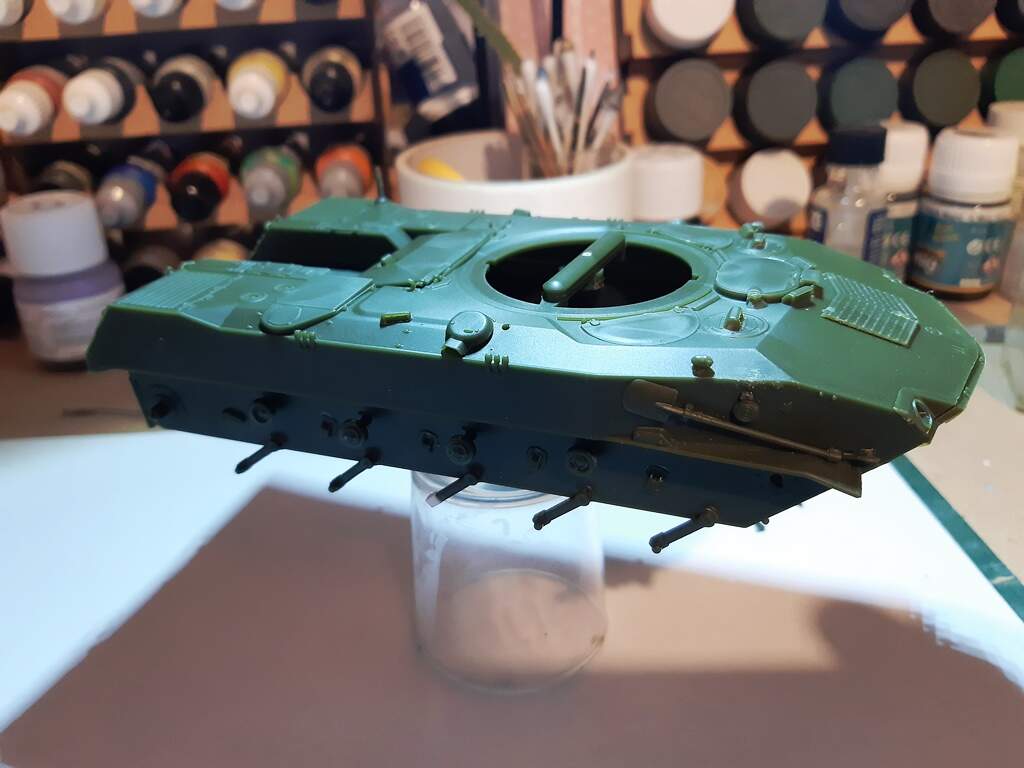
Where I’m at so far. There is no etch on yet as my CA has gone all gloopy and I need to get some more and there is a quite a bit of etch for this kit. I’m having a worry about the tracks as there are some short shots on the links and I’m flapping there won’t be enough. Only time will tell once I have one side done and see how many links it took as the instructions never seem to get it right.


5 Likes
Nice build. I did the Zvezda one years ago which already was pretty decent. I just swapped the tracks for Sector 35 metal ones. I don’t know if the brand is still alive. The tracks were great but the length of the guide horns was too large to sit on the return rollers. I had to cheat a bit.
If you don’t have enough links remaining after you have assembled the first run you could depict a track blown away by a mine.
Olivier
1 Like
Nice job thus far Max… I hope the worries about the track don’t materialize… Fingers crossed
Well one side of the tracks are done and accounting for the short shots on the sprues I have 1 spare link!! I might have been able to put together 1 or 2 links using the incomplete links. Can’t believe that they tell you to use 88 links per side and they give you 92 for each side and some were knackered. I’ll take some pics tomorrow of how far I have come in the build and post them.
1 Like
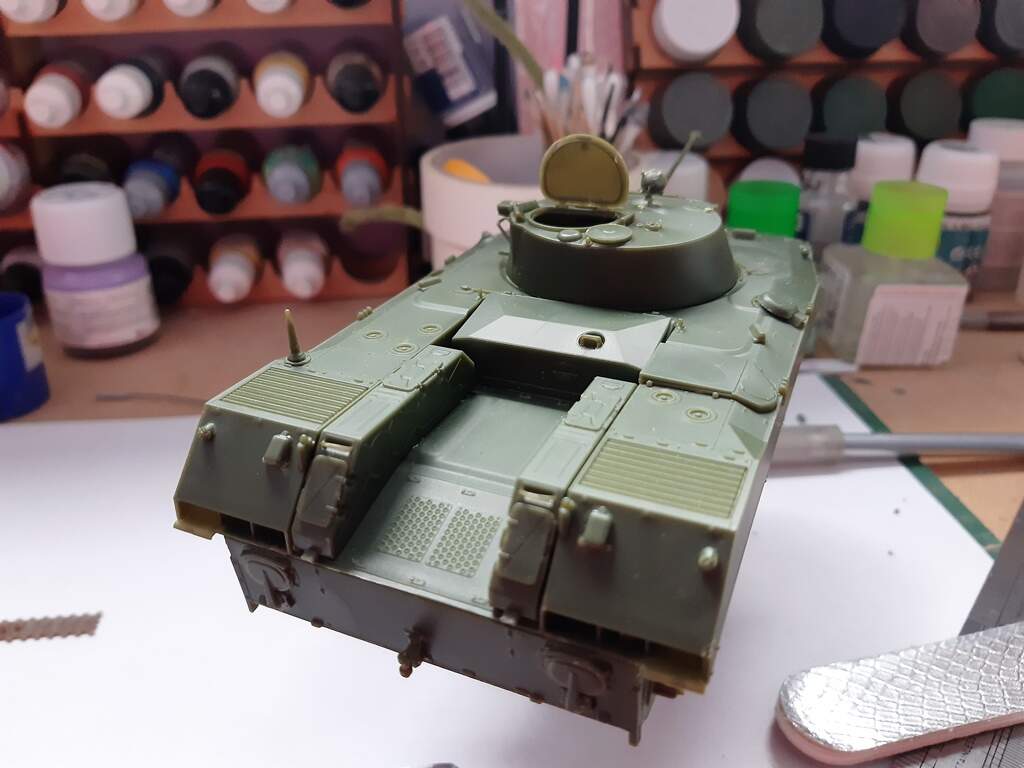
Started this as I wanted to build something relatively OOB and be a little more relaxing. Well the tracks alone have nearly sent me over the edge and I’ve only managed 1 side so far. The kit itself looks OK, details is a little soft while the plastic is very brittle and the carpet monster has gained a few more items. Some of the etch is insanely small and 2 dimensional the stowage strap loops being some of them. I’ve replaced that with brass wire but not sure if it looks overscale. I think when I add the straps onto it they will look OK.
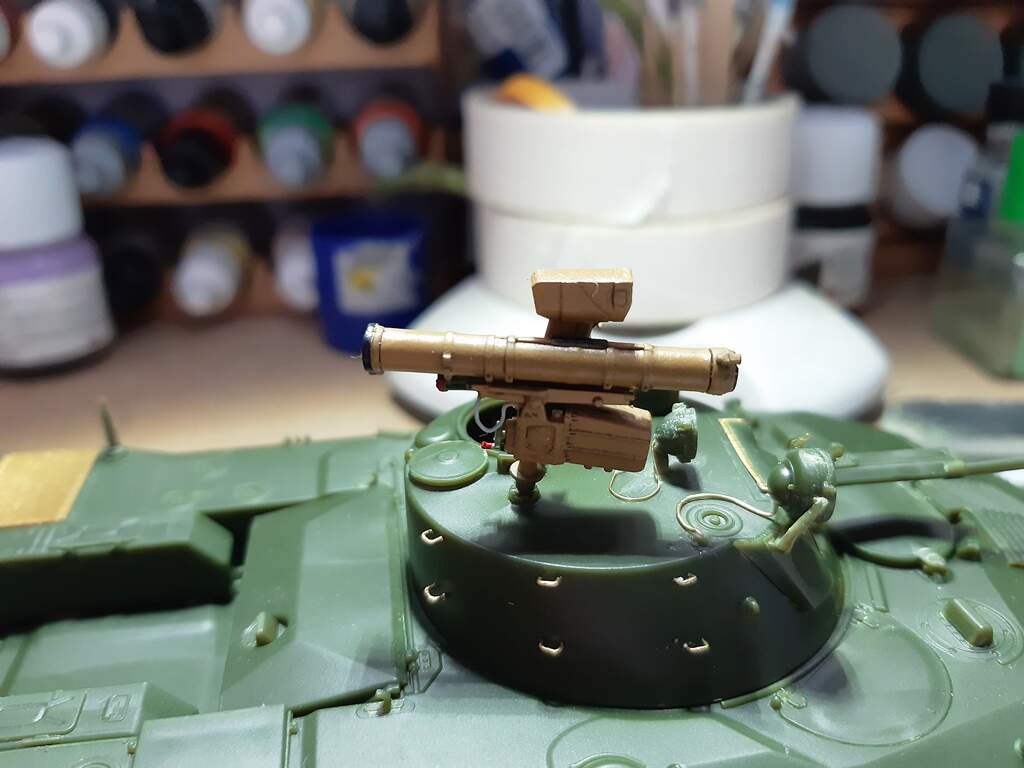
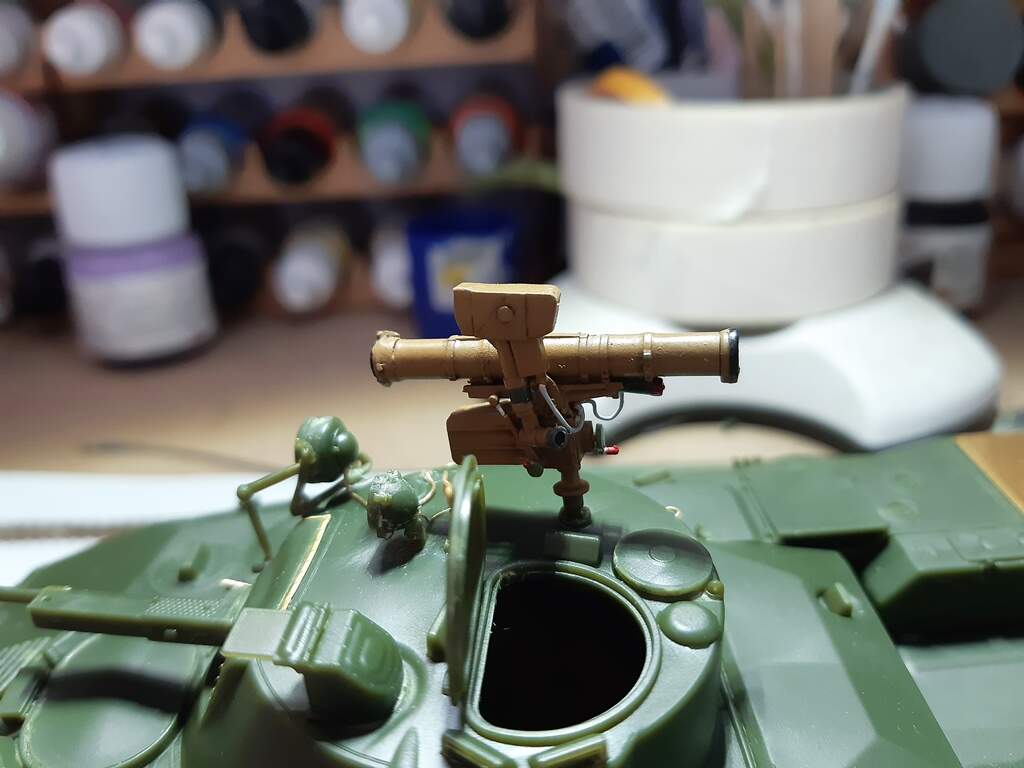
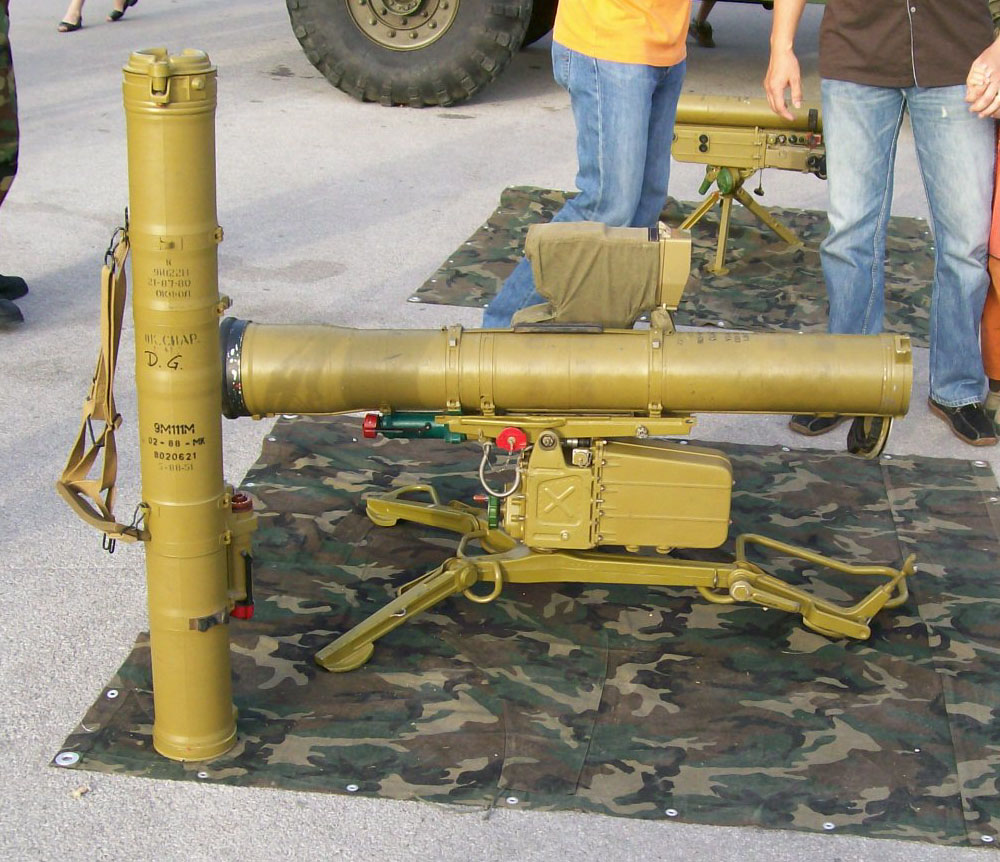
The missile launcher is a mini kit in itself and builds up into a very good facsimile of a Fagot/Konkurs missile launcher, even down to what I am assuming is the thermal battery under the tube at the rear. Just a few cables needed adding from brass wire and it was good to go. Just needs a flat coat applying. I think I’ll look for some small numbers and letters in left over decals to add to the tube itself.

4 Likes
I have a packet of resin tracks for a BMD-1 (an Eastern Express kit) and they are minuscule- it is a real credit to you to see the progress you have made on them!
I reckon the stowage loops look excellent, certainly in keeping with the scale.
Well done on those tracks… I would of chinned them straight off and gone for a Dio with it fully bogged down in a swamp lol…
Those turret tie downs look spot on to me, come across very nice
That is a cracking little missile firing post. The cables you added give it the extra lift it needs to make look just right… Great job
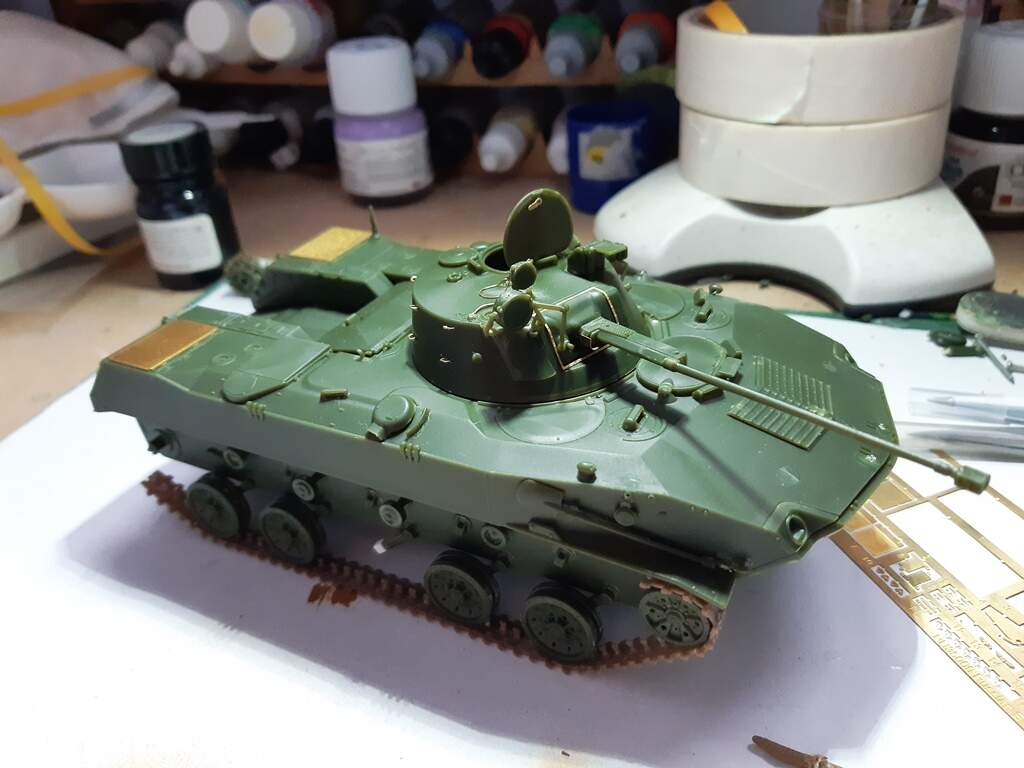
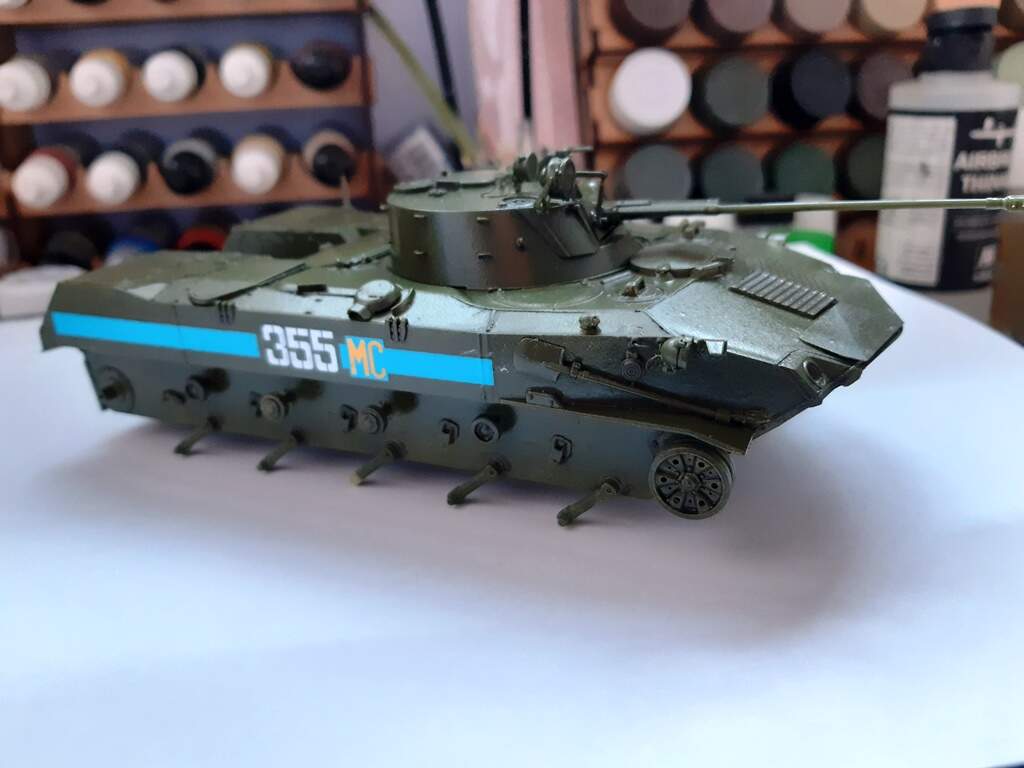
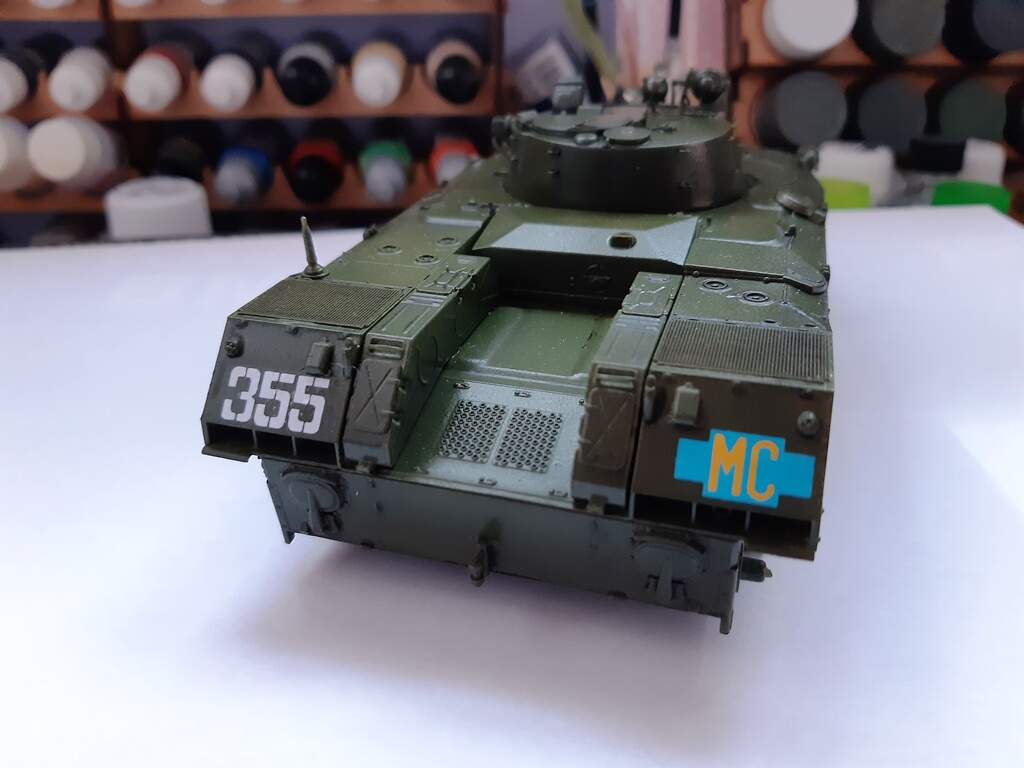
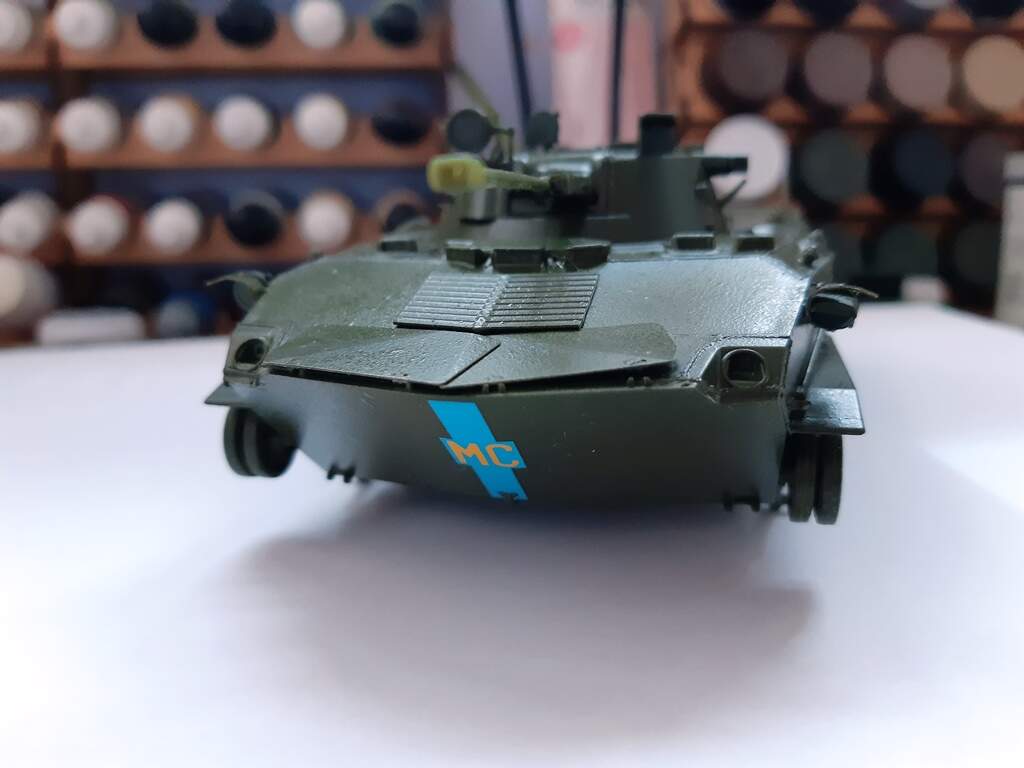
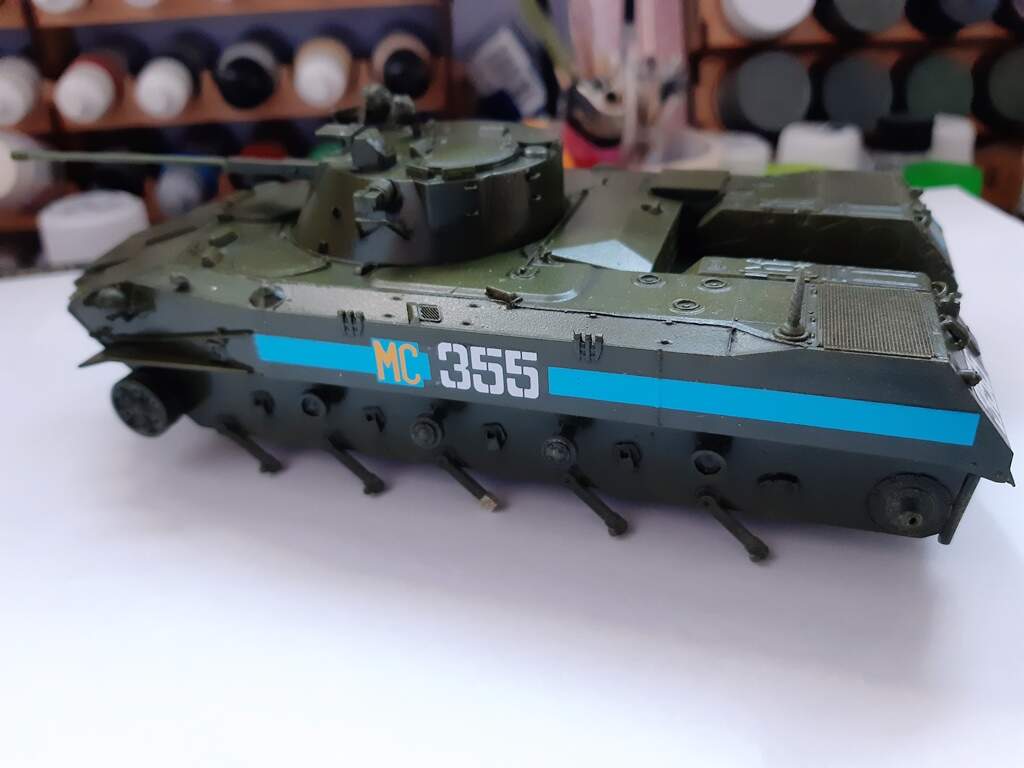
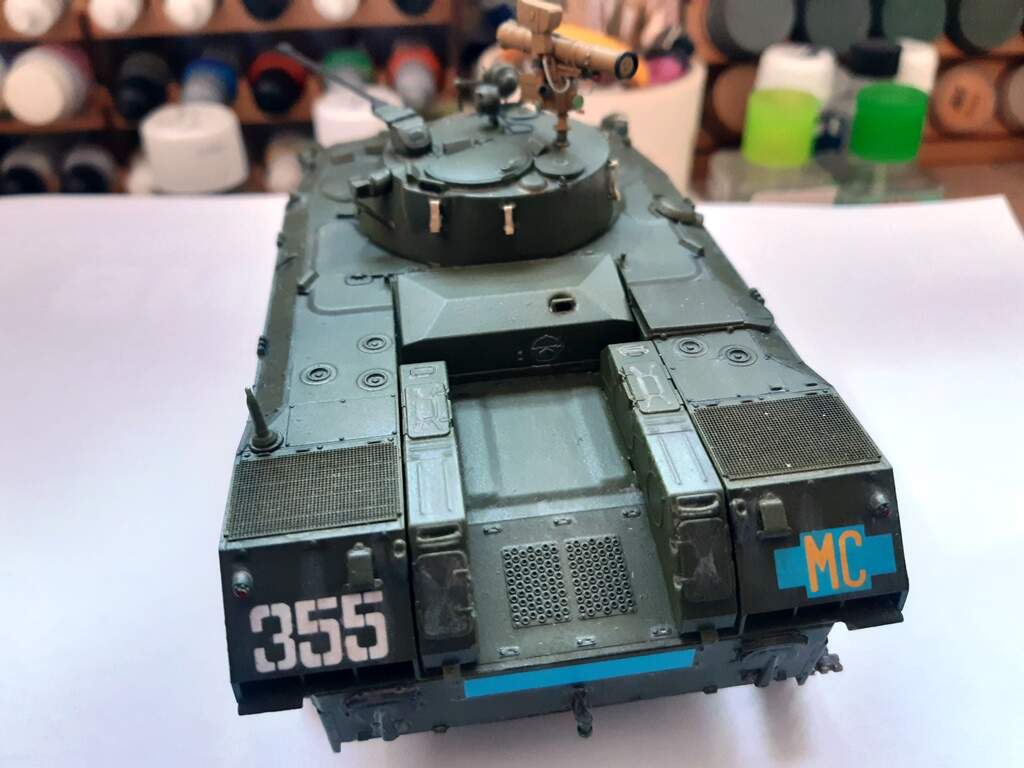
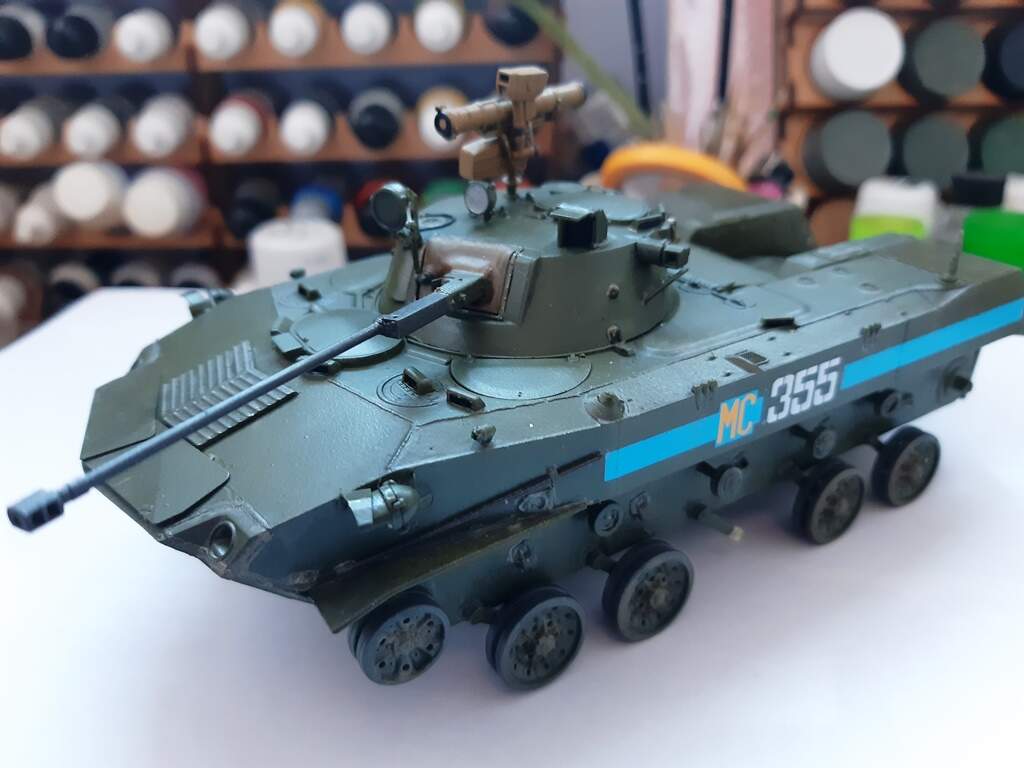
Ok, so far so good. I’ve added a few weld lines as there wasn’t any at all, painted it overall green with Vallejo Russian green 71.017 and put the decals on. As I like a bit of contrast on my models I have went with the markings for Russian peacekeepers in Southern Ossetia in around 2008. They really stand out against the green, just need a second coat of Johnsons Klear and then a dust wash. I’ve decided not to make it too dirty as from experience in Bosnia your wagon goes boom if you go off hard roads in any great capacity. Those types of wars do like their IED’s. Barrel, sights and detail painting to be done, complete the 2nd track and roadwheels and put it all together.
4 Likes
Looking great Max and those decals do make it stand out against the green …
That ratio do you mix the klear with when you spray it ?
I don’t thin it at all Johnny, I shoot it straight from the bottle as it is very runny anyway. It’s about the only thing I don’t thin.
1 Like
Starting on the home straight now I think. Most things done apart form the left hand track, put on the missing road wheels and right hand track. The stub axles on the suspension arms are very fragile, apart from having two as short shots I snapped one off being a little too vigorous putting the wheels on. The launcher is just plonked on there also otherwise I’d have snapped that off half a dozen times. I’m also a little perturbed with the paint finish as I bought a Harder and Steenbeck airbrush and have struggled with finding the best pressures versus paint mix. I think I have it sorted now but this kit has a few splatters.

4 Likes