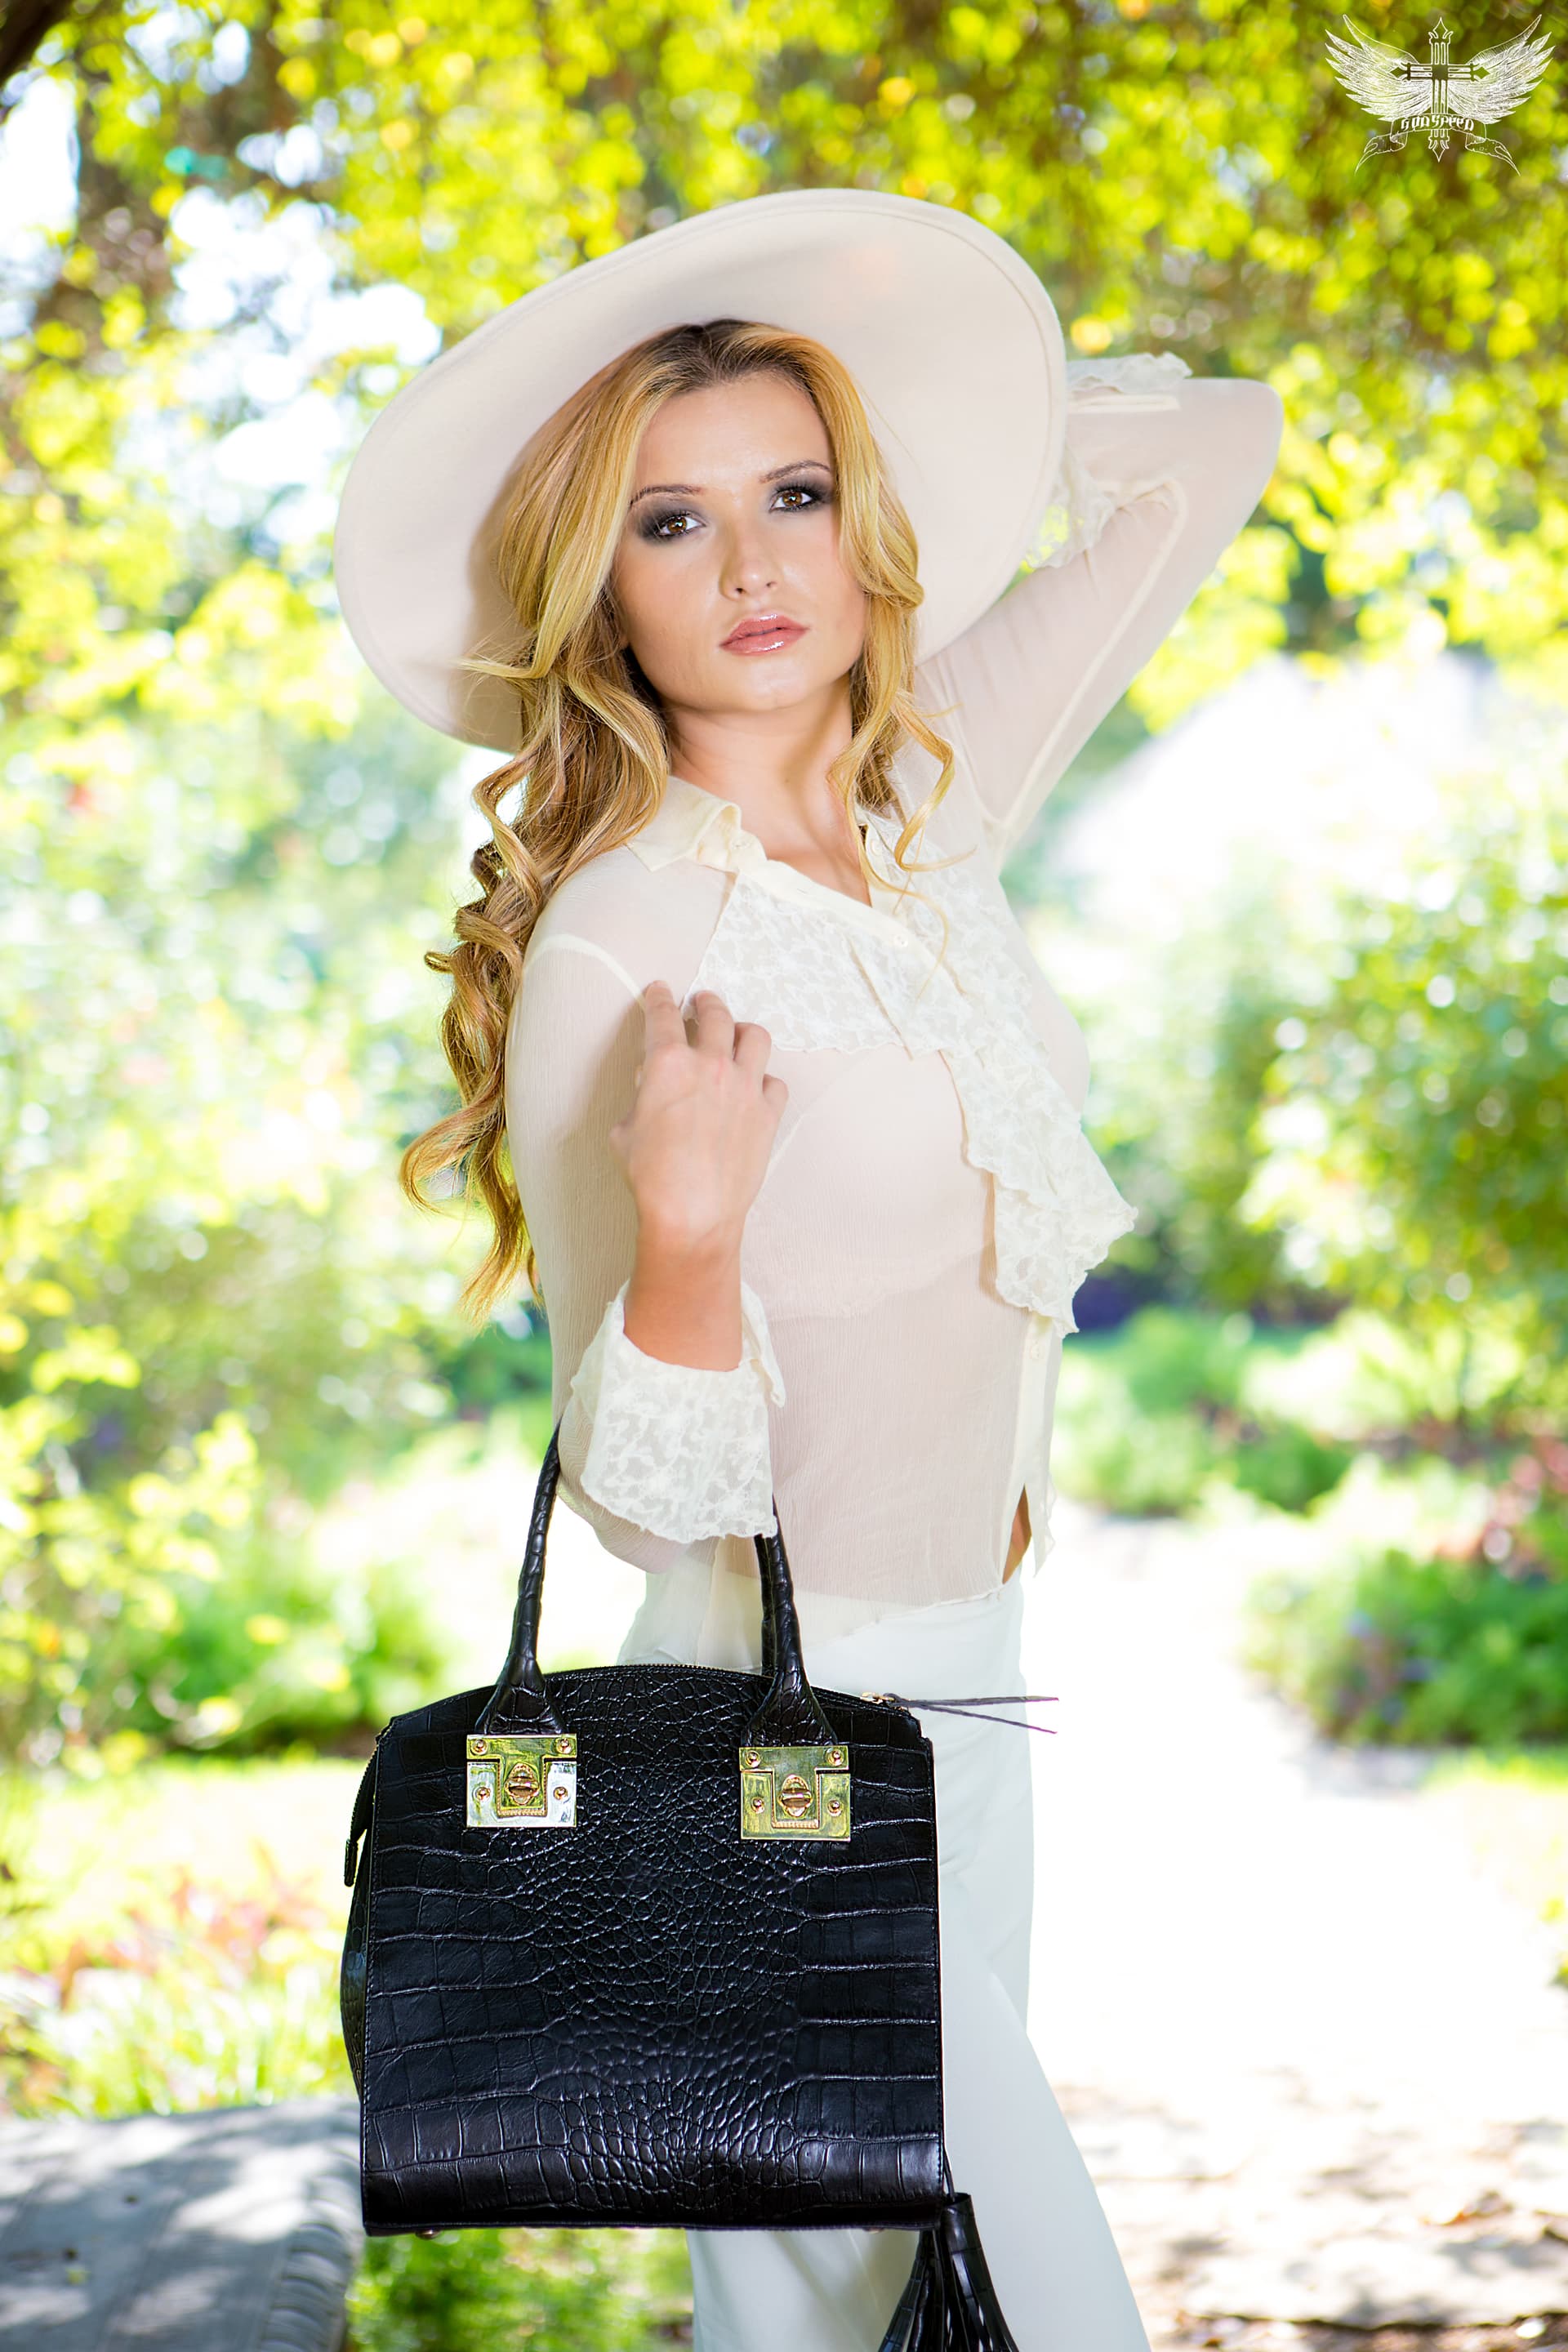
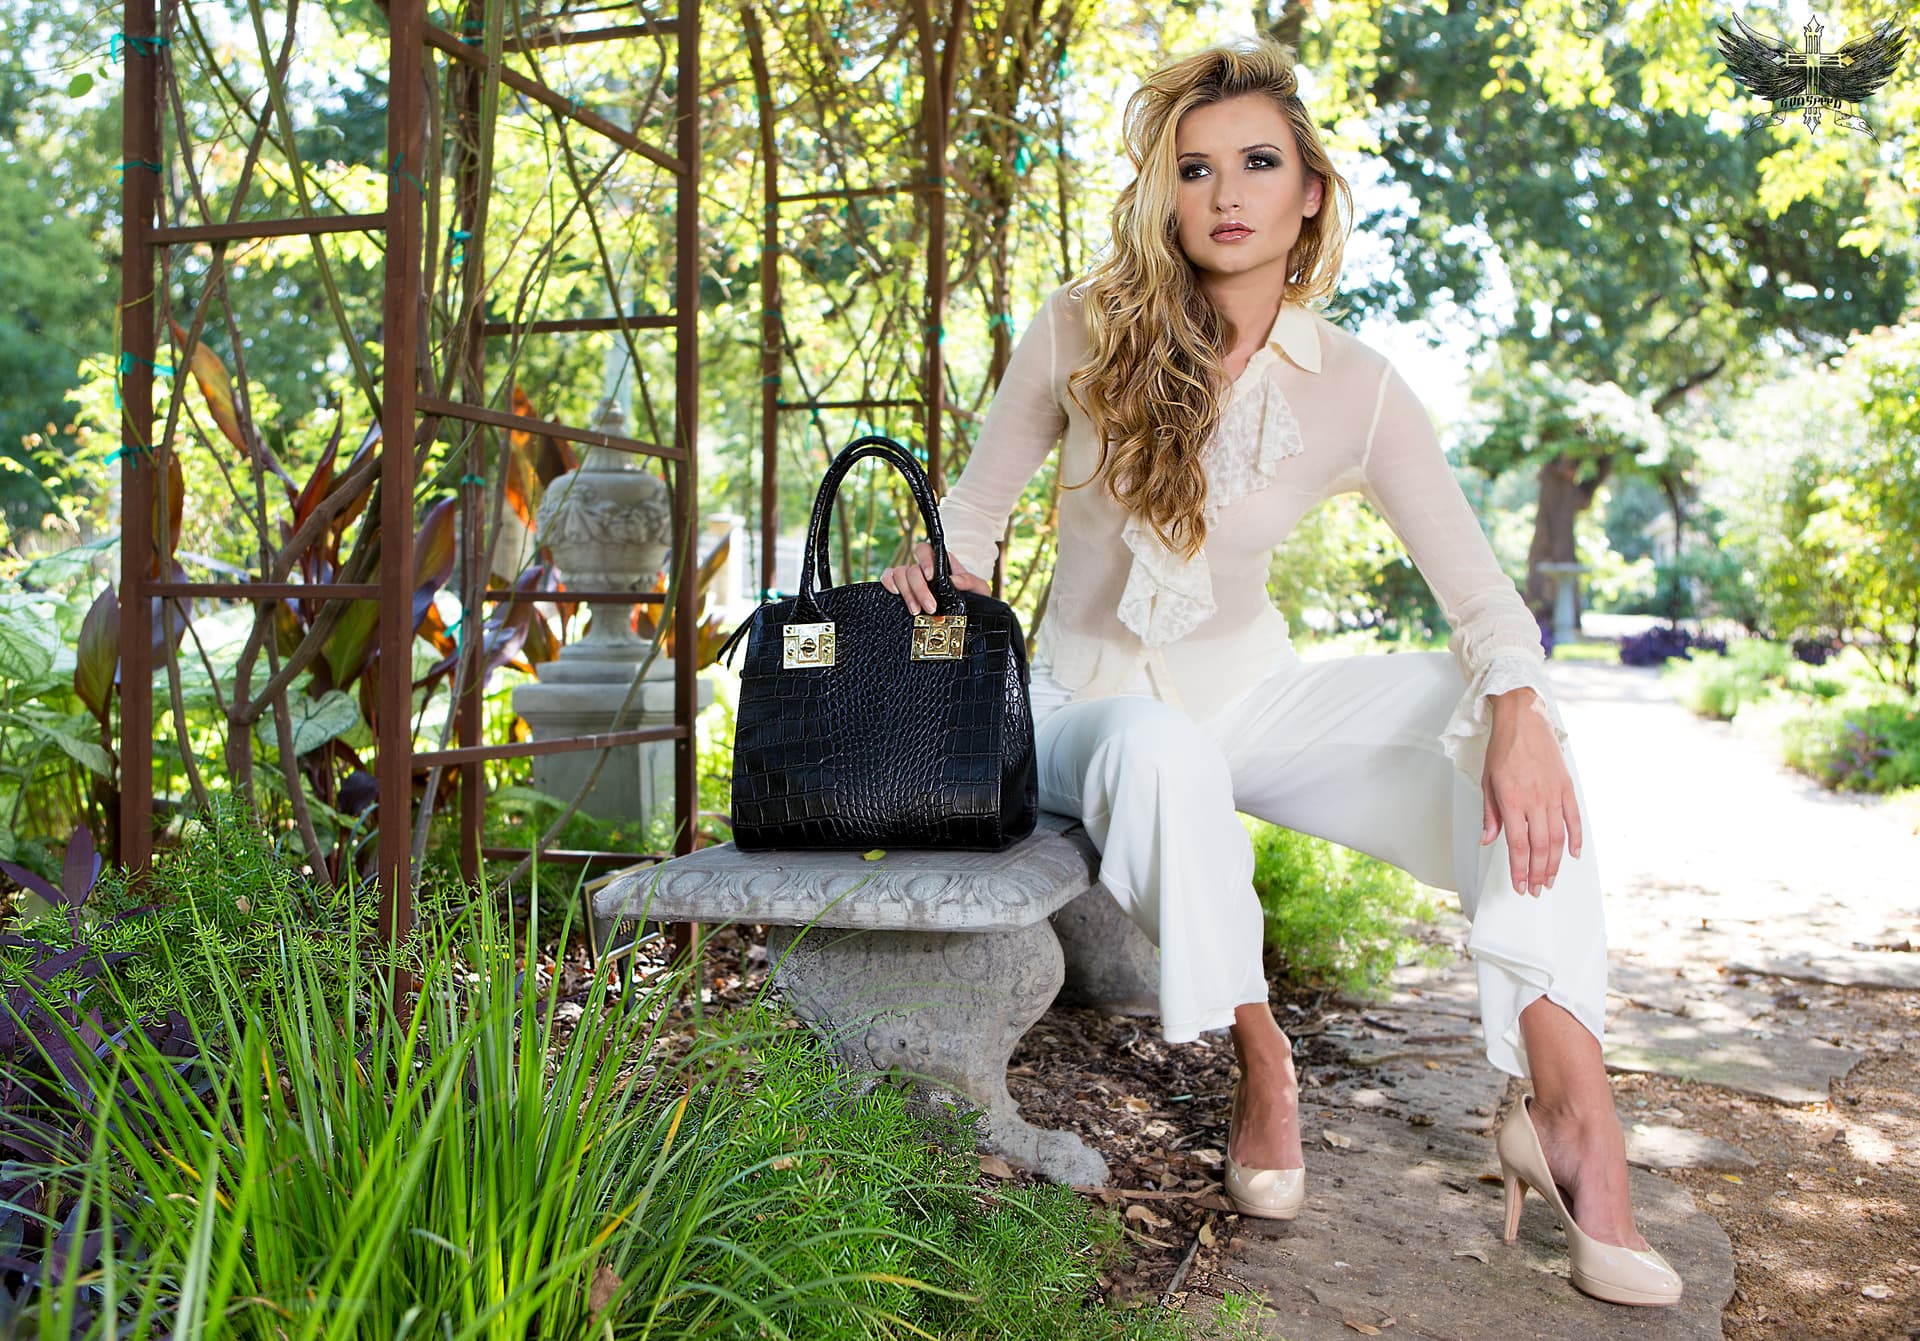
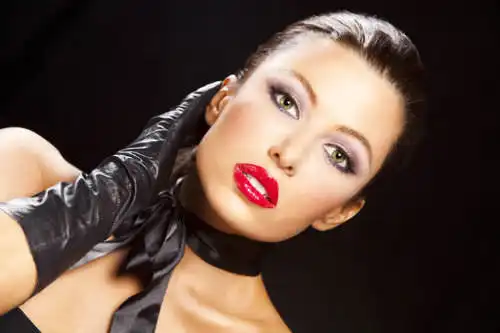
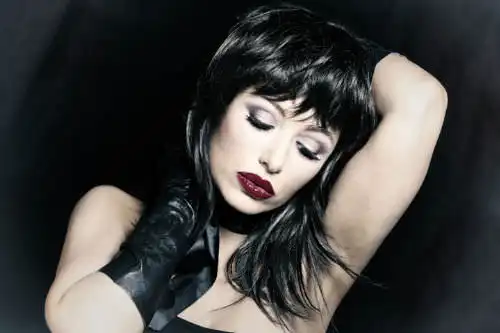
Ukrainian model worked with while collaborating with a boutique. One strobe used.
1 Like
I can see weirdo’s want to come and join the show. You have had wonderful luck finding beautiful models. My friend is always looking for beautiful women to shot just because he enjoys working with people.
I remember one time we were shooting some duckling in a lake and people walking by would stop and try to take photos of the same subject with their phones and at of course scare them away.
Nice car but shame the way it ended.
Post removed by author.
This cars story further can be seen here. I have worked with a lot of models and autos. most car auto guys shot in a style that doesn’t really work best with models because of how they light. Using the paint with light method. But I am sure others can explain that was better.
Later when I have more time I will post the using layer method which uses no strobes at all. Its when you over expose and under expose a object on purpose, get the highs and lows and then start stacking a pic. you dont use this with models.
Now when it comes to lighting models, there are many many different ways I havent seen anyone talk about as of yet.
Ill let my work show for itself. wouldn’t want a wiki article get confused for my knowledge.
I should probably mention to me “models” are people I used to shoot versus objects.

Other than the first class I ever took, I have never shot in Program mode ever. You would never use program mode to shoot models. If you wanted to step up your game that is. Honestly unless doing video, it just ties up your creativity.
I would tell a new photog though to maybe get his metering shot in the beginning, then go into manual from that.
Also when I hear f18 or f22 numbers, I personally have never come close to going that high for any reason. Every lens has its sweat spot with f numbers. I have never seen a reason or lens or type of shot using it. I shot this at a f10, maybe if I go thru my other shots I might have gone f12 because of sun angle. If your going f22 probably should be using filters anyway. I was probably 2000 or more feet away on this shot.

2 Likes
Layers: This when you stack multiple images to get to a final shot. I have taken two images from a set of seven to get to the final shot. You do this when you don’t use ANY strobes or flashes. its how you can get the highs and lows in a shot.
For instance. You are shooting certain colors in bright sun light, but your skyline gets blown out. So you up your f. Well then to get sky color you shade out all your detail. Now what? take multiple pics, stack, learn PS then end up with whats left.
Also dodge and burn, it would be much easier to search youtube to learn that.


1 Like
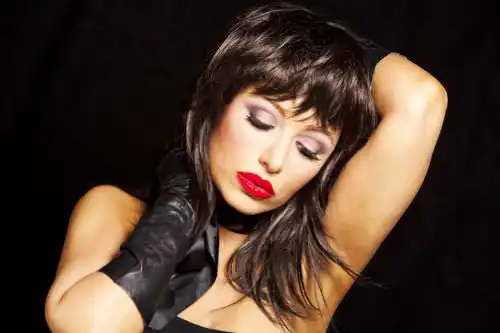
When shooting with one strobe but knowing when and were to use your surroundings to not distract from the object and with what lens.

just for the record. This pic was shot at f/2.8 for what its worth about landscape distance focal issues.

1 Like
Shot at f/10 with a canon t3i camera with basic kit lens. So quality of camera or lenses rarely have anything to do with needing to spend a lot of money to get it done.

Shot with a T3i and kit lens, using two strobes and a water hose.

1 Like
shooting still with a T3i. Borrowing a 24/70L 2.8

1 Like
Perhaps the best explanation of light refraction when using small apertures (with examples) I have ever seen/heard.
____________________
I am very glad we are now getting to the “photography lessons” part of the program and not just showing more “pretty pictures.” Well done - NOW you are teaching us something!
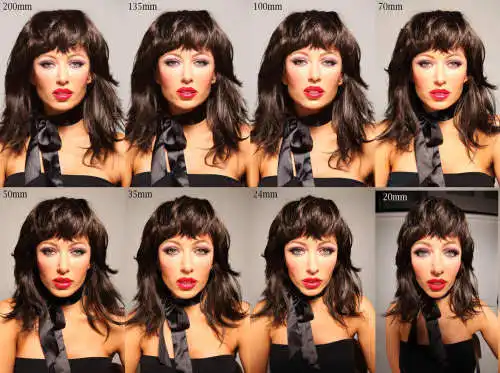
An article explaining how different lenses do different things to models. But that doesn’t mean it doesn’t apply to objects. It’s just with models it is so much easier to notice distortion because you can notice it easier as your shooting. It is easy to notice it around the edges of your pic like if shooting a room. But it still happens in the middle of lens.
Also to each there own. I never used a tripod while shooting a model. It comes down to creativity, and tripods and models dont mix for me unless your trying some sort of trick style. I see tripod users trying to give the model direction when instead you could move faster and easier to get the angle you want.
How Lens Focal Length Shapes the Face & Controls Perspective: A Lighting Tutorial!
- [ 30.4K ](javascript:void(0)

#1
By Jay P. Morgan
The lens or Focal length of the lens you choose has a profound impact on the image. It effects the perspective, background, and features of the subject. Everyone should understand what the different focal lengths do to the human face and how they change the background. Why do you choose a 135 mm lens to shoot a head shot of a beautiful woman but use a 24mm to shoot a clown? Keeping the head the same size in the frame and changing the focal length of the lens, I shot a series of images that demonstrate how focal length effects the features of the human face and how it changes perspective which effects the background. In this test we see that longer focal lengths flatter the face and shorter focal lengths make it look distorted and comical. I prefer to shoot a head shot with a 100mm to 135mm focal length lens on a 35 mm camera. This keeps the face from distorting and gives a nice look to the subject.
Canon Rebel T4i | Nikon D7100 | Nikon D800 | Canon 5D Mark III | Nikon D5200 | Sony A99
#2
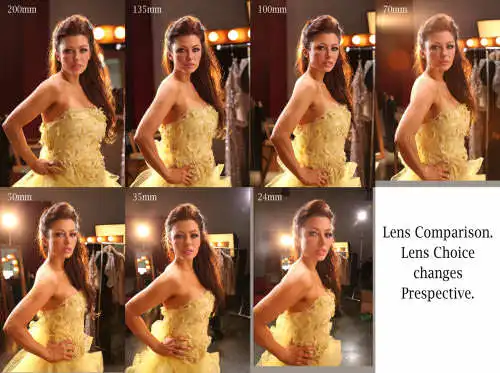
When shooting on a set there is no set rule when it comes to lens focal length. Longer lenses need less set and shorter lenses need the subject to be pushed close to the background or a larger background. If you keep the subject the same size in the frame when changing the focal length it will change the perspective of the image. Things push farther away from the camera with shorter lenses and come closer with long lenses. The person’s face also will change just as we saw in the first test. We will need to balance the look of the person’s face and body with the perspective we desire in the background. I love to play with different prespectives on set, using different lens.
- Master Lighting Guide for Portrait Photographers
- Best Business Practices for Photographers
- 500 Poses for Photographing Women
#3
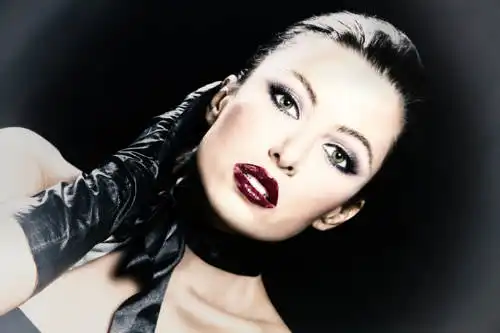
This is the final image in the lighting portion of our lesson. Let’s break down the lighting and post process that created this image.
#4
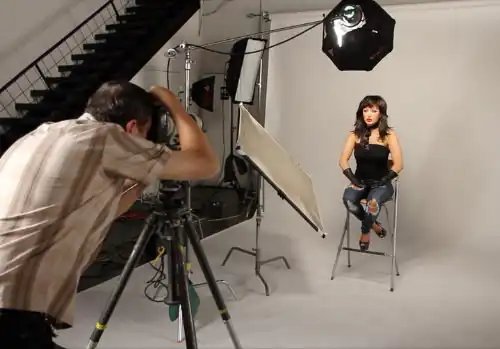
We are shooting a tight face shot, of lovely Rebecca Grant, with this two light and one reflector fashion lighting set up.
#5
Our first light is a medium strip box behind the subject on camera left.
#6
It’s up high to rim her hair and shoulders. The Dynalite pack is dialed one and a half stops higher than the camera exposure to give us the highlight.
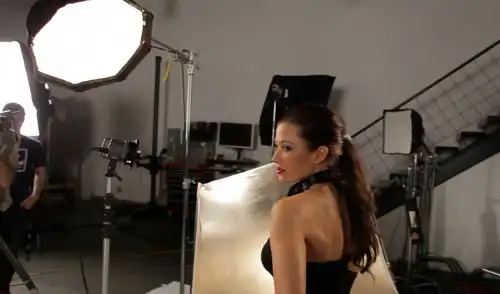
#7
Now we will add an extra small Photoflex Octodome as our key light. It’s placed on a c-stand so we can place it over and slightly above the lens.
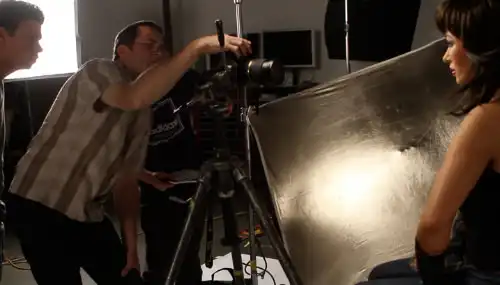
#8
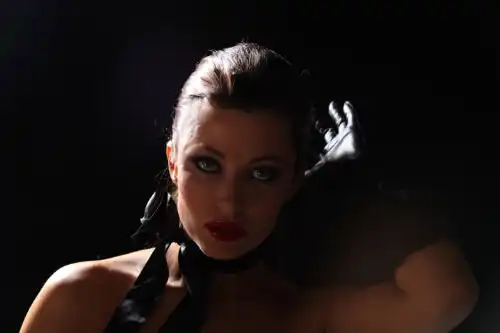
The silver octodome gives us a wonderful highlight on her face. It’s placed above the camera giving her a butterfly light on her face. You can see the loop below Rebecca’s nose and the strong shadow under her chin. Even though I love the butterfly light something will need to be done to soften the shadow under her chin.
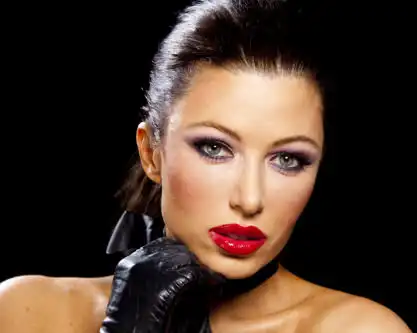
#9
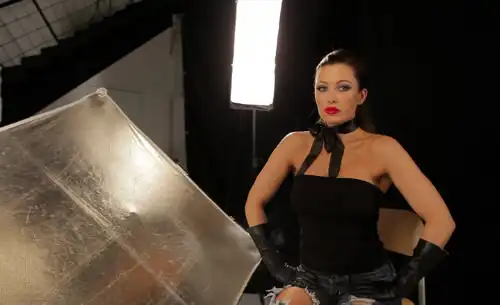
To soften this shadow we will add a silver/gold reflector to bounce light under her chin and soften the shadows on her face overall.
- 500 Poses for Photographing Men
- Light It, Shoot It, Retouch It: Learn Step by Step How to Go from Empty Studio to Finished Image
- Secrets of Great Portrait Photography: Photographs of the Famous and Infamous
- Shooting in Sh*tty Light: The Top Ten Worst Photography Lighting Situations and How to Conquer Them
#10
The reflector has softened the shadows and given us a nice light on her face. I’m ready to shoot now. I’ll shoot two or three hundred images before we are done. This will give me plenty to choose from.
- Doug Box’s Guide to Posing for Portrait Photographers
- Master Lighting Guide for Portrait Photographers
- Light It, Shoot It, Retouch It: Learn Step by Step How to Go from Empty Studio to Finished Image
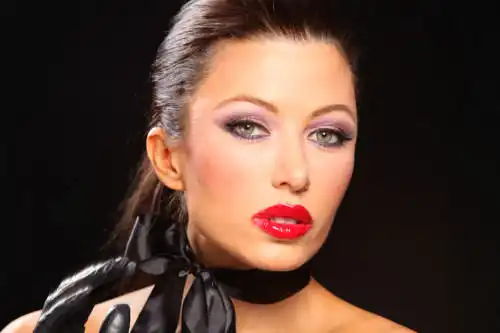
#11
Her is our final image before we go to Nik Sofware for the post process.
#12
In the post process i took the image into Nik Software Pro Efex 4 and made some changes. I started with a bleach bypass filter and turned the opacity down 55 percent on the layer.
- Portrait Photographer’s Handbook
- 500 Poses for Photographing Women
- 500 Poses for Photographing Men
- Posing for Portrait Photography: A Head-to-Toe Guide for Digital Photographers
#13
I then used the Film vintage filter and turned this layer down 40 percent. I liked everything at this point except the white reversed vignette. It’s too strong. I had complete control to set the value of the vignette when I created this layer. I set it a bit heavy so I decided to reduce it with a dark vignette layer.

#14
Here is our final image. I love this look, so I decided to apply it to an additional image.
#15
Here is the raw image.
#16
This is the finished image.
We have seen how lens focal length shapes the face and changes perspective. This information will help you make decisions about what lens to use when shooting. Choose a lens that will communicate your creative vision for a particular image. Lens perspective is a critical part of the creative process and should be considered when shooting.
Keep those cameras rollin and keep on clickin.
Web address http://www.jaypmorgan.com/
Blog address http://jaypmorgan.tumblr.com/
YouTube Channel The Slanted Lens - YouTube
Recommended Reading:
- Portrait Photographer’s Handbook
- 500 Poses for Photographing Women
- 500 Poses for Photographing Men
- Posing for Portrait Photography: A Head-to-Toe Guide for Digital Photographers
- Doug Box’s Guide to Posing for Portrait Photographers
- Master Lighting Guide for Portrait Photographers
- Light It, Shoot It, Retouch It: Learn Step by Step How to Go from Empty Studio to Finished Image
1 Like
Wow, I step away for couple of days and what happen? Look at all this information. You gave us a lot to chew.
Btw, so let me understand this…are you taking multiple shots of the same single frame with different F stops/Dof and over laying them?
I read an article while back where a photograph was using this technique. He shot still subjects with various F stops, dof, focuse points, and then over laying them all into single shot to get the right sharpness.
Granted, what you are showing has a lot going on beside sharp focusing…as you are balancing light and composition and various other elements. But, it that basically what you mean by layering? Or do you mean in terms with photoshop layering process?
1 Like
If you are talking about the jeep shot, that would be a shot where layers were used. Meaning different f stops. However, there are so many ways to come to the same finished shot that focusing on one style isnt needed.
when you are talking about people using it for different focus shots, yes you could easy do the same. I never did that because I had the selection of lenses to do anything really I wanted without PS. But truth be told. PS has been so advanced that even 10 years ago when I stopped shooting it was why I stopped. You can go into adobe products and replicate any lens.
I could show you so much of why tech has taken the fun out of it. I compare it to racing motorcycles vs being in a lambo with paddle shifting. The challenge has been taken away. When the Sony A7ii came out things totally changed also. But these are my problems, its just gotten to techy. I did most of my shooting with a Canon 6D near the end. And it worked in the field so much better than a Sony because of ruggedness.
Still talking about depth of field. This is the lens I used to shoot the band Generation Wasted while doing a studio album recording. Notice its size next to a normal 50mm.
Some of the pics with it and using gels.


Here is an old video of a photographer I followed and shot very close to his style. I have plenty of final edits from fashion shoots like this. So notice other than the model, the background, the work done behind the camera, the camera angle, and the final edits from what you think you might get to. I shot a couple of ex playmates, and professional models. This is where you also have to understand the many many hats you need to where when setting up a shoot.

I thought with stacking layers you took the same shot several times using different focus points in the image and then the software used only the in-focus parts of each image as a mash-up???