the 4th tool
2 Likes
I don’t prep my PE in any way and I don’t have any problems. I’m using Starbond Black Medium-Thick CA glue. It gives you about ten seconds to position before it bites, and resists lateral breakage when it’s dry. Best CA I’ve ever used.
2 Likes
Like Matt I don’t do anything when using pe, however it is important to know not all pe is the same even from the same company. Eduard brass pe from the early days is very different from today’s (steel?). I would heat up the old pe and other Eastern European kits with pe. Sanding might help and also cleaning before use.
1 Like
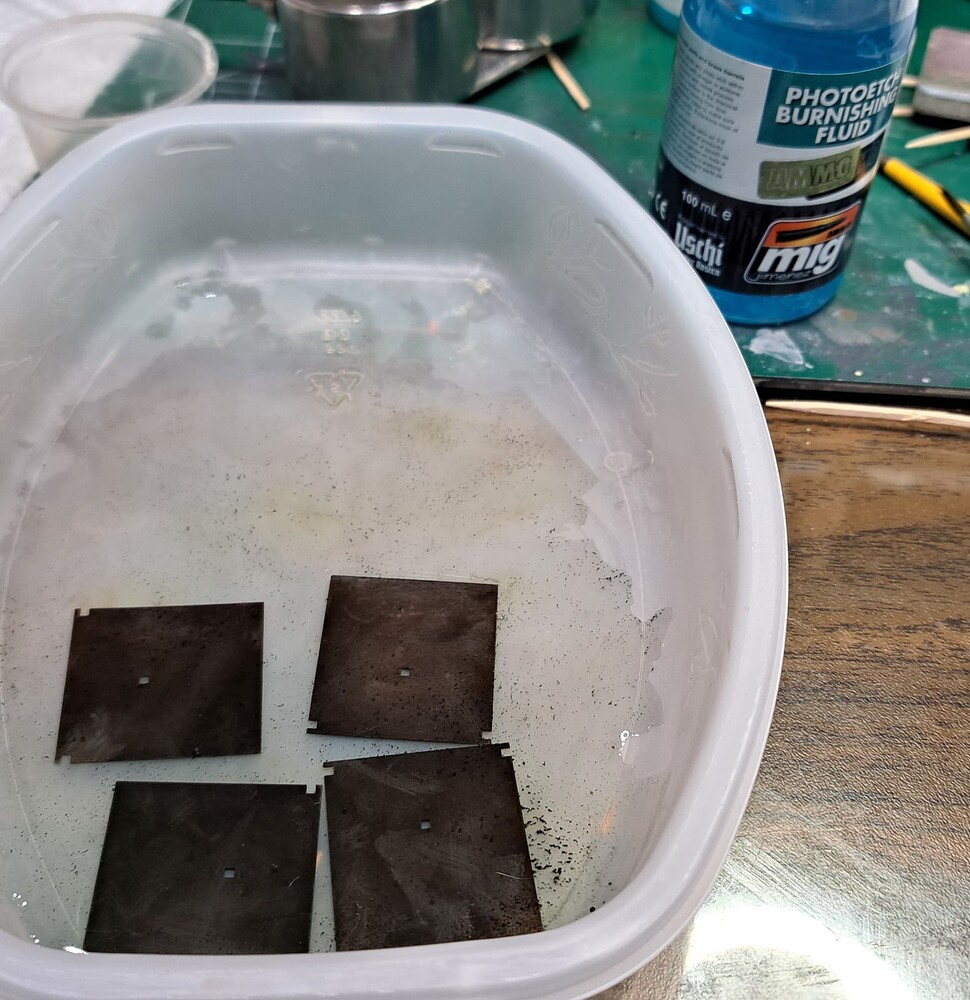
On ~30+ year old brass PE that’s heavily oxidized like some of my old On the Mark PE, I’ll lightly sand the whole fret with a ~ 600 grit sanding stick.
I’ll use some type of burnishing fluid like Blacken-It on large PE parts like side skirts otherwise no.
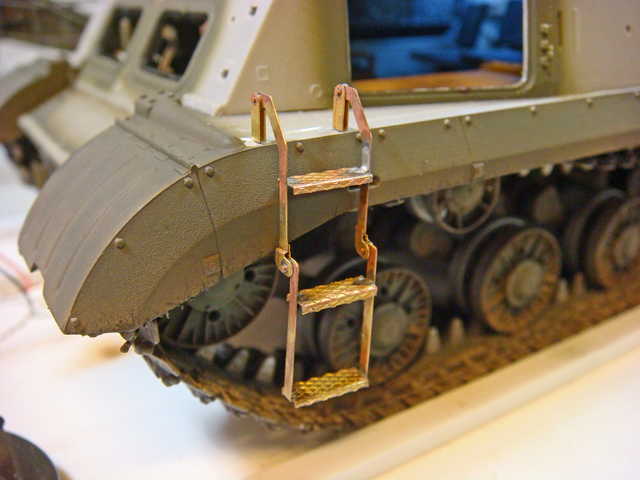
Like Matt, I use Starbond Black CA. It’s the very best quality CA I’ve found for all the same reasons mentioned. Plus it’s very easy to see excess Starbond Black CA unlike clear CA on the model. This is a major plus because axlittle CA Debonder on an old paint brush can be used to clean up and the remove the excess Starbond Black CA.
It’s easier to get a clean looking result with PE parts installed with Starbond Black CA & CA Debonder. Hatch is ~17 PE parts etc glued together with Starbond etc.

4 Likes
-
Study the kit and the PE instructions to decide which PE parts to use and what will be the best construction sequence for them.
-
Clean up the PE fret attachment burrs. (I use a Flexi File holding the PE part close to the burr with fine tweezers to prevent deformation.)
-
Anneal only those PE parts (or portions of the parts that need it) other wise leave the parts tempered as they come.
-
Build the PE subassemblies. I prefer to solder whenever possible, but I occasionally use CA or acrylic adhesives (especially on small, light parts that will never be under any stress as I handle the subassembly or build the rest of the kit).
-
Prepare kit area for the PE. I never remove any molded details until I’m sure the PE replacement will be acceptable. Also, sometimes it’s useful to add layout lines (in pencil) to the kit to help with alignment of the PE.
-
Add the PE. I use CA for most, but acrylic adhesive for small parts and two-part epoxy if the PE sub-assembly is large or might be subjected to stress during the rest of the build.
The most important thing is to really study the instructions on both the kit and the PE set and plan out the work.

4 Likes