I am having problems photographing my builds. I had built a light box years ago and it might need an update.
But lighting really is my problem.
My build room is naturally kind of dark. I have my lamps set up with LED daylight bulbs, probably equivalent to 100 watts each.
Using my iphone, there tends to be a-lot of shadows. And it is hard to keep the iphone steady.
If i set up my tripod and use my camera, the whole background lighting changes when compared to my iphone.
Now with the camera, there are so many settings with types of lighting and photos, i have yet to find anything that pleases me.
What do most of you use for lights and placement?
2 Likes
@Petro , I’m experiencing the same problem. I’m collecting LED clamp on lights to build an array around my subject to counteract the shadows cast from opposing angles. I’ll be watching this to see what others suggest. Good luck!
Cajun 
1 Like
Please post a picture of your light box. Maybe someone here could better help you with that starting point.
Will do when I get the chance
1 Like
Lighting has been my constant nemesis! However, a few things have gotten better for me, due to rigorous practice and some refined habits.
I’ve outfitted my entire apartment with various Philips Hue Smart Bulbs — the last holdout being my workbench. There, I finally decided to apply them (left and right) for photography as well. Benefits: They don’t burn the top of my head or dry-out paints; the ability to use Siri voice commands to adjust brightness.
My shop/office is west-facing and has a large window which becomes blazing bright on sunny afternoons — even hot to the touch at times! I’ve since installed light blocking curtains to help combat that part of the equation. At least the ambient room light remains somewhat consistent now.
I try to stick with one backdrop color throughout a build/shoot — usually a sheet of 8 1/2” x 11” color or plain white paper. If you constantly change your backgrounds, your exposures are guaranteed to change as well. I upload my images to my MacBook Pro, where I do the majority of image editing — not on the iPhone.
Out of sheer convenience, I’ve given up on my cumbersome DSLR camera and lenses. in favor of my iPhone. If I really need one, I use a tripod mount adaptor for the iPhone and a Bluetooth enabled shutter release. Otherwise, I steady the iPhone and/or myself on something solid and pray.
I occasionally experiment with front fill lights on stands. However, as with my DSLR, my workspace quickly becomes cluttered — can be downright dangerous with my lack of depth perception when shifting my brain between building and photography.
At times, a quick snap is all that is needed, so I try to practice hand-held control. I steady myself, take a breath, and try not to “tap” the shutter-button, as the slightest movement will often cause a blurred image.
Though my photos are nowhere near picture perfect, they suit my needs for now, i.e. Kitmaker blogging. One major aid has been the ability to upload images to the new site — an improvement by leaps and bounds! But you already know that.
Bottom line: How much time am I willing to invest into becoming a photographer vs building models? 
Happy model photography! 
—mike
1 Like
Ok, here is my cheese ball set up.
Since I first built it, my lighting has changed a bit.
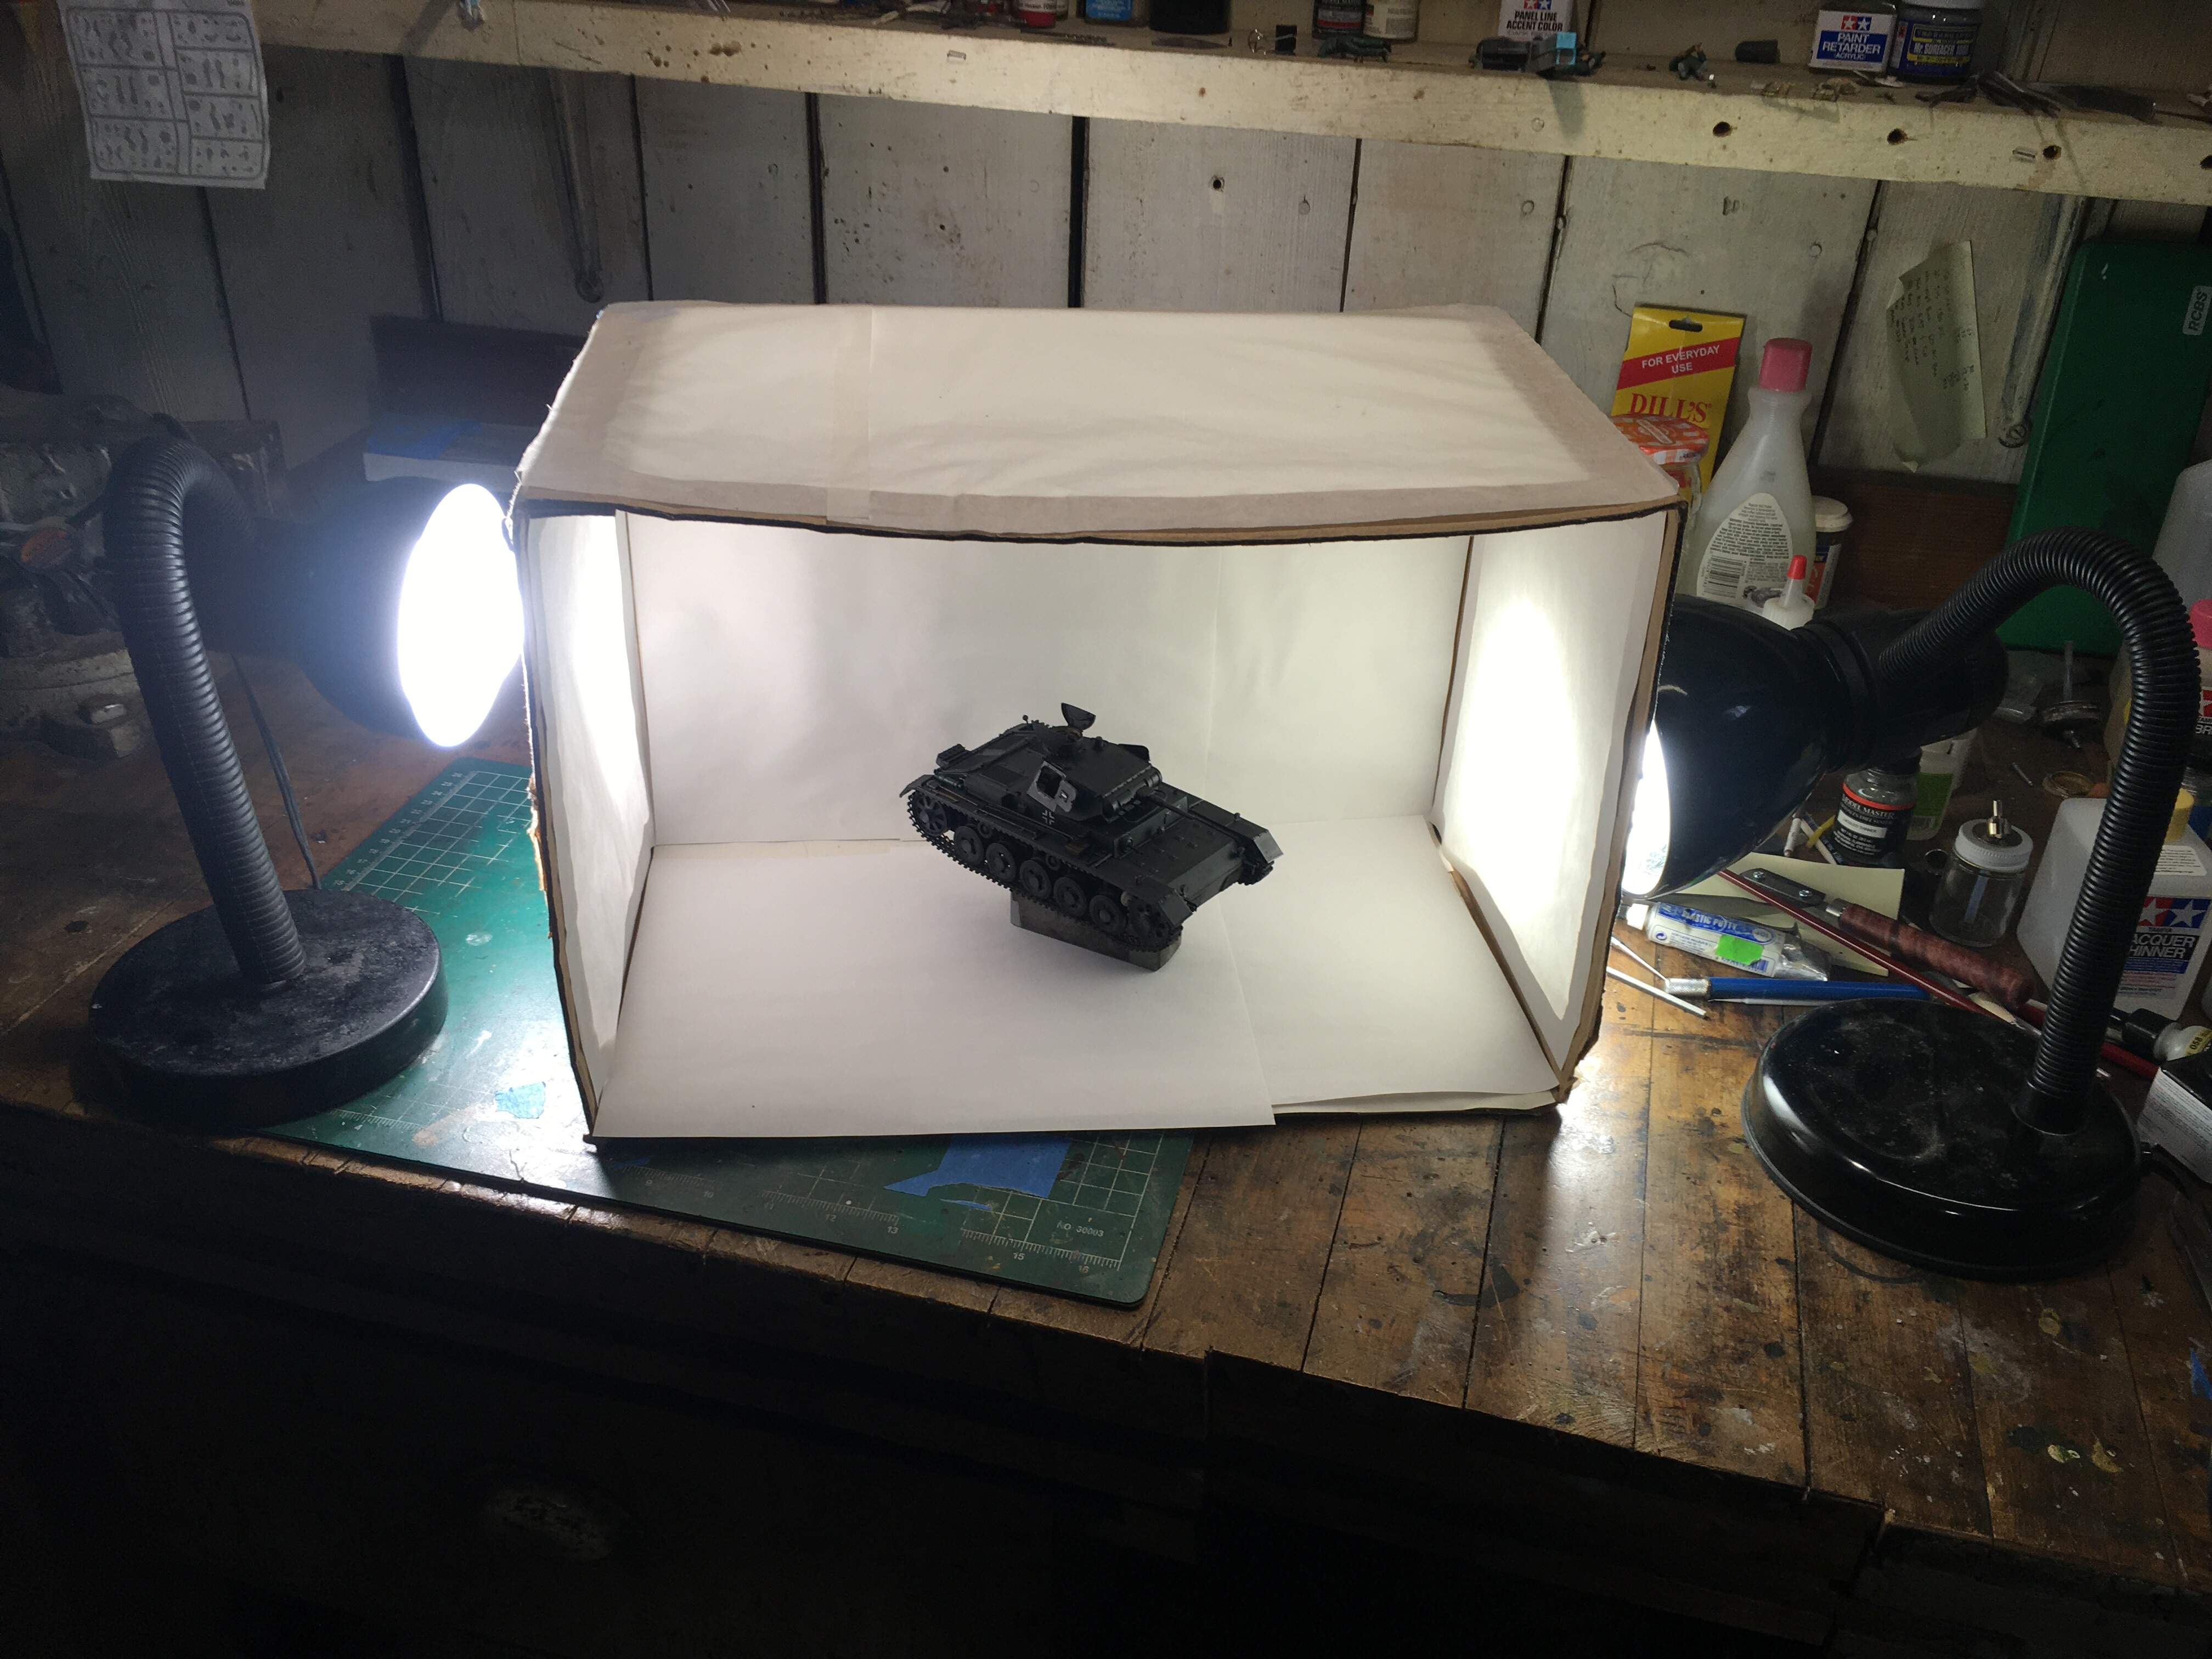
basic set up. not shown is a halogen light set up above the box. I
normally would lower it for pictures, but i just wanted to show the basic set up.
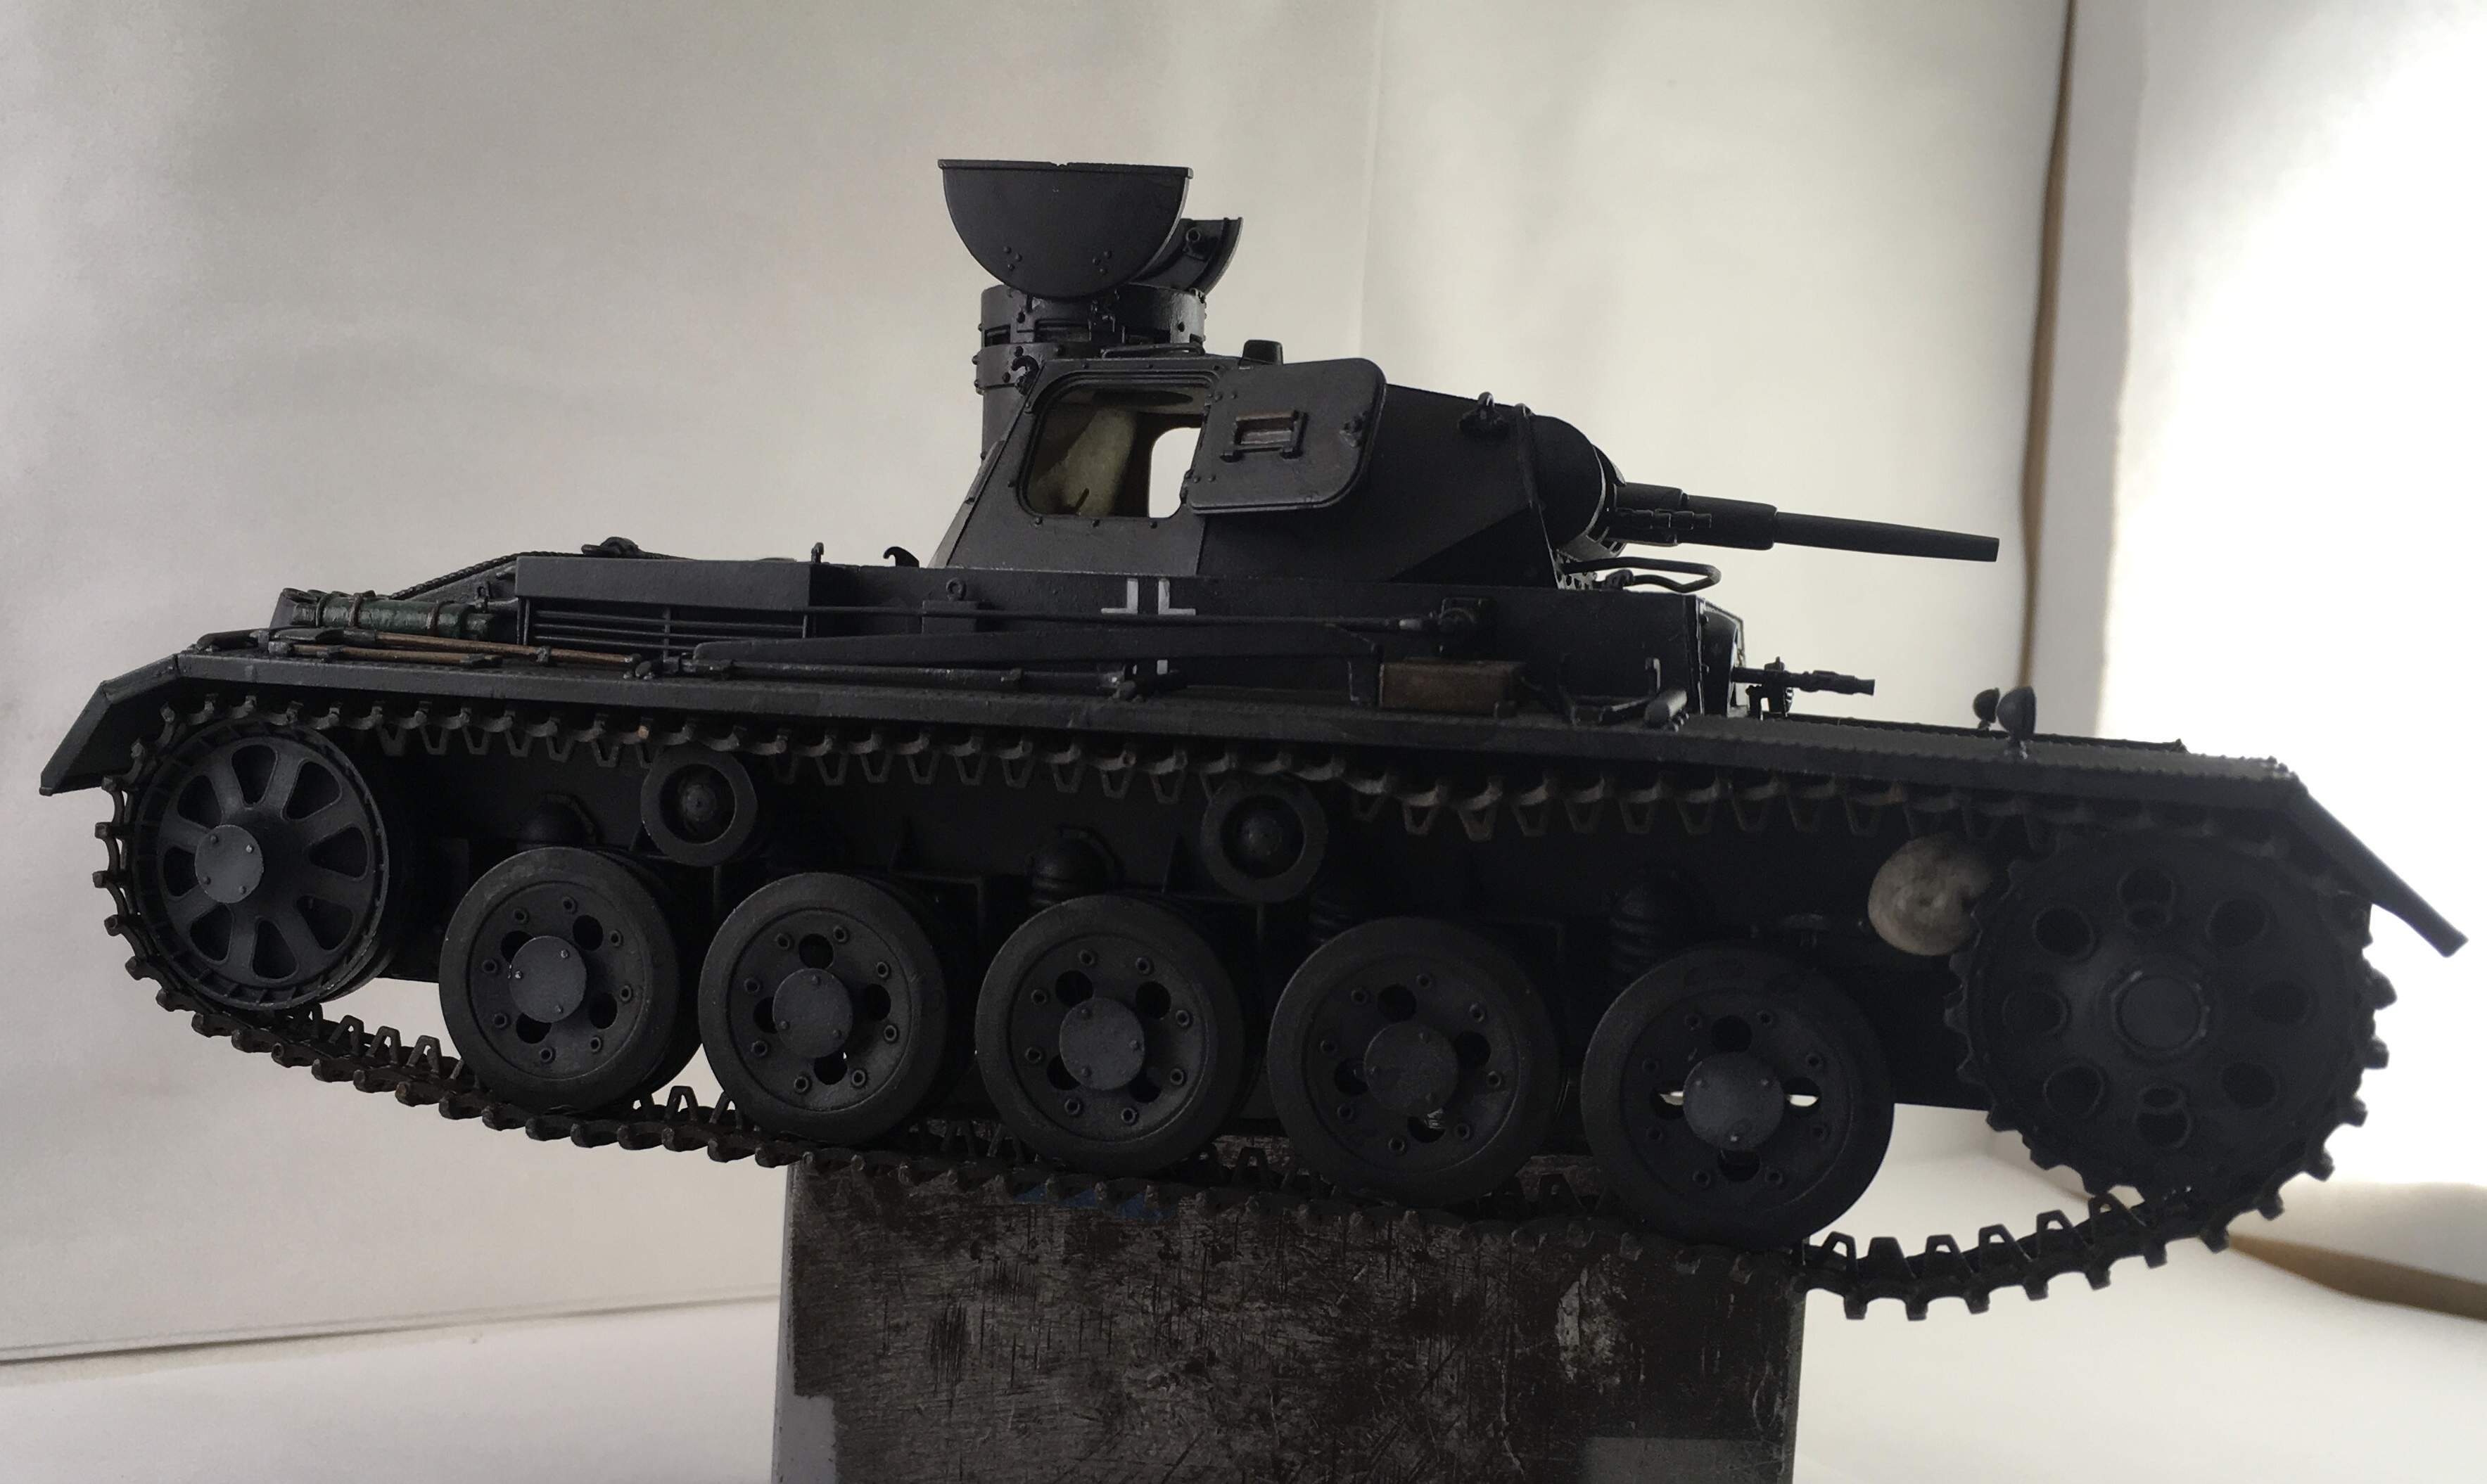
This is one lamp to the side, the other shiny through the top left
i believe this is the same set up.

both lamps shinying through the top

this was one lamp on each side.
Thanks
Some of those pics don’t look too shadowy, but I would like some more direct light through the open face of the box
1 Like
One critique: Unless you plan to remove the entire background later using image software, I wouldn’t recommend floating subjects such as armor vehicles. For realism, they need a bit of shadow at the base. HTH.
—mike
1 Like
That kit is a WIP. It’s so delicate I need it on the stand to move it around.
I knock off pieces with my pinky while painting and finishing.
1 Like
I know how that goes. Me, I’d be petrified of tipping it over. You should see the destruction my elbows can cause when reaching for tools! … Very nice build, BTW!
—mike
1 Like
My non-expert opinion…
Your lightbox is too large given the amount of light. The lights are not powerful enough to travel all the way to your model in the center of the box.
You need a light source from above.
Make a new lightbox…
Get a 1 gallon milk container made of translucent plastic.
Cut off the part with the spout. It should be large enough for an individual model.
Or…
Rebuild your resent lightbox.
Make it smaller by about 1/3.
Replace the white paper with material that allows for more light transmission. Maybe sheet acrylic or fabric?
The paper on the top and sides is actually tracing paper.
Maybe later I will drop the center light and reshoot for opinions.
Rivals for the input.
My wife has just bought a light rim to shoot pictures of her custom dolls and it’s quite impressive how it lights the model.
Like this:
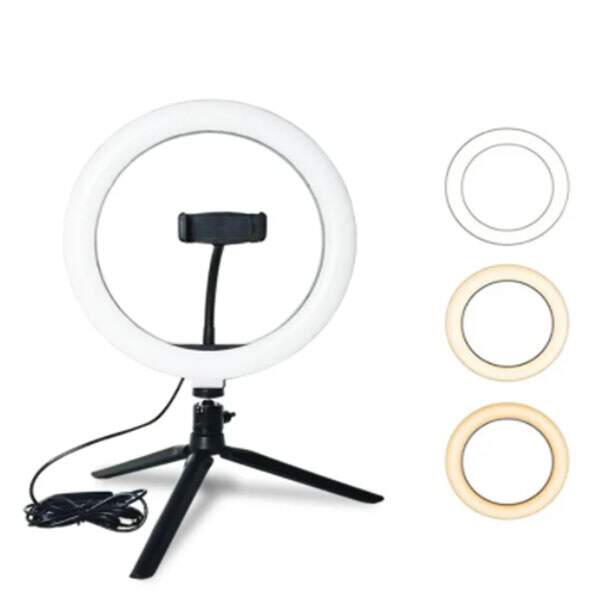
You can even shoot through the rim or leave the mobile on the stand.
One example of the shoot
Maybe it’s useful for you
1 Like
@justsendit - since it sounds like you’re not using your DSLR camera, can I have it??
When I take some snaps of my current work, it’s best to do it in the morning through early afternoon - my workroom faces east, so the morning brightness really lights thing up better than any lamp. For lights, I have a 60W halogen torchiere style lamp, a 60W incandescent Luxo lamp, and another high intensity lamp, with either a 60 or 100W incandescent bulb (it looks like the 2 lamps you use, Petro). I find that the high intensity lamp, when placed further away, tends to light up a larger area on the model, and doesn’t act so much like a spotlight. Another thing I do, with my current build, is I point the Luxo lamp or the HI lamp up at the ceiling (which is painted white), and try to get a reflected light onto the model - some times it works, some times it doesn’t.
I like your use of tracing paper to go around your light box - semi-transparent, plus, it might help diffuse the light. Is the paper you’re using just some general purpose tracing paper? Back in my university days, a company called Bienfang (I think they’re still in business) made a pad of tracing paper. Their paper was brilliant white, and not too transparent. At the other end of the (money) scale, was some stuff called baumwad (or maybe baumwolle?), which was maybe 30 meters long, wrapped around a cardboard tube. This stuff was very transparent, and wouldn’t do much light diffusion. My point is, experiment with some tracing paper, if you have the resources to do that.
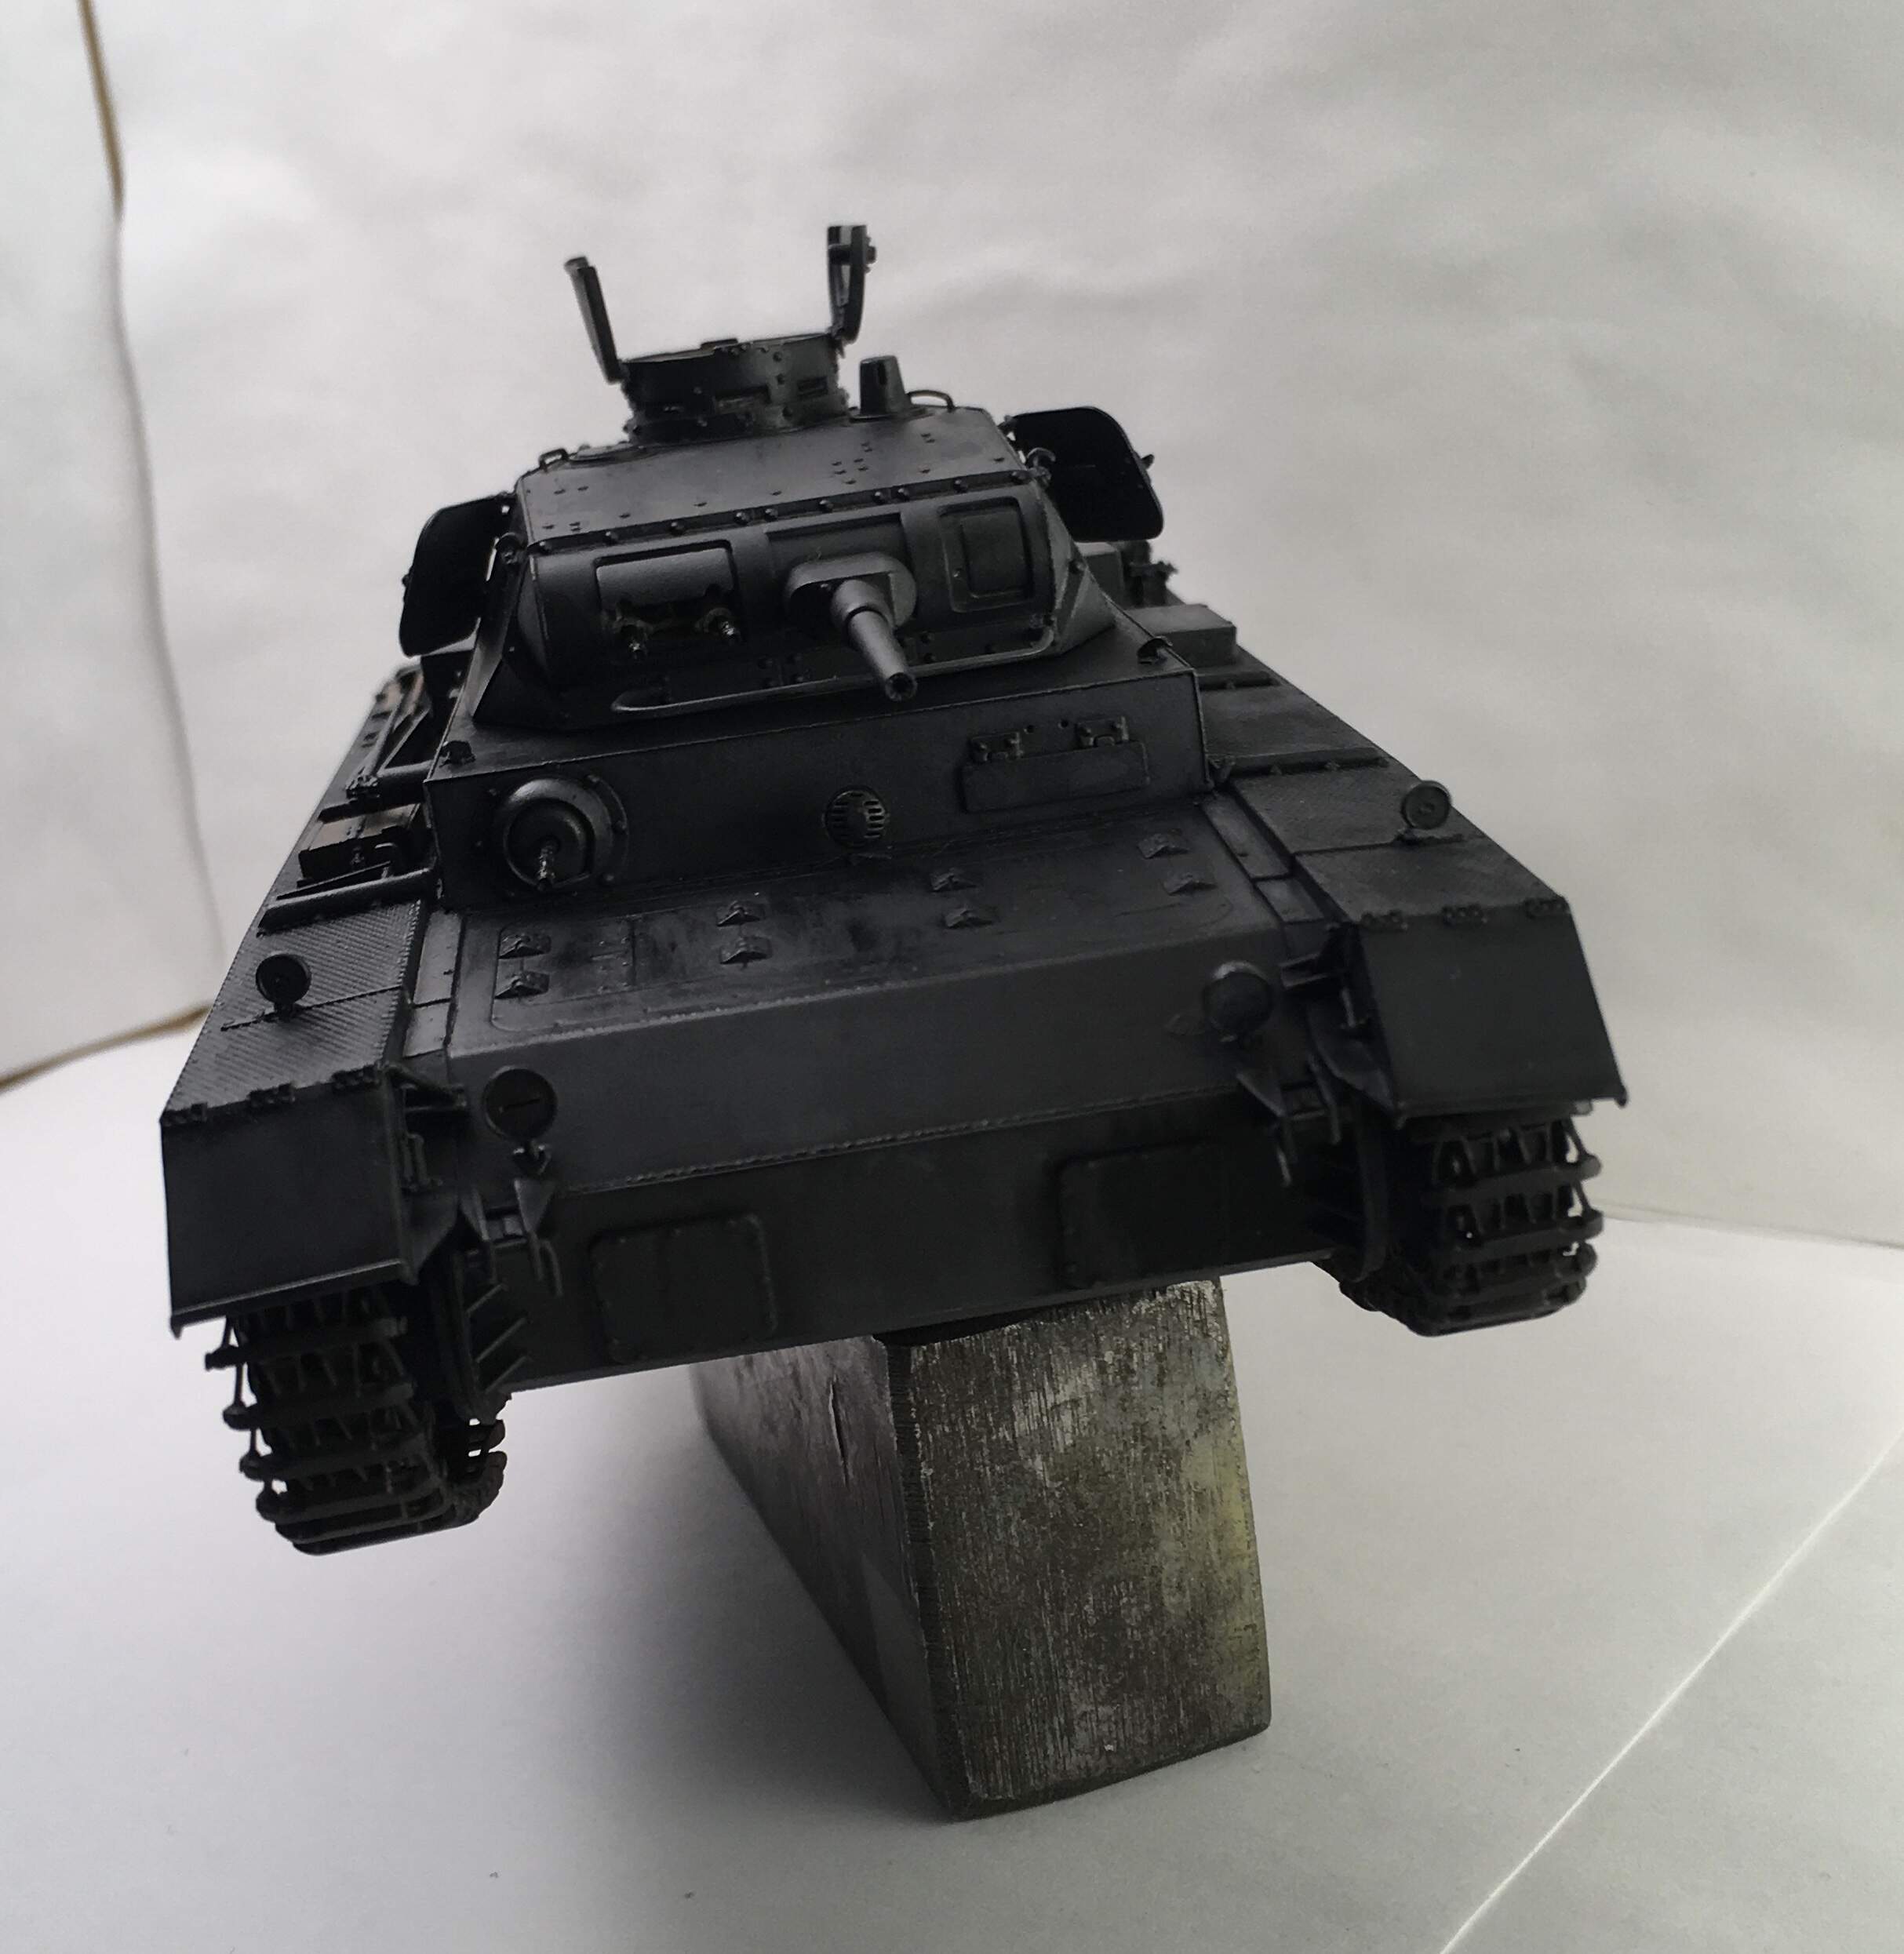
What would happen if you moved your lamps further away from your lightbox? And have you tried using the flash, in addition to the lamps? The frontal view you have, places like under the turret mantle and such, are in so much shadow - it really needs some illumination.
I’ll look in my photography book, to see if there are any suggestions for lighting an object.
Apologies if this post is too long & wordy!
Tim
No, but you can have all of my SLR gear. ![]()
—mike
Using a flash just washes out the model.
The tracing paper i have is just some stuff that was laying around for 12 years or more. It is actually light tan or so. I used regular white paper on the base and sides.
I think if i move the lmaps back it will make the subject too dark.
I can experiment.
@justsendit Well, I had to ask!!
1 Like
@Petro , I agree, the flash tends to wash things out. Experimenting will help immensely. What if you removed the paper on the sides of your light box, and then move the lamps back some? Off the top of my head, without the side paper, I think the brightness of the lamps might have the same wash out effect that using a flash would produce, but it’s just a thought.
@Petro, Marc I struggle with taking decent model tank pictures. I’ve considered ordering this kit. It has a strip of LED’s on the to brighten the interior of the box and a cell phone tripod. The lights have several modes and levels.
Well, I looked through an old photography book I have, and on the topic of lighting, the bottom line was, experience is the best teacher. How would things look if you used lesser light bulb in your lamps (i.e., a 40W bulb instead of 60 or 100W?)