I’m far from an expert on photography, but from my experience, having the light source close to the model always results in harsh, strong shadows (even using a light box).
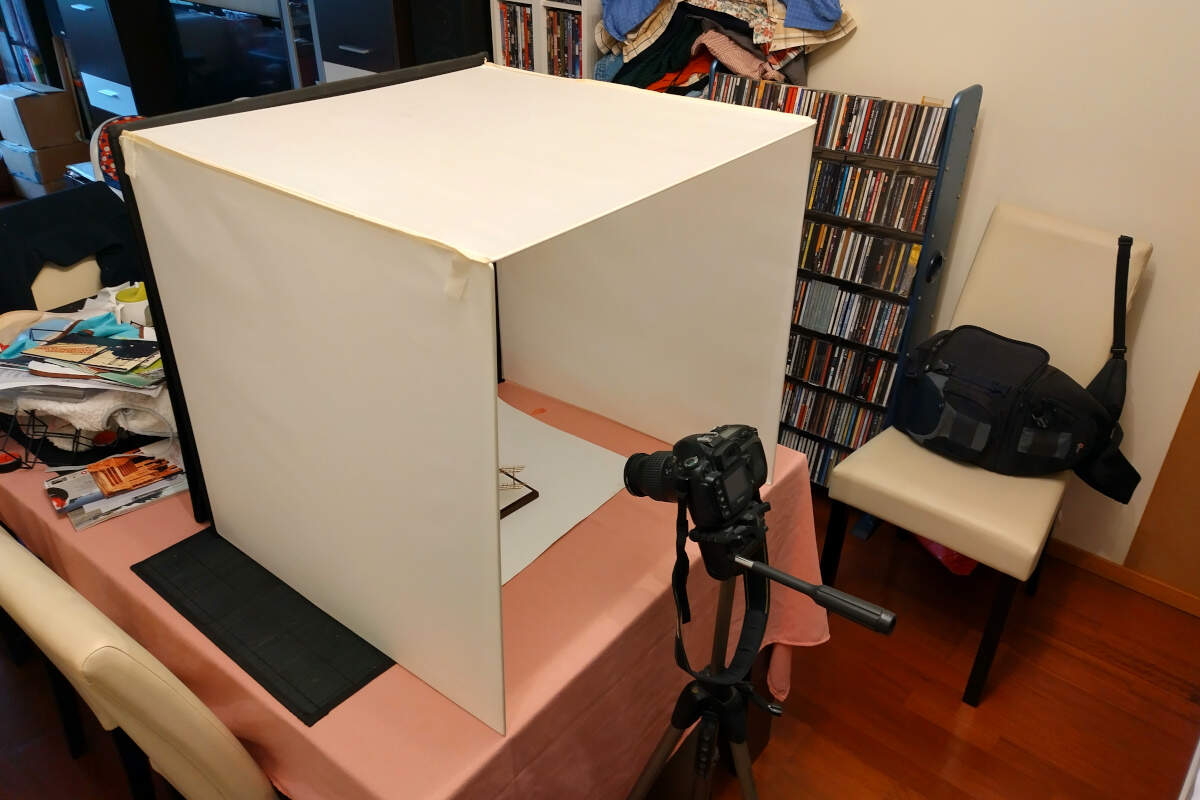
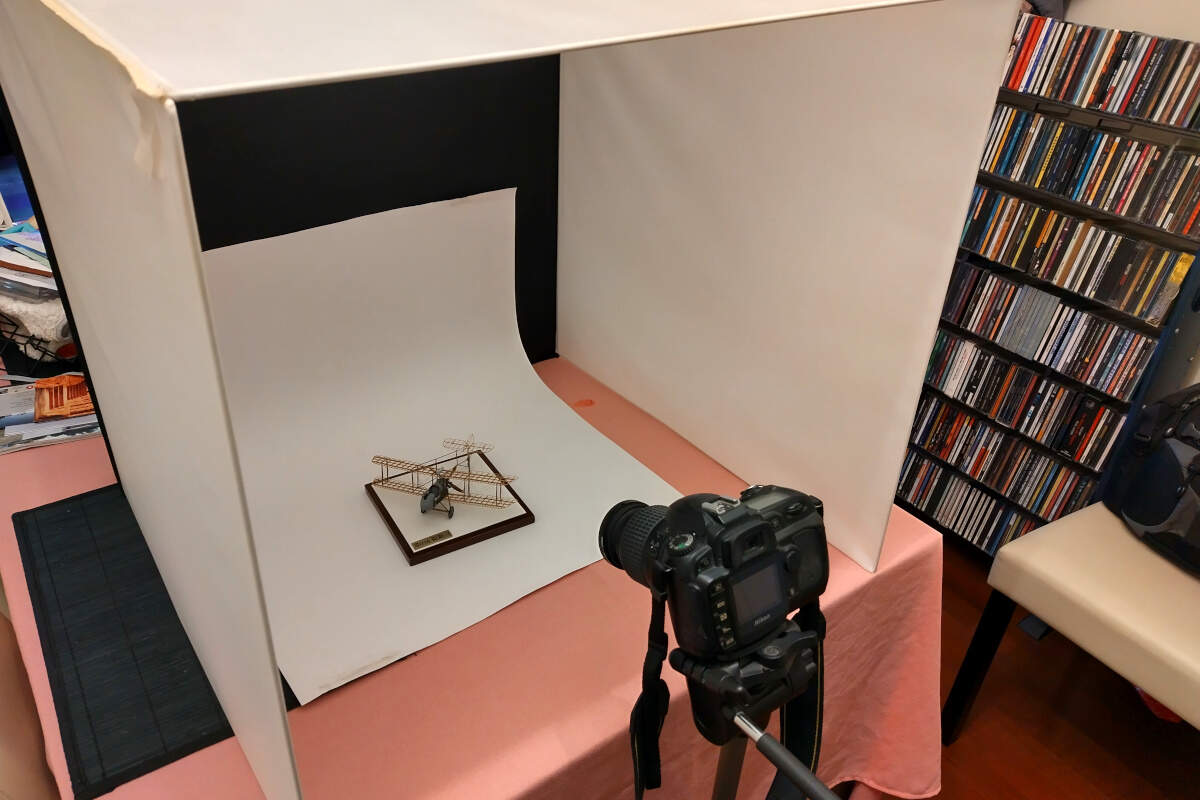
I use a 60x60x60cm light box and the only light source I use is the ceiling lamp in my living room!
I use my ancient camera (around 15 years old) on a tripod as I use very long exposures (more than 10 seconds usually).
OK I’ve been around cameras for 40+ years. Here’s my take on ‘simple’ photos.
I’ve got all the bells and whistles. Phone and DSLR. Forget phones except for quick snaps. They simply don’t have the controls you need. (I’m not familiar with all phone cameras). You need a DSLR. Or a camera you can take control of.
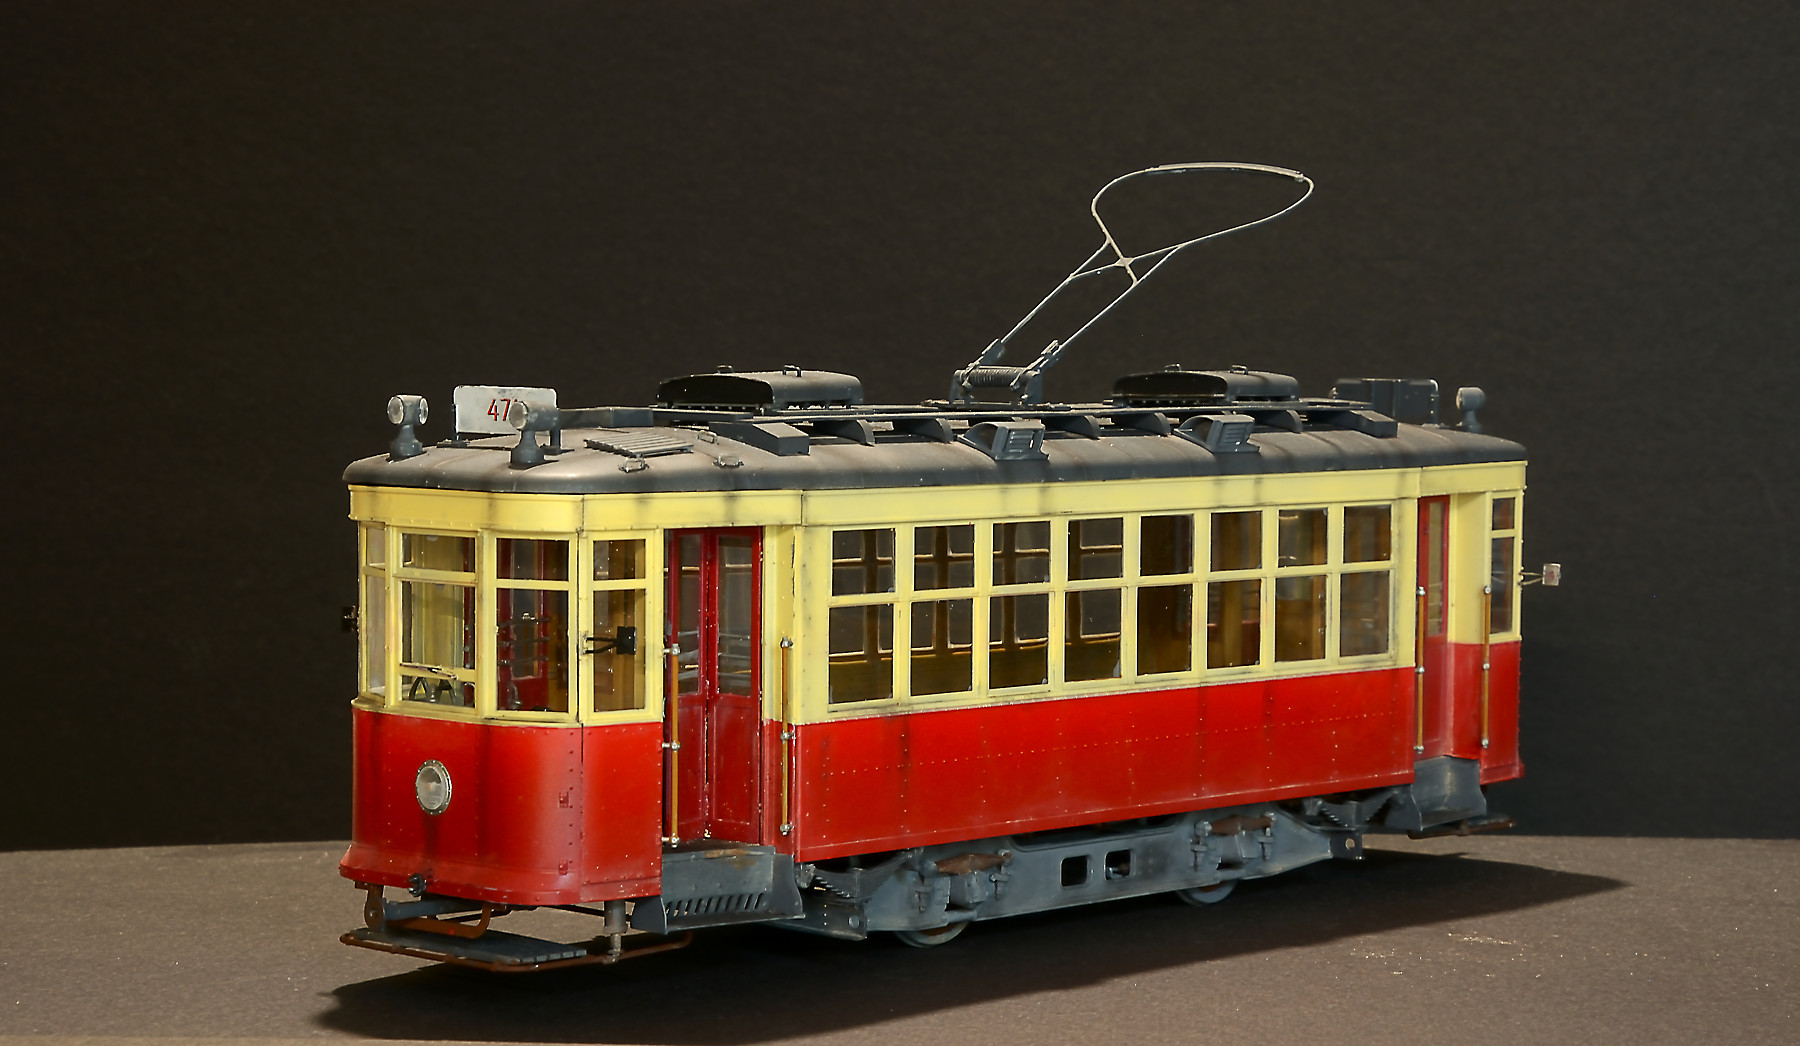
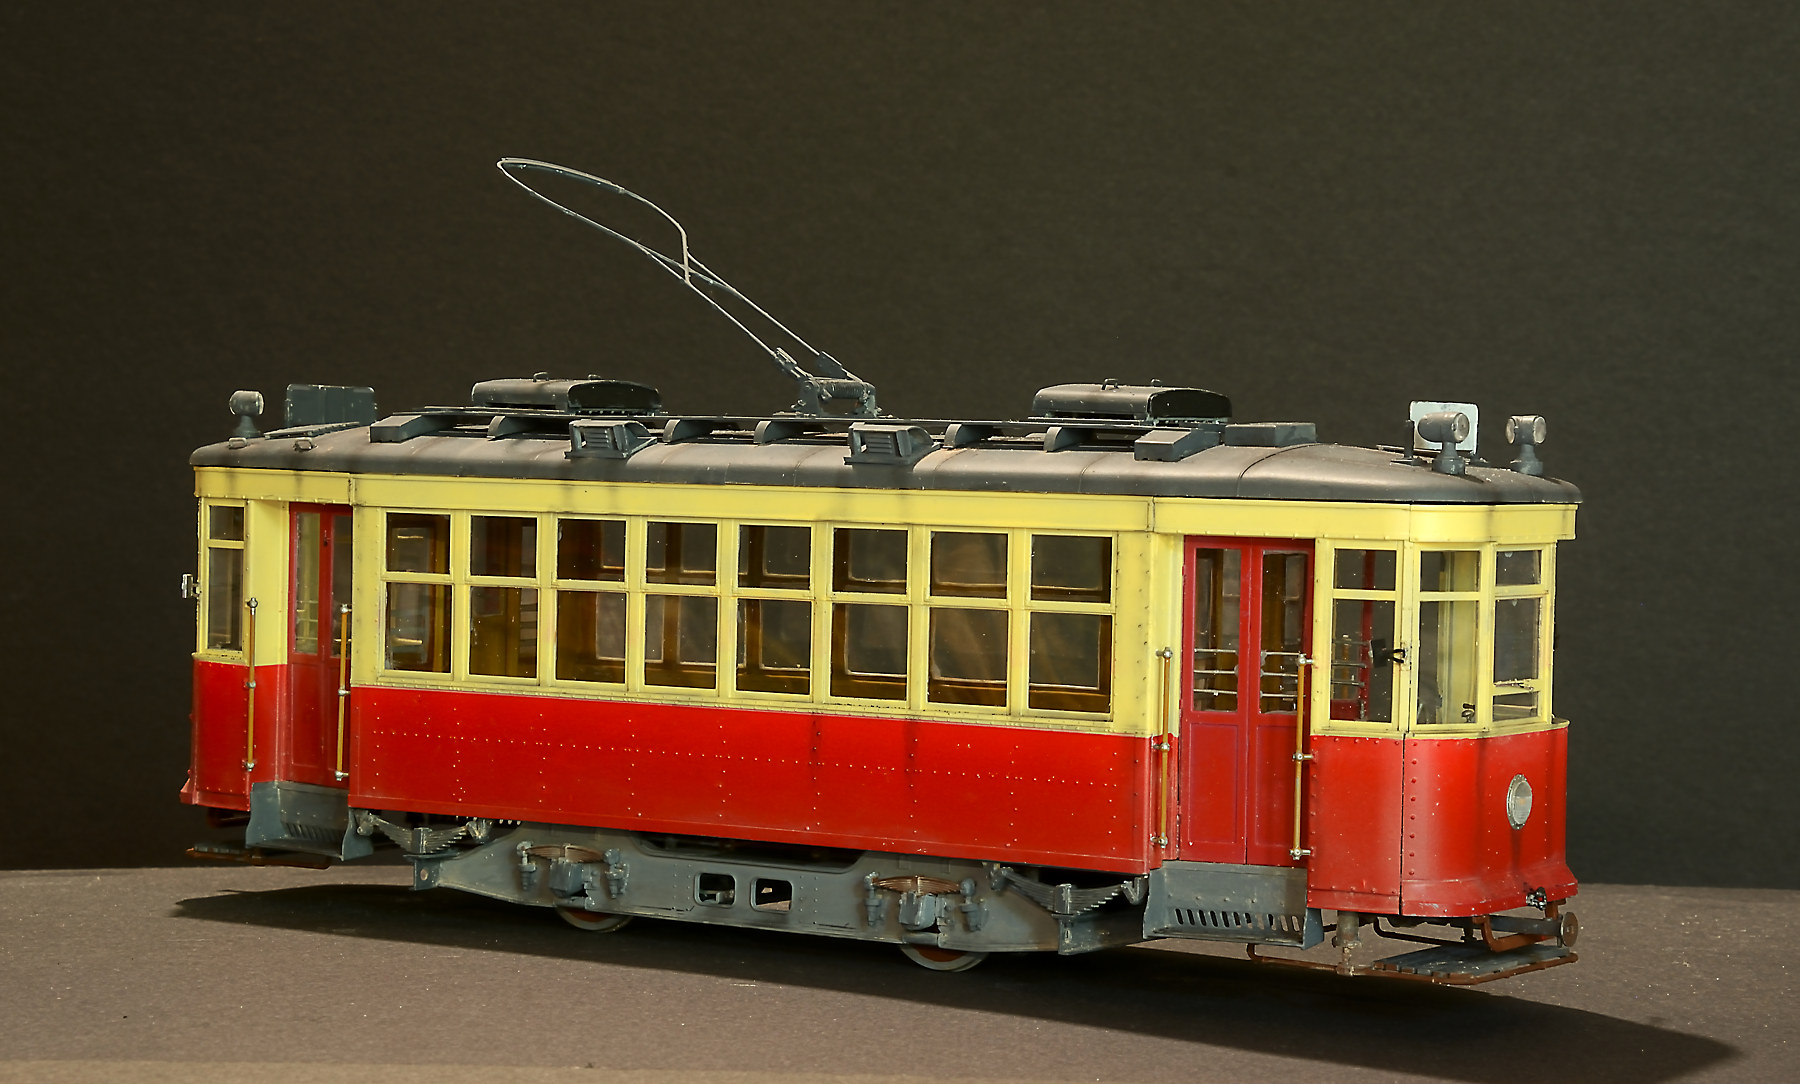
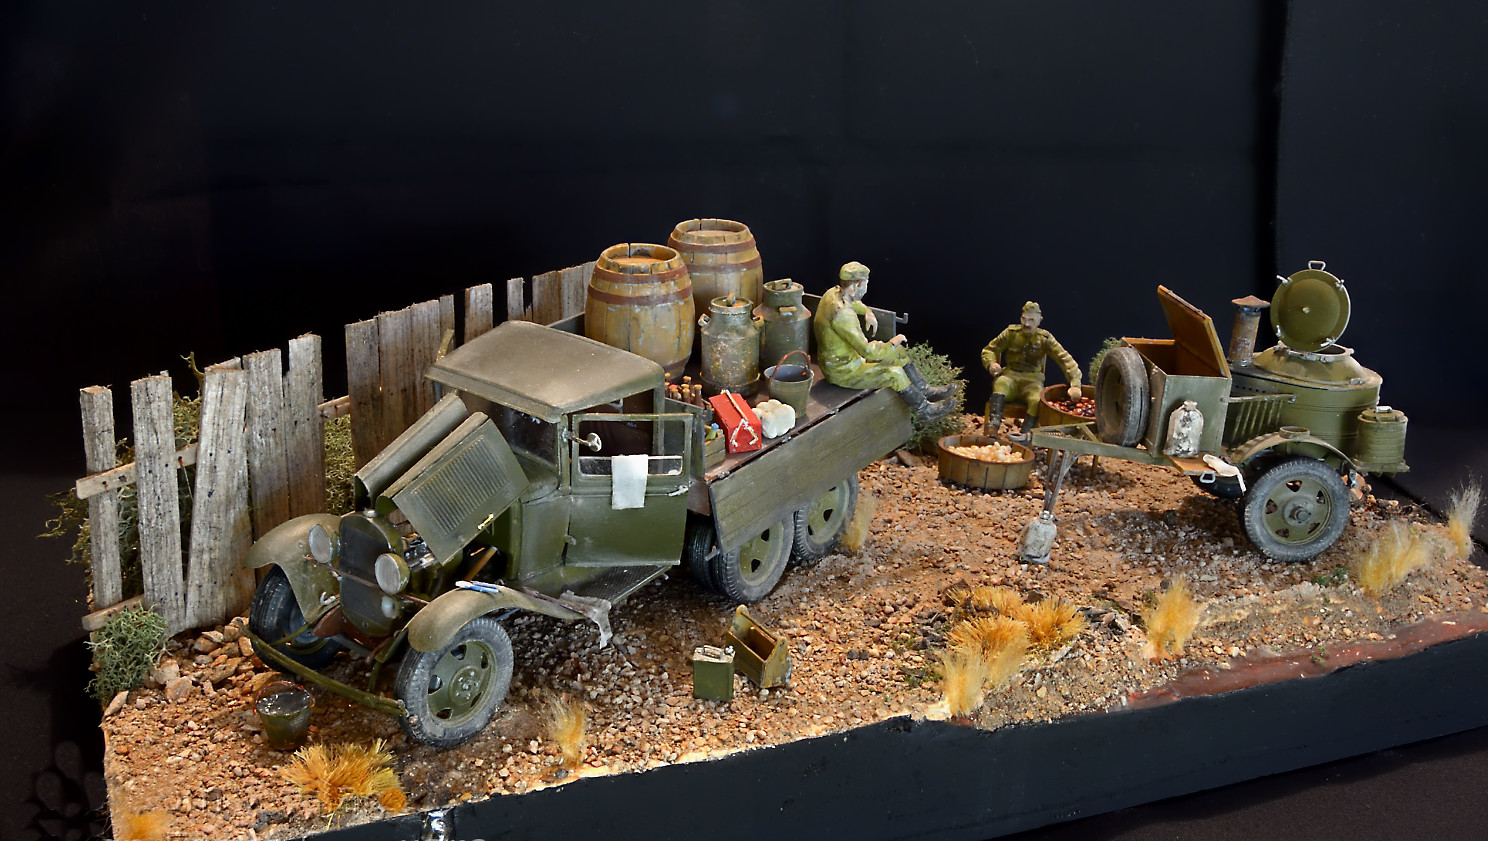
I’ve attached 2 examples of a Miniart tram. DSLR and a simple torch for lighting.
You need to slow down the shutter speed so you can ‘paint’ the model with a torch.
If anyone wants more info ask. I haven’t all the answers just the answers for what works for me.
Here are a few photos of my setup (very simple one and forgive me all the clutter in the background, but it’s hard to keep a tidy living room with a pair of toddler twins at home):
As I’ve written before, the only light source I use is the ceiling lamp, nothing more. As the light source is not the strongest and because I use very small apertures (to increase depth of field), the exposure time is large but it results in smooth shadows, which is what I like to see on my scale model photos.
Bruce, I’m happy you responded. Now I have a direction to go with my digital camera.
Marco and all the others, thanks for t replies.
I actually took a series of pics using different lighting positions 2 nights ago, but have been to tired to post them.
And with my light box, only the top section of tracing paper, the sides are plain white printing paper.
OP’s lightbox is diffusing the light but there isn’t enough light present to light up the model.
Marcopreto is using his lighbox to reflect light onto the model.
Light isn’t a factor if you use a slow shutter speed.
If you have a DSLR set it to Aperture mode. Don’t go down to f22 or greater. Yes I know everyone says to go down to f22 or greater. In theory this gives you more depth of field. But in most lens it creates lens diffraction. (Blur). Try something around f14-16. Use a cable release to stop camera shake. Also set to your lowest ISO. 100 ISO should be fine. Use something around 18-16mm for zoom/focusing. You will get a capture of 10-20 seconds. In that time ‘paint’ your subject with a simple torch. Keep the torch moving. Don’t zoom in to close. If you are using an editor to process your images this allows you to crop. It also helps with keeping more in focus.
My tram shots above were taken at f16. and 100 iso. I actually used 50mm and cropped the image on those shots.
Best still can ‘focus stack’. But that’s a whole nuther thread.
Remember even with all the ‘good’ gear it may take quite a few shots to get what you are after.
Try a torch rather than fixed lights. You can highlight areas that suit such as the running gear. But keep the torch moving to avoid burnout on any one spot.
Remember there is no one fix. A number of approaches can get a great result.
Your photos are beautiful.
Yes, if you’re using a DSLR + tripod + remote shutter release and… know what you’re doing with camera adjustments. (which you obviously do know).
If not, light without glare becomes the goal.
Hmmm depth of field. There’s a few approaches. You can stop your camera down to f22 or more. But with most lens you get what is called diffraction. IMHO the ‘best’ compromise is around f14-f16. (Quality of lens and lens type will influence these numbers). You can stand way back and capture a relatively large depth of field and the crop the image later. Or you can use the focus stacking method. Focus stacking is the ‘best’ if you have the time and energy to do it.
Here’s one image created with focus stacking. 9 images. Not the best but one I had on hand to show the results.
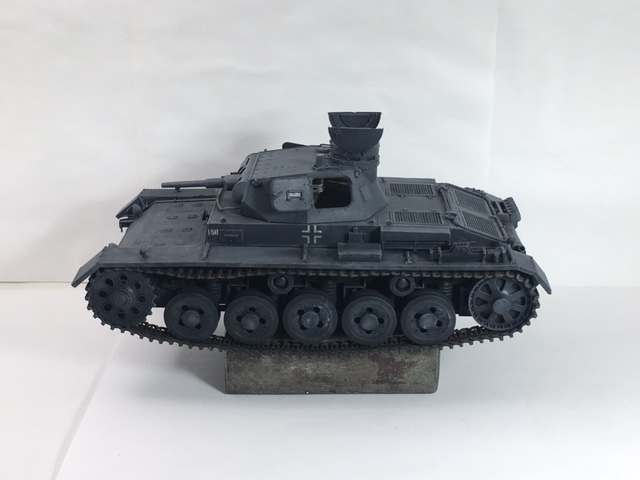
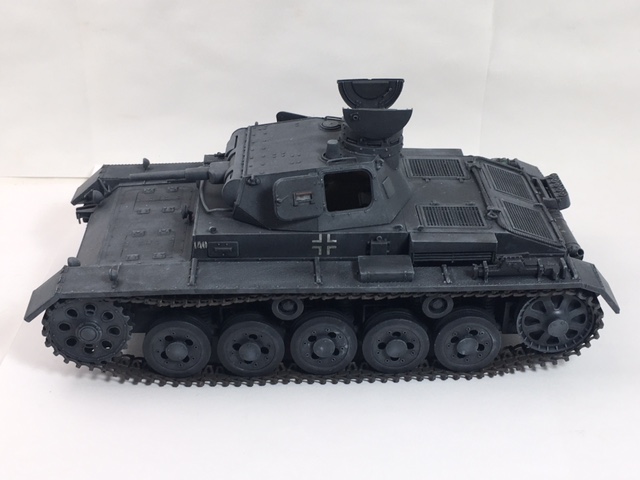
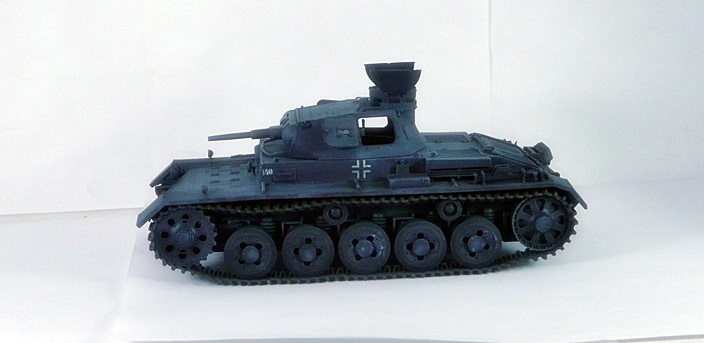
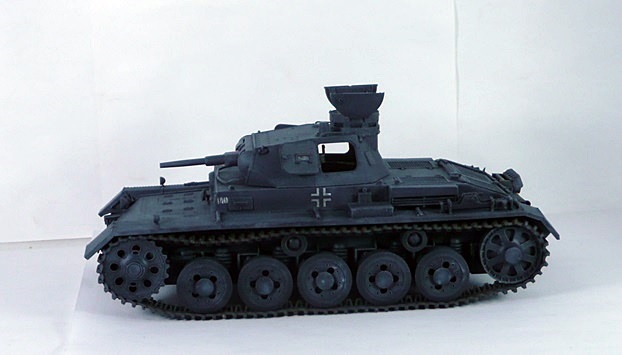
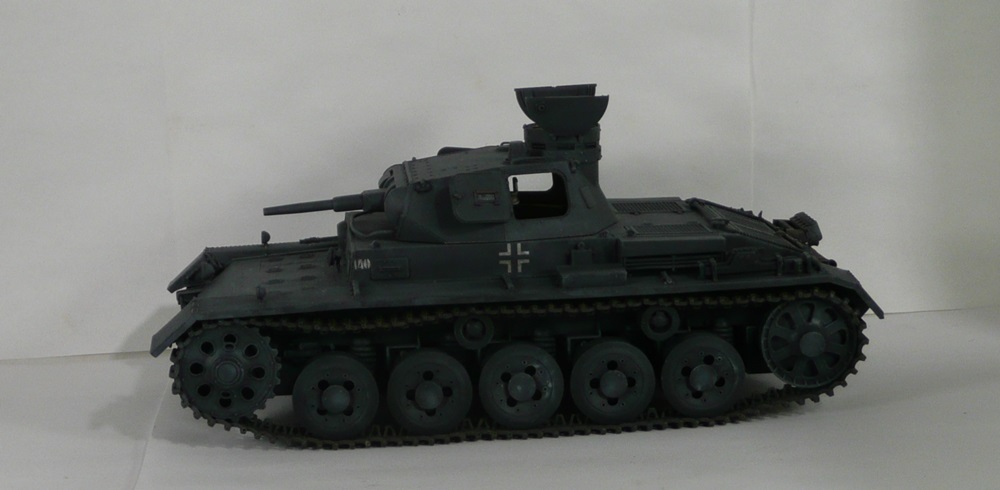
So here are a series of photos with different lamp positions.left lamp through the top, right lamp facing forward. both lamps through the top. both lamps facing forward
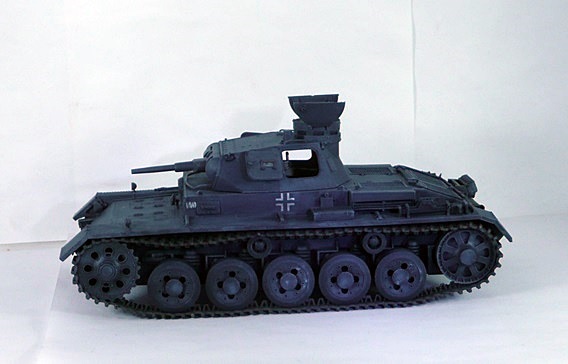
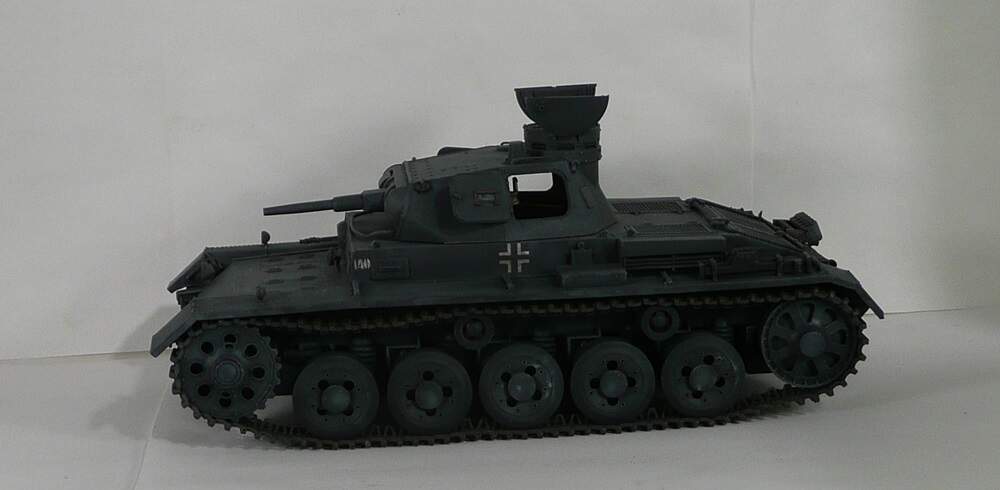
The last pics show the right lamp facing forward and the left through the top. The right lamp has more of a flood bulb. All photos taken with iphone again.
I took a series of photos with my digi camera, but need to find my cable to download.
It is not an slr type, so it doesn’t have crazy amount of settings for the aperture and the like.
Much better, but take into account that the camera sensor is much less able to deal with lighting differences than our eyes/brain!
My suggestion would be to just cover the top of your light box with something more opaque (so all your model is in the shadow - much more uniform lighting). It would be better to old your camera/phone on a tripod or another kind of support as it will need more exposure time for proper exposure. On your camera/phone settings, force it to use the lowest ISO possible and if needed, play with exposure compensation (EXP+/-) in order to get a nicely exposed image.
these photos are from my panasonic Digital camera.
All photos are with foil at the top of the box, shot at 7 mega pixel, then resized and cropped.
a -1 setting on shutter speed ( it doesn’t look to go slower. digital zoom off, ISO 100 on light bulb setting,
All 3 images have been digitally altered. they still looked like crap.
the middle photo has a larger spotlight on it.
The last a smaller spotlight.
Petrol has your camera got a Macro setting? If so try that setting. Are you using a tripod? If so iso 100 is fine. If not jump the iso up to iso 400 and also try iso 800. Your blur maywell be camera shake.
OK digital camera test no. 2
Macro setting, Auto ISO i believe. 2 lamps forward facing left and right and 150w flood light 5 feet away or so.
both pictures are the same, cropped and resized and AWB . the bottom picture has been sharpened.
It looks to me that your camera’s sensor is being fooled by the overall
white surroundings creating underexposure.
This occurs when the subject is smaller than the surrounding area.
As you can see in most all your pics the white paper is turning out gray.
Increase your EV (exposure value by 1 stop) and compare.
When using a camera on auto mode, the camera’s sensor makes the decision on what the exposure will be but there is a function on virtually all cameras to overide this when on auto mode by 1/3, 1/2, 2/3 1stop etc increments.
See your user manual for details on how to access this function.
Cheers.


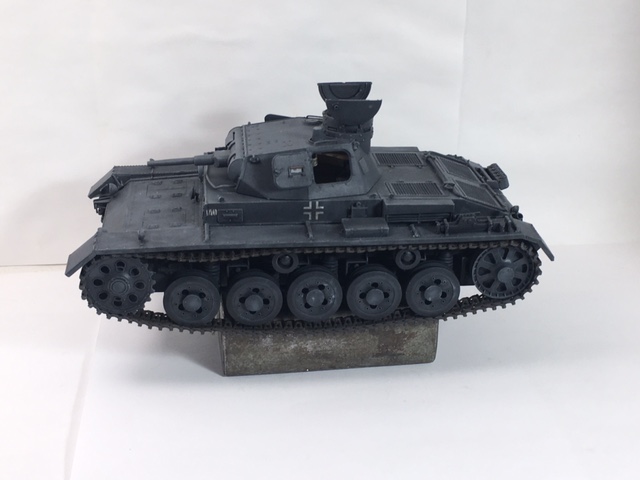 left lamp through the top, right lamp facing forward.
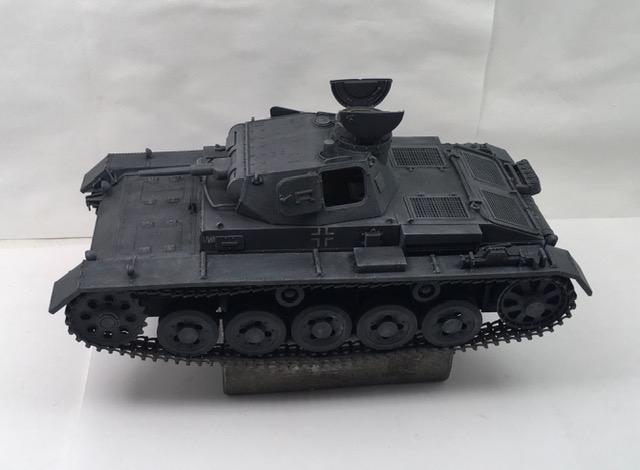 both lamps through the top.
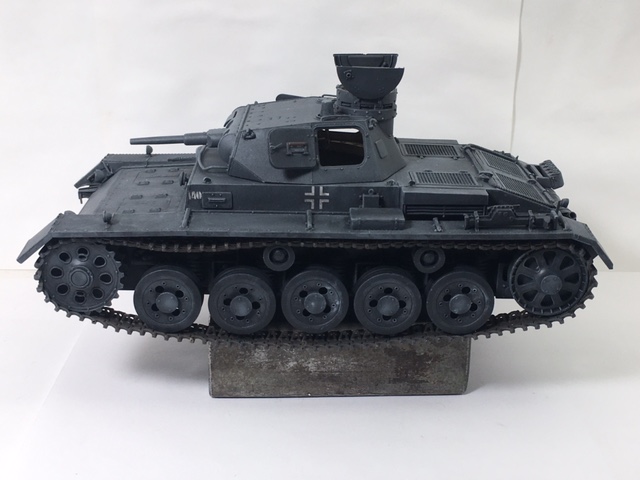 both lamps facing forward