Does your camera allow for manual settings? I did not understand the -1 setting you mentioned for the shutter speed (which is exposure time measured in seconds).
If it does not allow for manual settings, I would avoid using the macro mode (it allows you to get really close to the model and catch minute details, but on automatic cameras, it usually uses really shallow depth of field, which look great when photographing an insect and all the background is out of focus).
During a workshop on scalemodel photography I attended several years ago (taught by J. M. Villalba, an amazingly talented modeler and photographer), it was recommended to use the landscape mode on such cameras as this mode usually maximizes depth of field (which is what we look for when we want the entire model to be in focus).
As Grauwolf wrote, check your camera manual regarding exposure compensation, as your background is very light (you will have to use a setting that forces to expose more; usually it will look something like exp+1 or +2, you will have to try it out and check what setting works best).
And a last suggestion (only because I like to see smooth and consistent shadows), pick a point on your ceiling above your box and point all your light sources there. This might sound weird, but this way light will scatter and your model should be light in a much smoother way (but it will probably require long exposure times, so your camera must be as steady as possible - you can use the shutter delay function, so you press the button, and the camera will only exposure after a few seconds).
I hope it helps you and do not give up on getting the photos you want (just be methodical on your approach and you will get it).
My camera is 12-13 years old. It has very little adjustments for manual settings. It does have all sorts of portrait and landscape settings.
I am assuming that because the camera was manufactured before rampant LED light bulb use, that does effect the coloring.
For example, with the setting on light bulb, it automatically sets the hue (?) to a grayish blue, that we currently see on the existing pictures. Since I have switched most of my bulbs to daylight style LEDs I think it is just amplifying it.
my last to spot lights can switch from bright white, soft white and daylight. i just haven’t had the time to adjust and test.
And i am currently too lazy to look up the manual lol.
Petro I overlooked the obvious that others have picked up on. Your came is being fooled by all the white background. You can replace the white background with a darker colour. Try that. You could also “spot meter”. Most cameras will have various metering options. Even phone cameras. Look for Spot metering. Or maybe try Averaging. If you use spot metering look for a mid point on the subject. ie not the darkest or the lightest point.
Keep trying. It will click and be worth it.
I would also add that if you are not happy with the way the colors are rendered in your photos, try to only use one type of lighting (all with the exact same temperature) and use your camera custom white balance function to calibrate it to the light you are using.
Be patient and try to use step wise increments (first figure out how to place your lights and then figure out how to solve your color issues, etc…) to get the photos you want (after you figure it out, setting up for a photo session will be quick and easy, as you already know what to do/use).
Petro look for any thing called “metering”. There should be a few choices. Even phone cameras have a few options. ‘Spot’ metering is a good option.
If you can’t find “metering” try changing your back ground. See my tram images above. The black background worked because there wasn’t as much contrast between the black background and the tram. A white back ground is over powering the dark tank. Therefore your camera is capturing the majority exposure which is the white. Leaving the tank as a dark blob. Or try shining a light, such as a torch, on the tank while you take your shot.
Why not just set up outside and use natural lighting of the time of day that is most appealing to you? That would provide the most authentic lighting. Given that you couldn’t photograph just any old time but you could do several kits in a session on a weekend or an afternoon.
Spot: The camera looks at a very small spot within the sensor. This is either the selected focal point (rare, higher end camera) or the middle focus point. This small spot is used to measure the light. If you focus on a tealight in a dark room - the camera will think is motive is brightly lit and under-expose the background. If you focus on the dark spot next to the tealight - the camera will over-expose the tealight (and likely pull ISO up) because “the motive is dark”. Not all cameras have spot (ie the 4-digit Canons have not). Do NOT confuse with Spot-AF (that some higher end cameras have). Spot-AF is a reduction in the size of the AF-Field and has nothing to do with metering.
Center: Like Spot but the field is always around the center focal point and it is typically larger.(Around 10 percent as opposed to 2-4 percent with Spot)
Matrix The AI driven metering. It uses the complete sensor but weights the focal point and then uses some Vodoo (Or Shinto) Magic as well. For normal pictures this is typically the best mode.
Middle weighted Matrix mixed with Center
When it comes to scale models I would start with Center/Spot in Manual Mode and with the ISO fixed. The kit typically is in the center of the picture so no problems there and the AI does often have problems realising “it is a small object”. Then take picture, look at picture and the histogramm, change values (likely time), retry.
Most shooting I did was with the camera (An EOS 80D DSLR) tethered to the PC by WLAN. That way I could get a good idea what the picture would look like and adjust till “it was fitting what I wanted”
When it comes to using flashes you are in Manual mode anyway (at least with Canon, the AV - user selects f-stop and T - user selects speed modes have some interesting behaviours with flash) and will do try and error.
As for “strange colors”: Many of the “Energy saving” lamps are REALLY bad. LED are often bad. The problem is that both have holes in the spectrum that classic lamps did not have. If you choose LED look for a high CRI (Color Rendering Index). Classic bulbs where 98-100, energy savers are around 90. Good (costly) modern LED get 98. The higher the more natural the light and the better the colors when the camera does the white balance.
Alternative 1: Use manual in camera white balance. For this you take a picture of a “known white object” (Called a White-Card or Grey Card - that has a white back) and then use that to set the cameras white balance (see manual how to). This only works if you control the light because the picture must be taken under the same light conditions as your model pictures.
Alternative 2: Shoot RAW and use Lightroom/Photoshop/Capture 1/What rocks your boat and do the White Balance on the computer.
For that you best put a “known white” element in the picture and then use that to tell the software “THIS IS WHITE!” and let in handle the rest. The above mentioned white card works. This will require some cropping of the image unless you do models with white elements (US stars, Bundeswehr Tatzenkreuz etc)
Even IF you do WB yourself - make sure ALL lights have the same color temperature! Otherwise the WB will go bonkers
Especially if the model subject is going to be posed square to the camera lens you will need to have some sort of front light. Two lights (one from each side) just are not going to do it.
I suggest to first try cutting a round hole in a large piece of white paper and actually hold it in front of the camera while shooting to give your Lightbox some bit of reflected front light. If this is not enough then consider some form of additional lighting coming from a frontal direction. I often just use a cheap, hand held “can light” that I bought for $10 at “Bed Bath & Beyond”.
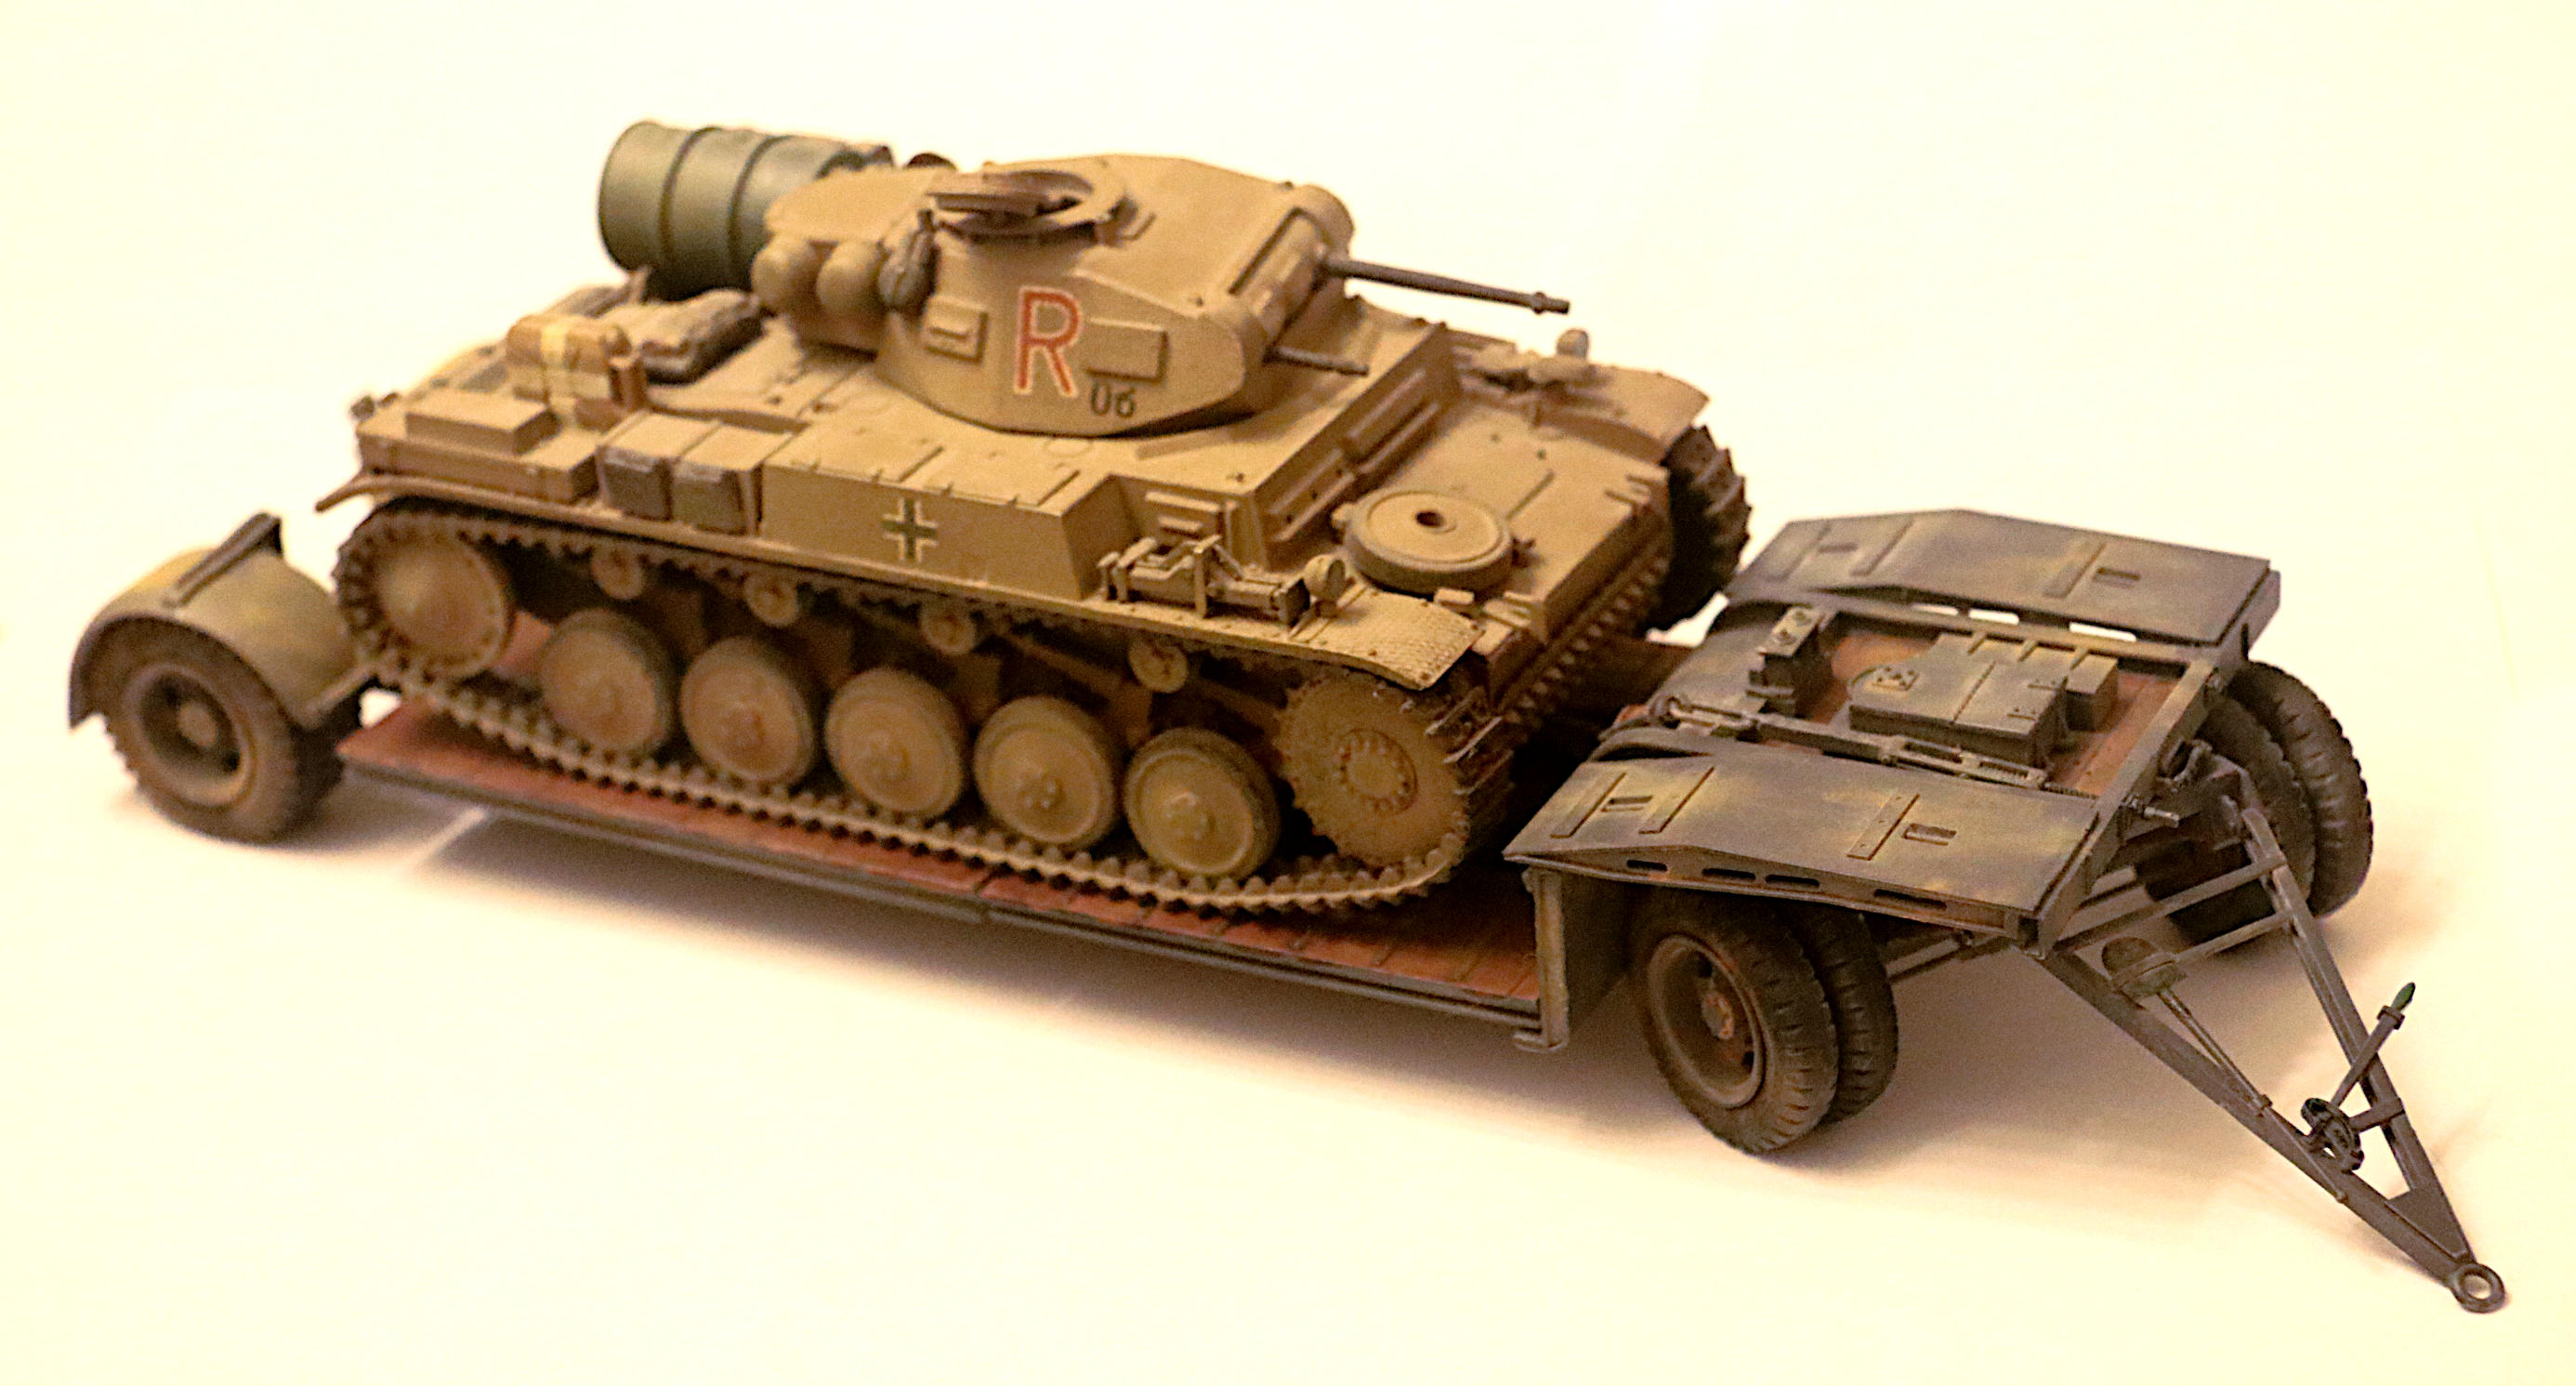
In this photo I was also holding up a curved piece of typing paper - below and to the left of the camera - to reflect more light onto the road wheels of this tank.
Think of the typing paper just as though it were a mirror. The main light source in this photo is coming from high on the left so I also was holding the paper at a 45 degree left angle to catch more of that light and reflect it in under those fenders and onto those road wheels.
p.s. I no longer have any form of fancy studio - this was shot in my bathroom on a cardboard box over the sink using only the installed room lights, the white walls as my “soft box” and a backdrop made of typing paper. (BTW - That curved seamless backdrop is called a cyclorama - even when it is just some cheap typing paper taped together.)
When doing small product photography, having the subject floating up on a small block above the surface adds, IMHO, excitement to the photo! (It looks cool!)
However if your model photo is to intended to portray something like a 45 ton tank then perhaps having it floating blithefully above the ground surface might be said to destroy the illusion of massive weight.
But . . . .
If you just cannot give up that cool look of the object floating in space then may I suggest putting the riser block UNDER the white cheese cloth rather than on top of it to lift the tank? Doing this will actually enhance the illusion of floating even more.
I use small inverted clear plastic restaurant “dipping” cups. (Like they bring your salad dressing in.) As risers for my models. the clear, or milk white plastic does not block the light and may disappear more easily into the background.
Let us set aside questions of color balance for a moment.
Consider buying a el-cheapo $6 string of white/clear Christmas “twinkle” lights and stuffing them all into a equally cheap shiny tin metal jello ring mold. Band the whole thing together with some clear tape to make a quick ring light to hold in front of your camera.
This would never be bright enough for a Madonna Photo Shoot but for our small, close in, model work you might just find that using the entire string of lights to be TOO bright for the job!
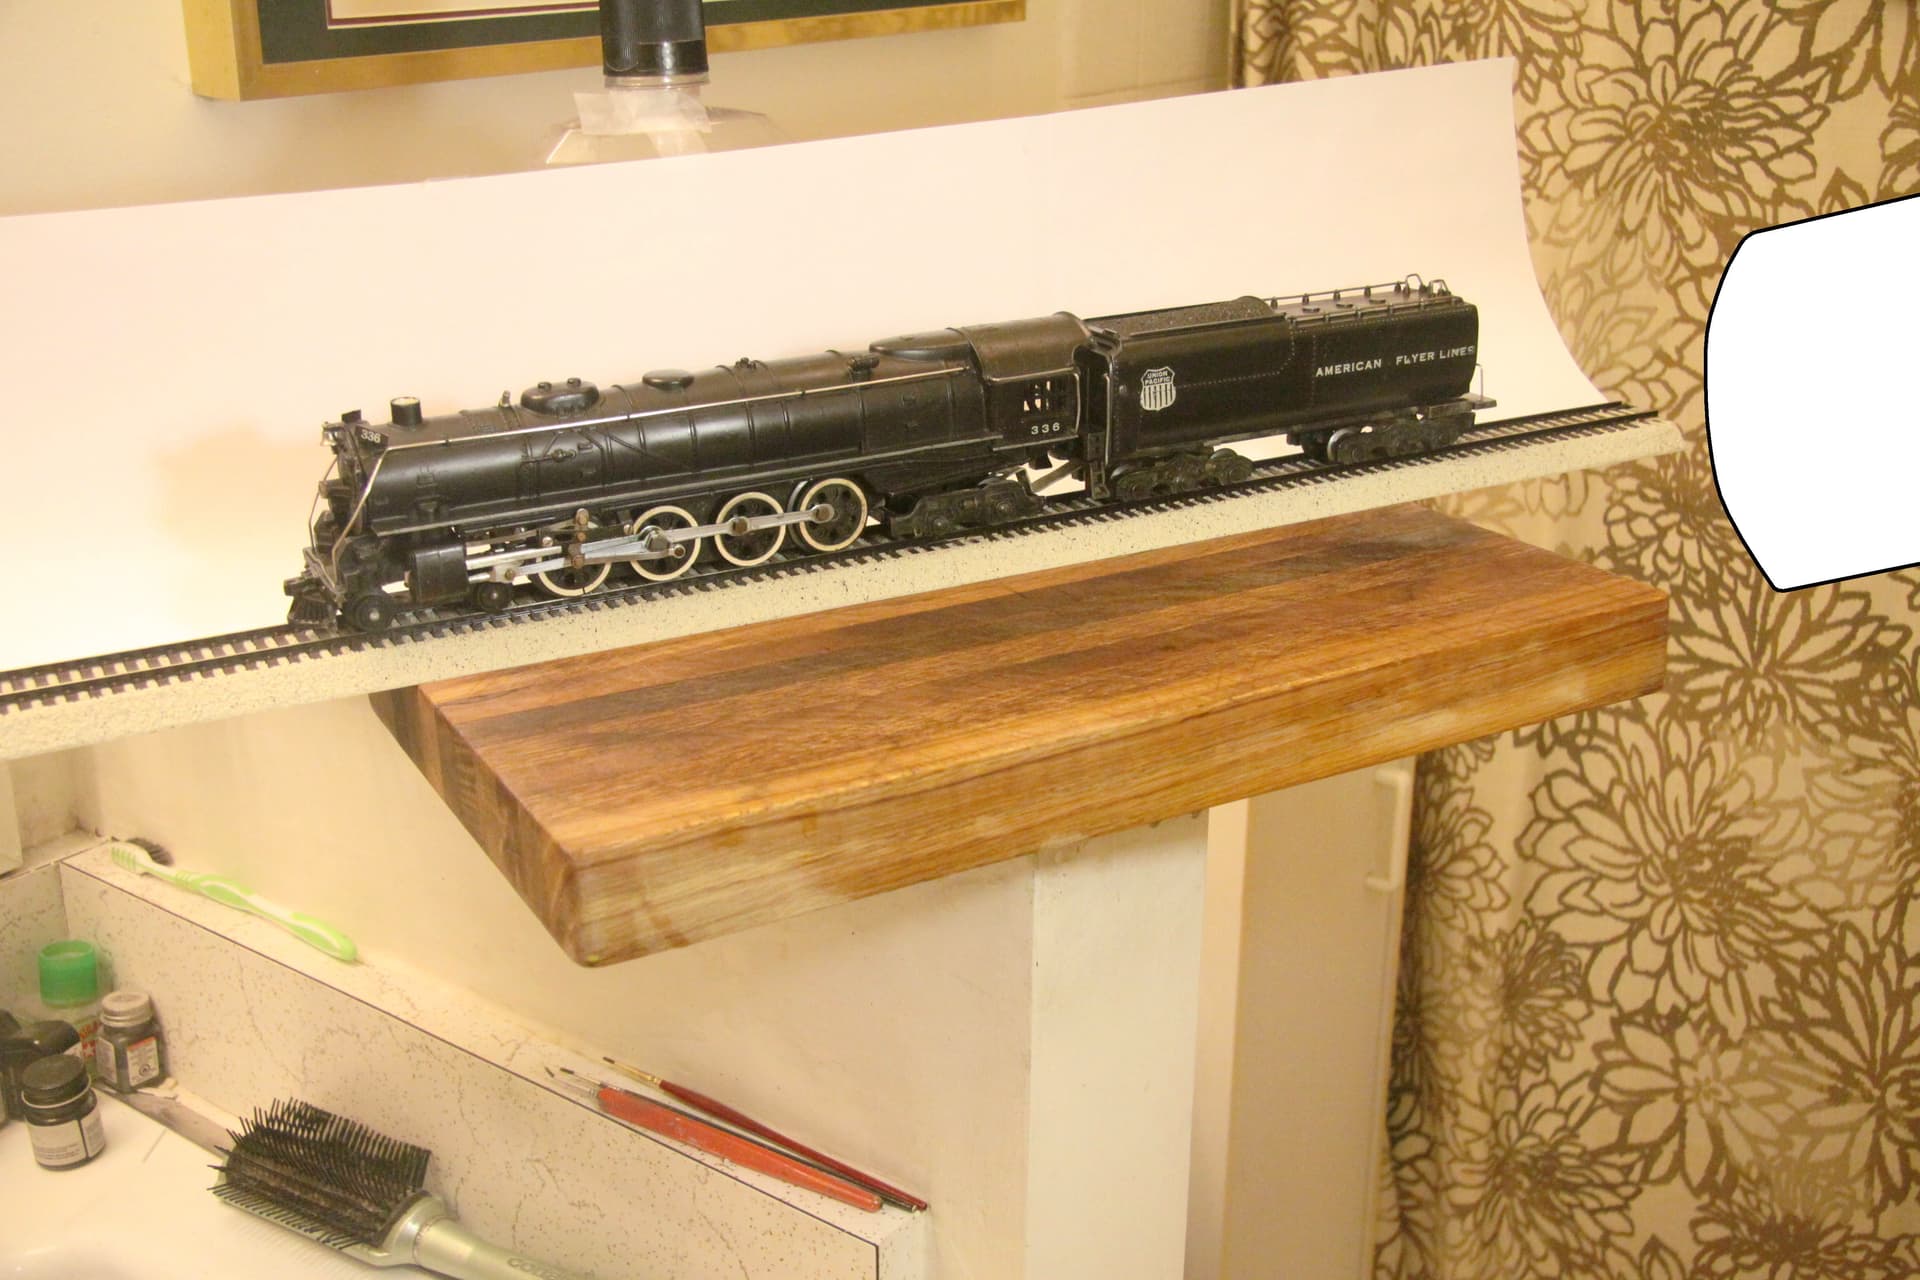
Here is a shot of my tiny bathroom studio:
Kitchen cutting board for a stage, curved typing paper for a background, paper all taped together, mouth wash bottle holding up the backdrop.
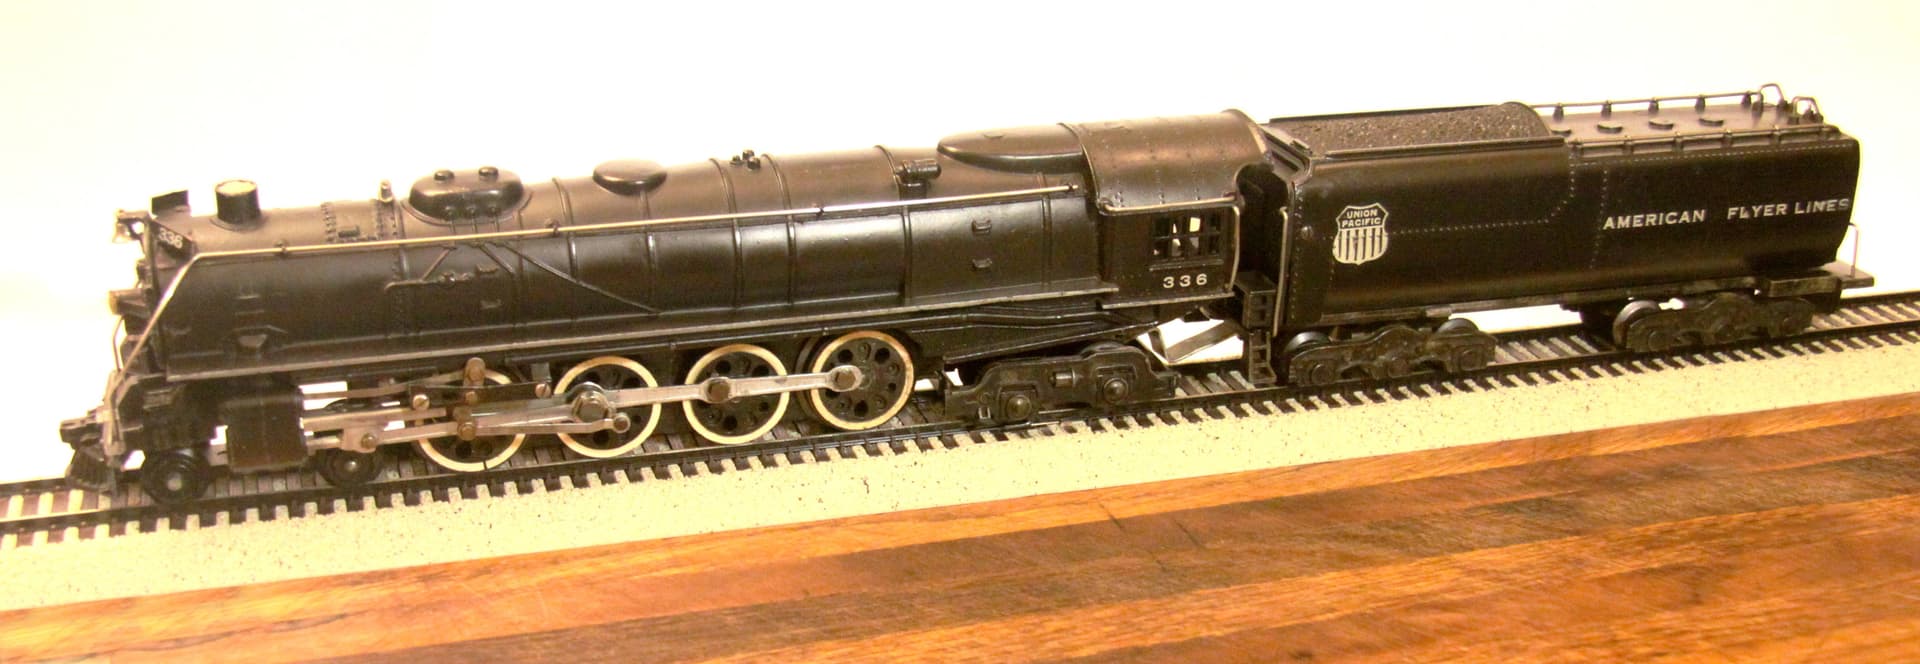
This S scale American Flyer Northern Locomotive is almost too BIG for my little “studio” set up to accommodate. That is my $10 handheld “can light” seen to the right in this photo acting as a front fill light. (In this case I wish I had had two can lights or some sort of flat, broad “light box” in order to extend that reflected shiny highlight all the way down the length of the boiler and the tender.)
Petro - when shooting that German tank of yours, maybe try this:
Move the left hand light forward a bit (not towards the tank but towards the front edge of the table you are working on) so it just “peaks” around the front edge of the lightbox for some of its’ light to shine directly onto the model PLUS use some white paper for a light reflector just to the left and below your camera.
Also consider turning your tank to take either a front 3/4 or rear 3/4 view.