What do you guys use to fix your weathering pigments in place once you have applied them?
would it be able to use a thin matt coat over the top of them, do tgat when it dries it holds all in place?
What do you guys use to fix your weathering pigments in place once you have applied them?
would it be able to use a thin matt coat over the top of them, do tgat when it dries it holds all in place?
There are many options:
Non permanent fixers:
Permanent:
As far as I know it is not recommended to airbrush a full layer of varnish on top because for some reason it tends to make their effect disappear. I guess it flattens everything equally.
In my case, I like VMS ENML 2.0 Binder because although it fixes the pigment, can be retouched or even removed with their Universal weathering carrier. They also have an Alkyd Binder that can be modified for several hours, after which it becomes permanent.
With mig pigments I use Tamiya X-20. Apply pigments and use an eye dropper to drip to make the area “wet”.
@varanusk @Tank_1812 I seen on youtube that hairspray might be an option.
That sounds interesting. My concern would be the forced air moving some of the pigment around where I didn’t place it.
I think of hairspray more for chipping.
@Trisaw how do you use this, do you just brush it on?
That is probably for mixing with the pigments to get textures like caked dirt and mud,rather then protecting a dust coating or spatter?
I wet my simple dust application’s like for corners,panels,and road wheels and tracks with a little turpenoid and allow it dry,afterwards just minimum handling
If you want to keep the pigments dusty effect, you can’t put anything on them. The most effective means to preserve them is what I do, put it on a simple base so that all handling is done by the base, not the model.
A coat of hairspray will just turn the model into a dust magnet.
Any liquid fixer you put on pigments will essentially turn it into a form of paint. Pigment + Carrier = Paint.
The only way to maintain the dusty effect of pigments is to put nothing on them.
ok well I’ve applied the pigments and I have hit the model with some hairspray at distance of 18-24 inches.
I will check it out tomorrow when I get home from work. the stuff my wife uses dries well and her hair isn’t sticky so I am praying this works.
I agree tgat adding a binder makes it more like paint from what I gave seen on YouTube.
Another alternative is highly diluted matte medium (Liquitex makes a good one). Depending on where you are appling pigments, vehicle or terrain, and the effect you are after, you can apply the medium with either a brush, or eye dropper, either before and / or after appling pigments. Stuff dries dead flat and rock hard. If you can, its helpful to pre-treat the area that is to be pigmented (?) with alcohol to lessen the surface tension.
Sorry for not responding sooner.
You dip the brush in the liquid pigment fixer and then dip the brush in the pigment. Yes, it will somewhat resemble paste when the pigments are applied and dried.
Here is a photo of it still wet on the figure’s boots. It dries to the color of the pigments in the jar.
I do a pigment dusting after matte coating and any other finishing products. Then NEVER touch the model again!
![]()
![]()
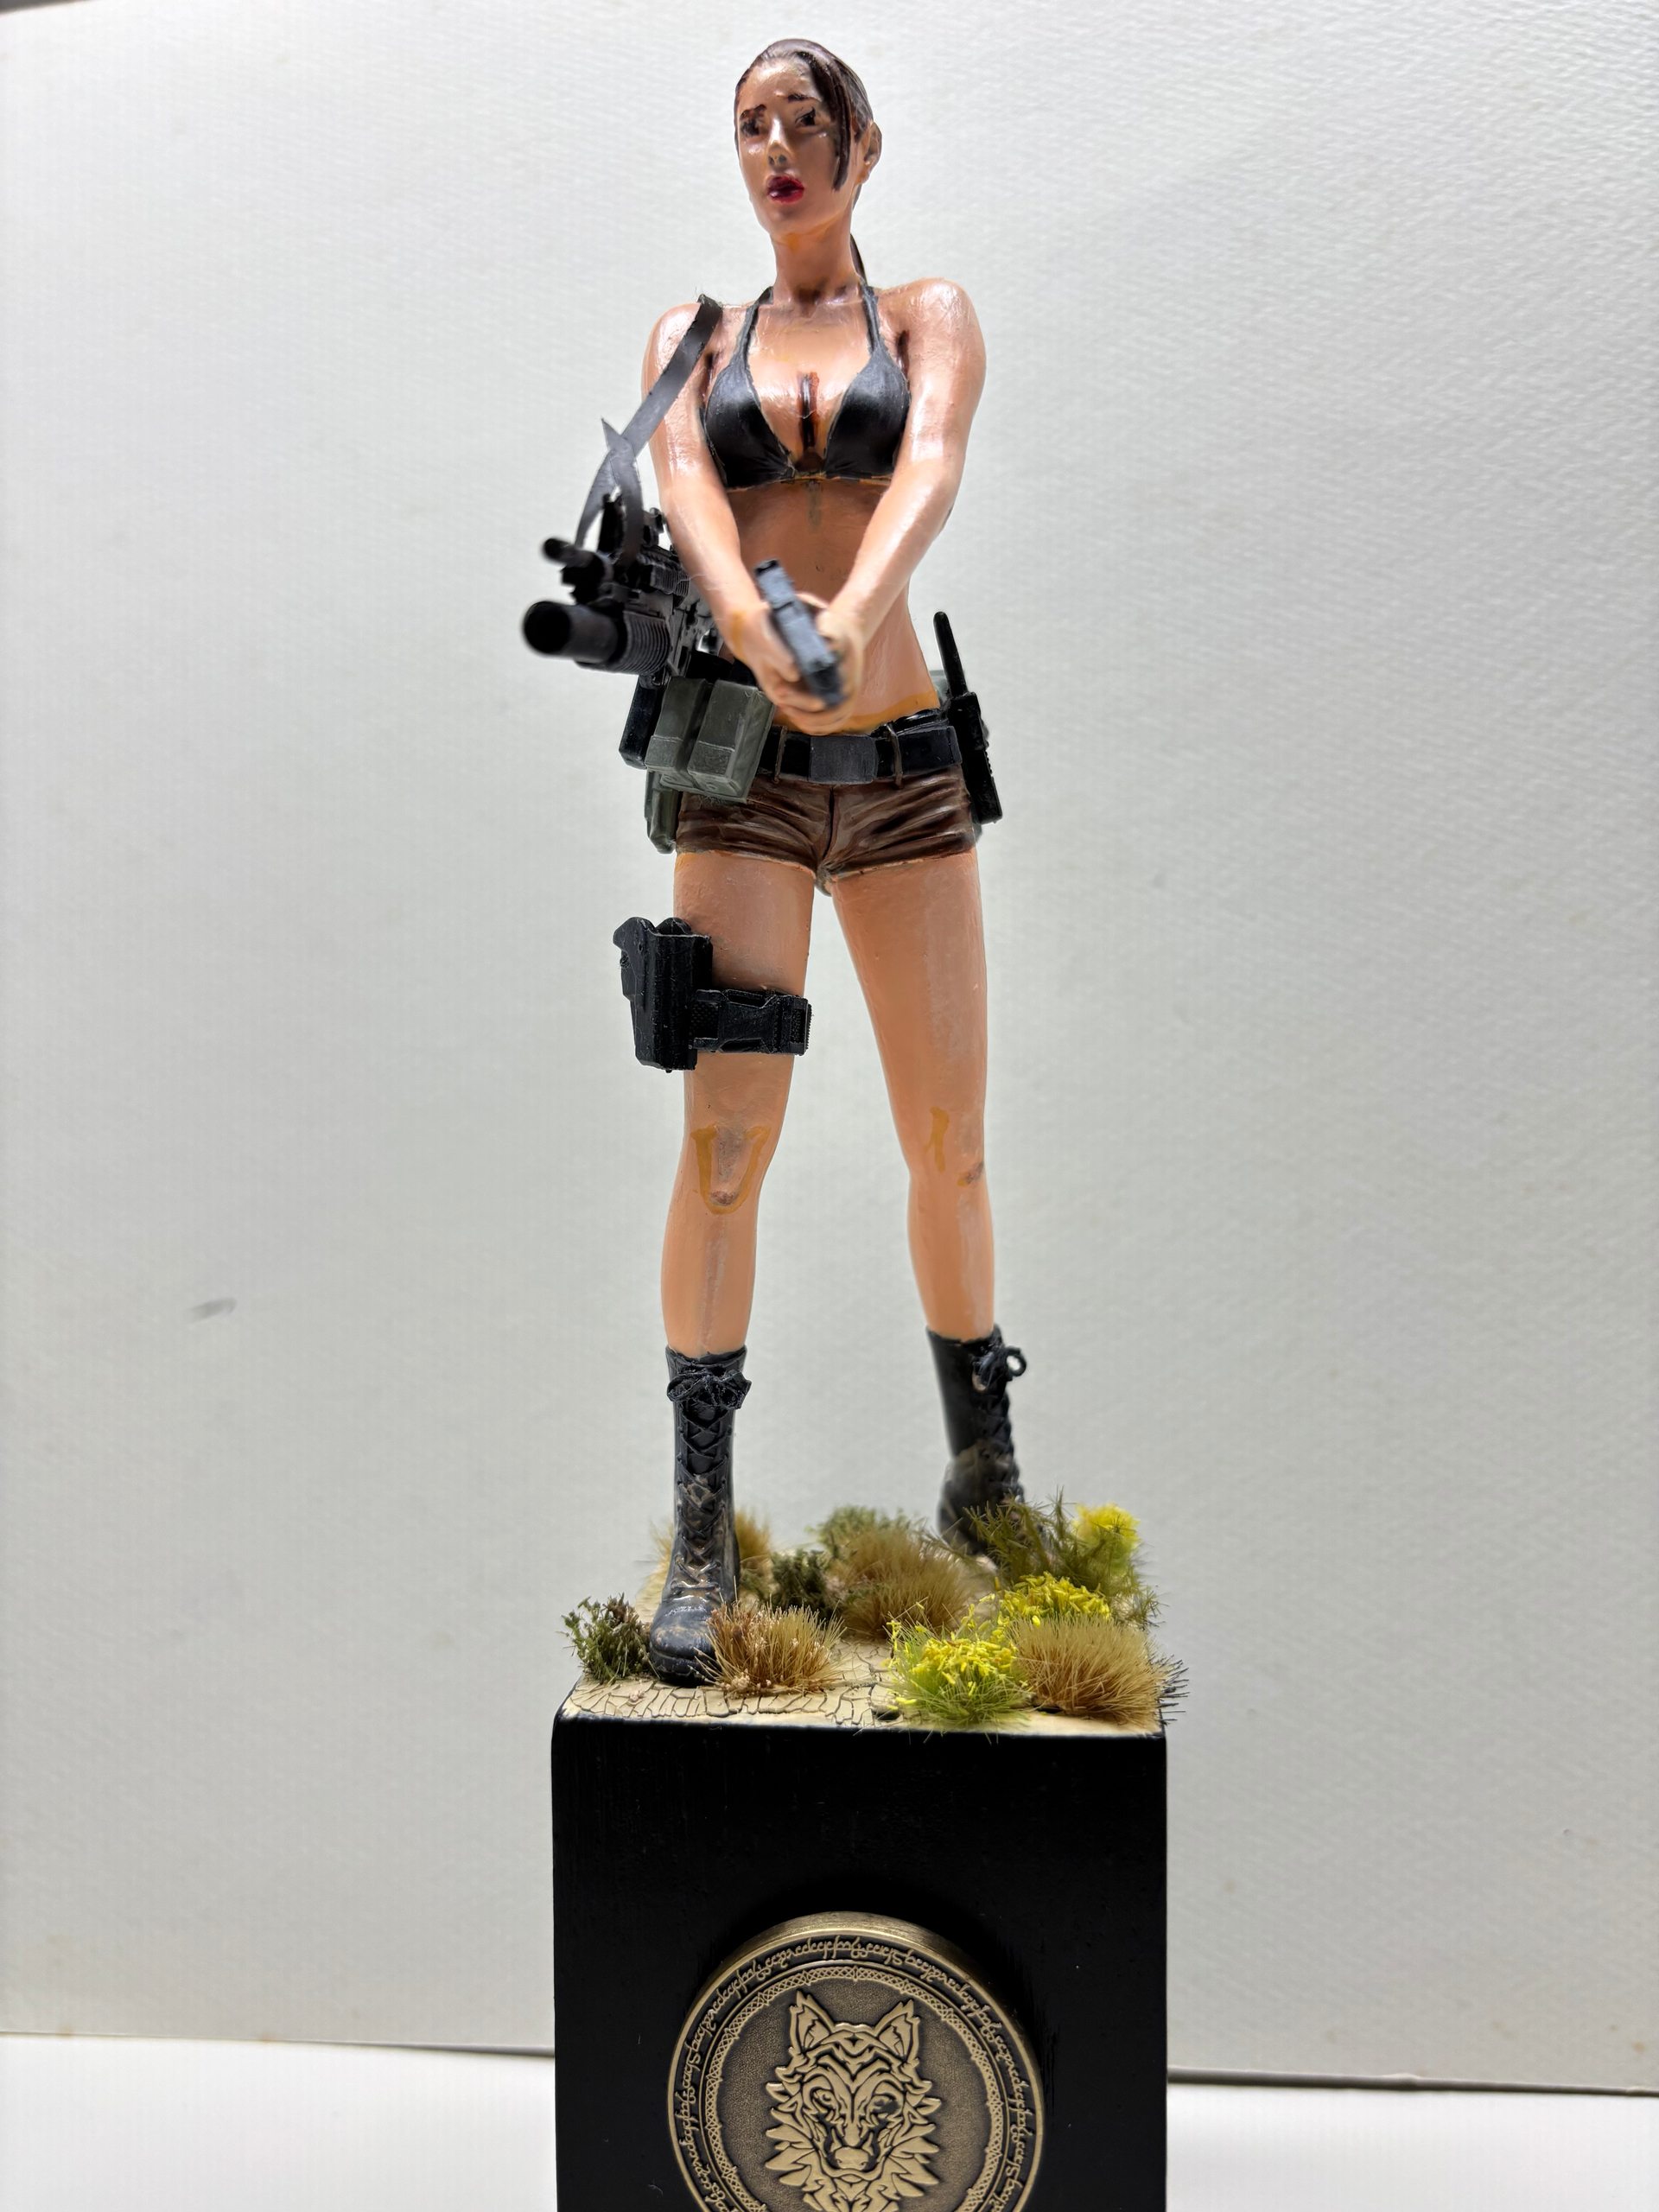
This is how the pigments appear when dried. Yes, it does look like paint. The figure and the base was “dusted” with MIG’s brown pigment.
Is there a product that goes under a layer of pigment, serving as a glue?
Matt is right that any liquid applied over pigment will tend to bind the pigment grains into a cohesive layer, defeating the purpose of the pigment grains, to create a highly irregular surface that scatters light.
However, if pigment grains were perfectly scattered onto a glue layer, the lower half of each pigment grain would embed in the glue while the upper half remains free, thus preserving the irregular facing surface to scatter light. (This is exactly how we make no slip surfaces on modern tanks.)
The perfect glue would form a very thin layer because pigment grains are extremely small. It would dry slowly, allowing the user enough time to get all the pigment down. It would dry very tough.
The problem with glue first is that messing up becomes a mess to fix.
Dunno. Never tried to glue pigment. When I use pigments, I use the hands off solution Matt describes.
Edit: Another idea for “glue after pigment” is to use a very low viscosity glue. If a glue is so thin it runs off the upper surface of pigment grains, pooling beneath them, it will grab the lower half of each pigment grain while leaving the upper portion free, preserving the desired irregular surface.
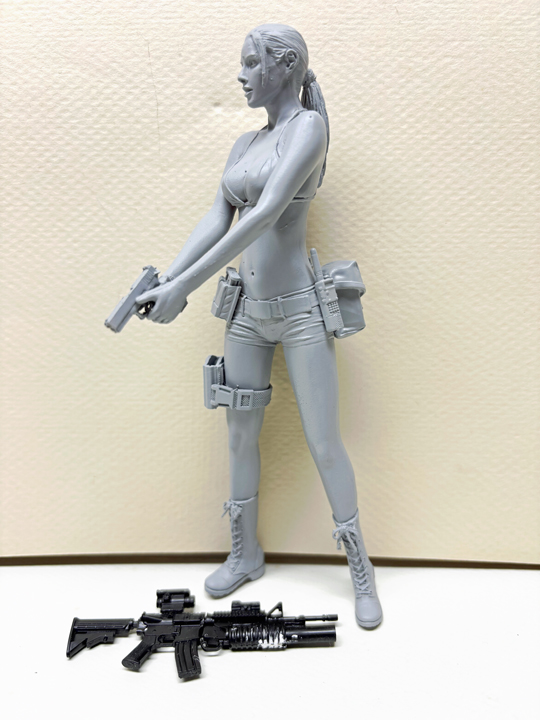
@Trisaw where did you get the lara croft figure?
HobbySearch, Japan, and it’s not Lara Croft. I just made it “Lara Croft’s cousin.”
The pouches were 1/12 custom ordered from Live-Resin in Russia enlarged from their 1/35 kit.
It was for the “Your Figure Keeps Improving 2024 campaign.” https://forums.kitmaker.net/t/your-figure-just-keeps-improving-2024/40368/164
https://www.1999.co.jp/eng/10837698

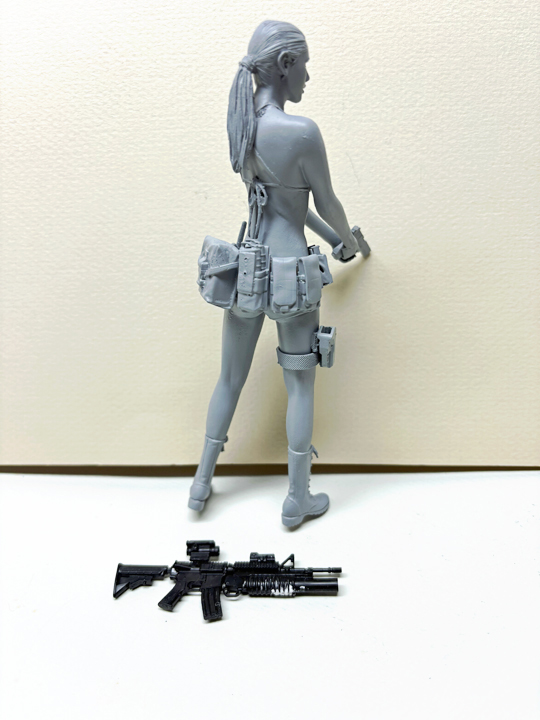
a very interesting figure and like the resin accessories including the carbine with the grenade launcher.
The carbine with the grenade launcher is a 1/12 Hasegawa M4/M203 kit. My Live-Resin custom 1/12 M4/M203 order didn’t have a hollow 40mm grenade barrel. I could have let it pass, but I decided that I spent most of 2024 on the figure so I might as well buy a 1/12 Hasegawa gun.
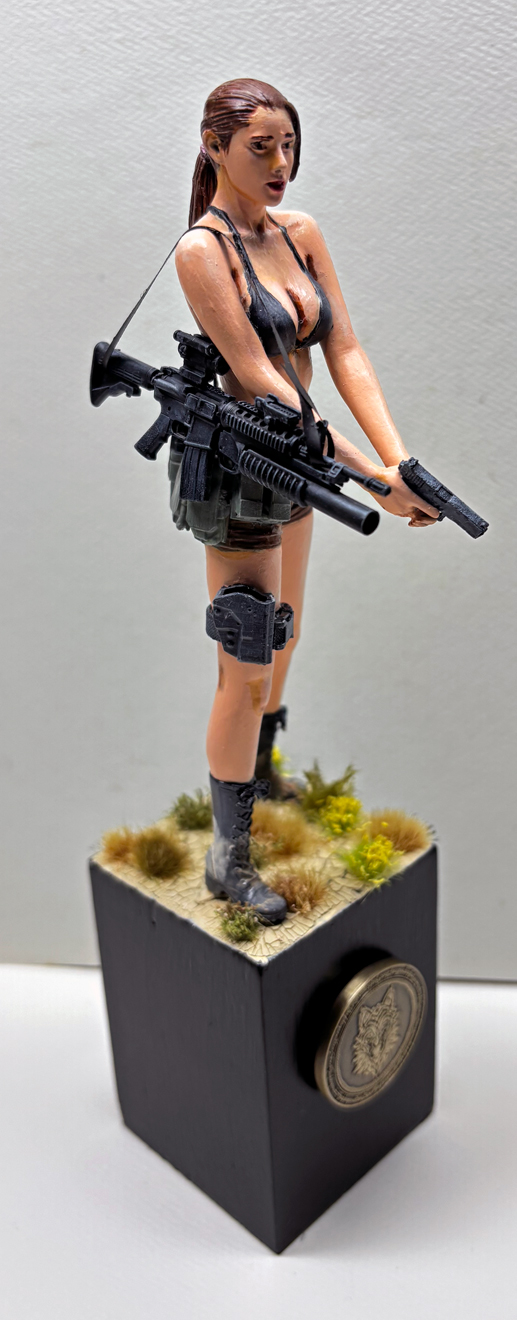
The thigh holster is 1/12 from ETSY, 3D printed resin with a flexible strap, and the radio is also 1/12 from ETSY. Lara Croft is only known for carrying two handguns.
It’s a pretty skinny figure, and the 1/12 Live-Resin pouches look huge on her because the Live-Resin figures are men wearing body armor.
Thanks for the compliments.
Ordered from Russia? ![]() Tsk…tsk!
Tsk…tsk!
![]()
![]()