I tend to dust them on the matt varnish as the last thing, you don’t want to touch it too much after pigments have gone on
Yeah, was thinking the same, the airbrush jet might dislodge it.
I made my mind, will get these Vallejo pigments and make this light dusting.
My last (unlikely) doubt is: l still need to apply the Vallejo thick mud on the track guards and some parts of the lower hull. It turns into a very hard paste once dried. Do you think it would be better to apply it after the matt varnish too?
That can probably go on before if you want, but keep in mind the ant varnish of you spray on the mud will tone it down a bit
Thanks for the advice.
The shop was closed, so I ended up ordering the stuff online.
It was very affordable, but to get the free shipping had to buy about 40€ worth of stuff.
Got 4 Vallejo pigments: brown, sand, dark yellow ochre and black iron oxide.
Also throwed in a can of Tamiya Fine Surface primer, couple of model air colors, and the Vallejo splash mud.
Silly me, I even ordered by mistake two dark yellow ochre pigment cans instead of one, I hope there will be some good use for that.
I need some insight.
After the pin washing I noticed some discoloration on the top of the model.
Perhaps it was my main coat not being perfect, as it was my first airbrush session and there was plenty of spurts, clogging and stuff.
However it came to my eyes only after the pinwash, so I thought it might be caused by the moisted brush I used to clean the excess.
Or maybe, was it the gloss coat that “enhanced” the difference in coloration?
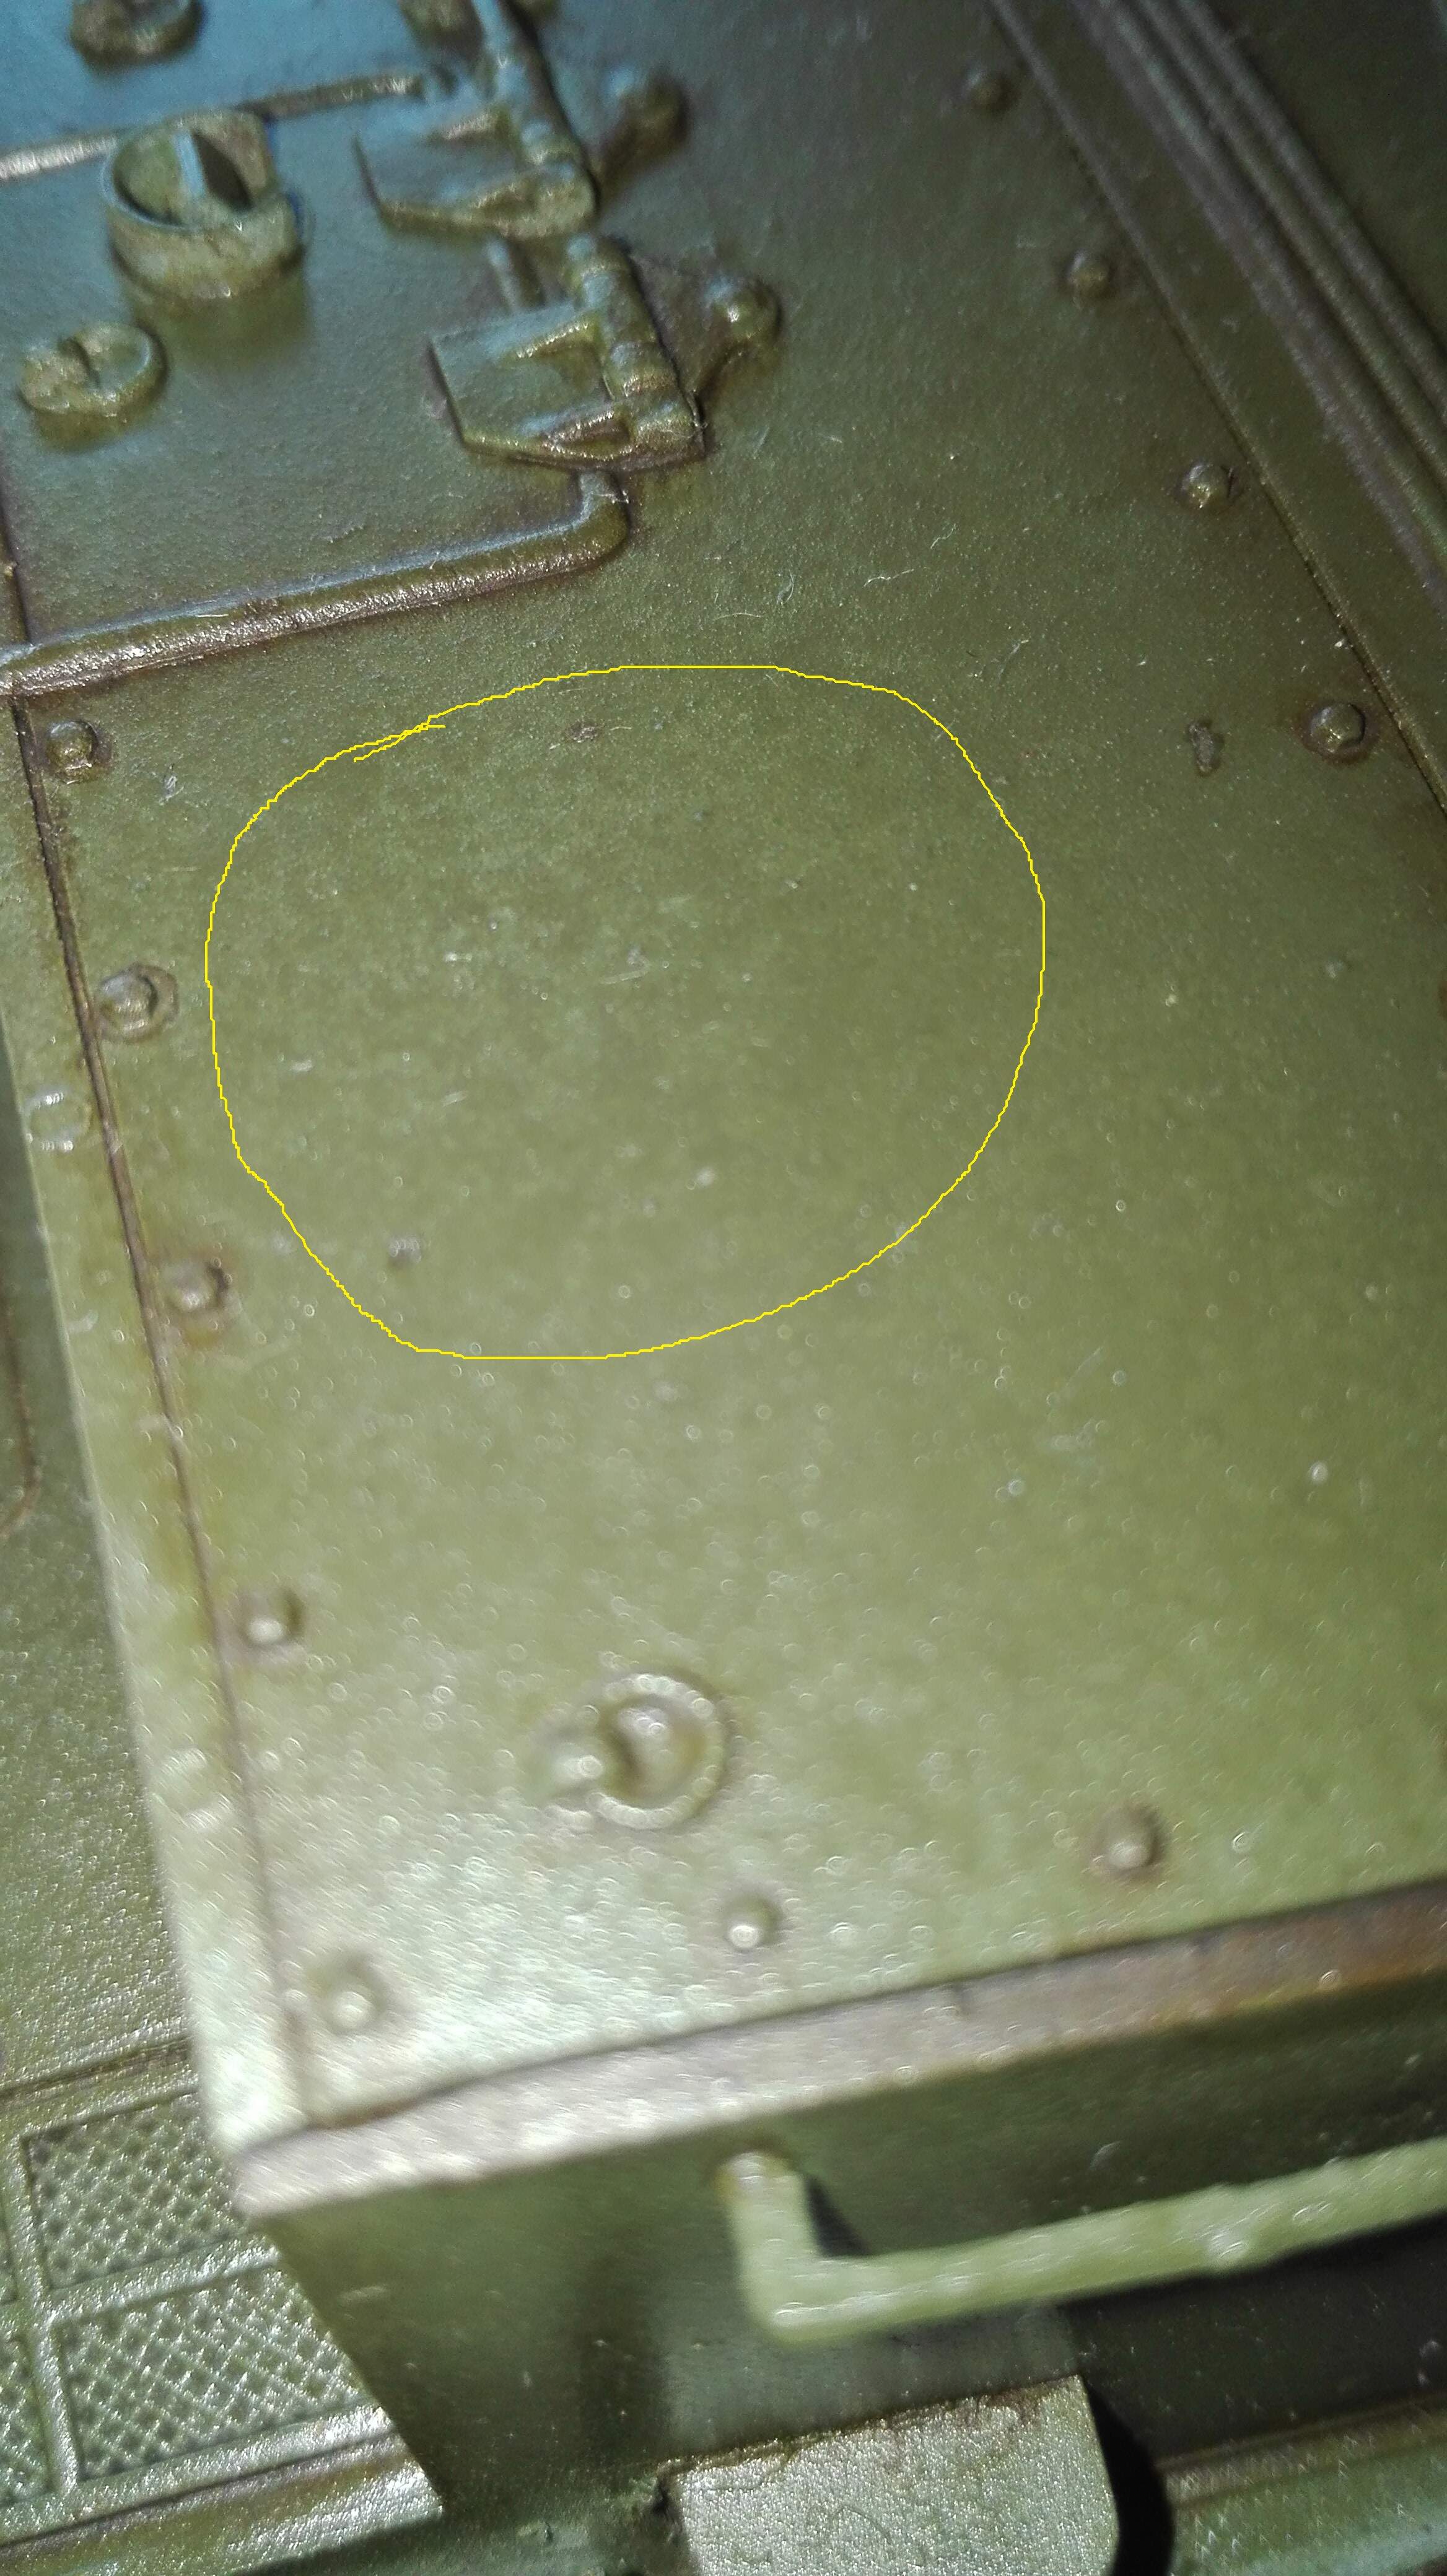
Now I was wondering, will the matte coat make things better? Or worse?
Will some clever pigment application to simulate dust mask this?
1 Like
I applied the matte varnish today, it really made the model clearer, which is a good thing as I always thought that the green I used was way too dark for soviet armor.
Yet, I didn’t expected such shift, it was significant.
I think I’ll have to keep this in mind for future models.
Now I put it under a shoebox to avoid dust, I hope I won’t find nasty surprises tomorrow.
1 Like
I don’t know if you are aware of Michael Rinaldi’s youtube channel, but if not, take a look:
https://www.youtube.com/c/RinaldiStudioPress/videos
His videos are live streams, so no cuts, including errors and how to fix them etc. You can learn a lot by watching them.
This weekend I am going to give the final touches with the vallejo pigments.
As I already mentioned, I’d rather apply them dry over the matte finish, avoidings thinners and other fluids.
The aim would be to create a streaking effect of grime over the sides of the vehicle using a VERY LIGHT dusting.
Obviously I am very anxious because right now I really like the model and I am afraid of ruining it when I am so close to the end, so I got some questions:
-
People here told me that pigments will stick by themselves without any external help. I tried to find a video but I never saw anyone actually applying them dry and leaving them dry. So, is that a good idea?
The matte finish I applied was consistent, maybe it will fix by itself settling in the uneven matte surface?
Keep in mind that I do not intend to touch the model EVER, other than some delicate dust removal as it will not sit in under glass. -
Suppose I make a mistake, I assume a moist rag will remove them, right?
-
About the technique, I was thinknig of picking very little pigment with a small but enough wide brush and gently scrubbing it downward from the top of the panel, is that a good idea?
-
I got the following pigments
https://www.amazon.it/Vallejo-pigmento-polvere-sporco-35ML/dp/B07193GYZQ/ref=sr_1_5?dchild=1&keywords=vallejo+pigments&link_code=qs&qid=1625683499&sourceid=Mozilla-search&sr=8-5
My tank has brown vallejo mud applied on the lower hull and I might also apply some Vallejo splash mud by toothpick. Both are brownish.
I suppose that the best pigment would be burnt umber, right?
I’ve been using the Mig pigments for years both with thinners and just water and mostly dry applied right to the surface of a matte finish tank and never had a problem with any application. You do have to be careful with the thinners or using them with water simply for control reasons.
Best advice I can offer, try first on the belly of the tank or any other hidden part/useless plastic, so you can see exactly how it behaves before it’s too late.
On a matt surface, you may not be able to completely remove the pigments, leaving some marks behind.
1 Like
Good idea yes
Yes, good idea.
Although I’ll need to completely remake the lower part, as I think it still has the artist’s paint I used, has no primer and obviously not varnished.
Do you think that just applying the varnish will be enough for trying the pigments? I really don’t want to scrub the lower part, it was really hard enough to do it while the model was essentially scrap, now that it’s almost complete it would be a nightmare…
The idea was to use pigments dry to get a similar downward streaking effect like the one made with the oil paints but more faint and subtle.
I suppose I should mix the light and the dark brown powders…or not?
I think I could make first test on the exhausts using the black pigment, to get a first impression of the behavior.
Then maybe I could just varnish a piece of plastic (like a notebook cover) and try the effect on it…
About the machine gun, I painted it black and dry brushed with gun metal to give it a little sheen.
Do you think it needs the matte varnish too or should I leave it be?
Little help with the above, guys!
Weekend is near and I only got a single day to try this and my anxiety is through the roof! 
Do you think that just applying the varnish will be enough for trying the pigments?
Should be in my experience.
The idea was to use pigments dry to get a similar downward streaking effect like the one made with the oil paints but more faint and subtle.
Very small dots of oil paint can be used to make very subtle streaks on a gloss surface. Streaking with pigments, in my experience a pointed wedge rubber artist brush works pretty well.
I suppose I should mix the light and the dark brown powders…or not?
If you want medium brown sure. Or do some streaks in darker and some in lighter and some mixed. Test on underside of model before doing sides etc.
I think I could make first test on the exhausts using the black pigment, to get a first impression of the behavior.
I much prefer doing testing on the UNDERSIDE of the model tank where the test isn’t visible. Testing techniques on sides or top side can be risky.
Then maybe I could just varnish a piece of plastic (like a notebook cover) and try the effect on it…
Sheet styrene or an old model you don’t care about would be better. A plastic notebook is different than a model.
About the machine gun, I painted it black and dry brushed with gun metal to give it a little sheen. Do you think it needs the matte varnish too or should I leave it be?
I like for the whole model to have the same finish and would lightly varnish/flat coat the machine gun. It’s really personal preference.
That my two cents worth. Best of luck with project.
1 Like
Thank you.
I’ll try on the underside, and maybe on some piece of plastic. Unfortunately this is my very first model so I got zero spare parts to try it.
Will try to get this rubber brush…as alternative, will a make-up brush or sponge be ok too?
Also, I see that on Amazon they have many silicon brushes, are they the same as rubber?
Want to try out techniques at low cost? Next trip to the store, buy a cheapo garbage kit and build it. Now you have a testing mule.
Also, many items can be found in a beauty supply store at lower cost than from a hobby-specific source. I get numerous files, sanding pads, contouring tools for working with putty, and other items. Cosmetologists are modelers in a way, as they have to build and sculpt nails using acrylics and resins, so some supplies overlap. They use silicon/rubber brushes for makeup and nails as well. Same thing as what Mig and such sell.
I bought my sprue cutters in the jewelry-making section of a craft store, as well as most of my wire and diorama base materials. Sometimes you can find diorama stuff at a pet store that sells aquarium fish and supplies.
tl;dr You can stretch your money by finding the same materials at a lower price because they aren’t marketed as a niche item. Leaves more money for models and more specialized tools.
1 Like
Very good ideas thanks.
I really wish I had some of my old plastic toy tanks, I had dozens of them along my toy soldiers. They could have been interesting testing subjects.
I just varnished a plastic green flower pot, it will make for an interesting subject in the following weeks, will keep you posted!!
Do you guys think it would be worth to get these brushes for the pigments?
They’re silicon-made:
apparently they are used for clay modeling.
I might also use my sister’s make up brush, it’s tiny and it has short and hard bristles.
I picked up a cheap set of silicone brushes at the local art store so sure.
1 Like