Ok this is just my two cents worth .
For pigment work just get one of those multi pack of synthetic sable brushes that are real inexpensive. They are all shapes and sizes , try to find the one with the fan brush in it . This will give you multiple options on applying the powders. The powder can be cleaned from the brushes with water .
The first thing to remember is less is more . Second ,work in layers . Third, excess pigment can be pushed around the model with water and the excess can then be lifted with a cotton bud . Also the cotton buds are also good for application .
Once you get the hang of working with them dry then add working with them in various stages of wet and finally airbrushing the powders for that dusted look
Also if you need some step by step on a model with powders feel free to ask . I do ok with them and can show you a couple tricks.
Thanks Chris, I really could use a step by step guide. I will start working on the varnished pot Sunday morning, as I am way too tired from work during the week.
Right now my plan was:
-scoop very little dry pigment with the brush
-gently spread it making up and down motions scrubbing it on the vertical panels. The idea is to start from the panel sides and slowly making to the middle doing up-and-down so it will appear dustier near the panel sides.
I think the darker burnt umber pigment would blend well with the dark brown tracks.
That’s all I thought for now.
What do you think?
@Nightgaunt . I started a thread earlier to show my process all the way from primer to finish . it is in the paint and weather forum . So stay tuned and feel free to ask me questions , im more than happy to help.
@Nightgaunt . yes small amounts on nthe brush . stay away from a scrubbing motion . Try a dabbing motion working from the bottom as you stated and gently blend up in a stippling motion . once that is done use a dry cotton bud to pull down through the pigment to help blend it and use a couple different complimentary colors to add tone variation
Something from left field that folks may try. I have used makeup for years with my trains. Now I’m into 1/35 scale I still use it. Plenty of dry dusty colours. It ‘sticks’ way better than chalks. Will tolerate a moderate amount of handling. Used carefully you can build up many layers. Paint your tyers black and then give them a layer of makeup. You should get a nice weather rubber look.
bruce
What’s a “stippling motion”, I am not an English speaker and I couldn’t find a satisfactory definition on the dictionary.
The rest is clear, even if I wonder why scrubbing with the brush would be bad.
Stippling is using to tip or the side of the brush is a stabbing motion instead of brushing
Is that the same as dabbing?
No, stippling and dabbing are different techniques in my opinion.
-
Stippling – The ‘stippling’ method of paint application involves creating numerous tiny dots on the surface to create imagery usually by stabbing point of paint brush or side of brush… You can use this method to show texture, create slight color variations.
-
Dabbing – The ‘dabbing’ technique is just as it sounds: you dab paint onto the surface using the corner of a sponge or a piece of paper towel. Dabbing adds texture and movement to a piece.
Dabbing in my opinion will typically be a heavier application of paint which we typically don’t want in model weathering.
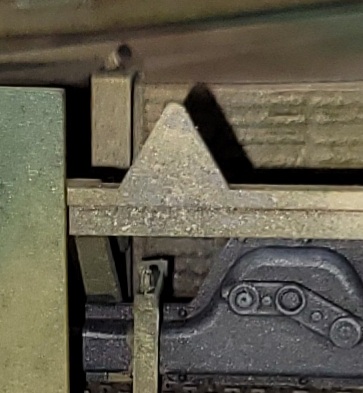
Side skirt rail and teeth were done by stippling gray to show exposed metal in spots to represent chipping in paint when side skirt came off. One of my attempt at stippling using a small 0/3 brush with just a little paint on it and stabbed & scrapped into surface.

Basically you’re saying that I need to grab pigment with the brush, then “stab” with the point while moving up the panel, then brushing down with a cotton bud?
Bear with me, english is my third language!
Yes it is.
Yes  Asking questions is a big part of learning, discovering and discussing definitely feel free to ask. Someone will have an answer or thought:)
No worries, English is my only language and sometimes I struggle with it myself
Oh man, this is great wealth of information here as well. 112 pages…I going to have a brake this down into several evenings to read the whole thing but it’s book marked and following along. Keep up the good work sir.
Mike
Thanks everybody, precious suggestions.
I will keep you posted when I will “decorate” the flower pot as pigment trial this Sunday!
Guys, @Chris_Bryan
Some thoughts for the approaching weekend:
My idea is to use the pigments very lightly on the side panels and the decals which feel really too clean.
Also, I intend to use the black pigment to darken the exhausts and the sides of the fuel tanks that take the exhaust fumes full on.
But what about the top of the vehicle? I feel the pinwash really enhanced and weathered the top with so many darkened details around bolts and stuff but I also fear that there will be a stark difference between the top and the “pigmented” sides. What would you do? Give a lighter “pigmenting” on the top too?
Very little pigment on the top. Remember continuity is the magic word . Think about how dirt and such would settle on the vehicle and then take into high traffic areas from the crew moving around on the vehicle.
For the exhaust I would use paynes grey oils as a heavy wash followed by a light application of the primary pigment color.
I can do an exhaust wash the with the Vallejo grey pin wash fluid, I applied it a little and looked good.
@Armor_Buff, @Chris_Bryan, here are some attempts made:
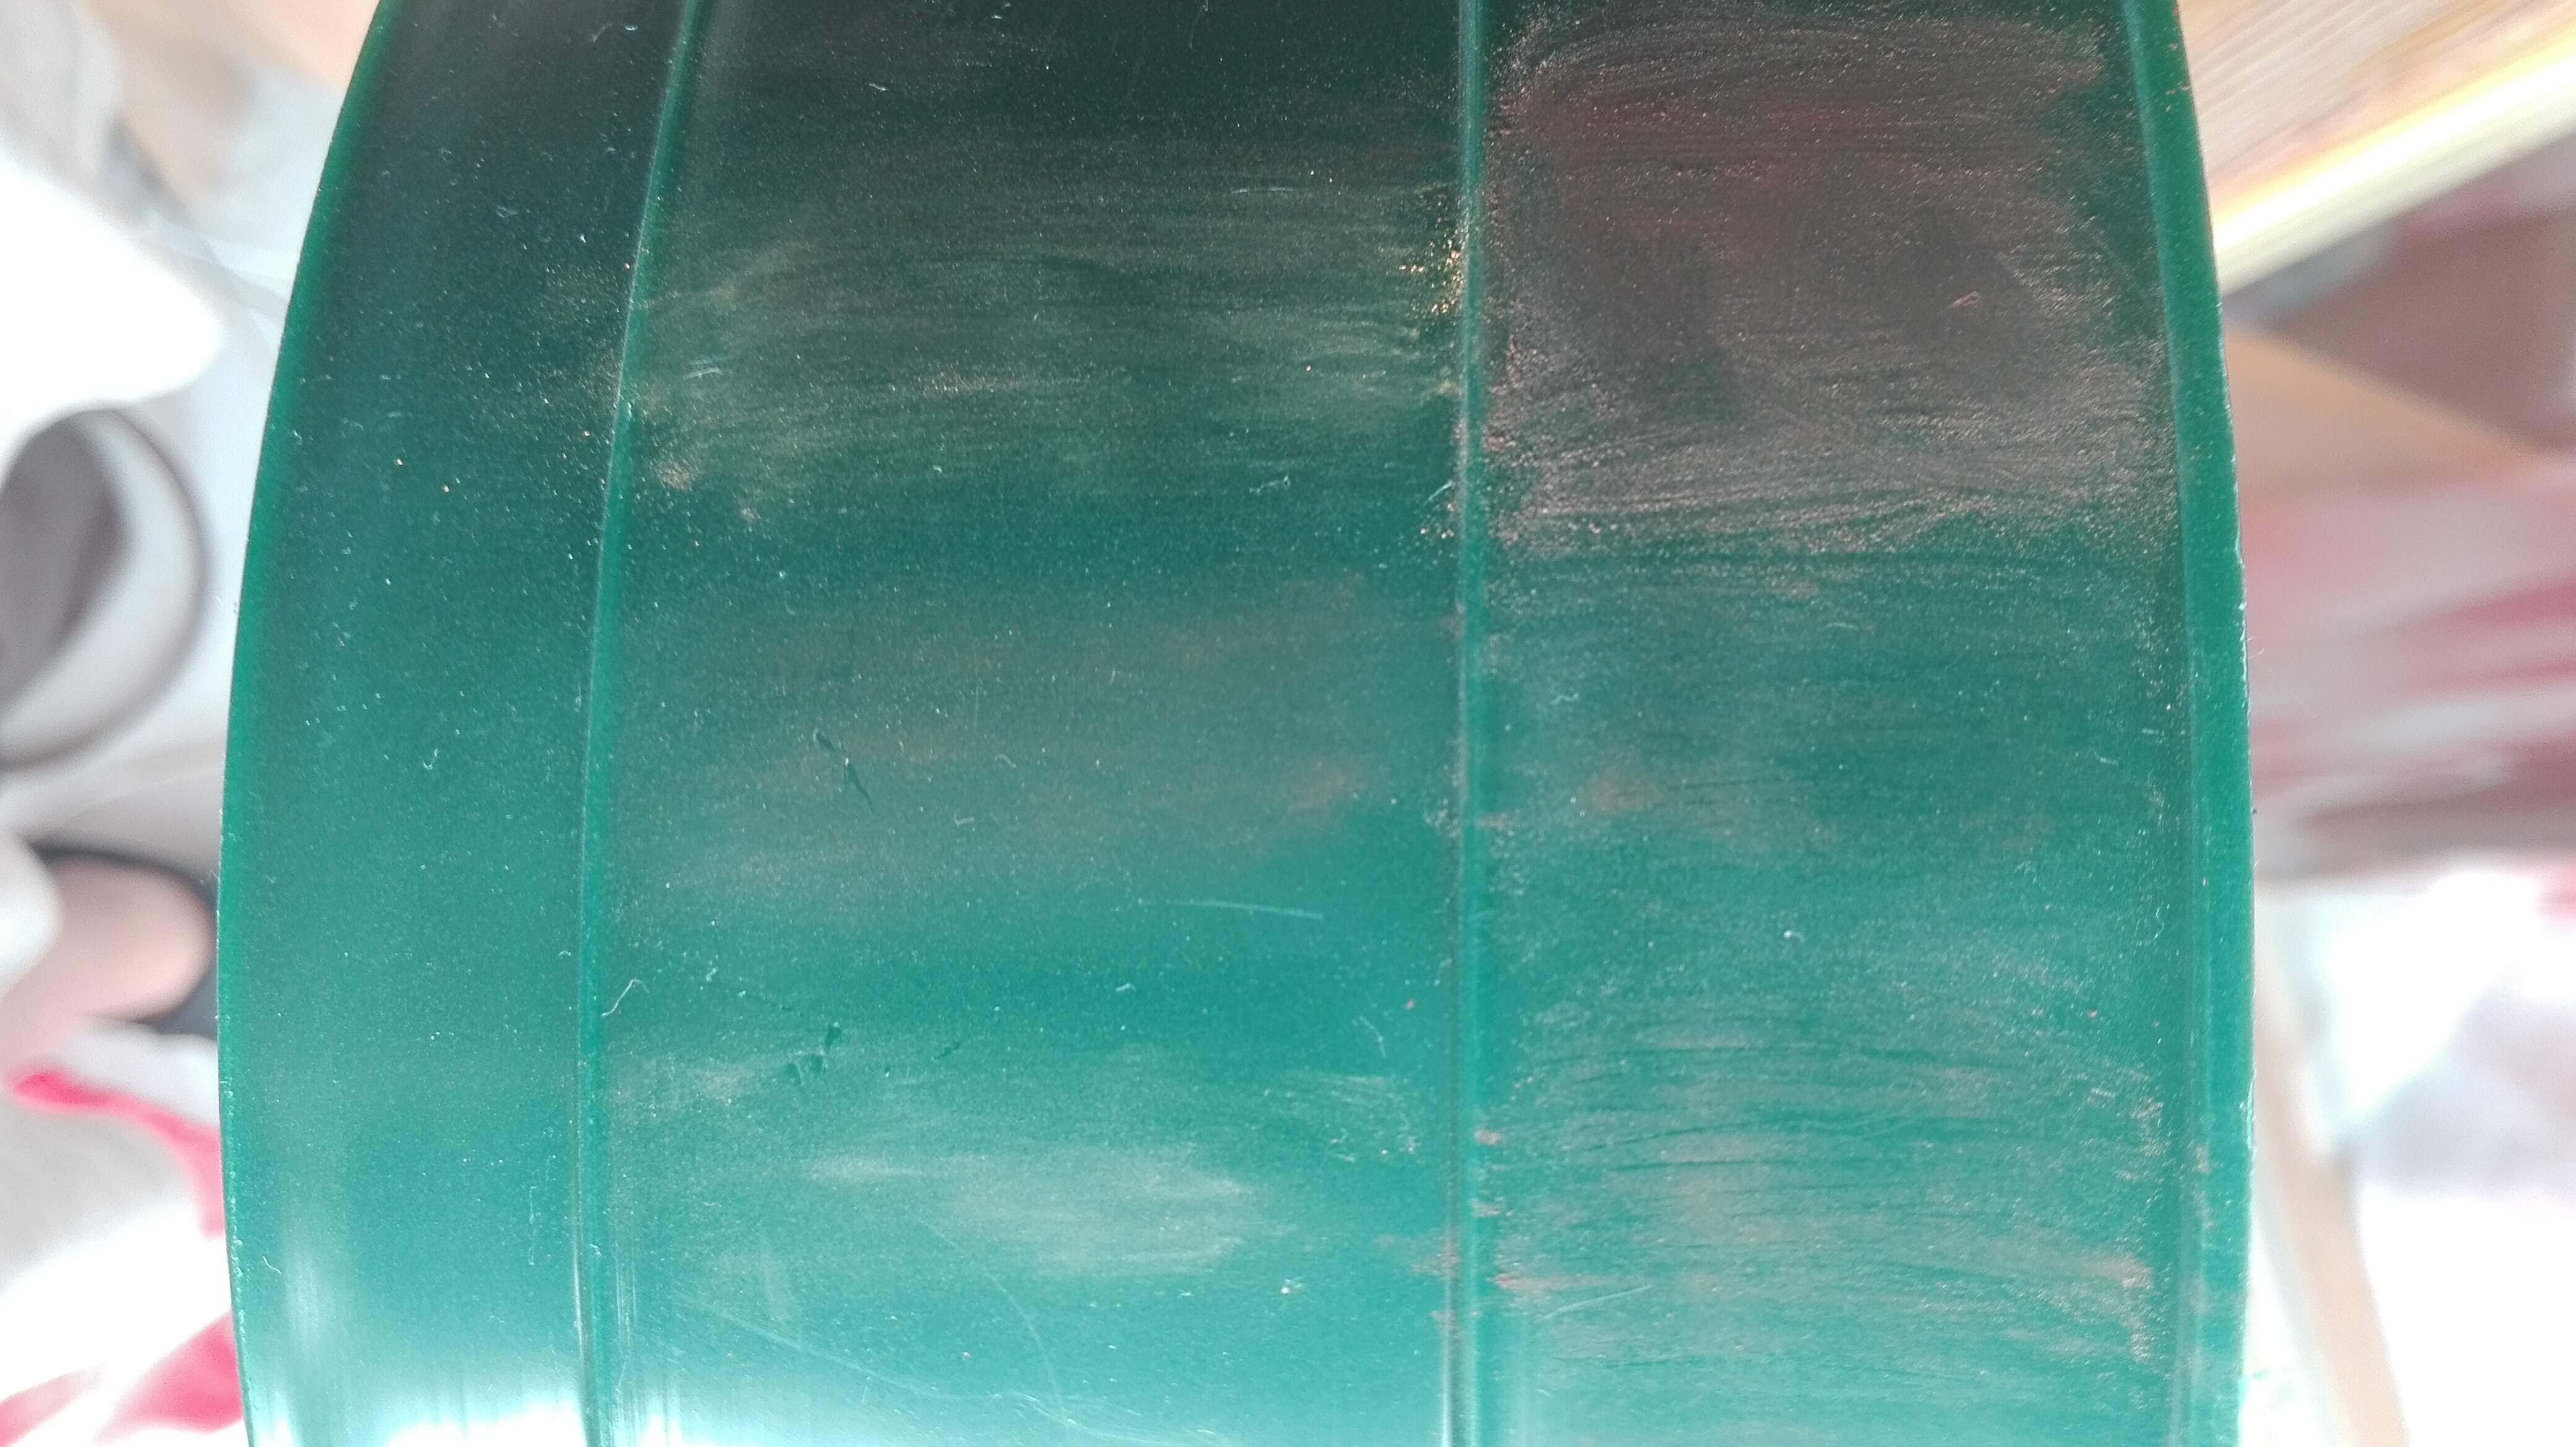
I see that these pigments have huge covering power, that first part was really excessive. Middle could be good, what do you think?
@Nightgaunt . yes that cover allot.
The things I see is
- After dipping brush in pigments tap it on the container to release extra pigment.
- Dab or use a stippling motion.
Dont use a back and forth. - Work the pigment from thw edges to less at the center.
What Chris said.
Bottom edges and work to center, randomly. I’d rather apply lightly and gradually build up versus a heavier single application.