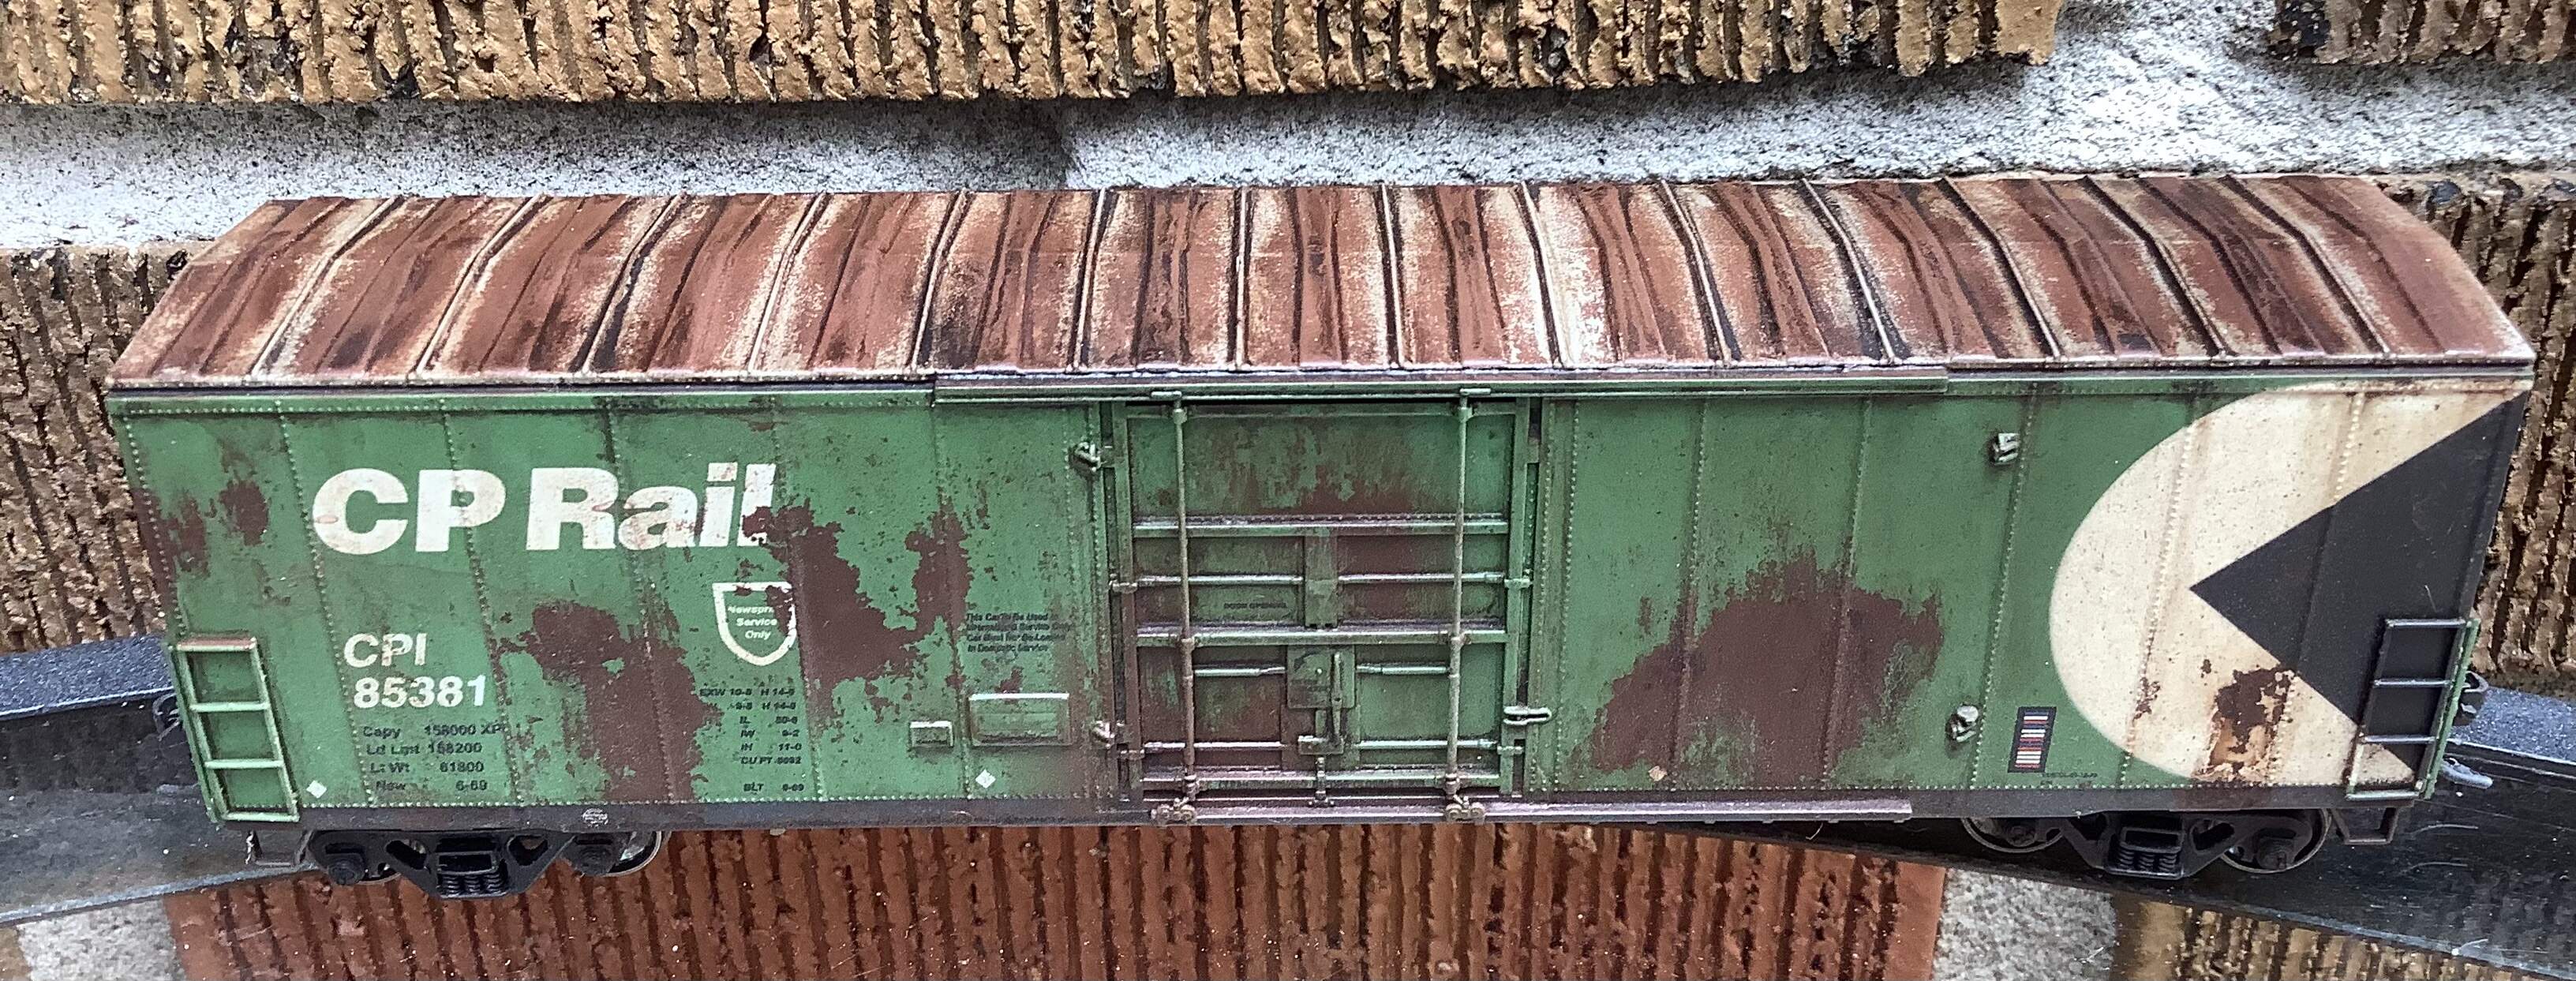
Some W+N Van Dyck Brown and Burnt Umber oil Turpenoid thinned wash on roof
4 Likes
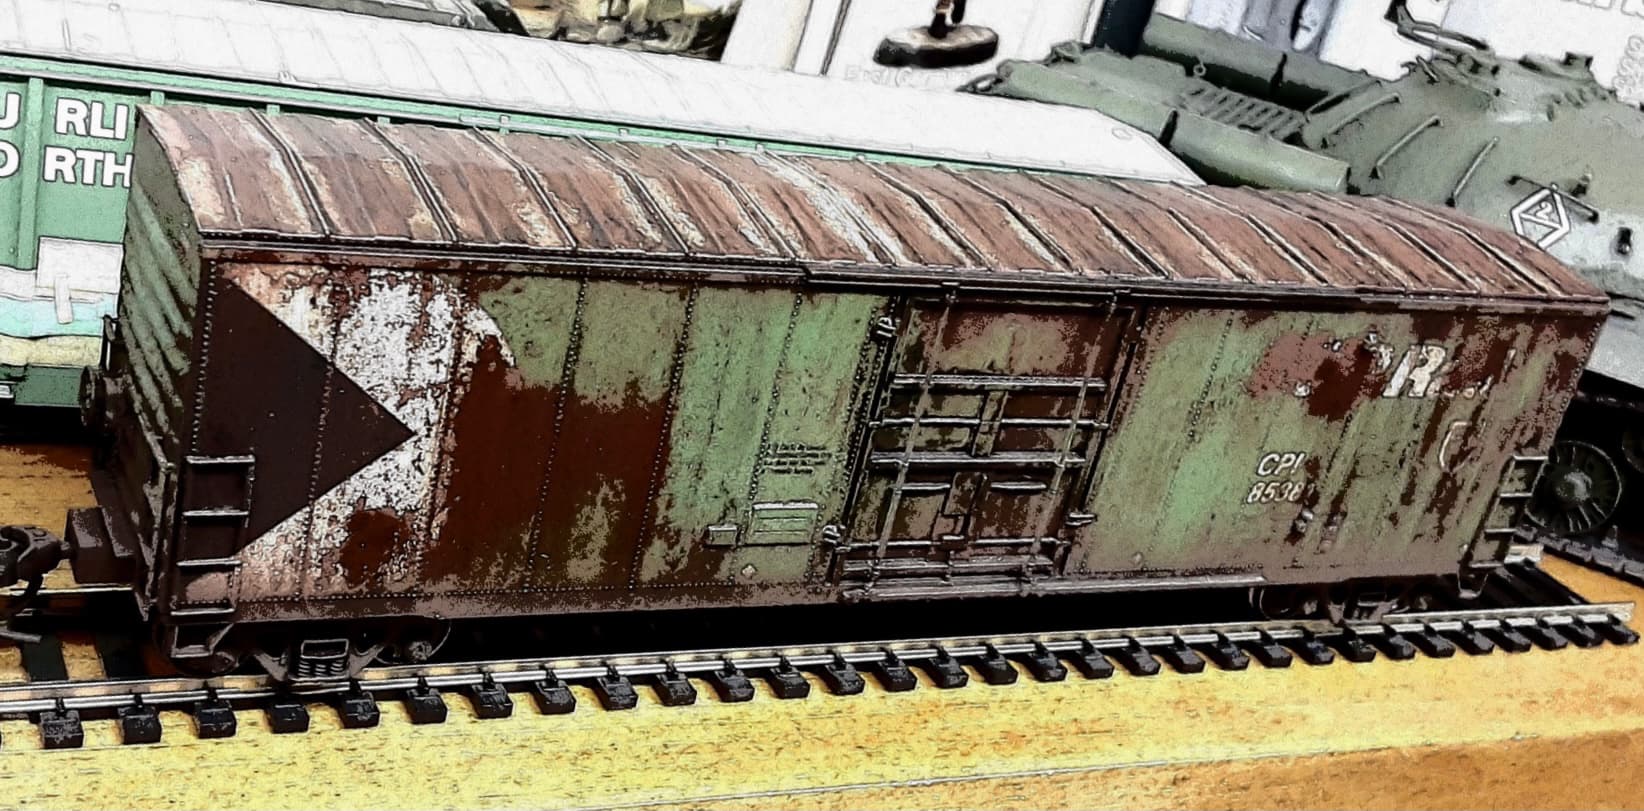
An effect I found interesting was the cartoon feature on my cell…
It accentuates the various tones in the weathering…
3 Likes
You are doing some fantastic weathering that is very realistic. I was wondering though if you could explain your Tamiya grime mix a bit; colors, thinning ratio, etc. as I would like to try that on a couple of cars I have.
Thank you.
1 Like
Hi Ernie,
Thanks for the kind words…
The Tamiya grime mix started out as
NATO BROWN 50%
NATO BLACK 40%
FLAT RED 10%
Thinned with XF-20A
But as time has gone on the mix has been modified with Tamiya LINOLEUM, HULL RED, BROWN, BLACK etc as I clean my airbrush.
I use an empty Tamiya XF-20A container to store the mix.
I use a Iwata Revolution airbrush around 15 PSI
4 Likes
Thank you very much for explaining the grime mixture as well as your other weathering techniques, i will definitely be trying them out on some future projects.
No prob, I am also getting more experience using hairspray…
I started using this on armour kits…spraying directly out of the bottle…
Now I am pouring the hairspray into to the airbrush cup and spraying it from there…it goes on 100% better…clean airbrush with water…
On the model, I find it erodes more consistently…
3 Likes
Yes, that is a cool effect. I have used hairspray on armor as well, but never to the extent or to remove such large areas of paint as on these railcars. It will be fun to try out for sure!
Fantastic work! Love it.
Might want to add some color variations to that scrap metal car load.
The scrap pile will get more paint in due course…![]()
Still painting talus here and there around the layout…
Added a mini Matterhorn to the rear right layout corner…
Next order of business is the concrete factory yard…
Been building a Trumpeter BRDM-2 which is competing for attention…
2 Likes
Good looking technique
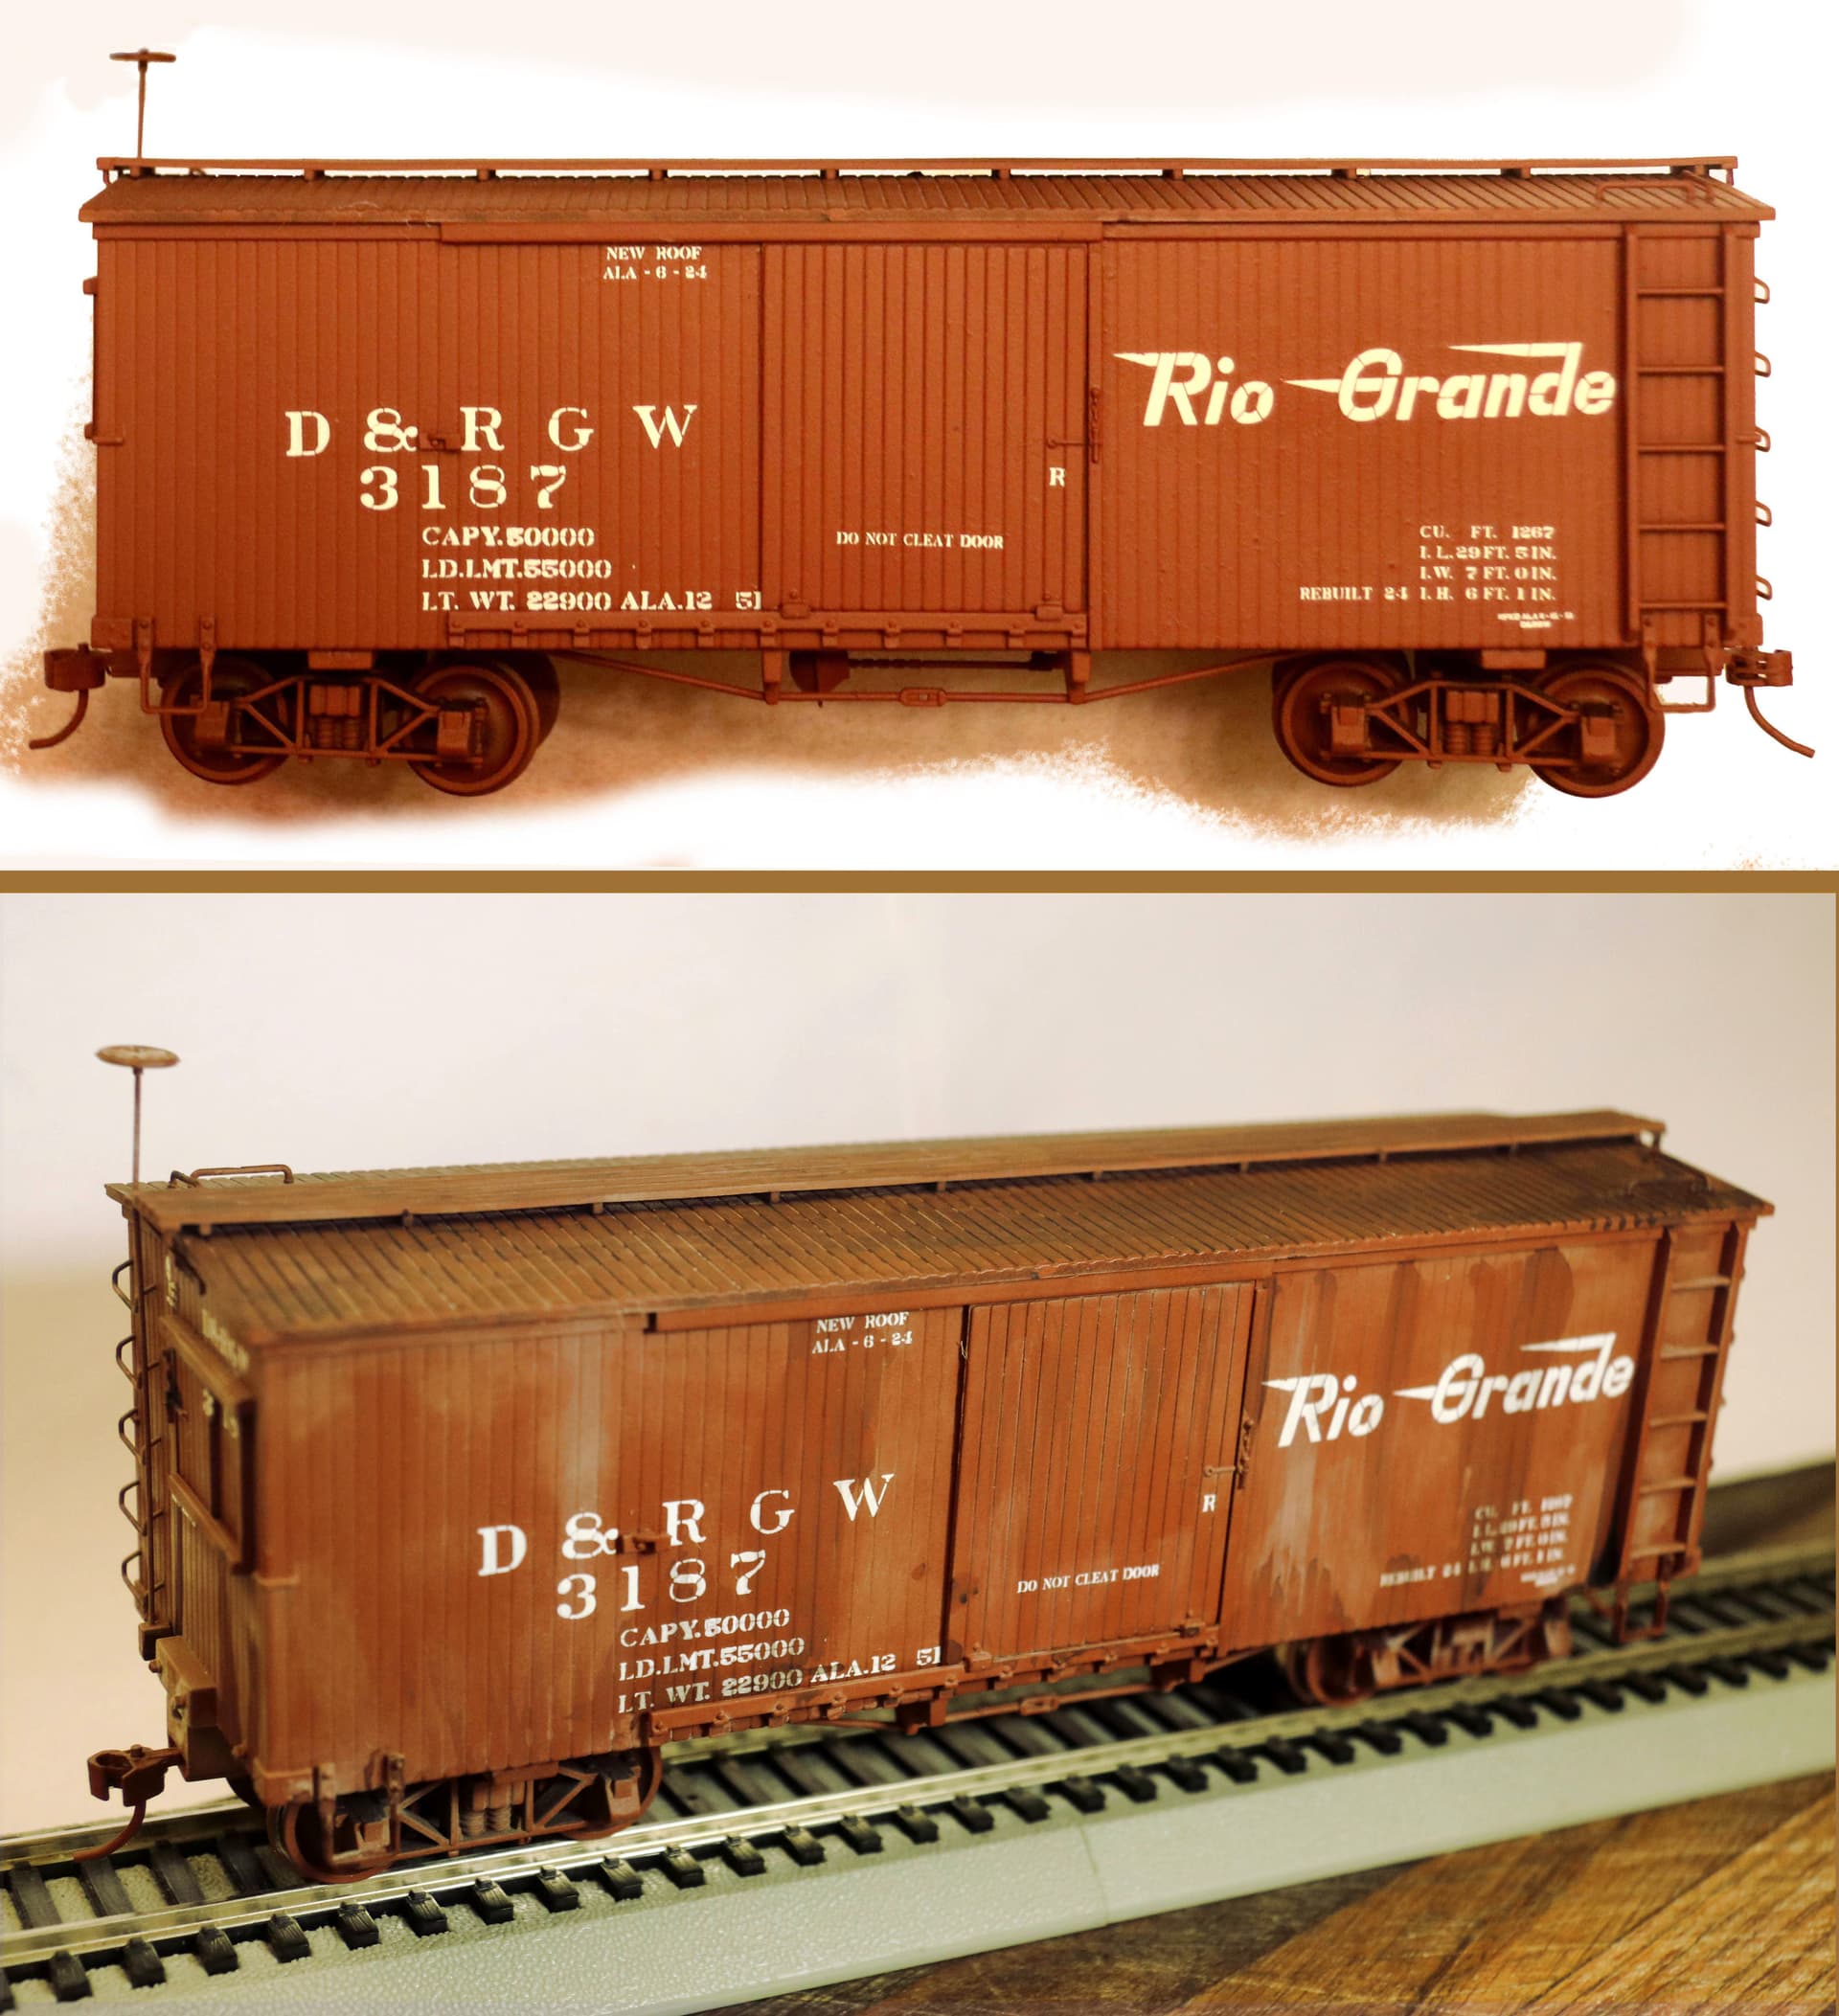
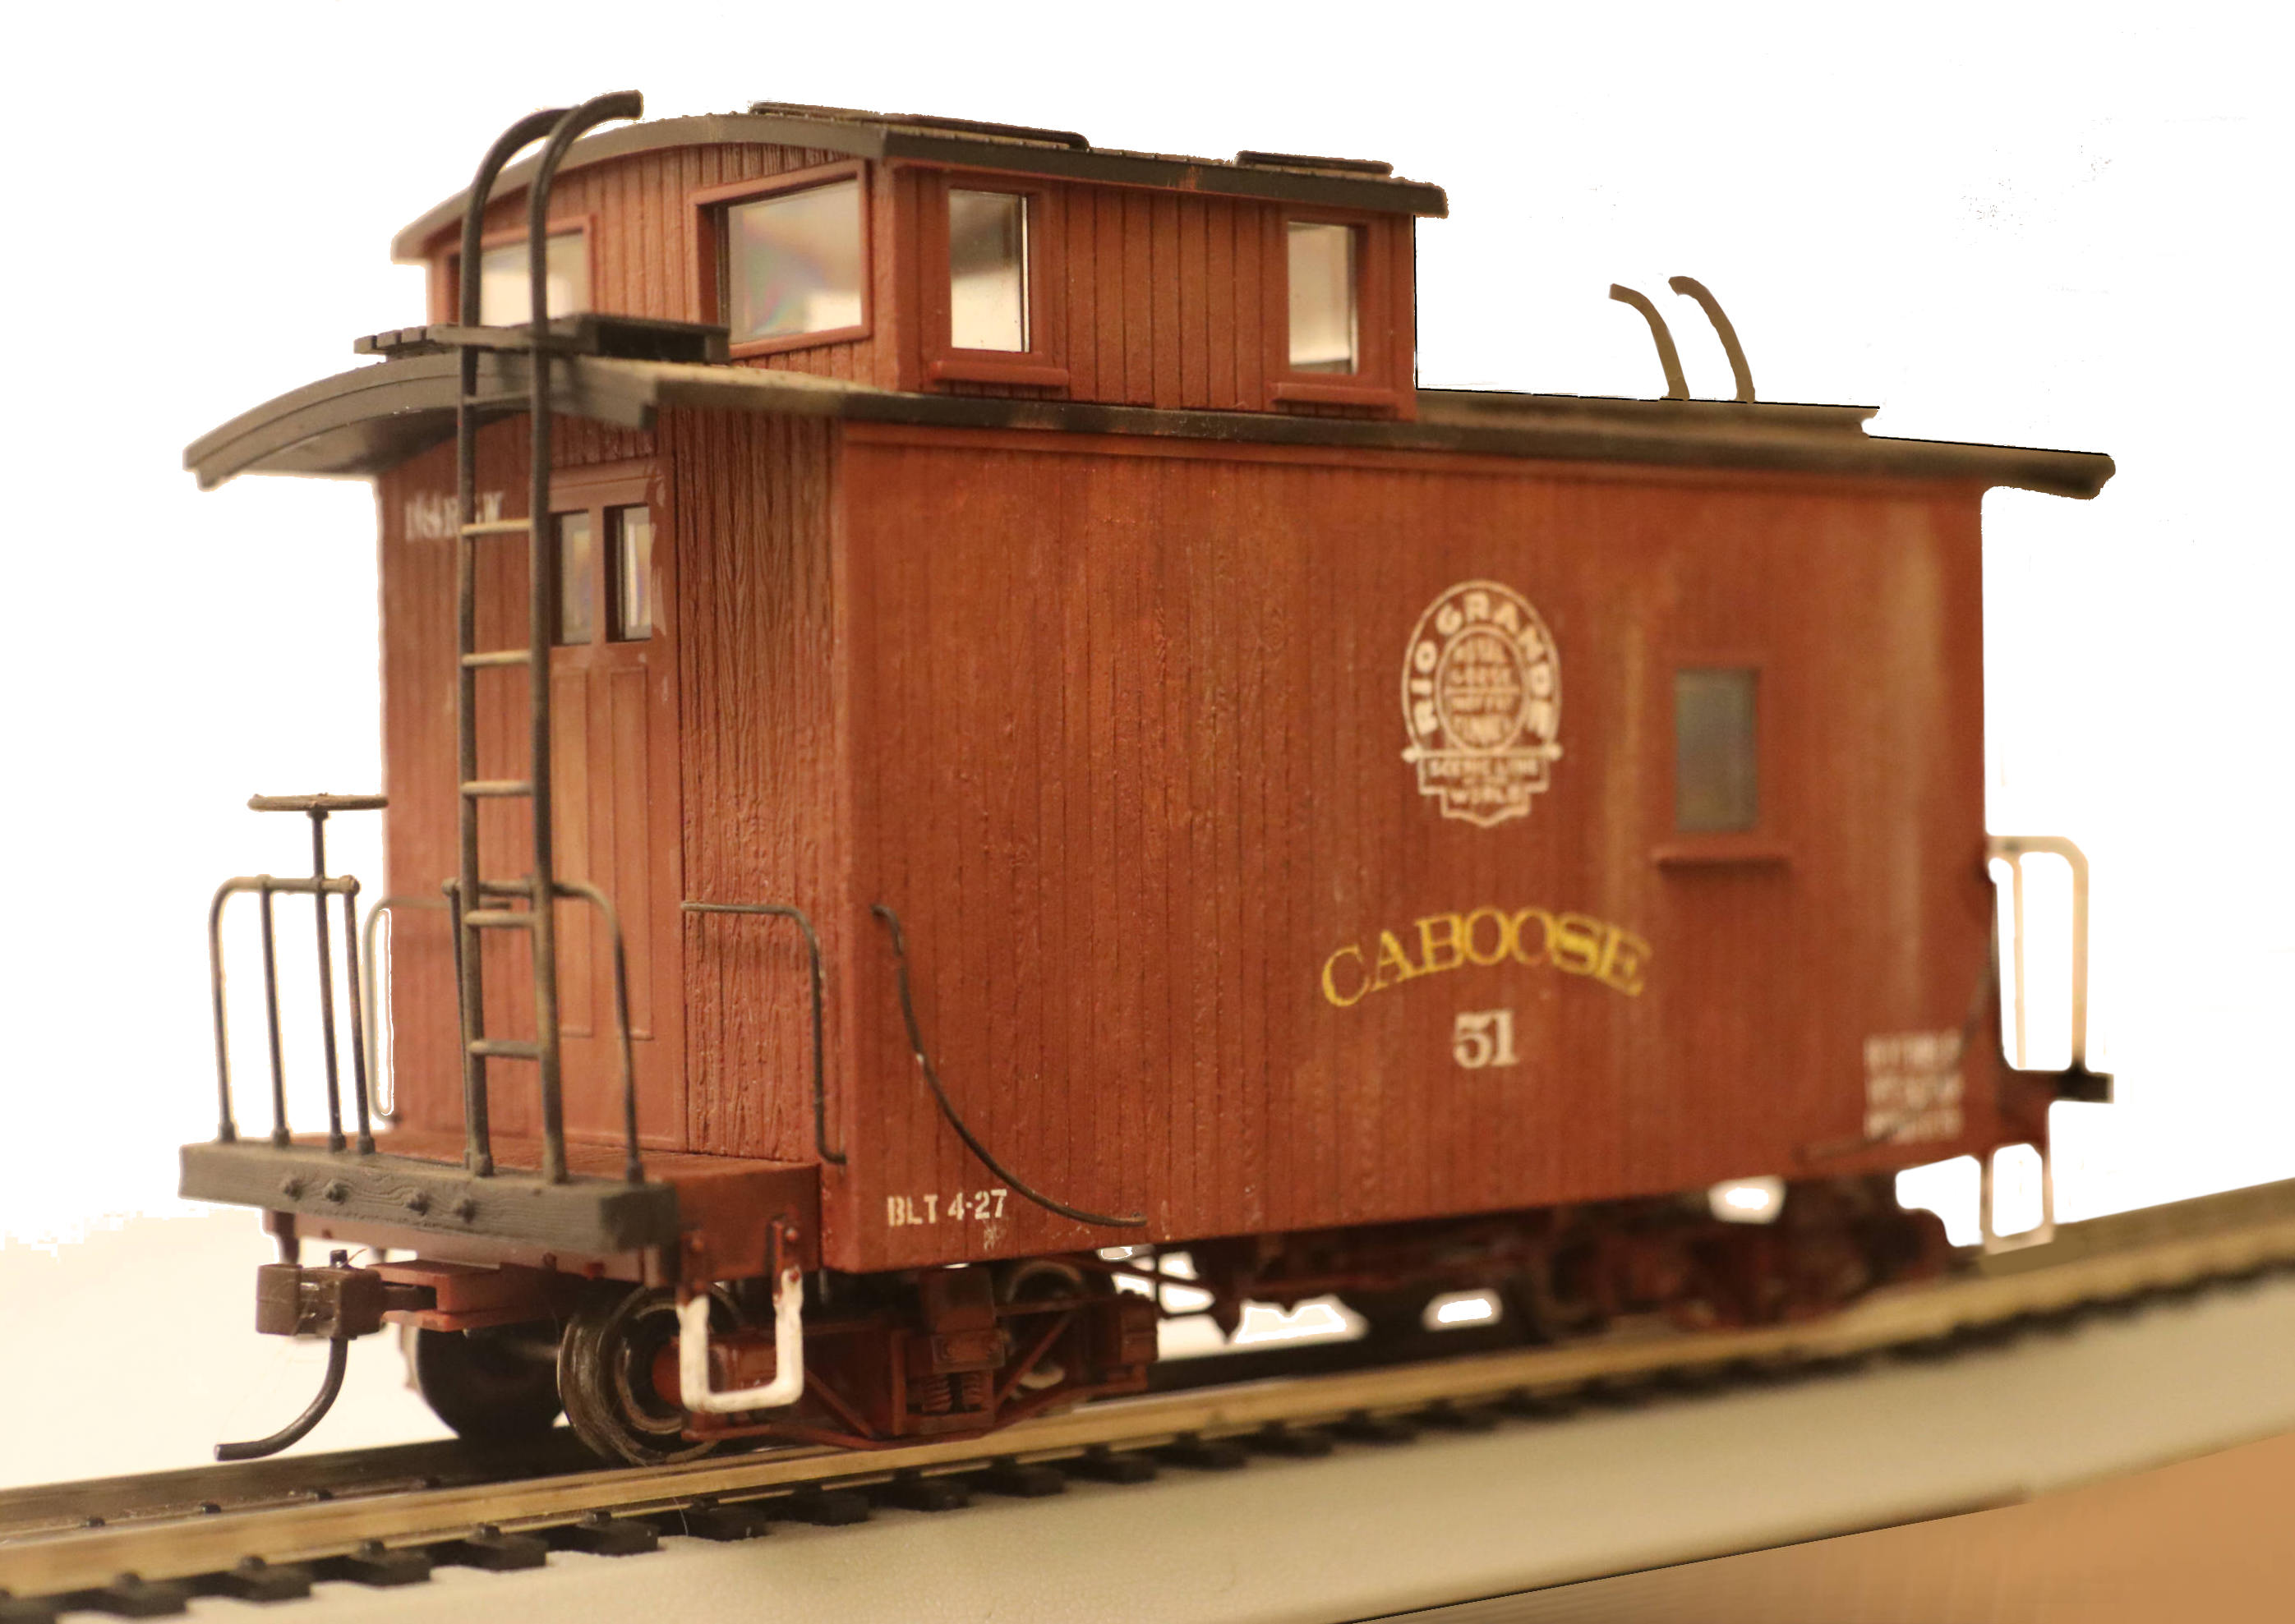
Dave; not really on par with the beautifully realistic distressing and weathering you are doing here but I hope this will be welcome here none the less;
On30 Bachman boxcar and Caboose, with a base coat of Tamiya Red Oxide Primer, Decals from San Juan Decals, weathering is soft pastel pigments.
1 Like
Really nice work…excellent decal application
That Tamiya Red Oxide Primer flies off the shelf at my LHS…
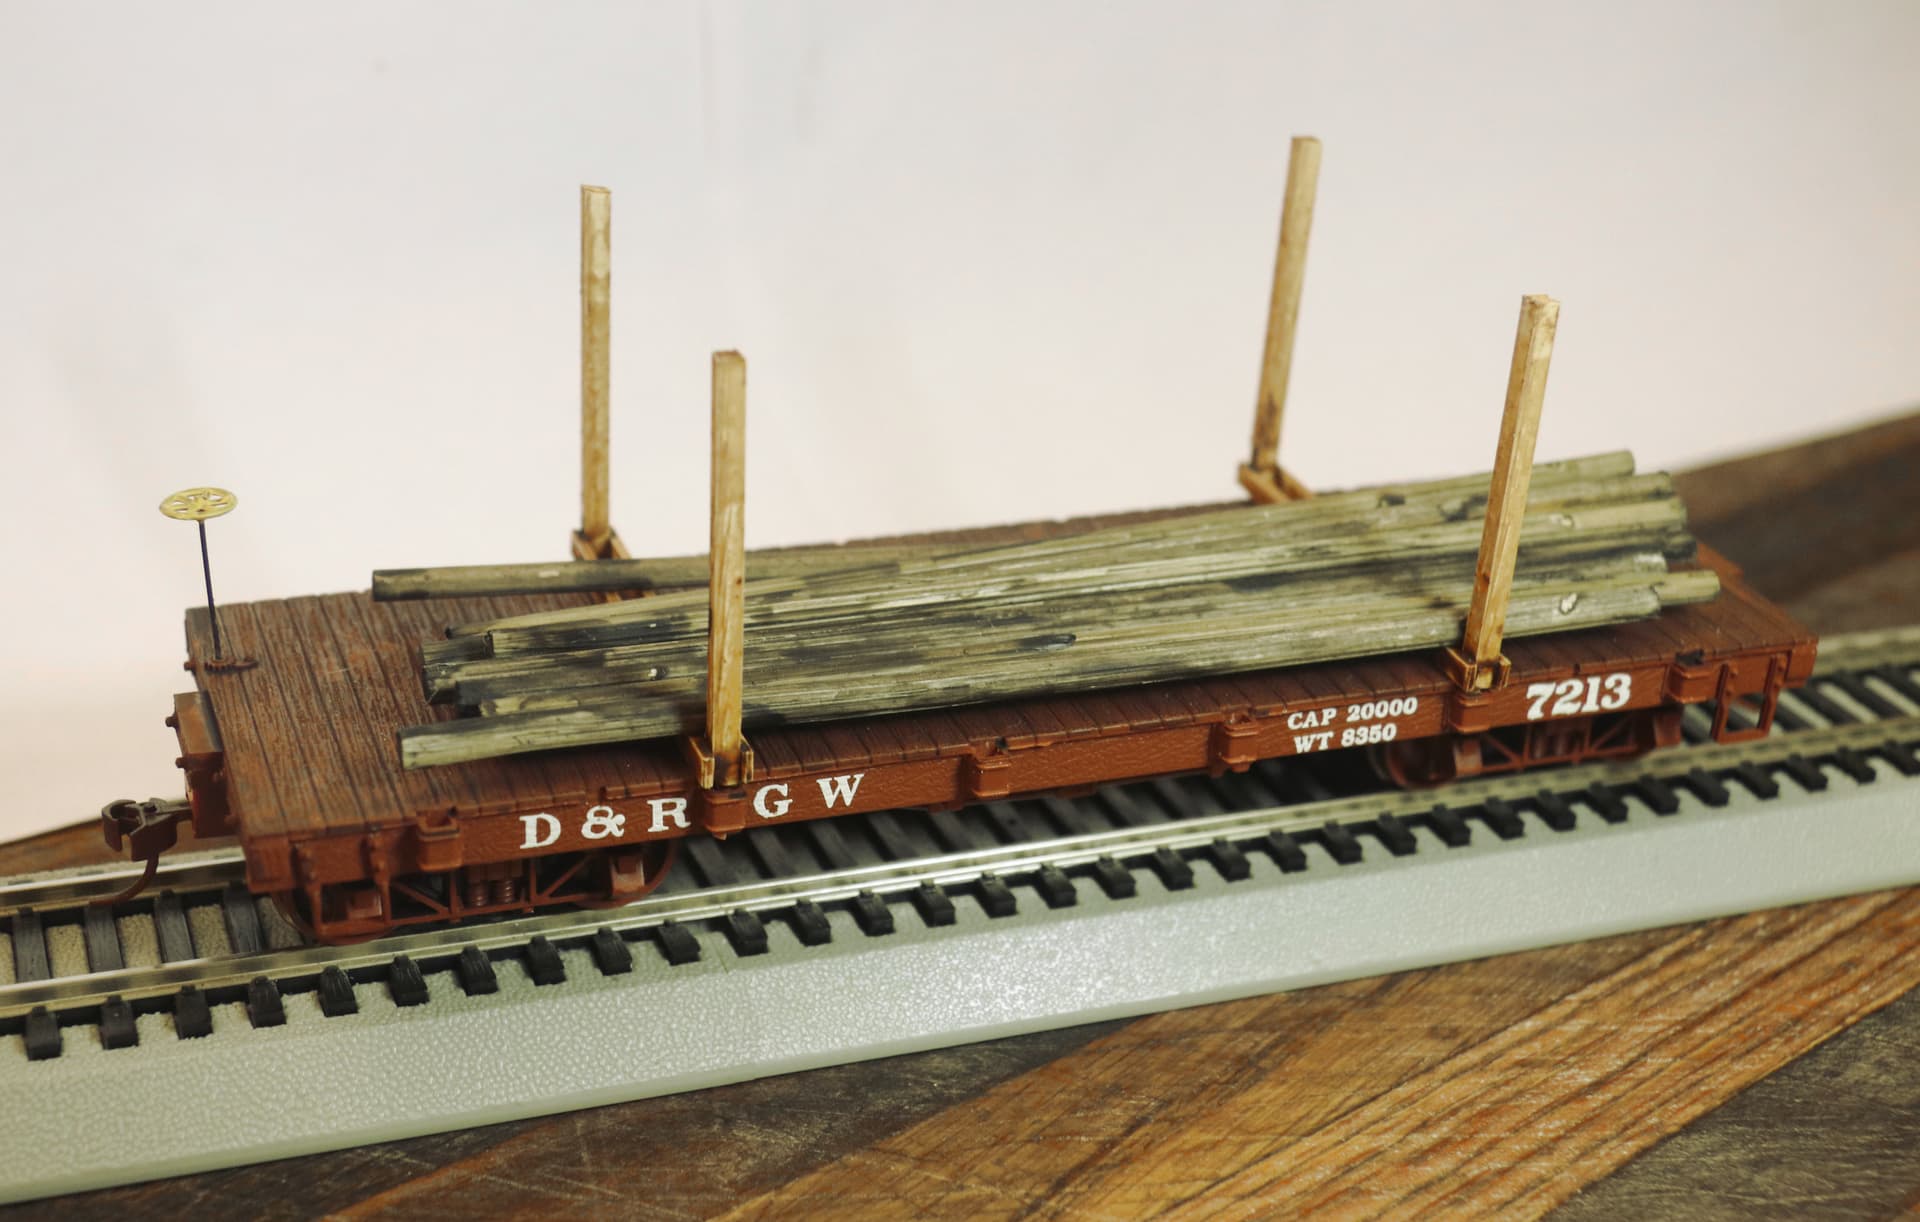
Soon I will start weathering cars again. It’s been a few months so I will start with some easy stuff …centrebeam flat car is the plan
1 Like
I now realize the lettering on my boxcars is too perfect! I need to distress it as well, perhaps with a little sponge application of more red oxide paint and then more pigments to make it look chipped. Then after that do your downward fade/wash treatment to show the paint as washing down the side of the car as it ages!


You certainly have the knack for realistic modern RR car weathering and distressing. (From the 1960’s onward) Many Kudos to you!
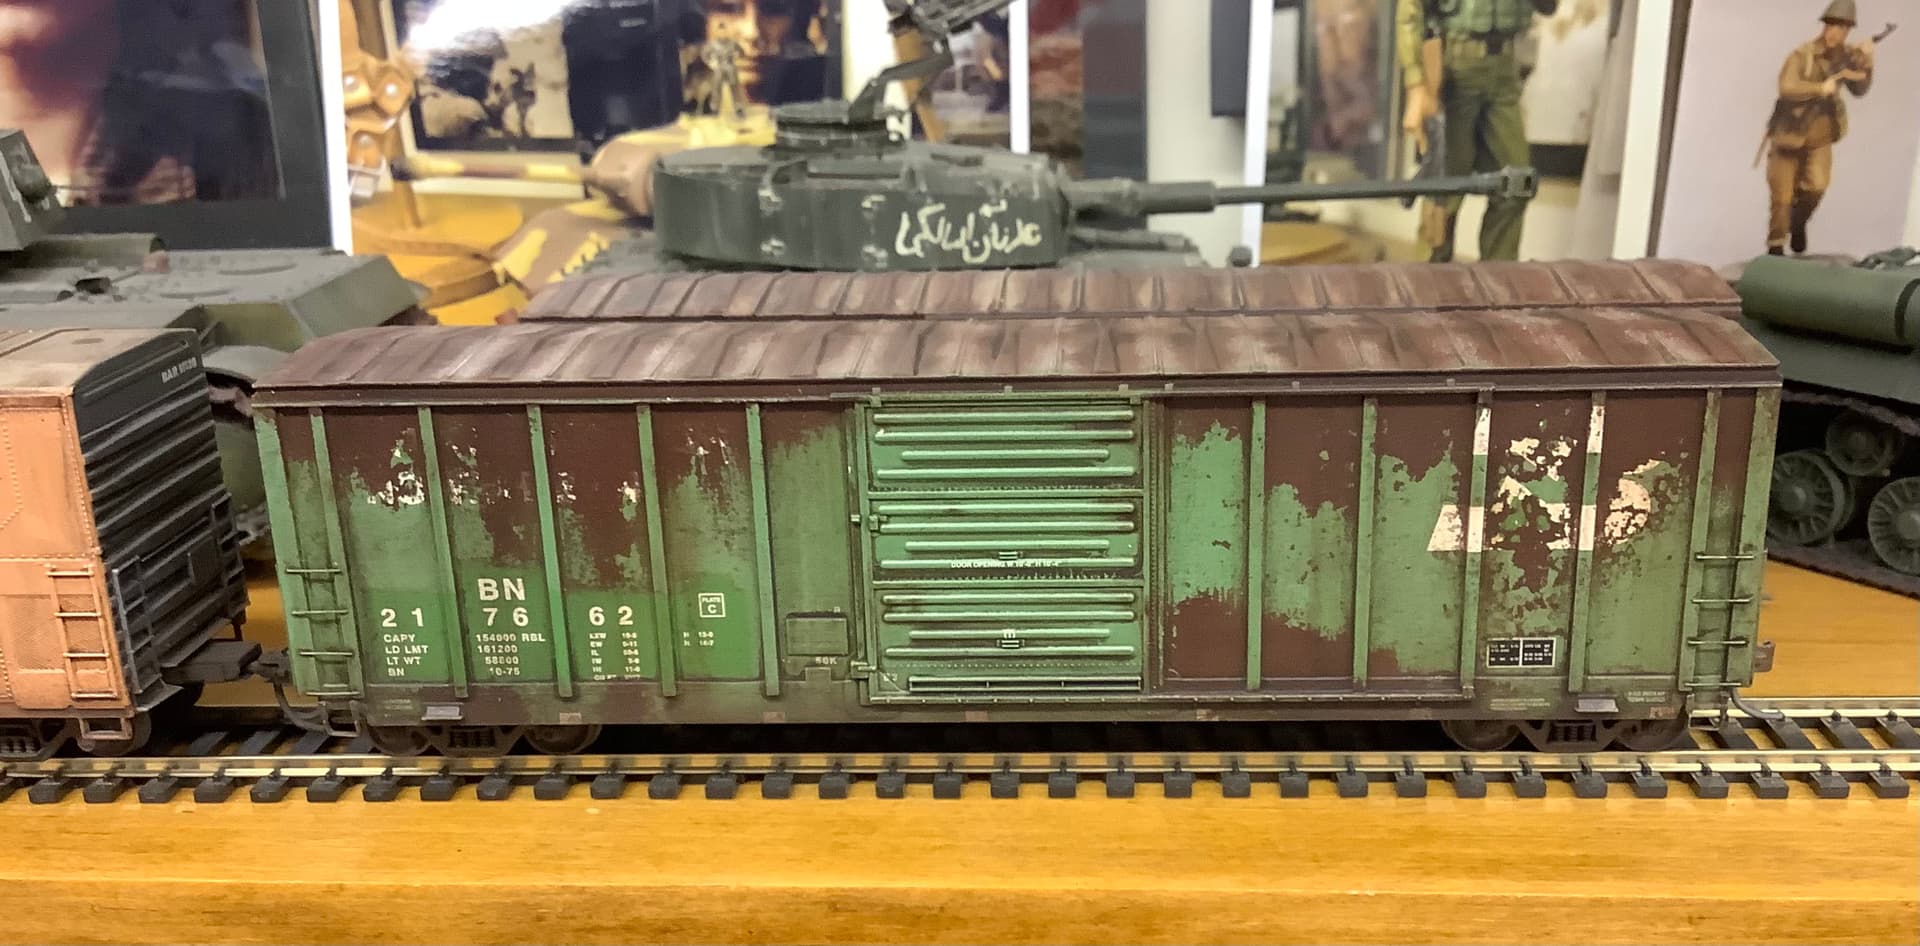
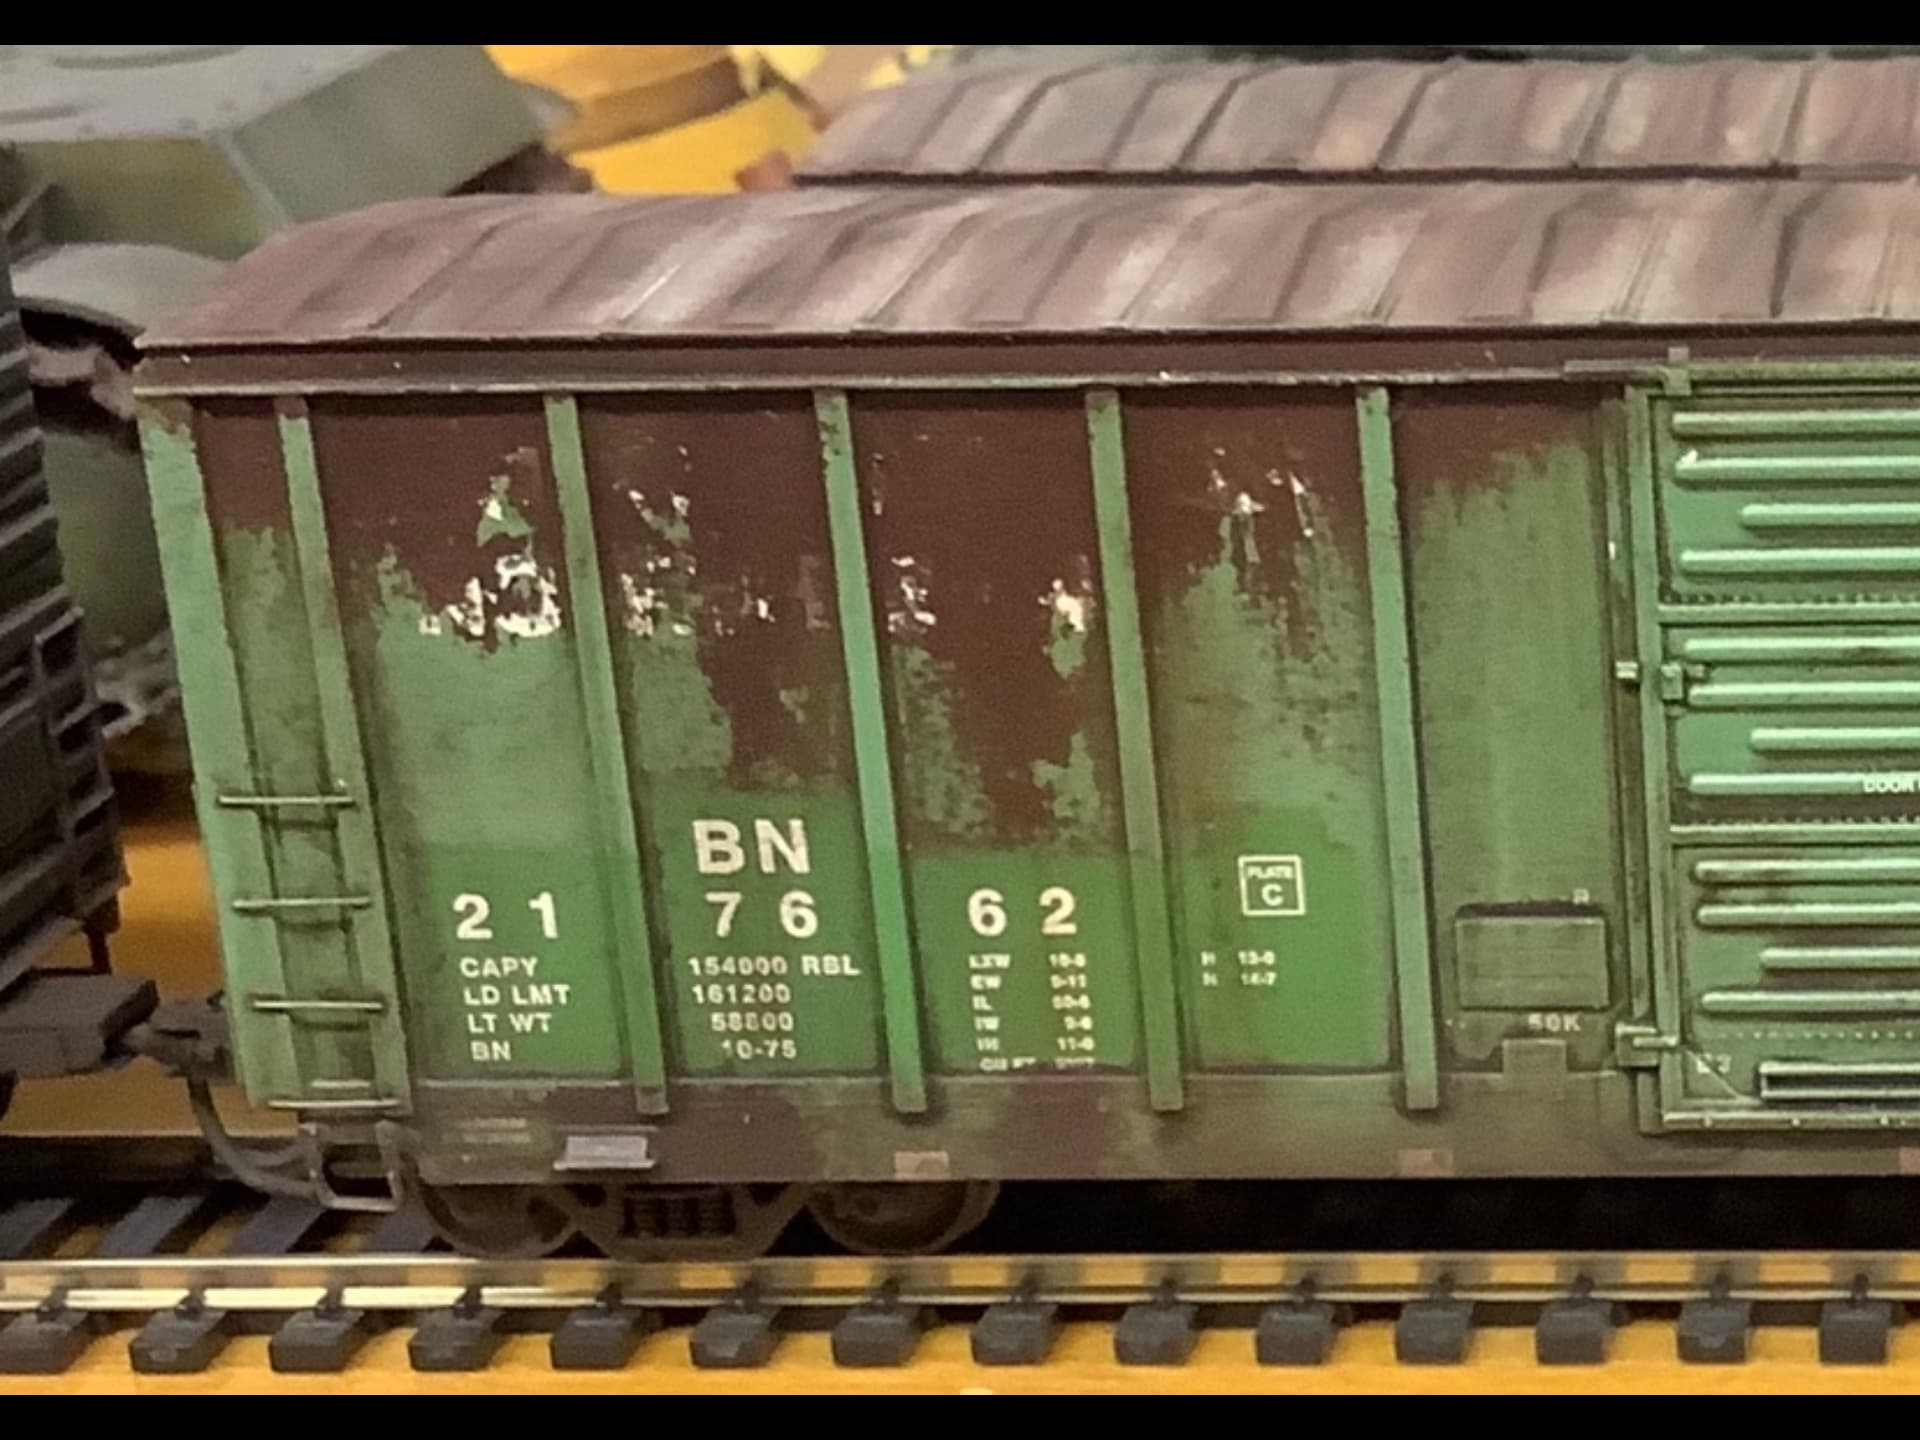
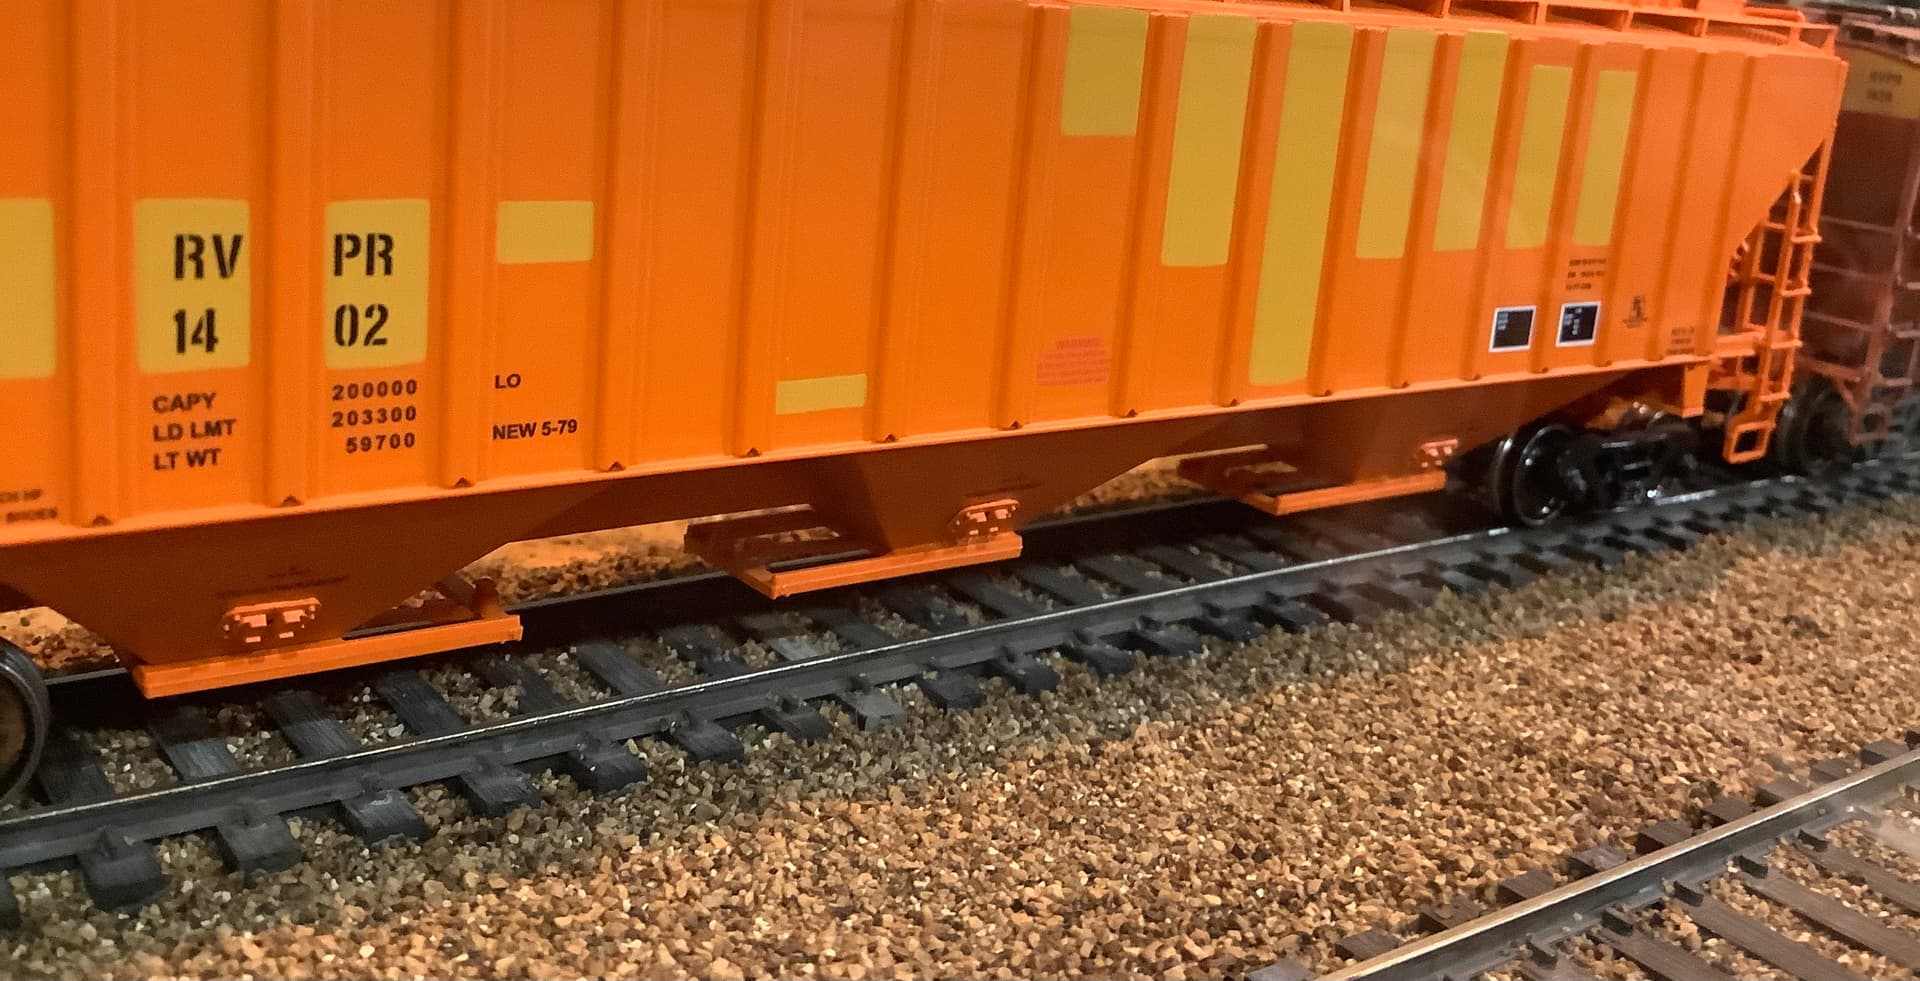
Are the vertical bands of lighter yellow/orange paint meant to represent repairs and repaint or has the car changed ownership so a previous road name and logo may have been covered up?
I am not questioning the realism of your work because I see this sort of thing all the time living near the main North/South artery of the Norfolk Southern here in Lexington, KY. I have just never understood the real purpose of such a partial repaint.
Thanks,
I think the patching/partial repaint is $ saving solution when ownership changes…or graffiti takes over
Usually at the point in the cars life when it would probably benefit from a total repaint…
These cars are Prairie Shadows/Intermountain releases that represent RVPR hoppers that formally belonged to Rio Grande and the DRG&W and Action Road logos have been painted out…
To my mind, the orange car body should have been somewhat less bright out of the box…that would have made sense…
The RVPR cars with these patches I have seen in photos were pretty faded and dirty…I believe since they have been patched again for INTX and other roads.
2 Likes
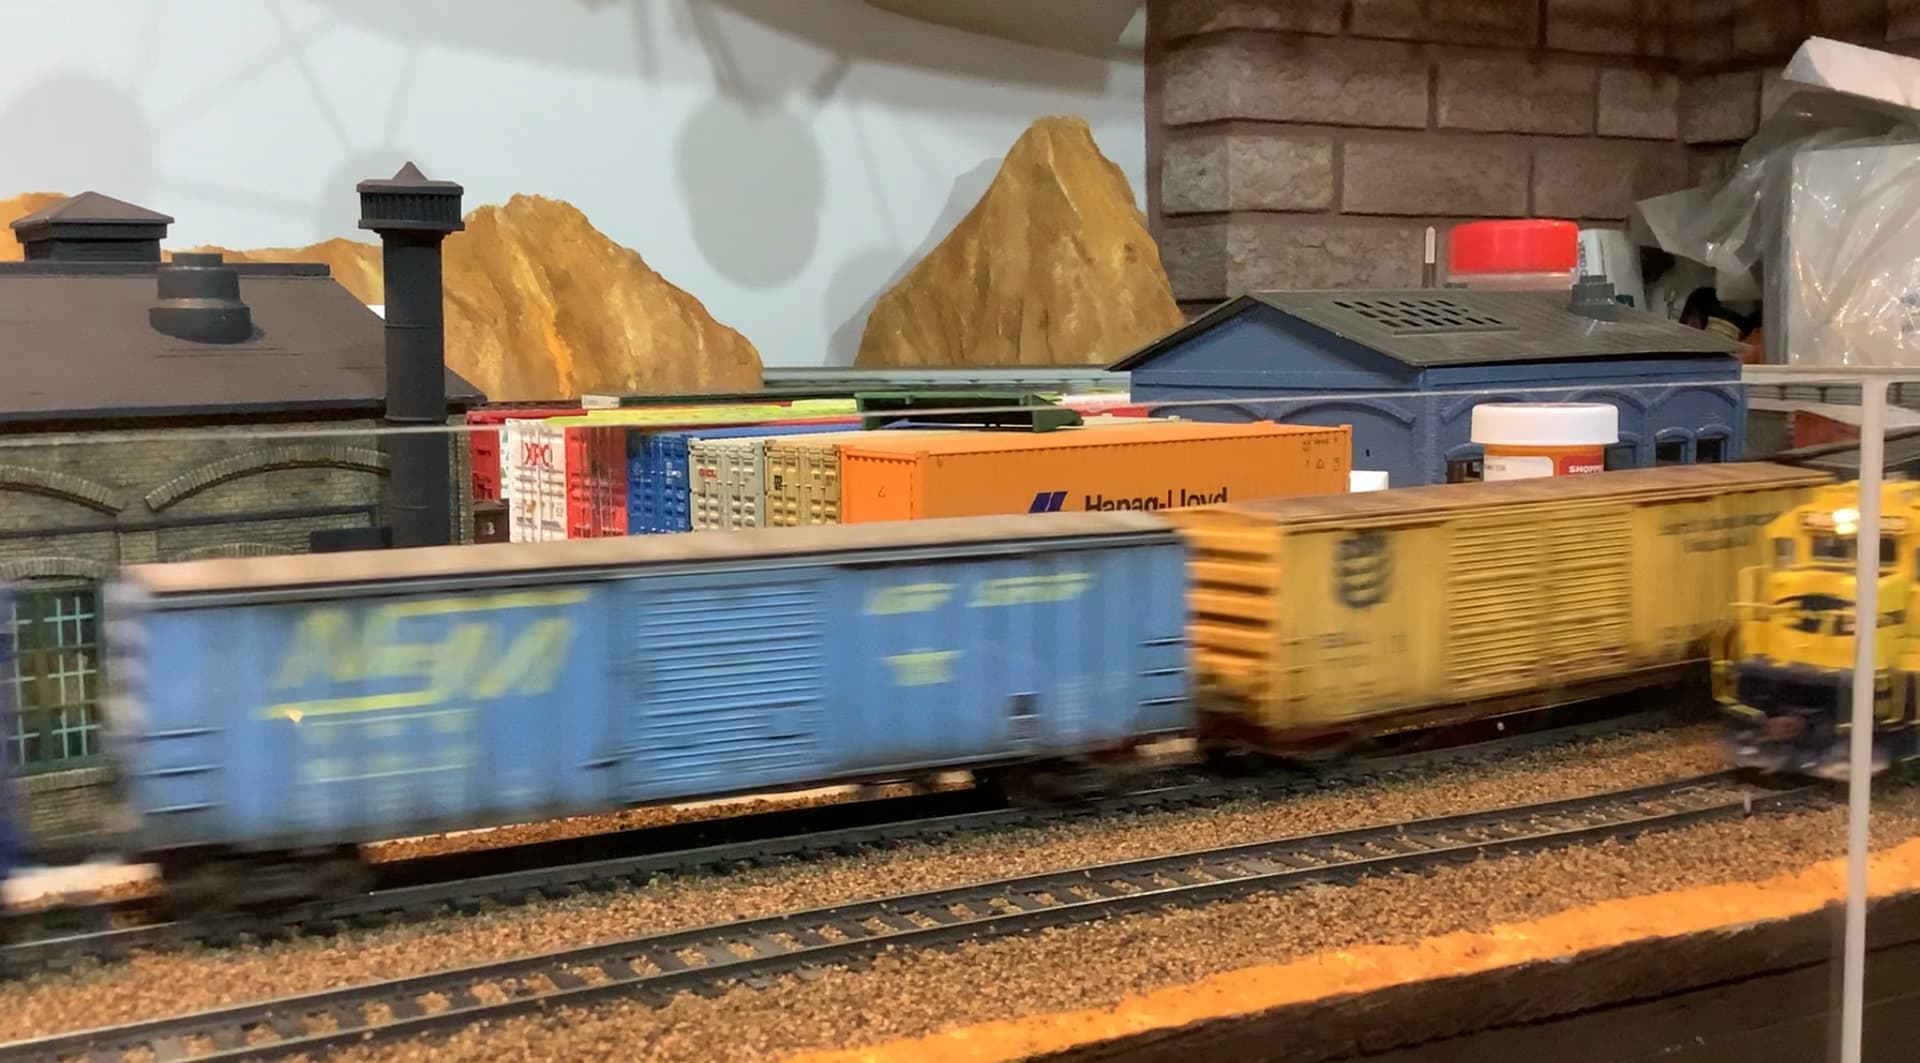
Very realistic paint on that hopper.
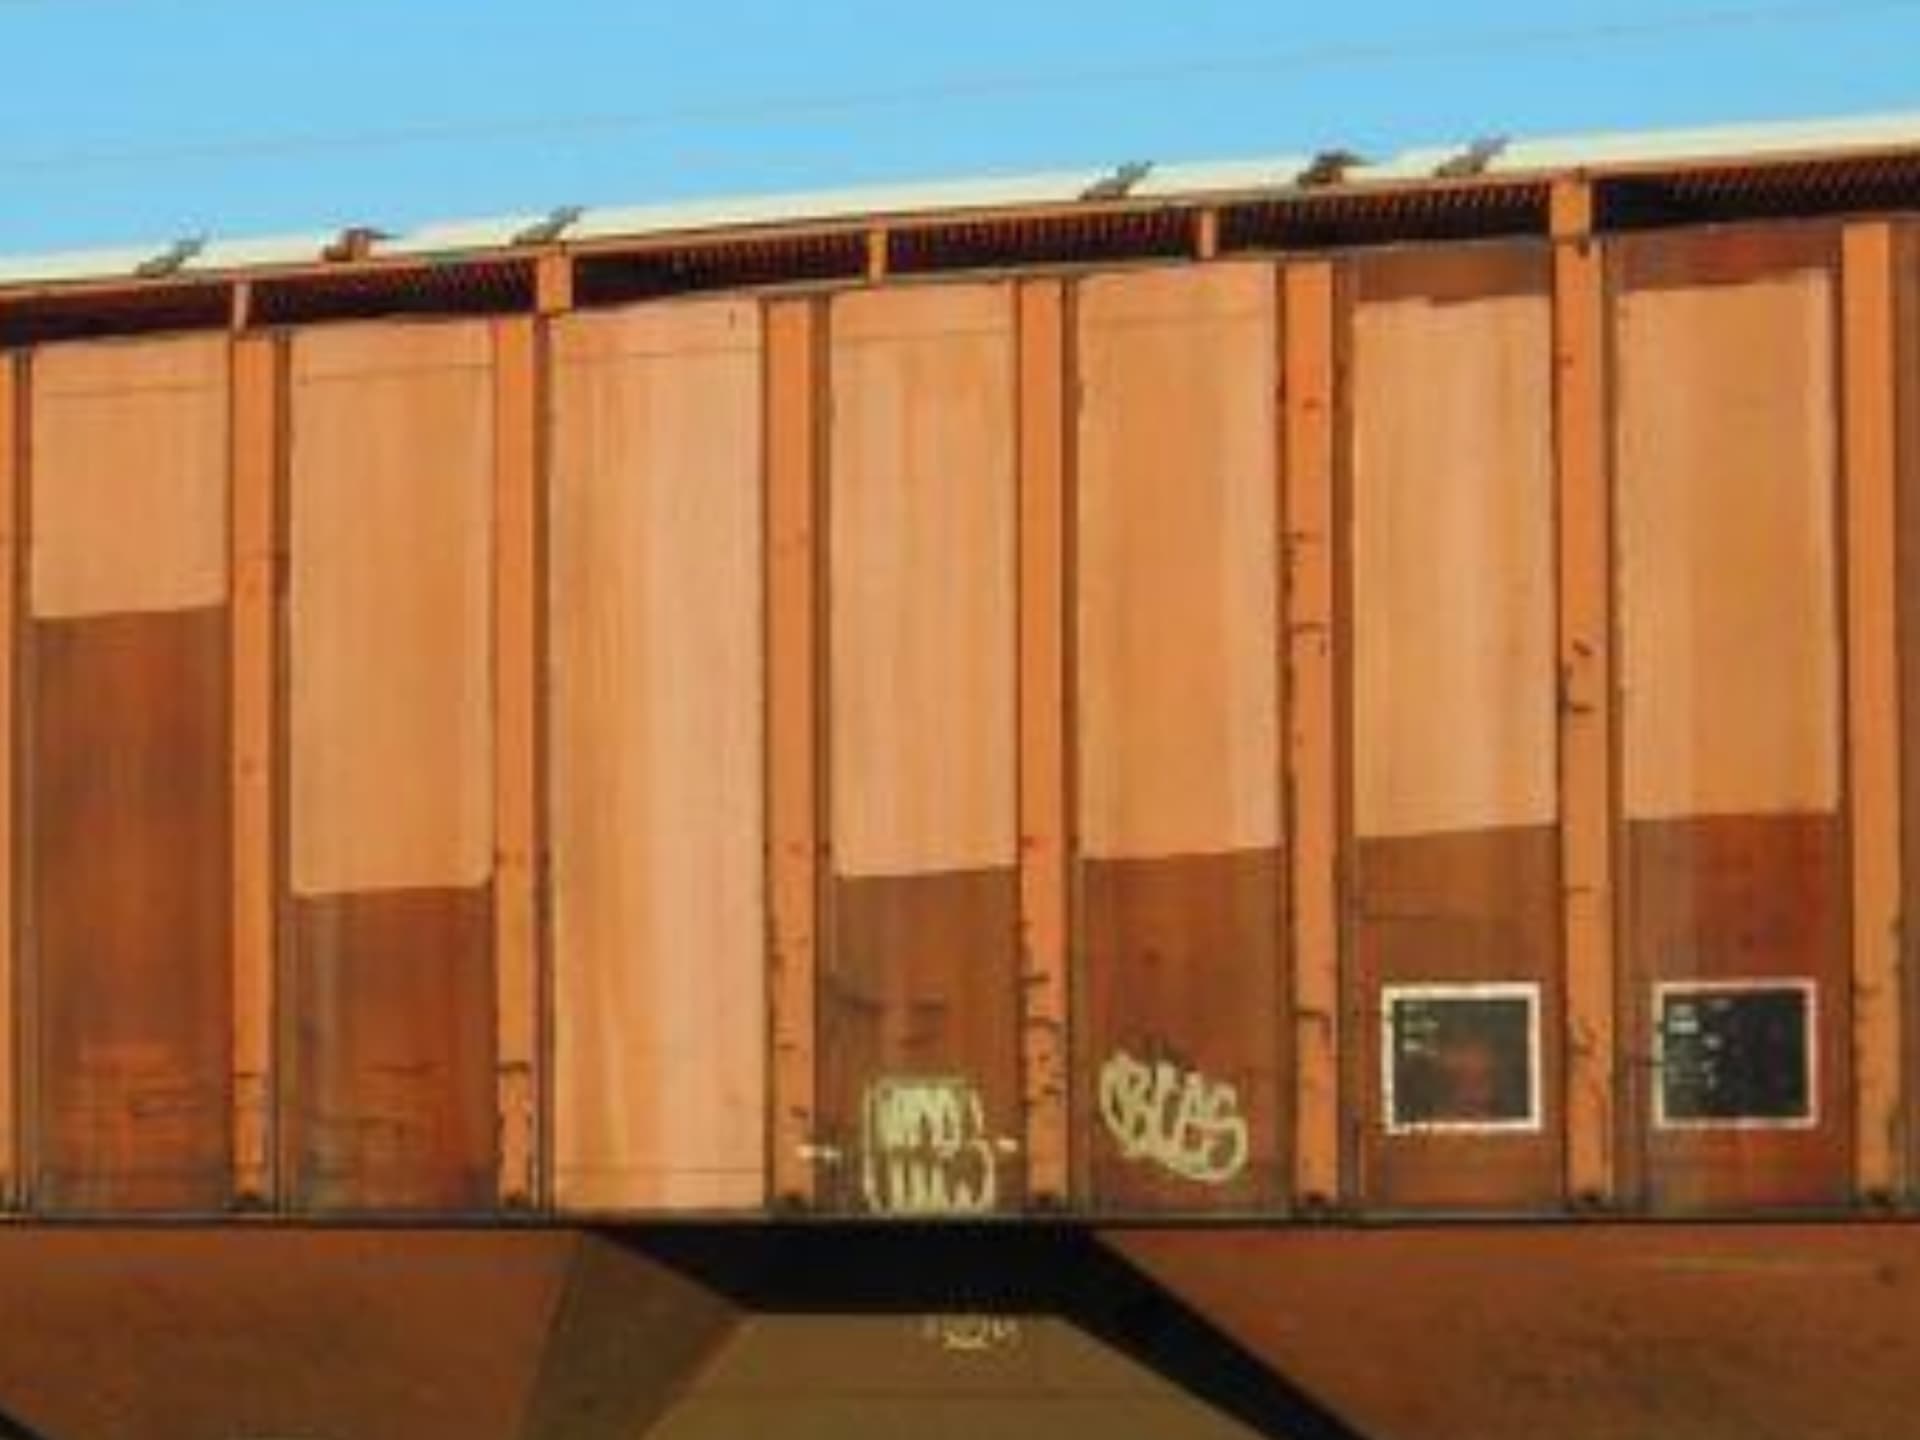
A continuing freight car reference I might offer:
The LHS is located right next to the Norfolk Southern main line and the owner posts not only a 24/7 live feed of the railroad crossing but also video’s of the day’s freight action, He then posts every single daytime train that rolls through. All done in 4K ~ so you can easily pause the video at anytime and examine the markings, graffiti and weathering of modern day freight cars.
https://www.youtube.com/channel/UCBpmE9fMaSqcbAtu8MYr0fw
A screen capture from just a few days ago:

1 Like
Thanks guys,
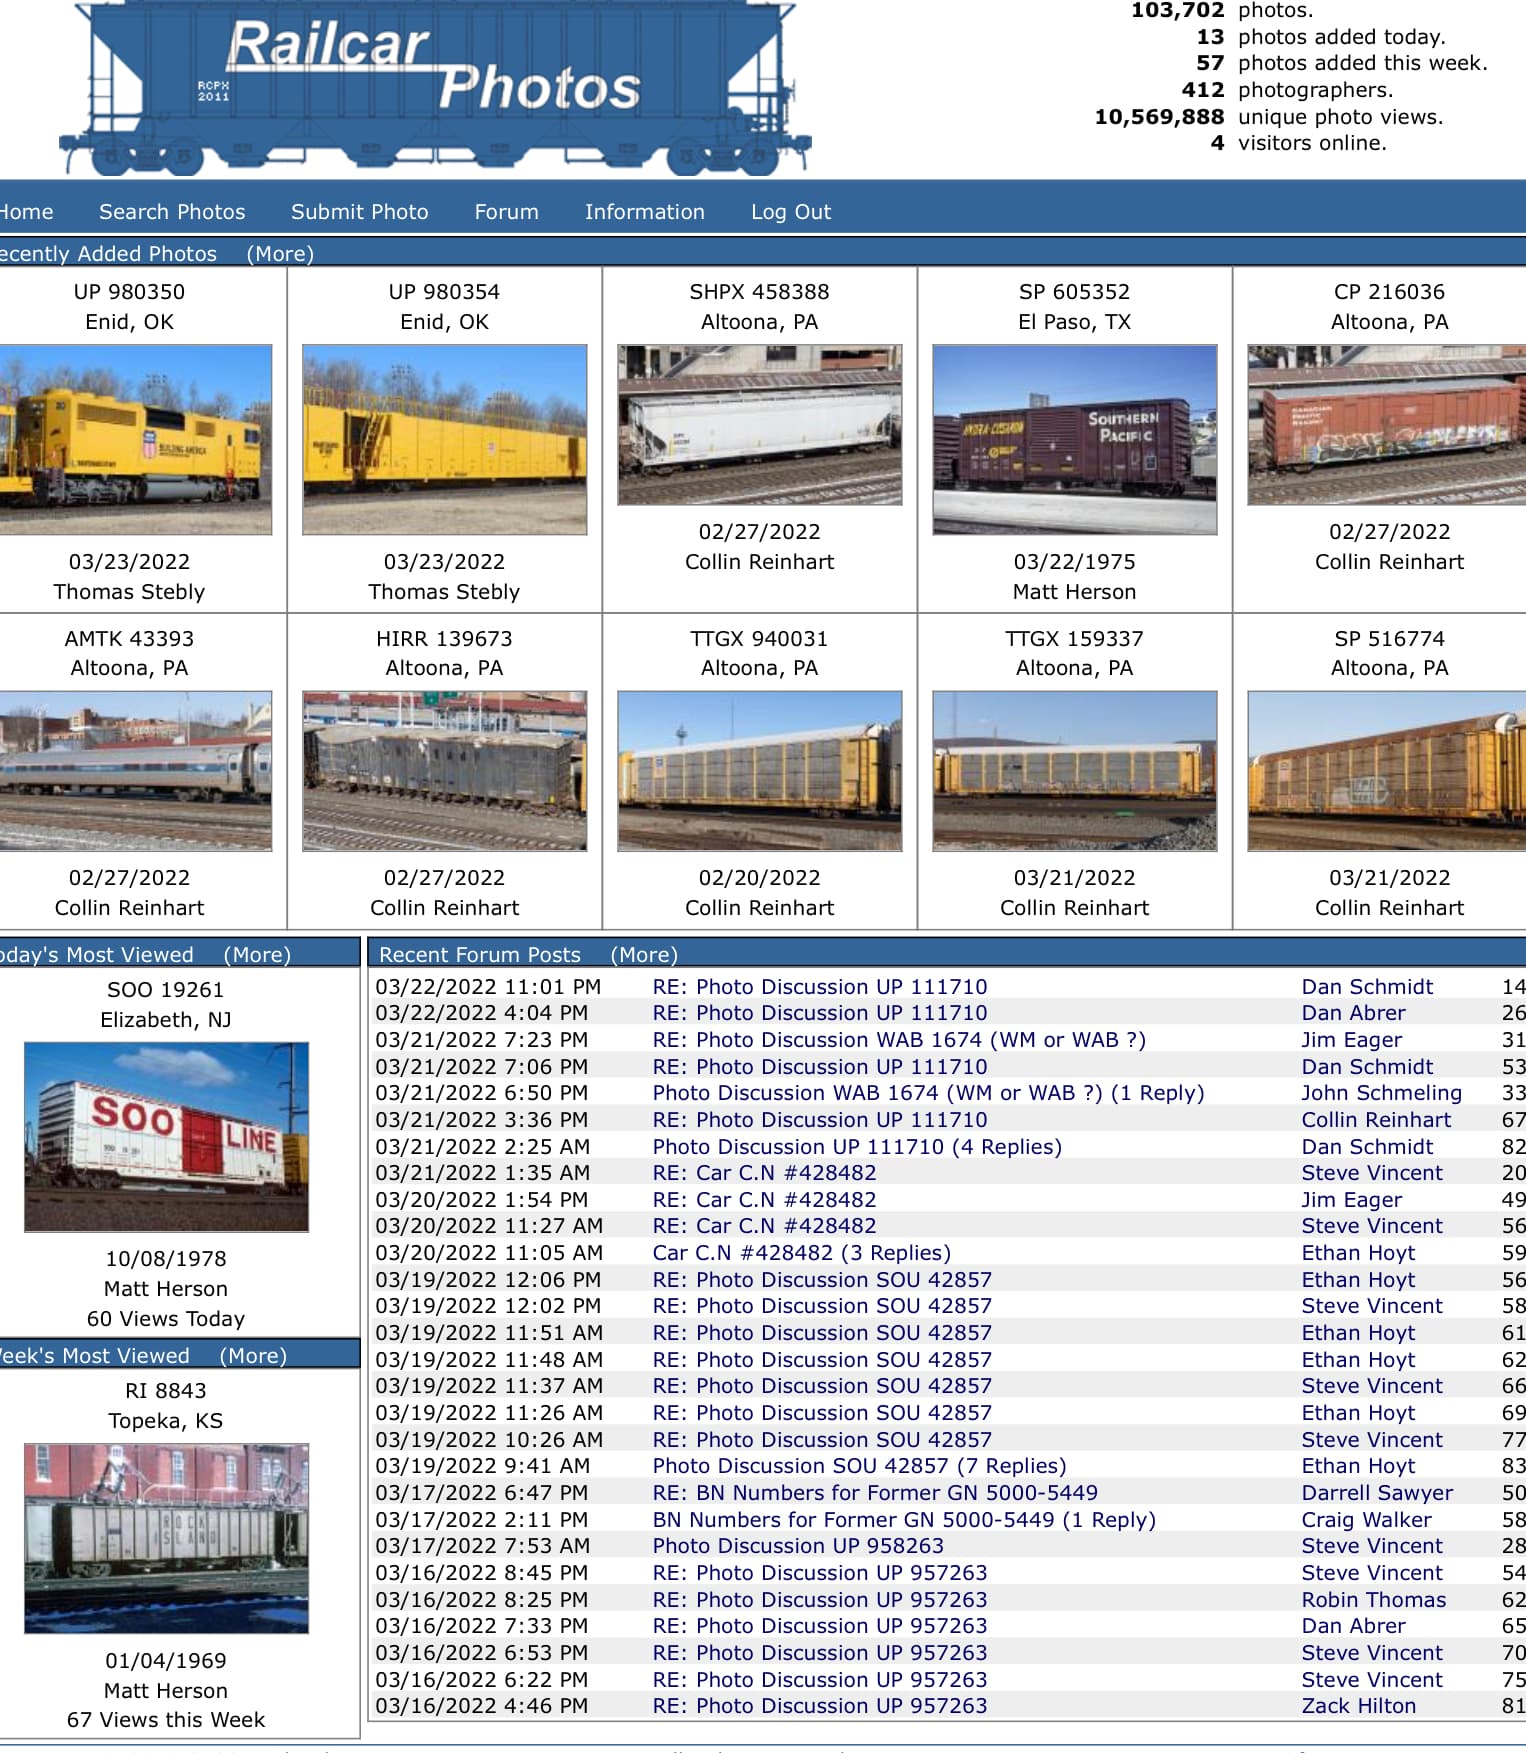
A great site for reference is railcarphotos.com
1 Like