Pre dreadnought battleship Mikasa of the Imperial Japanese Navy (IJN) 1:200

Good morning, model builders.
Before I go on vacation, I wanted to post a quick update.
The front wheelhouse has been soldered and assembled.

And the deck, too. I added a small styrene profile in the middle. This ensures the deck rests firmly on the armored control station and gives the whole thing stability. You can’t see any of it.

Once you hang up, you’ll see that it would have been really tight with my profiles.

And that’s how the Mikasa got its two upper levels. Stern…

and towards the bow.

That’s it in a nutshell before I set off on my journey tomorrow.

And here are a few more impressions of my model in its current construction state.

11 Likes

Ahoy, dear forum community.
I’m back from my vacation.
I hadn’t quite unpacked my suitcases yet, but I was already magically drawn back to my ship model.
But since I didn’t feel like dealing with small stuff and wanted to make something big and simple, my eyes immediately fell on the large towers.
First, I cut out everything and collected it.

The interior was already prepared and only needed to be glued to the hood. Then the brass ring was attached to the base. A nice, easy start after the vacation.

Things got a bit more difficult with the large brass component that goes on the turret lid. But that wasn’t a problem with MIG’s acrylic glue. Of course, unlike with superglue, you have to hold the whole thing in place while it dries.
But that’s no problem.

Then I primed it, checked for cracks, and closed them.
So far, so good.

And then came the unexpected setback.
Getting the brass gun barrels into their mounts proved surprisingly difficult. The turret openings were very narrow and in some cases, the primer was peeling off the barrels. Furthermore, the barrels didn’t fit particularly well in their brass mounts and were relatively unstable. I then filled them with a lot of glue.
Thankfully, you won’t notice any of that later.

Standing upright like this, I’ll let the towers dry thoroughly before I continue working on them.

8 Likes

So, the gun barrels are now rigidly mounted, glued together, and stable.
This doesn’t bother me, since I always build the main turrets in the moving position anyway.

The green arrow shows the defective primer.

After painting, you shouldn’t notice any of it anymore. Now I can continue working on them next week.

10 Likes

Shame about the primer, but an easy fix and the turrets look great.

2 Likes

Thanks and that’s what happened today, Johnny.

So, another little update today.
The primer was smoothed and repaired again in the damaged areas with 1000-grit sandpaper.
Then I cleaned and attached a lot of microscopic parts.
The turrets are made almost entirely from the Pontos kit. Only the armor plates of the small turrets were provided by the KA kit.

See green arrow.

This allowed the base coat and a first wash to be applied.
Bow:

And stern:

Mikasa’s face continues to become more complete. :man_tipping_hand:

10 Likes

I actually wanted to finish weathering the towers today. But firstly, things don’t always turn out the way you expect, and secondly, they don’t, right?!

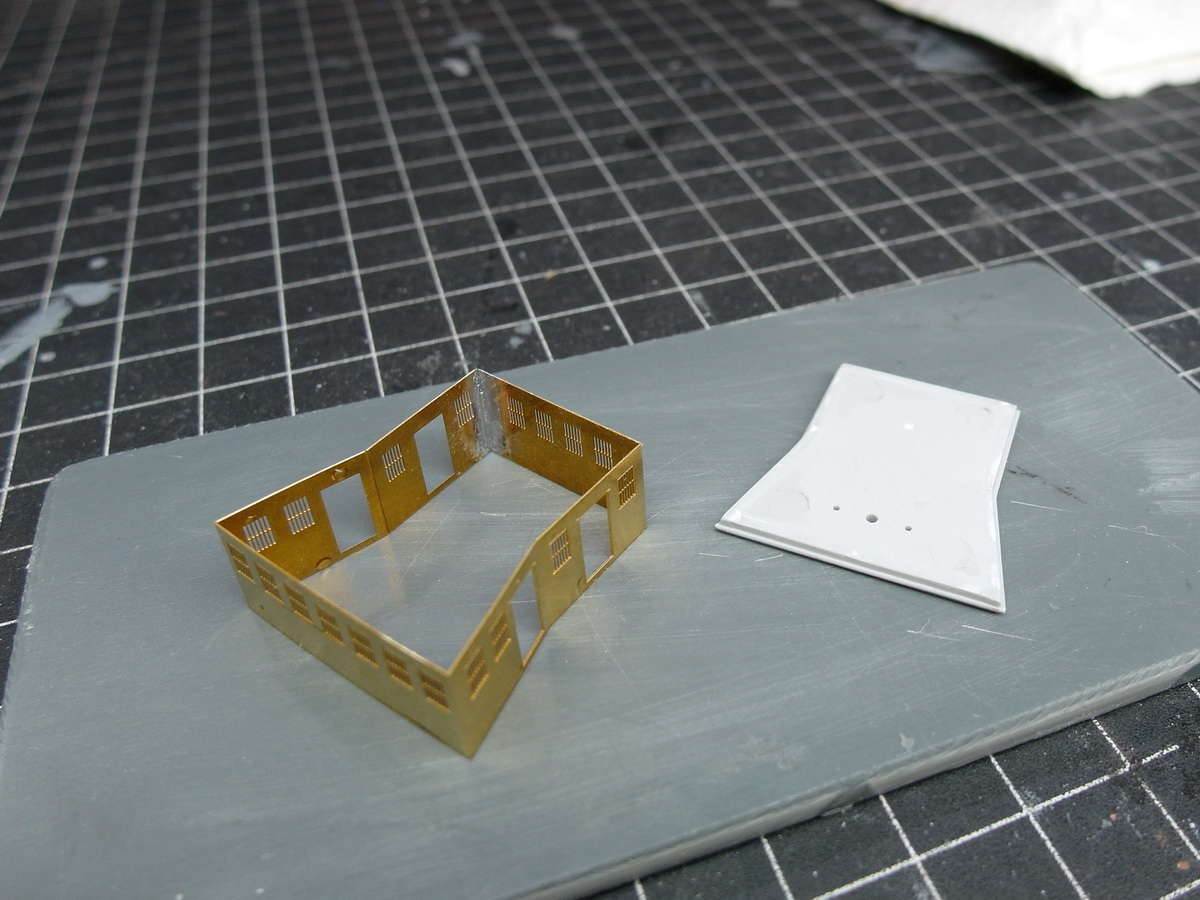
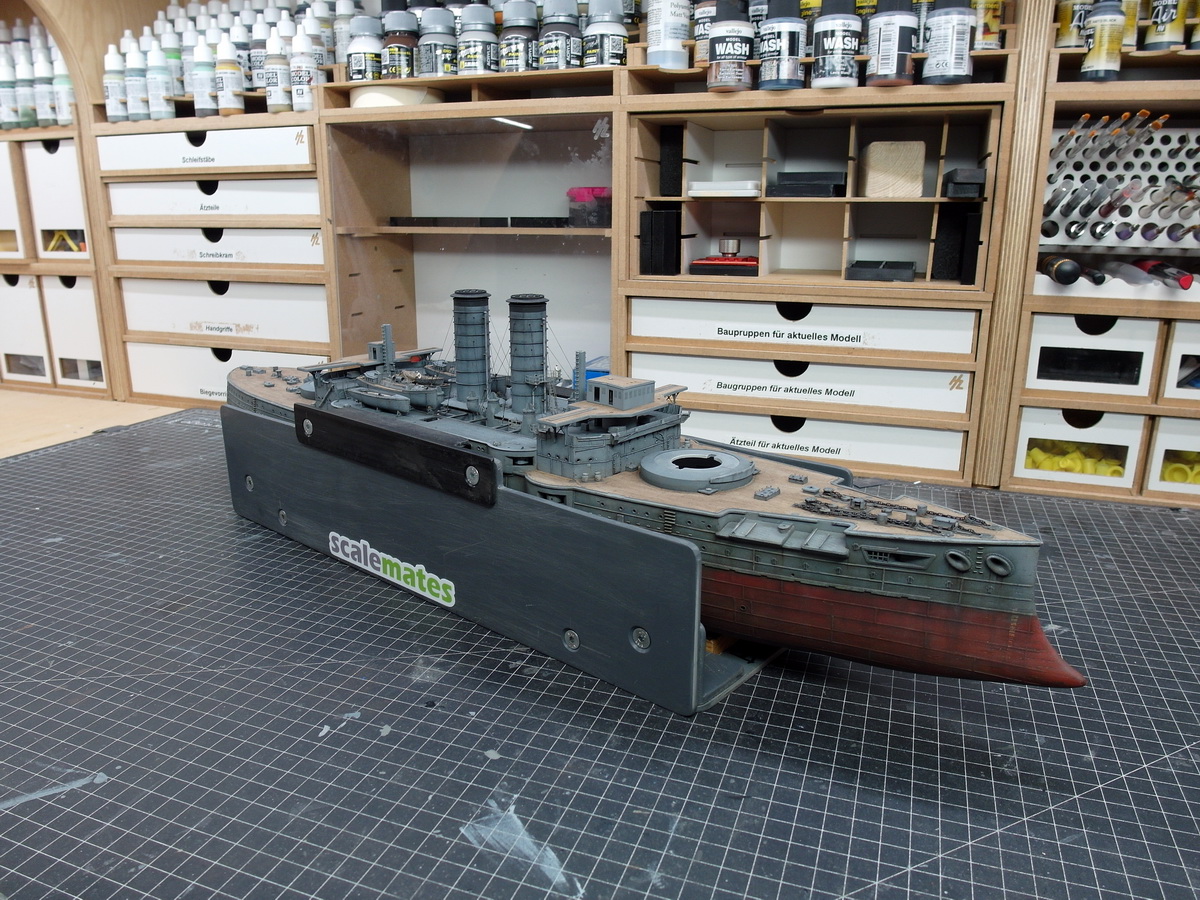
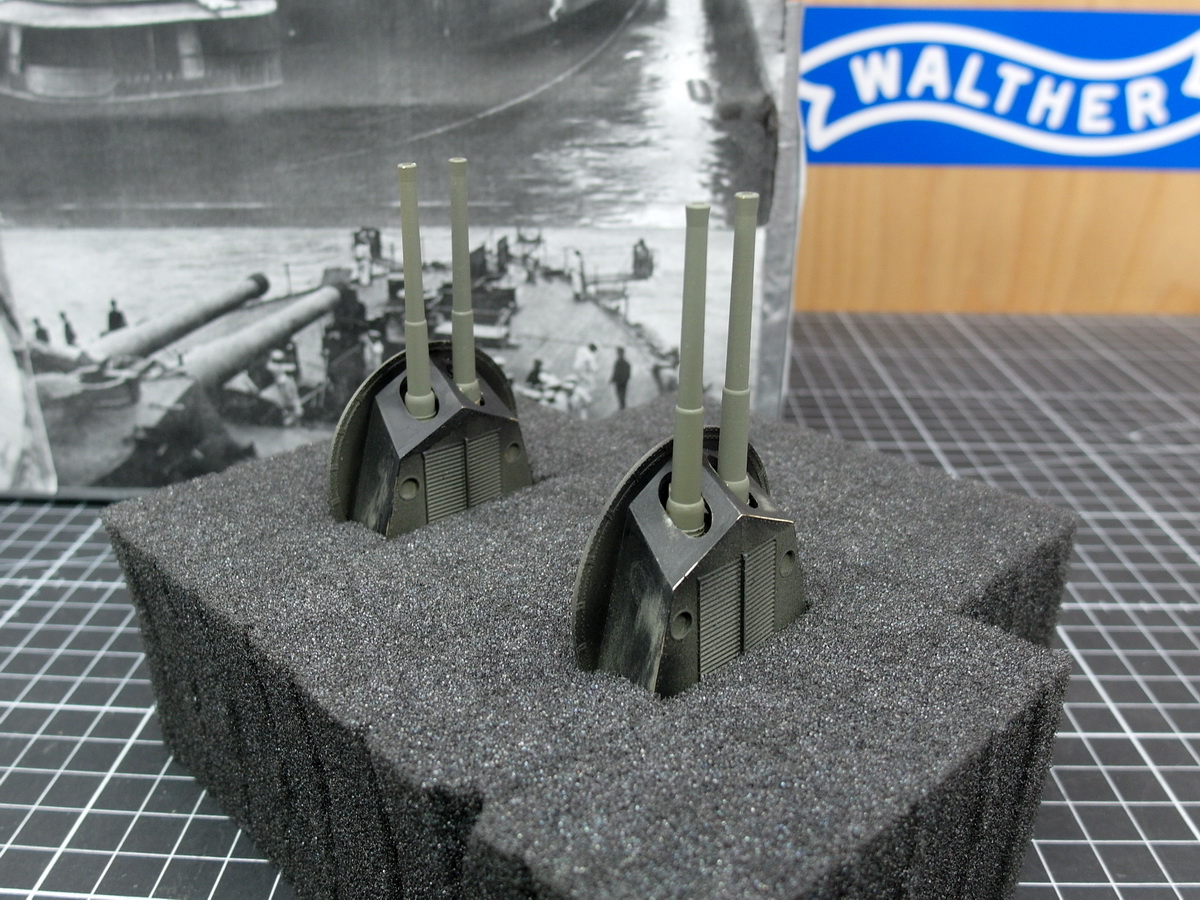
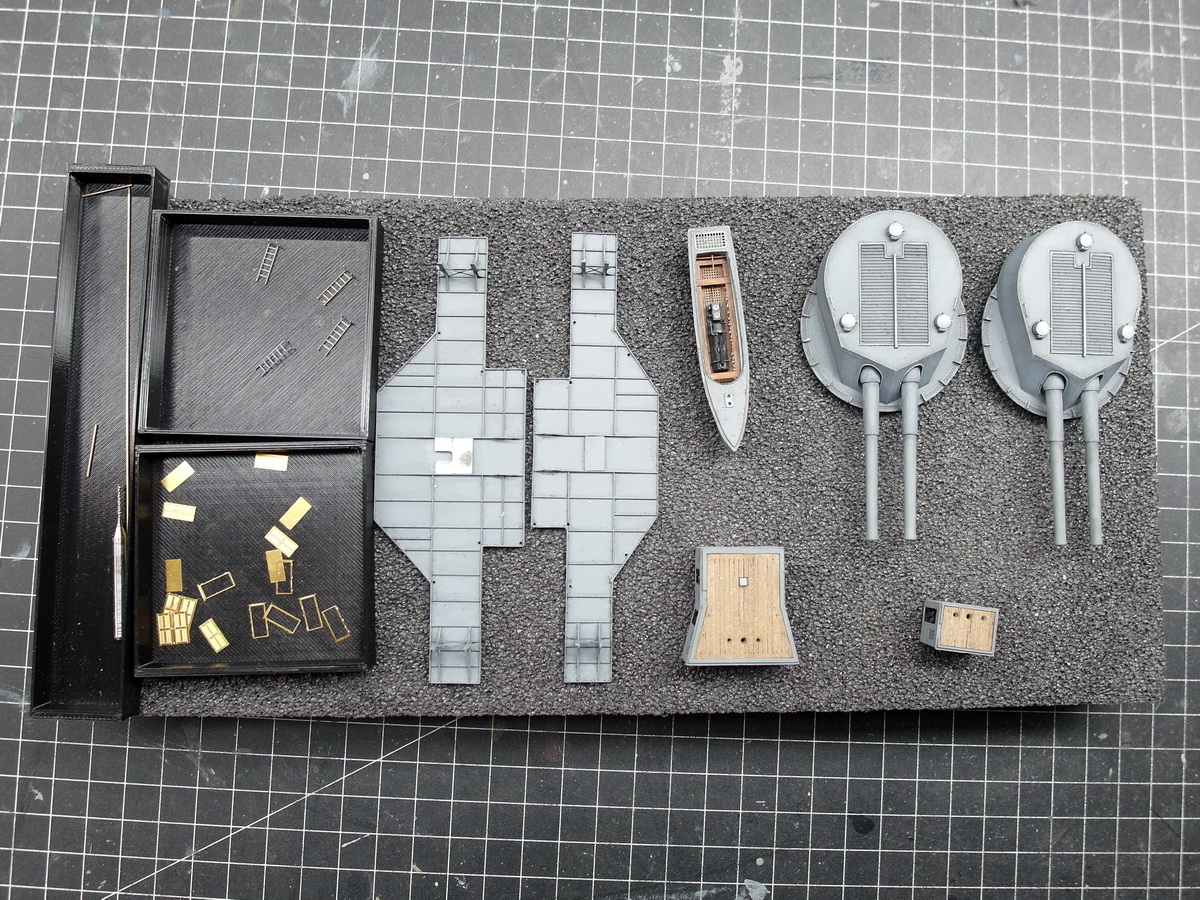
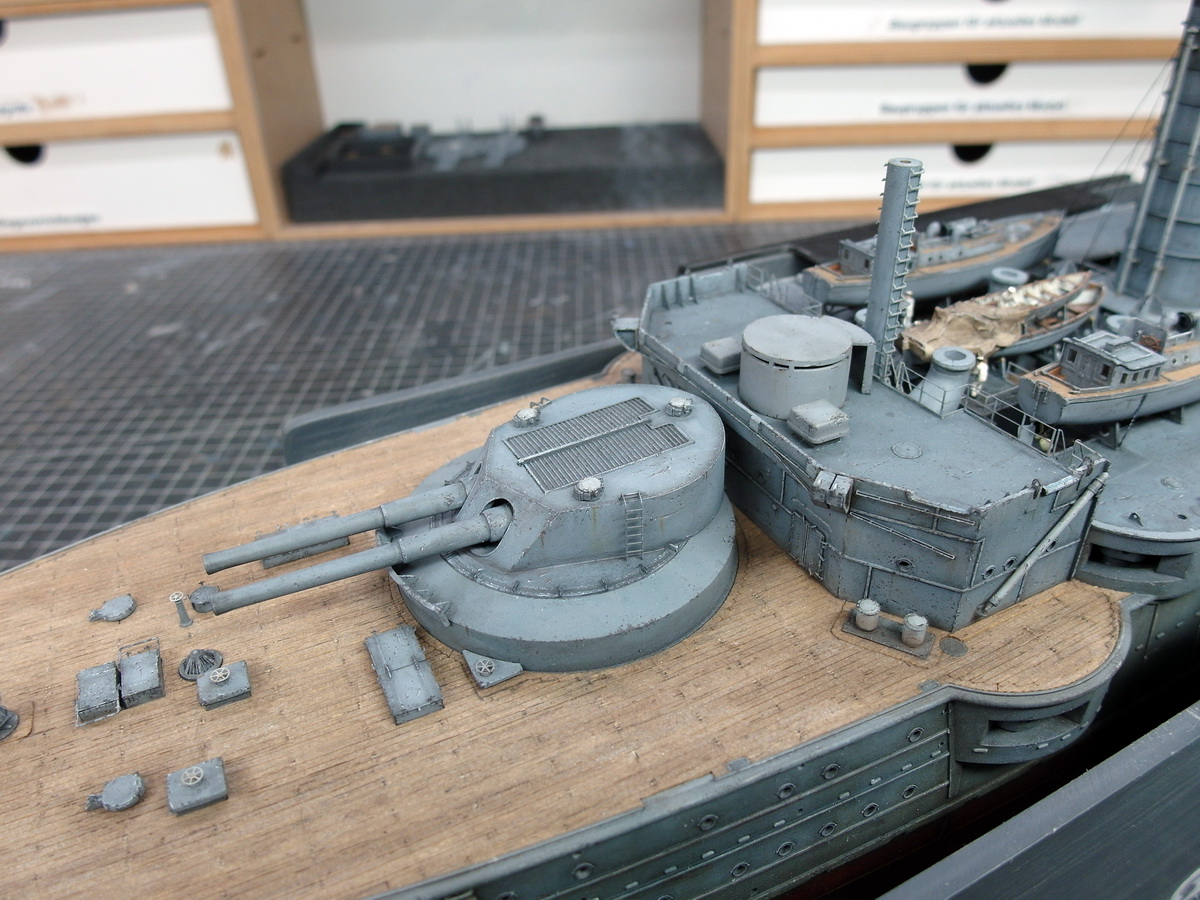
While placing the large
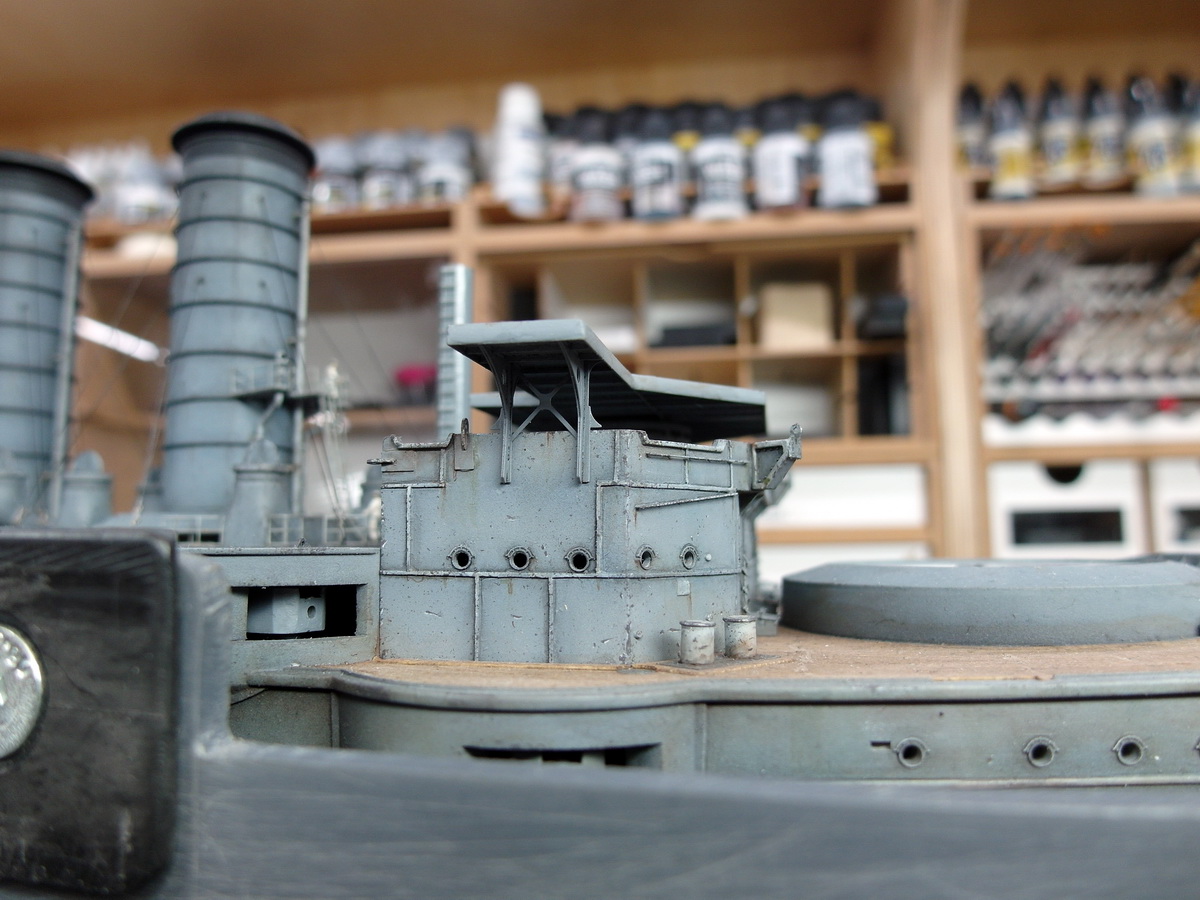
artillery pieces in their barbettes, my attention was drawn again to the bridgehouses with the structures I had modified from styrene profiles.
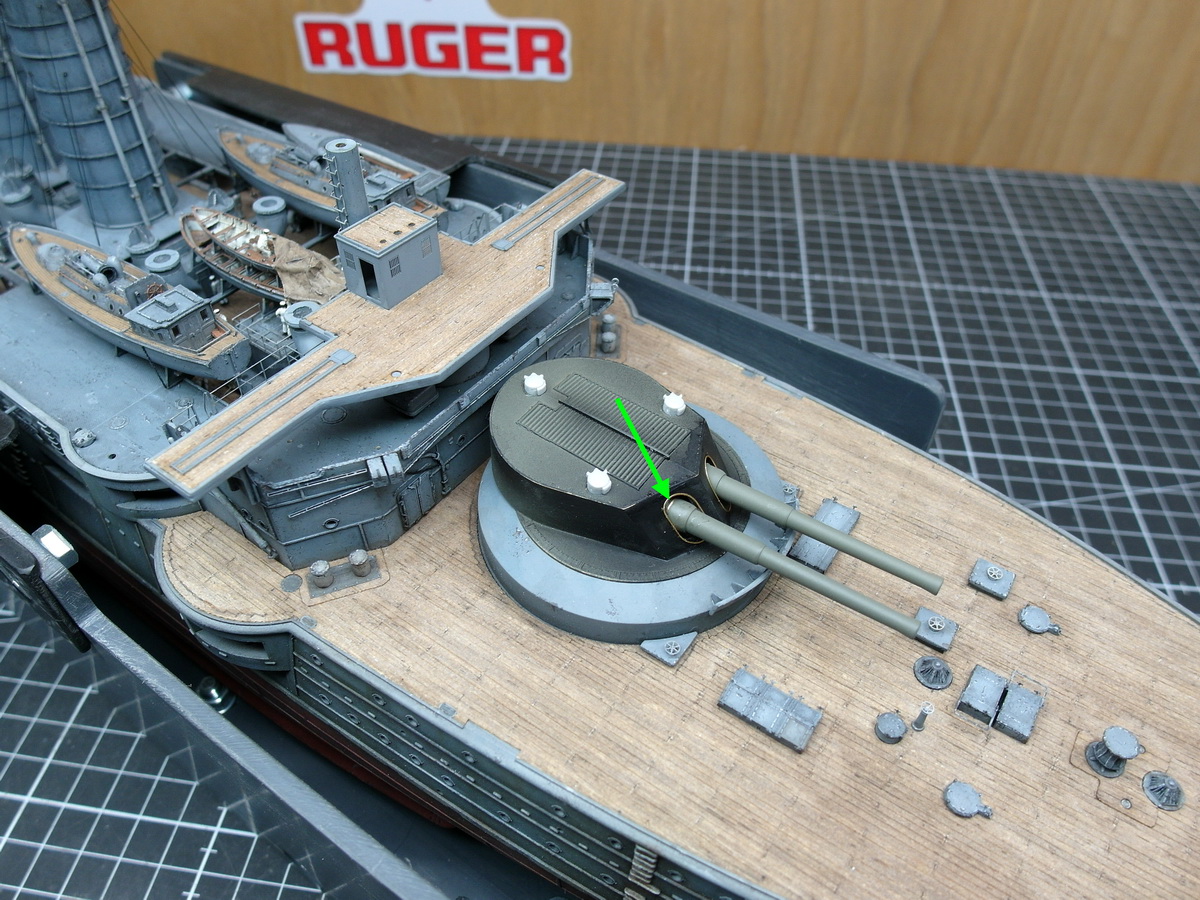
Wait a minute, I thought, I did that on the hull too. And that’s where the supports for the torpedo nets are attached directly to the hull.
Oh dear, open the dry dock carefully immediately.

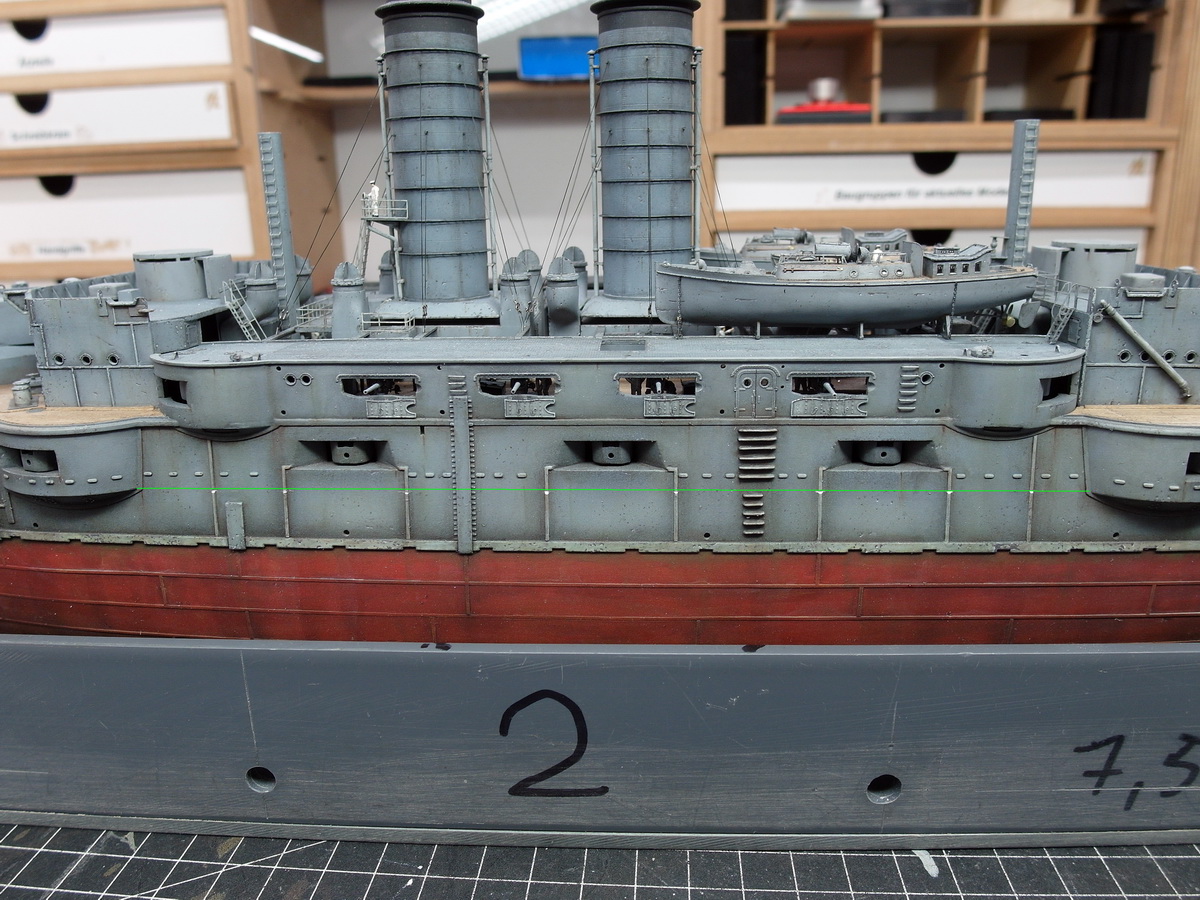
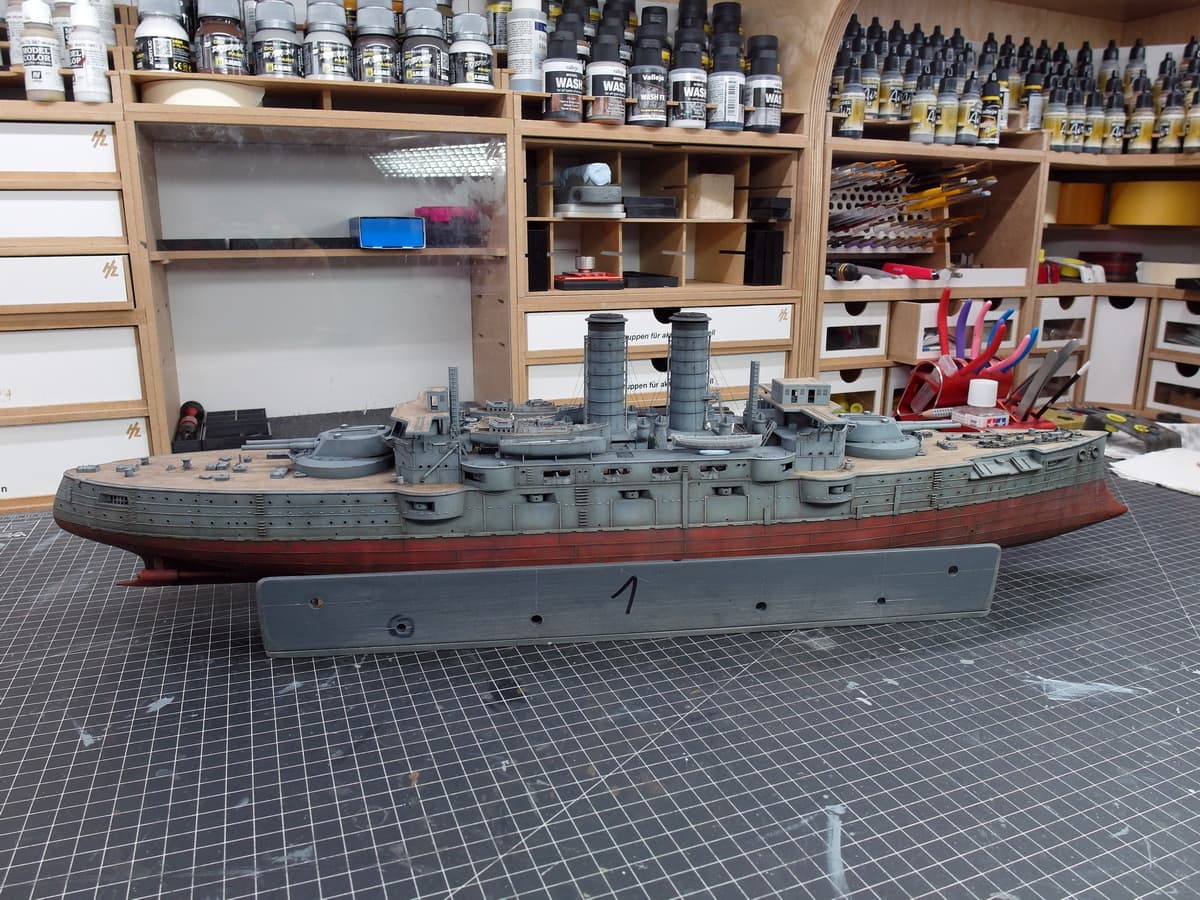
And indeed, the supports run along the hull at the points marked in green, and the profiles would create a large gap there. So, I marked the height with my waterline marker.

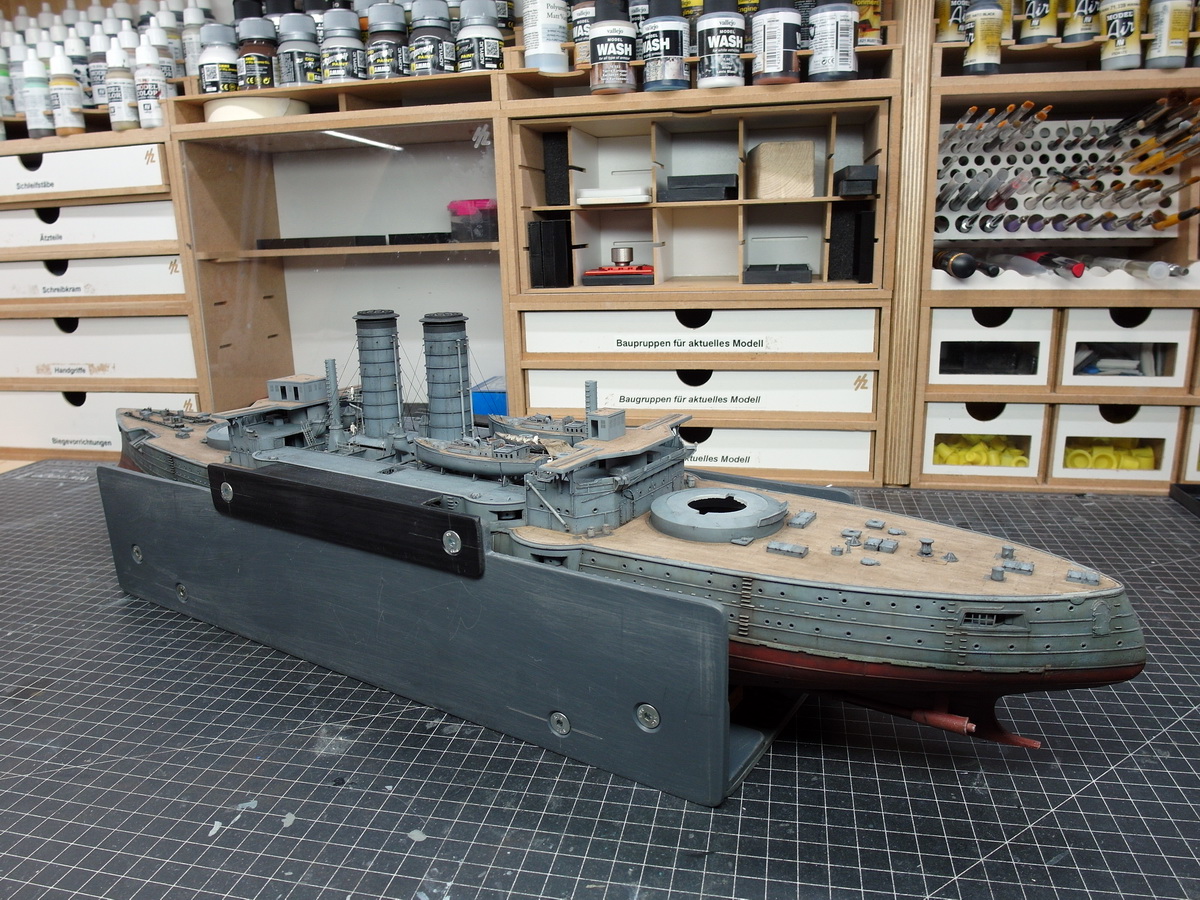
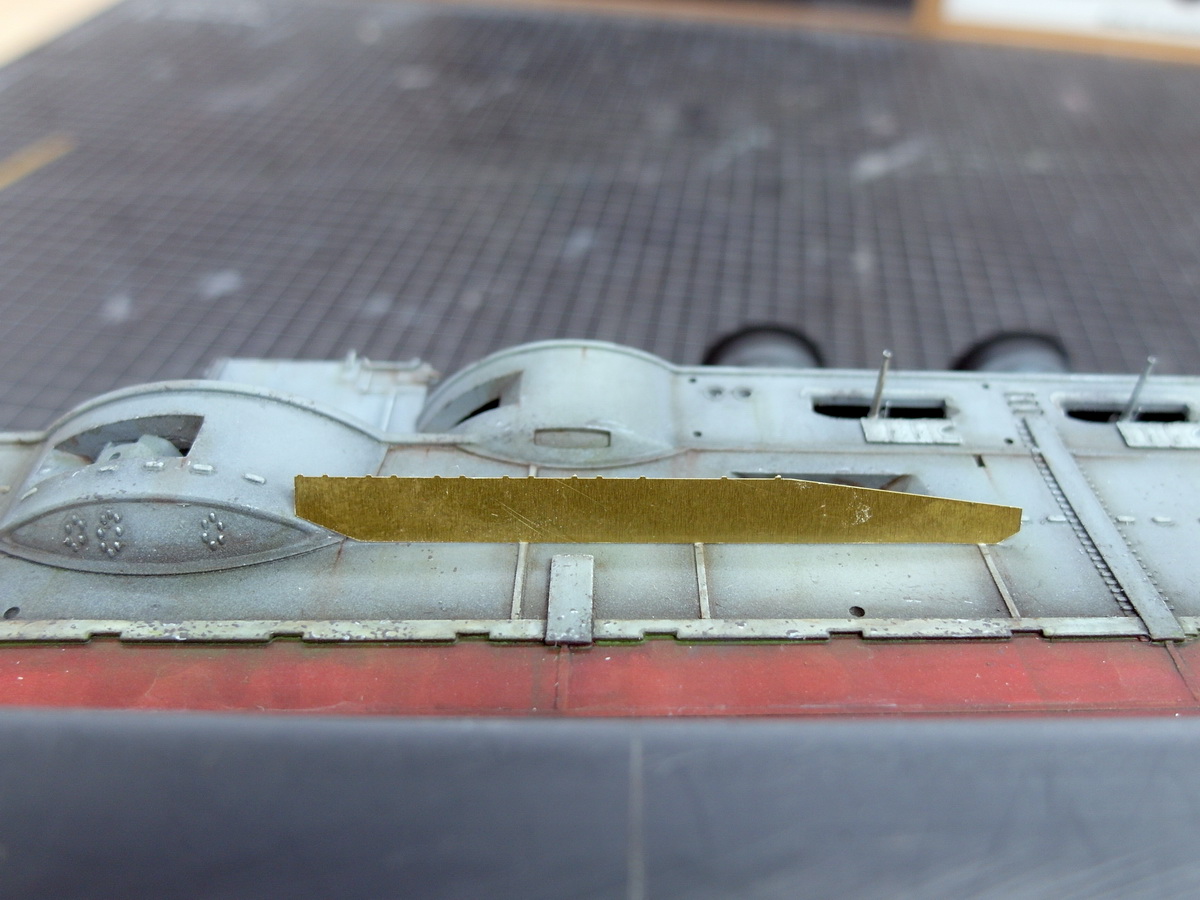
I put the Mikasa on its side, put a new blade on the scalpel, and started carving notches. My little dry dock is invaluable again. It allows me to rest my hand properly and perform open-heart surgery with a steady cut.

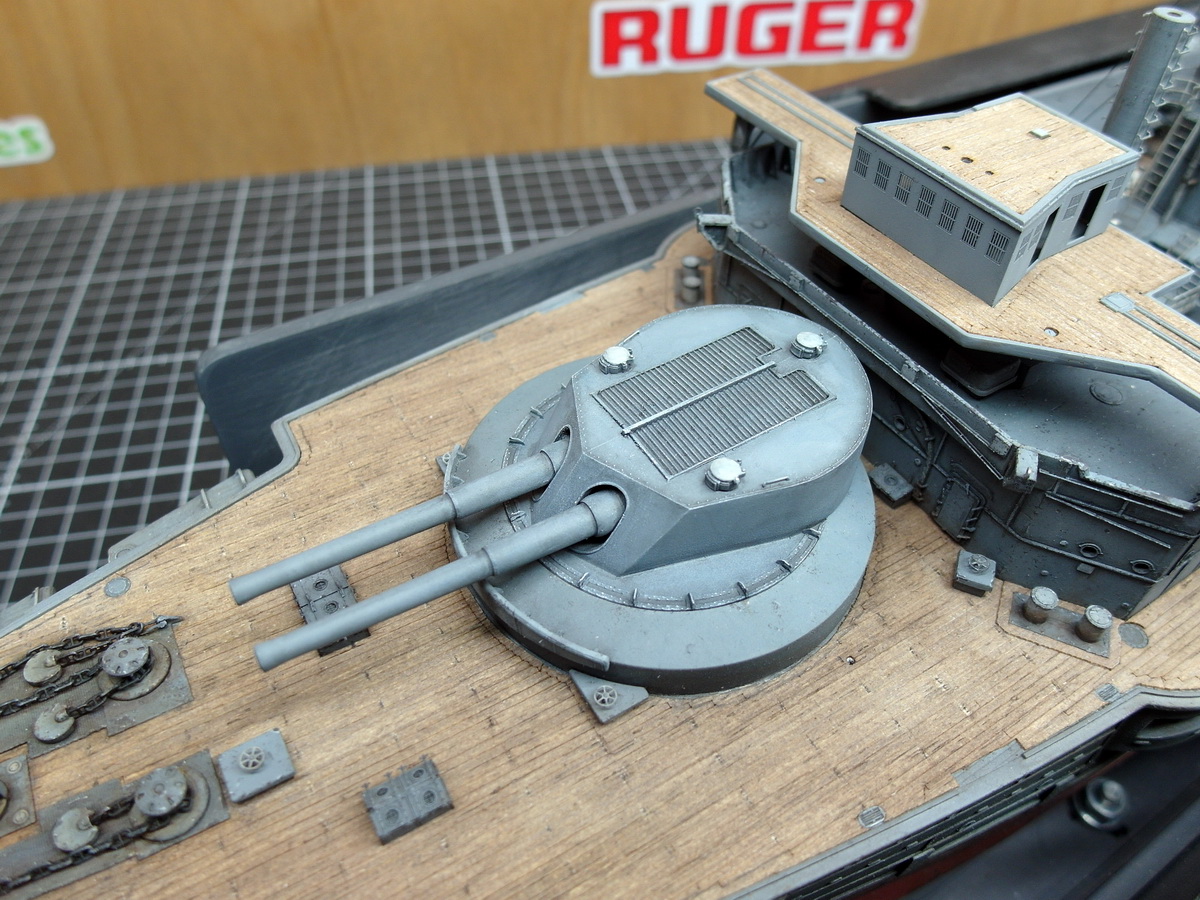
So far, so good. A scrap piece of an old etched circuit board was cut to length and applied. No gap visible anymore, perfect.

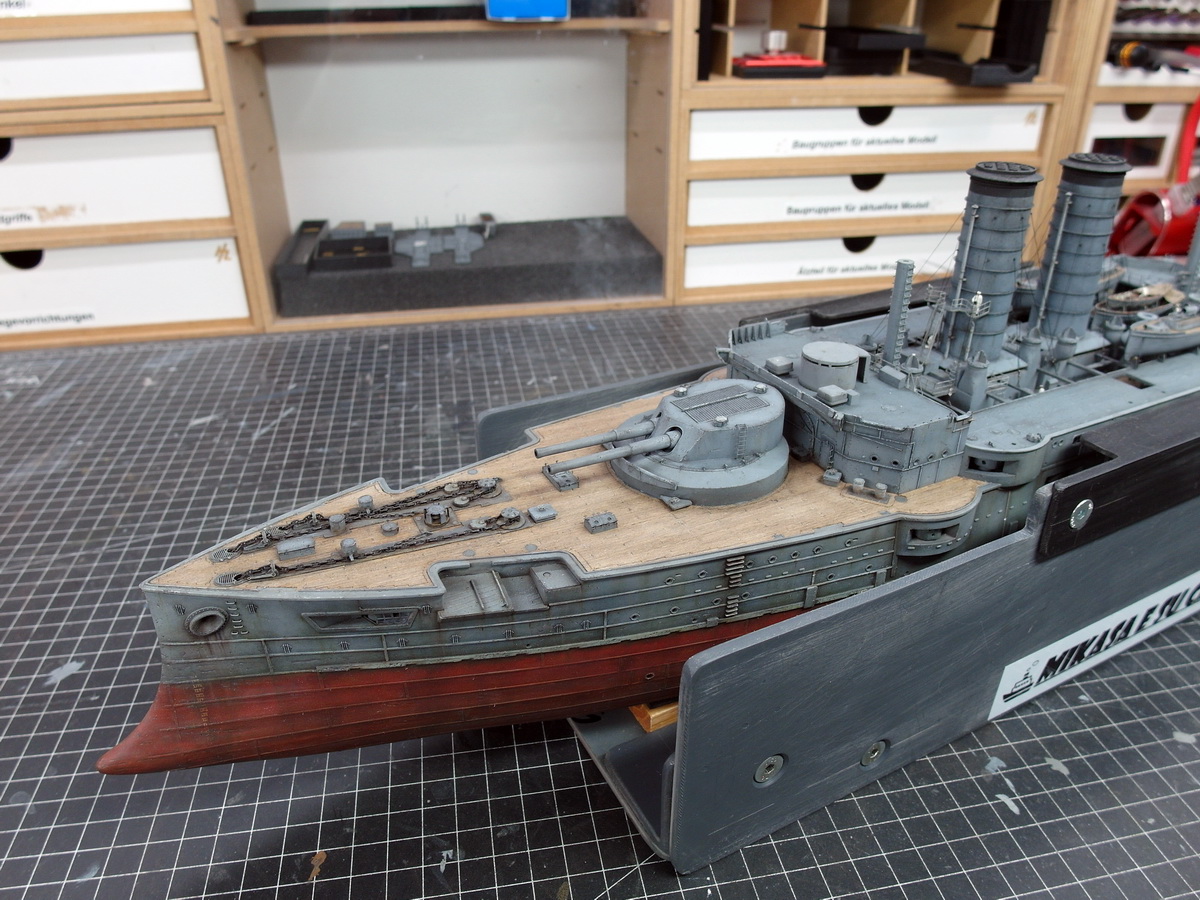
So here’s the result. The notches run exactly under the green line, which is supposed to represent the torpedo net support.

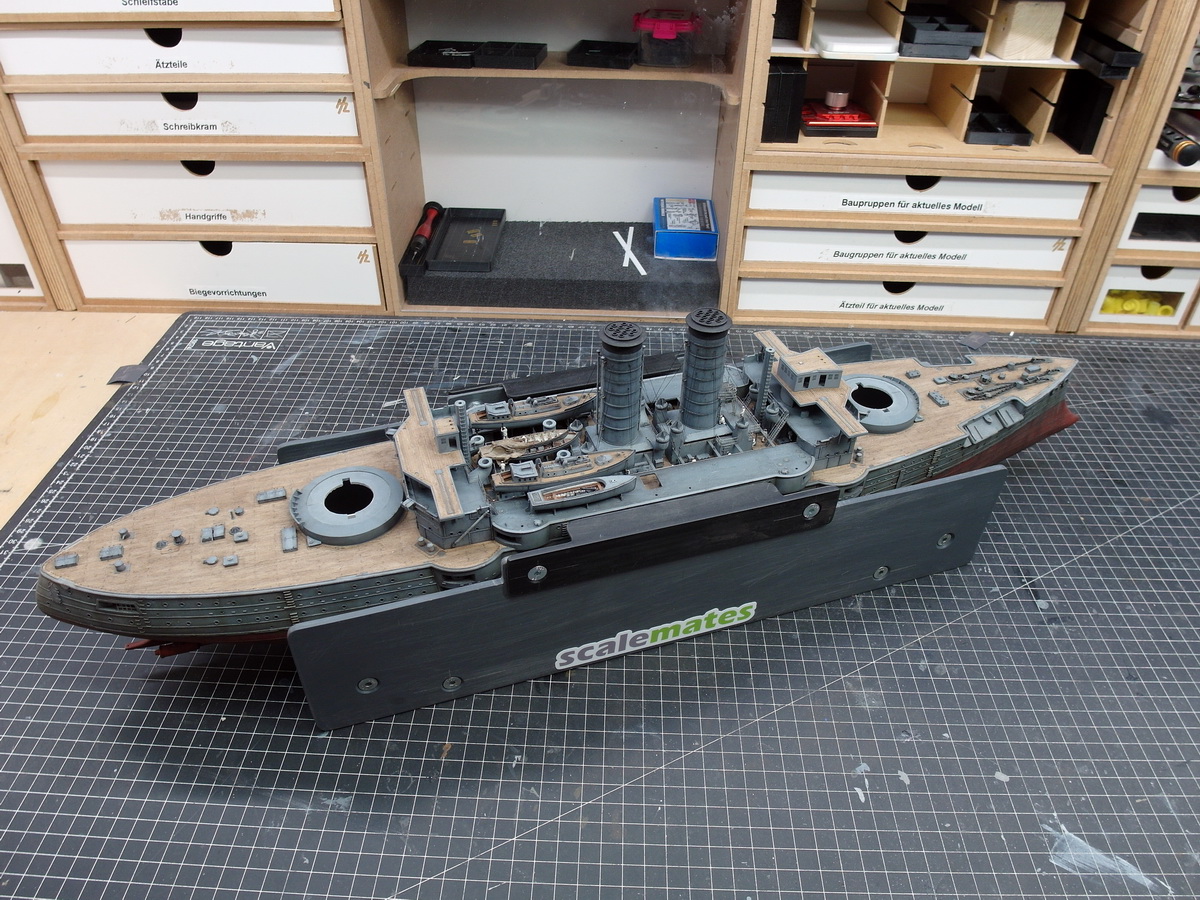
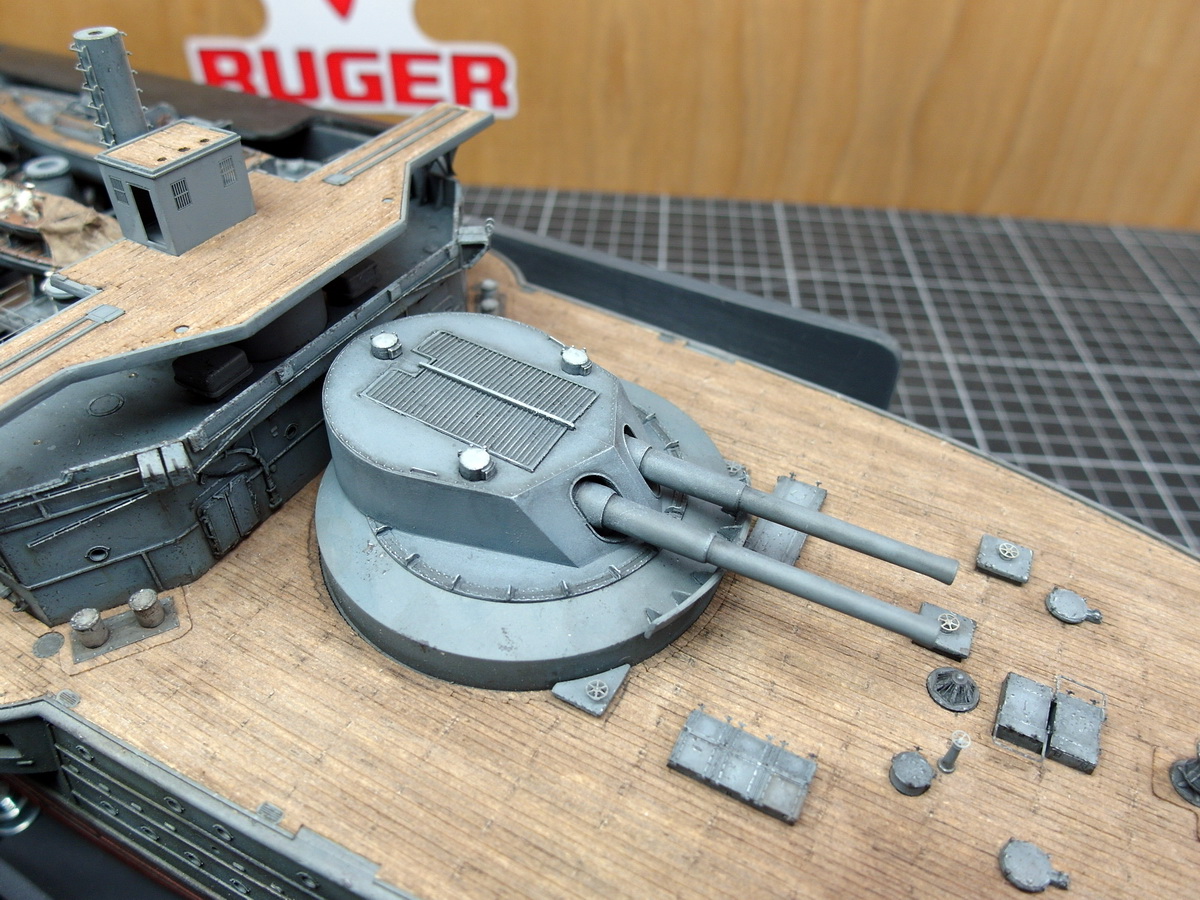
Then do the same on the other side. Since I’ve already opened the dock, I checked the positions for the barge and the cutters. That should be fine.

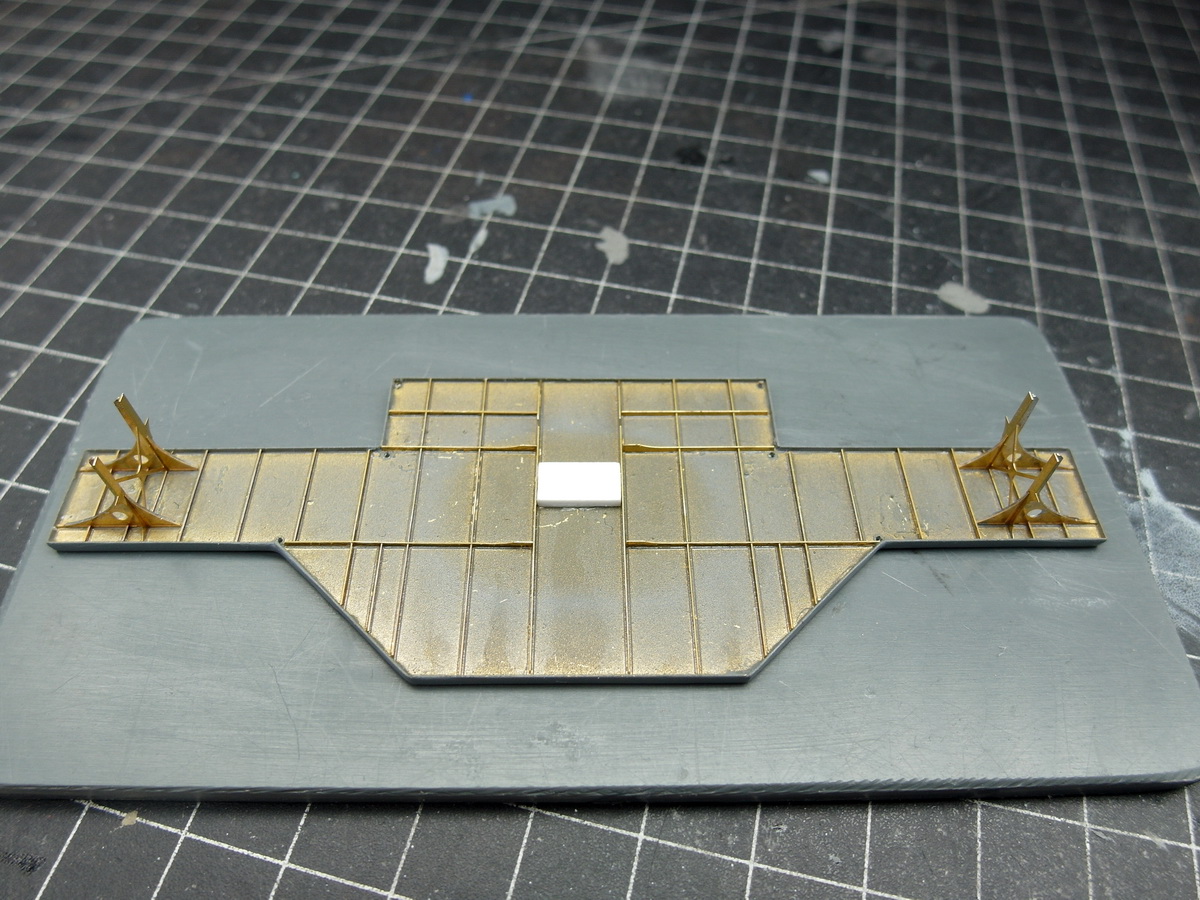
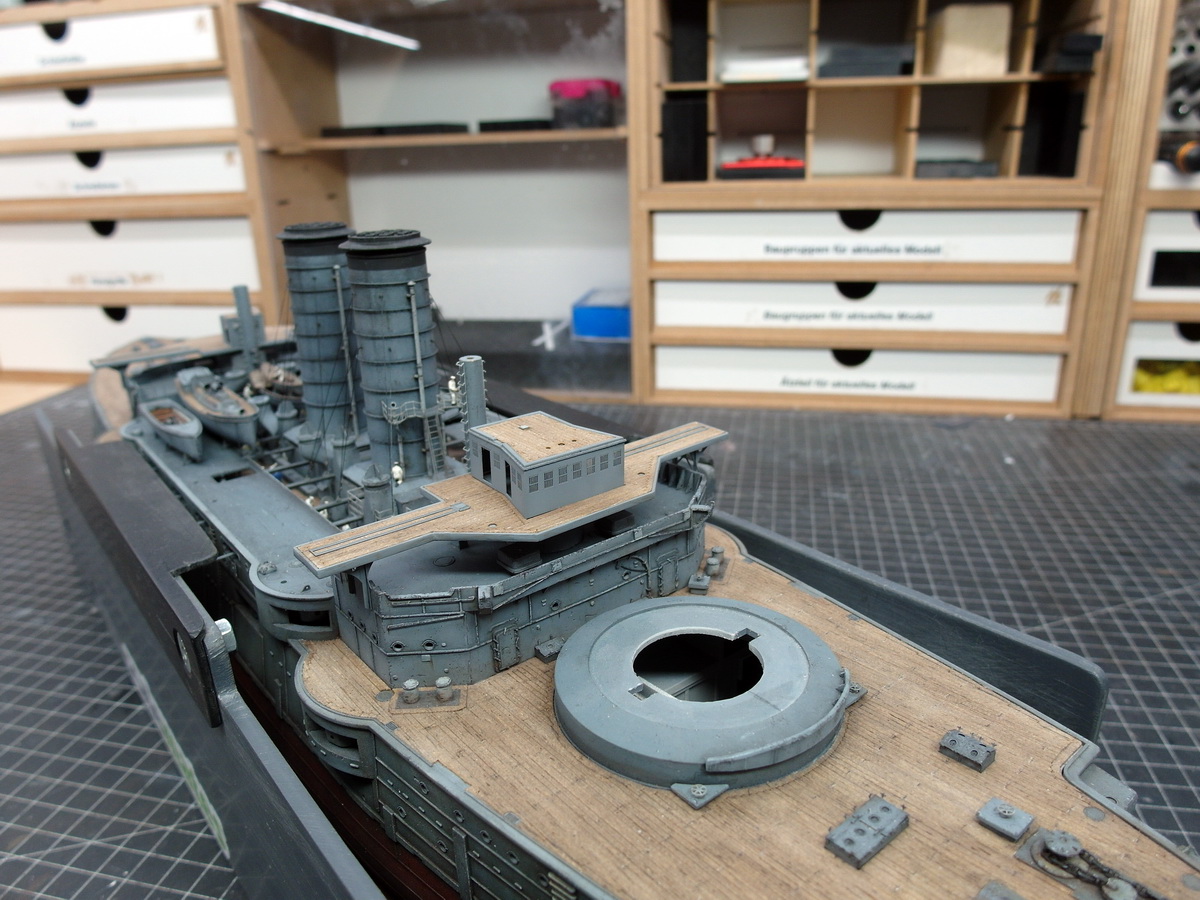
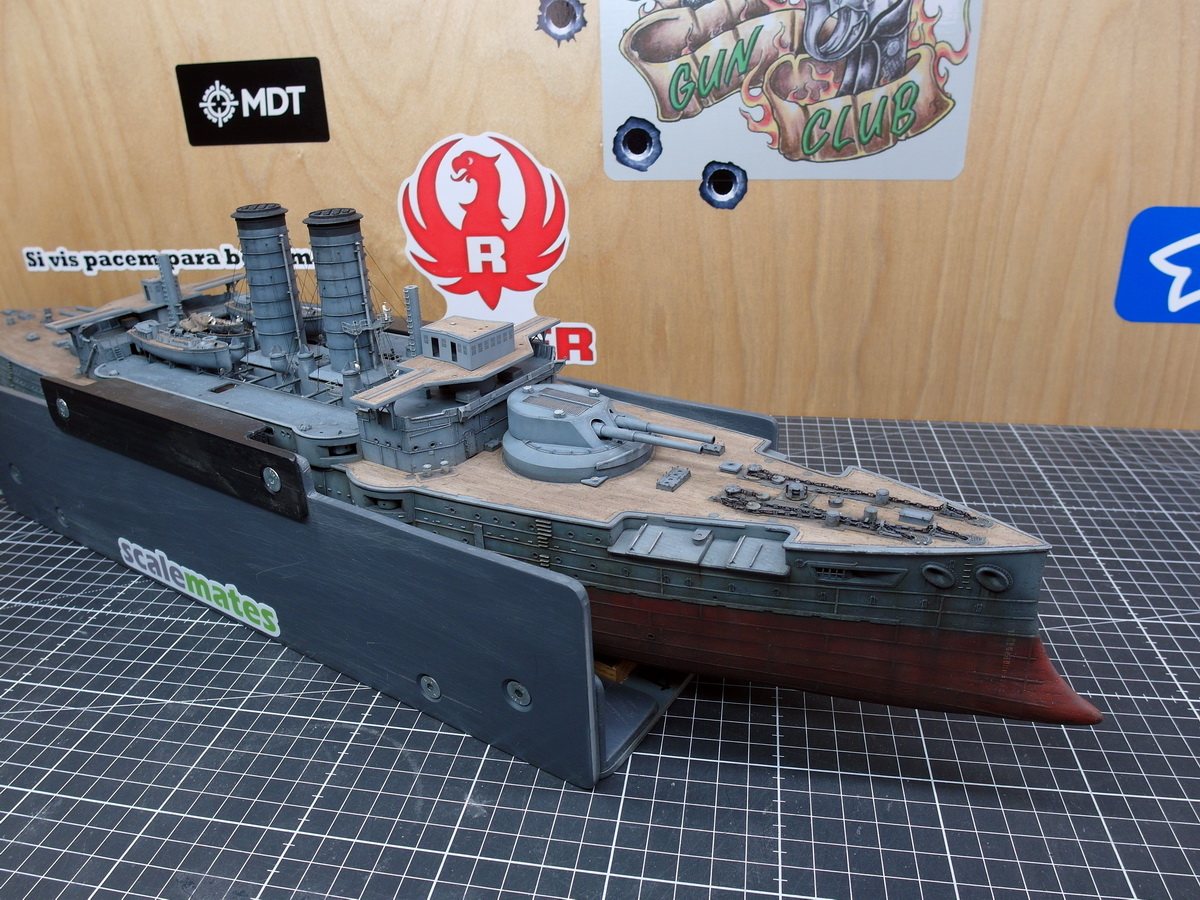
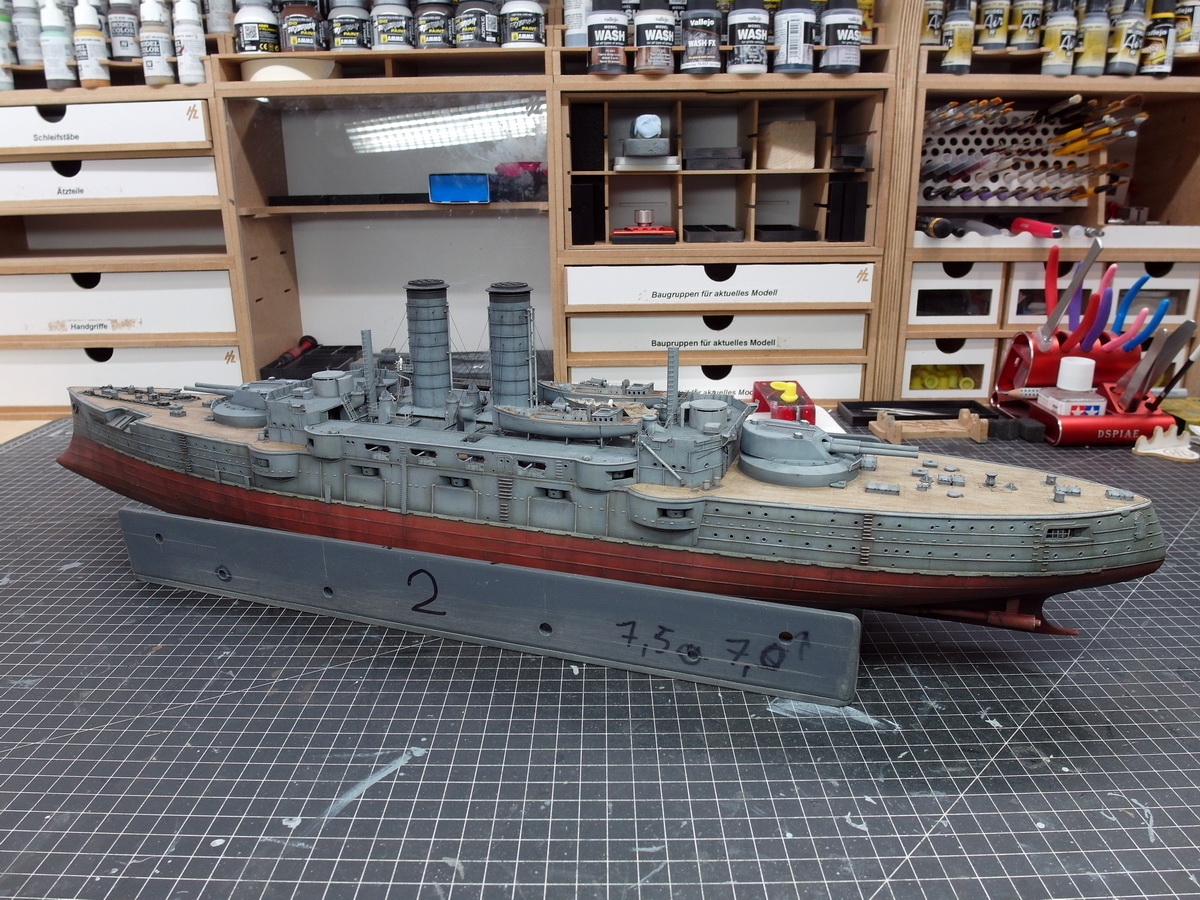
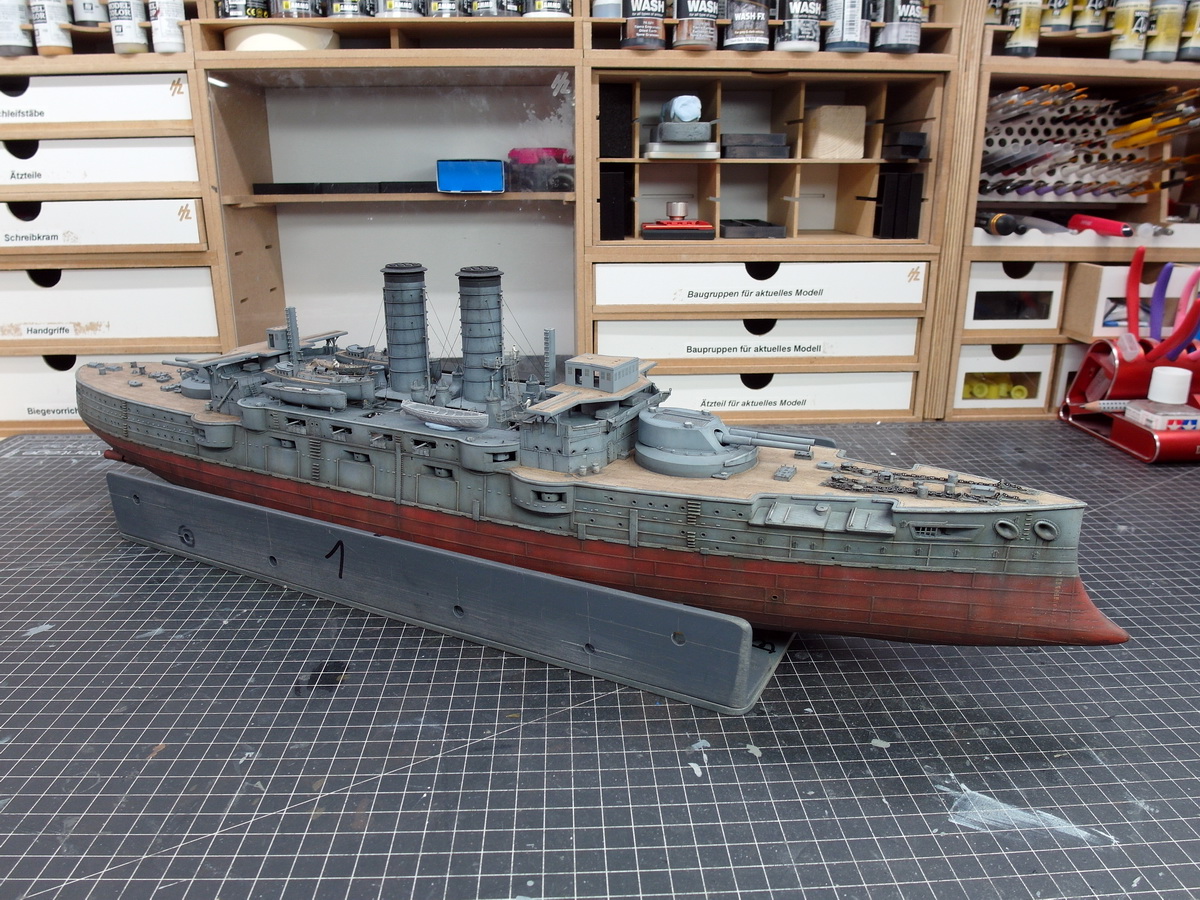
Of course, I added the bridge decks for posing. I rarely see my model like this.

This model really keeps me awake at night. But whatever, this beautiful ship deserves a little effort and attention.

11 Likes

Fantastic progress and good catch with those supports along the hull.

Yes, your dry dock really is amazing, and besides your truly outstanding model, I’m always fascinated by the way you keep your shipyard organized and squared away…once I finish my Gneisenau, I will take some time to clean up, re-arrange and organize my little workbench before an new project will be started…

Cheers
Jan

4 Likes

Thanks a lot, and do that, Jan.
I love it when all the tools are where they should be, ready to hand.
I don’t even like searching for them.

2 Likes

Nice fix and well spotted :+1:

3 Likes

Ahoy, model builders!
Before I continue with my Mikasa, I have a few small changes to make at my workstation. A few components are ready for further processing, and my current project shouldn’t take me too long.
I estimate another six months.

So, I’m already thinking about my next model. Because it’s going to be big, really big. Maritime connoisseurs and valued readers of my build reports can probably already guess which ship it might be. Two are possible: the Japanese Yamato class and the American Iowa class.
The largest and longest battleships ever built.
I’m still deciding which of the two it will be, but one thing is certain: they both need a lot of space to work on properly.
And that’s why I got a little more of it. My problem was the two work lights, which were quite close together at the edge of the table. Not a problem with the Mikasa, but with a hull over 1300 mm long, I’m afraid of bumping into them when, for example, turning it.

So I made a few brackets to move the lamps away from the edge and further toward the center of the table. This way, they should be less of a nuisance. I welded a suitable tube into a square base plate and created a simple cable entry.

Then both were embedded in the table. Then the lamp was inserted.

And on the side with the airbrush booth and ultrasound. Unfortunately, two of my organizer cabinets had to be removed. A small price to pay for more space.

And here you can see the result.

I opened a ruler to 1400 mm and placed it between the two. That should work now. The Iowa or the Yamato can dock.

Now I can devote myself to Mikasa again.

11 Likes

That is certainly going to be an impressive size …. I never realised how long they both were :+1:

2 Likes

Oh yes, Johnny, those are two pretty big chunks.
Not too long ago, I had the bare hull of the Yamato lying on my workbench to adjust the size of my next dry dock. And promptly, I bumped into one of the lamps. :confounded_face:
And so I had to take precautions to prevent it from happening again during the construction process.

3 Likes

ooh! really looking forward to watching you build either of those two Jörg :slight_smile:

2 Likes

I think we’ve already covered Barrow Dock Museum’s 1:48th scale Kongo
But in case we haven’t:


Ship Model of HIJMS Kongo, 1911 at the Dock Museum, Barrow in Furness - YouTube
:smiling_face_with_horns:
M

7 Likes

You’re so mean to me, M.:pleading_face:
Joking aside, I humbly bow my head before this giant, beautiful ship model. :heart_eyes:

1 Like

It’ll be great to have you on board again when the big things come, Russ. :hugs:

1 Like

My big towers took a little longer, but they’re finished.
So here’s another little update today.

Into the barbettes. With their wedge shape, they could still win a design award today, I think.

And towards the rear. Its unusual shape is truly impressive.

This completes the main armament and I can now focus on the bridge.

The Mikasa looks so cool from the front.

11 Likes

Just teasing… :smiling_face_with_horns:
It’s a pity that the only injection-moulded Kongo in this format is the 1:700th kit from Kajika, as it would make a nice follow-up/companion piece to Mikasa. They were from the same builder and the same yard, although in the succession they were divided by Katori. Unfortunately it’s not possible to backdate a WW2 version as the hull had been bulged and lengthened by 26 feet near the stern. But one can hope…

Cheers,

M

1 Like

Don’t forget National Maritime Museum in Greenwich has the 1/48 scale builders model of HMS King George V :grin:

2 Likes

Very impressive, but not as pretty as Kongo, IMHO… 1:48th seems to the (gold) standard for these naval builders models. One odd thing I noticed about the Kongo model is the searchlights are at maximum elevation; then I realised this must have been done post-WW2 by someone who associated searchlights with air-raids! Barrow was hit pretty hard and not all of the town’s museum exhibits survived as well:
Furness Railway steam locomotive ‘Coppernob’ 0-4-0, No 3, 1846 | Science Museum Group Collection
Coppernob: A Victorian locomotive blasted by war | Curator with a Camera
Incidentally, it was not just warships that got this treatment. As a child I can recall the local library (before it was savagely “modernised”) having a couple of glass-cased models of humble Coasters on top of half-height book cases, and more half-hulls on plaques on the wall; as I recall the cased models matched the large models under discussion in detail and quality of build, and I suspect were constructed to a similar scale.

Regards,

M

2 Likes