I know, Tom, that we’re just teasing each other. 
I think both ships are great. And it’s a real shame that there are so few from this era in my 1:200 scale.
I would love to build a Braunschweig-class battleship someday. But that will probably remain a dream, or scratch.
2 Likes
Just a quick snack at my shipyard today.
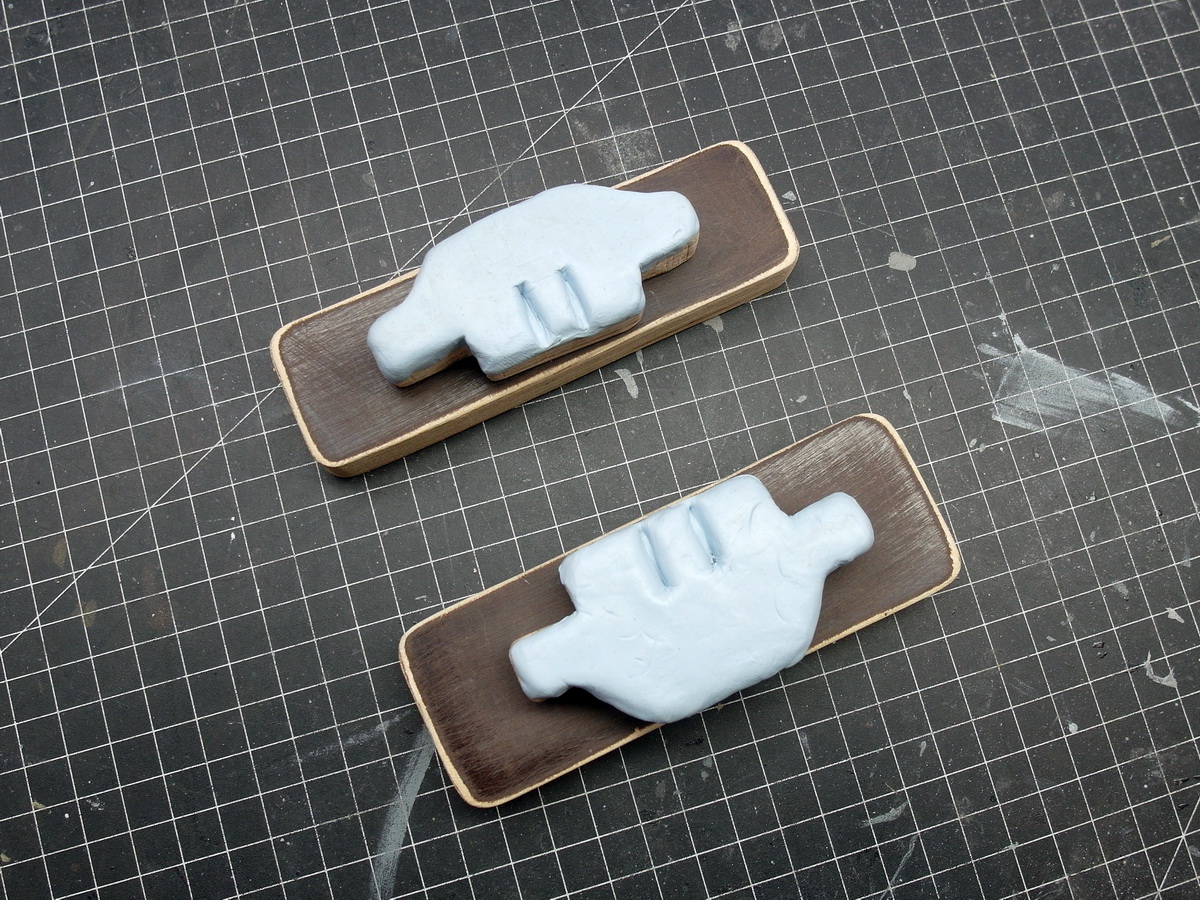
Before I start on the bridge wing and the wheelhouse, I wanted to make a few neat handrails to simplify and make things safer.
For this, I made small, custom-made handrails out of a multiplex board.
Then cover the surface with BluTack.
And the two components were placed on top.
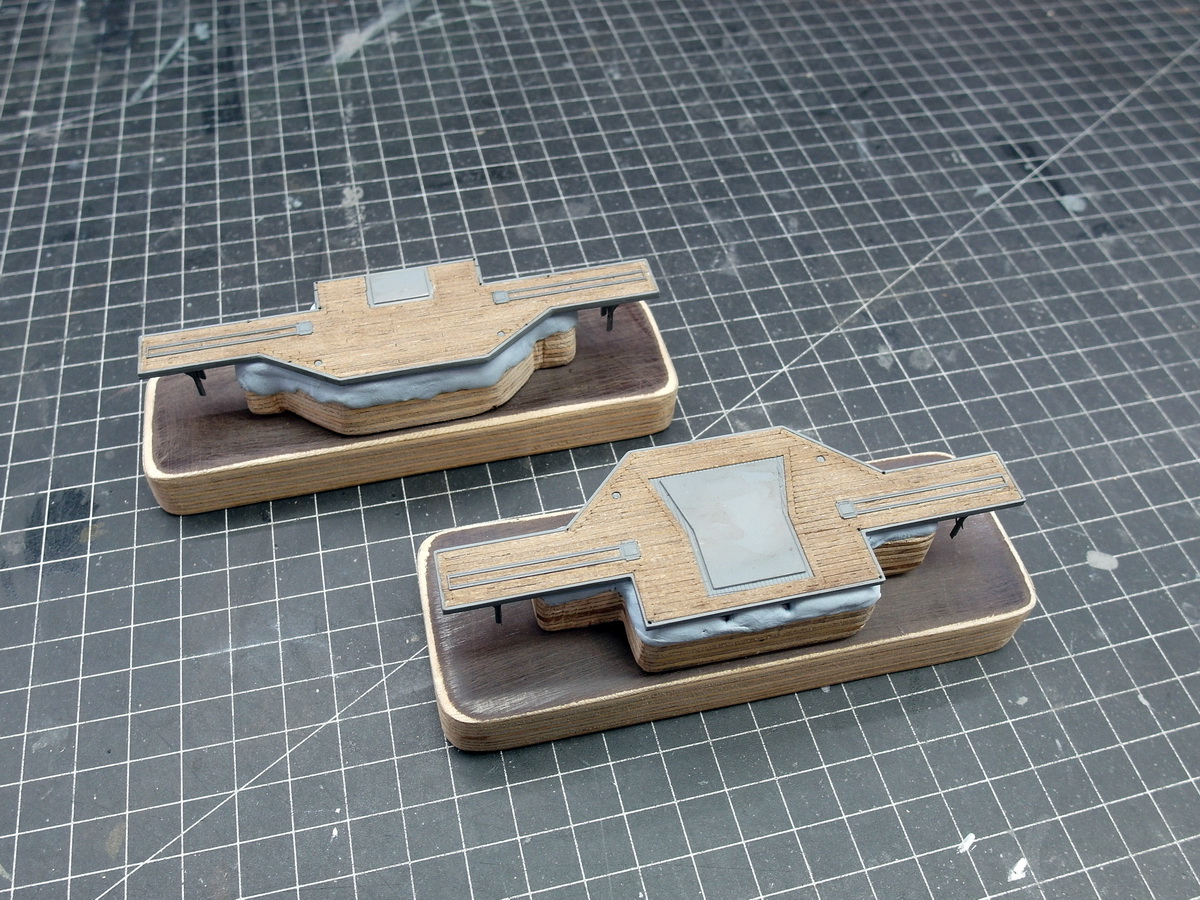
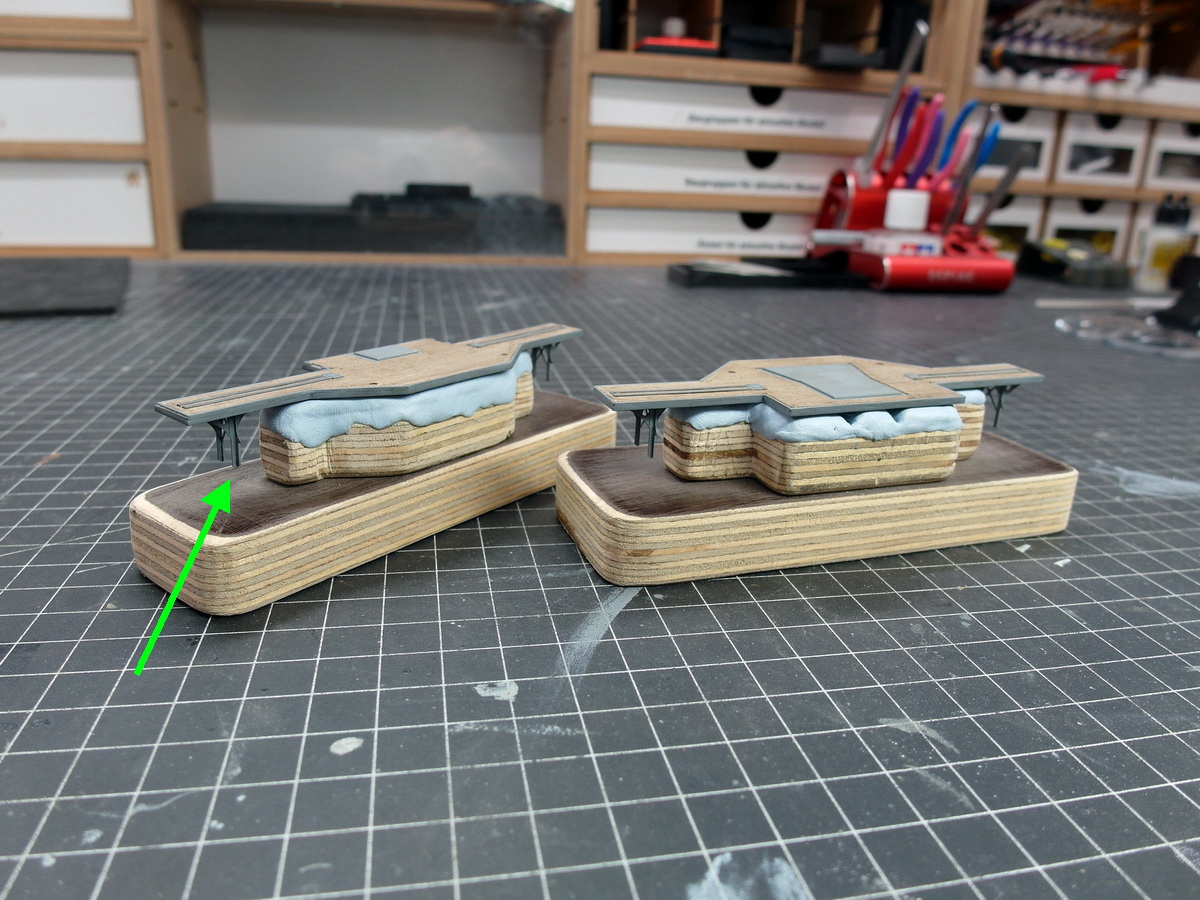
Now I can work on them properly without having to worry about tearing off the outer support struts again.
I always play it safe whenever possible.
That’s how my workstands, which I like to call dry docks, came about.
By the way, if anyone is interested, I’ve created a short construction guide on the IPMS website.
Dry dock
12 Likes
That drydock tutorial will be very helpful for other ship builders I imagine… very thoughtful of you 
3 Likes
Very much Johnny.
I don’t have too much to report today. I’m finding very little time for model building at the moment, and I’ve had to rethink and implement a few things.
First, the ingredients for the next construction phase.
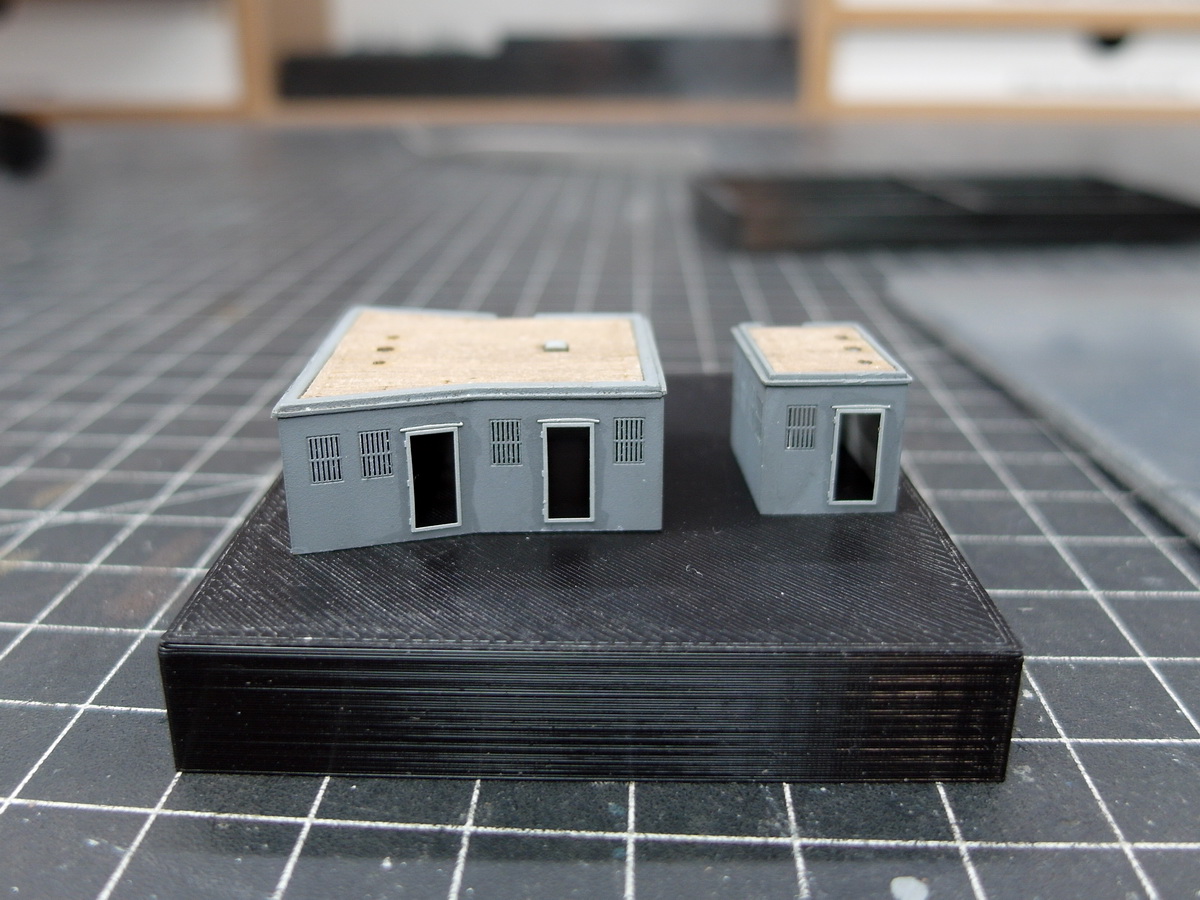
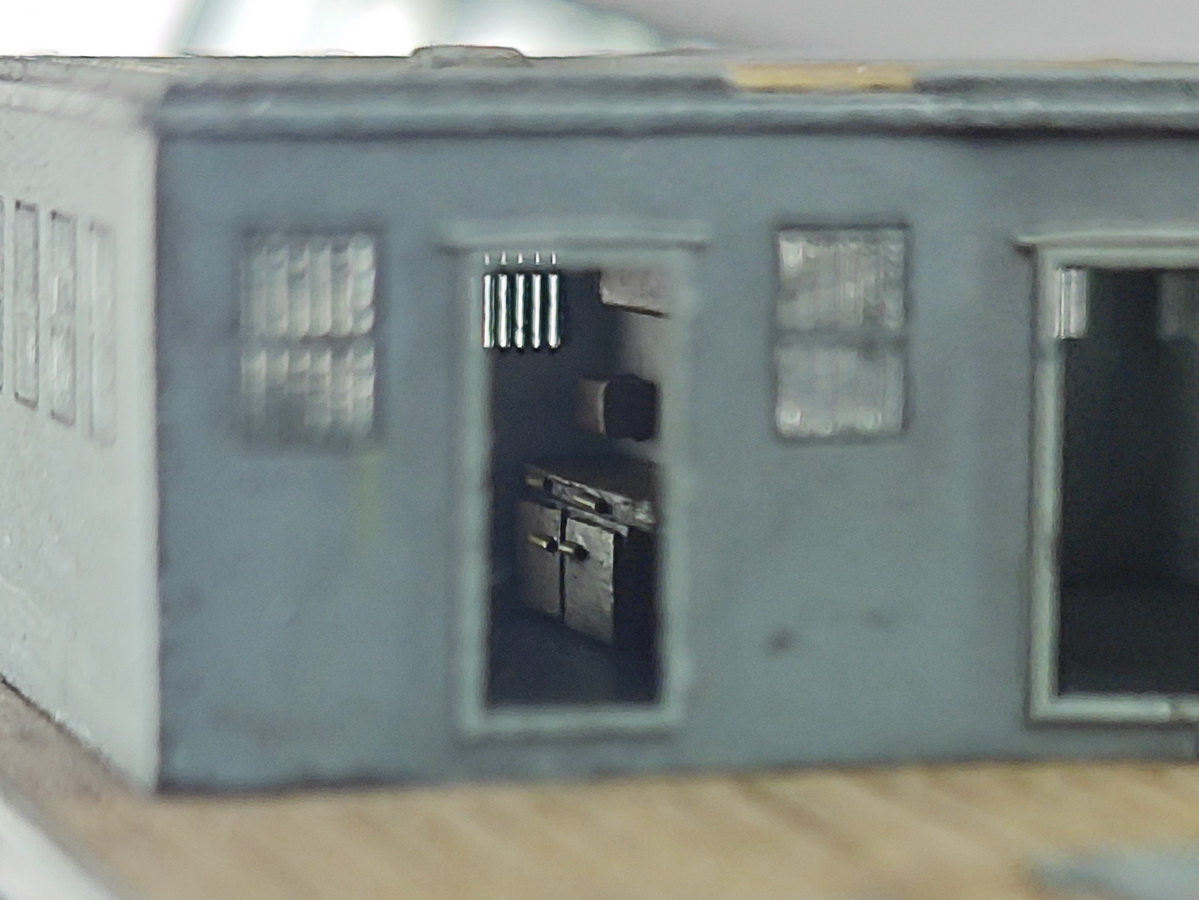
First, the door frames were installed. These were painted with a slightly lighter grey to increase the contrast.
The partition wall and interior fittings for the wheelhouse were then made from styrene.
Difficult to capture with the camera, but you can get a sense of the room’s interior. More staff will arrive there later.
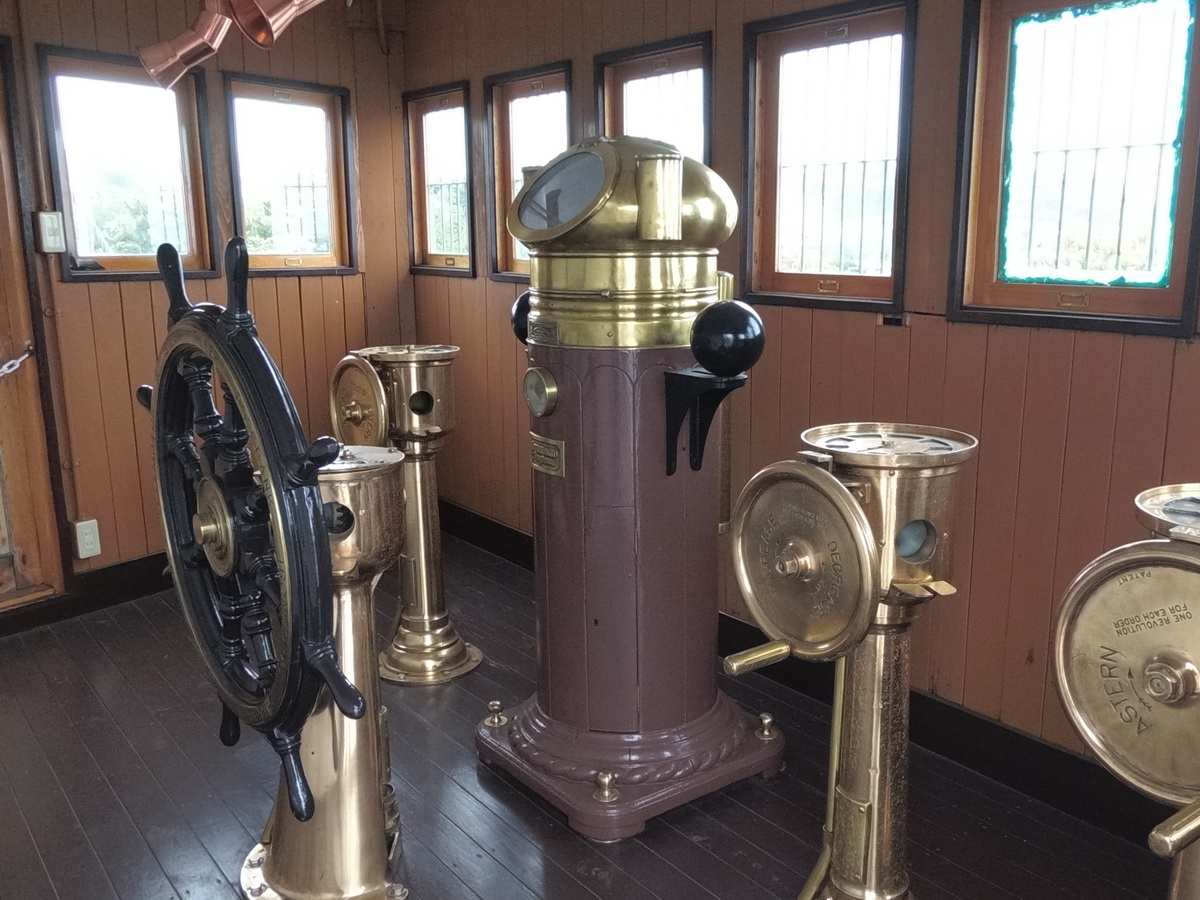
On to the steering rudder station. Here’s another picture of the large compass.
Only the MK1 kit offers anything here. But I didn’t like the way it was supposed to be assembled. The sight glass was simply placed on top of the brass turned part. Unimaginative.
At first, I considered using the part from the original kit. However, I was annoyed by the poorly designed sprue attachment points. Why not just attach it from below? But I couldn’t really warm to that part either. It was too crude.
So I looked at the brass part again and thought, hey, I’m a locksmith and I do have files…
Better…
And here’s a direct comparison. Which looks better?
I think, for my part, the Ka set has won the race again. With a little help from me.
9 Likes
The brass piece looks better after your adjustments on it, but the 2 things on the side look a bit flat compared to the rounder ones on the real thing ?
1 Like
Good eye, Johnny.
The correction balls were also what I didn’t like about the brass part compared to the plastic one. But I’ve already remedied that. I’ve ordered 0.5mm thick steel balls that will replace the flat disc.
3 Likes
Flattened Balls are always a sad sight.

Balls of Steel are much to be preferred.

Cheers,
M
7 Likes
How do I get these images out of my head?!

4 Likes
And sadly mine only exist so that I look sporting in the locker room …
3 Likes
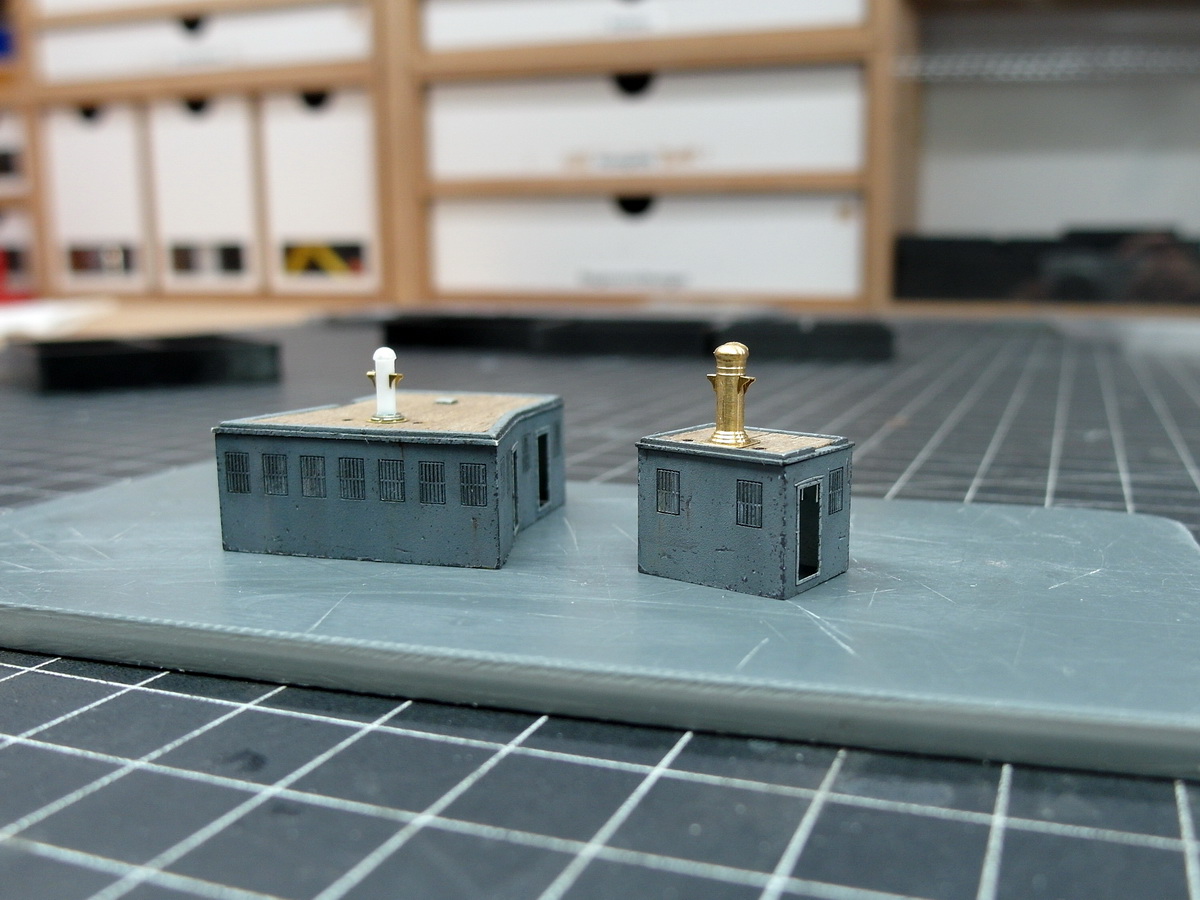
The compass was finished except for the correction balls. I then placed it on the two wheelhouses for a test fit and thought, wow, that’s quite a big piece.
Then, together with a sailor, I placed the compass on a piece of modeling clay and wondered, were they really that big, or did Trumpeter and KA Models make a slight mistake with the dimensions?
The viewing window comes right up to the boy’s chin. And that would mean this compass would be at least 1500 mm high. Probably higher.
I asked in a German forum with some maritime experts whether that could be the case. The unanimous opinion was no.
But I had almost expected and feared as much. But whatever, we’re model builders after all, and we’ll master the challenge.
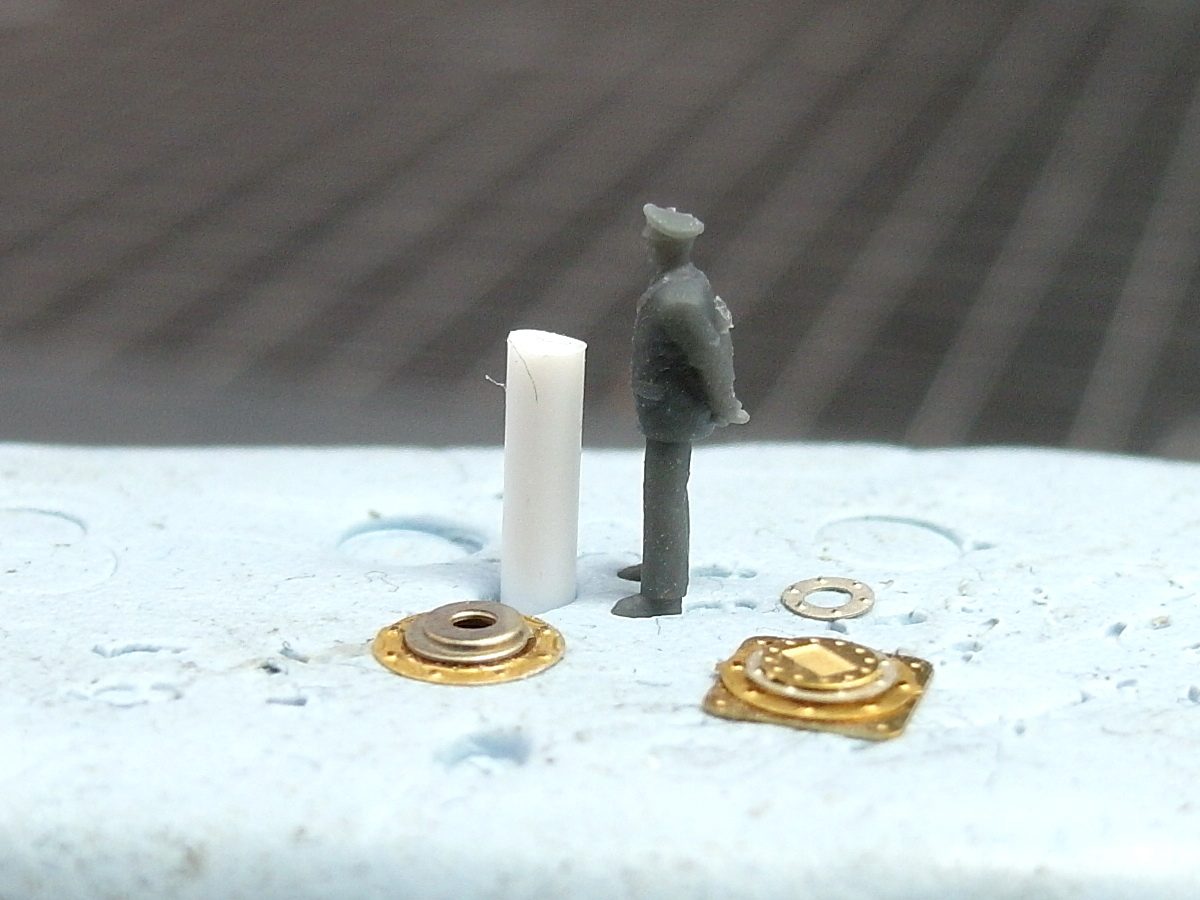
So, I’m starting my compass challenge now. Well, I have plenty of styrene profiles and quickly found the right thickness: 1.5 mm instead of just over 2 mm should be correct. Then I roughly cut them to size to see how they look on a person.
Next to it you can already see the attempt to create a foot from the good old scrap box.
What’s still missing is the compass head. I’ve ordered some more parts online for that. This time, 2mm ABS beads.
They’ll arrive tomorrow, and then we’ll see what’s next.
8 Likes
I measured the compass this morning. I could have done it right away. The result is 8.2 mm. That means it would be 164 cm tall ( 64,5 inch). The diameter is 2.3 mm, which would be 46 cm(18 inch).
So, quite a hefty piece. I don’t think that’s going to work.
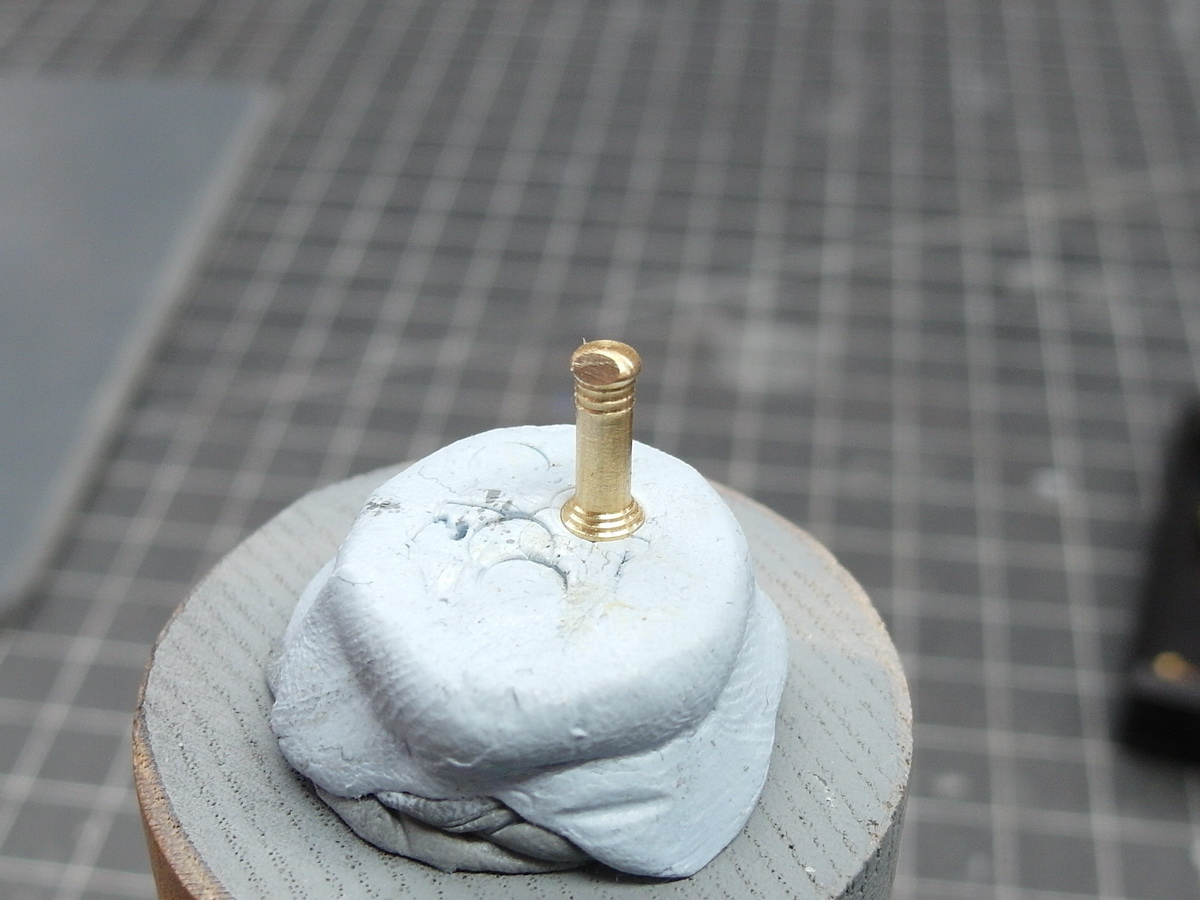
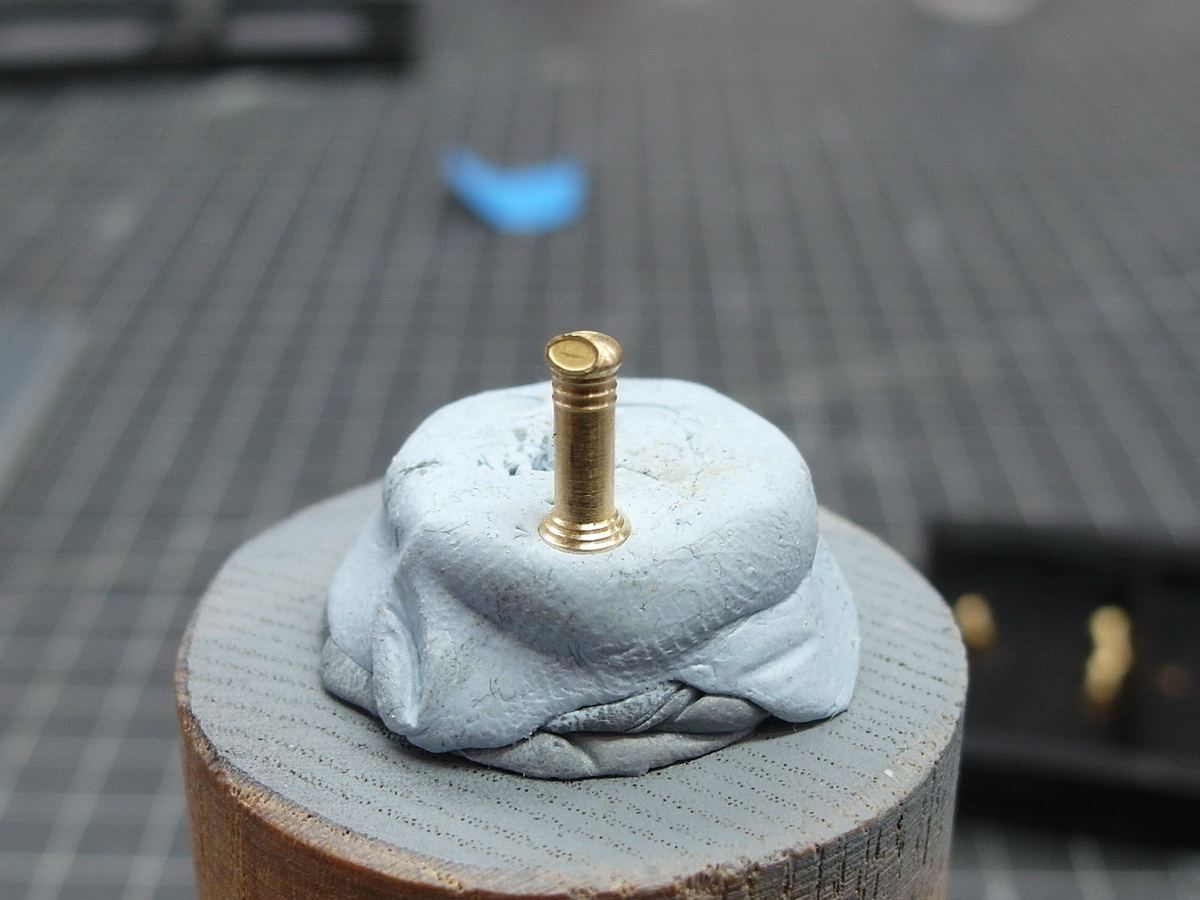
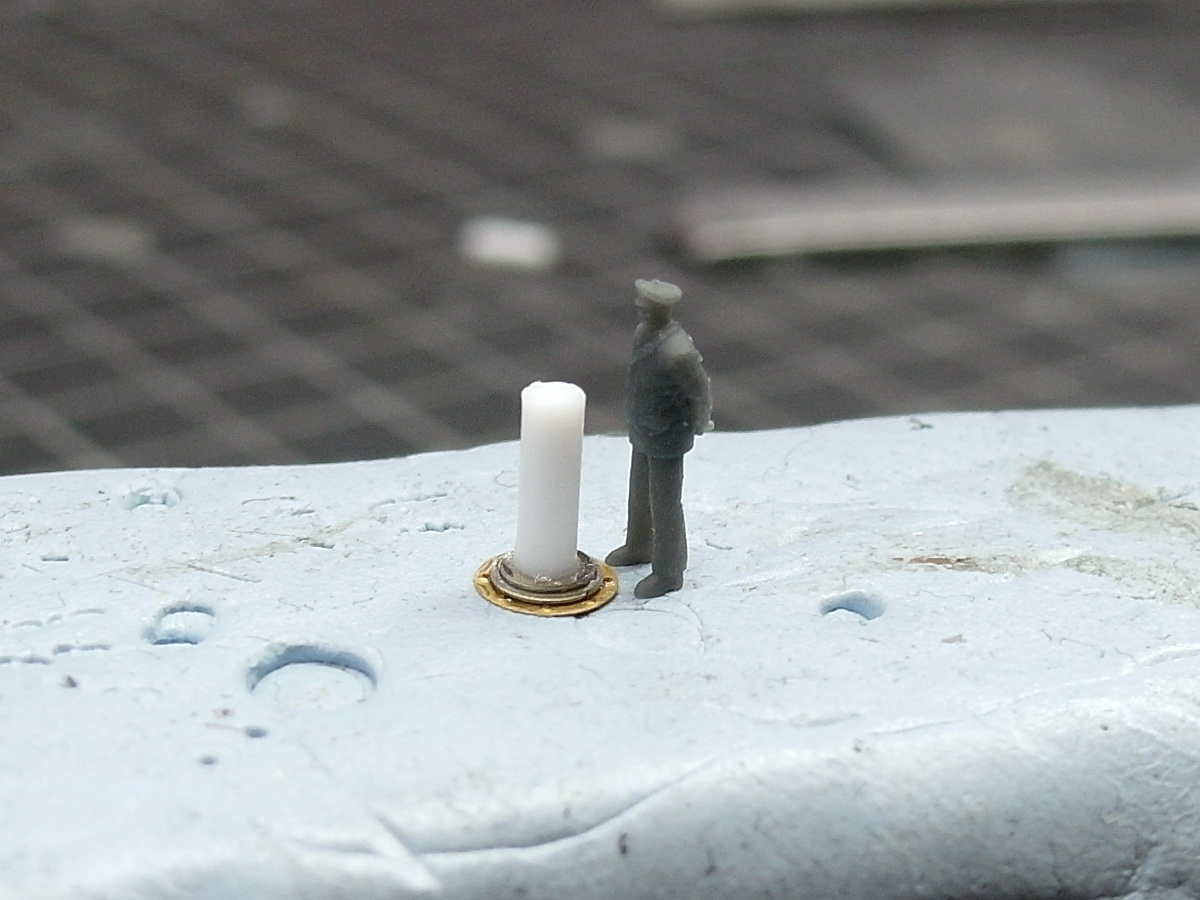
So, I already started tinkering with the new compass this morning. The beads won’t arrive until this evening, but I was able to take care of the base.
I think it looks a lot more authentic now, both in height and diameter.
7 Likes
Jörg, I think you are right about the binnacle being too high. And I applaud your integrity in taking the trouble to correct something that, in the end, won’t even be all that noticeable. I understand, though… you will know, and that’s enough!


2 Likes
Thanks so much, Tim, I really appreciate your feedback. Because that’s exactly it, I know it. And when I look at my finished model, where do you think my gaze will fall?!
2 Likes
I hated the brass one anyway
3 Likes
You’re so funny, Johnny. 
So, I’ve finished my first test compass. A few things are still missing, like the compensation spheres, since it’s just a prototype. The acrylic beads are quite easy to work with. It’s just rather difficult to hold them steady while cutting them. But it worked.
And here it is, primed. Now you can really see if it turned out well.
I think the compass looks quite good. It’s just a prototype; it can be made a bit more accurate. But now I’d like to show you a picture of what actually triggered my compass crisis.
When I placed the huge thing on the small wheelhouse at the stern, I thought to myself, something’s not right. That’s why all the fuss.
So for now, I’m just glad I’ve found a solution. I’m actually still considering making it half a millimeter taller so it reaches halfway up the window.
I’ll think about that tomorrow.
7 Likes
Lovely work there. Looks so much more in scale now. Its surprising the brass one was so over scale.
2 Likes
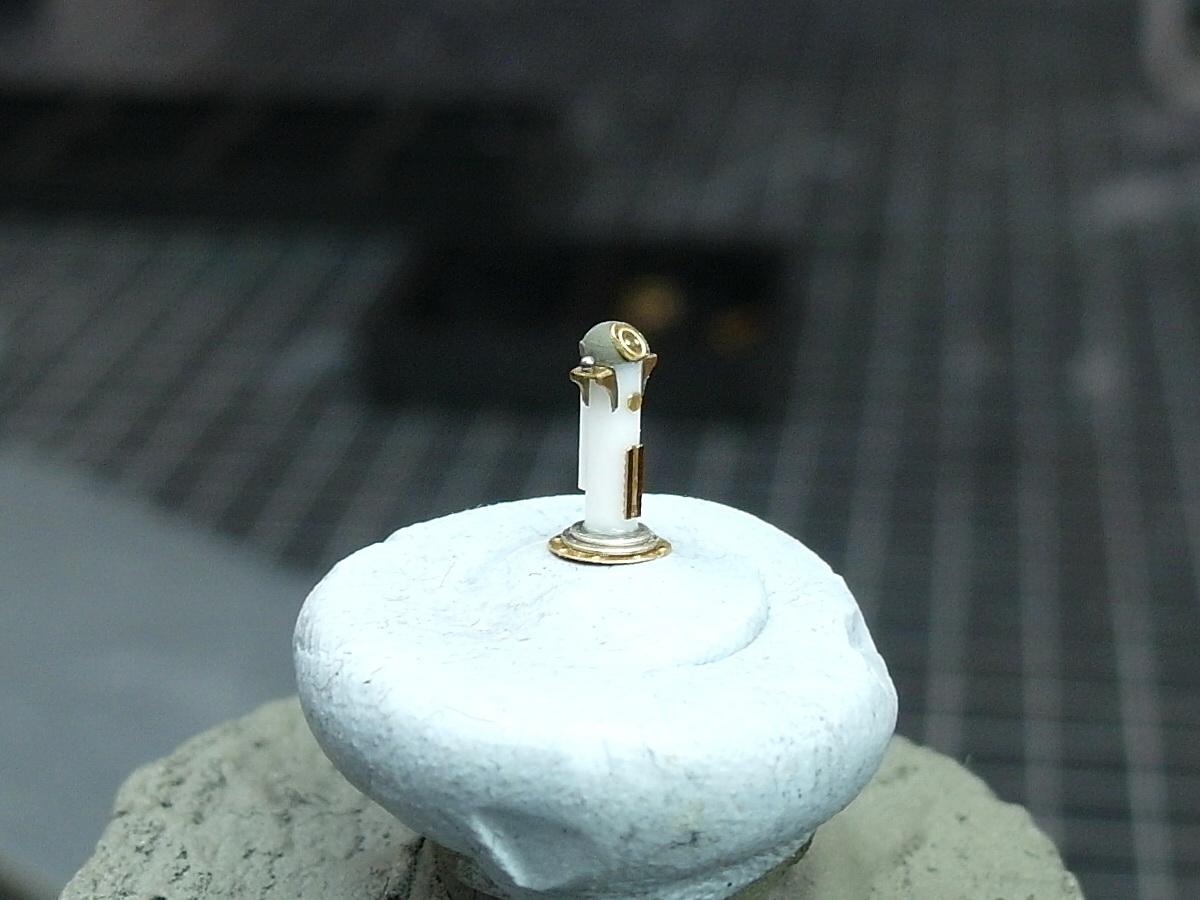
Perhaps this painting will be of some help ?
5 Likes
Thanks, guys.
@Johnnych01
I was also surprised by the disproportionate size of the MK1 compass. I have to say that I’ve already found several inconsistencies with KA Models. Pontos also makes some mistakes in their research, but KA takes the cake. Given the sheer number of parts in such a conversion kit, though, that’s not surprising.
@RDT1953
Excellent point, Richard. The painting depicts Admiral Tōgō aboard the Mikasa during the Battle of Tsushima. It’s interesting to see that the compass reaches approximately to his chin. I’ll represent that height in my Scratch model as well. The one you see here is still the prototype.
5 Likes
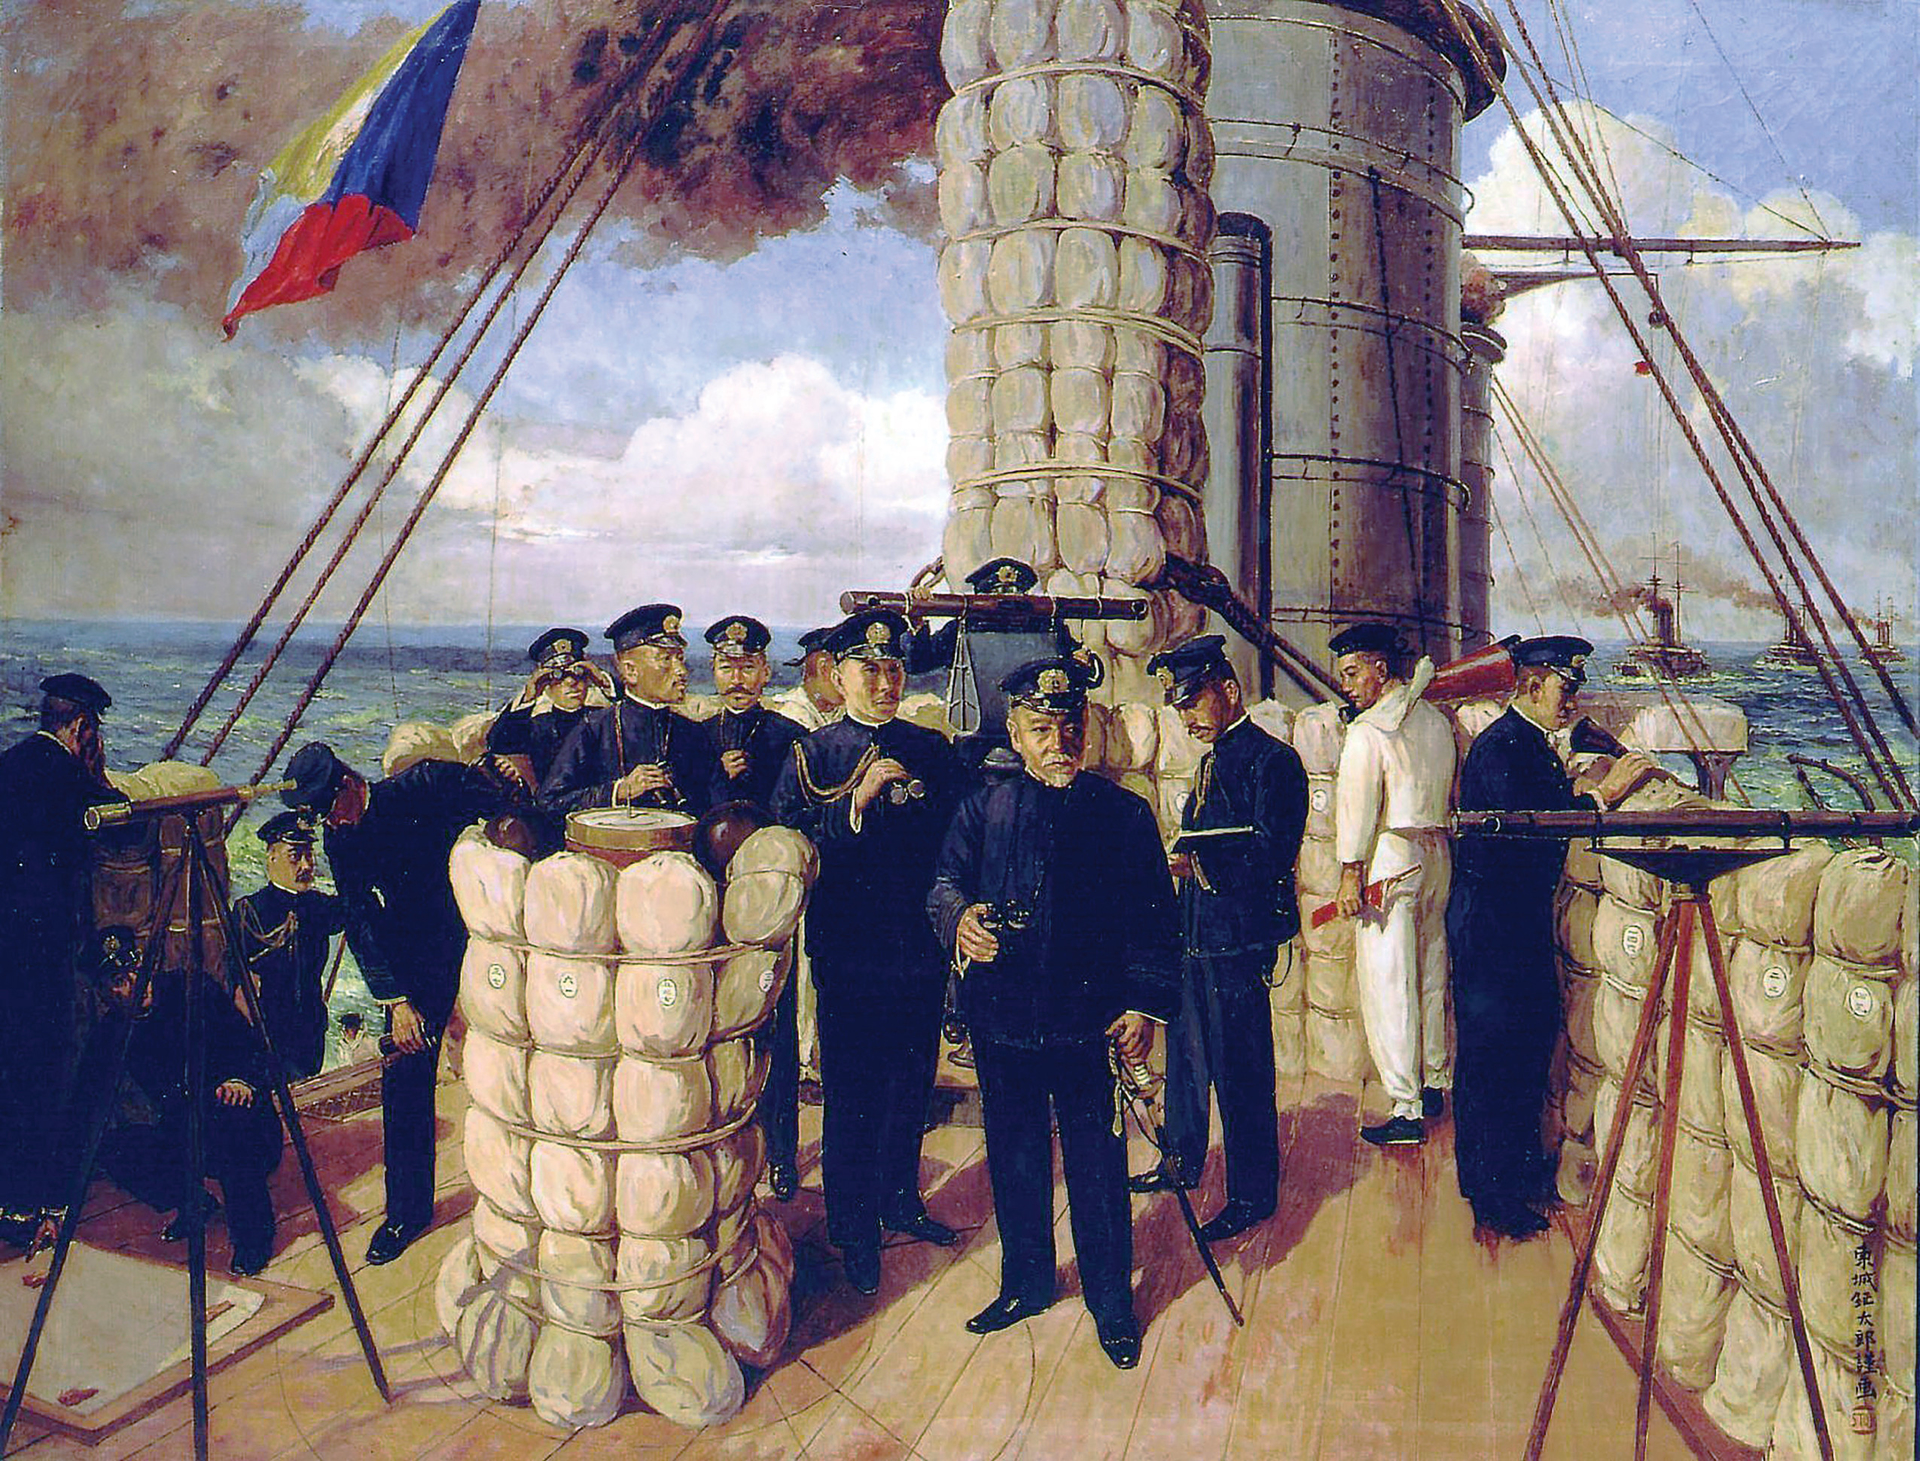
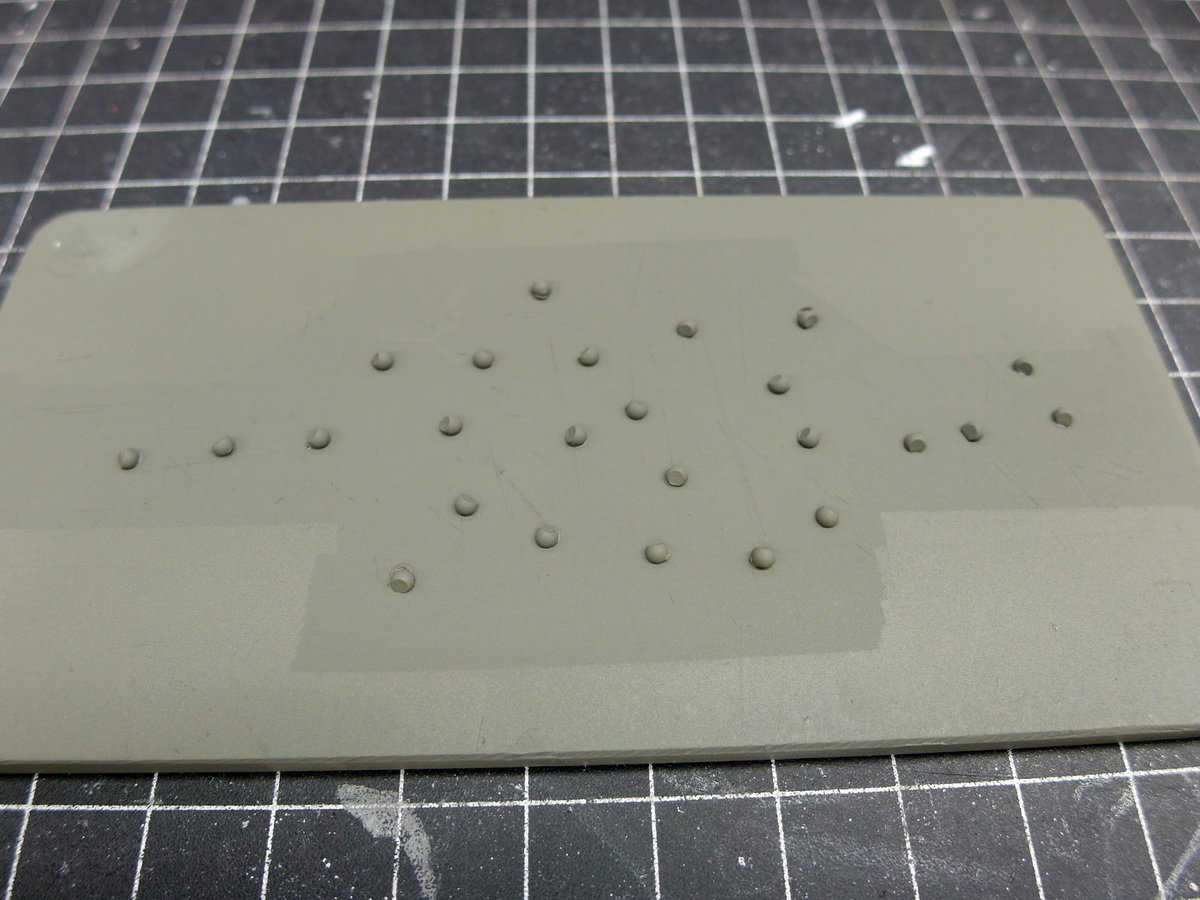
So, on to the final stage of construction.
First, cut the acrylic beads into shape. With thousands of beads, it’s okay to produce a little bit of waste to get the best possible result.
After priming, you can easily select the best ones. The ones on the left were my favorites.
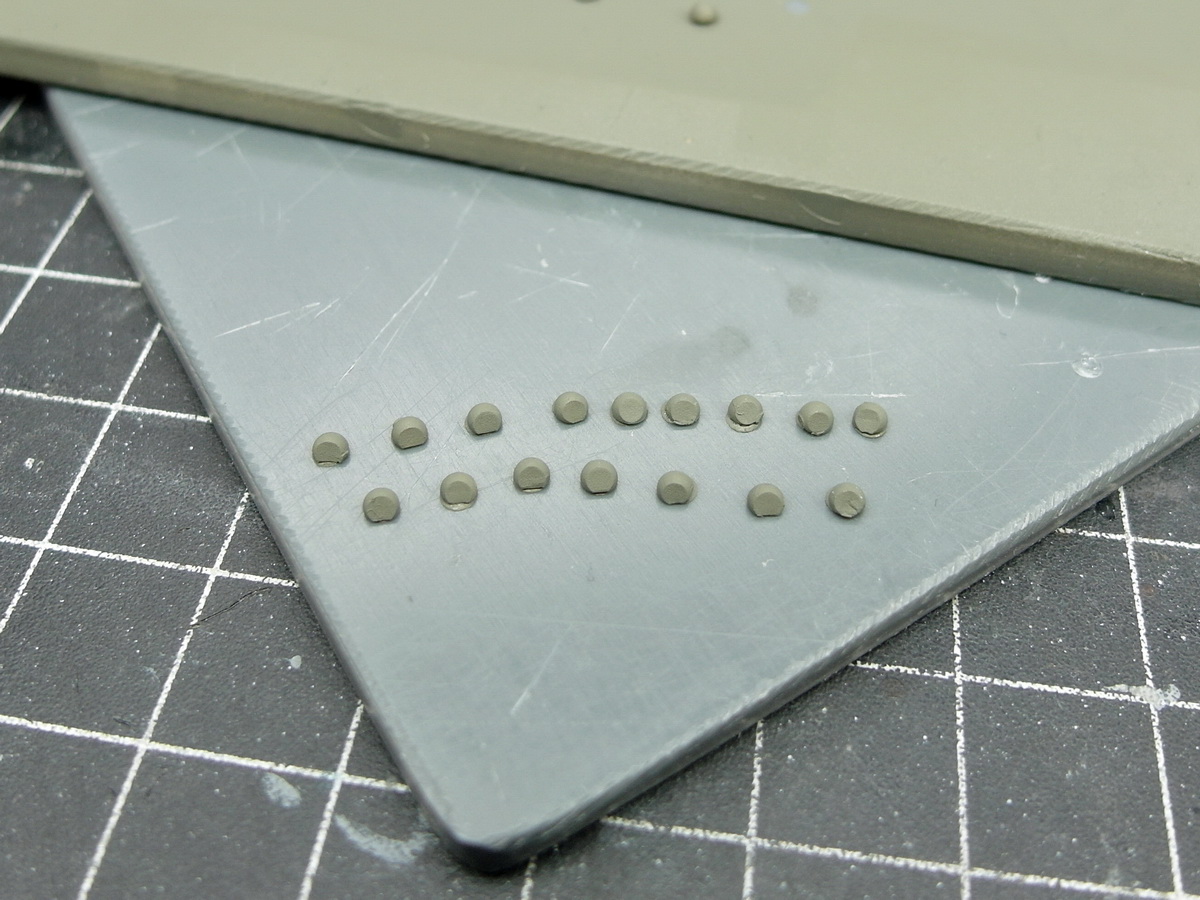
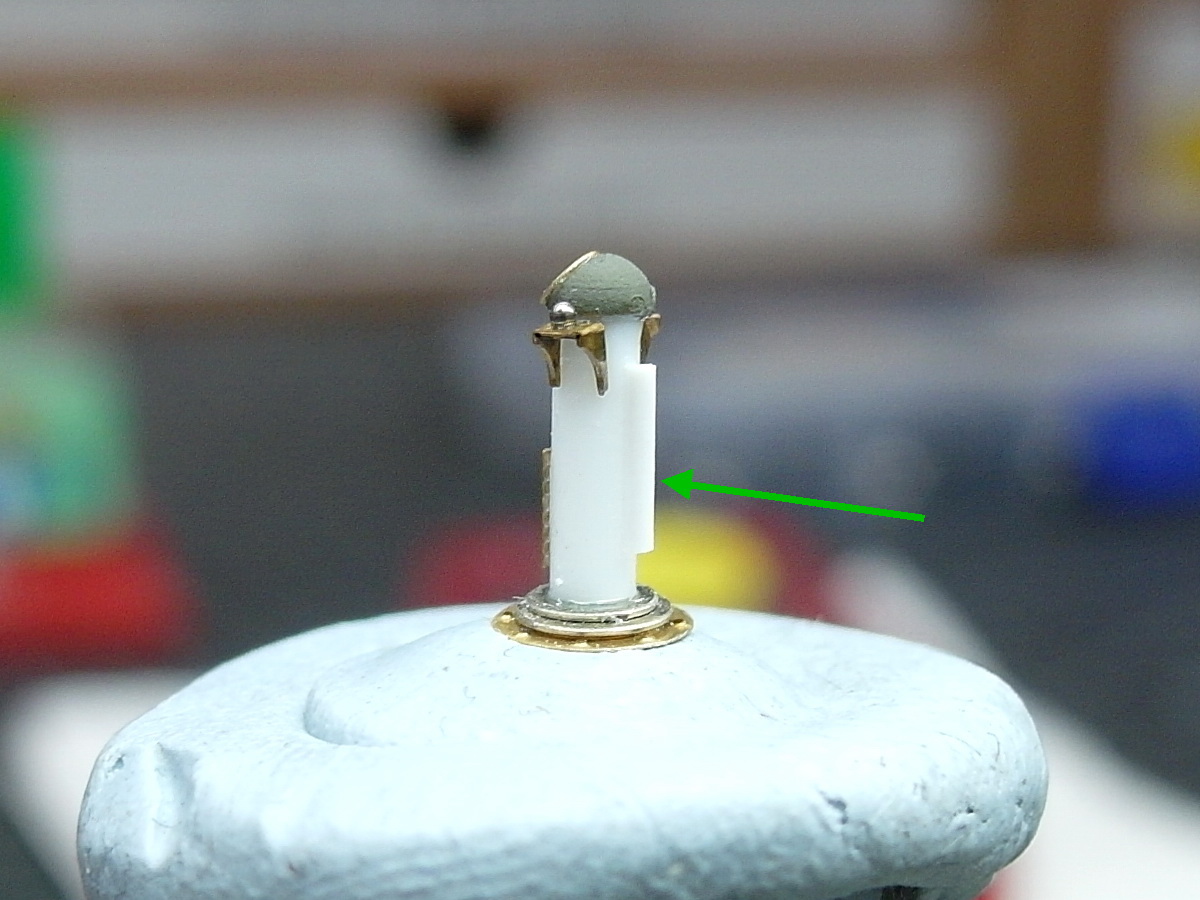
I’ve since received several photos of various column compasses from friends or found them online. Some of them have a flap over the sight glass. I’ve recreated this feature because, in my opinion, it looks more authentic than trying to depict the glass itself.
Then I often saw a round inclinometer, which I replicated with a tiny brass plate. There was usually a maintenance hatch underneath.
Finally, I attached a vertical tube, which is also found on some compasses. I don’t know its purpose, though.
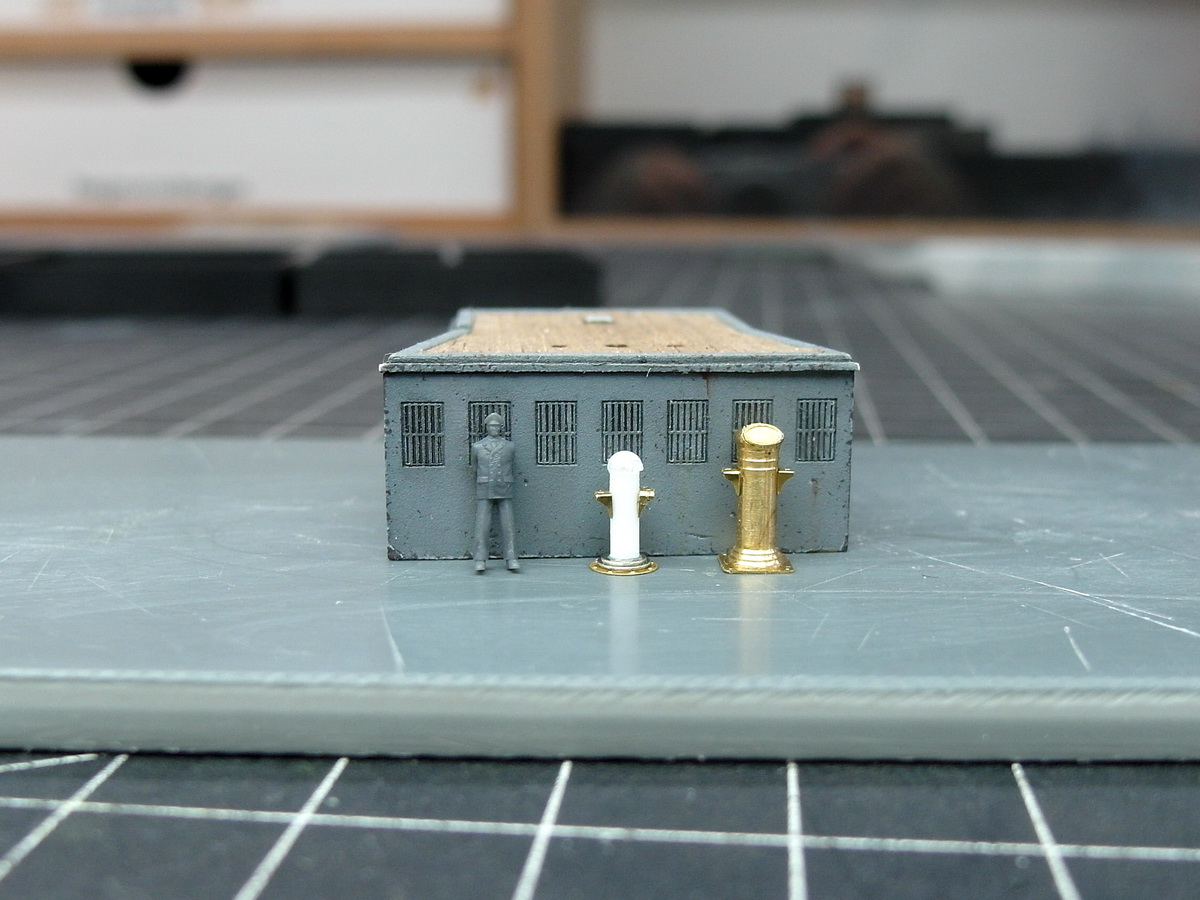
And with that, the first compass is finished. Now, the obligatory size comparison with the figure.
I’m satisfied with that now. I just need to make three or four more.
I don’t know if there was a compass inside the small wheelhouse. I can’t really imagine there was, as the cabin would be quite full otherwise. I think it was just on the roof, right?
8 Likes