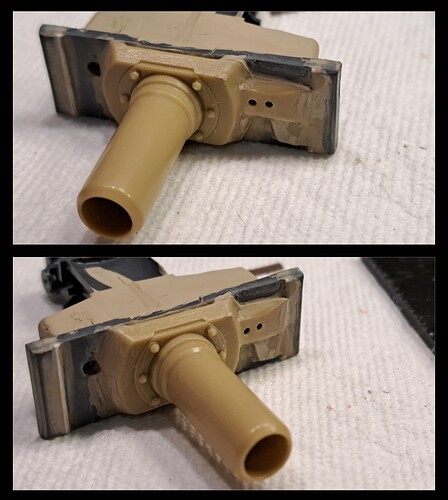
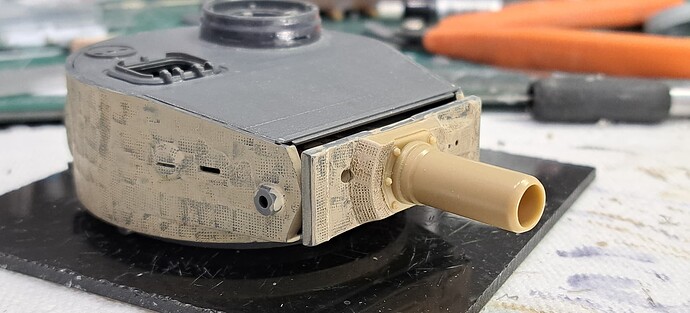
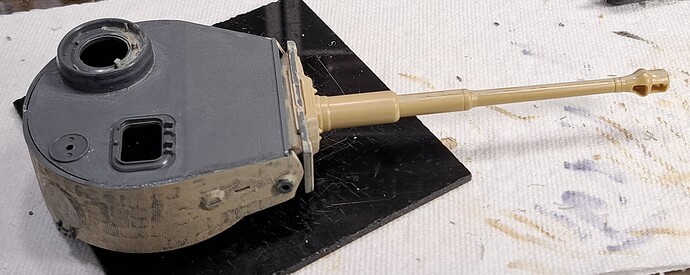
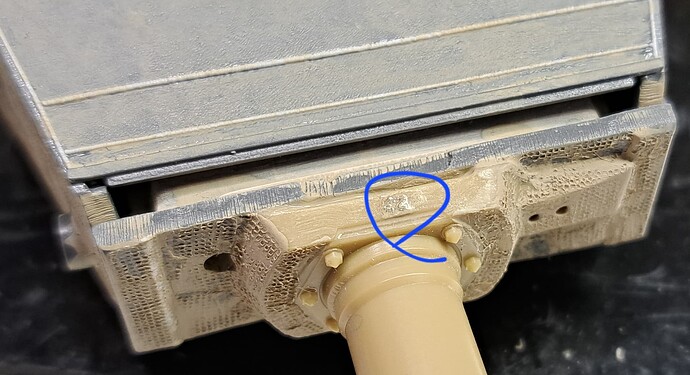
Wade nice work! The broken manlet looked like a shell went off in the breech or it was hit with a soviet 152 mm shell. VBG
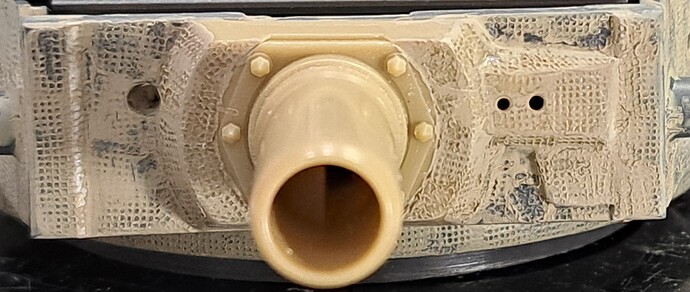
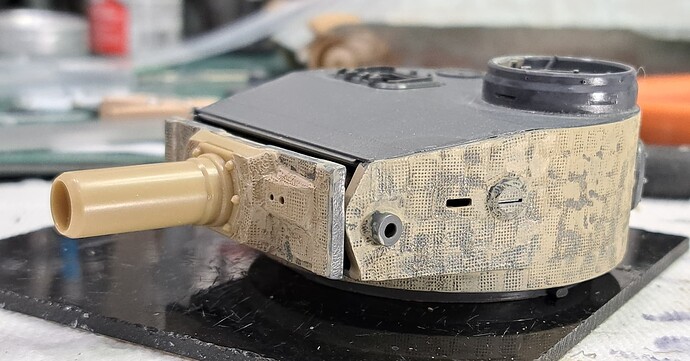
Still needs touch up but it’s all bonded together.
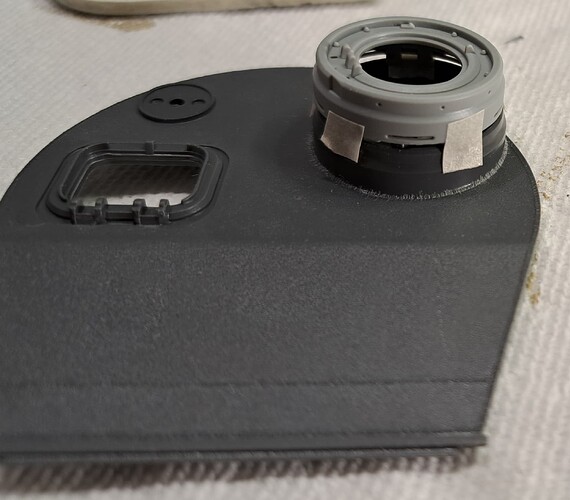
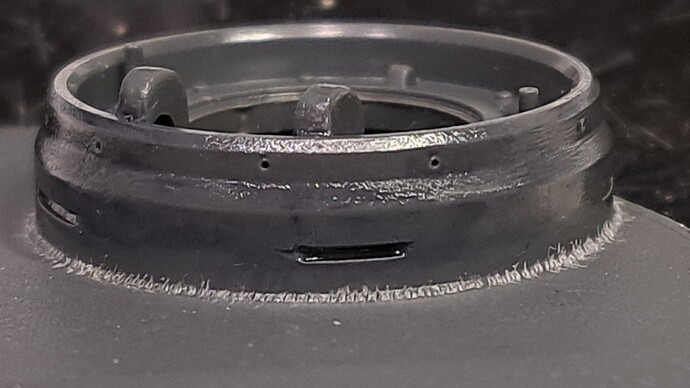
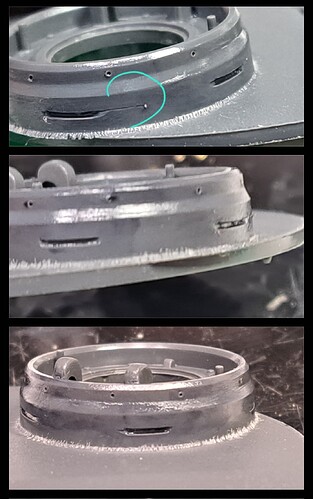
Ouch! The kit part doesn’t have vision slits!
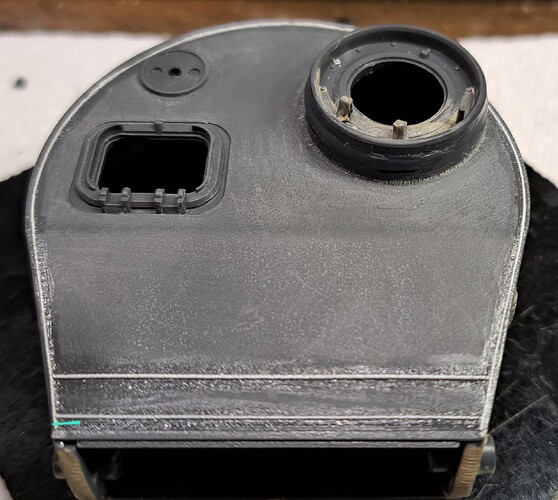
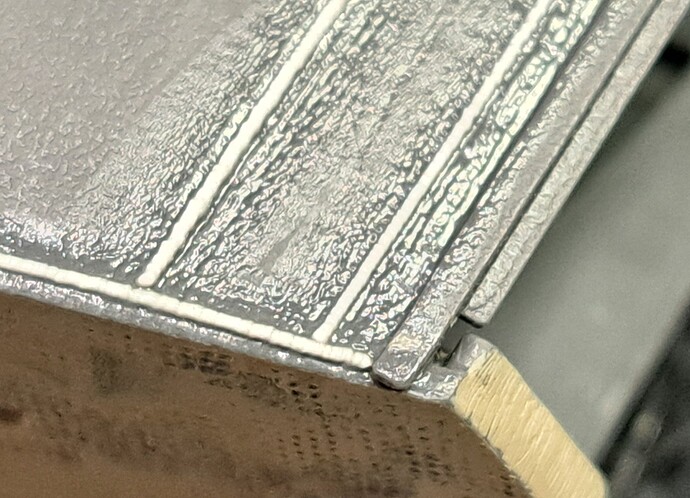
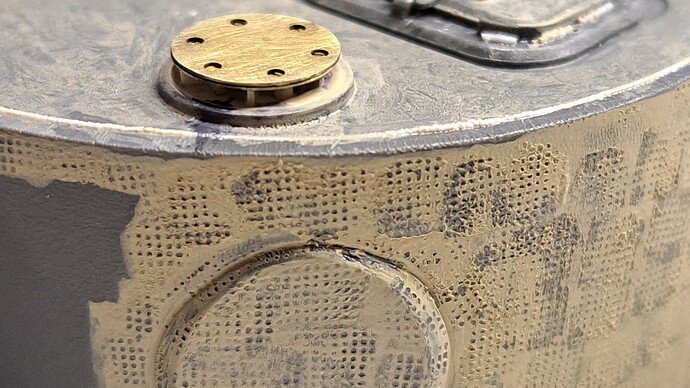
Reworked on the cupola to turret roof weld.
Will have to add rain drains.
Real deal…
And you did all this why?
Matt,
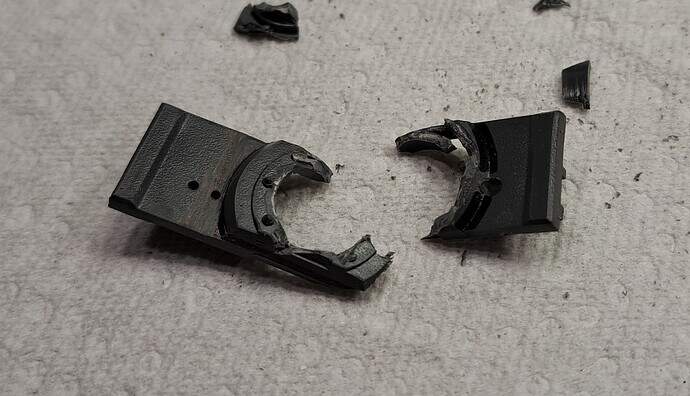
I didn’t like the face of the 1970’s kit manlet, too flat, not reinforced. By ~March 1943 the reinforced gunners vision block binocular versions were being used. While I don’t know “218’s” manufacturer date, for model build purposes, I’m using March to May 1943 as my guideline.
I thought bonding the two manlets together would be faster than making new face work for the 1970’s mantlet. The 1989 mantlet was too marrow by a couple of millimeters. Adding to the outside edge made the sides too thick and it would have looked wrong. The rear of the 1970 seemed easier to fit to the turret with less hassle.
The older early Tiger’s plastic is harder and brittle. I made the mistake of snipping too big of bite and one side broke. Took small nibbles afterwards but not small enough and the other side popped. Luckily the broken parts didn’t fly into oblivion.
I’ve got to give you props for that Wade that’s a hell of a lot of work and a beautiful save!
Thank you, Matt.
I made a serious mental mistake after wrapping the hull a few days ago. This build “feels” like it’s fought against me practically every step. I thought getting to the turret was the home stretch and probably not going to have additional nasty surprises.
I was very wrong obviously with the mantlet mishap. However, the molded in cupola may prove a Chernobyl like opportunity for disaster.
- The hatch hinges need reworked. (red)
- Have to drill ~9 rain gutters (blue)
- Have cut five vision slits (orange)
There’s a spare cupola or part of one in one of the stash Dragon kits with most of those details.
The drain holes are equally spaced, divide the circle into 10.
David
I’ve always liked this kit. It has an awesome Dragon Card with also sorts of multimedia goodies, PE & magic tracks.
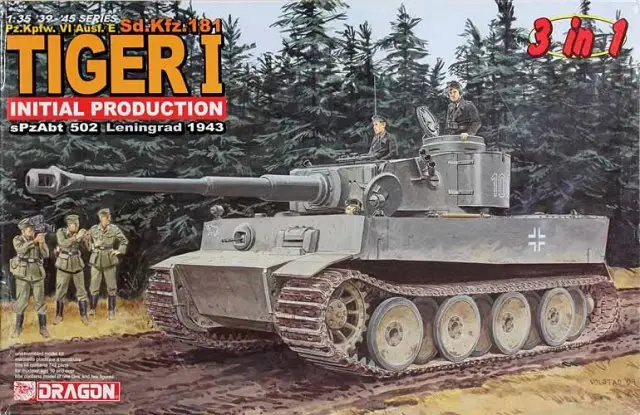
It’s providing a cupola to use as a guide.
It’s a nice in the ball park guide to vision port and rain gutter placement.
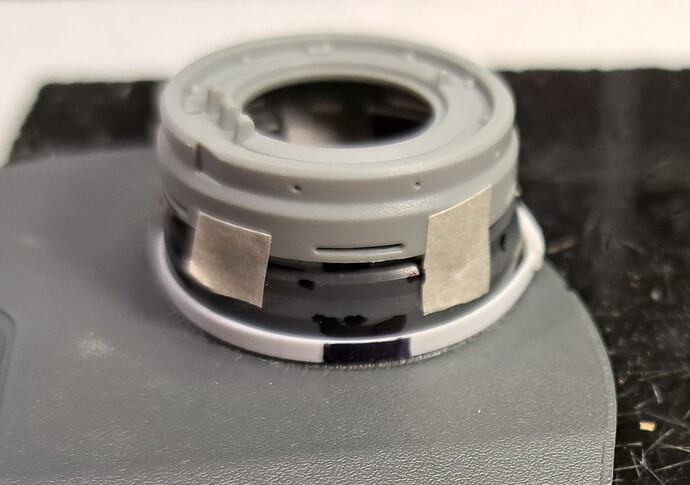
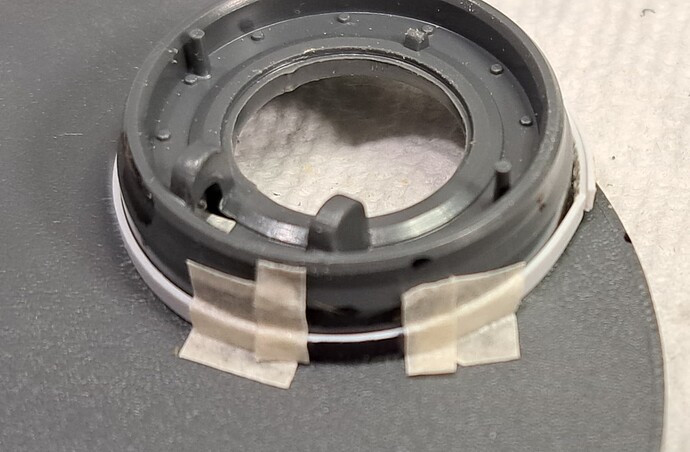
The top of a Tamiya Extra Thin cement bottle is almost the same diameter as the old Tiger’s cupola. Made a scribe guide and marked it to approximate vision slit length.
Marked
Fixed guide in place before attempting scribing.
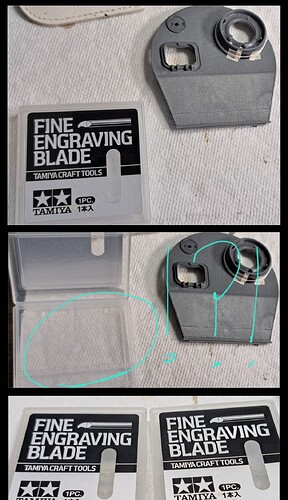
Reached for the scriber bits and got a rude surprise ![]()
![]()
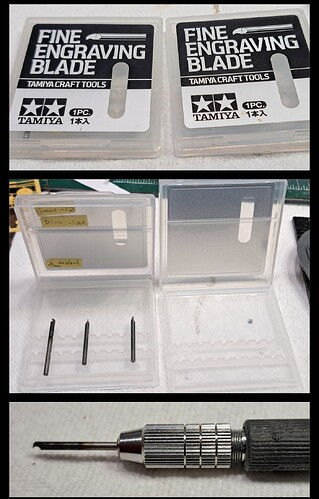
Hour later found the other case with the bits.
.5mm bit mounted in Tamiya pin vise. I wanted a one shot solution rather than do a .2mm guide line and repeat with the .5mm
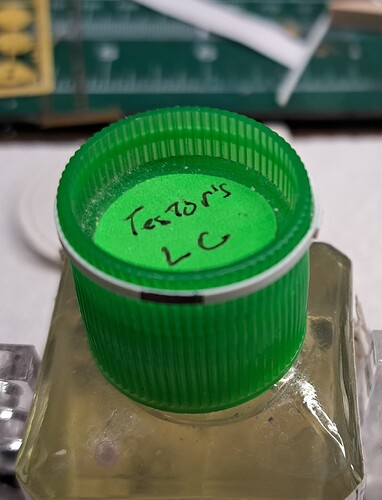
Rolled the dice…results after a light coat of Testor’s Liquid Cement.
Hand slipped once but that should be fixable.
Edit
David, thank you. I’ll add one additional rain gutter near the hatch hinges
Removed excessive rough texture, removed kit welds and added styrene strip for weld seams. The lower weld ended up slightly too high and should be lower.
Couldn’t get a better focus on weld texture.
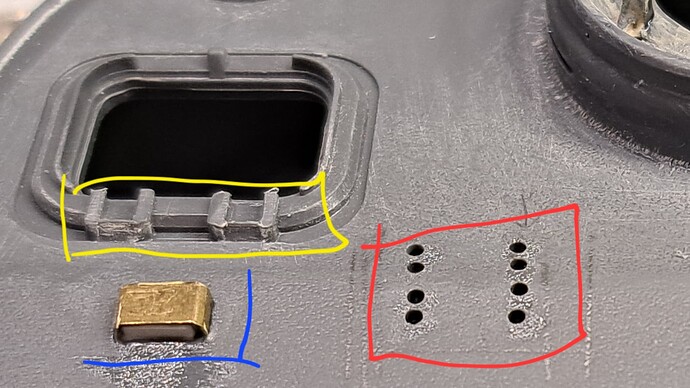
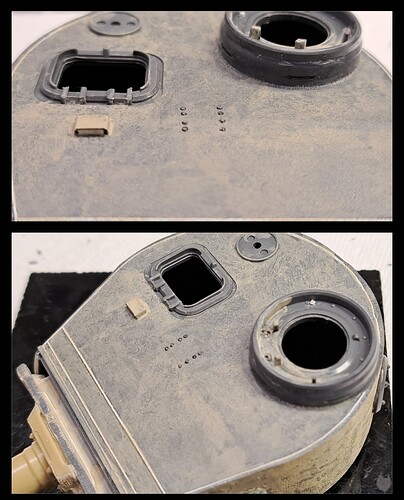
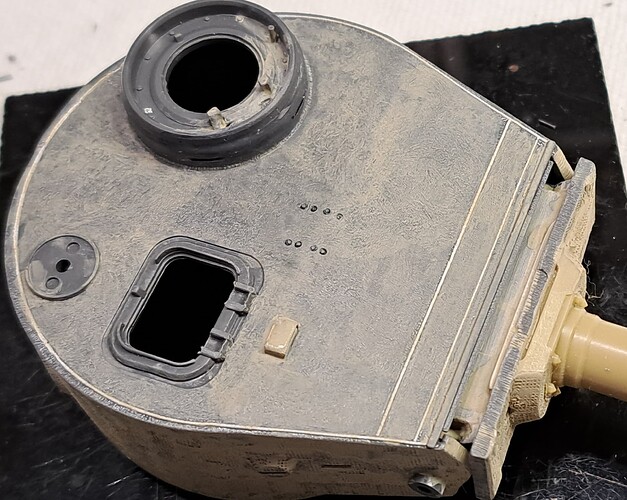
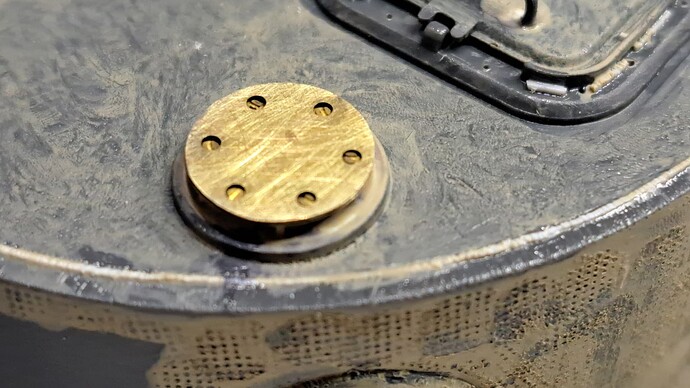
Chopped the hingle tops (yellow) as they were more than 2x over sized. Found a random PE part in the spare parts bin that made a decent loaders periscope (blue) cover. Styrene strip used for the periscope. Eight recessed bolt holes (red) added on turret roof.
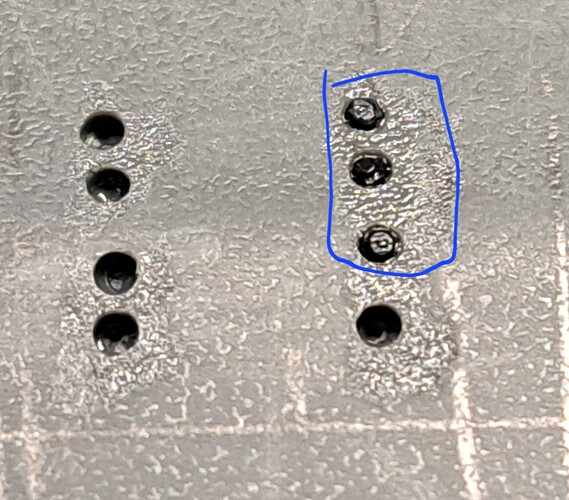
3 Grandtline bolts added…
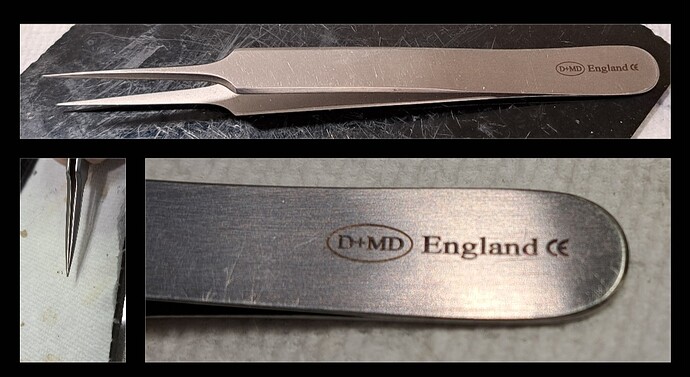
Sidebar…easily the very best tweezers for small parts I’ve used. Lightyears better than Xuron, Tamiya, Xacto etc for small parts. Check out the precision hand ground tip. All eight bolts placed with zero tweezer launches.
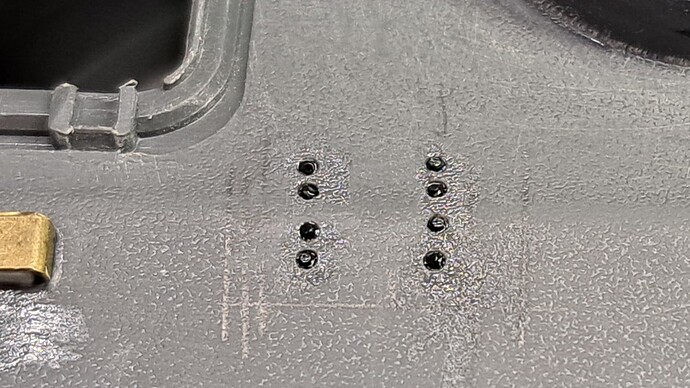
Bolts in place. They should be completely counter sunk but for detail and highlight purposes, I wanted them slightly raised.
Retextured turret roof.
Edit - learned the bolt details are incorrect, see below for clarification of correct detail & picture.
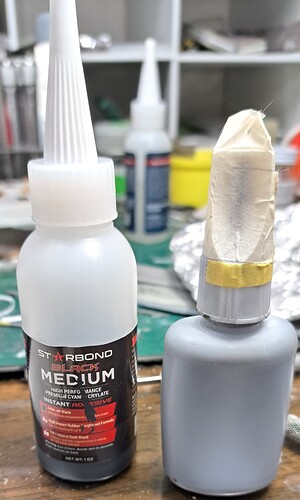
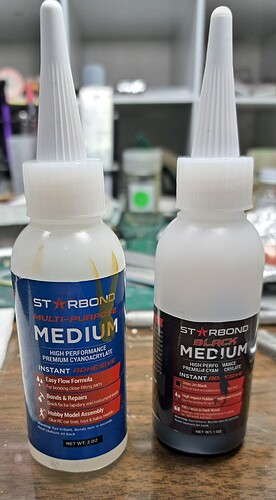
Edit - New bottles from StarBond arrived. The small bottle of StarBond Black is 4 years old and still good. The cap finally cracked from the frequent used. Rather than replace the StarBond Black with new CA, I just replaced the bottle and moved the label accordingly.
I find StarBond amazing as I’ve never had a bottle of other brand CA’s last six months. Some might says that’s a fluke. I don’t think so as my other bottle of StarBond CA also required a new cap and is also four years old and still going strong.
^^^ I think the song is about things that make you suspicious not things that make you happy.
Ready for a fun ride?
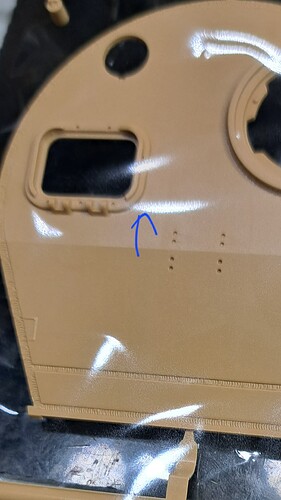
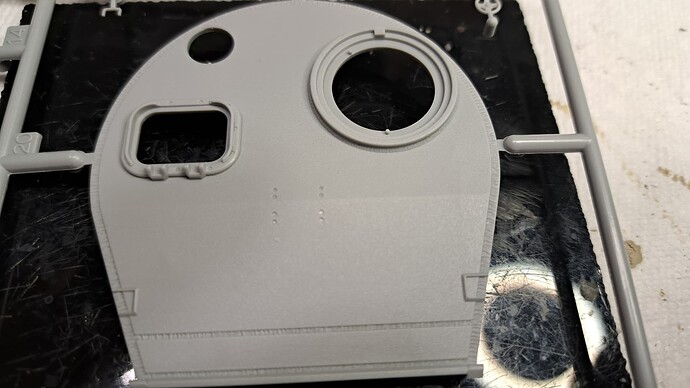
Turret roof for initial/early Tiger 1, specifically around the loaders hatch.
RFM Initial Tiger 1 #5078, filled no recess around loaders hatch.
Dragon Initial Tiger 1 (3n1) #6252, filled no recess around loaders hatch.
Tamiya (new) Early Tiger #35216, filled no recess around loaders hatch.
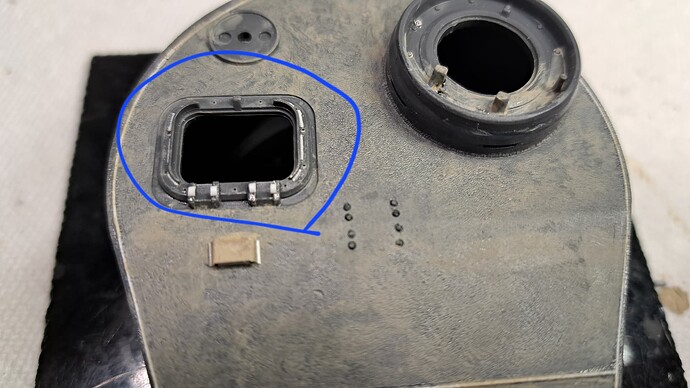
The old 1970 Tamiya Early Tiger, recessed around loaders hatch. Practically a built in bird bath.
Well that’s pretty simiple, the old Tamiya kit sucks balls and is wrong, three new kits really nailed it and all agree…except…
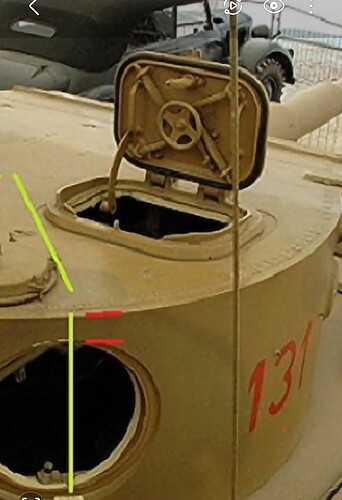
The Bovington Tiger 1, has the bird bath recess.
I’m not an expert and make zero claims about accuracy. I suspect the Initial Tigers had the recess and maybe the early Tiger’s didn’t. Yet clearly these “Initial” kits aren’t necessarily on the mark if one wants to model certain Tiger’s. Didn’t see an extra Turret roof in any of the four kits.
Should 218 have the recess around the loaders hatch? I don’t know. Too much time today was spent looking at reference pictures. Decided to keep moving forward leaving the 1970 Tamiya Turret top’s recess as is since the Bovington Tiger has it. Other quality pictures I have had access to were for Mid & Late Tigers without the recess.
I just found this derail an amusing “occurrence” because it reminded me of why I haven’t touched a Tiger kit in nearly 30 years…it triggers compulsion.
![]()
![]()
![]()
![]()
![]()
The reason for the recess is that the loader’s hatch frame was watertight and it was designed for a roof plate exactly 25mm thick.
The firms manufacturing steel armour plates couldn’t be that accurate. Their thickness could be a millimeter over spec, two millimeters over, even four. (The plate would be rejected if it was under spec.)
So, if a Tiger’s roof plate was too thick, it was necessary to grind it down in that area to exactly 25mm. That’s what happened to Tiger “131” and it was, obviously, a random event.
Now, I don’t know who told you about “recessed bolt heads”, but you’ll notice the Dragon kit doesn’t have such things. So they’re not that.
They were tapered flat-headed bolts - featureless, and intended to blend in with the roof.
David
David, thanks for the explanation. That’s all good information and I appreciate you sharing it.
An error from semantics on my part. I had been told repeatedly and read the details were nearly flush bolts. I wrongly assume the bolt would have a hex head in the hole as I didn’t have a quality picture of the feature.
However, I find it amazing none of the three kits mentioned Dragon, RFM or new Tamiya have an option for a turret roof with a recess area around the loaders hatch.
Added a casting number to the mantlet. The “23” is another assumption. I seem to recall seeing “23” used on a Tiger mantlet but have no idea which version.
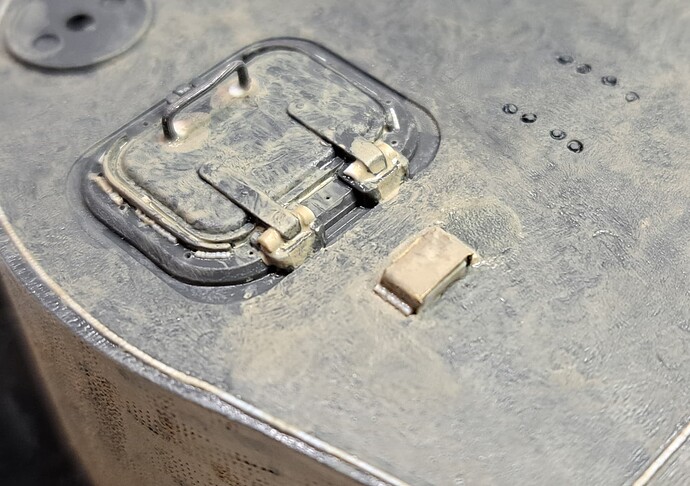
Detailed loaders hatch with lead solder, welds and divits. Added weld to base of loaders periscope cover.
Replaced extraction fan housing with PE & styrene.
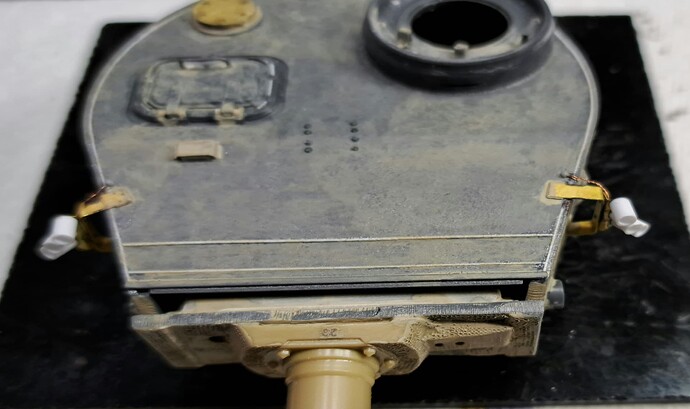
Time to address the smoke grenade launchers, potentially a flustrating aspect of the build. Took some time away from the bench getting focused ![]() , had a good night sleep and cut the the morning coffee
, had a good night sleep and cut the the morning coffee ![]() in half. With that build up should be obvious, I dreaded this detail.
in half. With that build up should be obvious, I dreaded this detail.
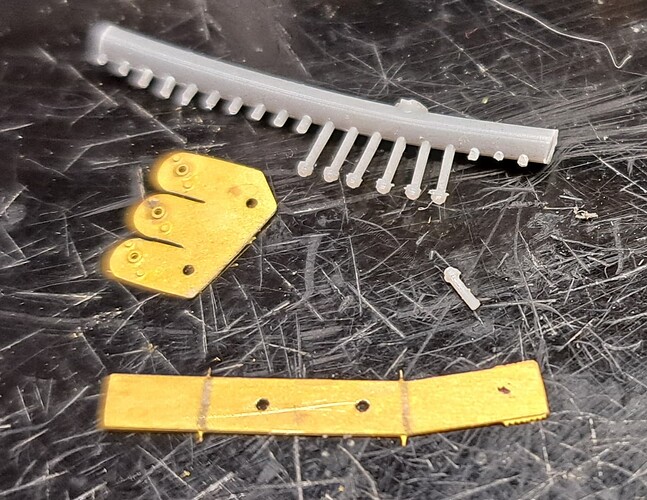
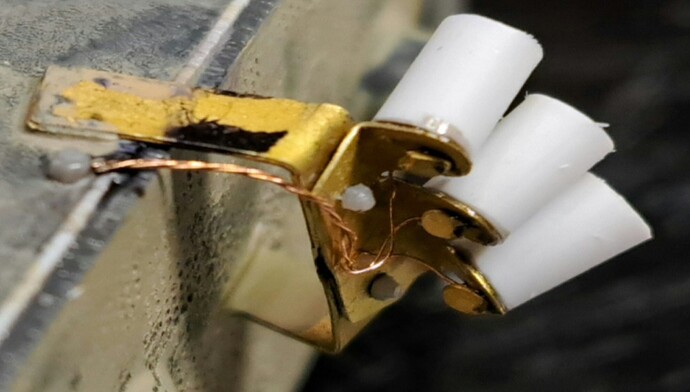
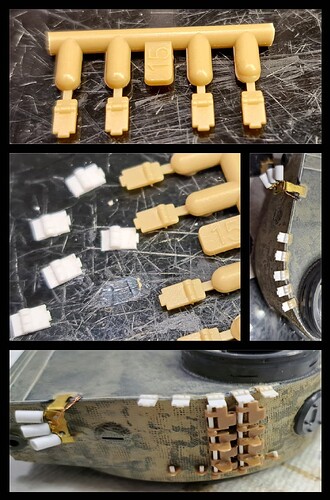
OTM provided the PE, the bend guides were little PE “hairs” to the side. Marked spot with pencil and removed the guides, see bottom part for example. The two parts “bolt” together. The Grandtline line bolts usually won’t fit so the holes needed to be opened slightly or honed.
Fold the PE bracket, test fit to turret sides and tweak. After it has acceptable fit, bend the launcher base to shape. Note this doesn’t have to be perfect as the Tiger smoke dischargers were a lash up hand me down from the Panzer III & IV. The real ones were often slightly off a few degrees accordingly.
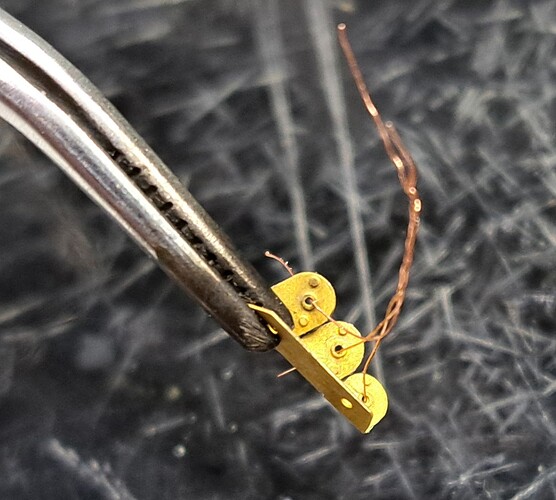
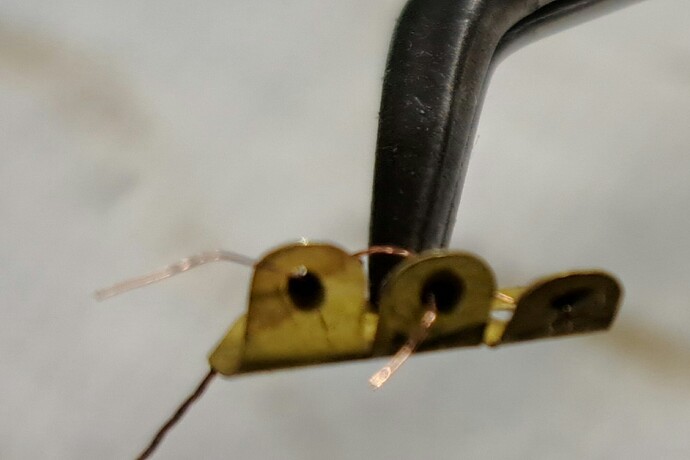
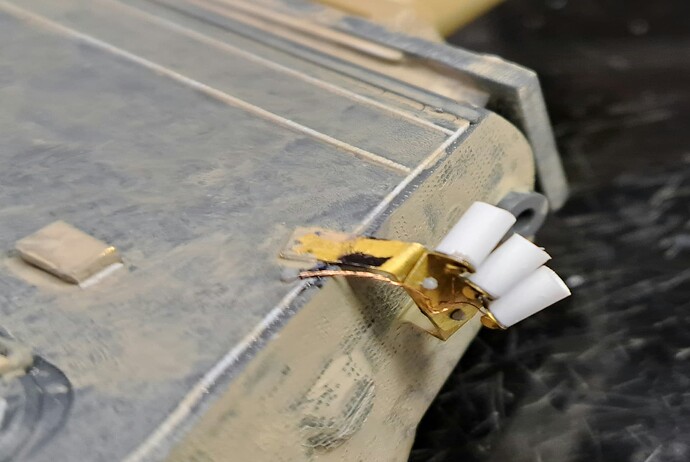
While this is technically wrong, I thread wires into the holes then secured with superglue. Picked a durable method to survive assembly. Bending thin wires to shape, I tend to break the super glue bond otherwise. After the CA dries wires are snipped flush.
These are the little PE parts that go where I attached the wires. The wire should butt against these little fiddle bits.
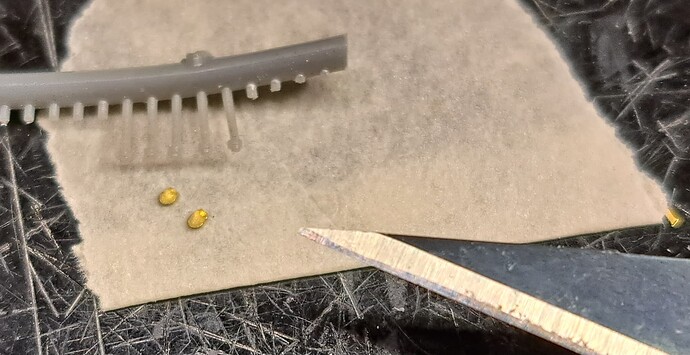
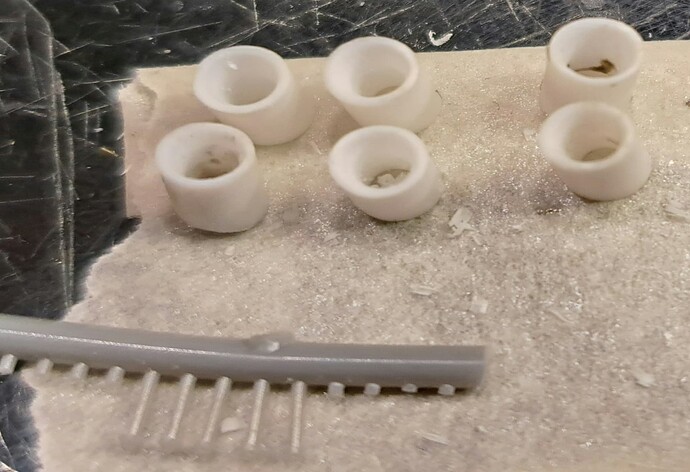
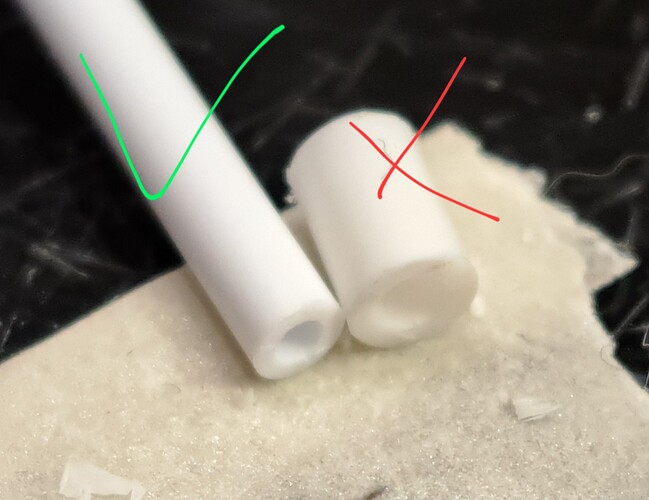
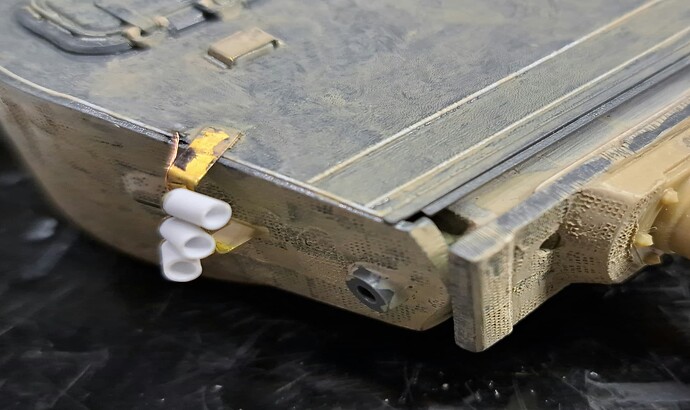
Made six tubes from the same 1/8 tube stock used for the S-mine launchers.
That nearly turned into a fiasco as they didn’t properly fit the PE launcher bracket. Investigation suggested 3/32 tubing would be more scale accurate and fit better.
Attached tubes, brackets, wires to turret.
Used to small bolt as a termination for the wire into the turret. Drilling and running the wire into the turret roof is an option but with the fragile short thin wires, I felt the termination bolt was the best choice. Call it Artistic License.
The little fiddle bits by the wires were added last as covers like on an out door outlet. This of course is wrong but I like it. Call it Artistic License.
These two tools were super helpful with this task.
The glue looper rocks to apply CA accelerator in small areas. The guitar string works great for small applications of CA.
Excellent SBS Wade and I also think Glue Loopers should be on everybody’s workbench!
I have acupuncture needles to do the same as your piano wire. I can bend the tip if difficult access is intricate.
@PsiFox Mark, the acupuncture needles sound fascinating. I appreciate you pointing out they can be bent. I see if I can find the small .25 mm ones. A+++
@SSGToms Matt, I agree ![]() the Glue Looper is a fantastic addition to the tool box. The GL probably saved half a dozen trees as I use far fewer toothpicks now! It’s excellent for applying CA and accelerator. I need another #1 handle for a GL of for each.
the Glue Looper is a fantastic addition to the tool box. The GL probably saved half a dozen trees as I use far fewer toothpicks now! It’s excellent for applying CA and accelerator. I need another #1 handle for a GL of for each.
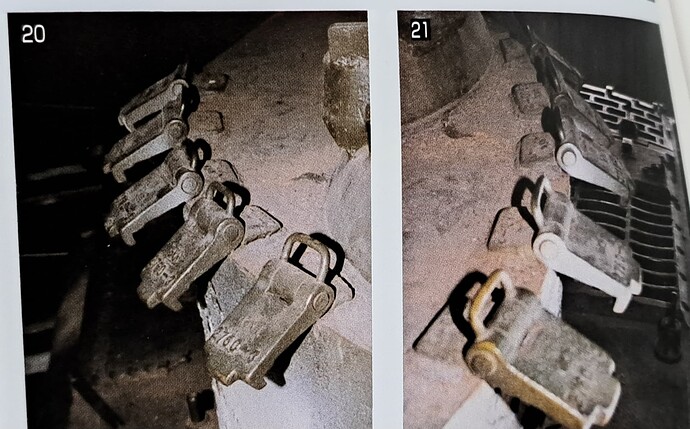
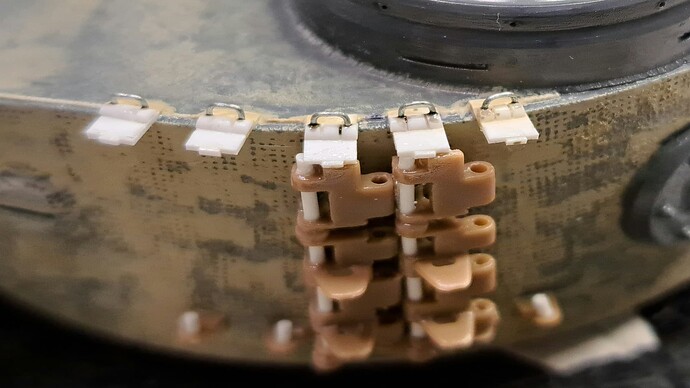
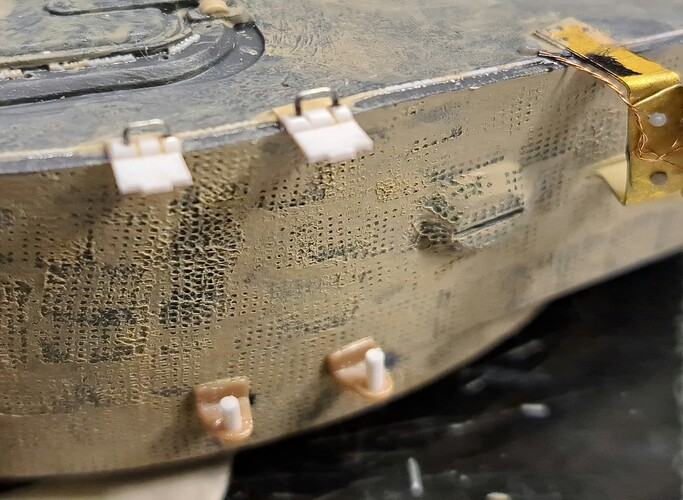
Spare track links & brackets today.
Decided to save the upper bracket #15 Tamiya Late parts for the Tamiya Late and make my own upper brack with strip & half round Evergreen ![]() . ModelKasten supplies the lower bracket in the track set. Drilled out track links (.8mm bit) for .030 Evergreen rod track pins. Only 2 of of 7 links proved suitable.
. ModelKasten supplies the lower bracket in the track set. Drilled out track links (.8mm bit) for .030 Evergreen rod track pins. Only 2 of of 7 links proved suitable.
Remember, when this is all over. You HAVE TO tackle the 1970s Tamiya Vintage KingTiger.![]()
![]()
![]()
Michael, I hear you.
If a dirt cheap 70’s Big T KT crosses my path, may be next year. Too many in que to start another detailed vintage build in the near future. Next vintage build will be no parts restrictions, anything available goes!
It’d get On the Mark PE, Fruilmodel’s, Molak Stucco Putty Zimmerit, 3D headlight, 3D fire extinguisher, 3D printed tow cabel ends w/beading wire tow cables etc. All the assorted parts are in the stash.
Anyway, checking references for the cupola & hatch detailing, I blundered into this image from Achtung Panzer #6 Tiger (discussion purposes only).
Back to the upper track hangers on the Turret…
…now on to the cupola & hatch.
