Quayside

Recently, I bought this Italeri set because I felt like building another diorama-without-models, as a base for putting them on and photographing them:

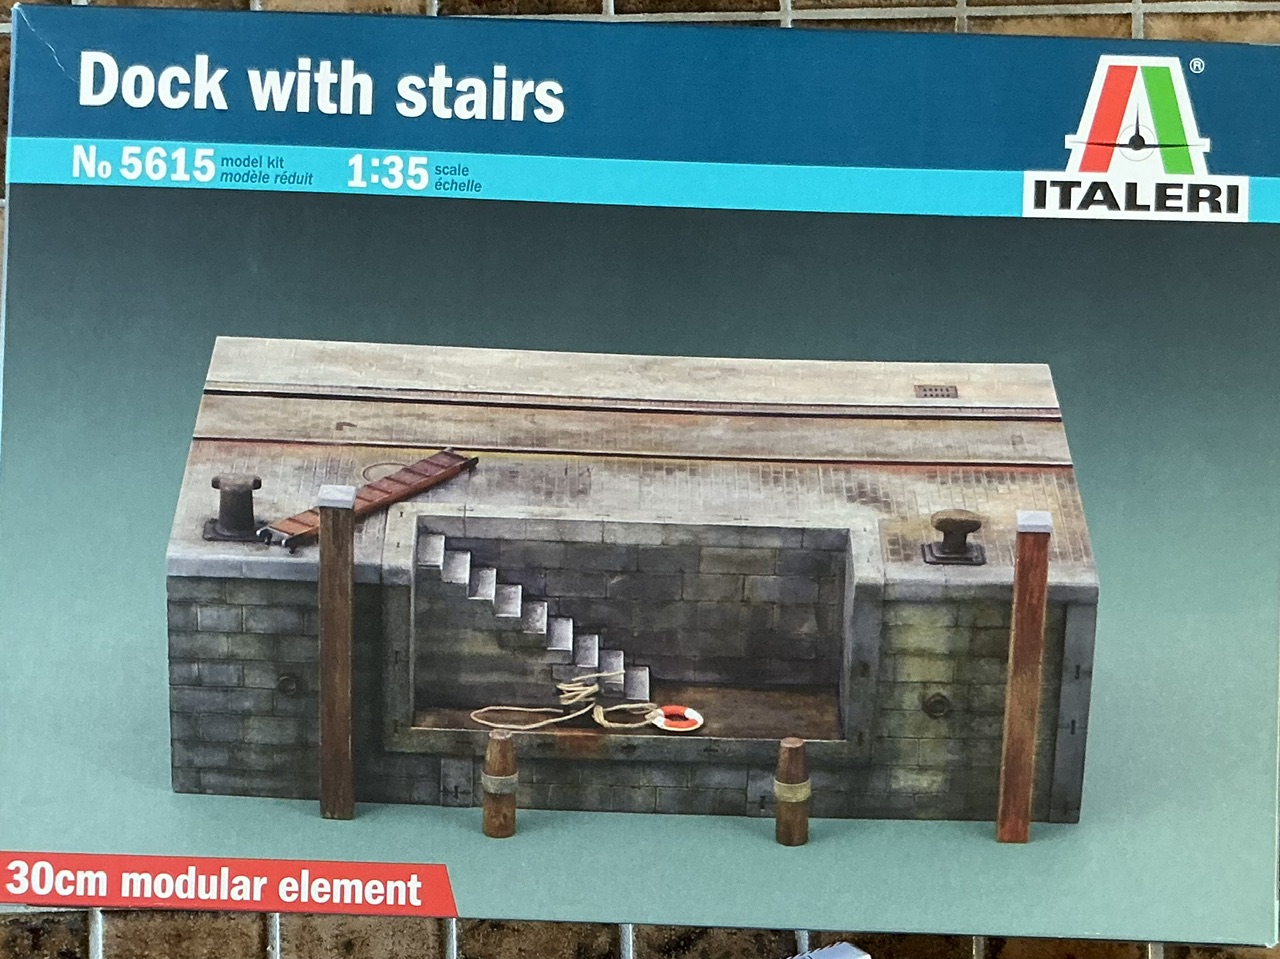
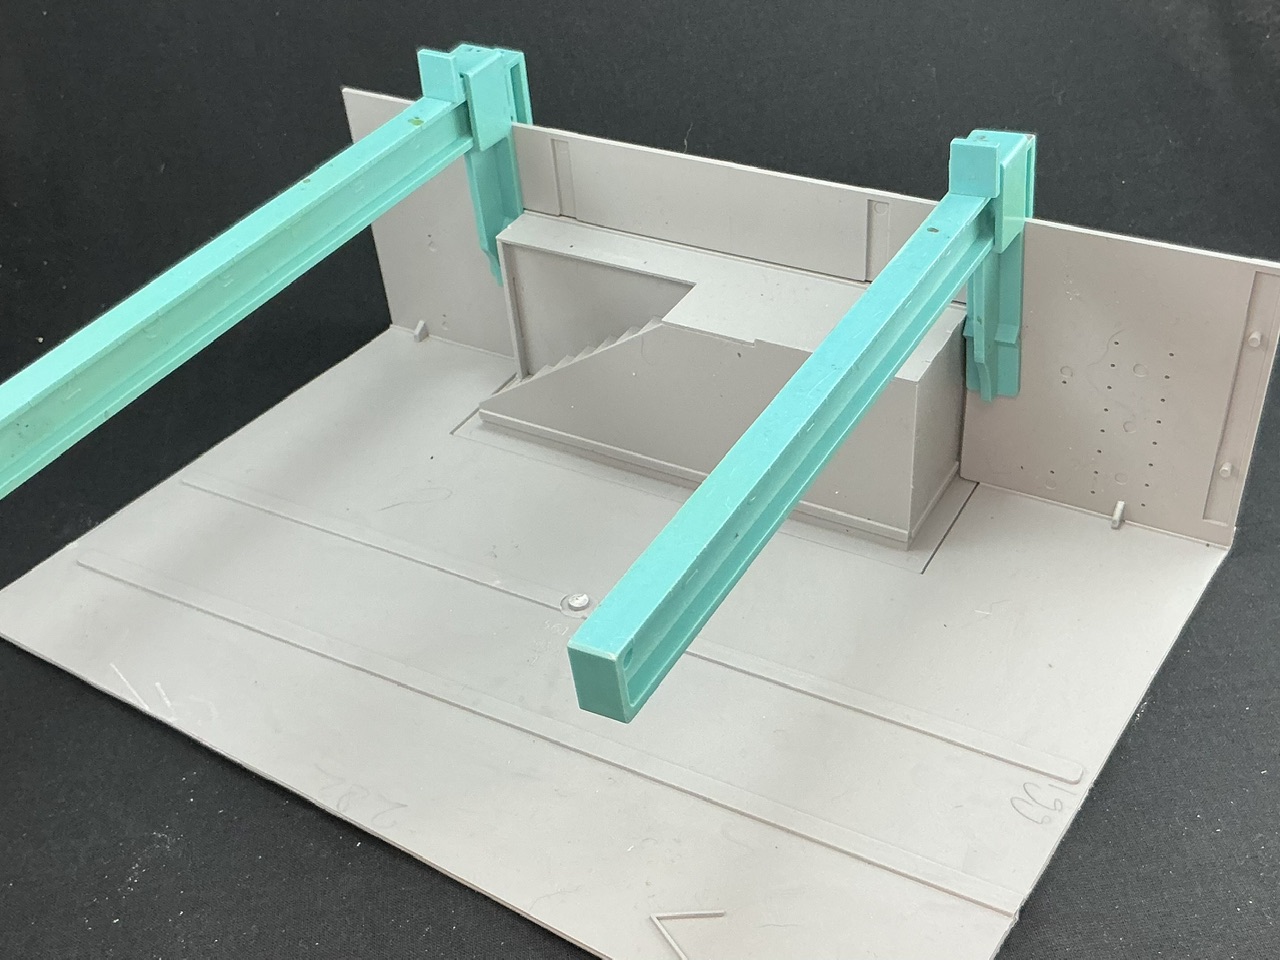
As the box says, it’s 30 cm wide, as well as about 20 cm deep and you can connect multiple elements — Italeri also makes it without the steps, both with a single element and as a set of two. In the box is this:

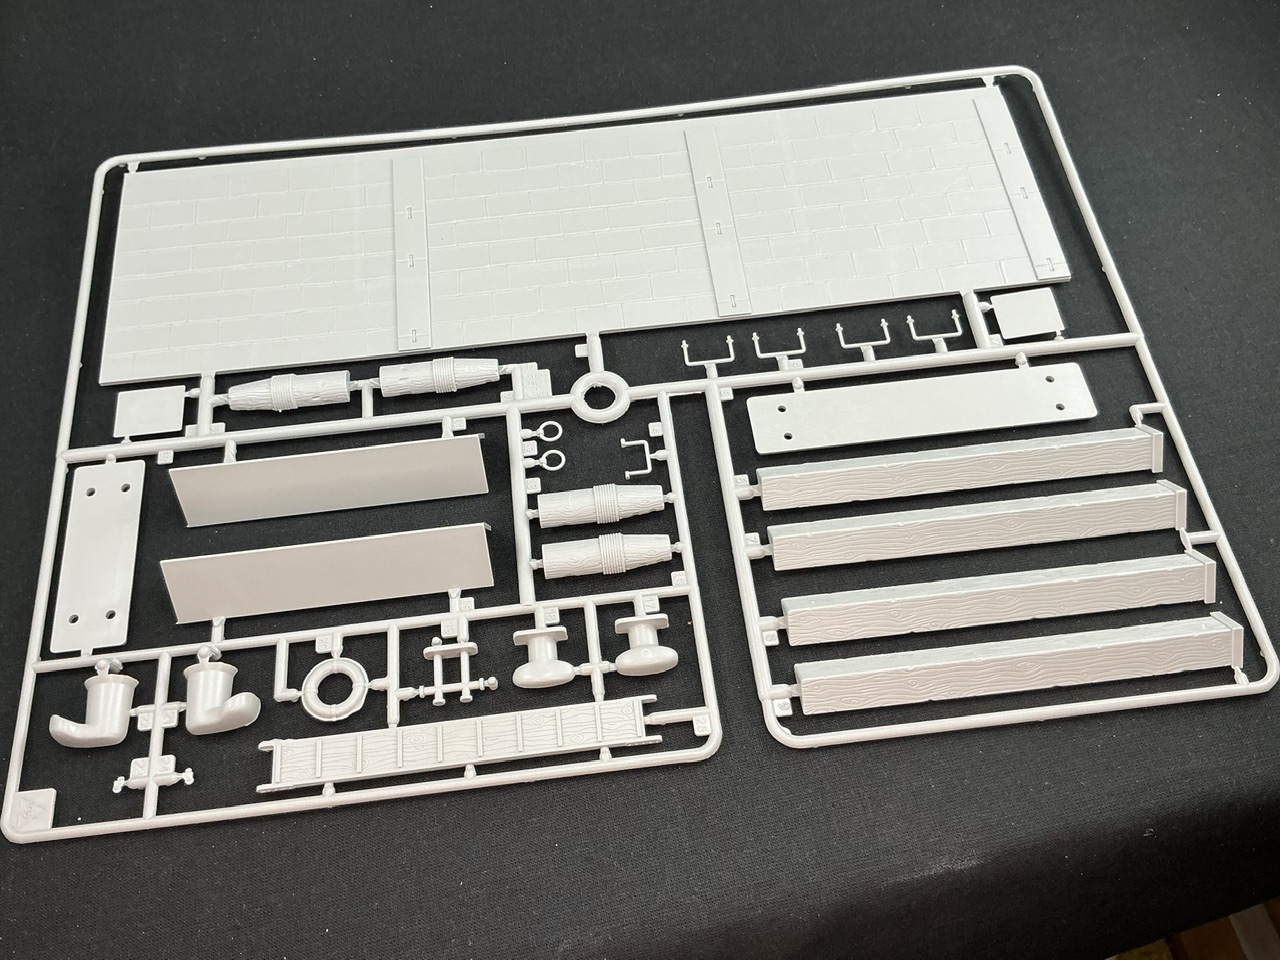
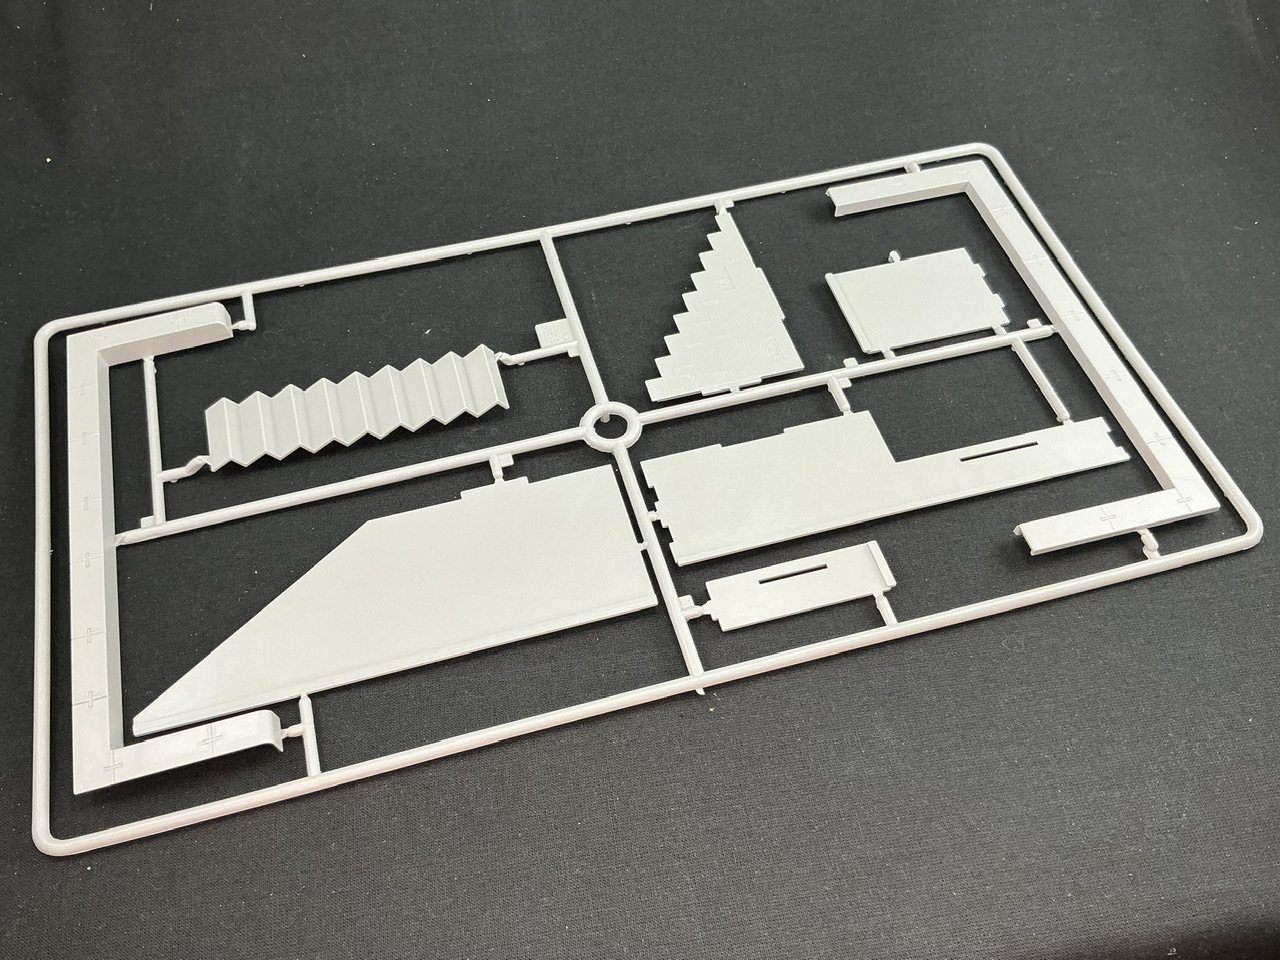
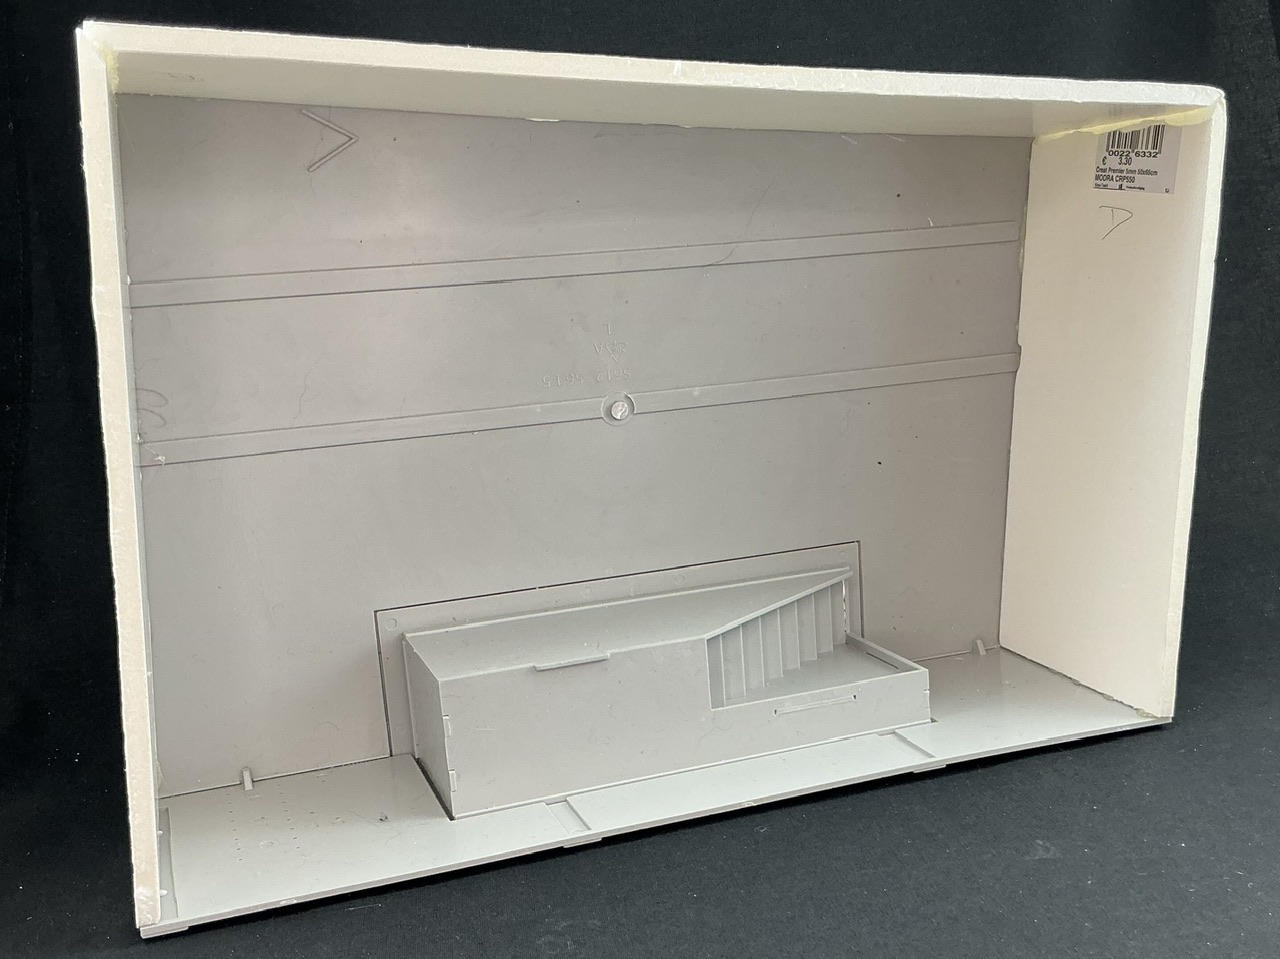
There’s also a bit of string, which I didn’t include in the photos. The last sprue, of course, is only in the set with the steps, but the parts for the quay itself are exactly the same in all sets, because:—

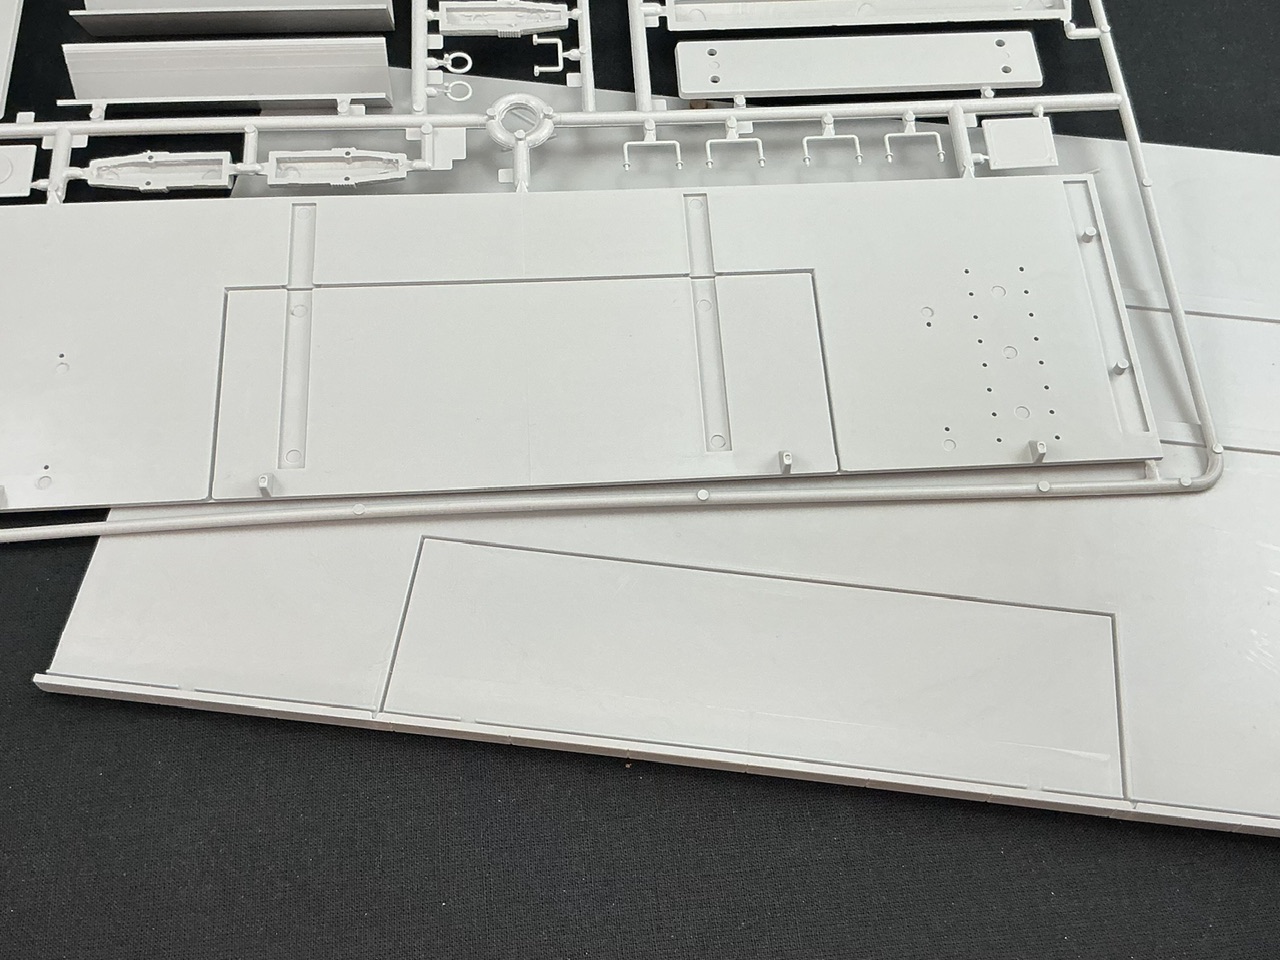
… the inside has lines for cutting out the opening for the steps.

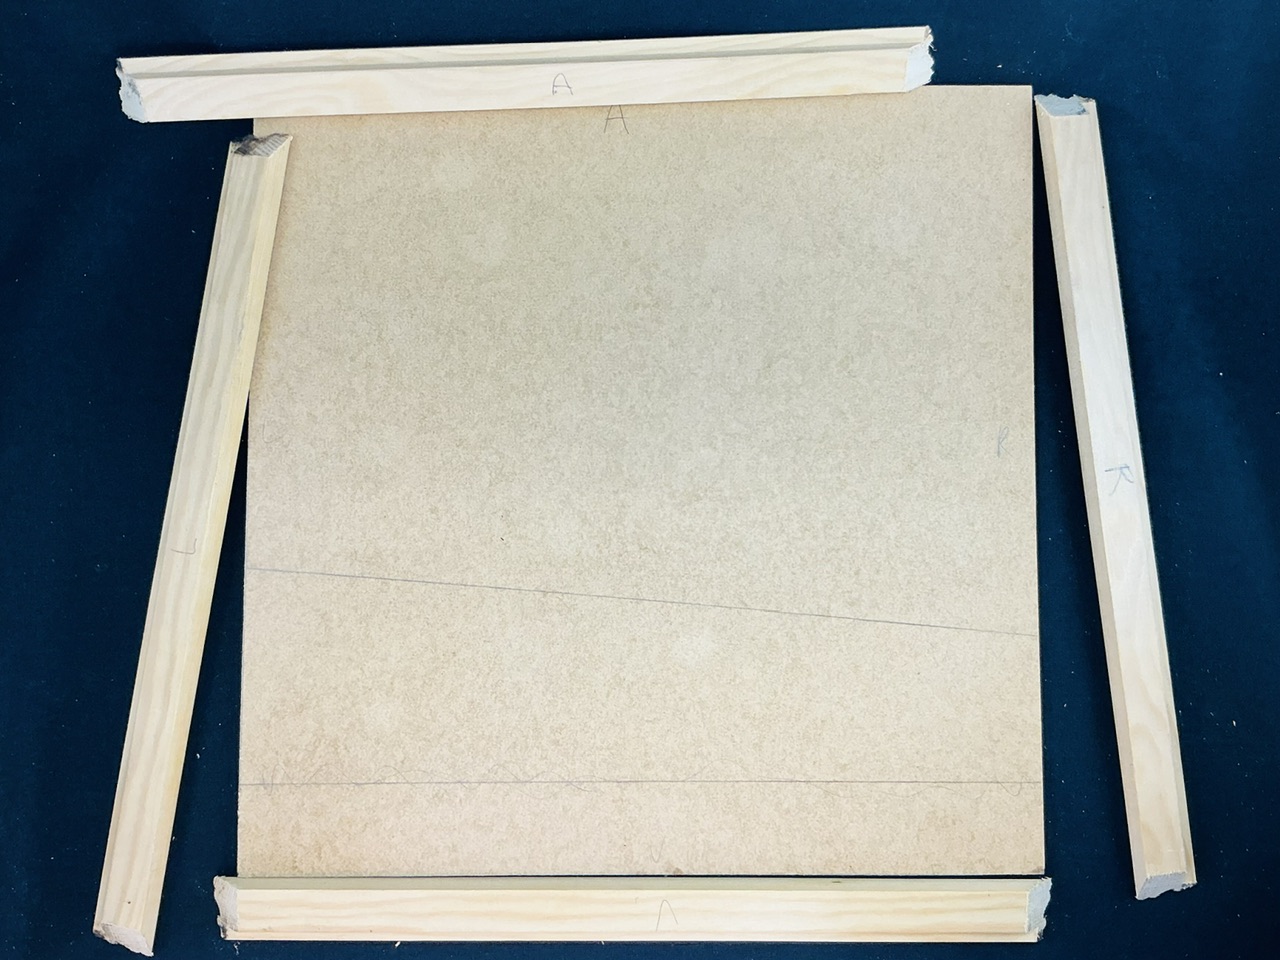
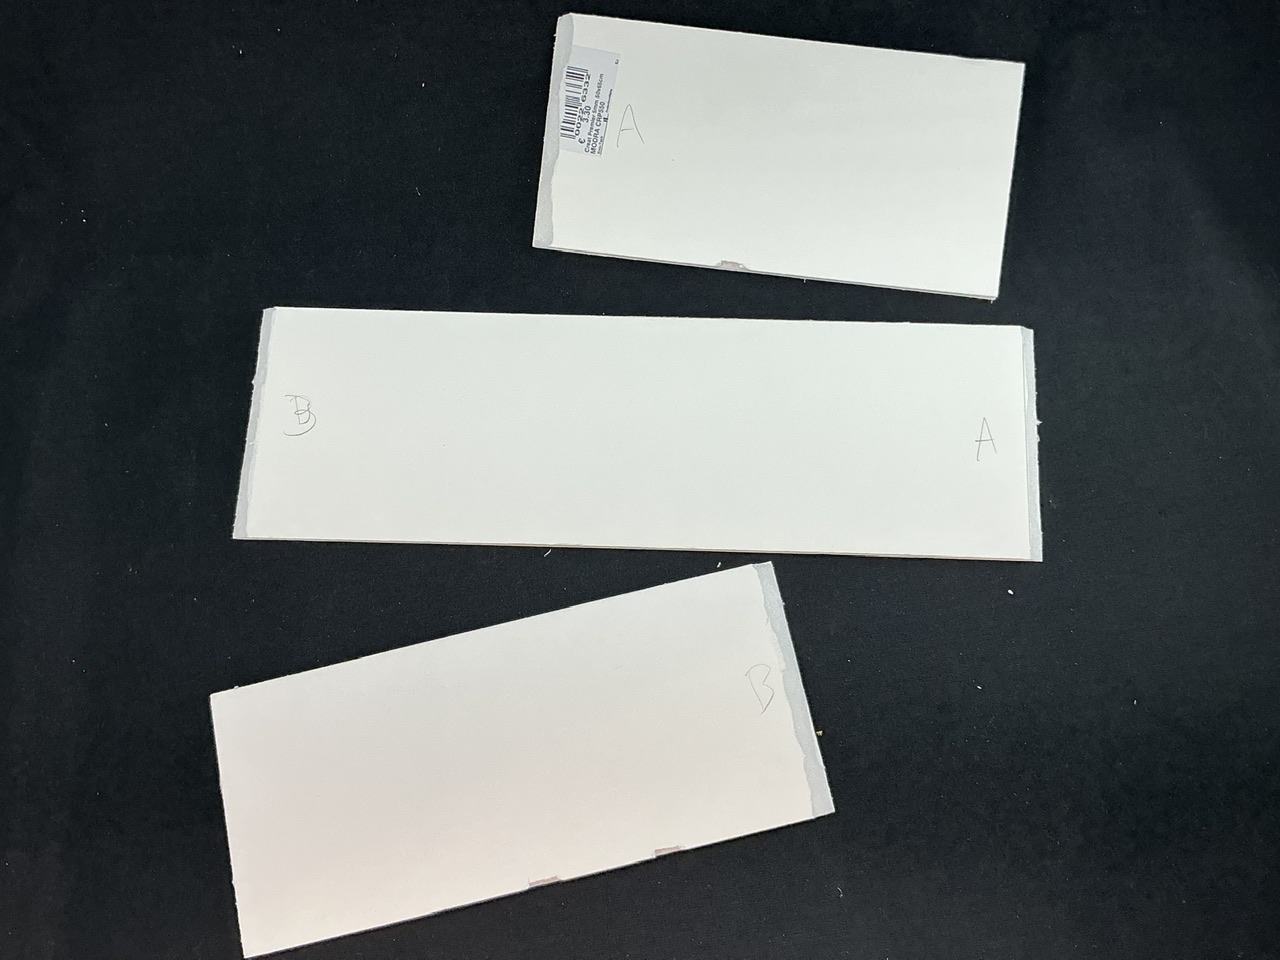
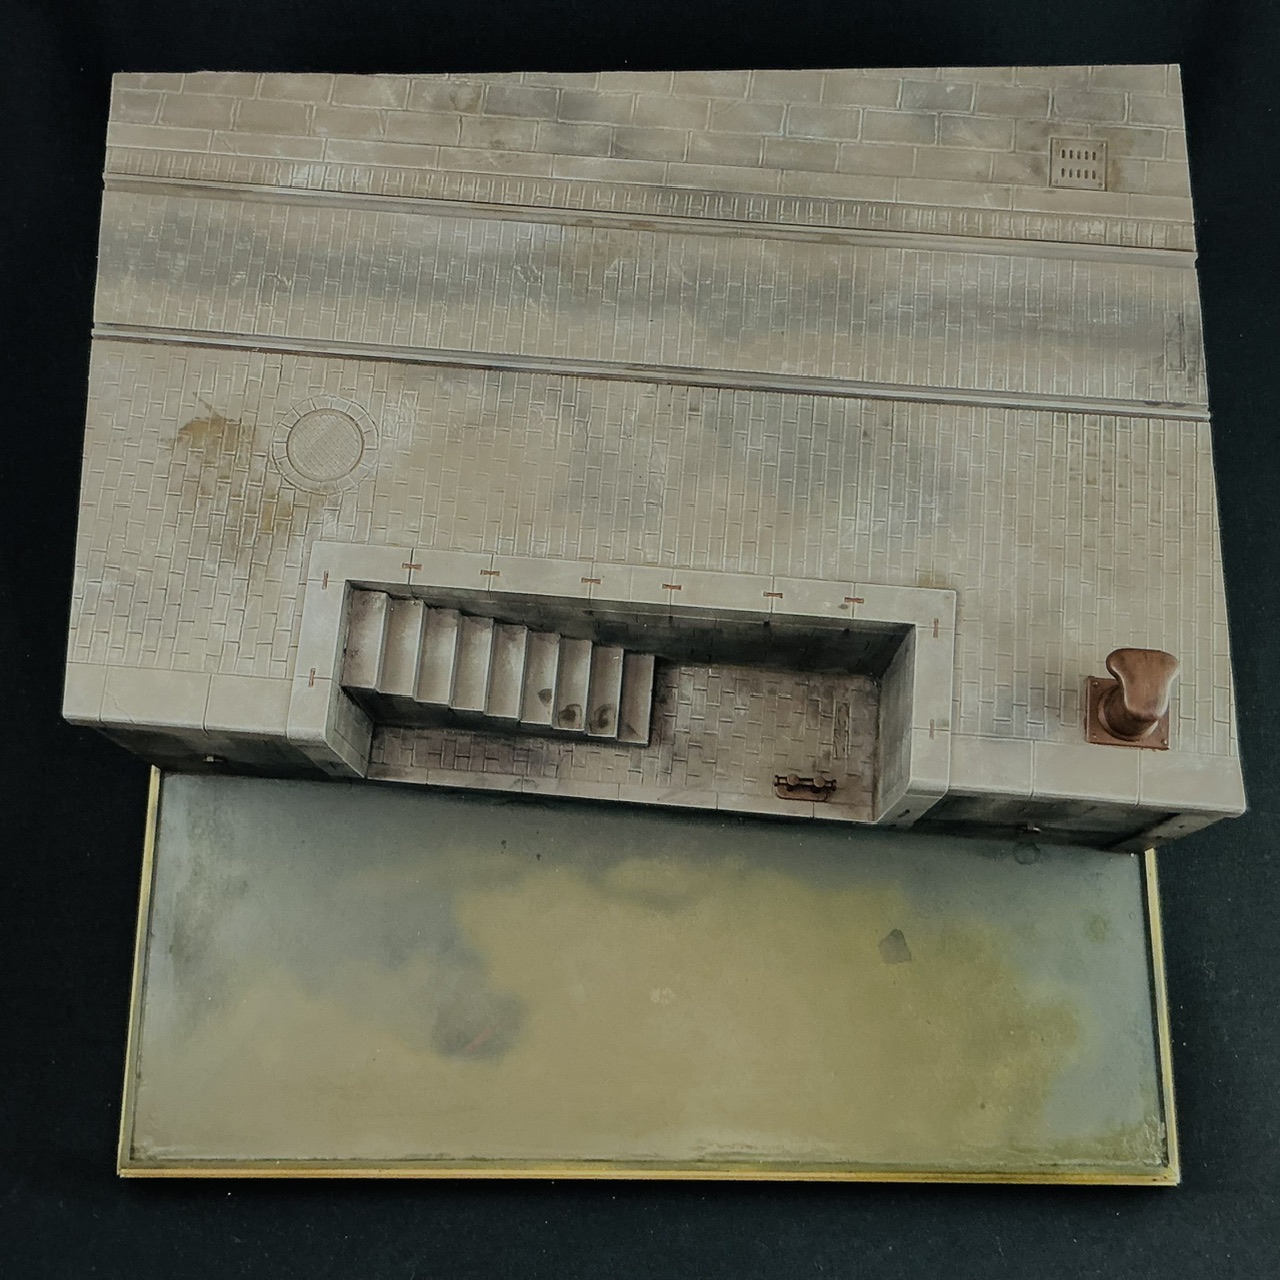
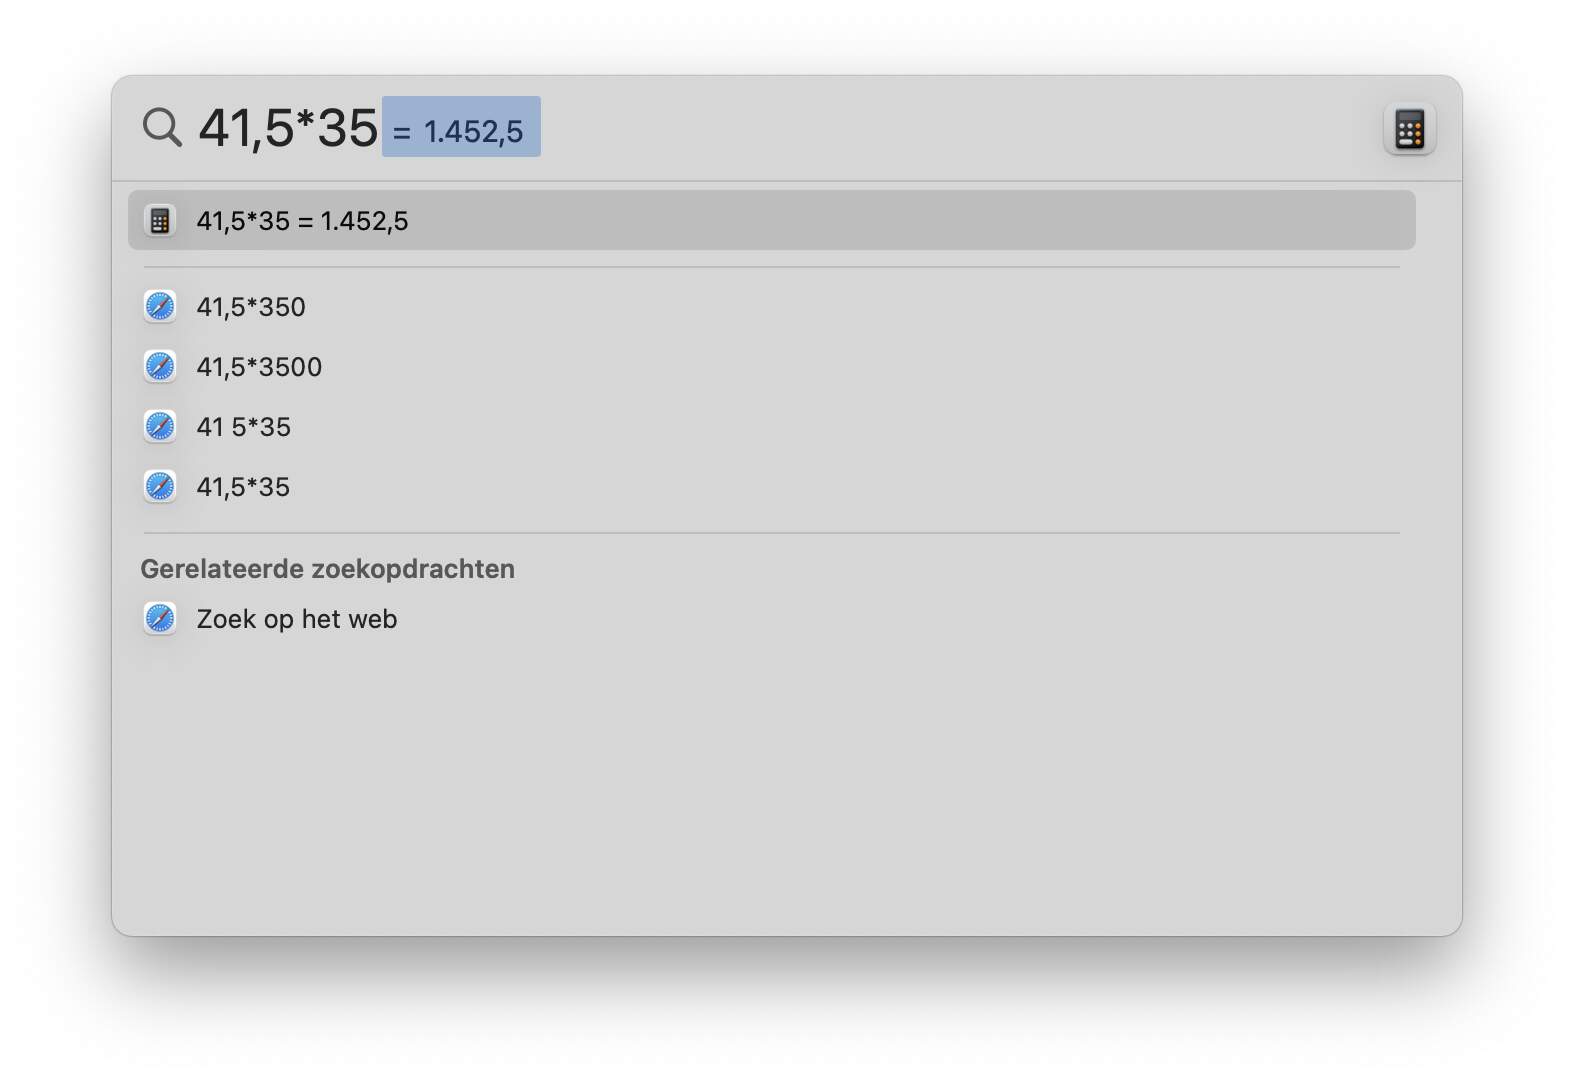
Oddly, perhaps, there are no walls for the rear and sides, only two measly pillars with an L-profile that support the back of the top plate. I’m going to glue the whole to a base plate and so will add those sides to neatly enclose everything. Only thing is that a diorama doesn’t look so good when major lines run parallel to the base’s edges, so I began by drawing some lines to work out how to cut up the top plate:

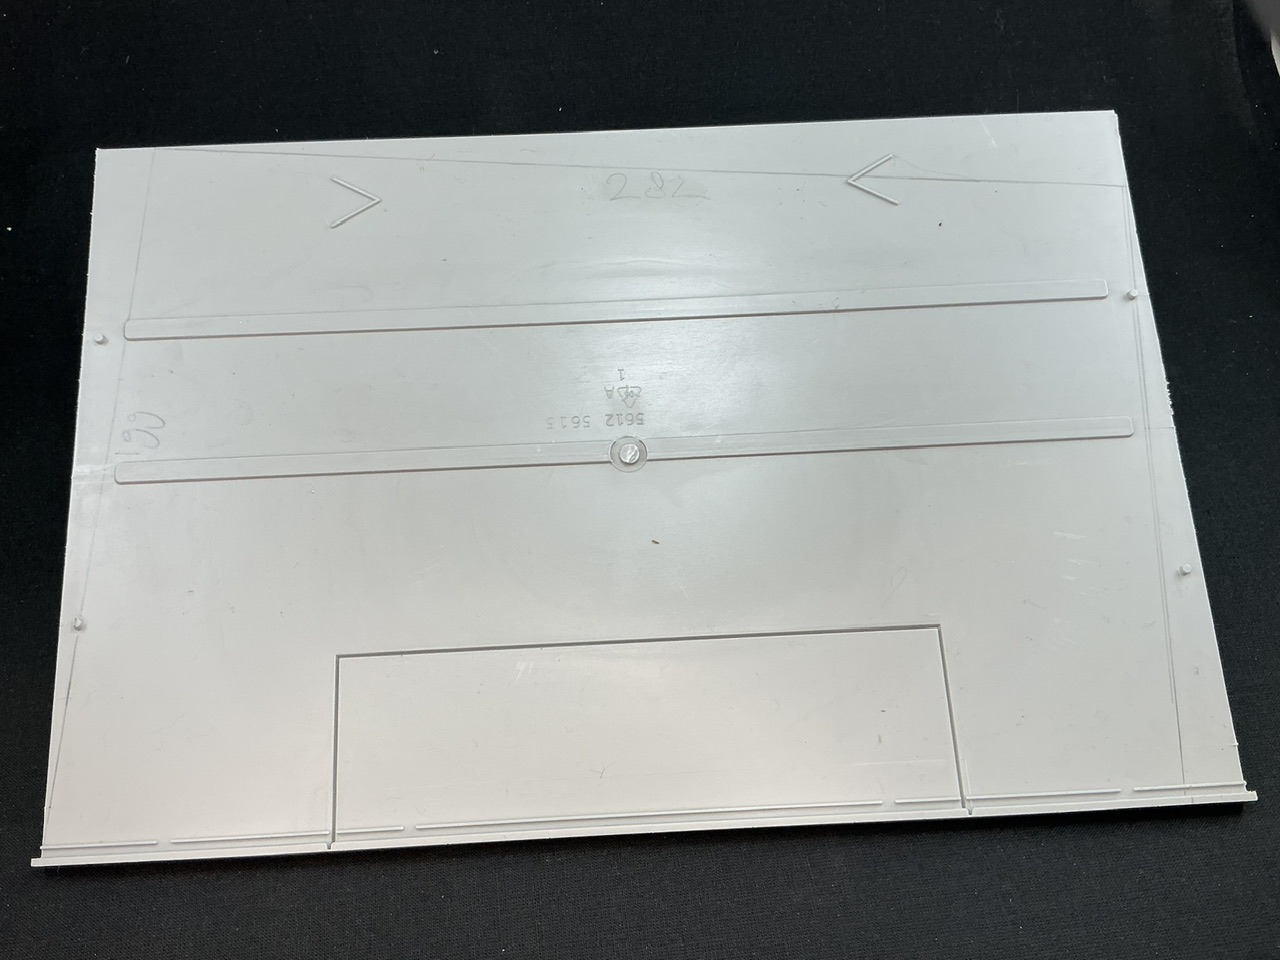
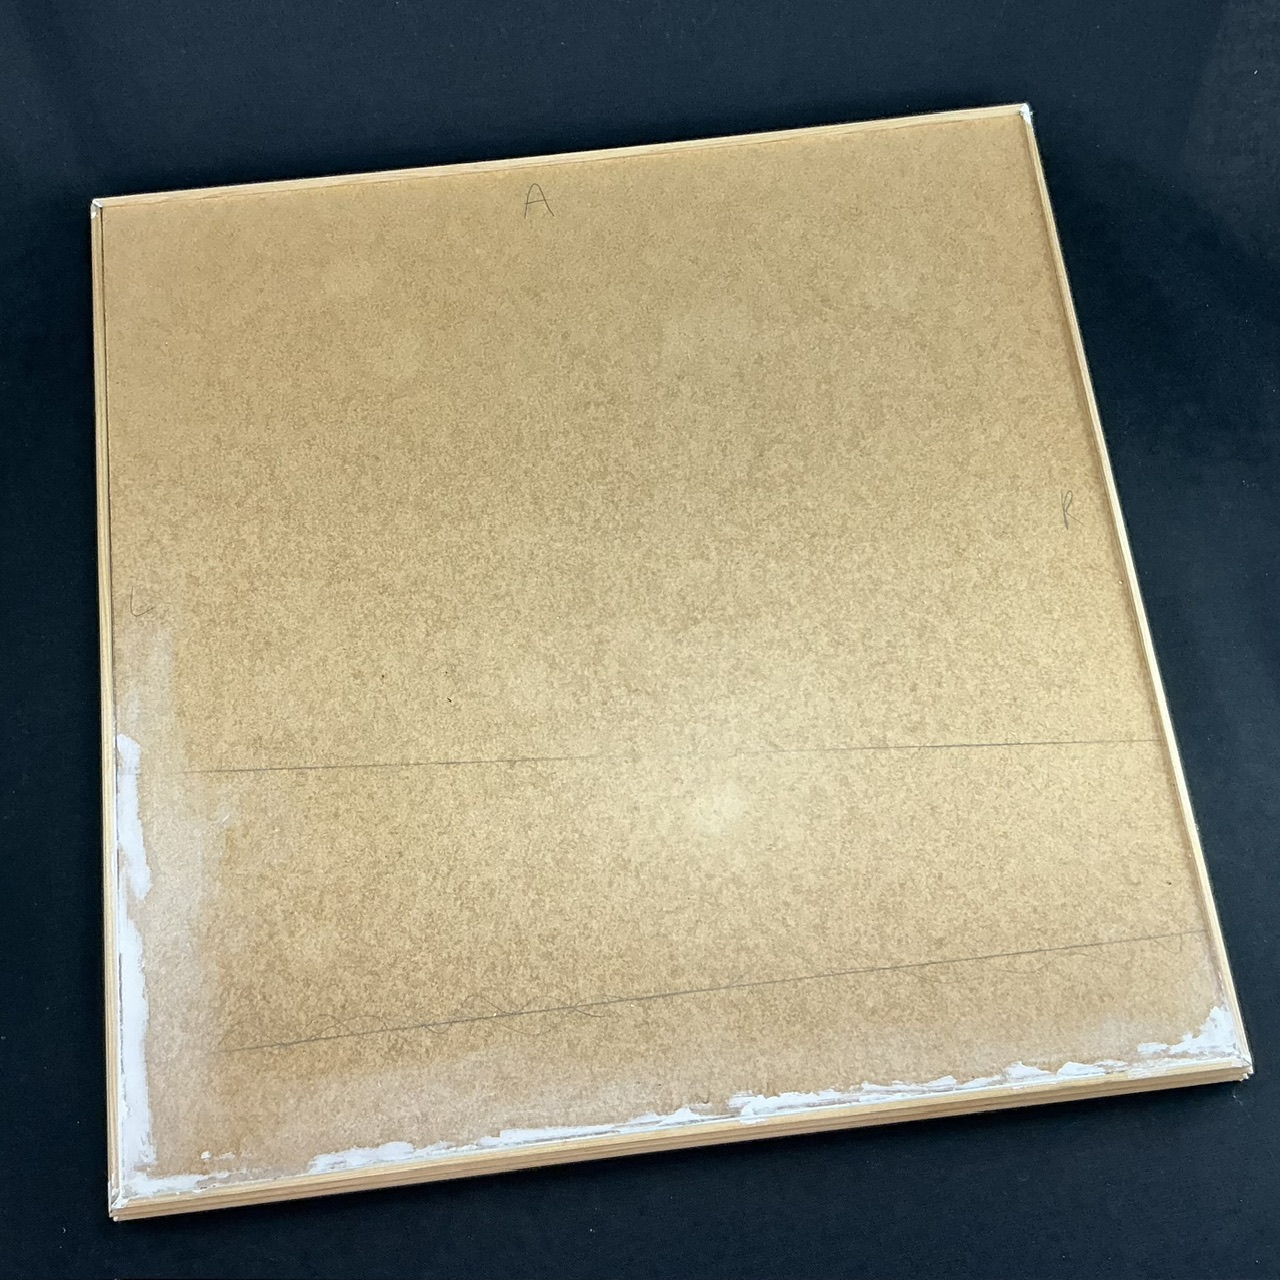
It’s only a few degrees’ difference, but that will already make it look better. Important, though, is that the corners between the pencilled lines are 90° (assuming you want to use a rectangular base, of course). I pencilled in the dimensions too, so I won’t need to keep measuring them because I forget :slight_smile: Then all that remained was to cut it with a Tamiya plastic cutter:

You don’t need to go all the way through, about halfway is enough, after that you can wiggle it up and down with some pliers until it snaps off. The plastic is about 2 mm thick and fairly hard, so this is more of an effort than it would be with regular plastic card. That done, I naturally also shortened the wall to match. What I only realised after the first cut is that I should have removed the raised bits, like the V shape that the pillar is supposed to be glued against, because they get in the way a lot when cutting.

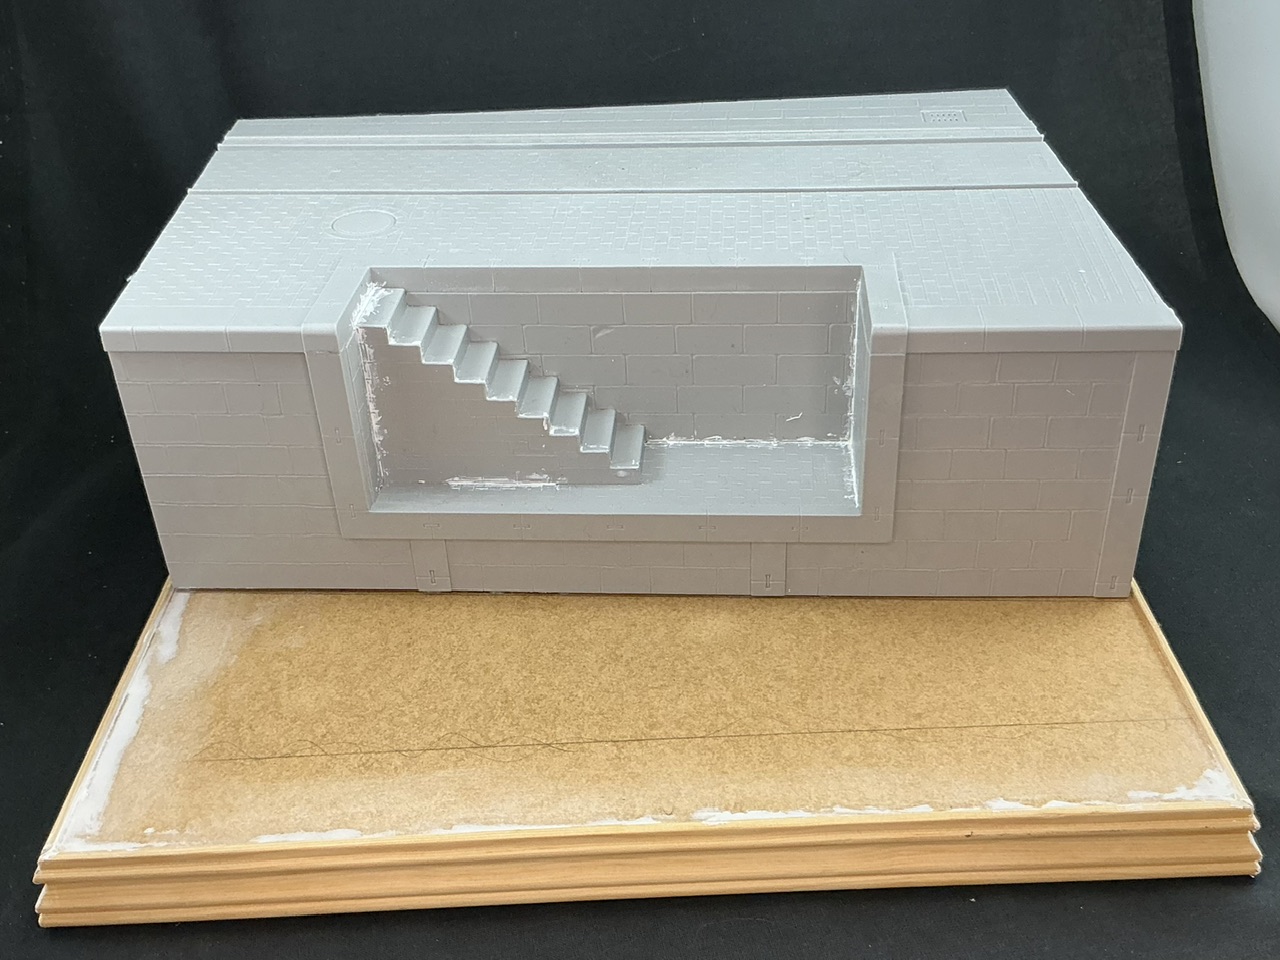
And assembled for the picture:

Then I built the steps:

It still needs some seams puttied before I go on, though.

12 Likes

After filing the cut edges of the main parts, cutting out the openings, smearing putty into the seams of the steps subassembly and cleaning that up, I put the three main pieces together:

That needs clamps (finally some use again for my ancient X-Acto ones! Largely because no others I have are deep enough) to get the “border” around the steps to sit correctly against the quay wall. That same border, though, means you don’t really have to tidy up the opening at all.

I found the best way to do this was to glue the steps to the top plate, by having them both upside-down on my work surface. Then, before the glue sets, I added the wall and clamped it once it was in position.

6 Likes

always fun with something different. Here’s mine

11 Likes

The base for the diorama, I made from a piece of smooth hardboard that I sawed to size by hand, then added some picture-frame wood edging around:

To have the edging fit properly requires some woodworking skill:

And since I have very little, I compensated with putty :slight_smile:

I made the other three sides for the quay from 5 mm foam board, with some edges bevelled to make the corners:

Then glued them together with a hot glue gun:

The bevelled edges didn’t work that well, largely because it’s very hard to cut foam board neatly in a straight line and with a bevel. But we’ll fill that later, this isn’t the important side anyway :slight_smile:

And since the glue gun was still hot, I stuck the whole quay to the base while I was at it:

There’s a bit of a gap between the wall and the hardboard that I didn’t count on. Now where is my putty?

12 Likes

I always liked that kit Jakko, there seems to be a lot you can do with it.

2 Likes

Hey Jakko that’s looking really excellent, and the way you have offset it from parallel really adds a dynamic element.

4 Likes

You can get several and link them together with plates that are included on the sprue, though setting them at an angle will get ever more difficult, I would think. Unless you’re Bob Letterman reincarnated, of course :slight_smile:

I don’t like dioramas with major elements set parallel to the base, because I find it looks unnatural. In real life you very rarely look at anything dead-on unless you do it deliberately, and even then you can do that only with small things. Everything else runs off at odd angles to your frame of references, and since in a diorama the base is the frame of reference, IMHO it will look better if nothing is parallel to its edges. Even the small amount I did here (there’s only about a 1.5 cm difference in depth, left vs. right) breaks up that alignment and makes things seem less artificial to me.

6 Likes

Shep Paine discusses it in his diorama book.

Your making good progress. :+1:

2 Likes

Looking good Jakko, and I totally agree about not setting things out square, :+1: :slightly_smiling_face:.

Looking forward to seeing this progress.

G, :beer_mug:

2 Likes

That looks nice.

1 Like

Tonight, I sprayed the first coats of paint on:

Tamiya medium grey plus dark earth (just a little under 1:1 ratio) for all of the stonework, because stones are generally grey-brown rather than just grey. I then mixed some black in to spray (semi-)random darker patches, and then much more black to add a dark area to some distance above the water’s surface.

For the water itself, I used Mr. Aqueous RLM 70 black-green for the area close to the quay wall and some random larger areas, while the lighter bits are olive drab (2) from the same brand.

6 Likes

I added shadows using washes in different shades of brown, from medium to dark, and then drybrushed everything with several shades of grey-brown and sand:

The important part here is to not do this too evenly, and to apply the washes wet-on-wet so you can blend the edges together — or don’t do that, in order to create stains.

The quay wall had more work done to it, by adding extra shades with a matt black wash, which I also used to create vertical streaks from dirt washing down:

Smear the wash into the seams, not more than a few centimetres at a time because otherwise, if you make your wash from acrylic paint plus water it will dry before you’re done, and then don’t be afraid to get your fingers dirty :slight_smile: By wiping the wash downward with your fingers, it will only really remain in the seams, and you can also create streaking or stains on the stones. By varying the amount of water in the wash, you can make the effect stronger or less obvious, and again, it’s important to not apply any of this too evenly. In corners where my finger couldn’t reach, I used a colour shaper, one of those brushes with a rubber tip instead of hairs.

9 Likes

Looking good!

I have a question about the railway tracks. What train models are they compatible with? Russian or European gauge? Will MiniArt’s kits fit? (Say that five times fast.)

3 Likes

The high water mark and water color(s) is looking good good.

3 Likes

I had been wondering about that too, but hadn’t measured them. Because of your question, though, I just held a ruler to them. There is 41.5 mm between the inner faces of the rails, meaning they scale out to 1.45 m IRL. That’s under 2 cm out from standard gauge of 1.435 m, which is 41 mm in 1:35. So, the short answer is: any railway kit made to scale standard gauge should fit, but Russian (or Spanish) ones will not.

4 Likes

Thank you. I appreciate you taking the time to measure it all up.

3 Likes

All I had to do was go up to my hobby room and hold a ruler to the diorama, so not exactly a great amount of effort :slight_smile:

4 Likes

@Jakko Thank you for this important information. I’m going to share this post in the 1/35 track thread. Can I use your box art image for this?
https://forums.kitmaker.net/t/in-box-review-t-model-european-gauge-straight-rail-and-curved-rail-tk3505d-tk-3505/7843

1 Like

True… but you also did the math.
:scream:

2 Likes

Sure :slight_smile:

All I really did was press Command+spacebar and type:—


:slight_smile:

5 Likes