T-Model
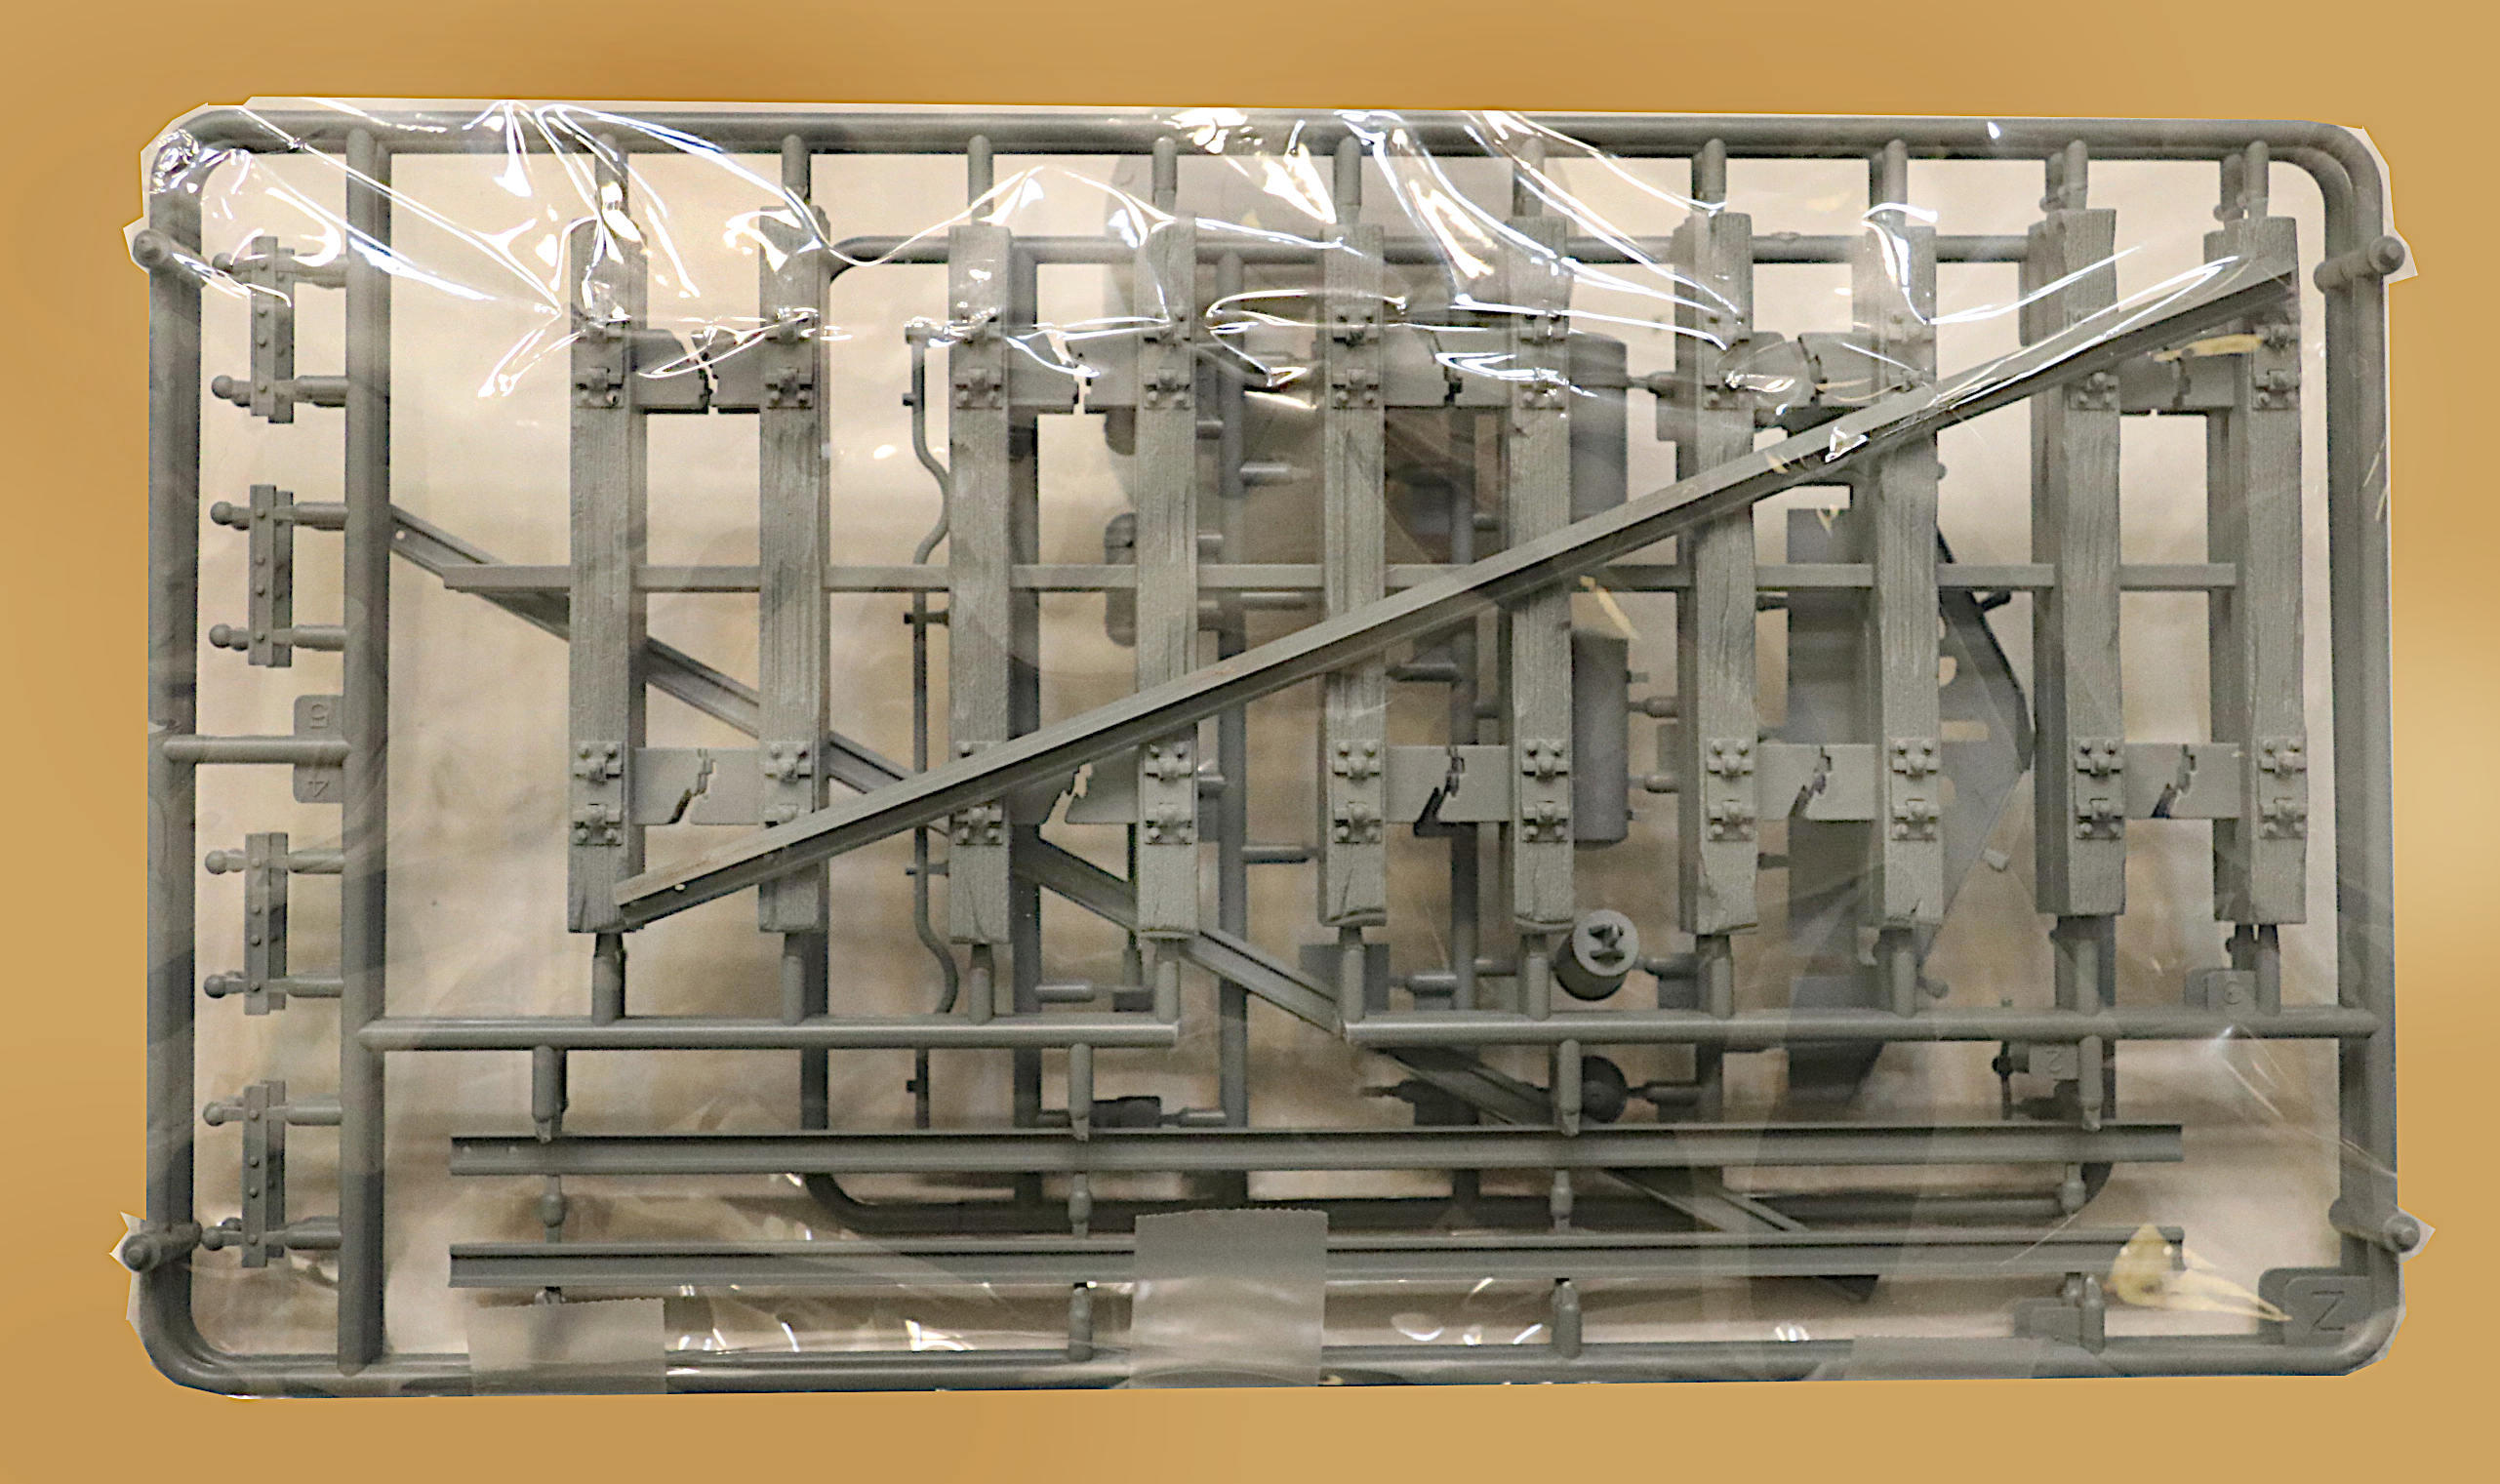
European Gauge Straight Rail and Curved Rail TK3505D
1:35
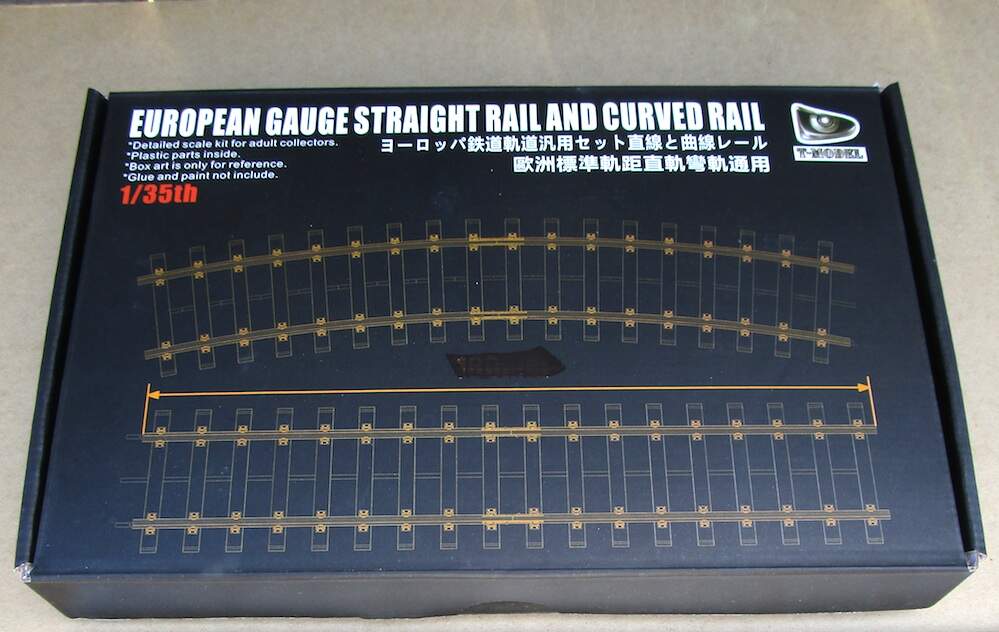
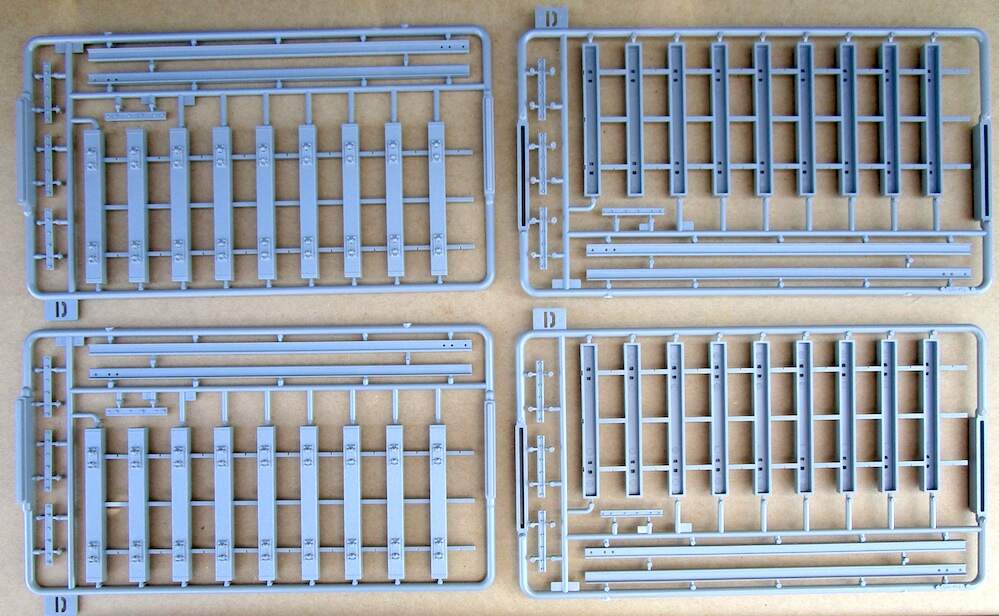
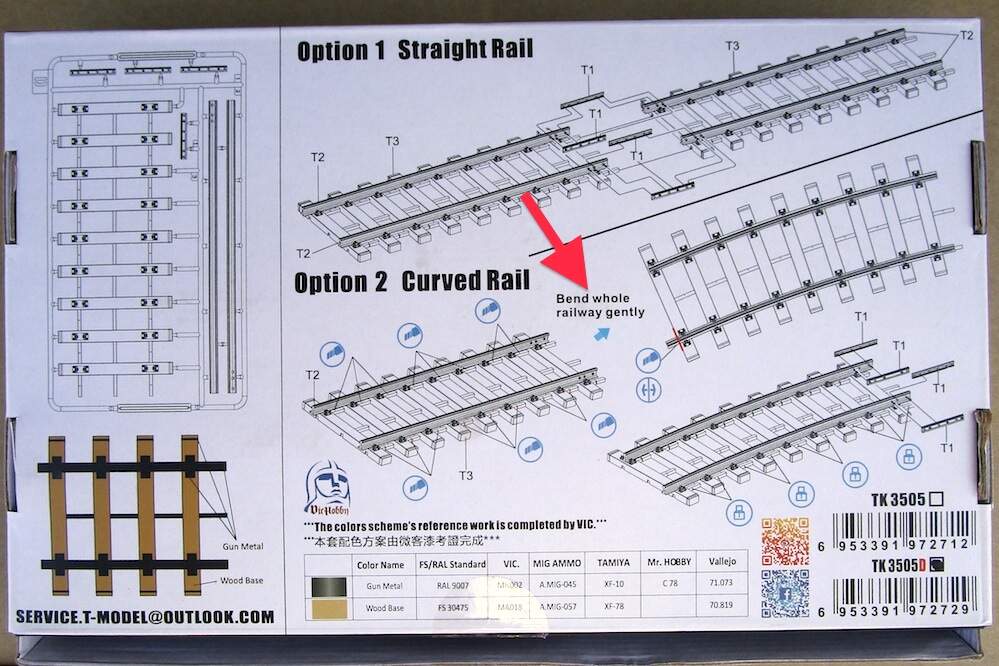
I’ve recently purchased this kit. The front of the box, box art, describes straight and curved rails. Sprue D, is the only parts included in the kit. In this set, Double Pack, 4-Sprue D are included. They are all straight rails. The assembly instructions on the back of the box describe that you have to bend the curve in the straight rails yourself.
It’s a good thing that I know how to build models or else I’d be totally, bent out of shape over this
Hmmmmm, seems to be something lost in translation - and concept. If I read the back box correctly, cutting the crosstie bracing and bending should be doable.
How long are the two sections joined together? Looks like 36 ties for all four sections. Using current US standards, mainline railroad spacing is approximately 19 inches for wood ties. That would be about 57 1/35 feet in the US.
Yes, it’s clear there. I should have researched the assembly instructions on-line before making the purchase on ebay. The seller didn’t show the back of the box. Like you said, it’s doable. Just not what I expected.
Having less experience in this game, I wouldn’t know where to start. Do you heat it before bending it? How do you get the correct curve? I’ve made warped hulls straight by clamping them to a straight edge, heating them in water and letting them cool but this would just make me scratch my head…
I haven’t done it yet but heating for this application does not seem necessary. A curve in 1/35 scale will be subtle enough to bend the dry fitted assembly then apply cement at contact points and hold until cured. I speculate at this point because I haven’t tried it yet.
Now for some gee-whiz blah blah. (I love this stuff!) So, I can’t say what minimum radii were during WW2 but I found that current absolute minimum radius, not on lines for general service, in US is 288.1 ft. That equals a flange-grinding 20.3-degree curve. ( Railroad Curve Calculator | iCalculator™ )
All-knowing Wikipedia states minimum radius for general service in North America is 410’, or 14.12˚. That would mean the 354mm/13.93 in track would displace 3.4 inches. Now, I haven’t calculated geometry since 2009 so check my math. I used this: Triangle Angle. Calculator | Formula
Thus, I think KoSprueOne is absolutely correct:
A curve in 1/35 scale will be subtle enough to bend the dry fitted assembly then apply cement at contact points and hold until cured.
Of course, the quality of the styrene may be a problem if it is brittle. Then warming it may be necessary.
Interesting data. Here is the degree of curvature compared to the radius of an HO curbved track piece. An 18" radius in 1/1 scale would be a rail popping 45˚.
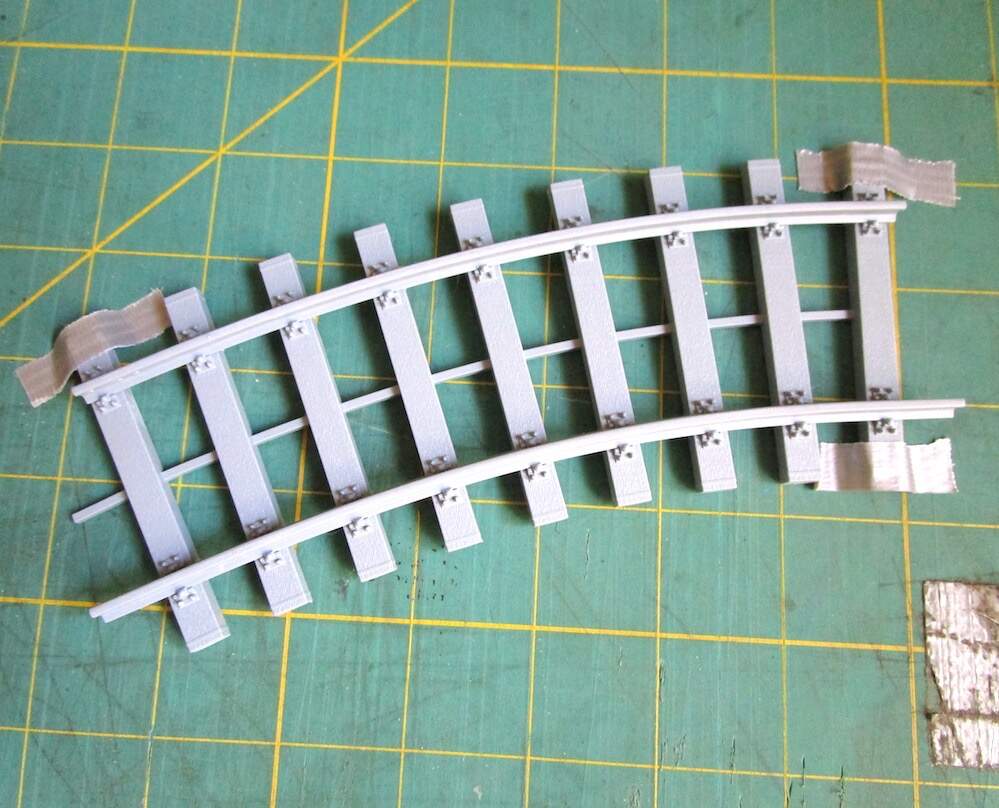
It is curvable with relative ease. Duct tape is to hold in position for picture. Edit: I curved this assembly as far as the picture top rail would allow without falling out. This radius is probably not realistic unless you’re building a larger scale and using this track for narrow gauge or something like that.
So, how did you do that? Assemble the tracks to the sleepers, then bend it? How will it hold its curve, from attachment to a base? (Just guessing, really want to hear your technique from you)
I just cleaned all the parts and cut off the left and right brace pieces between each tie. Slid the rails into place. Then gently curved the entire dry assembly to the position that I want.
If I wanted to glue and set it into this curve permanently, I’d duct tape all of the tie ends where I wanted it exactly. Then touch CA or liquid cement to each ‘cleat’ where the rail contacts the ties. Then set a weight of some sort on top until the whole assembly sets and cures.