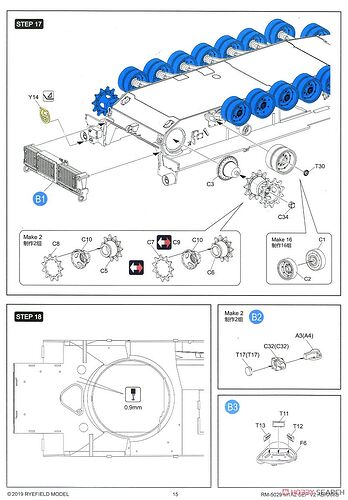
I have just been looking through the instructions and I do not understand what parts I should use for the drive sprockets.
Which combination of parts C5,C6,C7,C8,C9 and C10 do I use for this scheme please?
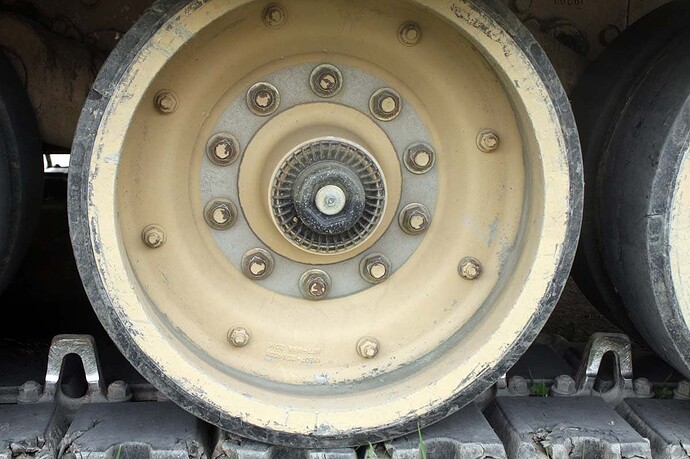
The wheel hubs are supplied as clear parts do they just go on after painting and stay clear or are they tinted?
2 Likes
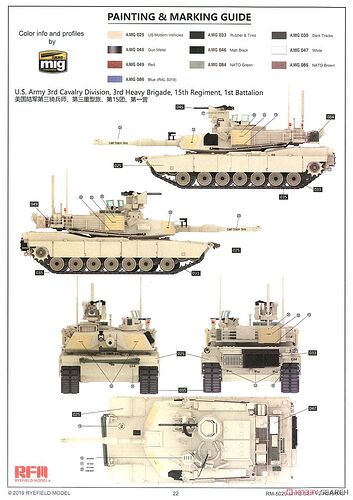
I would google search for the tank you want but the instruction profiles all seem to show C9. I don’t know if that is correct for each tank (probably not).
The hubs are clear and would attach at the end. They are clear to show how much fluid you have, so depending on the movement you might want to display. The bottom half should be dark, the top should be clear to medium/light coloring depending on when it was last moved. They should be consistent around the tank unless one has a leak.
4 Likes
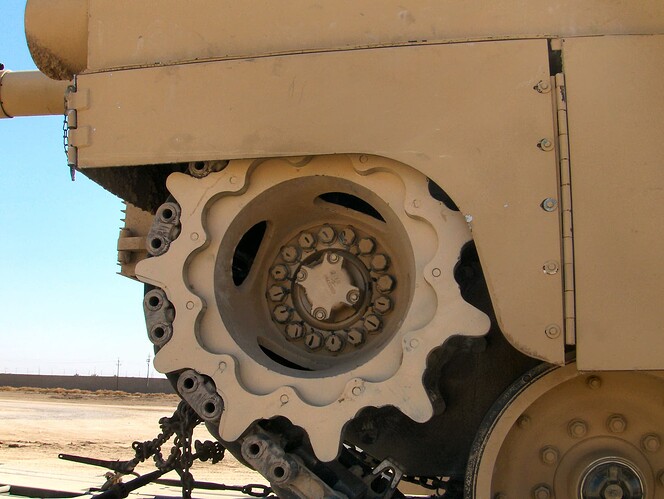
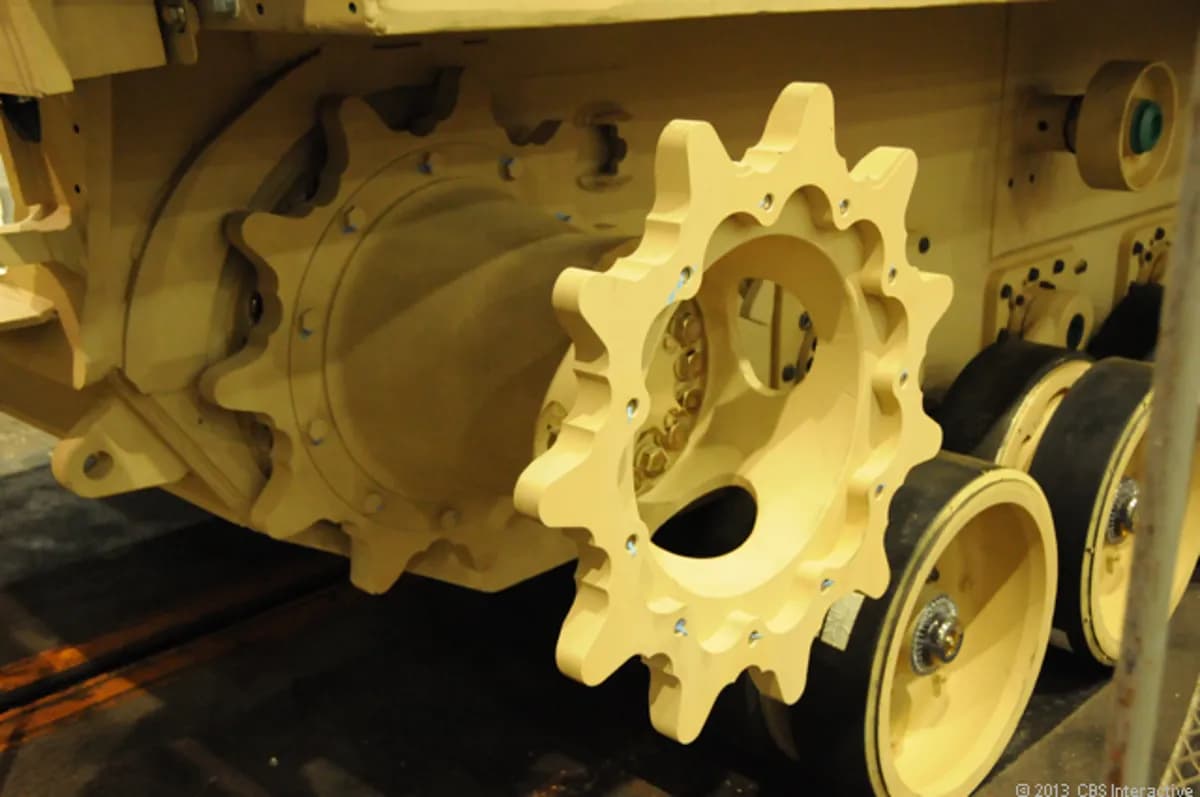
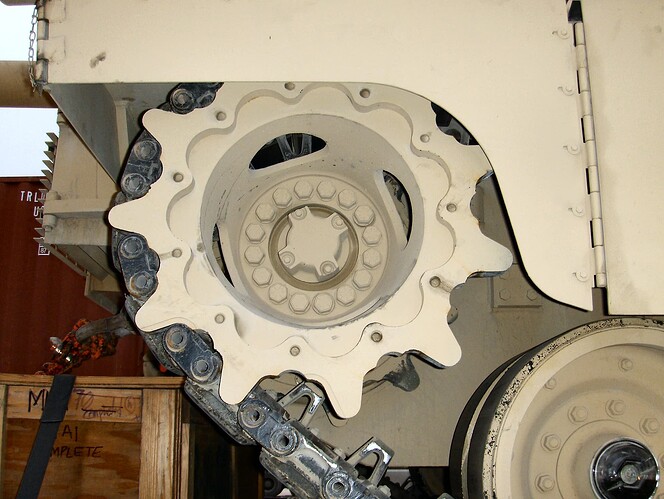
The M1A2 SEP v2 uses the newer, scalloped sprocket (C9).
Here is how the center cap looks too. You can see the bottom half is darker since it is filled with gear oil.
5 Likes
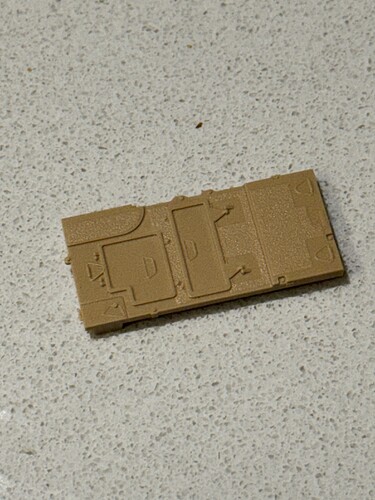
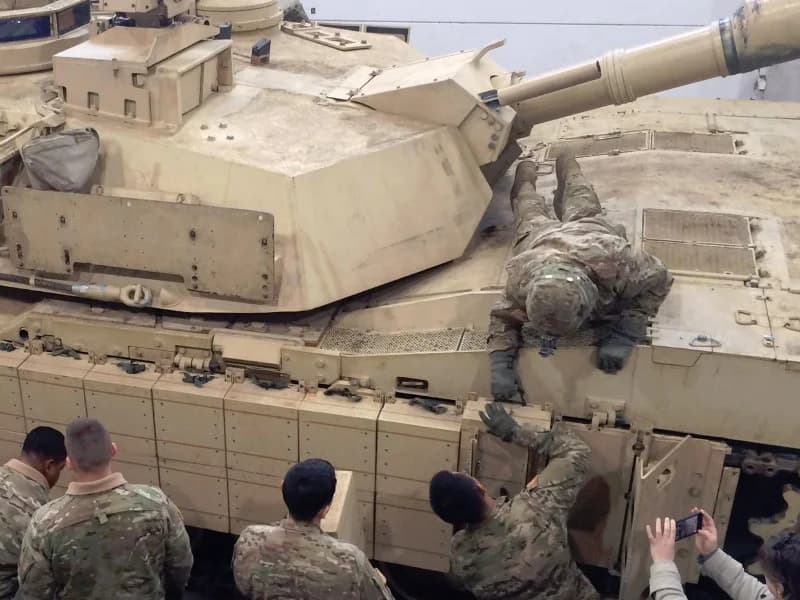
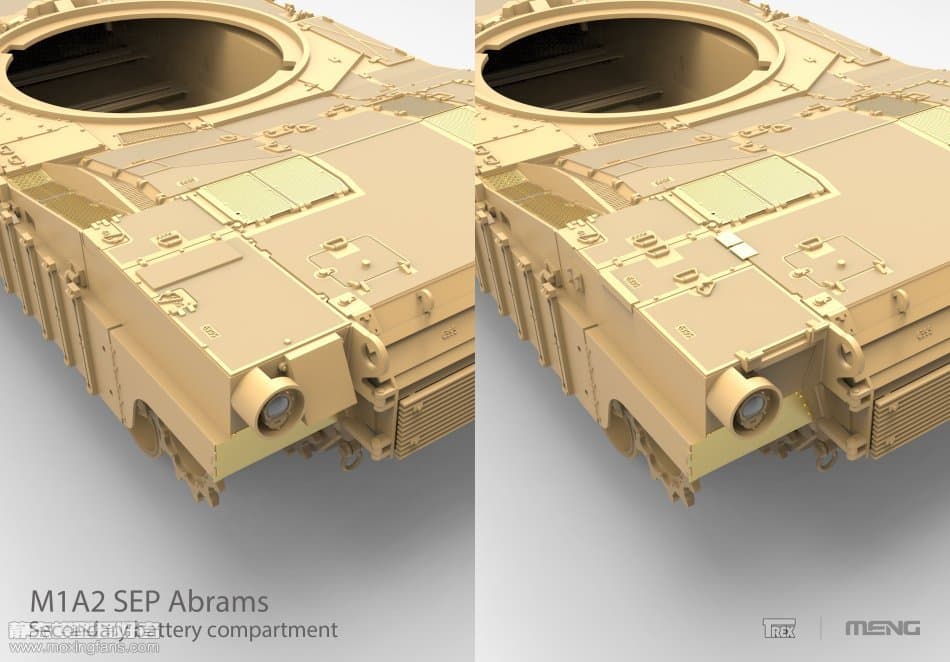
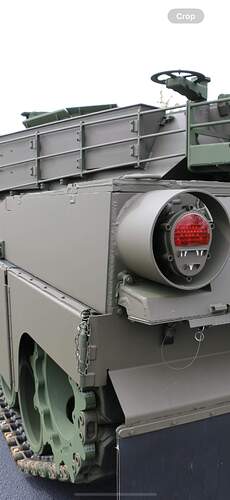
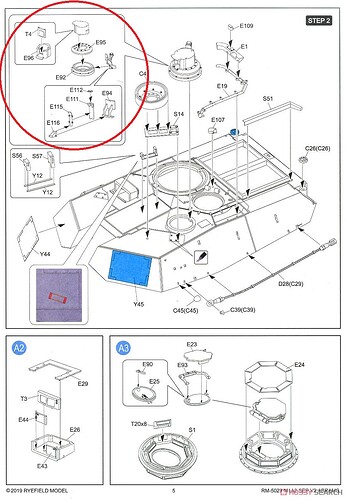
Looking at the RFM part W76 - the rear left engine deck (APU?) panel - does anyone have clear pics of the 1:1?
Here’s the kit part:
The kit piece seems a little 2D to me.
It actually looks like it is too 3D to me, and not really like the UAAPU cover.
Here you can see how flat the plates actually are.
Meng’s diagram shows them well also. On the left is the UAAPU parts, right is the Hawker Battery System parts.
1 Like
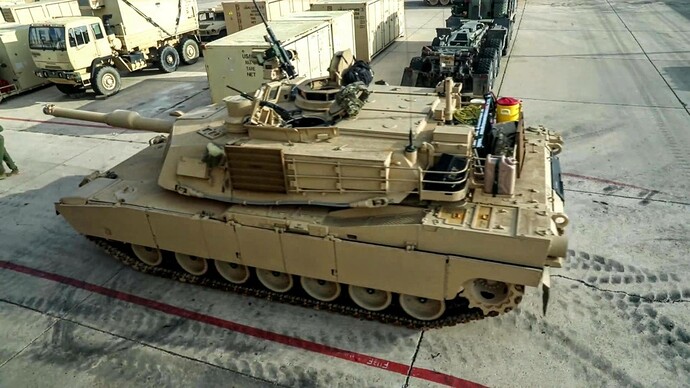
There’s a distinct raised area on the v3 that isn’t on the v2, with a chamfer about a third of the way from the rear.
Looks like a third non-fuel cap option over the two v2 decks.
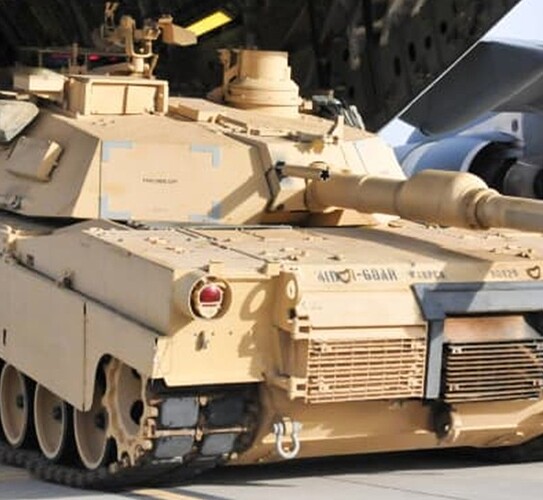
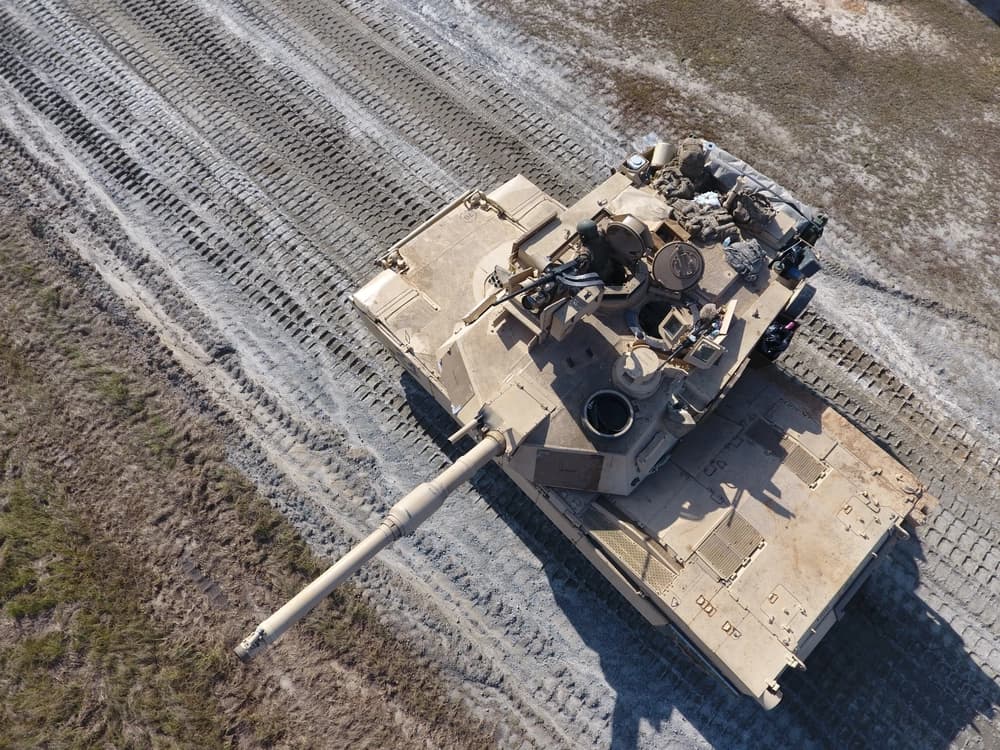
That’s the SEP V3 APU cover. The handles do look a little 2D.
3 Likes
Thank you @HeavyArty and @Tank_1812 .
1 Like
Thanks, that’s the clearest pic I’ve seen! Very helpful.
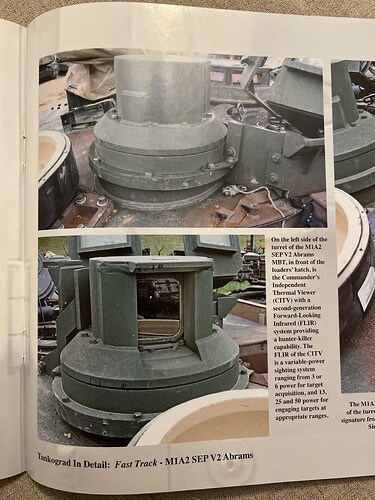
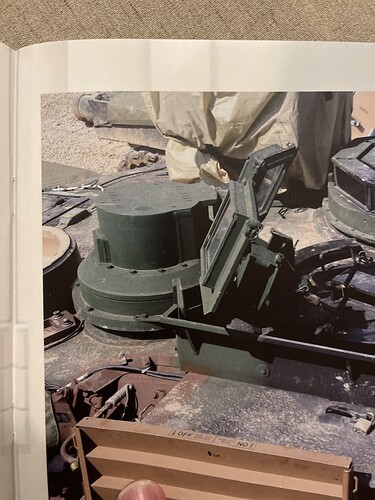
That’s the CITV (Commander’s Independent Thermal Viewer).
Pictures courtesy of Tankograd.
3 Likes
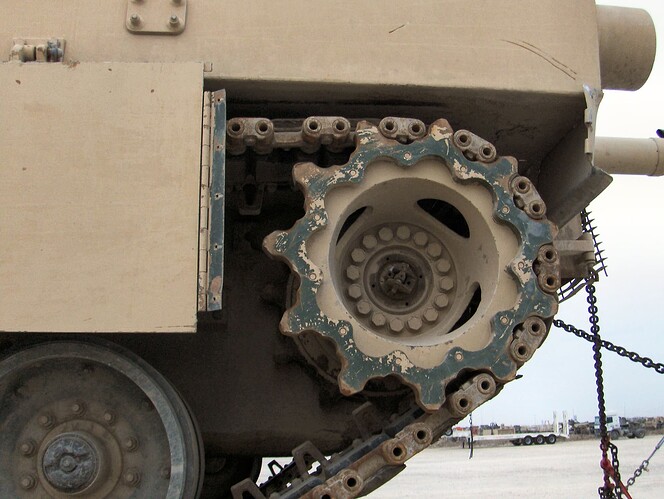
Don’t know the exact part number but the rims or the outer ring should look like this one (rounder ends) for SEP V.2:
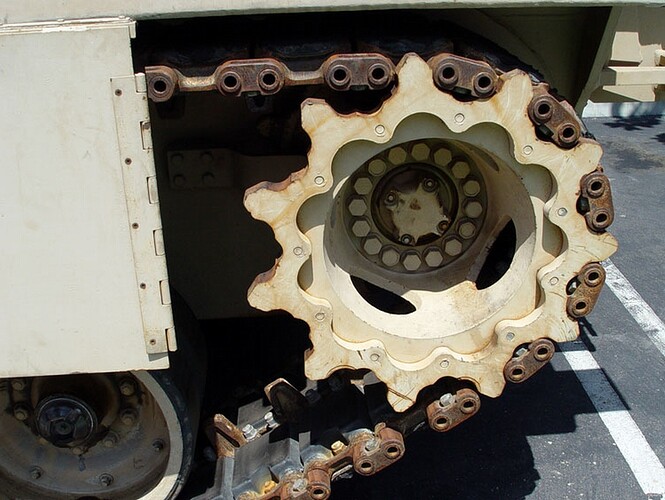
NOT the previous type
You see how the teeth are a bit more pointy?
3 Likes
Khouli
31 January 2024 07:16
14
Those sprockets don’t look different, just worn?
Haha! No, Roly, when the older type gets worn, it looks like this:
Here’s a photo of the factory fresh newest type sprocket:
Another:
2 Likes
Khouli
31 January 2024 07:32
16
Interesting.
What is the reason for the difference?
A new manufacturer? A strength improvement?
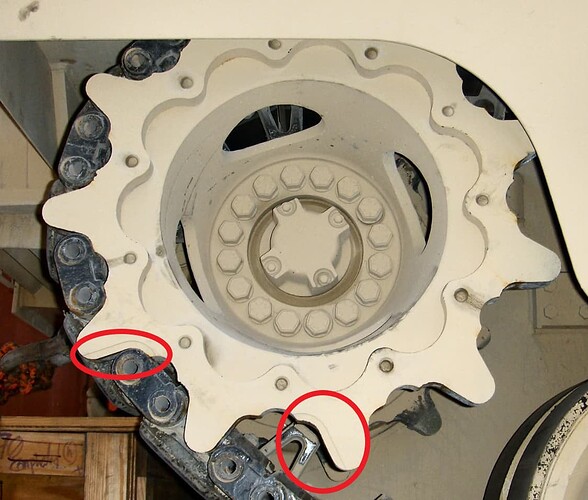
I notice that there appear to be wear indicators on these sprockets, but not on all the teeth. Is that correct?
No clue. I don’t think it was a new manufacturer issue but rather some sort of improvement.
Not sure about the wear indicators.
Dan
31 January 2024 14:44
18
Yes, thats correct. Thats how one tells if the sprockets are worn down.
Dan
31 January 2024 14:49
19
That sprocket on the top pic is fine-look at the wear marks. It just needs paint! Notice the cap or cover is off the sprocket hub-the knuckle shown is how one disconnects the final drive.
