Quick, Champagne!

Busy with the wheels, tracks, tools and stowage:

On the tracks, I first brushed a coat of Army Painter Strong tone on the steel parts, to give some depth, and then drybrushed them with medium grey, light grey and then with a medium metal colour, Games Workshop Boltgun Metal. The rubber parts, and the tyres on the wheels, I painted grey (the tracks already were sprayed that) and given a wash of Tamiya XF-1 Flat Black. Once that was dry, I drybrushed the insides of the track and the tyres with dark and medium grey (not the outside, that will be painted later but differently). I also painted the rims of the wheels with Boltgun Metal.

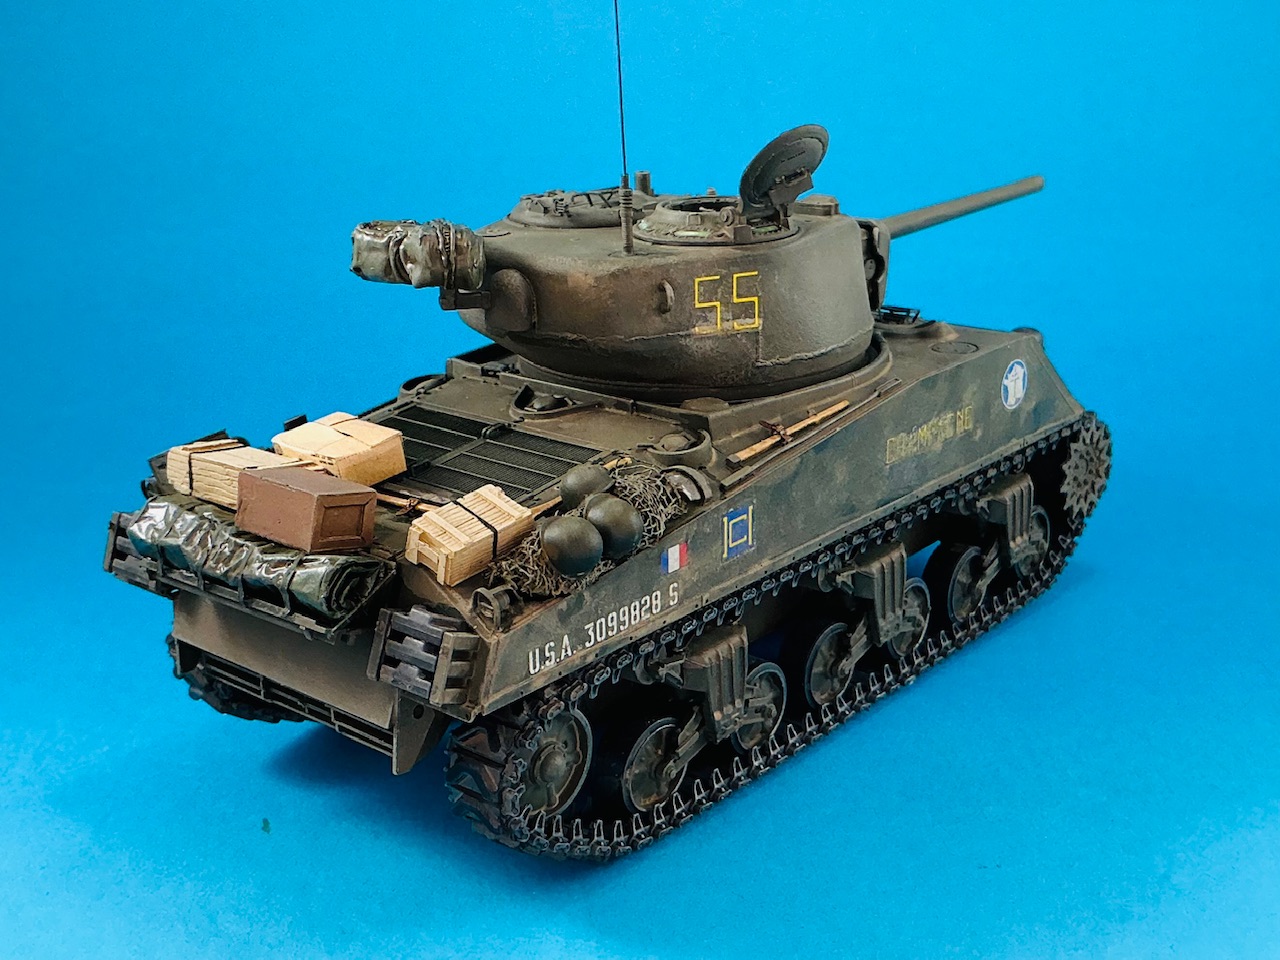
The wooden crates are various shades of brown, sand and olive drab, with a darker wash and a lighter drybrush to bring out the details. The camouflage net is Tamiya XF-49 Khaki with a darker wash brown wash and a tan drybrush.

The tools on the tank were painted Boltgun Metal for the metal parts, with Army Painter Dark Wash over it and then highlights with silver. The wooden parts are some shade of natural wood (I forget which) followed by a darker wash.

9 Likes

Looks great Jakko

2 Likes

Thanks :slight_smile:

1 Like

After glueing the bogies to the tank, I put a wash of Tamiya XF-52 Flat Earth over the whole model, thicker on the underside than up top. That also hid most of the silvering, I’m glad to say. After that wash, I also drybrushed a paler dirt colour in places, mainly where the crew would walk and on the rear and sides, where the tank would get extra dirty. It perhaps still needs some work to look more convincing.

Painting of the tracks is also done:

… or so I thought :frowning: I gave the outside a thick was of XF-52 to represent dirt and dust, then painted the chevrons with matt black and drybrushed them with dark grey. I actually wanted to paint them dark grey, but after trying three or four different pots and bottles with various shades of that, all of them gave too little contrast with the dirt, so I resorted to plain black.

And then I went and fitted them to the tank. That’s when I really started to get fed up with tracks a little … As mentioned earlier, I had made them to the length Meng recommends, 78 links, and when I test-fitted them they appeared to be a link too long. However, they seem to have shrunk in painting, because I could barely get the ends together with the idler wheel turned all the way forward — where it shouldn’t be in the first place. So I made two more links, which I painted and added to the tracks after taking the photo above.

But at least the tracks now fit:

The idler wheel is still loose, and much too far forward:

Per the real tank’s manual, as mentioned by Kurt above, it should be between vertically down and horizontally to the rear, but here it’s diagonally down forward. But that will be solved soon by turning it on its axle like on the real tank, and then putting a drop of glue onto it once the track is properly tensioned.

You can also see in the previous photo that I glued the stowage to the tank, and also painted a dark rectangle towards the front of the side plate, that is visible in some photos of the real tank.

8 Likes

Commander’s figure painted, machine gun and antenna added, and then I put a cardboard rations box from Tamiya (without the outer wrapper, but with the box folded closed) on the engine deck, and I think it’s finished:

10 Likes

Spectacular finish Jakko. Really excellent model.

1 Like

Thank you for the kind words, though I don’t think it’s my best model :slight_smile: I’m pleased with it, sure, but it was starting to drag out for too long and I just wanted it finished to a decent standard.

2 Likes

I like it Jakko- the paint and weathering is excellent.

2 Likes

Really nicely done! The weathering is excellent and sets the model off perfectly! I like how the dust around the name looks like it has some wipe marks as though someone tried to clean it off. Very realistic!

2 Likes

Thanks :slight_smile: I hadn’t noticed that about the dirt yet myself — the main aim for it was to obliterate the silvering on the decals :slight_smile:

2 Likes

Where is the covered M2 from?

Tiger Model Designs. I had to work out where to drill a hole in it for a piece of brass rod in order to fit it to the turret, as for some reason the part doesn’t have any way to do that.

2 Likes

Looks blooming nice to me Jakko.Done a grand job on him,Ive just been finishing a Heller 72nd French Sherman for our Sherman group.Got a show at weekend to display our models.

Happy modelling.

Richard

2 Likes

Thanks :slight_smile: This weekend will be a big show for me to go to as well: the 50th anniversary of the Dutch Armour Association, at the Overloon war museum.

3 Likes