Hi folks.
Getting back to my favourite aircraft after a while doing other things, time to smash out a dual-build of Hasegawa Razorback P-47s, both in markings from Saipan 1944 (19FS, 318FG, 7AF). This will be my first time building the Hasegawa version, after having built the Tamiya kit several times (hands down my favourite kit to build).
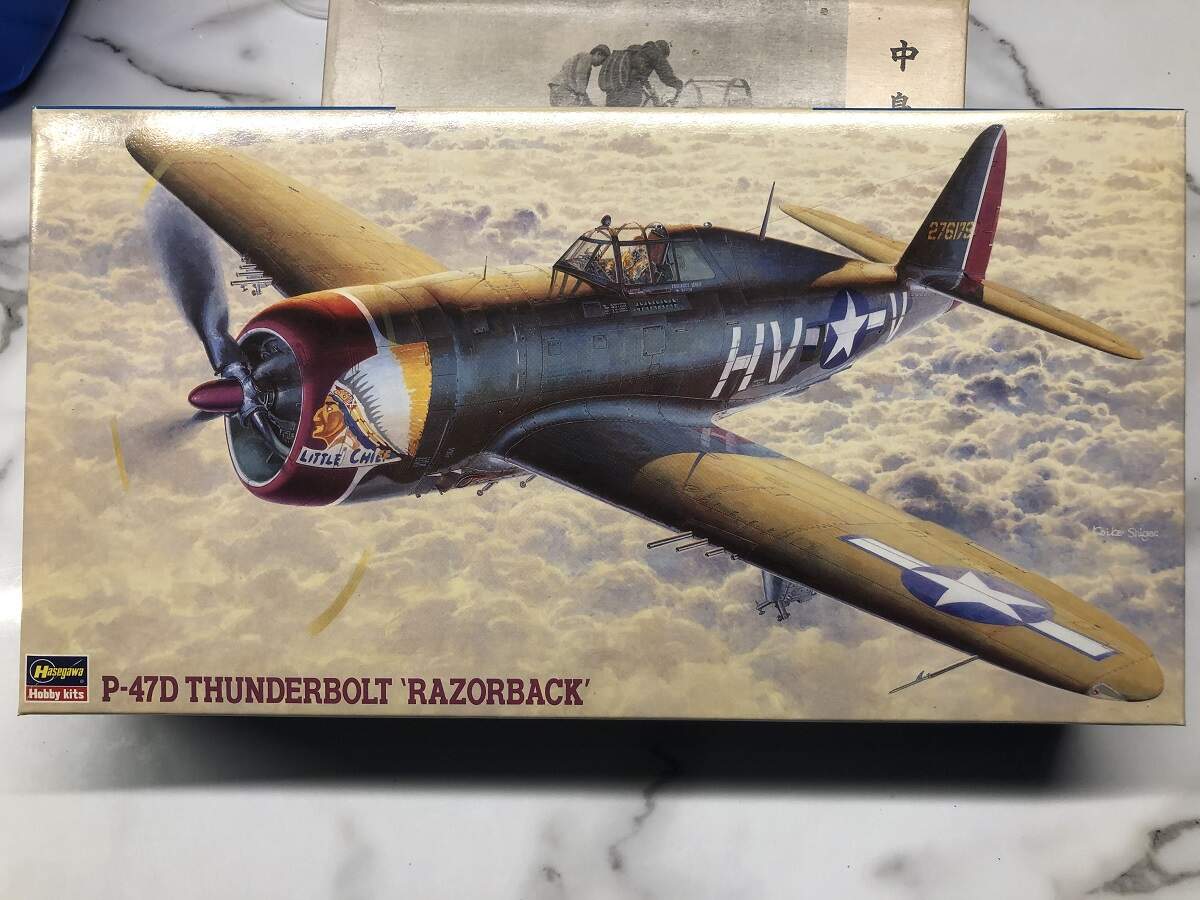
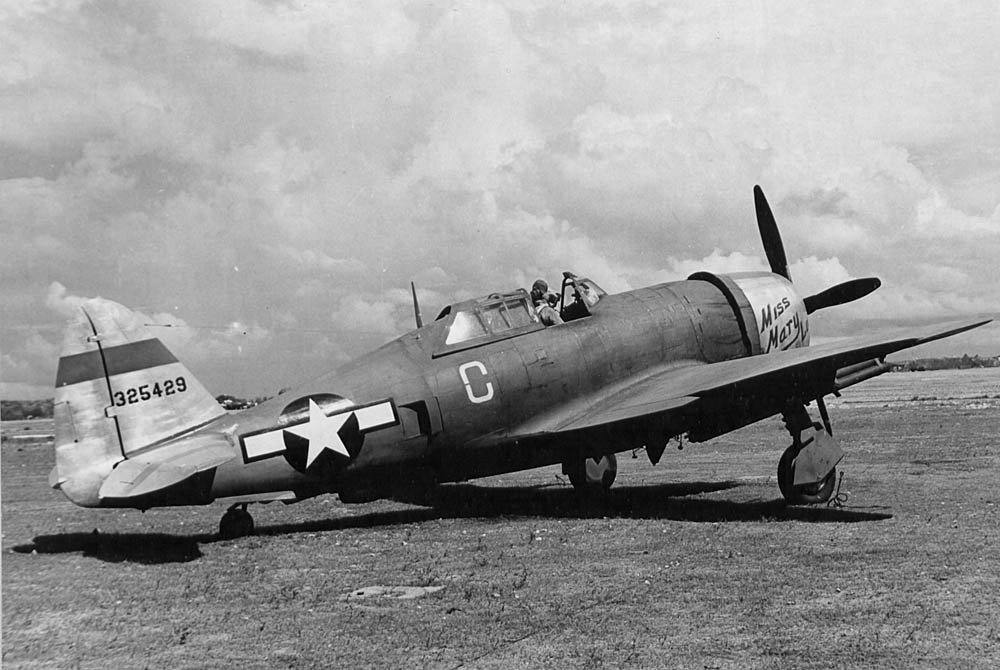
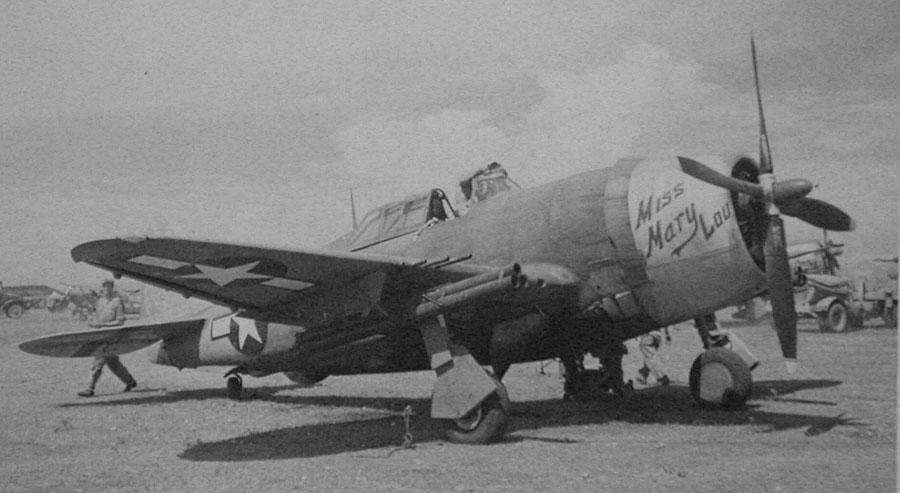
First up is the “Little Chief” boxing, which also contains the markings for “Miss Mary Lou” flown by Major Henry McAfee.
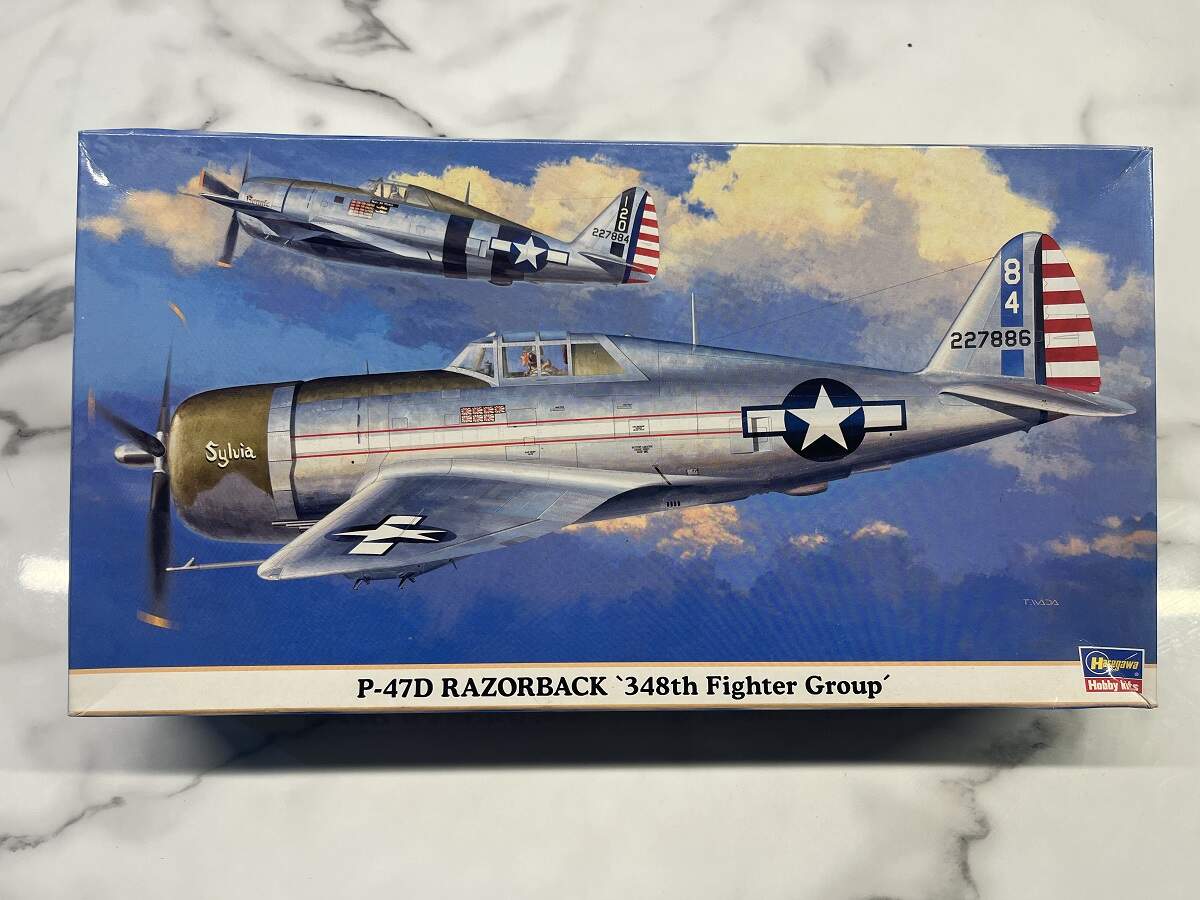
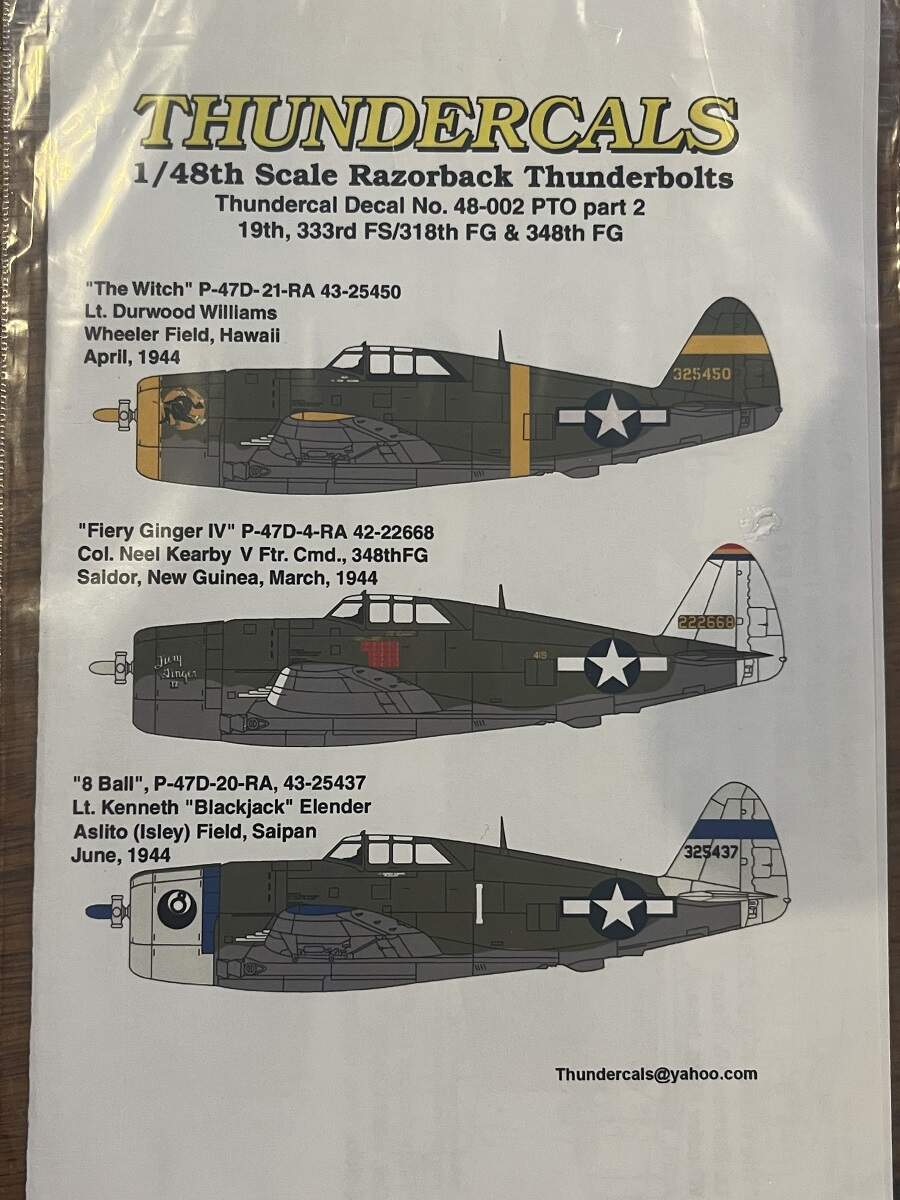
Second kit up is the “348th FG” boxing, but I will be using the Thundercals PTO Part 2 decal sheet, with the markings for “8 Ball” flown by Lt Kenneth “Blackjack” Elender.
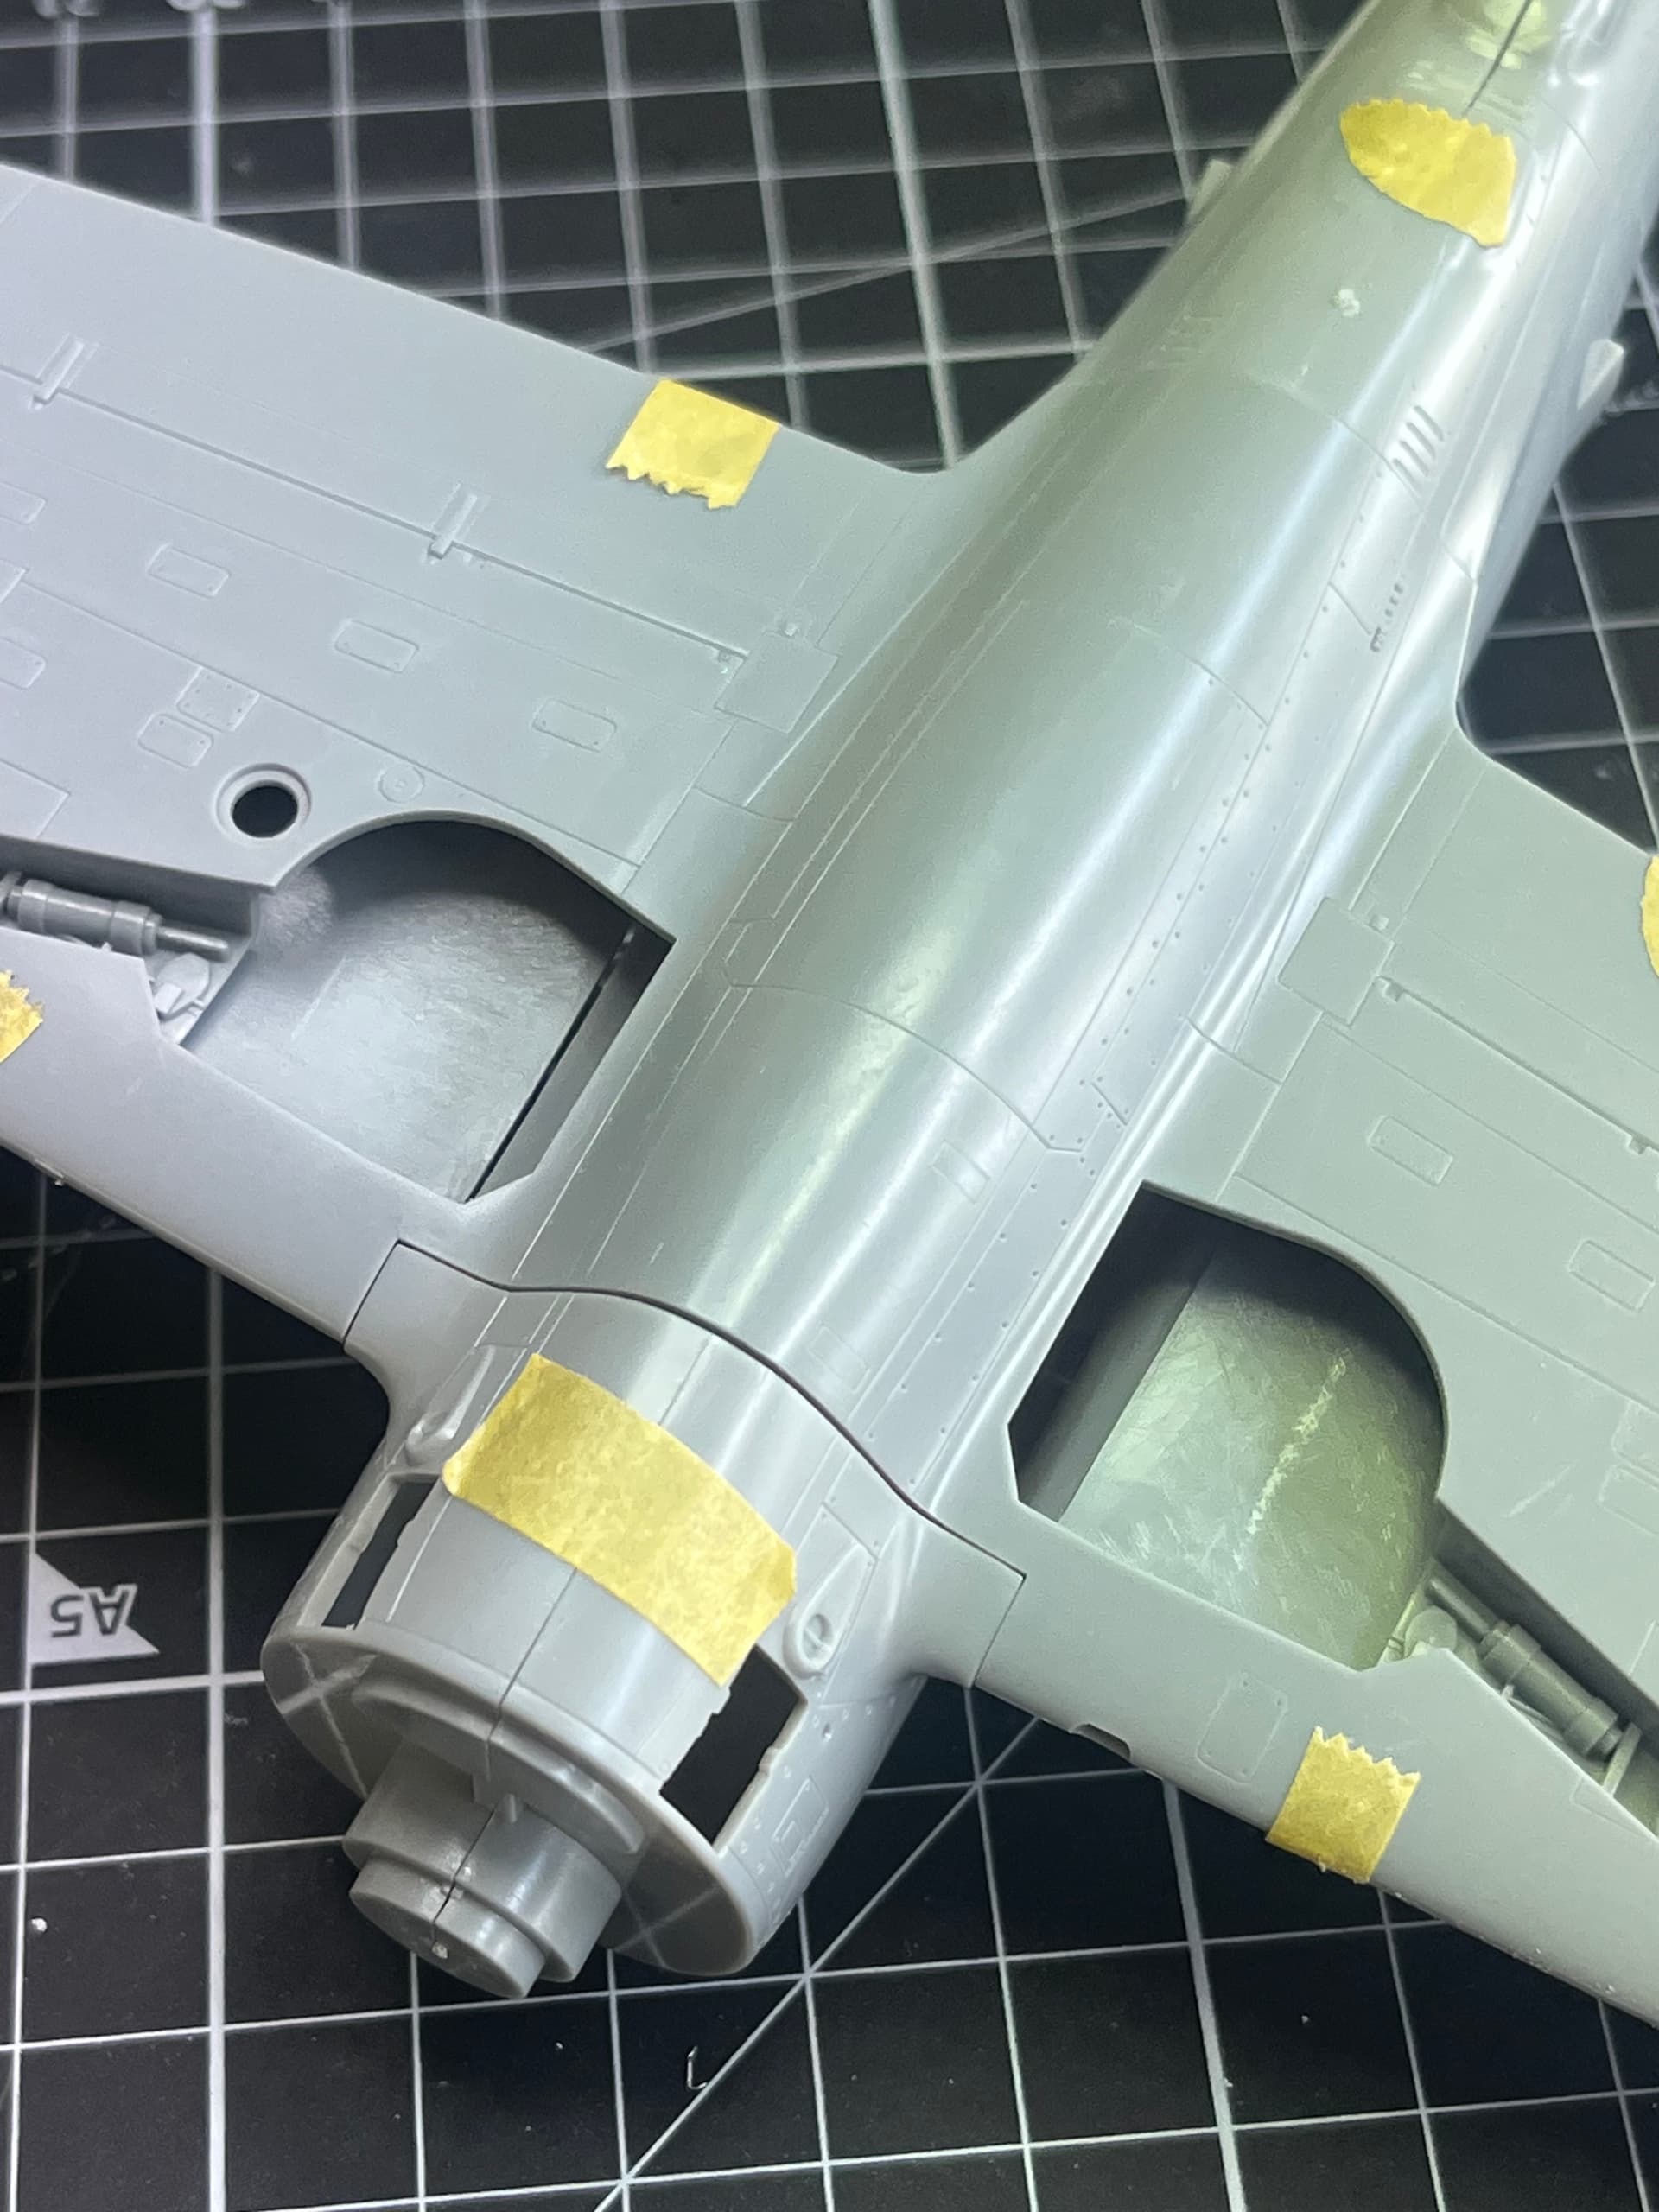
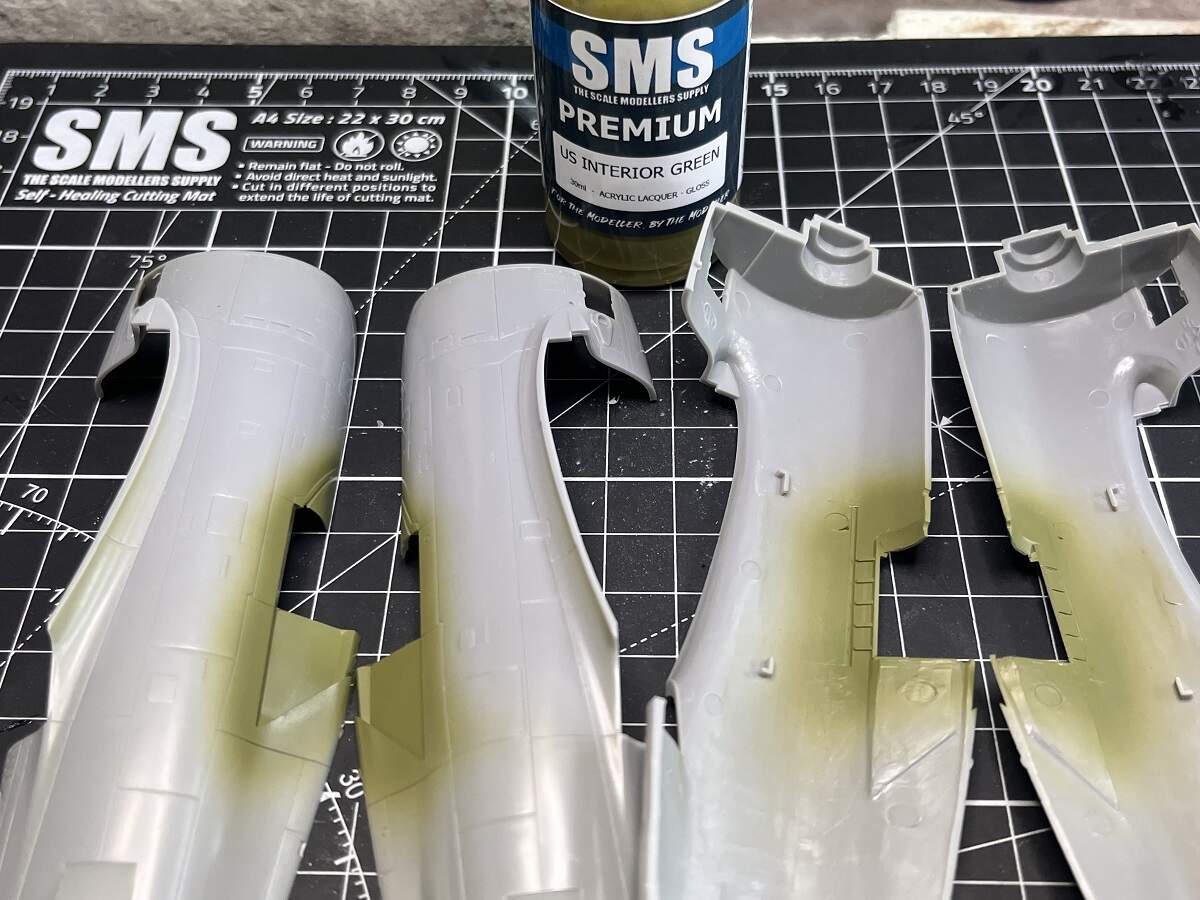
Reading some build reviews before I got stuck in, it seemed the only real fit issue reported was the bottom wing to fuselage join, so I did some cutting and test fitting.
Ok, some work in front of me there.
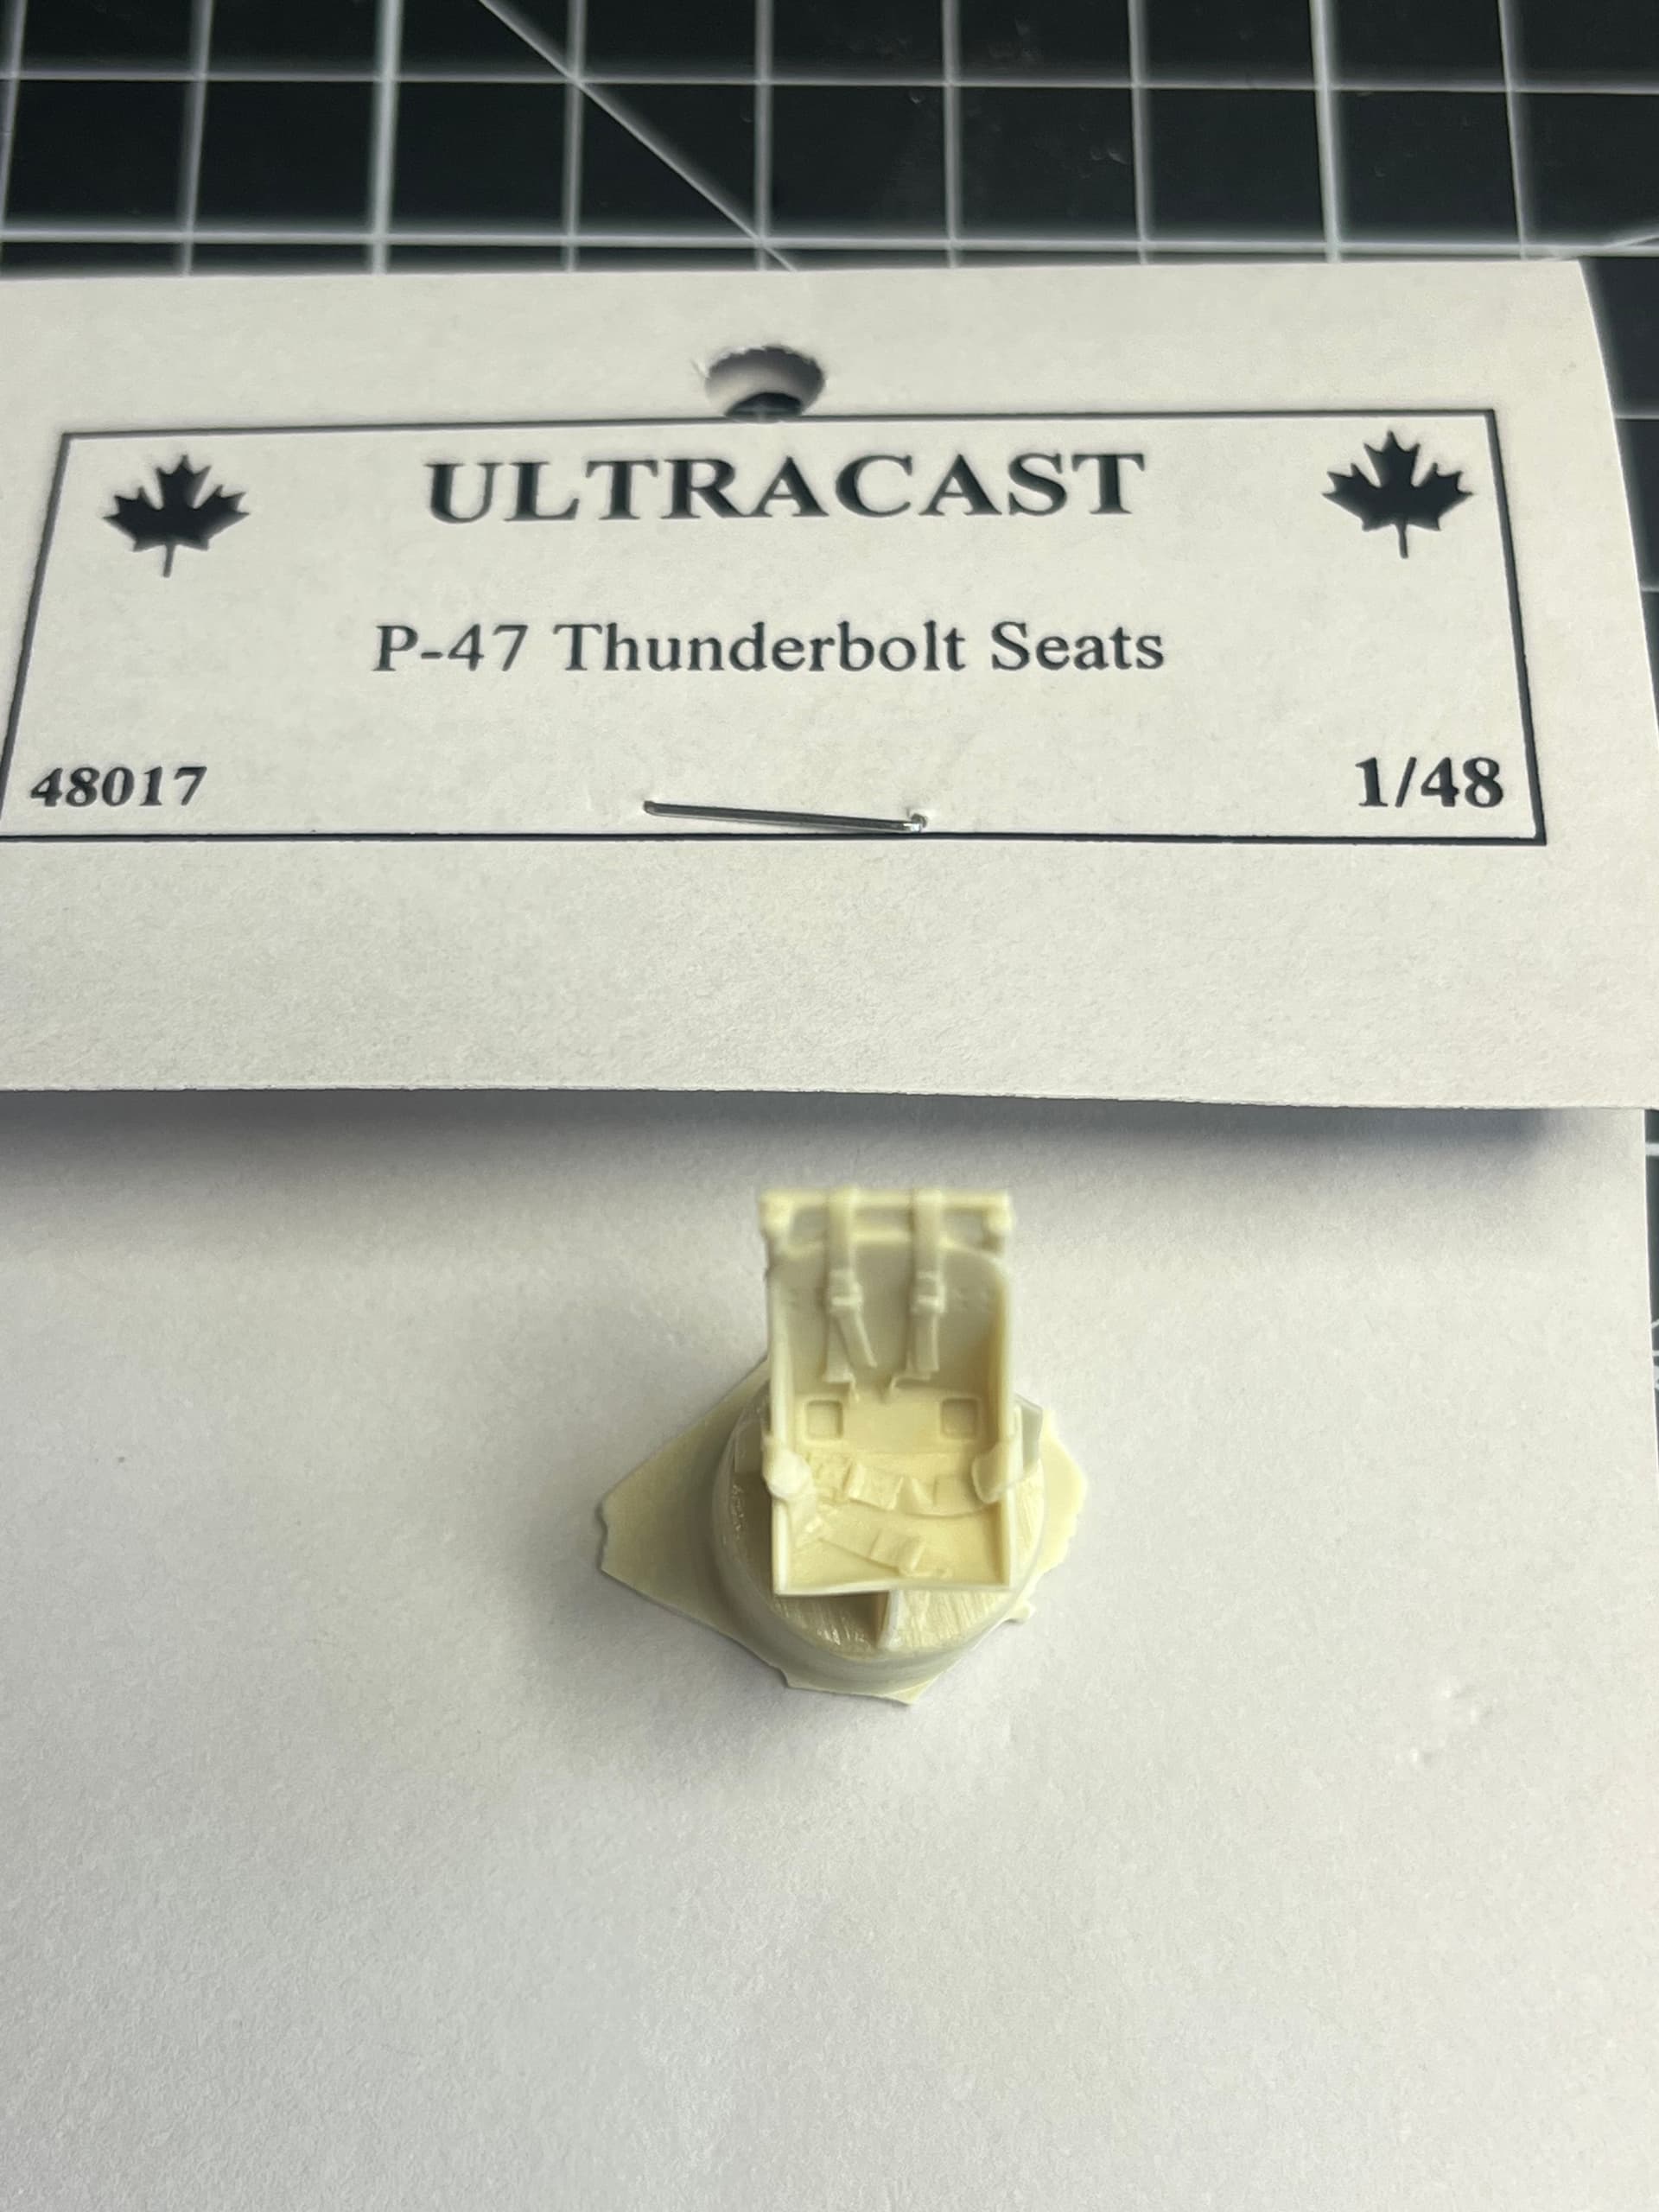
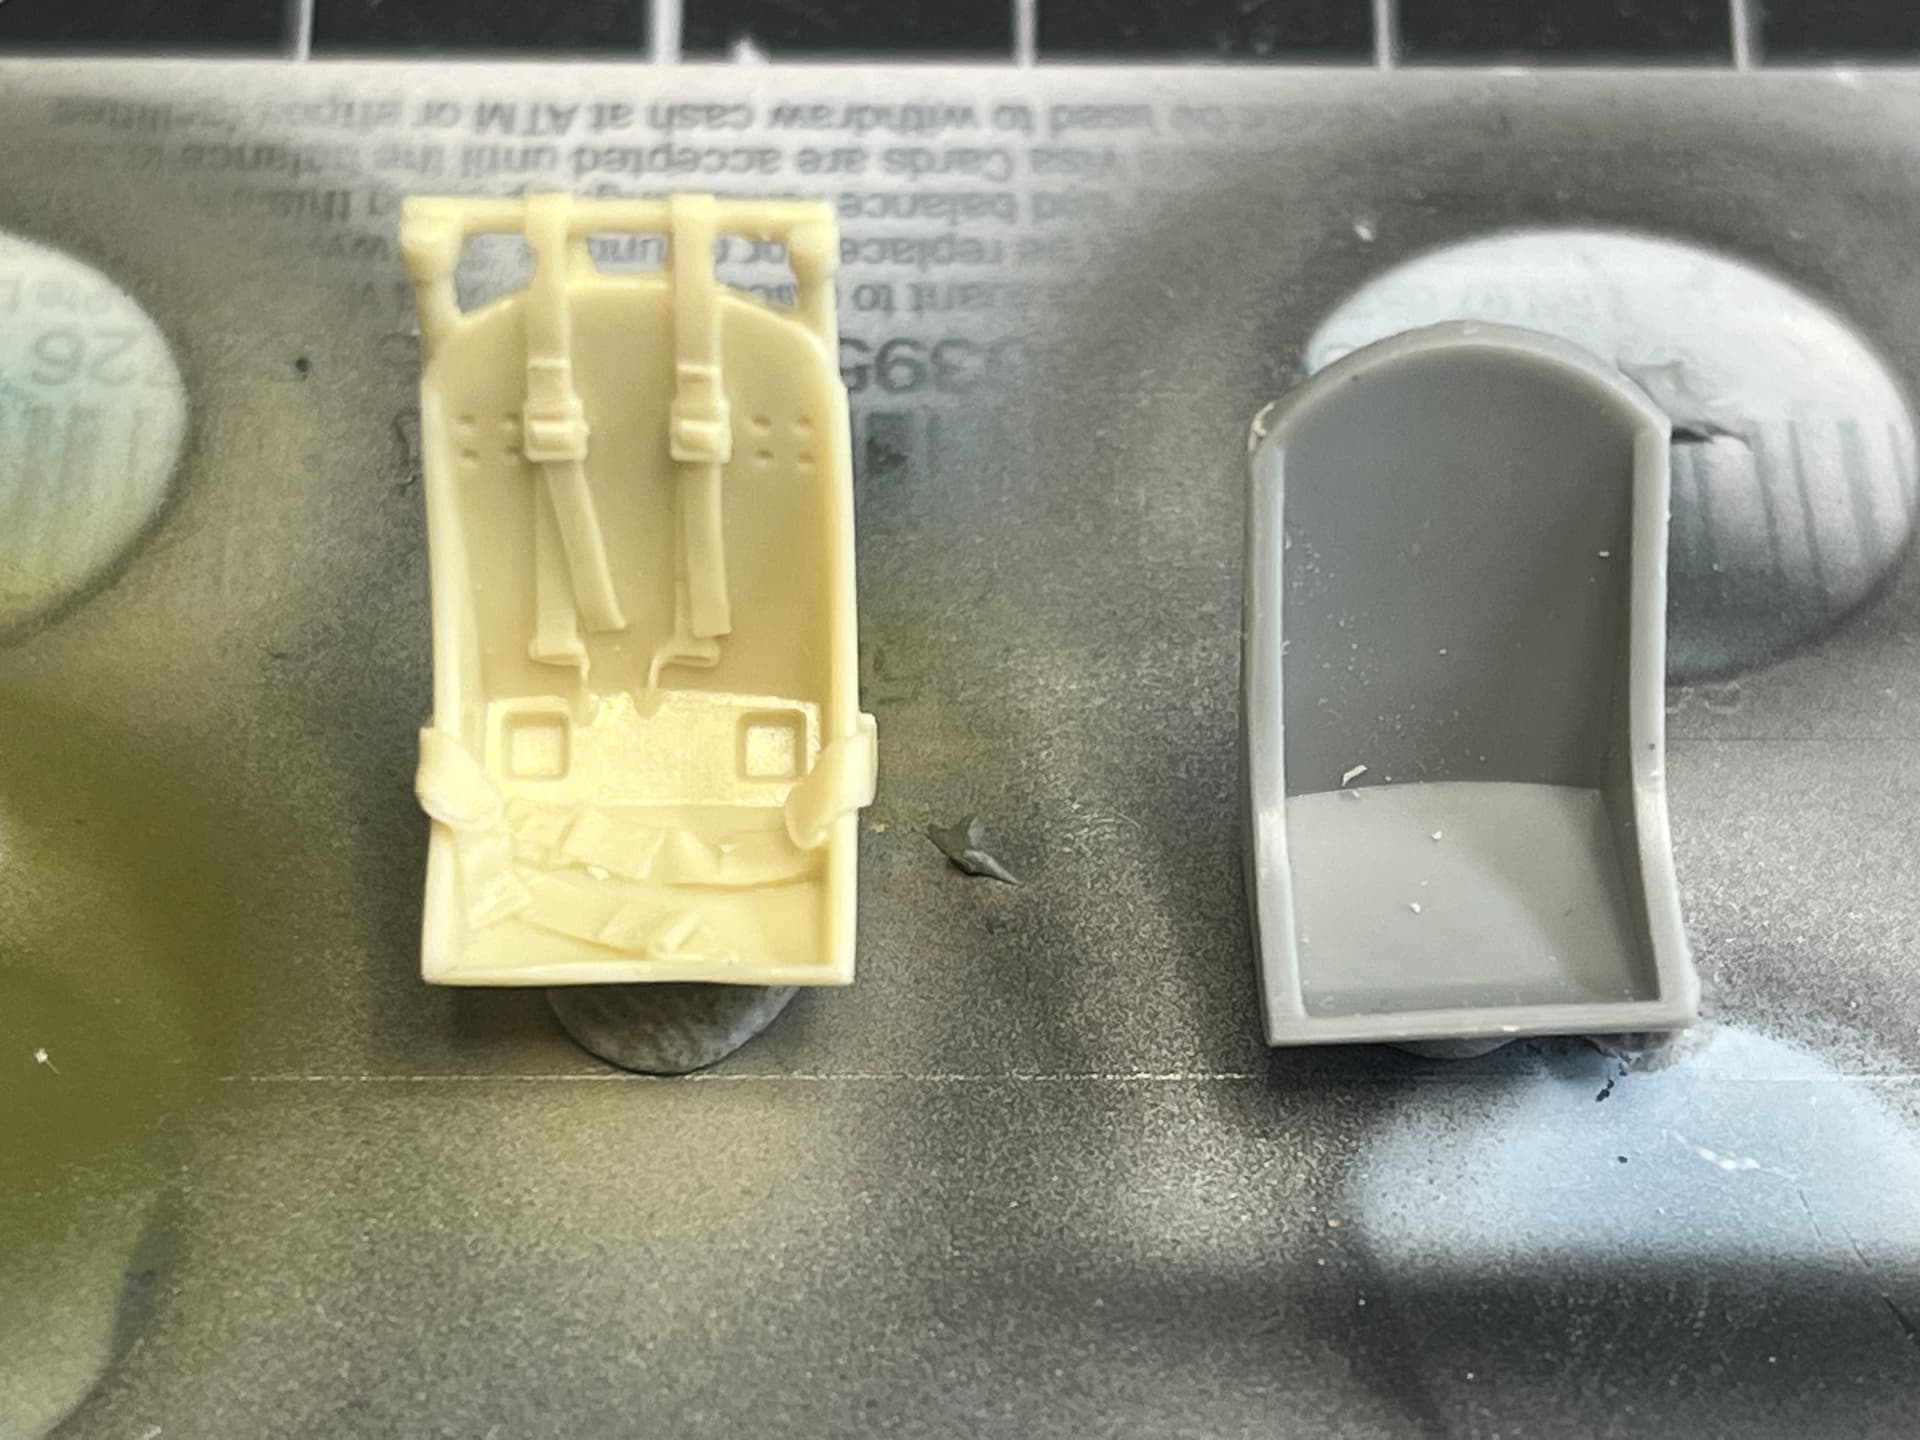
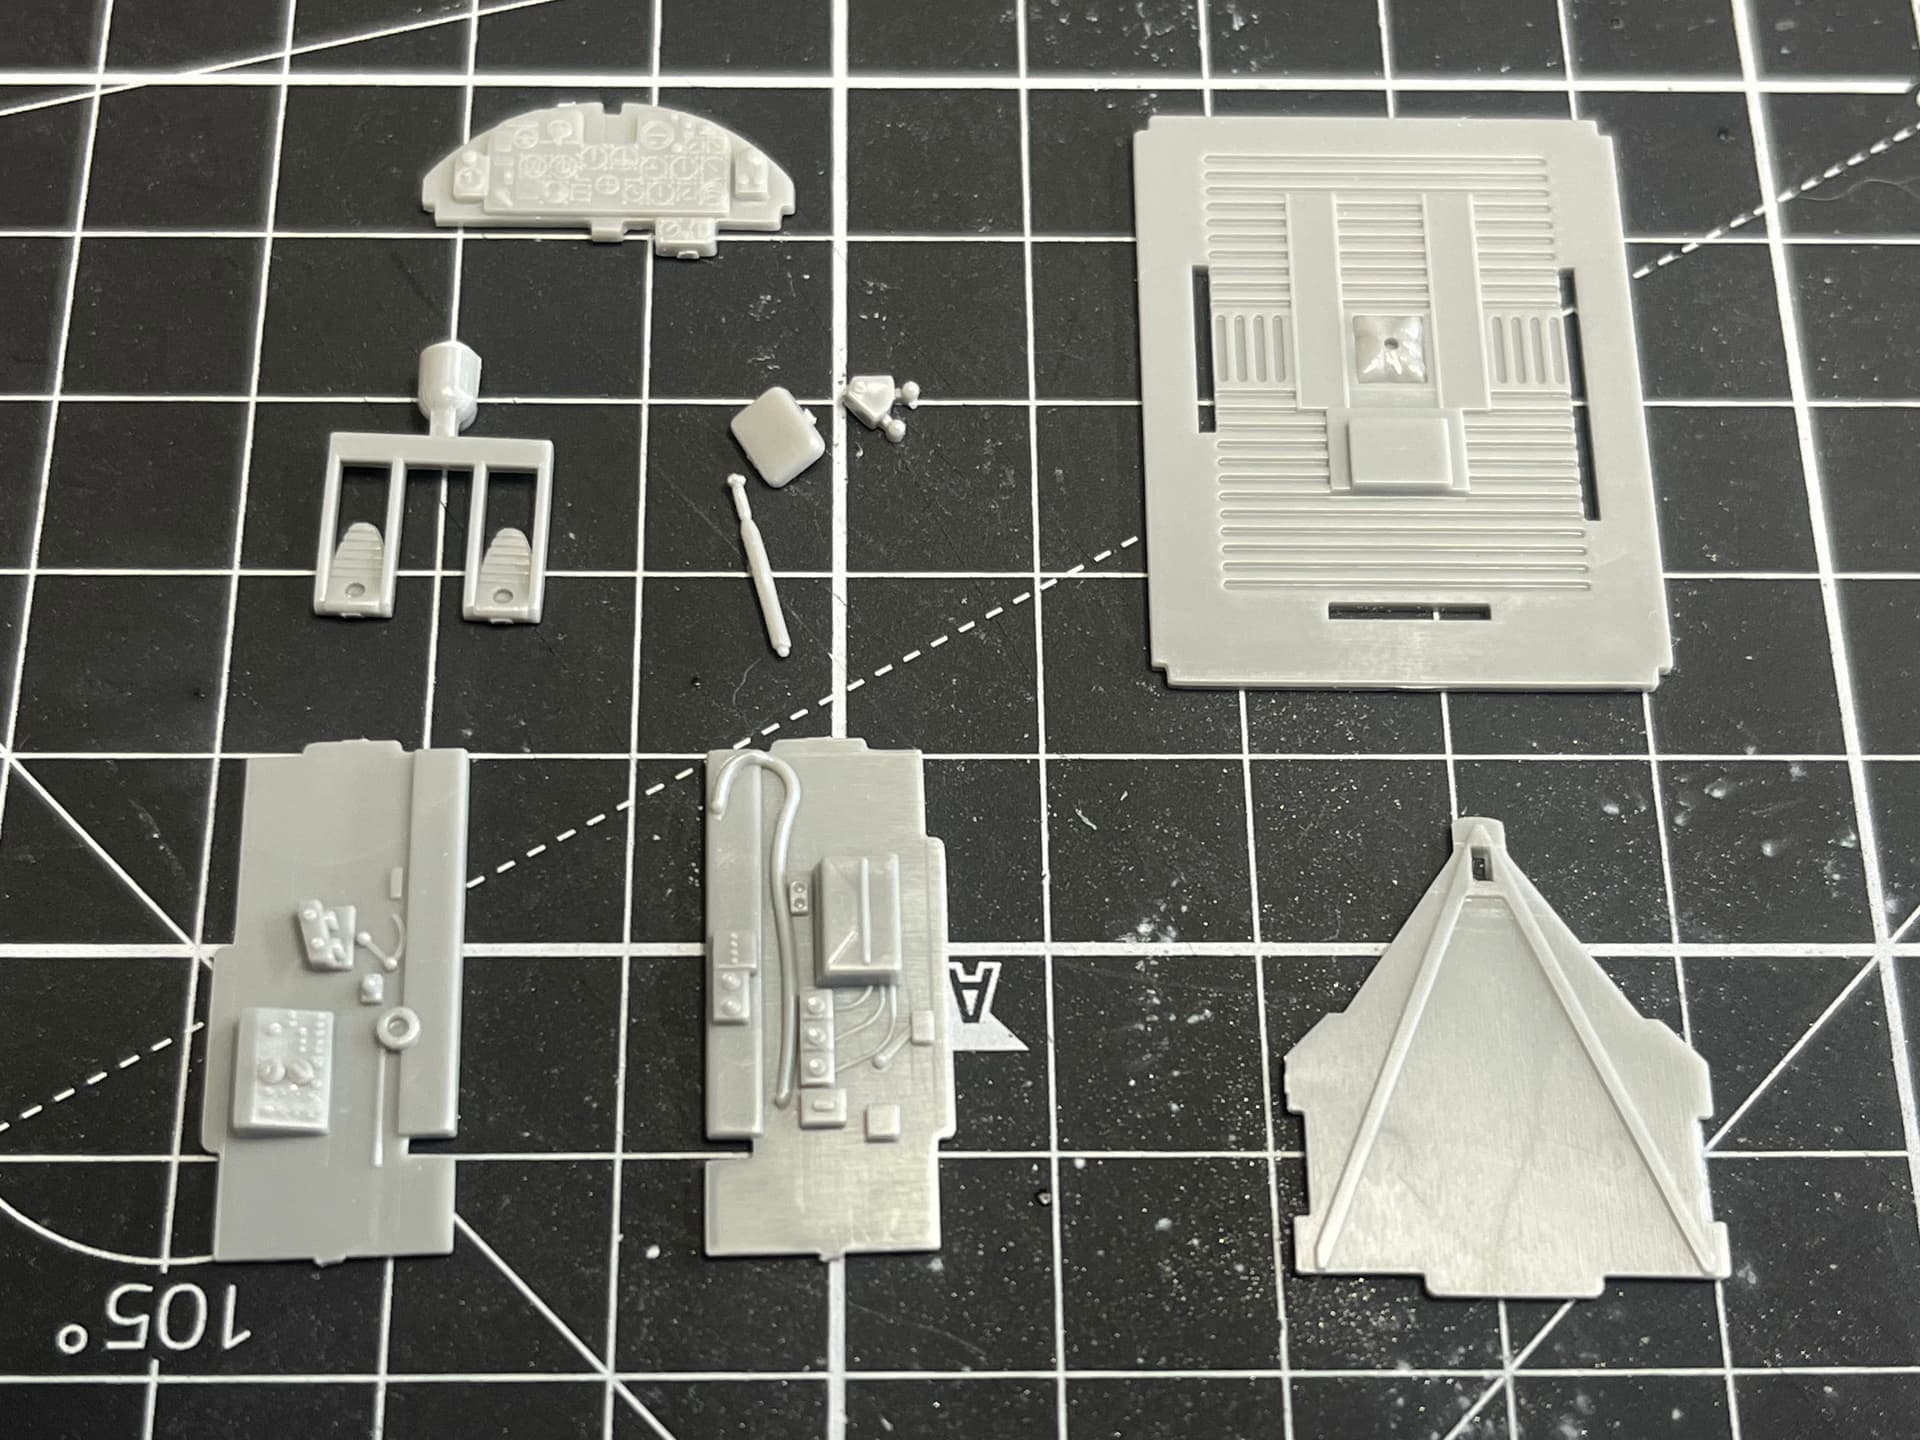
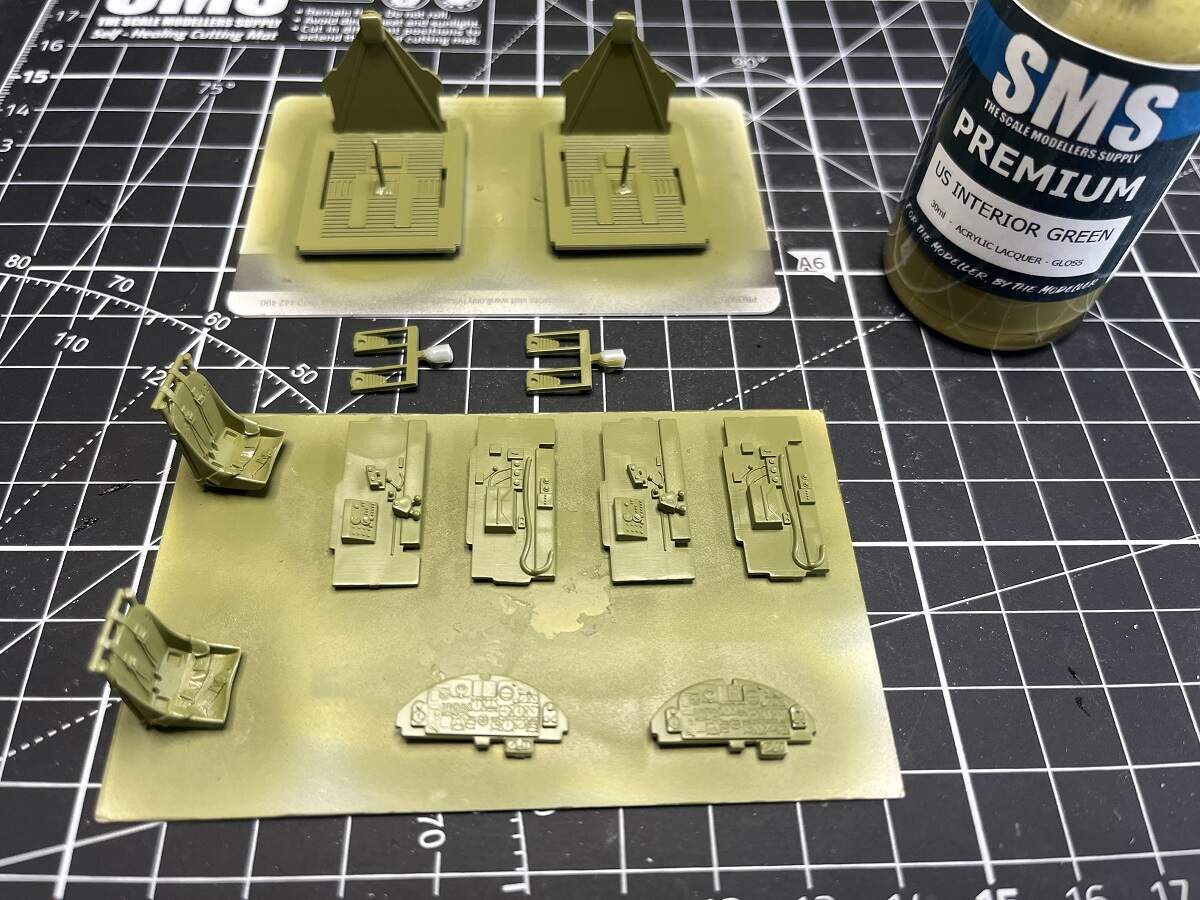
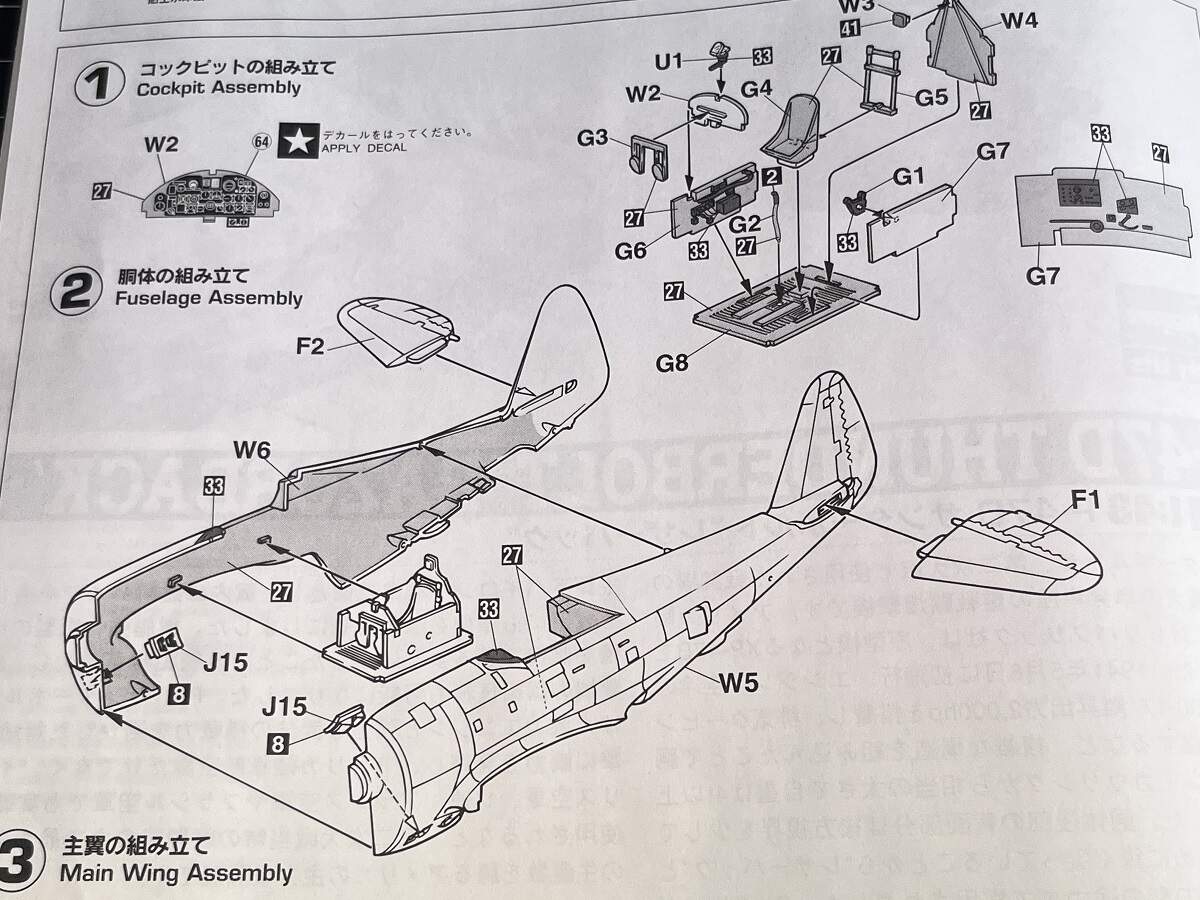
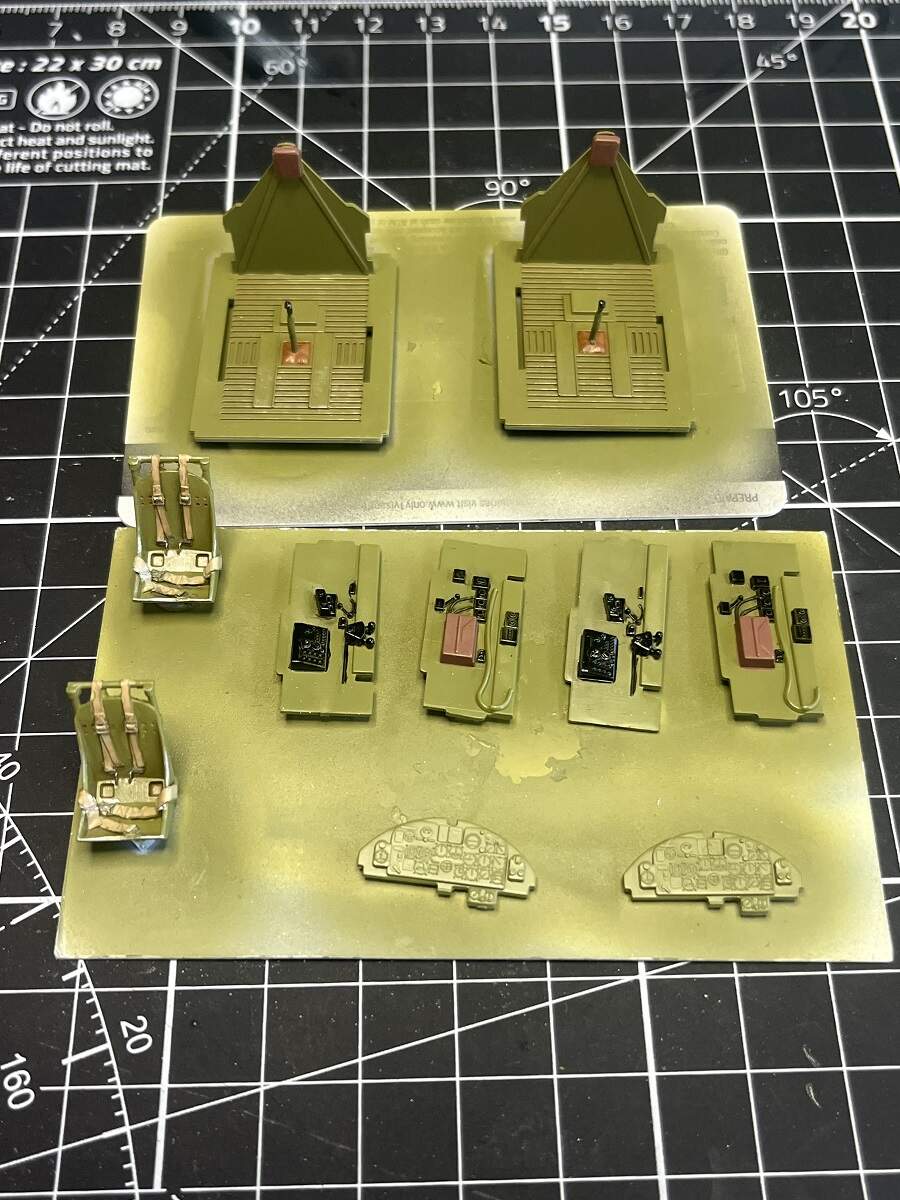
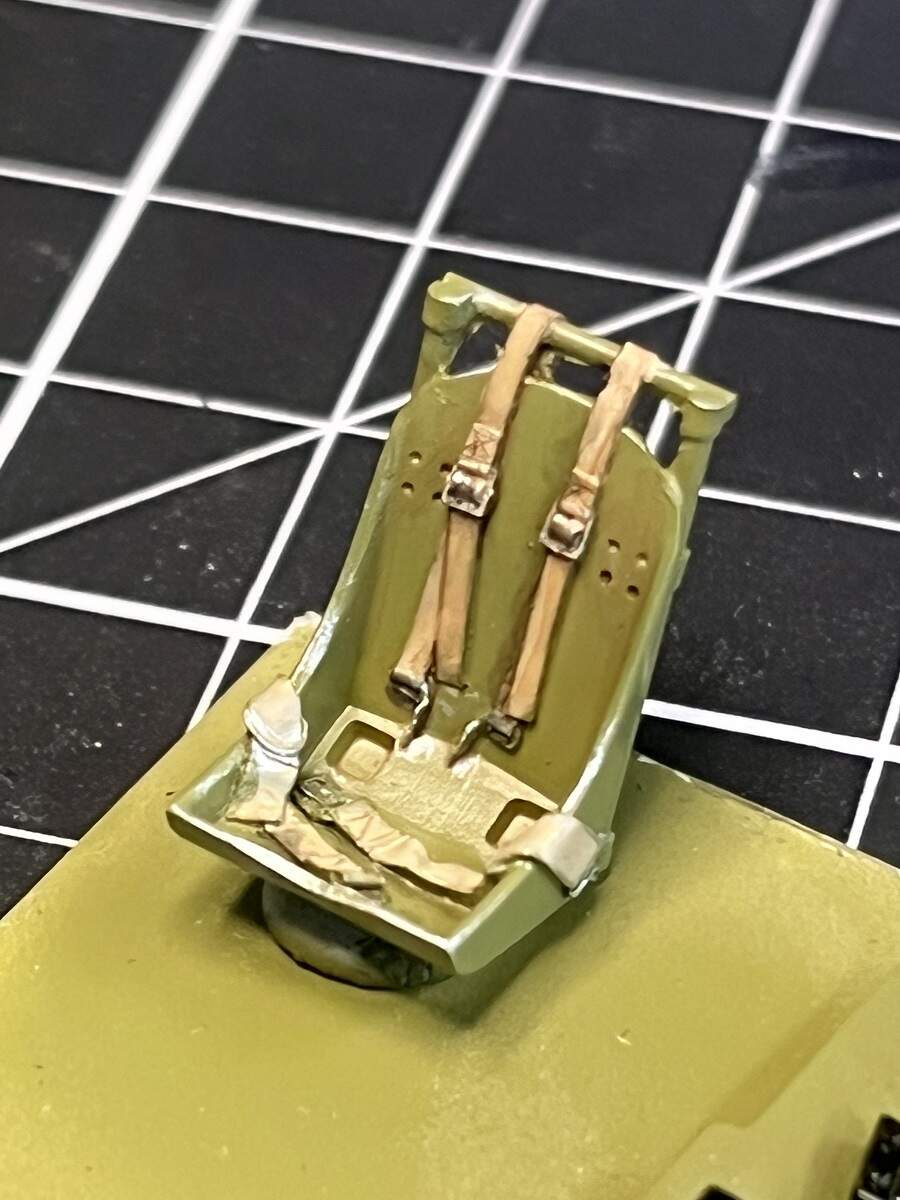
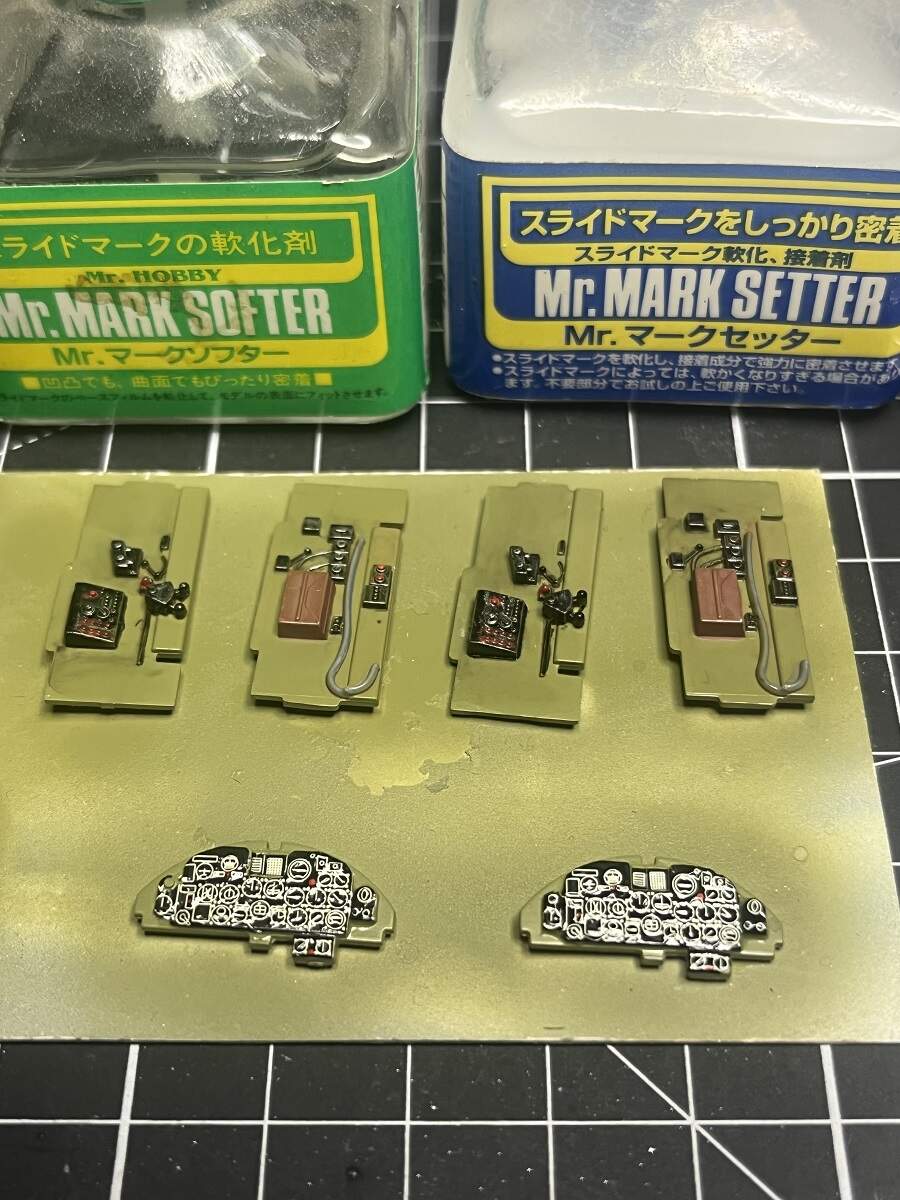
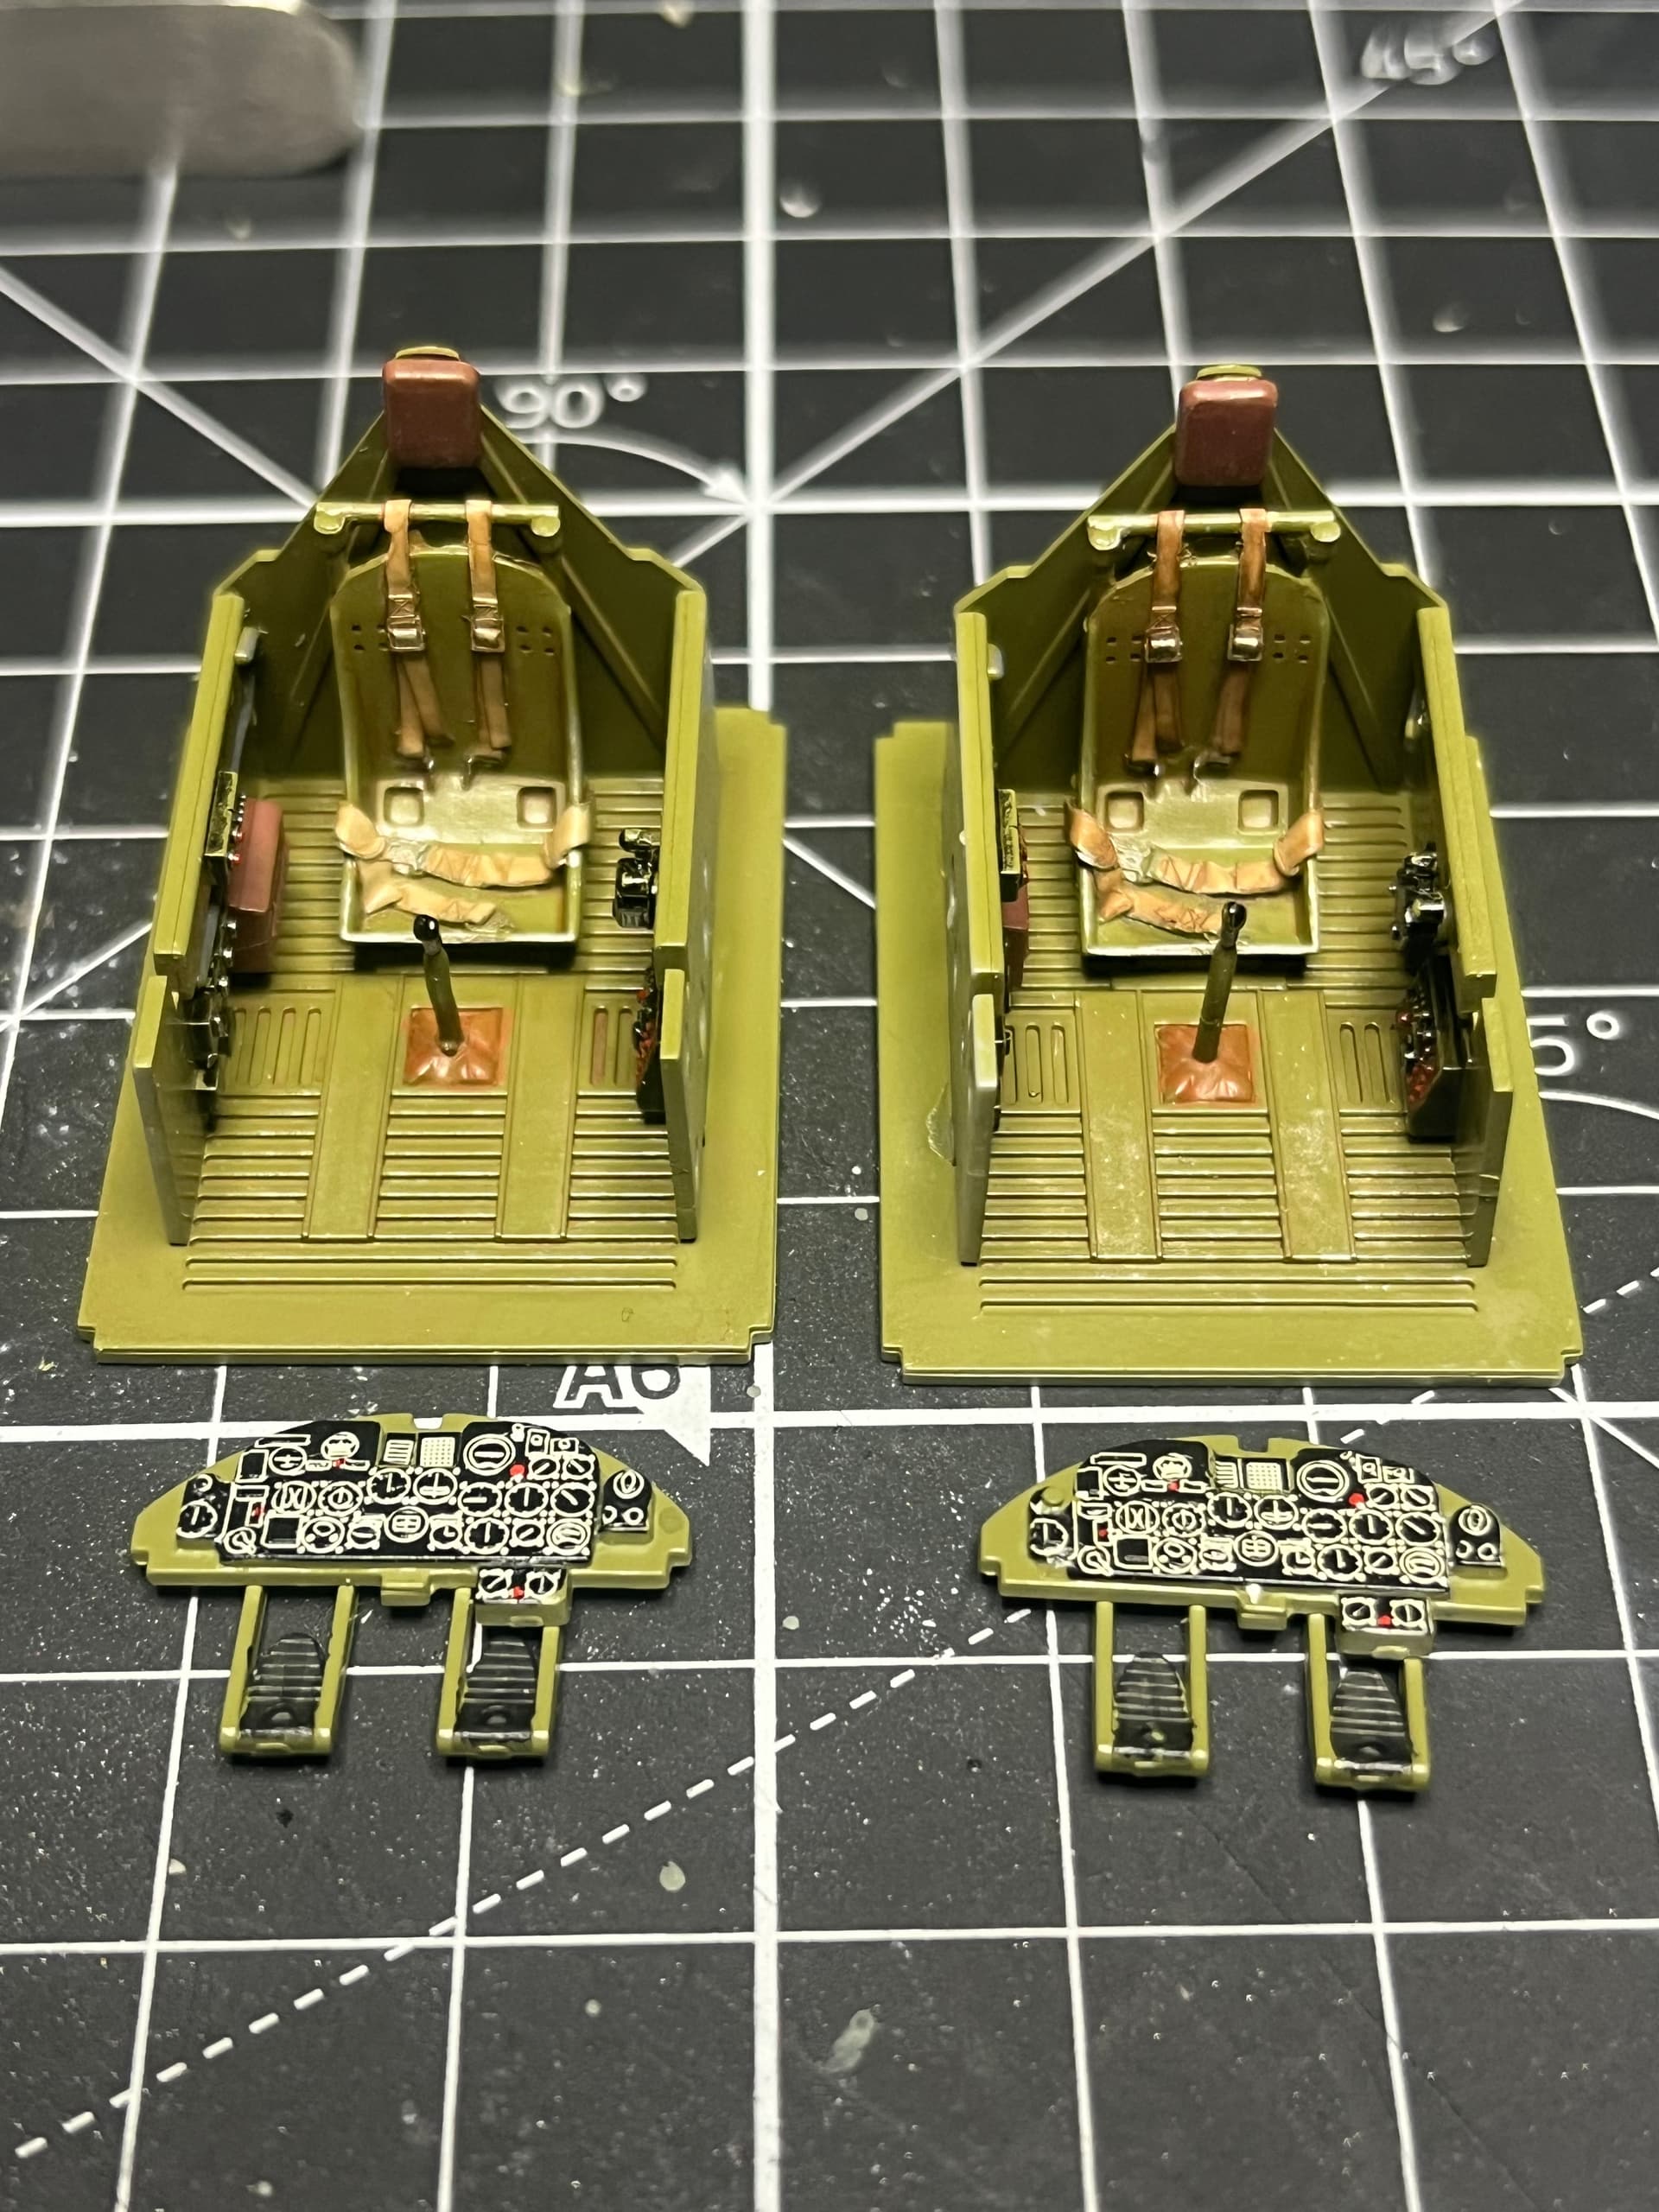
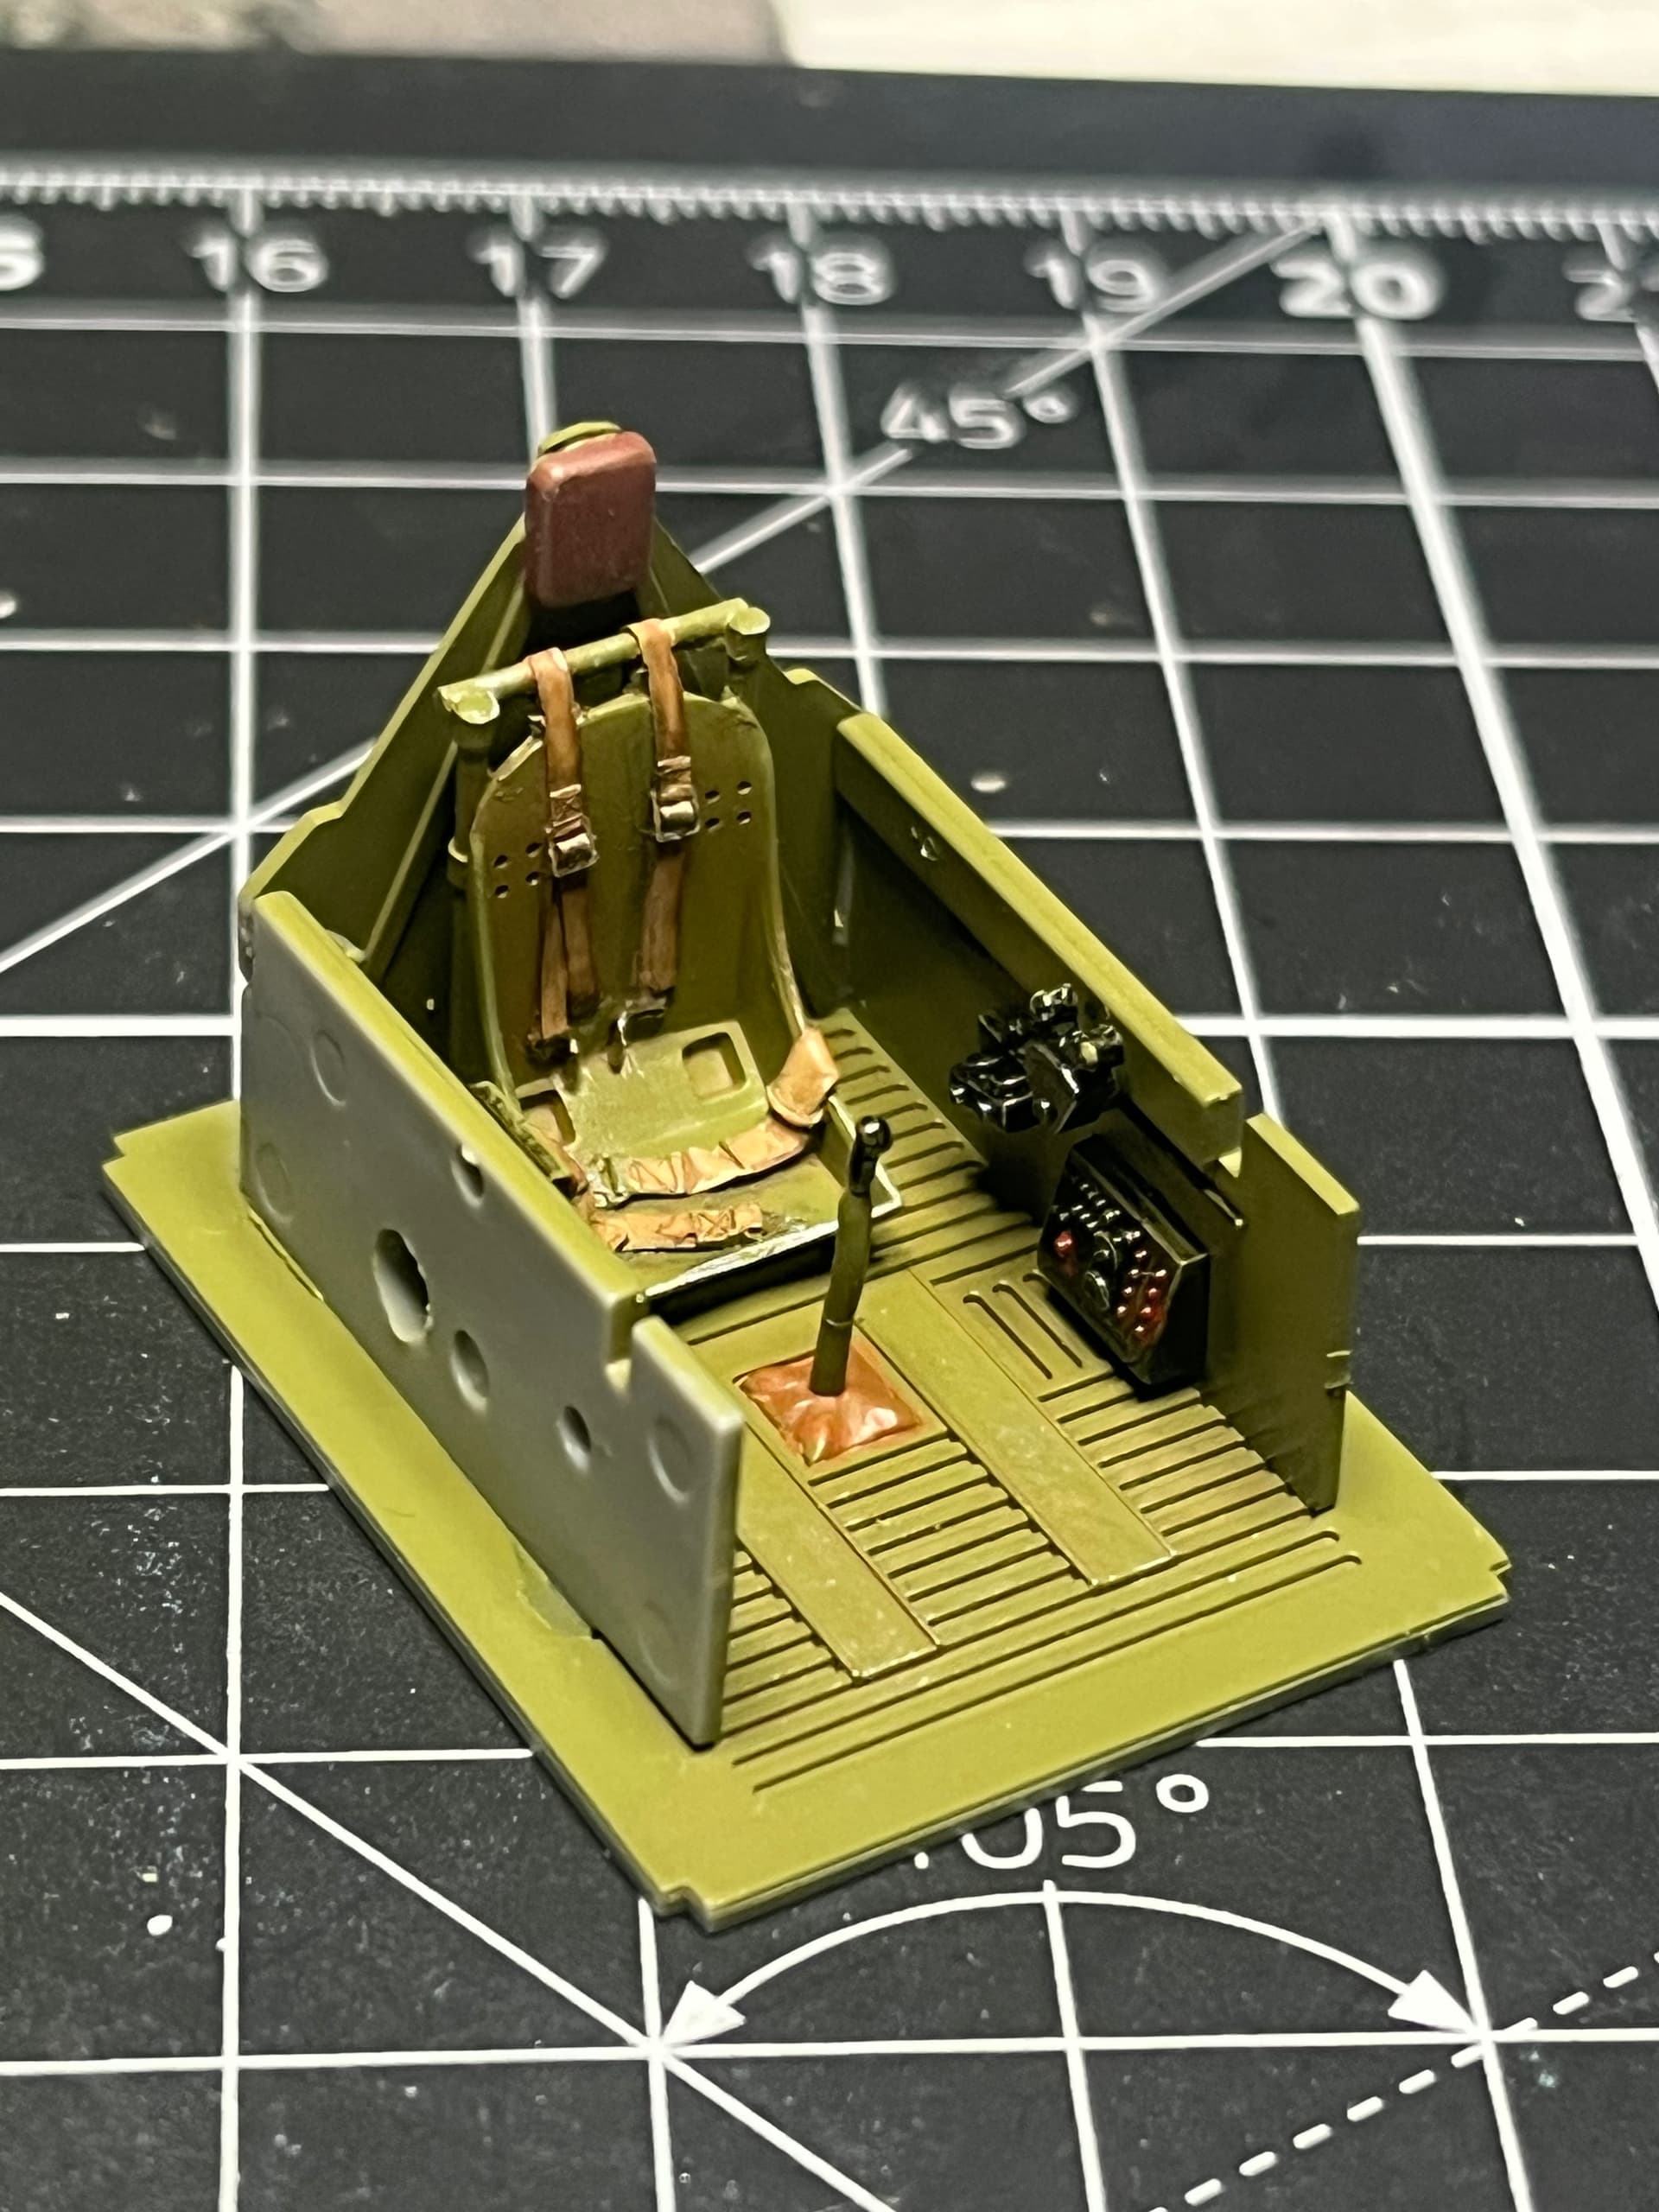
I picked up this kit pre-loved with parts off sprues but no work done, so of course I get to step 1 and the seat is nowhere to be found  , but being a typical P-47 nut and hoarder I have a stash of UltraCast resin goodies tucked away to save the day! Light years better than the kit seat (from the second kit for comparison), and eliminates the need to find after market belts.
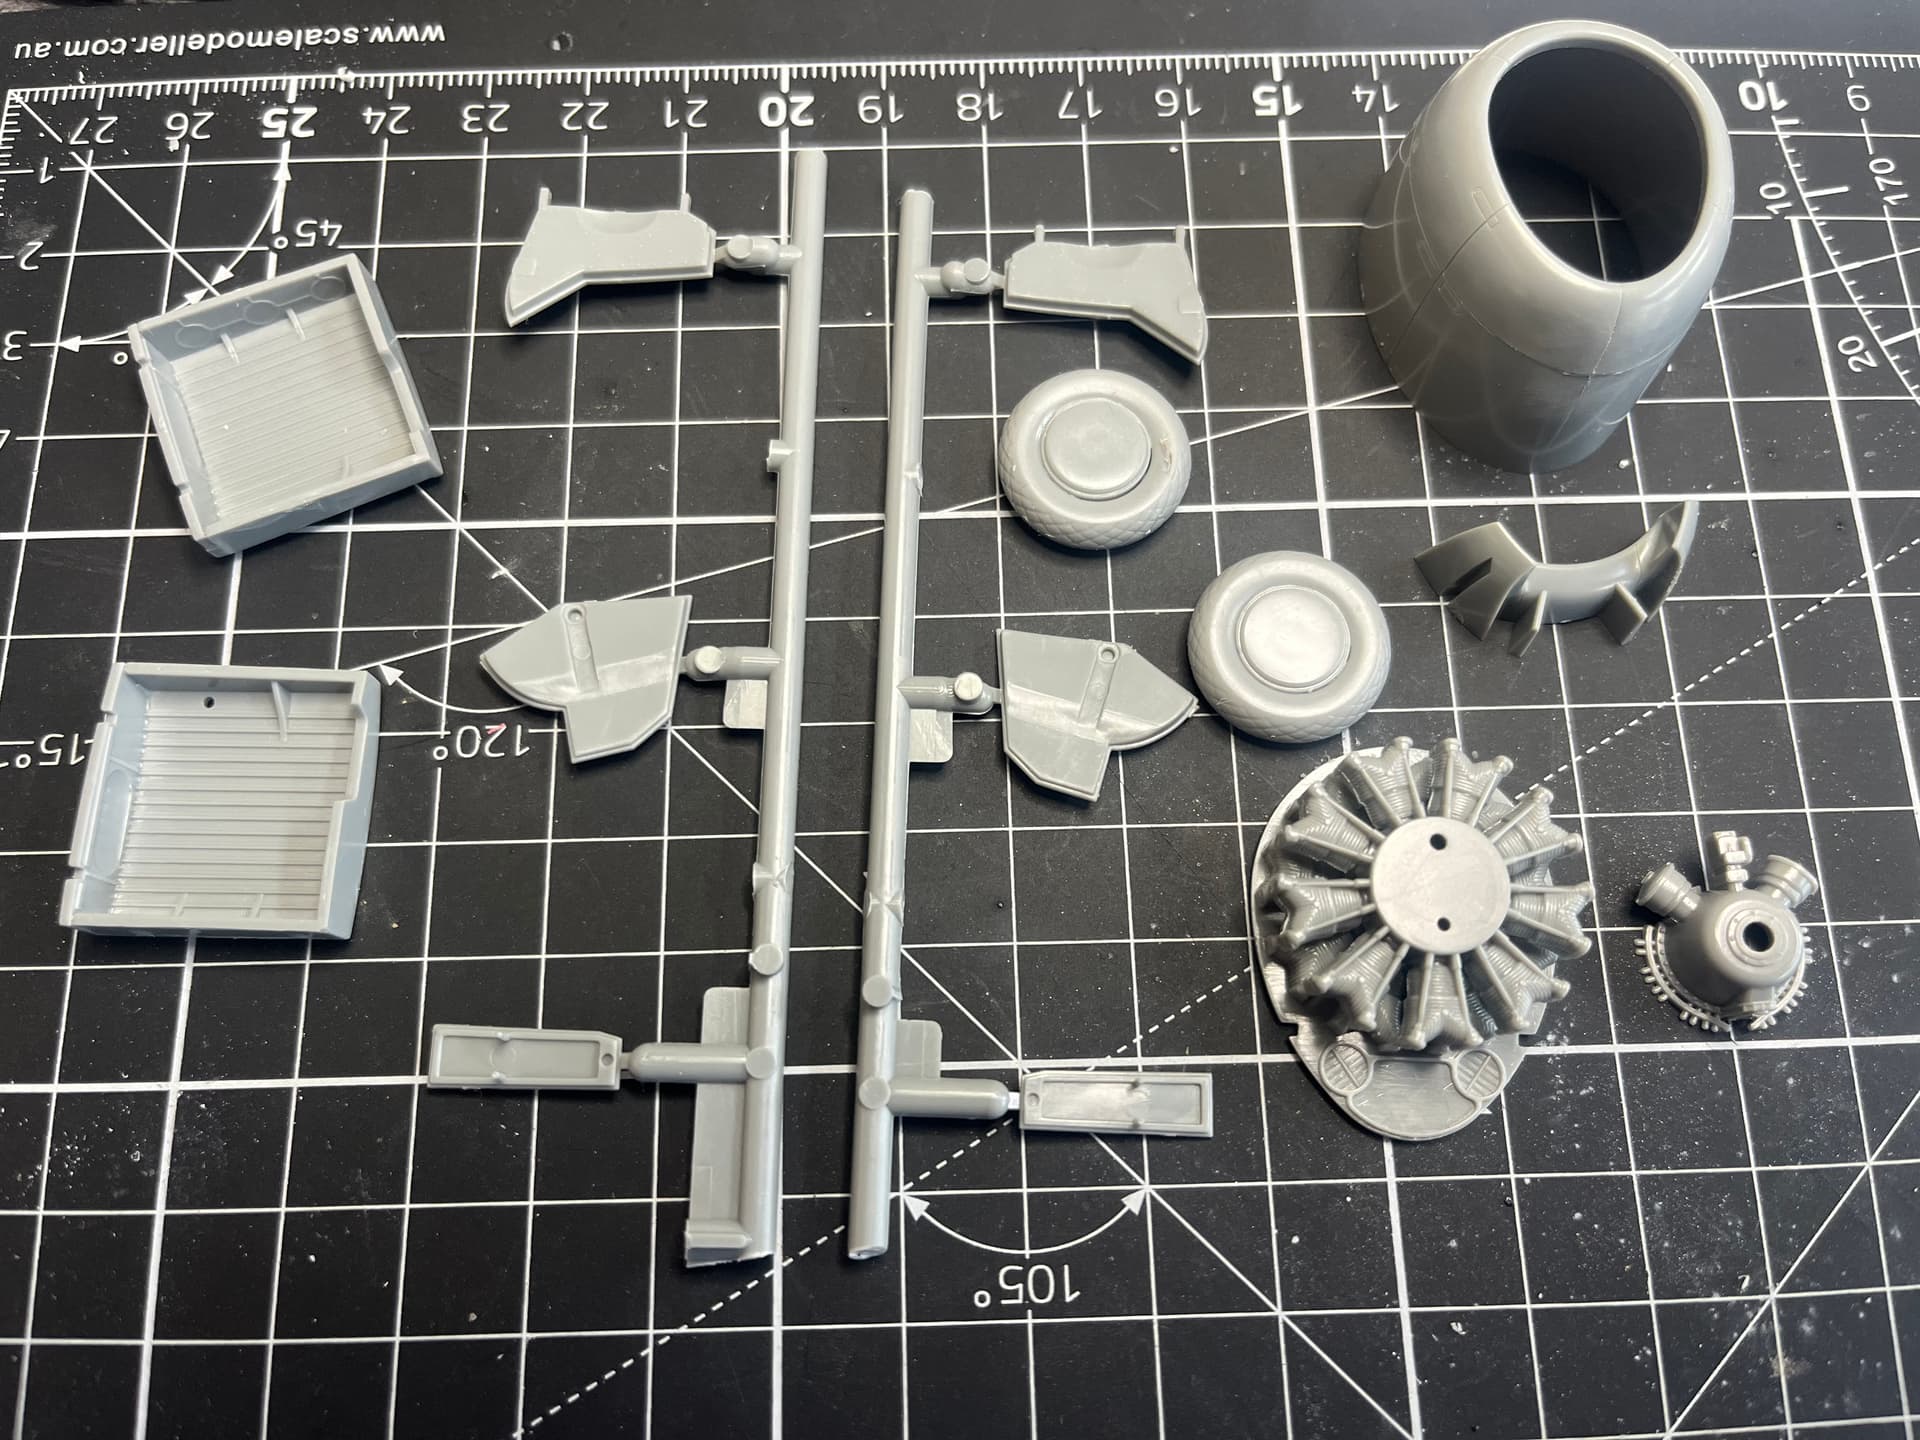
So, off we go to sub assembly HQ . . . . . .
I will bring both kits up to the same stage before I hit the airbrush.
Cheers, D
14 Likes
Nice to see you back at it D .
2 Likes
I have been wanting to do the Hasegawa kit myself. Does the new seat fit well?
2 Likes
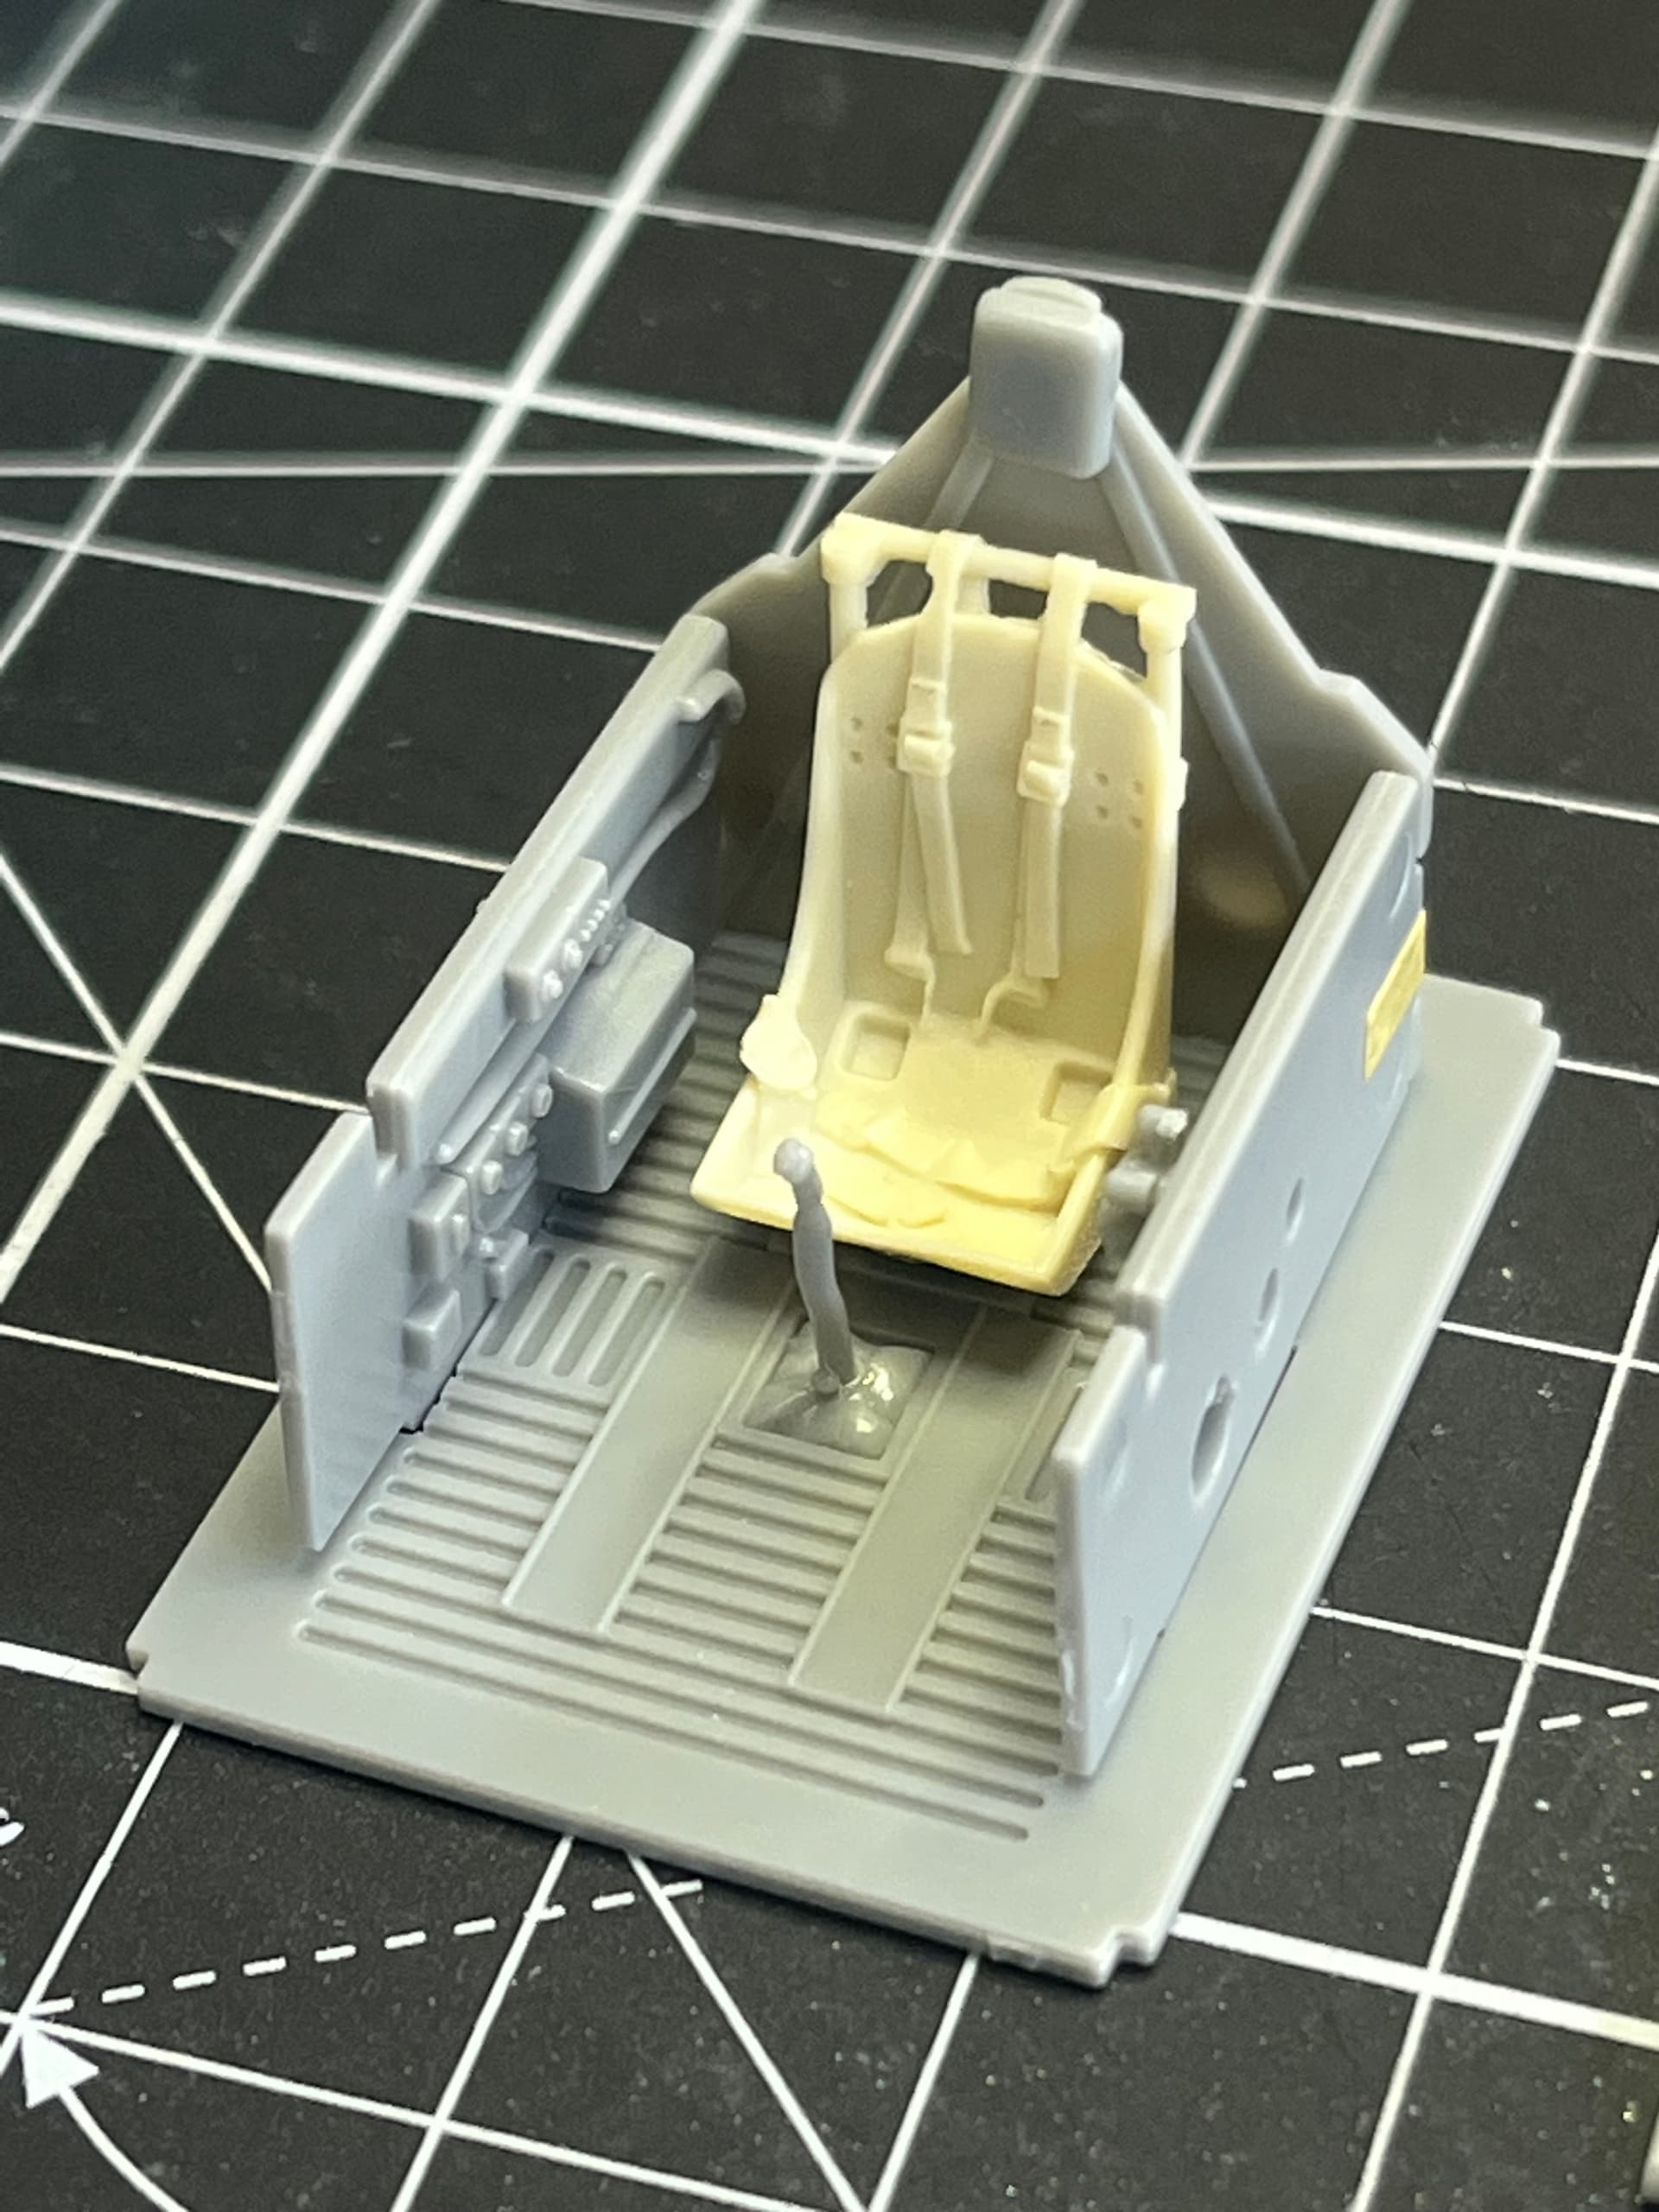
Dale, there’s no positive locating point for the resin seat, it will just be glued directly to the raised square on the floor section. Size is virtually identical to the kit part, so it fits very nicely, and looks so much nicer with the fine details. Here’s the same seat in a recent Tamiya build I did.
Cheers, D
6 Likes
Nice start, D! I’ll be watching as “Miss Mary Lou” is also on my schedule one day … Have the same kit here.
Torsten 
2 Likes
Thanks. I am wanting to do The Witch and Little Chief.
2 Likes
“The Witch” was my second choice from the Thundercals decal sheet. I will most likely do it next from a Tamiya kit.
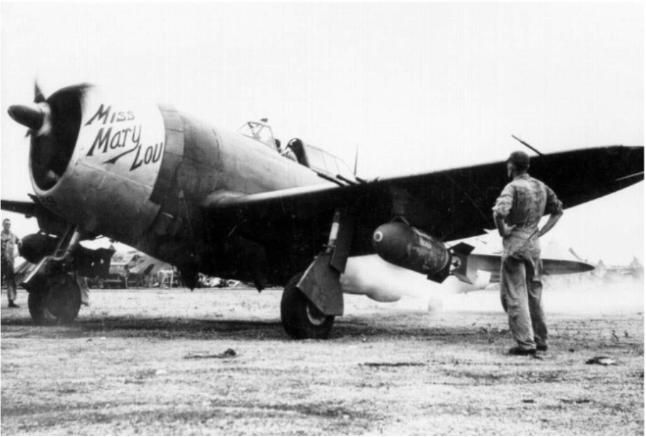
I found some good reference shots of “Miss Mary Lou” plus a few artists renderings with varying schemes, so I will need to do some more digging to decide how I want to paint it up. Also, the Hasegawa kit doesn’t supply the HVAR launch tubes, but I have some spares from Tamiya builds to add in. Reference photos show HVAR tubes and empty bomb pylons, or loaded bomb pylons and no HVAR, but I’m tempted to go “fully loaded” with bombs and HVAR.
Thanks for checking in guys, much appreciated!
Cheers, D
3 Likes
Is this from the decal sheets?
1 Like
No, just images from Google searches.
1 Like
If there’s one thing better than having a Razorback P-47 on your bench, it’s . . . . . . . . . .
I found the stash of Tamiya spares and lifted a couple of HVAR sets for “Miss Mary Lou”, and assembled the bomb pylons and bombs for both builds.
Then the planets aligned in my favour and I got a couple of hours to hit the airbrush.
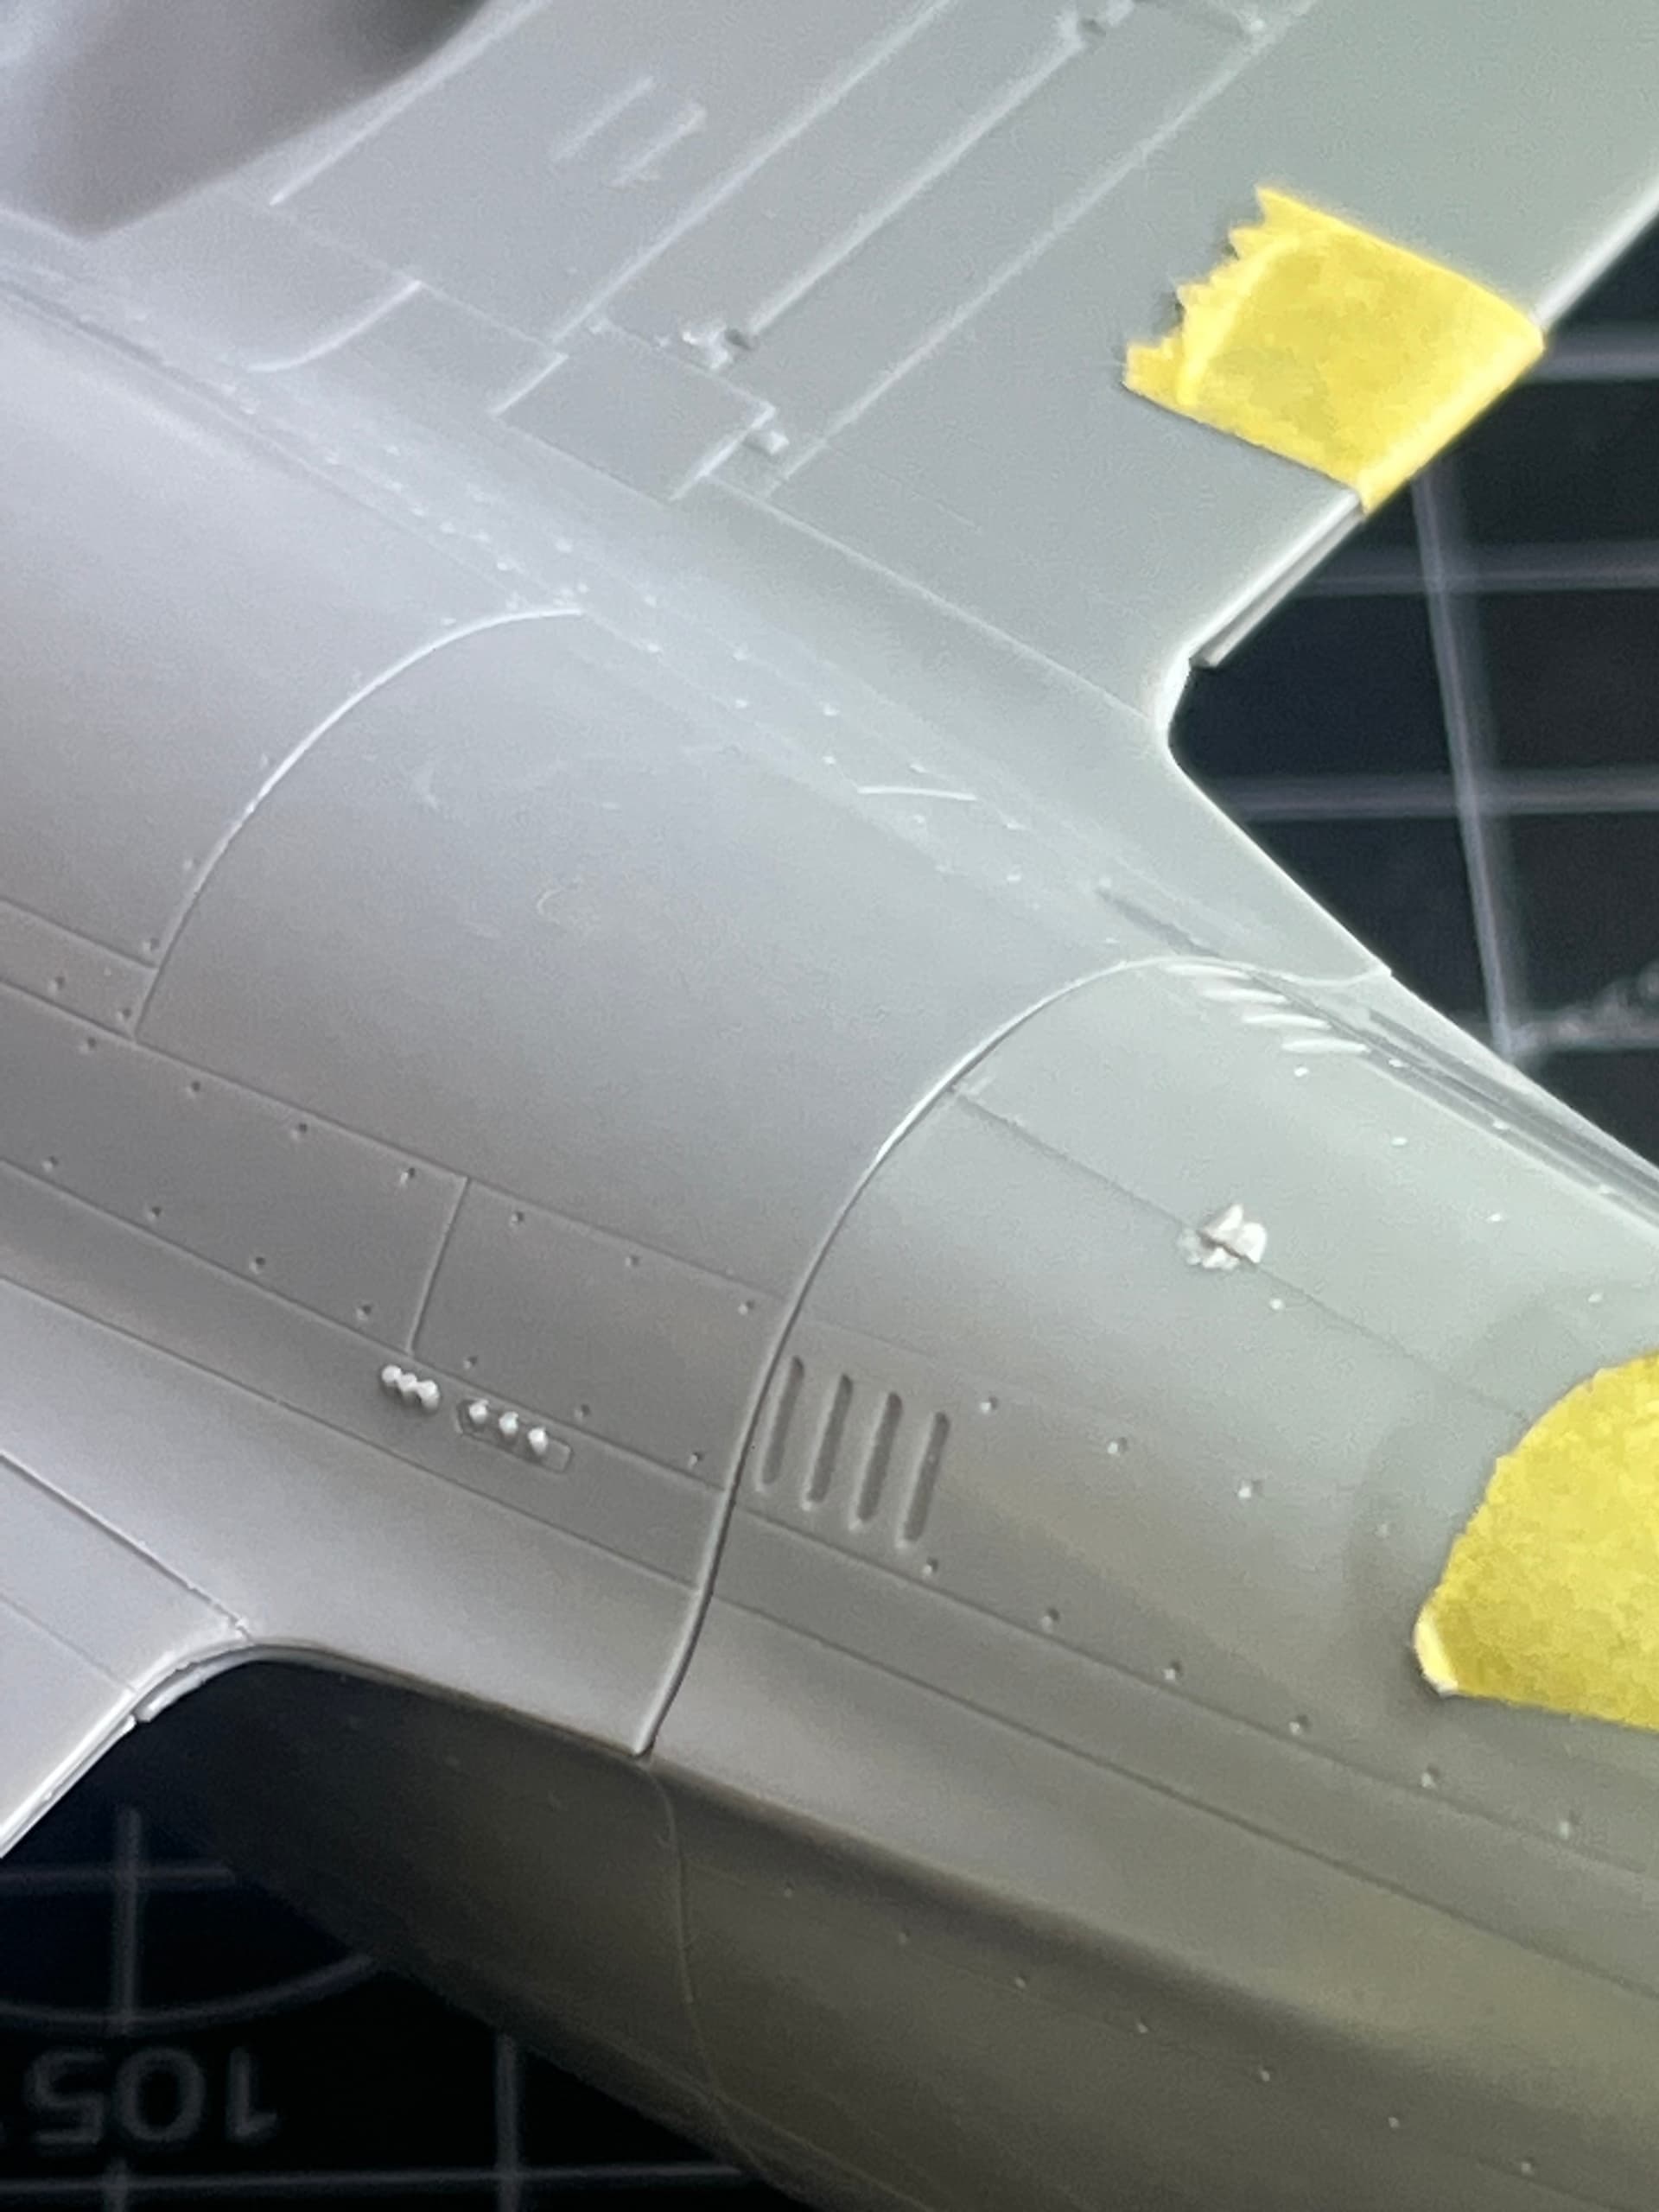
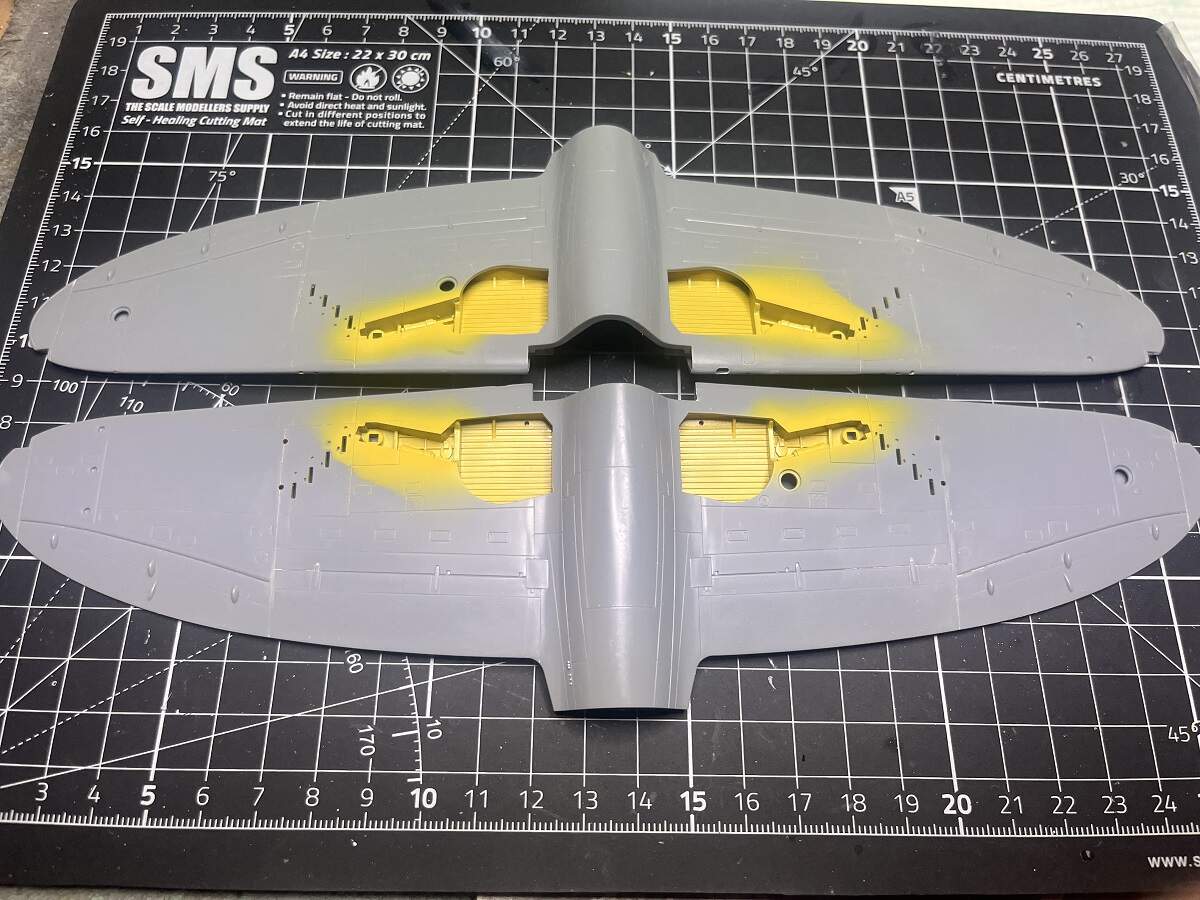
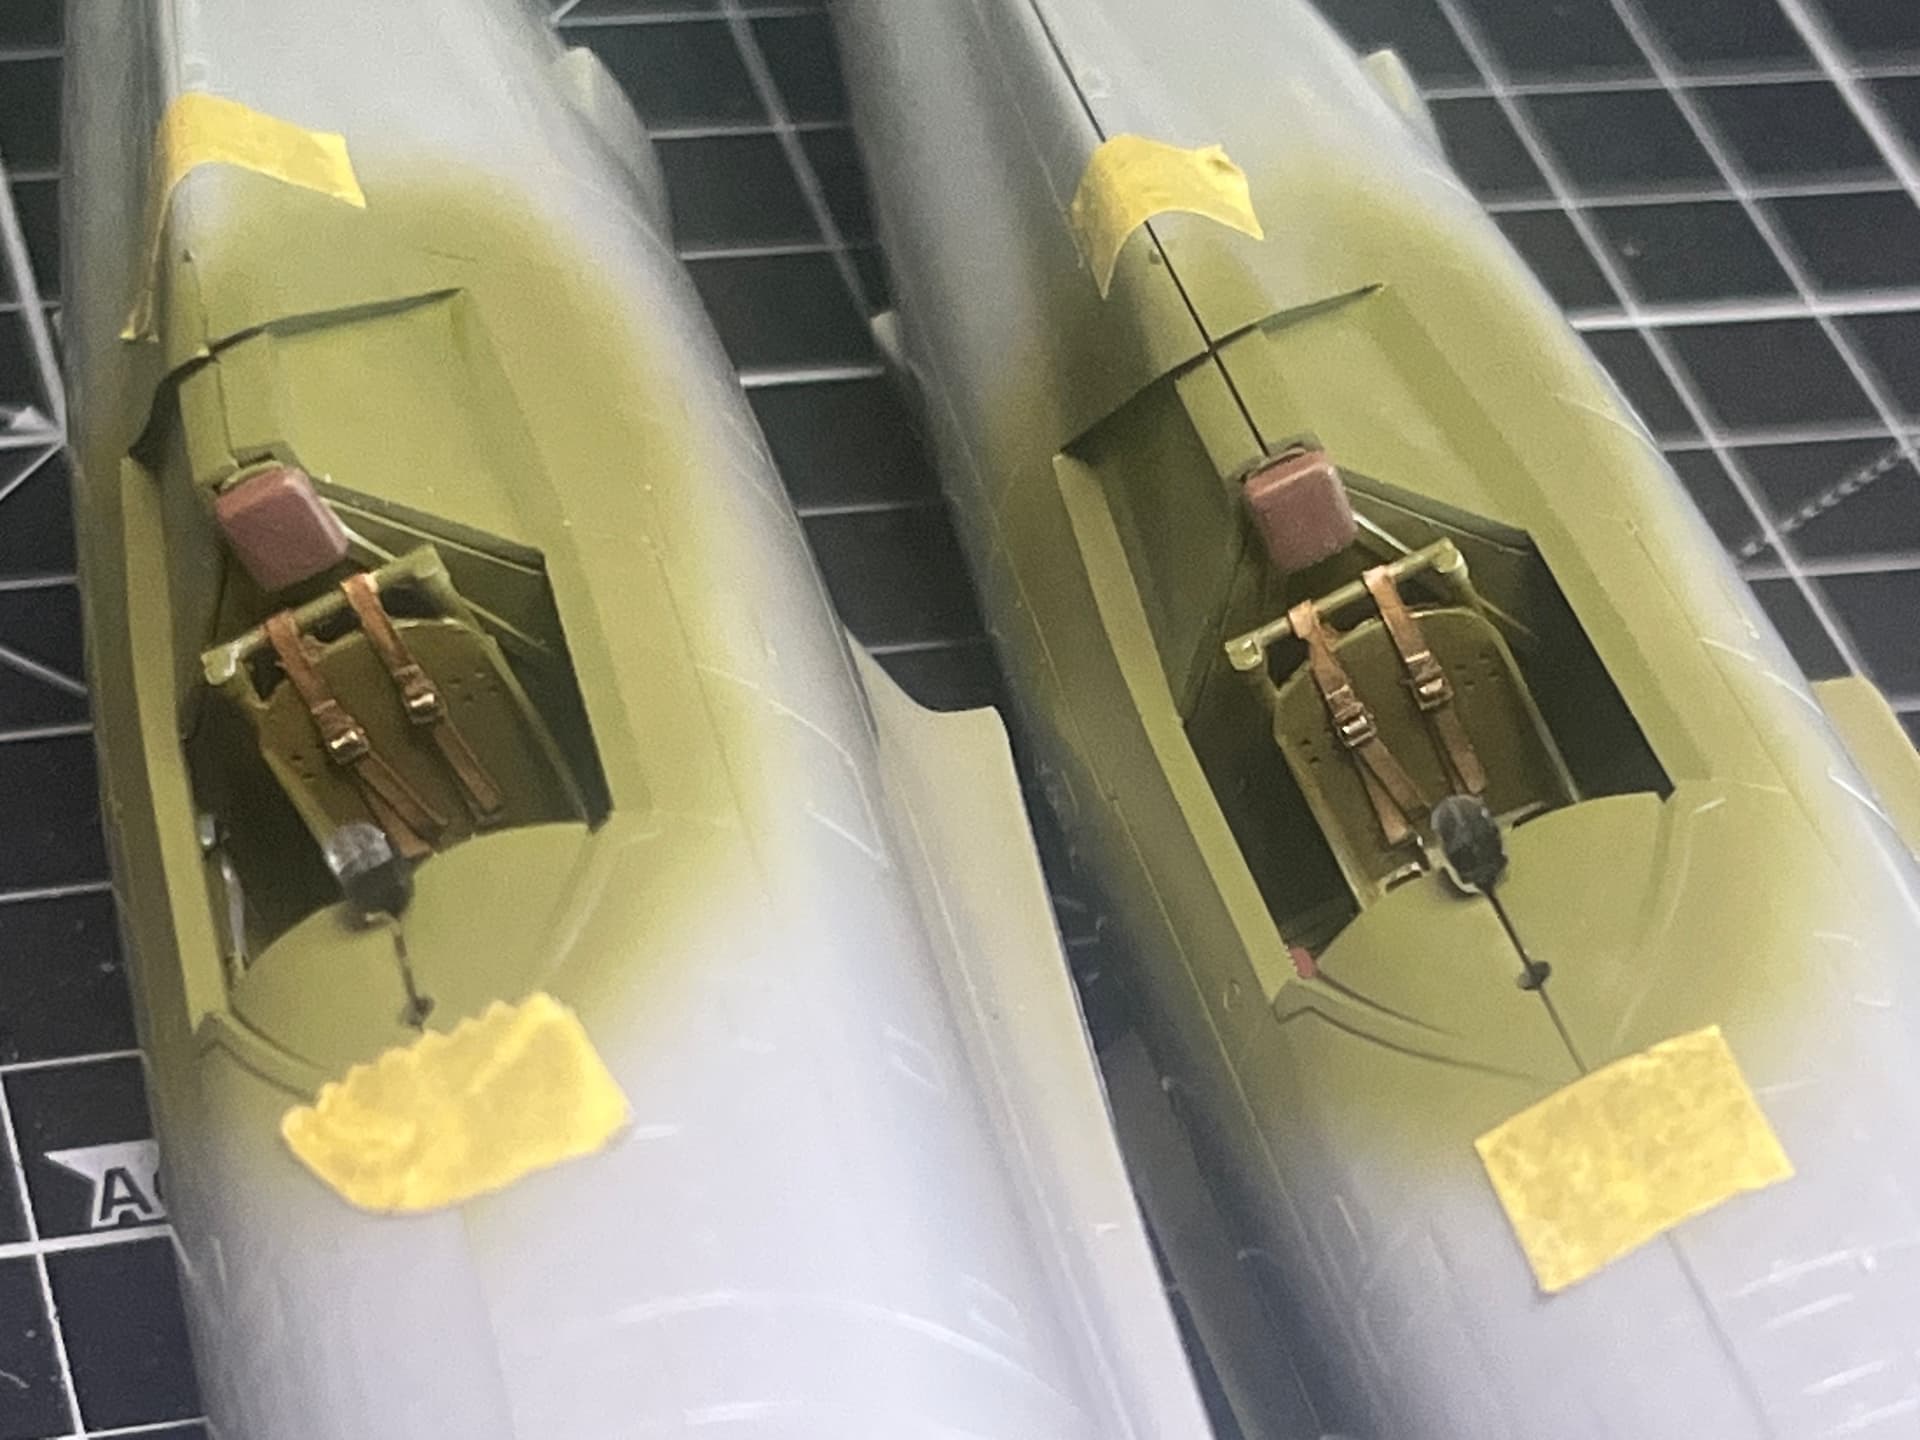
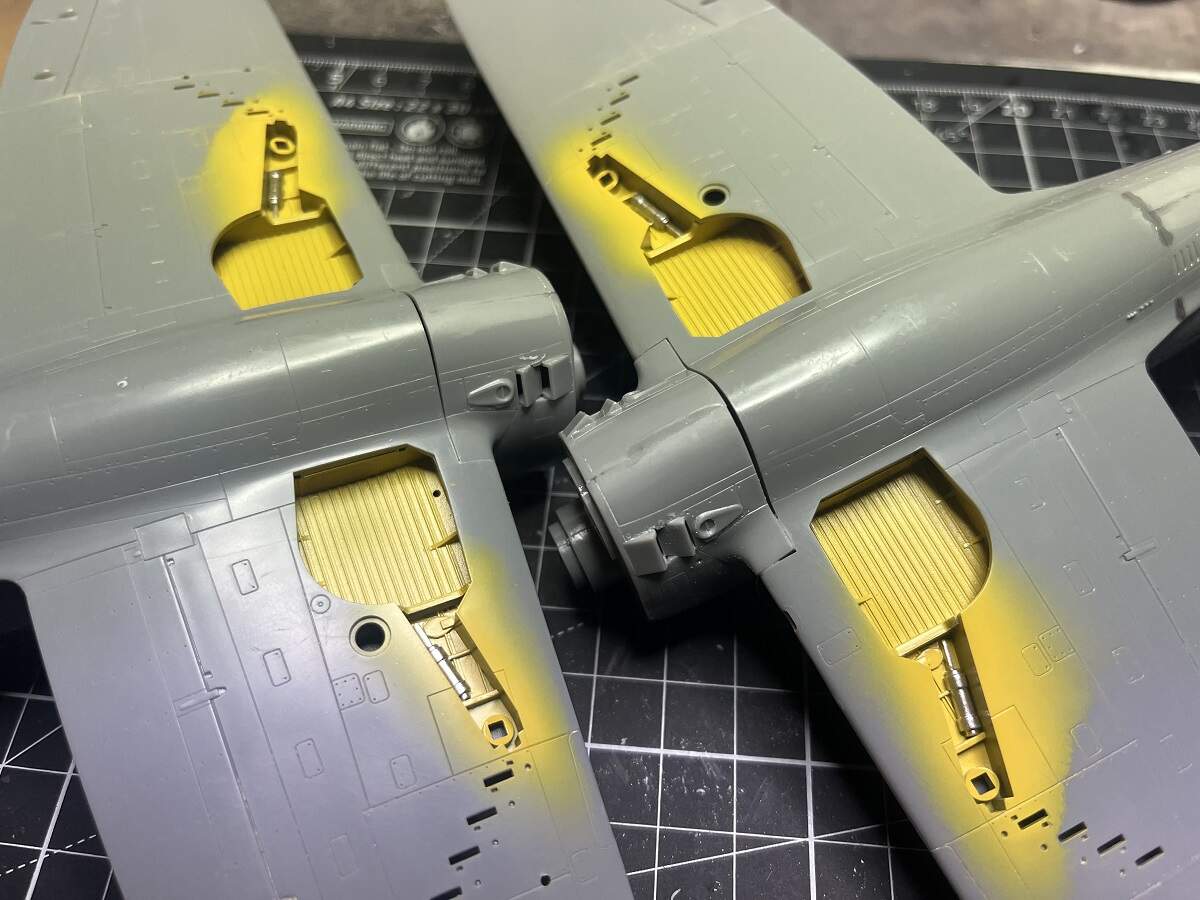
Hasegawa would have you paint the whole interior, but a quick test fit showed that barely anything is visible after assembly so I just painted the upper edges of the cockpit walls and the surrounds.
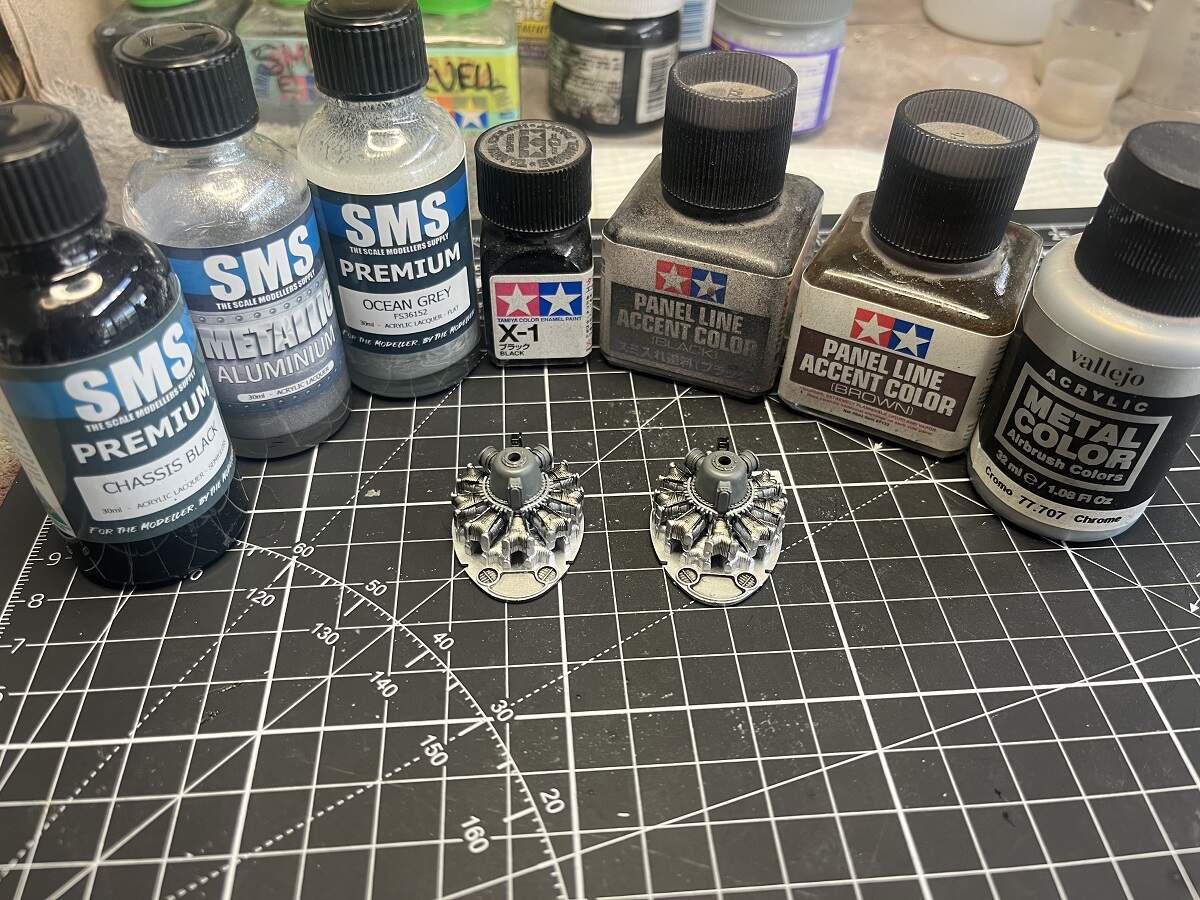
I also shot some semi-gloss black as a primer for the silver parts and the wheels, I will post up images once they get their shiny coats.
Cheers, D
8 Likes
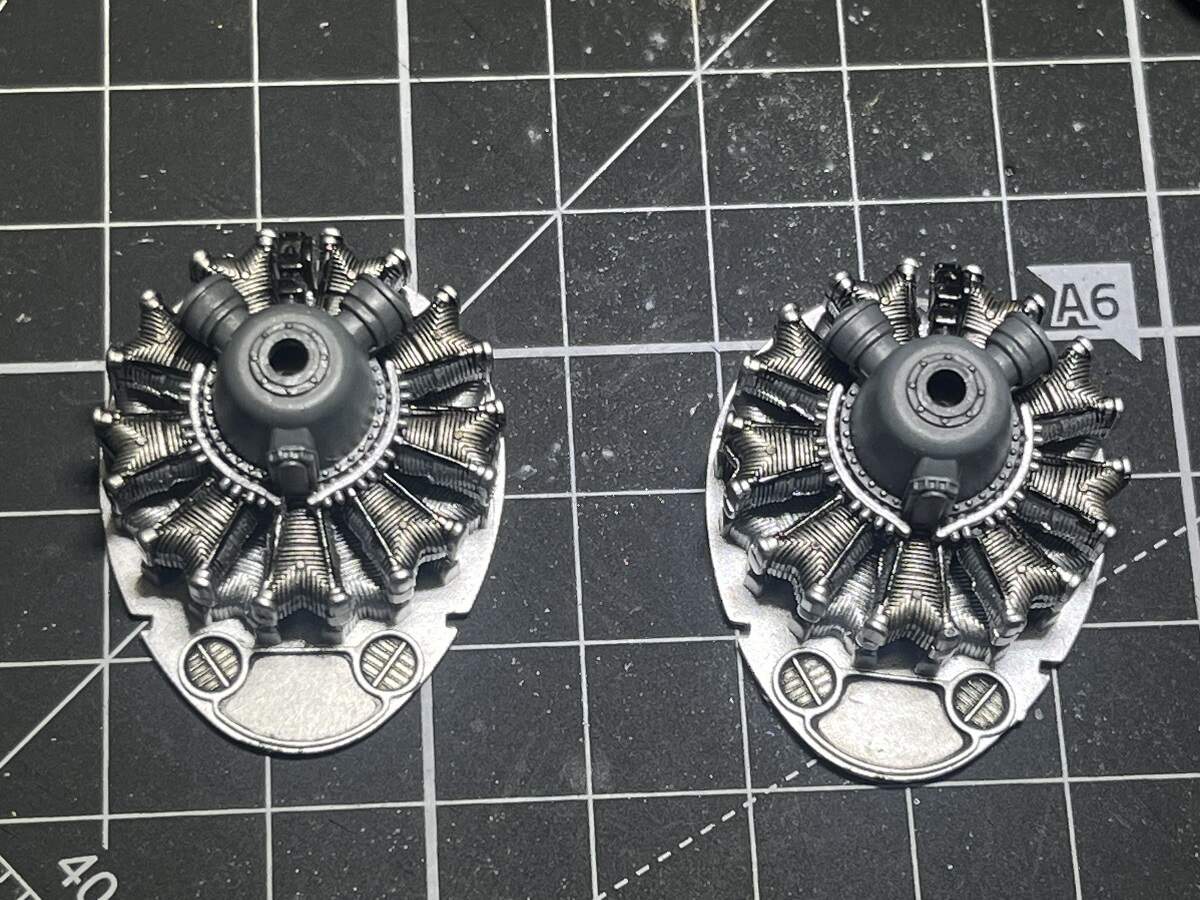
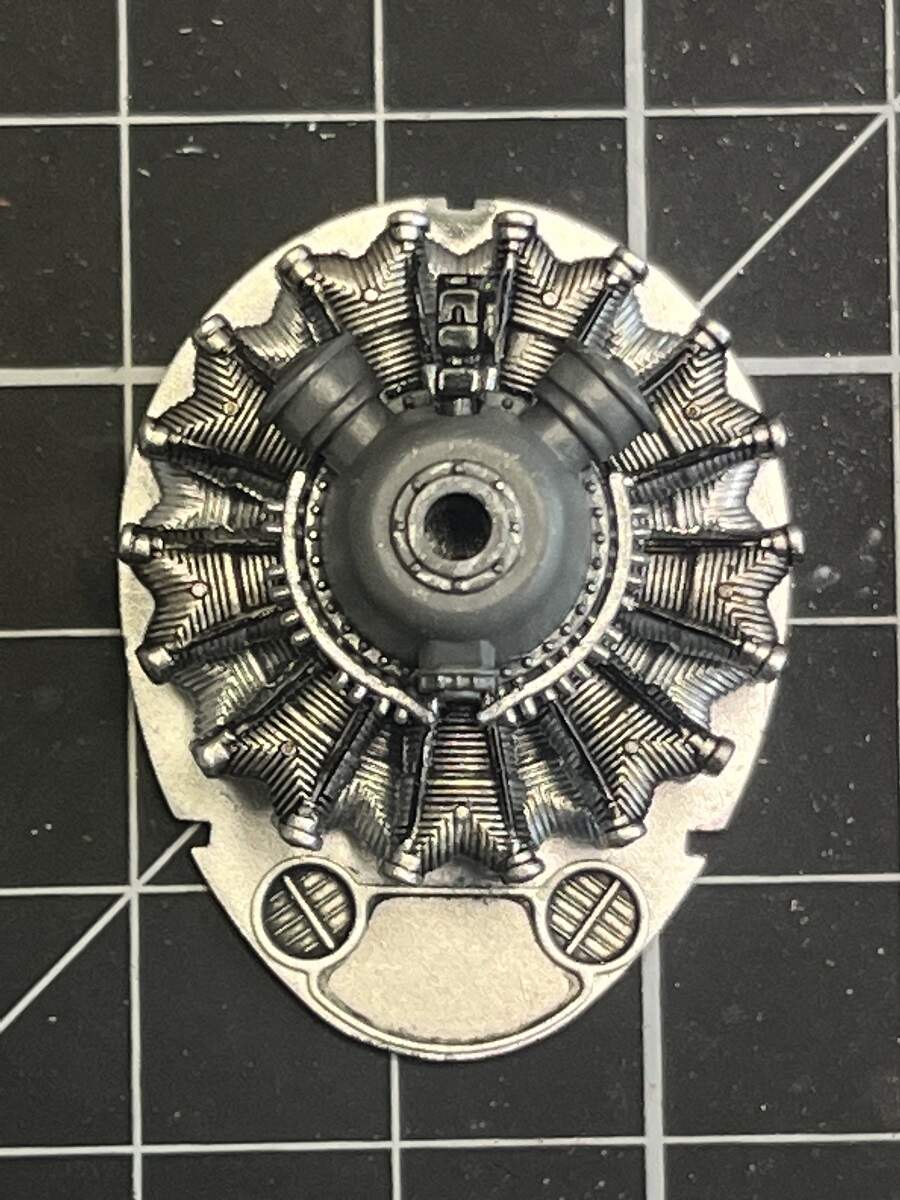
Worked on the noisy end, so many paints for something that’s hidden away!
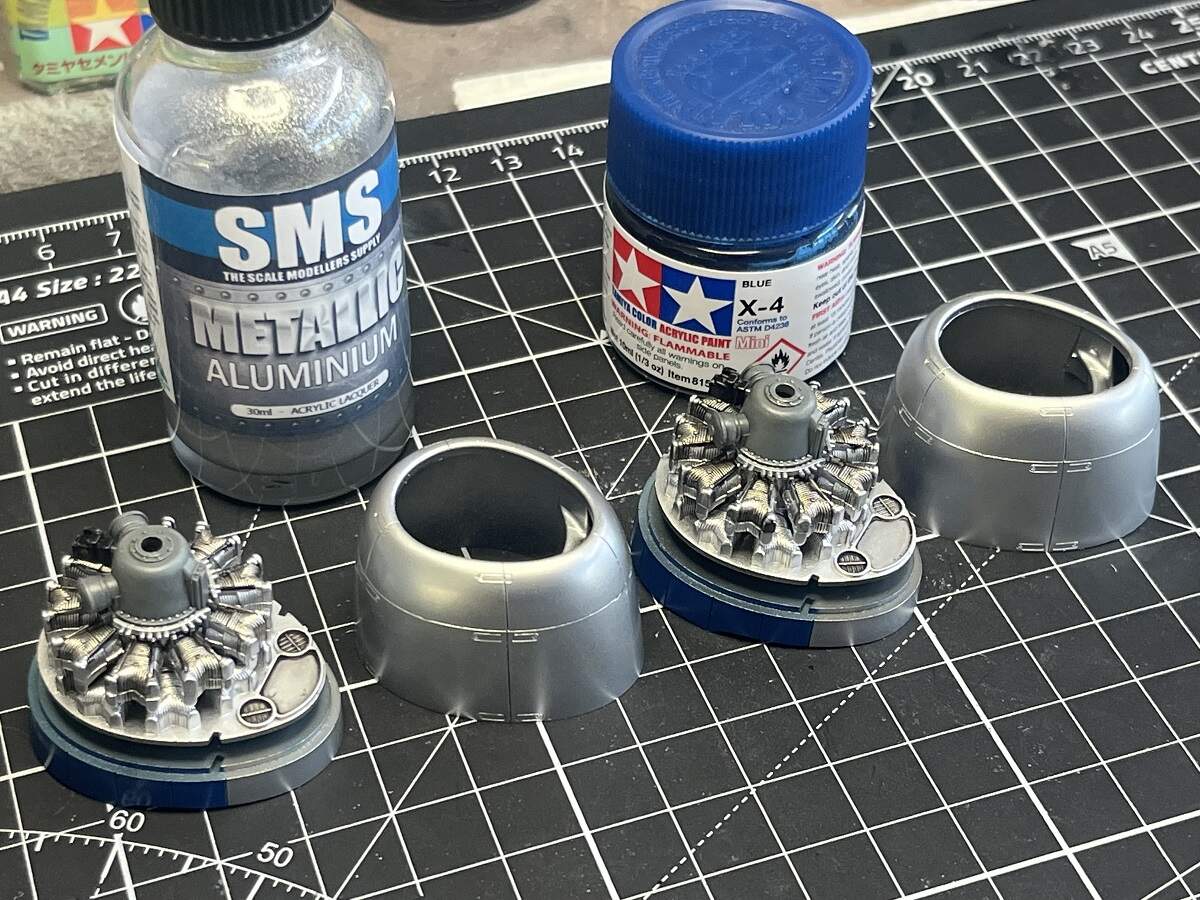
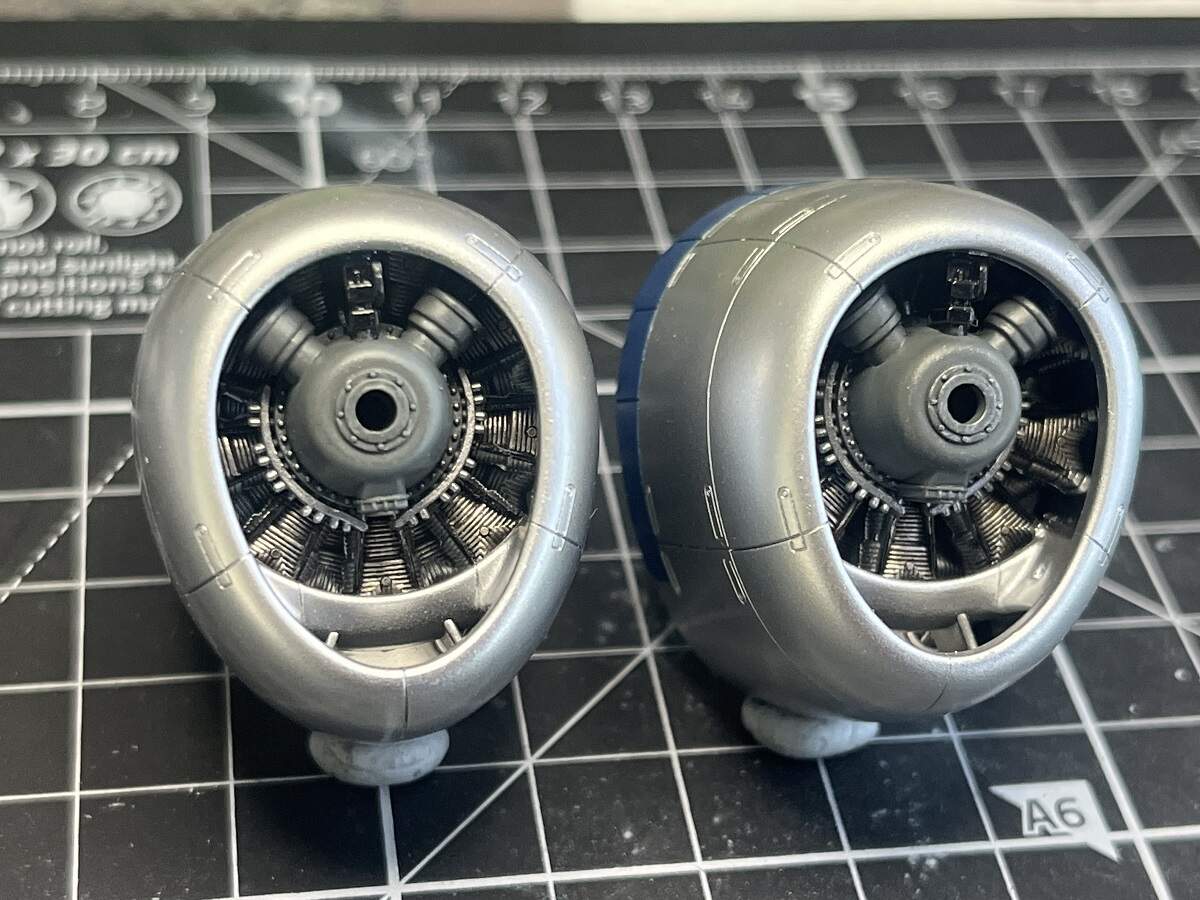
Painted the cowls and cowl flaps, still need to mask and spray the Olive Drab Anti-Glare on top of the cowls.
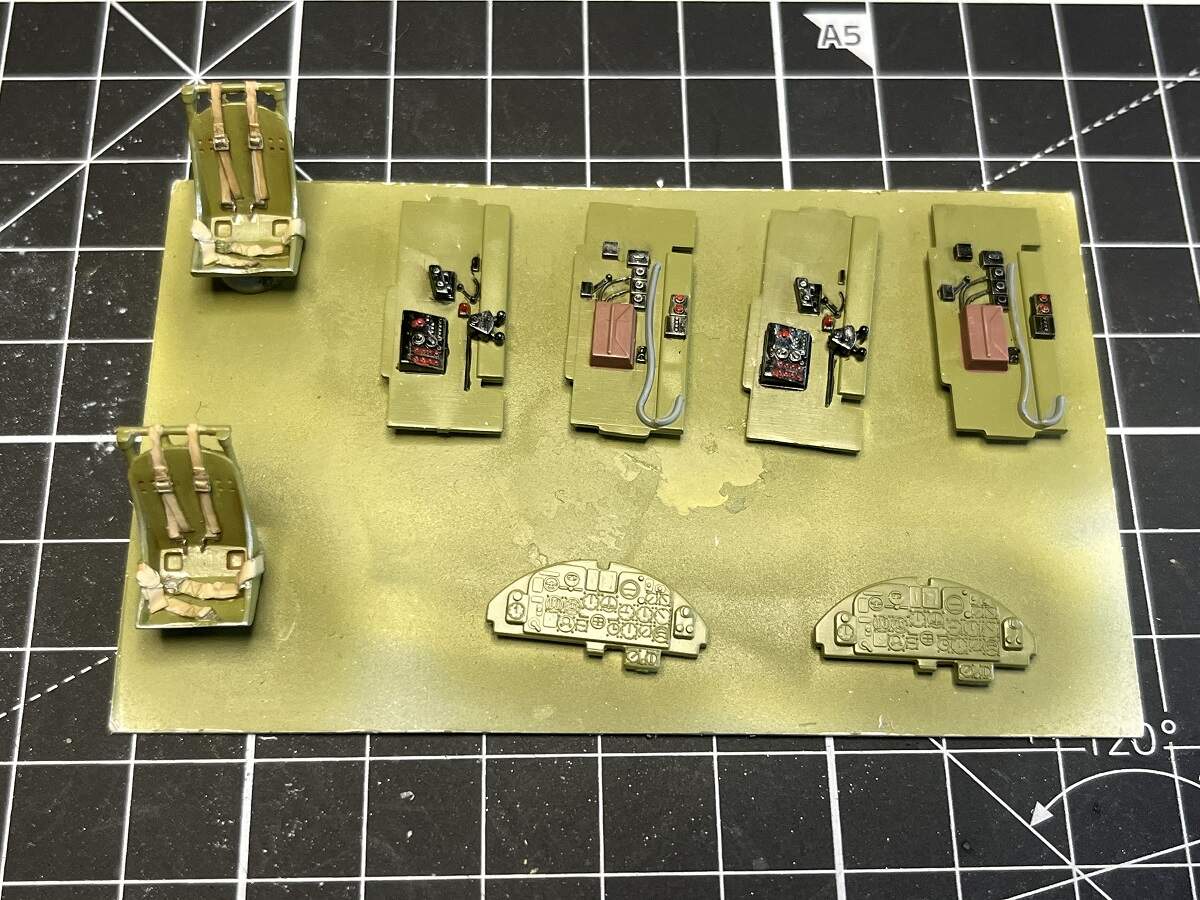
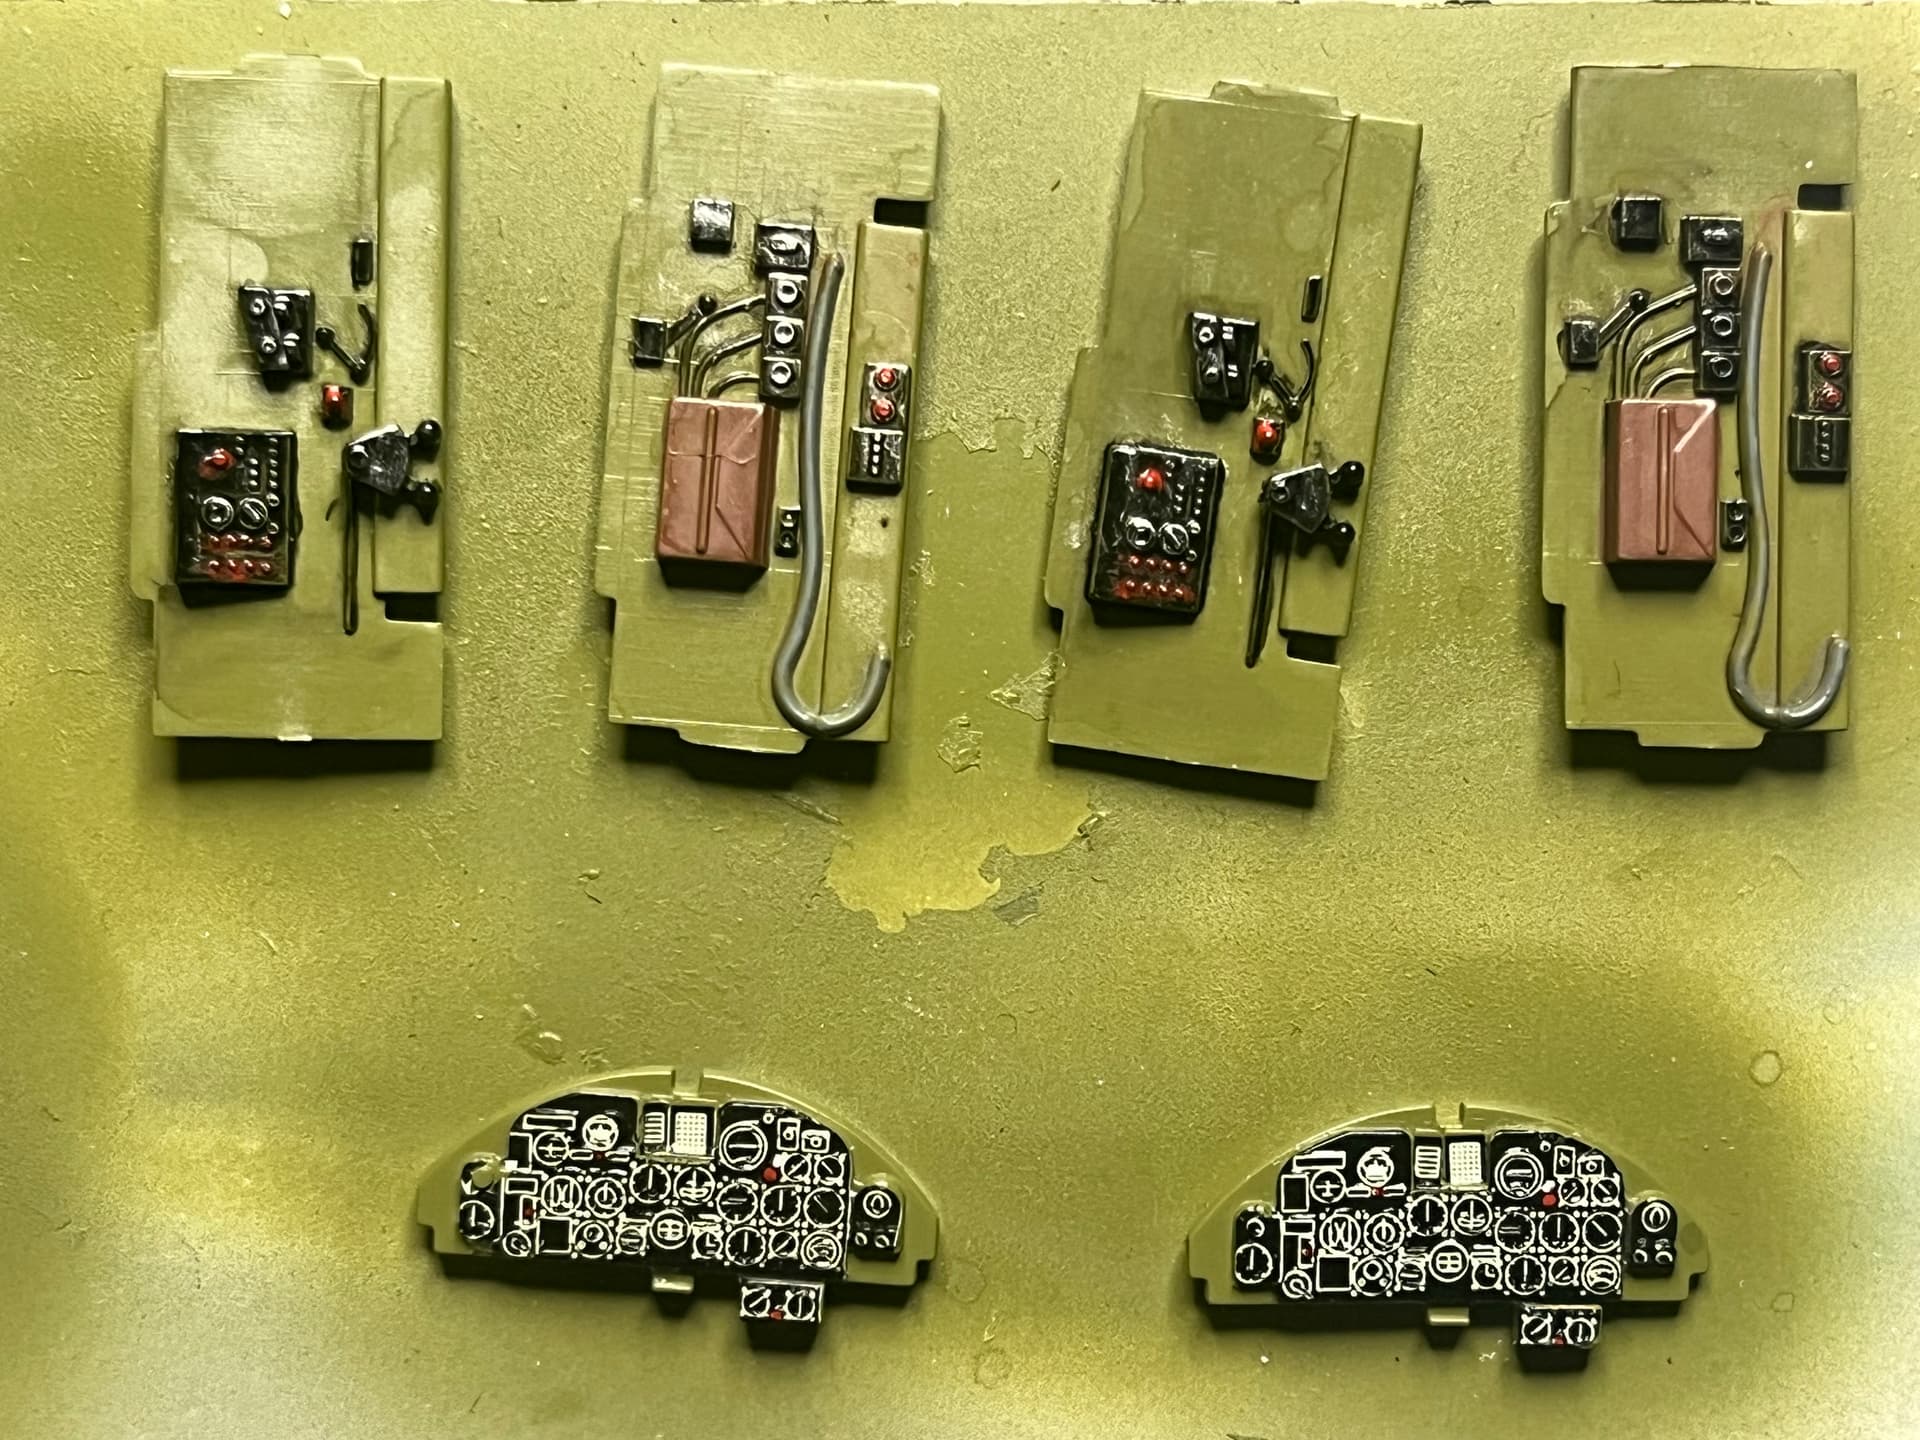
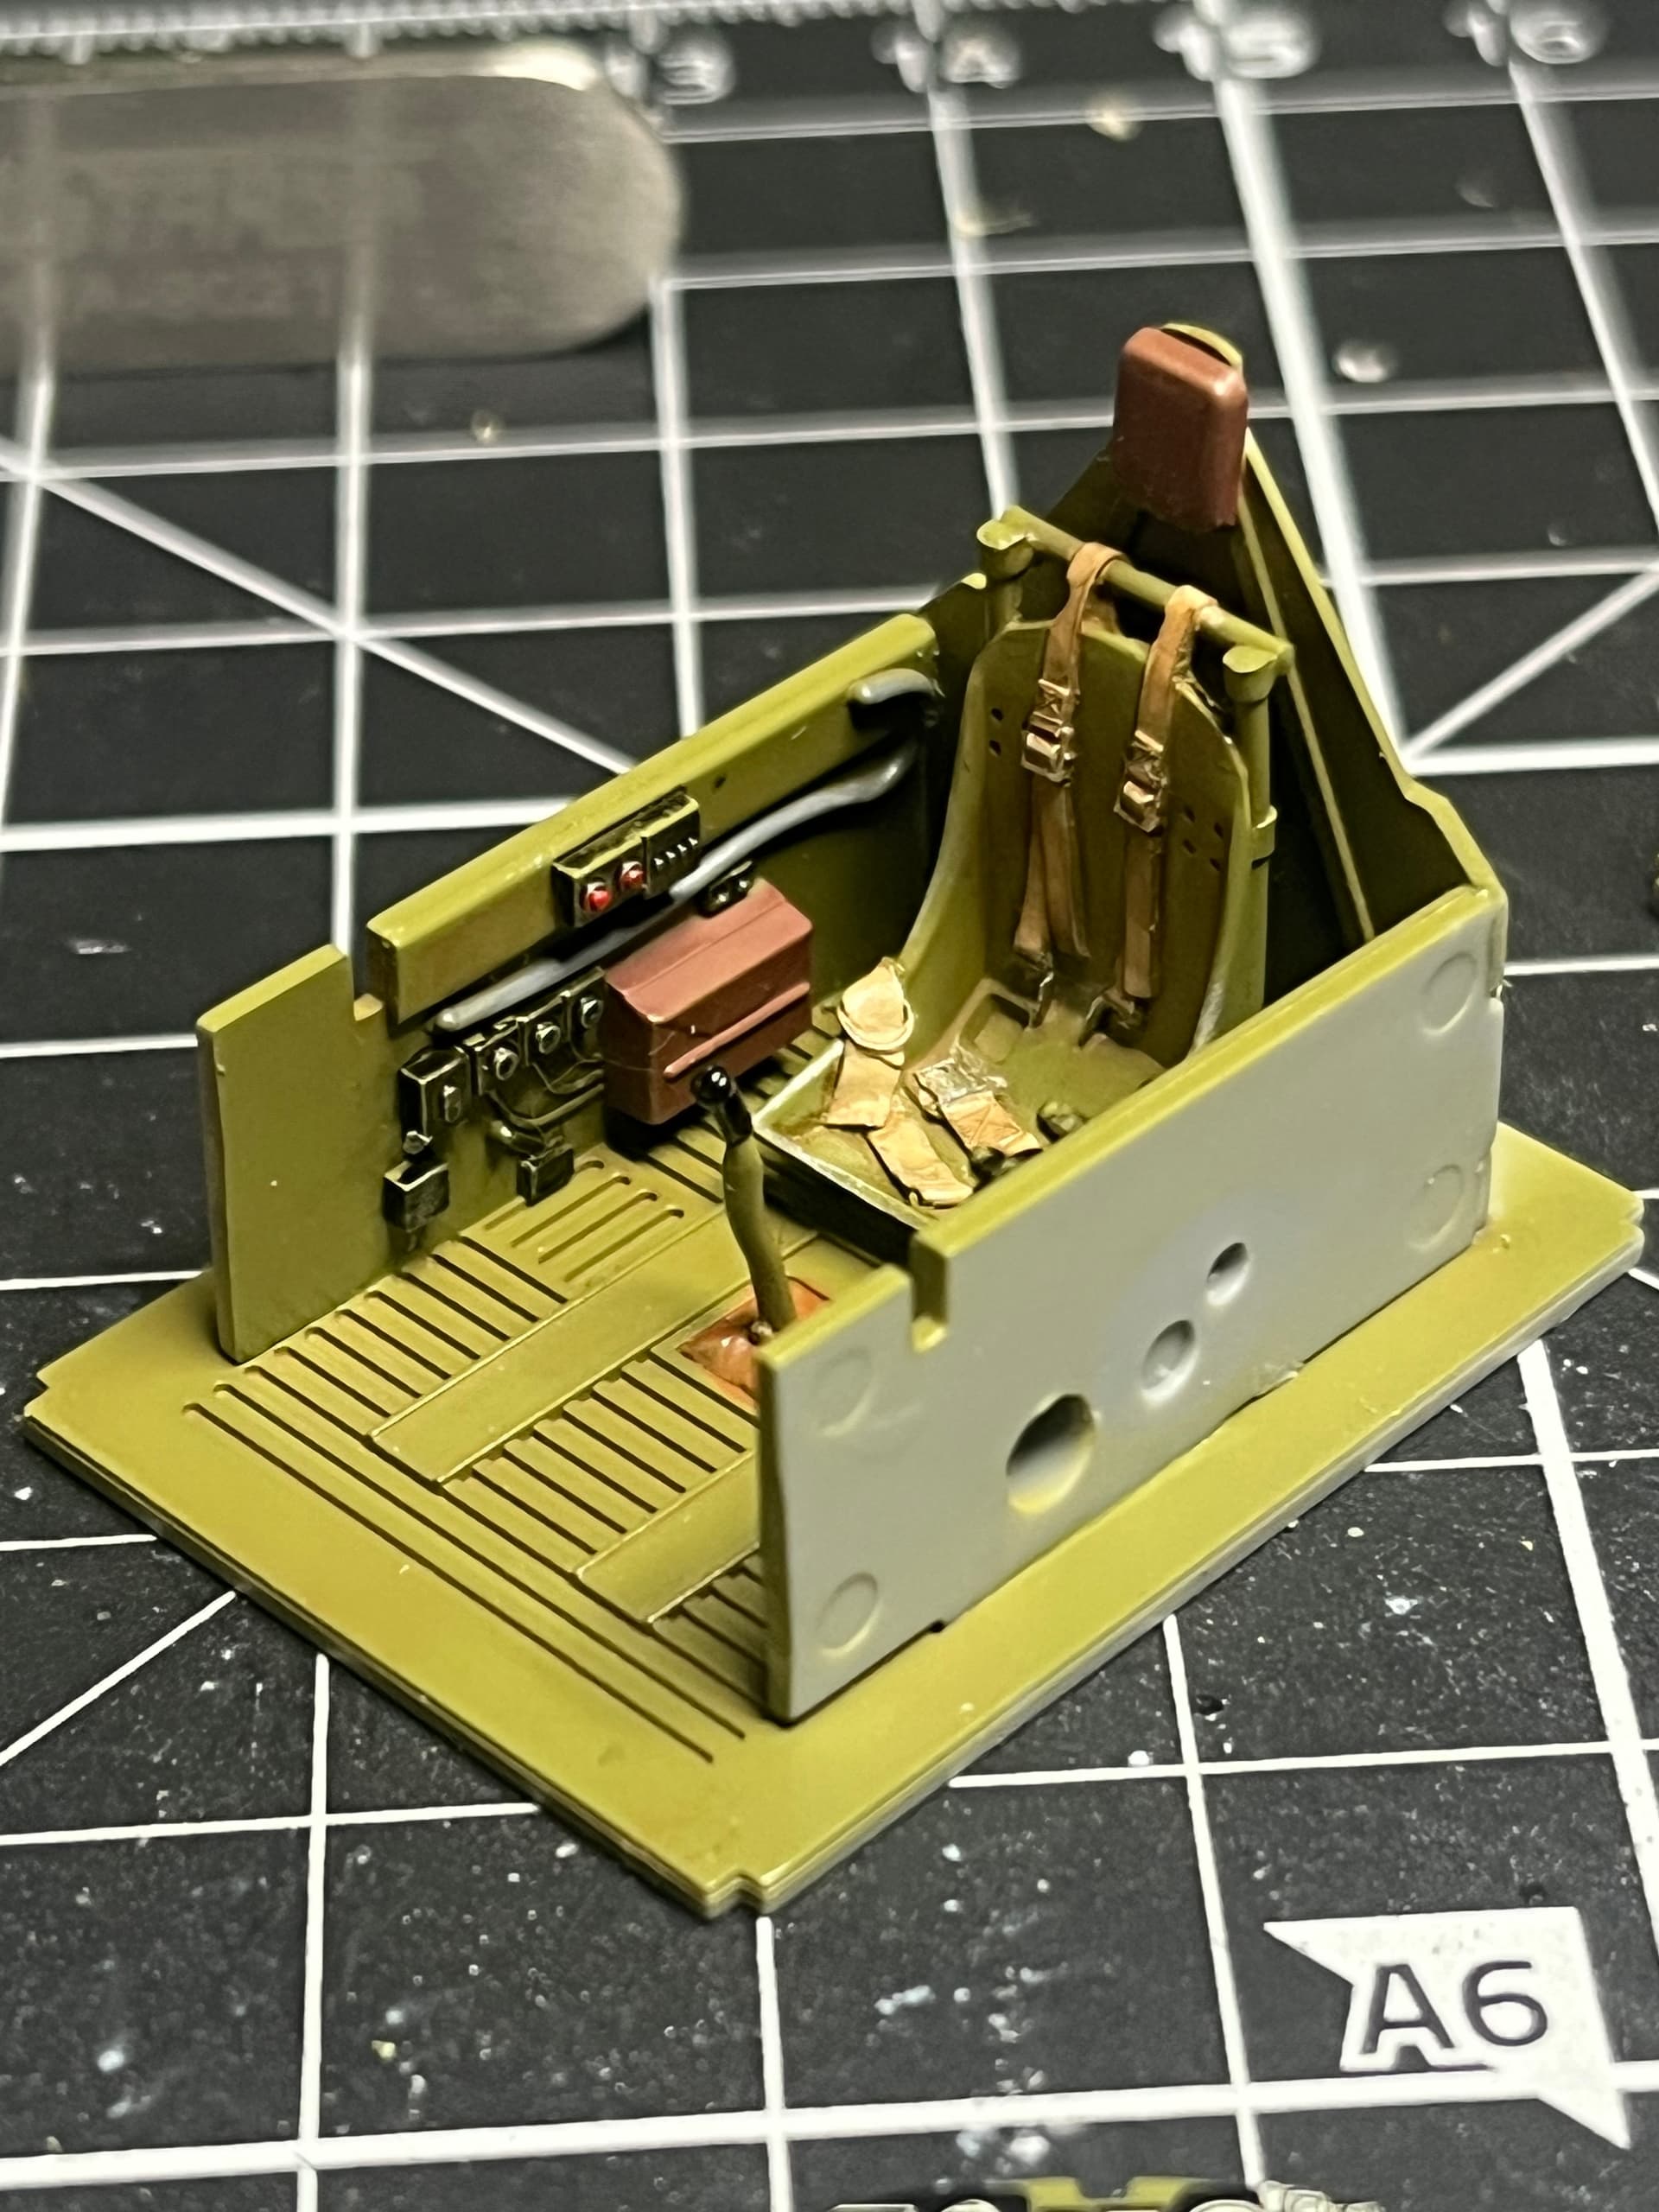
Started detail painting in the cockpits, used a mix of acrylics and enamels for the brush painting here. Still some touch-ups and finer details to do.
Overall, I’m impressed with how these kits are building up so far, not fit issues to speak of to this point.
Cheers, D
9 Likes
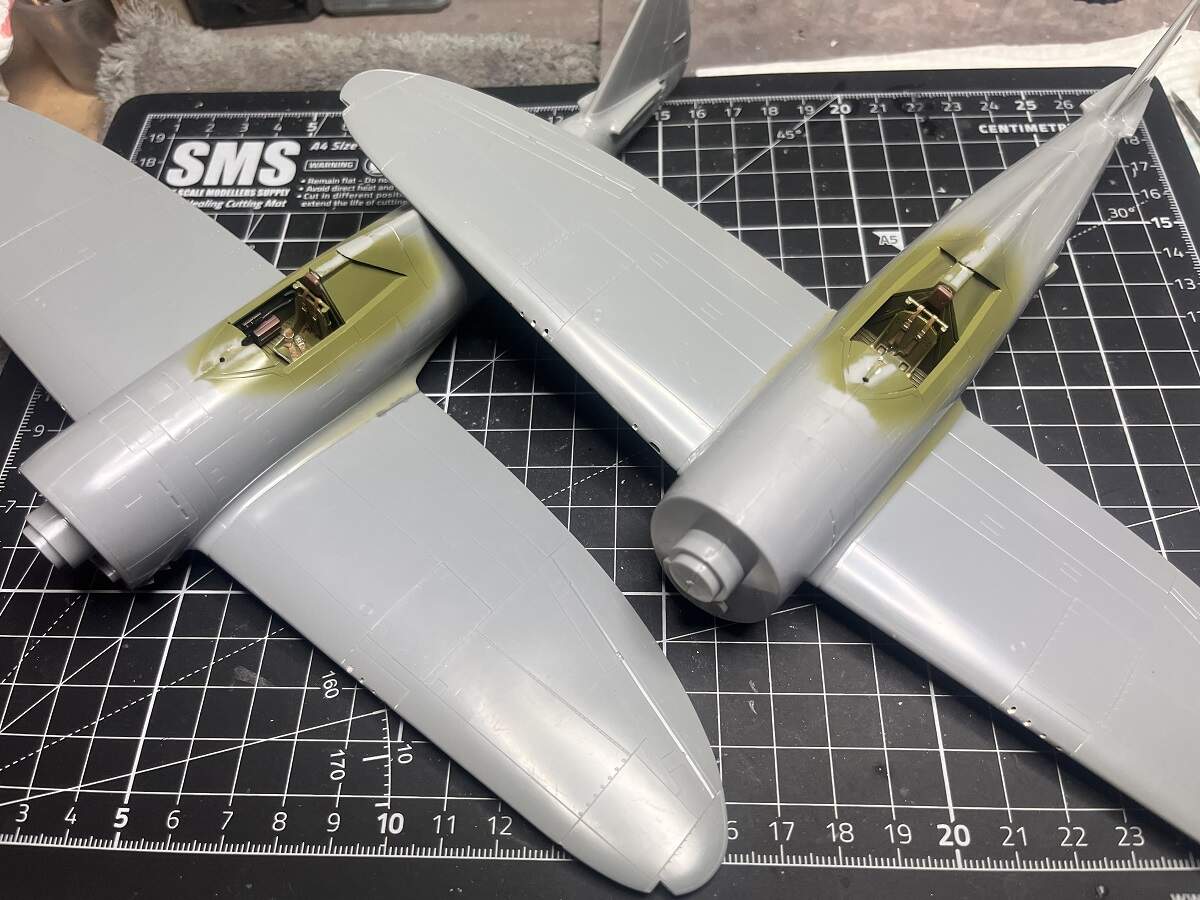
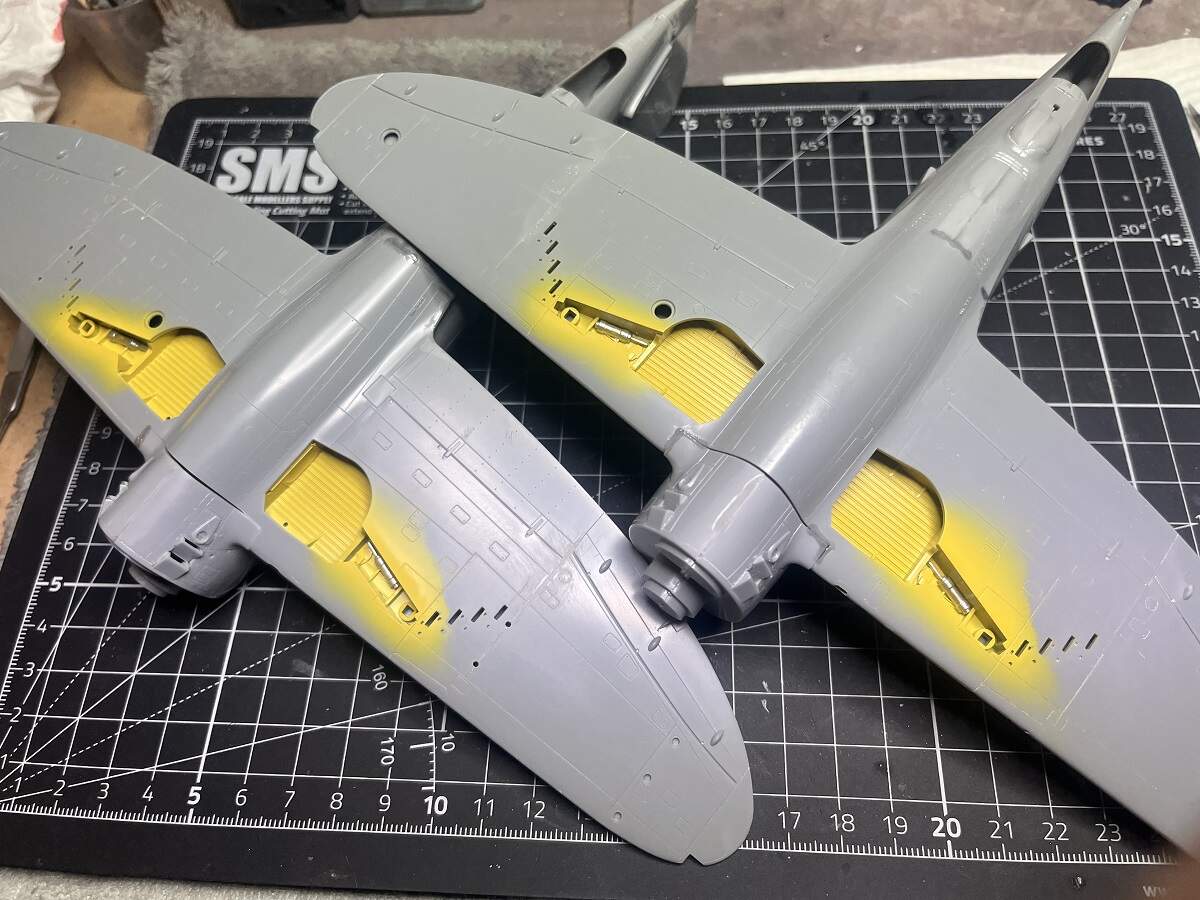
A little more progress. The wheel bays were installed and wings assembled. Lovely fit with absolutely no issues to this point. I will do some basic detail painting in the wheel bays then mask them off.
A bit more detail painting on the cockpit side walls then finished off with a shot of Tamiya Brown PLW. Nothing more to do here as they will be barely visible once the fuselage is closed up and canopy in place.
IP decals got a swim in hot water and then some chemical assistance to settle in place. A couple of small tears that will be touched up once everything has dried fully.
Cheers, D
7 Likes
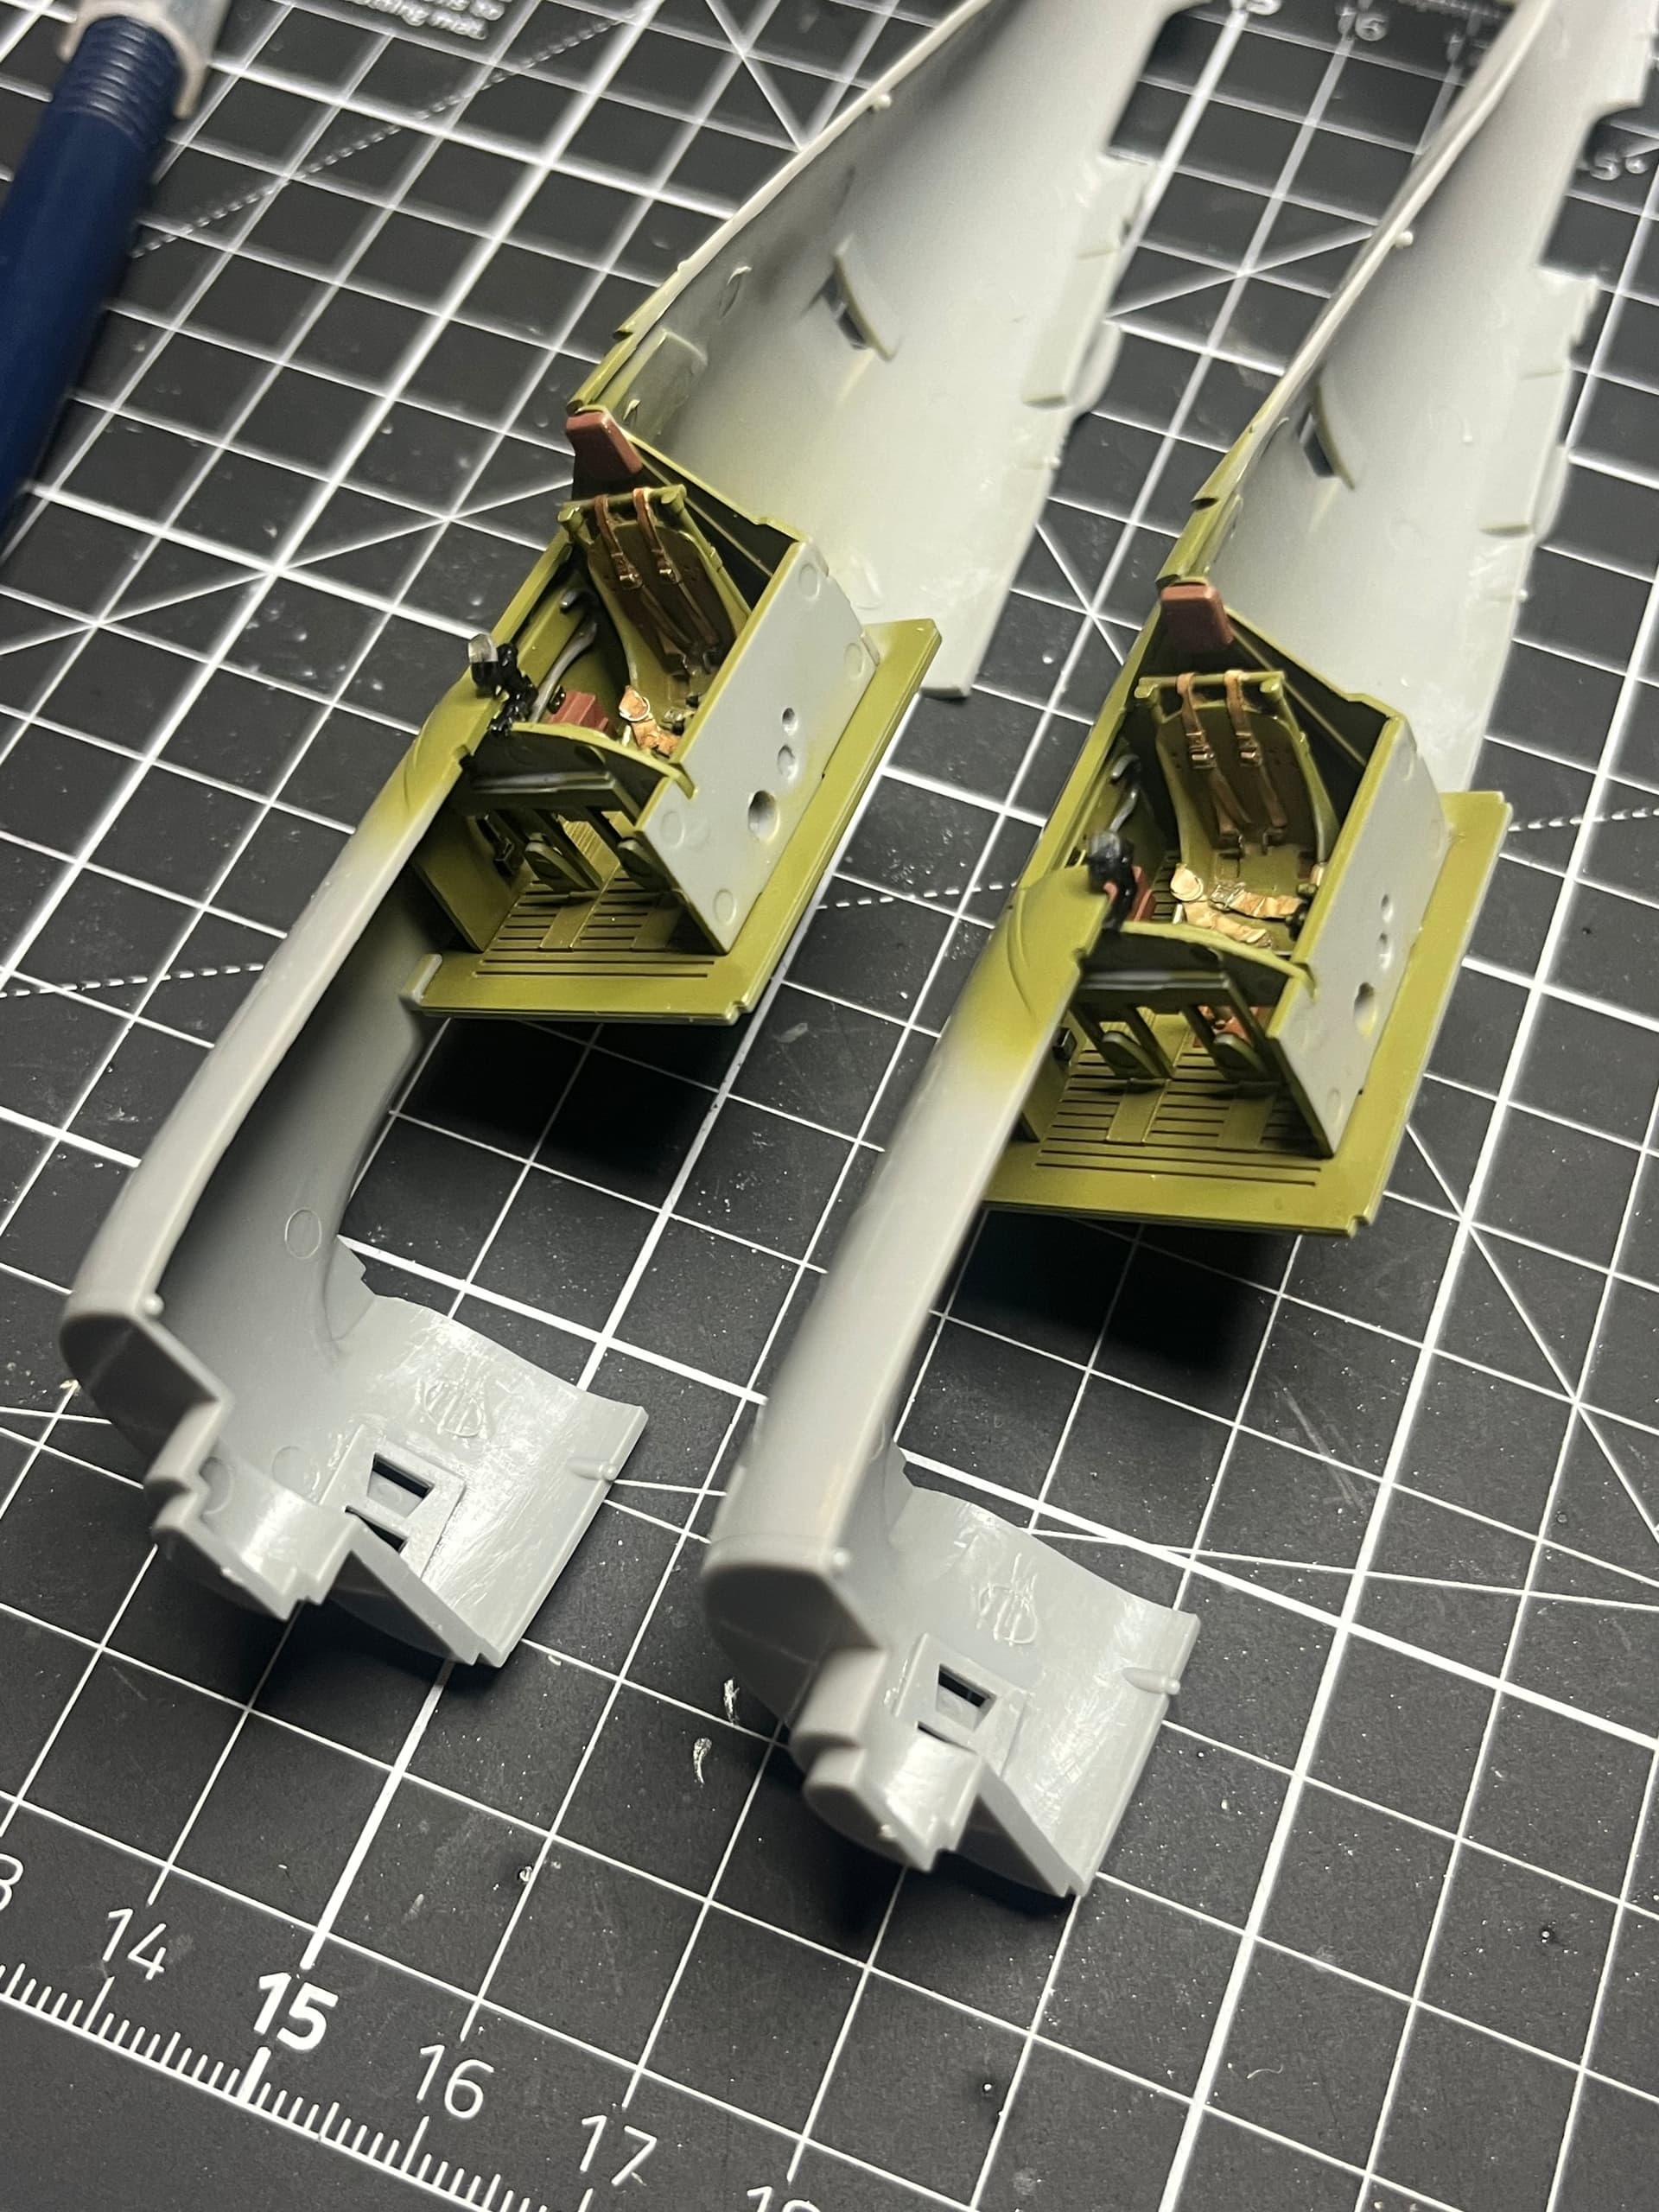
The IP decals settled down nicely, just a couple of small touch-ups to do there. Side walls and seats installed, once they have cured in place I will fit the IP and then it’s time to button up the fuselage halves 
Cheers, D
11 Likes
Cockpit tubs in place, not quite Tamiya fit with positive locations, but a neat fit with minimal fuss.
Dry test fit of the second fuselage halves show that a little bit of fettling will be required to eliminate the fine gap immediately behind the headrest, but nothing too serious.
Happy New Year folks, wishing everybody a safe and successful 2023!
Cheers, D
9 Likes
Heading into '23 with some bench time is great, wrestling with kit issues - not so great.
The fuselage halves in both kits had a variance of about 1mm in length between the halves, the left half being shorter than the right. The nose and cockpit lined up nicely, but there was a bit of work to do around the tail to get things looking good.
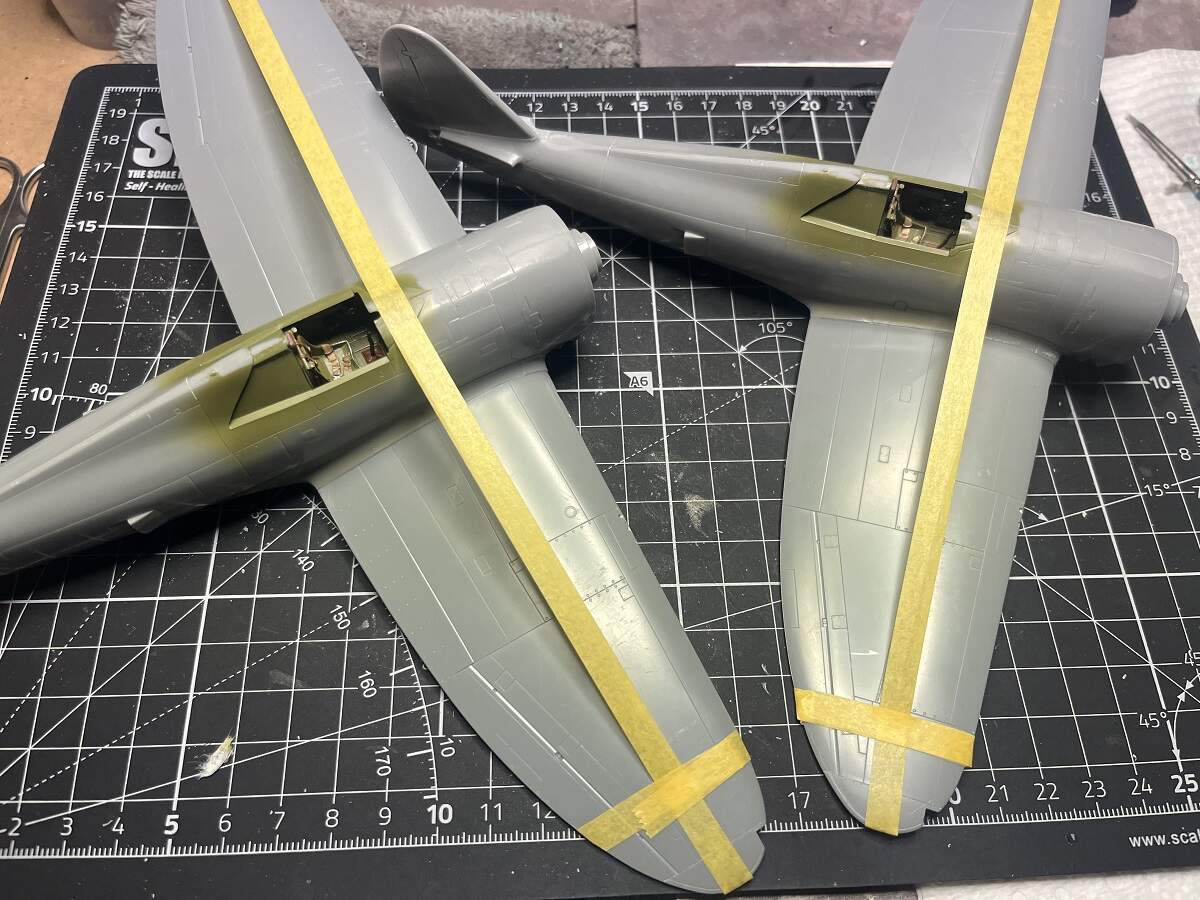
The wing roots aren’t too bad, but still not perfect. I’ve glued up the starboard wing on both kits and taped to hold the dihedral while they cure, and will work on the port wings in the next day or two.
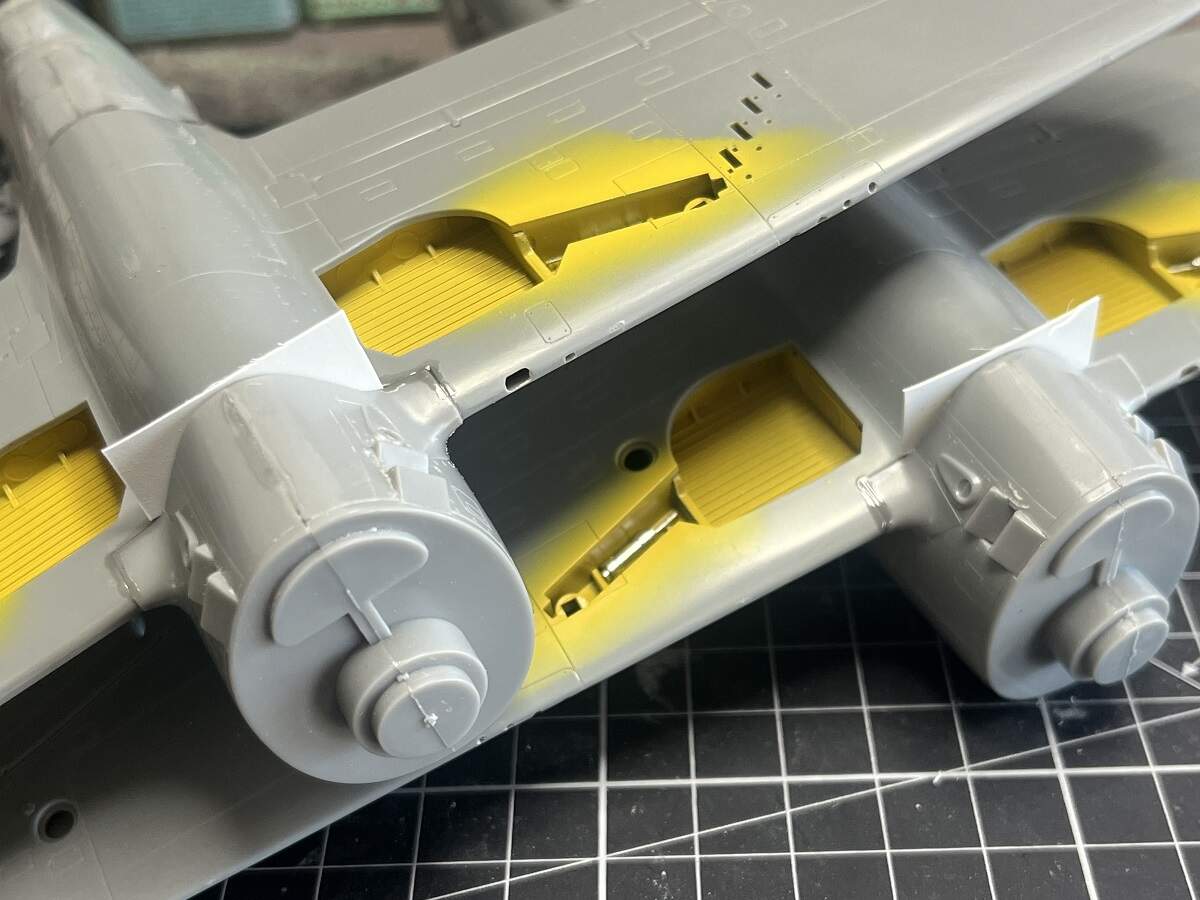
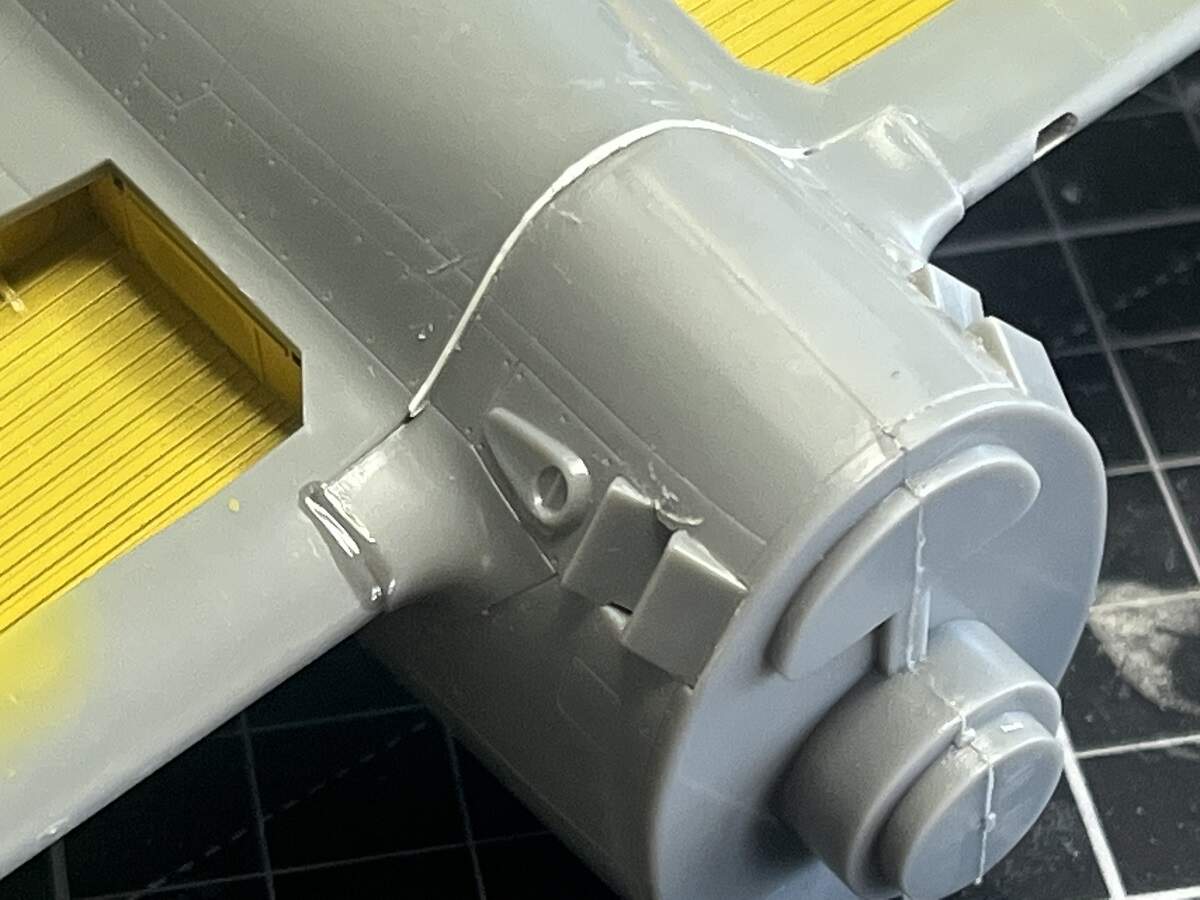
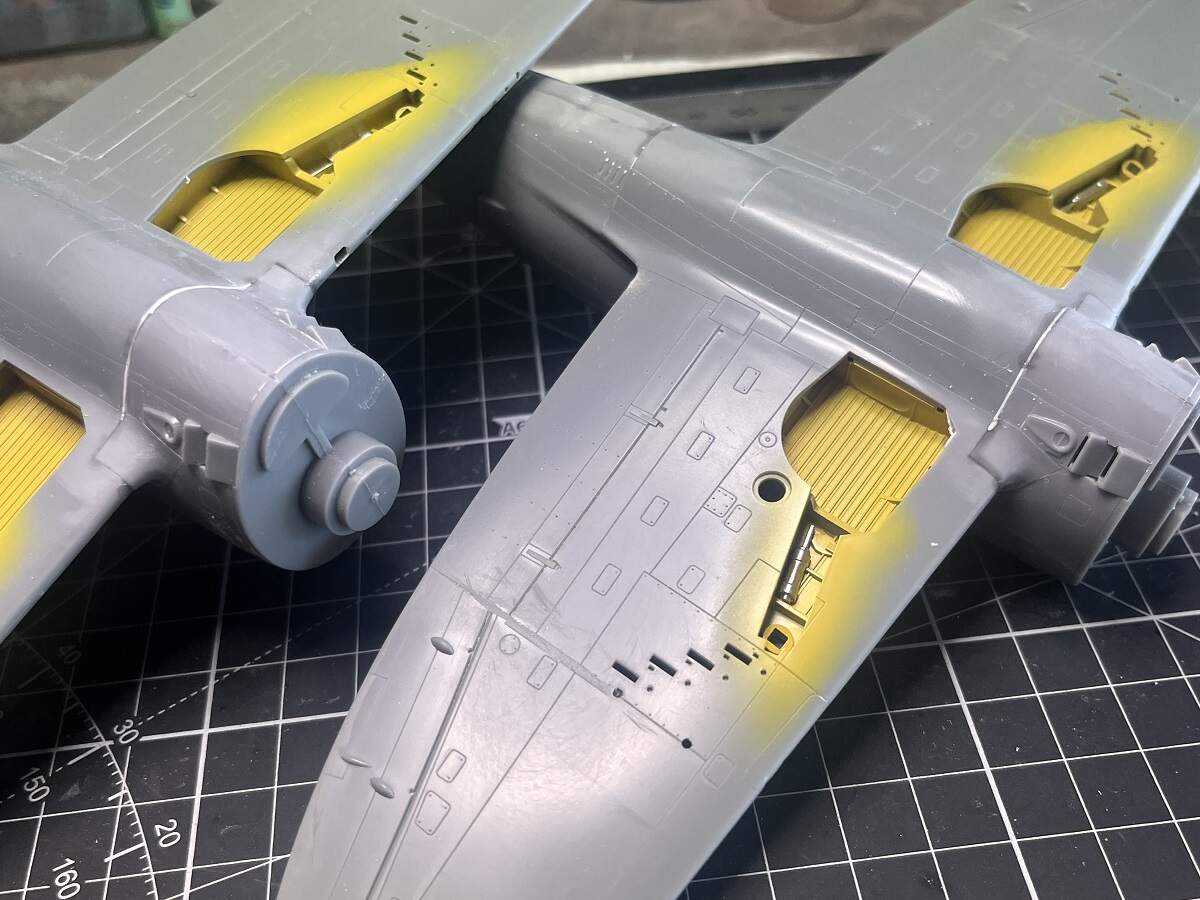
The biggest headache is one I pointed out earlier, very poor fit at the leading edge of the lower wing under the fuselage. This will take some work to get right, and I’m sure it’s a kit fault as nothing in the assembly interferes with this area. Nothing a bit of thin sheet stock and a glass or two of bourbon won’t remedy.
Cheers, D
7 Likes
I know you like a challenge D - good for you !
We both know the best remedy for these fit issues is a Tamiya P 47 !
Cheers- Richard
3 Likes
Indeed Richard, these will be my first and last Hasegawa P-47’s. The Tamiya Razorback is at the very top of my list of favourite kits. I’ve built 3 and have a couple more in the stash. If only they would up the game and do one in thirty-tooth scale, I would be in heaven 
Thanks for checking in mate.
Cheers, D
2 Likes
Wings are all fixed in place now, so the task of fixing those gaps commences.
Some thin styrene sheet to shim the gap to start, and a liberal dose of Sprue-Goo slathered around some of the other spots that need attention.
Shims cured overnight and carved off with a scalpel. One is ready to take some clean-up and finishing, the other gap was big enough to take a second smaller shim which is curing now.
Cheers, D
8 Likes
Well the gap fixery is about as done as my patience and skills will stretch, about ready to start throwing some primer around now.
Cheers, D
7 Likes