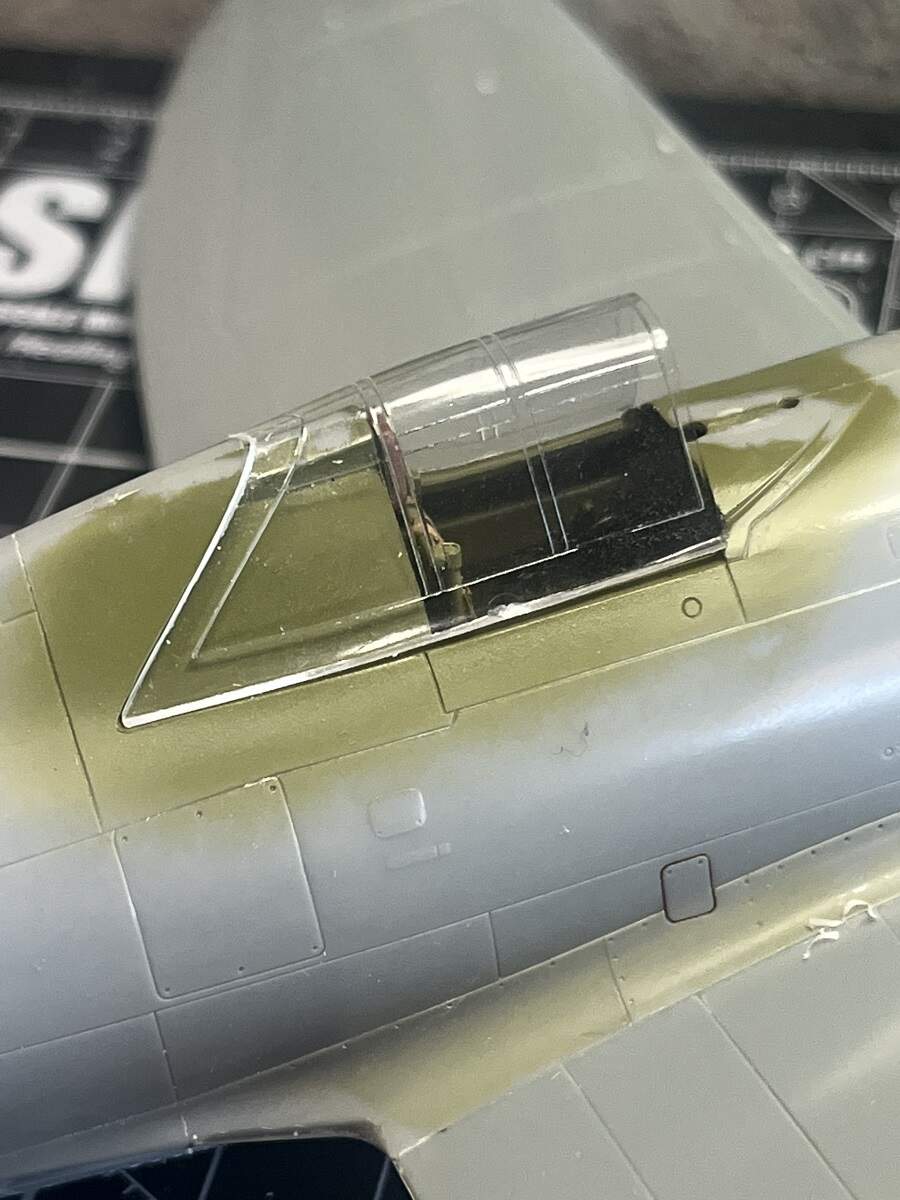
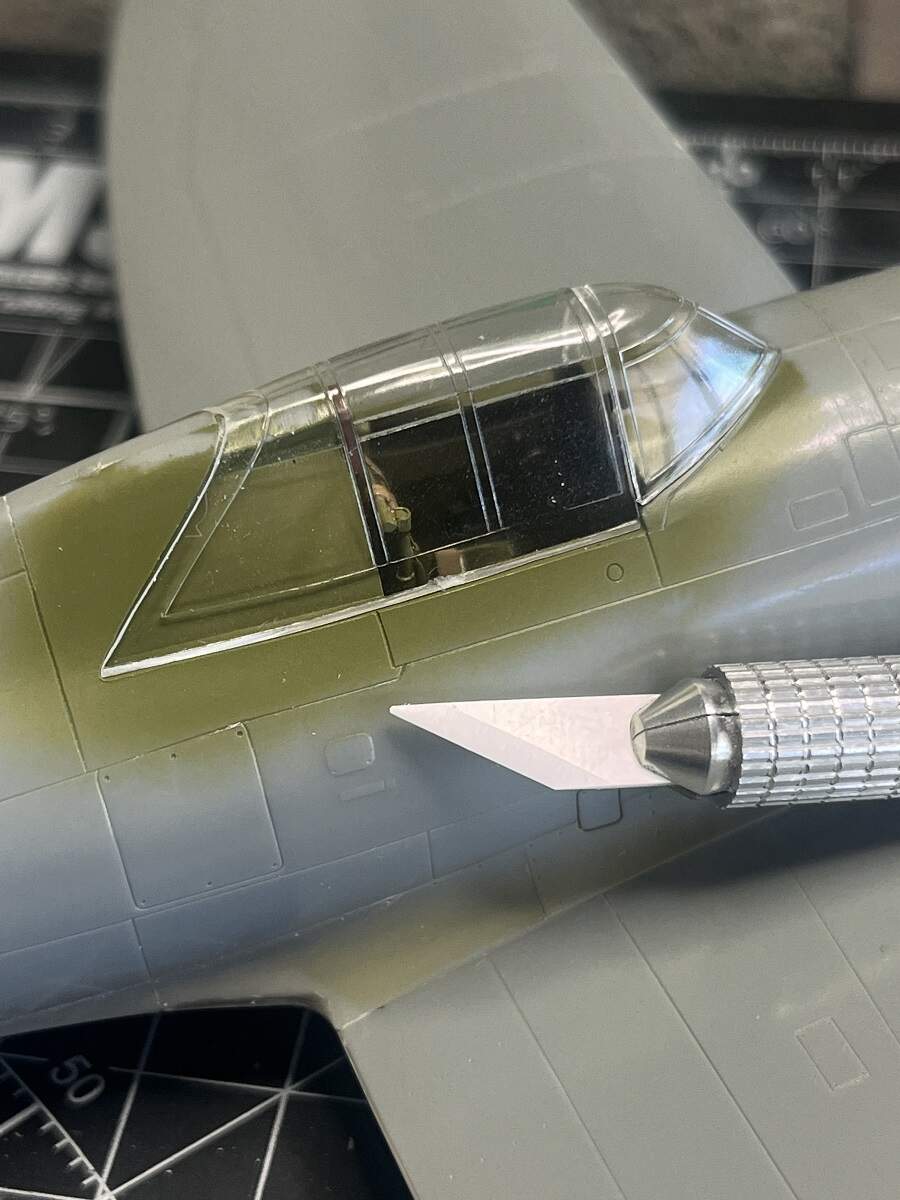
The easy solution is to sand off some of the straight front edge, but that would make the frame visibly too thin, so I used the ceramic scraper to slowly shave off some of the rear angled frame with regular test fits until it dropped into place.
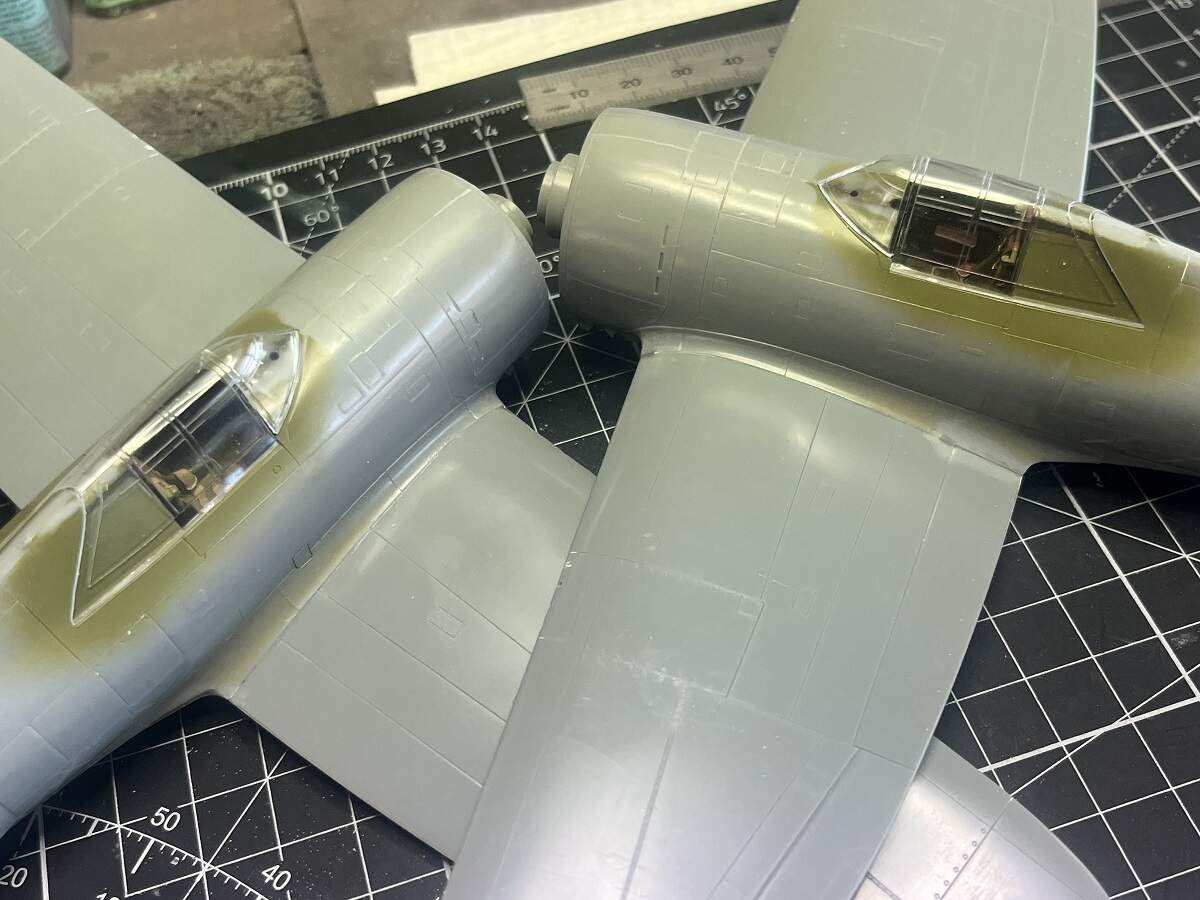
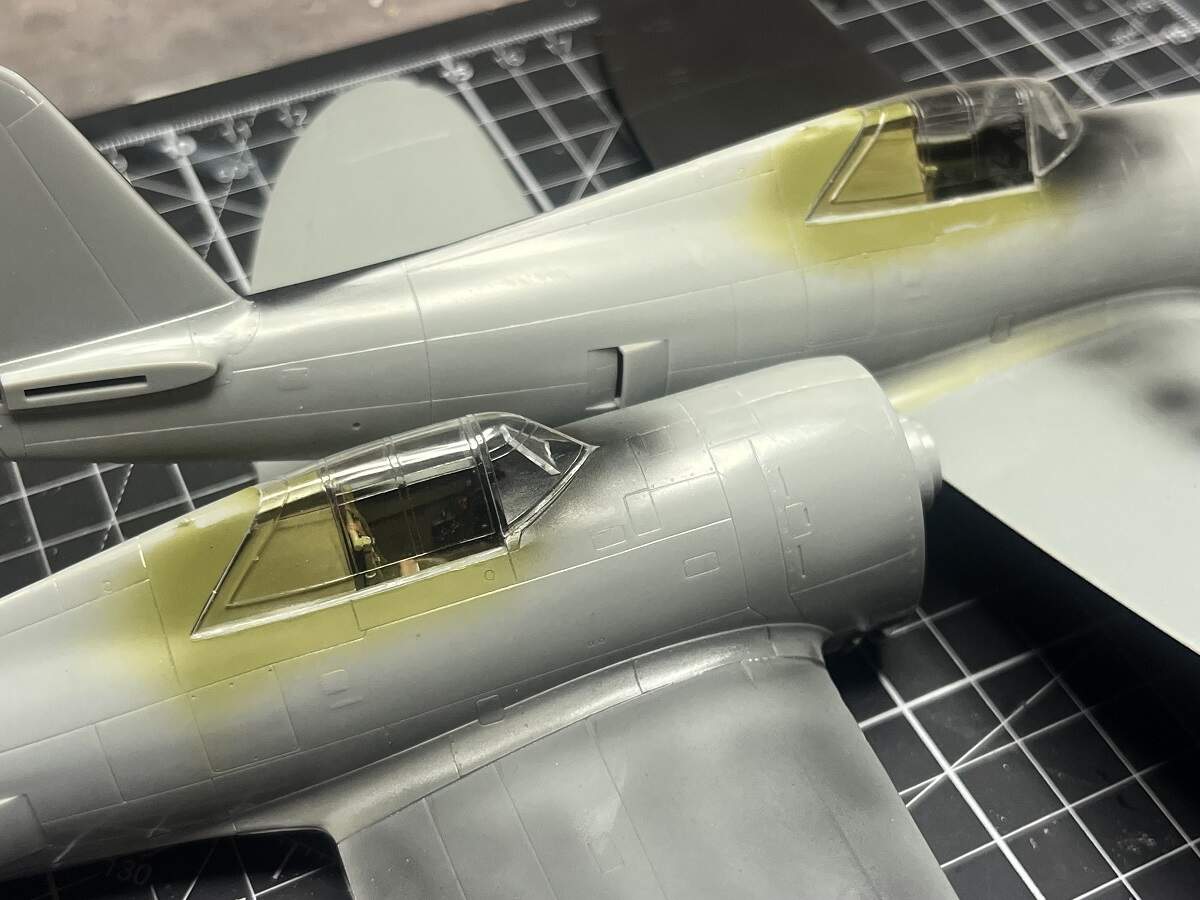
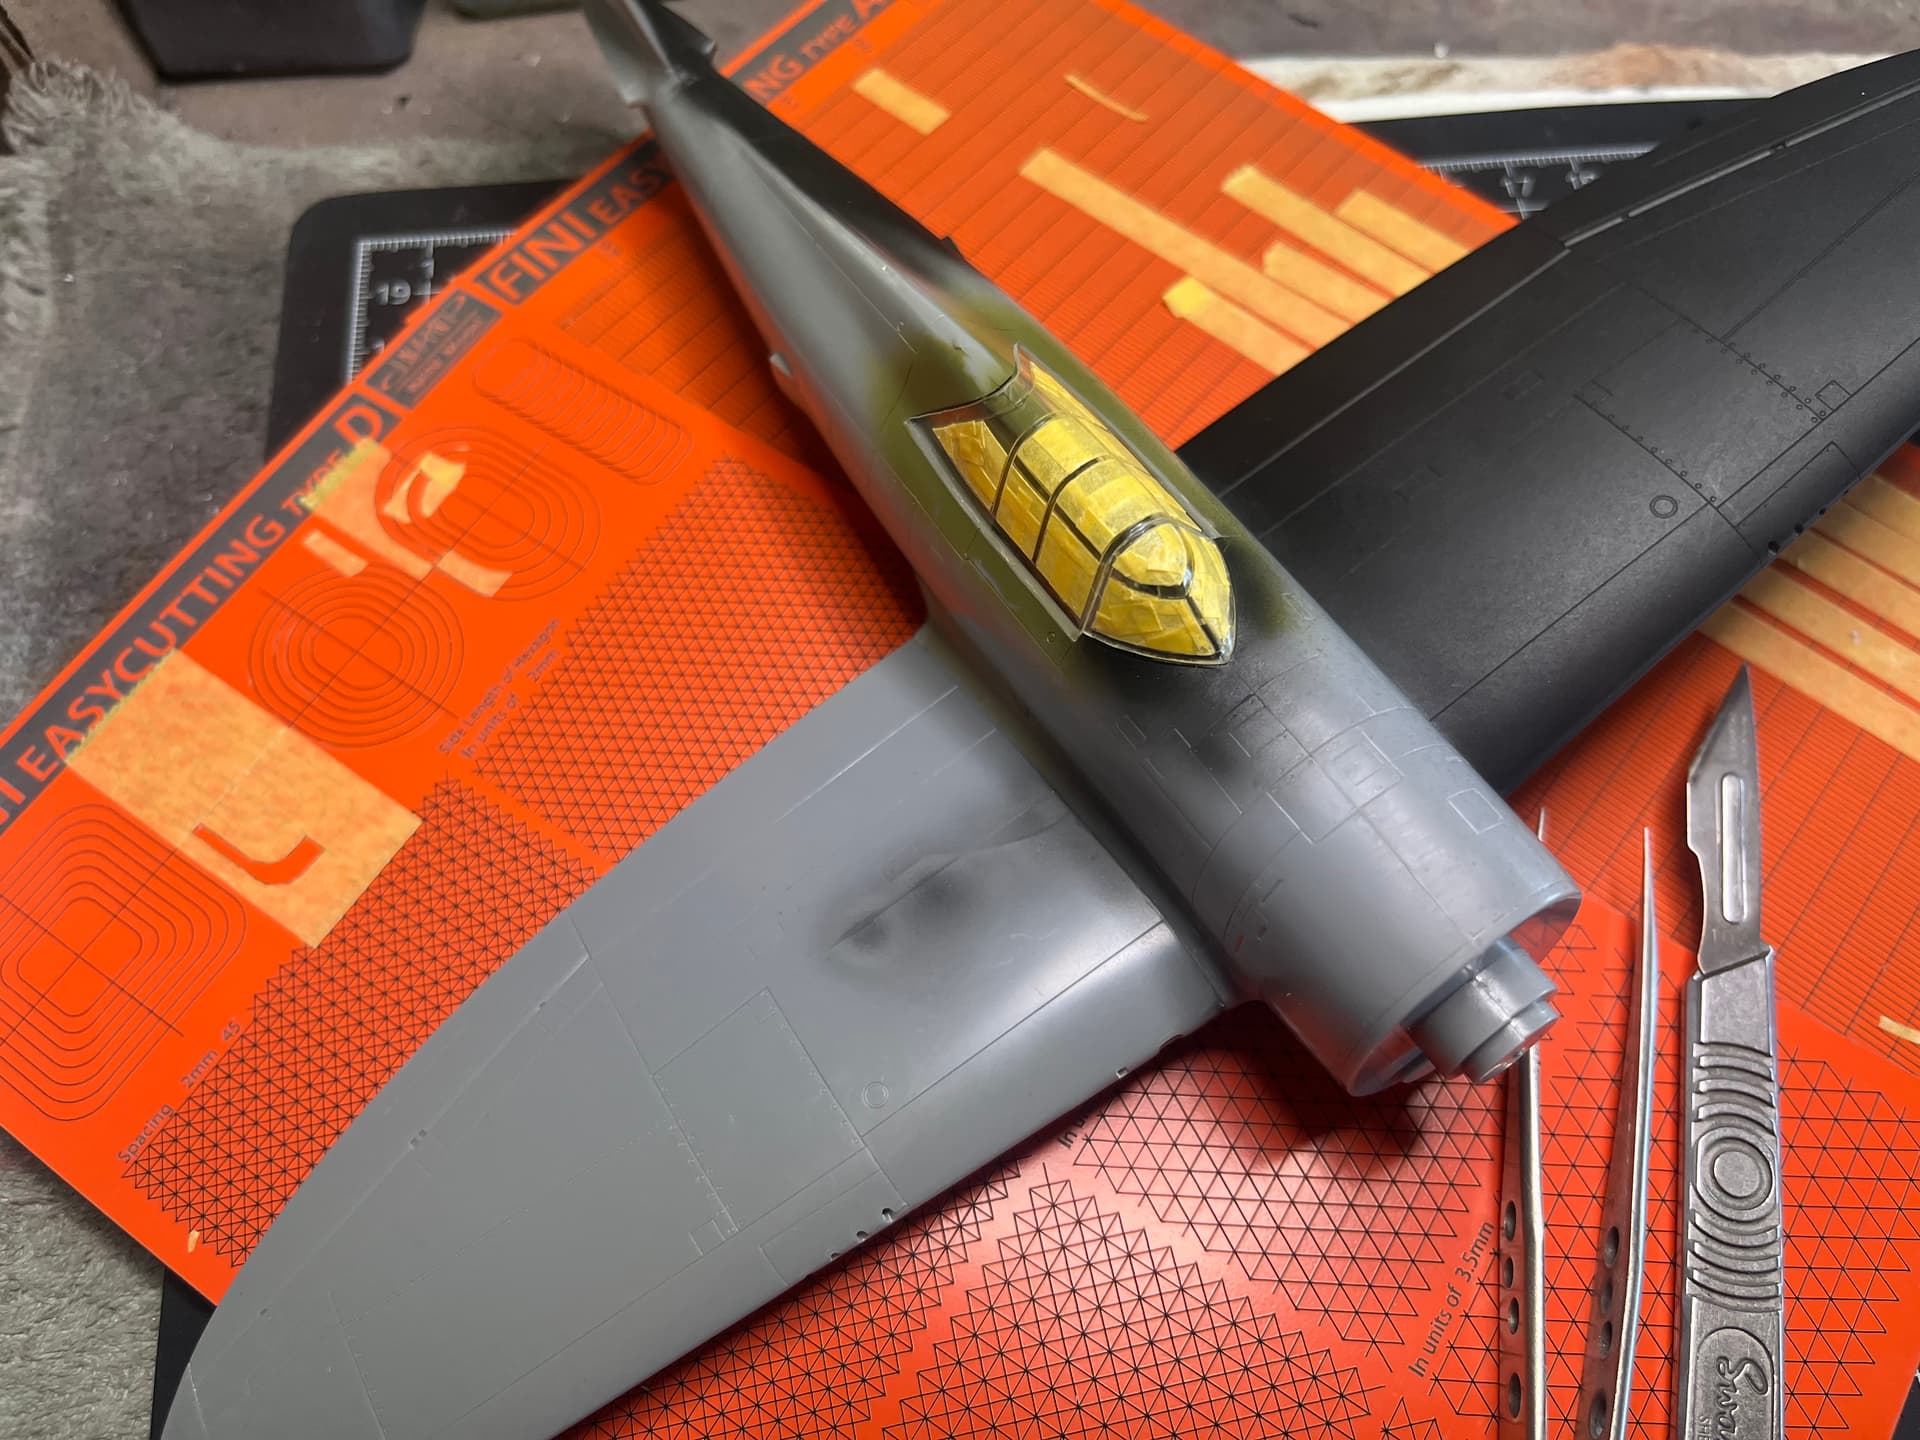
Touch-ups and final additions to both cockpits done. I painted the front deck black, refitted the sights and fitted the armoured glass, then did a light wash and filter of brown on the area inside the rear glass. Front and rear glass is now fixed in place, I use Tamiya Extra Thin carefully and lightly applied and have no issues with glass fogging.
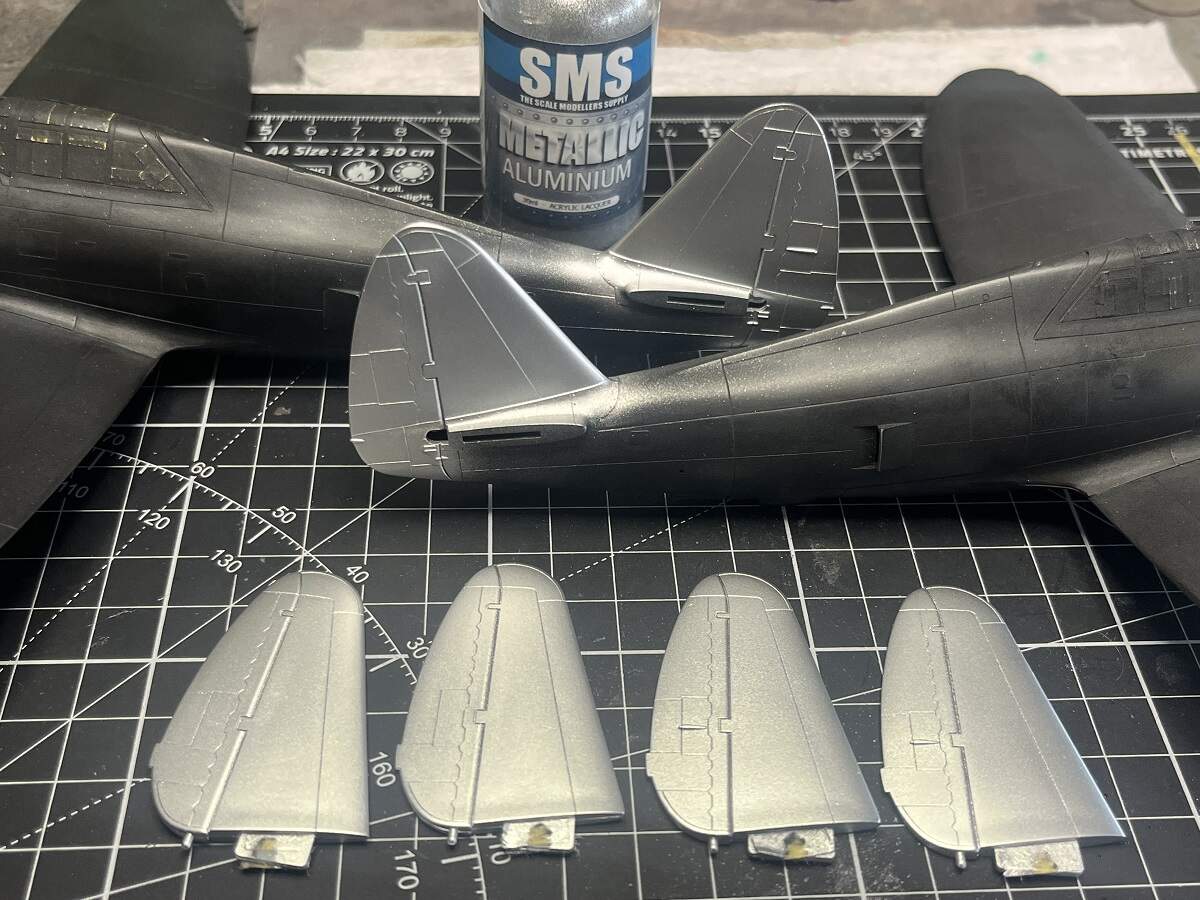
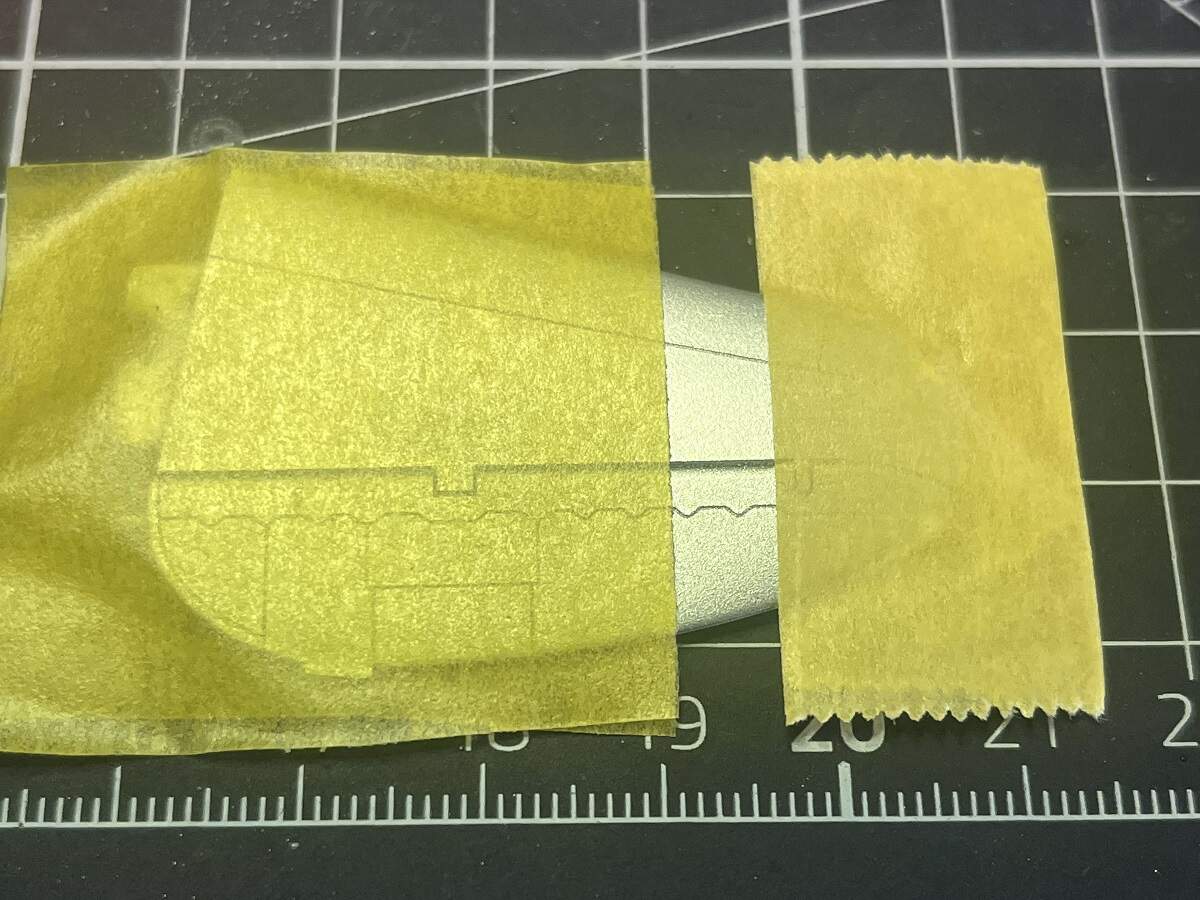
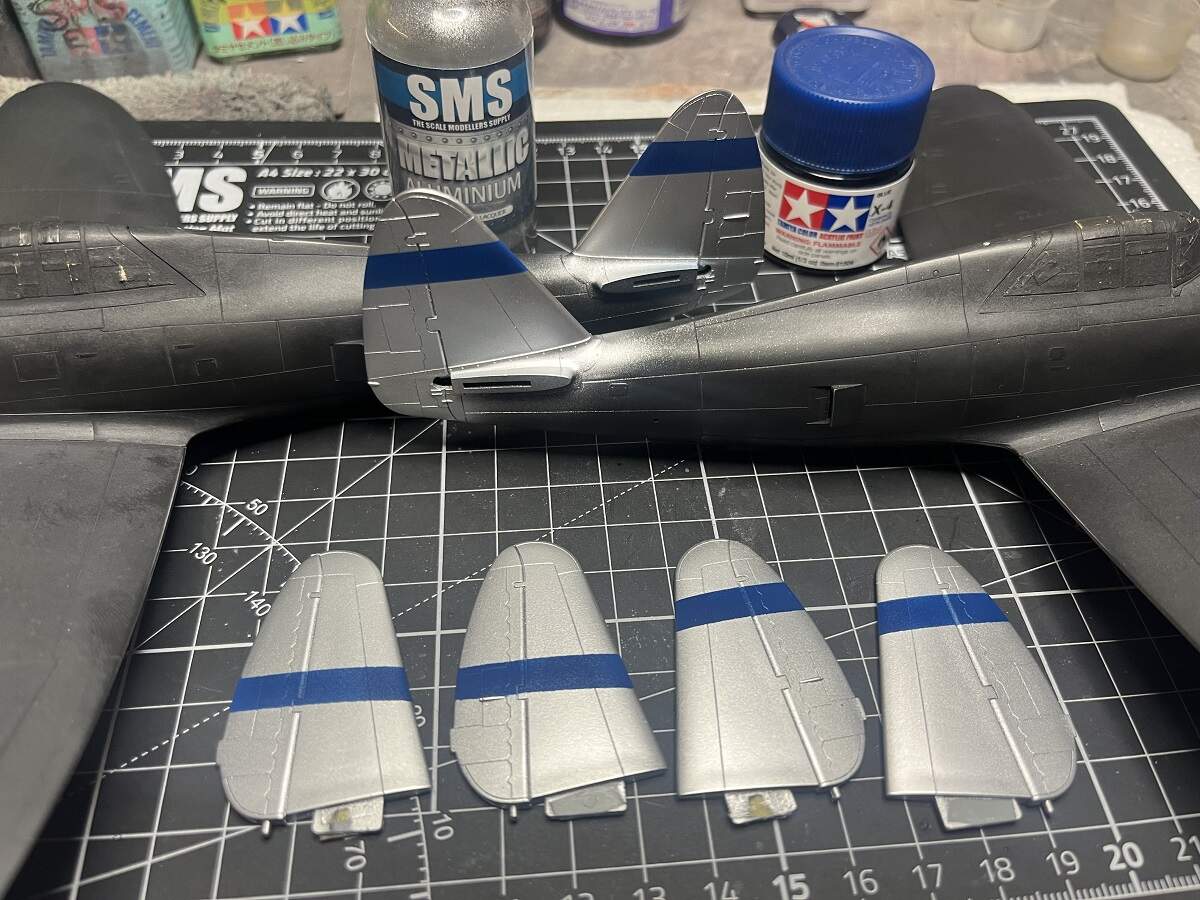
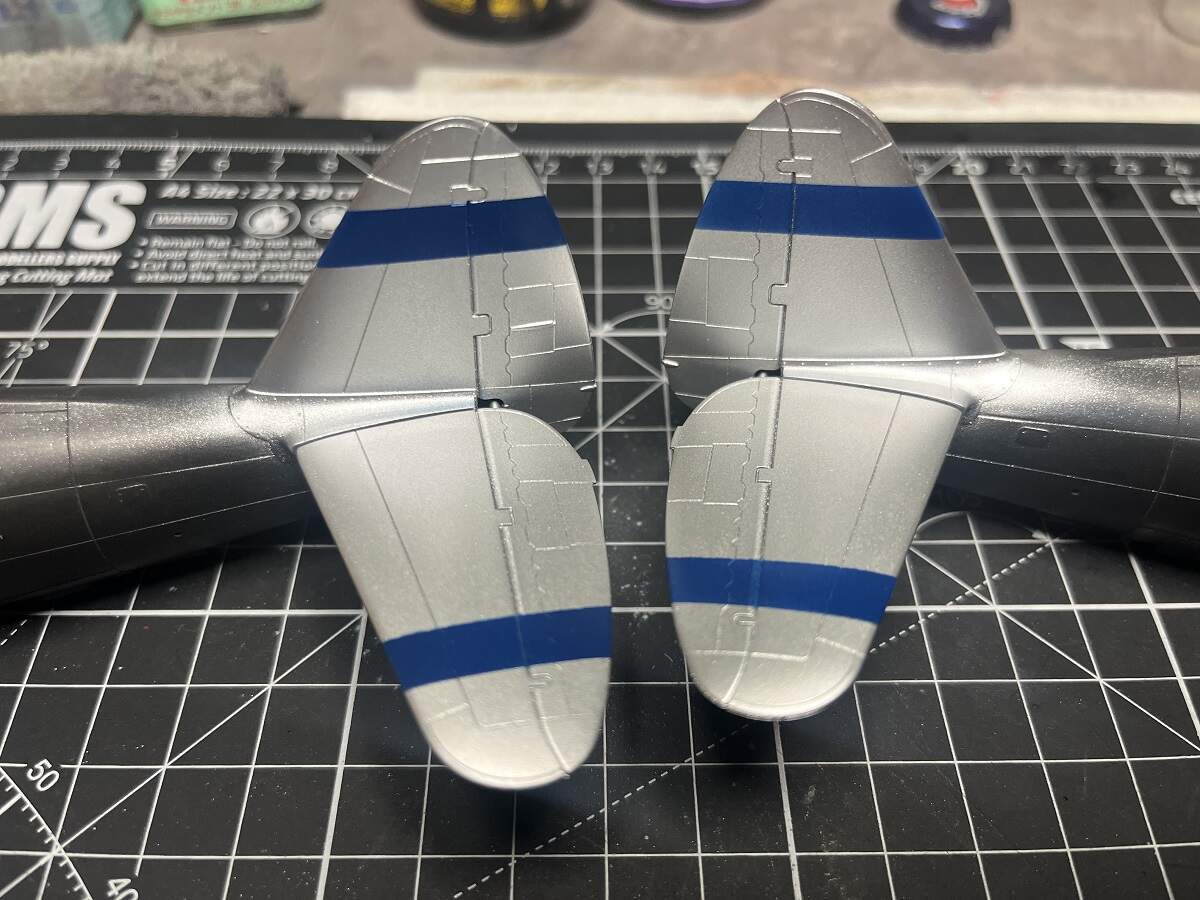
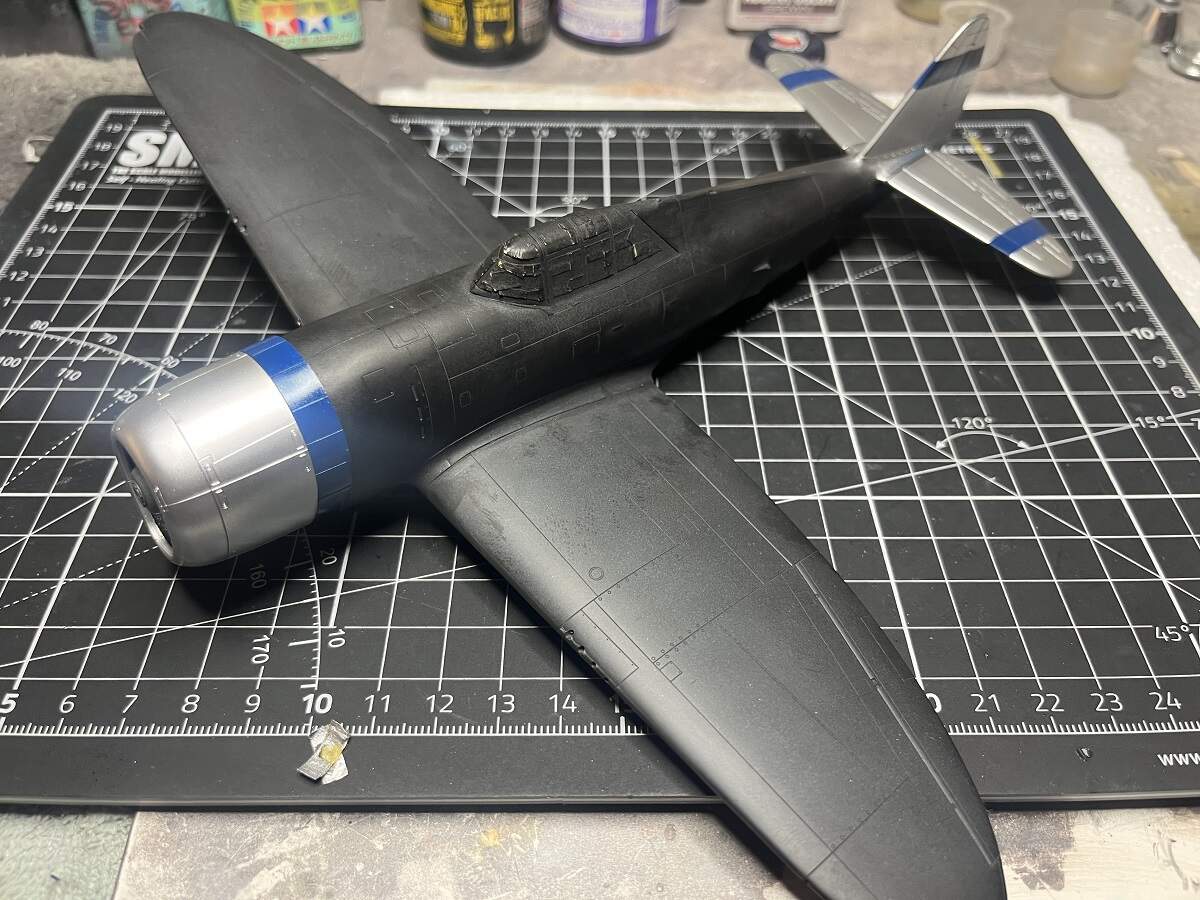
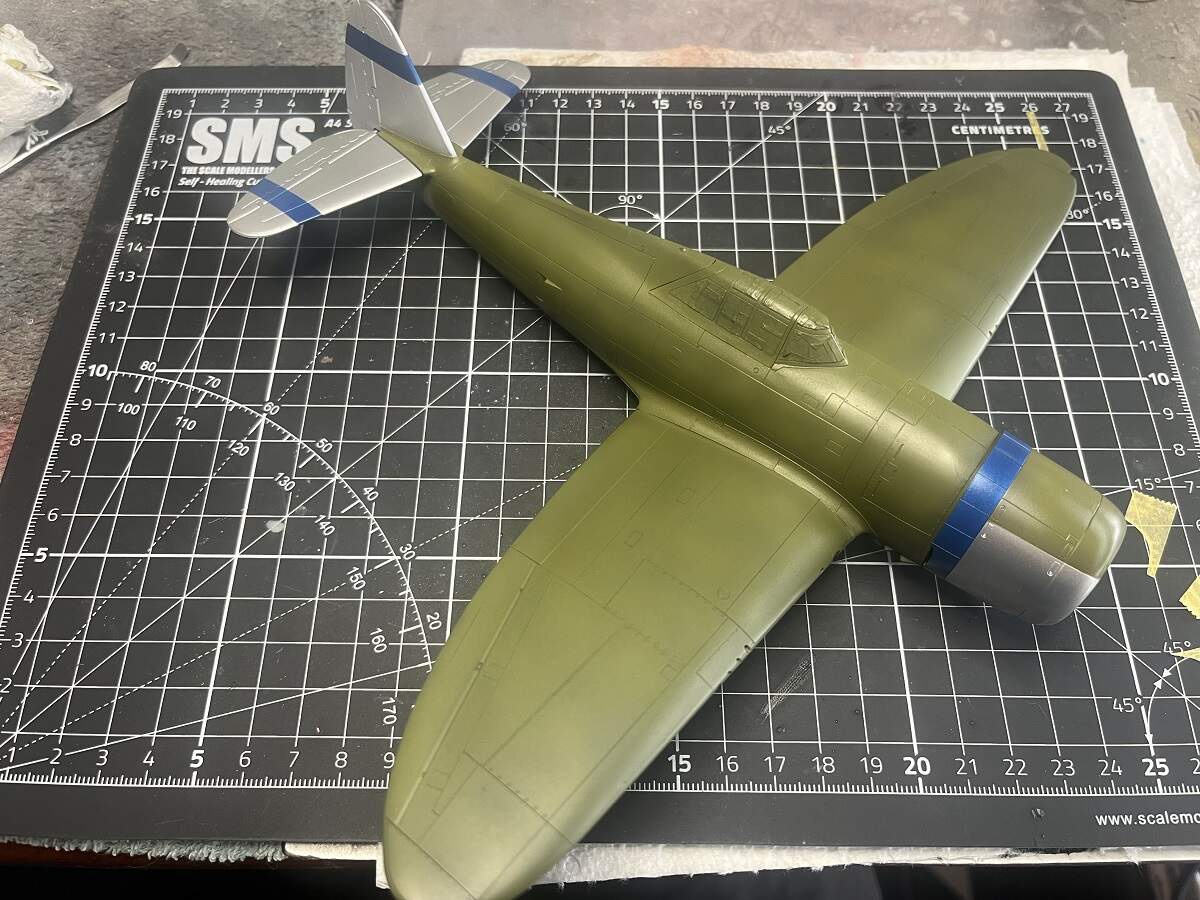
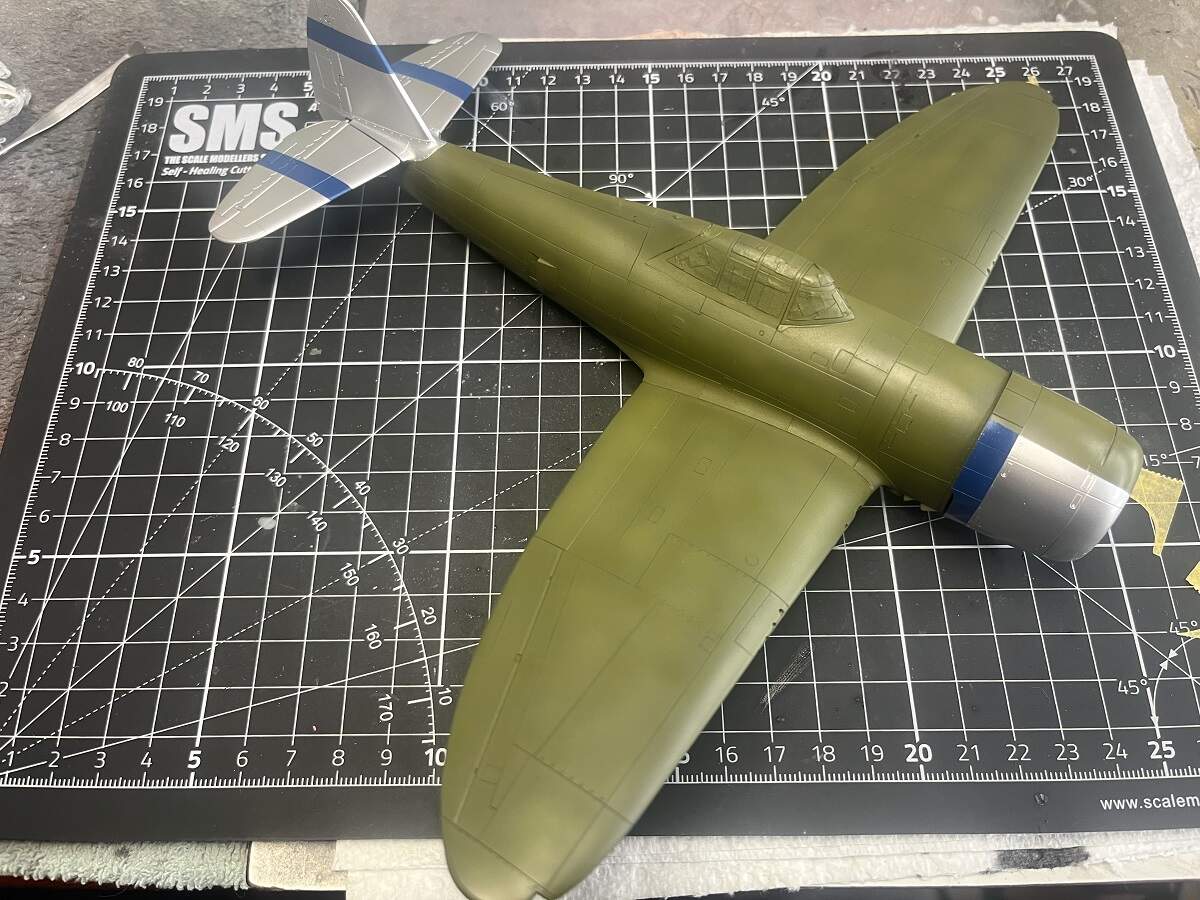
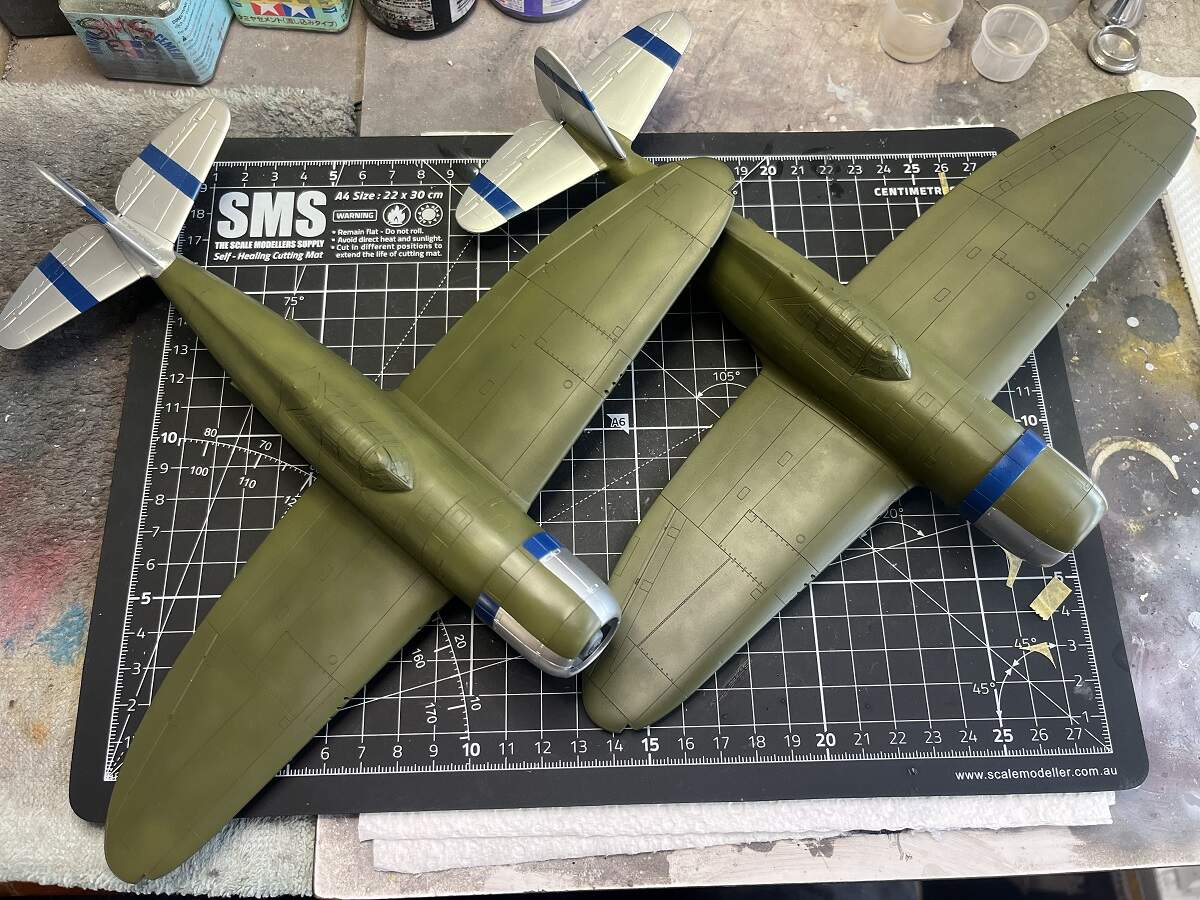
The tails (vertical and horizontal) on both of these aircraft were natural metal, so I will paint and mask the verticals first, and also paint the horizontals separately and add them just prior to weathering.
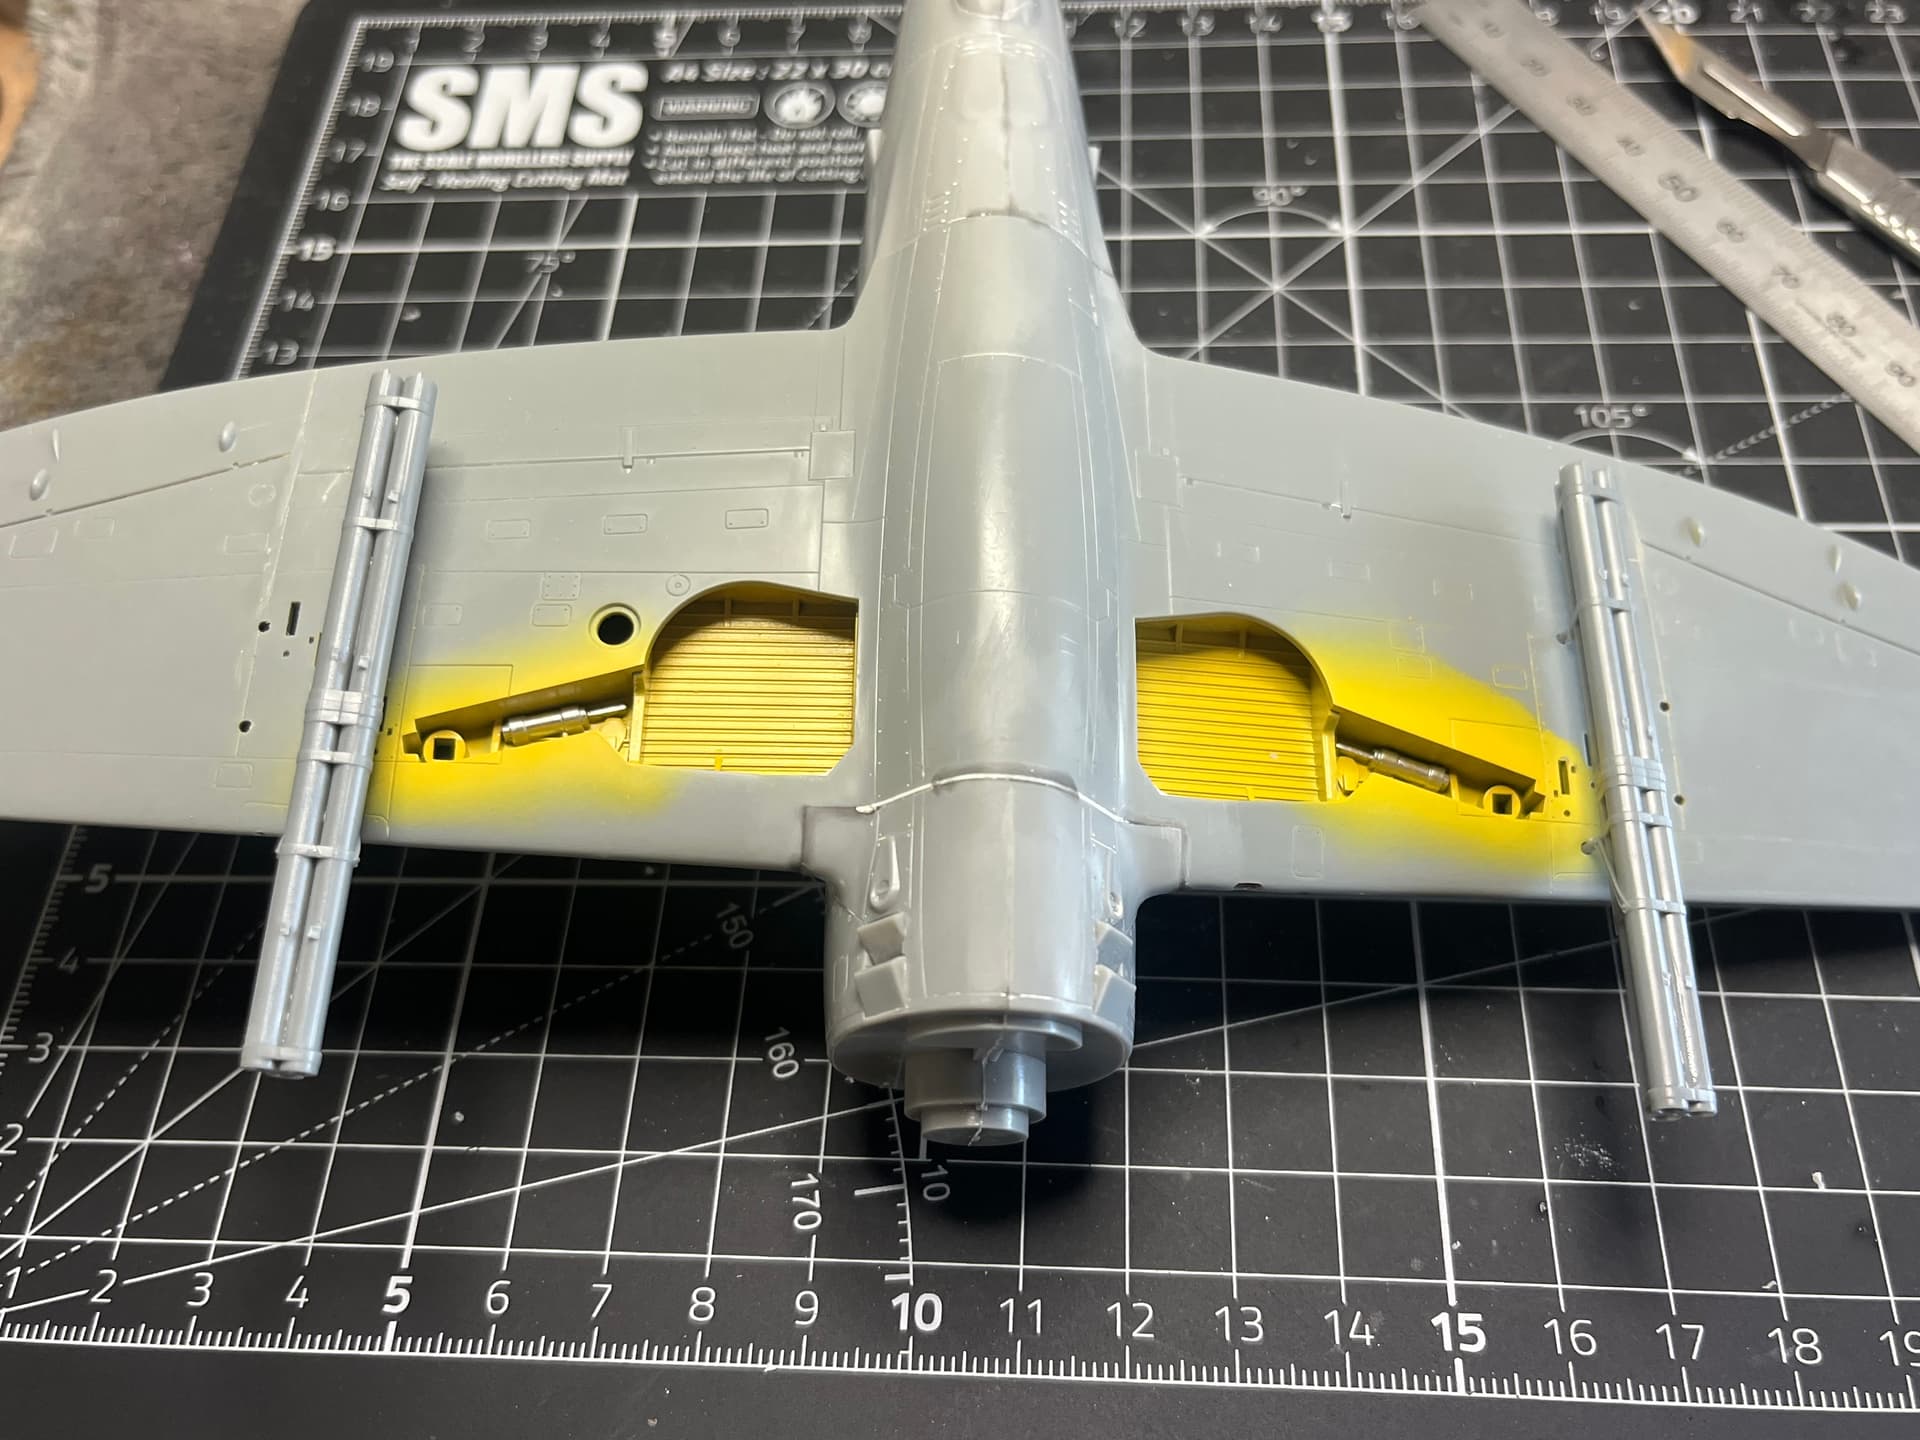
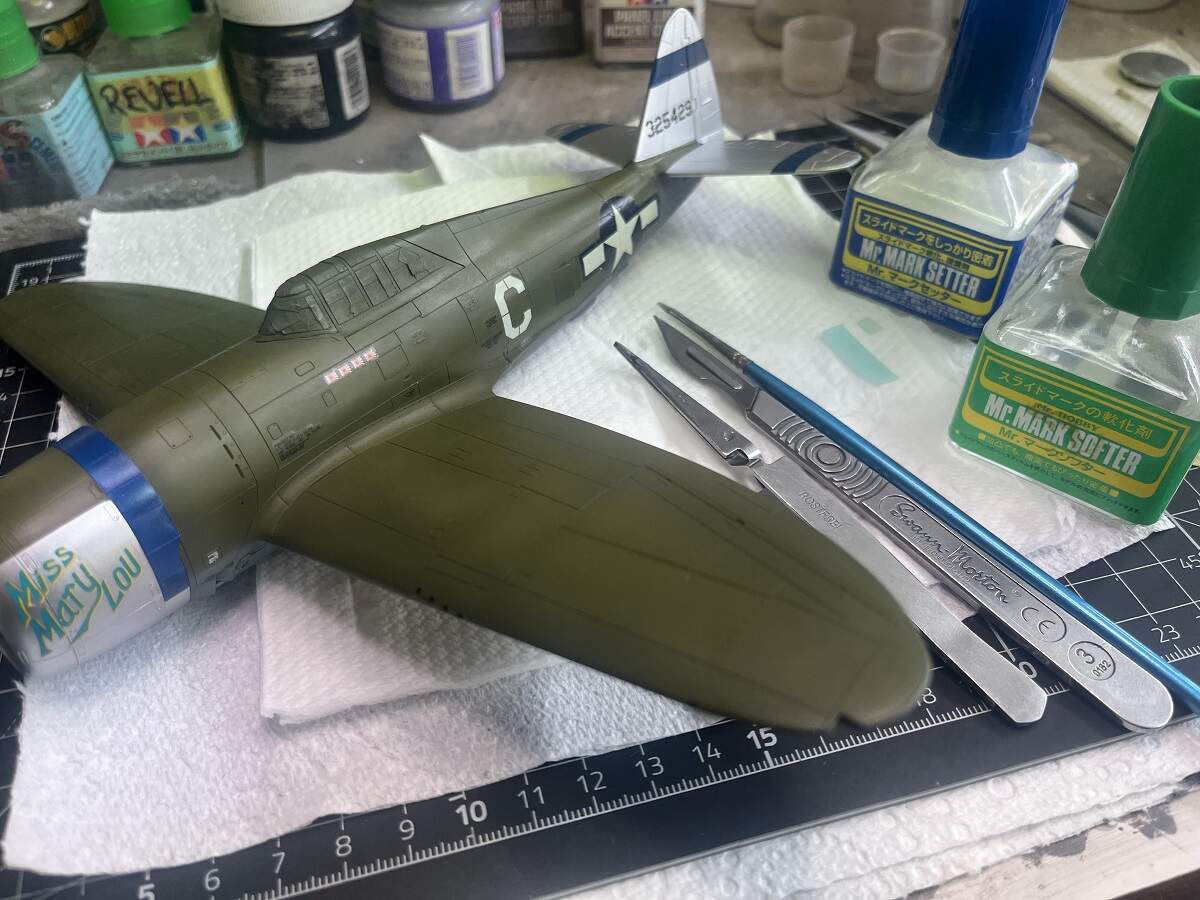
A little progress on “Miss Mary Lou” today. I used the Tamiya kit to locate the mounting holes for the HVAR racks and drilled them out. My reference images for this aircraft show either HVAR mounted along with empty bomb racks, or loaded bomb racks with no HVAR. I’m going with the HVAR and empty bomb racks for a point of difference, and will load up “8-Ball” with bombs.
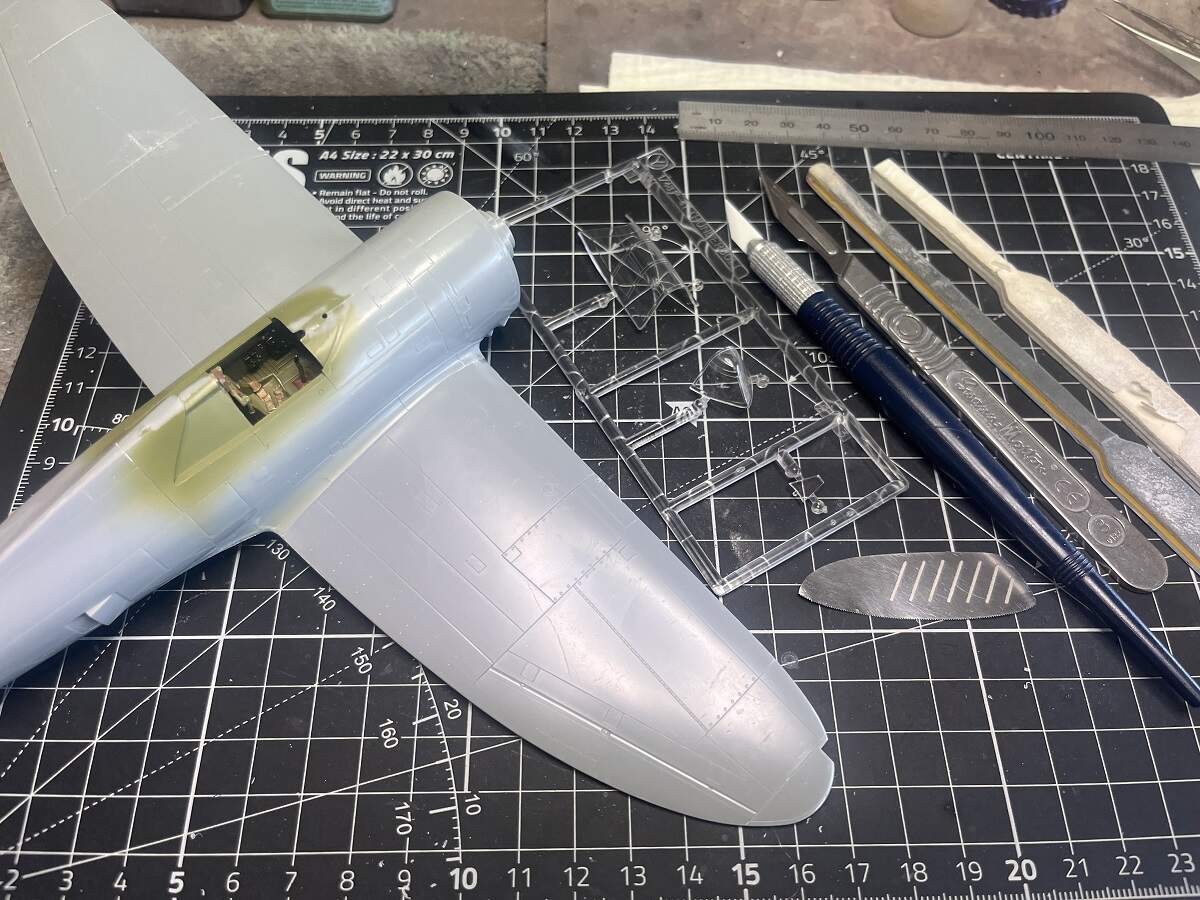
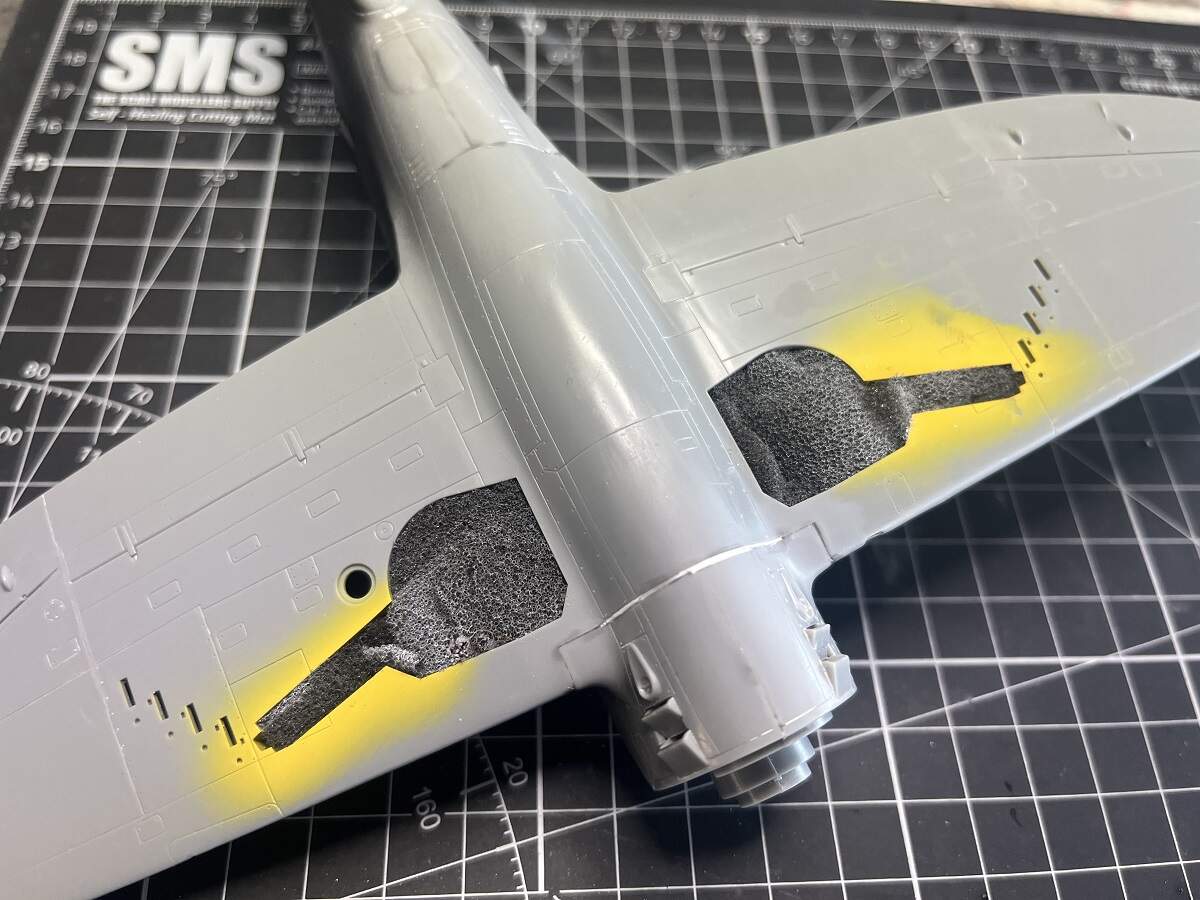
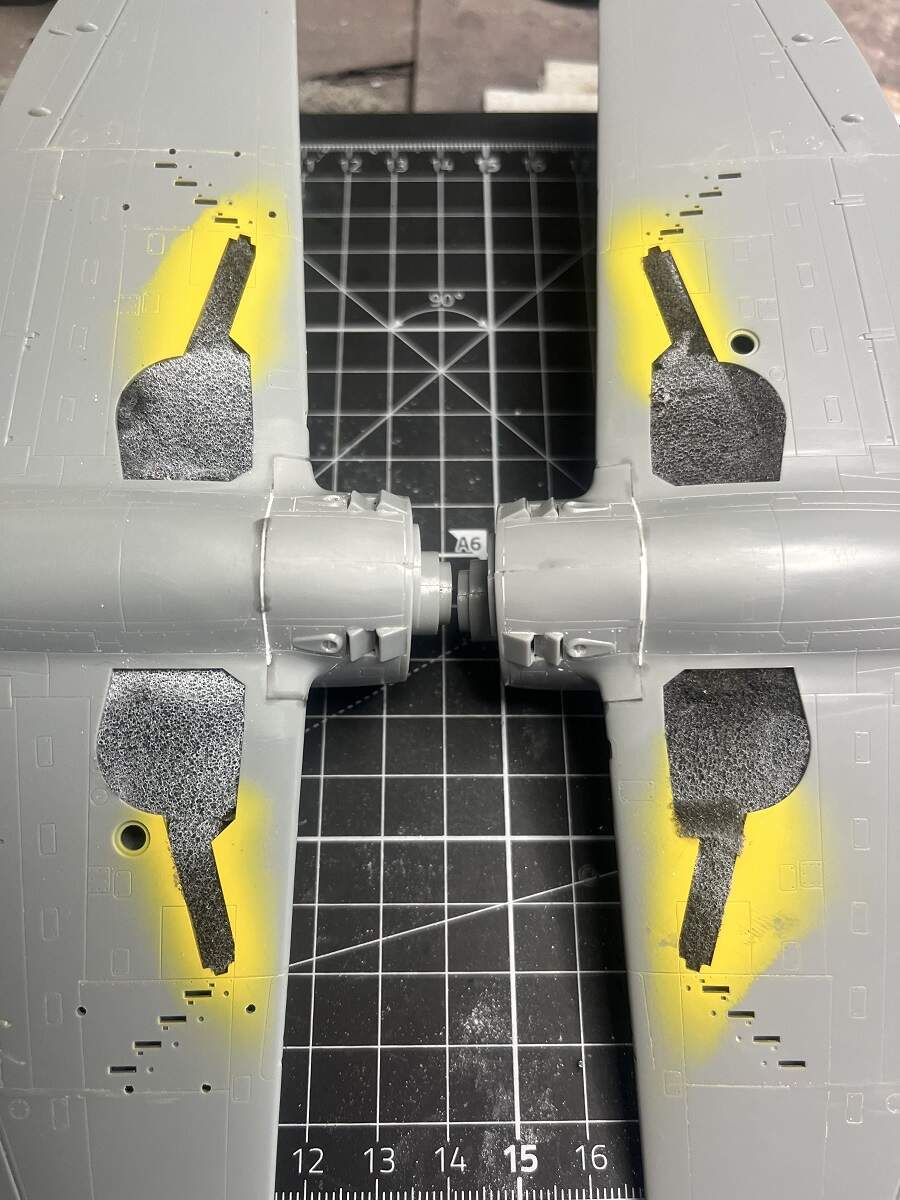
I also managed to get the clear parts masked up and ready for primer. I had some primer left in the airbrush from preparing the small parts so I shot it on the port wing.
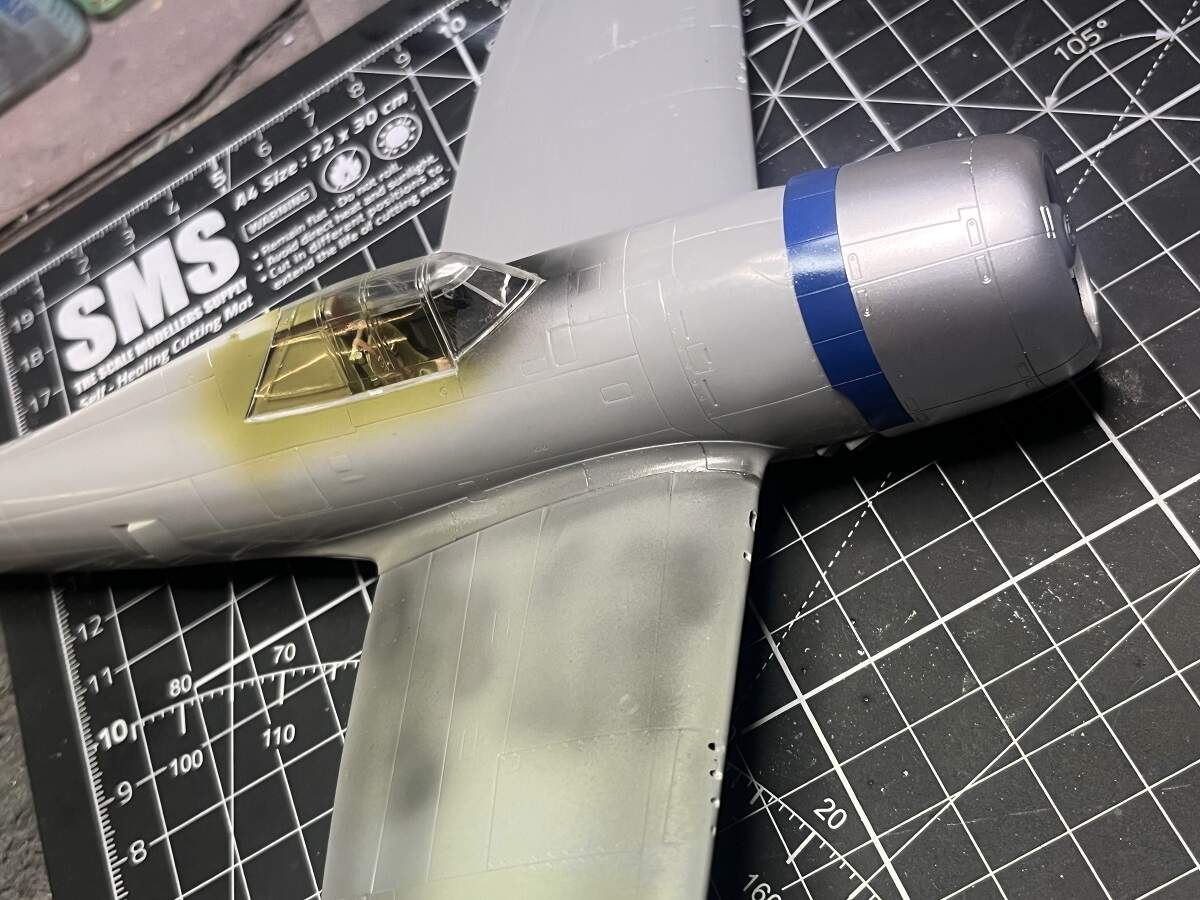
The blue stripes were 12" wide at 1:1 which scales out to about 6mm in 1:48, so I took some artisctic liberty and located the stripes with 6mm tape (close enough) then masked either side with wide strips and removed the 6mm.
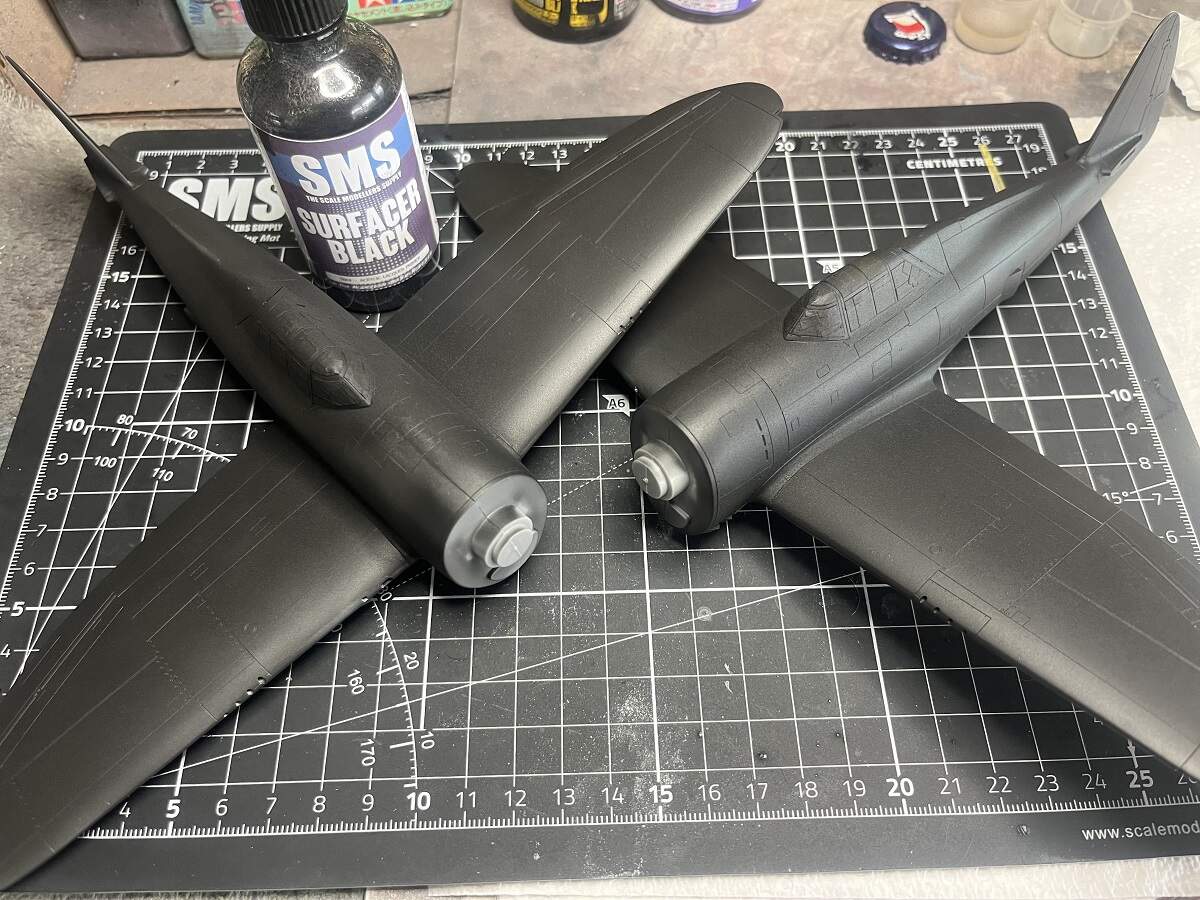
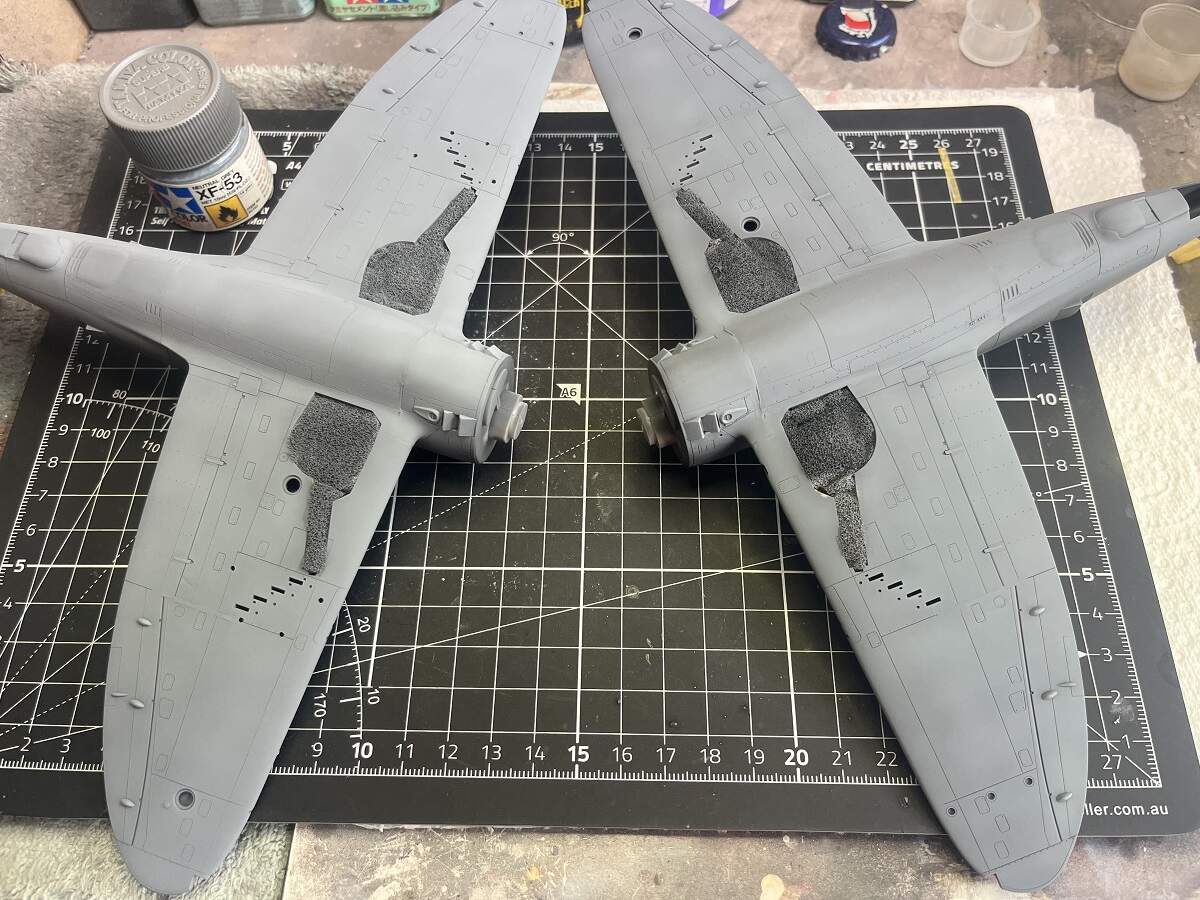
Masked off the tails and shot the Neutral Grey undersides. Tamiya XF-53 thinned about 40:60 with MLT and I gave them about 90% coverage over the black primer with some faint variation still showing.
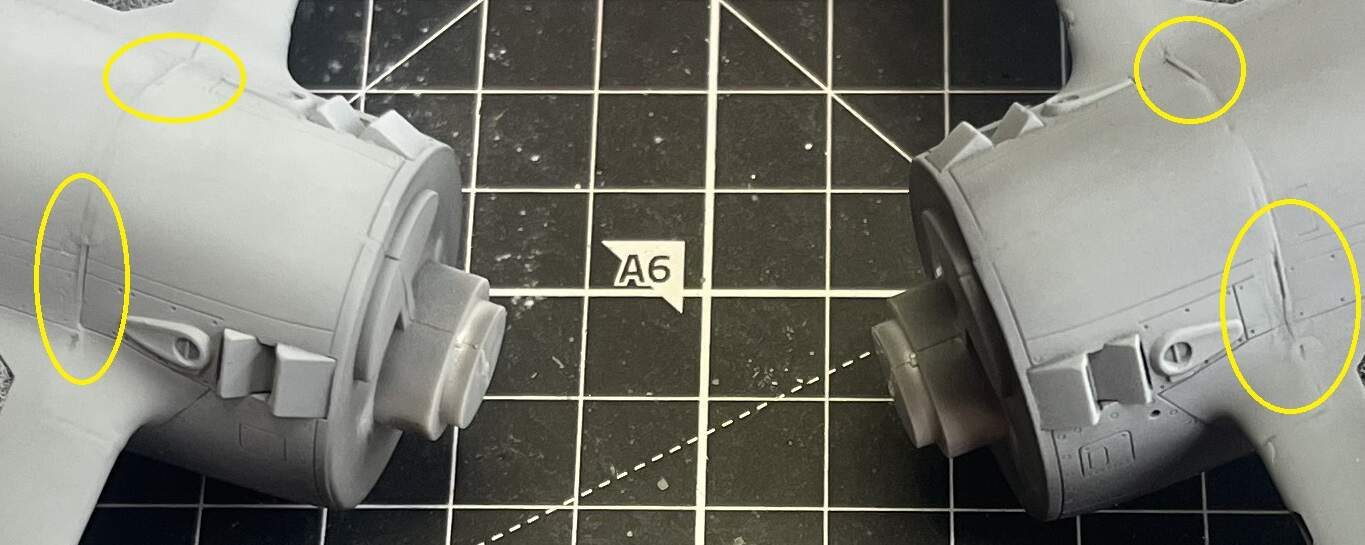
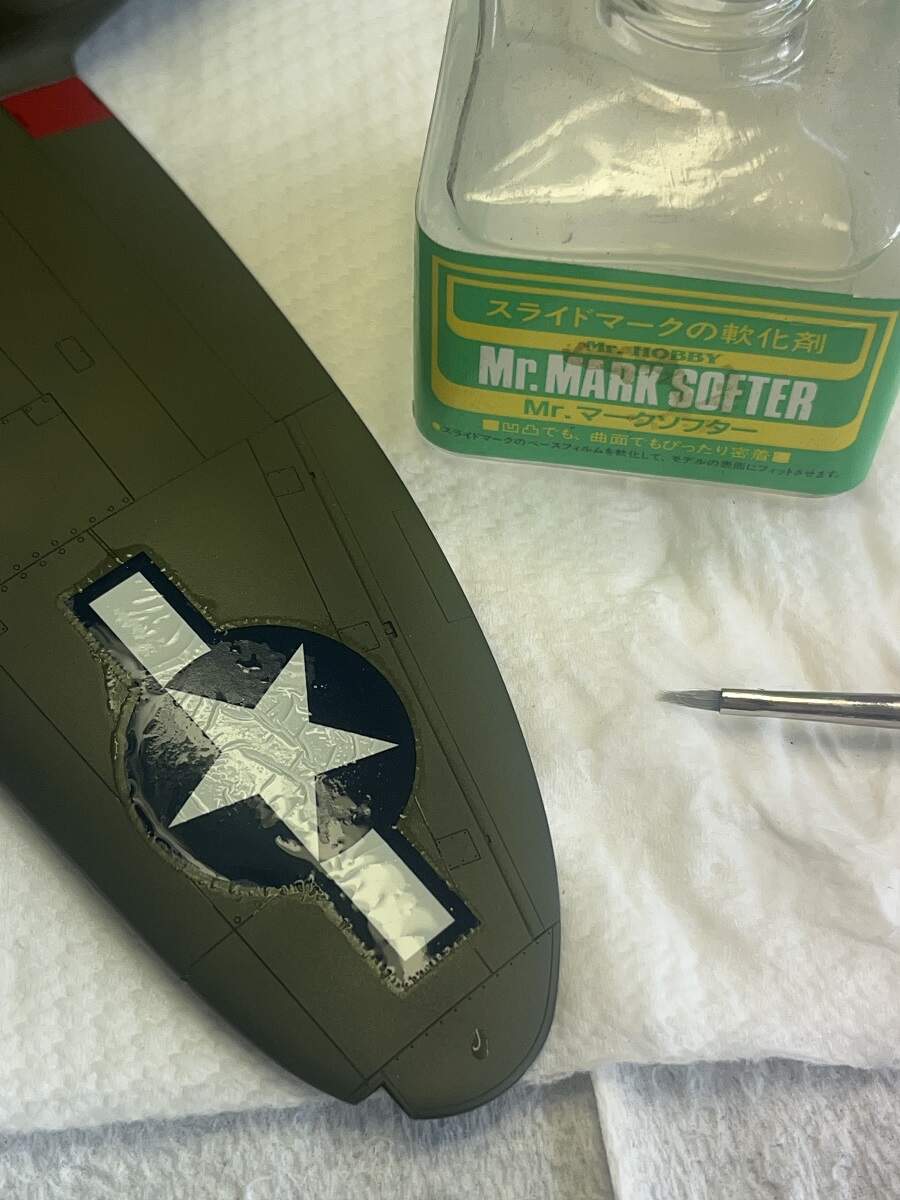
I’m not really satisfied with the trouble spots on the front join (circled) so I might give them a once over with some MS500 and tidy them up a little bit more before I go any further.
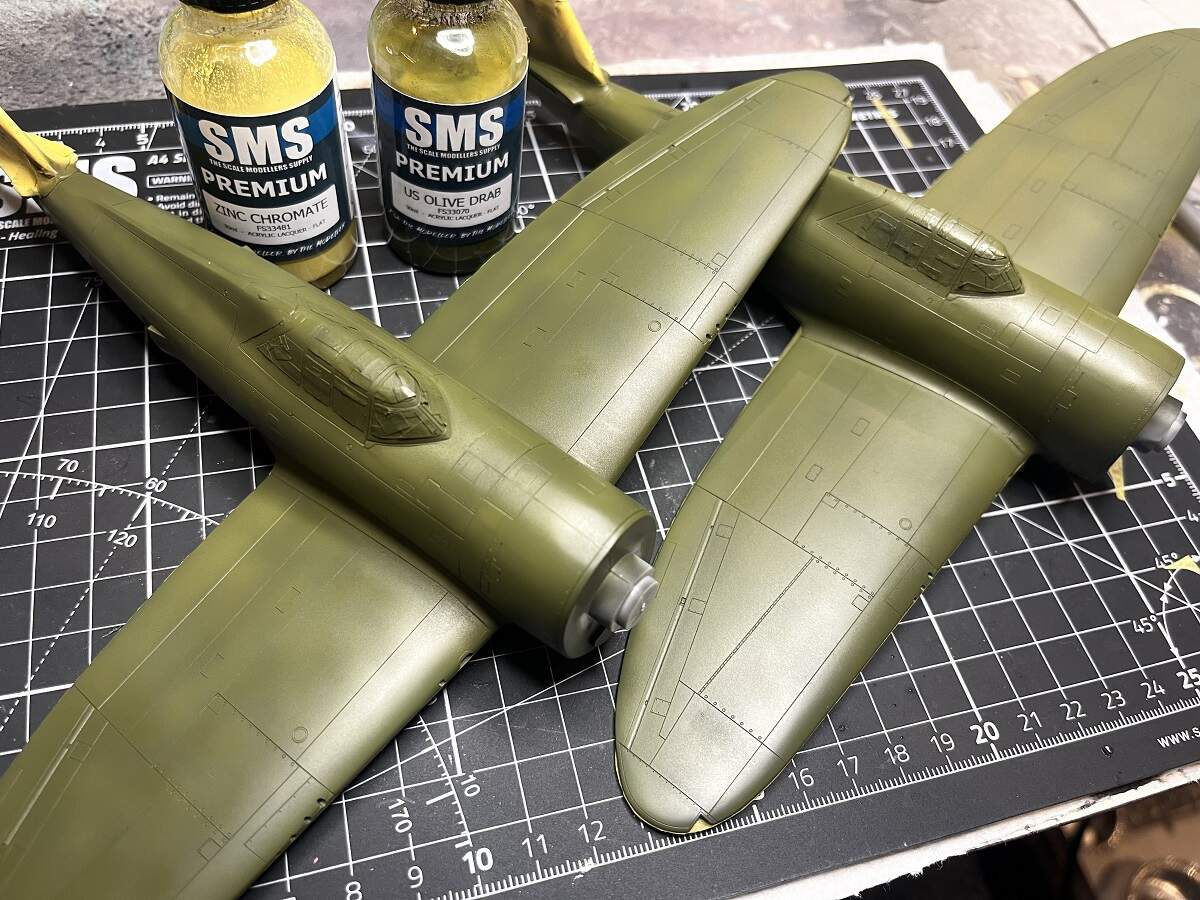
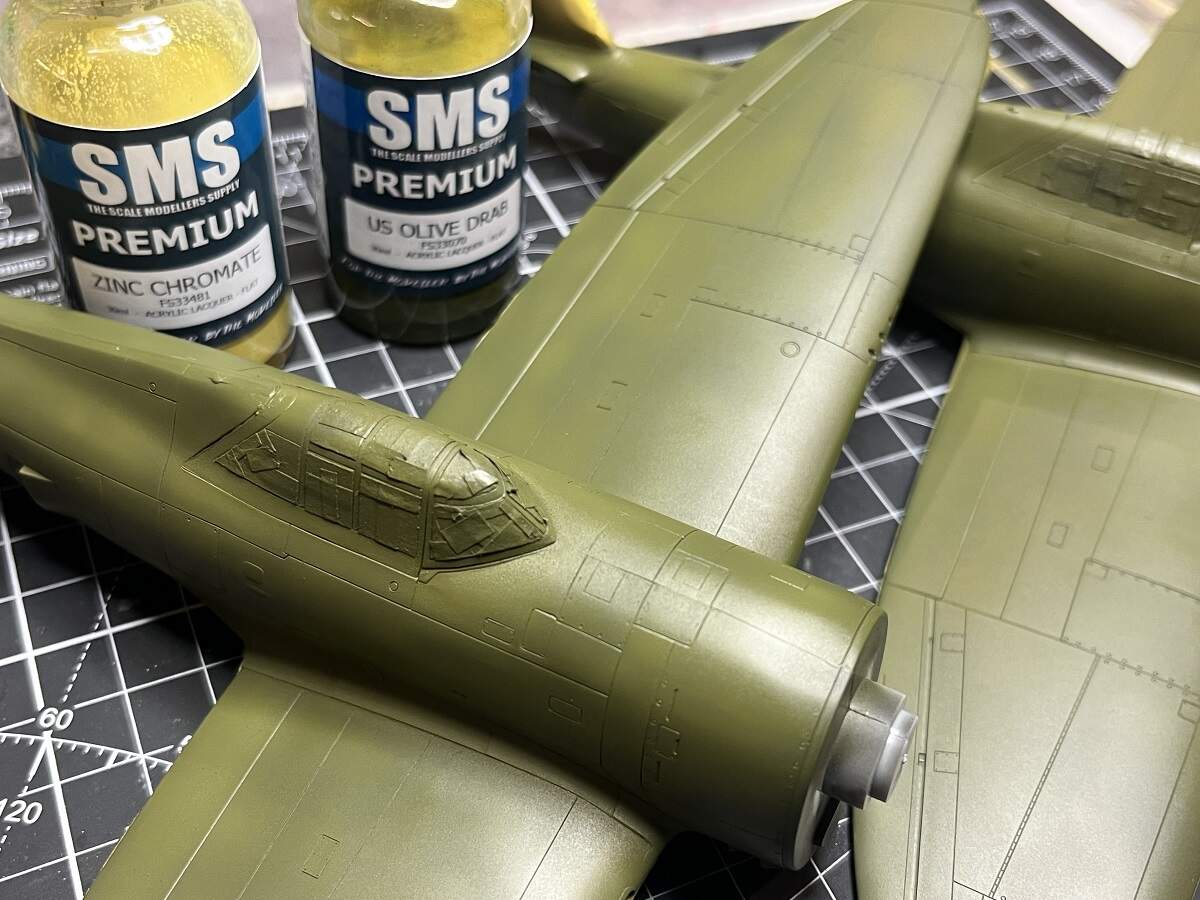
Topside paint time! I masked off the underside of the wings and shot an uneven coat of Olive Drab, then added a few drops of ZC (probably about 5%) and shot another uneven coat.
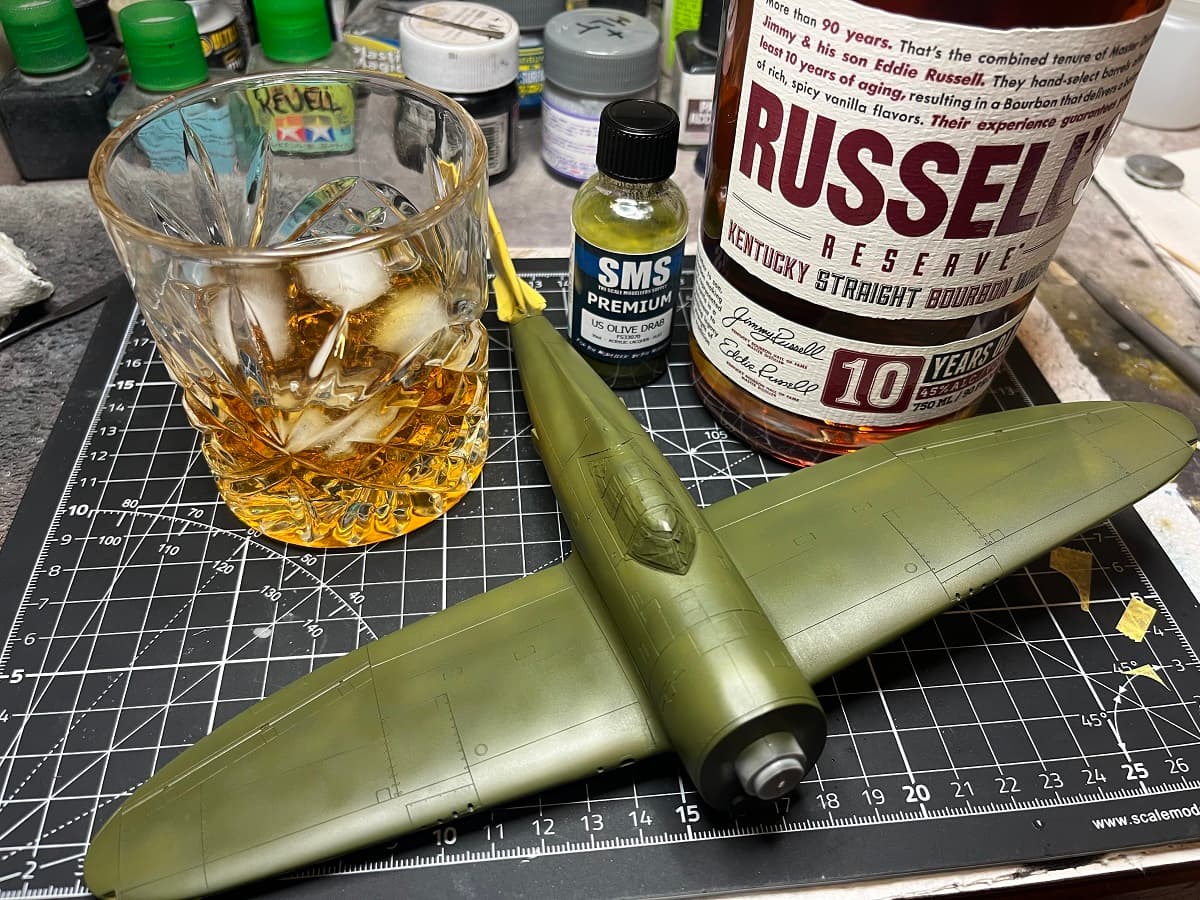
First time I’ve tried the Russell’s 10 year, picked it up after hearing a great review on a podcast. It’s a beautiful smooth drop. I’m normally a Bulleit 95 guy. My daughter gave me a 16 yo Tomintoul Speyside Single Malt for christmas. I raised her well
I had some troubles with a few trying to disintegrate, the nose art fell into 3 pieces and part of the main insignia disappeared, but some careful reworking got the nose art to behave and I can overlay part of a spare insignia decal to replace the missing section.
Thanks for the tip Tim, I haven’t used that type of product before but a few of the kits in my stash are getting a bit long in the tooth so it is probably time to investigate.
I have used Microscale decal film - it works to a degree if the decals aren’t too far gone . Experiment on some unimportant ones first. Here is a link to what I found . HTH
Cheers- Richard