Really really struggling with painting clear parts with clear blue

Hey guys, I come to you very desperate
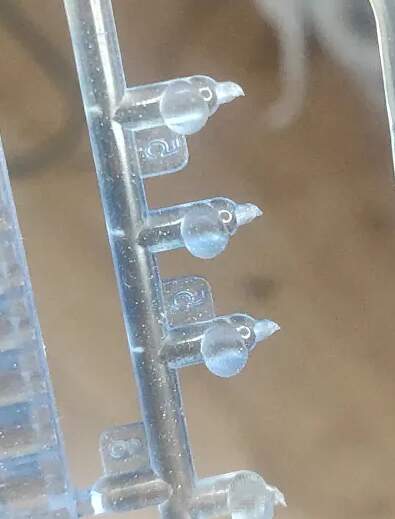
I’ve been really struggling to paint me clear parts with a clear blue paint. My Meng Magach 6B has clear periscope parts, which I was instructed to paint with clear blue. So I got AK real colors clear blue lacquer (the only clear blue I could find), but, I’m struggling.
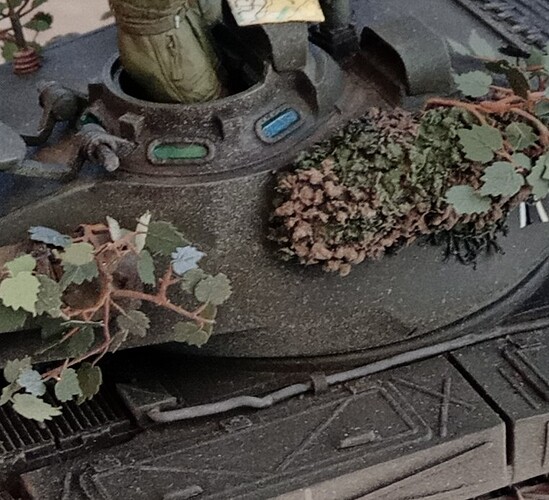
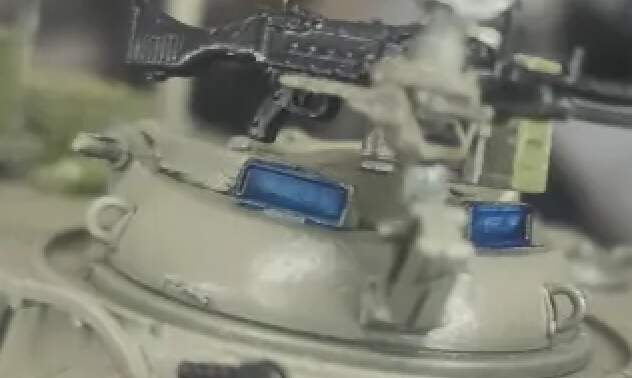
At first I tried to apply it via a very small thin brush, very little at first, but the paint simply didn’t stick, at all. It just swam around the rims, not sticking or absorbing into the clear plastic. I assume it’s because there was no primer (I can’t prime the clear parts after all, it won’t be clear anymore). So next I tried to use more paint, but, that was a stupid mistake, as the paint simply pooled on the part. I thought I should let it dry for a bot and just dump out the excess, but, it just came out looking horrible.
Photo attached for your reference

So next I tried using my airbrush. I tried to apply the clear blue which I thinned on some unused scrap clear parts as a test run, but again, the color barely stuck, and it was also barely even visible. It was like I was spraying slightly blue water on my clear parts. So in desperation I simply put undiluted clear blue into my airbrush, but it just totally clogged my brush and almost ruined it.

So, that’s where I stand now. I’m completely lost. I have no idea how to paint my periscopes.
I don’t know what I’m doing wrong, but I’m certainly doing something wrong.
Can anyone maybe point me in the right direction? I have a ton kits with clear part periscopes that I’m going to have to paint down the line, and that seems so daunting when I can’t get it right at all.
1 Like

To be honest, and this isn’t meant to sound dismissive in any way, but don’t bother. I feel that in 1/35, you might as well paint them gloss black and have done with it.

Others I’m sure will chime in with certain techniques, and I myself have experimented over the years, but unless it’s modern anti-laser 'scopes, then a dark plain colour will probably suffice.

I’ve tried a medium grey with a Tamiya clear green around the edges, which looked different, but not especially accurate.

I really wouldn’t bother with blue; go with gloss black.

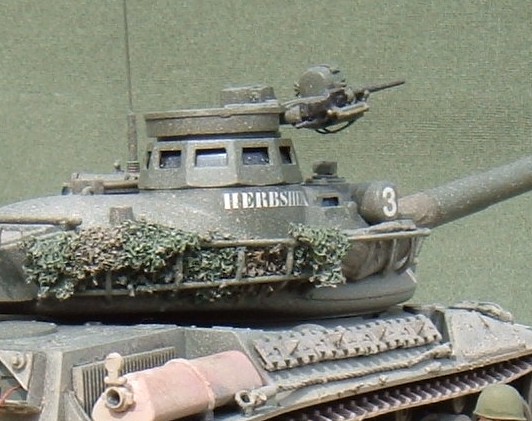
Medium grey with a clear green tint:

Black:

2 Likes

If a paint is trying to escape a surface then I suspect there is a release agent on the parts you are trying to paint.

4 Likes

You can also use Tamiya clear blue or clear green, never had problems with them.
And indeed it may not be 100% realistic but that’s upto the builders preference.

3 Likes

Well, I suppose if all else fails, I’ll have to resort to just using black, haha, but I do think I’d like my periscopes to be painted clear blue/green, if I can get it to work…
Thank you do! I’ll consider resorting to going simple with black!

2 Likes

I considered that, but to begin with, the clear plastic part didn’t show any problems with any other paint, such as black primer or acrylic steel or gunmetal or anything else I tried. All of those adhered and dried normally. It’s only this AK real color clear blue that’s just not sticking no matter what.
I even tried washing and soaping the sprue thoroughly, didn’t help, clear blue still doesn’t stick…

2 Likes

Hmm, so do you believe that the AK real color clear blue is the culprit here?

Not your fault if this can reassure you. I have the same issue with Tamiya clear blue as well. I usually dilute it with few drops of water and don’t try to cover the whole glass in one brush stroke. When using the AB I never encounter any issue.
However as stated above most of the episcopes glasses are not bluish in real life but rather dark grey or black. The blue ones are mainly sights glasses.

Olivier

2 Likes

Well, by all means; it might look pretty but it won’t look realistic. - in my opinion of course. However, obviously your model, your call(!)

1 Like

Would painting the inside surface of the clear part look any better?
:smiley: :canada:

2 Likes

Don’t know, and you can always try putting something like silver on the periscope first and than cover it with blue/green/black ( whichever you want), you won’t be looking through them afterall…

2 Likes

Swagster there’s two things I would suggest . .
Paint the periscope/vision block lens with Clear Coat to prime the surface then paint your tint over that or use Future (AK now offers a similar product to dip aircraft canopies into) and after drying apply your tint.
For my armor models I just paint the periscopes black and overcoat that with clear purple to give it that UV sheen. Frankly by the time I’ve finished weathering the model you can’t tell anything was done to the periscopes.

Cajun :crocodile:

5 Likes

I’m with @agincajun on this one. I do not know why “clear” paints have a tendency to pool (for lack of a better word) and not settle down on to the surface like every other type of paint. It’s behaves as if it just doesn’t want to be there. “Eww, clear plastic! No, you can’t make me stick.” My assumption has always been that clear parts lack “tooth” of some kind or another. Laying down a layer of clear coat, or Future, first should give said tooth to the part.

2 Likes

If you have any Klear floor polish add a few drops of a blue food colouring to a small amount of it and you will be good to go.

4 Likes

I’ve never understood why manufacturers tell you to paint periscope faces blue. It’s probably due to the idea that they’re glass so they should look transparent, but it stands to reason that on the outside of the periscope, what you will see is the light coming out of the vehicle through the pericope. If the hatches are closed, or largely blocked by, say, a crewman, there will be very little light coming out and so the glass part of the periscope will be dark.

My way of painting periscopes is to normally paint them matt black. Yes, not gloss :slight_smile: Once that has dried, I use an HB or 2B pencil to cover the whole glass part in graphite, which gives a sheen that changes depending on the direction from which you look at the periscope.

If the inner face is visible, I normally paint that white to show that there is a lot of light coming into the vehicle through the periscope.

And I’ve even been known to turn all of this upside down, for example for a periscope in an open hatch: if the outer side faces downward, not that much light will come through it, so paint the inner block dark and the outer one light (because it will emit the light falling onto the inner block that faces the sky).


Edit, slightly later

I thought, “This calls for an experiment to illustrate!”

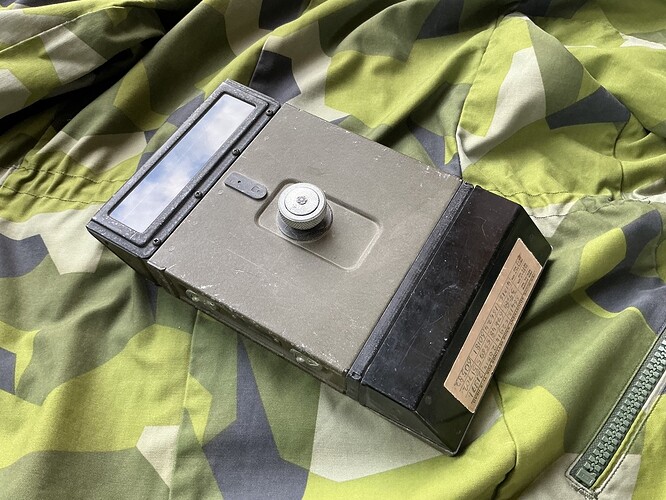
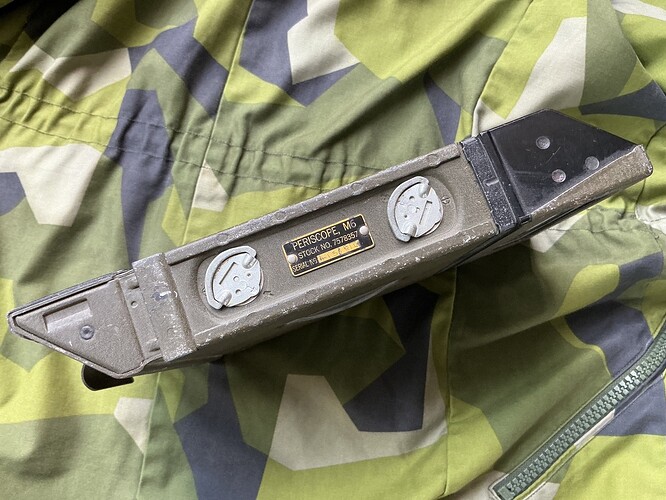
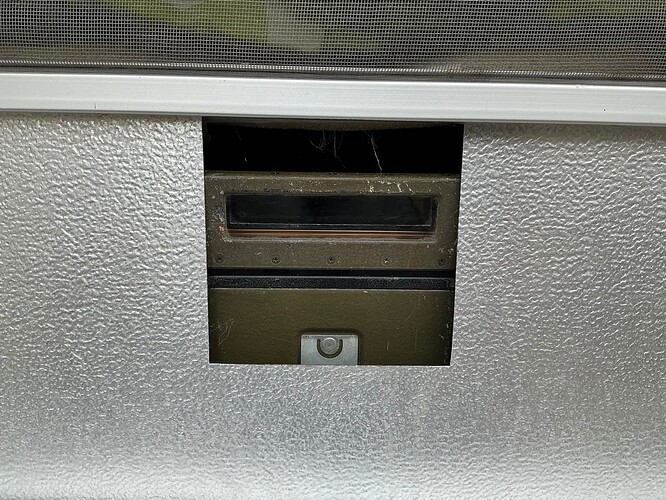
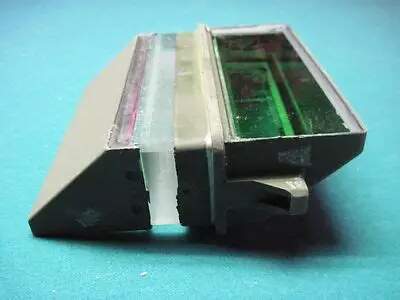
Here’s a periscope:

To be precise, an American M6 type, as used in tanks like the M4 Sherman and many others:

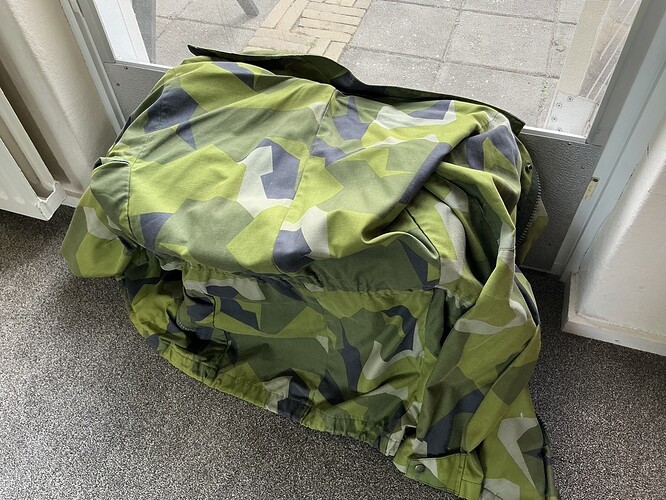
Now, I happen to live in a house that has a screen door with a convenient cat flap (convenient for both the cat and for humans, who don’t have to open the screen door for the cat since I cut that hole in the door), just inside of which I set up the periscope and then covered it with a little footstool and a summer jacket that I use for spring and autumn because it’s much too warm for summer in these parts:

This blocks out the light on the inside, nicely simulating the periscope being mounted in a vehicle with its hatches closed. Now, going outside, what you see is this:

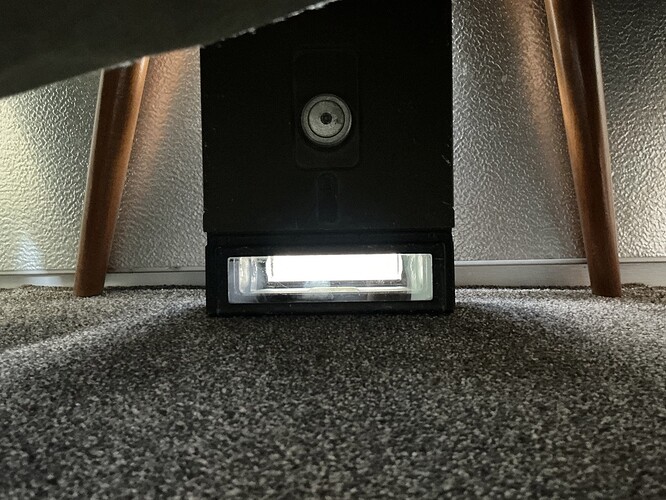
A dark face to the periscope. But lift up the jacket a little and take a peek on the inside:

9 Likes

Oh wow, these are a ton of amazingly great replies, you guys are absolute pros haha
I’m very glad I’ve joined this site, this is the best help I’ve ever gotten!
Okay, so, a lot of advice… And I don’t know which to go for now
I’ve looked at a bunch of pictures of modern MBT optics, and generally, yes, they look to be mostly black, and in some angles, they simply have a blue/green/purple tint. At least, that’s for all the gunner sights.
When it comes to vision block periscopes, such as the driver’s or cupola, in photos they looked to be a bit more clear and transperant, with more of a noticeable blue/green/purple sheen, but still, a lot of black.

So then, for peak realism, it’d be best to just ignore any clear parts, and just cover them in black? And maybe only give them a modest brush of a clear blue/green?
I’d say that overall I aspire for my models to be as realistic as I can get them, so I do want to go for realism more than style. So, if you guys say there’s no reason to worry about getting a see through clear blue on clear periscopes, then, guess that’s what I’ll do!

I do agree with Jakko though, why do all my coloring guides say to paint the clear parts clear blue then, haha?
By the way, thank you very much Jakko for sharing your experiment :folded_hands:

4 Likes

Usually i go with flat black and a clear gloss overcoat for pre-1970 armor, before the anti-laser coating used on modern vehicle periscopes…

This is what an M17 Persicope (typically used on M113 APCs) looks like.

Same model periscope, but with laser protective coating added (or maybe because it is pictured from the side; the lamination process will give the persicope a “Coke Bottle” greenish hue.

More modern IFVs and MBTs will have a more complex anti-laser coating with gives the lens a pink/purple prismatic hue.

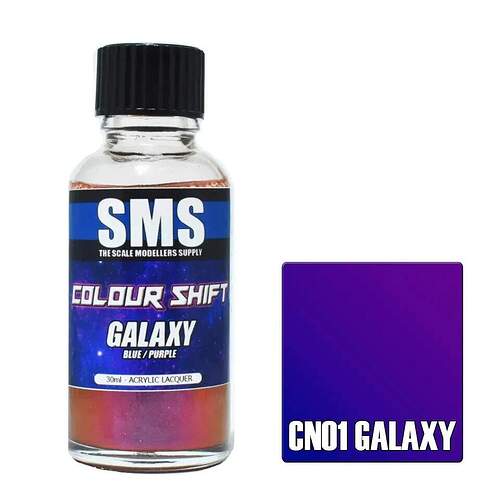
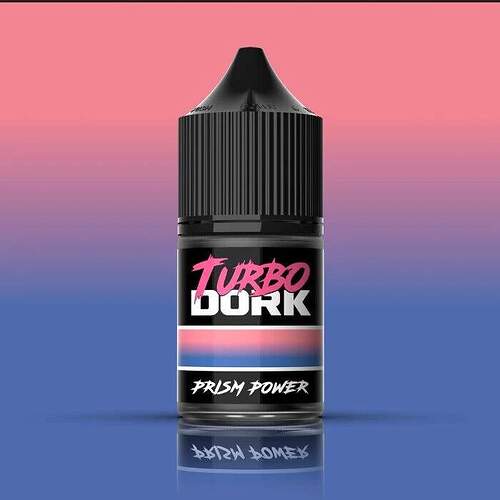
I use SMS “Galaxy” Acrylic paint. You can use it or Turbo Dork “Prism Power” paint.

4 Likes

I go with the flat black base as well. For the pre anti laser, I will put a clear coat of Green or Blue over the black to just give a “hint” of color. If its anti laser, I will do a dark metal color with a mix of clear red/blue to try and give the tint of the anti laser coating. I’m away from the work space currently, so I can’t show any examples.

2 Likes

Probably just the natural colour of the glass showing, because you’re looking at it from such a shallow angle. Look into the side of a piece of window glass, for example: it’s frequently a green colour much like that. You just don’t see that hue normally because you’re only looking through half a centimetre or so of it, but from the side the glass is much thicker so the colour is more obvious.

3 Likes

Not goanna lie I thought the Turbo Dork bottle was a joke at first.

3 Likes