I already weathered them for their originally intended roles, so the trailer is weathered as overturned and rusty, while the gun is just dusty.
1 Like
We Dioramacists are such an annoying bunch, we just can’t help ourselves making “helpful” suggestions & I’m right up there with the most guilty. So…(as I said we can’t help ourselves)…in addition to what you’re planning how about three wooden crosses, and call the scene “Premonition”? OK now you can ignore that, I just had to get that out of my system – apologies ![]()
3 Likes
‘Premonition’ , as in foreshadowing the deaths of the three guys? I guess I’ll flesh out the name when I am working on the vignette properly. Then i’ll see the direction it is going.
2 Likes
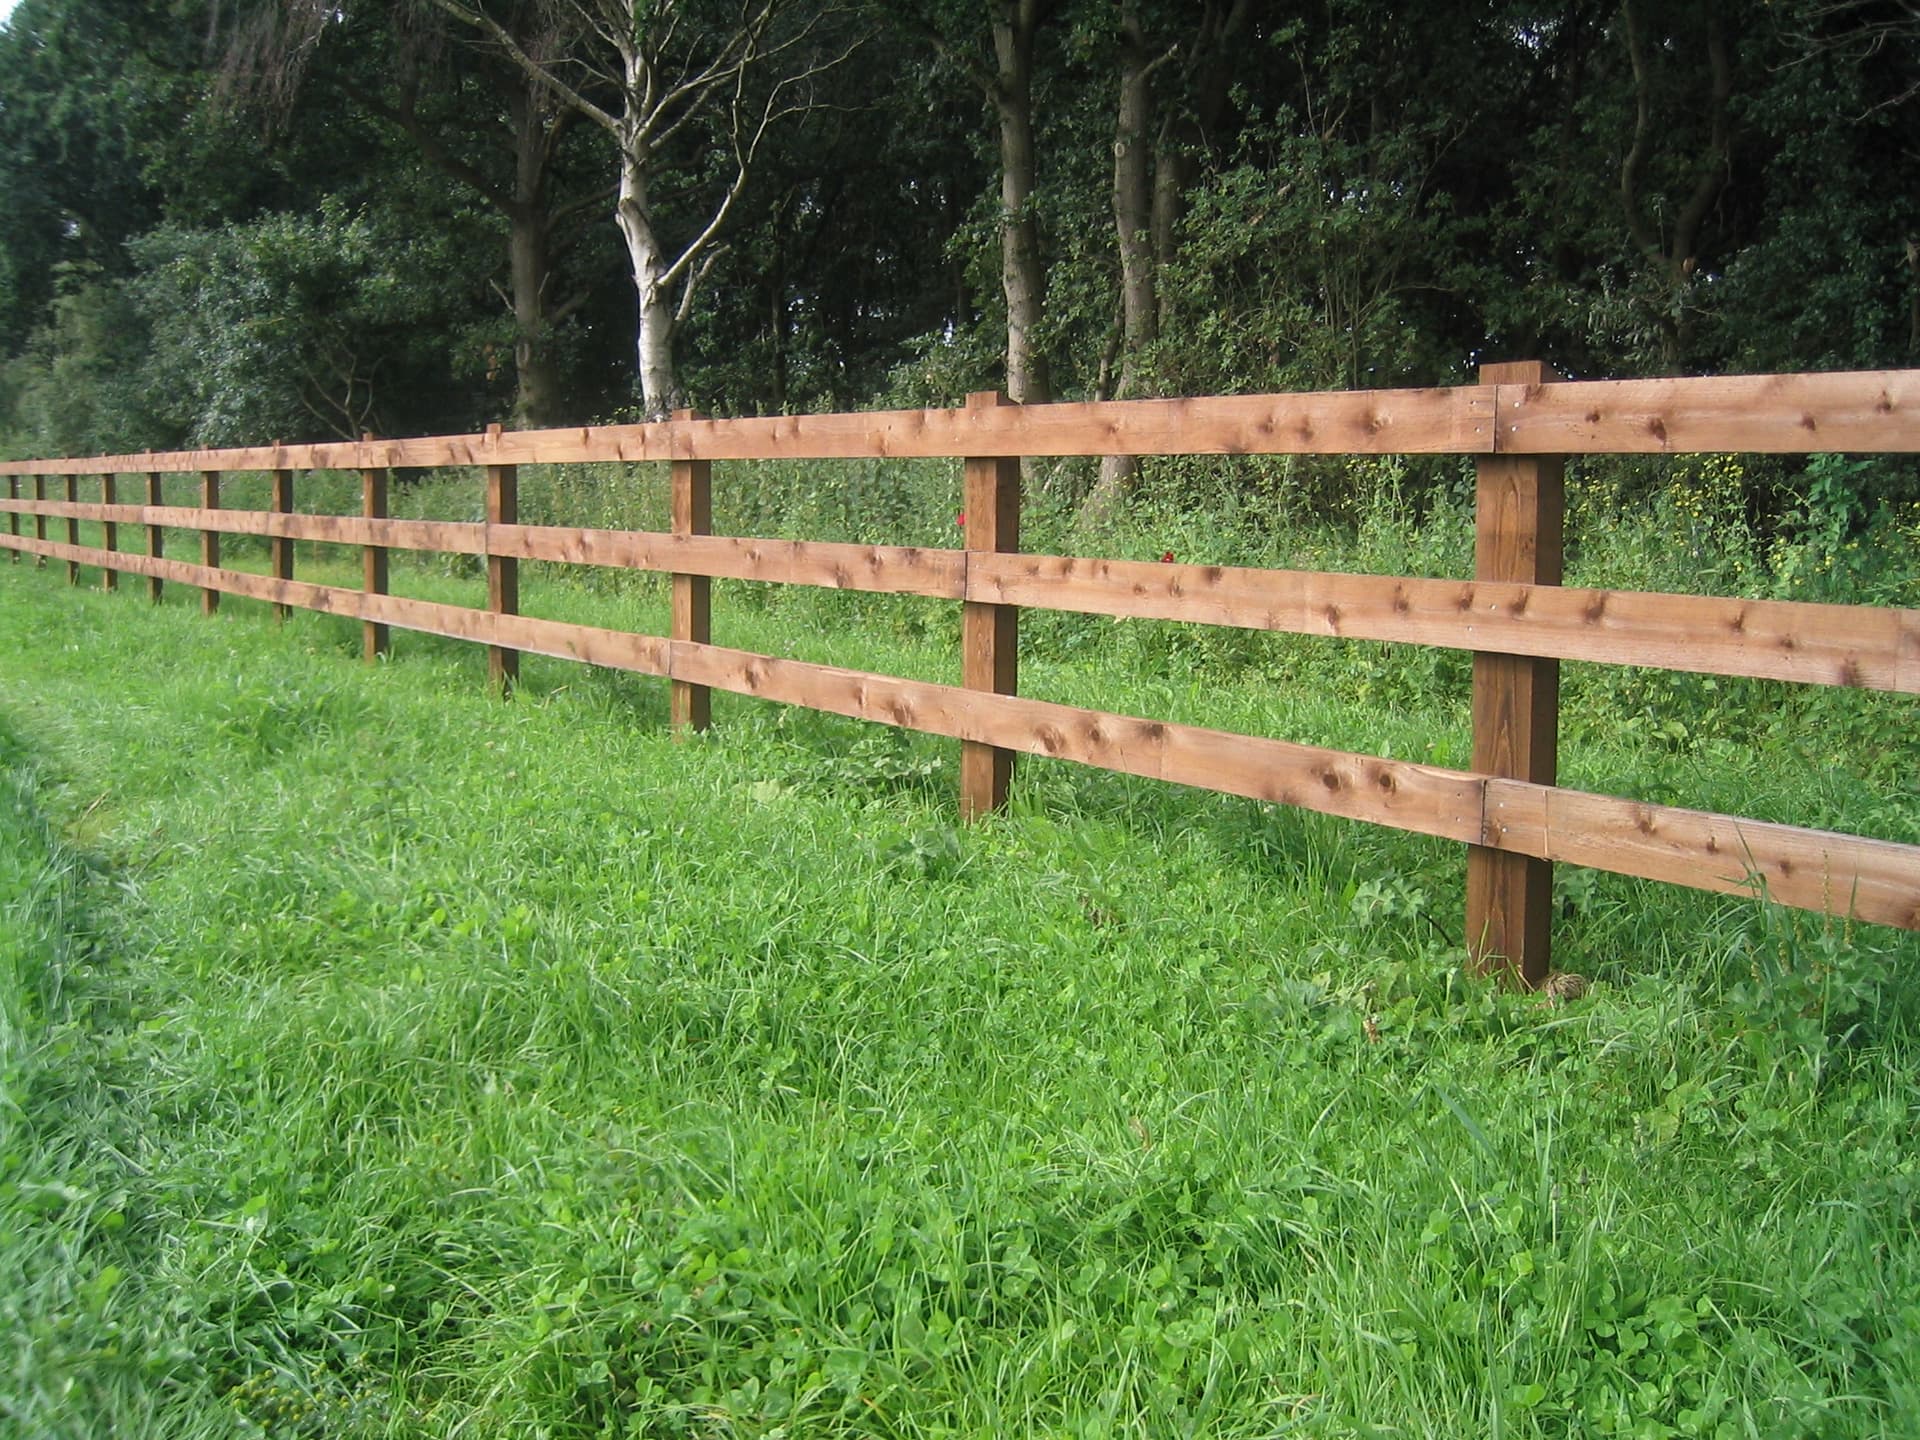
Next step is building the fence.
I plan on doing something like this:
I would like to incorporate some story into the diorama, so I would appreciate suggestions as to how I can incorporate it into the story. Maybe something to do with the flipped-over cart?
Have the cart leaning/breaking the fence when it came loose.
2 Likes
I was thinking of something like that. You’d be left wondering what caused the cart to be left there at a broken fence rail.
A busted hitch or not hooked up correctly will cause you to lose your trailer/cart.
2 Likes
Indeed. I also may want to make something quickly for the field proper. Perhaps a cross, as someone suggested earlier?
1 Like
Working on my diorama. I’ve made the holes for the bushes and the posts.
I have also bent the hitch on the flipped-over trailer. A little detail that could clue into why the cart was flipped over and left there.
2 Likes
I have gathered some pebbles and dirt for the ground, once It’s done, but first, I need to put down some clay to smooth out the ground work and add some initial ruts for the tracks and wheels. Than means that if I am to add something substantial to the field side, it must be done now. @Dioramartin or @Tank_1812 , do you have suggestions?
Personally less is more. I might leave it open or only add one small tree.
2 Likes
I think I’ll leave it be, then. It will make trying to make static grass stand up without an applicator easier.The cart and broken fence will probably be enough, too.
1 Like
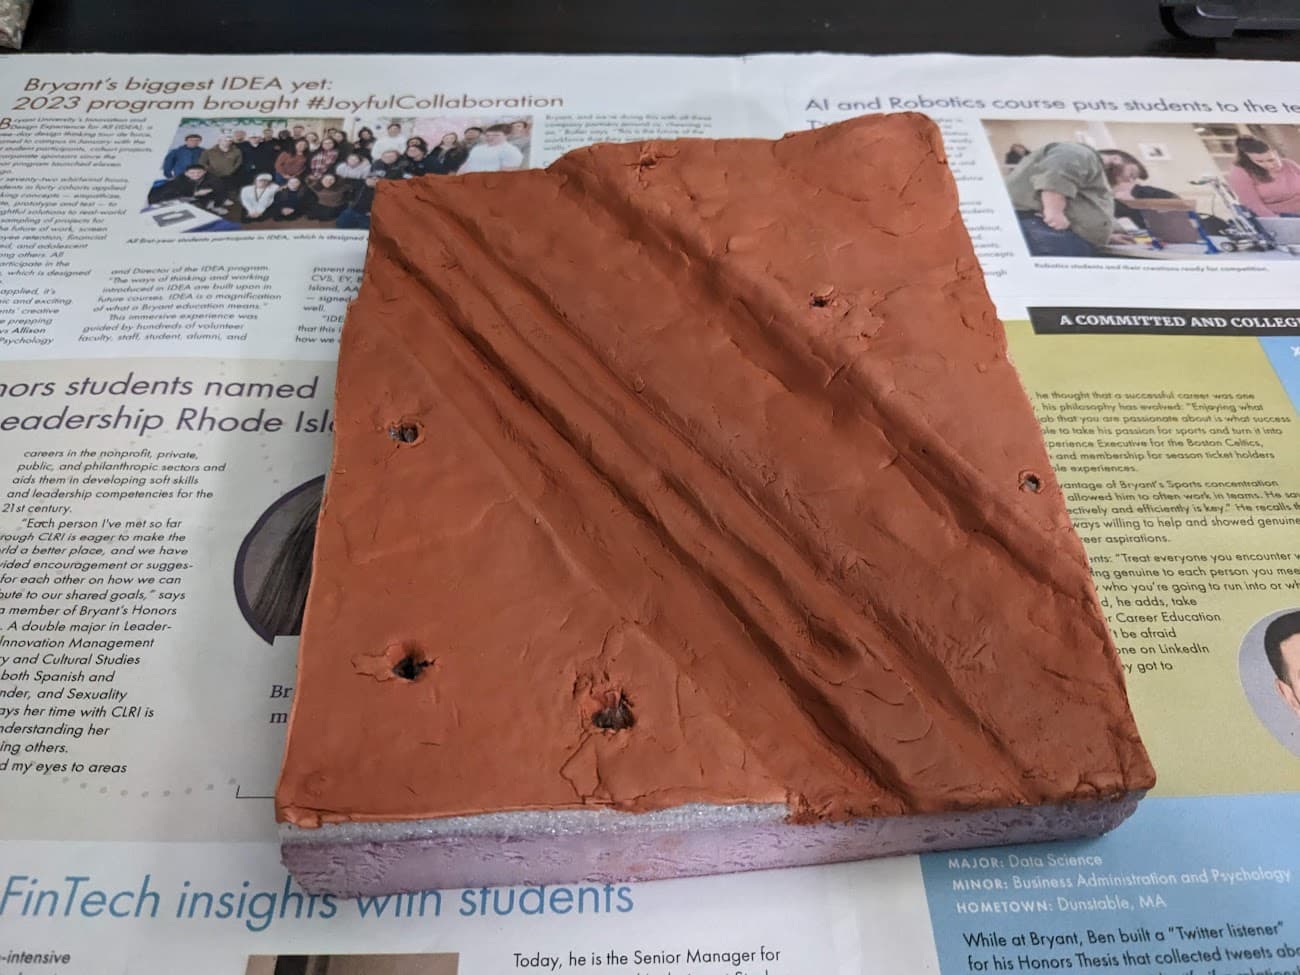
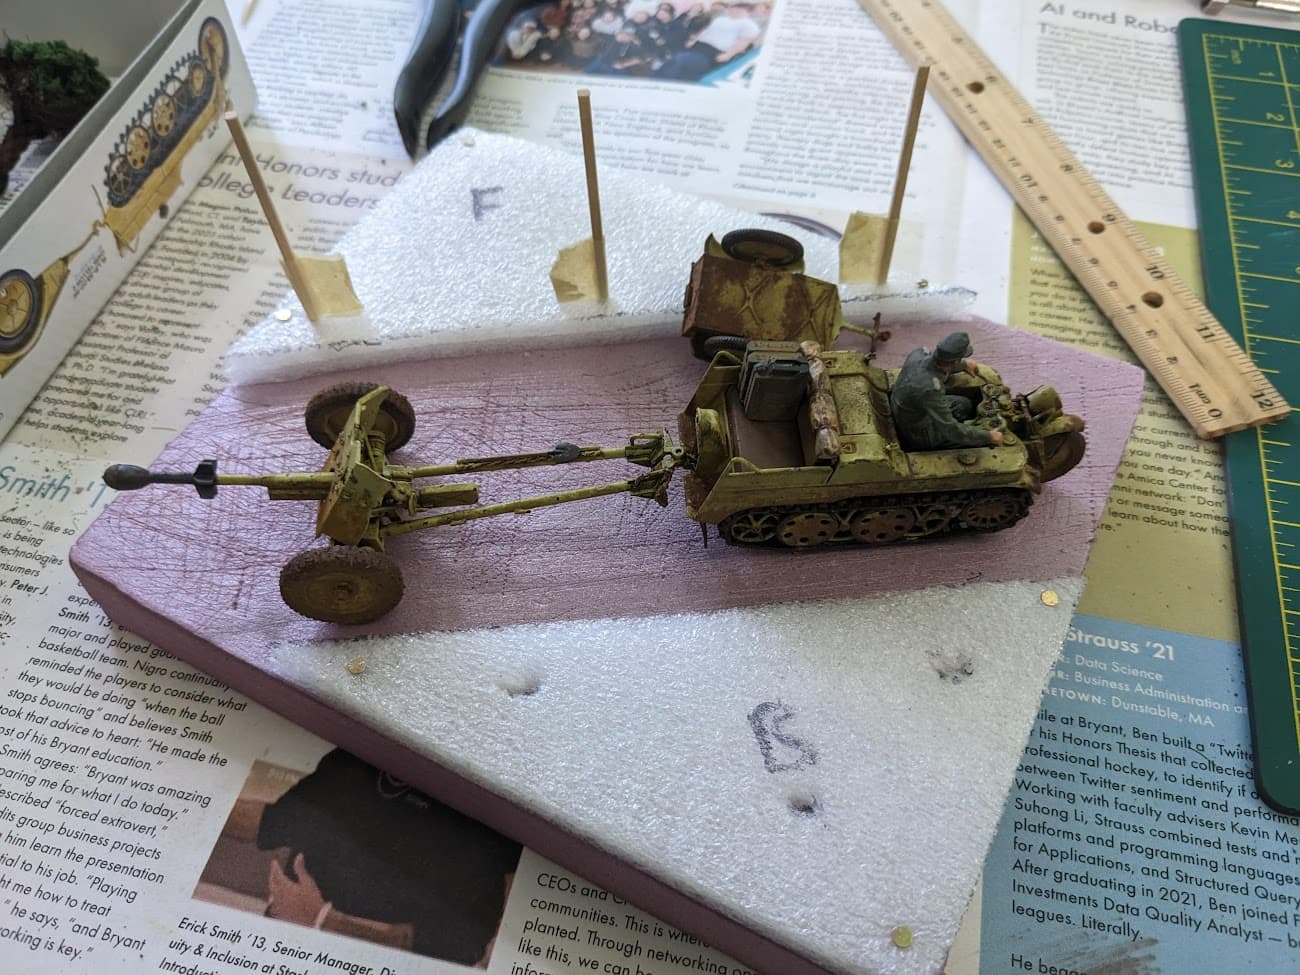
General groundwork is done! I have created (perhaps dramatized) ruts in the road for the Kettenkrad. There are holes for the bushes and fence posts too.
2 Likes
I agree with Ryan. That said, I’d make the cart before any more of the base, & also the fence. It’s usually easier to make the base fit the components rather than vice versa. Test-fit, test-place. If it all looks OK you won’t need anything else. But if it doesn’t, you won’t have wasted time/effort perfecting the base.
3 Likes
I’ve made sure that the posts fit and line up. I will integrate the cart better with the mud/ground texture I will use. You’re right, however, since I could have pressed the cart into the clay to make sure it has a spot.
2 Likes

Fence is complete! Now I will go over the sides of the base with spackle, probably, then I will give the whole thing a coat of black spray paint. That way, the sides are covered, and on the ground, if I miss a spot, it won’t be too easy to notice.
Should I prime the fence, or will I be fine painting it as it is?
4 Likes
I would prime everything. The wood could soak up any other paint you use and the primer would help prevent that.
3 Likes
Okay, got it. I’ll prime the fence with proper primer, while the base will get simple black paint. I hope the wood texture somewhat shows through, though.
1 Like
If I am painting wood that will be “wood,” I usually don’t prime it, so as to keep the grain and “wood” look to it. But it depends on the wood. Balsa, for example, really needs to be primed, and usually sanded. The open grain just sucks too much of the paint in, and it gets the “fuzzies!” Dowels, popsicle sticks, and stirring sticks, are usually OK as they are.
Ken
2 Likes
Alright. The wood used is balsa, so I’ll give it a light run of sandpaper and primer afterward.