Hi all, this post is not about something new from me, just a redocumentation of my log notes about how to build a diorama base my 2010’s build project, as I posted before through the link Reposted - “Komm & nimm es dir! (Come & Get It!)” Diorama. This topic also originally is a reposted build log from a thread with identical title that I ever been posted before in old version of Armorama.
Here we go:
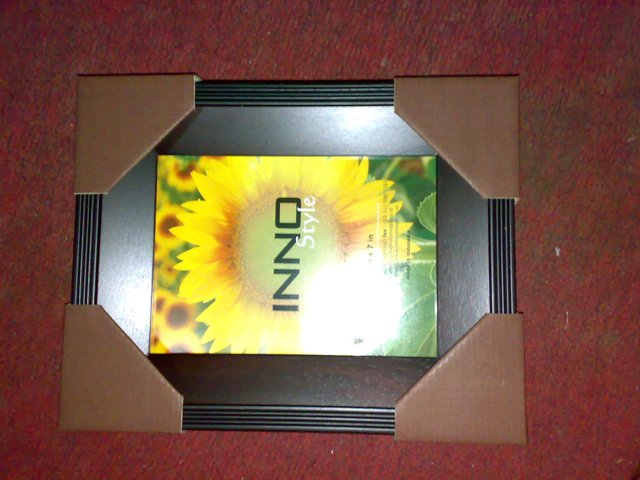
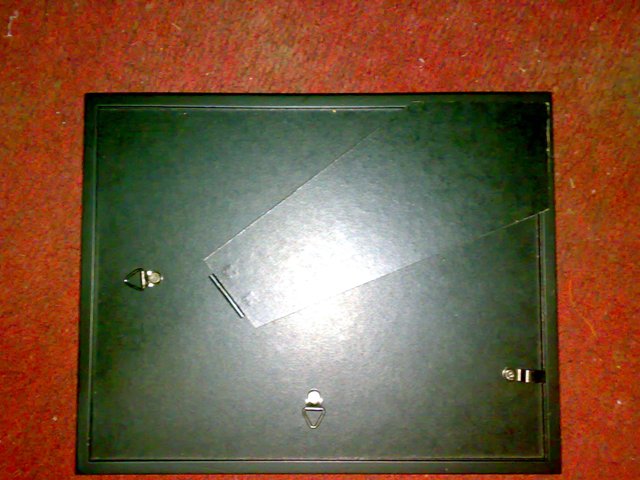
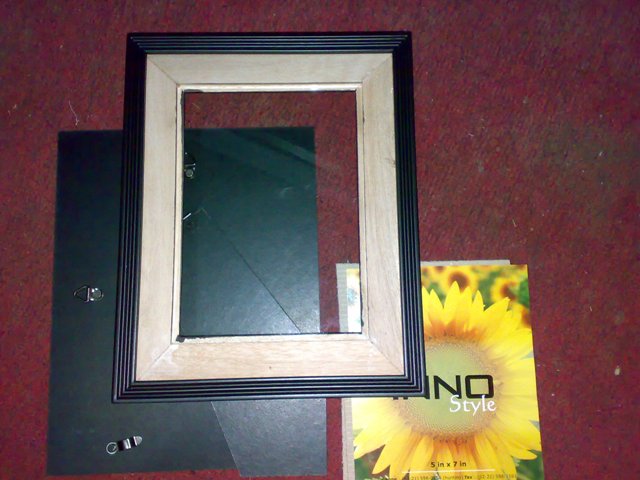
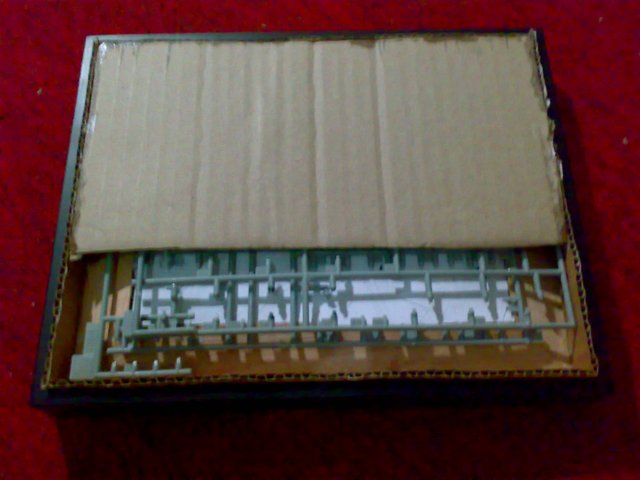
I use a simple wooden photo frame which its’ size considerately suitable for my diorama plan. In order to not wasting time too much, removal of its’ back cover, standing platform, instruction sheet, and any unneeded materials was performed. Don’t forget to always remember that better to keep them for unexpected use in the future rather than throw them away into trash bin

Those pictures above shows that I used several layer of used sprues in order to made the ground base became stronger and higher than without them. After that, I covered such layers with ex-used carton sheet from mineral water packages.

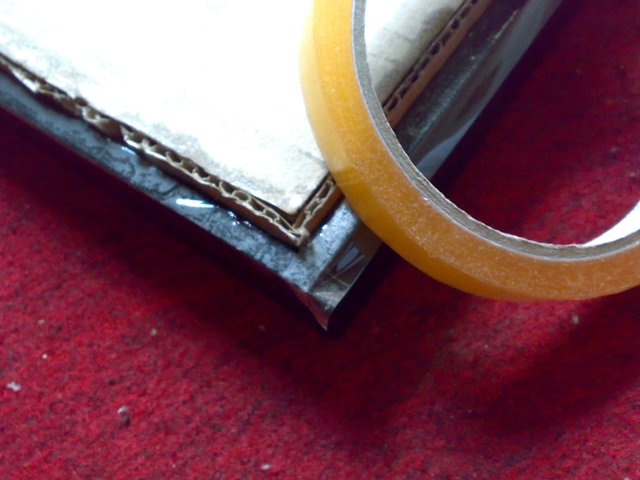
Soon after the overall sprue layers covered by the carton sheet, I isolated the edge of the frame by using a masking tape in order to protect them when modelling clay start to cover the base in the further step.

After that, I covered the base with modelling clay that widely spread over it in order to add some height of the represented terrain. After this step being evaluated by myself, honestly I have to tell that such step was useless since it means work inefficiently. It became a valuable lesson for me for another project.

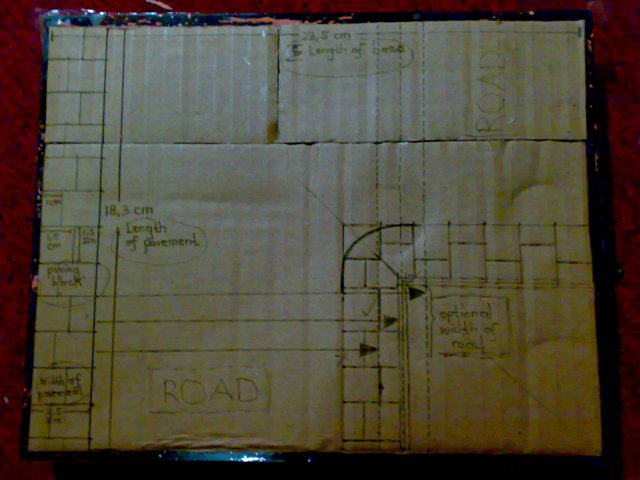
I designed the rough sketch on a paper sheet, perform a brief layout test of the diorama items, and representing it directly at the base.
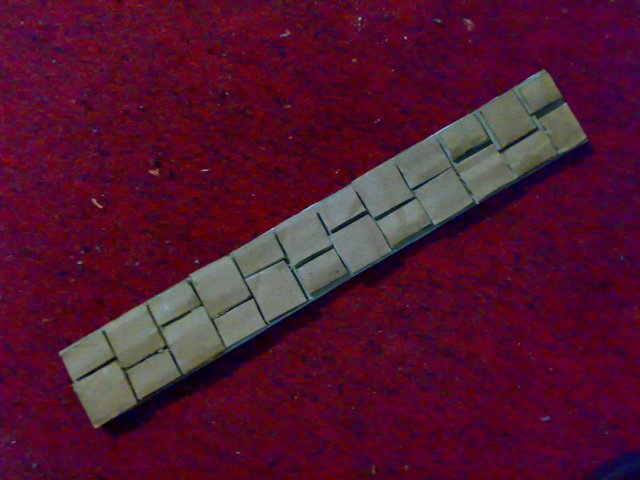
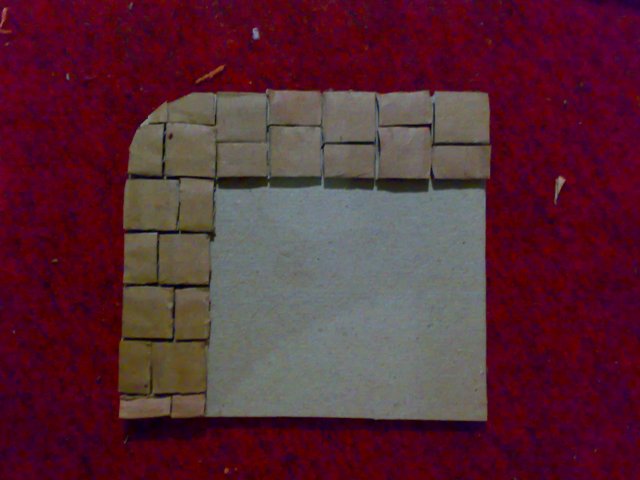
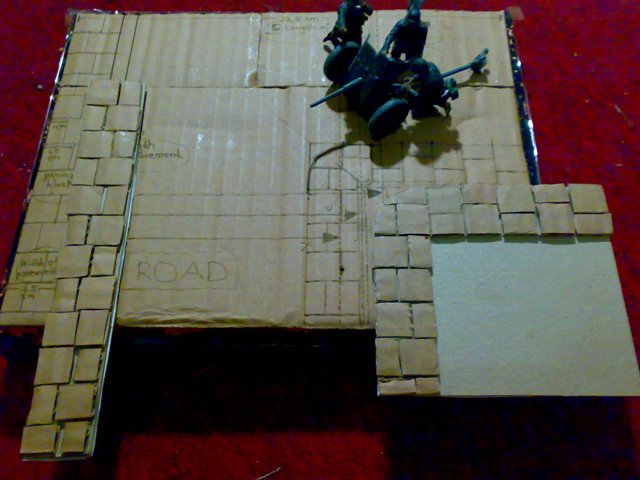
Those pictures displayed above showed about what I call for “Modular System”, in which allow me to create particular details of those 2 major parts of the base (the columned pavement and the semi-squared one) and install them later by following the sketch design.
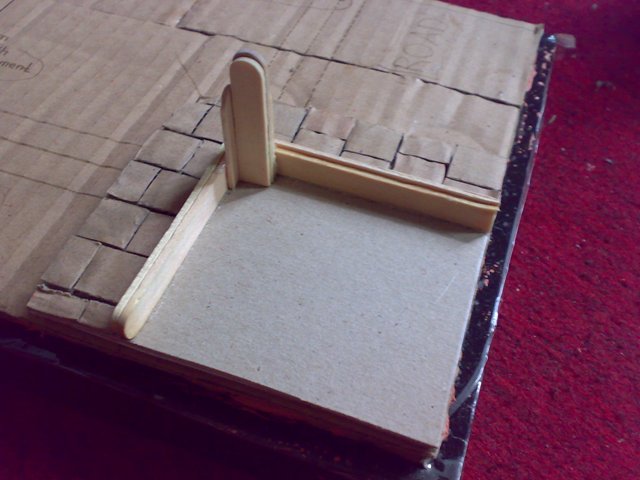
After that, I start to perform on building blocks of the wall that planned to be partially broken caused by artillery/tank shot. By using ex-used ice cream sticks, I carefully deal for such step.
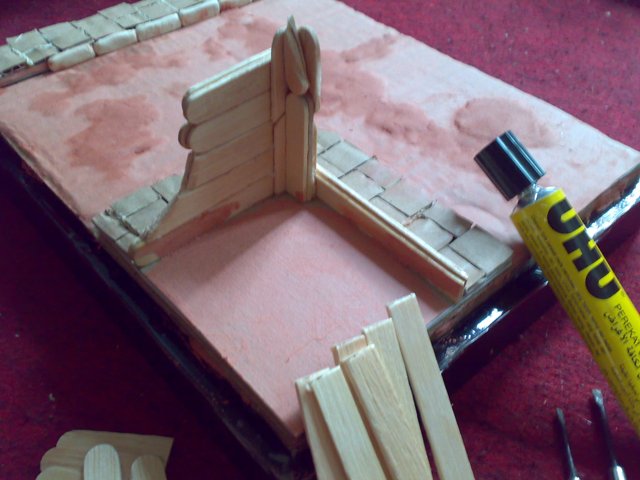
While I wait for the drying up session of the previous step, I have to ensure that all of the ‘sink holes’ left over the overall body of the base were fixed by using DAS modelling clay.
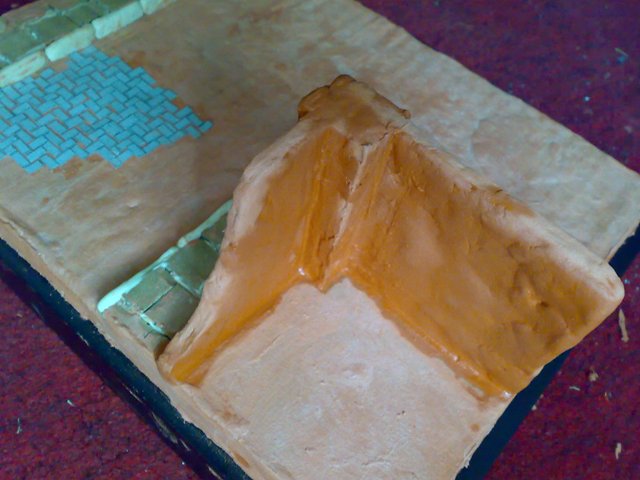
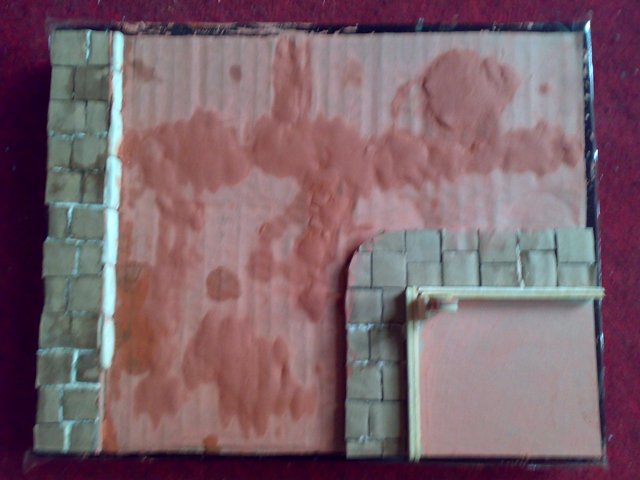
After that, from those pictures above, I carefully start to cover the wall building blocks, also with DAS modelling clay, and shaping them later as smooth as possible in order to make a smooth installment of the wall tile.

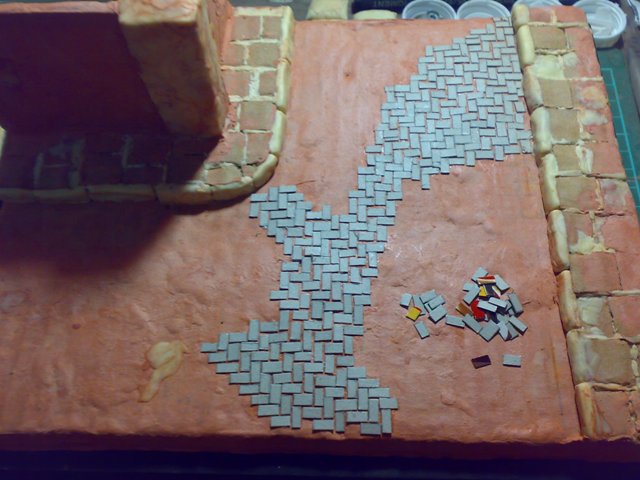
Just like my previous build, I perform the rectangled cobblestones by install them one by one in order to make them appear as natural as possible


Finally… Voila! Those pictures above shows the final result of the base preparation and I could say about 95% of such preparation was finished
The finished result with figures, AT gun, and an halftrack along with their reimprovements day by day can be see on Reposted - “Komm & nimm es dir! (Come & Get It!)” Diorama. As an addition, here is the web address to the archived post:
Always learn and learn in progress, I hope this build story will be useful and have fun for all of us! ![]()
Kind regards from Indonesia, ![]()
Garry