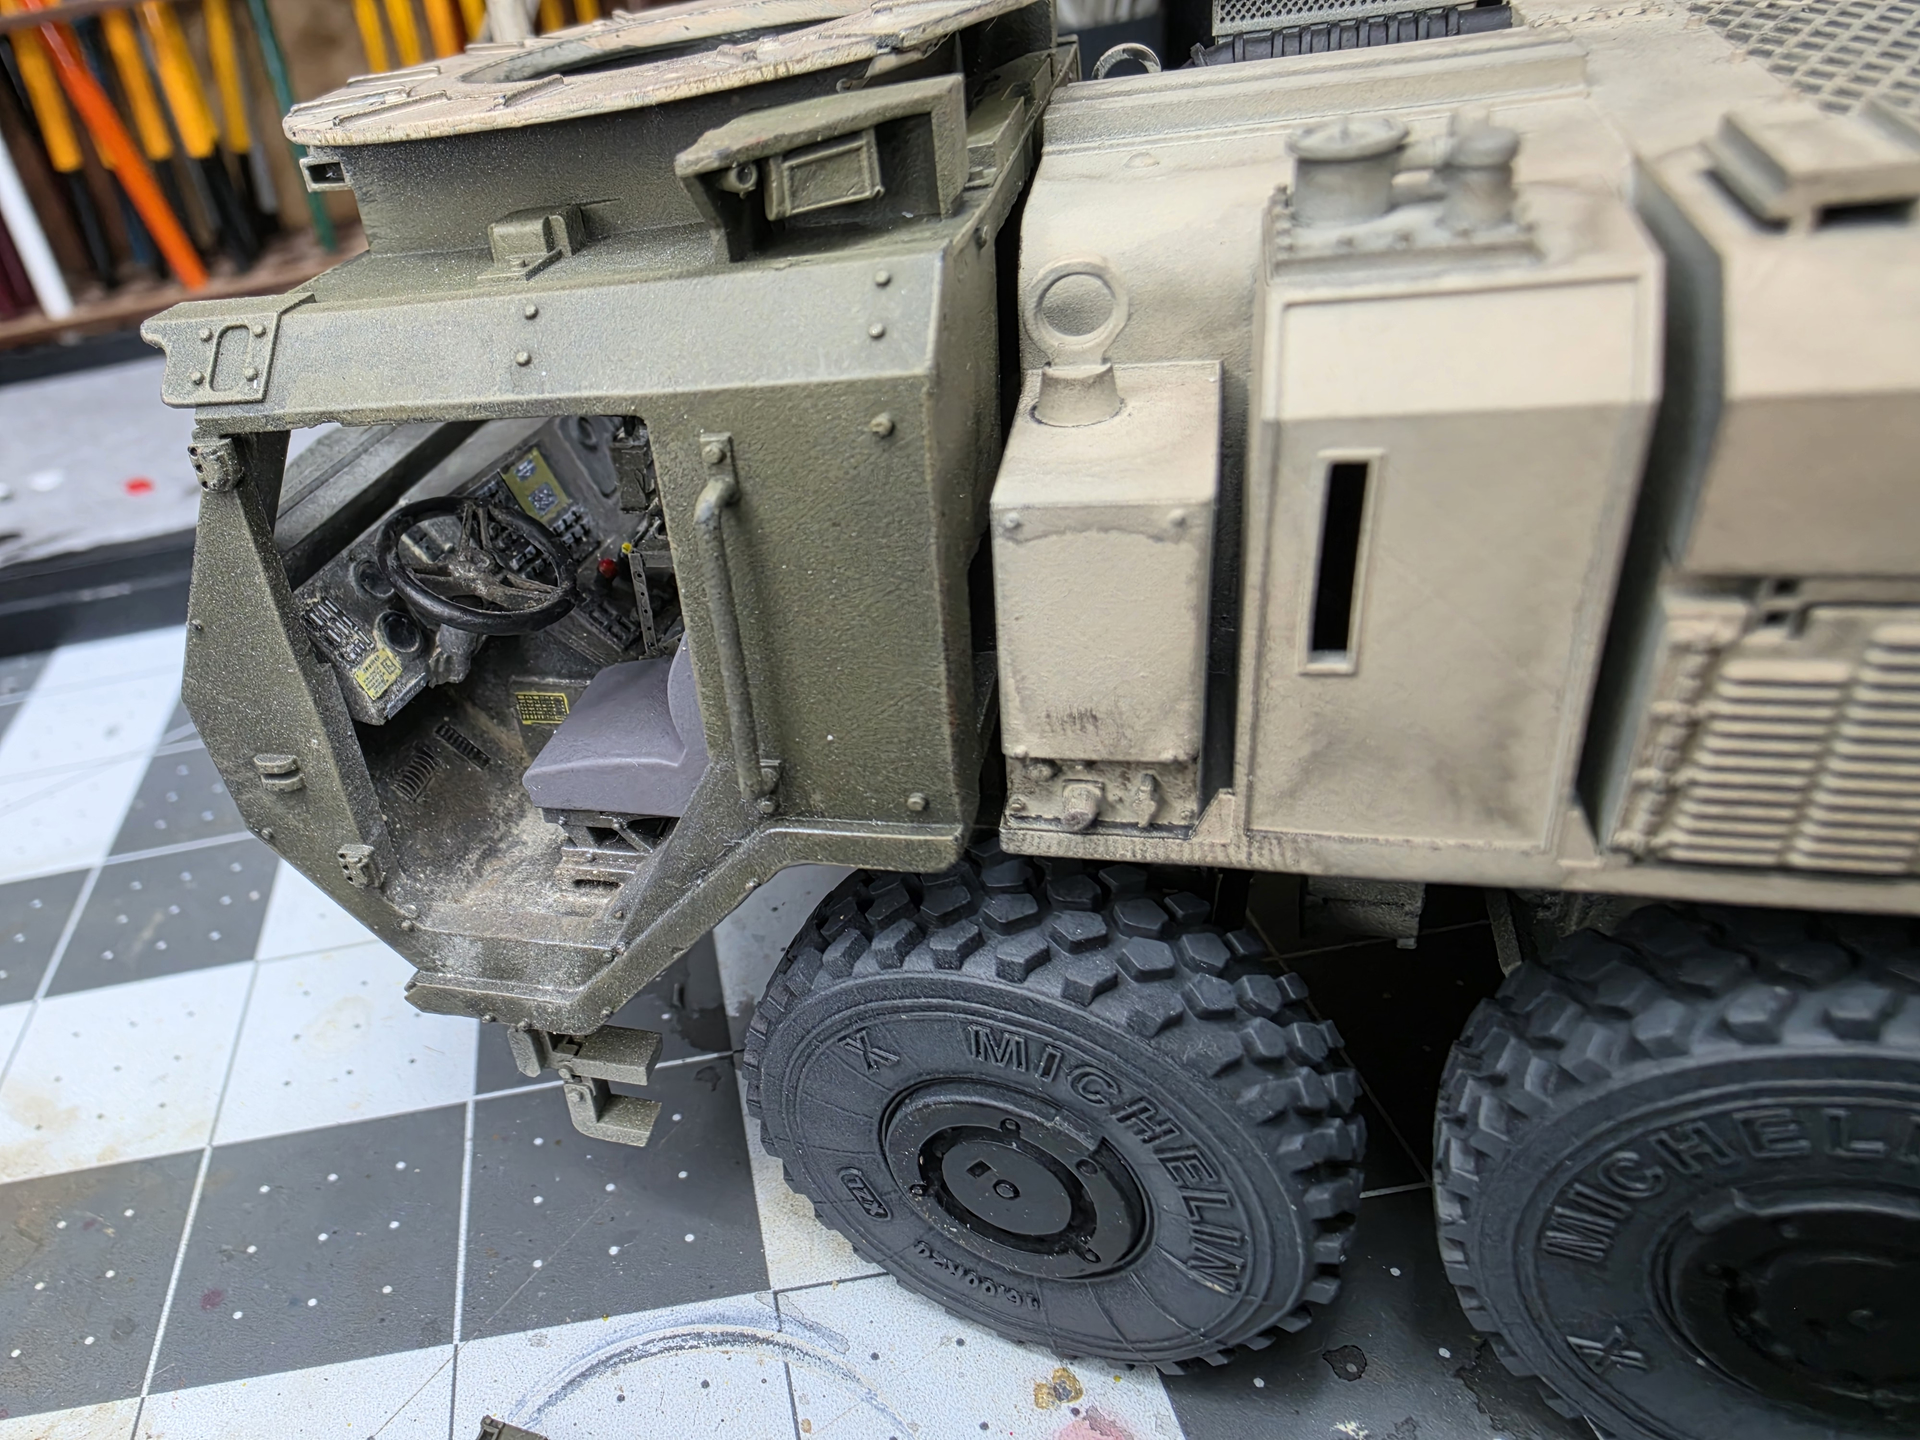
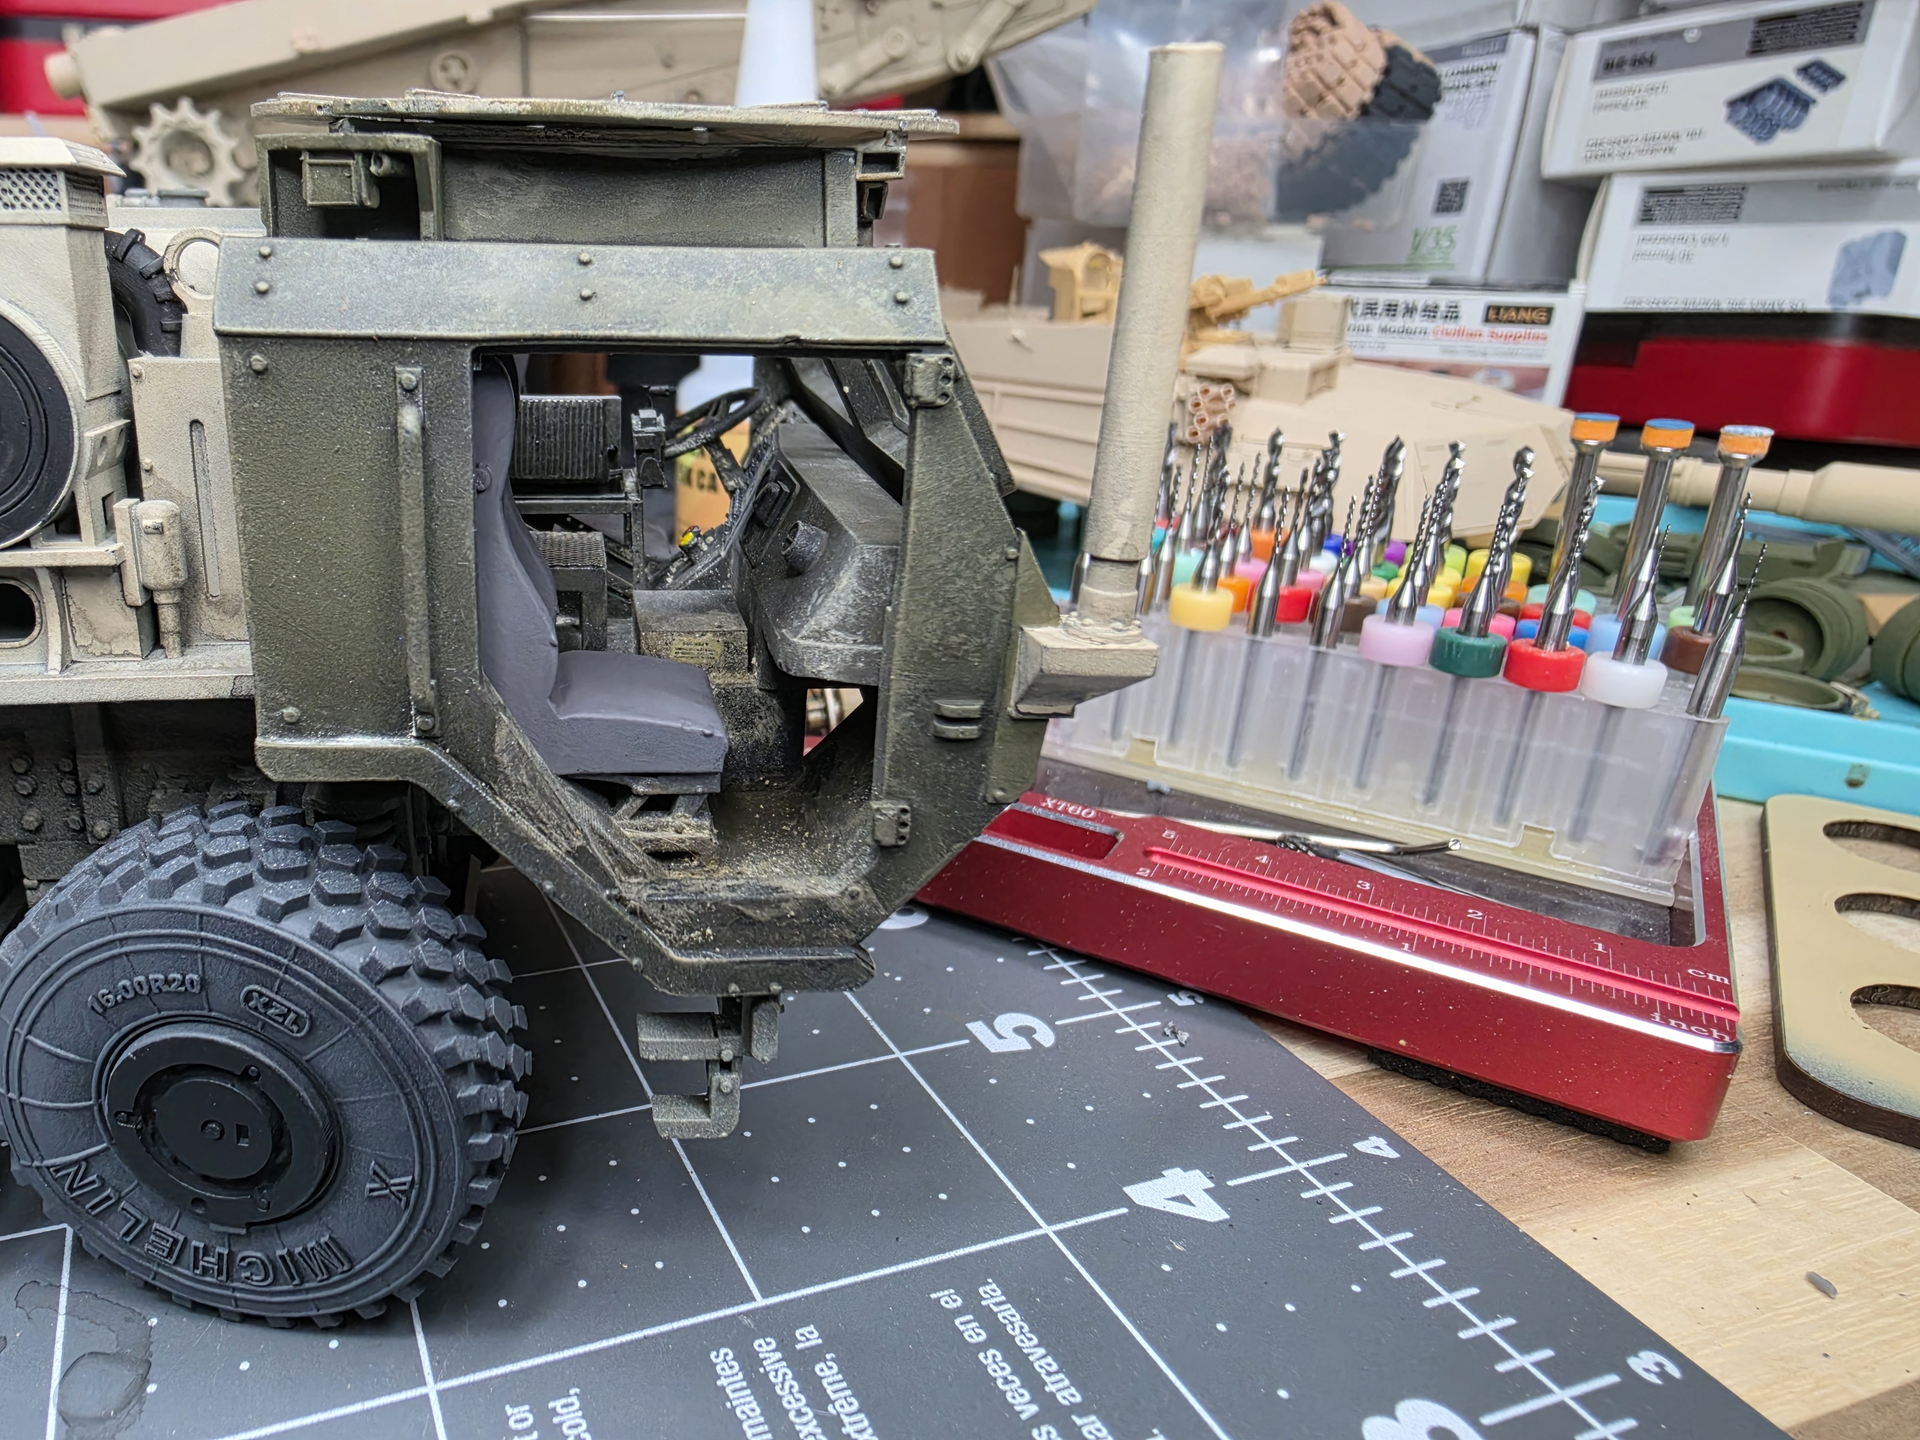
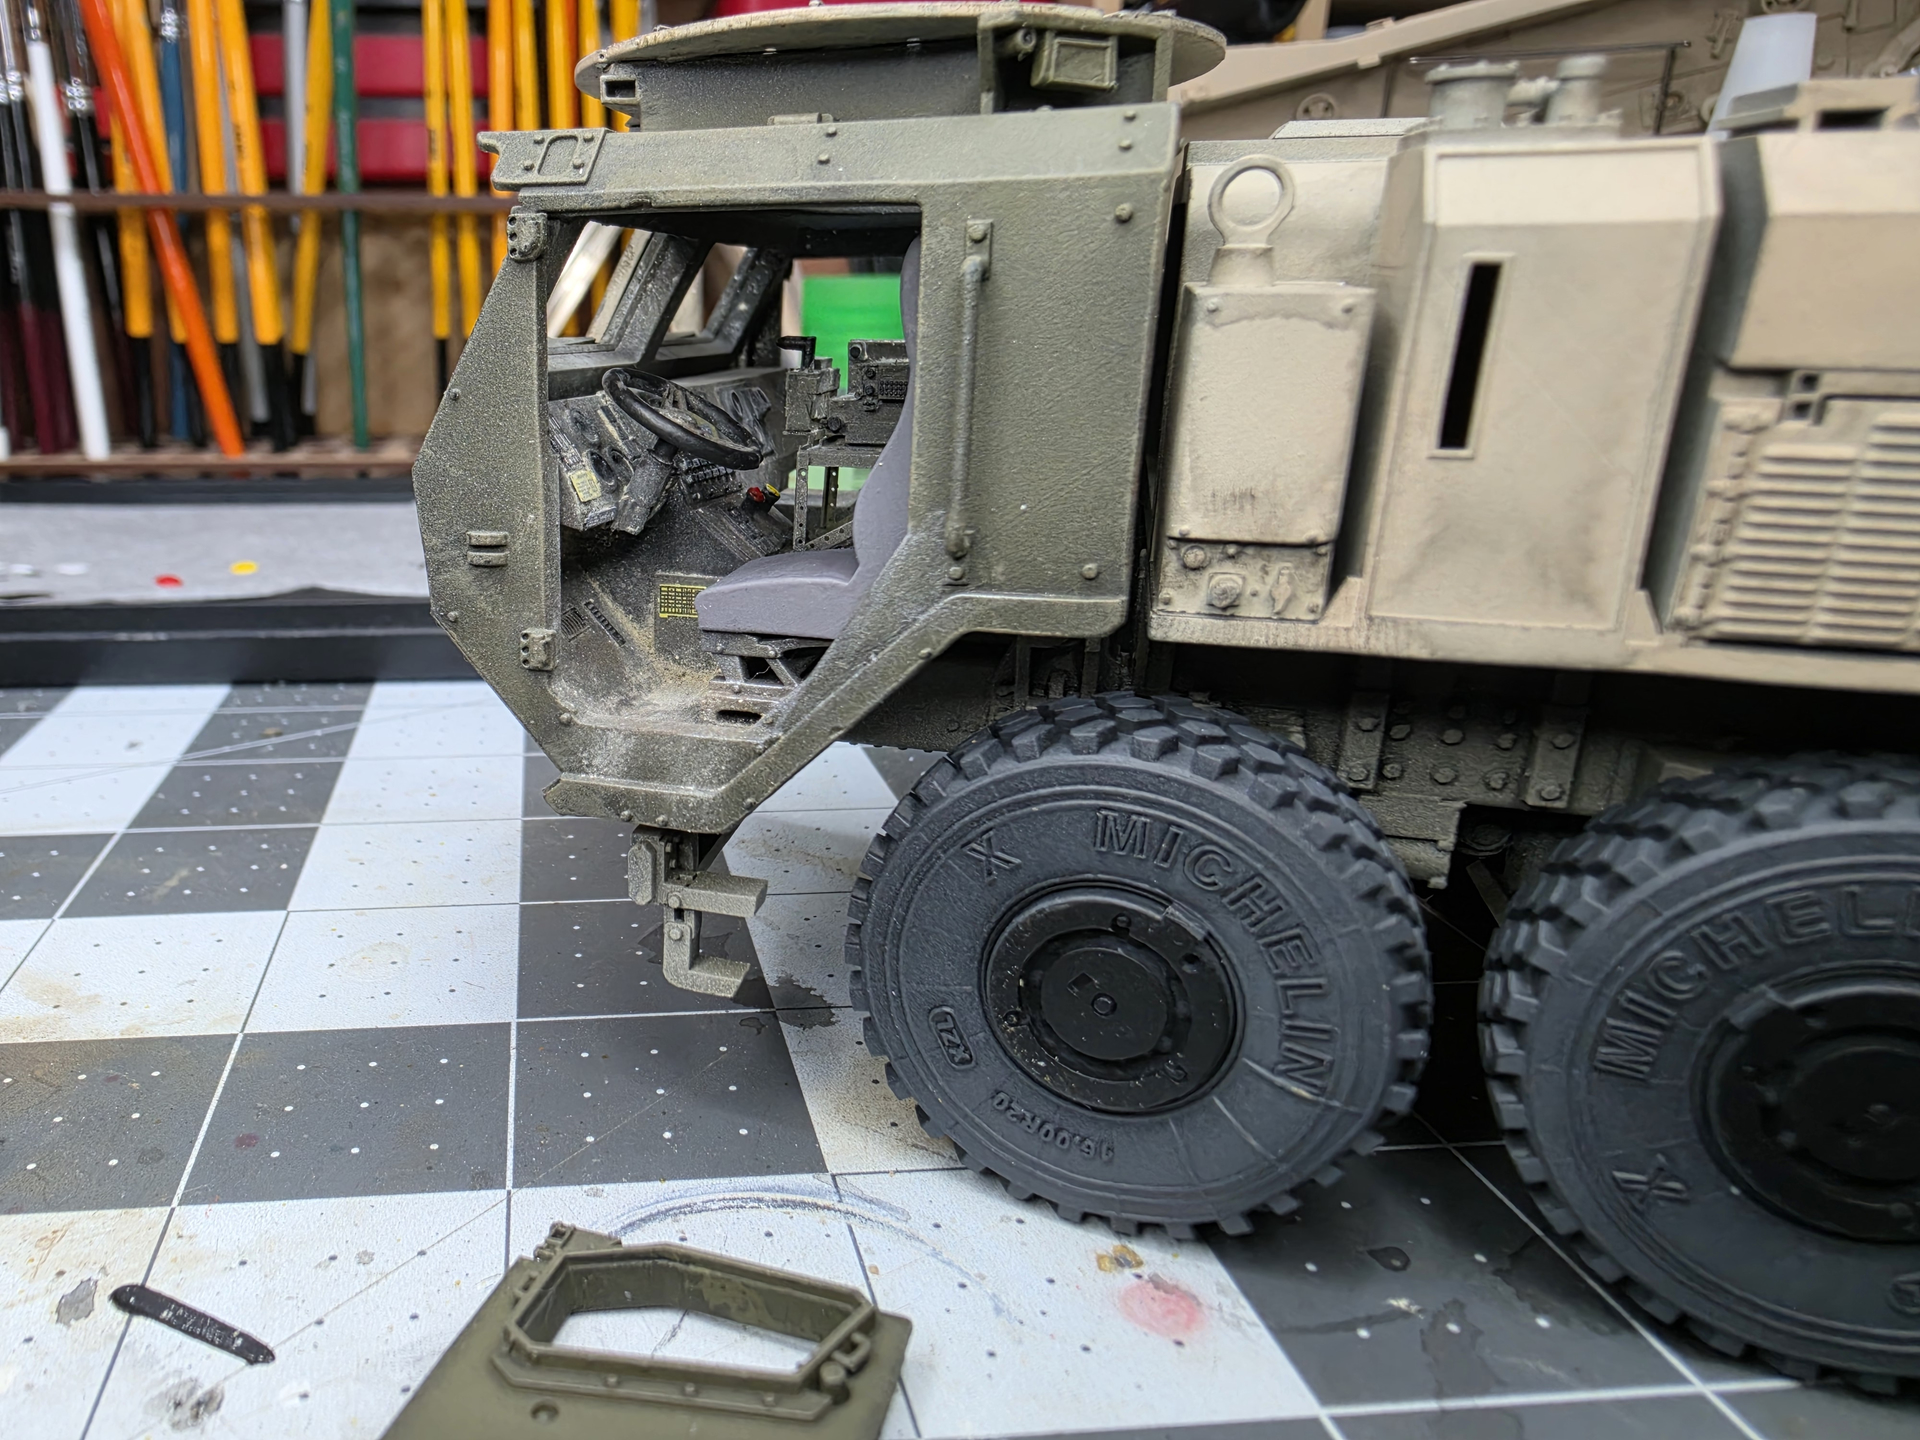
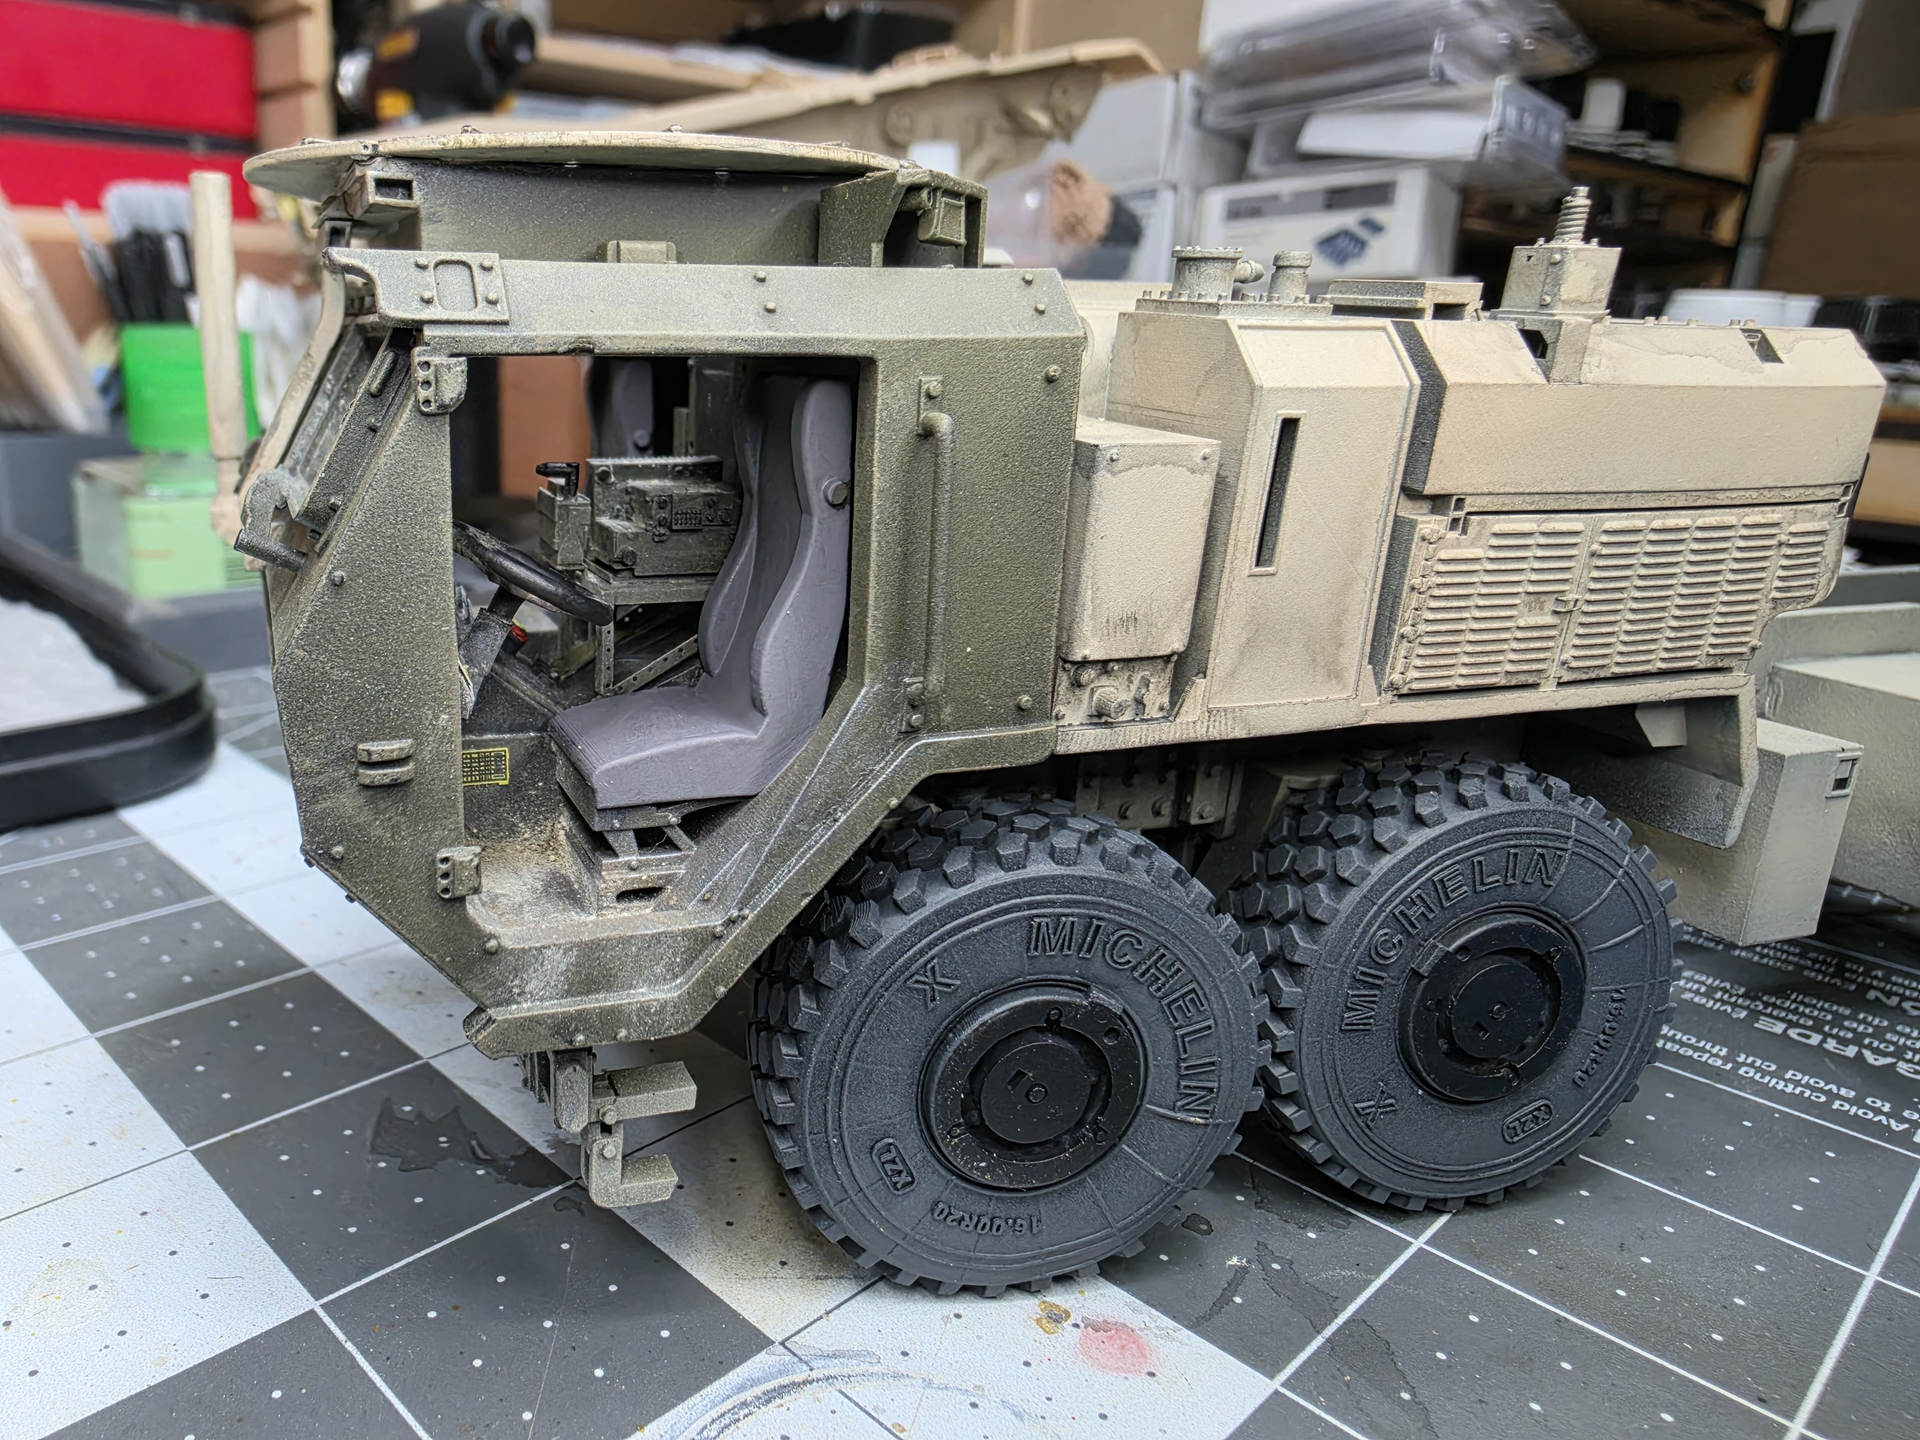
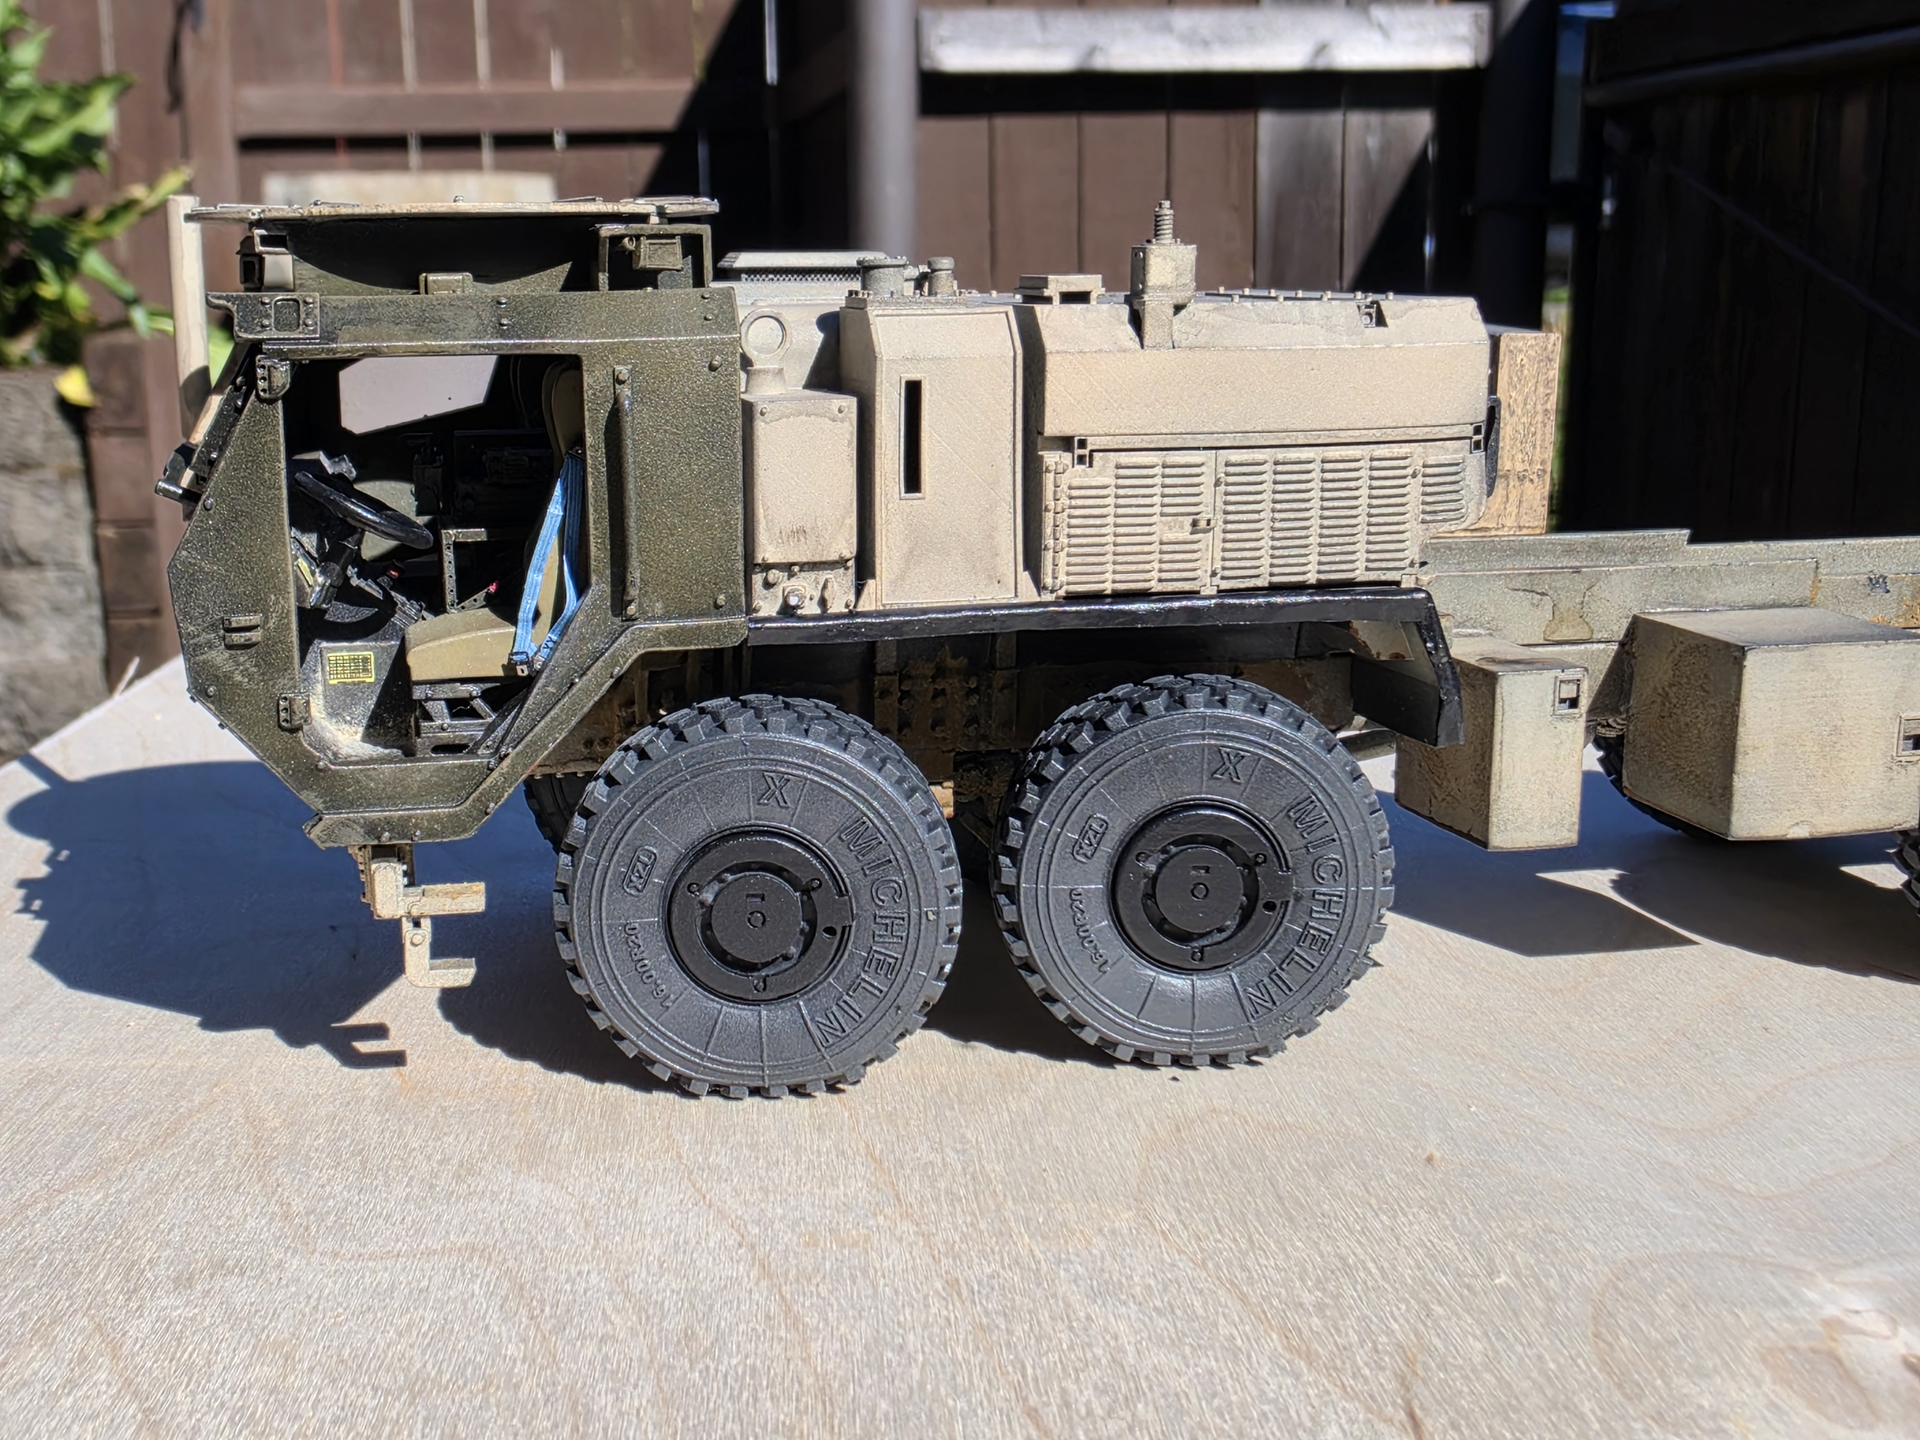
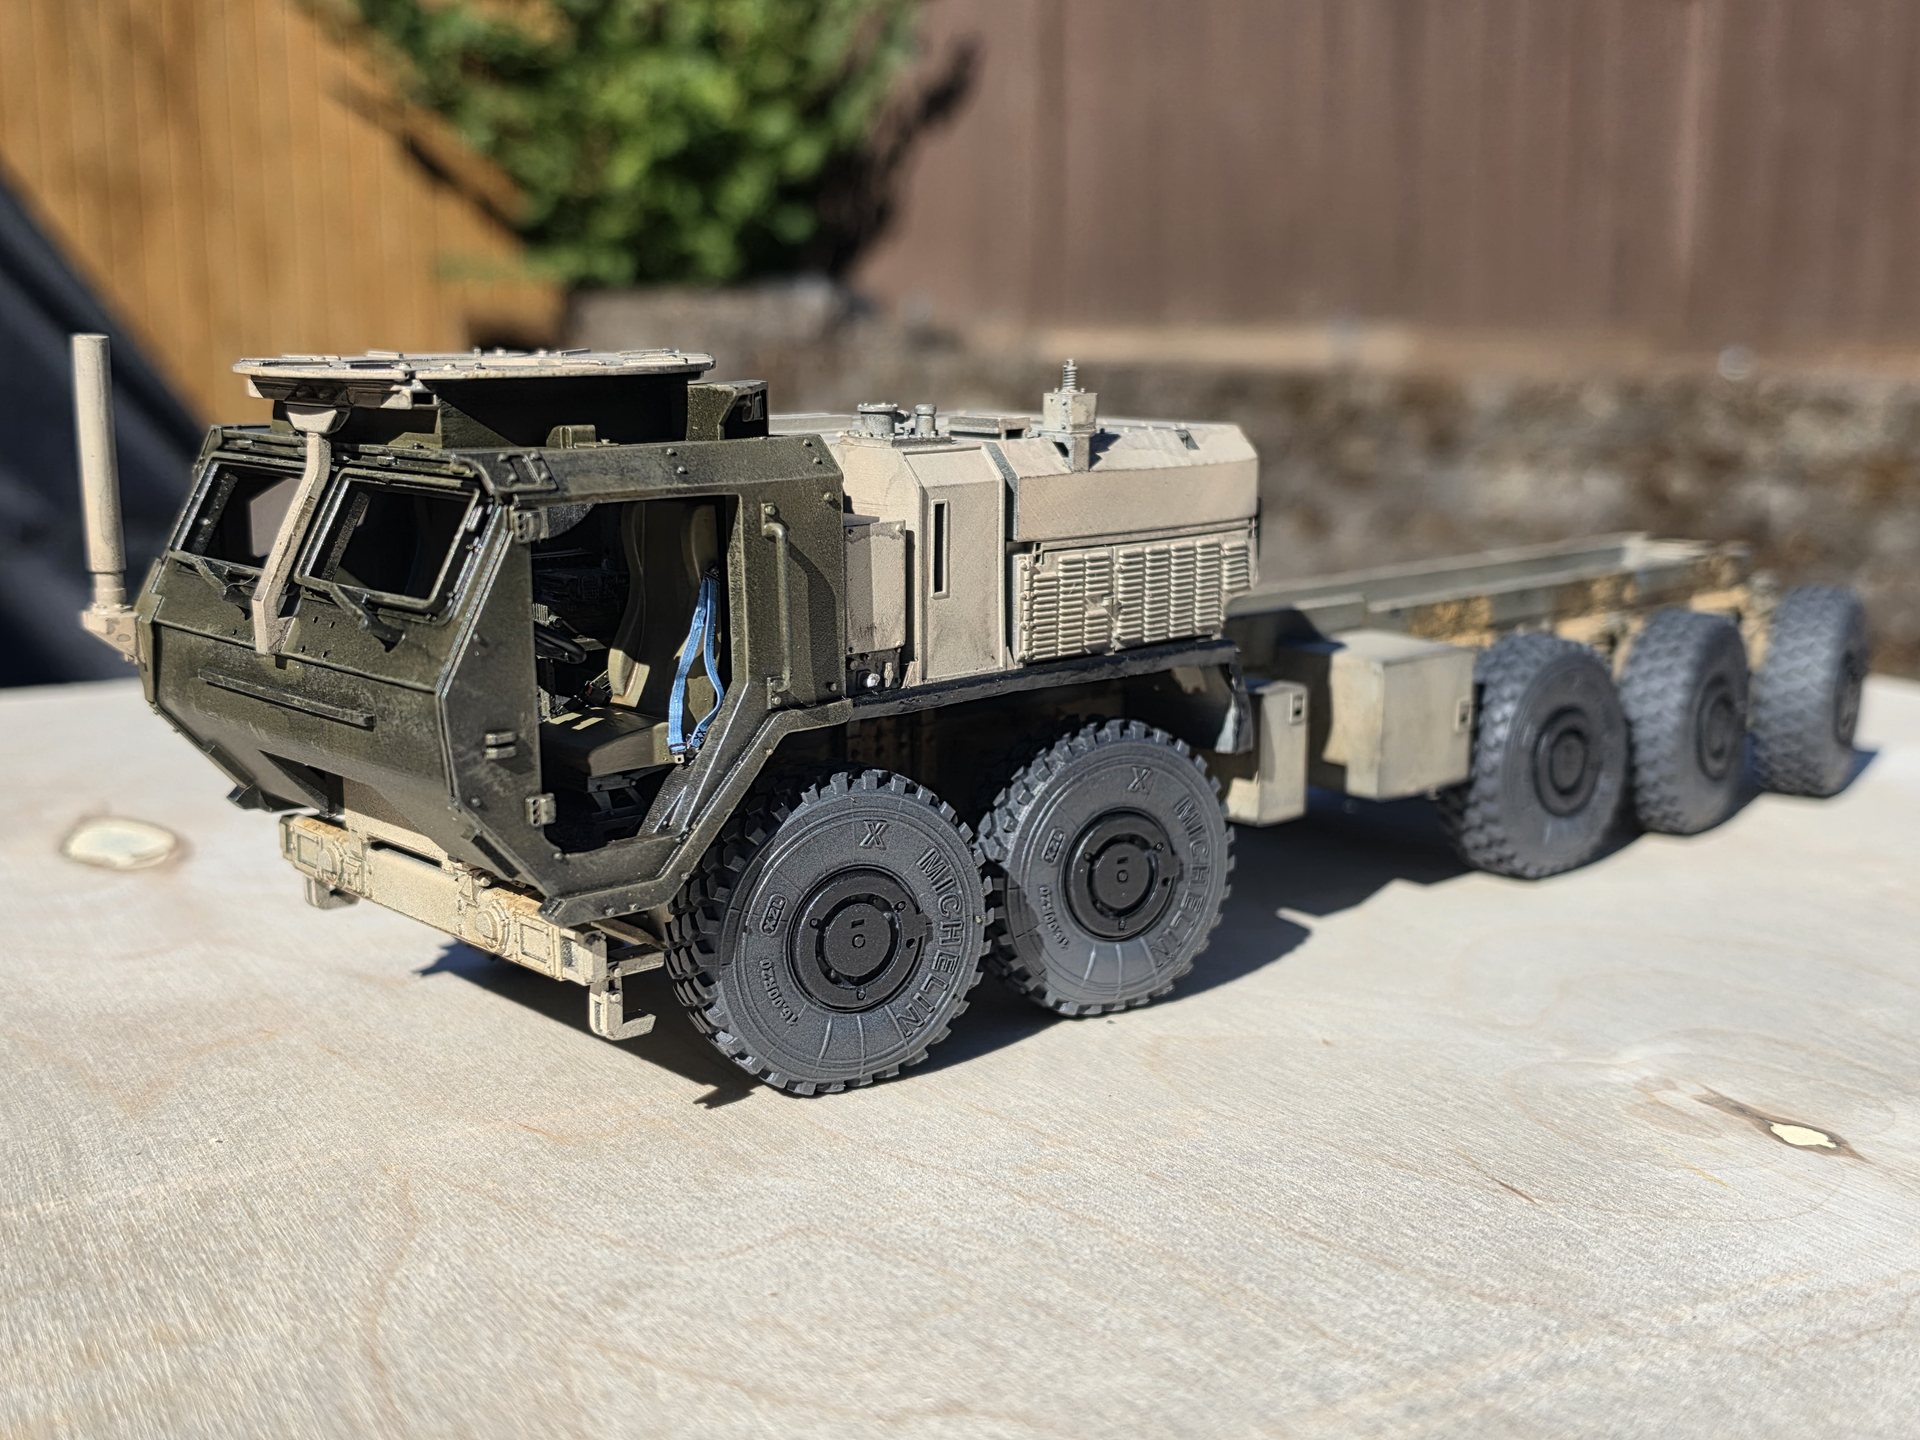
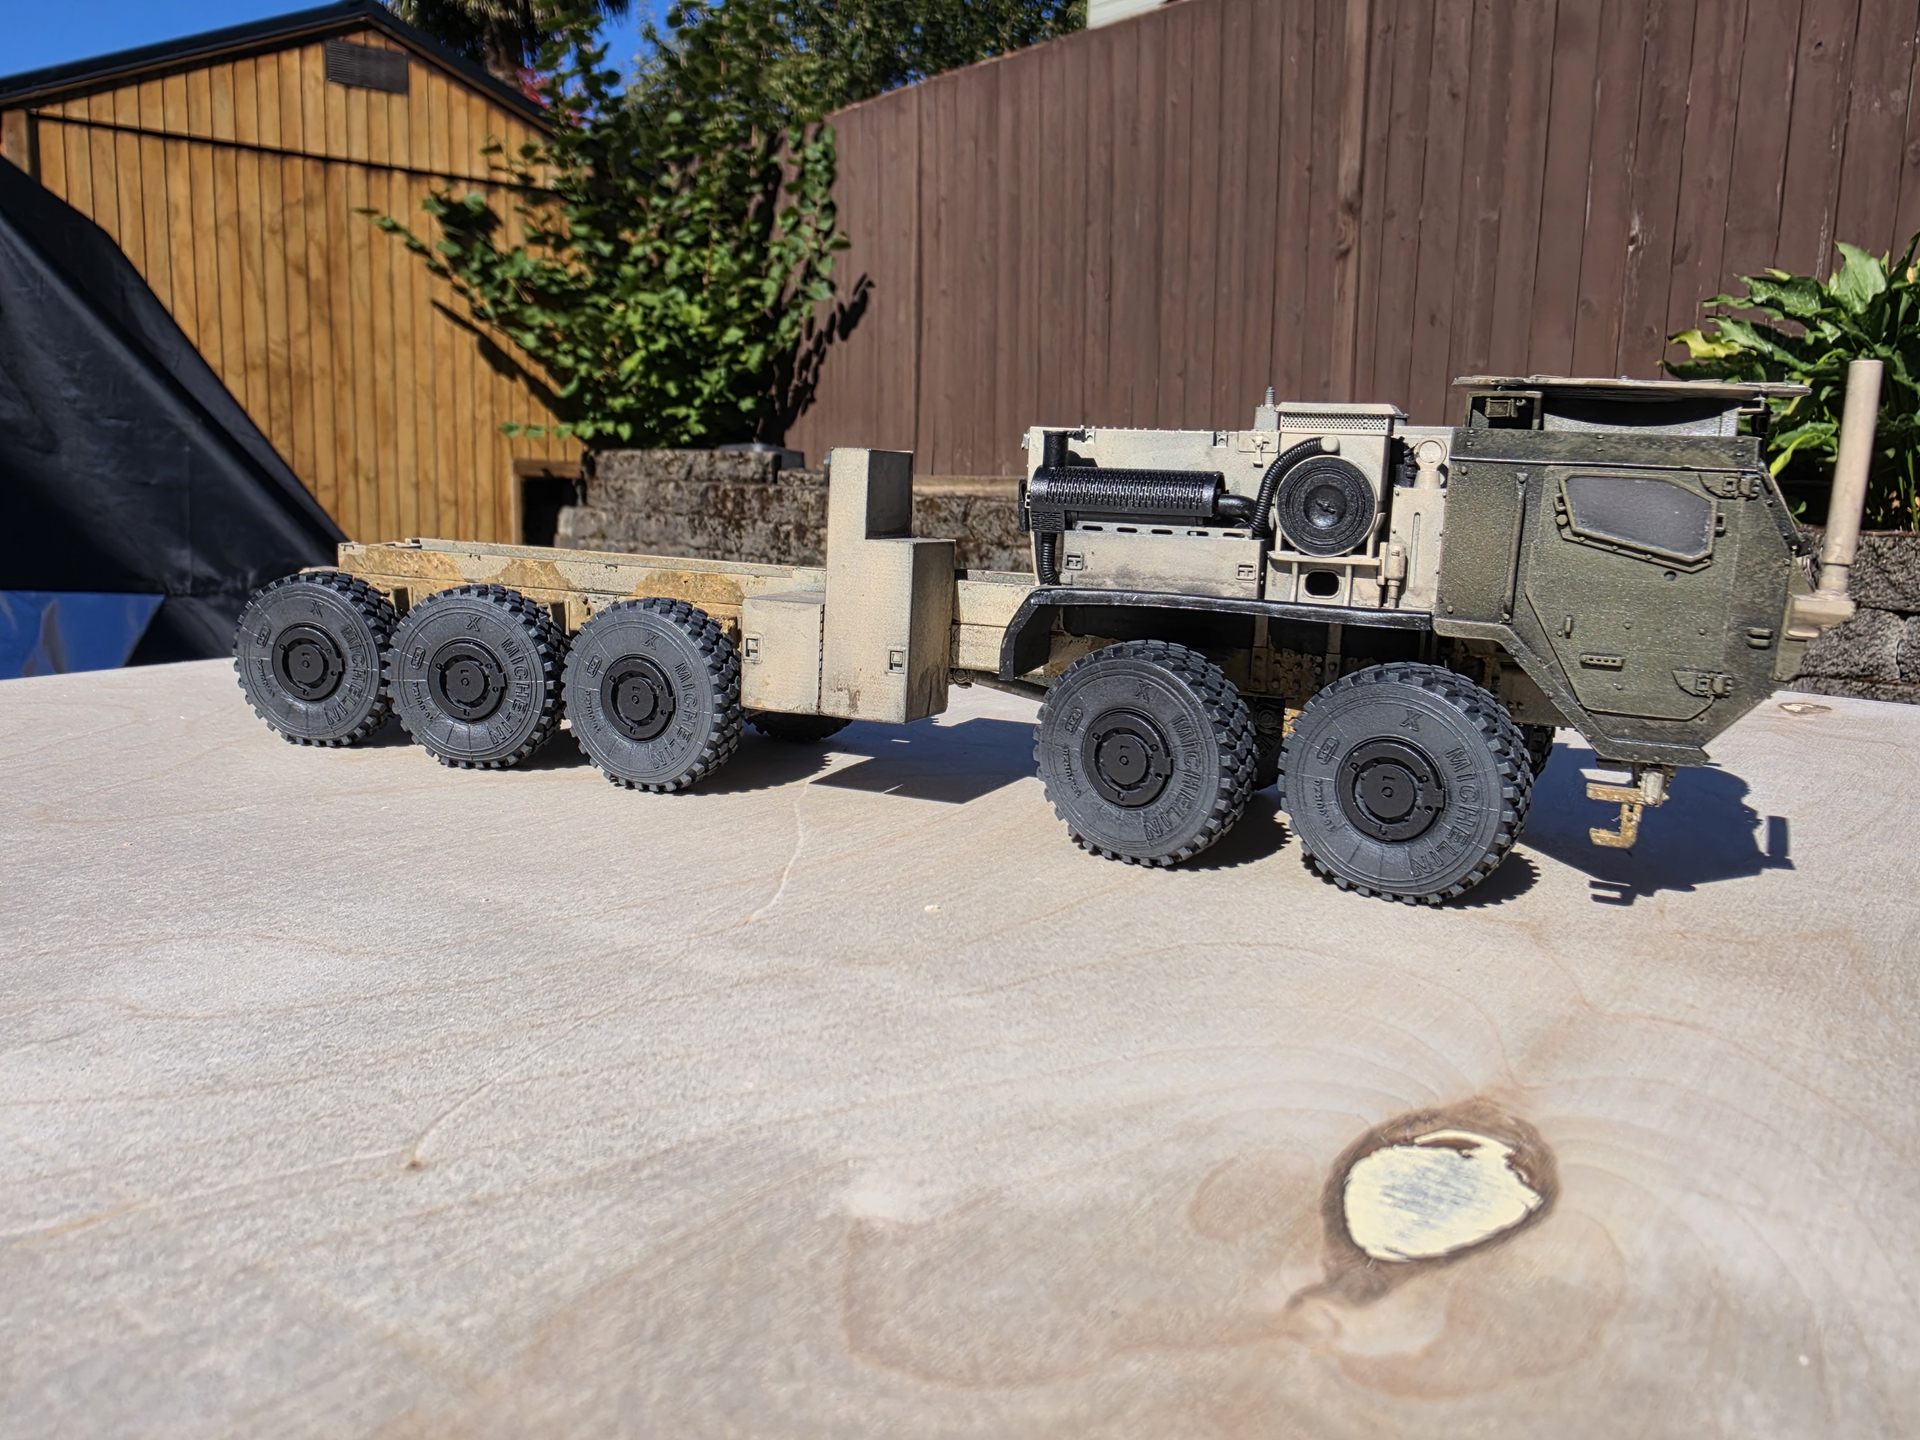
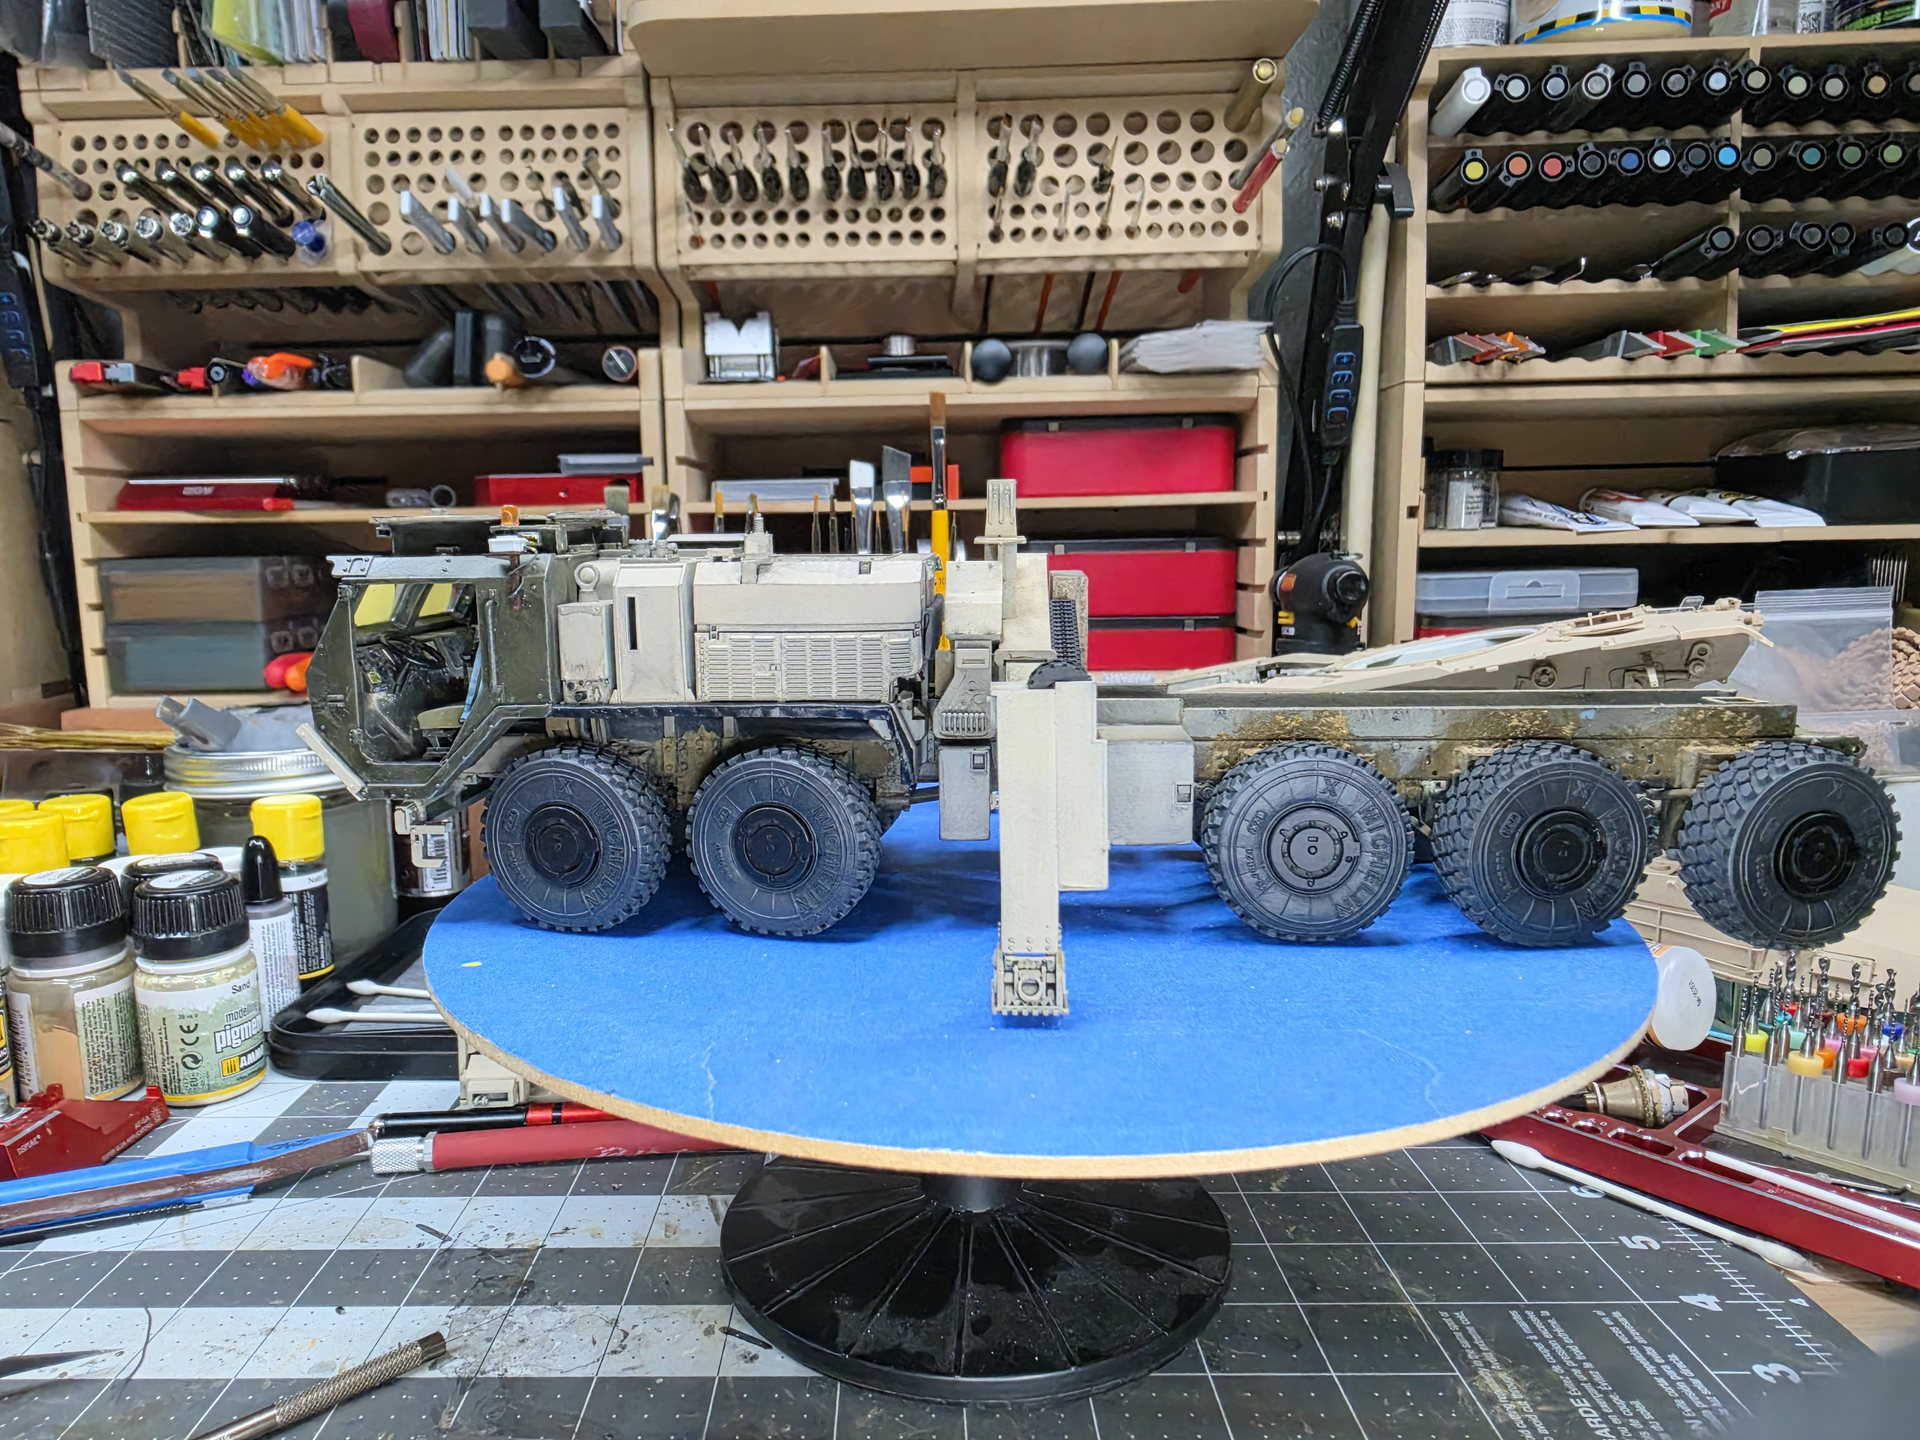
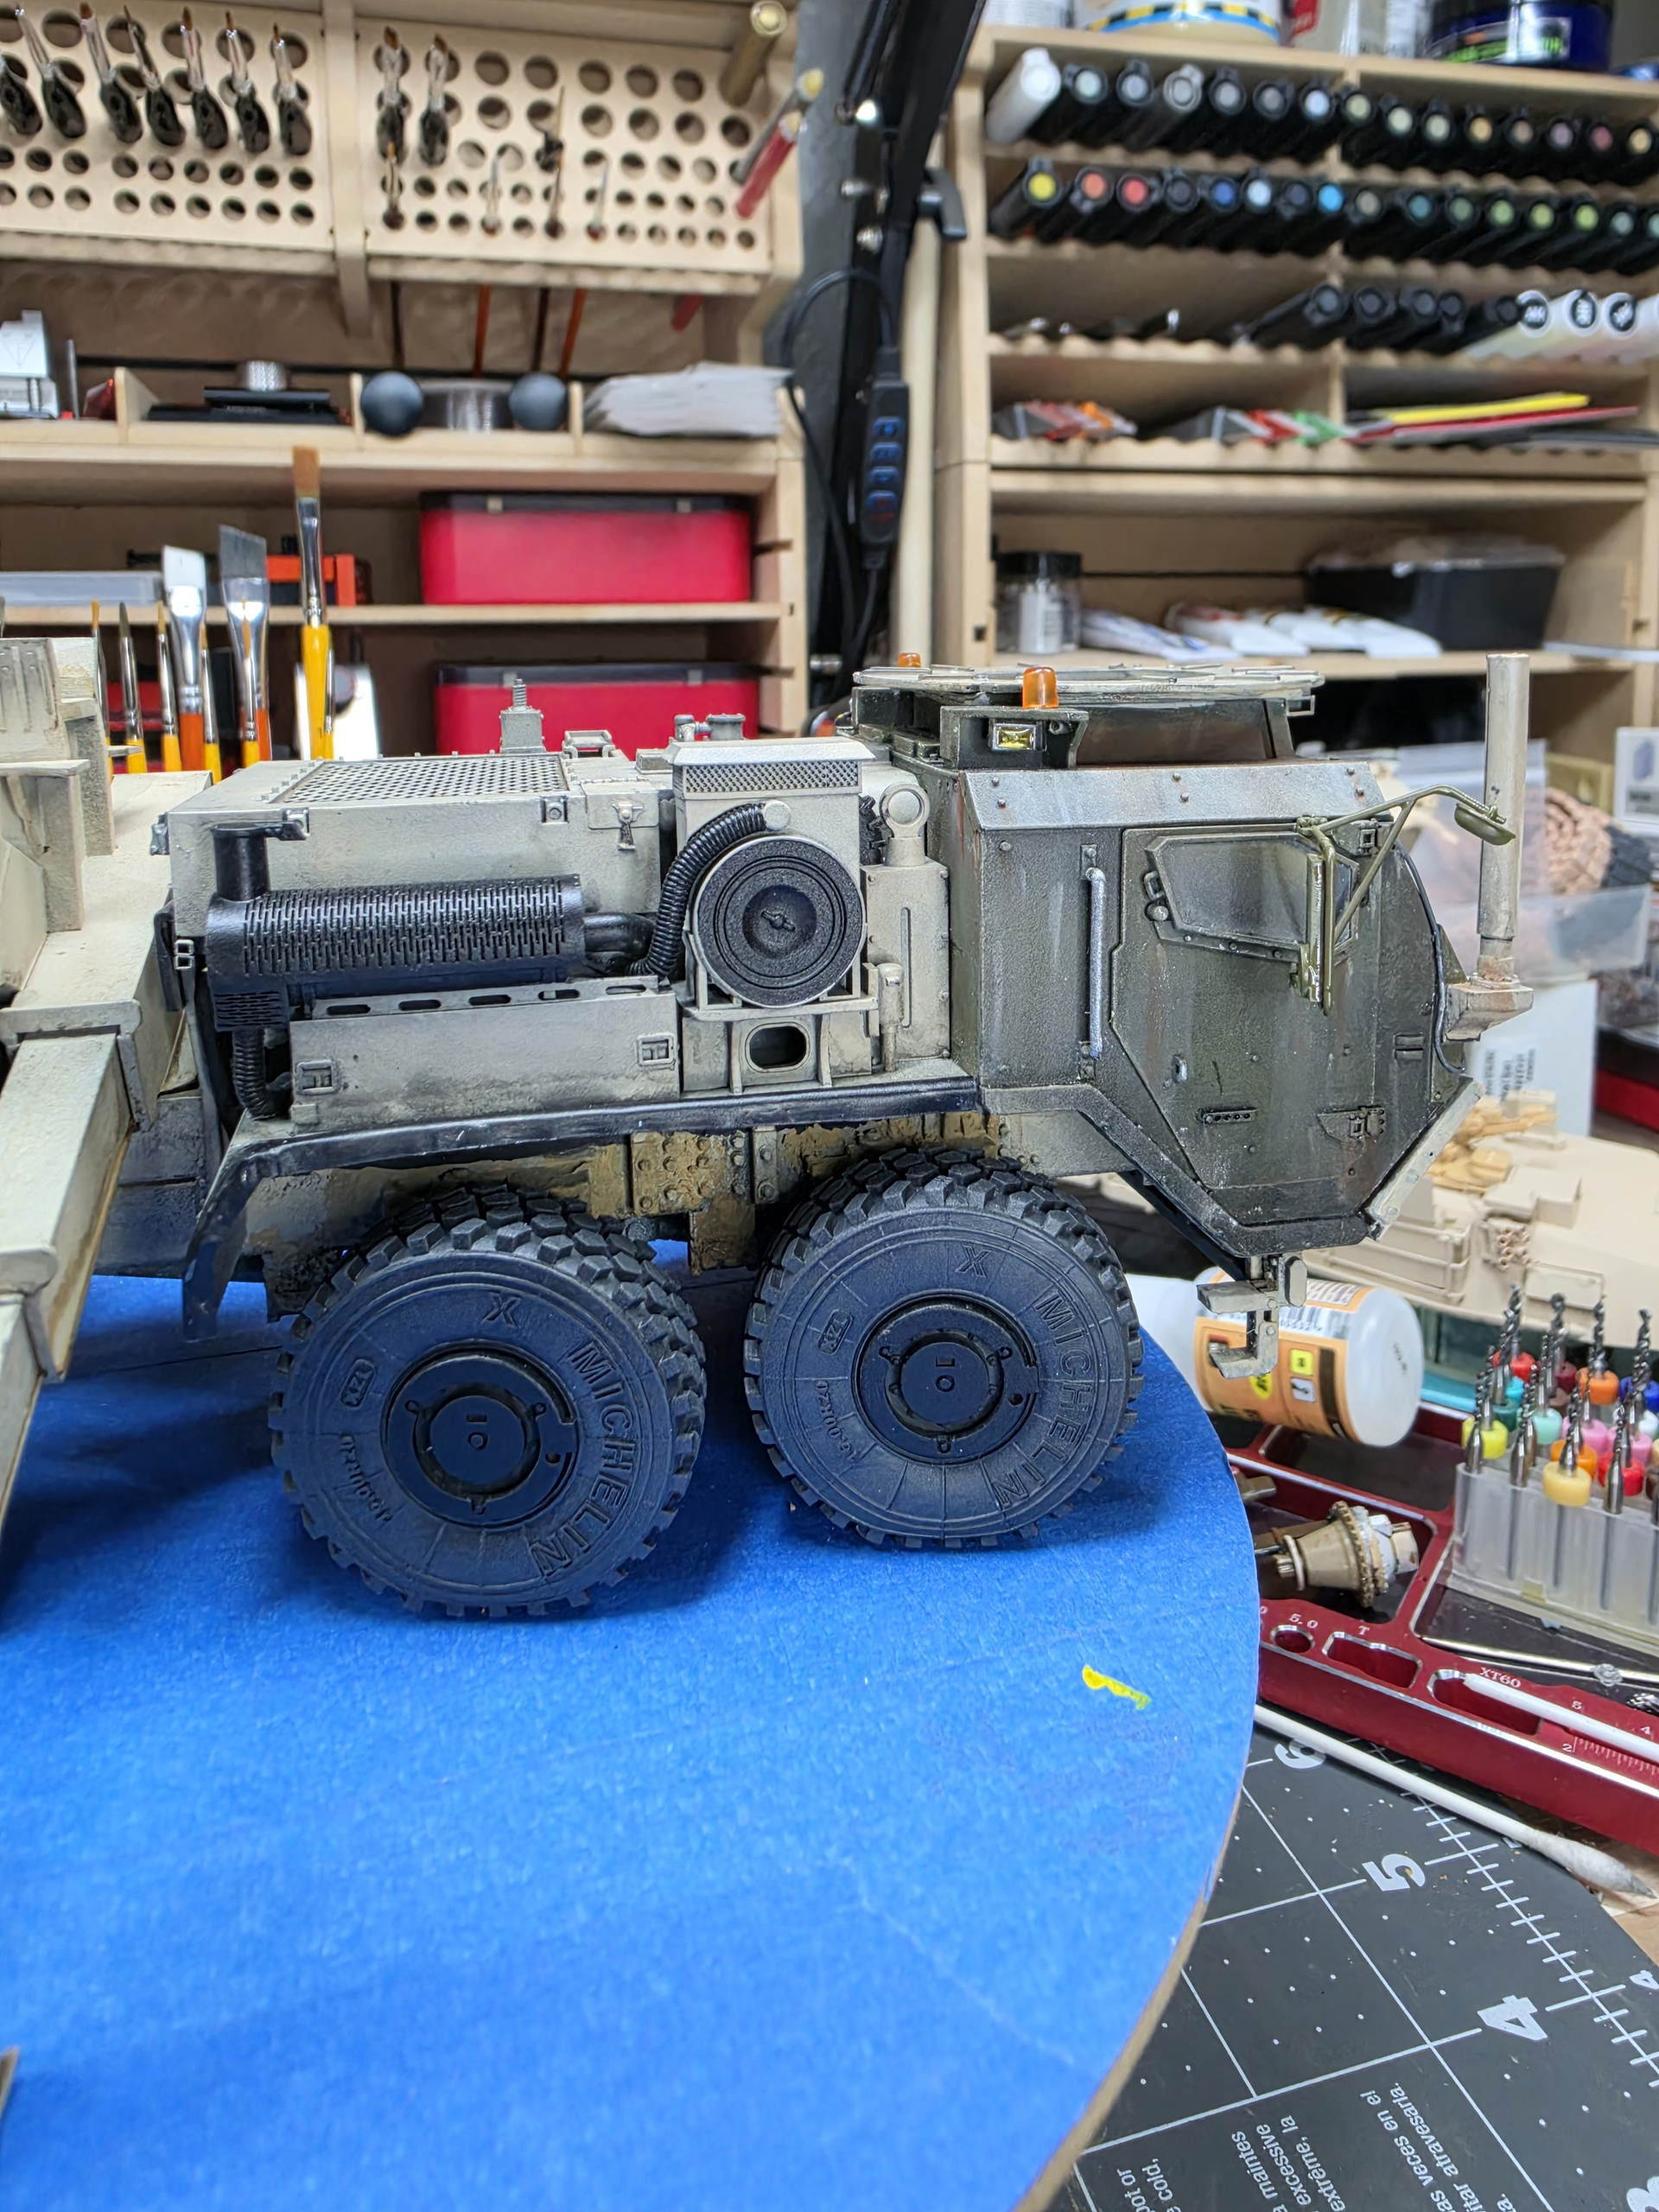
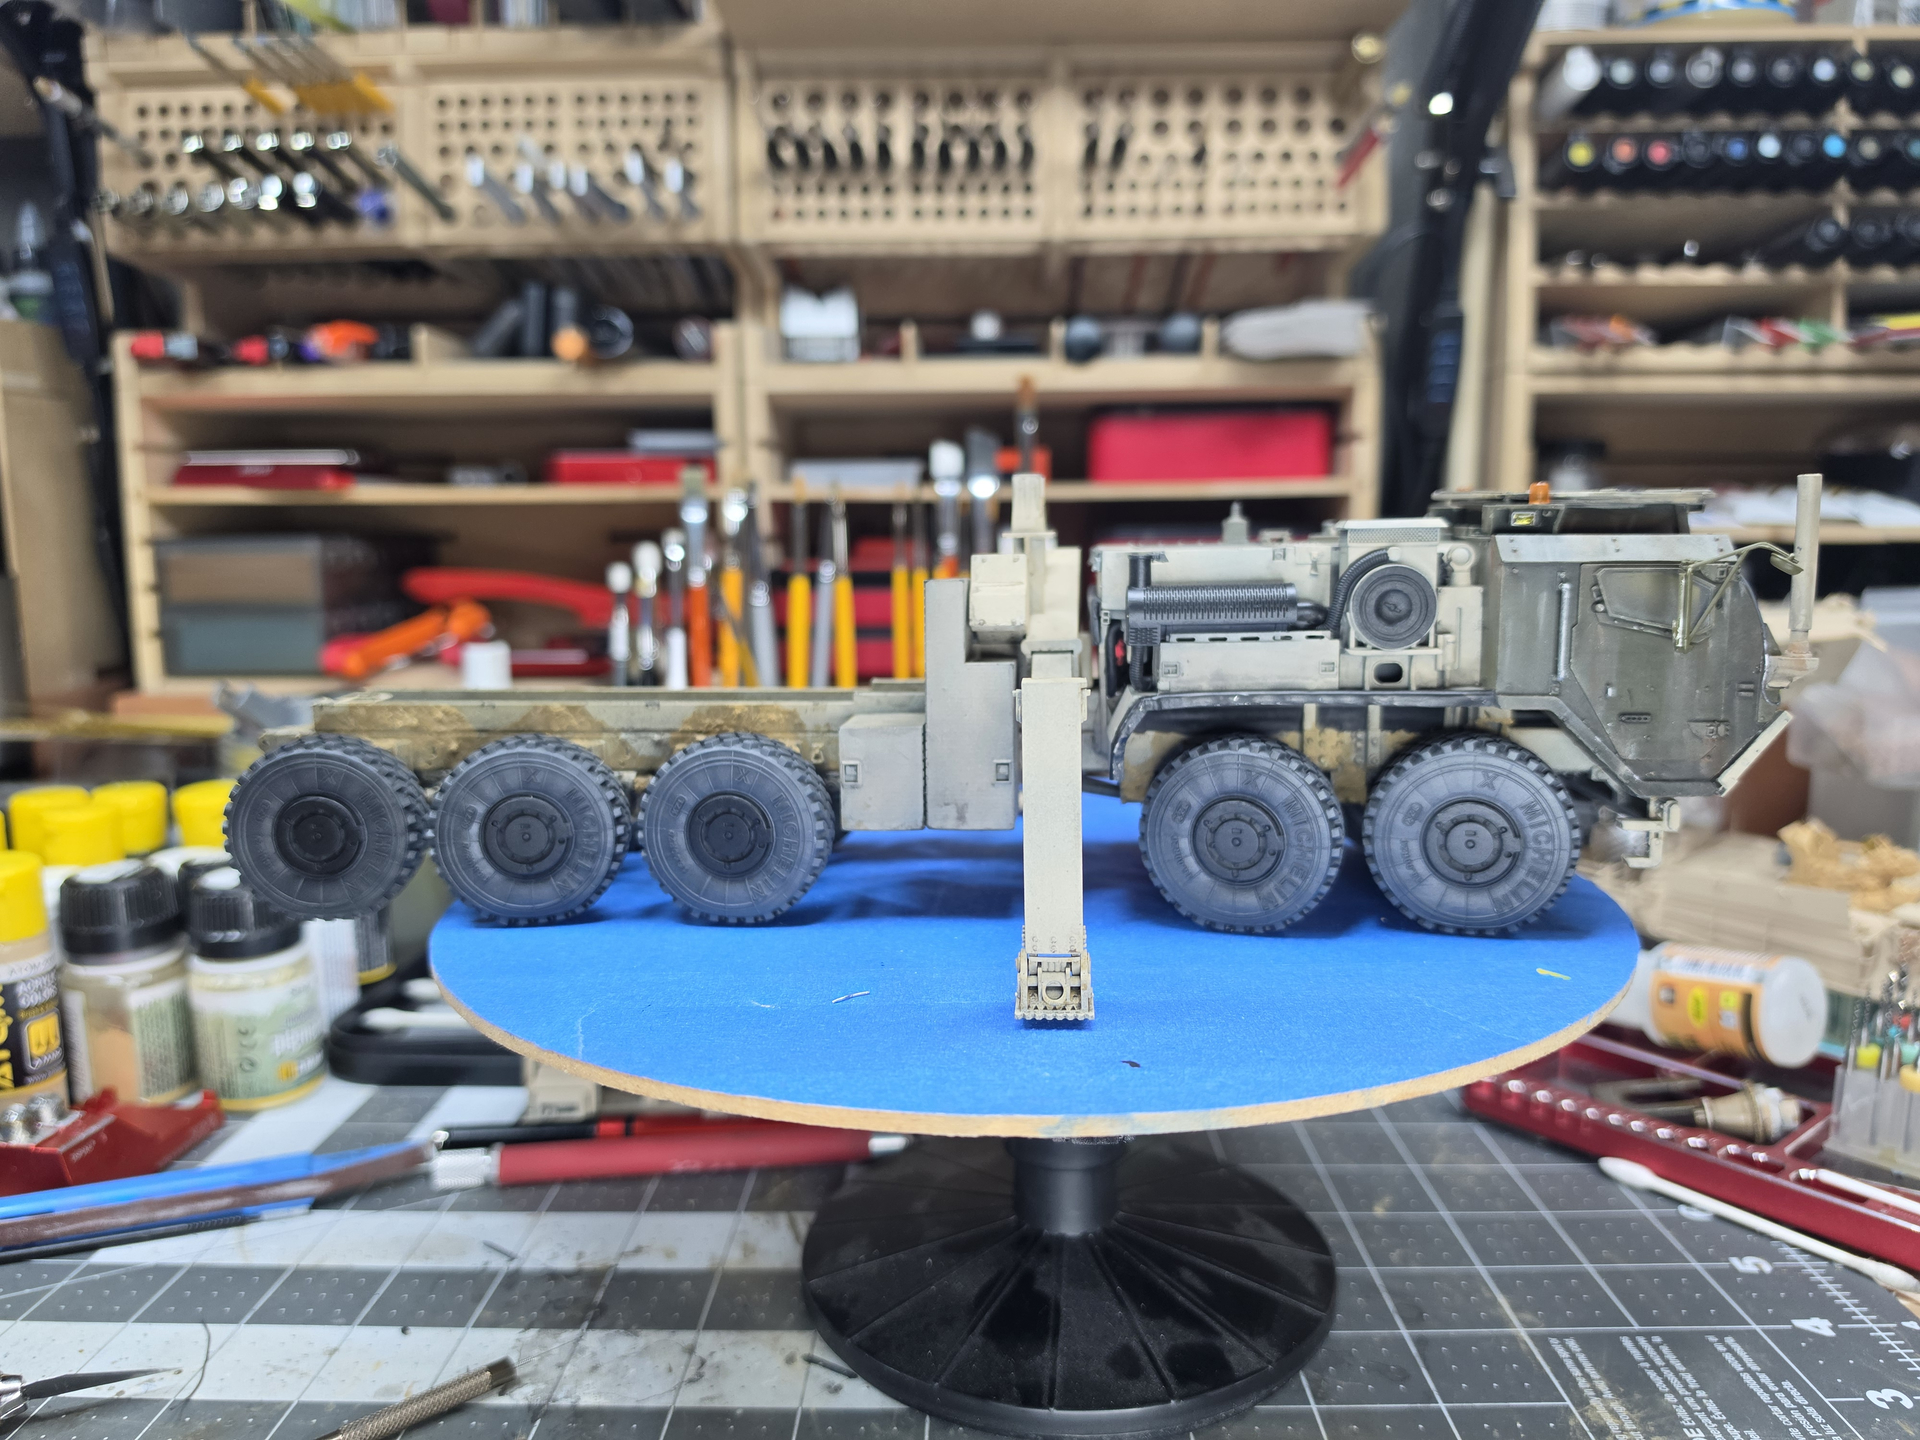
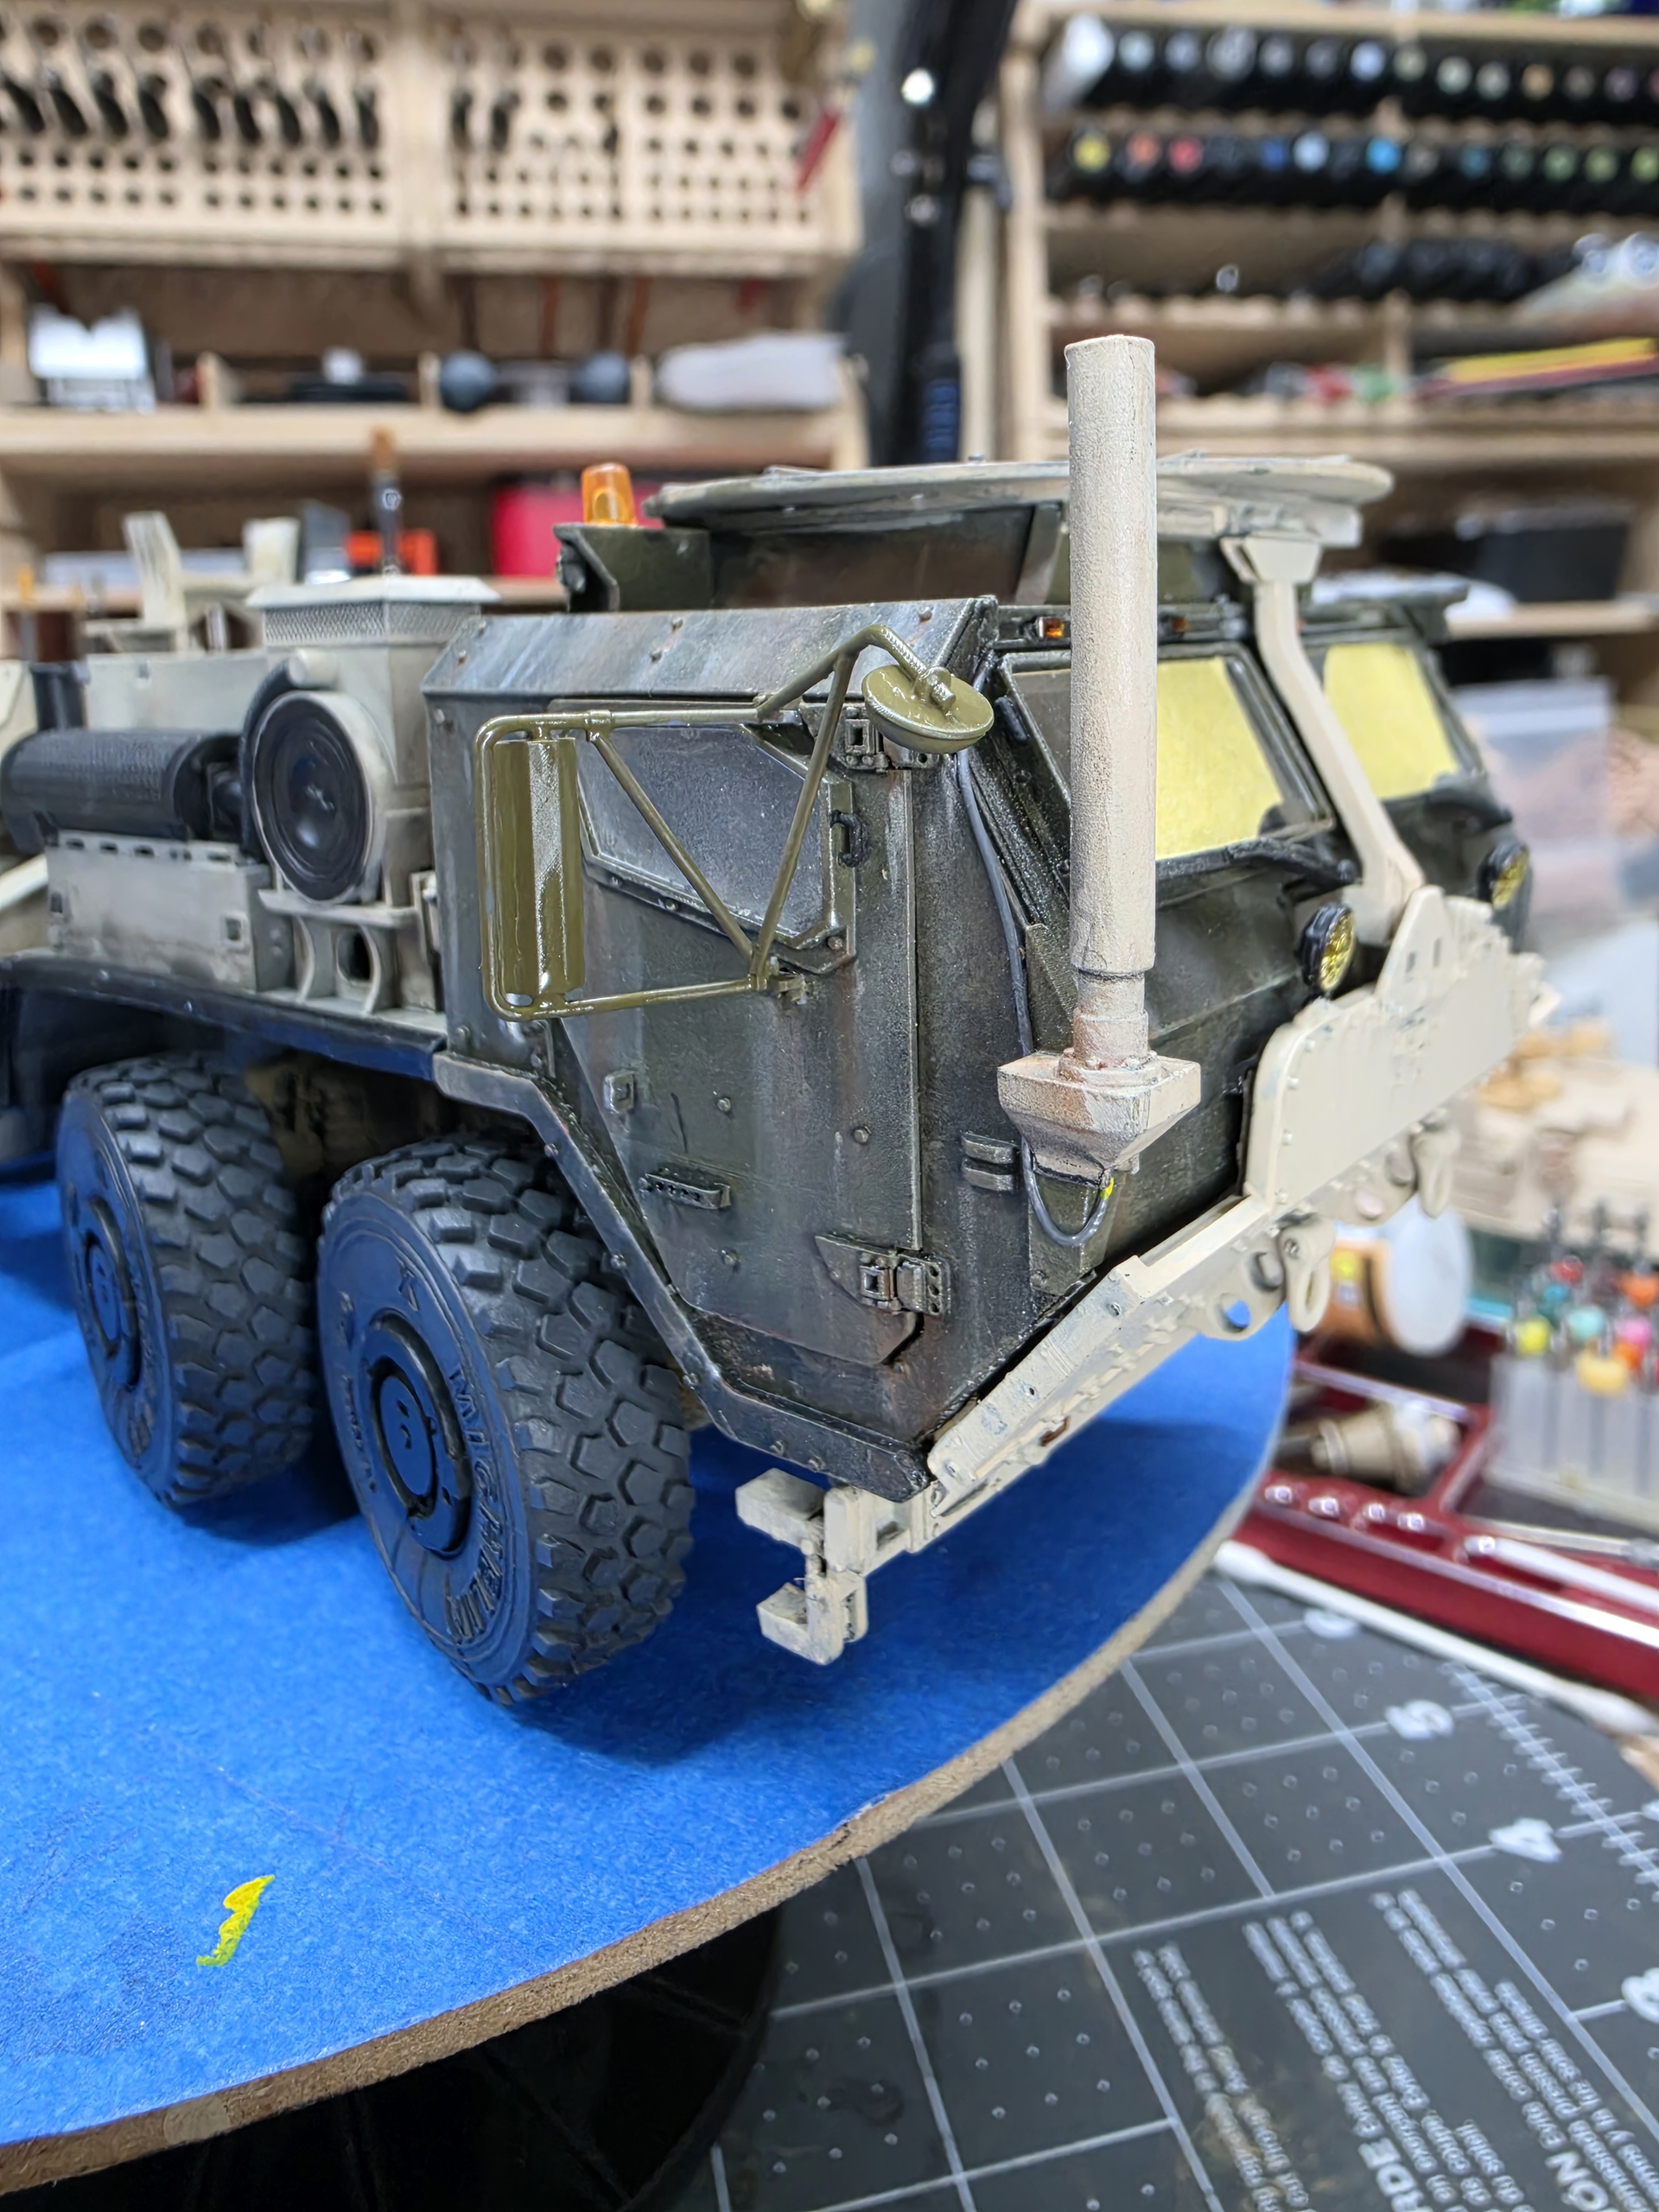
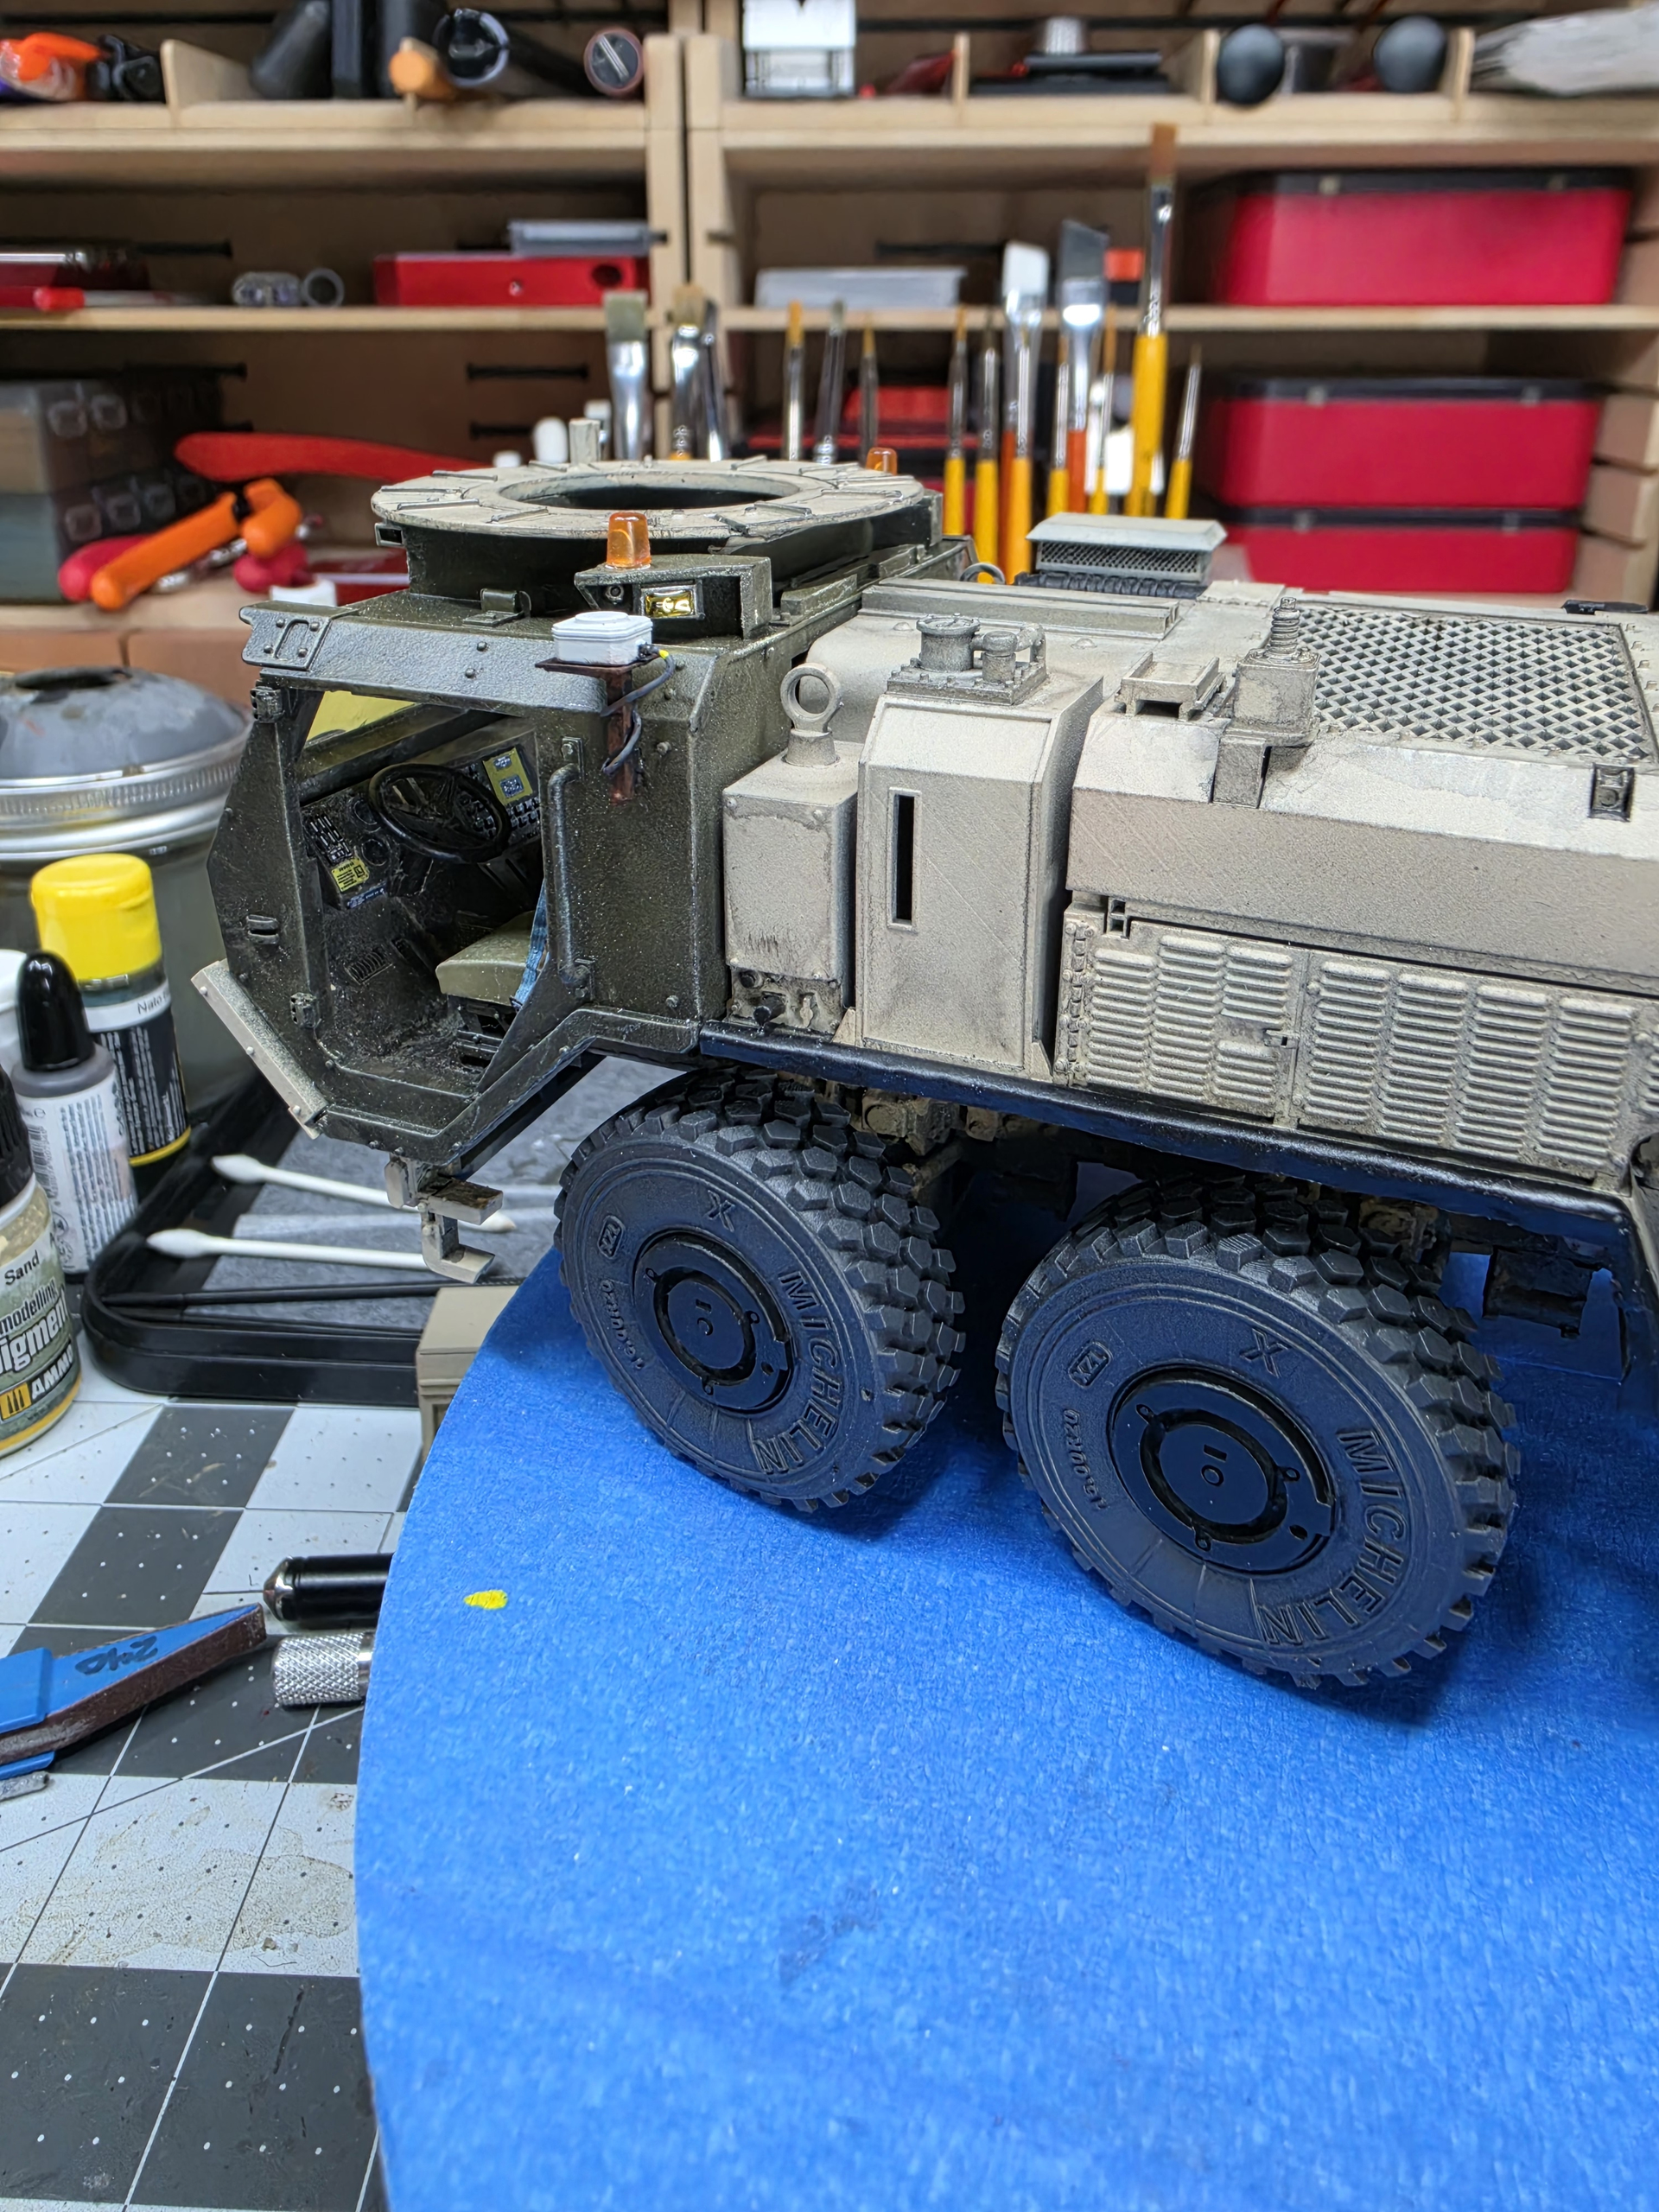
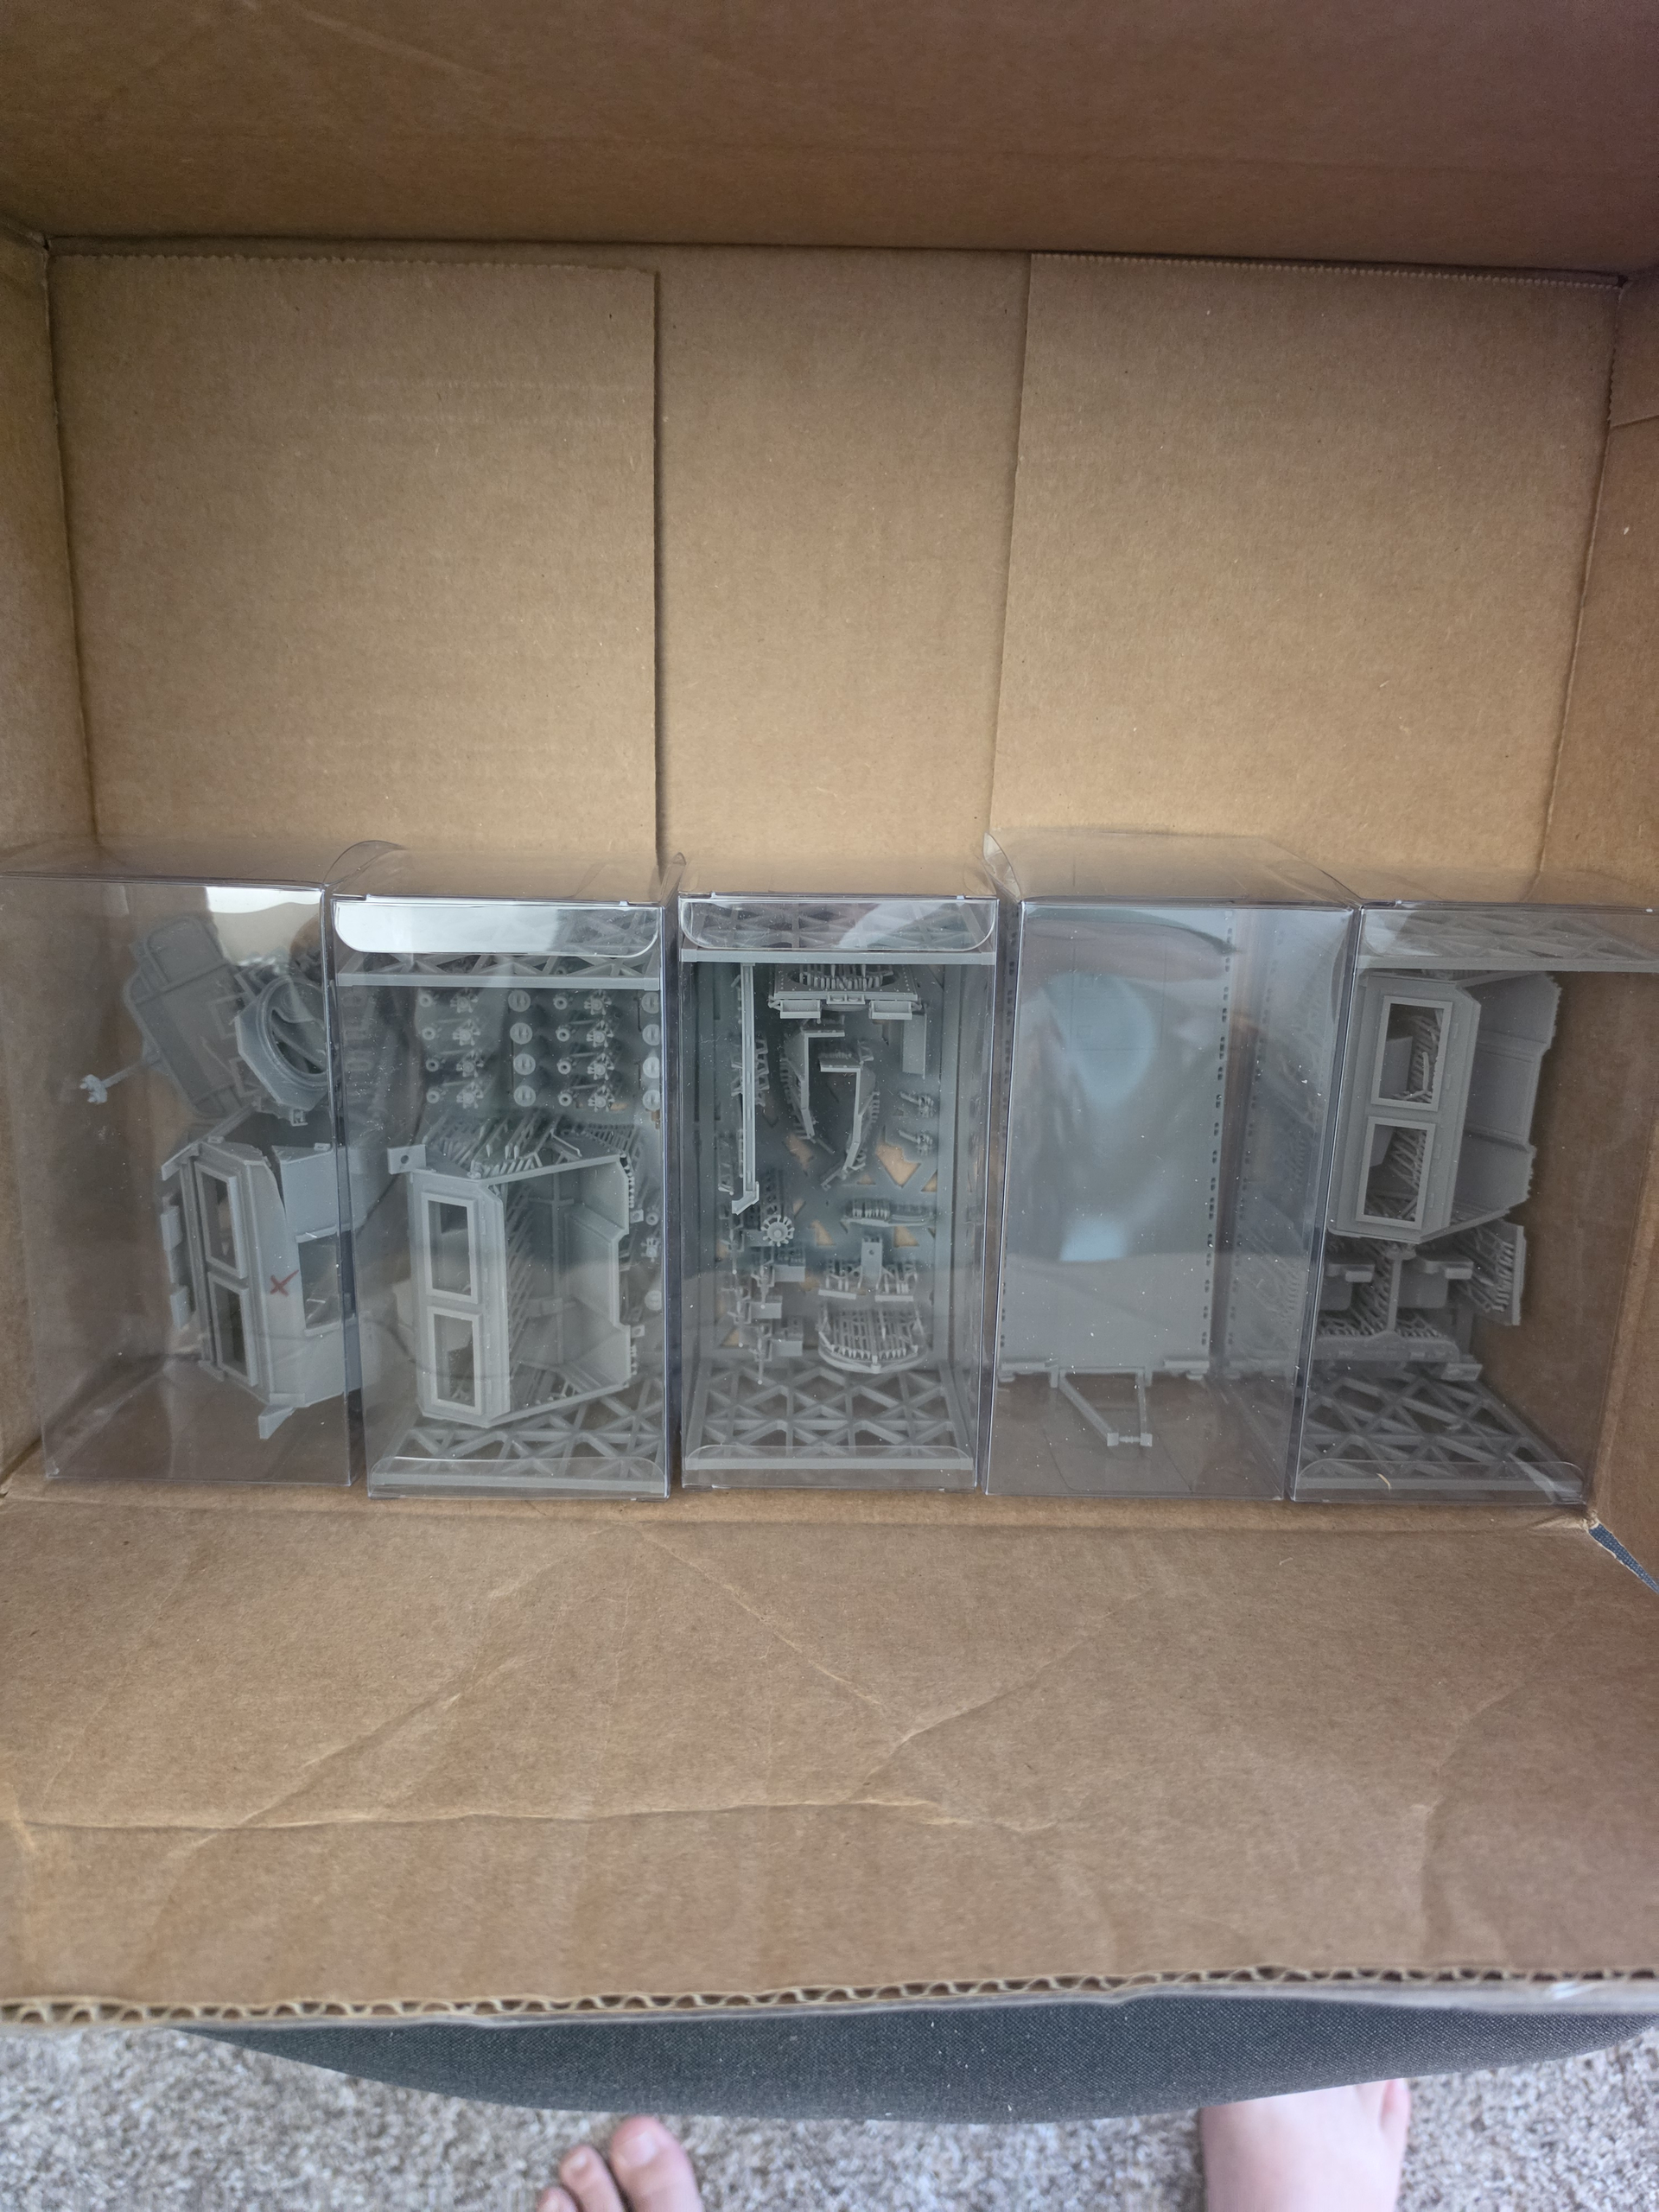
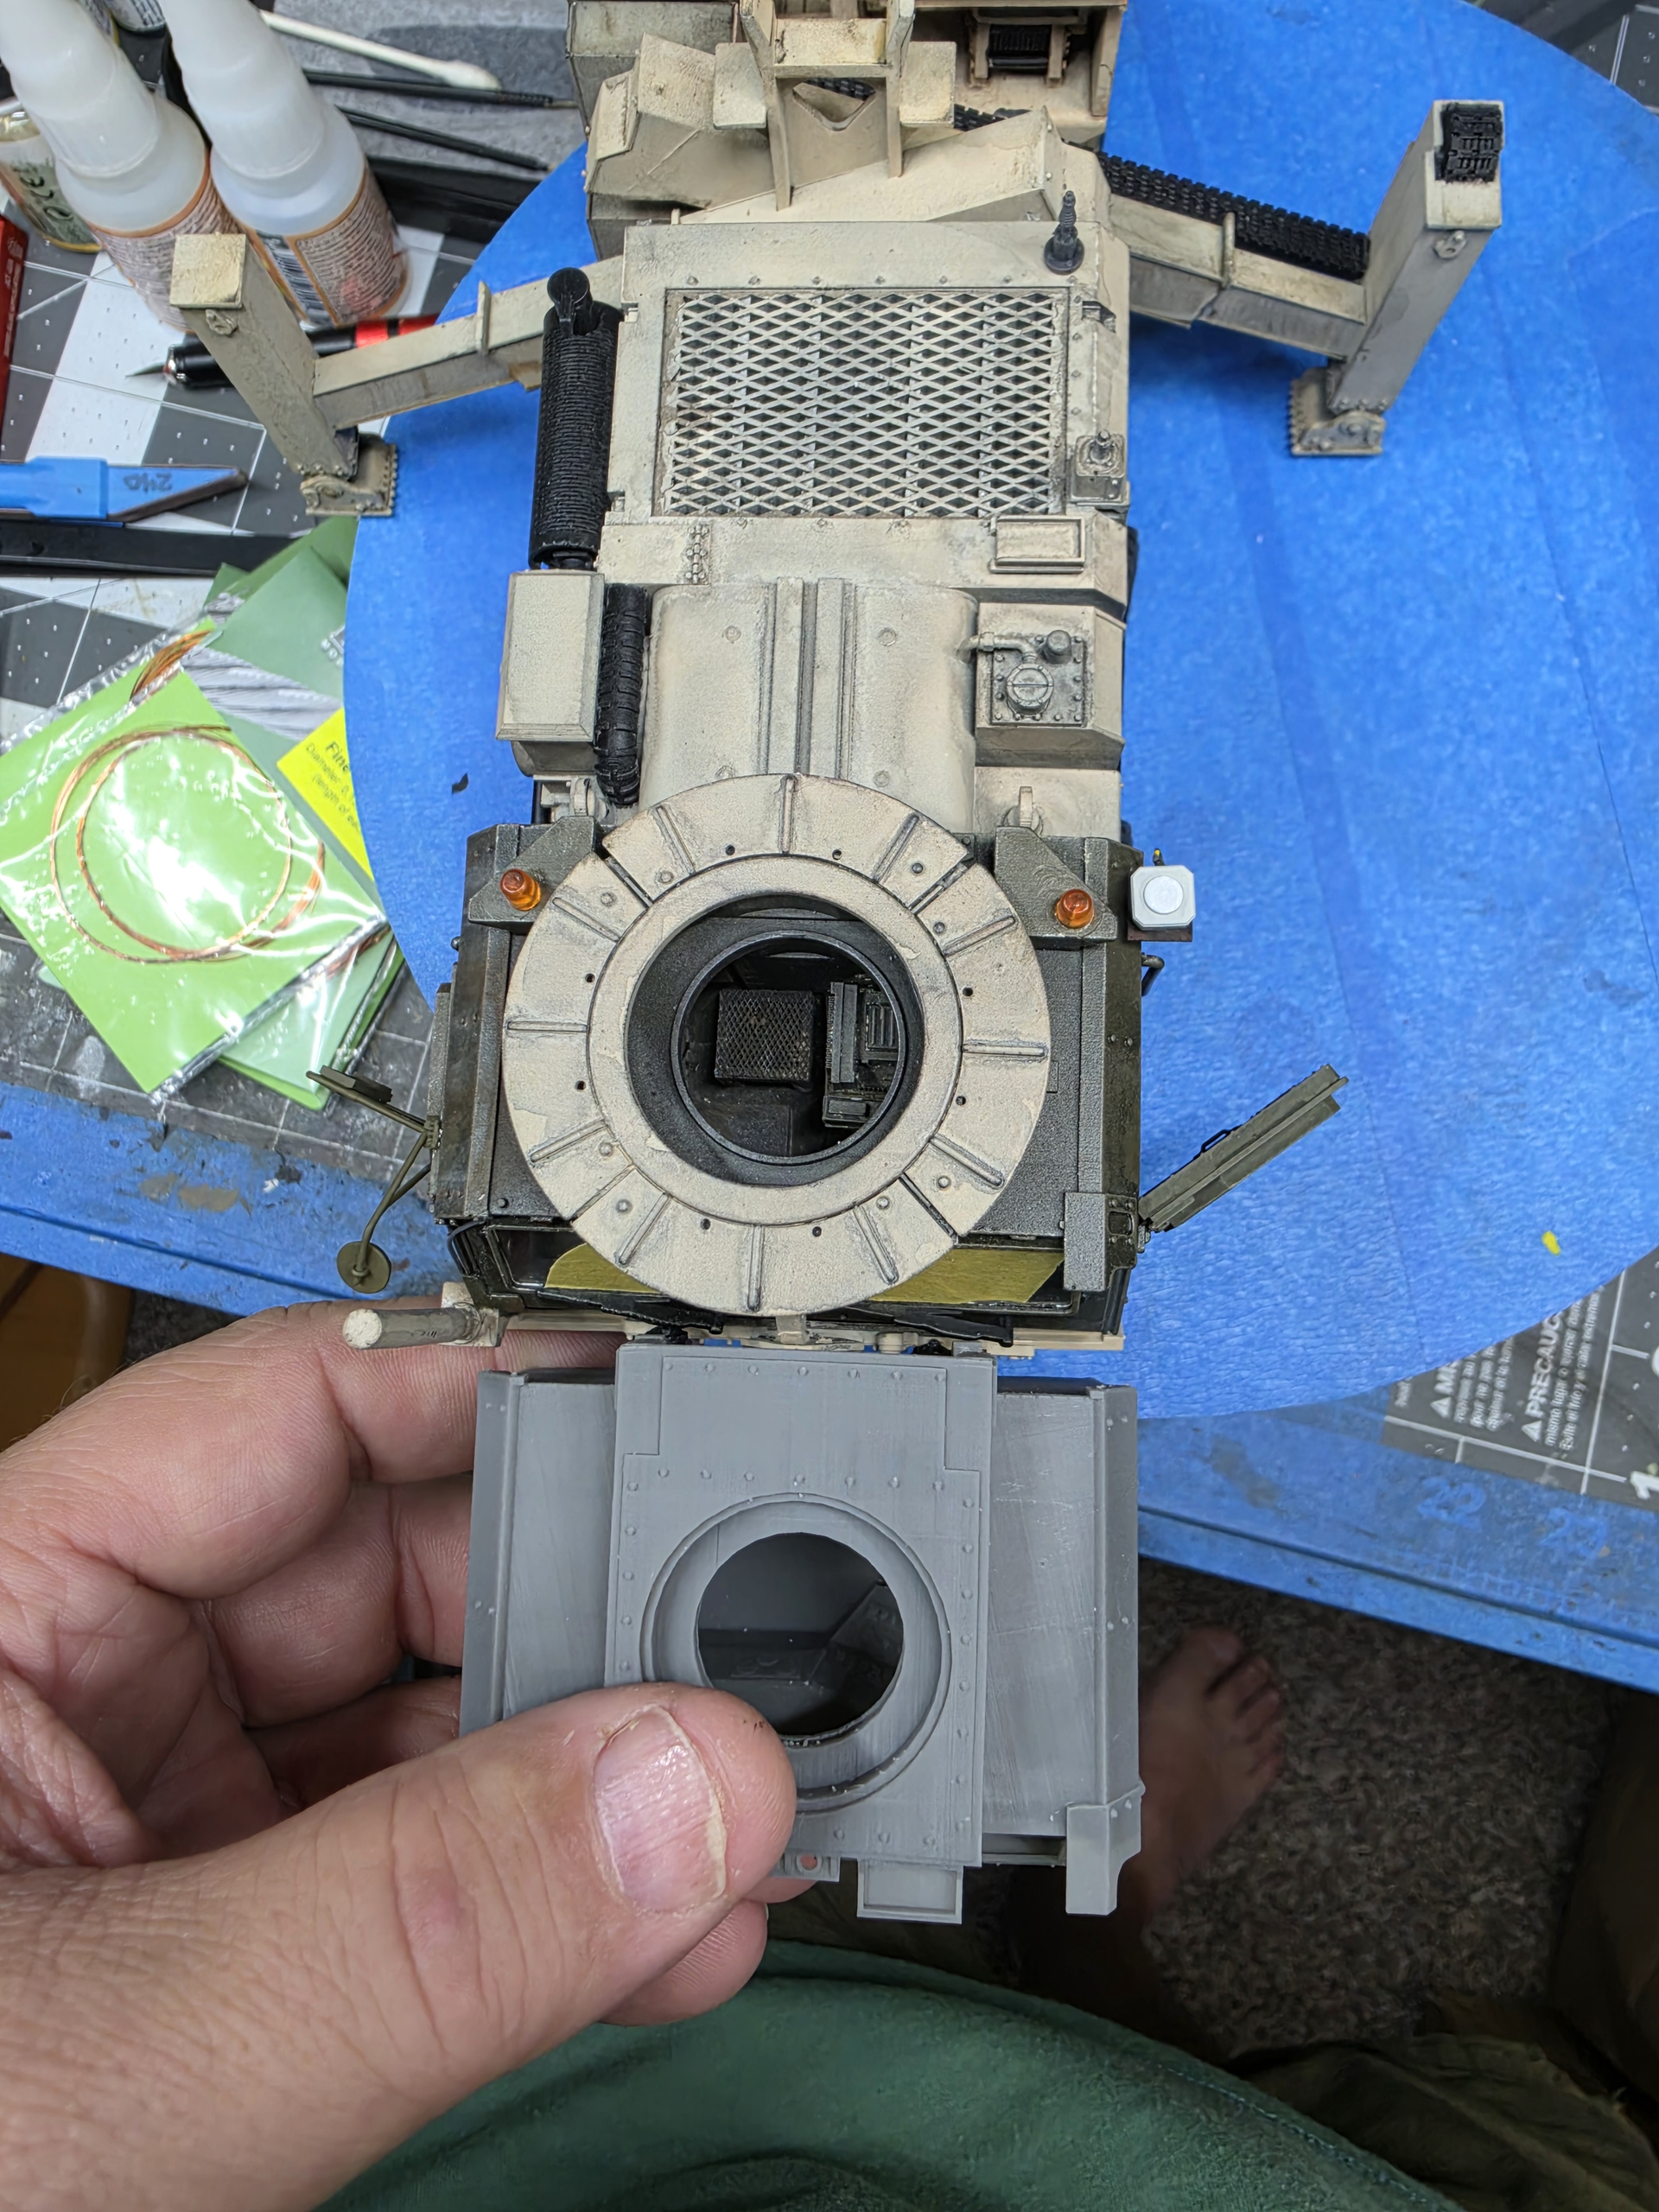
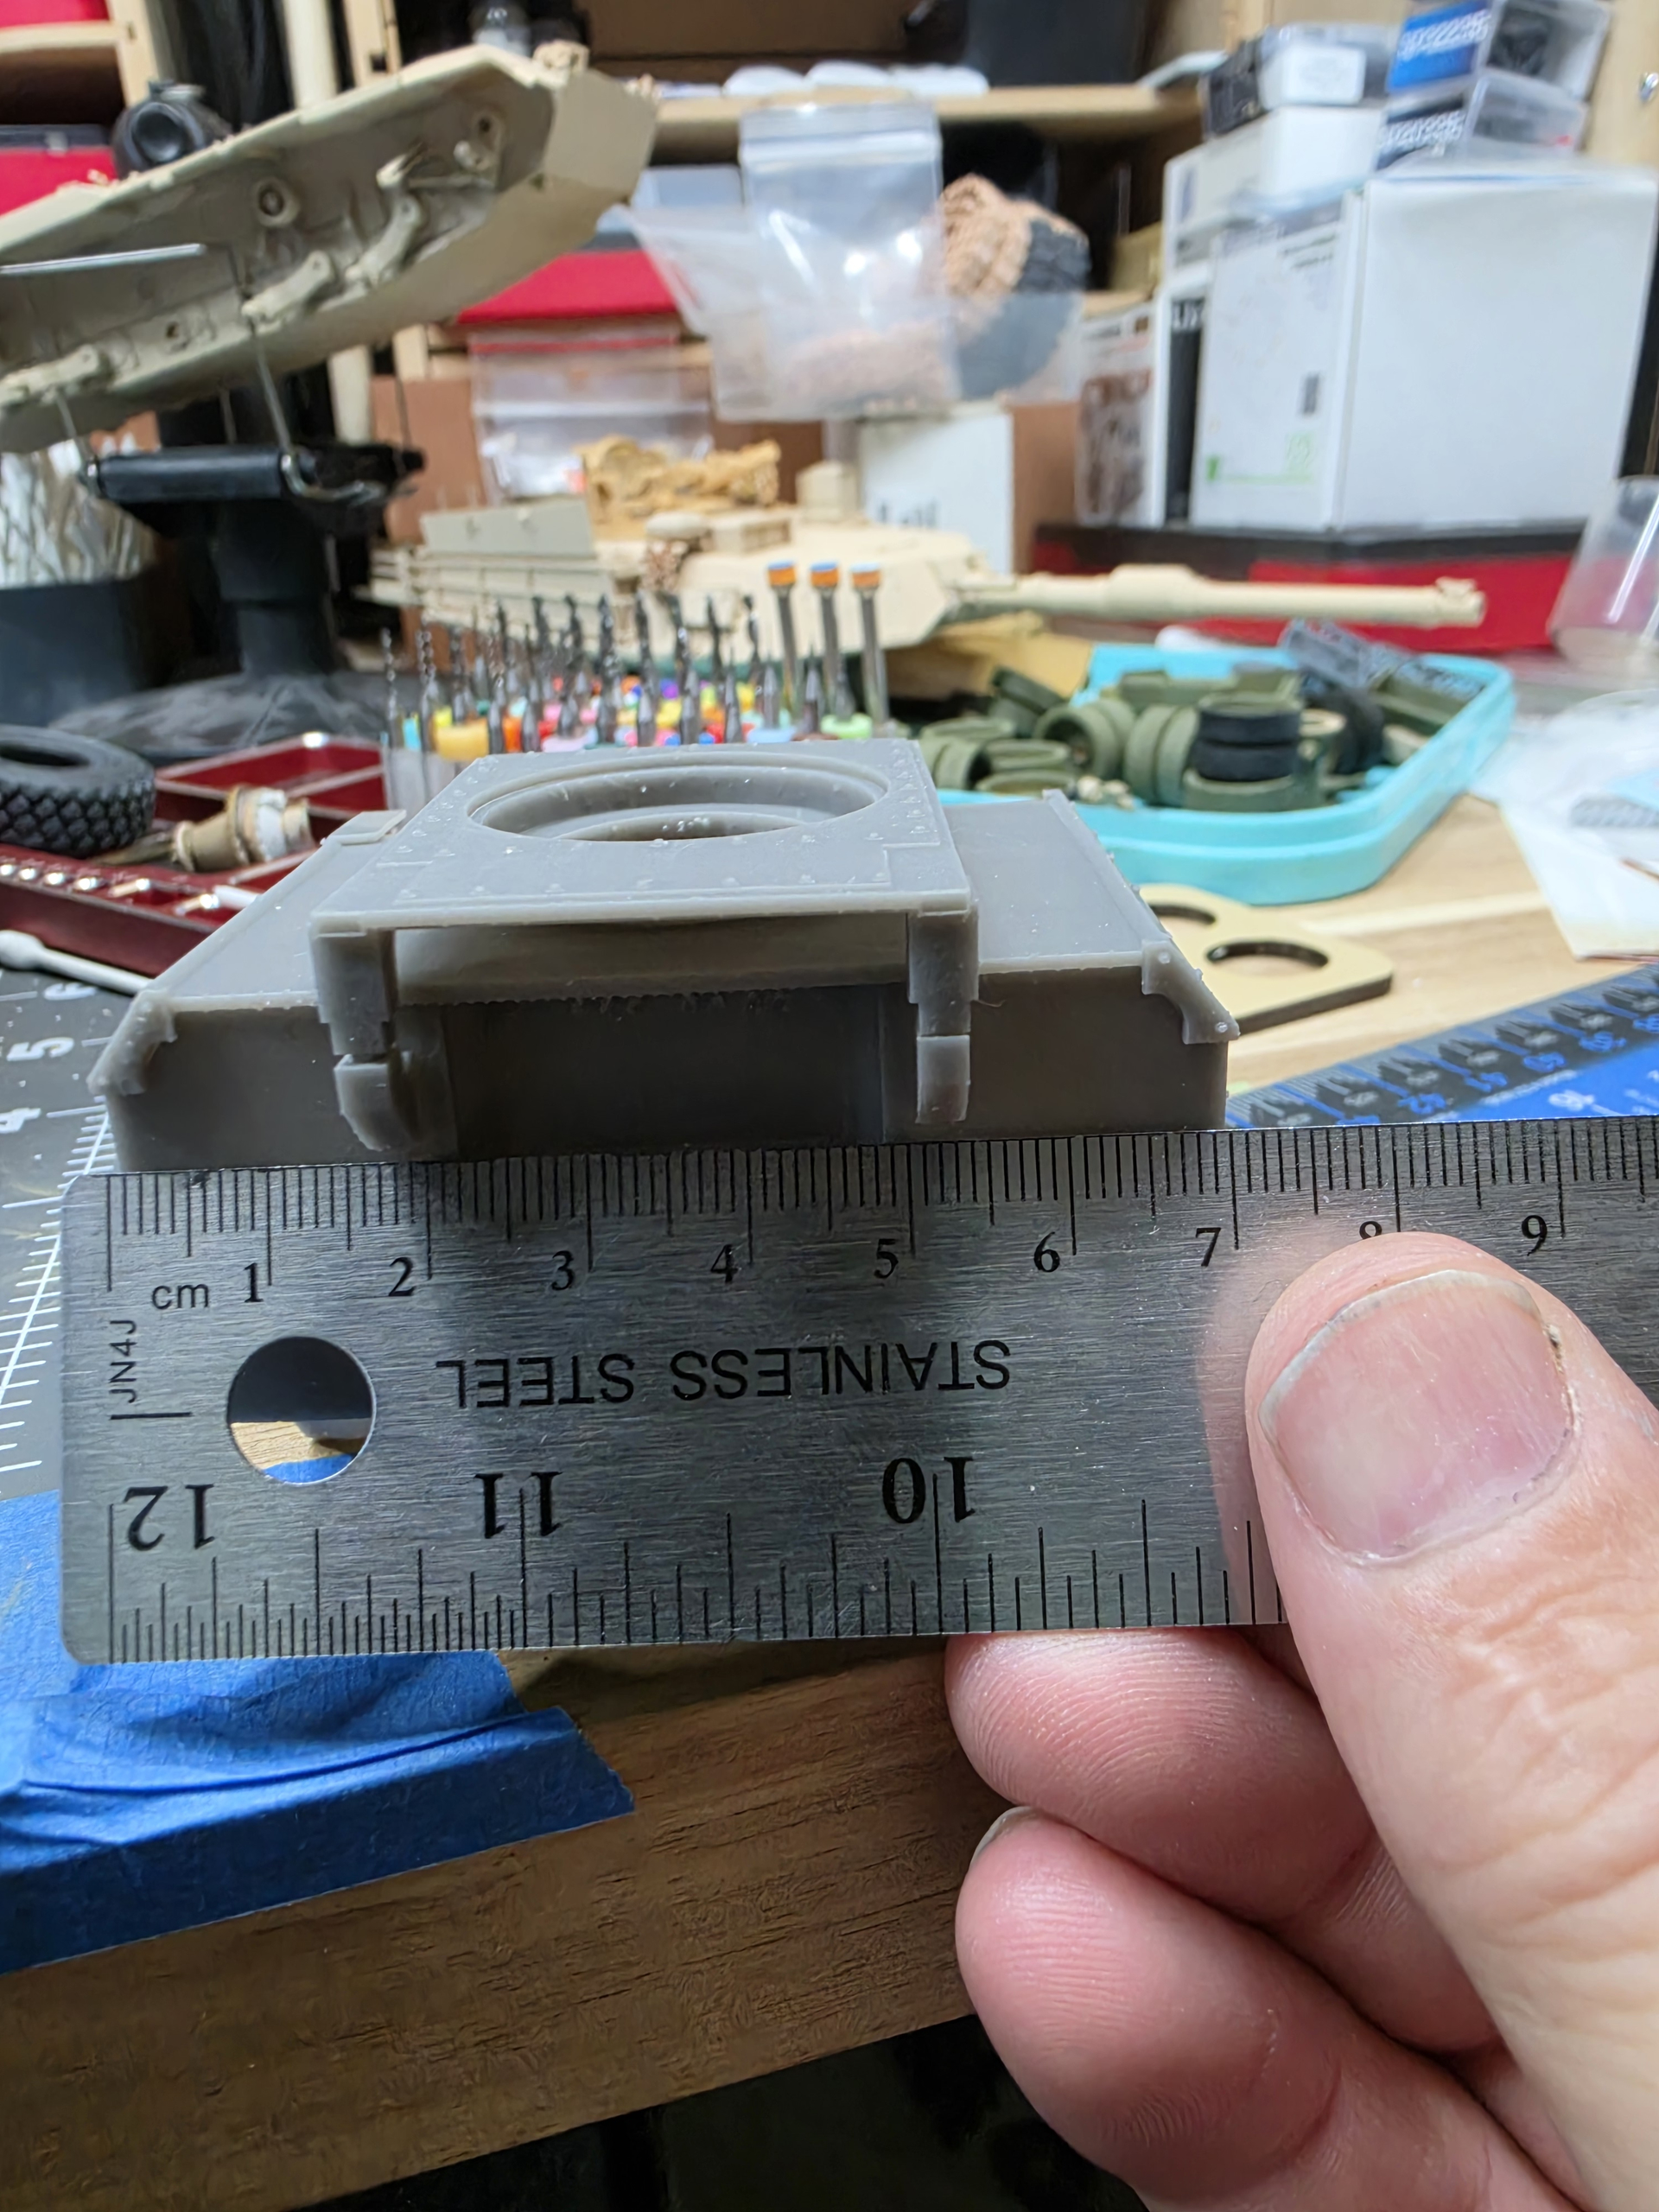
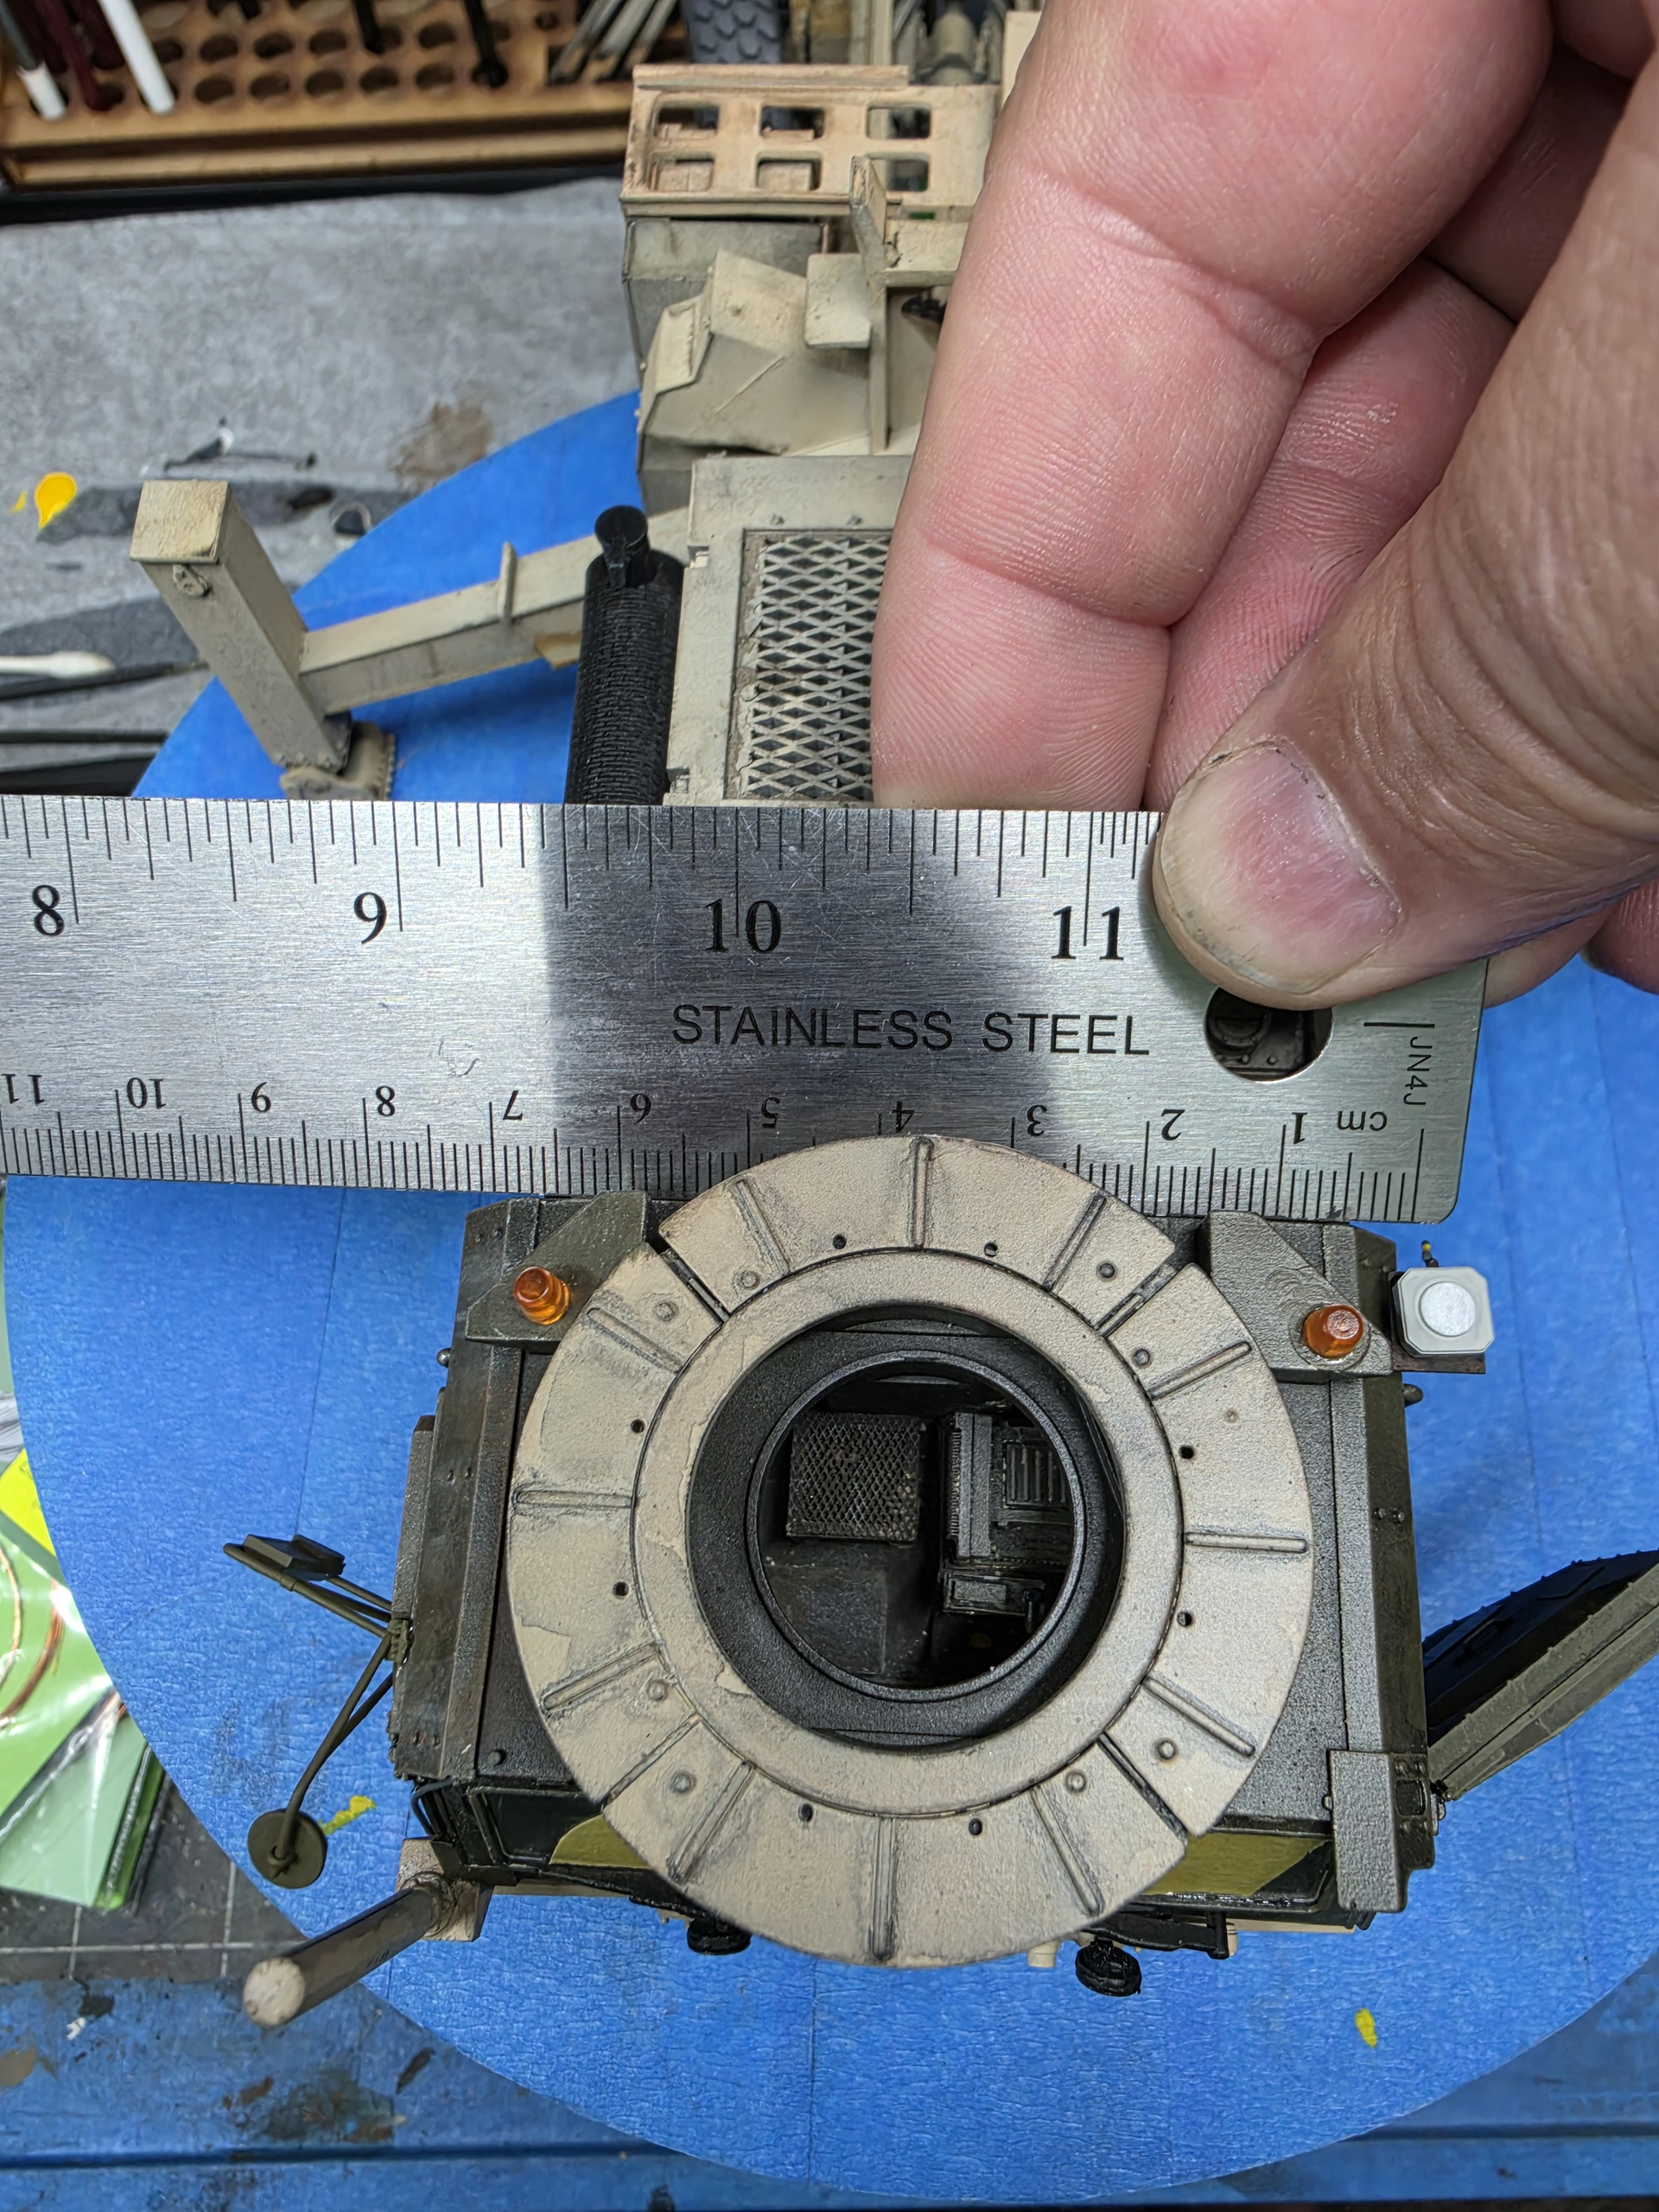
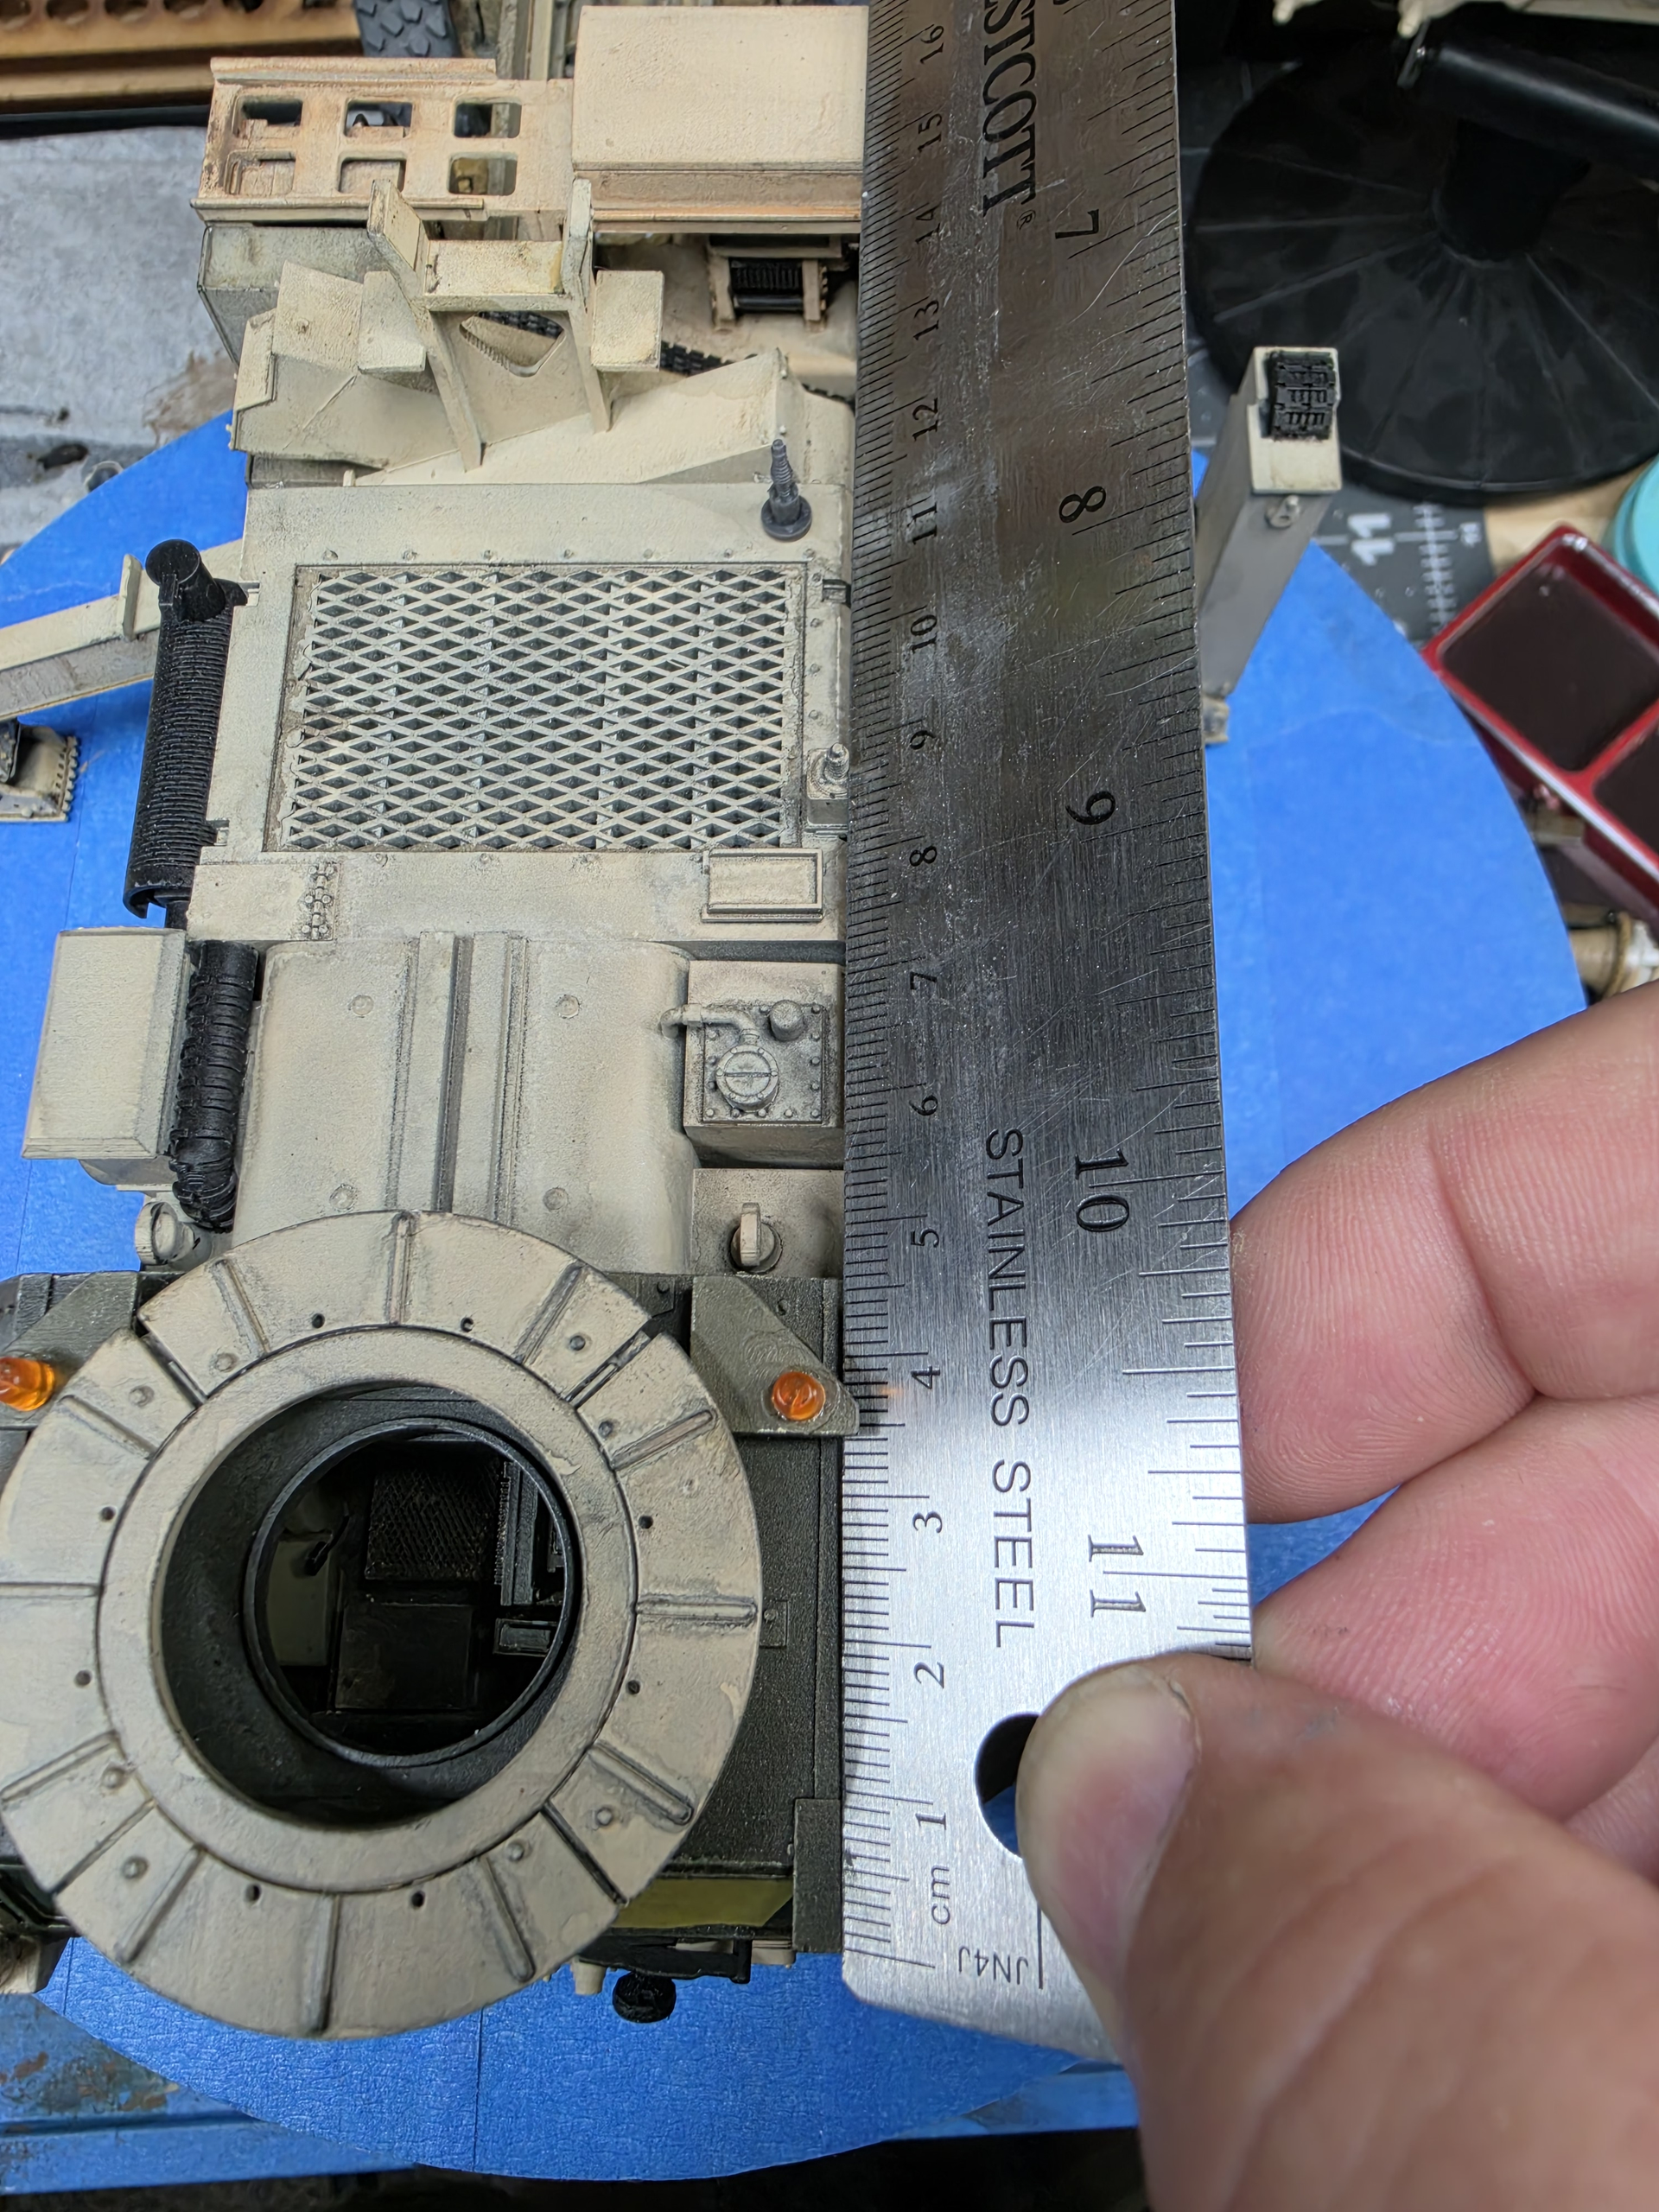
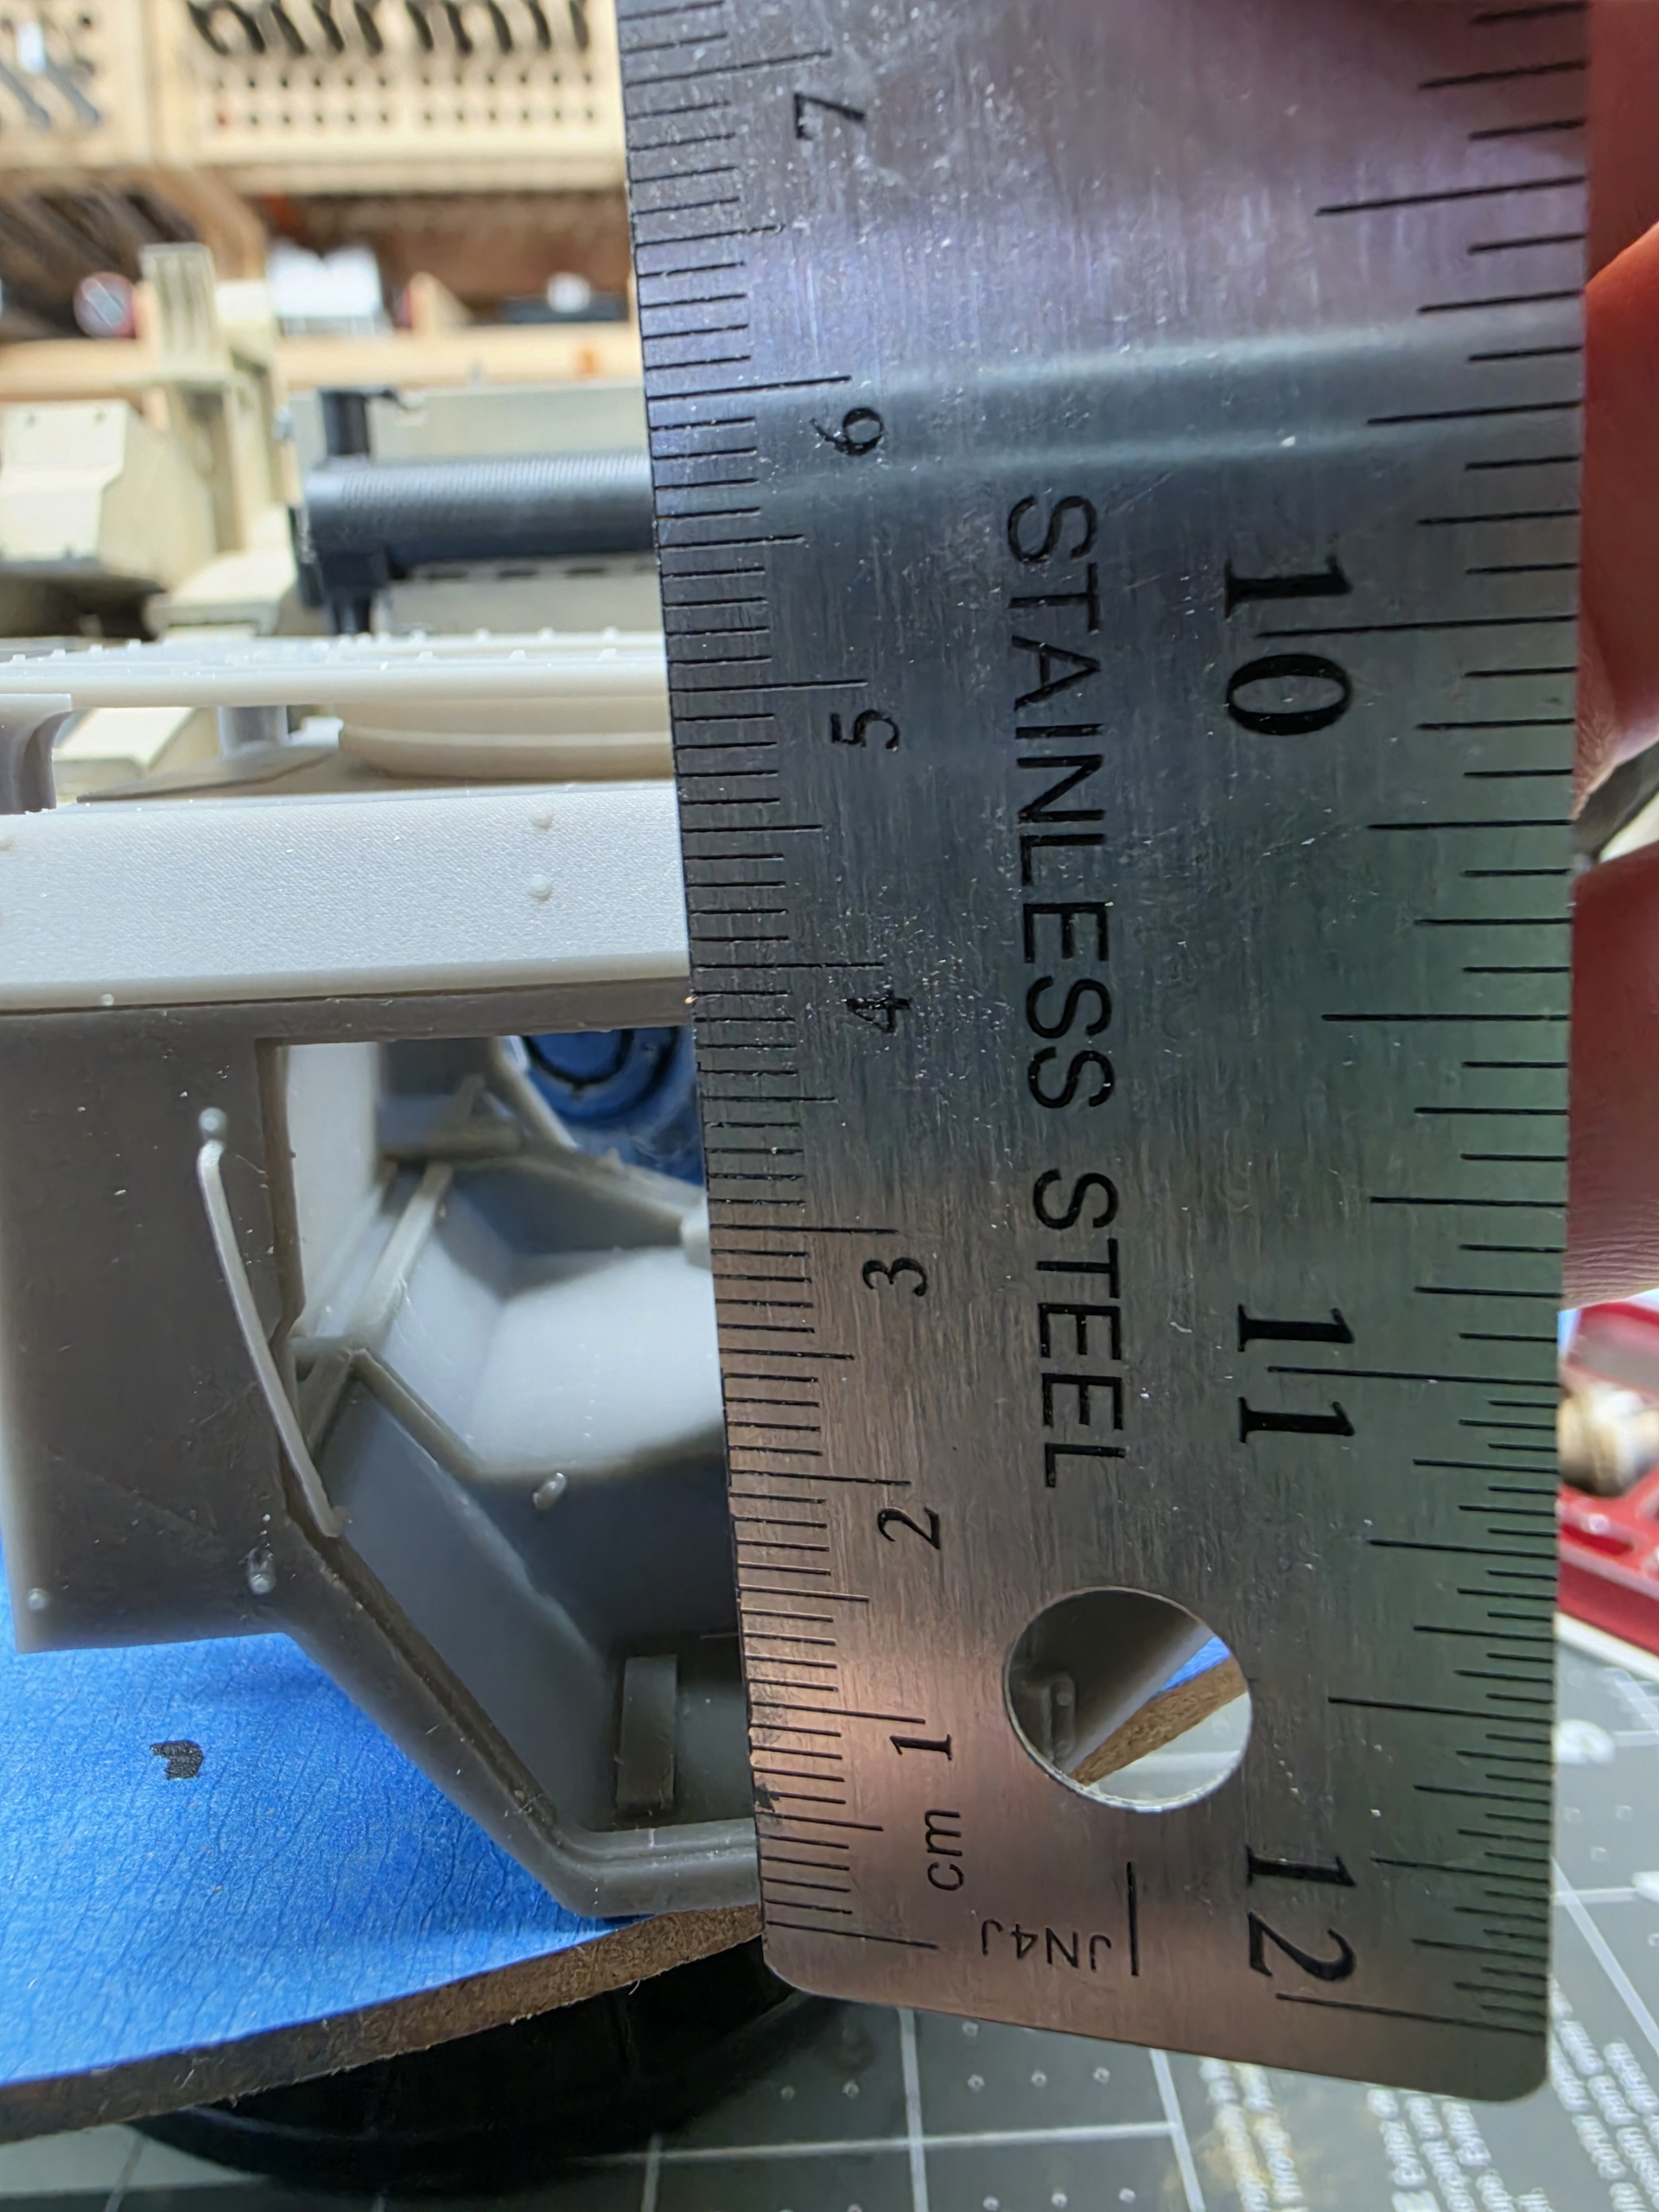
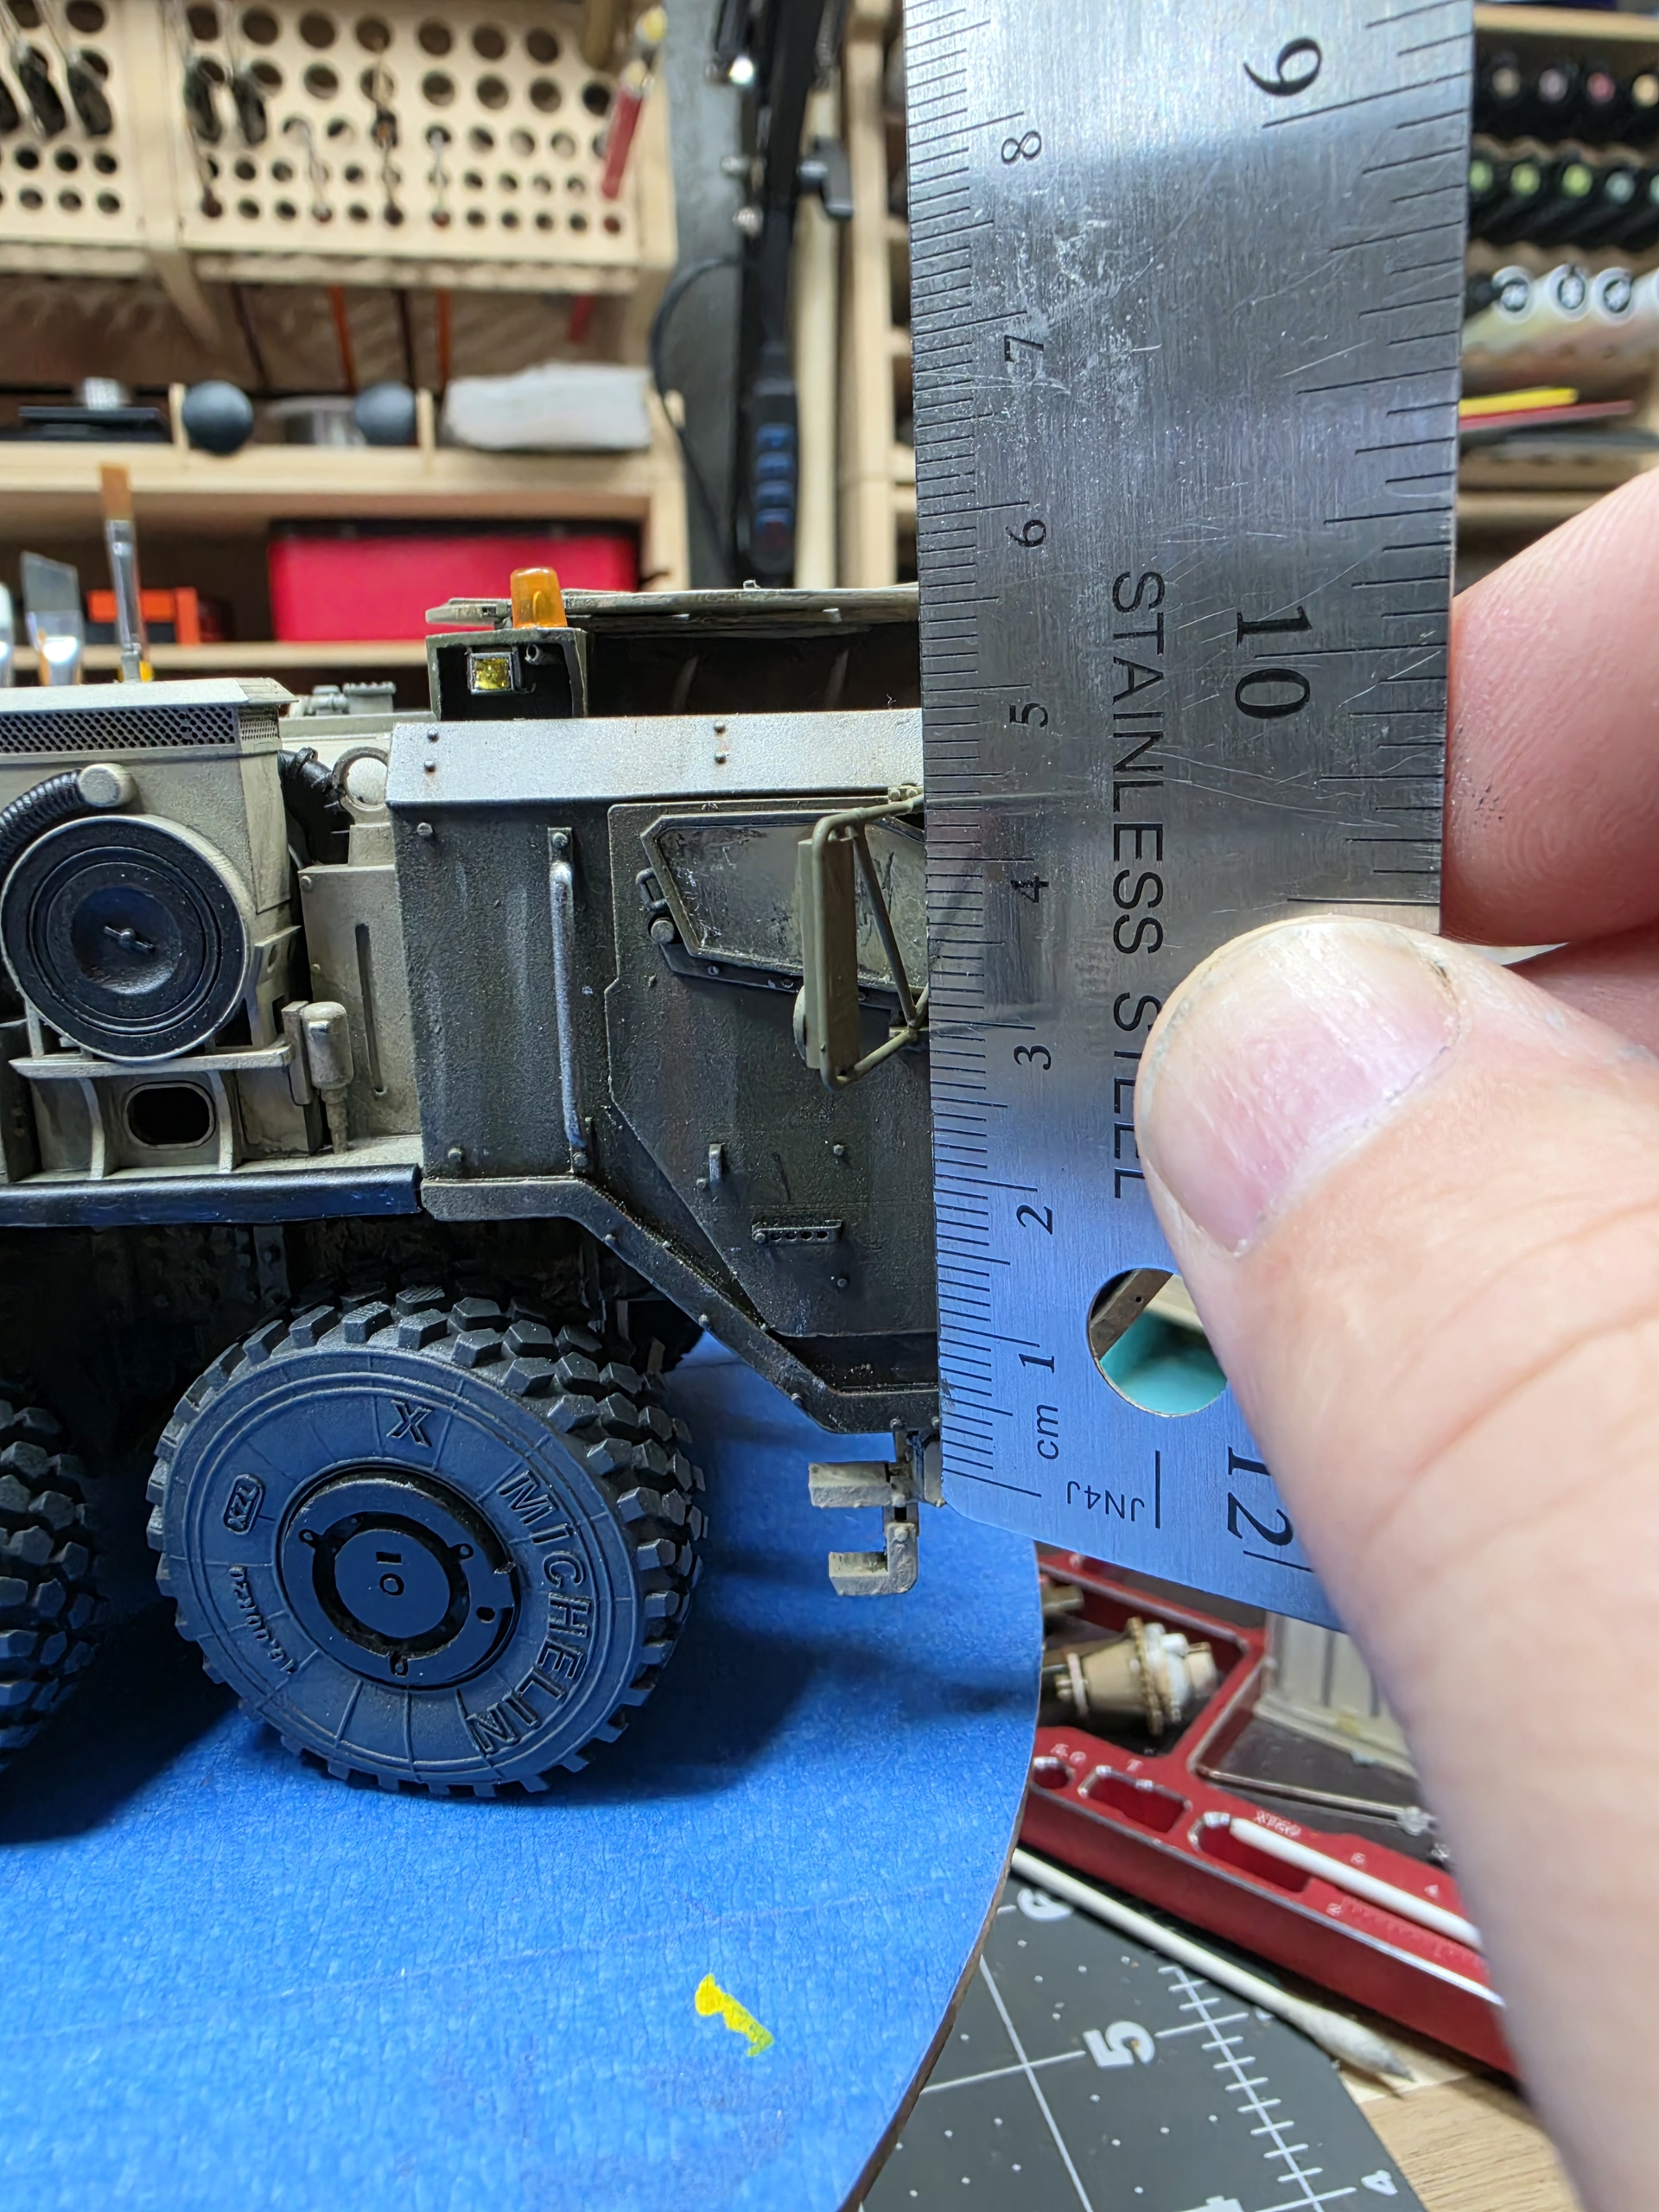
I figured i would start a thread for this resin kit build.
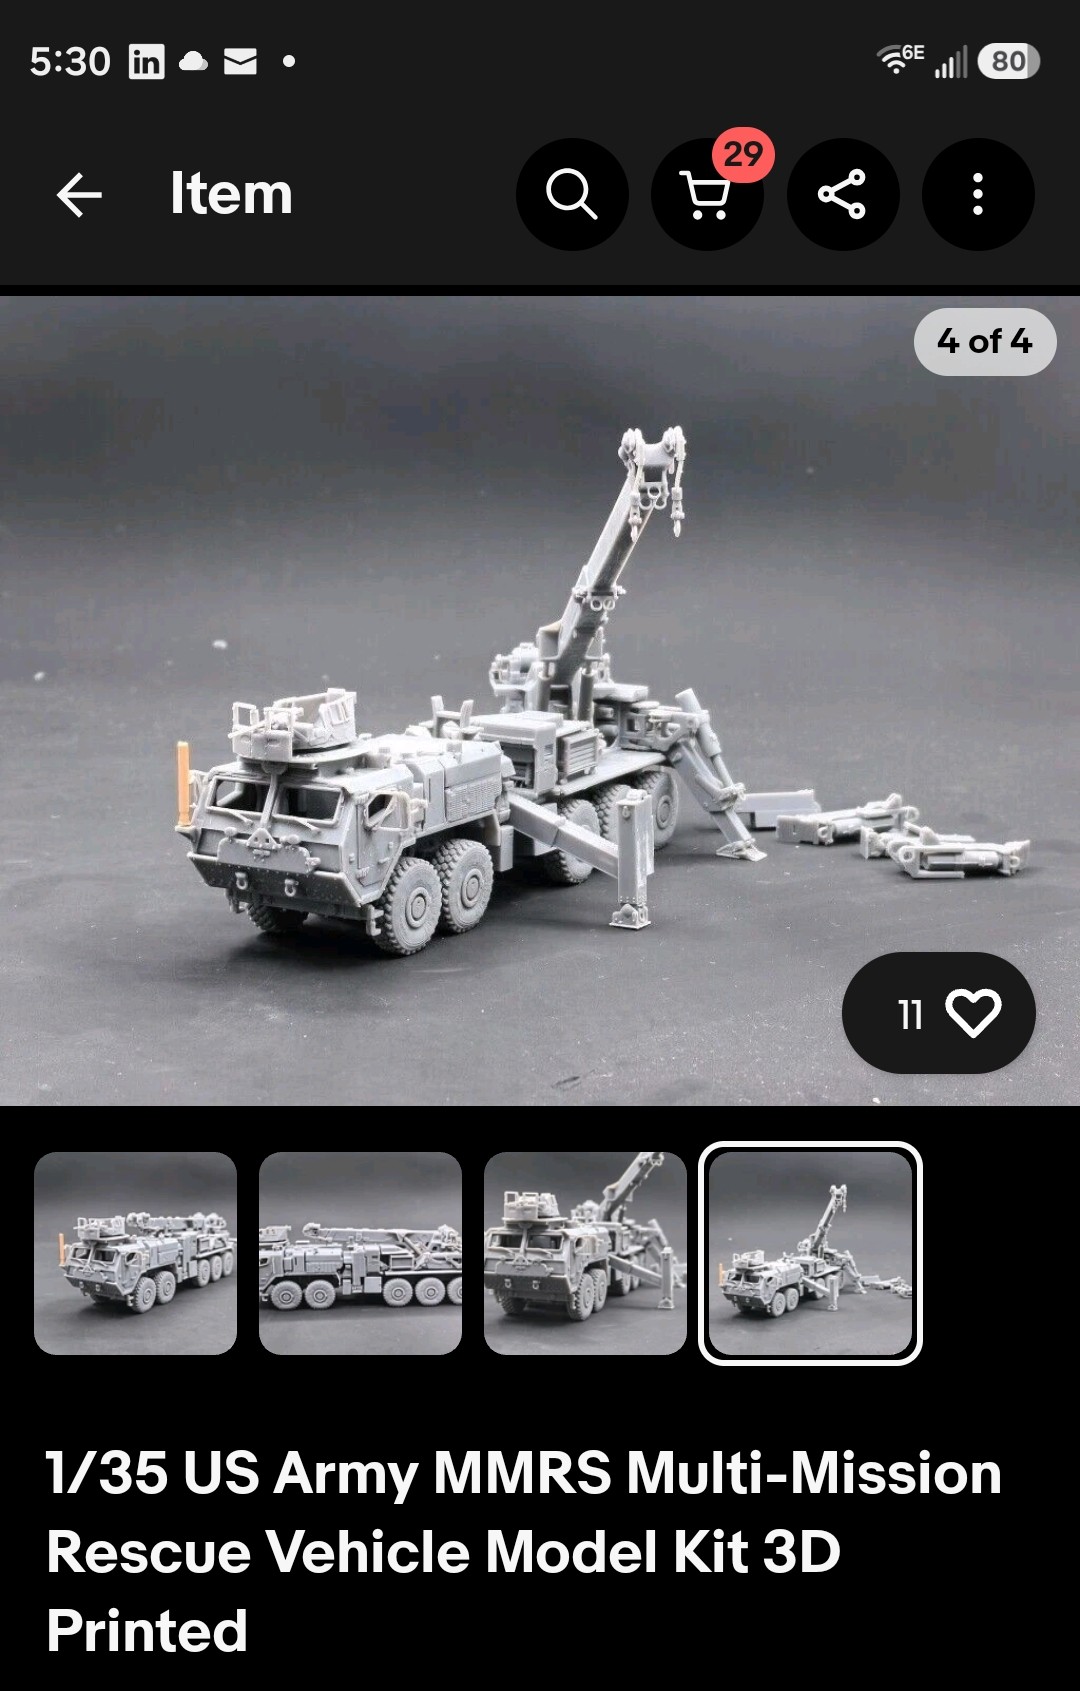
I purchased this to support the USMC M1A1 engine removal build that i am working through.
My understanding is that the USMC purchased 15 of these units to support heavy wrecker operations during the Afgan conflict.
I think this would make a fantastic kit from one of the mainstream model companies but since this is such a niche I doubt we will ever see it.
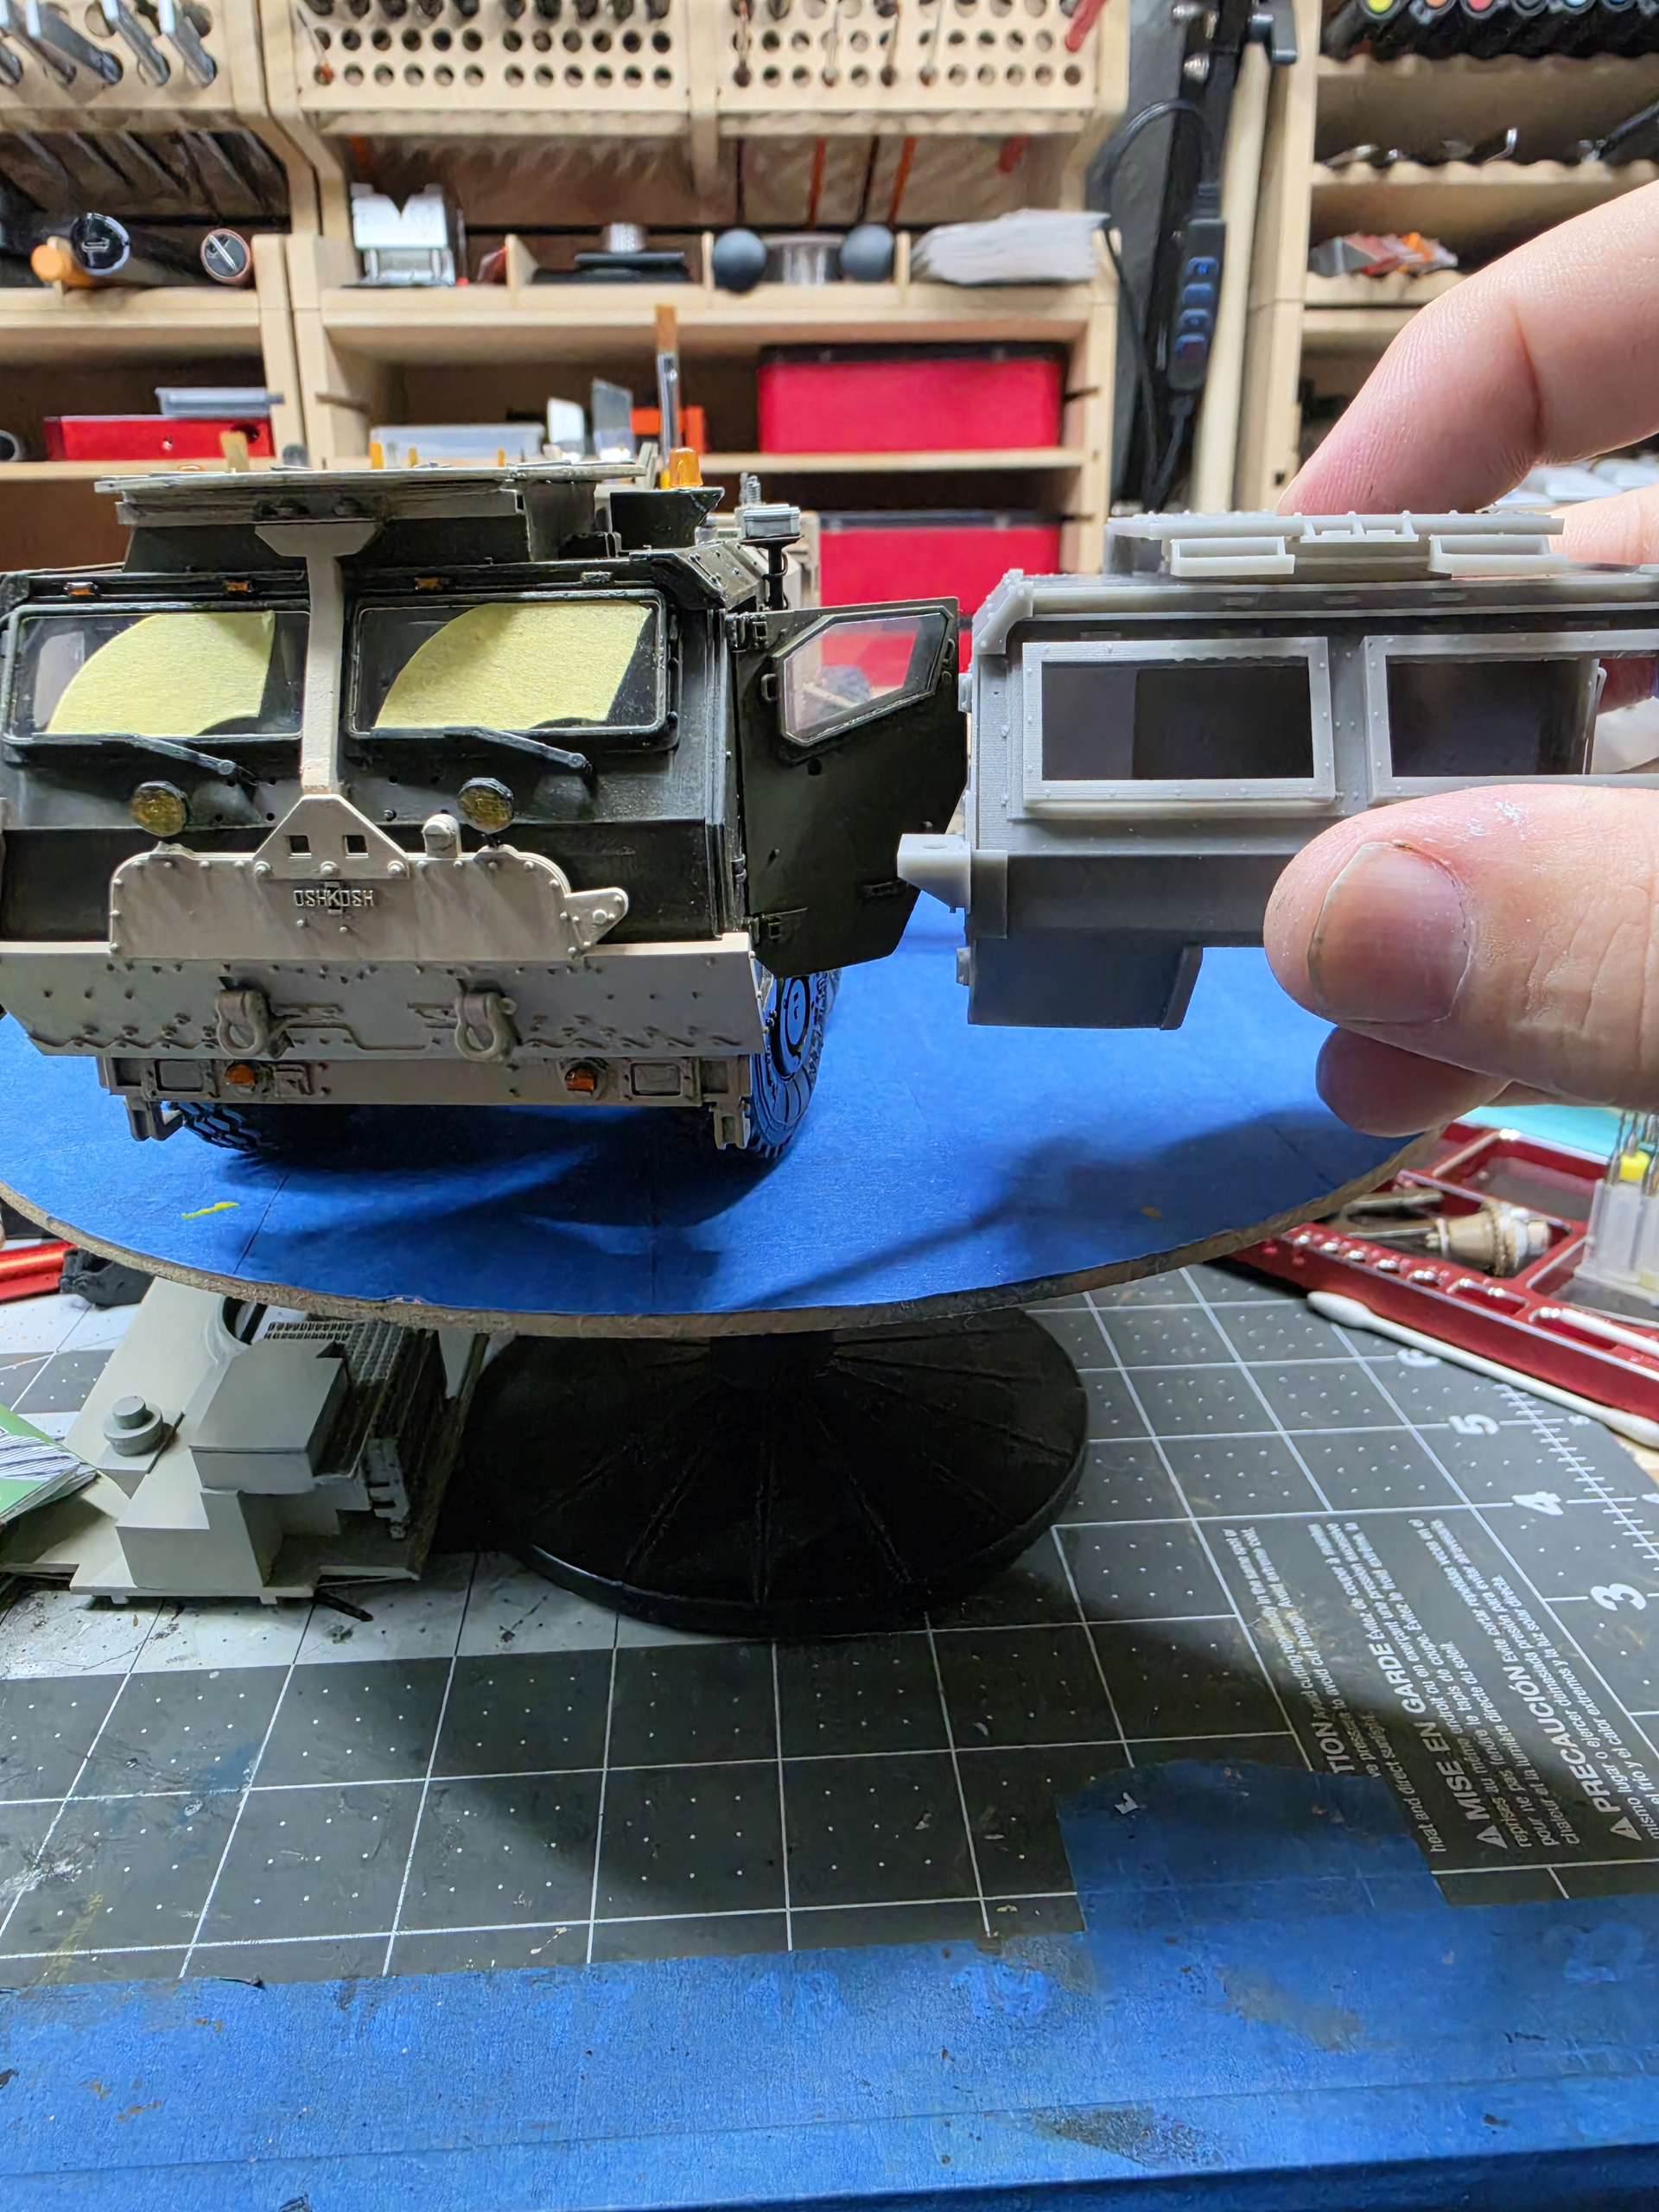
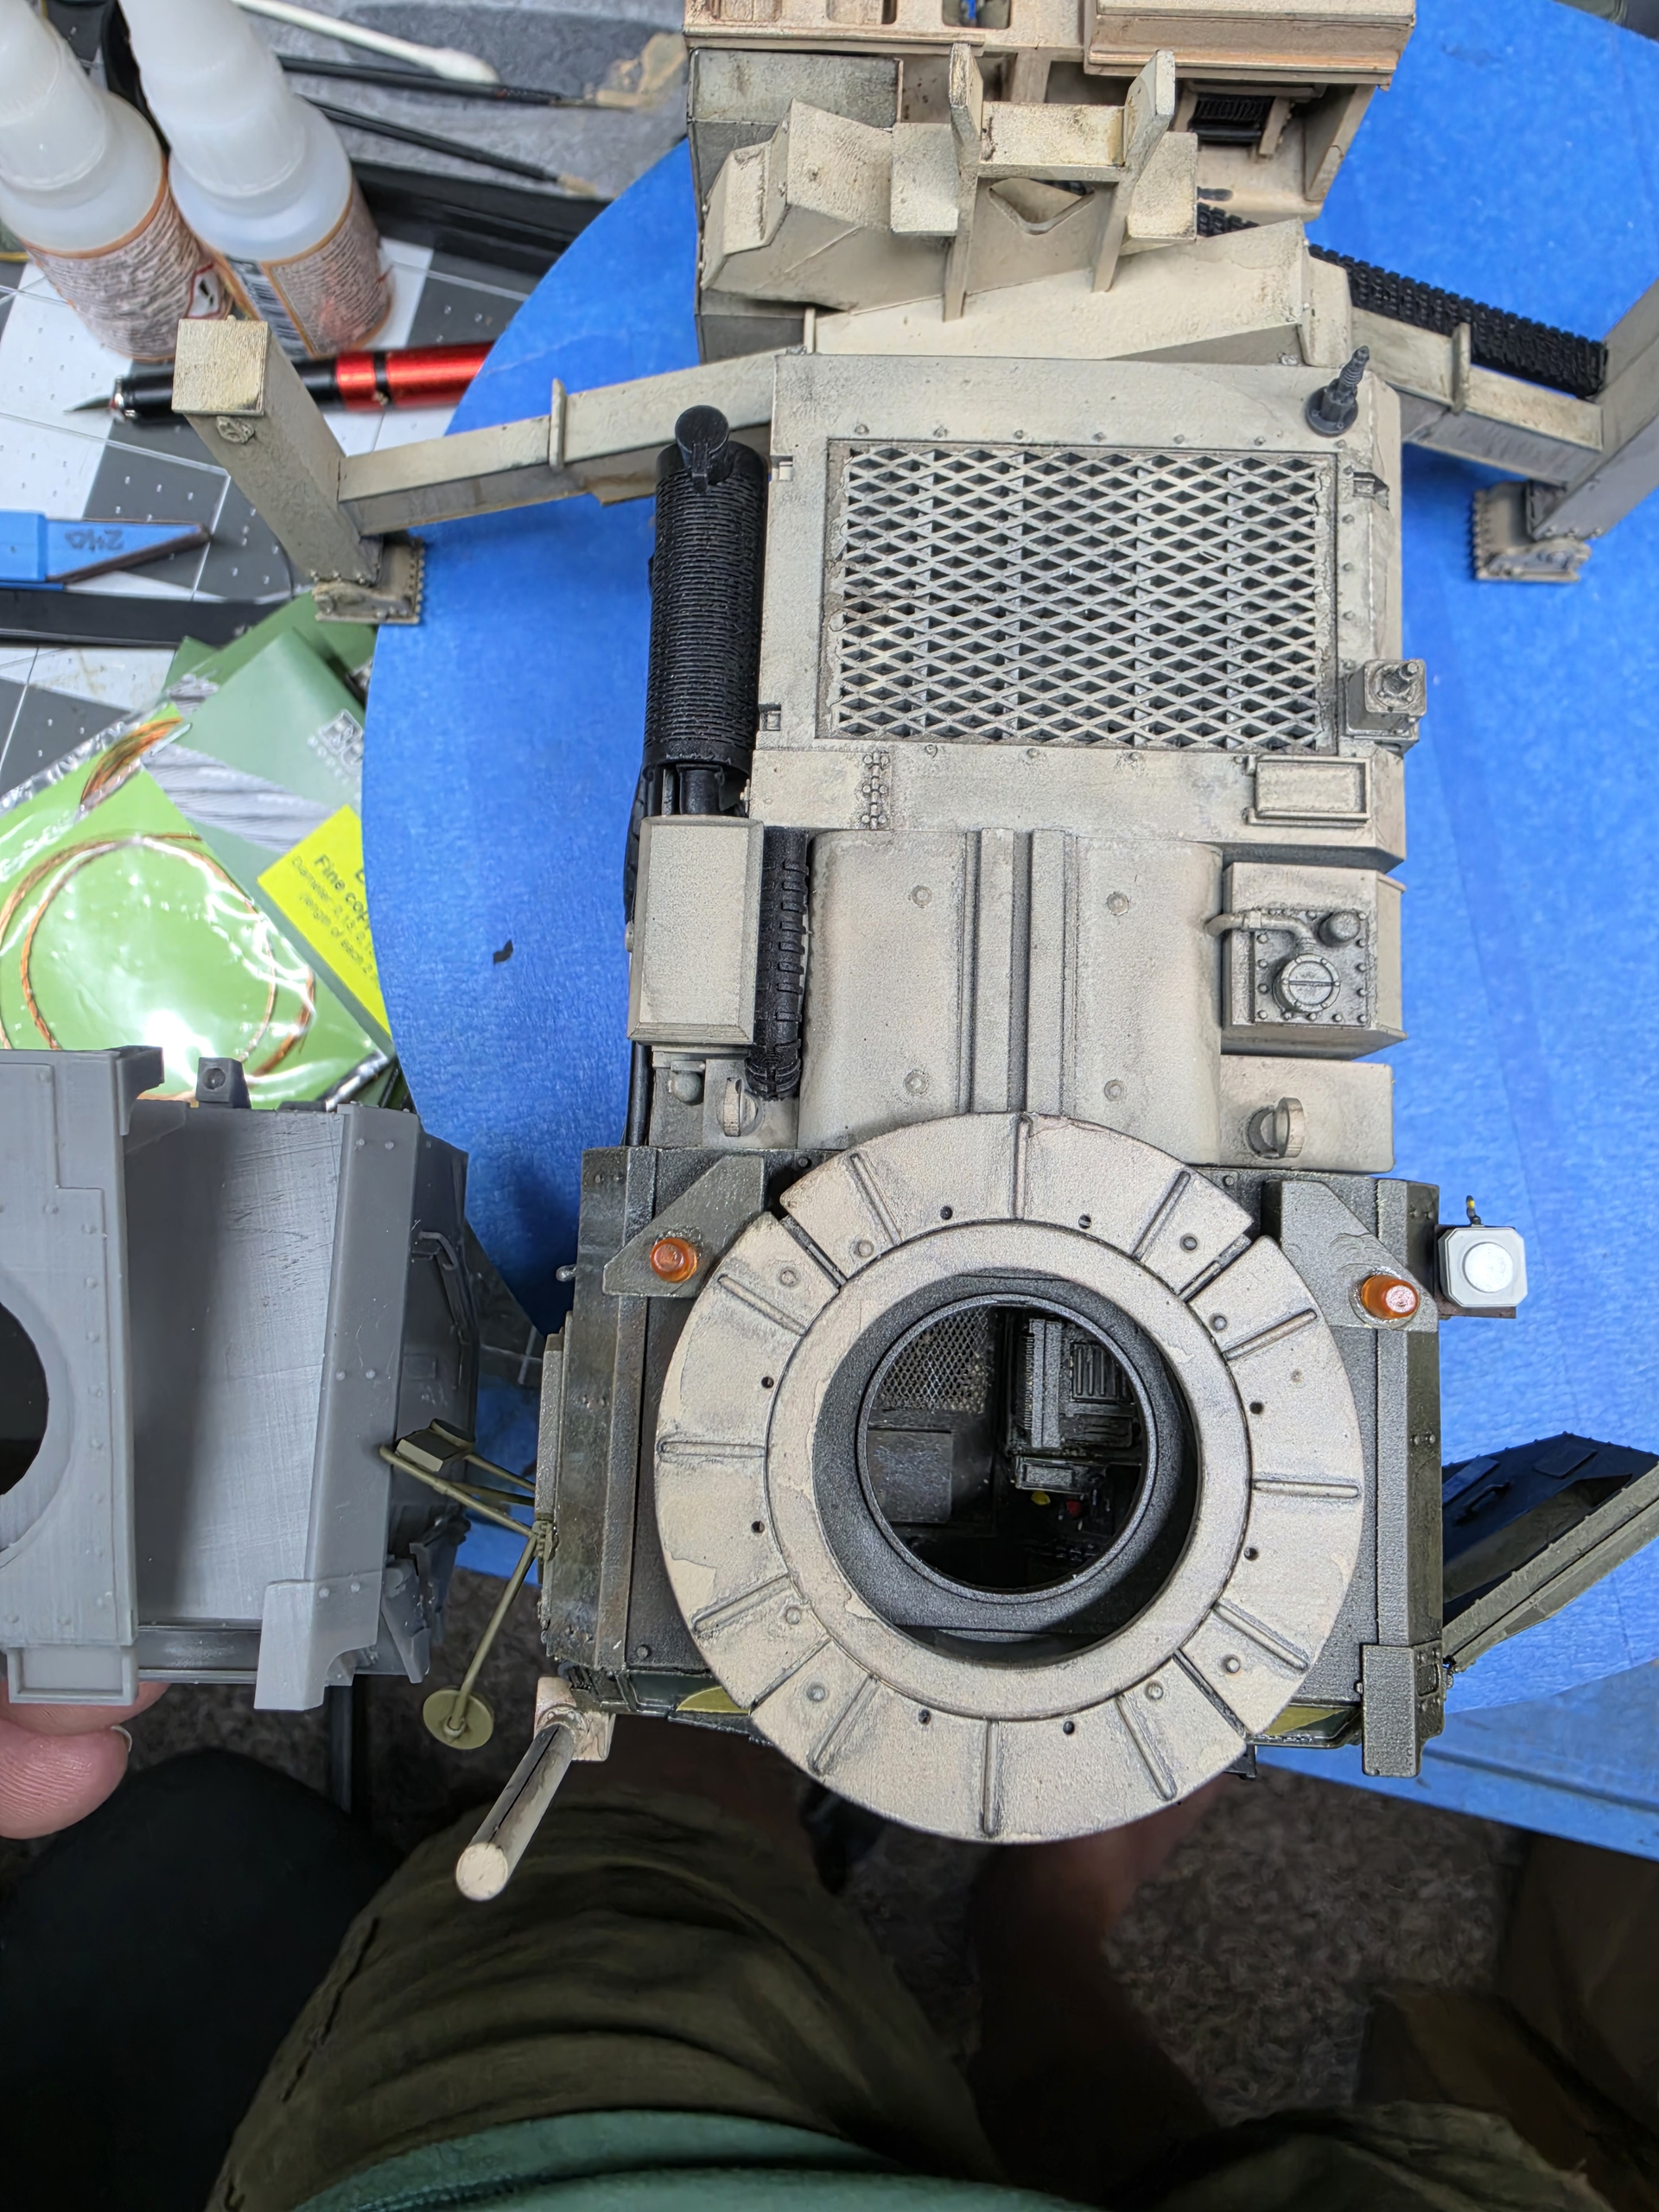
So first let’s discuss the resin kit quality. The prints are detailed and reasonably accurate however the parts are large blocks which will make detailing more difficult. Examples of this are the molded 1 piece cab, have fun painting the interior.
No instructions come with the kit so you get to do some forensic modeling. Do not glue until you are certain it is constructed correctly. Even with all that it’s a fairly easy assembly. Parts come off the trees pretty well and assembly is intuitive while looking at photos. It was confusing to have extra parts but I believe that was done as a final QC before it shipped to me.
Next difficult task will be setting the wheels turned since the 1 piece chassis is cast in the straight orientation. The hubs are loose enough that with a little putty I can create the look although close inspection will daylight the chassis orientation.
Watch out for chipping !! Cast resin is easy to break or chip. This being my first resin build i am learning some finesse. Small parts like to break if handled roughly. This also make modifications more difficult but with a plan some patients, and a good glass of whiskey, it can be accomplished.
Painting for me this is a chance to learn how to airbrush better. Other than running the sprayer full out I have not really learned how to set up and airbrush with detail in mind. This kit makes a good canvass to challenge my skills.
Customization,
I butchered a reyfield MRAP radio set for what I believe is the Duke components. I used the PE to make a small angled rack that will sit next to the driver. This was the only place to put the electronics because the cab is really thick and the driver compartment suffers that.
Looking good! Great job so far. How did you paint the cab interior with it being printed enclosed? Not much room to maneuver an airbrush or even a paint brush.
I have not glued the blocks down to the chassis so i can manipulate then easier for painting. I airbrushed what I could as a base coat then did touch up with a brush. Once I had a good base coat down I then hit it with a healthy wash of black.
Next was to paint the black panels and steering column. This brings me to the current state. I will attempt some highlights on the green around the dashboard, doors and seats.
It’s a ship in a bottle approach for sure using small brushs, sniper brushes, even q-tips. I will post up some cab shots when it’s “finished”.
Looking forward to seeing the interior done. I have the armored cab only also from Zeus Model for my ILK LVSR MKR18 but not started yet. No idea where I will fit the kit once completed so it is still packed away.
Edit - @Frenchy Likely has it correct, the LVSR family came around in '04 but the MMRS may not have been officially deployed.
"Oshkosh finally announced in 2004 that they’d been given the green light by Uncle Sam to develop 3 LVSR (Logistics Vehicle System Replacement) prototypes for USMC testing.
After initial testing was completed, Oshkosh was awarded the contract to build the first production LVSR trucks in 2006 – a batch of 22 examples in various configurations. A few years would pass before these ten-wheeled behemoths saw use in operations though, with the LVSR making its field debut in Afghanistan in September 2009."
According to Google AI
“*Oshkosh Multi-Mission Recovery System (MMRS) did not see active operational deployment in Afghanistan. Instead, it was developed and showcased as an advanced technology demonstrator to solve a specific problem identified during the Afghanistan conflict: the extreme difficulty of recovering heavily armored Mine-Resistant Ambush-Protected (MRAP) vehicles from rugged, off-road terrain…/…While the specific 360° rotating boom MMRS variant remained a demonstrator vehicle, Oshkosh deployed two other heavy-duty wreckers to handle Afghanistan recovery missions: • Oshkosh LVSR MKR15 Wrecker: This was the official, standardized U.S. Marine Corps heavy recovery variant. It arrived in theater starting in late 2009. It utilized the same 10x10 chassis and under-cab armor protection as the MMRS but relied on a traditional rear-lift retrieval system rather than the rotating boom. It was highly successful in flat-towing up to 55 tons and pulling stuck vehicles out of the Afghan desert.
*• Oshkosh HEMTT M984A4 Wrecker: The U.S. Army relied on this 8x8 heavy tactical recovery vehicle. Armed with underbody armor kits specifically ordered to protect crews during recovery missions in Afghanistan, it utilized a crane and a 60,000 lb retrieval winch to rescue crippled wheeled military vehicles **.”
Tonight I was able to sit and do some work on the cab interior.
Only thing left will be to paint seats and add some seat belts. Then I think I will call it done inside. Clean up some over dusting and add the passenger door along with the glass.
Yesterday I added seat belts and base color to the seats. More to come in the cab as I clean up some things.
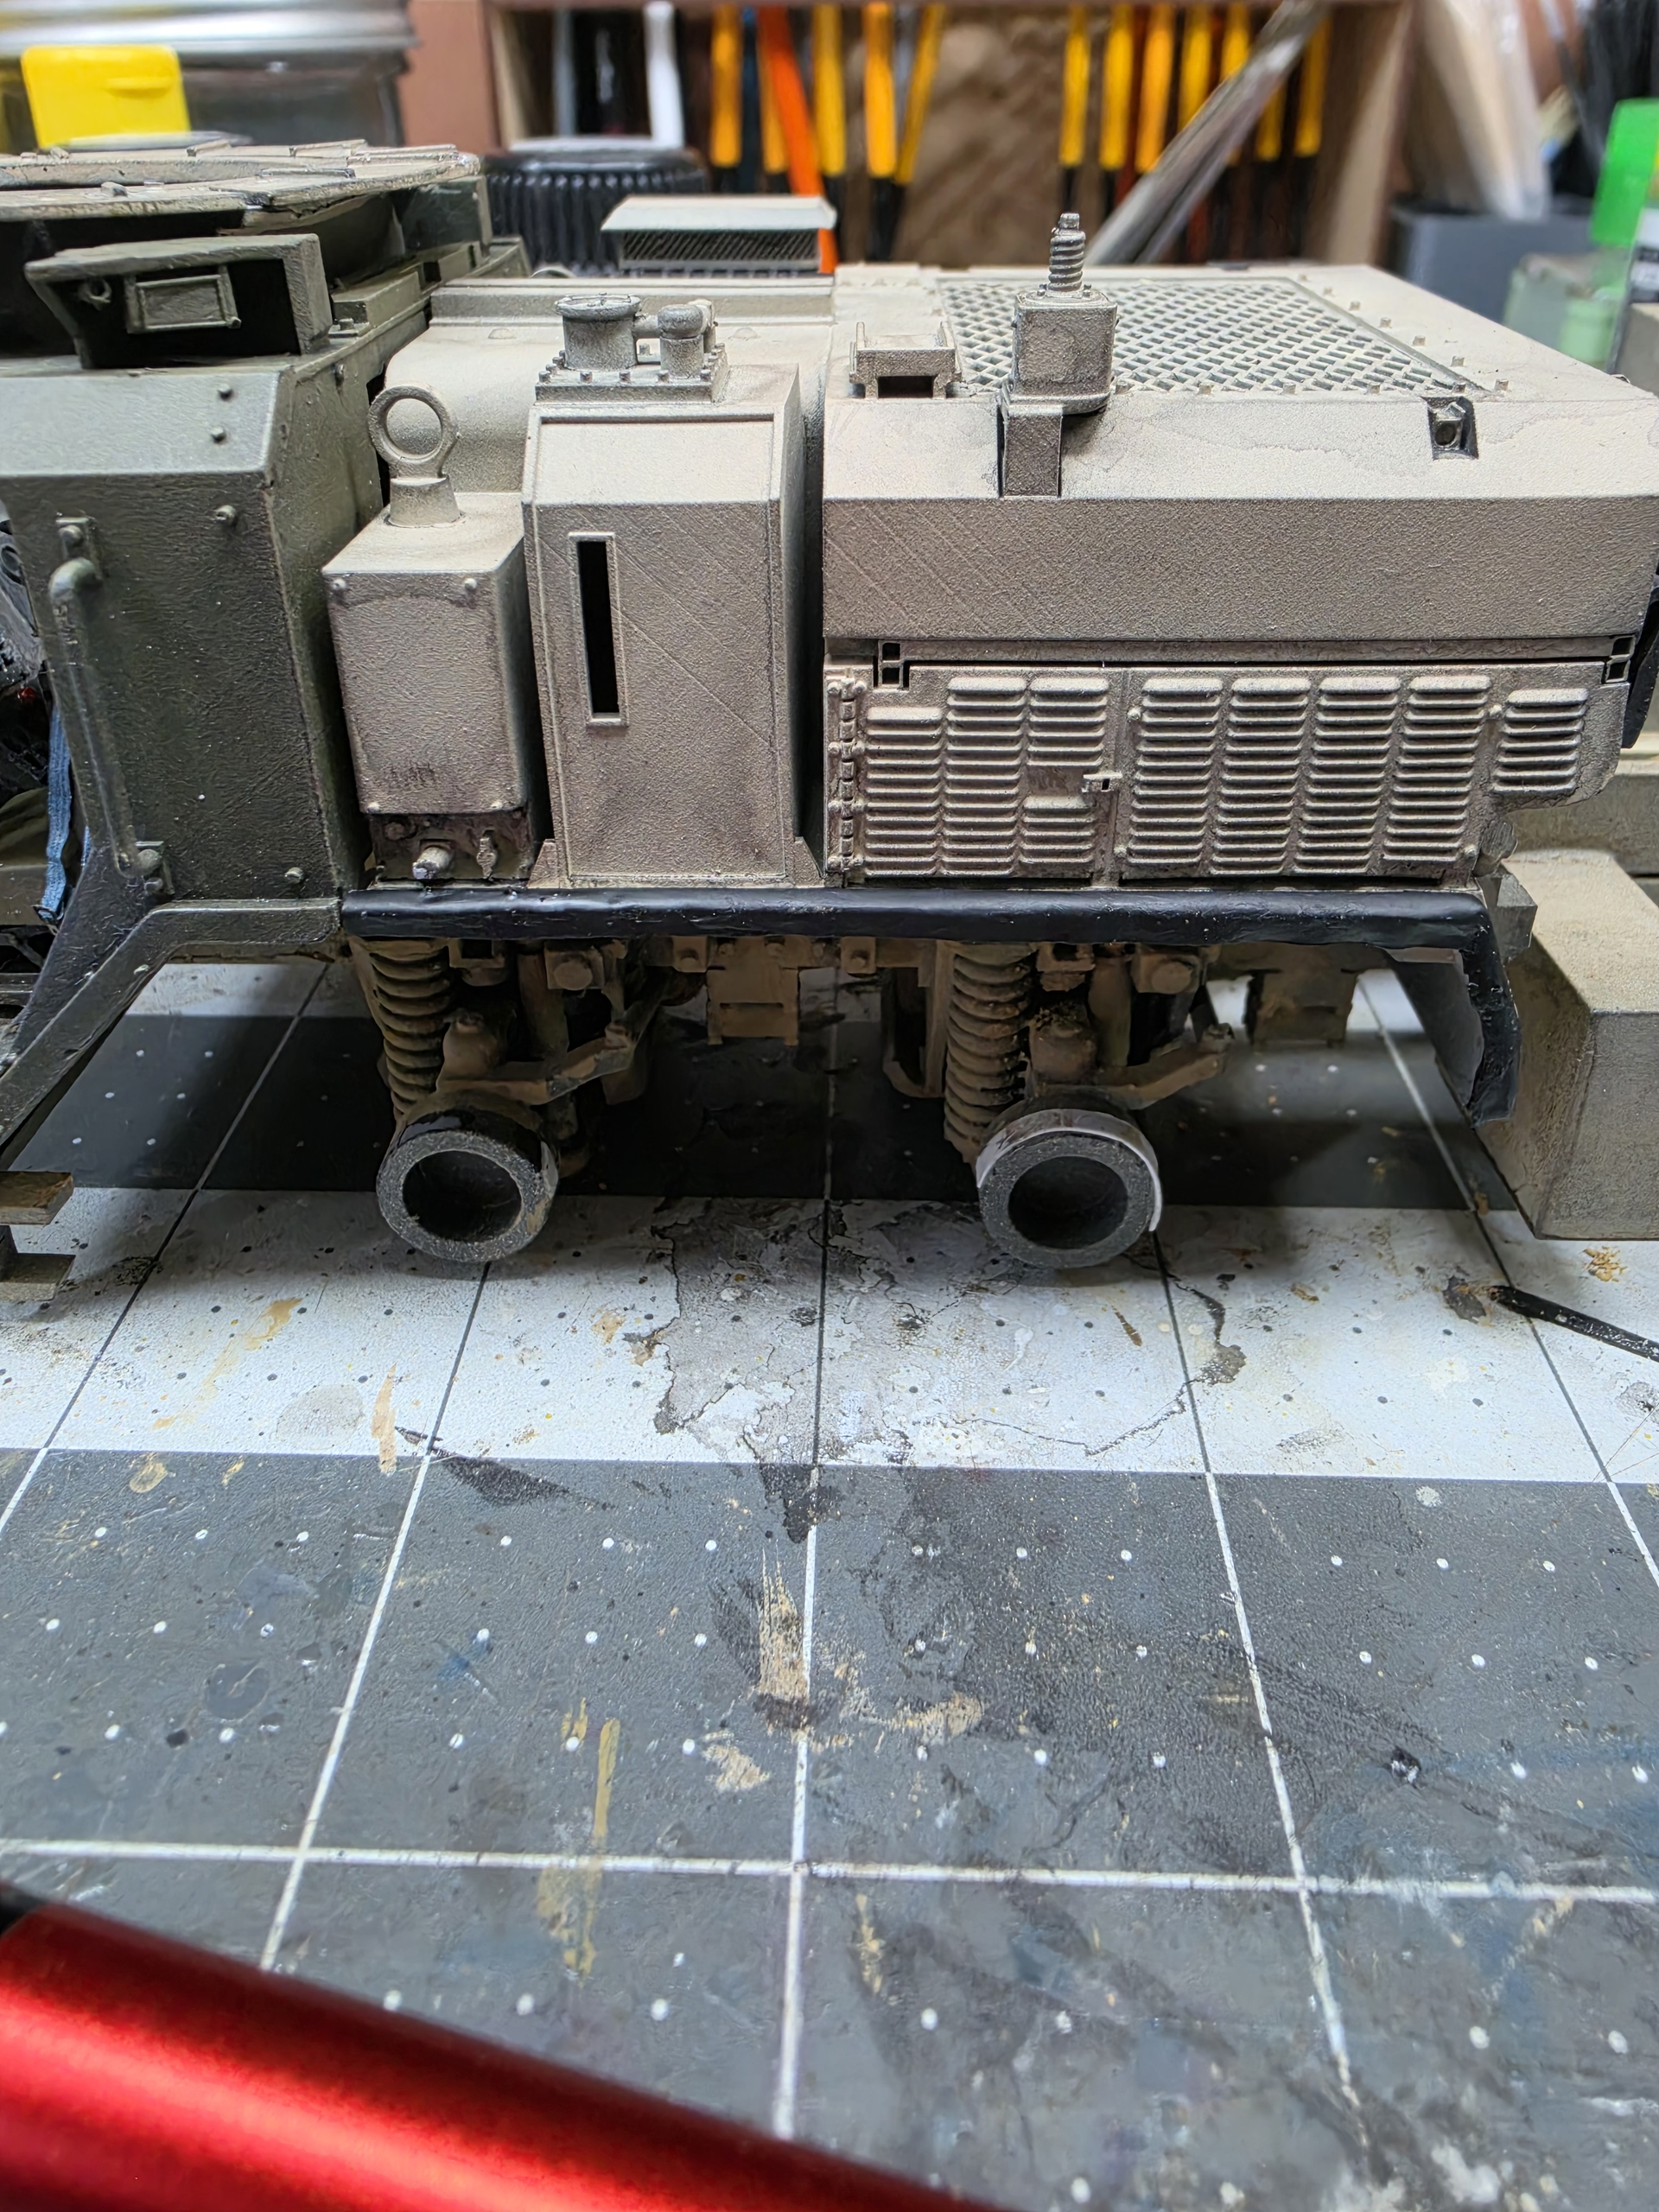
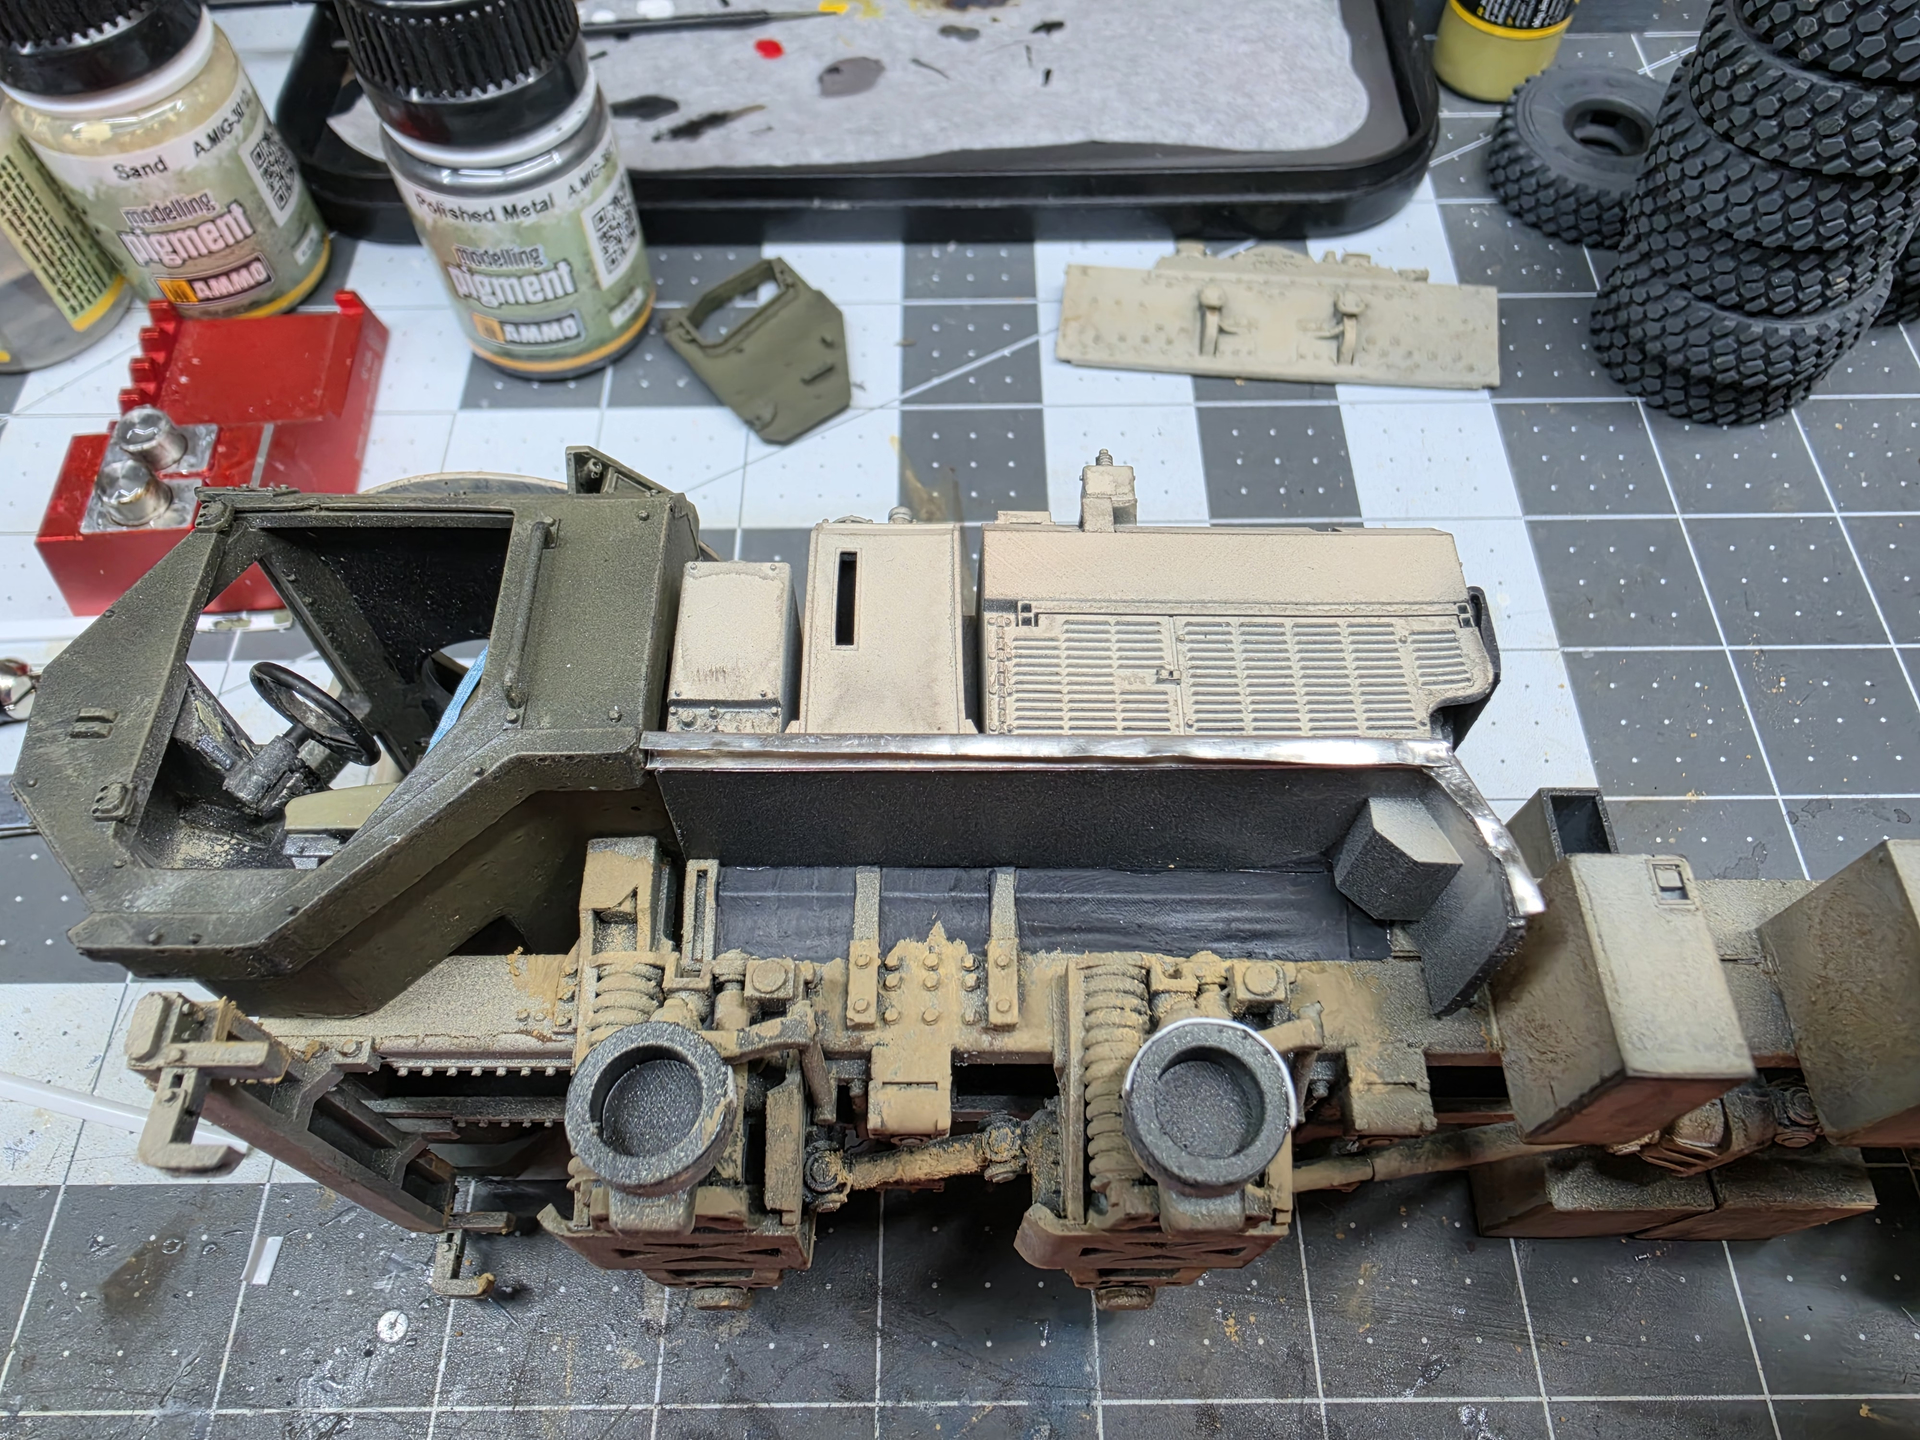
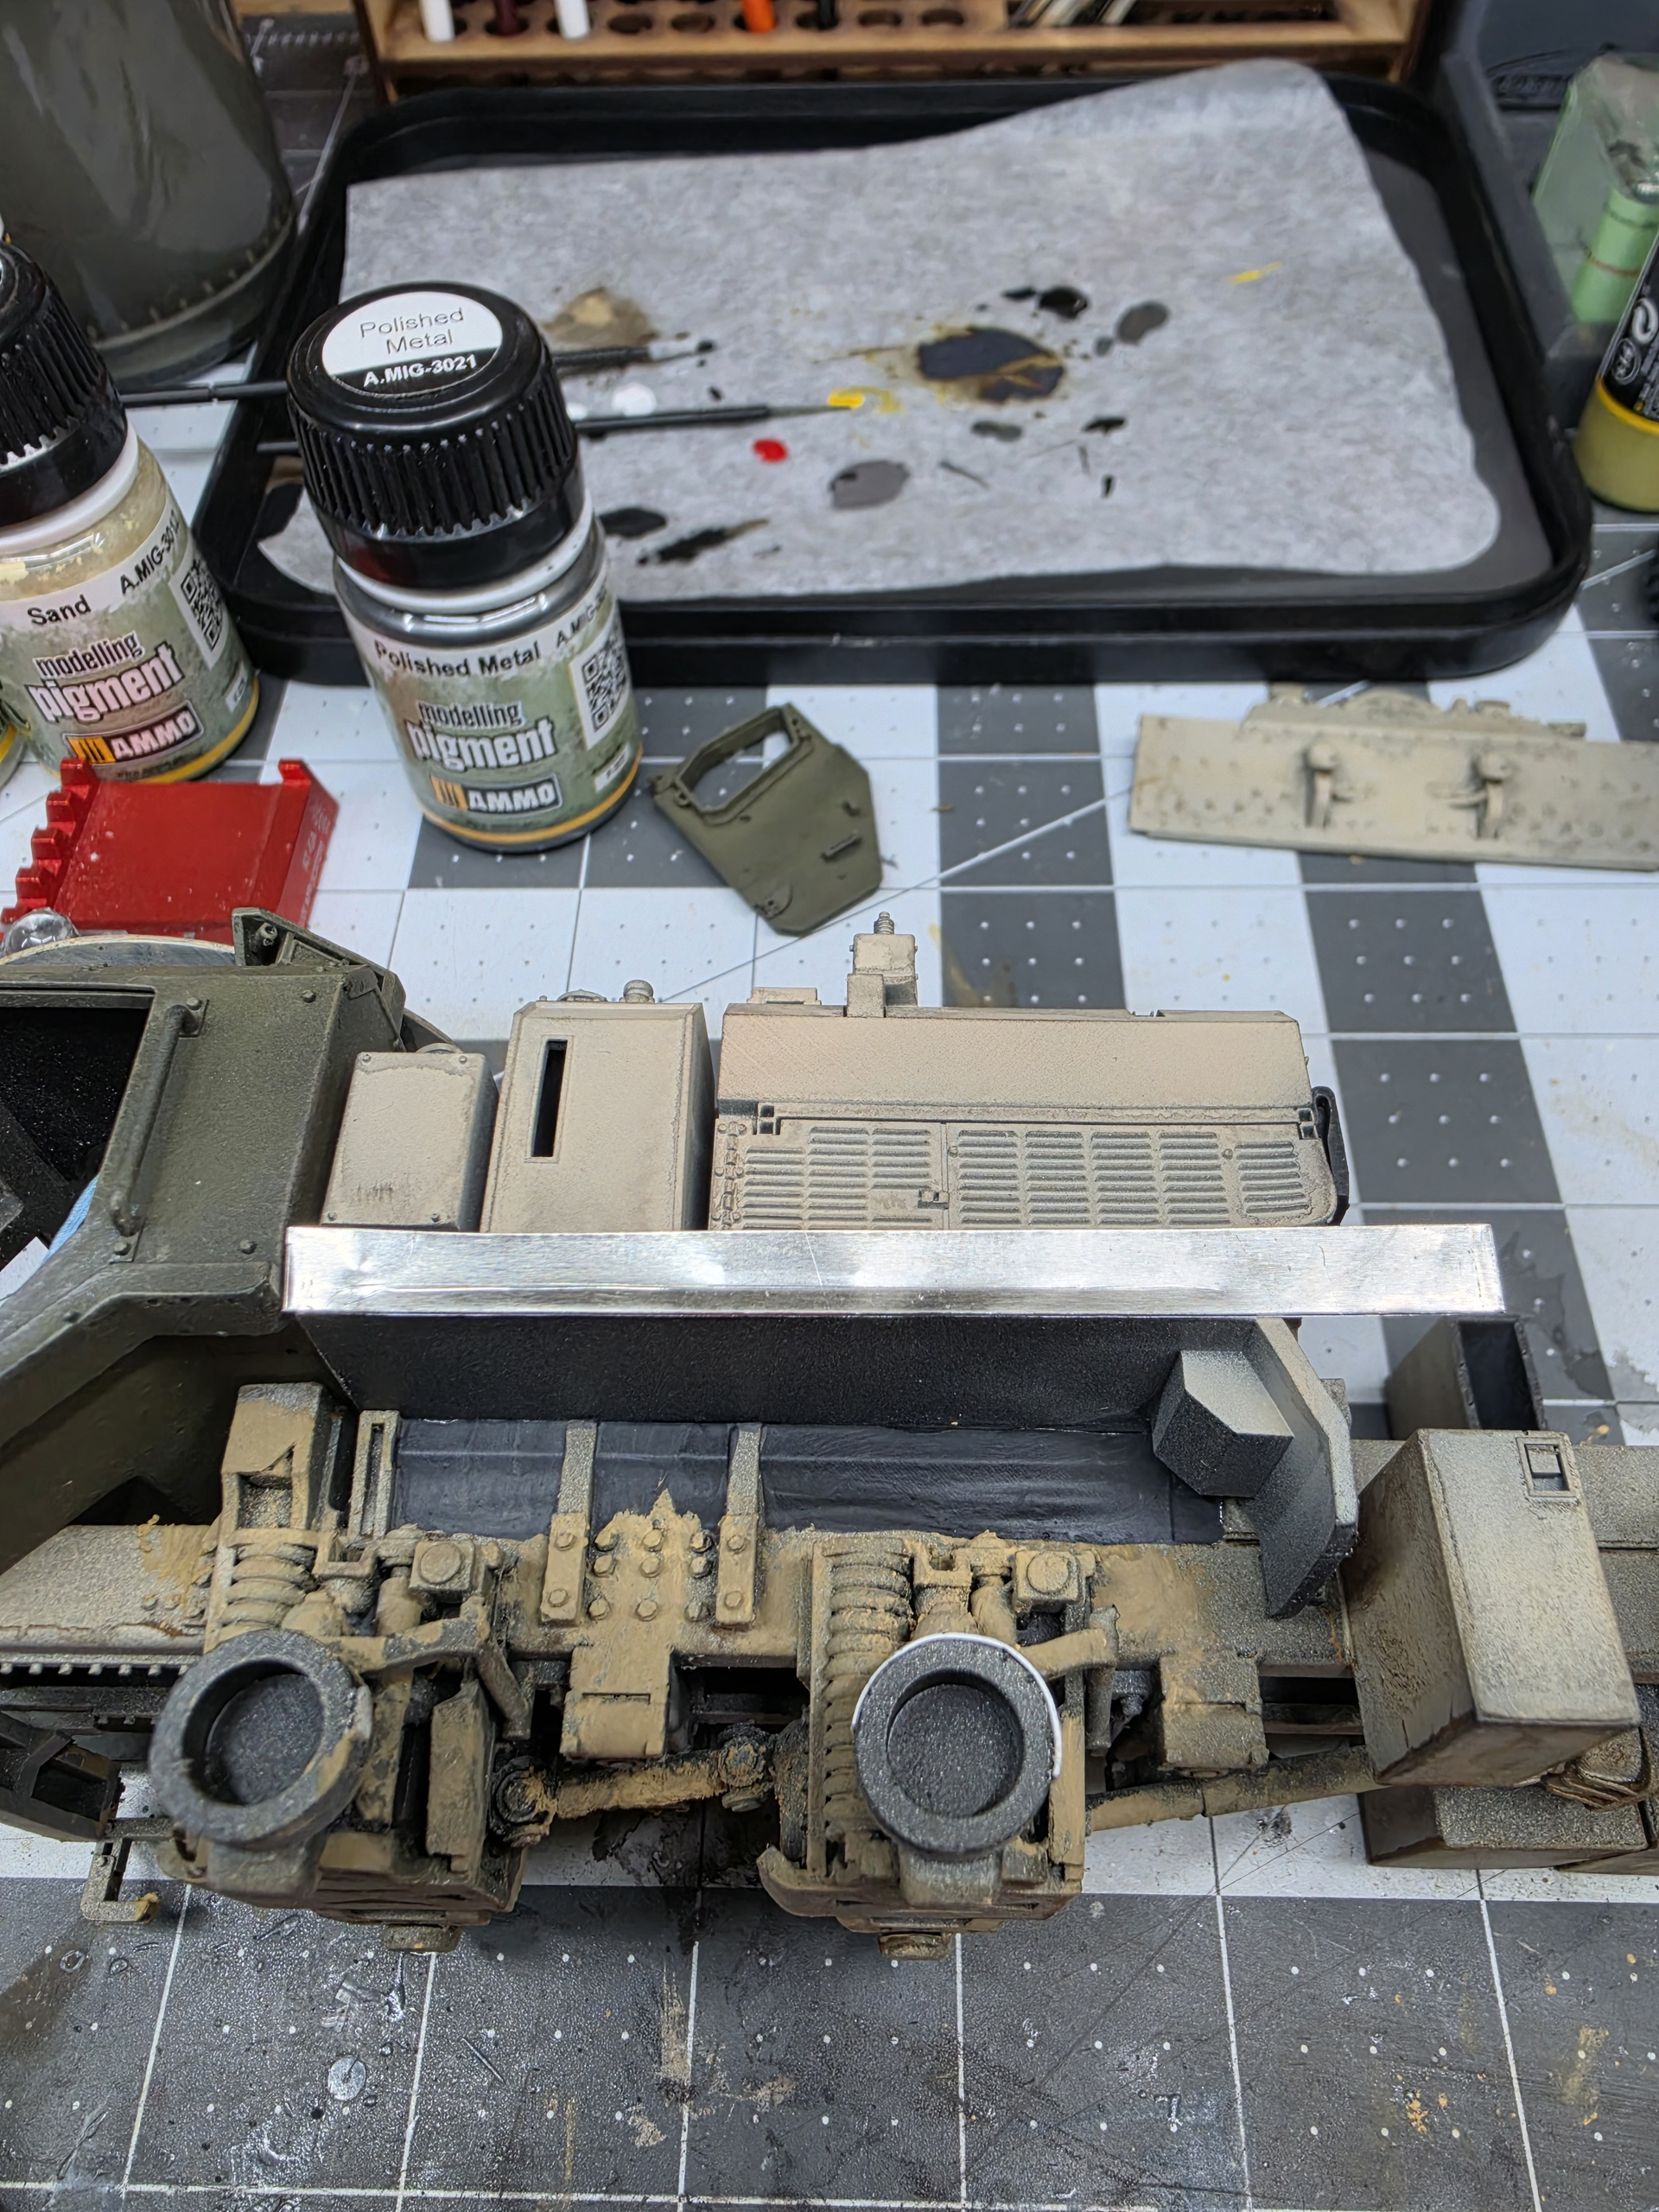
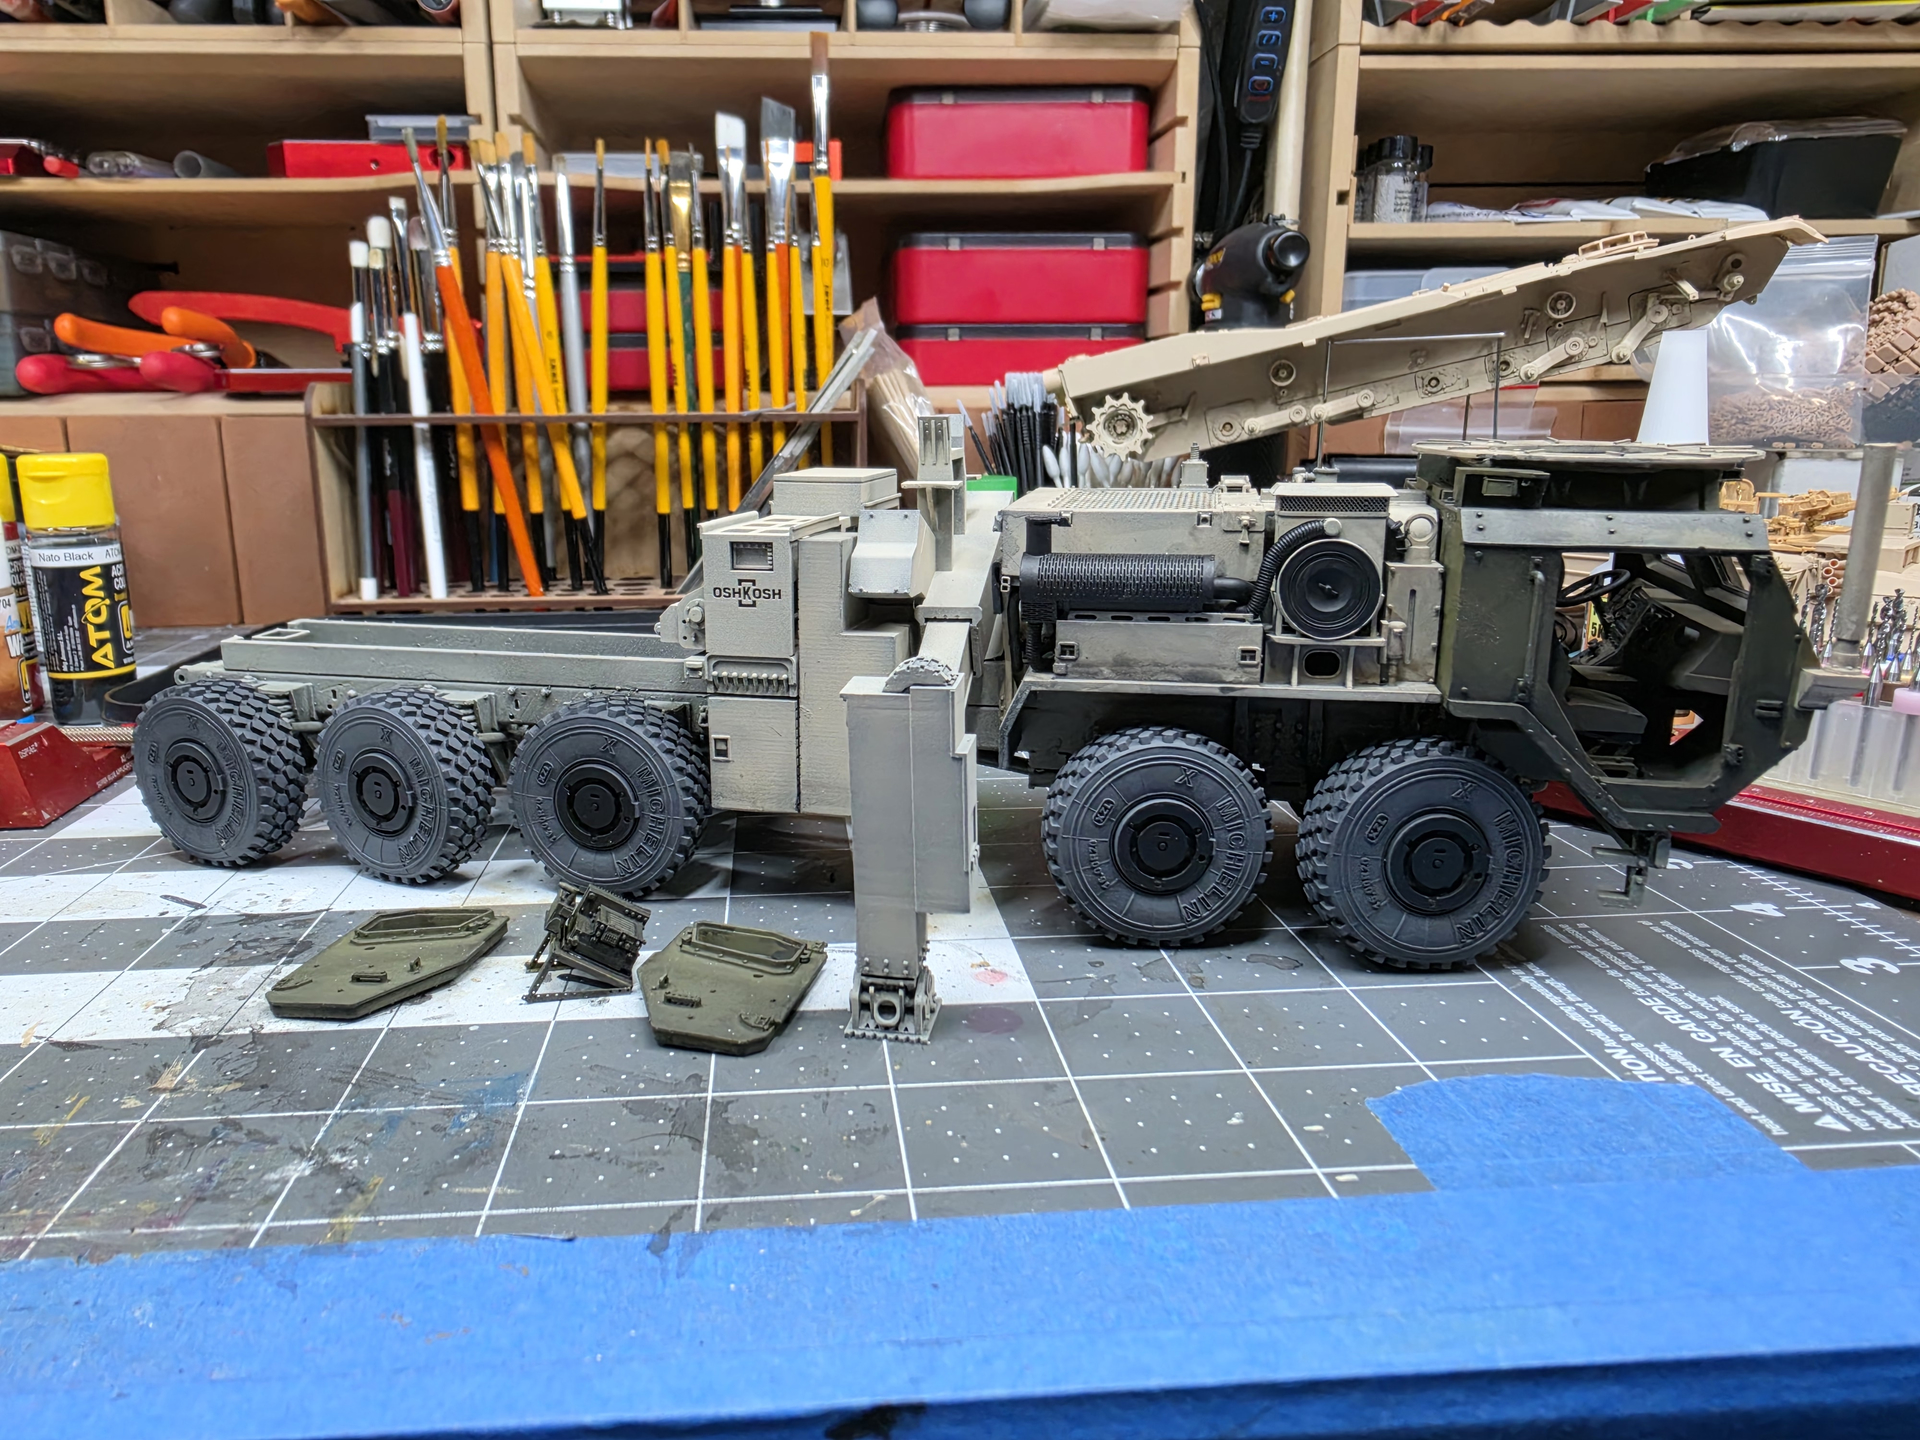
Today i added the rubber “fenders” to the engine deck using foil sheet product.
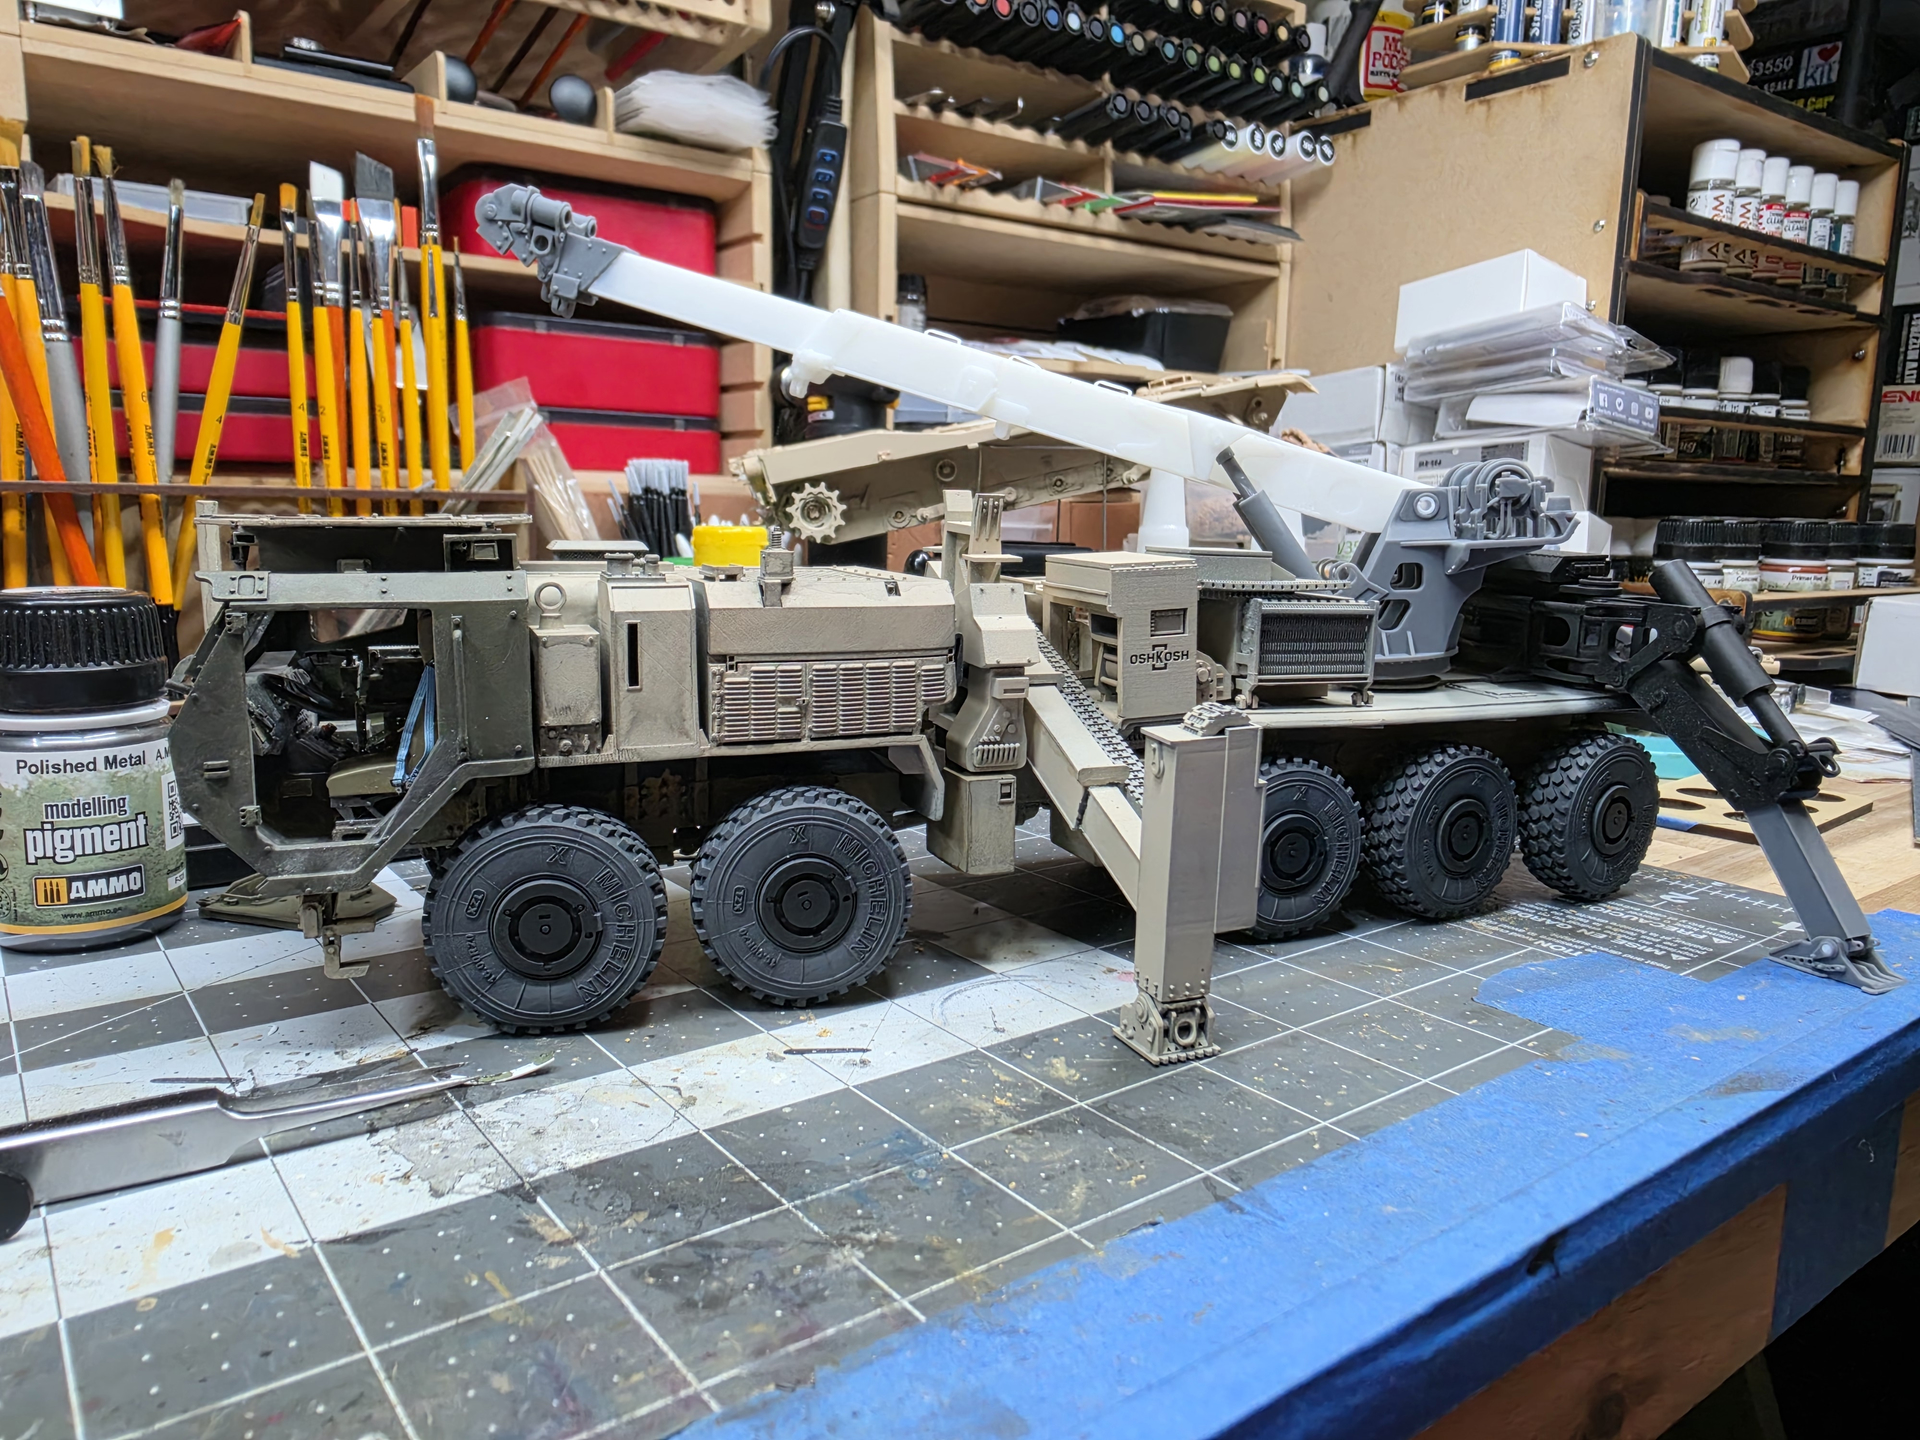
I added some caked dirt to the wheel wheel just for the thicker stuff, I will add dust and dirt at the end to even it all out. I then added the wheels so I can assemble the boom with the outriggers down.
After that I hit the truck with flat coat primer to preserve the work thus far since I am handling the model a lot to get to details and such.
All of this is out of and sort of sequence but I am just having fun moving around the various components.
I installed the forward landing legs today. They have base color and a dark brown wash. I will spray some gloss varnish and then weather it up. Before that I wand the get the winch dog houses and rear deck installed the same way.
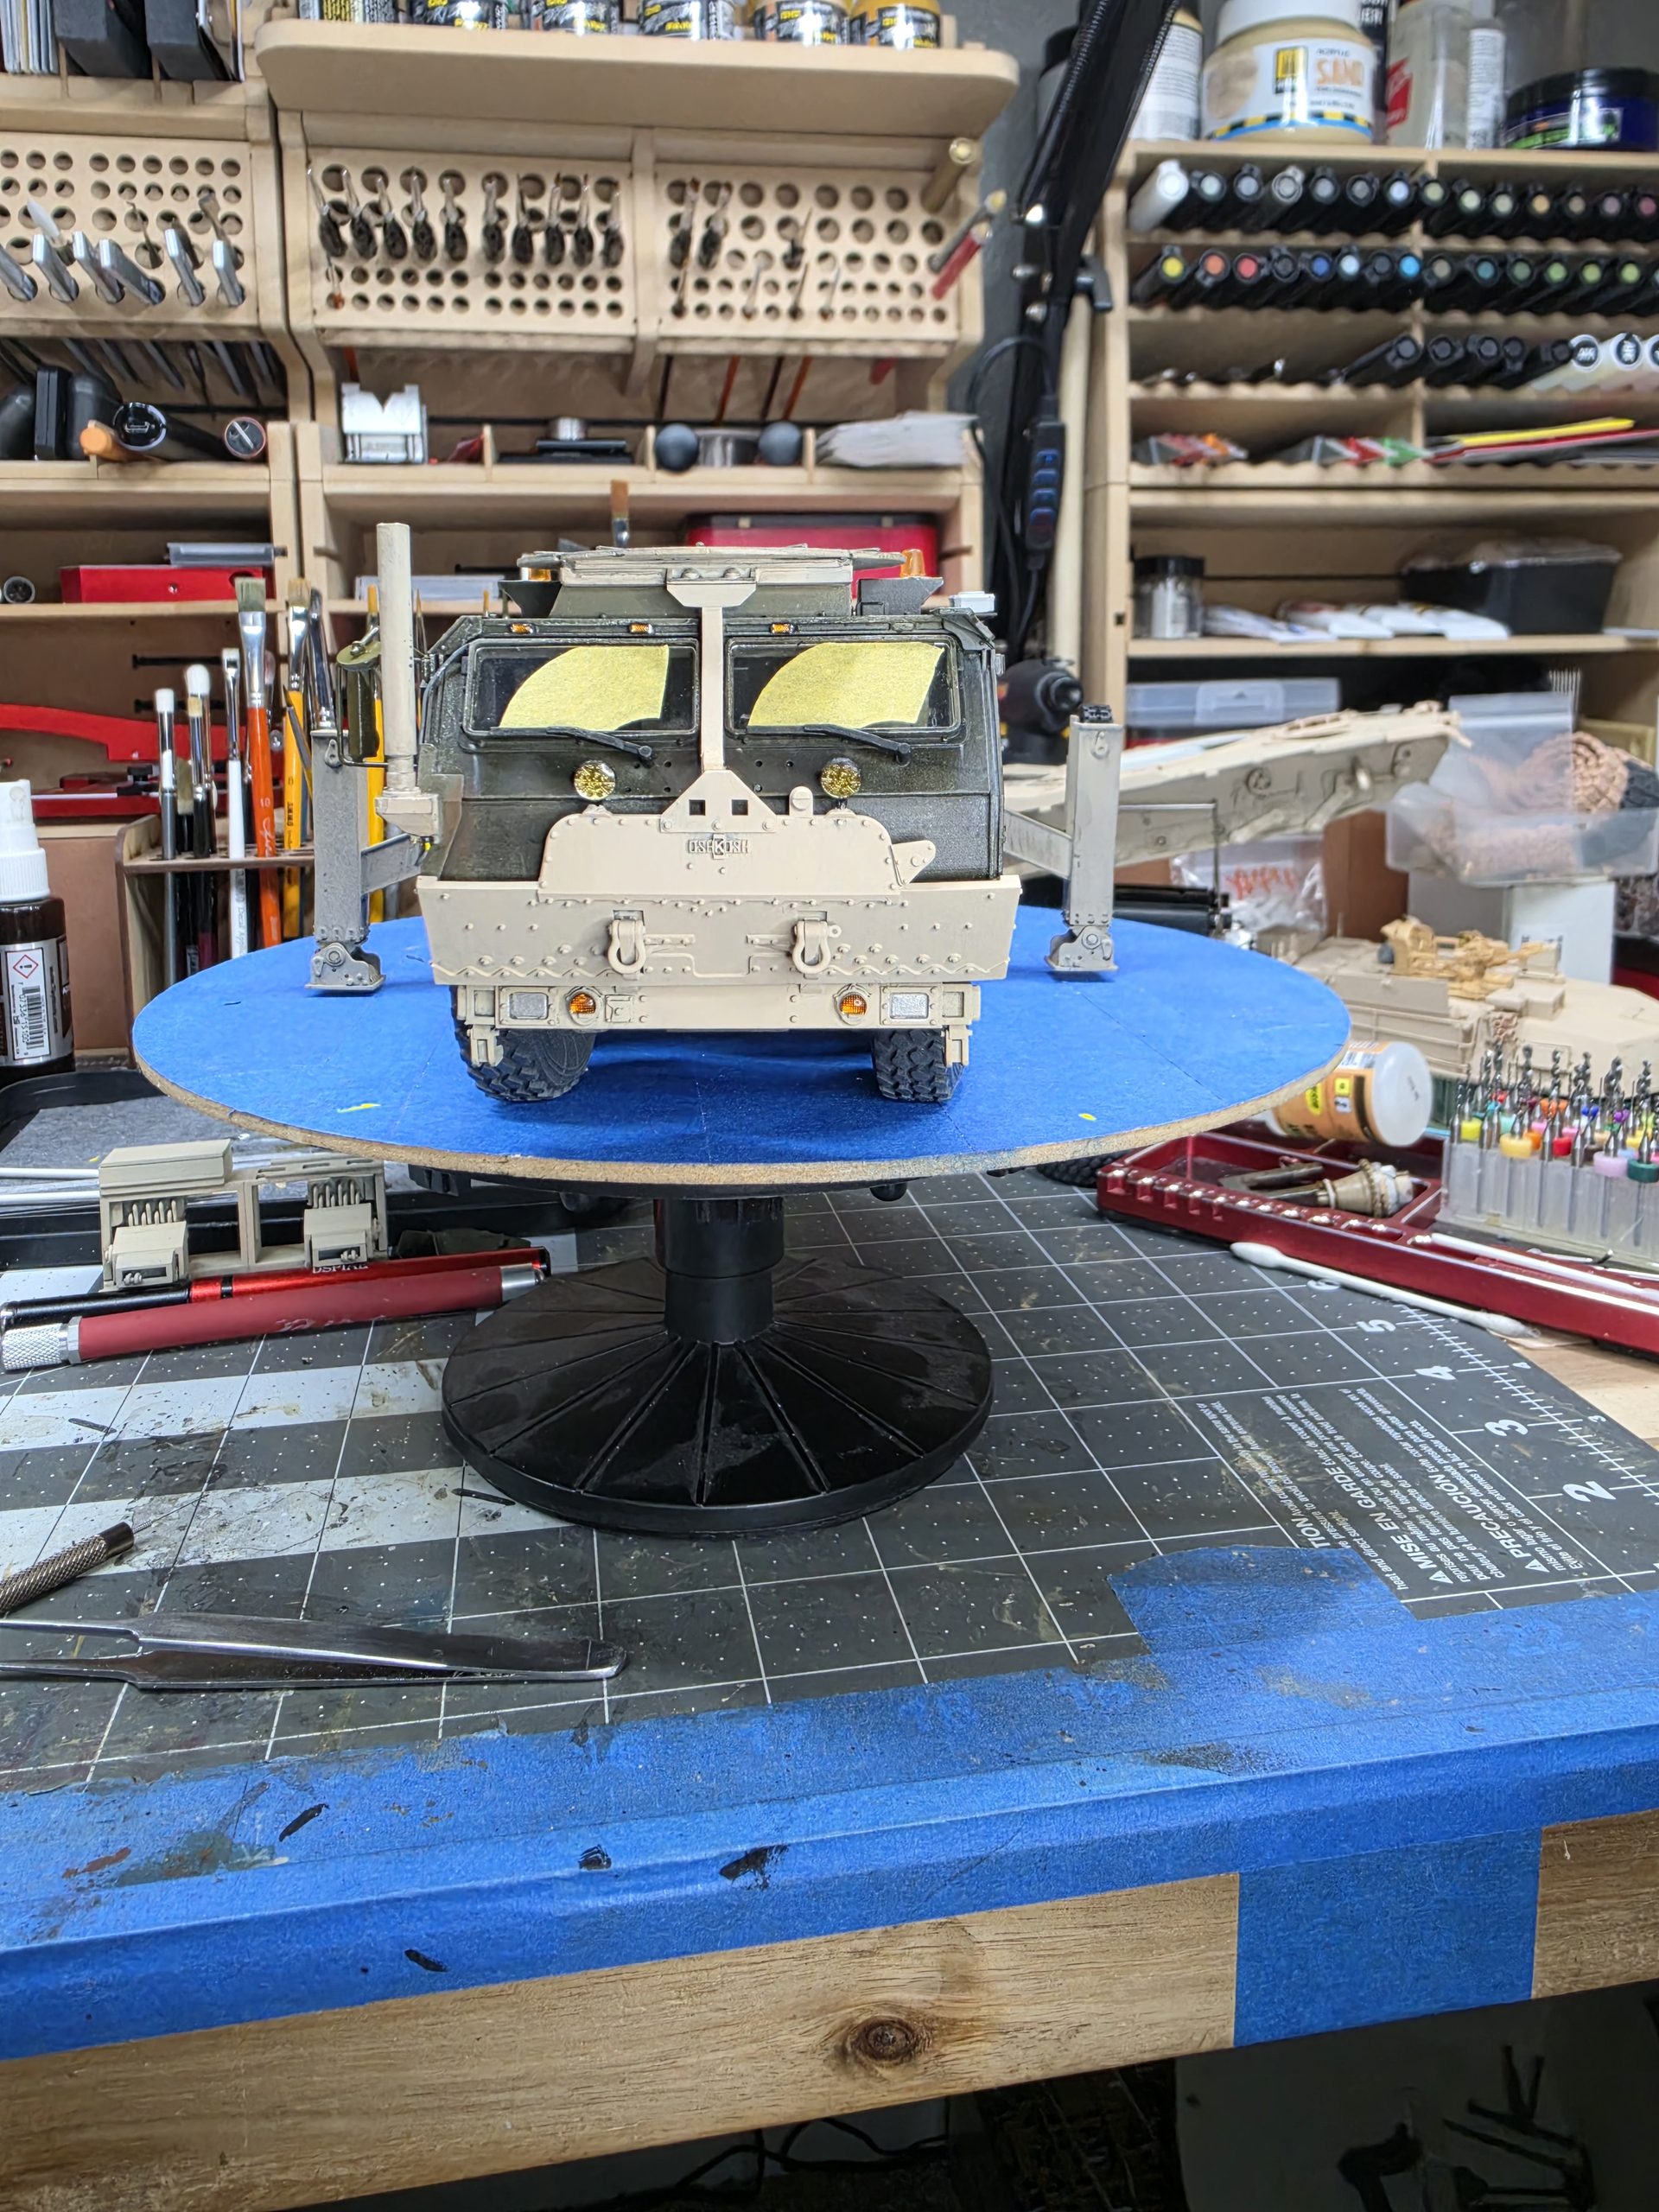
Back to the cab. I added a Live Resin BFT and cables for the duke and BFT. Then I added SKP models max pro dash light kit, I lost a marker light to the carpet monster. But I need more lights for side markers anyhow. Can’t find the kits on their website fortunately I found some on ebay. I swapped the oblong road lights out for the Bronco MRAP lights. Up top I have been sitting on a set of Accurate Armor orange beacons and along with the SKP work lights it turned out decent I think.
Passenger door is on but I am painting the mirror set and silver on the grab handle will get chipping cover and green for weathering.
The windshield got some wiper stencils for later and I need the brown wash the front armor plate.
I have two of them brother. Couldn’t use them here because the scale is off a bit, the resin wrecker is bigger by a small but noticeable difference. Even the tires are a few mm larger so it’s at least proportional in that respect.
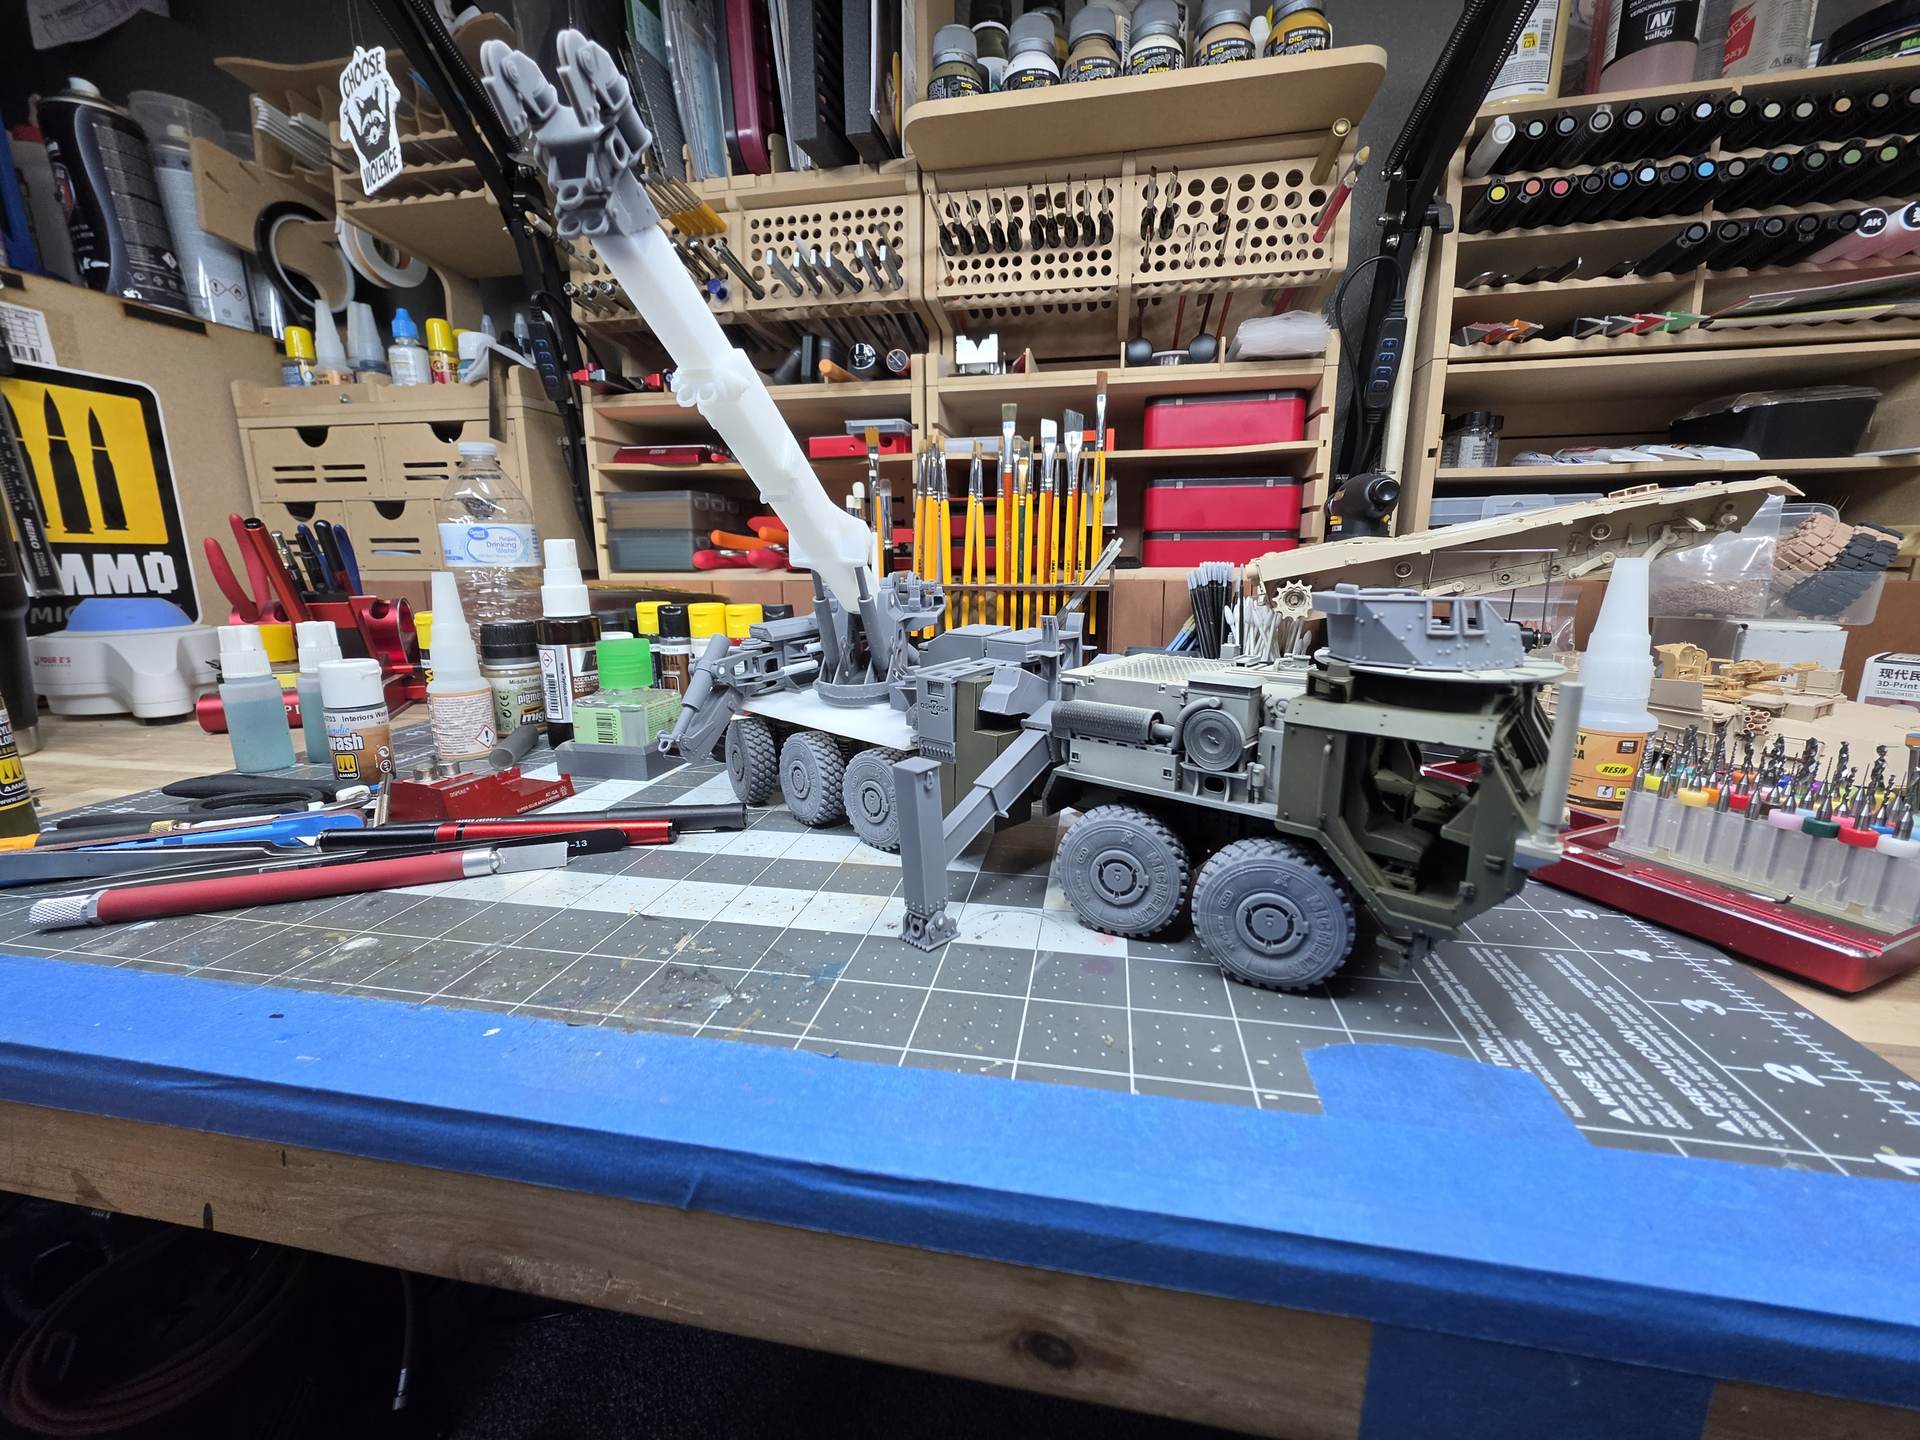
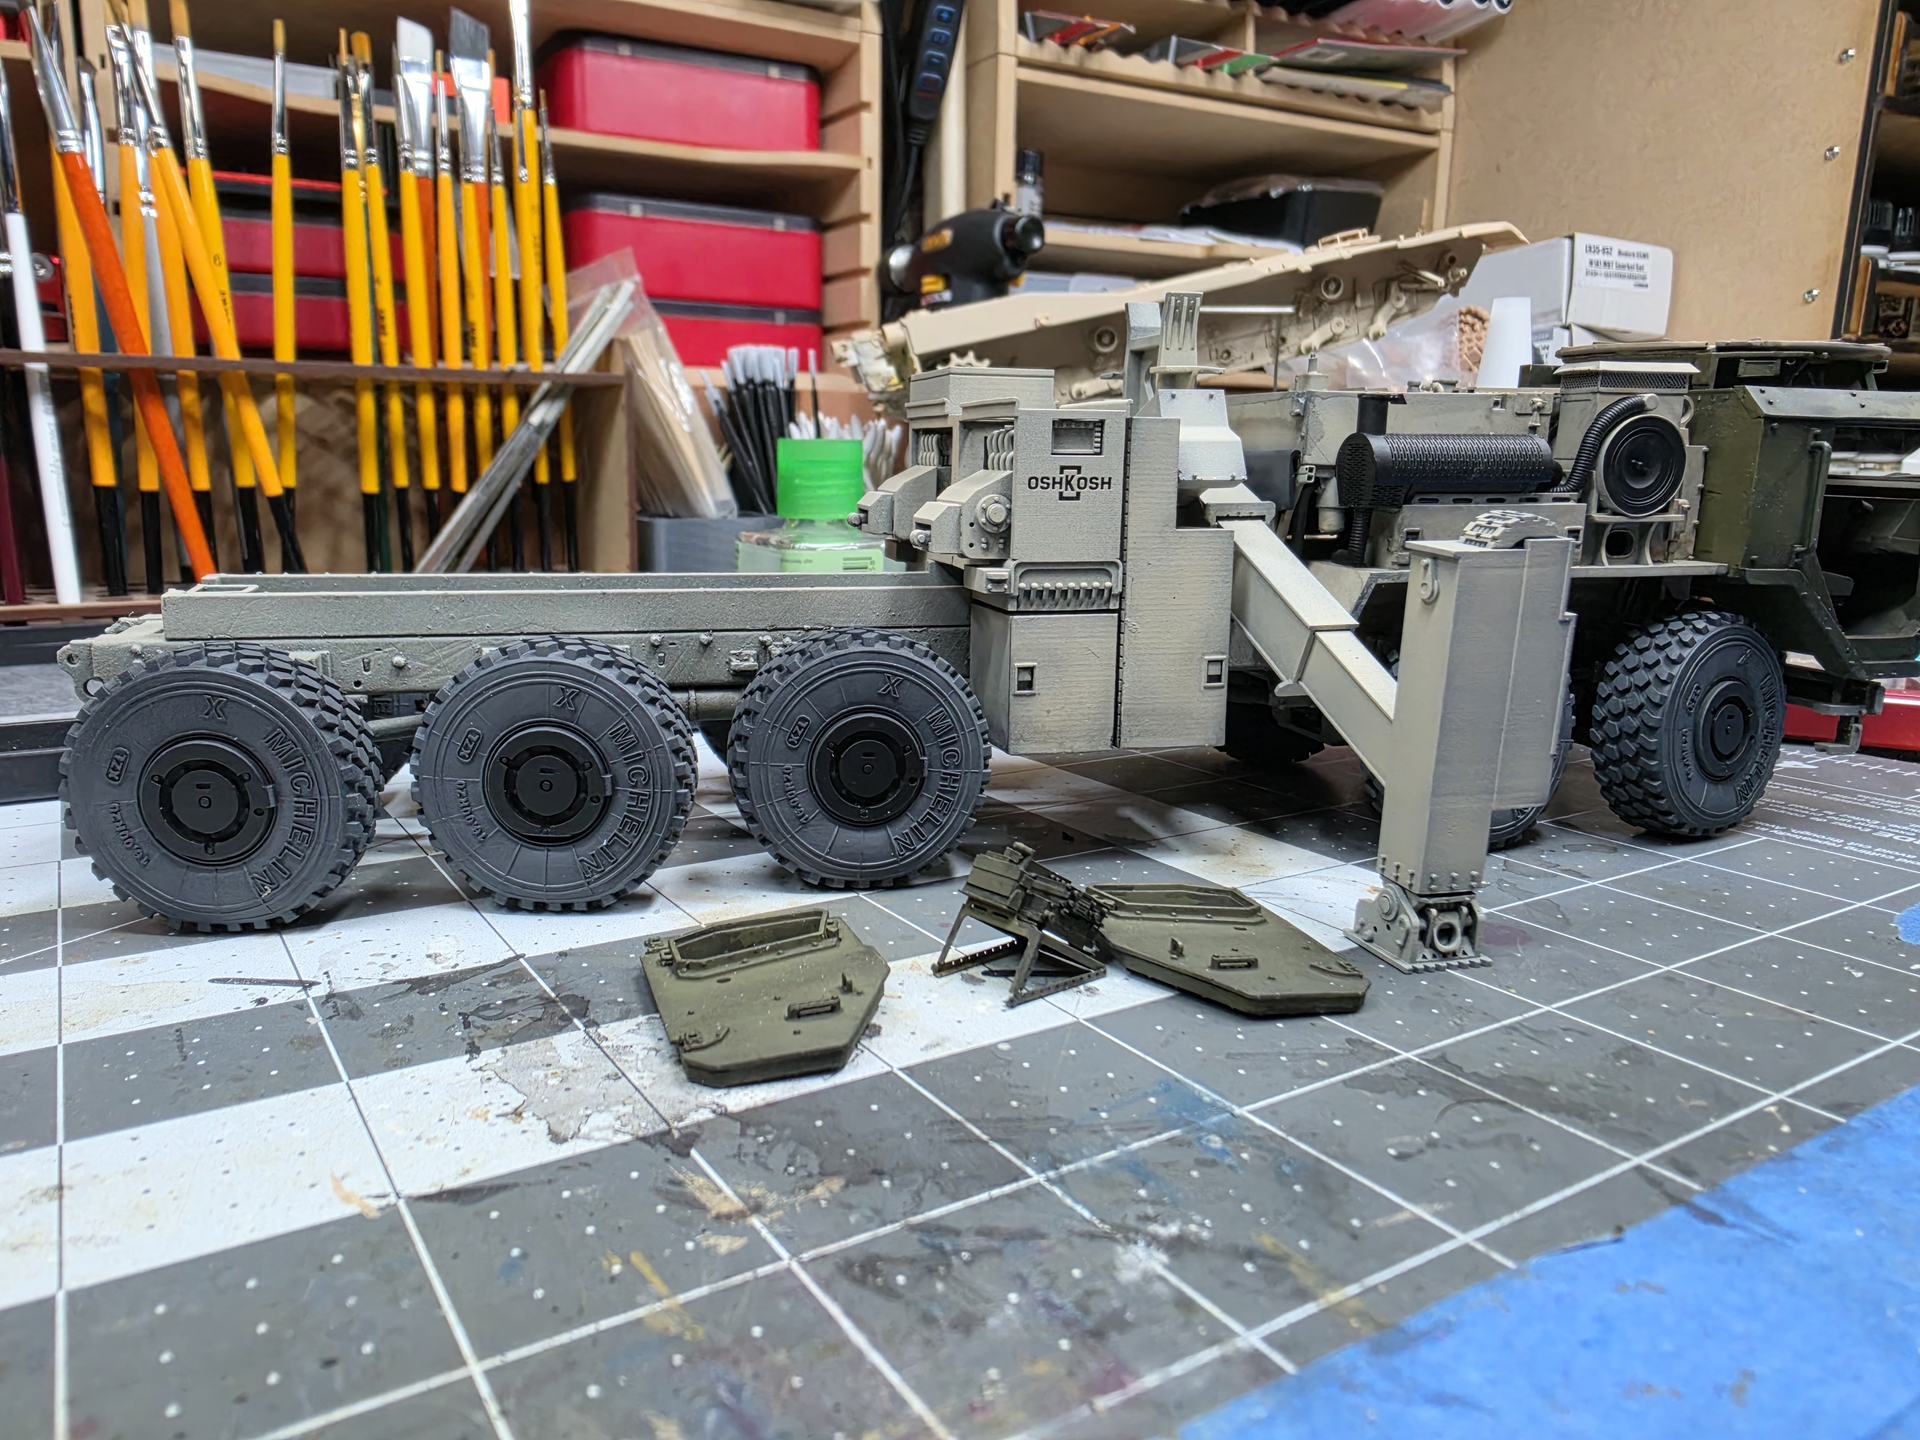


 its too cool not to use.