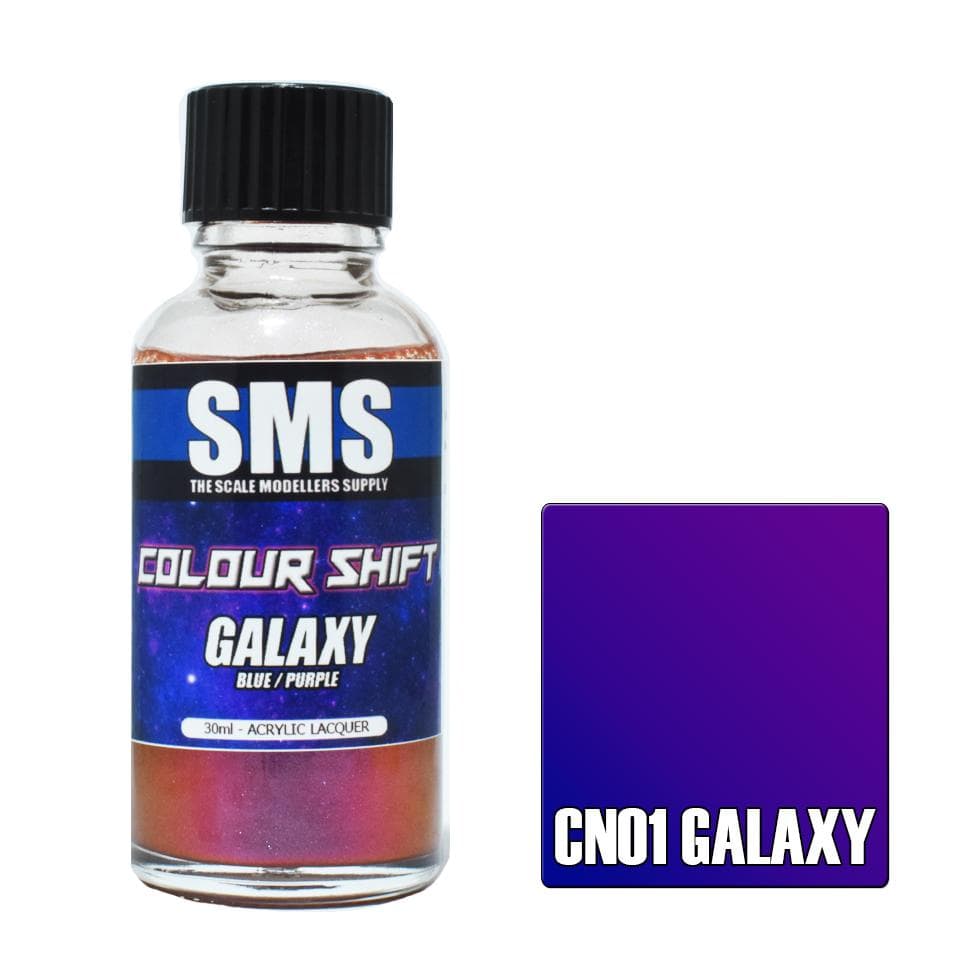
I personally used the AFV ARD film decals on a couple vehicles. i also purchased this color shifting acrylic paint from SMS; it is airbrush ready and really looks good.
5 Likes
Thanks for sharing the SMS colour shift paint. I knew about that paint but totally forgot about it. I will see how the vinyl works first before buying the colour shift paint.
2 Likes
While working on the FEP kit, I also started on the RFM M1A1 Ukraine/Poland kit. I am making mine as Ukrainian. The RFM instructions show to make the Ukrainian version as a plain vanilla version without the SCWS, loader’s M240 gun shield, blast shields and rear phone box. From photos revealed of actual Ukrainian M1A1 SA’s, they do in fact have the SCWS, loader’s M240 gun shield, blast shields and rear phone box. If making the Ukrainian version, it is better to follow the instructions for the Polish version but there are still some slight differences. The instructions for the Polish version show to use the Blue Force Tracker (BFT), USMC style smoke dischargers and the later style phone box. You will have to use the US Army smoke dischargers as shown in the instructions for the Ukraine version and also use the earlier style phone box part B8 for the Ukrainian version and leave off the BFT.
Not all parts for an actual M1A1 SA are included in the box though. You need to get the loader’s M240 gun shield and blast shields from the RFM M1A2 SEP V2 kit. One thing to note about the blast shields, you need to mix and match two different sets to make the correct ones used on the M1A1 SA. The parts trees you need to acquire from the RFM M1A2 SEP V2 kit are parts trees “J” and “S”. You also need the clear parts tree “T” for the ballistic glass for the M240 gun shield.
This is the RFM M1A1 Ukraine/Poland kit.

Images of a Ukrainian M1A1 SA. You can just make out the SCWS and blast shields in the first photo. While the second photo is smaller and blurry, you can better see the SCWS, M240 gun shield and blast shields.


This is the source for the first image of the Ukrainian M1A1 SA.
https://twitter.com/Osinttechnical/status/1728721159749820444
Here is a video of a Ukrainian M1A1 SA at a training ground in Ukraine. You can clearly see the SCWS, loader’s M240 gun shield, blast shields and rear phone box.
https://twitter.com/Osinttechnical/status/1743725363824410826
US Army M1A1 SA showing the SCWS, M240 gun shield and blast shields.

These are the RFM M1A2 SEP V2 parts trees you need for the M240 gun and blast shields. Parts tree “J” has the parts for the M240 gun shield and original style blast shields. From the “J” parts tree, you need parts 15 and 20 for some of the blast shields. You also need parts 28, 32, 33 and 35 for the M240 gun shield plus parts T5 from the clear parts tree. From the “S” parts tree, you need part 15 to complete the blast shields common to the M1A1 SA.


These are the blast shield parts from the “J” and “S” parts trees. The top part is S15 and the two lower parts are J15 and J20.

You need to trim off part of S15 to fit parts J15 and J20. The area with the arrow is the section you need to cut off but you need to save the smaller rectangular area with the two bolts on it.

I unfortunately didn’t take photos after trimming/modifying the section of part S15. Here are parts S15, J15 and J20 modified to make a correct M1A1 SA blast shield already attached to the turret. You can see where I modified the section with the two bolts to fit parts J15 and J20. You can also see I added the discs to the top of the blow off panels. On the M1A1 SA, they didn’t have them so I have to remove them. For the correct blow off panels use parts F34.

6 Likes
Nice video with some great views of a Ukrainian M1A1 SA in Ukraine. This particular one has the TUSK I ERA on the side skirts. Looks like I will be adding that to mine as well. I can’t see if it has the belly armor or not.
https://twitter.com/Osinttechnical/status/1746444192161701926
2 Likes
With new images and videos appearing of the Ukrainian M1A1 SA tanks showing them with the TUSK ERA attached, I have been collecting the TUSK parts from my other RFM kits where those parts are not used so will use them on my Ukrainian M1A1 SA.
Ukrainian M1A1 SA with the TUSK I side skirt ERA blocks.


The RFM USMC M1A1 FEP kit includes the belly armor and TUSK I side skirt ERA blocks. The USMC kit doesn’t use the ERA blocks so they are left over.


The “J” parts tree from the RFM M1A2 SEP V2 has the side skirts where the ERA blocks attach to and also the front and rear brackets. Those parts aren’t used on the SEP V2 kit but I plan to use them on my SEP V2 kit. I got a spare parts tree off Ebay sometime last year for the M240 gun shield and blast shields that will also be used on my Ukrainian M1A1 SA so I already had the “J” parts tree on hand.


5 Likes
Yesterday I started on the RFM USMC M1A1 FEP track links. The instructions said there are 78 links per side. Only thing is, there are 6 parts per link. Four parts for the pads, one pin and one guide horn per link for a total of 936 parts just for two full sets of tracks.


All the track link parts clipped and cleaned up. It took about 6 hours to remove all 936 parts and clean them up. Took another hour to get them fully assembled. The two rectangular parts are the assembly jigs.


The RFM M1A1 Ukraine/Poland kit has link and length tracks which will be much easier to assemble. The guide horns are still separate though.


7 Likes
The M1A2 SEP v2 kit comes with the latter track set as well. The earlier 6-piece track set is aneurism-inducing IMHO.
3 Likes
Yes, I have the RFM M1A2 SEP V2 kit.

I also have the M1A1/A2 SEP TUSK kit. This kit has the 6-piece indy links.

I have two sets of the RFM tracks to use on my my older Dragon M1A1 kits. These are also the 6-piece indy links. I have two of the Dragon kits with mine plough. They include the link and length but aren’t that nice.


I also have two of the Dragon M1A1 HA Baghdad 2003 kits. This kit includes the original link and length tracks from the mine plough kit and also includes rubber band tracks. The rubber band tracks aren’t that great either but are nicer overall than the original link and length. Both the Dragon link and length and rubber track pads are squared off at the edges instead of being chamfered. I will be using the rubber band tracks though as I can’t afford to buy more track sets.


3 Likes
Life’s too short (literally) to be messing around with kit track like this.
Hello Friul.
2 Likes
I can tell you with certainty Meng os correct.
2 Likes
Yup! The Meng M1A2 SEP TUSK I/II kit has those 6-piece tracks. Dumped the quickly and got some R-Moddl tracks instead.
1 Like
Where did you find this paint?
1 Like
Yes, life is too short to be spending so much time just on the tracks. I can only paint outdoors and with the winter weather, I have time to work on the tracks for a while. I would prefer not to but it is what I have.
1 Like
Thanks for the info. Unfortunately, I do not have the Meng kit. I got the Meng belly armor part from a friend and some other USMC specfic parts I got from Meng customer service. I got the Meng parts to fit on the old Dragon kits. Meng customer service is very responsive and helpful.
1 Like
I will stick to the RFM 6 piece tracks as I can’t afford to replace them all so I will have to suffer the tedious assembly procedure. I have five more sets of those RFM 6 piece tracks to do and while not looking forward to doing them, they are all I have.
2 Likes
Today I added some Meng bolt heads on the USMC M1A1 mounting bracket for the snorkel. I used the .8mm size. I had to scratch build the mounting bracket as the snorkel is from Meng but the kit I am using it on is from RFM. The Meng part was a bit undersized compared to the RFM part so that is why I had to scratch build the mounting bracket to fit on the RFM part. I noticed from the photos I took, the corner bolt heads aren’t aligned with the ones on the side. Not sure if I will be fixing them. I might leave them as is.


As you can see in the image of the real one, the bolt heads are very prominent.

6 Likes
Straight from The Scale Modellers Supply. They’re base out of Australia, just like BNA Model World.
DIRECT LINK HERE:
Colour Shift GALAXY (BLUE / PURPLE) 30ml – The Scale Modellers Supply
1 Like
Not much done on the RFM USMC M1A1 Afghanistan or the RFM M1A1SA Ukraine kits. I did however get a Dragon USMC M1A1HA Baghdad kit painted in the NATO camo to do an OIF vehicle. The wheels and tracks will be added later. I got the wheels painted but not the rubber and the tracks aren’t painted yet. The M240 is not attached yet and the .50cal still needs painting. I used Tamiya NATO black, brown and green for the camo. I dropped the kit on the floor but luckily it was carpeted but still some paint chipped off and the rear hull separated and the putty fell out. I will glue the rear hull back together but not worrying about the putty so there will be a gap back there. I don’t do contests anyway. I need to do the touchups as you can see but I also noticed I forgot the NATO brown on the barrel. All the stowage will be added last.


I am doing mine with the mine plough but it isn’t finished yet. I want to do mine somewhat similar to the one in the image below. I don’t have the fuel bladder though so mine will be after they ditched the fuel bladders. Does anyone know how the markings are on the left side? Is the inverted V at the front of the side skirt like this, ^ D/2 or is the D/2 at the front like this D/2 ^?

9 Likes
Not a good pic, but I made a set of fuel bladders decades ago, wrapped some lead foil around an exacto handle, a bit more shaping, straps and handles, they came out pretty nice. I actually made the bladders first, they came out so nice I had to build the tank for them.

4 Likes
Bit late to the show on this one for some reason. Great to binge catch up though and lovely build.
3 Likes