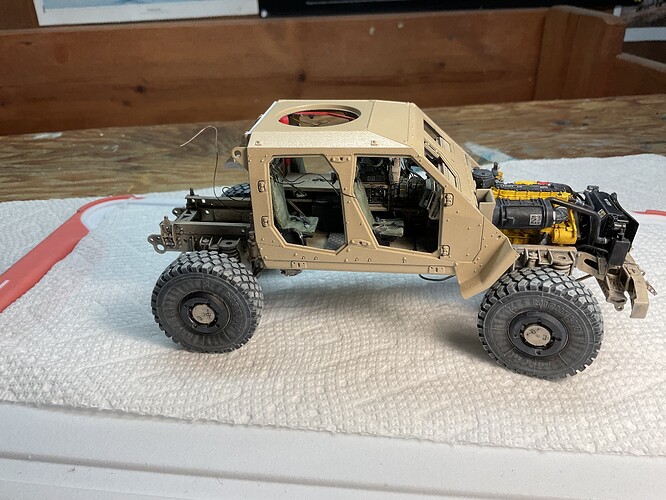
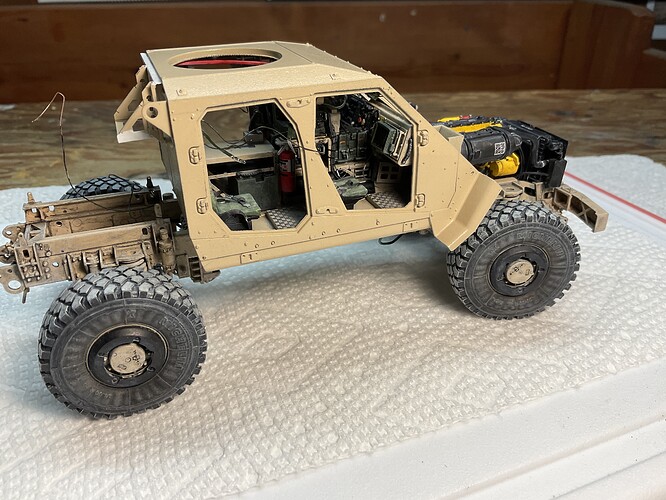
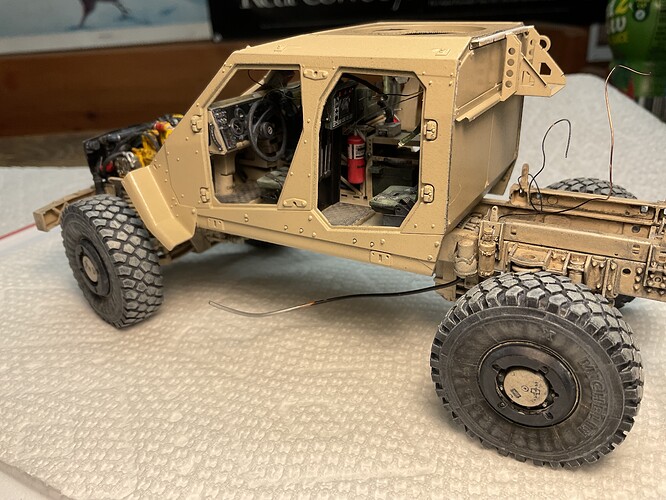
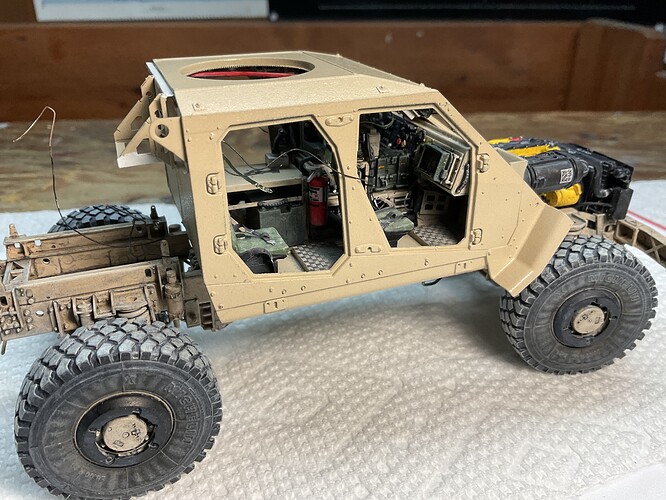
Wow! Great job.
Thank you everyone for the encouragement, at this point of the build every vote of confidence counts!
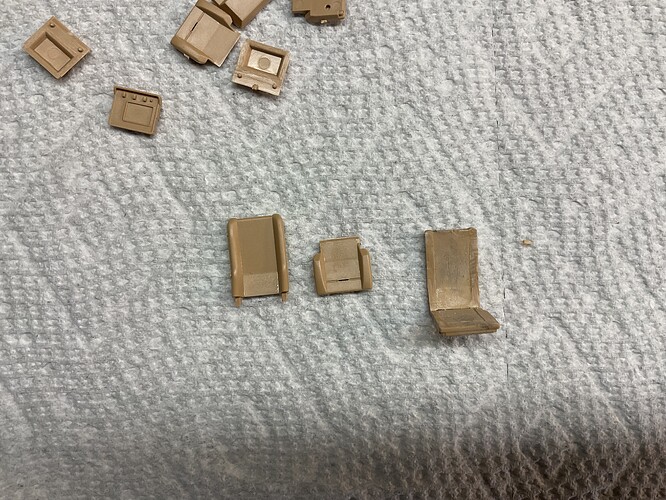
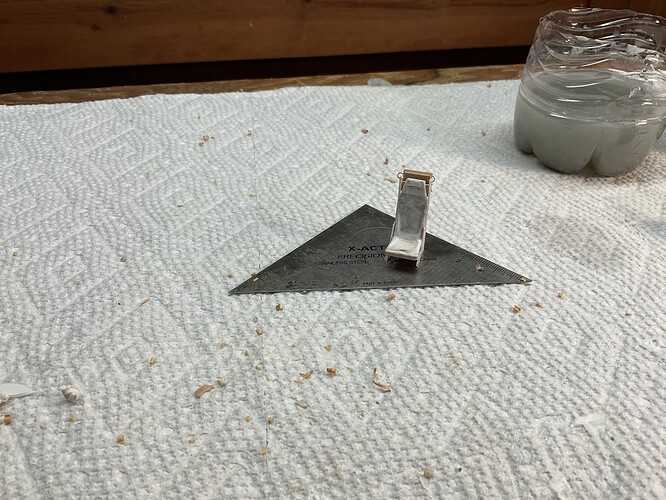
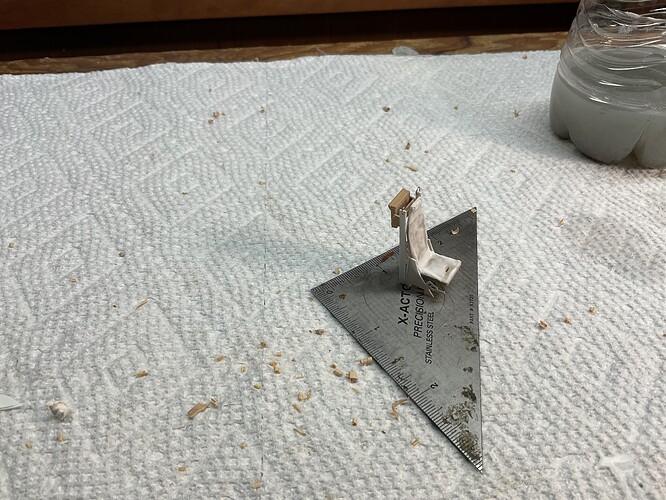
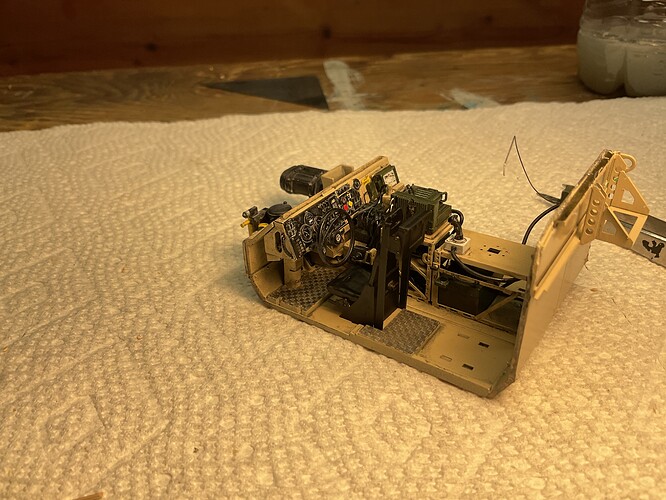
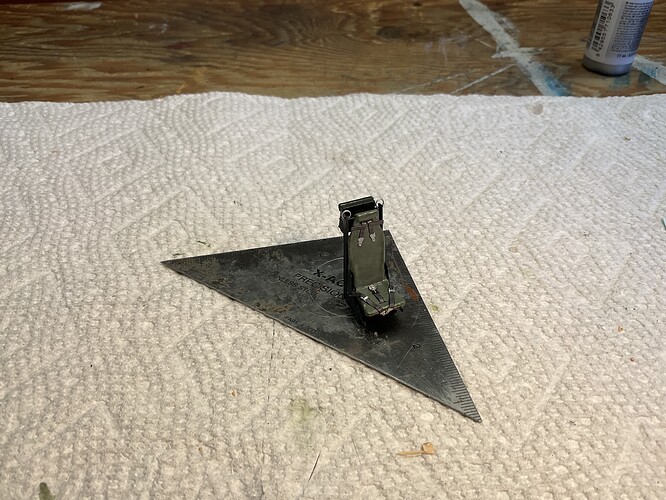
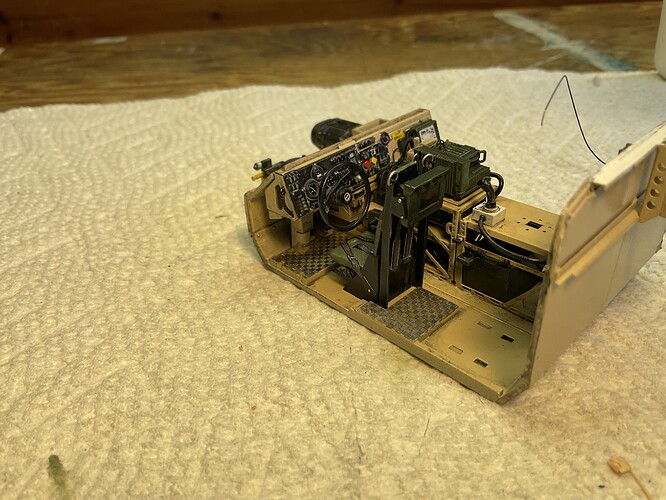
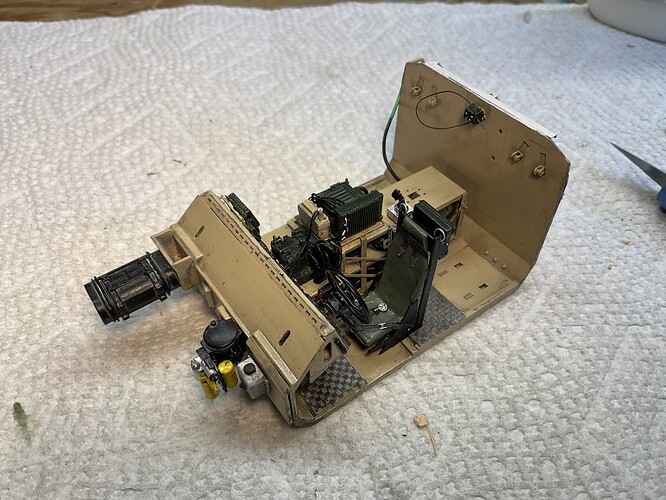
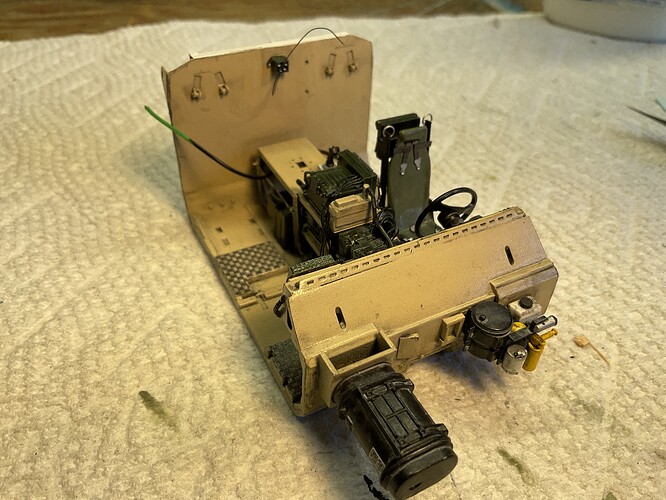
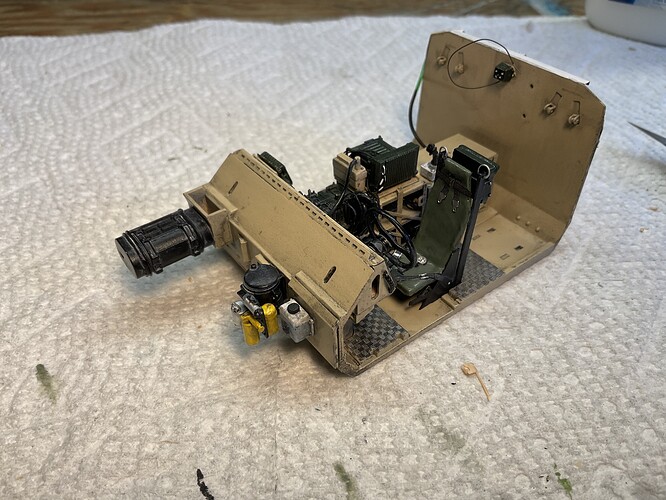
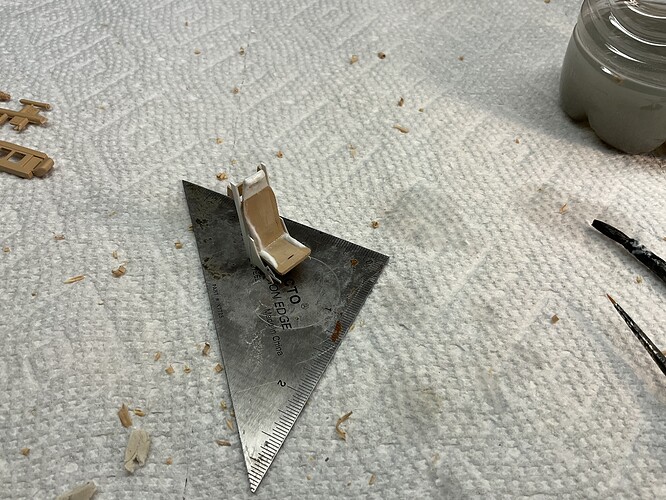
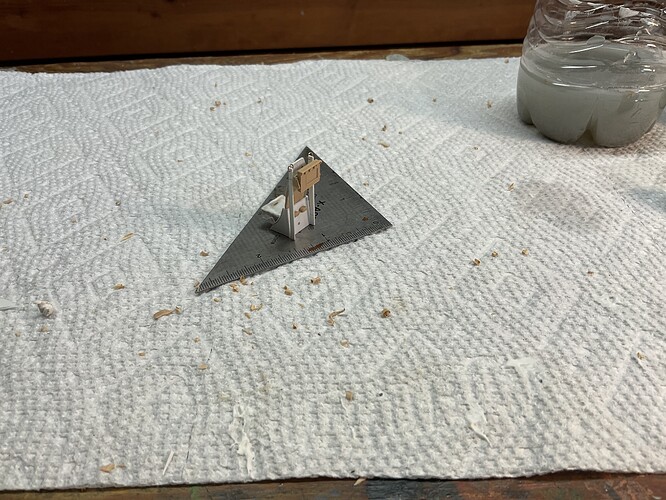
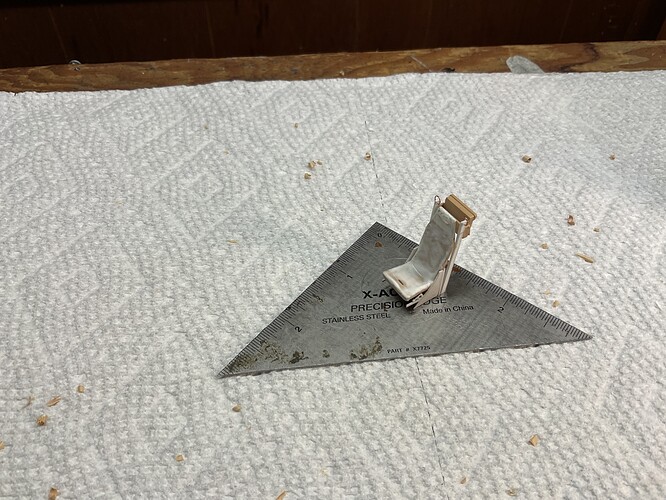
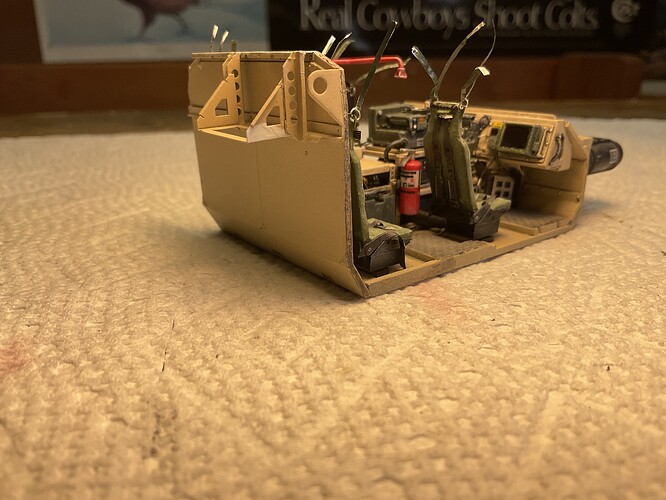
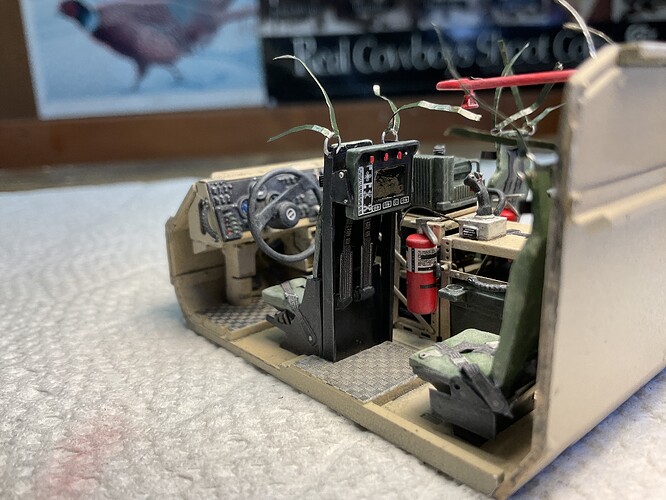
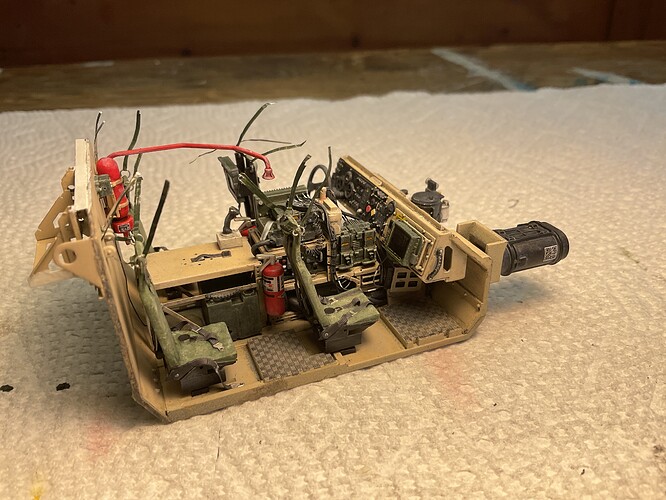
The seats proved to be a tad more more work than I realized and wish I could have found an Eduard detail set for them. Drivers seat is completed with the Quinta belts added however modified a bit , I didn’t and should have trimmed the belts on the back side of the seat were the shoulder pads are ![]()
Remaining three seats are up next then time for some drybrushing and weathering of capsule interior .
Dam, it looks like you are building ejection seats for a fighter jet!
Ken
Amazing detail for sure
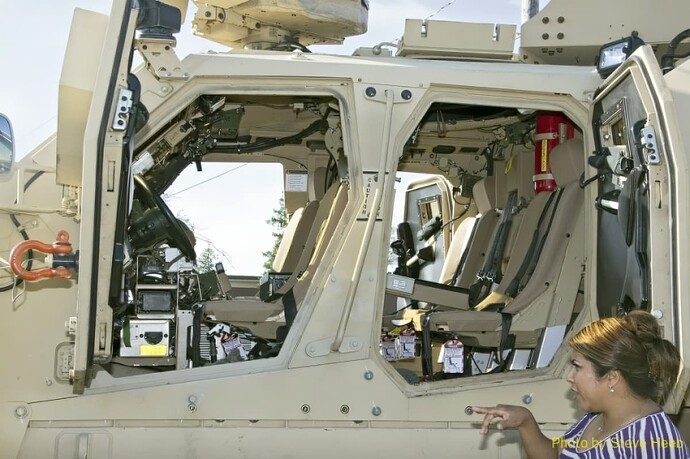
They’re definitely NOT your old Humvee bucket seats. The shock absorbing system in them to make driving off-road, less of a spine-jarring experience.
See the rails the seats ride on? Primarily to mitigate the force of a blast under the vehicle to protect the crew from spinal cord injuries.
Thanks everyone,
Well the kit seats are fine, I thought my reference search was pretty thorough until I saw that last posted picture and then I remembered why I took a break from modeling. Using Chris Green’s walkaround pictures posted right here on Armorama, images of the Eduard detail set for clearer pictures of the seats, other Internet builds , some random photographs and I thought I had it covered but I seem to have missed the ones with what appears to have a new generation of seats installed.
What really irks me is that I’ve seen that very picture and didn’t pay attention to the seats !
Another aspect of Internet modeling that frightens me is posting pictures of your hard work only to realize down the road, wow I really %#*%# that up😜
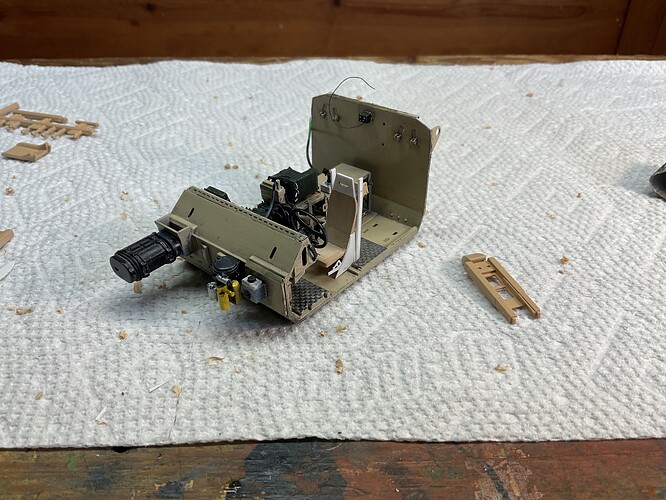
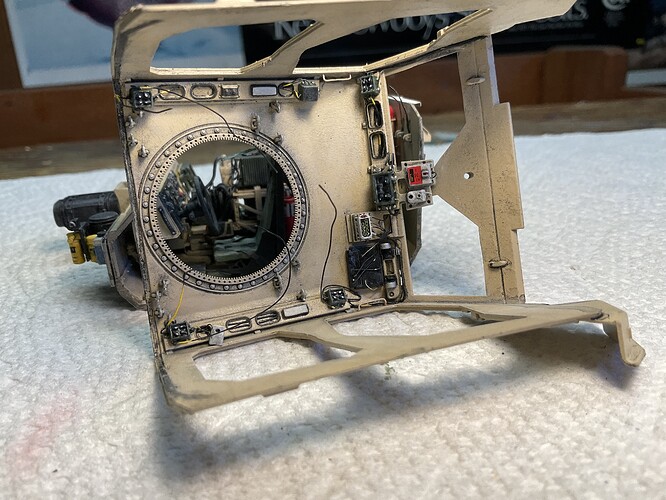
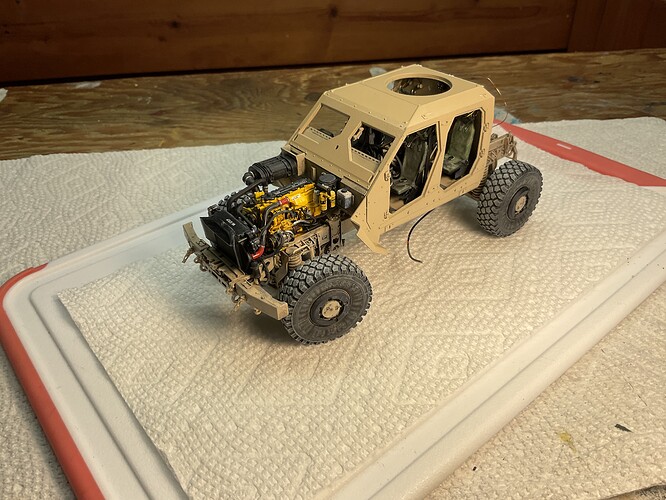
It’s starting to look like something and being able to see all the capsule interior detail is a bonus, growing up building Tamiya models this is actually a nicely fitting kit and the level of detail is welcome.
It’s too bad I had the hiccup with the seats😩
RFM has created a very impressive model, but you have to know how to use it. You’re doing it great. It looks fantastic.
Makinen you’re absolutely correct about the kit and thank you for the support. Did you notice the drivers seat back was neglected when it came time for drybrushing? ![]() , I just did!
, I just did!
What will bother me now and up until the end of this journey is this, a vehicle fitted with CROWs II and the older generation of seats ![]()
I missed… ![]()
That wouldn’t look out of place in a mad max movie!
You could present this as a field mode early model, with a later CROWS added?
Jon that could in fact work but I doubt I’ll find any evidence, every time I see pictures of the vehicle and look at the seats I cringe and think about how I crashed and burned on that one . We can also talk about how the seats are way too light , something I didn’t catch until pictures were taken.
I was so close…….![]()
Don’t look back. If you have to work with the seats they gave you, concentrate on the quality of your work. And if I may say, the quality of your work is outstanding. If YOU notice something that you missed, just promise yourself, “My next model will be better.”
SSGToms that’s the problem, if I had used what I was given all would be well. My wife always said my issue is not leaving stuff alone and she’s not the only one I’ve heard that from.
Thank you too.
Well if you’ve got your wife always telling you something, no need to tear yourself down and add to the pile. We’re all here to relax, model, and have a good time. Your work is exemplary, though.
Jon that could in fact work but I doubt I’ll find any evidence, every time I see pictures of the vehicle and look at the seats I cringe and think about how I crashed and burned on that one . We can also talk about how the seats are way too light , something I didn’t catch until pictures were taken.
I was so close…….![]()
Just pile gear in the way, or shut the doors then! ![]()
It happens…
I spent some time drawing up a ladder frame for a 1/48th RAF recovery trailer, then having it laser cut in card, & scratching the rest.
Only to find, the main photo I based it on was transposed, so most of the transverse bracing was going the wrong way!
Rule #03 of scratch-building: Better evidence comes to light only after you complete!
You guys are the best and being amongst others who share the same passion is exactly where I should be , like minded souls who understand stuff like this.
Tom thank you I try my best and you’re correct in your assessment but sometimes relaxation and modeling don’t always go hand in hand. Jon you are also correct concerning rule no.03 and it’s usually not long after you complete whatever it is when you find that one picture that makes you say …………
Seat anchor straps, final wiring between the floor pan and body shell then seat tweaks(oils and drybrushing) up next so stay tuned for updated pictures .
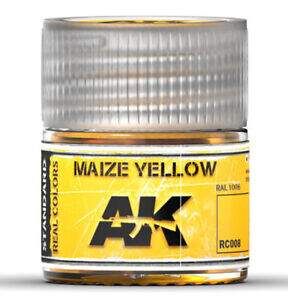
What color did you use on the engine? I’m thinking AK Interactive Real Color Maize Yellow (RC008)
