This arrived today and once a few other things are off the bench I will be starting a quick contents review and then a build blog for this what looks like a very nice detailed kit.
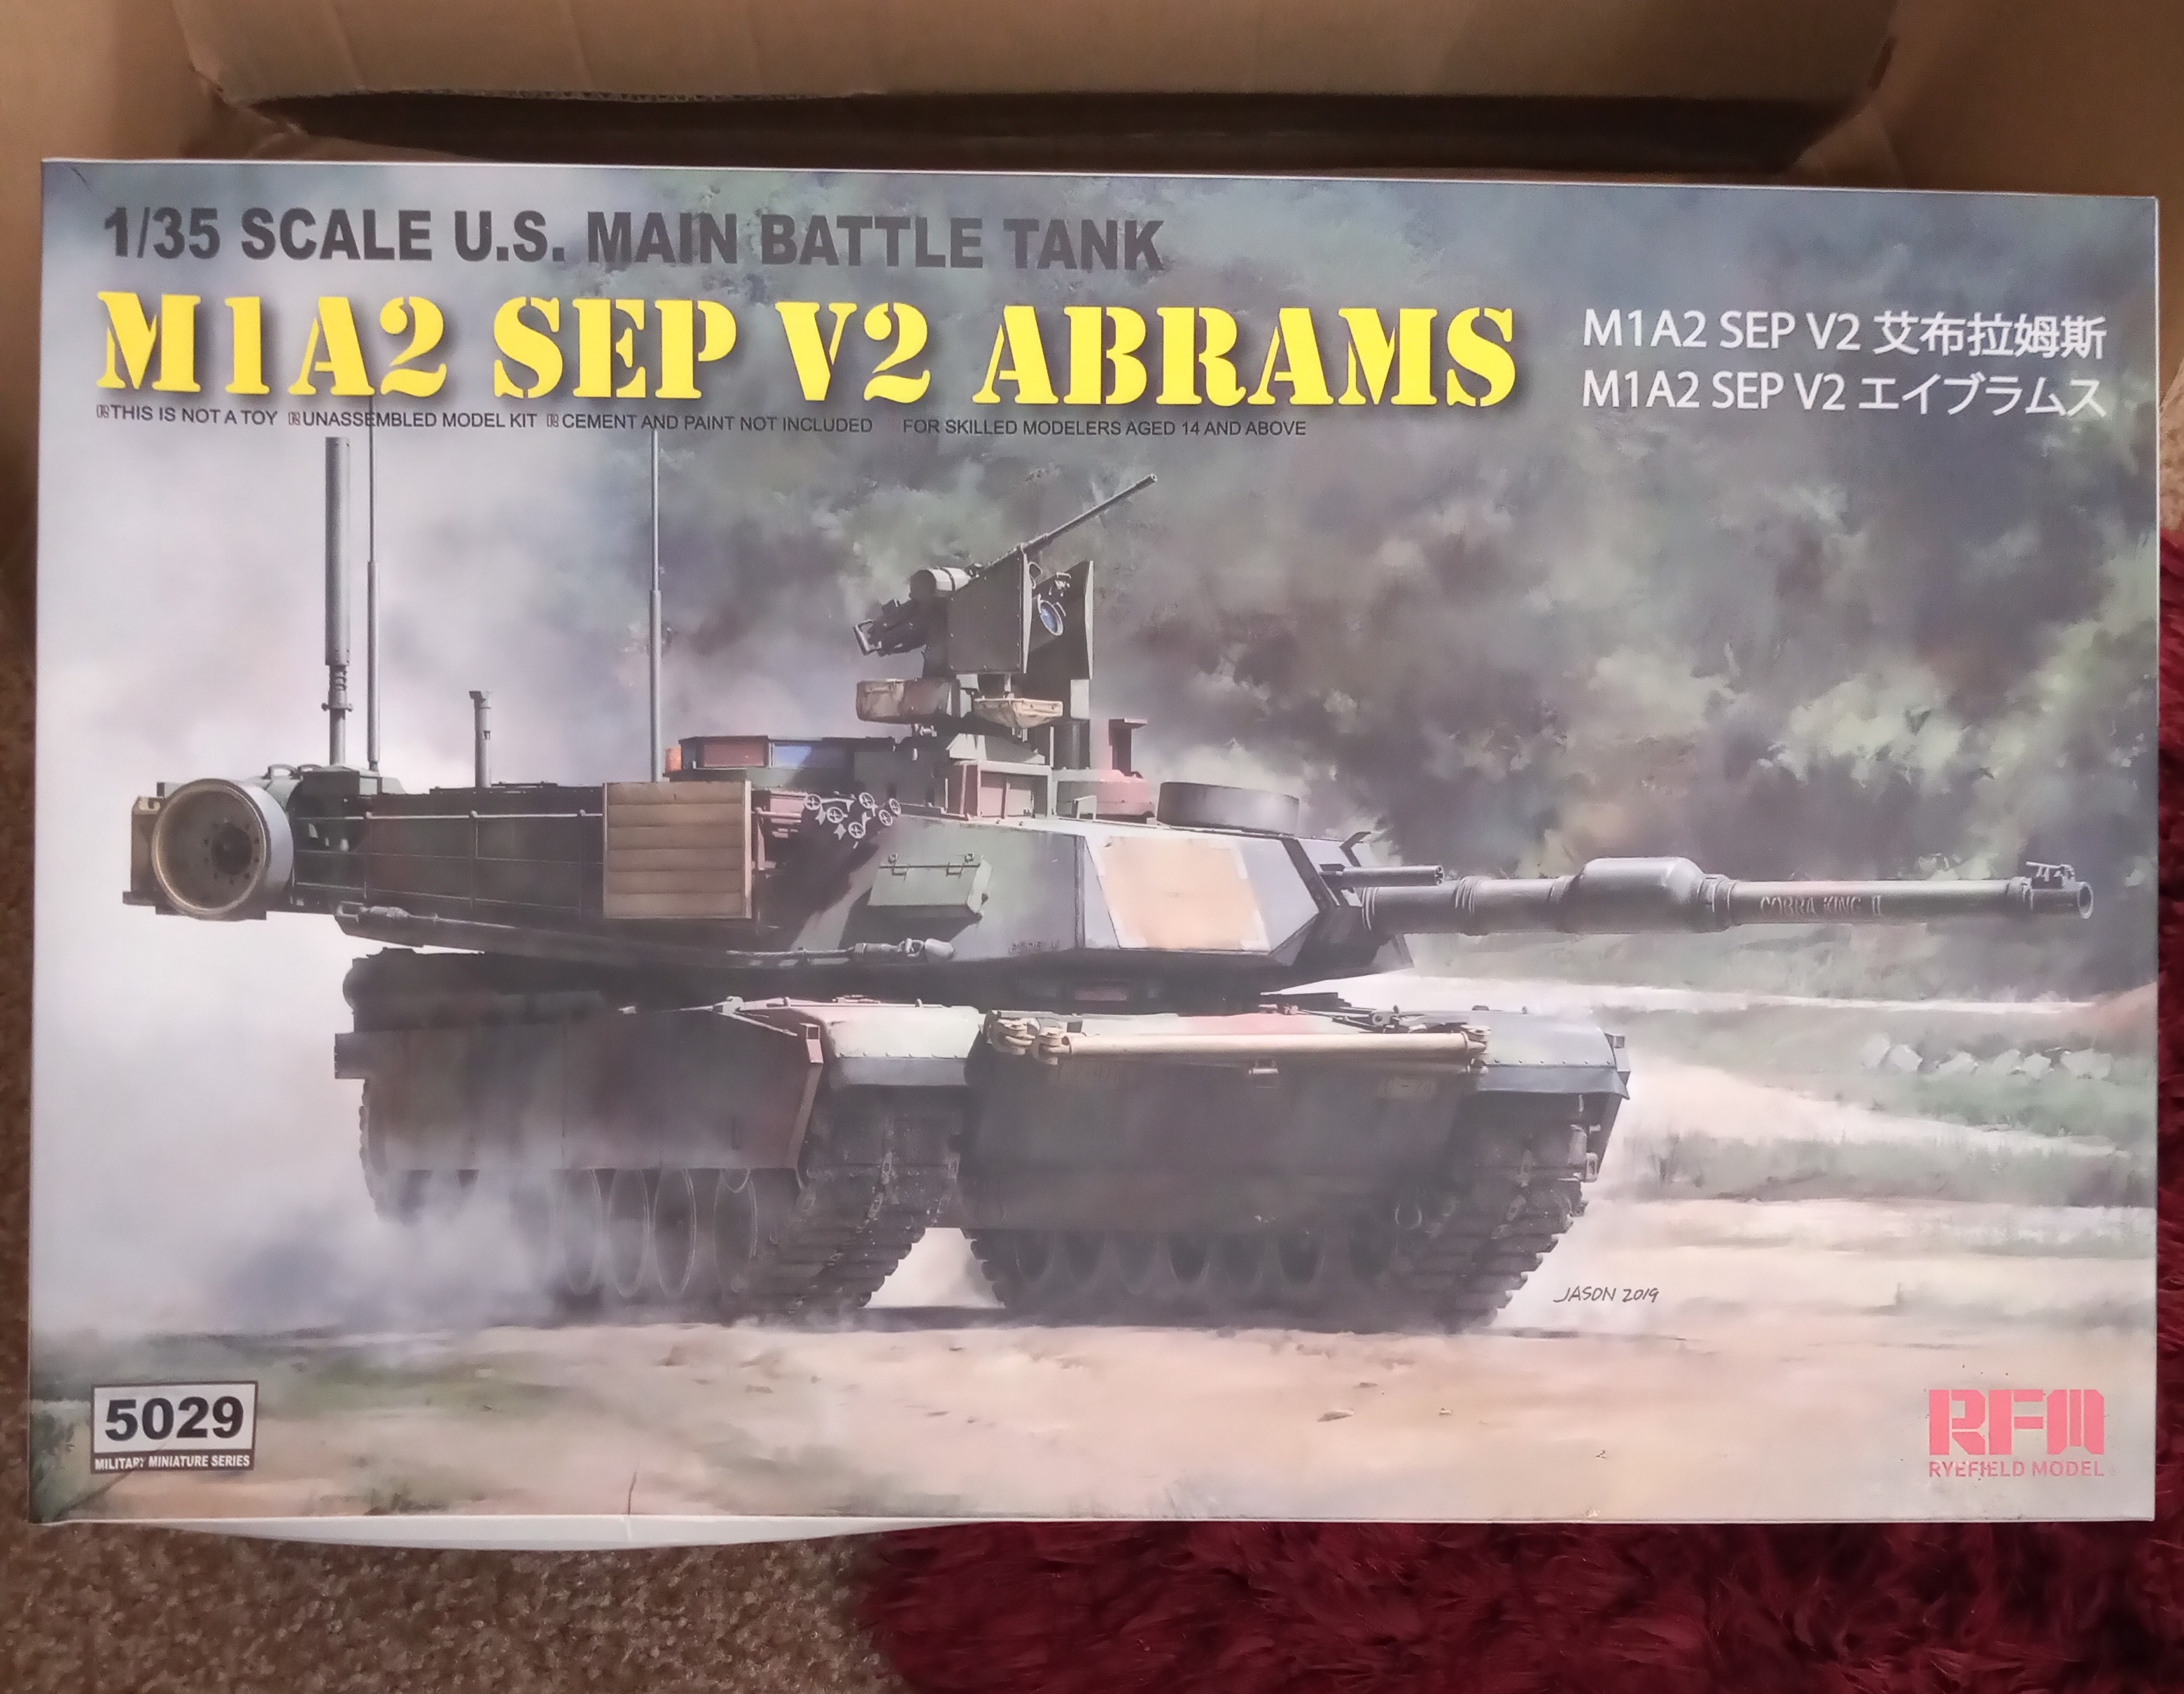
The box.
More to follow 
This arrived today and once a few other things are off the bench I will be starting a quick contents review and then a build blog for this what looks like a very nice detailed kit.
The box.
More to follow
Look forward to seeing it built. I have there 1991 kit in the stash.
Interested in this as well, doesn’t seem to be too much online about it considering how it’s the first M1 with interior.
Which color scheme are you going for?
Look forward to the reveal and details!
This version is not the first. Rye Field’s original M1A1/A2 kit (RM-5007) was the first. It was reviewed at the archived Armorama site, as well as other places when it first came out in 2016. Lots of reviews listed at Scalemates too, scroll down to the reviews section.
This kit is the same one with a few more parts added to make it the v2 version. The M1A2 SEP v2 was also dicussed on Armorama when it came out in '19.
Lastly, the above kit that Johnnych01 is building is the kit w/o interior (5029). The M1A2 SEP v2 with interior kit is 5026.
This doesn’t have the interior, and to be honest I don’t think I would do it with one anyway… I will double check when I do the sprues later on.
I think I will end up doing the Tri colour on the finish, and it won’t be overly weathered or with much external kit… As I want to see the lines once it’s done.
Maybe the first all plastic but Italeri had a resin interior offered in the box back in 04’.
I meant the first of Rye Field’s full interior Abrams kits.
Maybe the first complete interior in plastic is a better description. Italeri’s resin interior was only partial and very poor. It wasn’t very accurate. Dragon’s Abrams from the early '90s also had a partial interior with a driver’s area and upper turret parts. They were pretty nice for the time. Verlinden also had a partial resin interior from the late '80s. It was again just the driver’s area, upper turret parts, and some parts for the battery box. Not too bad, but not very accurate.
To begin with thanks to @Tank_1812 & @HeavyArty for all the inputs. They are greatly appreciated.
Now back to the kit. Although as Gino said it was reviewed before I thought I may as well do a bit in here again so people can see what’s in the box.
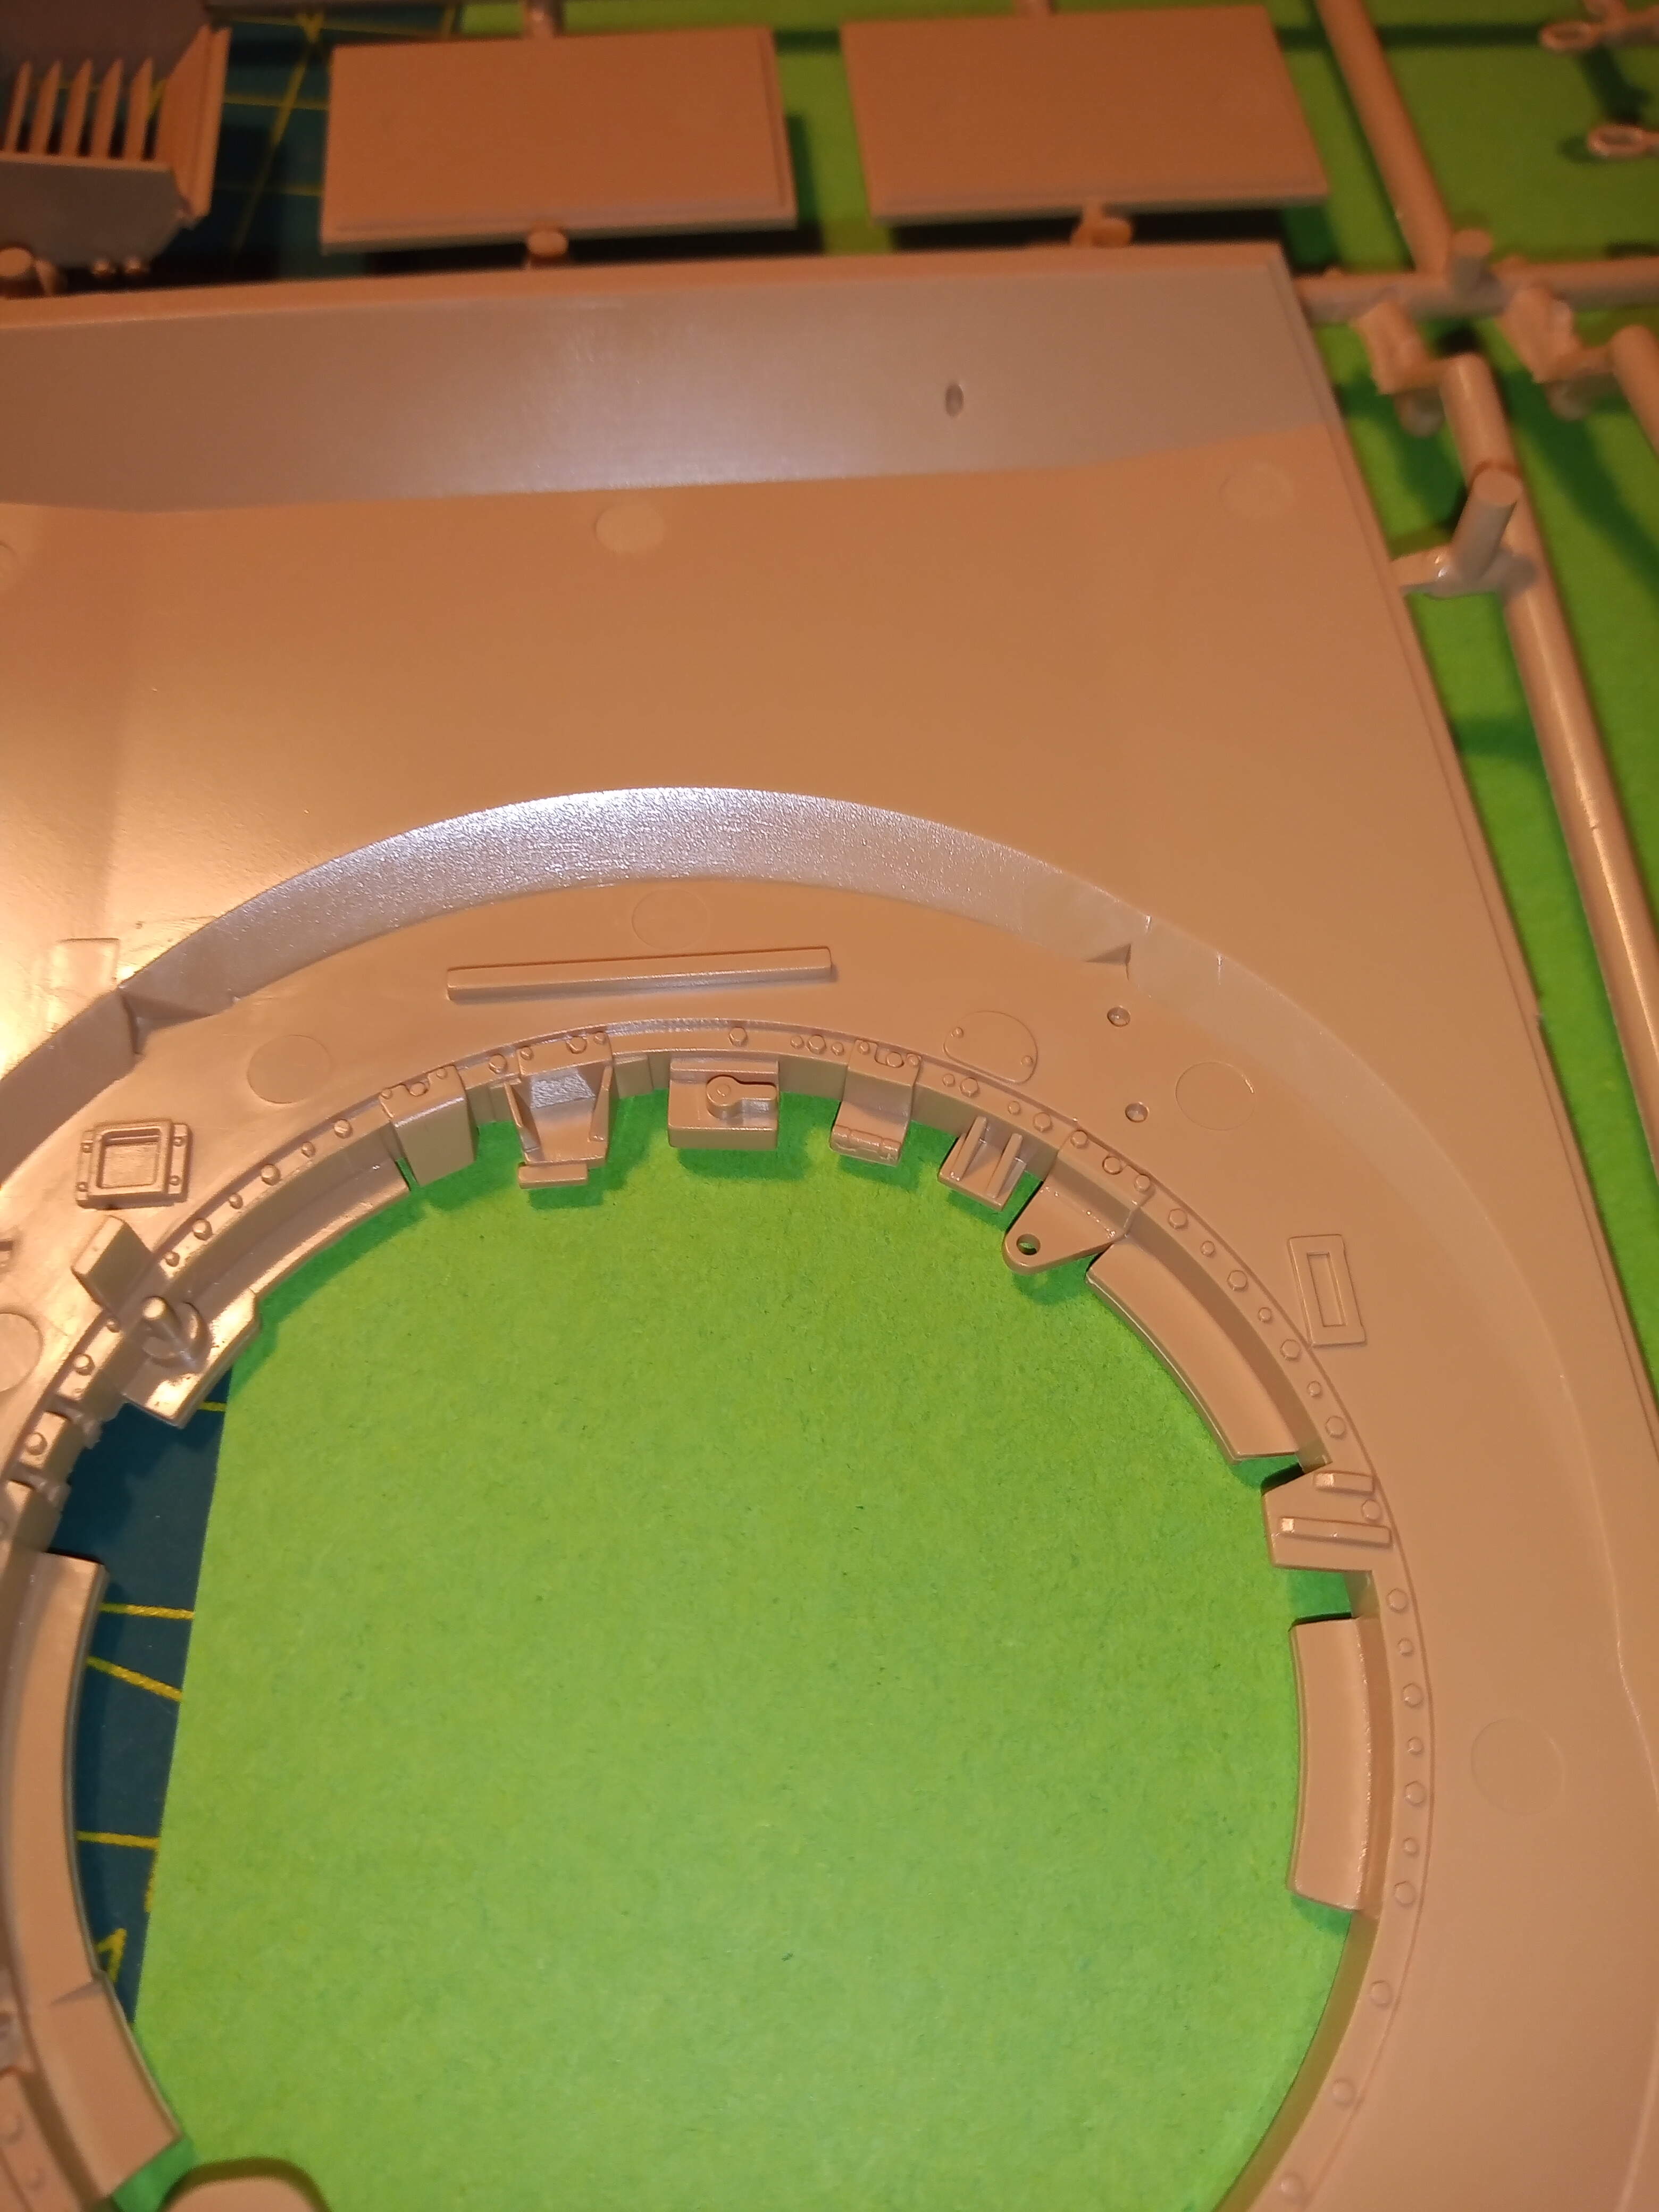
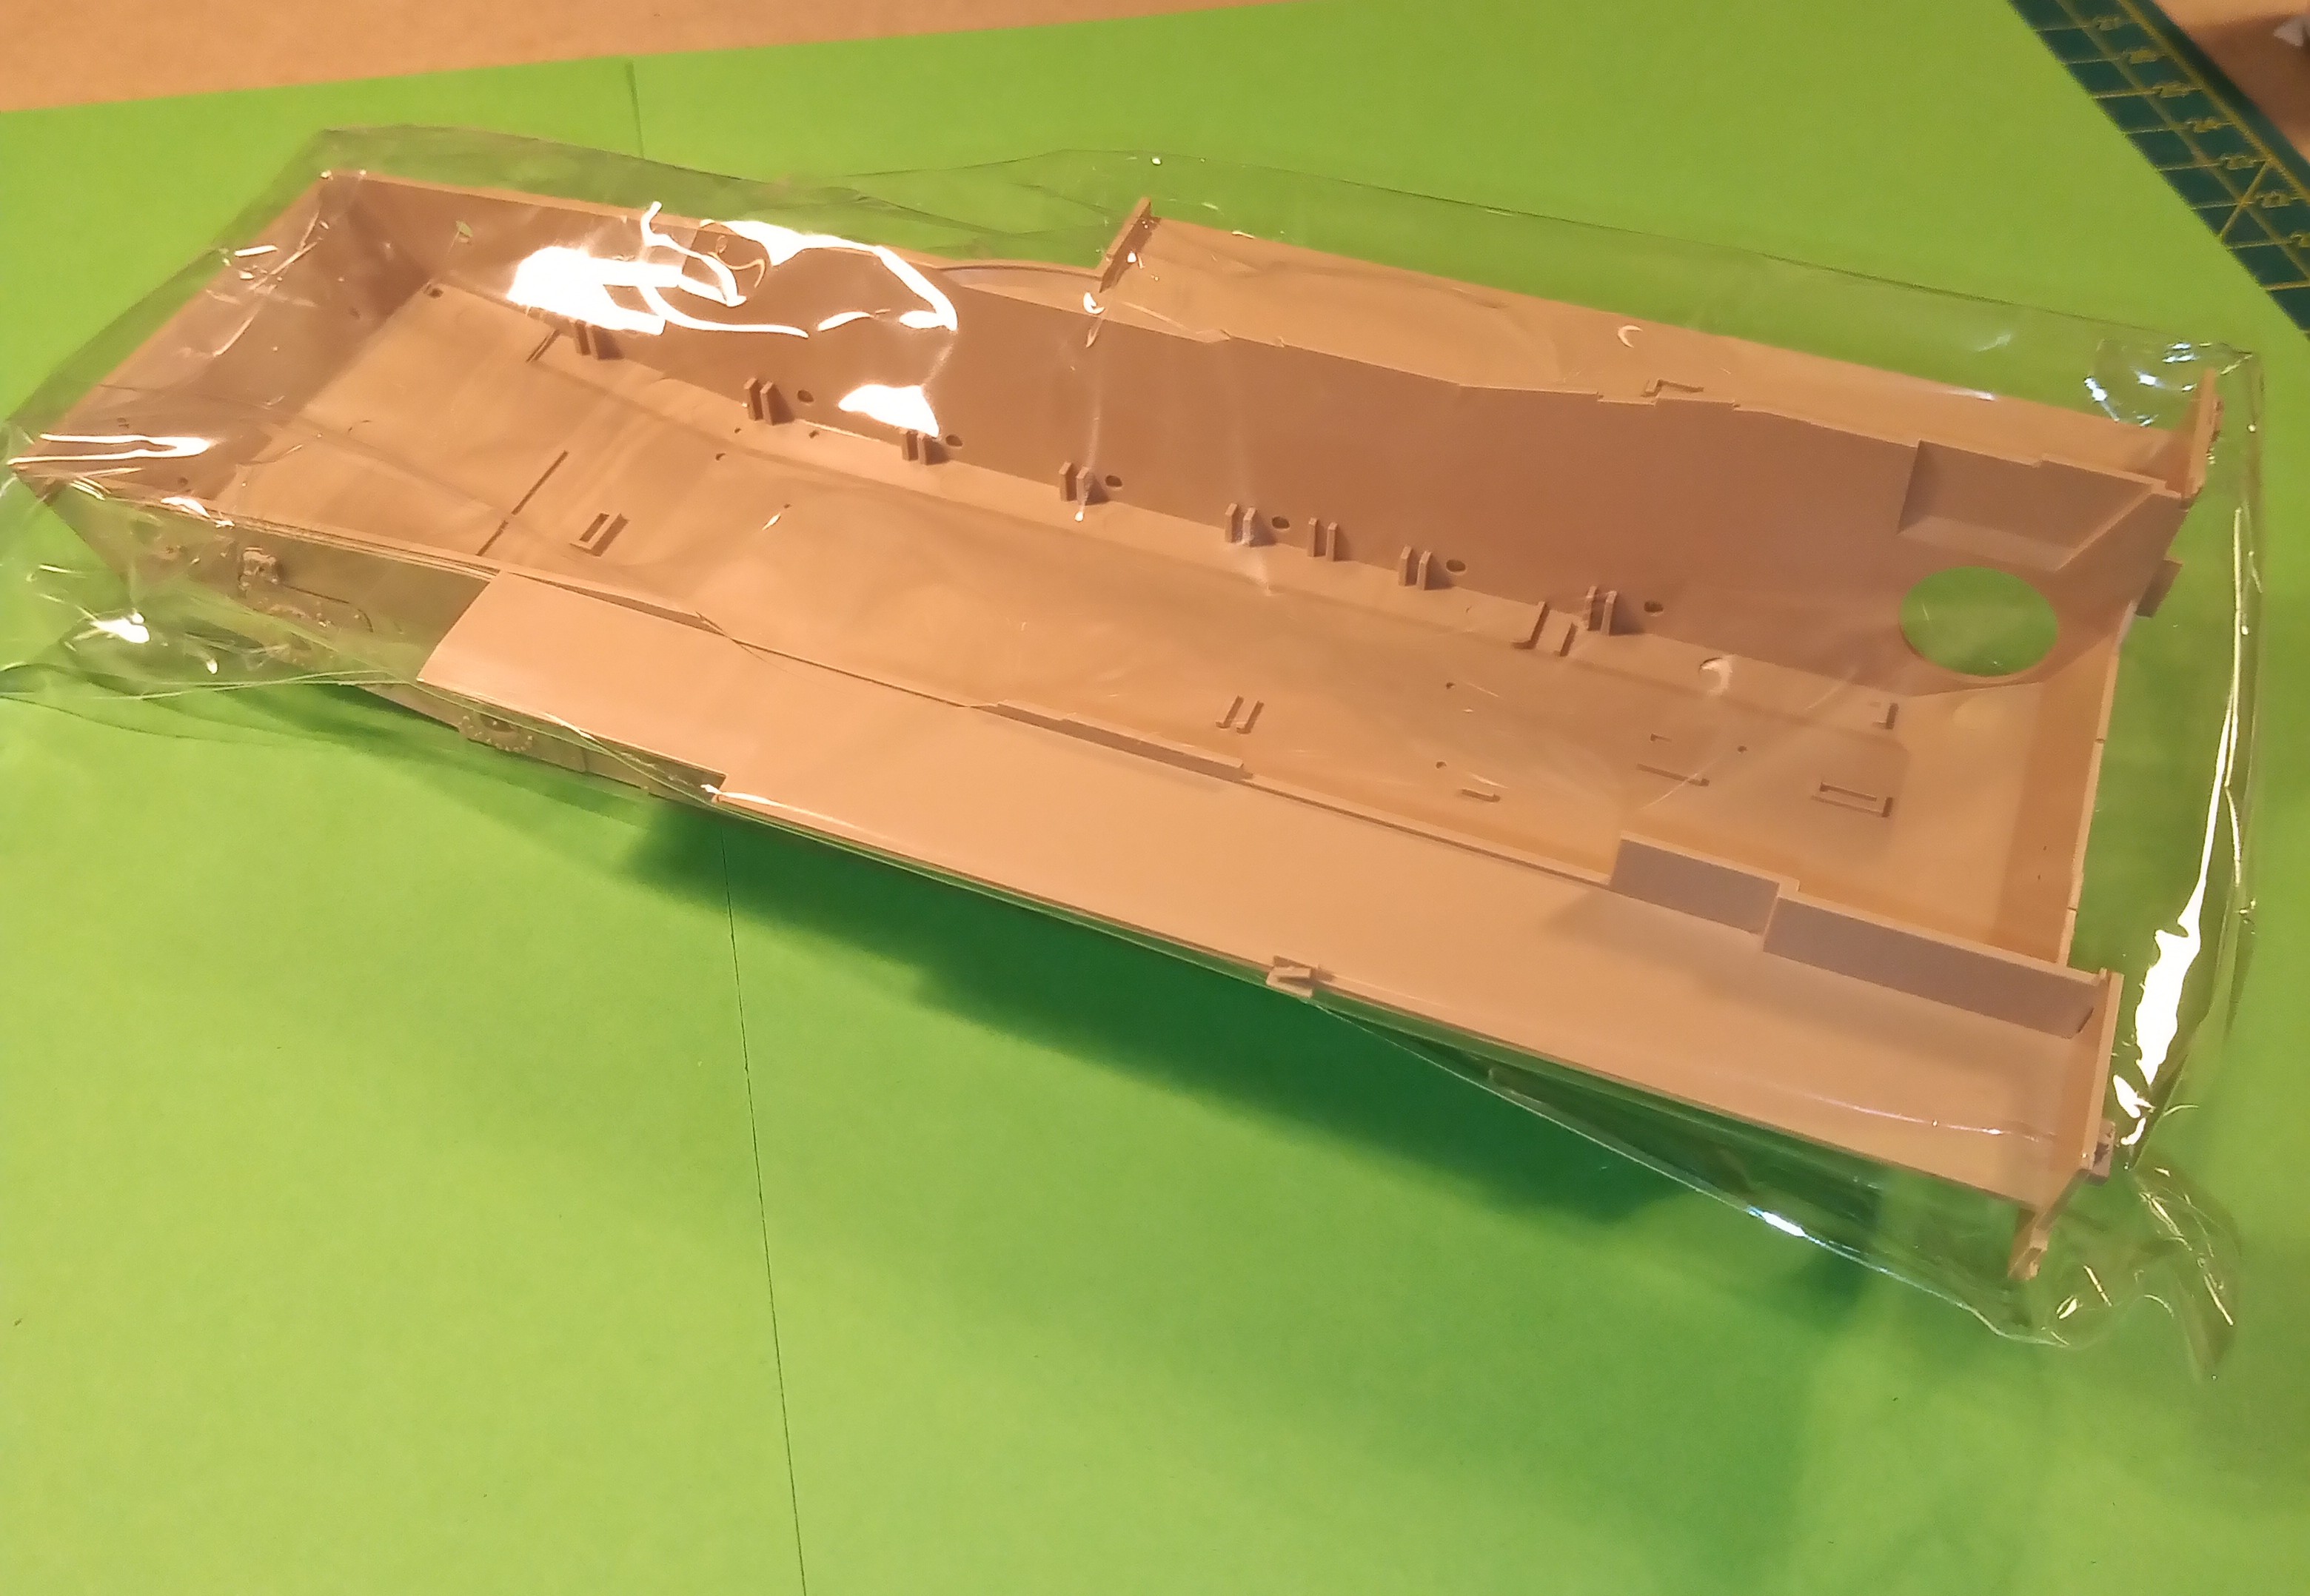
I can confirm there is no interior detail with this kit. There are fittings for bits on the turret base but nothing supplied in the kit.
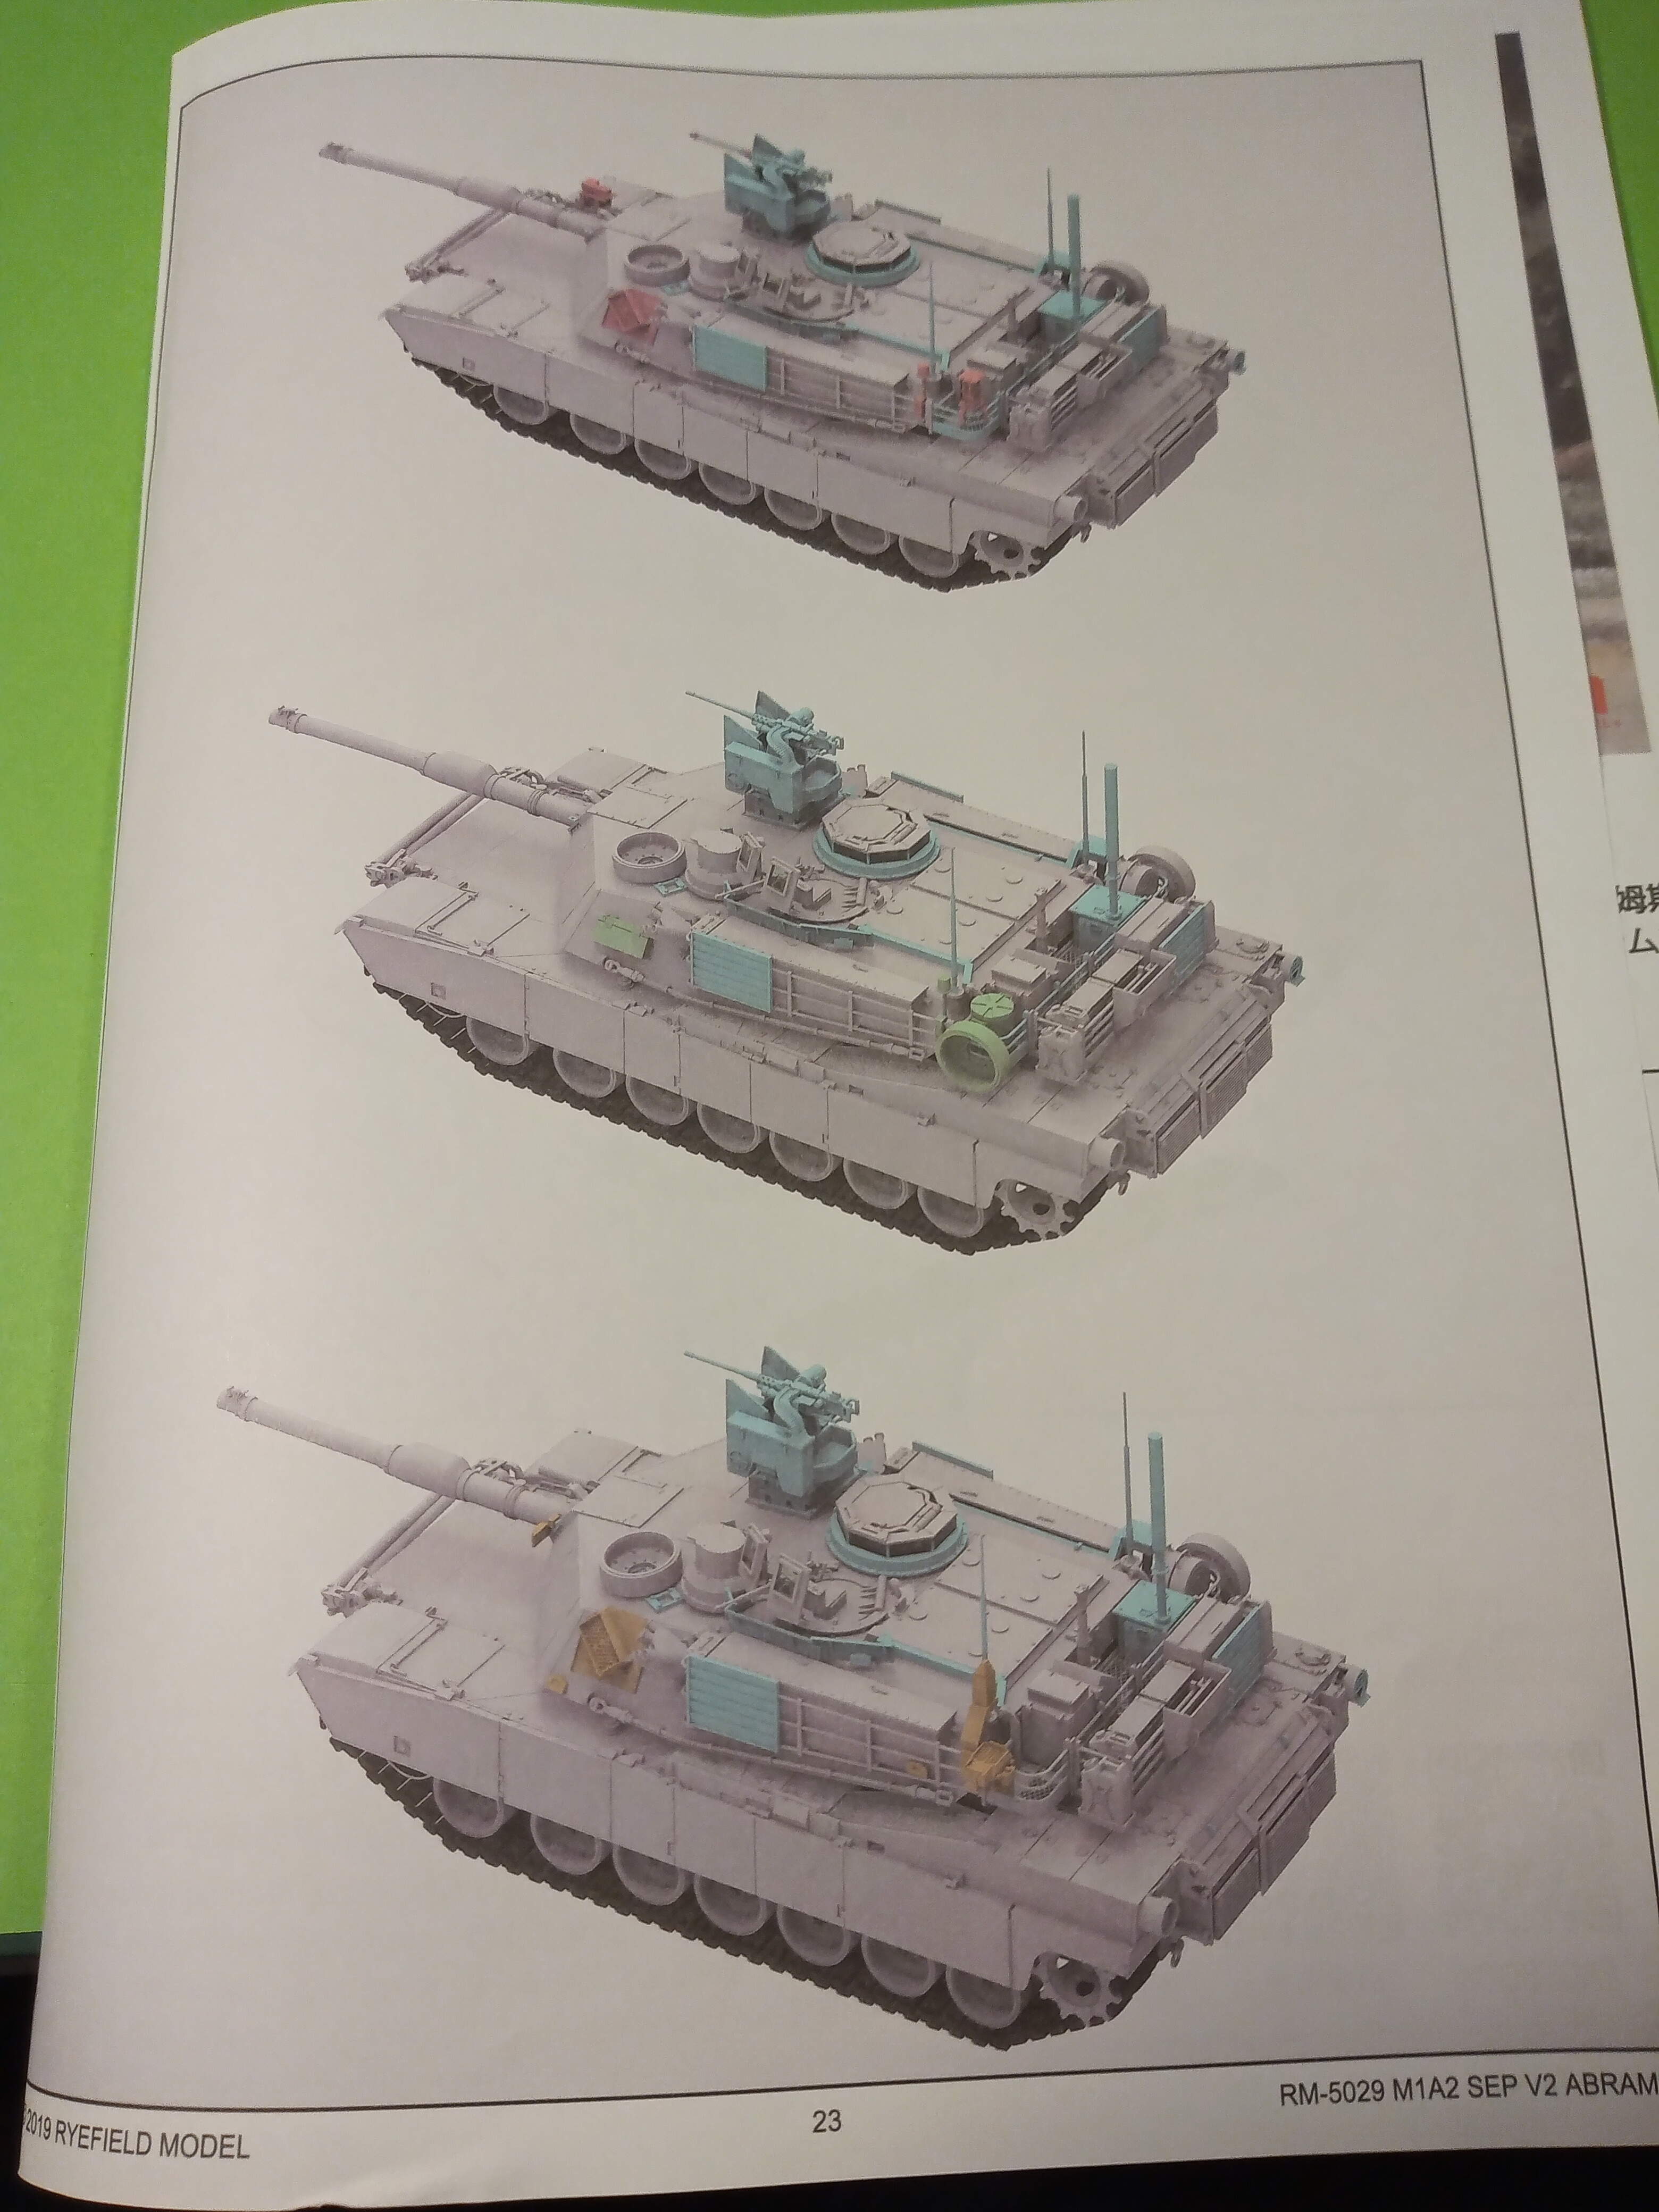
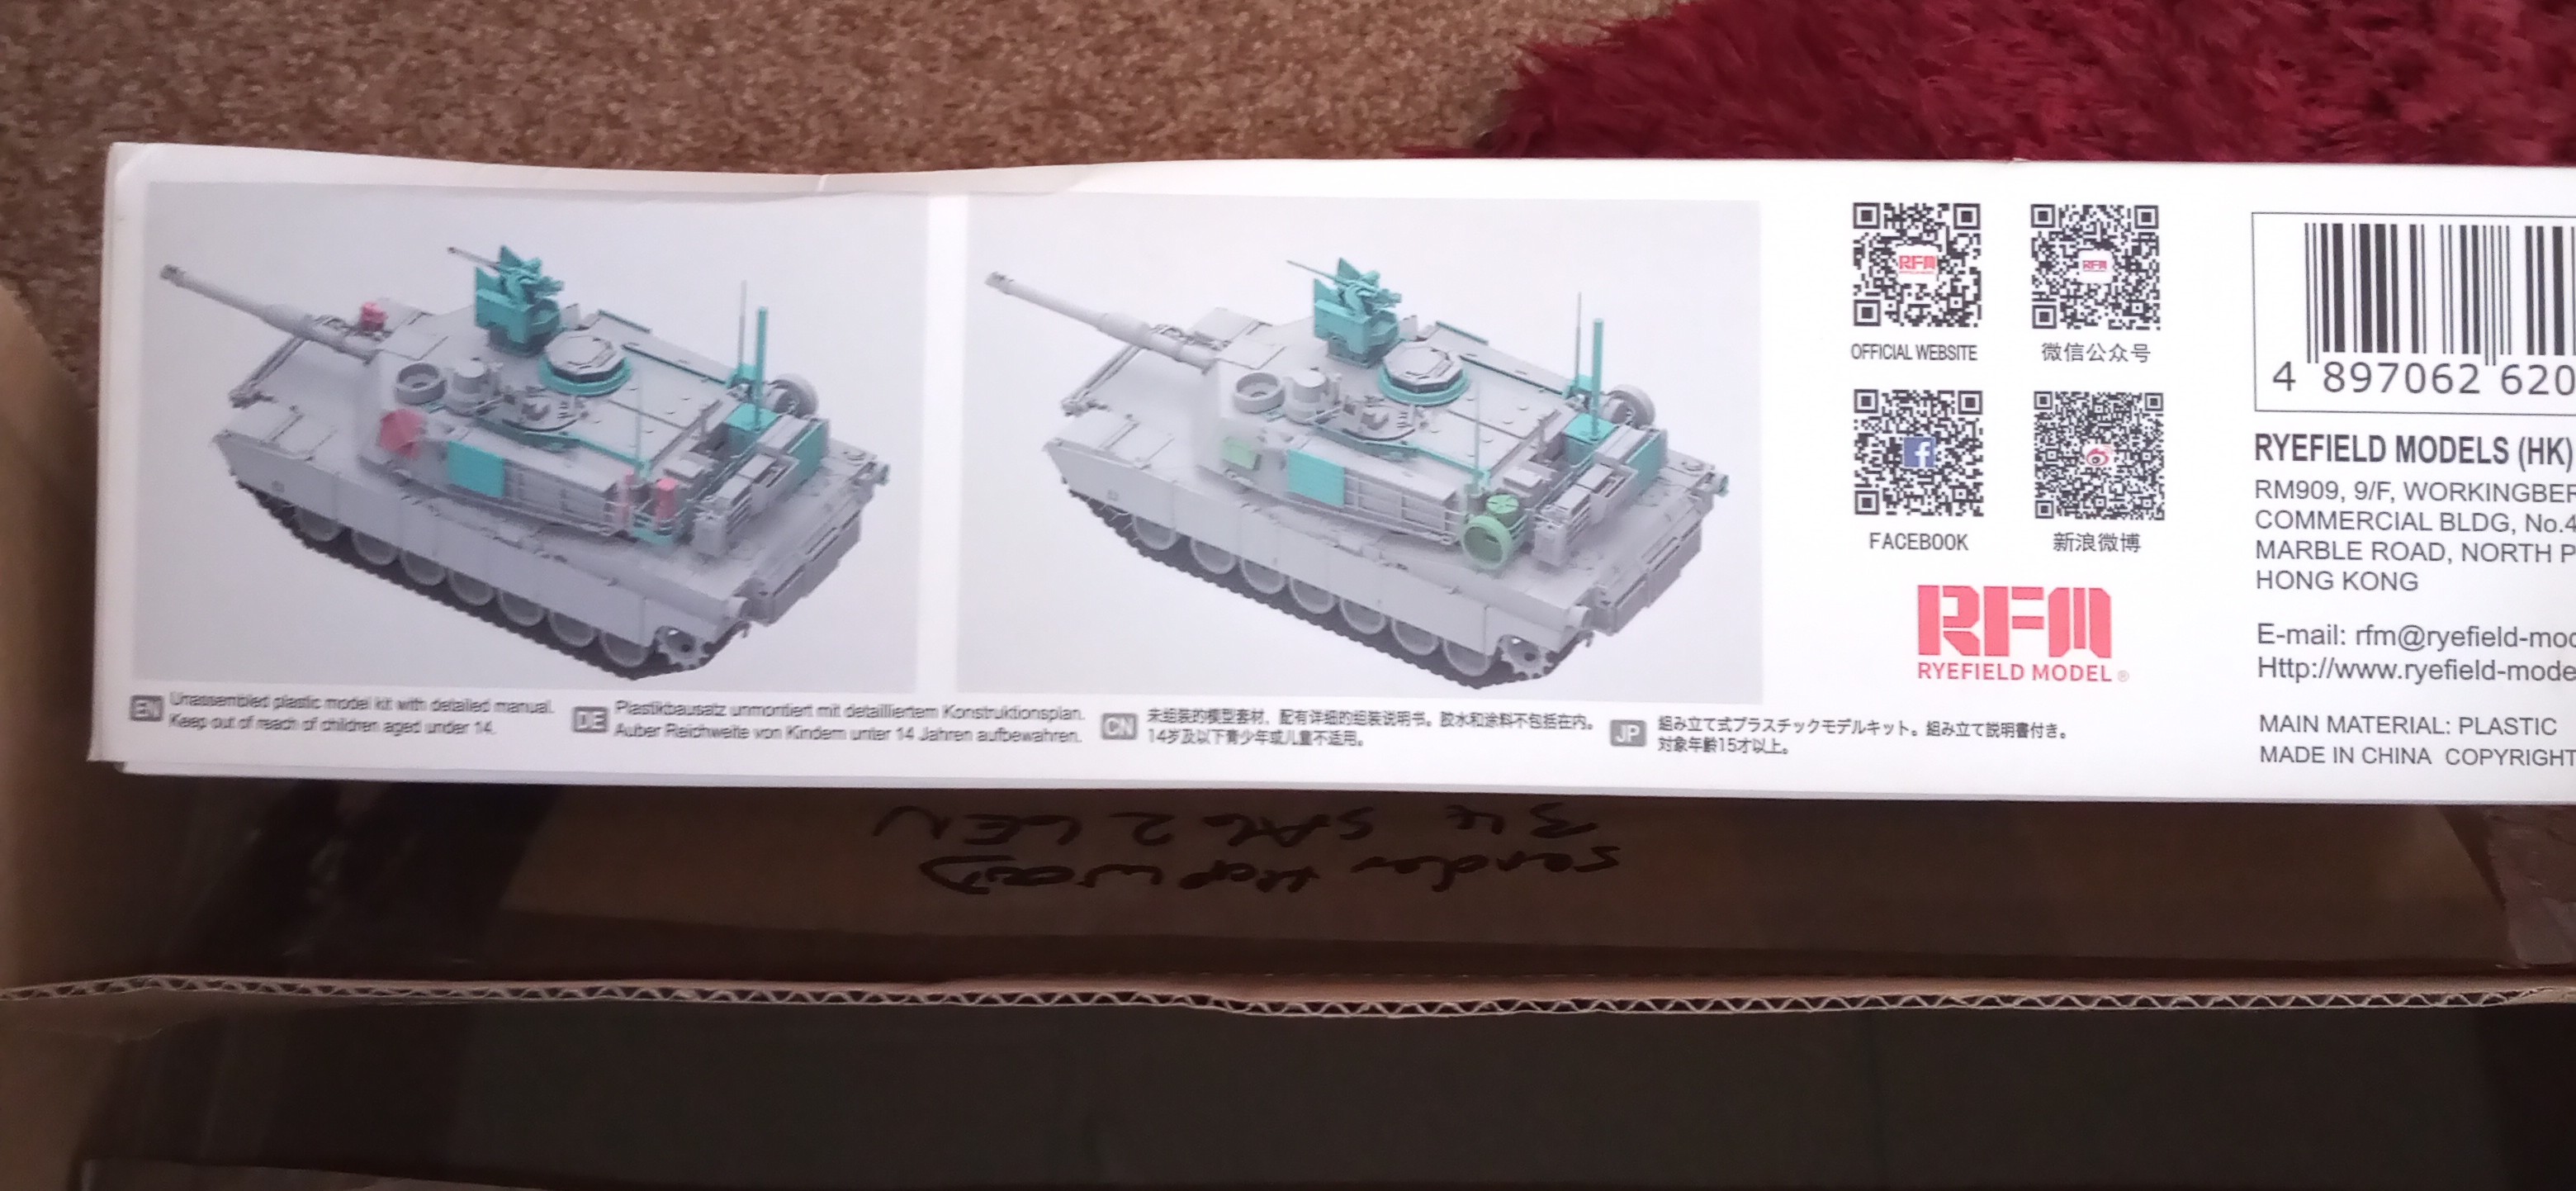
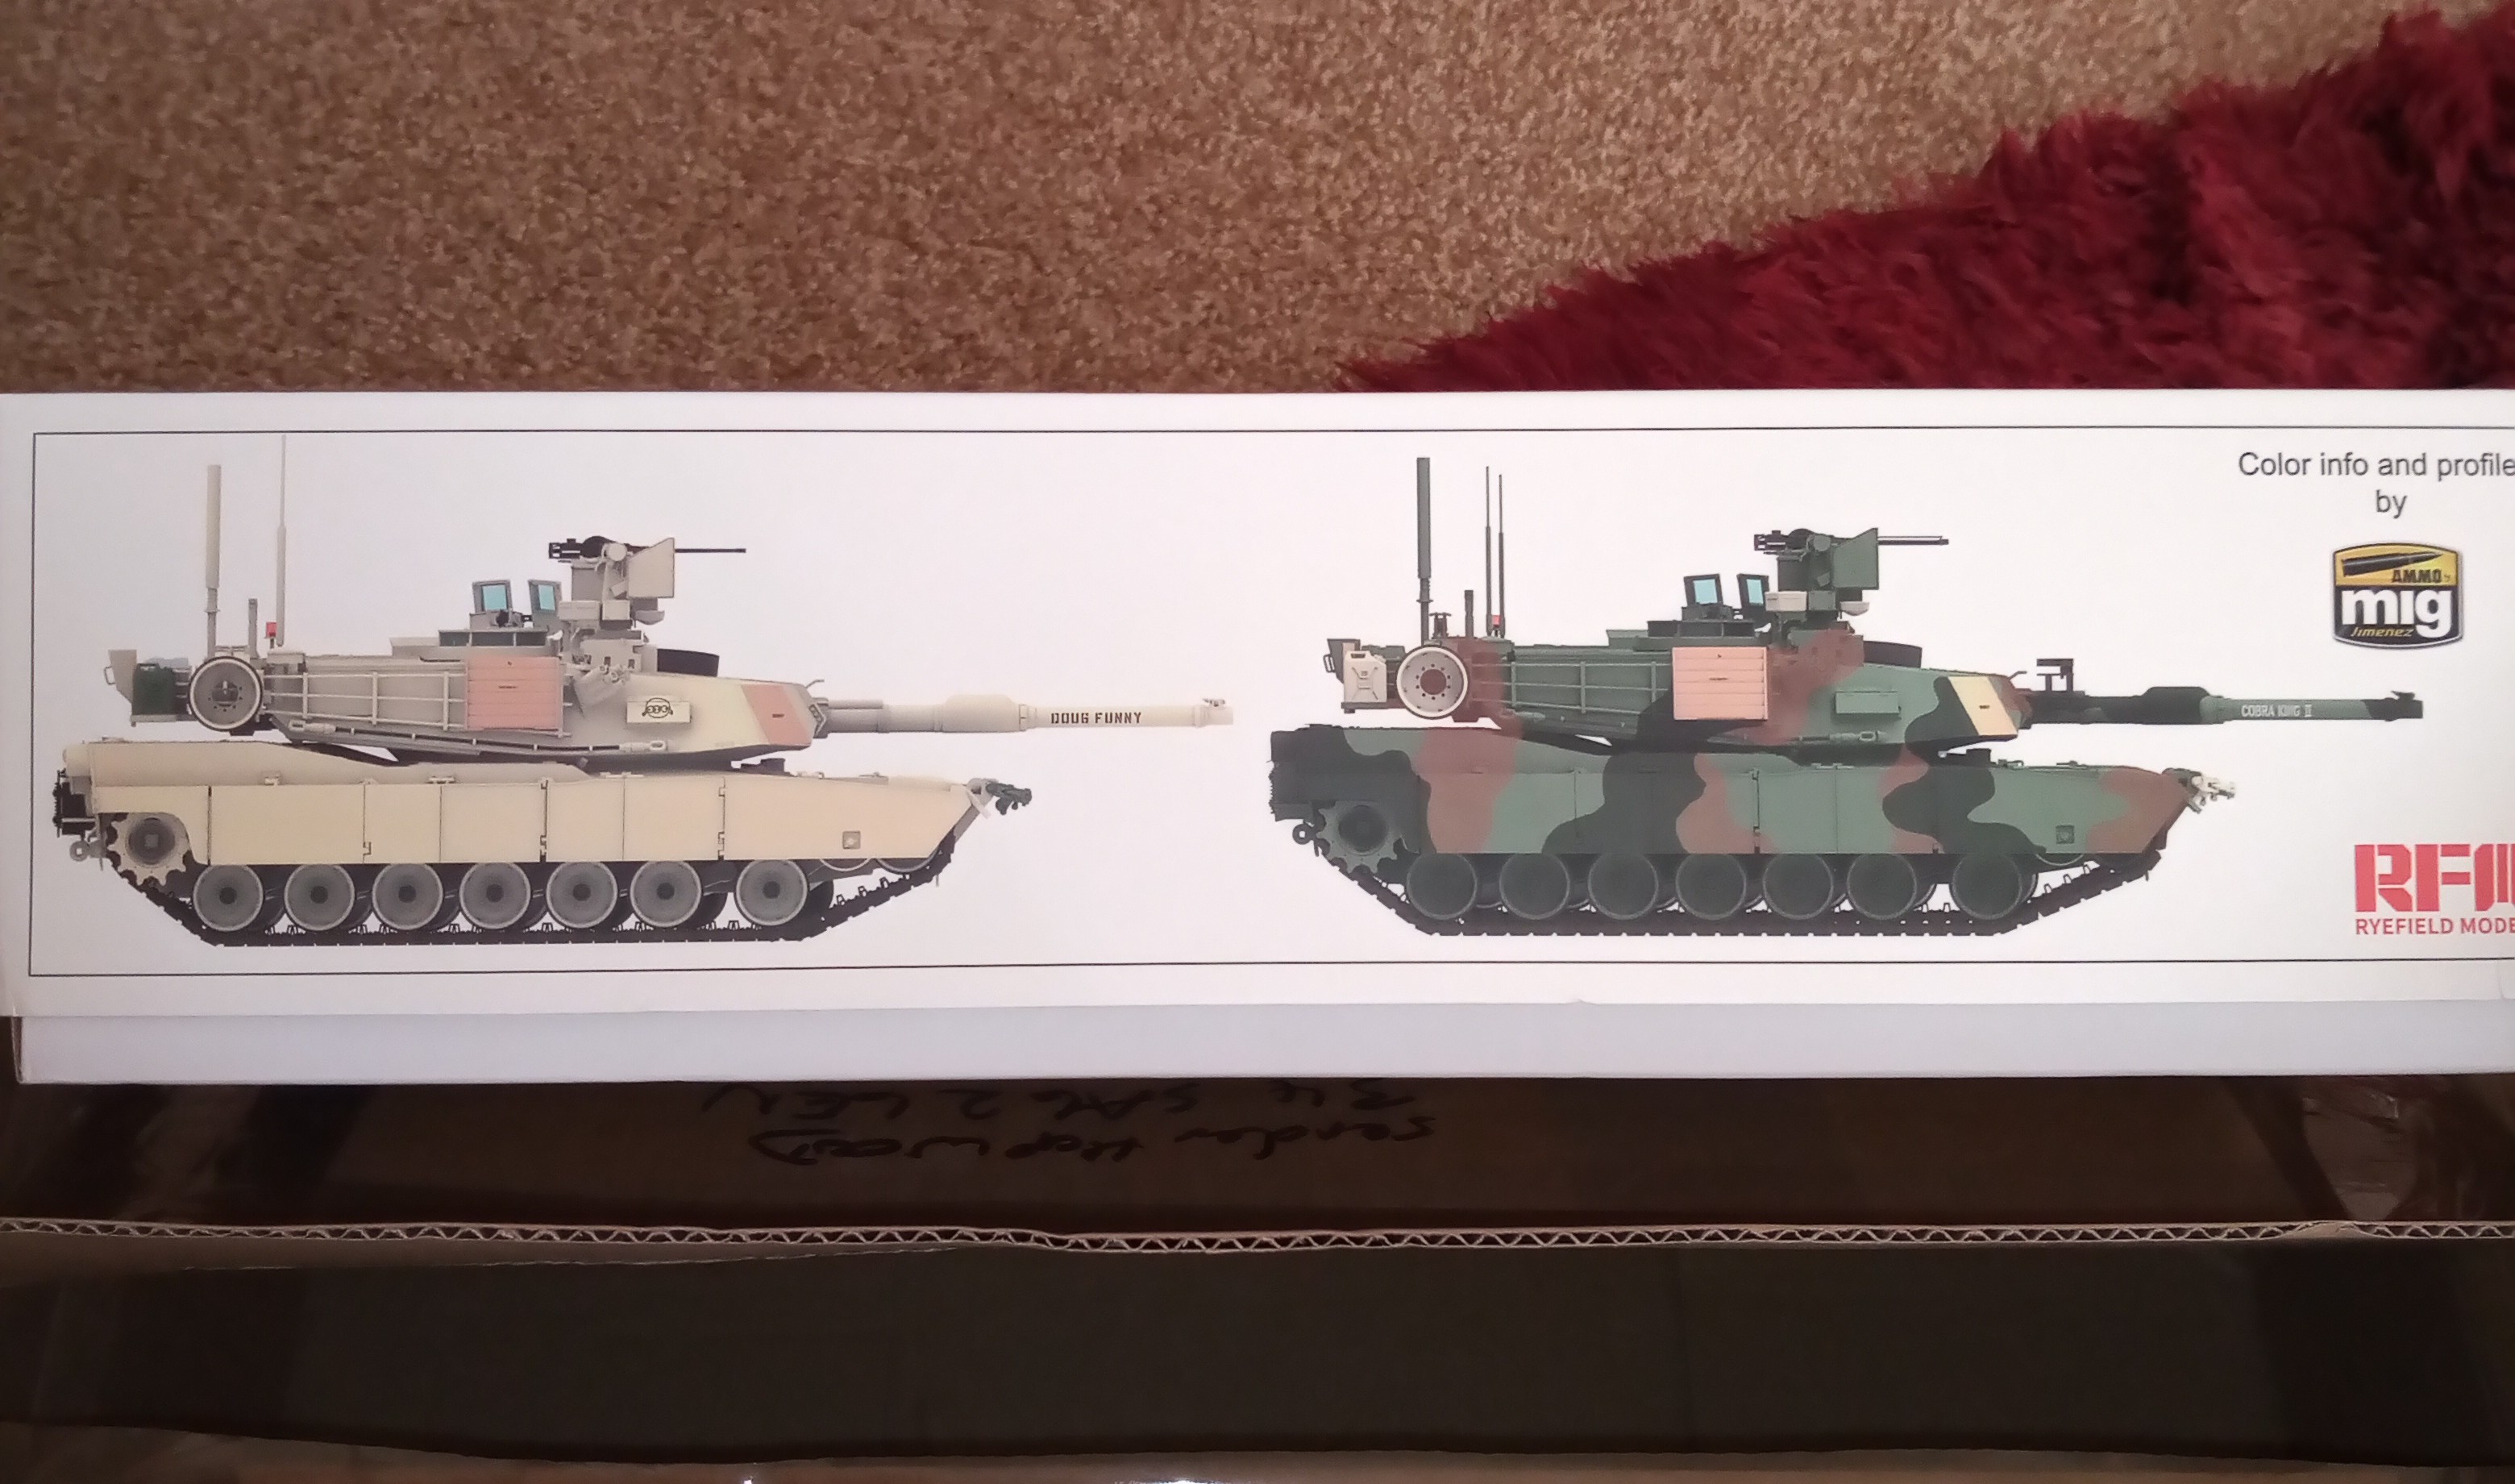
Instructions look nice a clear and easy to follow. Various colour options are laid out at the end of it and also how the 3 variants look and what parts are used pre painting.
I intend to do the middle option.
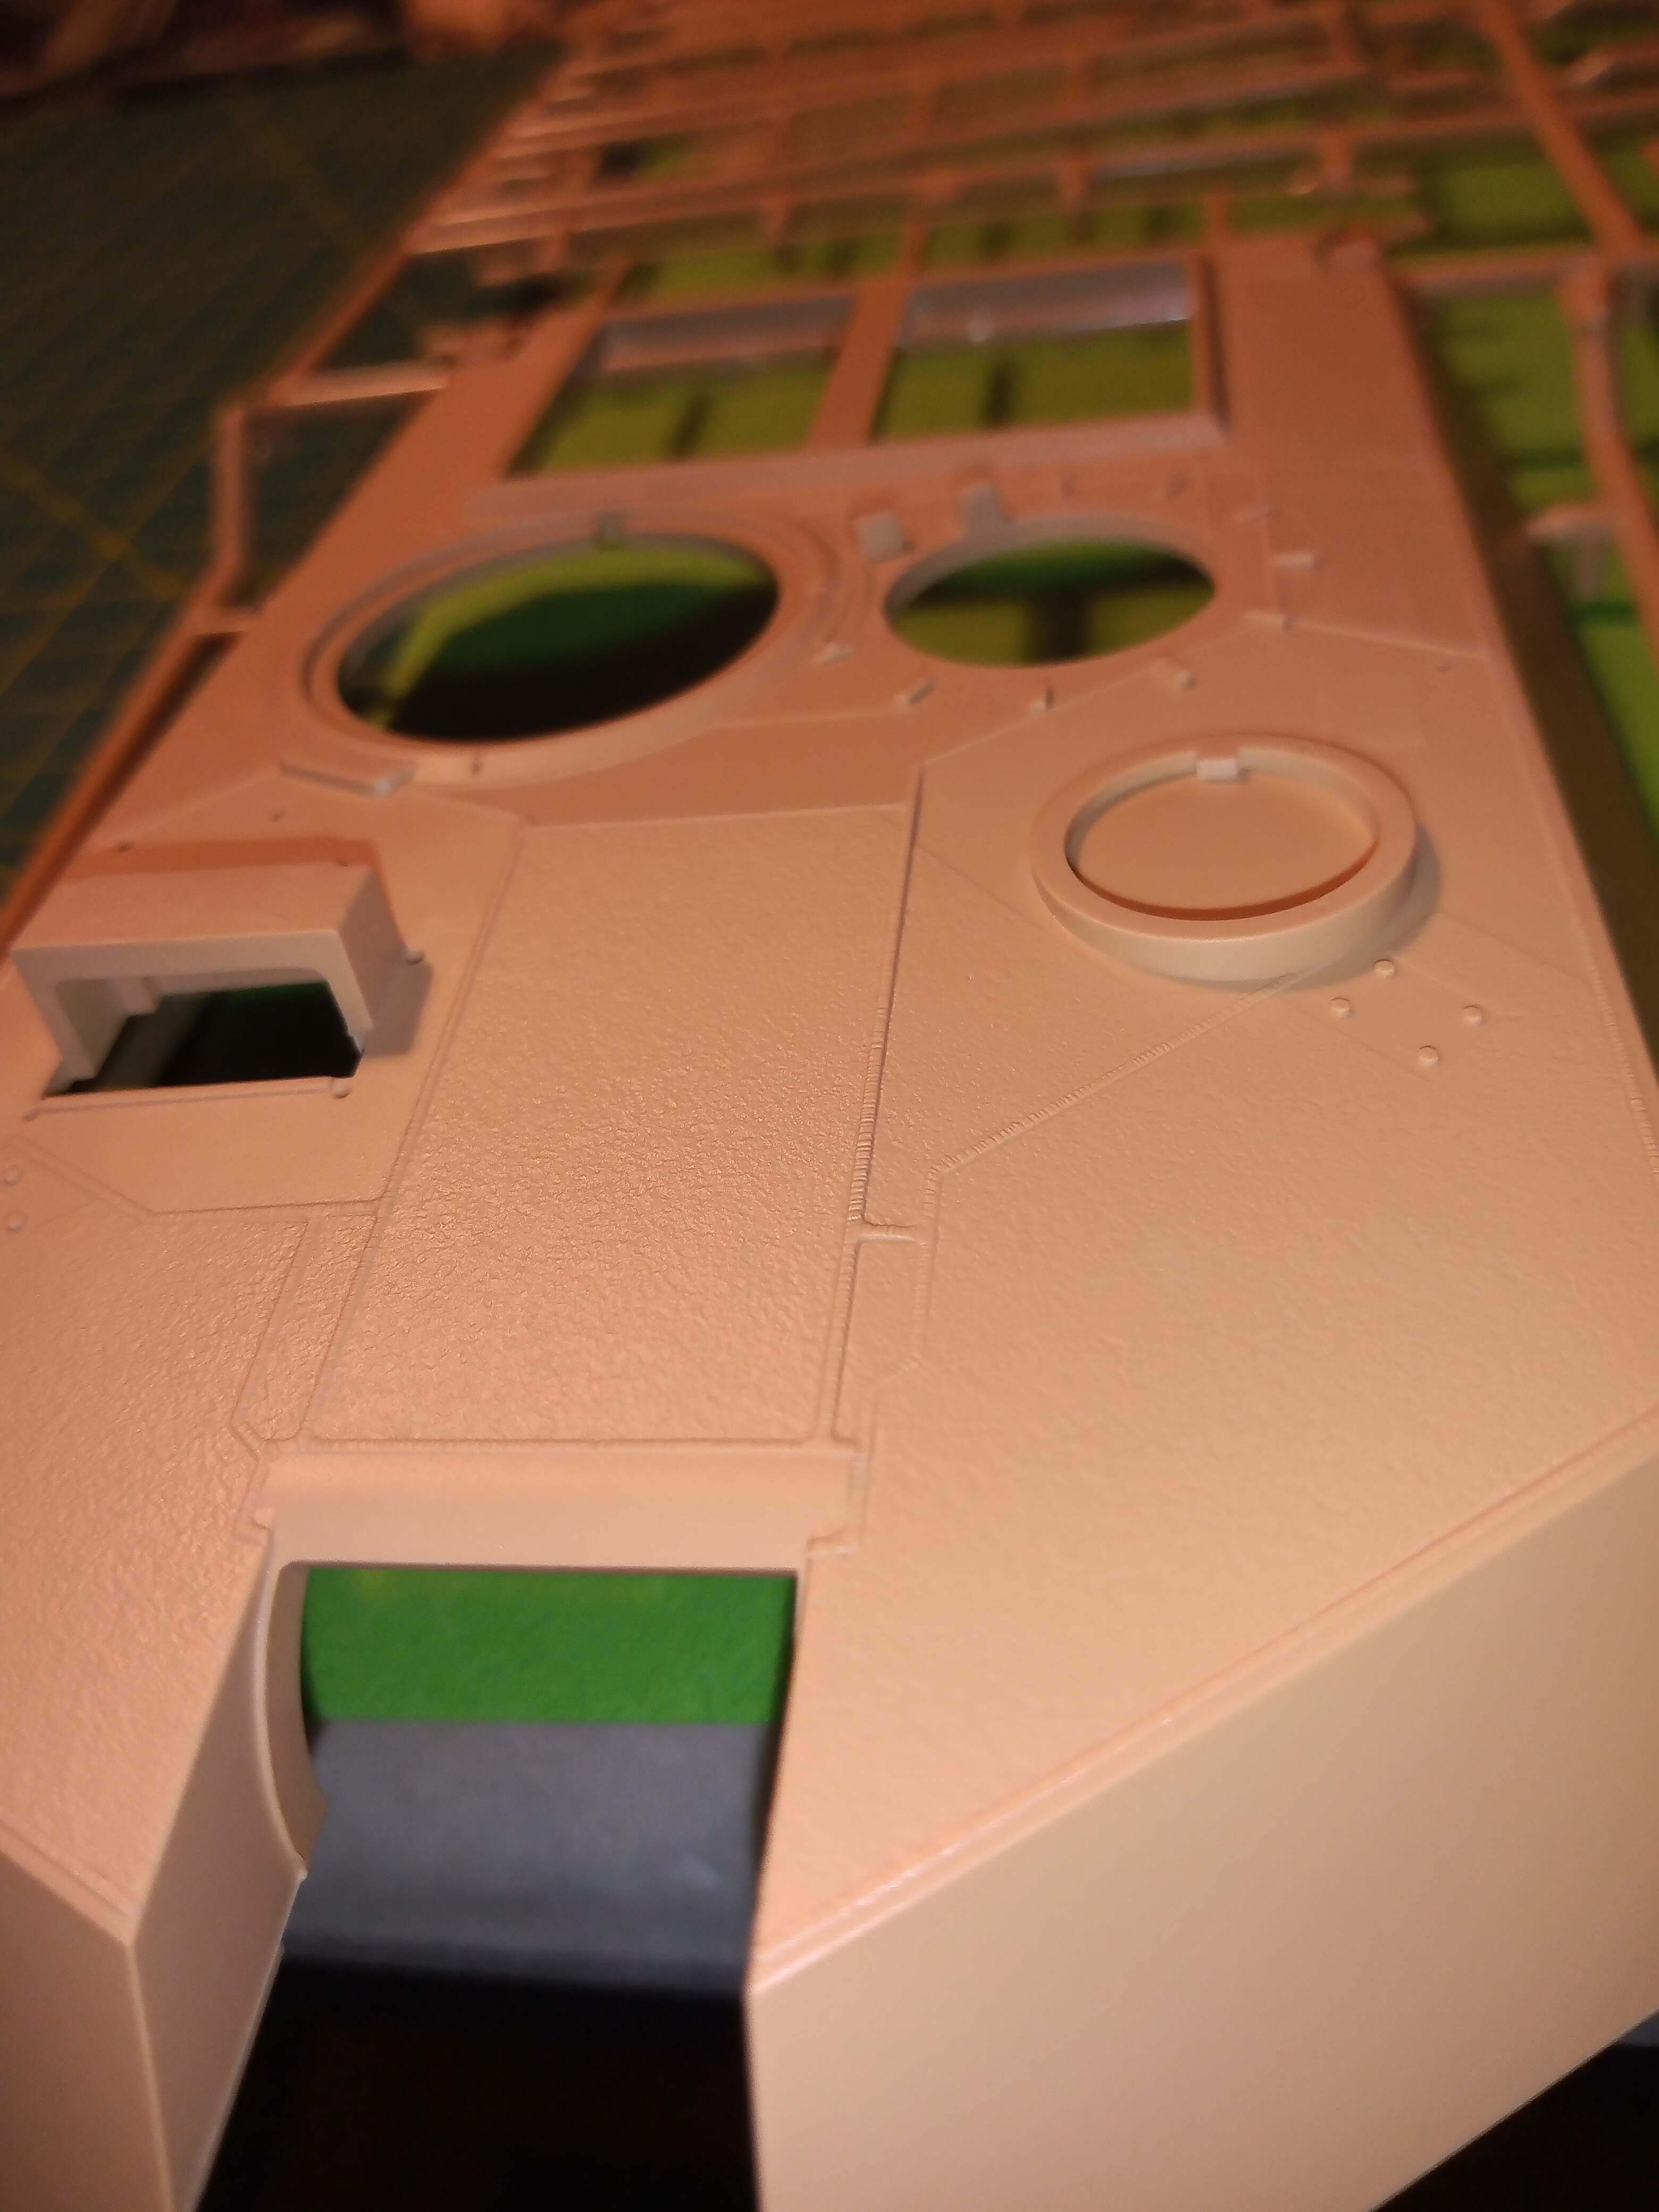
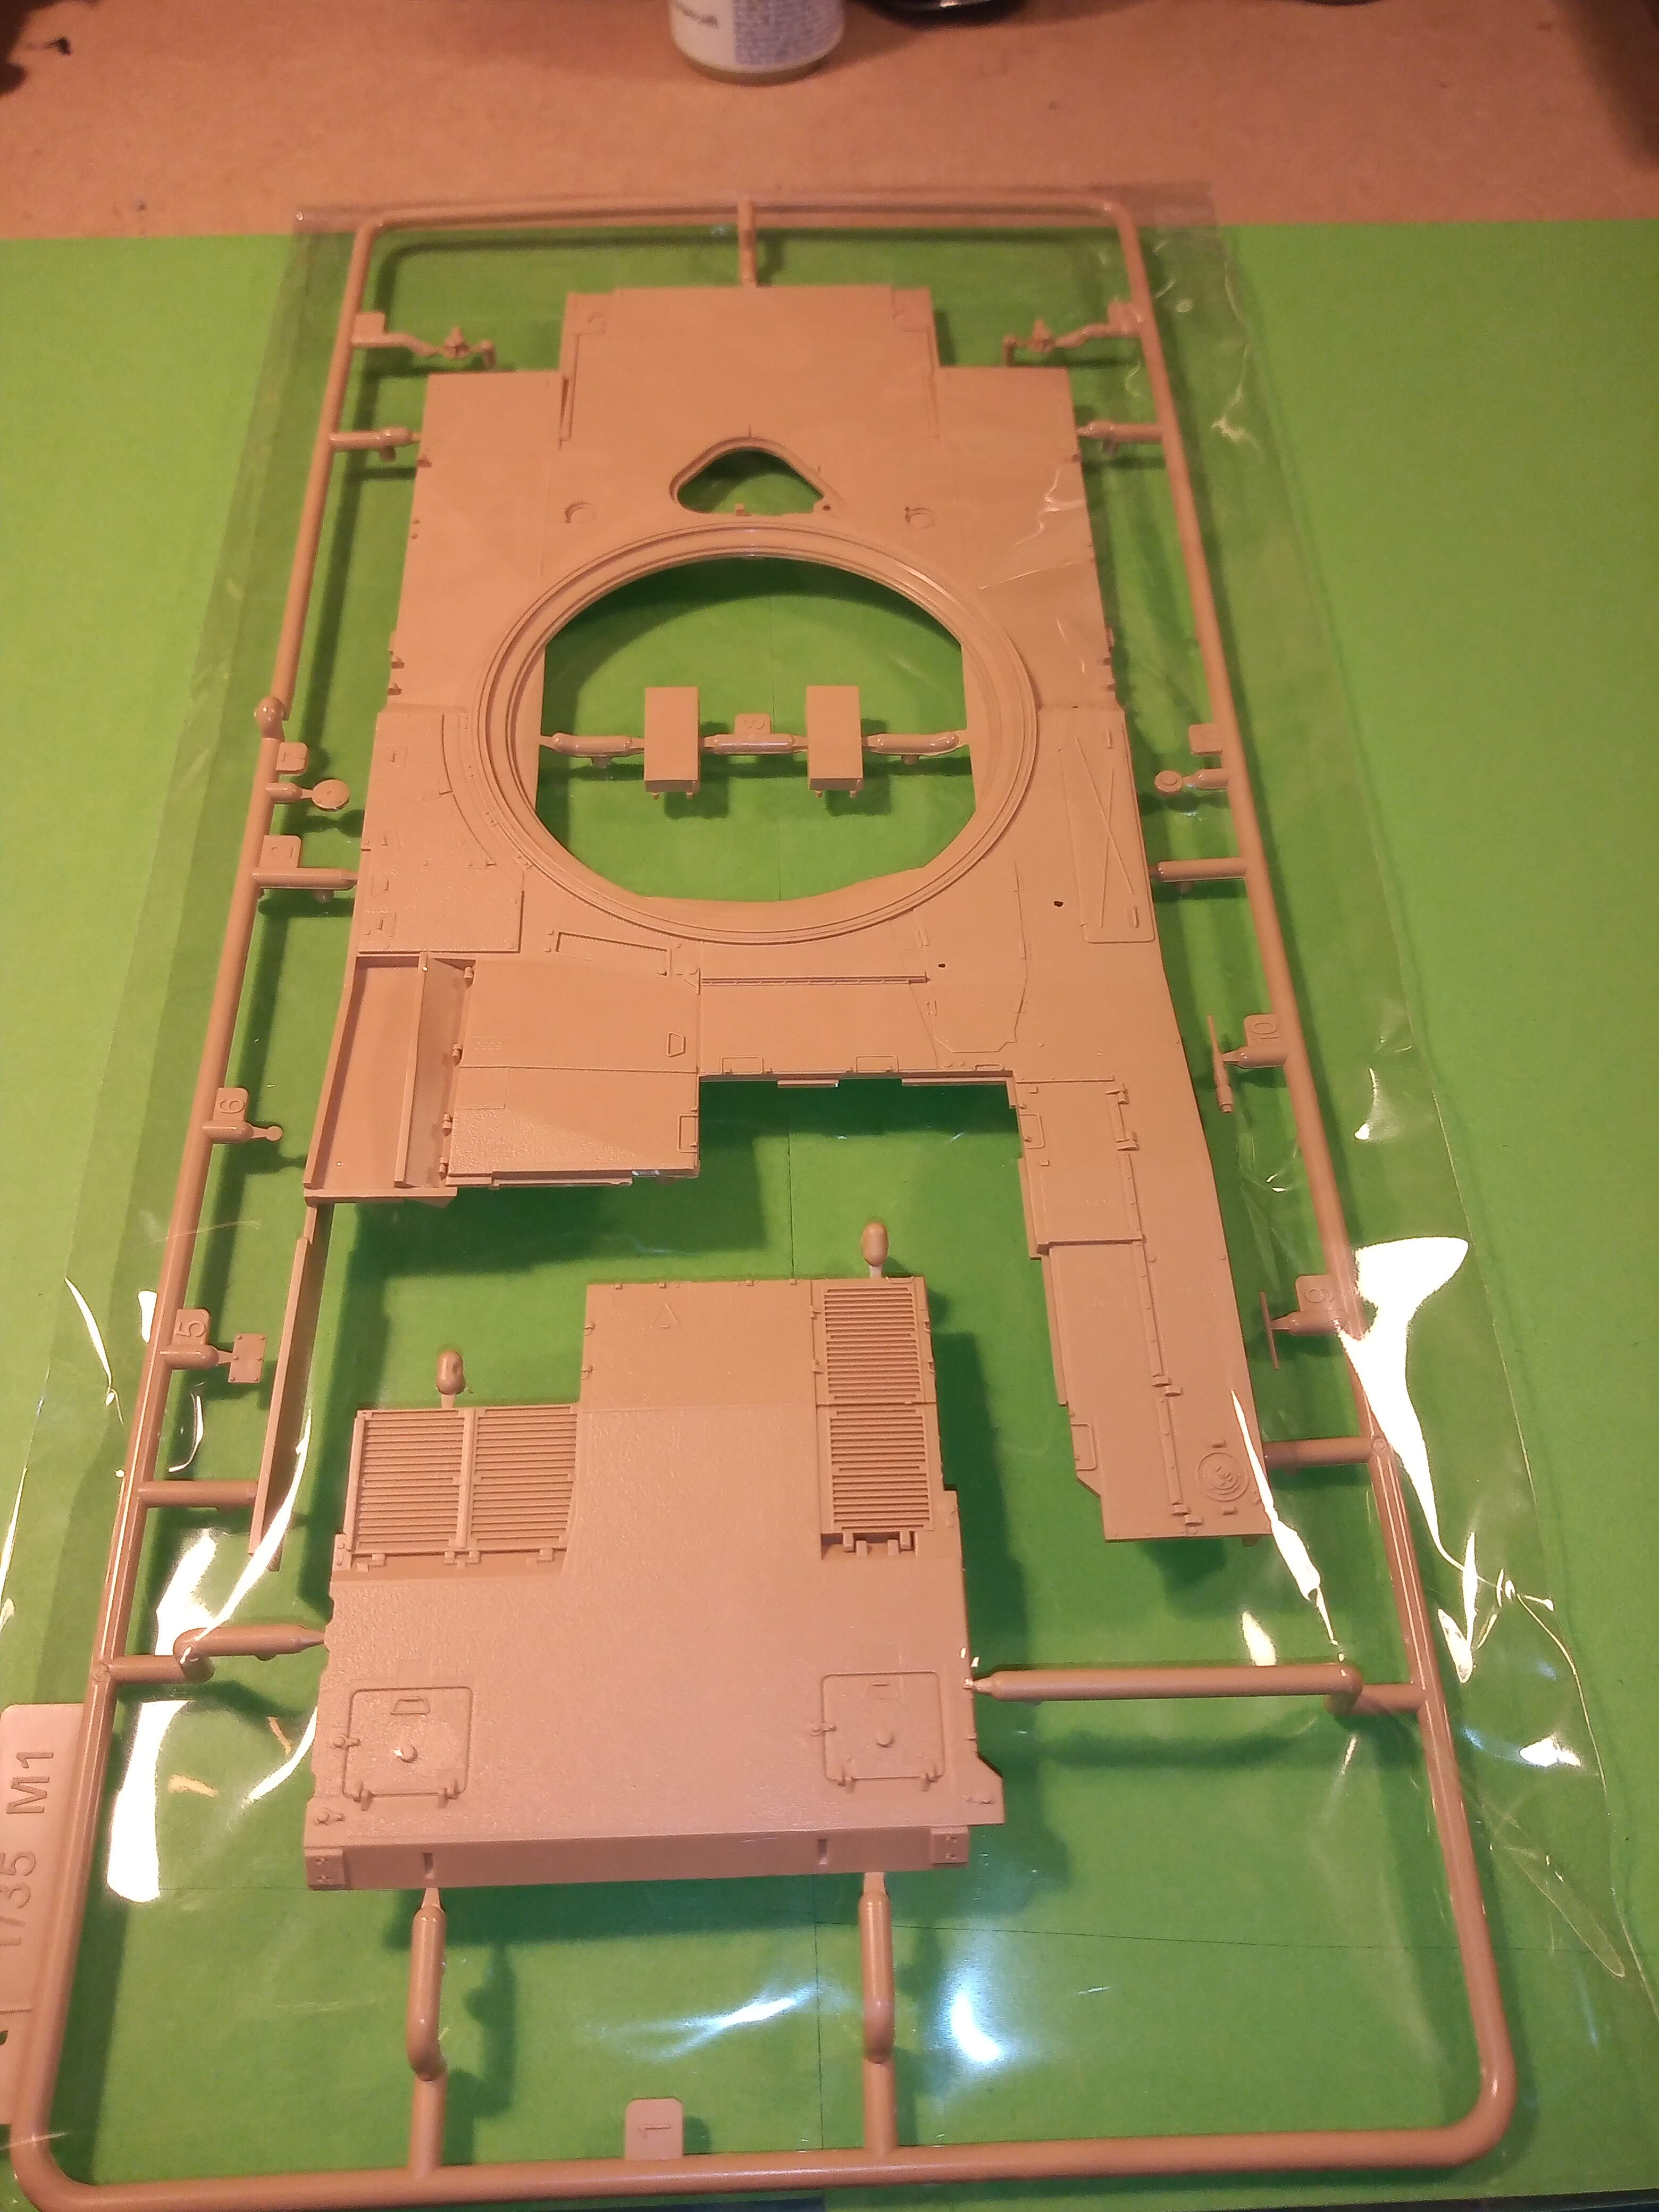
The turret has various panels finished in what looks like the non slip texture, but I’m not sure how this will show up under paint ?
And here you can see the turret base inside with what must be the fitment areas for an interior. I take it this is just a base from another RFM kit that does have an interior ?
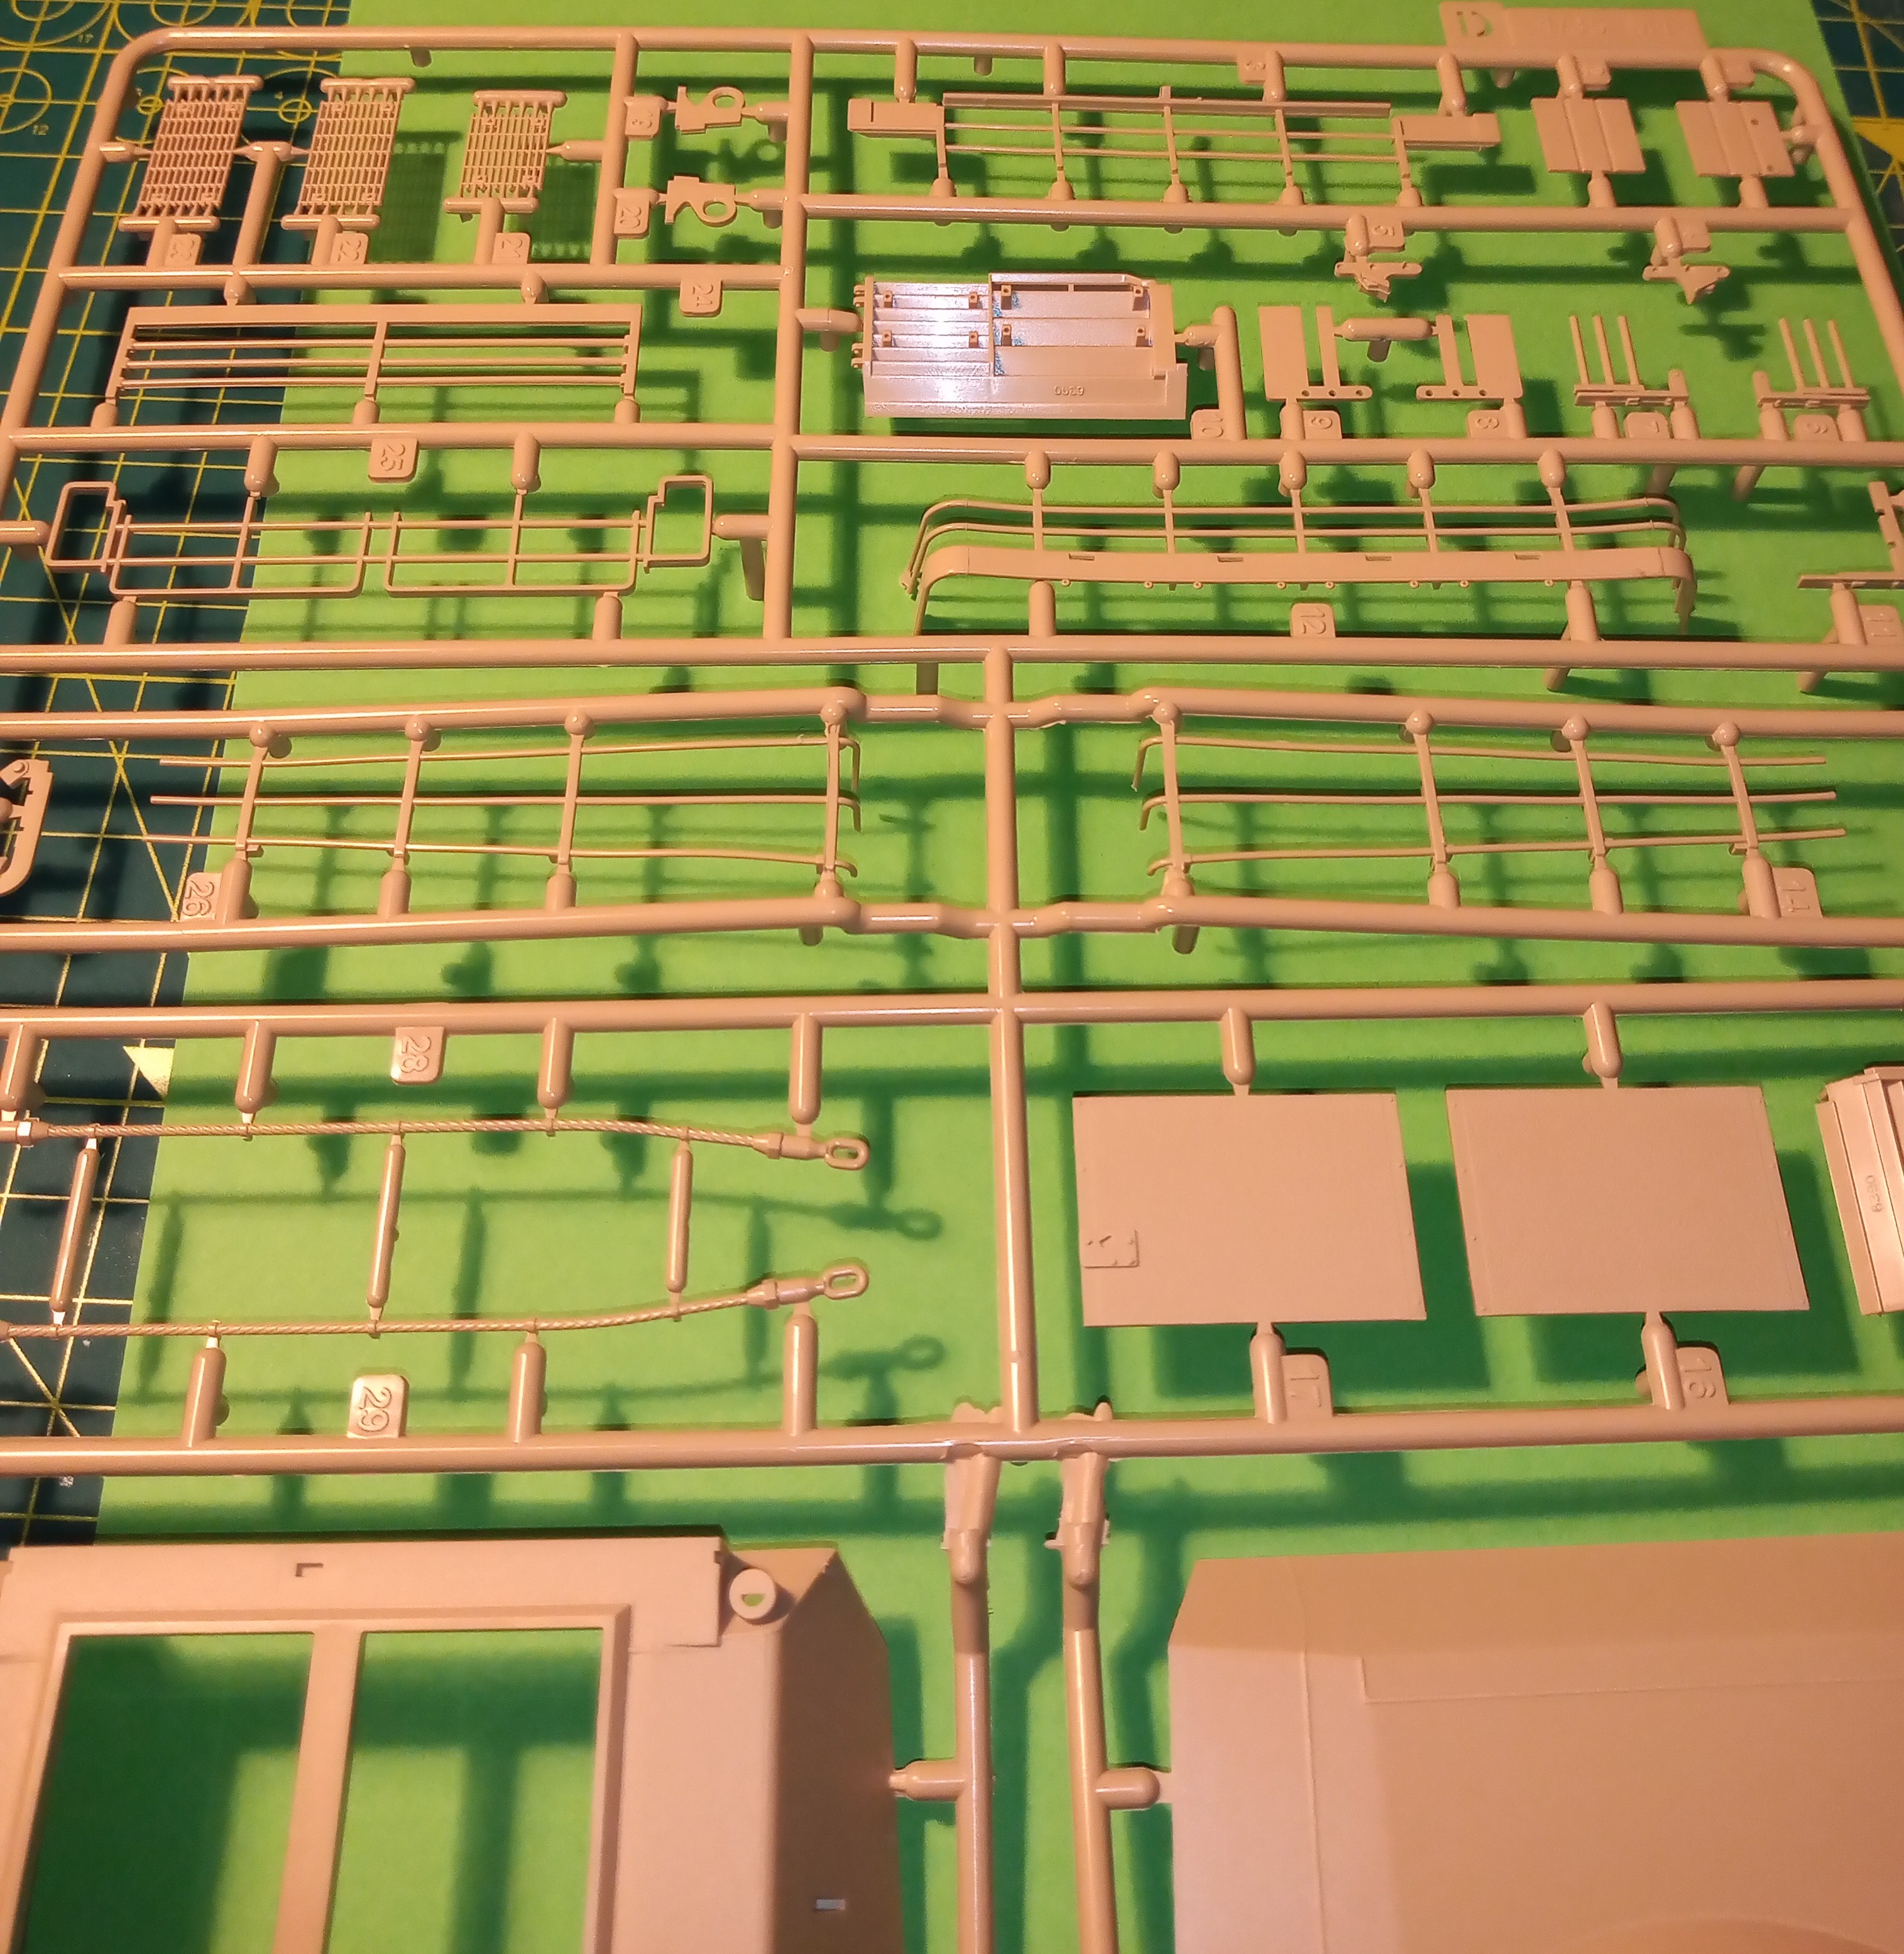
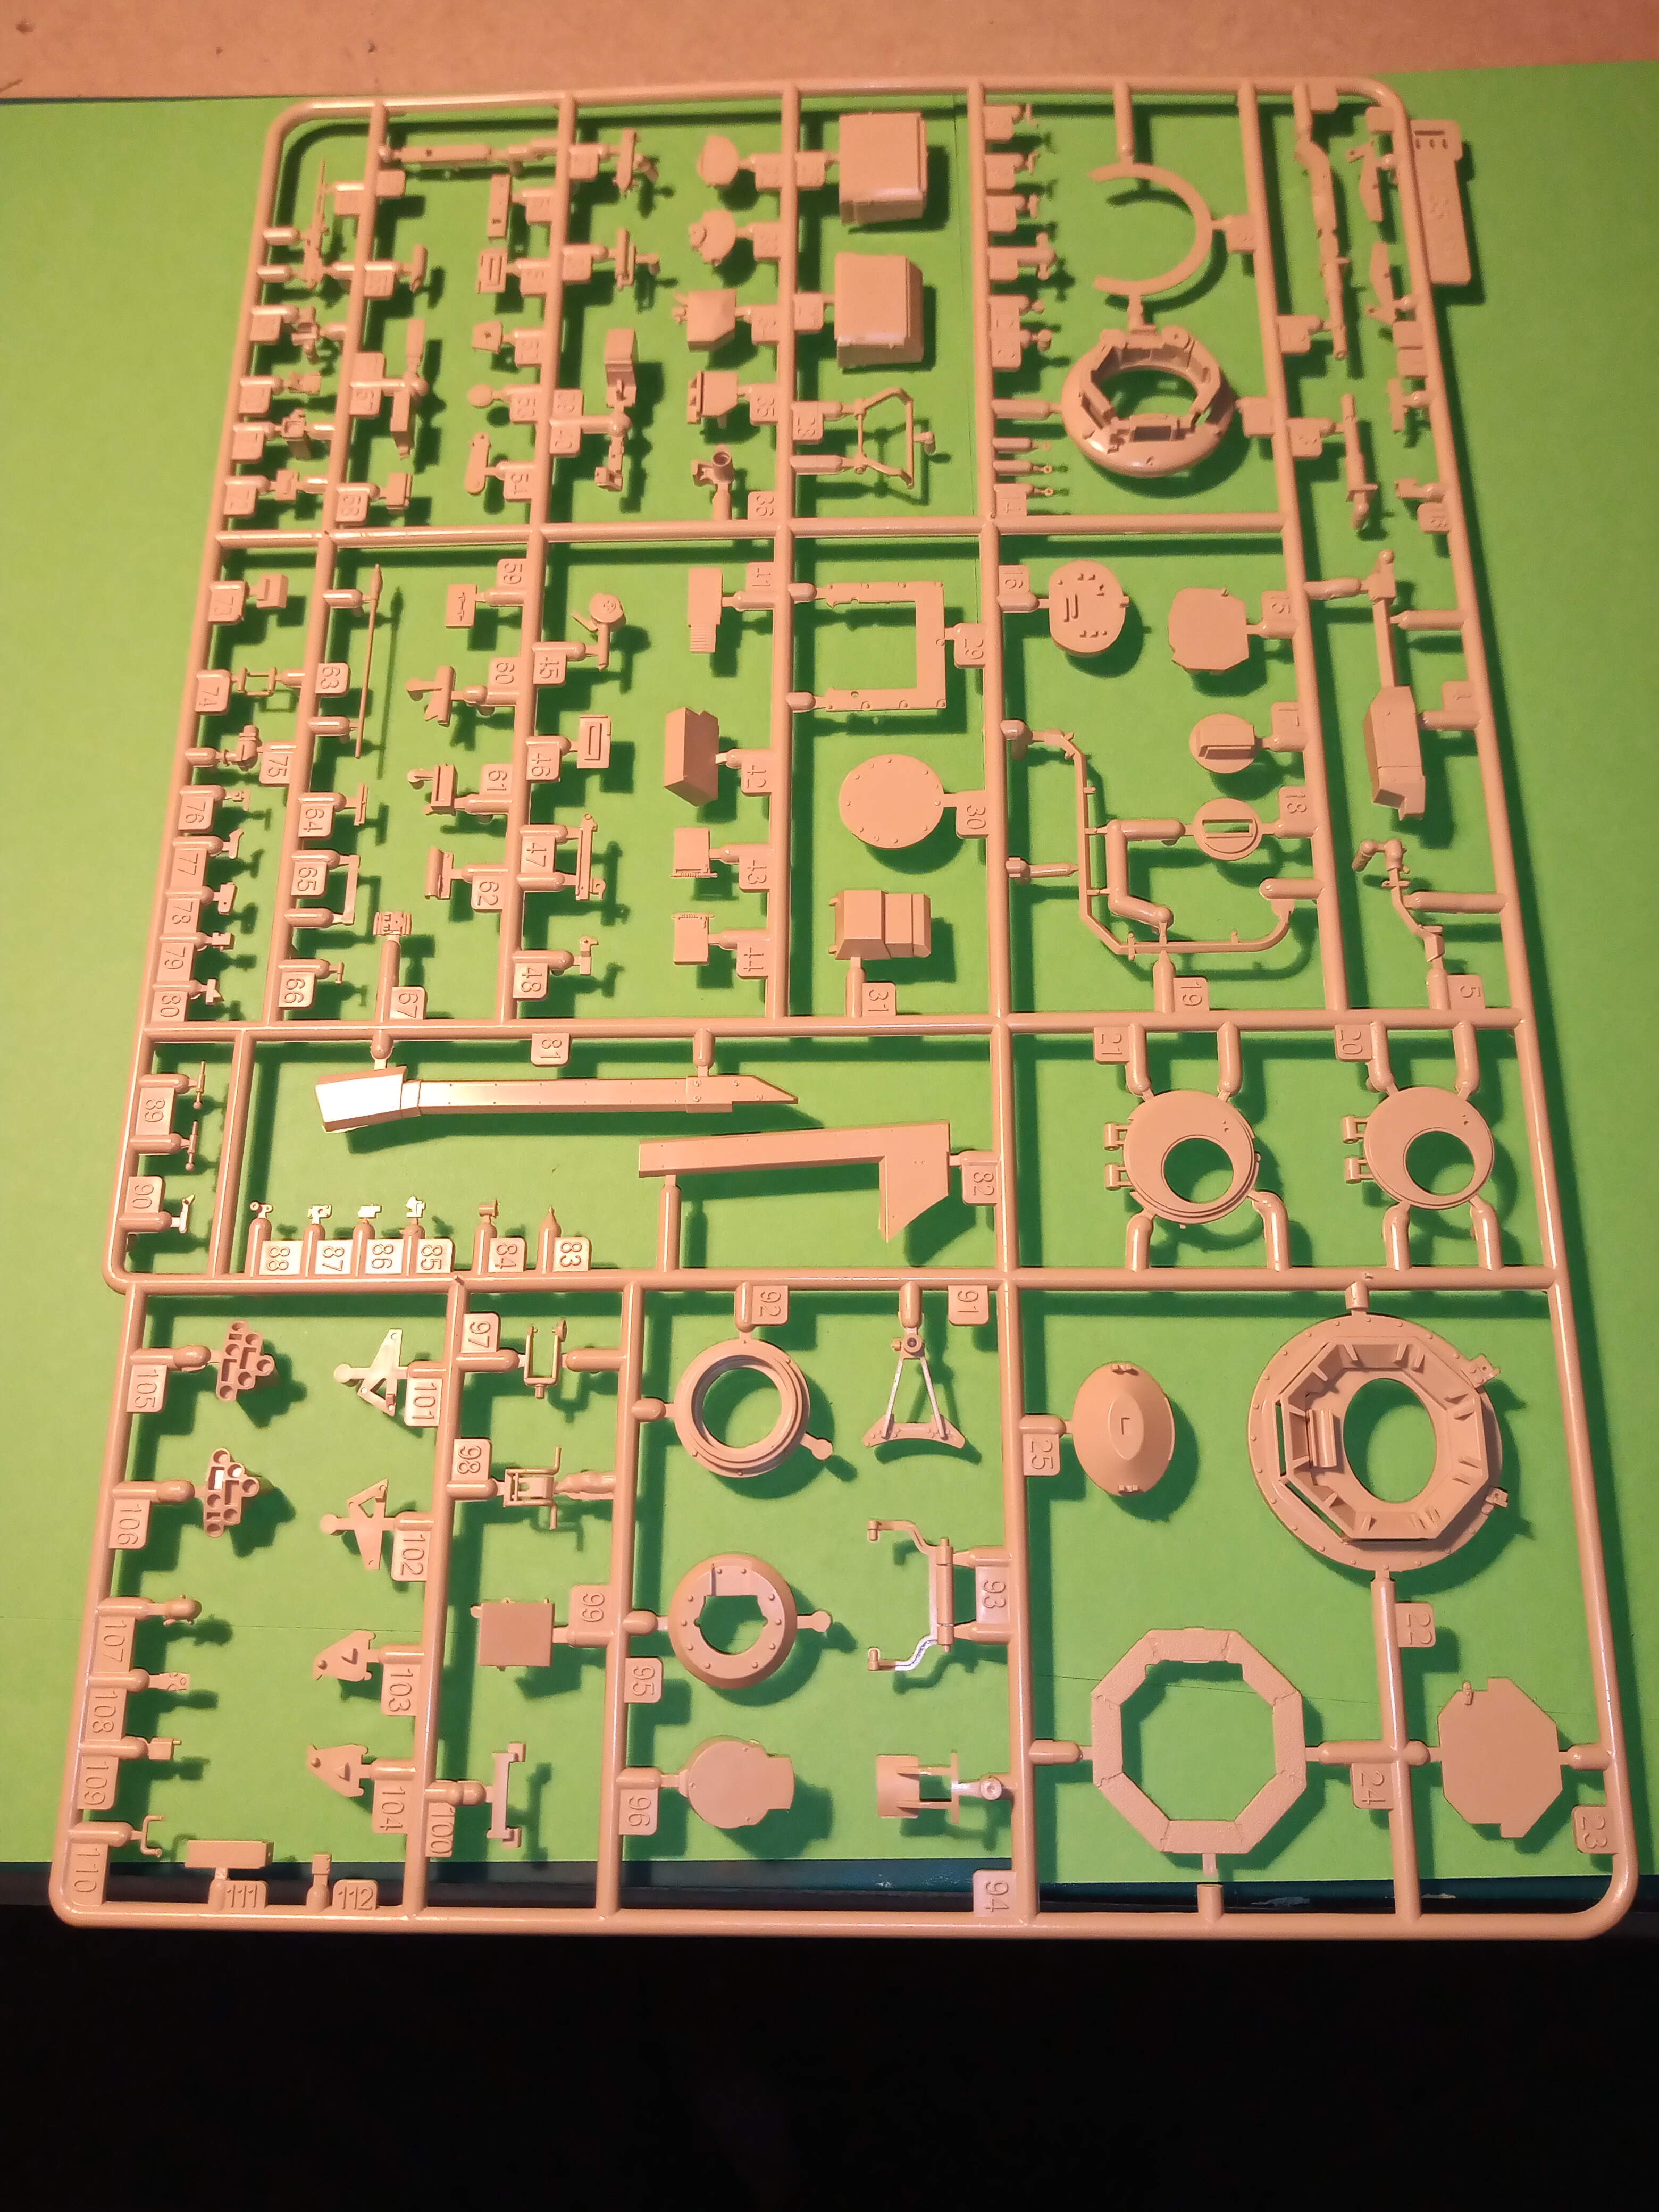
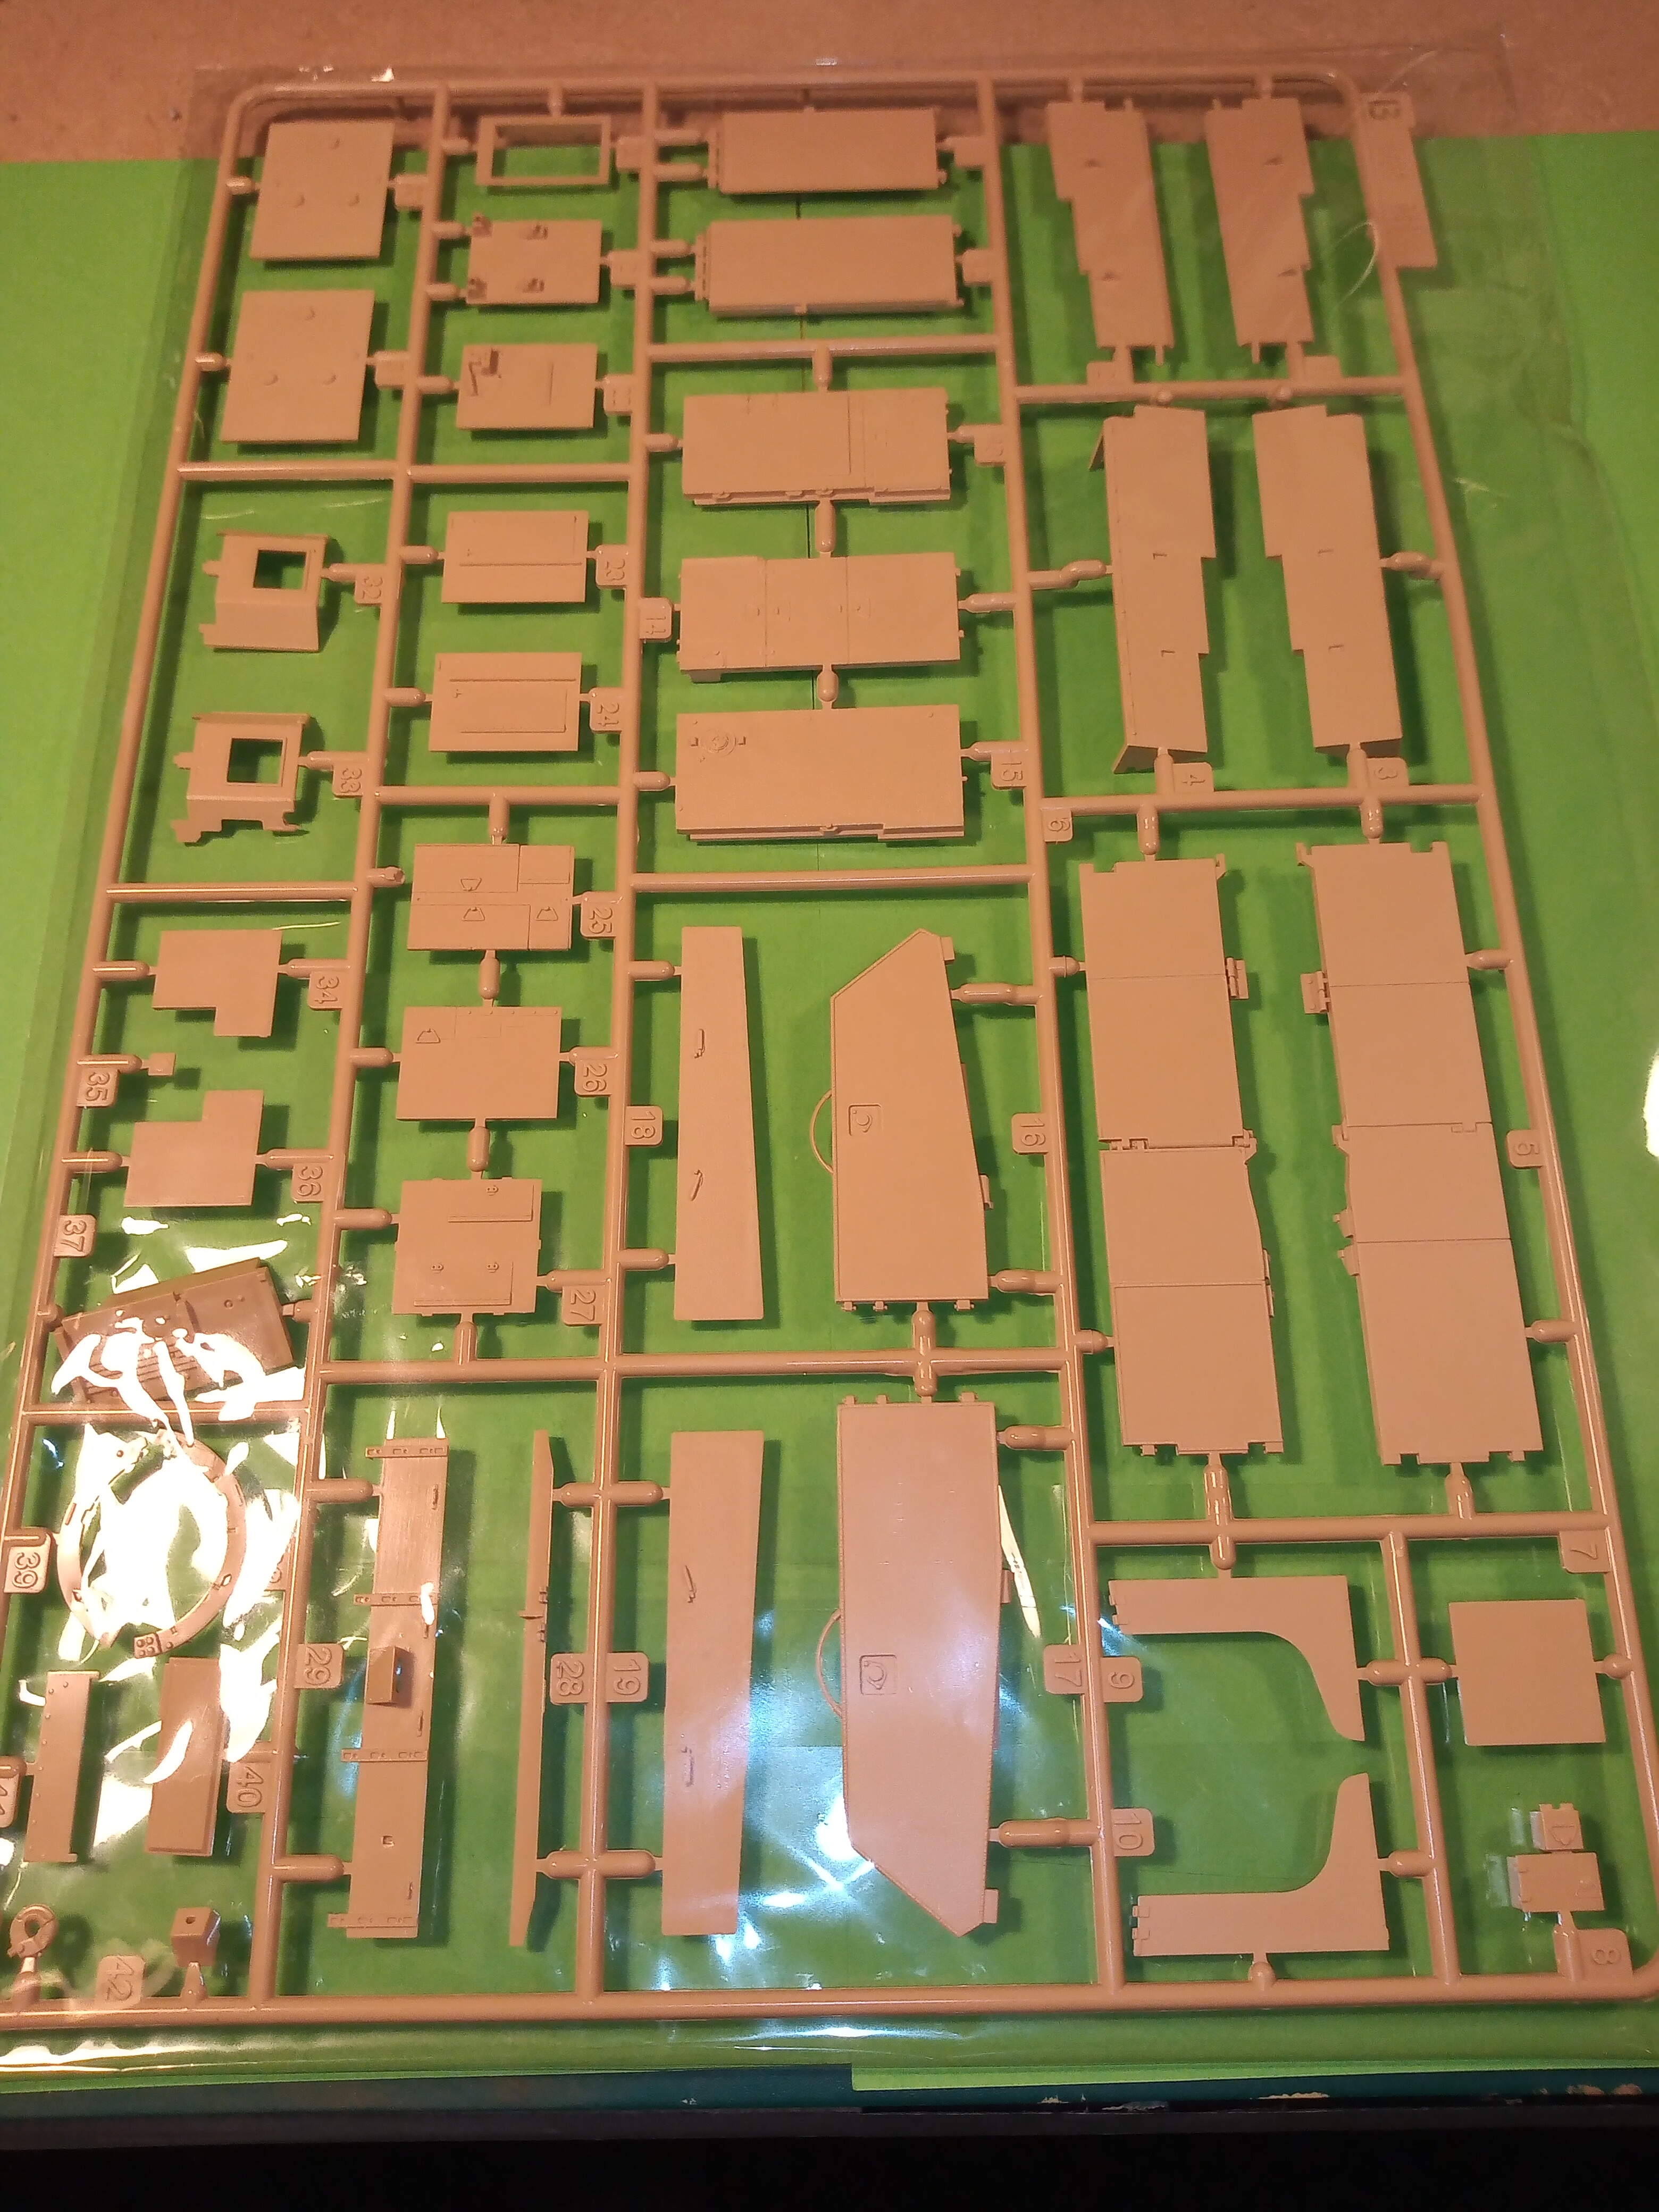
Next are the various sprues. I did notice there are different armoured screens for the loader and or Commander which are not shown in the instructions so I’m guessing that these are for other M1 kits in the RFM range ?
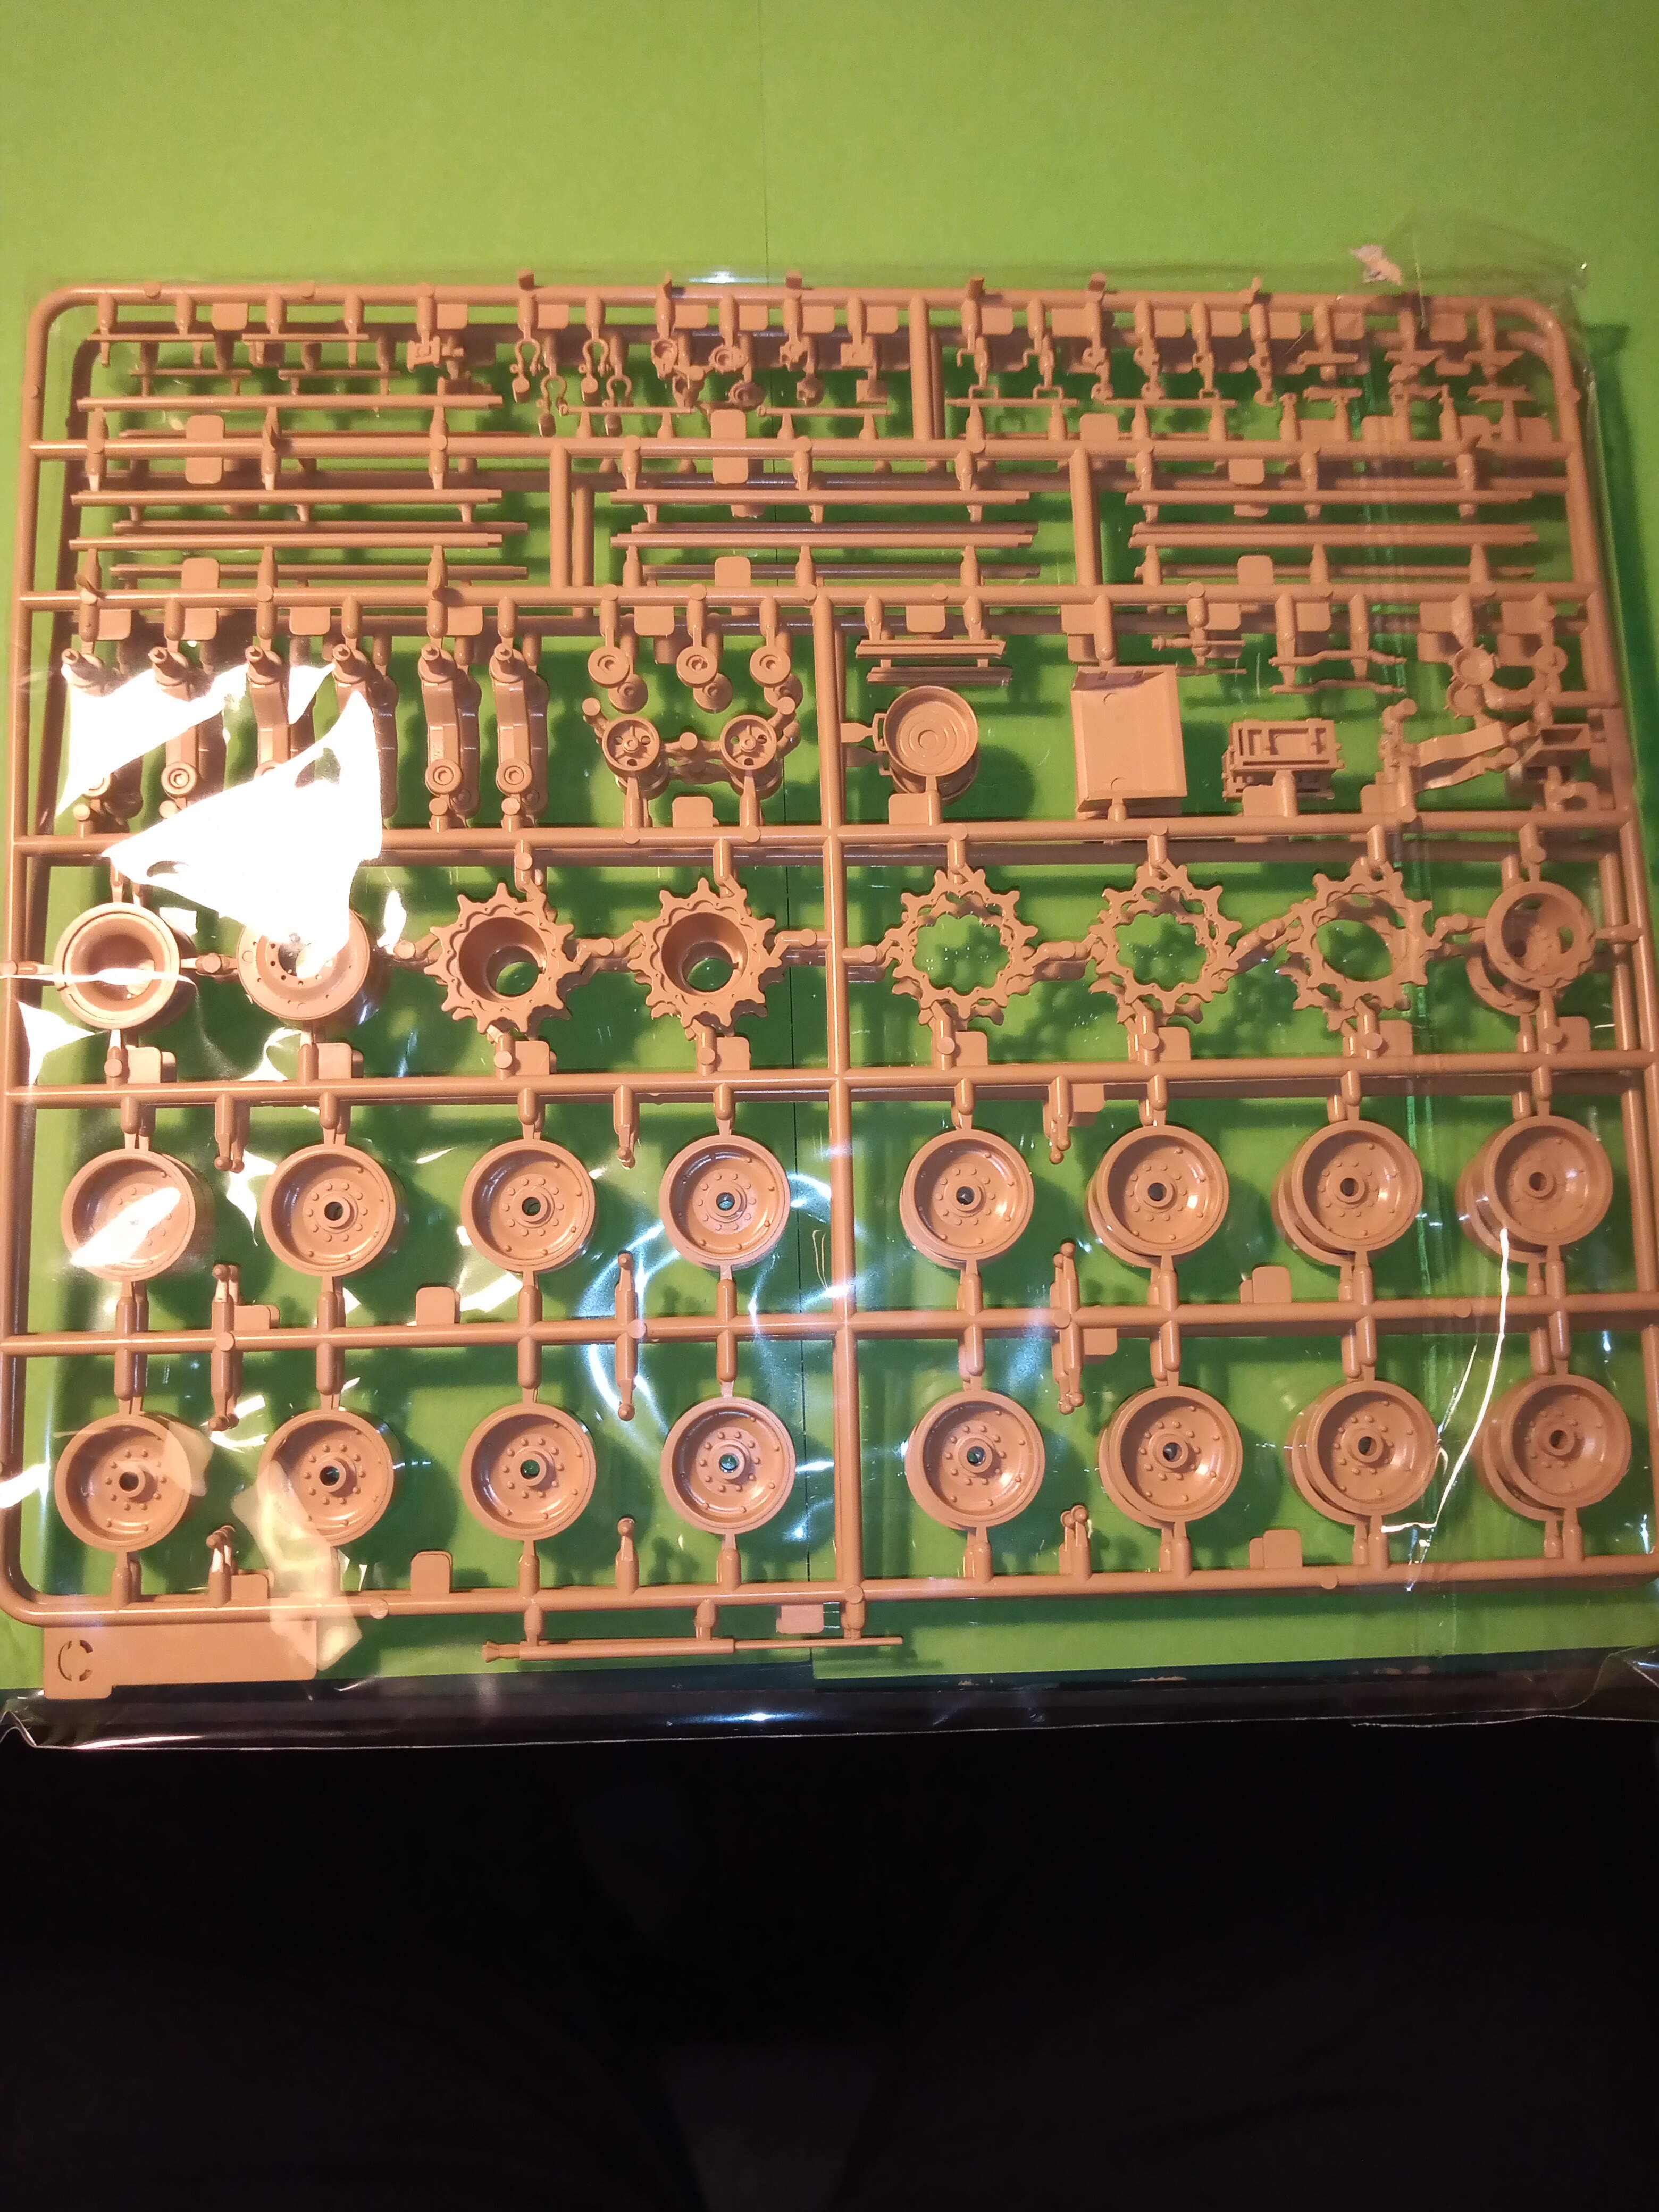
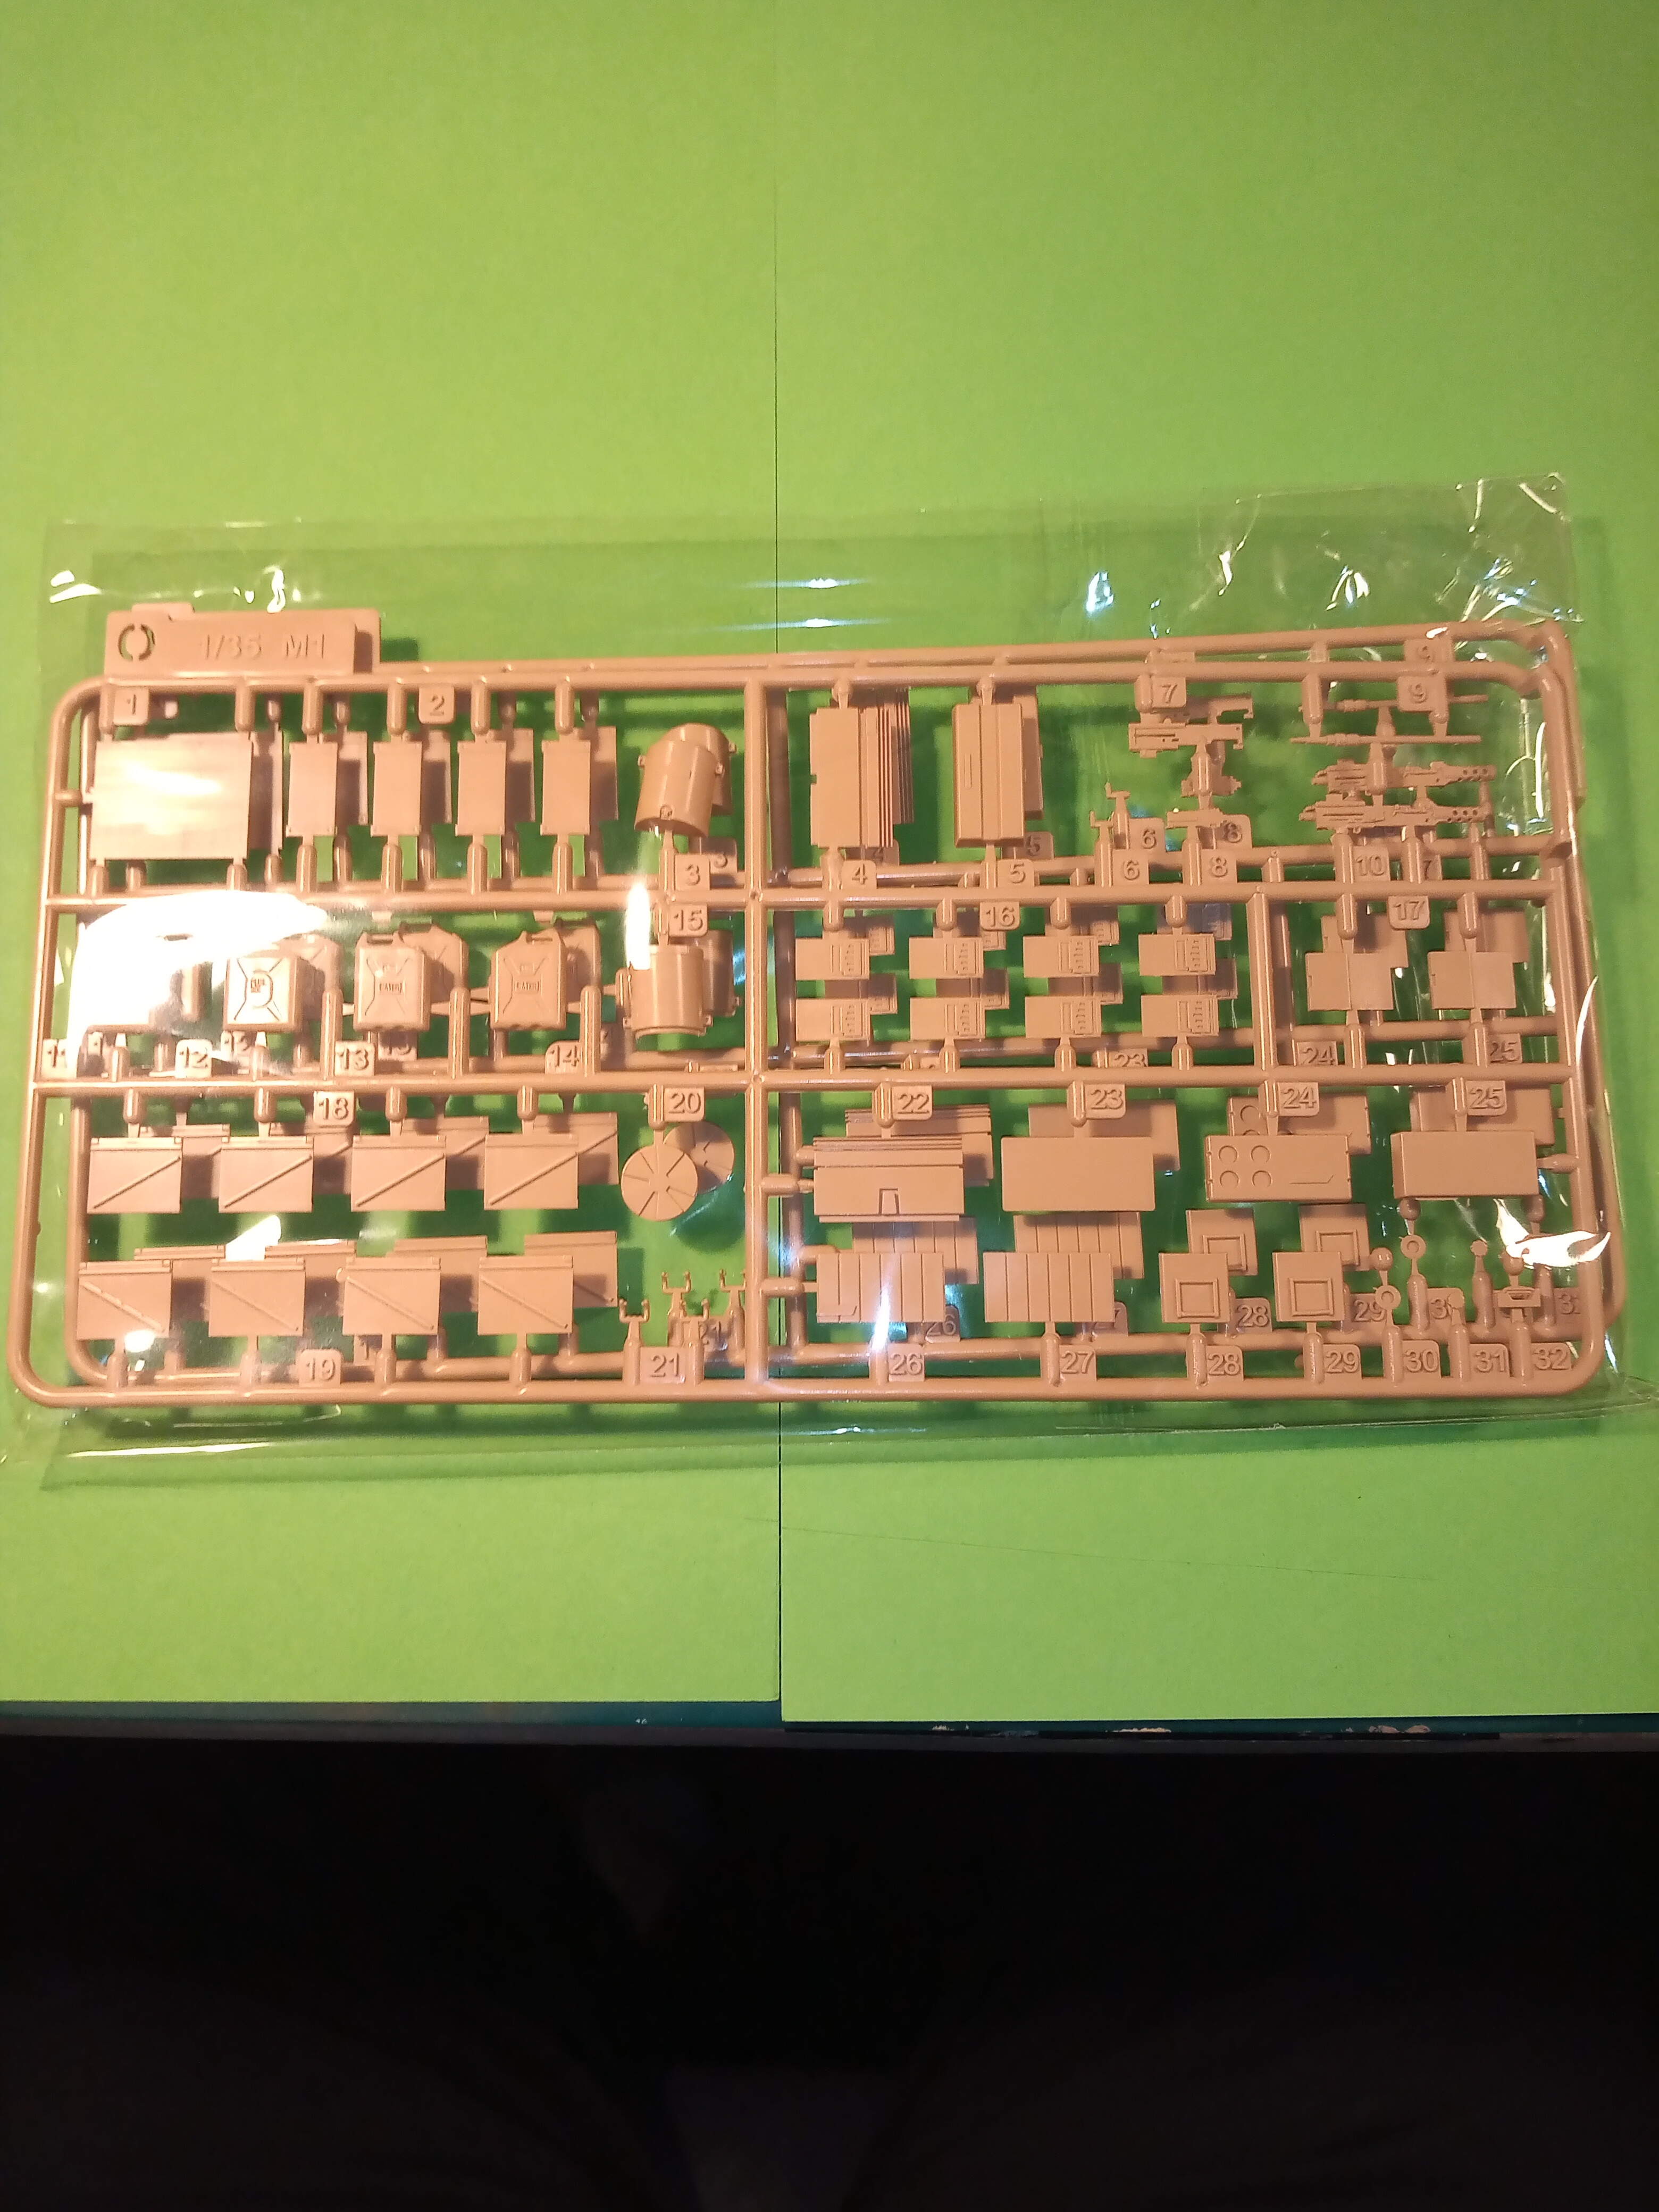
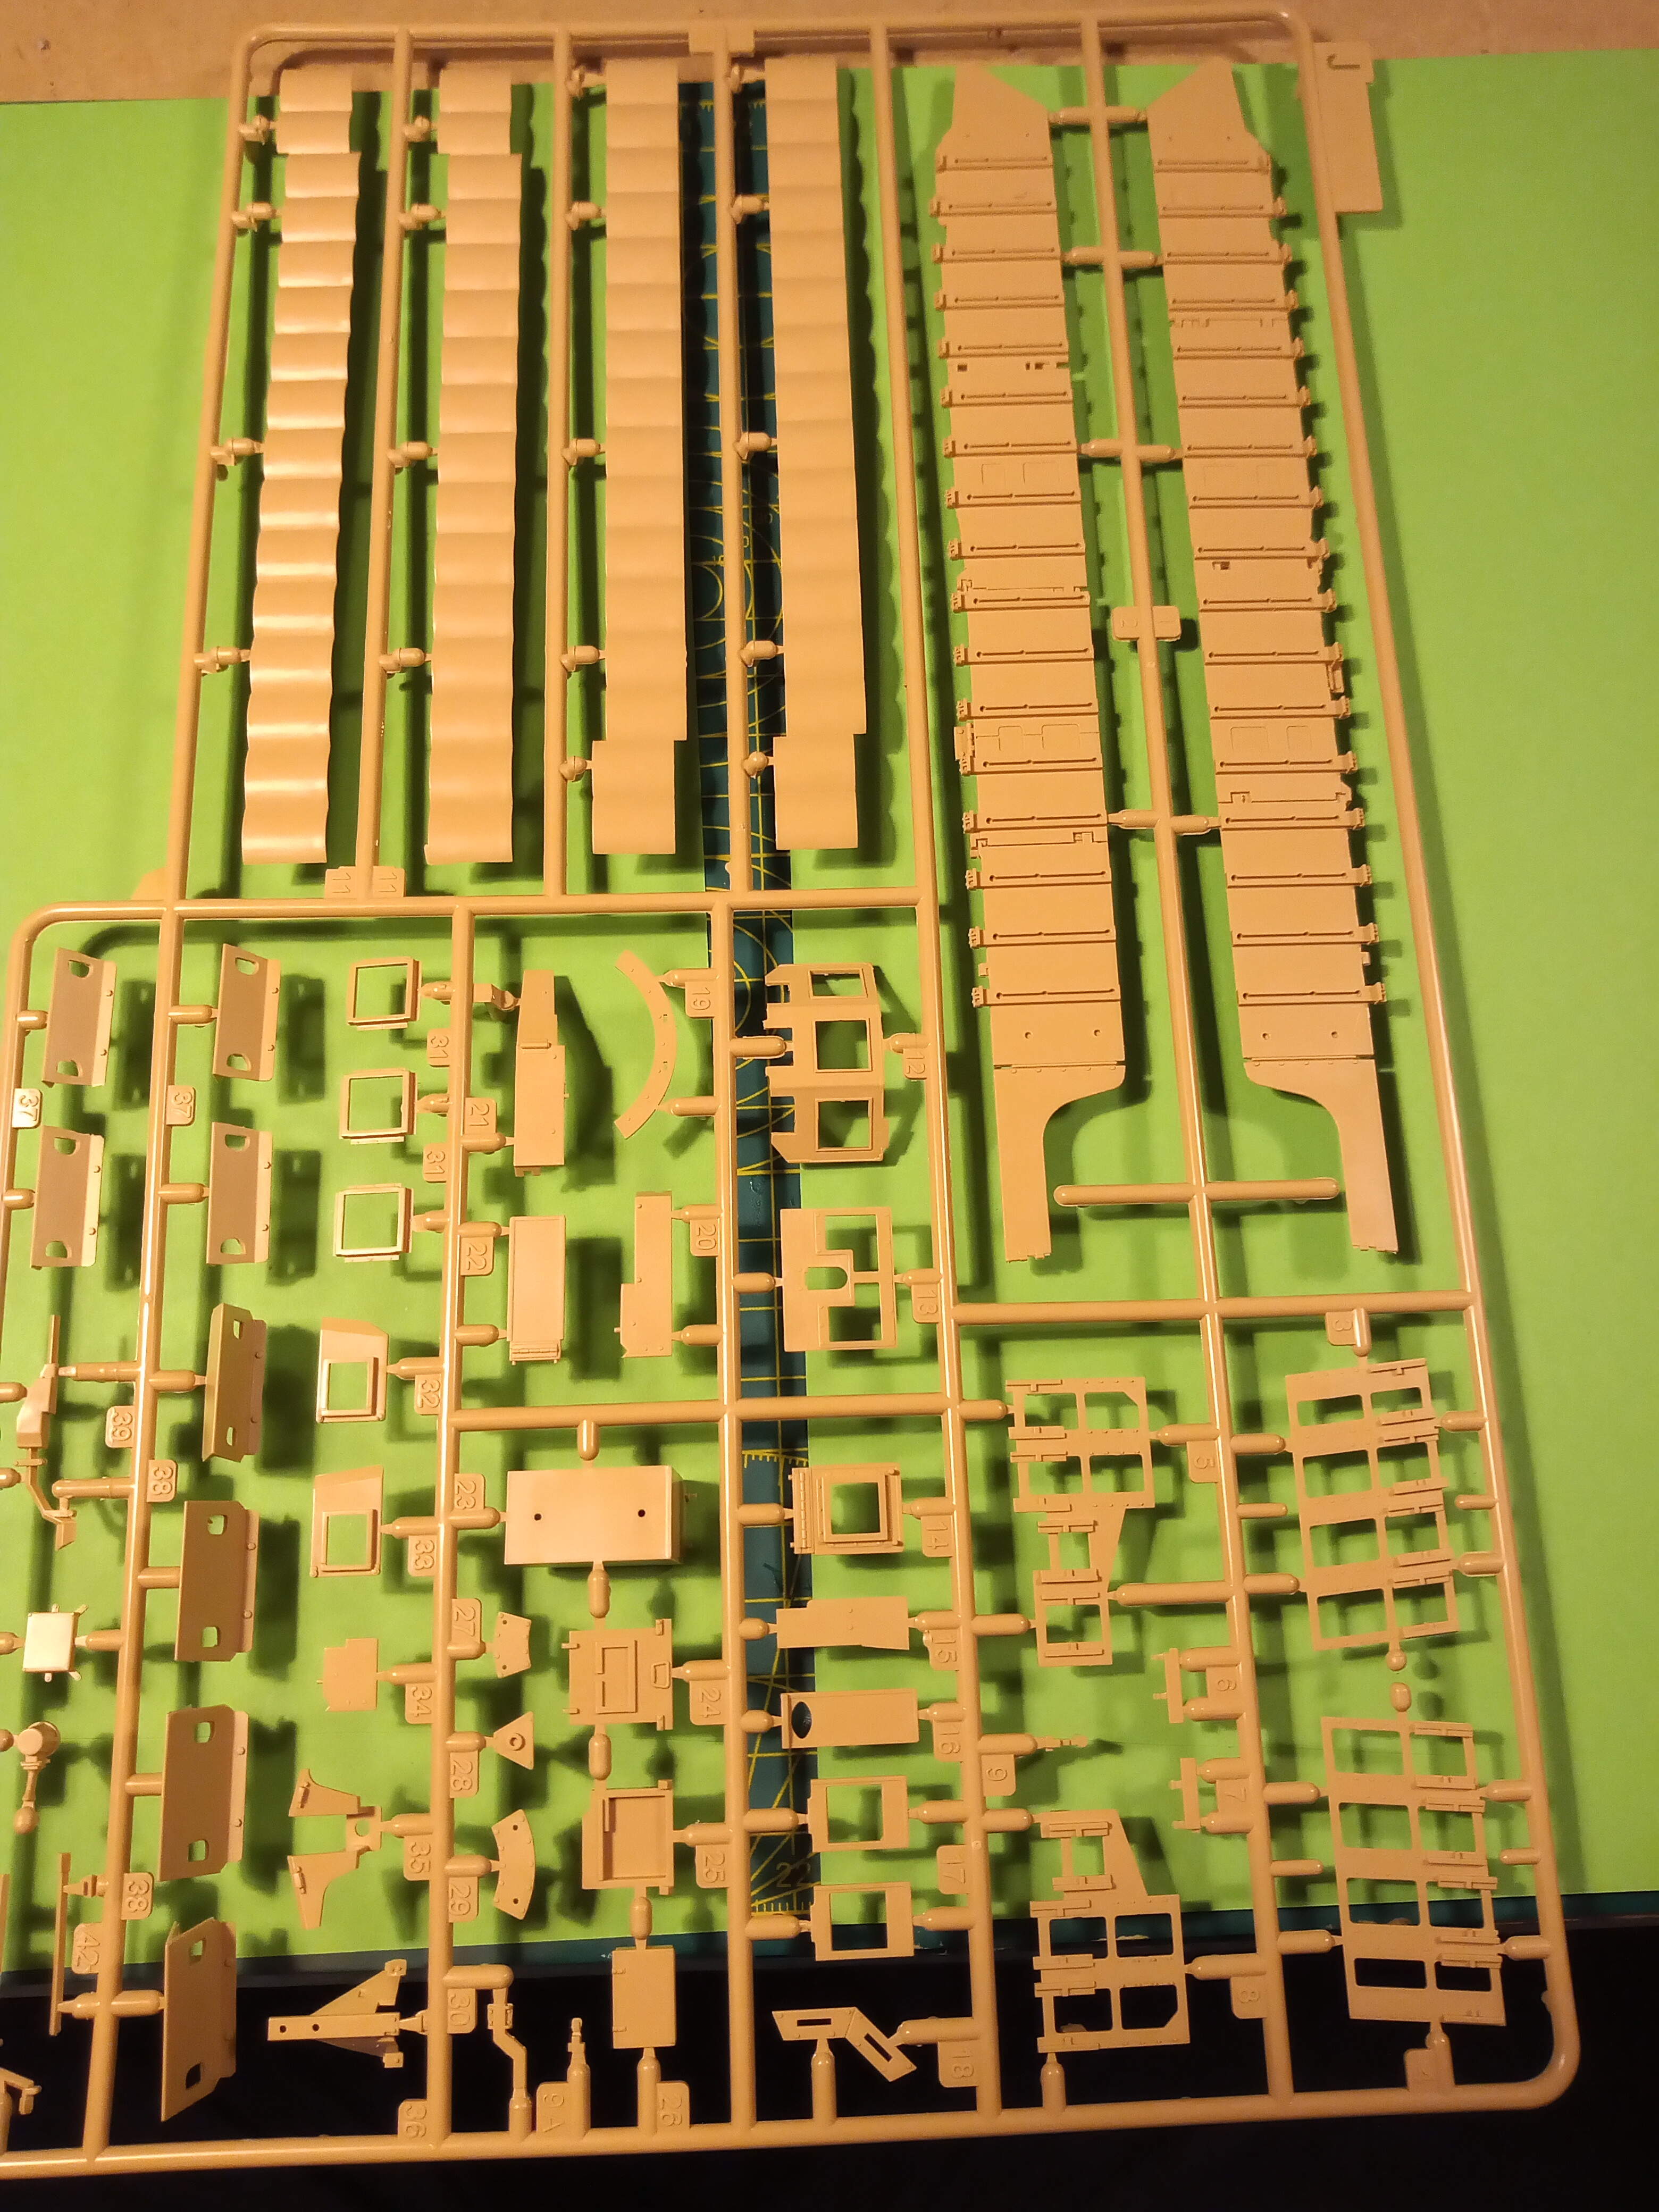
Anyway… the sprues:
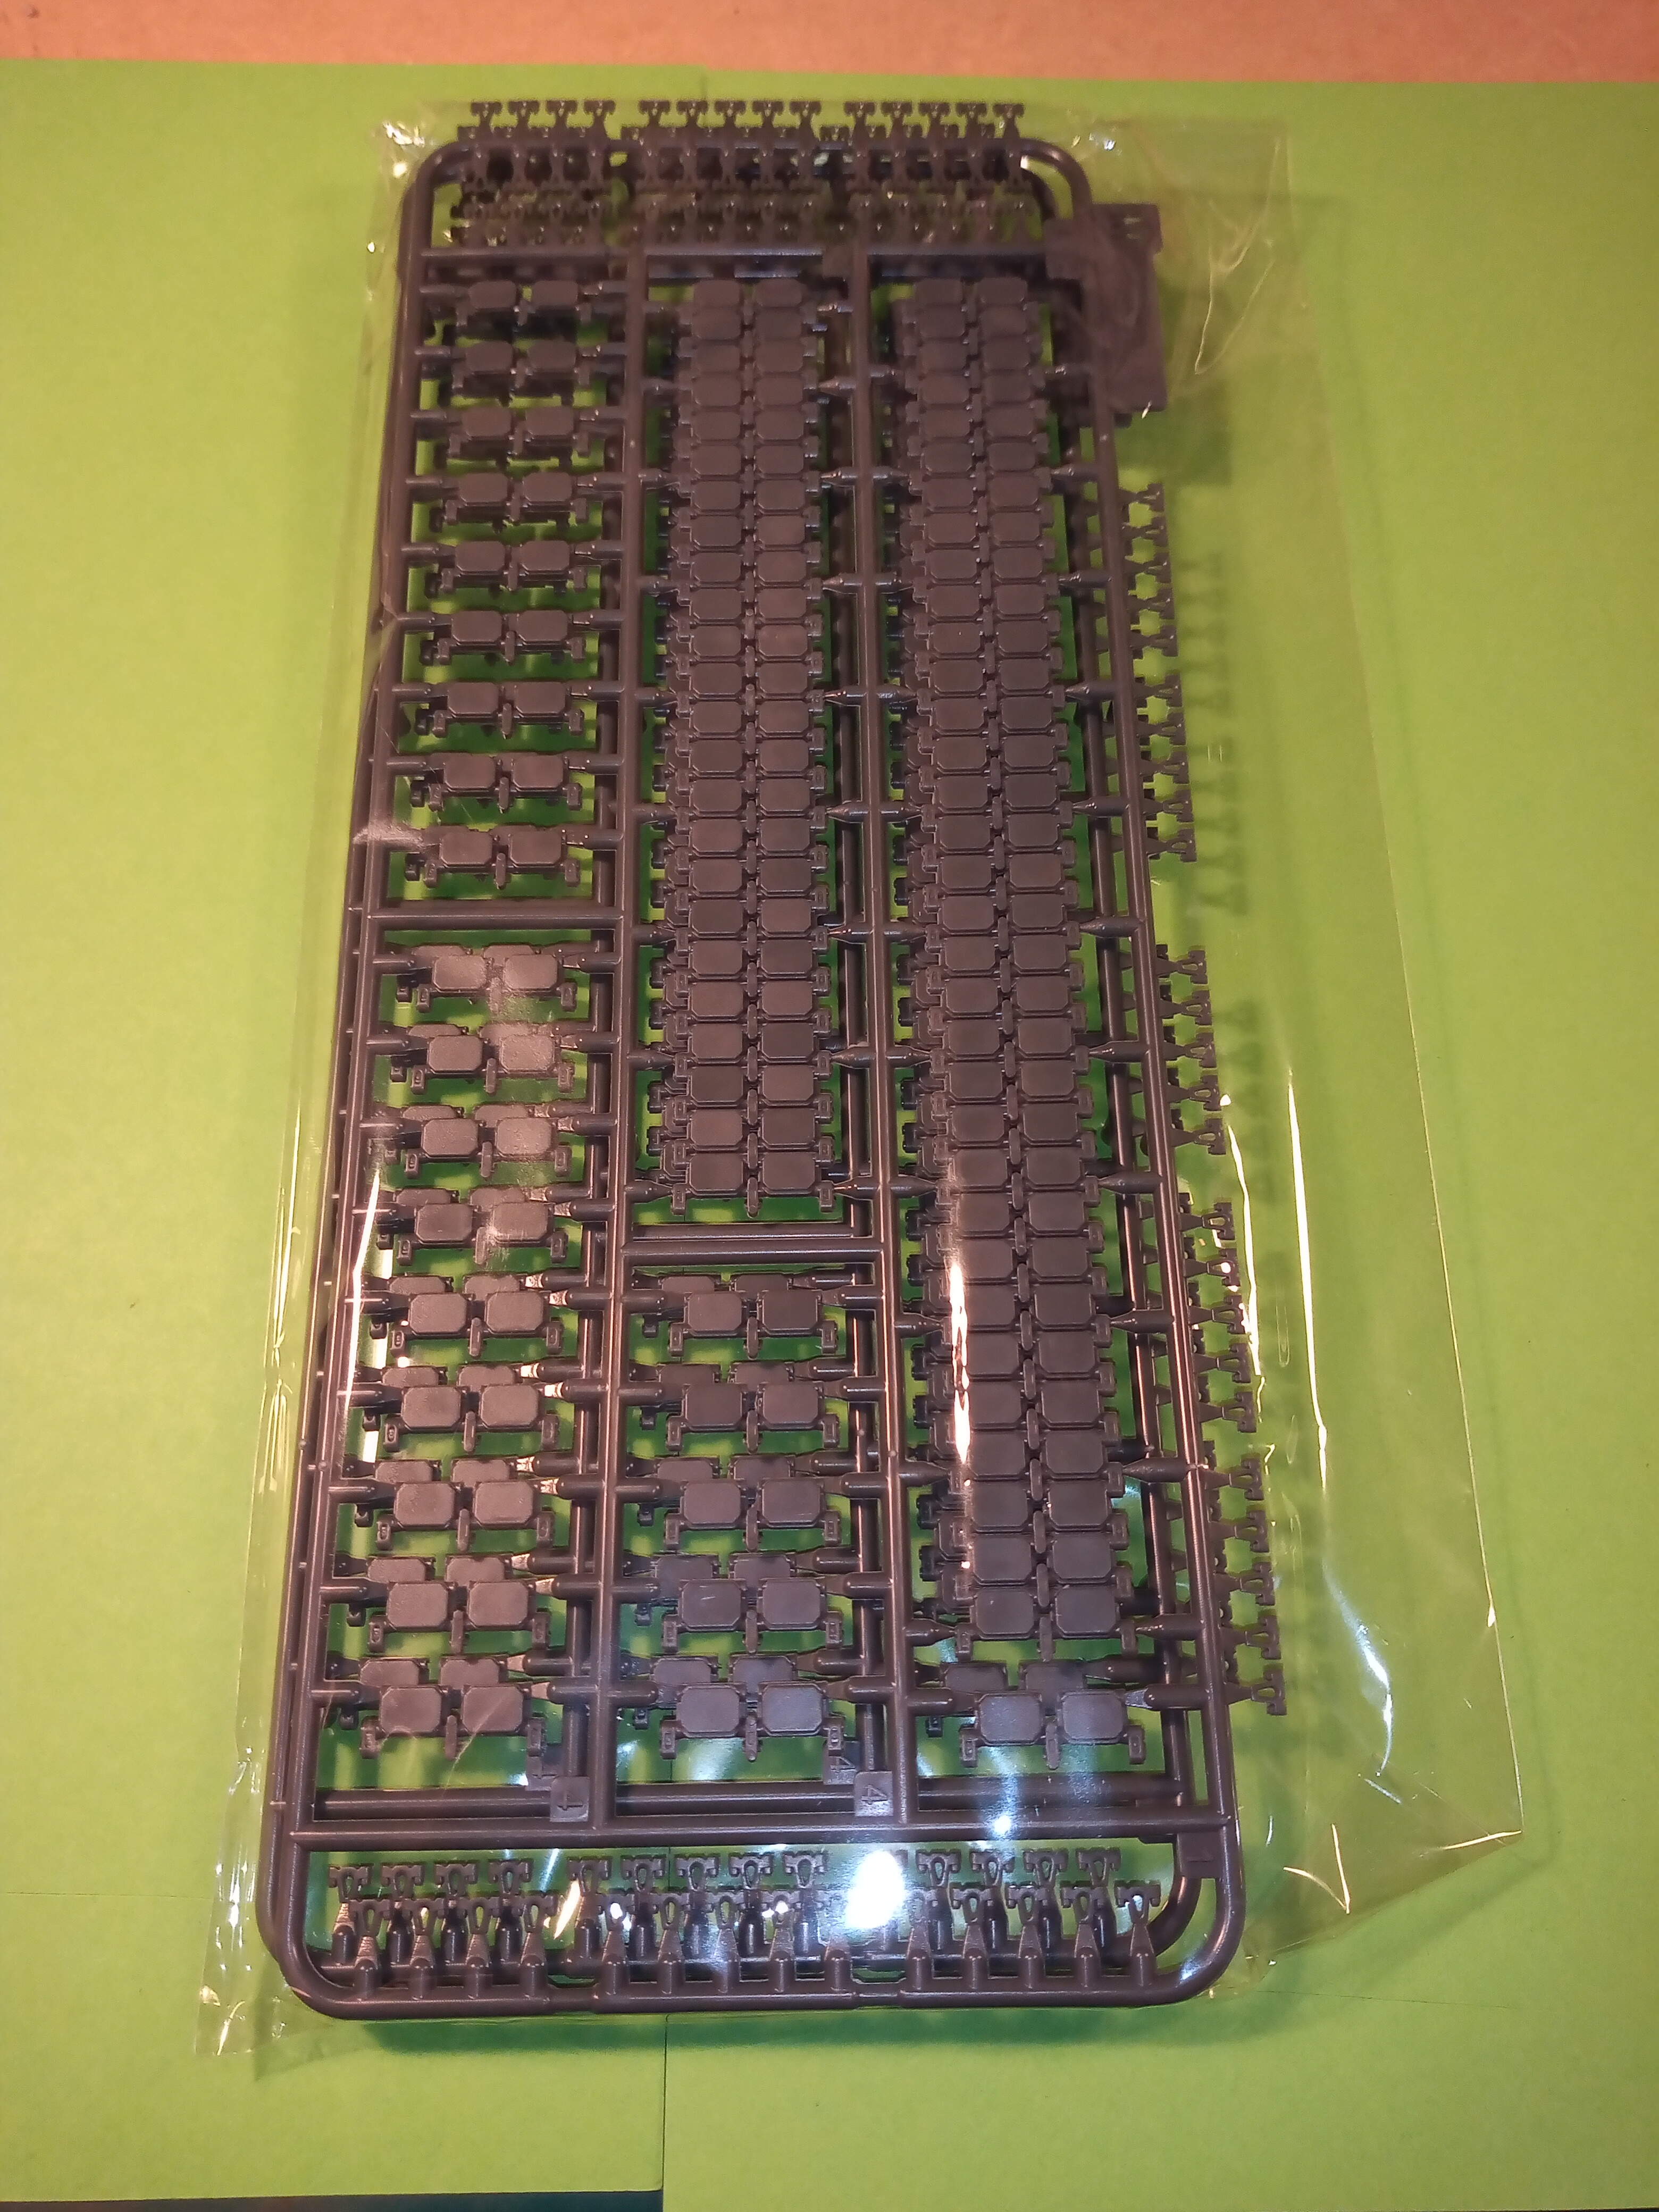
I thought the tracks were indi links but they are only indi link for around the idlers and sprockets, the complete upper and lower runs come in set lengths.
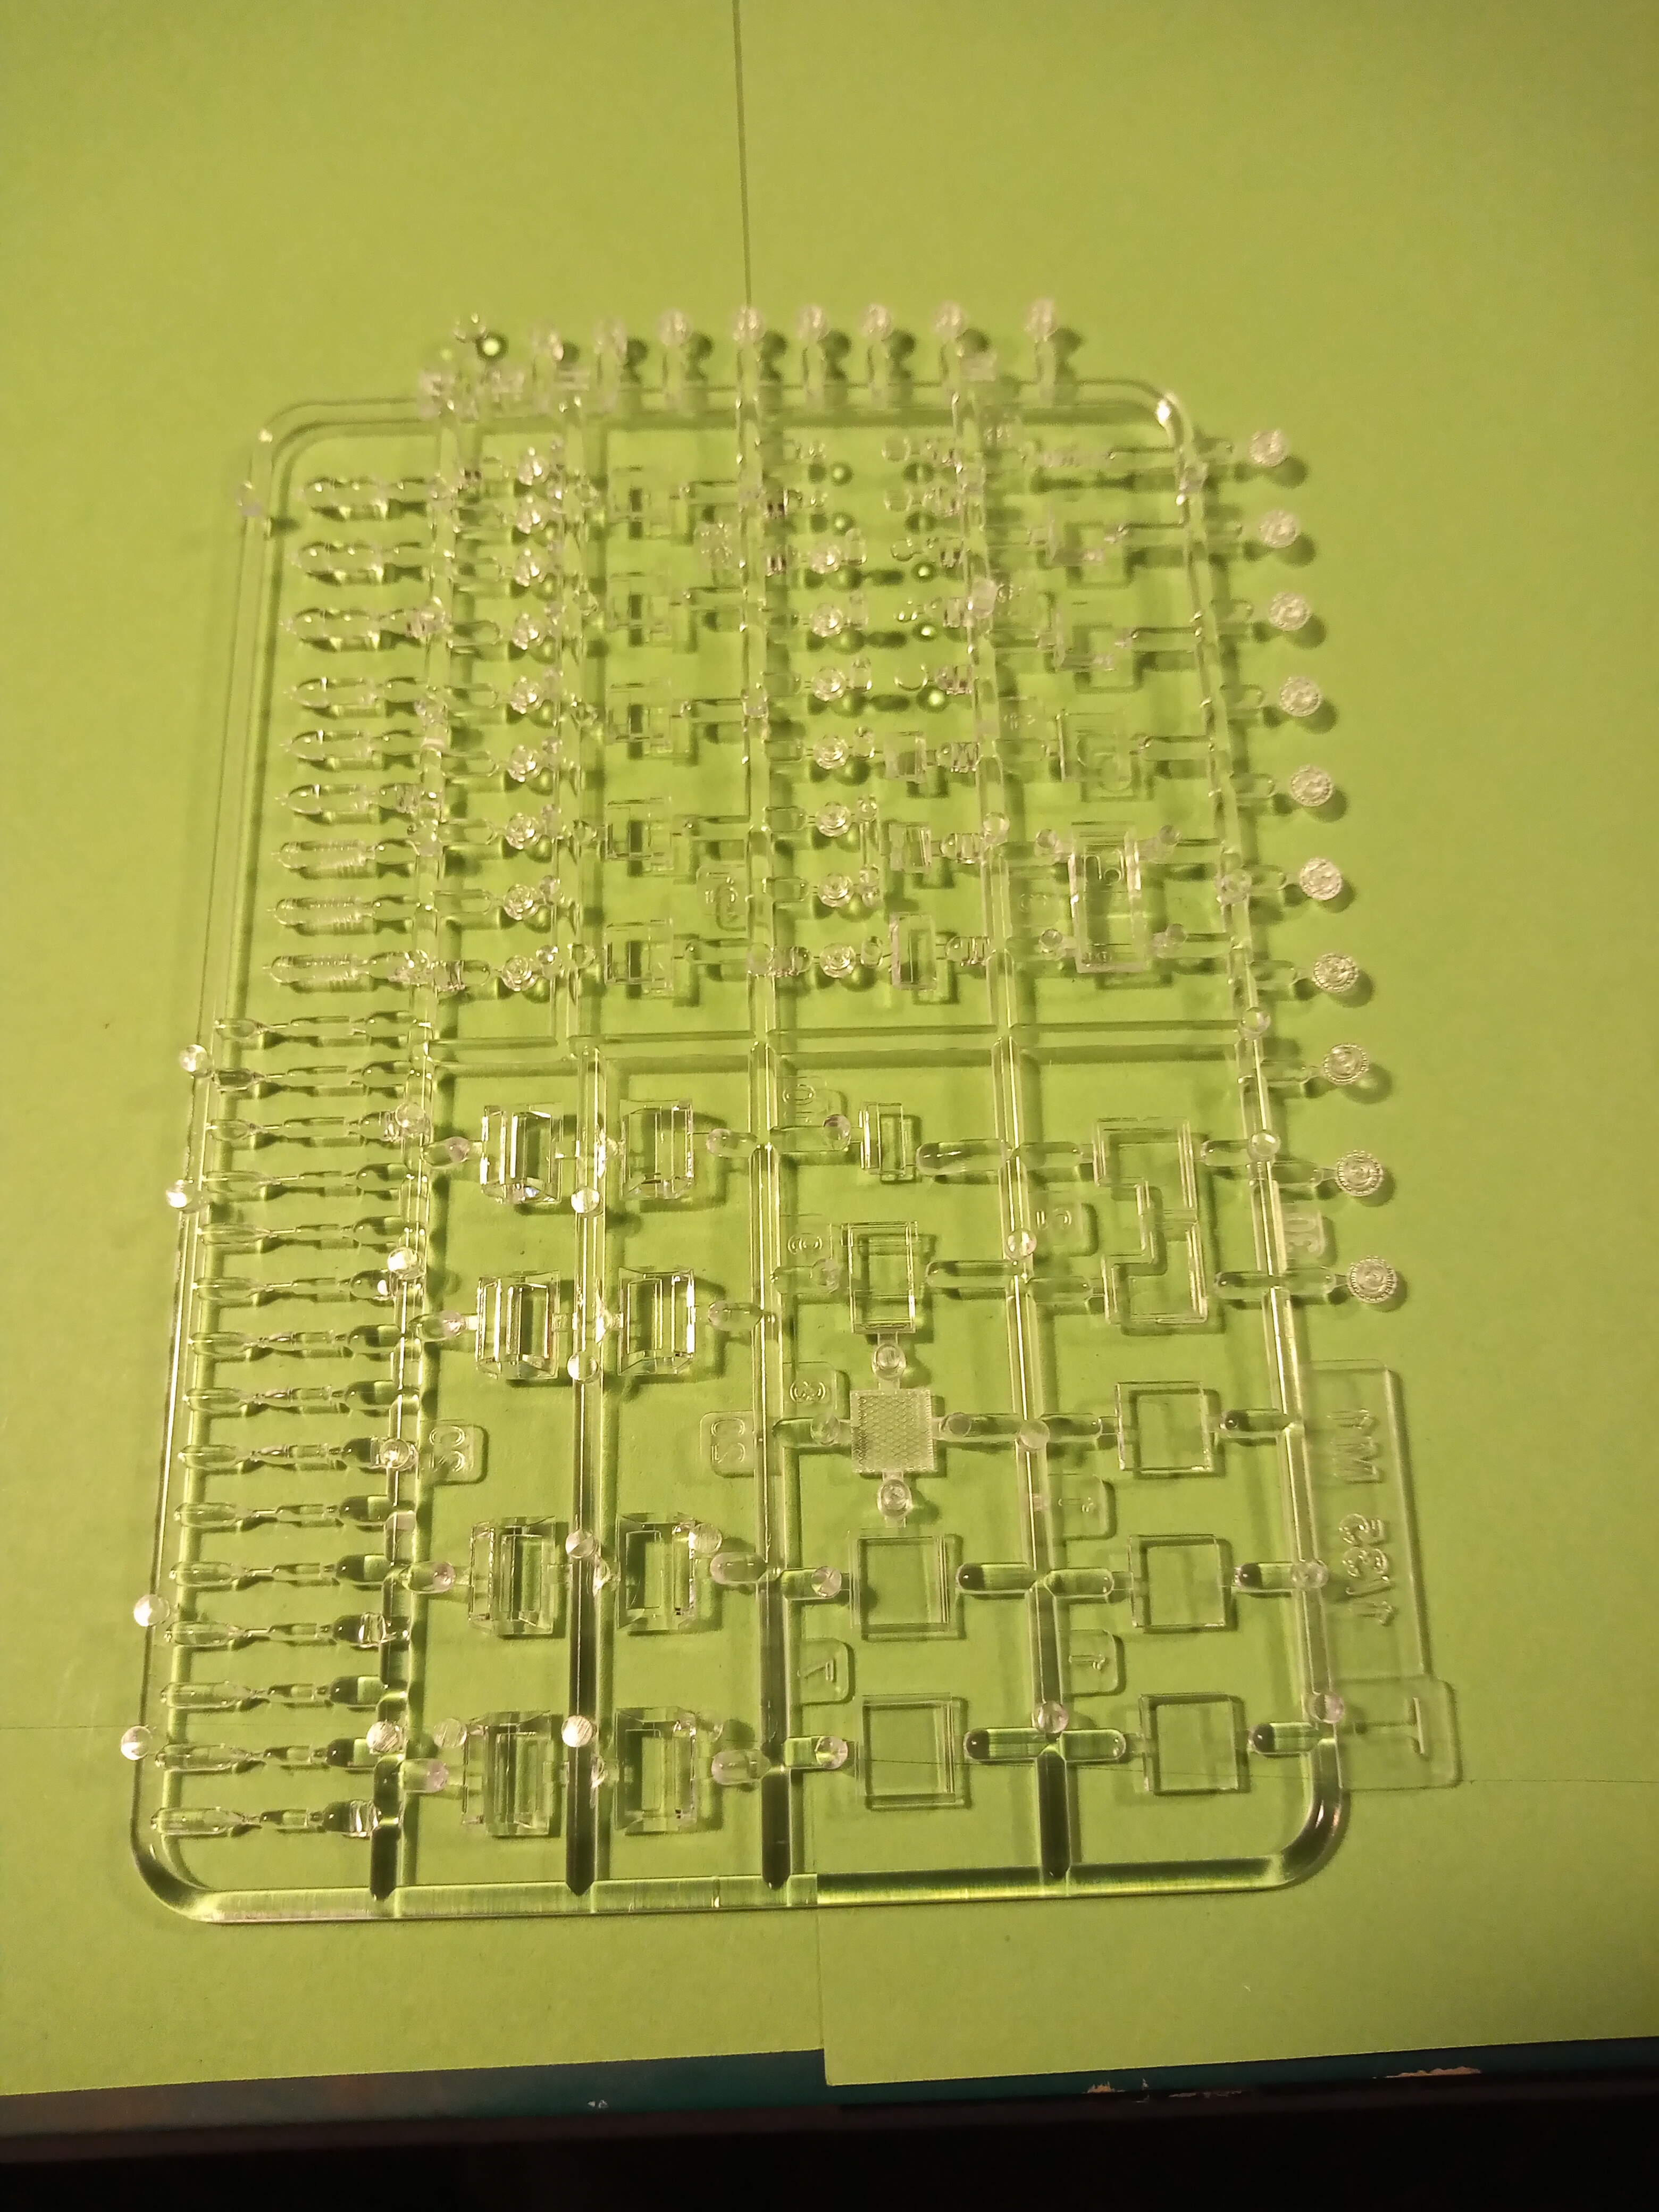
Another nice touch is that on the clear sprue you also get about 15 small cola / pepsi type bottles and about 9 large water type bottles. (Don’t think you get any markings for those though)
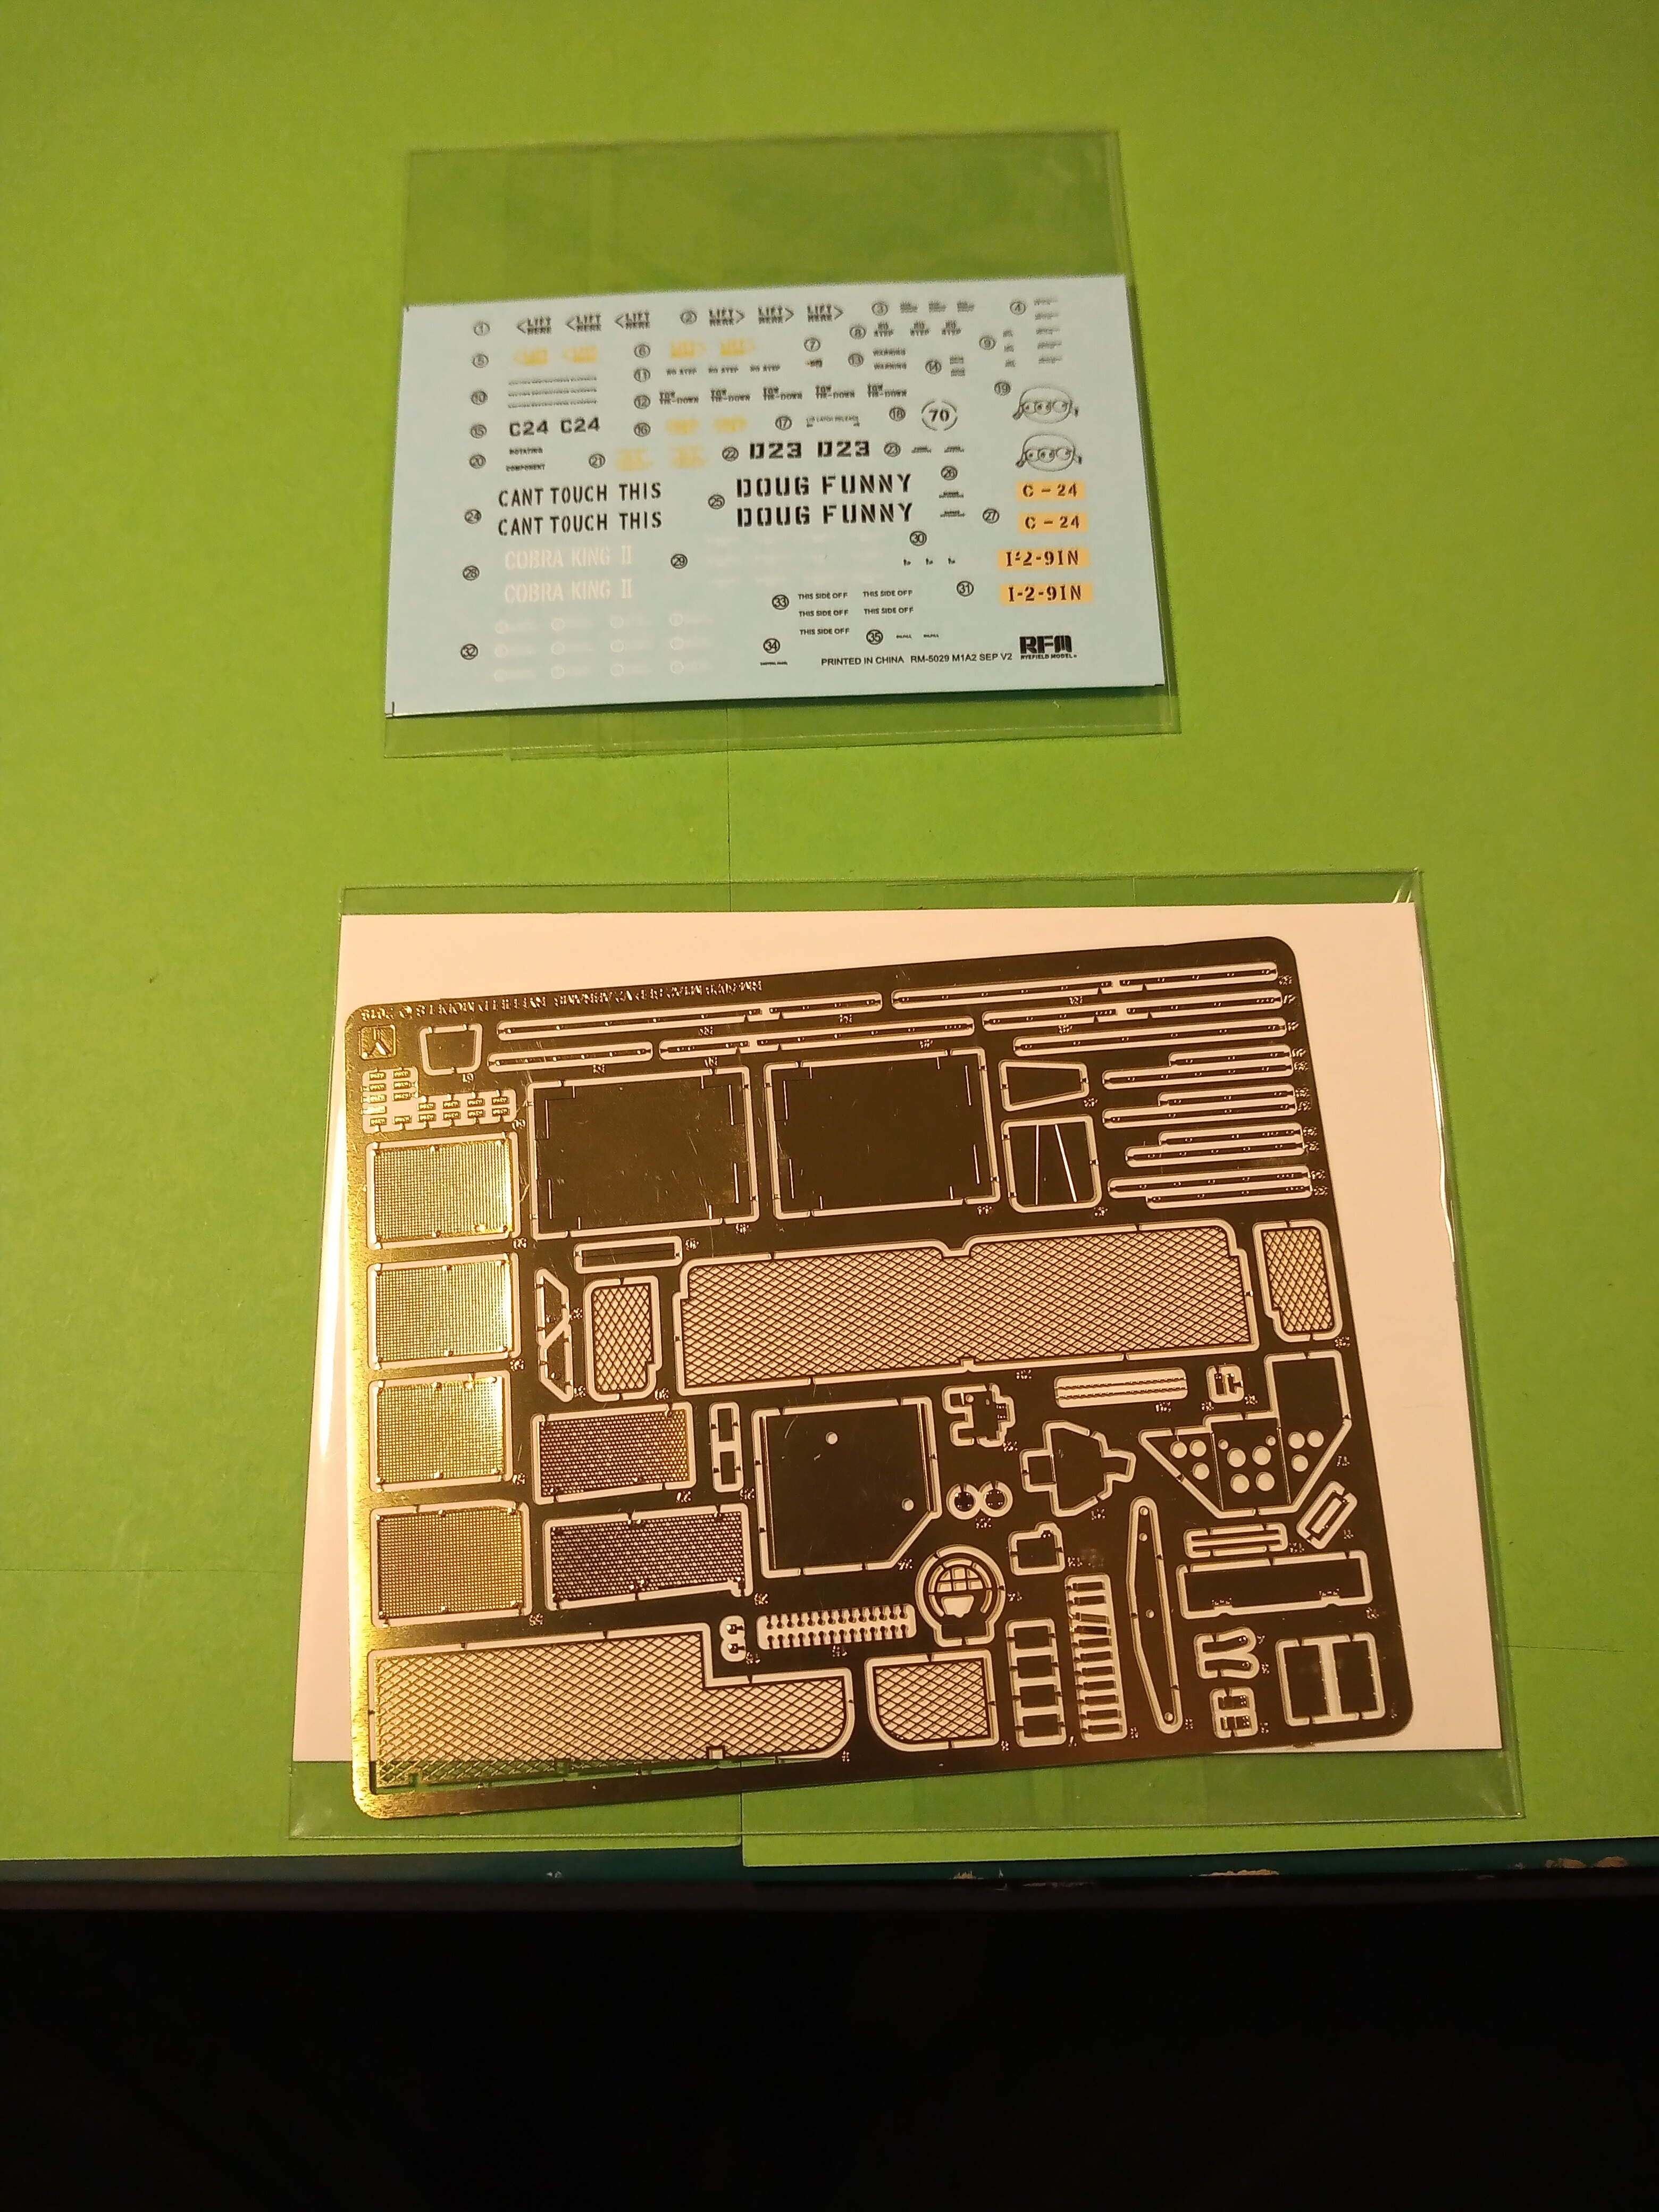
A nice PE sheet with various bits plus all the engine screens and a nice decal sheet.
Bit of an odd one for the last sprue. There are some parts for the kit but it also has what looks like the complete set up for the hull TUSK system.
The sprues look nice and clean, couldn’t see any flash or sink marks etc.
I will be asking a fair few questions about various details that I’ve seen which I am not to sure about so be ready for those all you M1A2 guru’s 
Looks great; I’ll be watching this as I have the ODS version
Yes I used the driver’s compartment from the verlinden set on my Dragon M1Panther II. It was intended for the Academy kit no ? Or did verlinden have another one out ? Anyway, it was decent but not a lot to it.
I’m looking forward to doing this. It’s going to be the first of my modern Western big 4 ; M1A2, Chally2 and Leo 2 A6/7. And just for @metalhead85 the LeClerc.
Not sure when I can start it yet as I have to finish off my Miniart build (the crane and Maultier at least), the Stryker build and the ODS build… (At least that M1A1 will be a good learning curve build for this one) and of course my CVRT Striker long haul build. … It’s only the 4th of Jan and I’m already over committed lol
I have about 4 projects in the works; one is a multi figure display so if you count each figure I really have 8 lol, I’m sure most modelers do too
Johnny , add the LeClerc and make it a big 4!
Yes, like MiniArt, and other companies, RFM just adds or subtracts spues to get the different versions. You will have a lot of left over parts.
I wish these manufacturers would get the rear deck correct with the doors separated instead of fixed in place.
Can anyone confirm the specifics of the different versions John has shown from the kit instructions ? It looks like 1 & 3 are set up with training simulators .
Sean
I’m pretty sure they are @Seanmcandrews. By the versions shown 0n the box and in the instructions and looking at the kit parts, those versions look like Laser targeters/Amber light hit indicator on the turret and boxes for sim bangs. Im not sure how they are connected ? Are these things new generation wireless now or still done with cables ? I remember having to connect the cables our wagons for TES exercises, and it took hours.
Thanks John, it looks like 1 & 3 are the same other than the device above the main gun ?
and theres something on the back LHR of turret basket but thats it I think