That would be a unique look


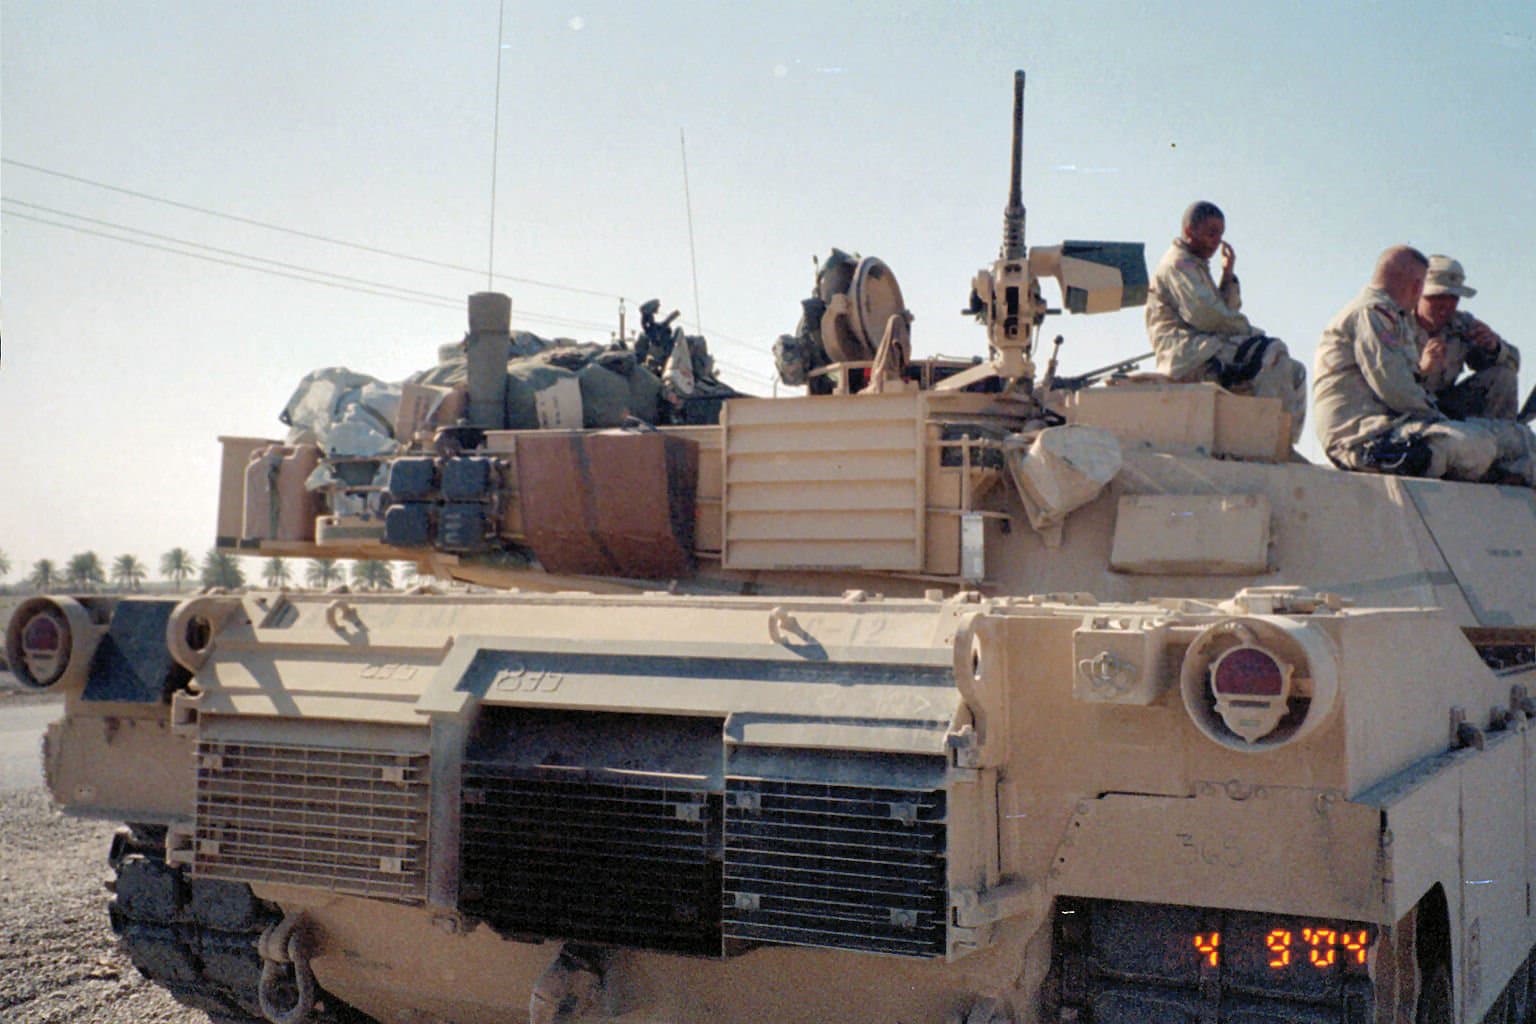
EDIT: for some context these are 163rd Cavalry Regiment vehicles on the Udairi rages in Kuwait , May 2022.
That would be a unique look
EDIT: for some context these are 163rd Cavalry Regiment vehicles on the Udairi rages in Kuwait , May 2022.
I would of liked to add the armoured skirts but although there are a ton of spare/unused parts in this kit, the turret plates or even brackets are not included. So I don’t want to do it inaccurate so I will leave the side skirts off.
Somehow I managed to introduce a upward tilt to the main rear basket, so I am in the process of trying to straighten that to a fairly level look.
And of course, trying to do that I managed to break off the rear section of the RH bin protection frame… Needed to replace the lower bit with plastic rod.
While starting to put the rear folding basket onto the main rear fixed one, I noticed that the fixed ones rear bars had a slight forward tilt, which was causing the folding basket to tilt forward at a raised angle …
So, my remedy was to 3 thin wedges from 1.5mm sheet and fixed those to fixed basket uprights.
Did a test fit and the folding basket now sits as close to level as I’m happy with…
Also started putting some other bits together
All moving along nicely ![]()
I don’t know if the kit tells you the correct colors, but the exhaust deflector shield is painted flat black and is often covered in soot and rust from the being exposes to high heat.
And the drip pans should be painted in satin black, since they’re molded plastic.
Thanks Reynier. Instructions show deflector as main Veh colour, and just checked … same for the drip trays … thanks again mate ![]()
Rear turret baskets are now sorted and on. The 3 small wedges I made worked perfectly and levelled it all up so the rear folding basket fitted flush.
A few more turret details to do and then onto the hull ![]()
Put a securing strap on for the water cans on the rear basket…
Used some old PE from a webbing set.
This
To this
Also put the barrel on
Will be leaving the antennas off for a while. Going to start on the hull… May try and prime the turret over the weekend
Axle arms on
They are all glued on and I left the torsion bars off as I don’t need the suspension workable.
Quick yes or no …
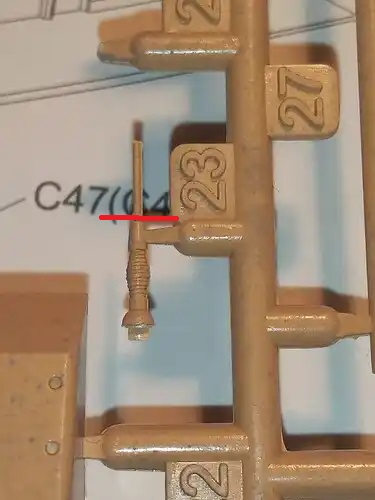
Is part 23 on C sprue a normal antenna base ? The instructions don’t mention it, so I was guessing it’s for another RFM Abrams A2 ? If it is, would it be ok on mine ?
Yes, it is a standard antenna base. It is the type for the newer, thinner antenna. An AS-3916/VRC low profile antenna base.
Cut it off at the red line and discard the small “antenna” part above. Drill out the top and add an antenna and you will be set.
Excellent. Thanks Gino.
One thing I found out early was I didn’t think much of the link and length tracks. I hadn’t really looked at them in depth before, but now I have … well, I’m not not enthralled with them. Detail is soft, flash and very soft detail around the connectors and sink hole marks on the inner face on every other link … I may need to get the trumpeter indi link set …
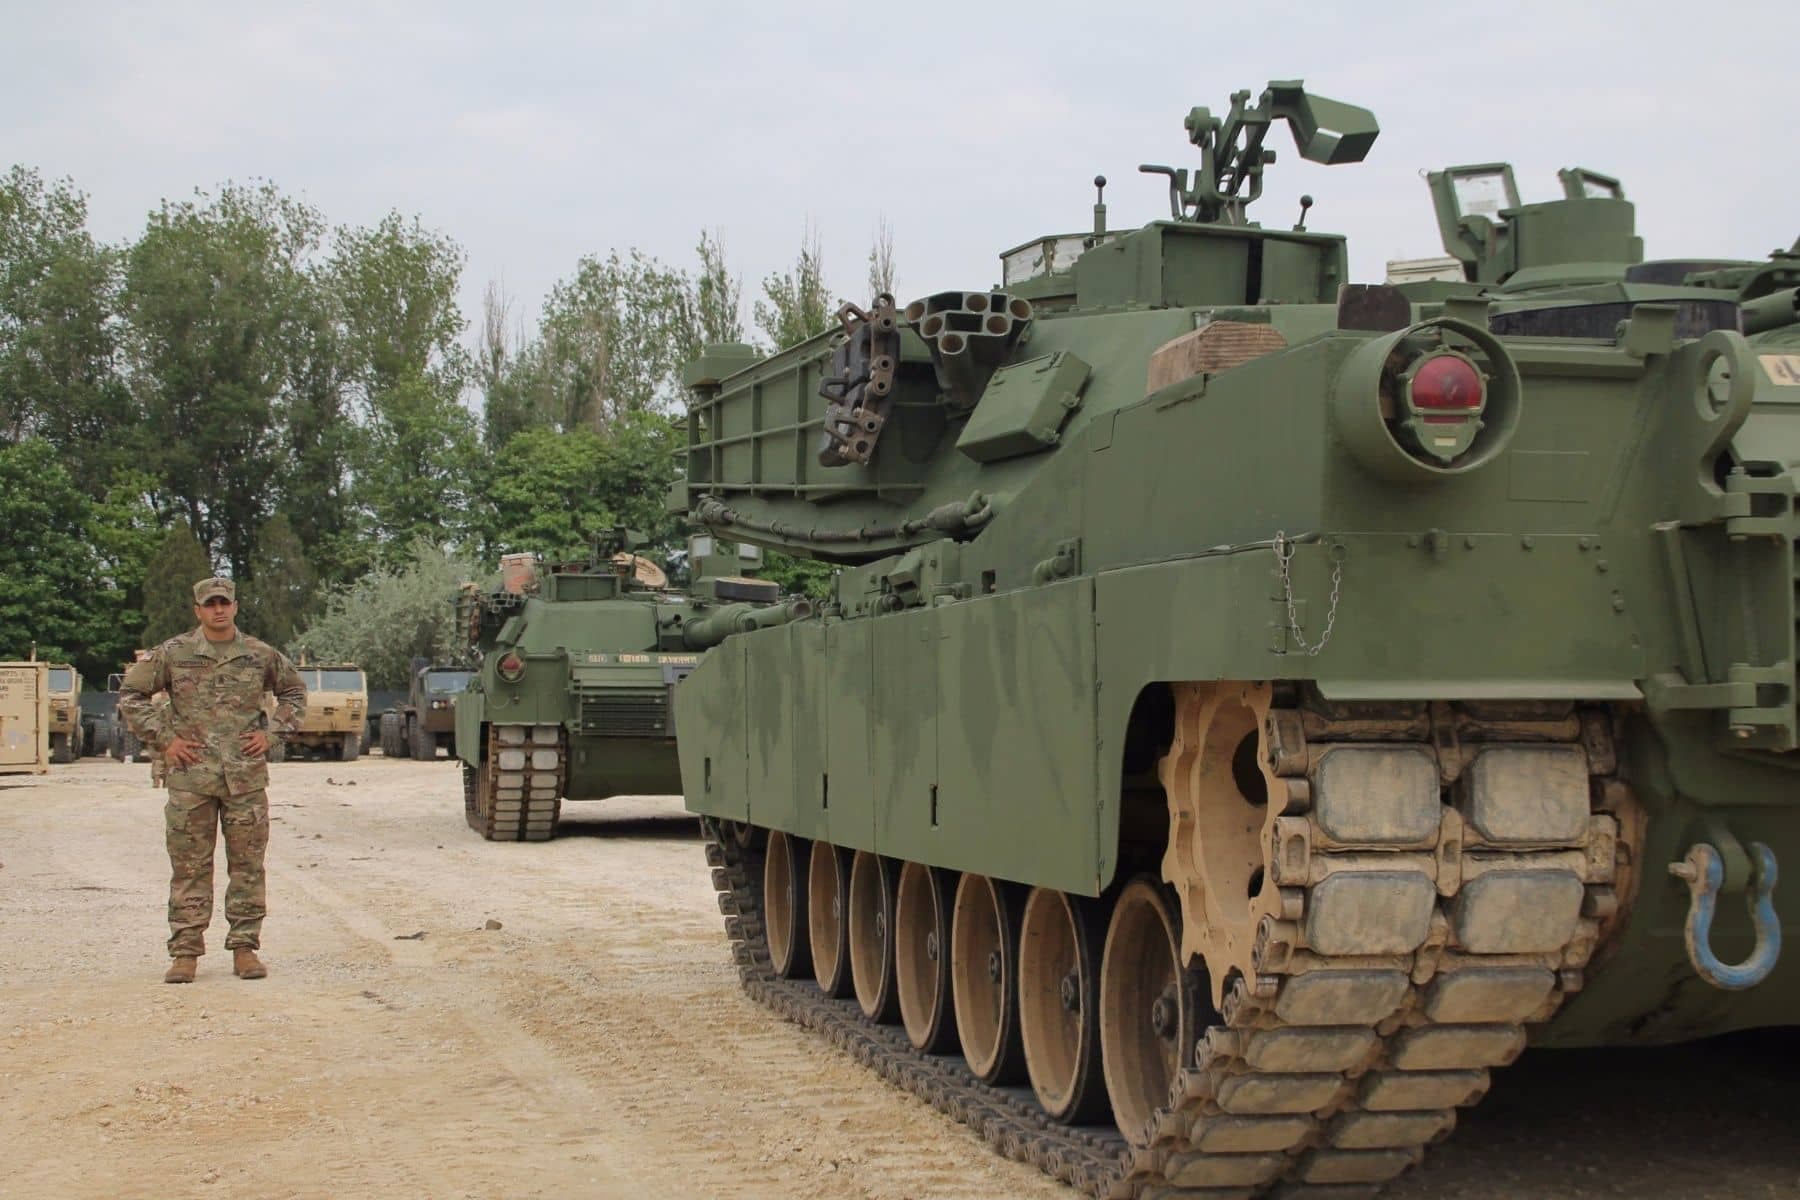
Also, still undecided on the final paint … CARC sand or 3 tone DPM… Or did the A2 SEP v2 ever get done in plain green ?
Jesus that looks a mess ![]() … And I’m to lazy lol… I think it’s going to be AK and 3 tone …
… And I’m to lazy lol… I think it’s going to be AK and 3 tone …